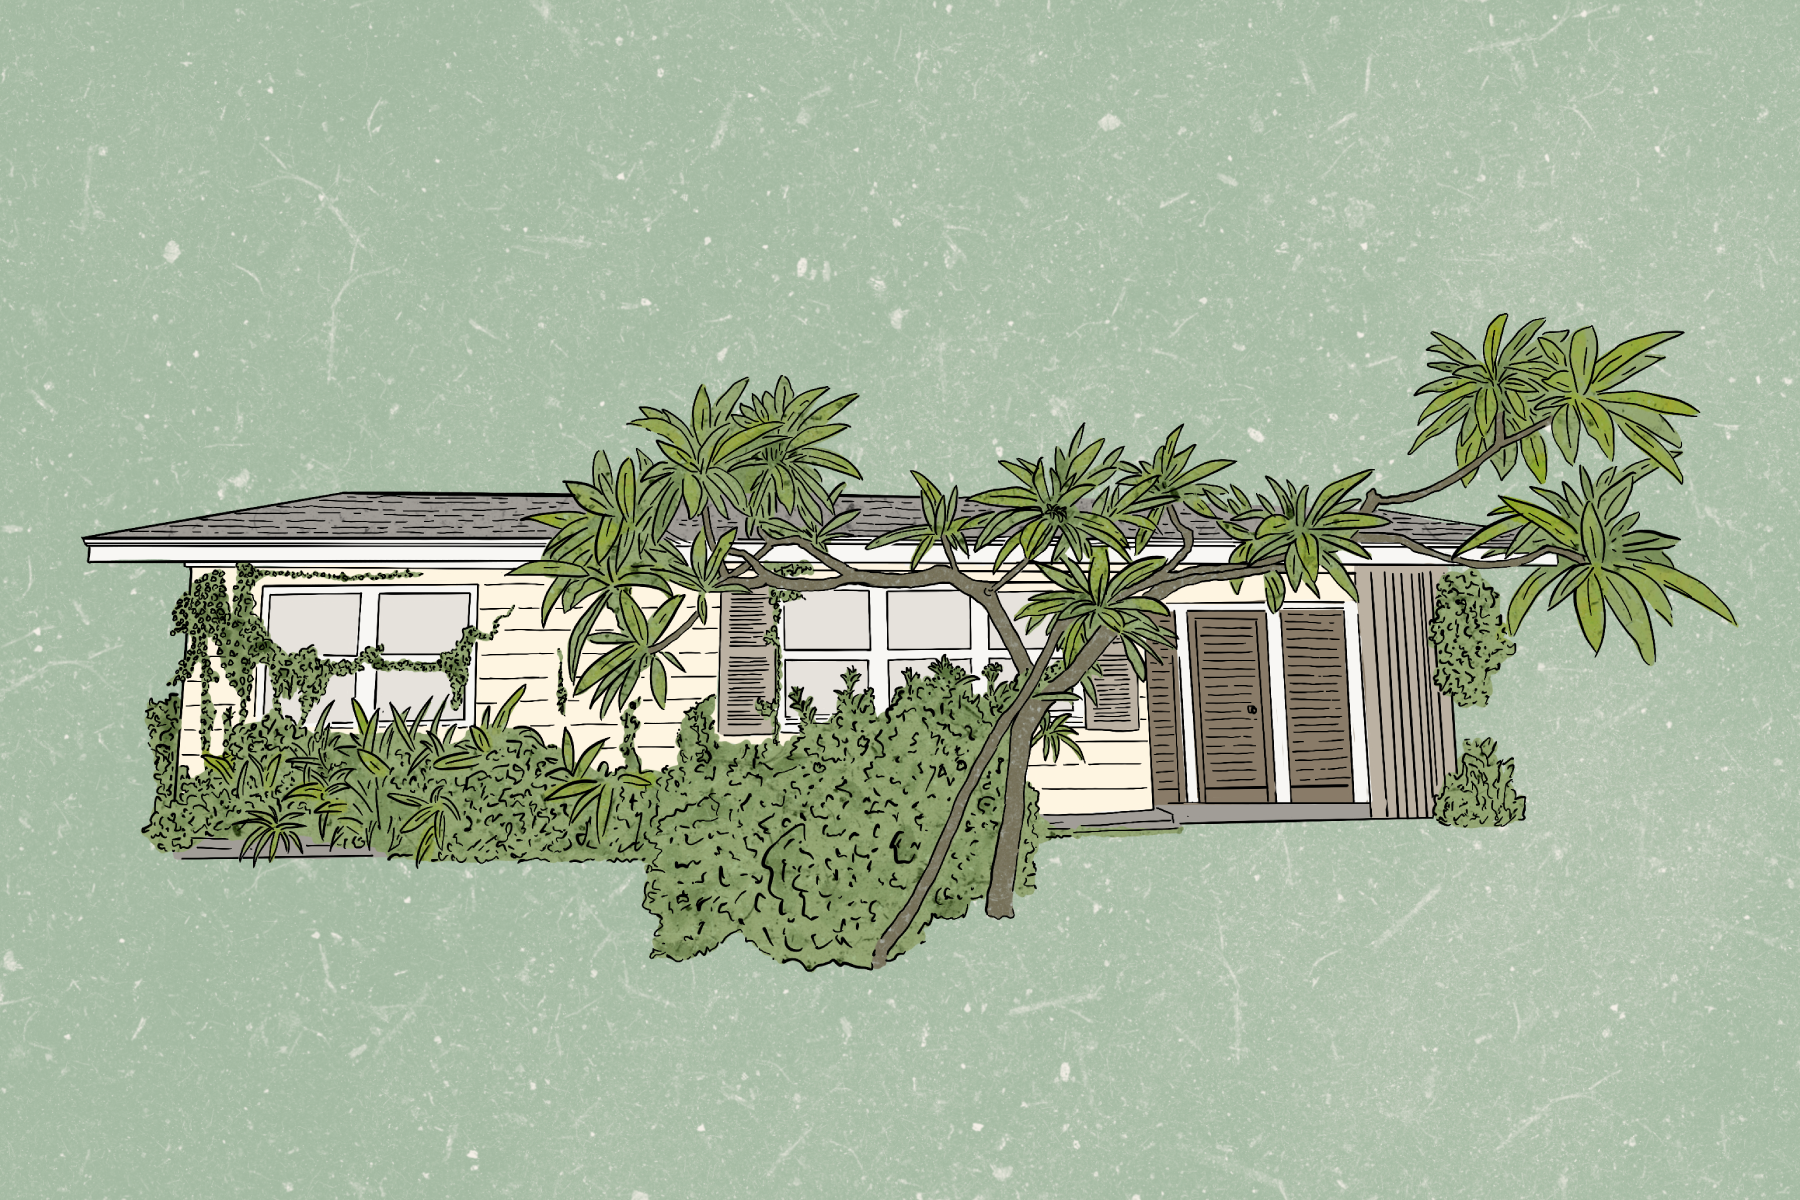
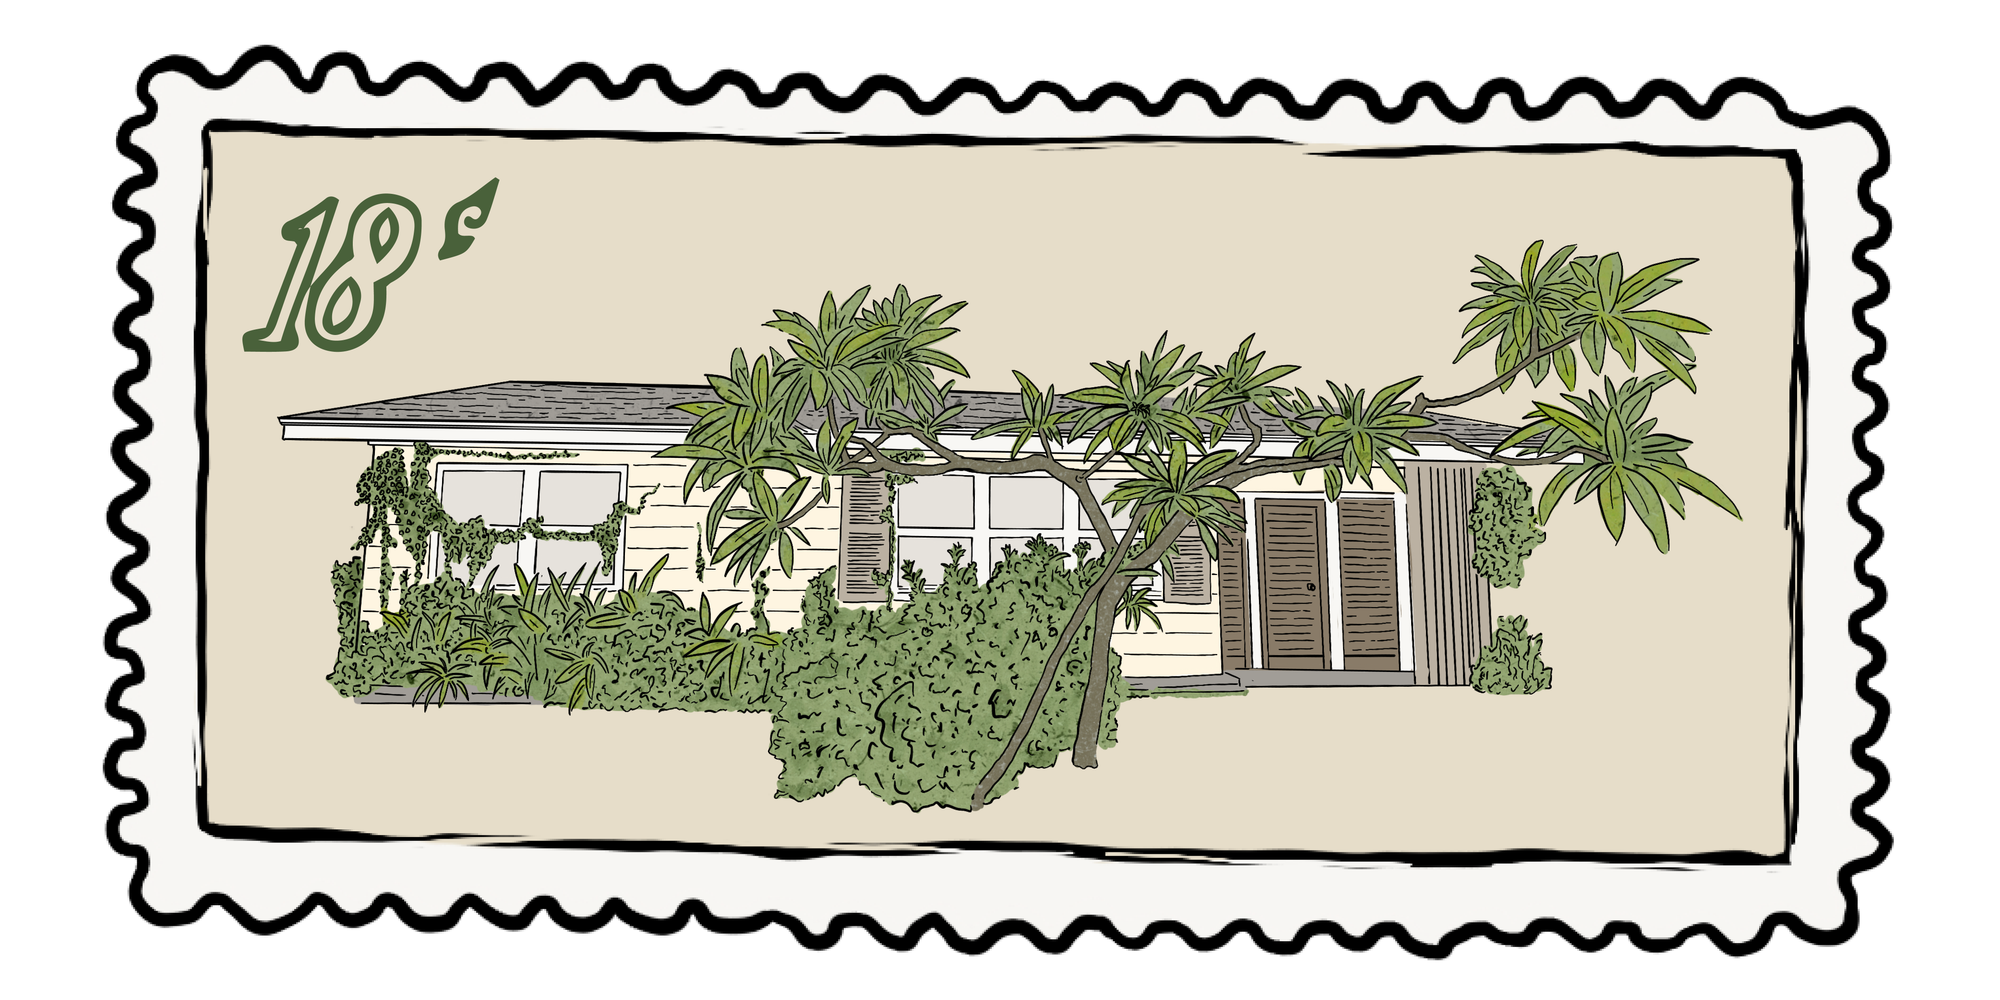
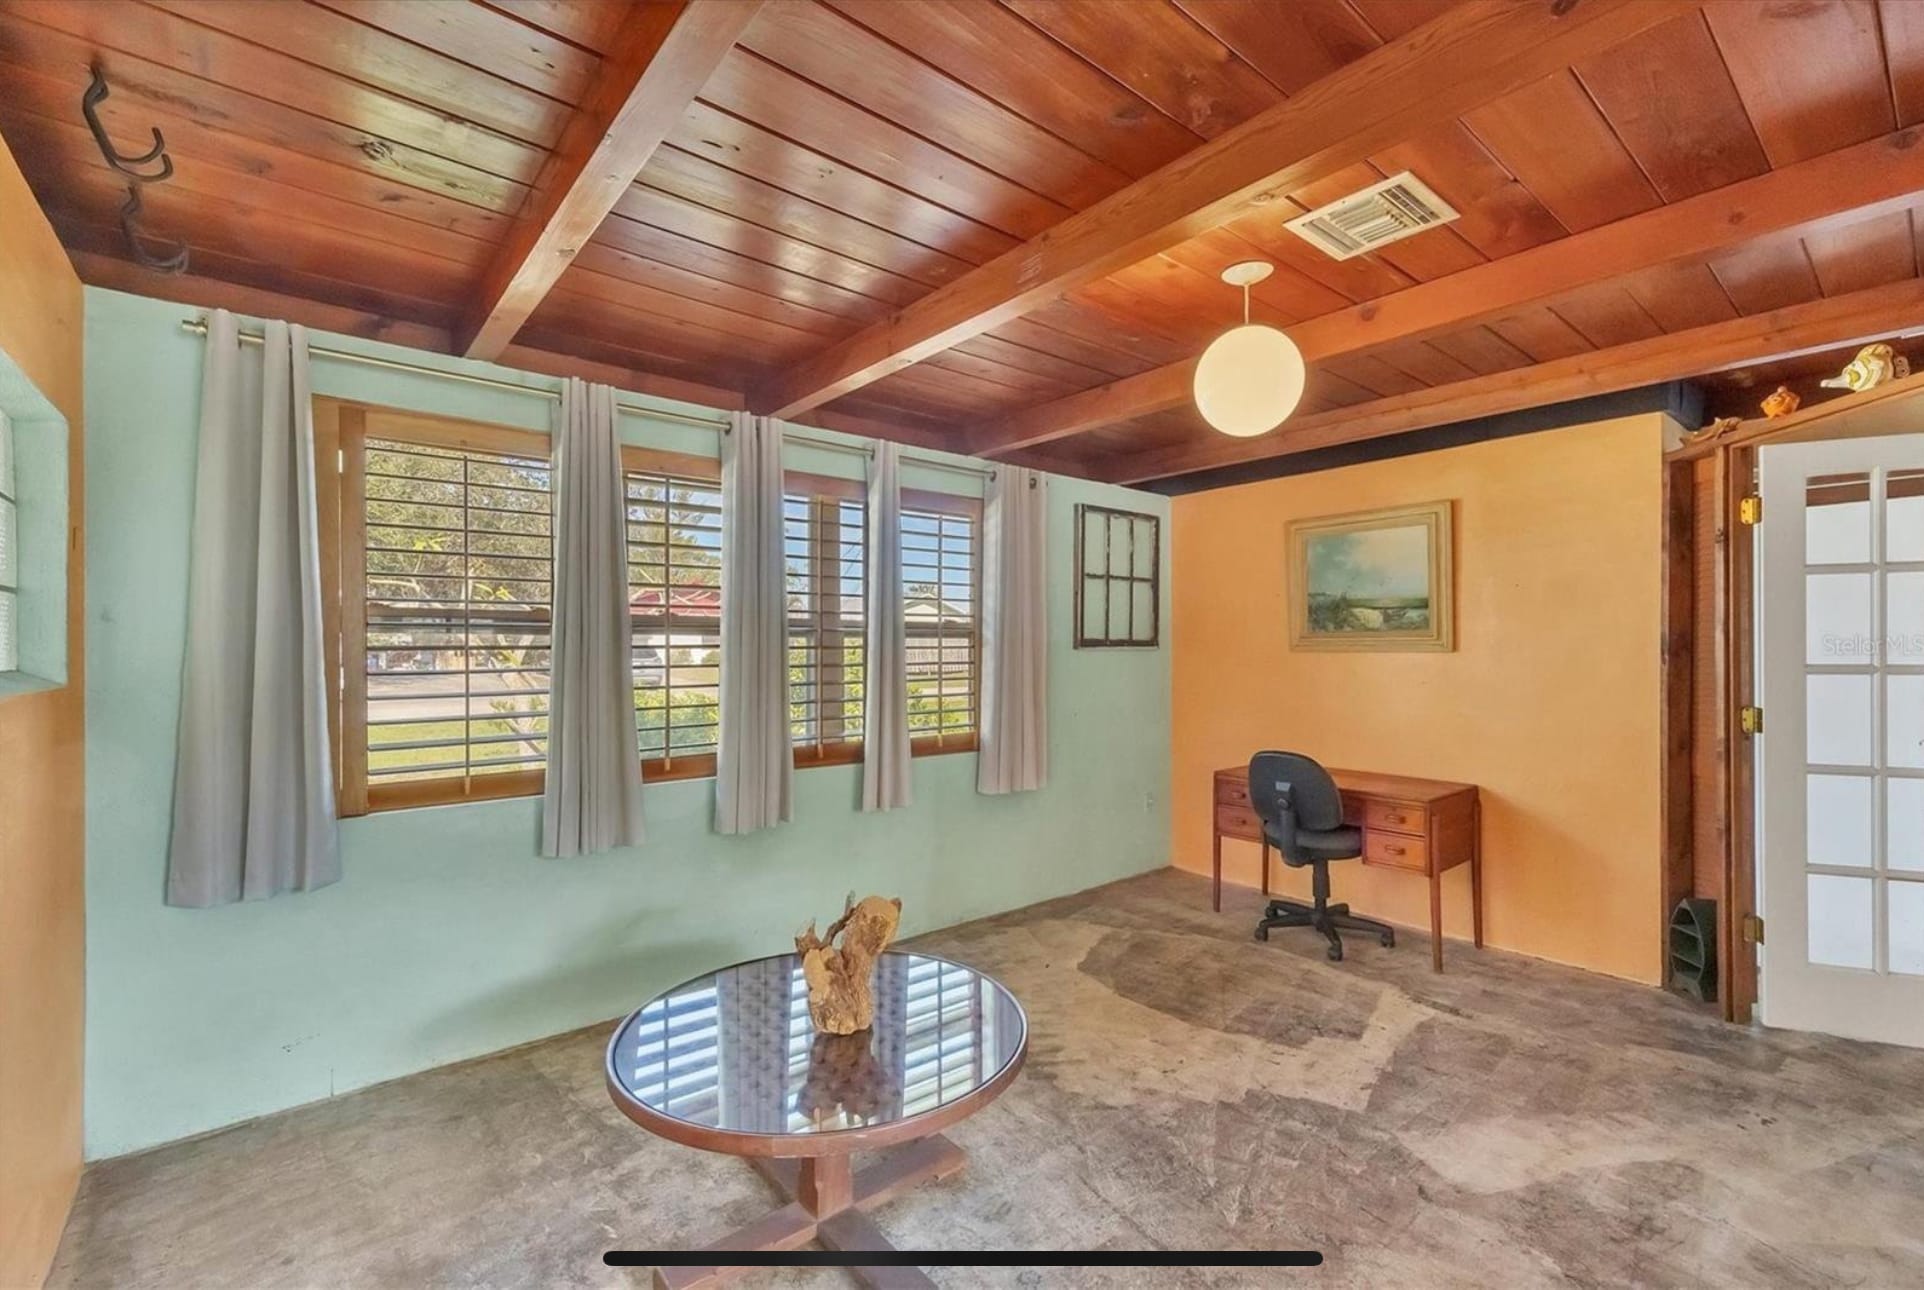
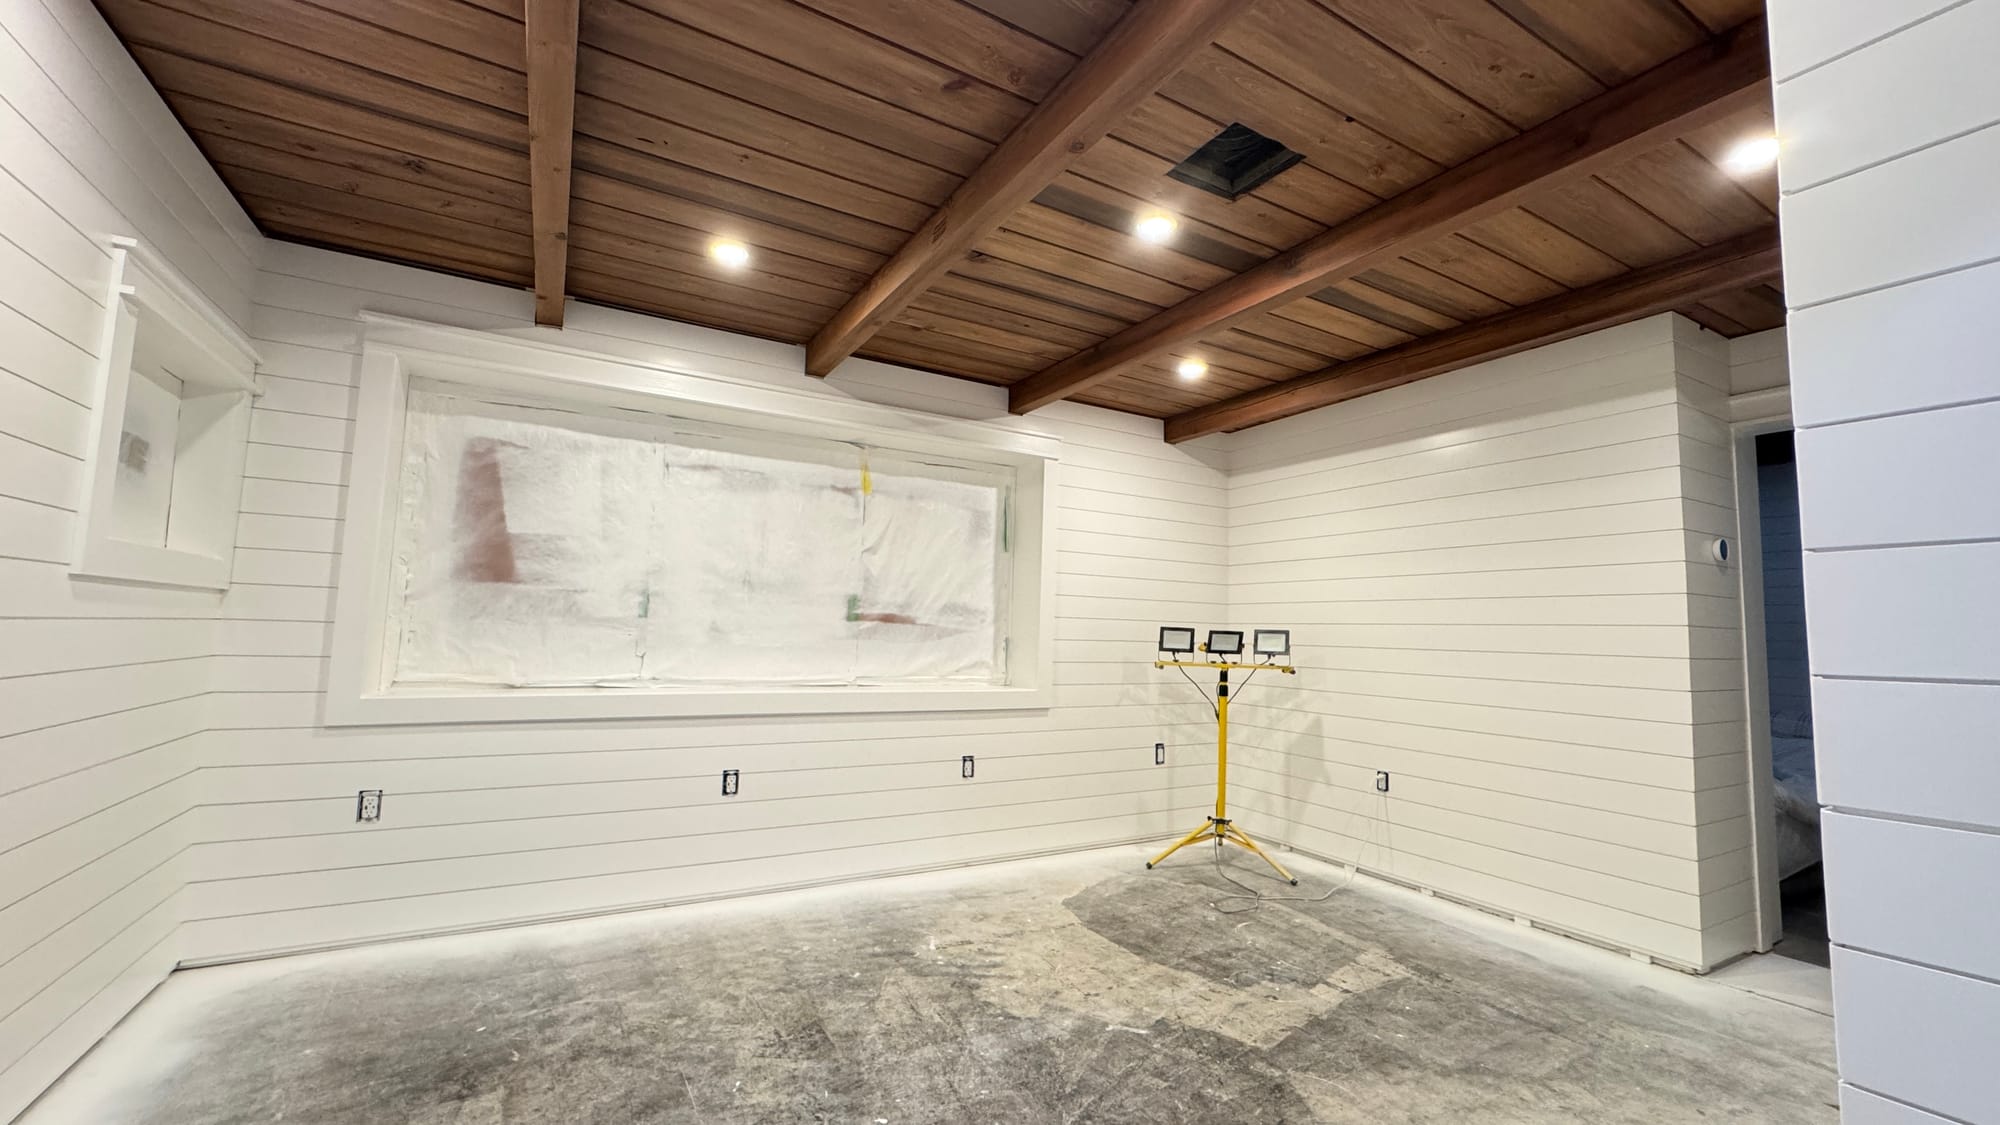
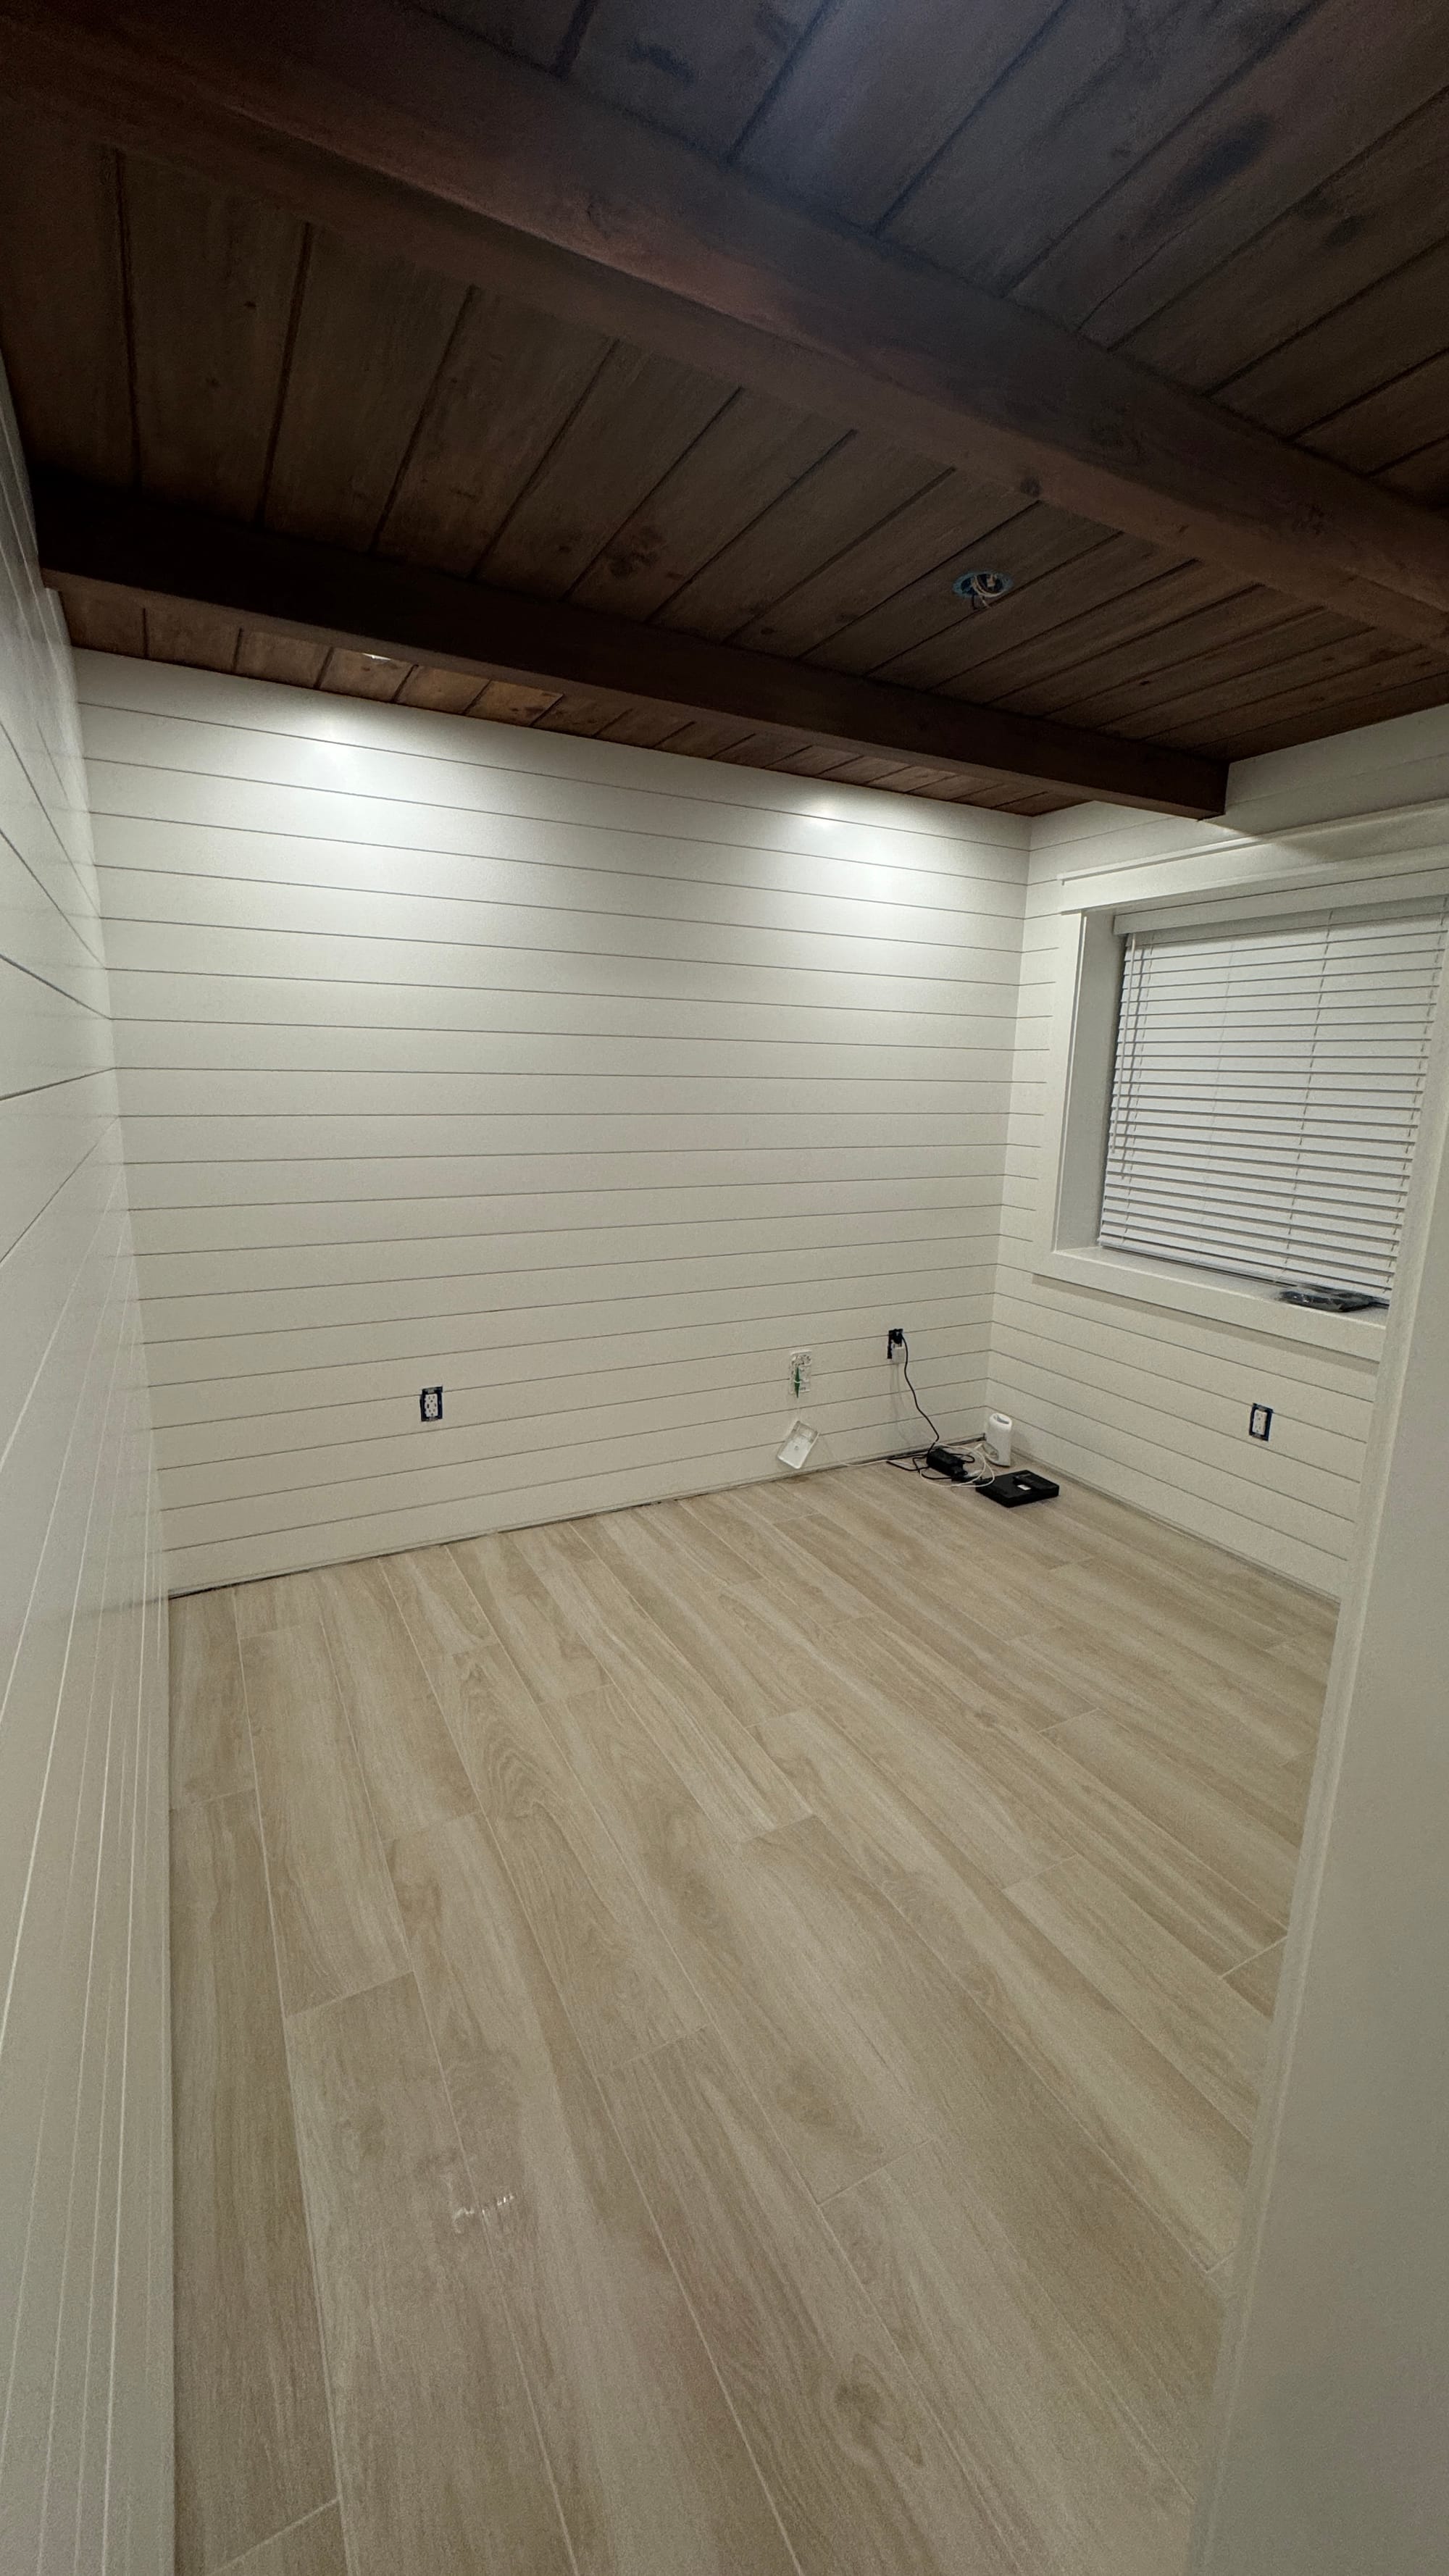
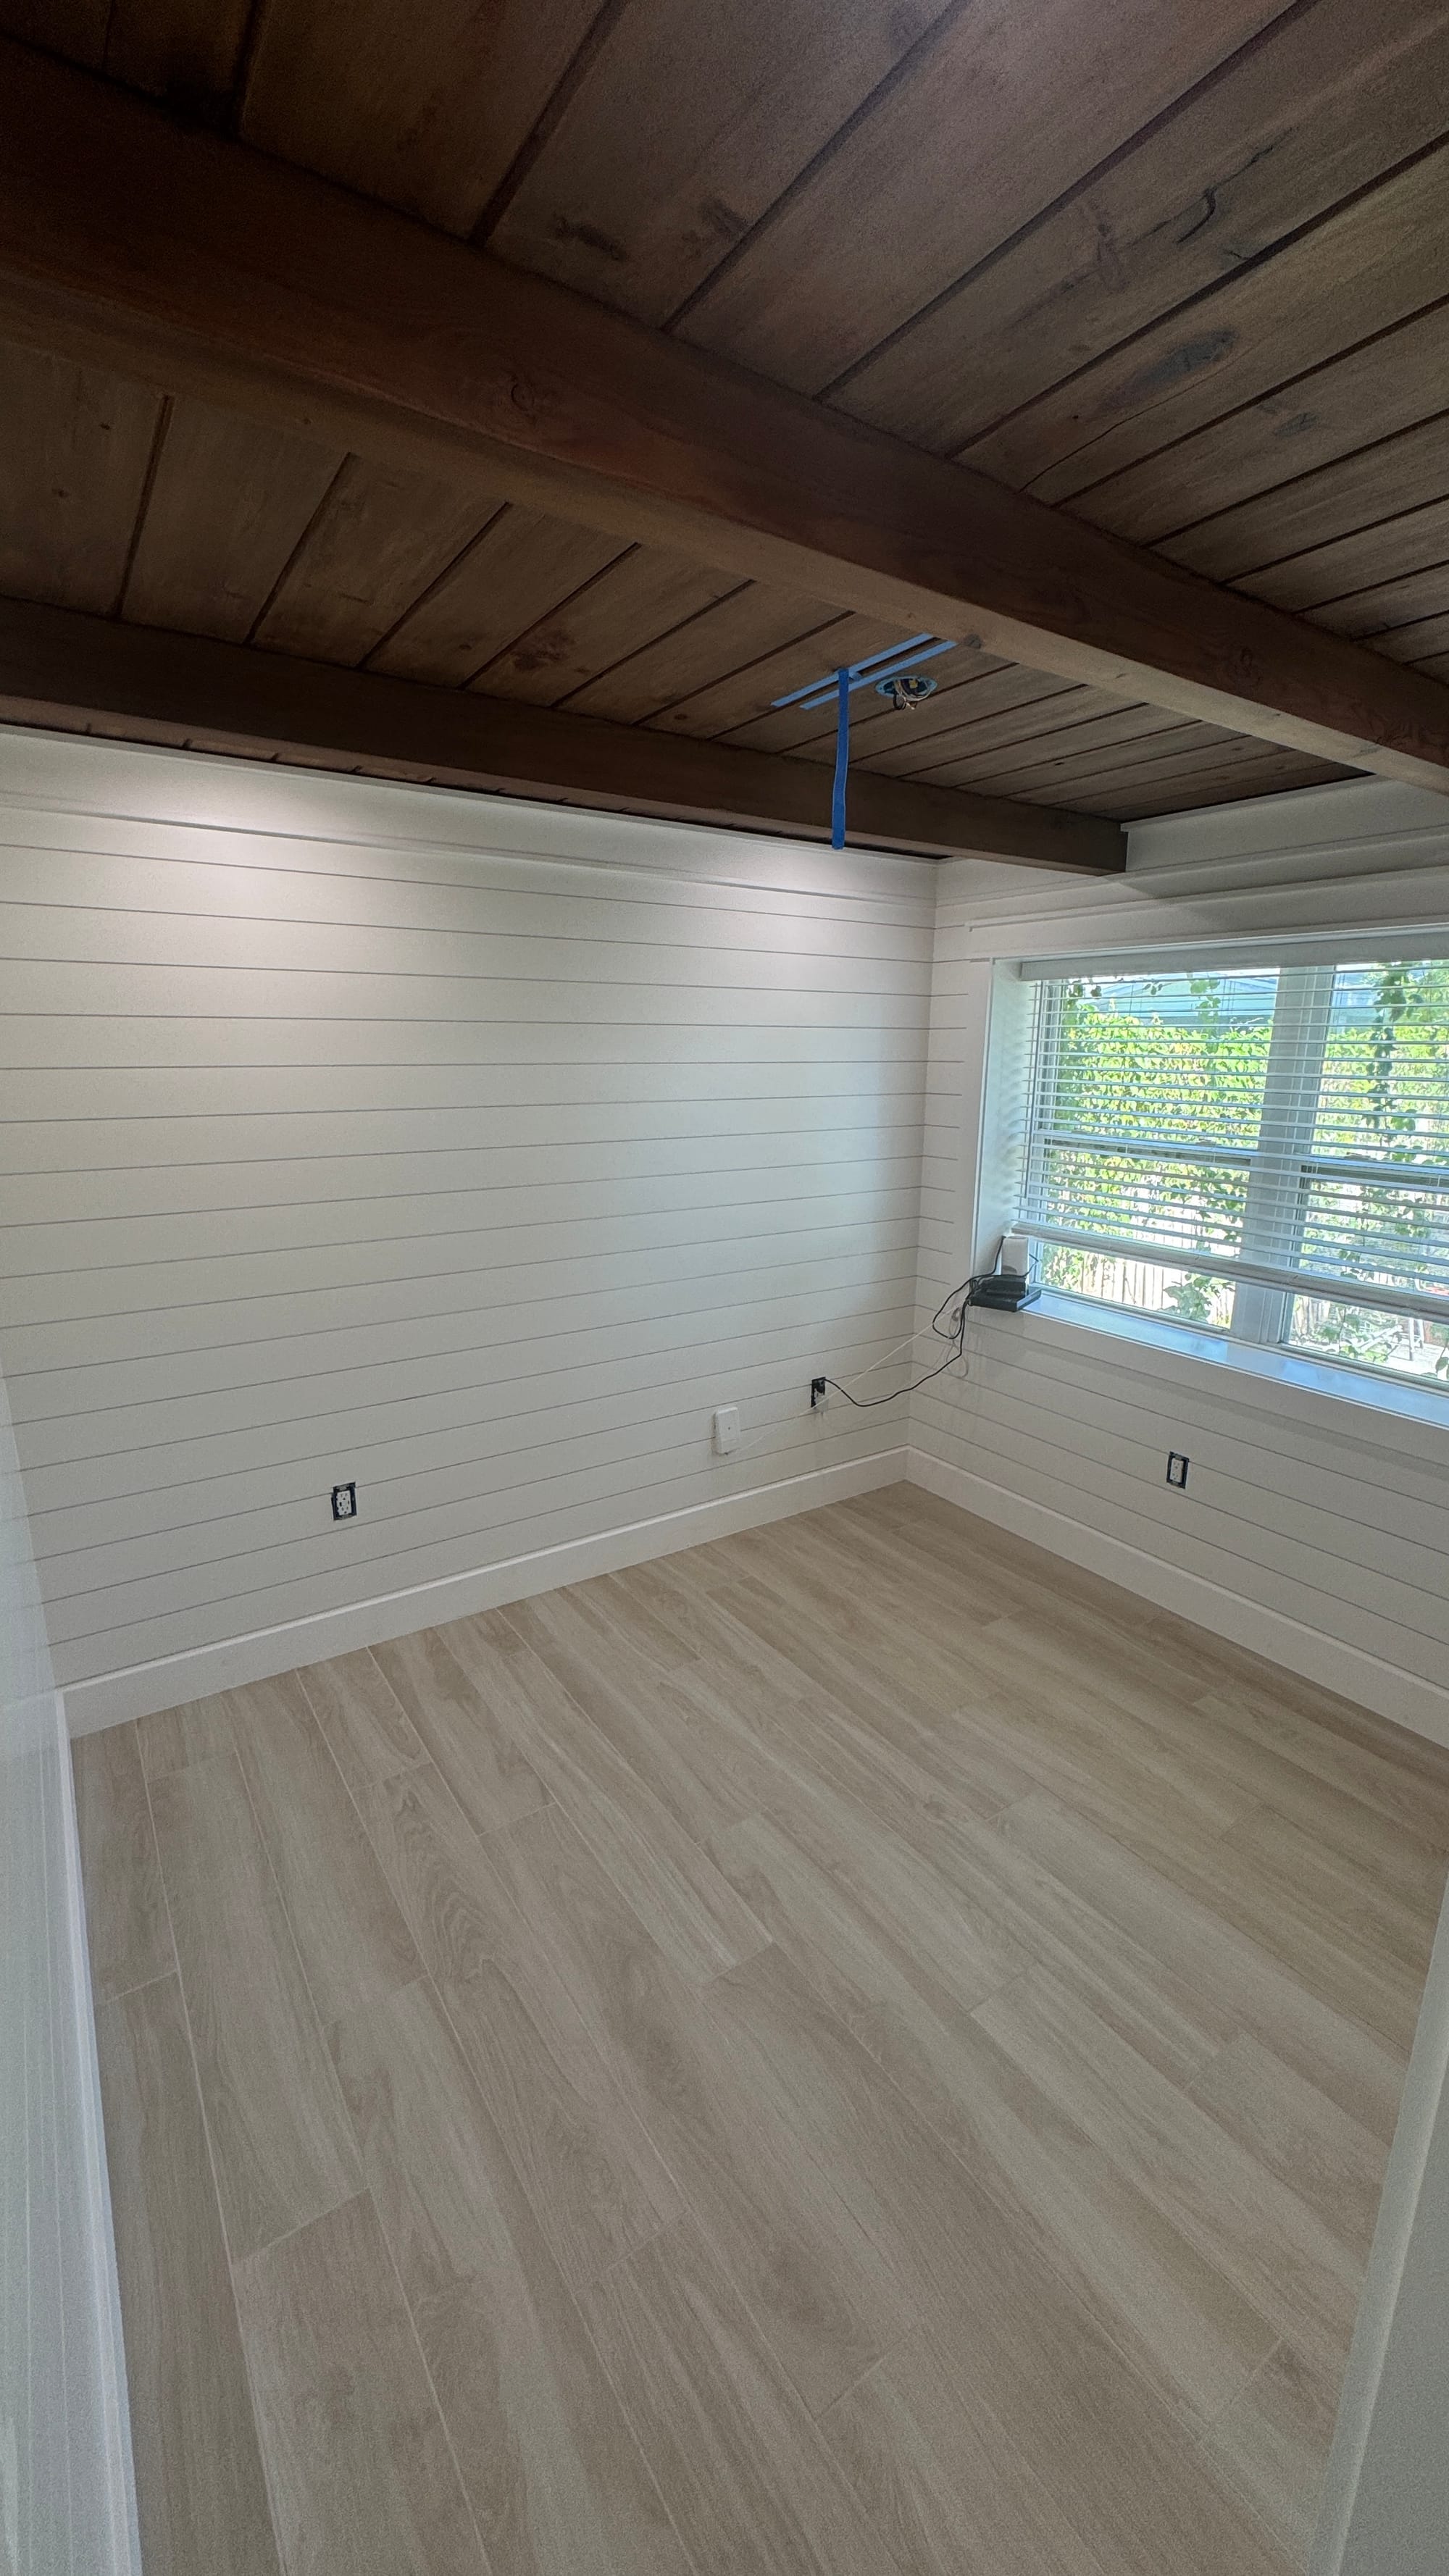
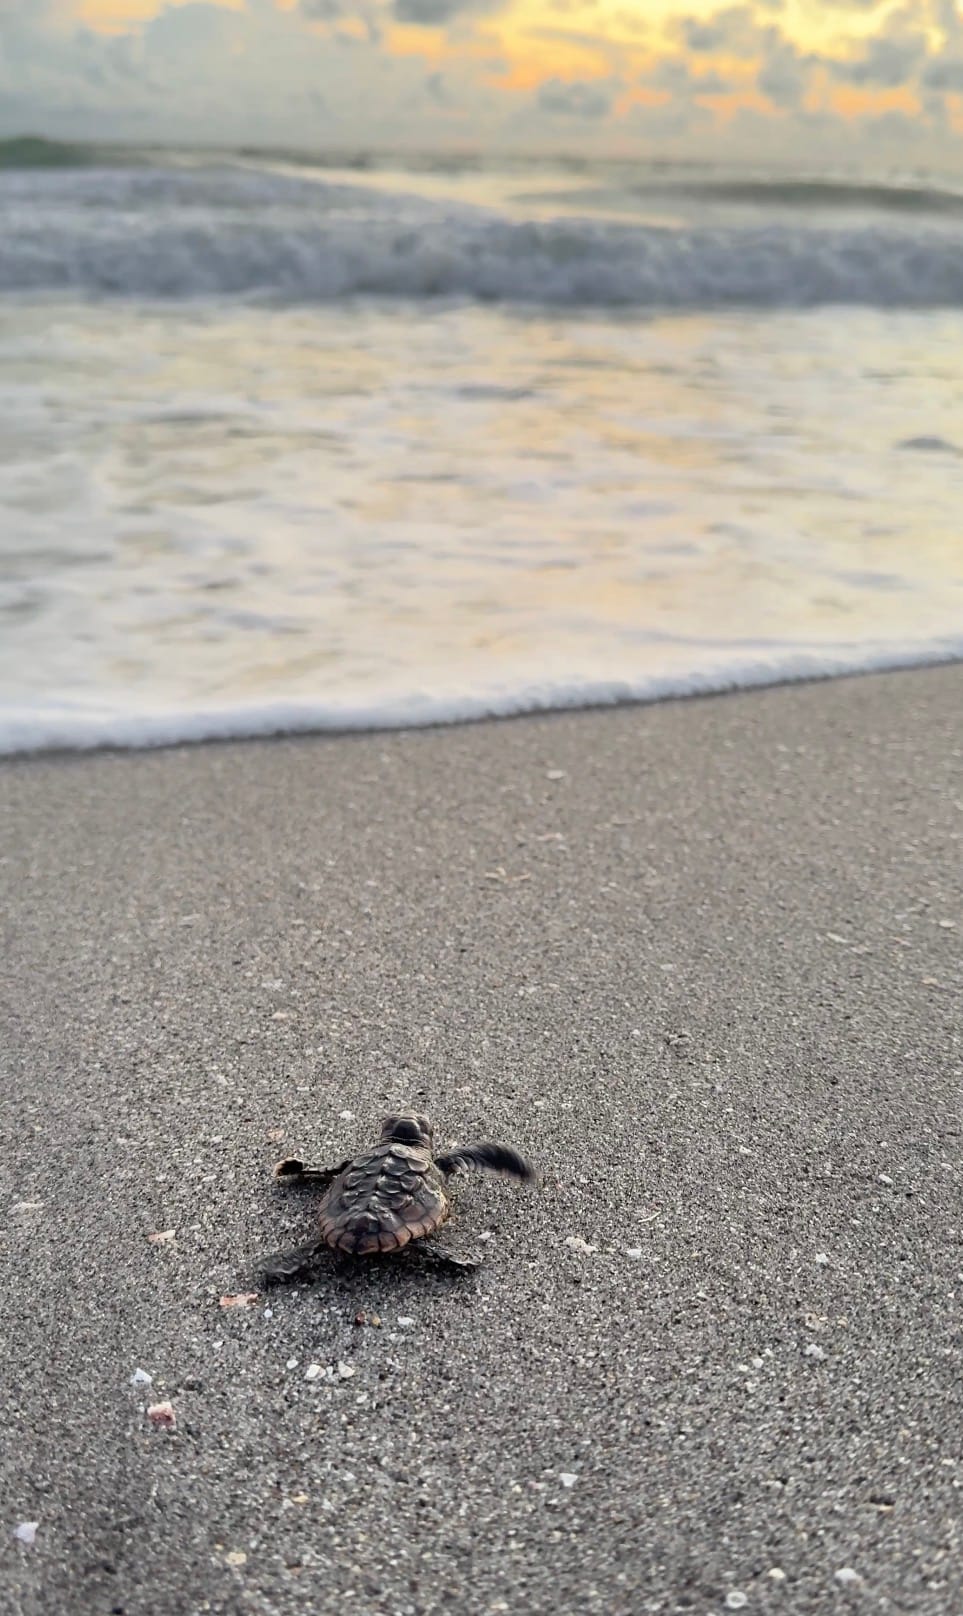
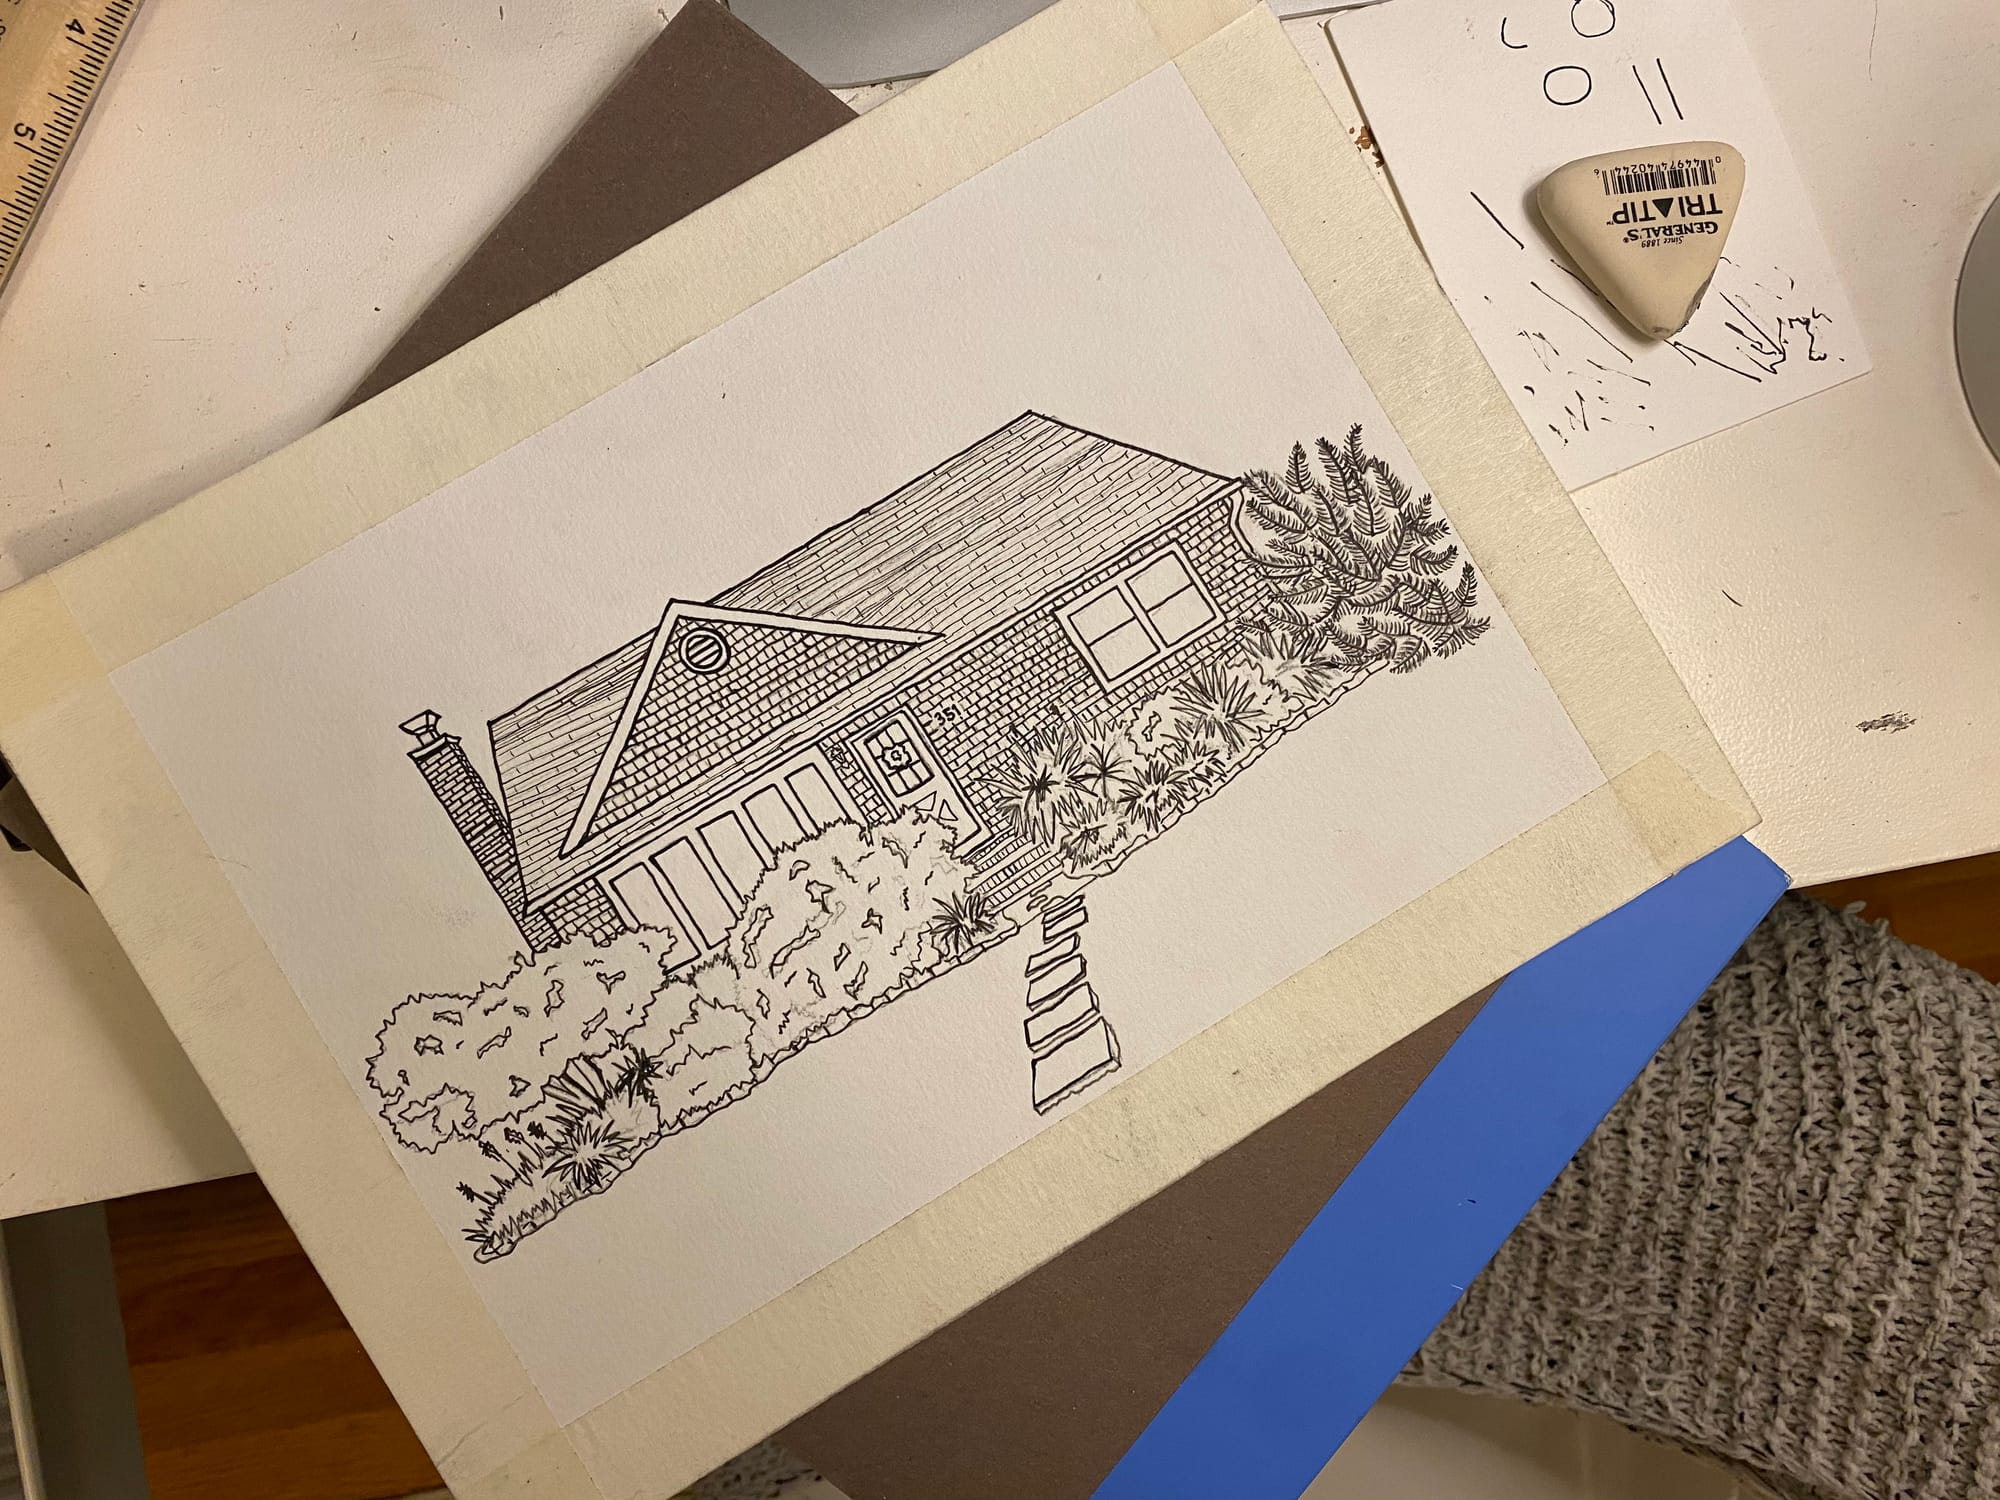
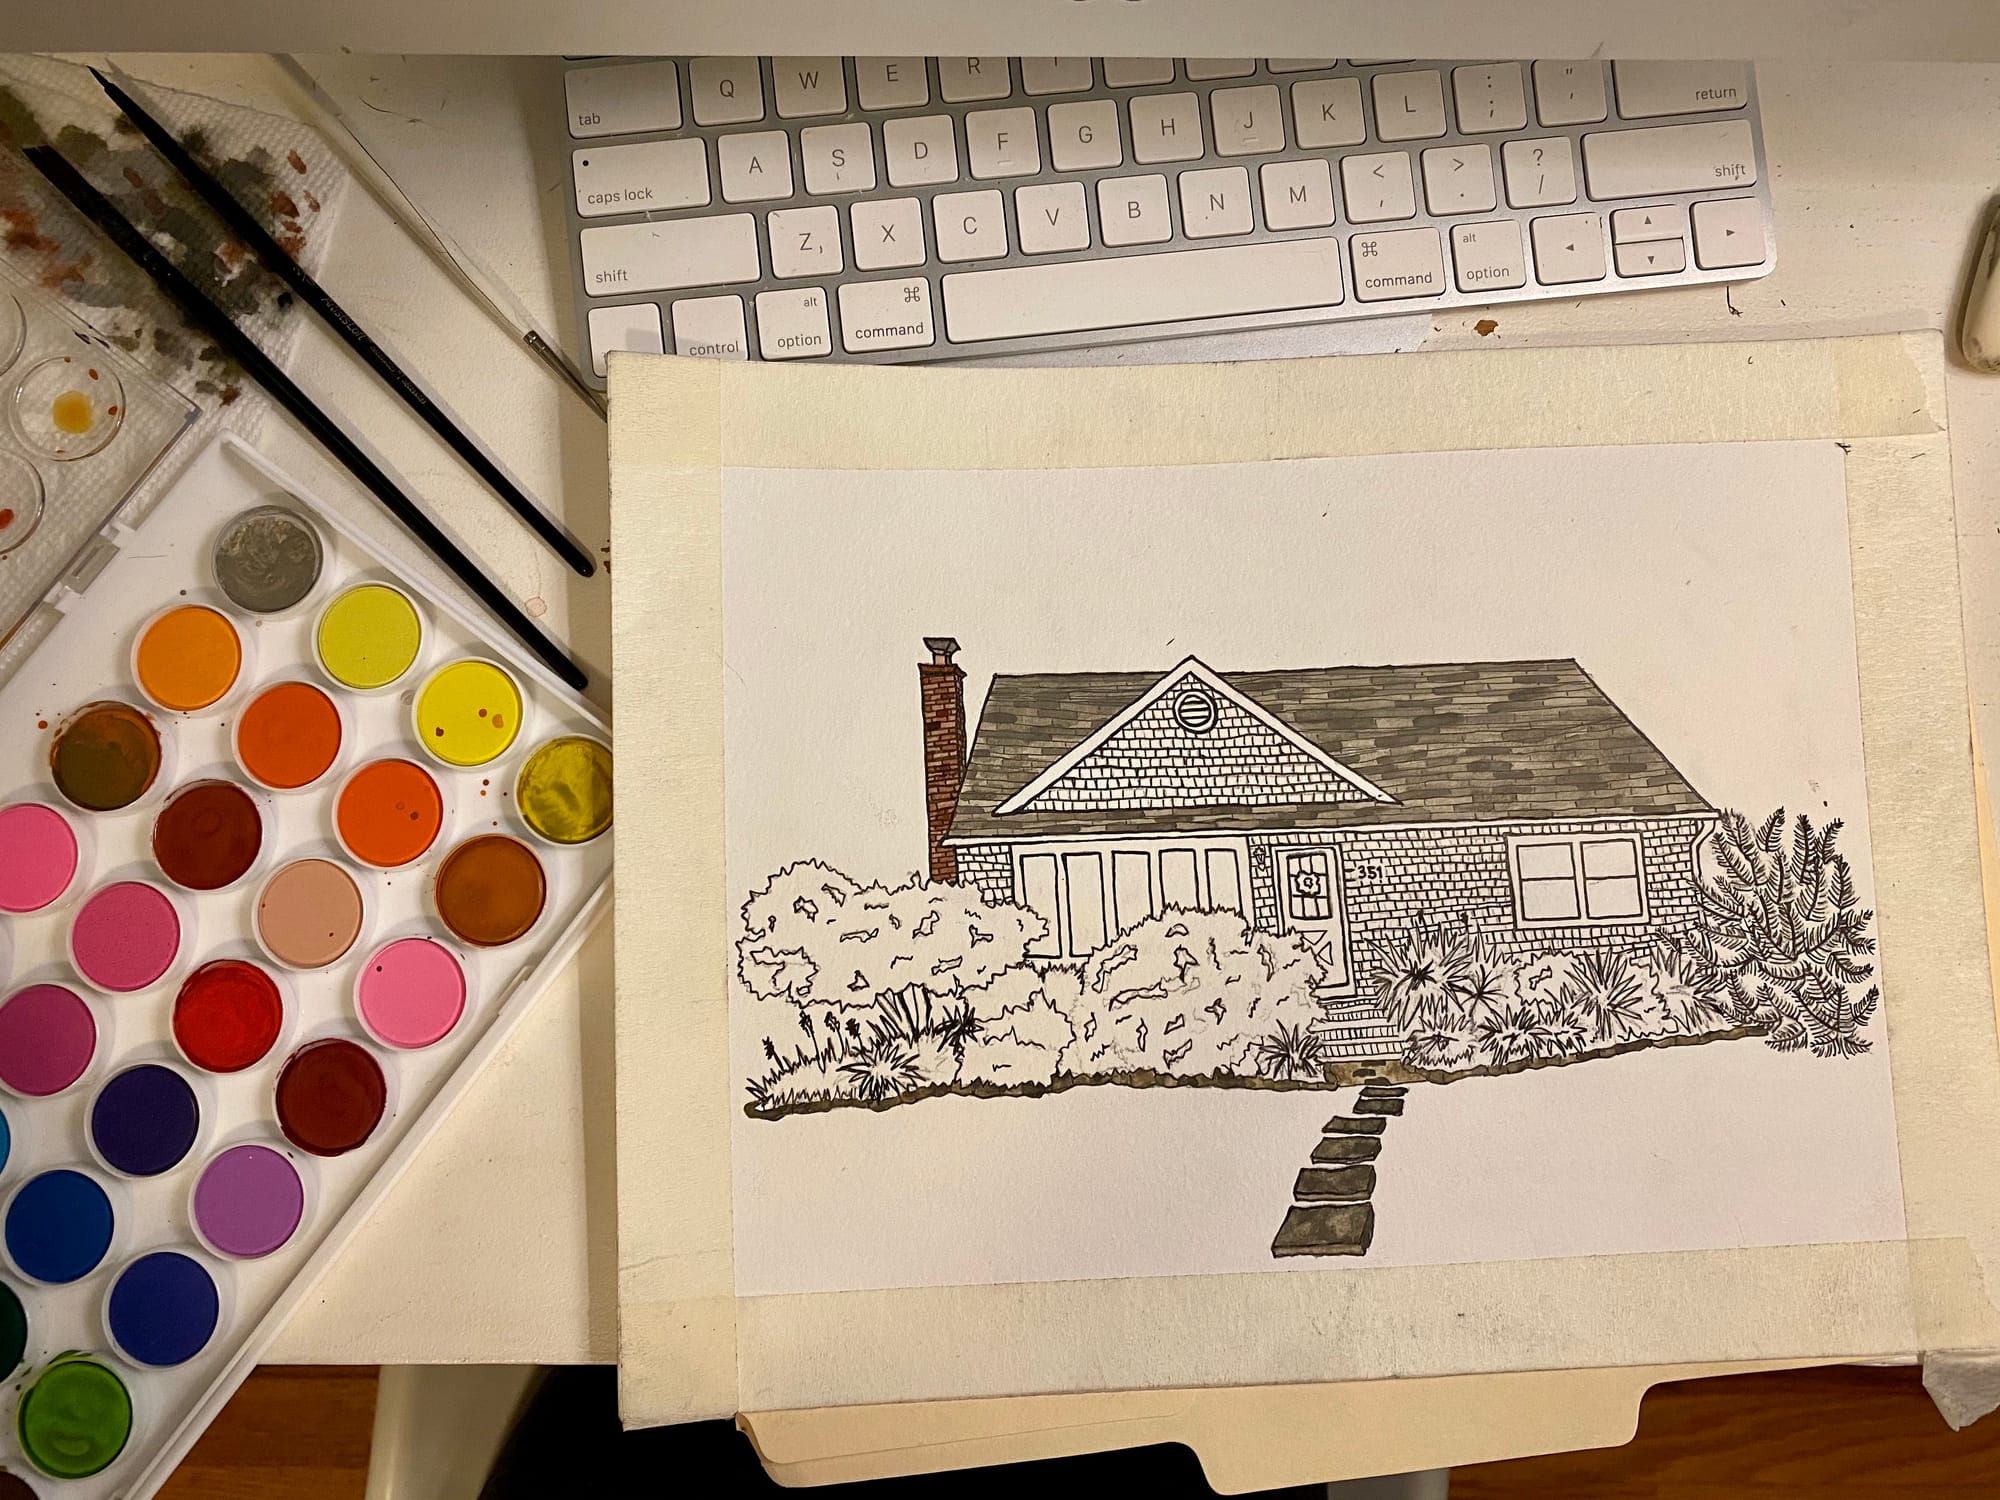
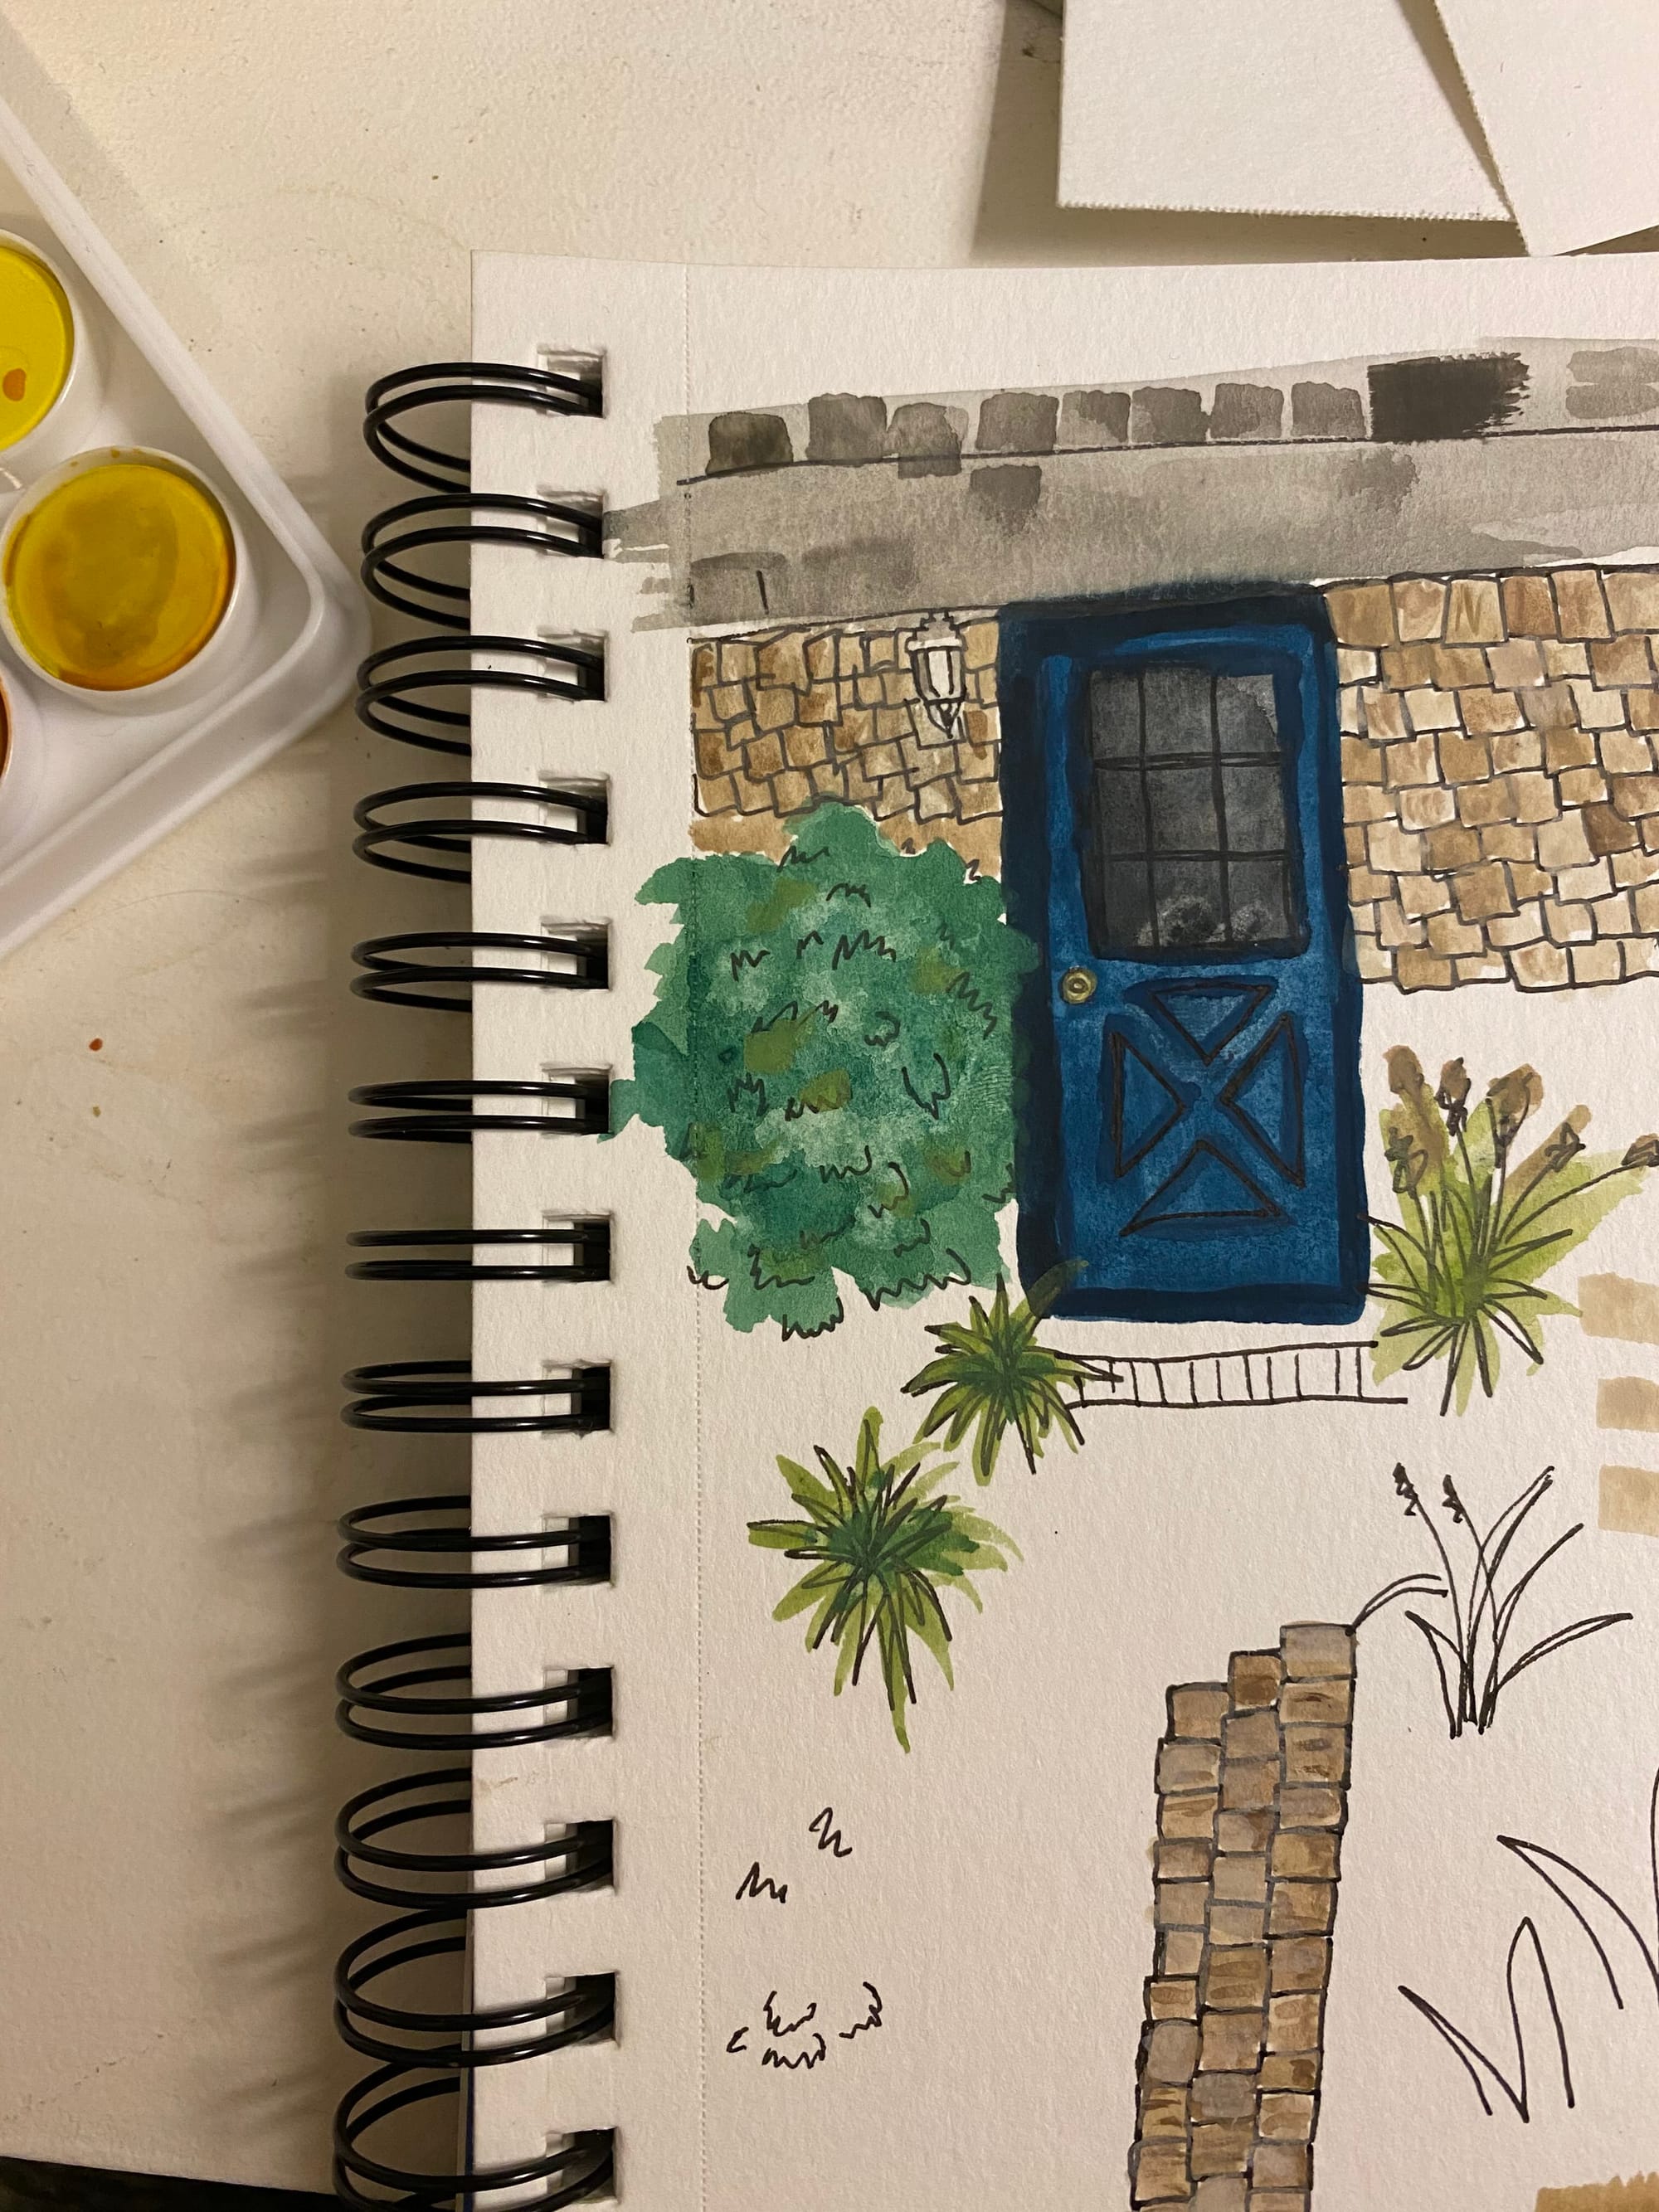
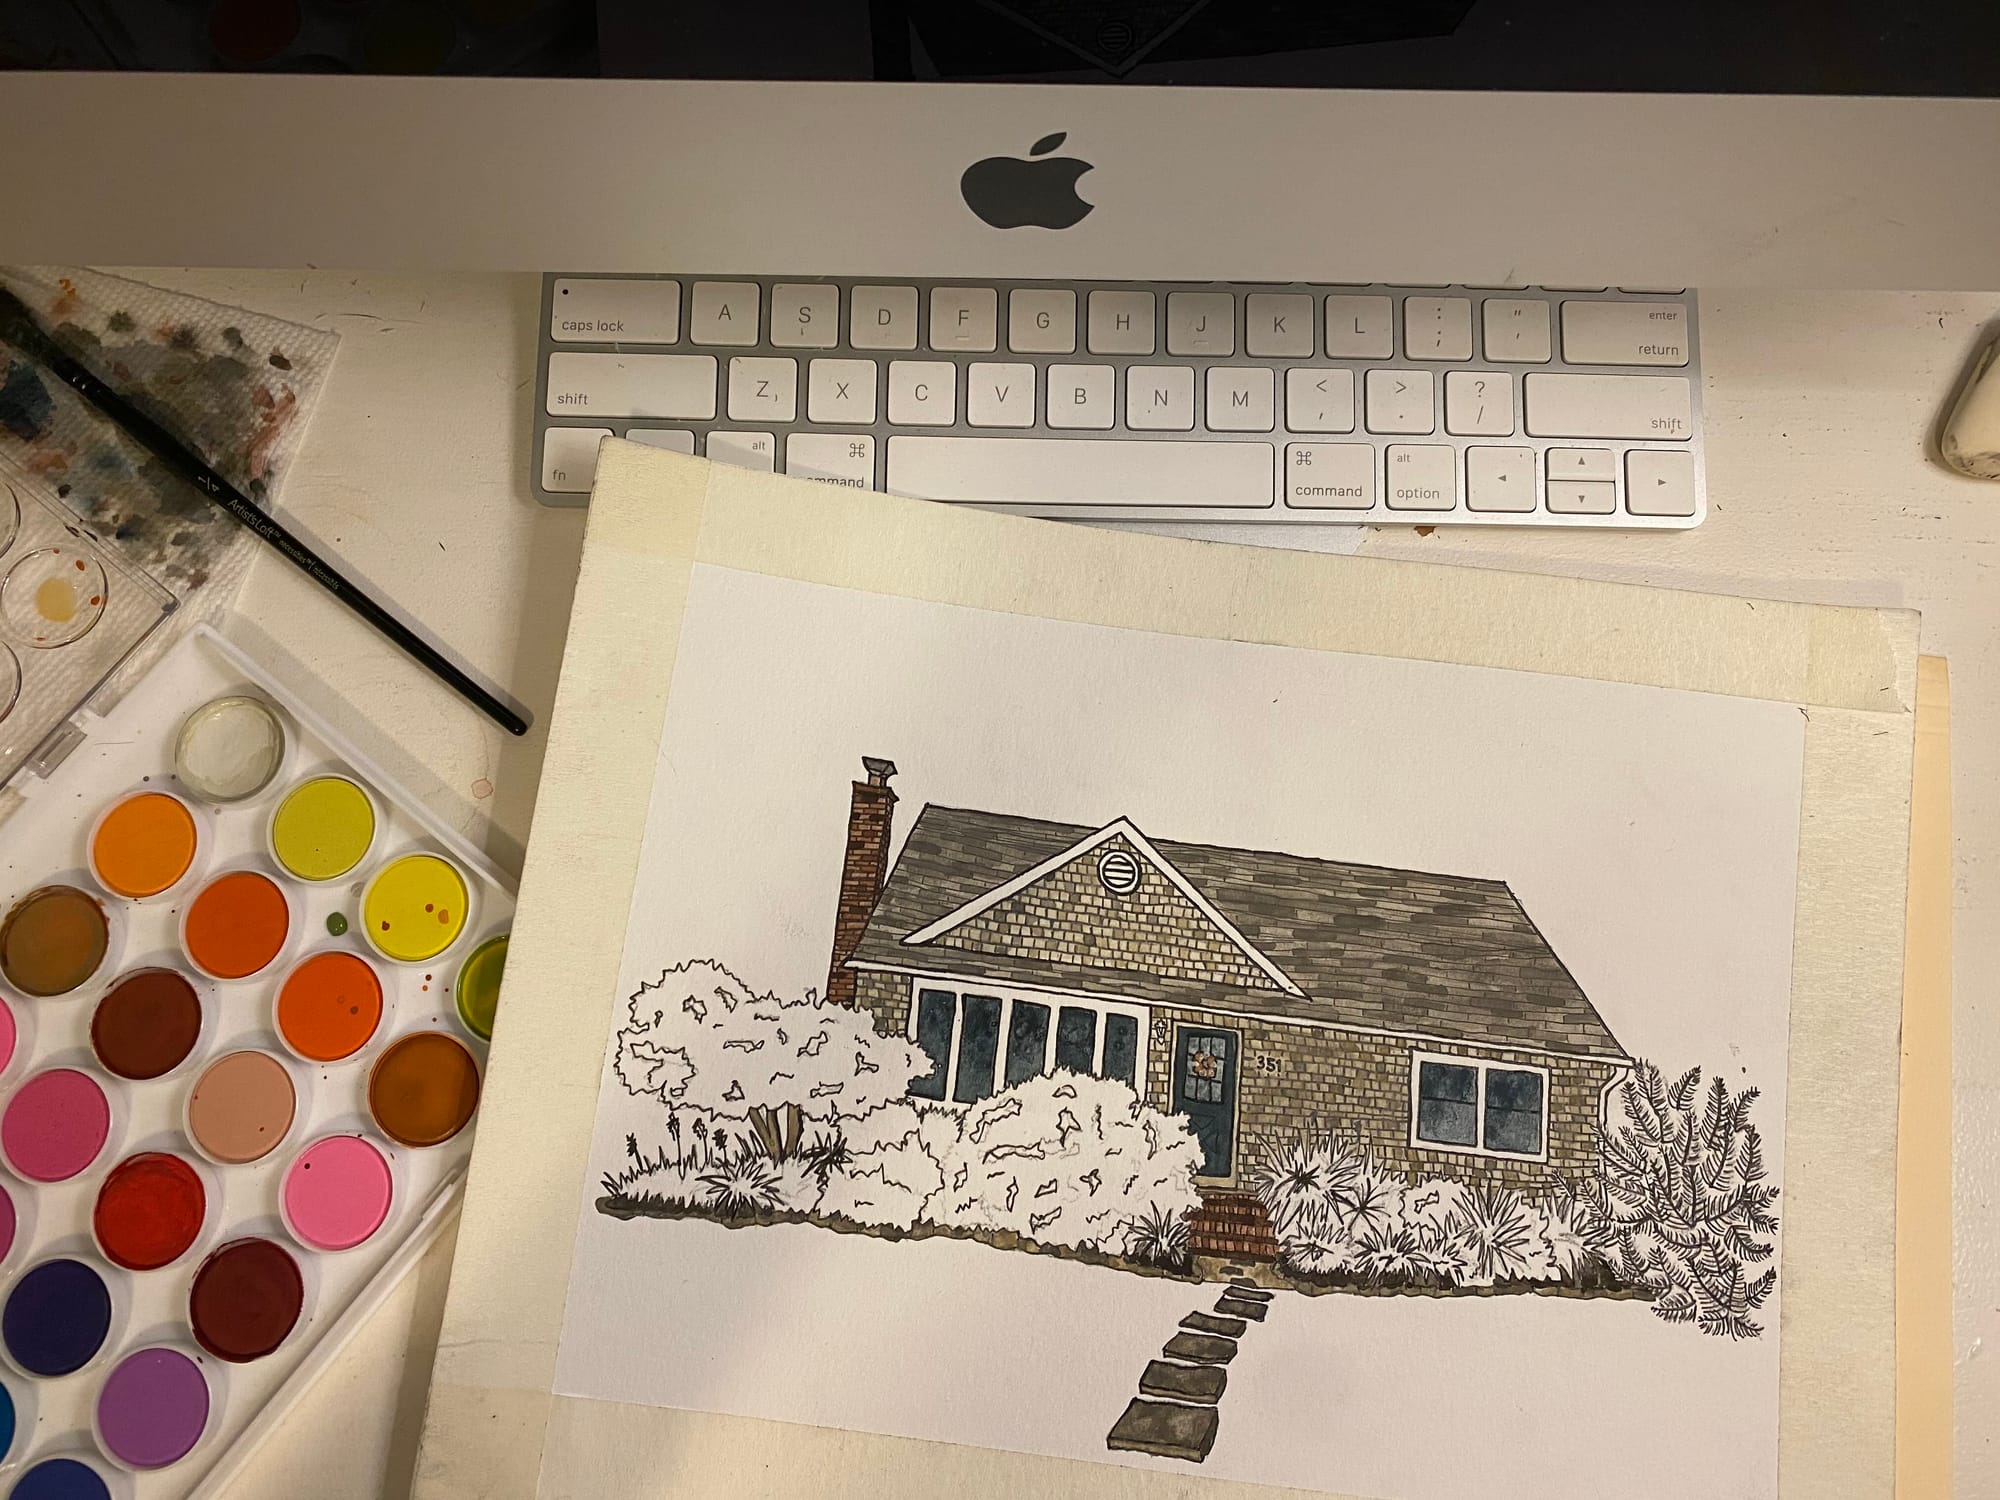
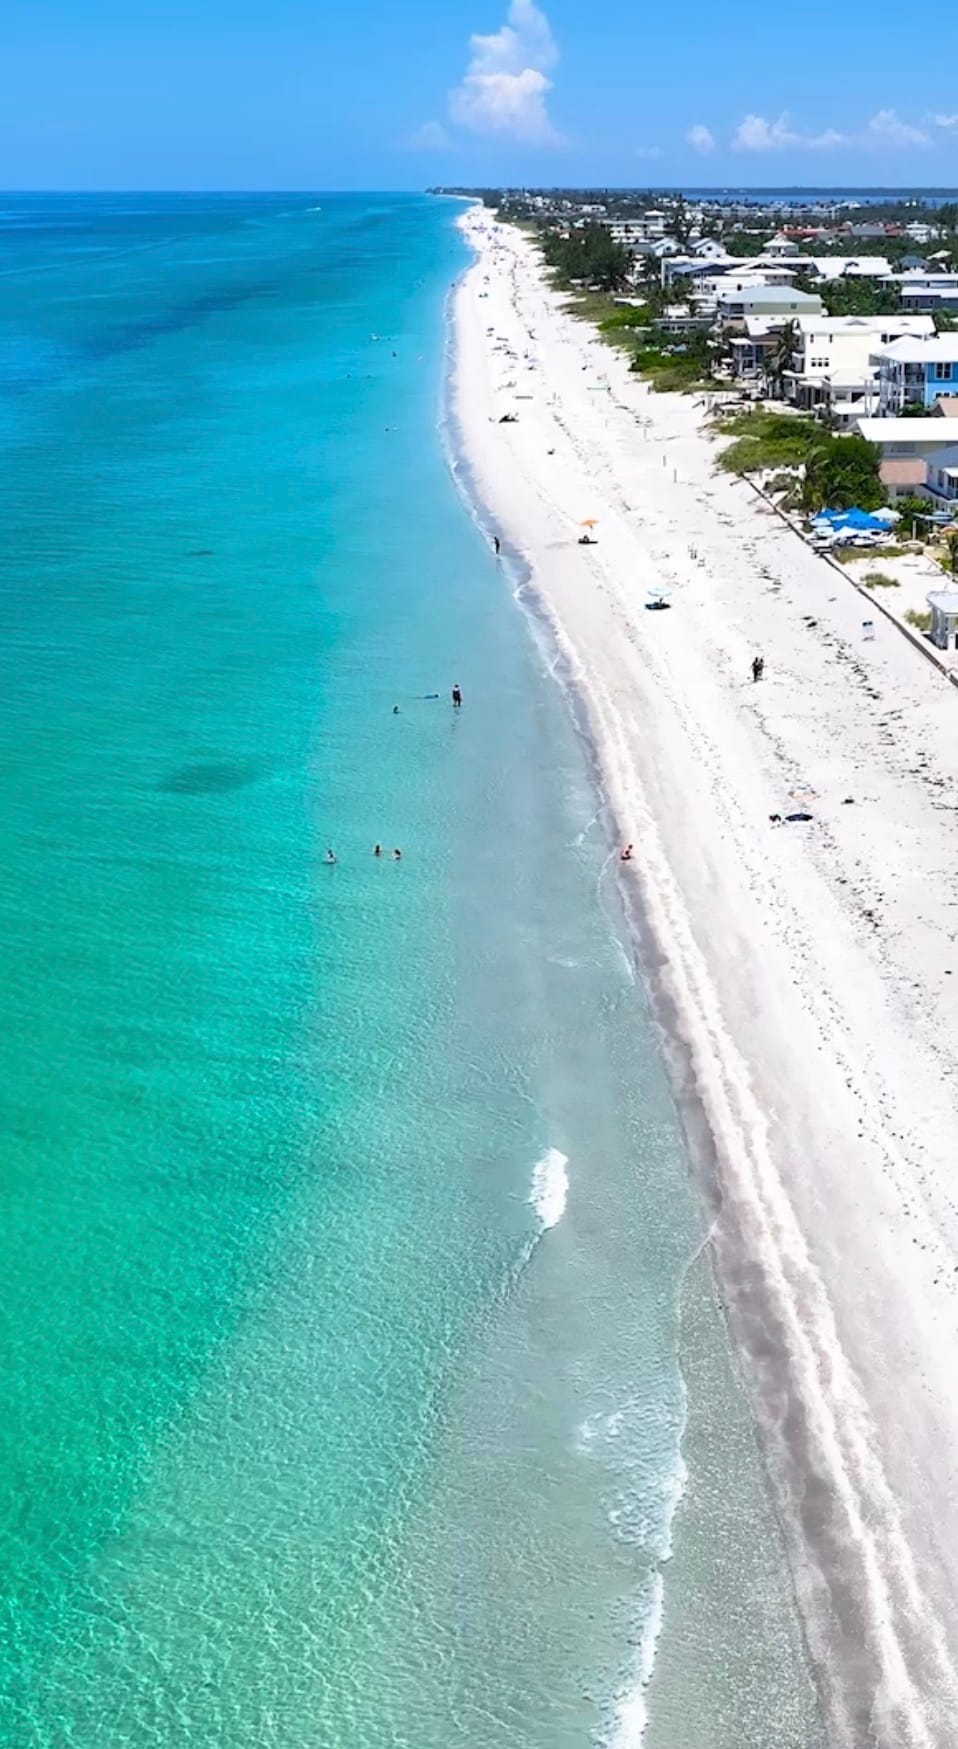
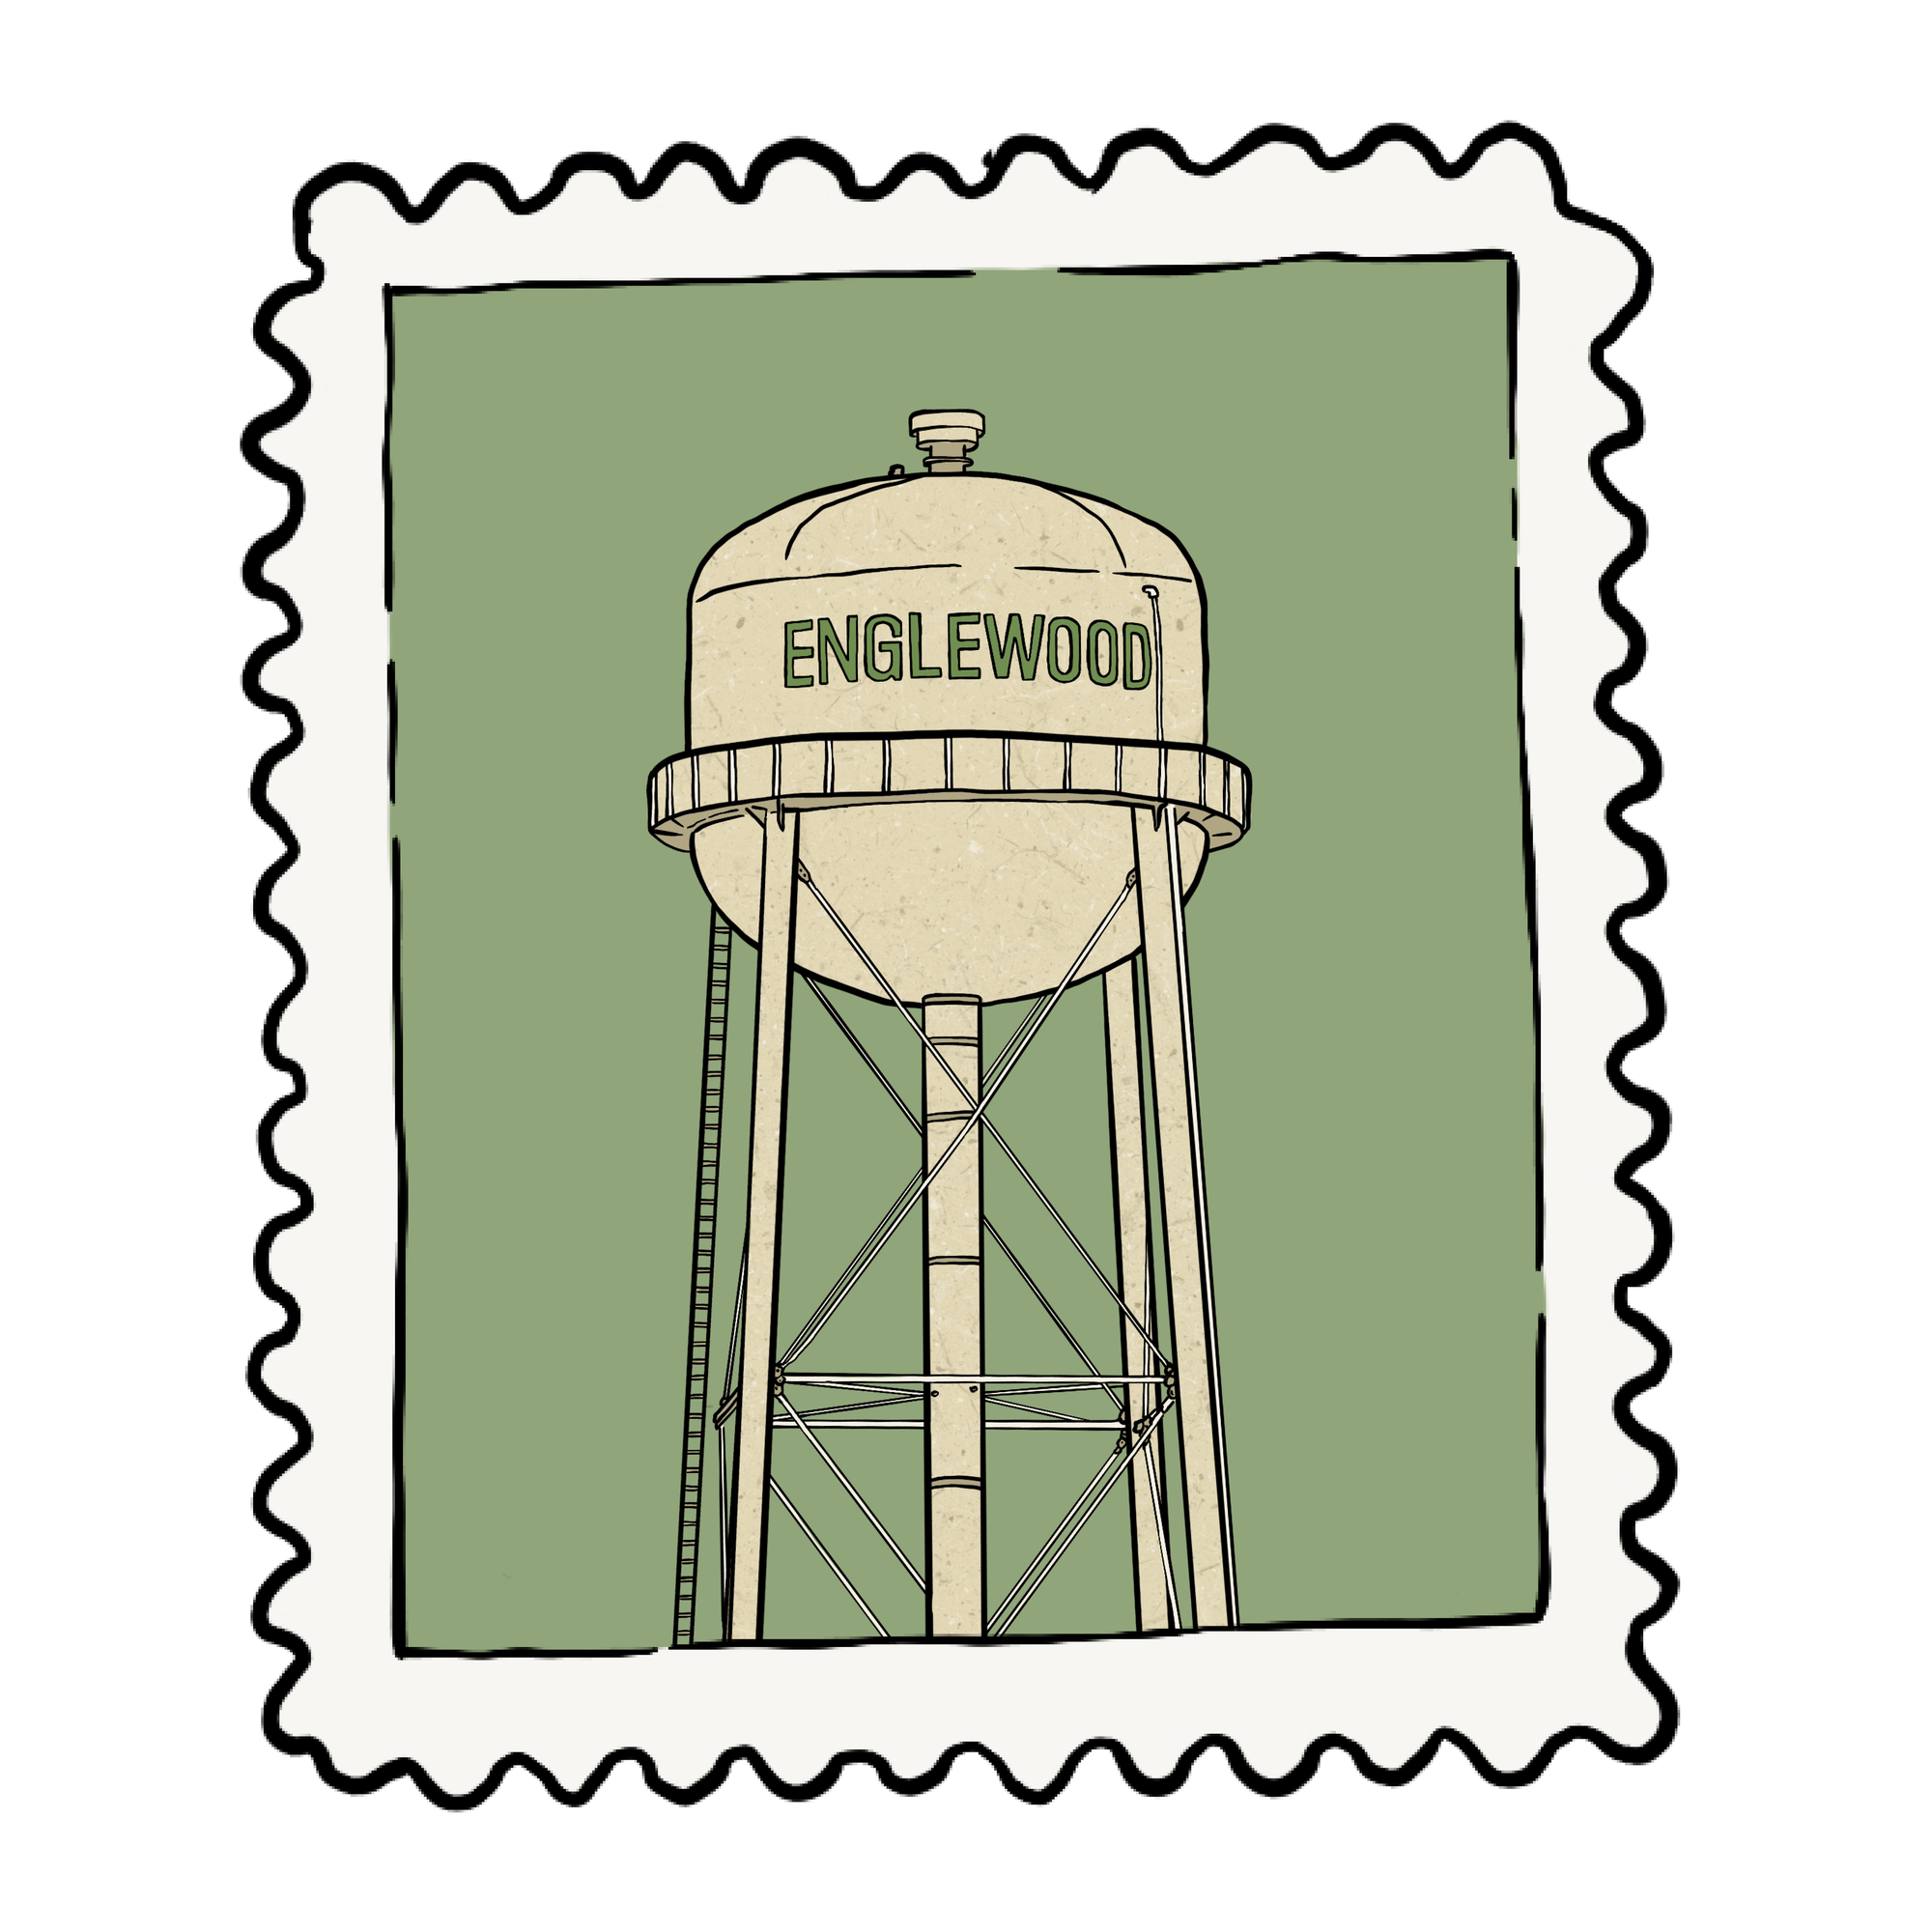
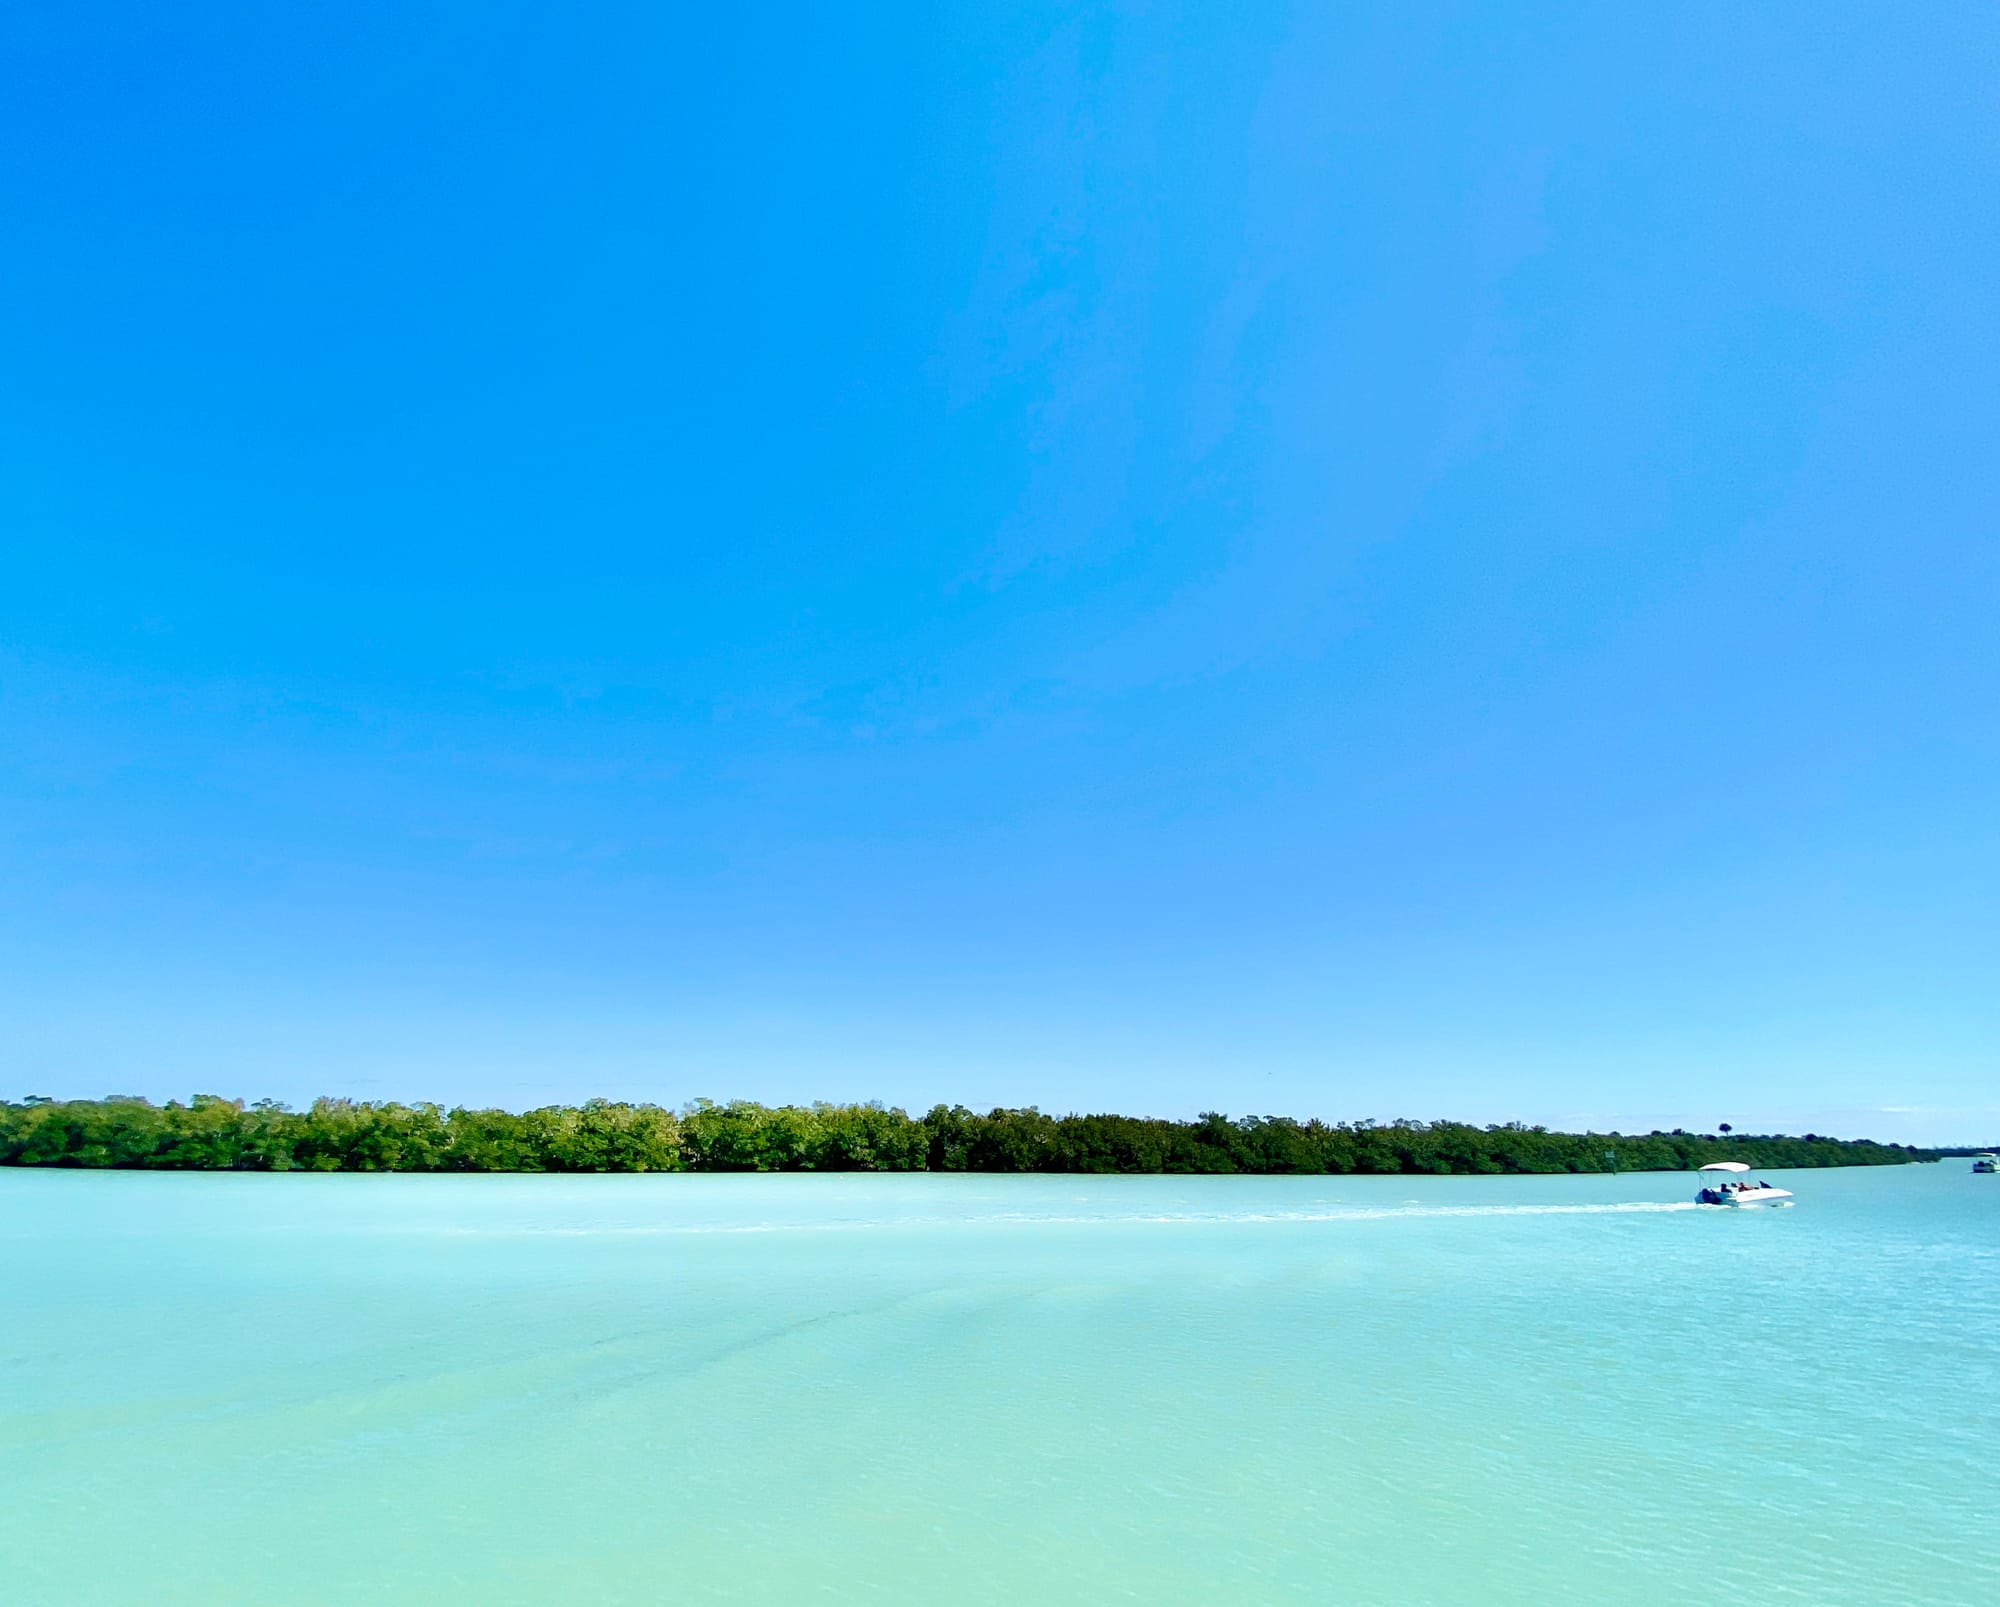
The very first time I saw the listing for our house, I was instantly hooked by the wood ceilings. Original wooden planks and beams, over 70 years old. The house was built in 1956 in downtown Englewood, minutes from Manasota Key. Just a quick trip over the old drawbridge and you’re at The Gulf. We can walk to the farmer’s market every Thursday on Dearborn Street.
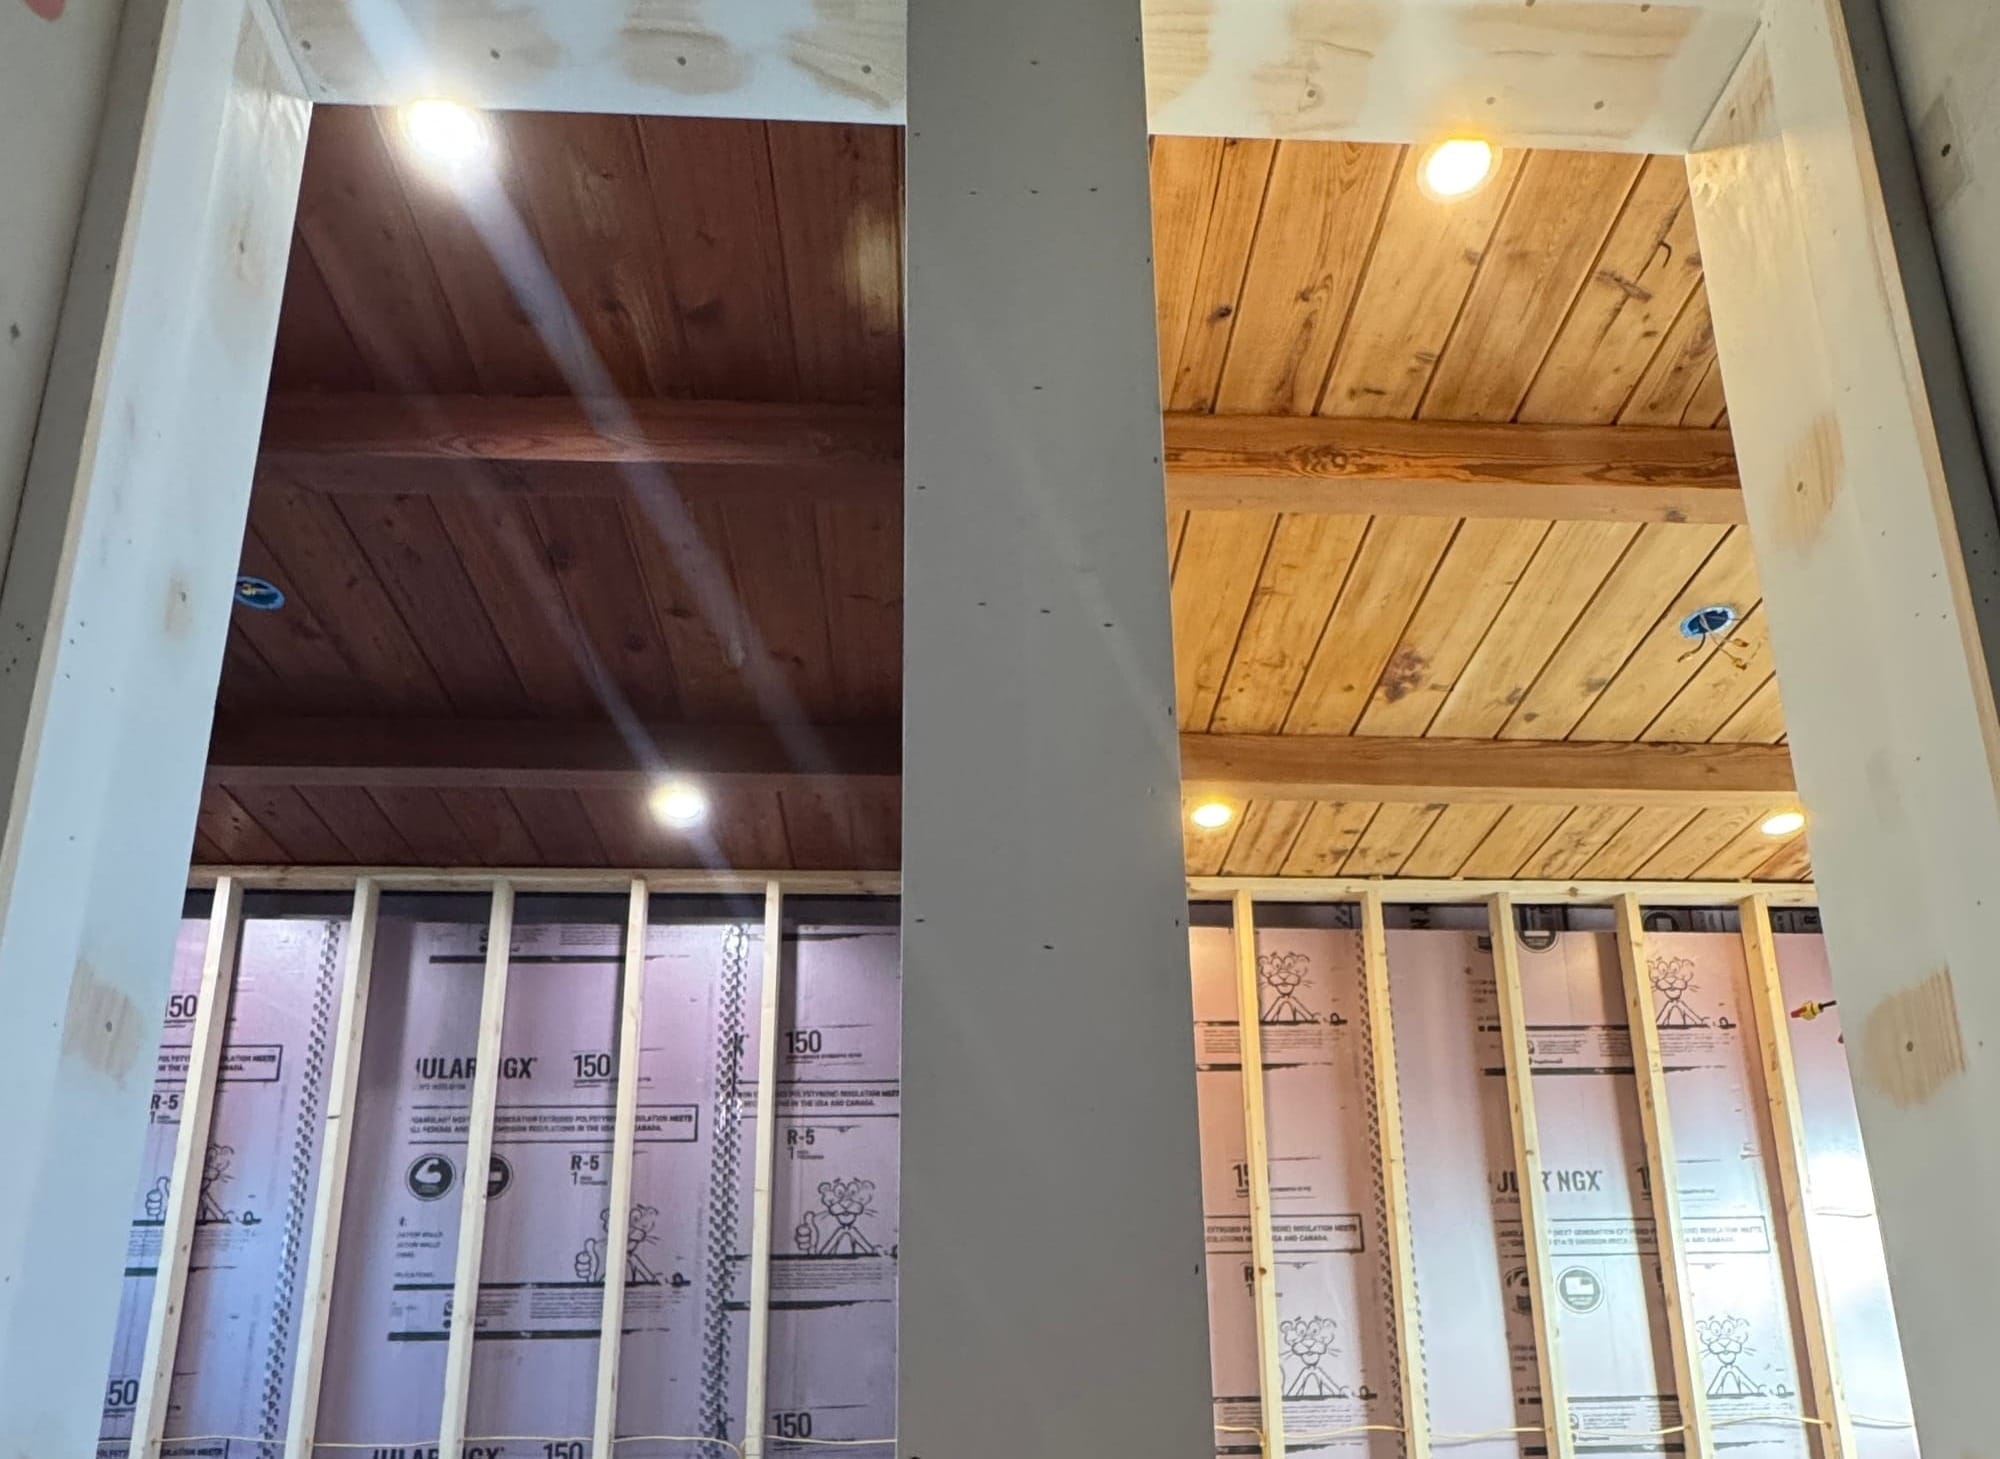
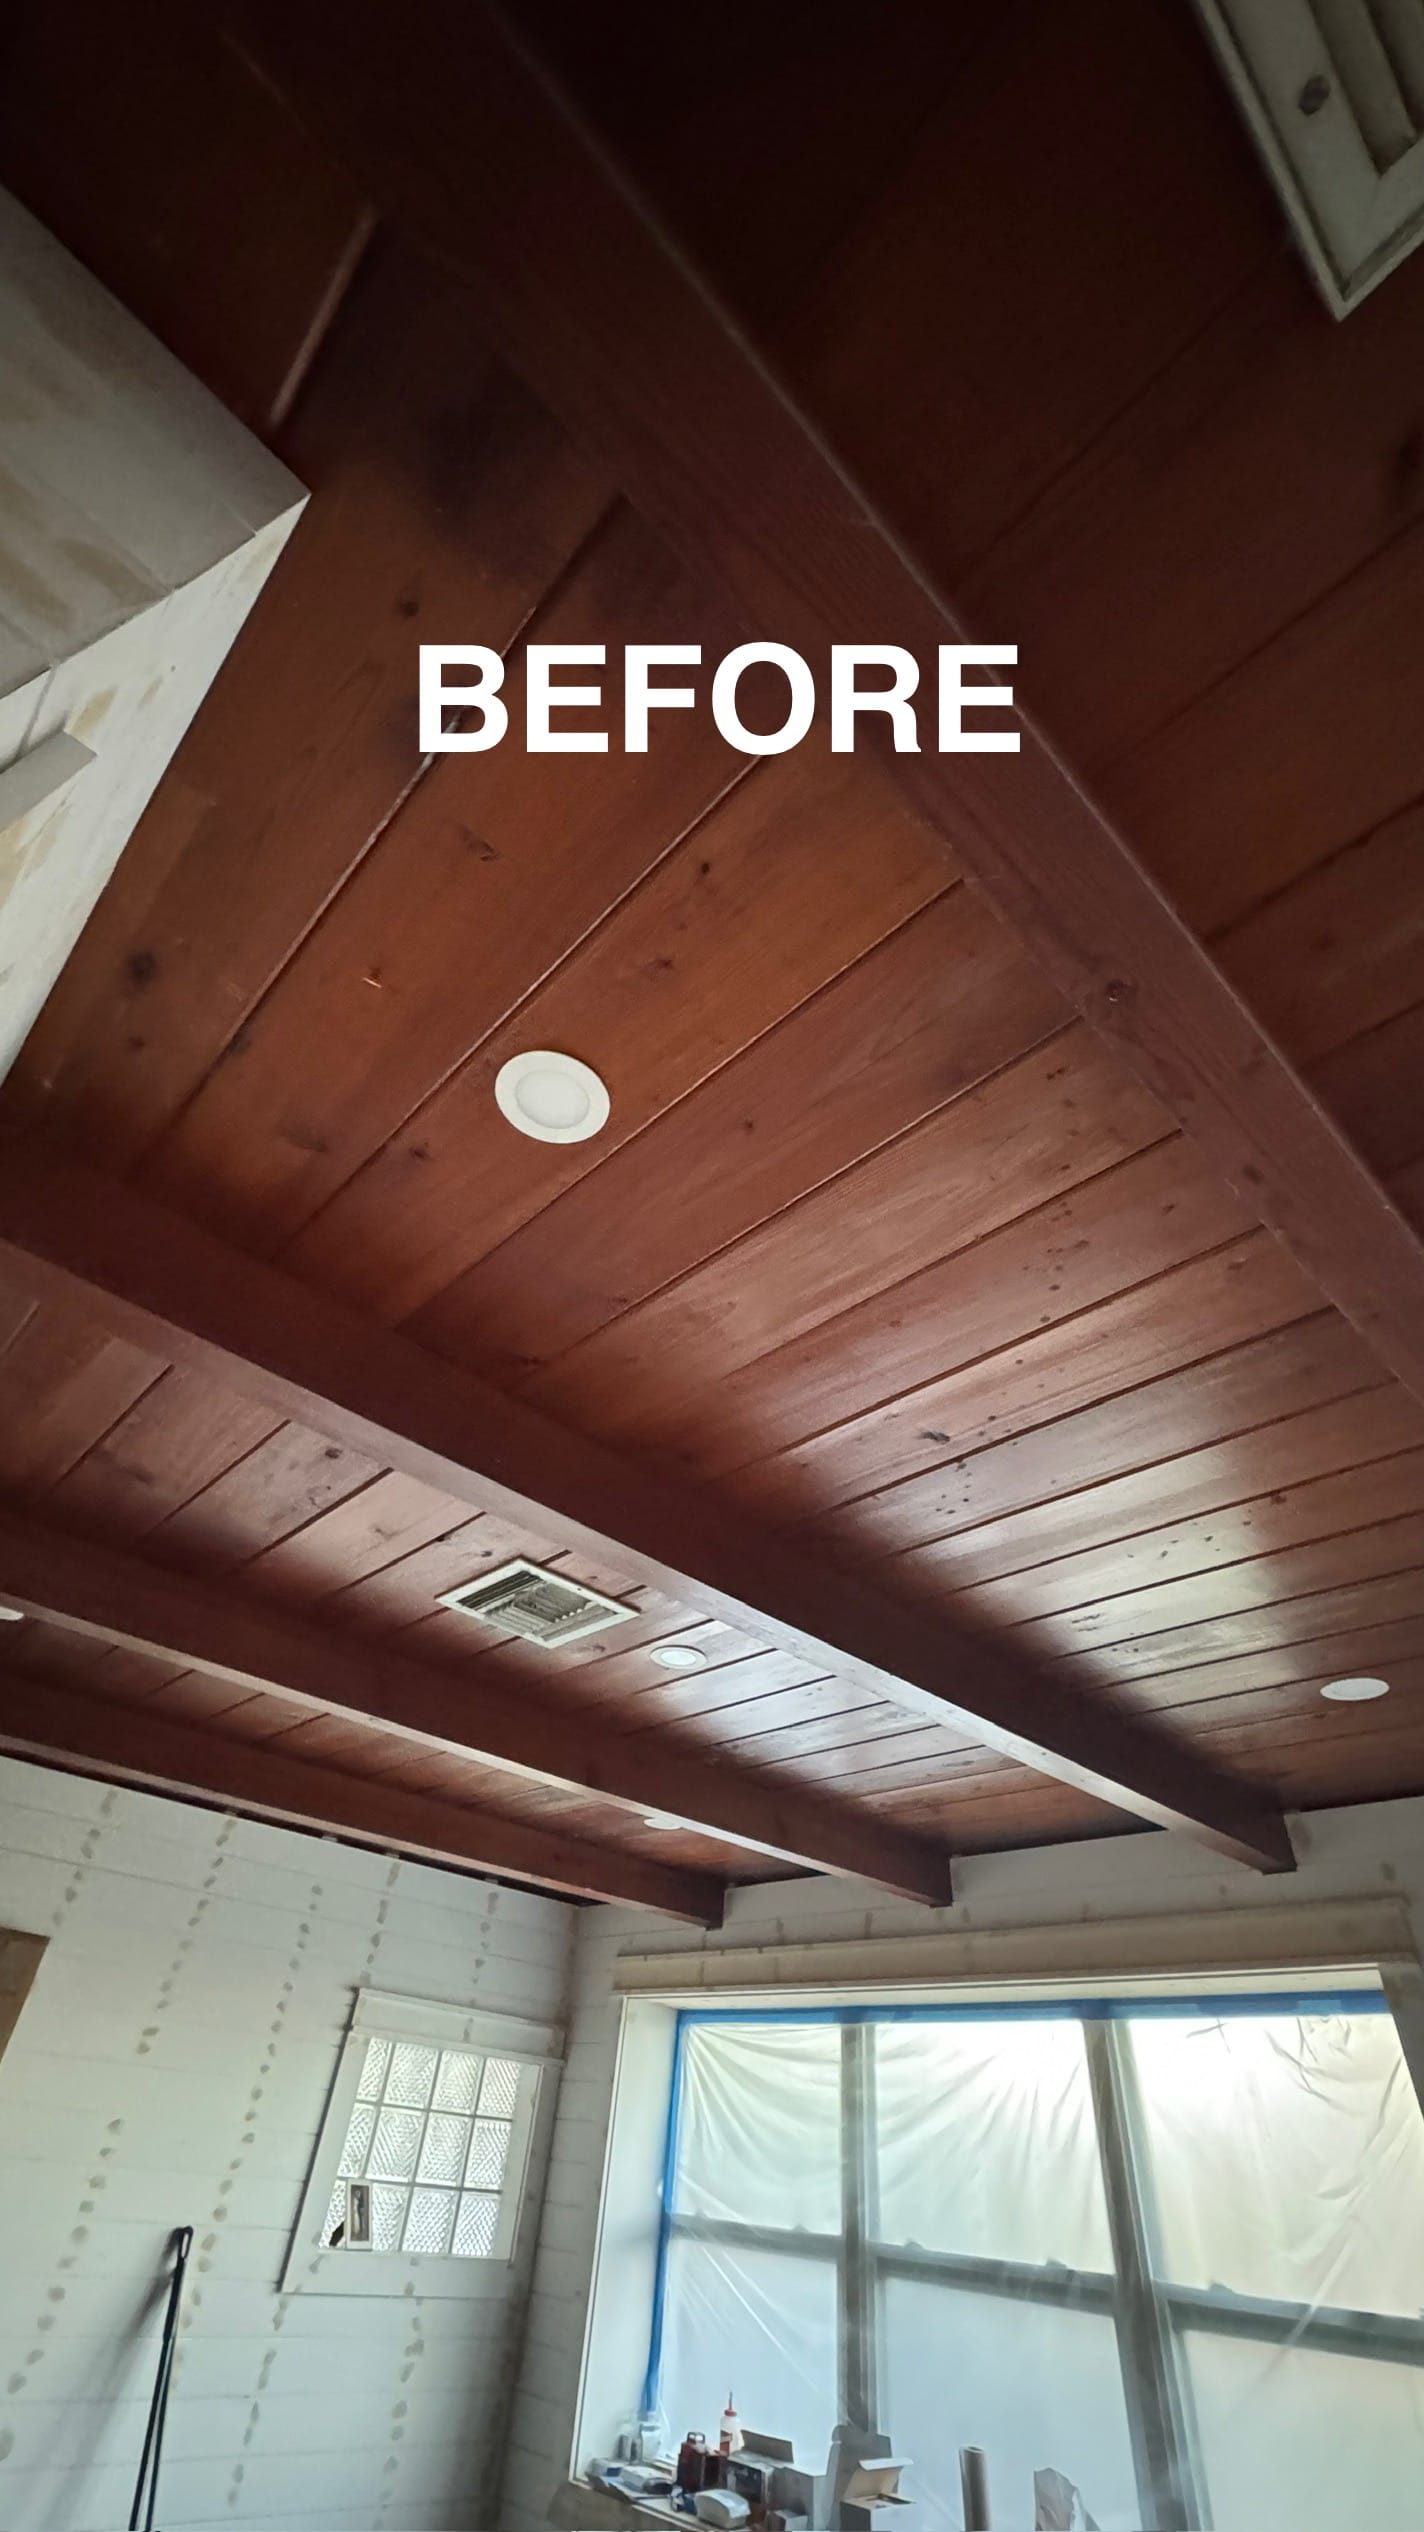
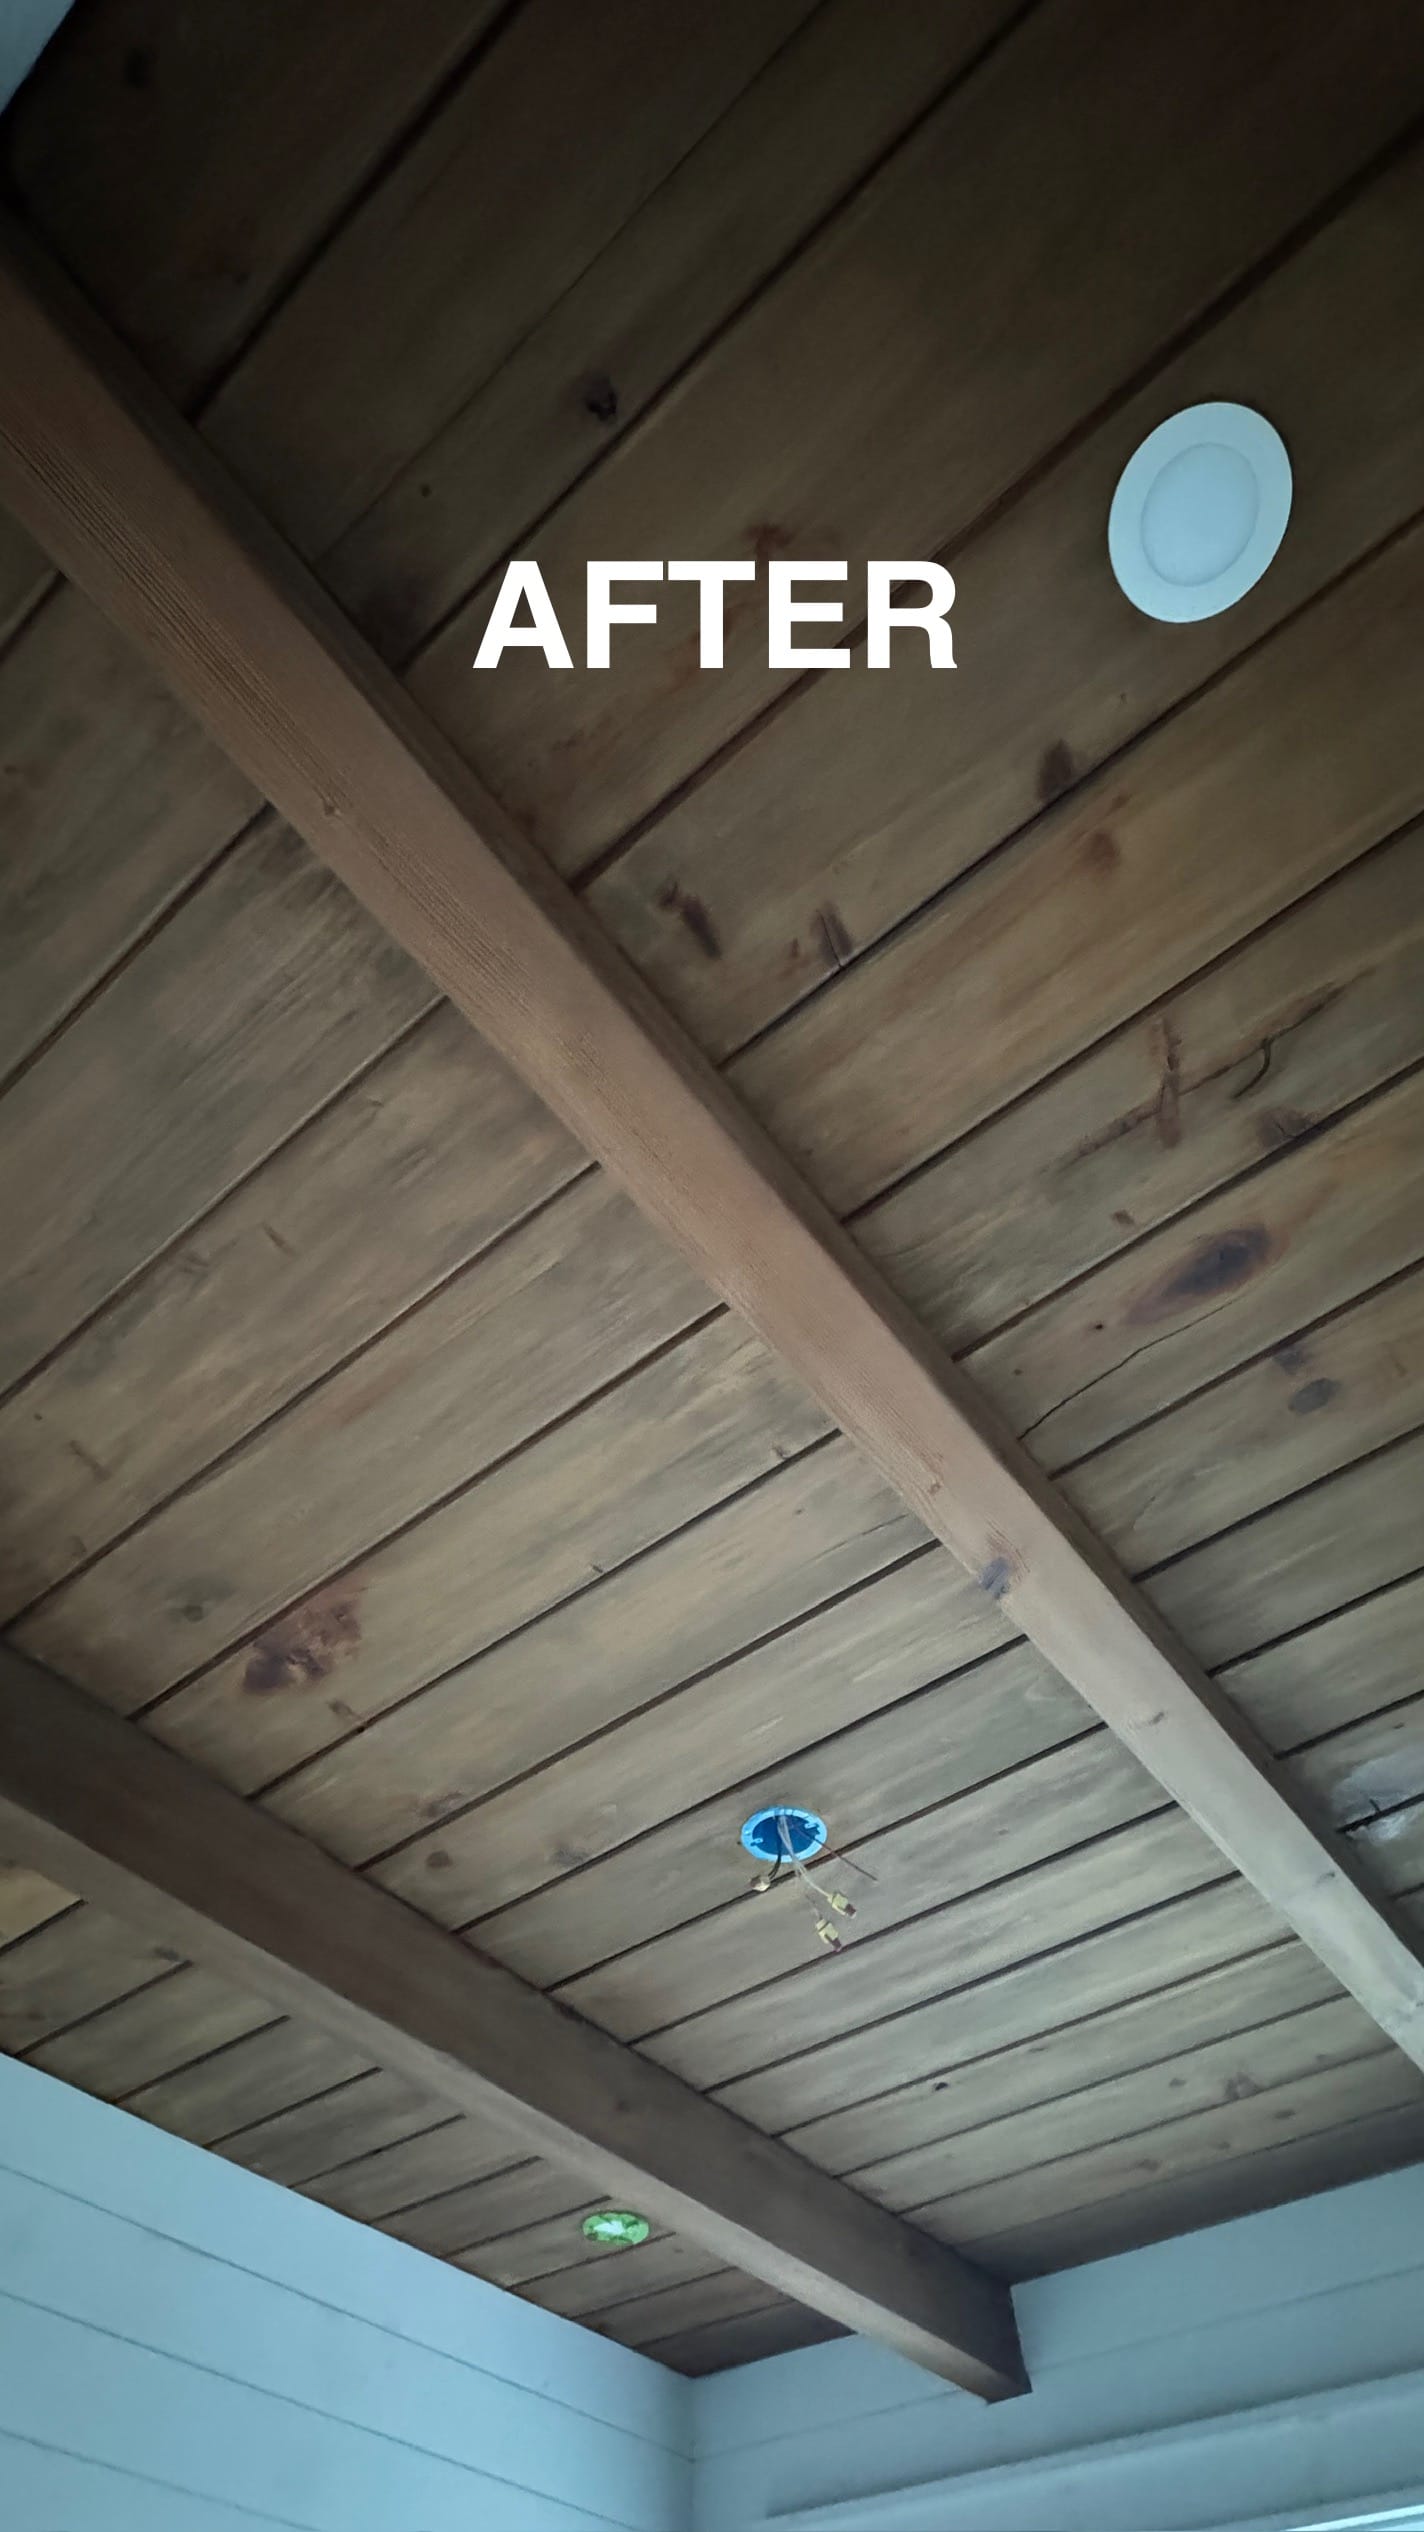
beforeafter
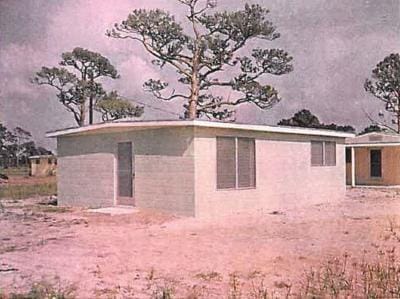
Our house layout is actually famous in town. It’s called a Kluge. Built by Merton Kluge, a contractor who lived and worked in Englewood for 35 years. His homes were famous for their simplicity. I love the idea that he was a “careful, no waste builder” Here is a great article about Kluges. It genuinely makes me happy to restore and bring something like this back to life. I find it so rewarding to keep history alive even in a small town, like ours.
an original Kluge | photo from yoursun.com
One of my favorite parts about our house is our doorbell. It’s an actual mechanical twist doorbell where you turn this key-like knob on the outside and it rings a physical bell on the inside. It’s really cool.
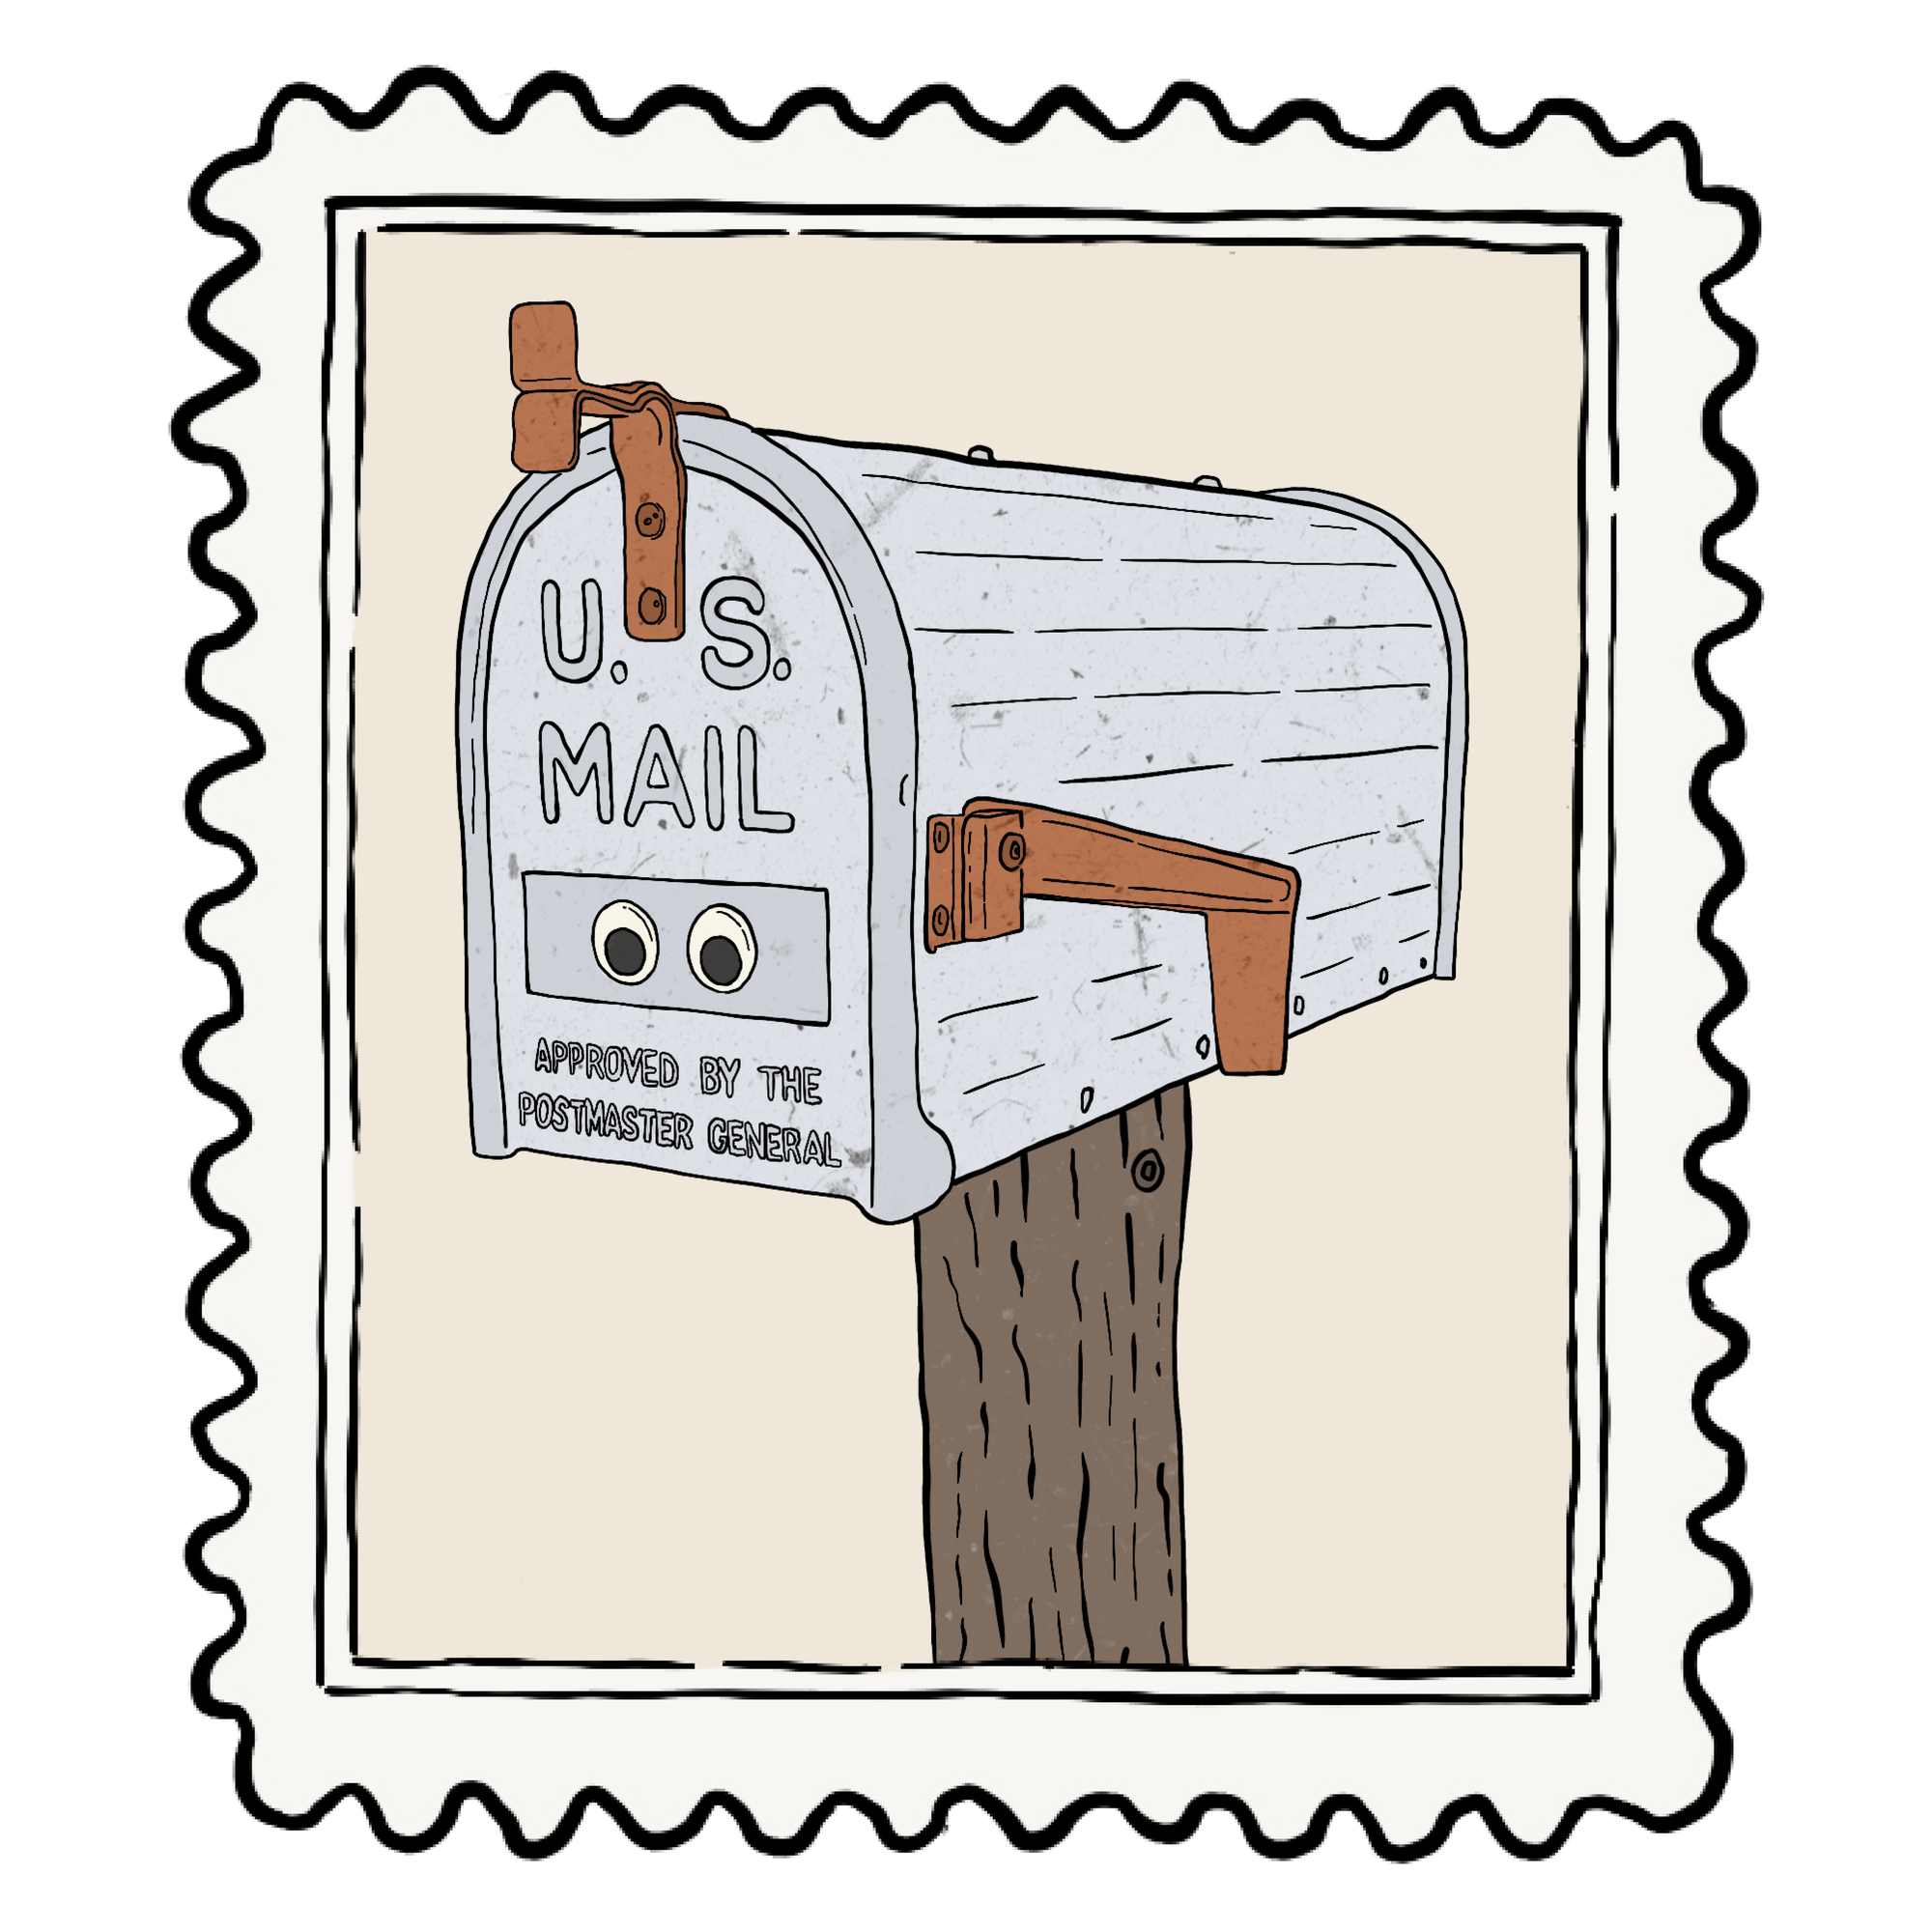
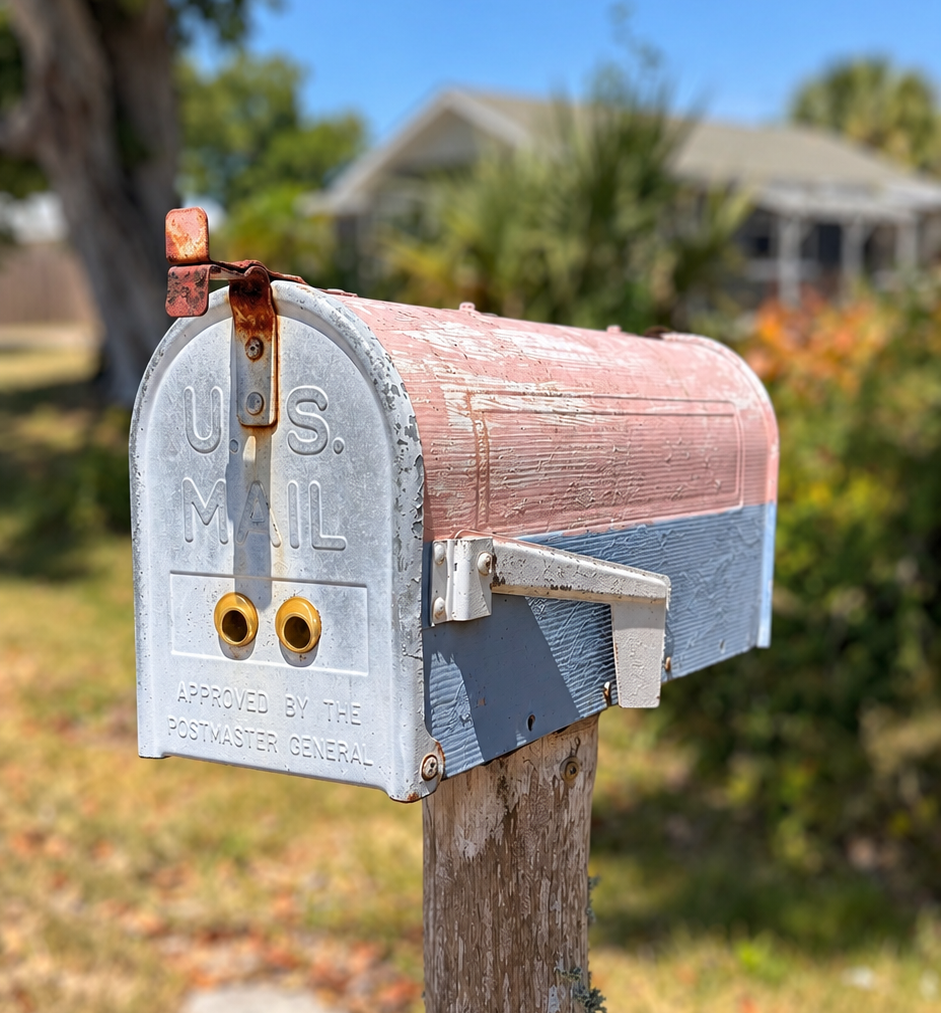
Our house came with a couple quirky things, like our mailbox with eyeballs ..
I wonder what the mailman thought
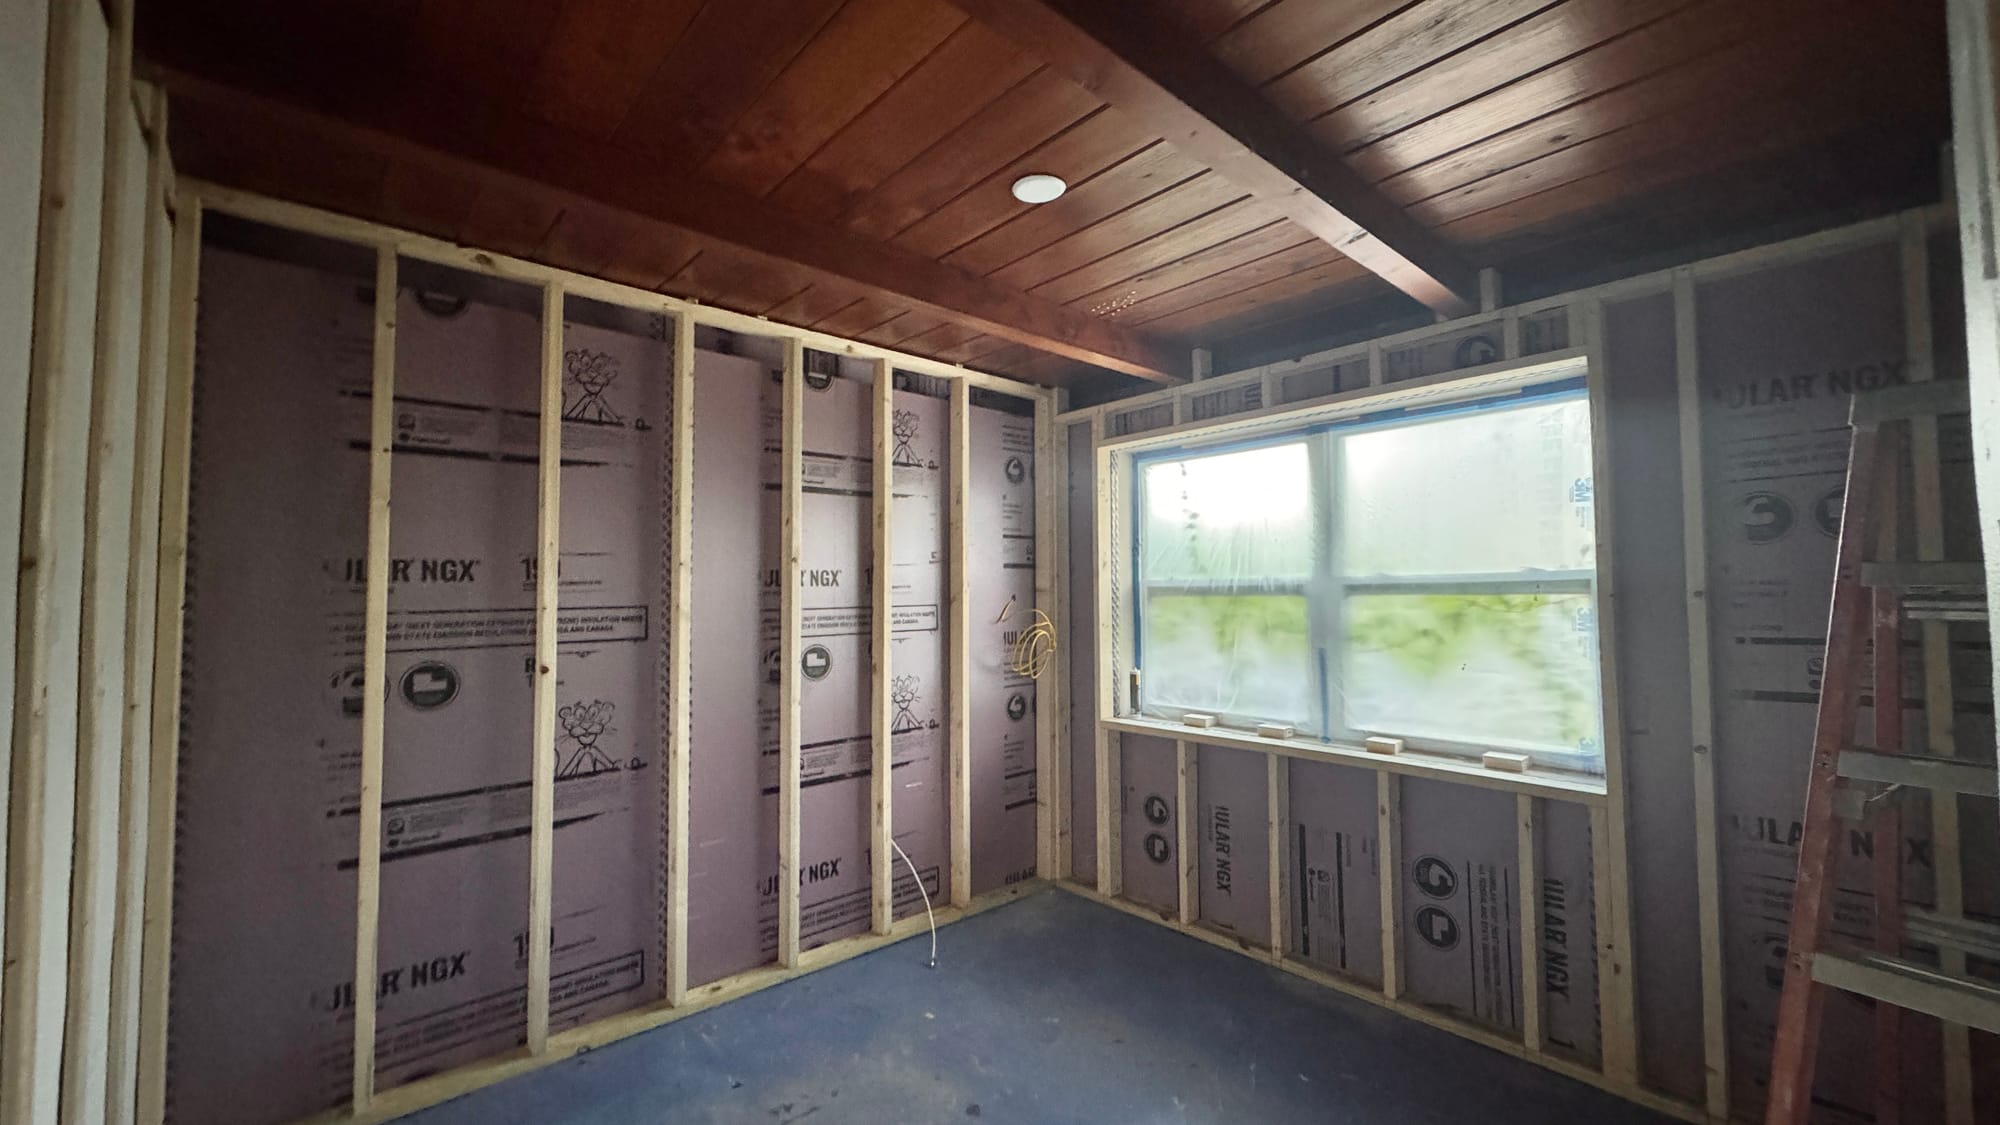
When we began renovating, my boyfriend started framing out each room.
framing out each room!the original ceiling vs the sanded ceiling
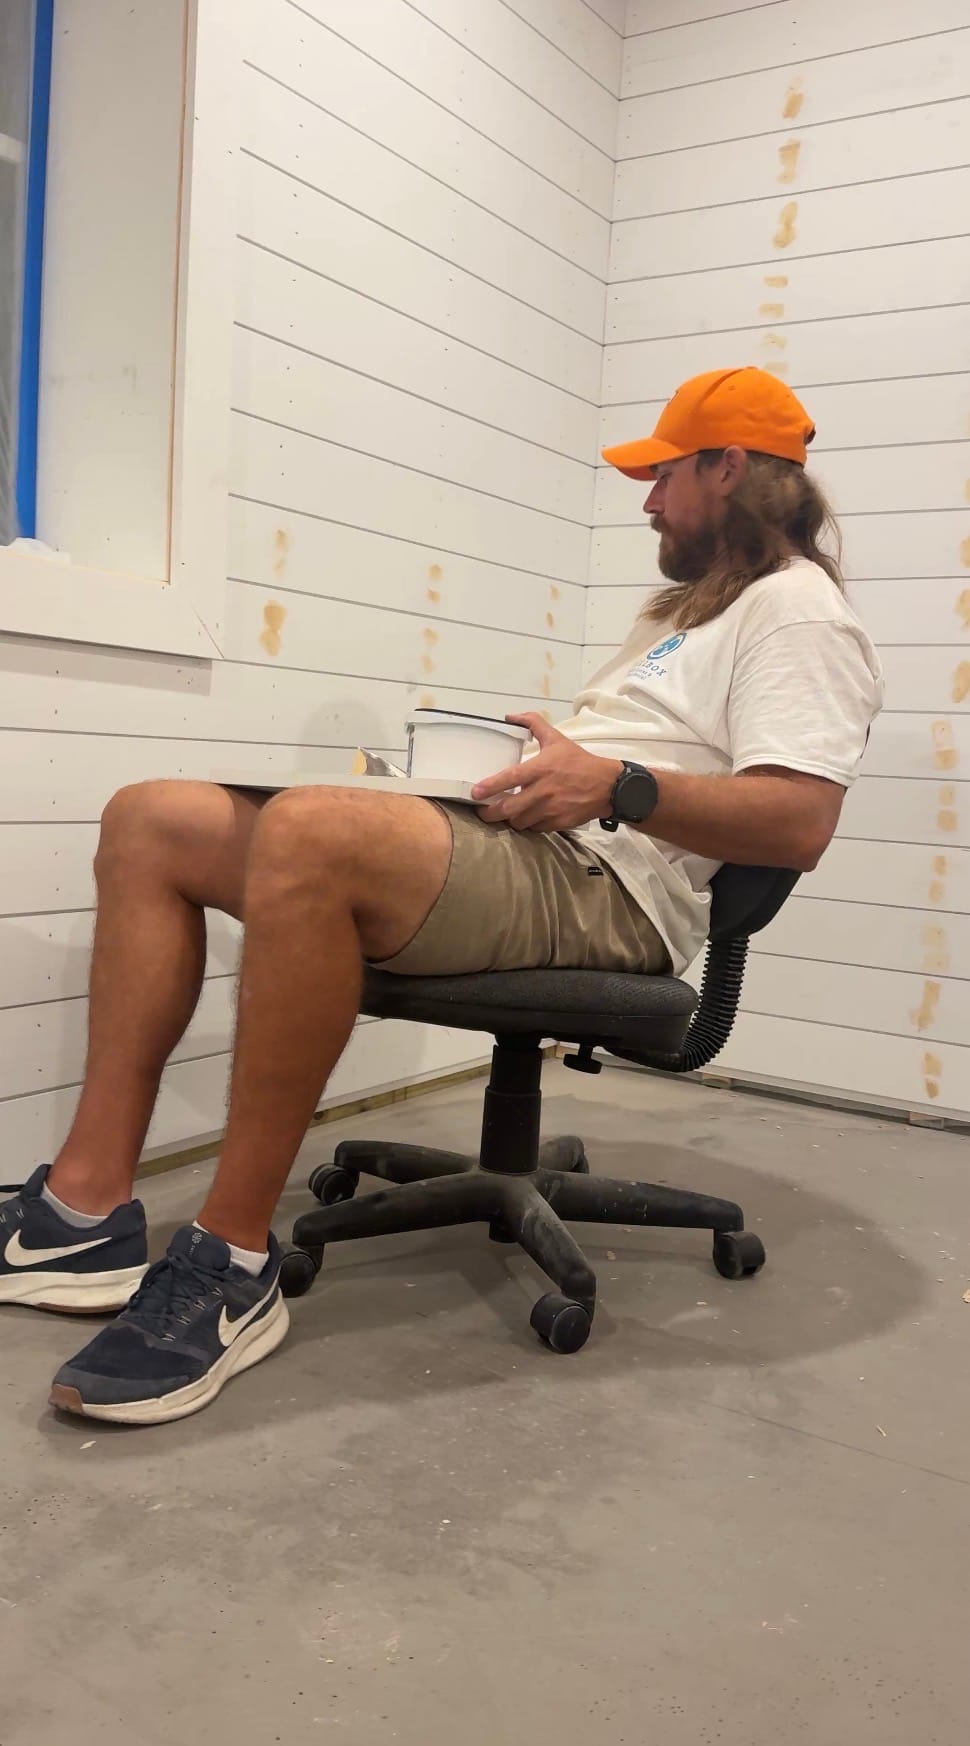
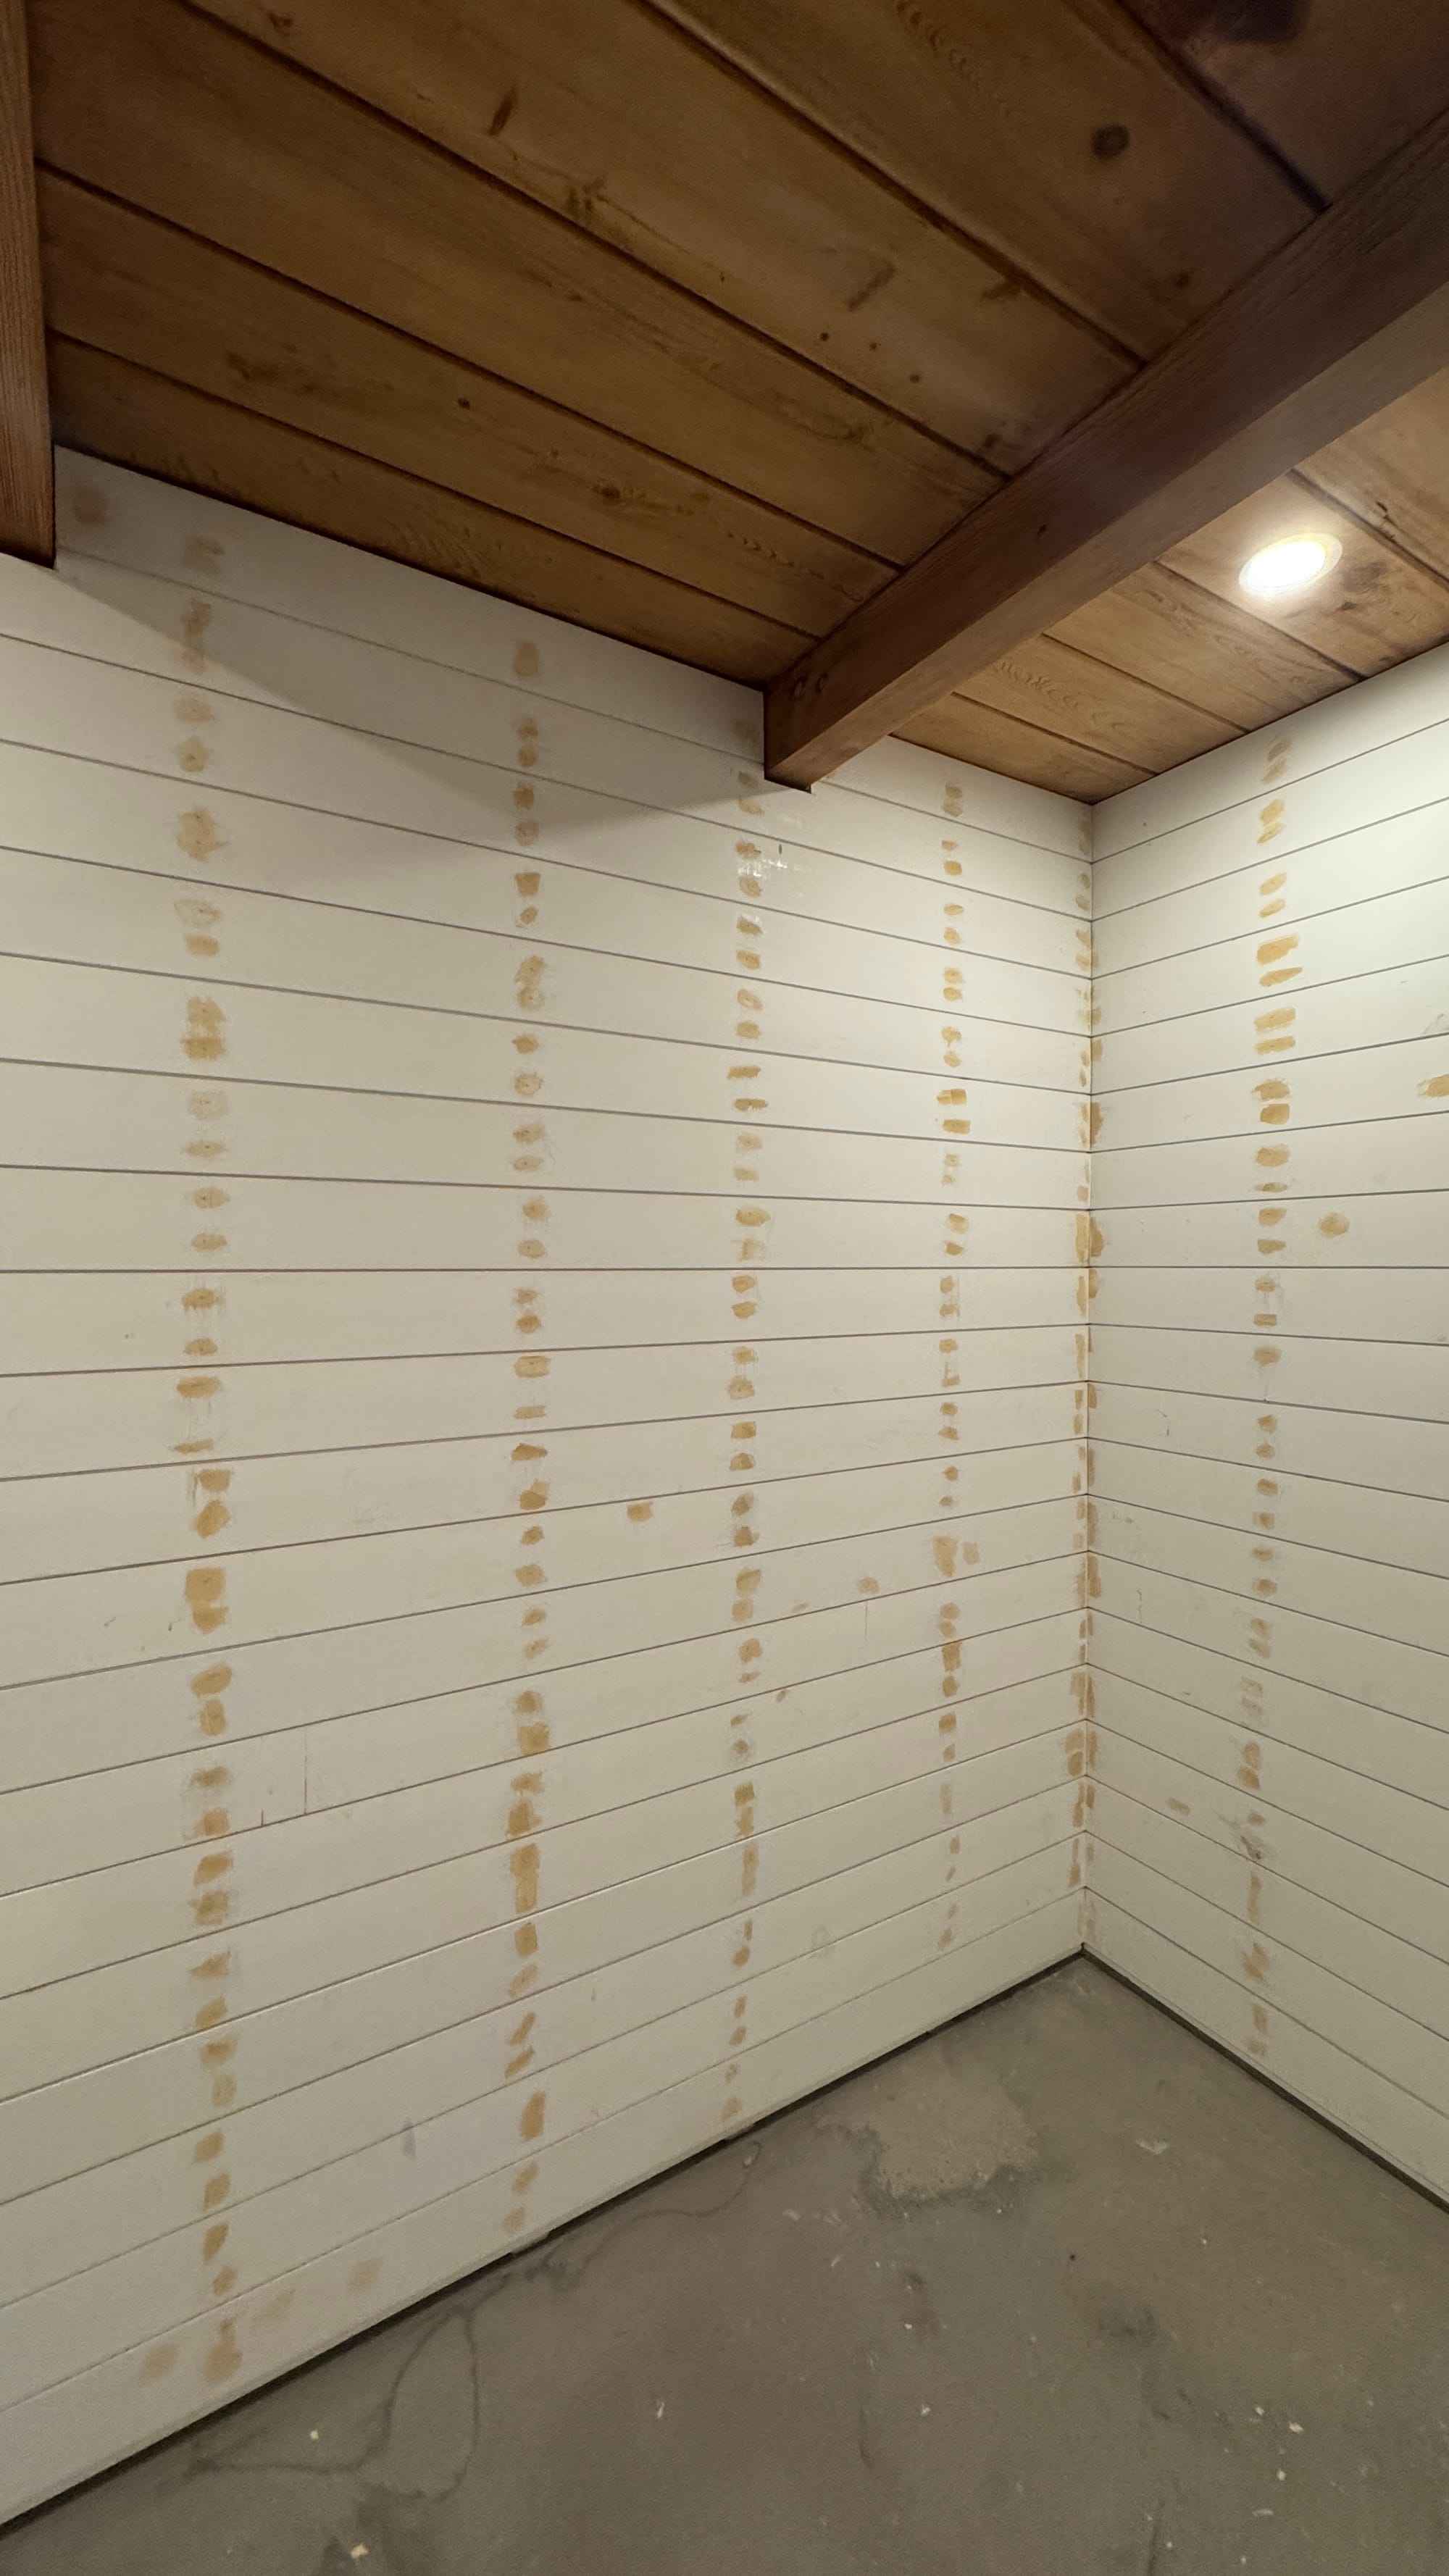
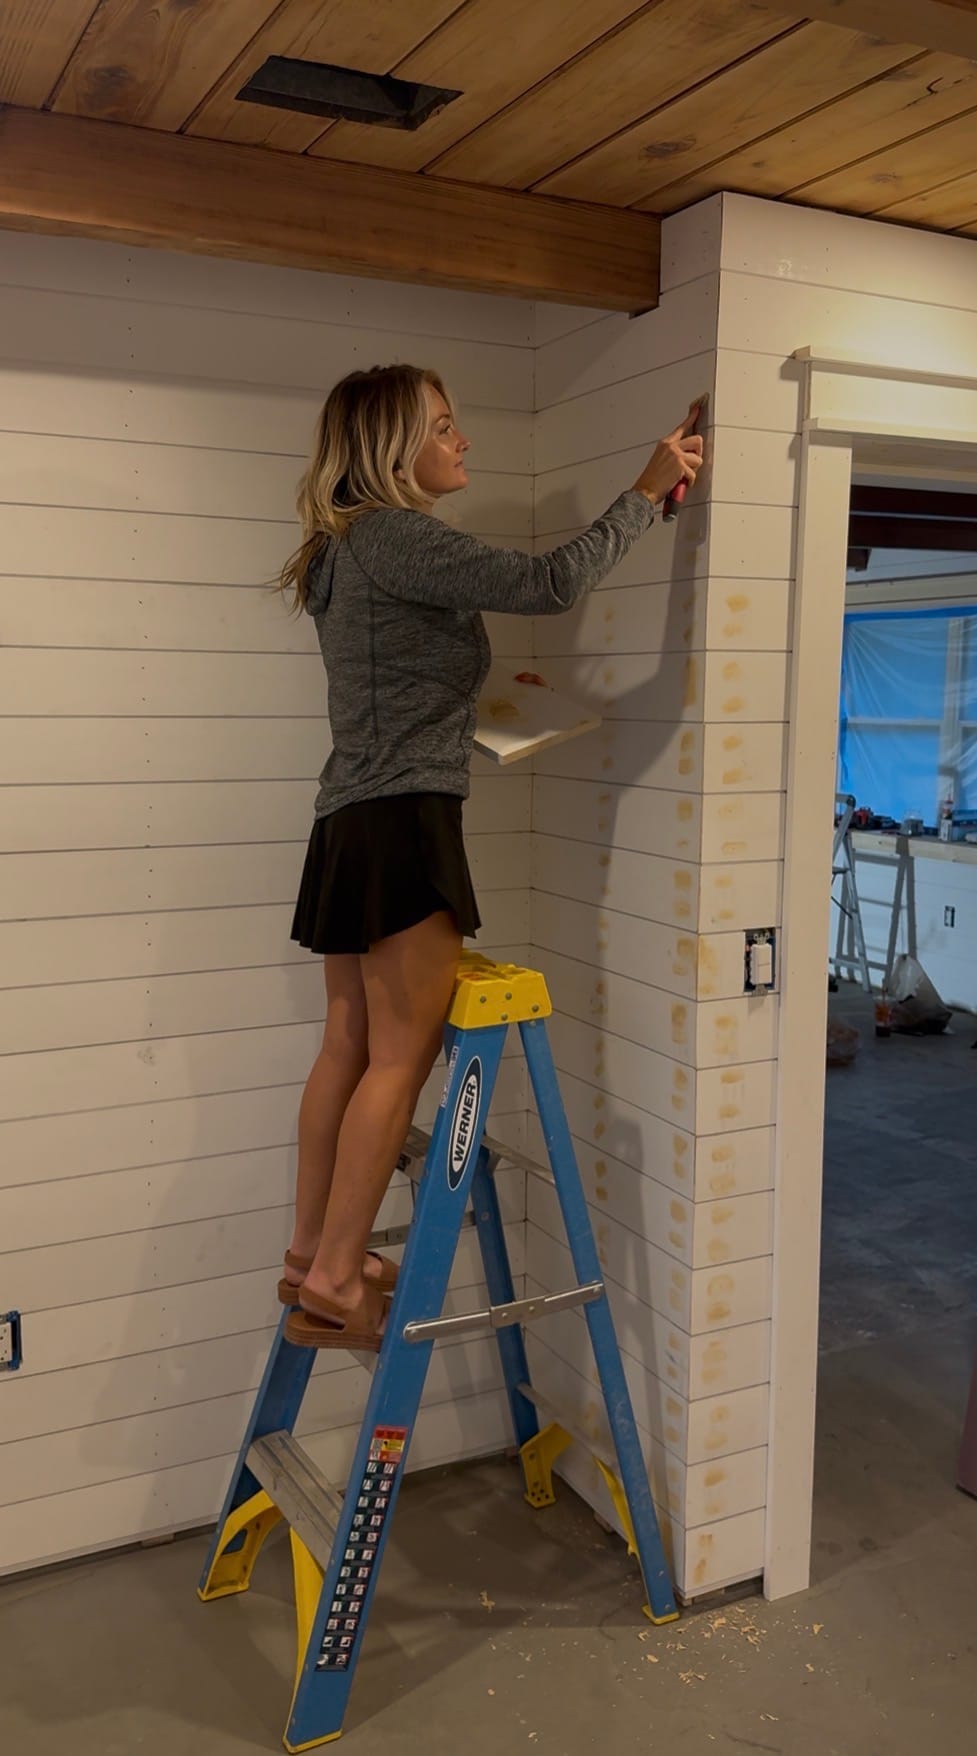
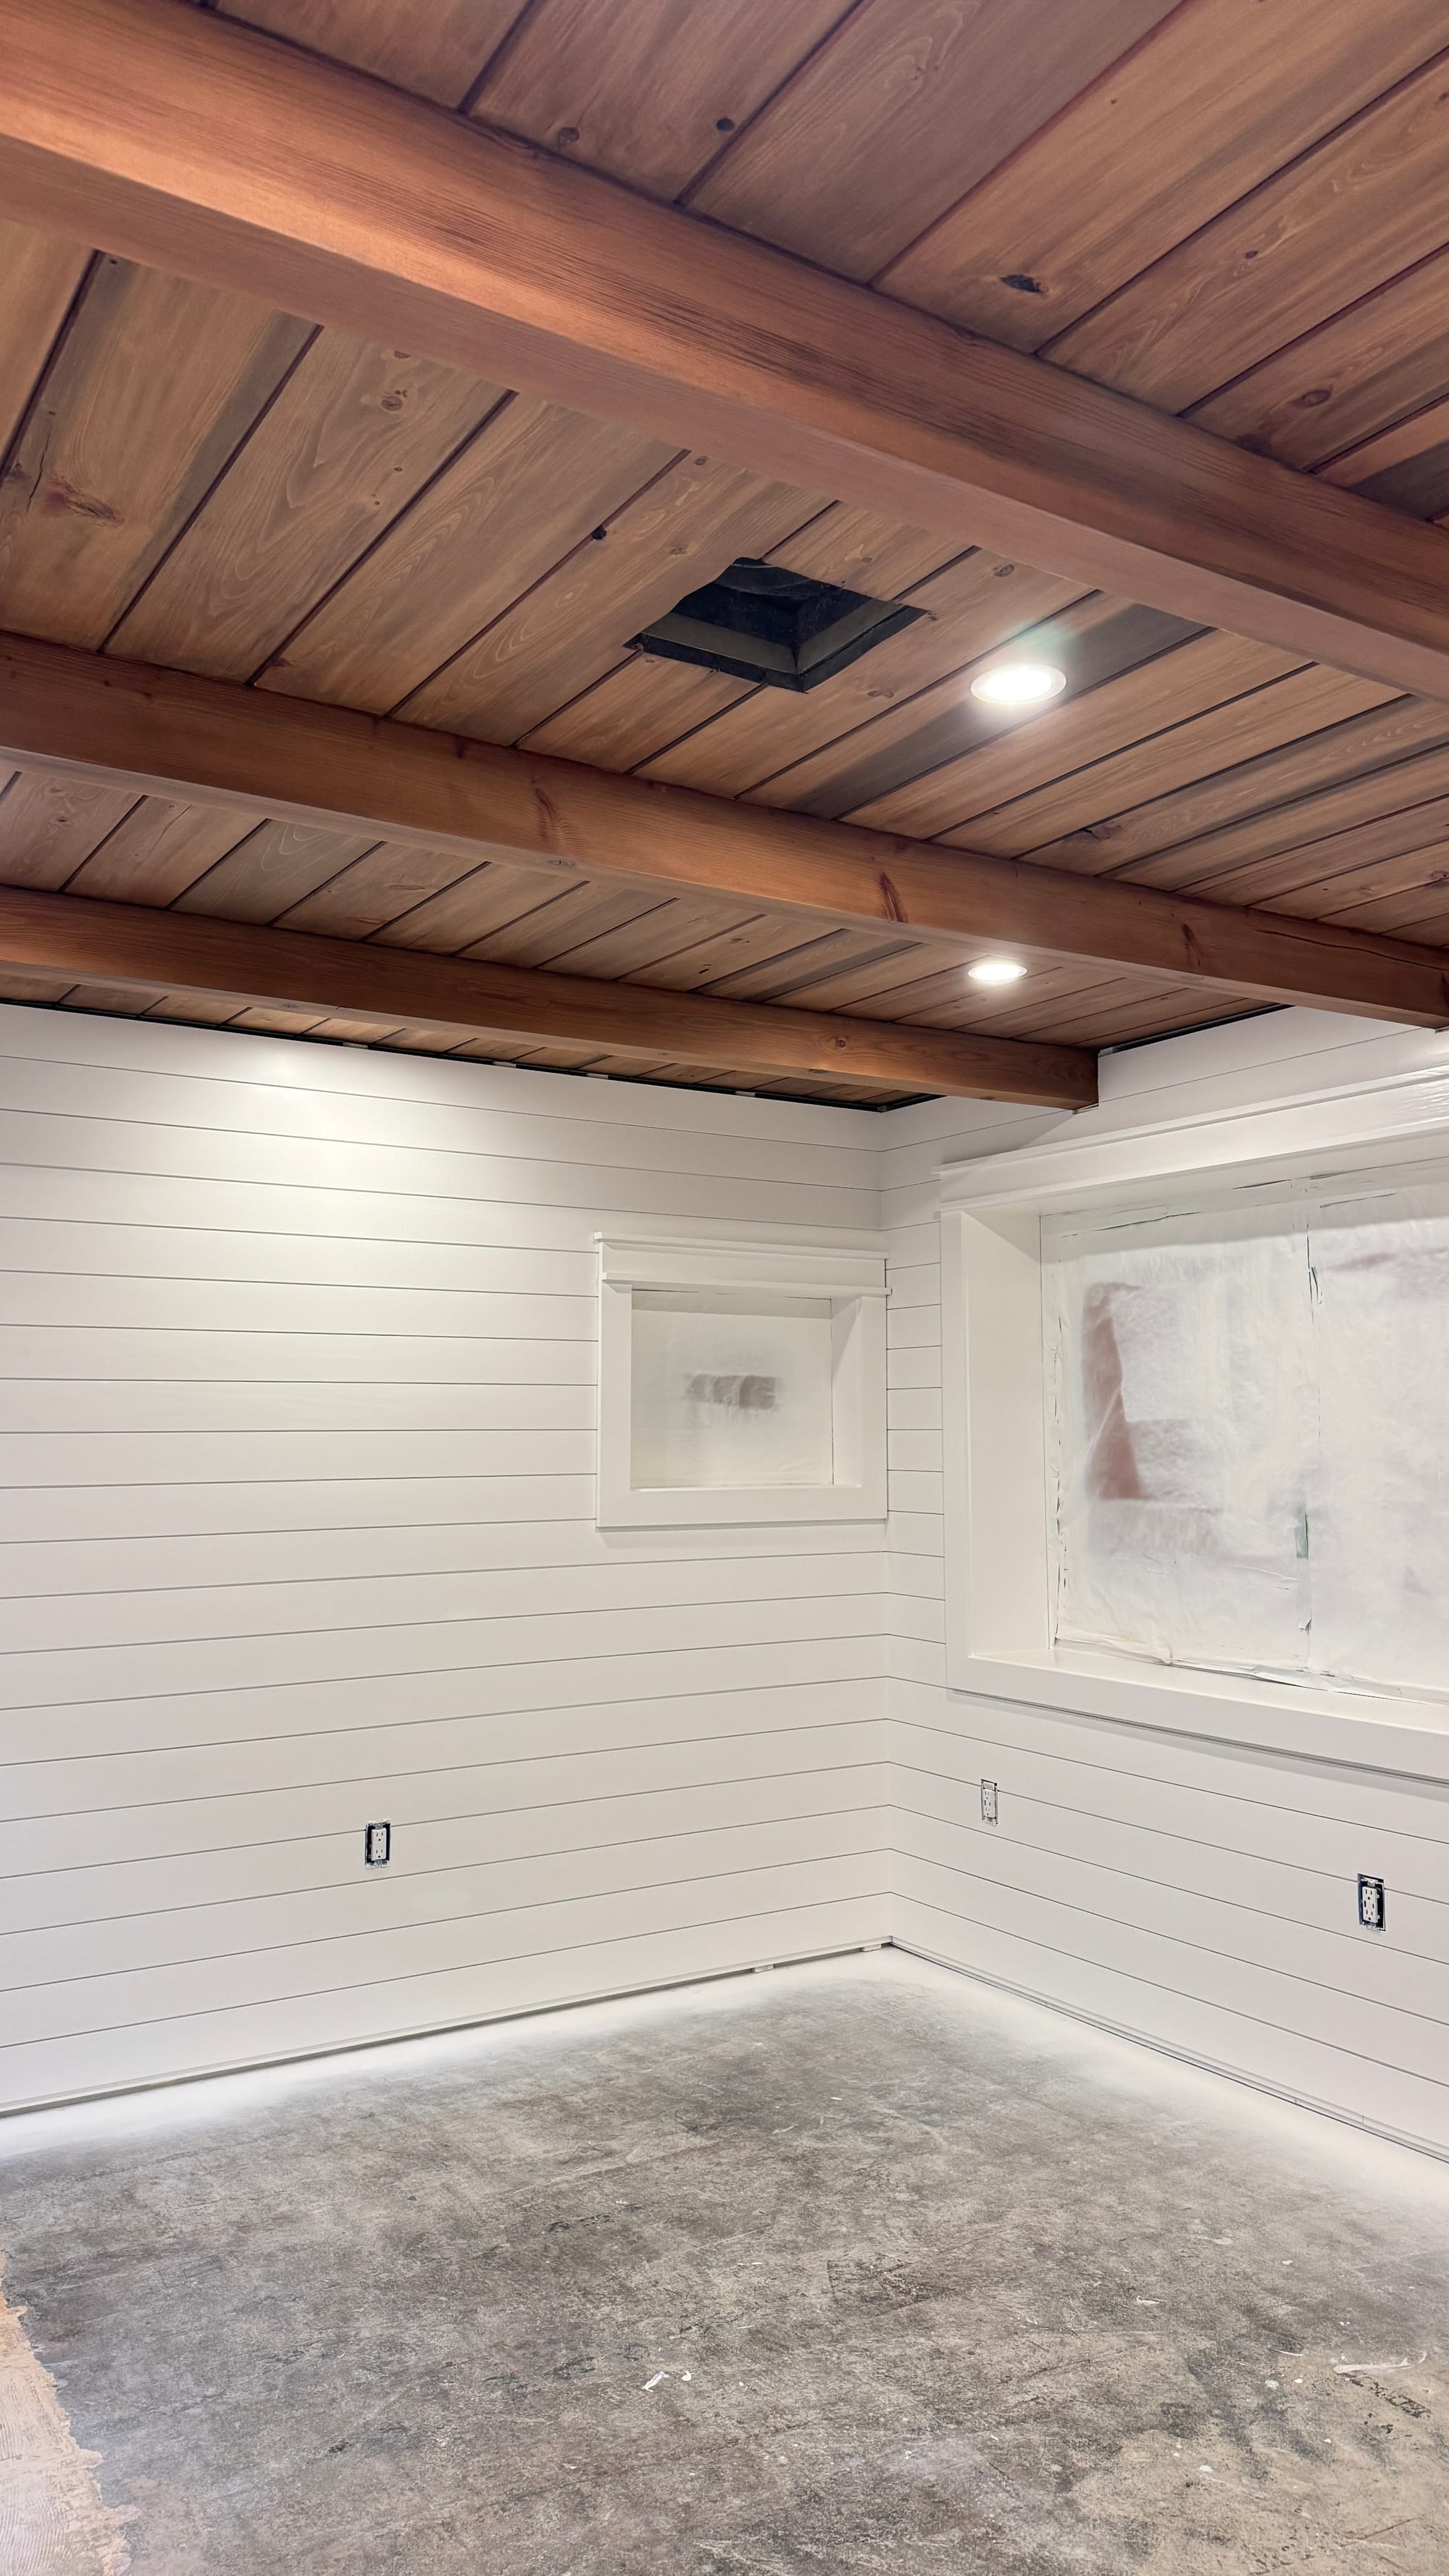
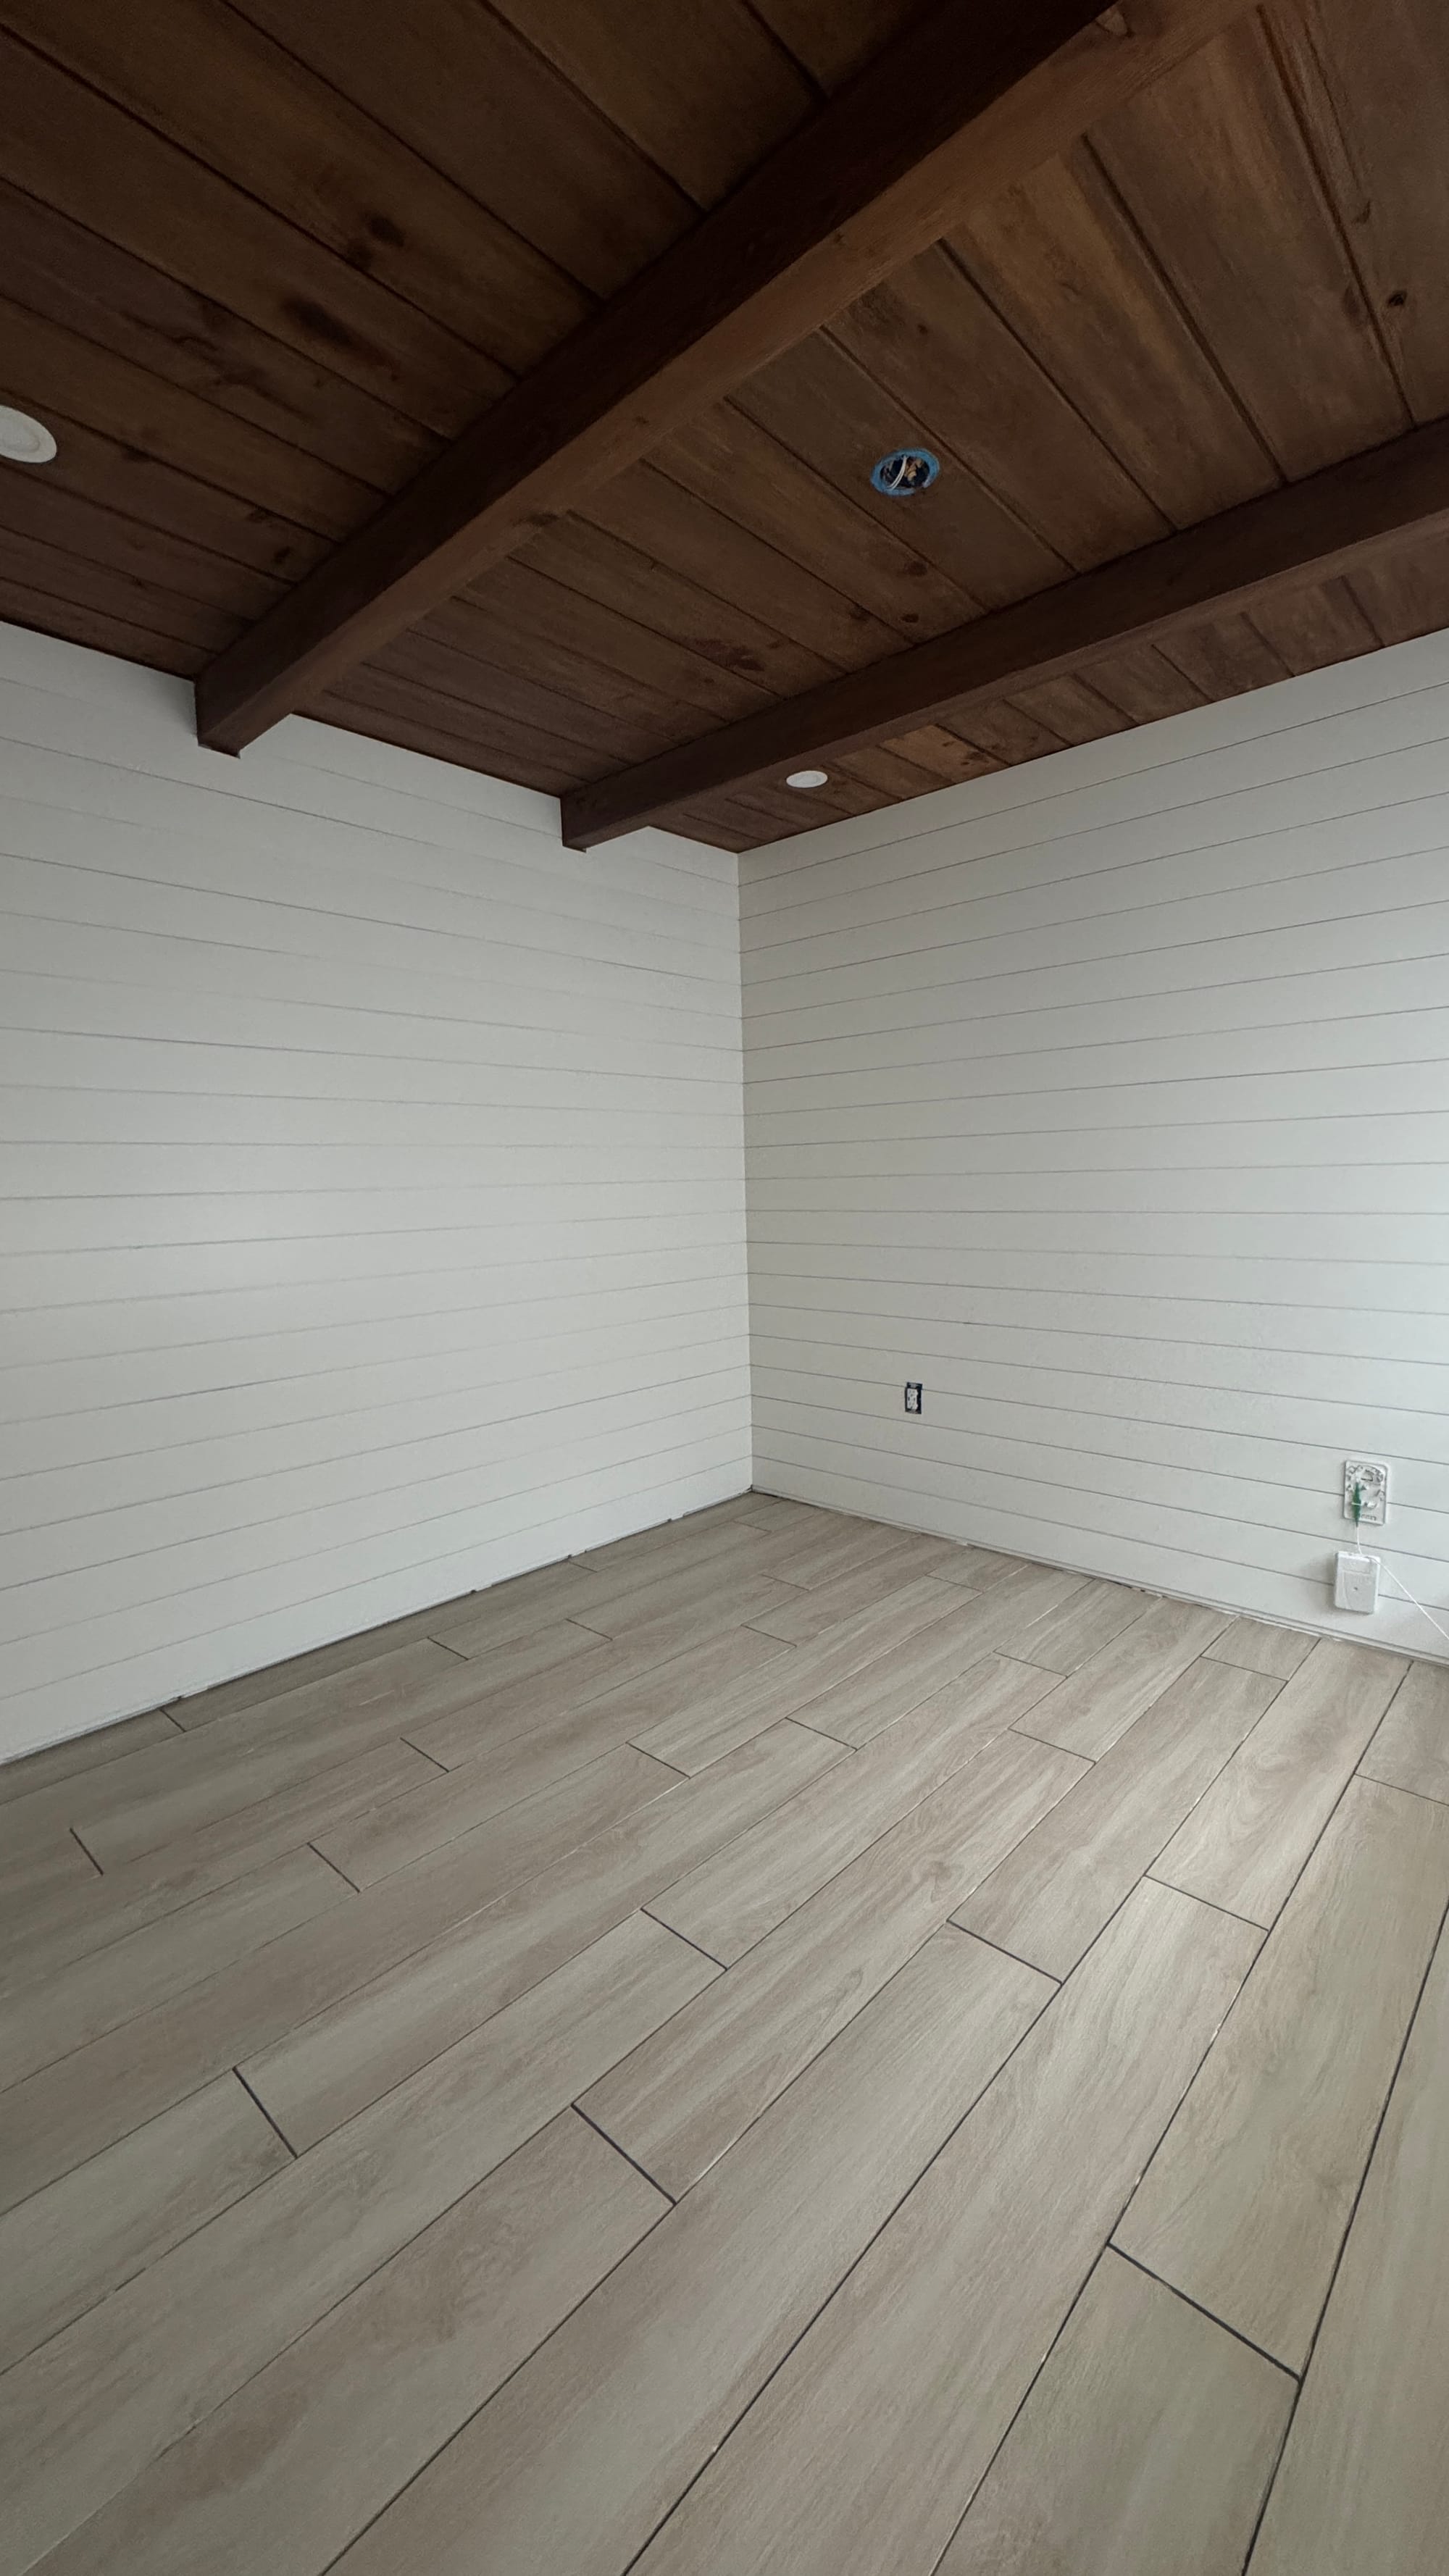
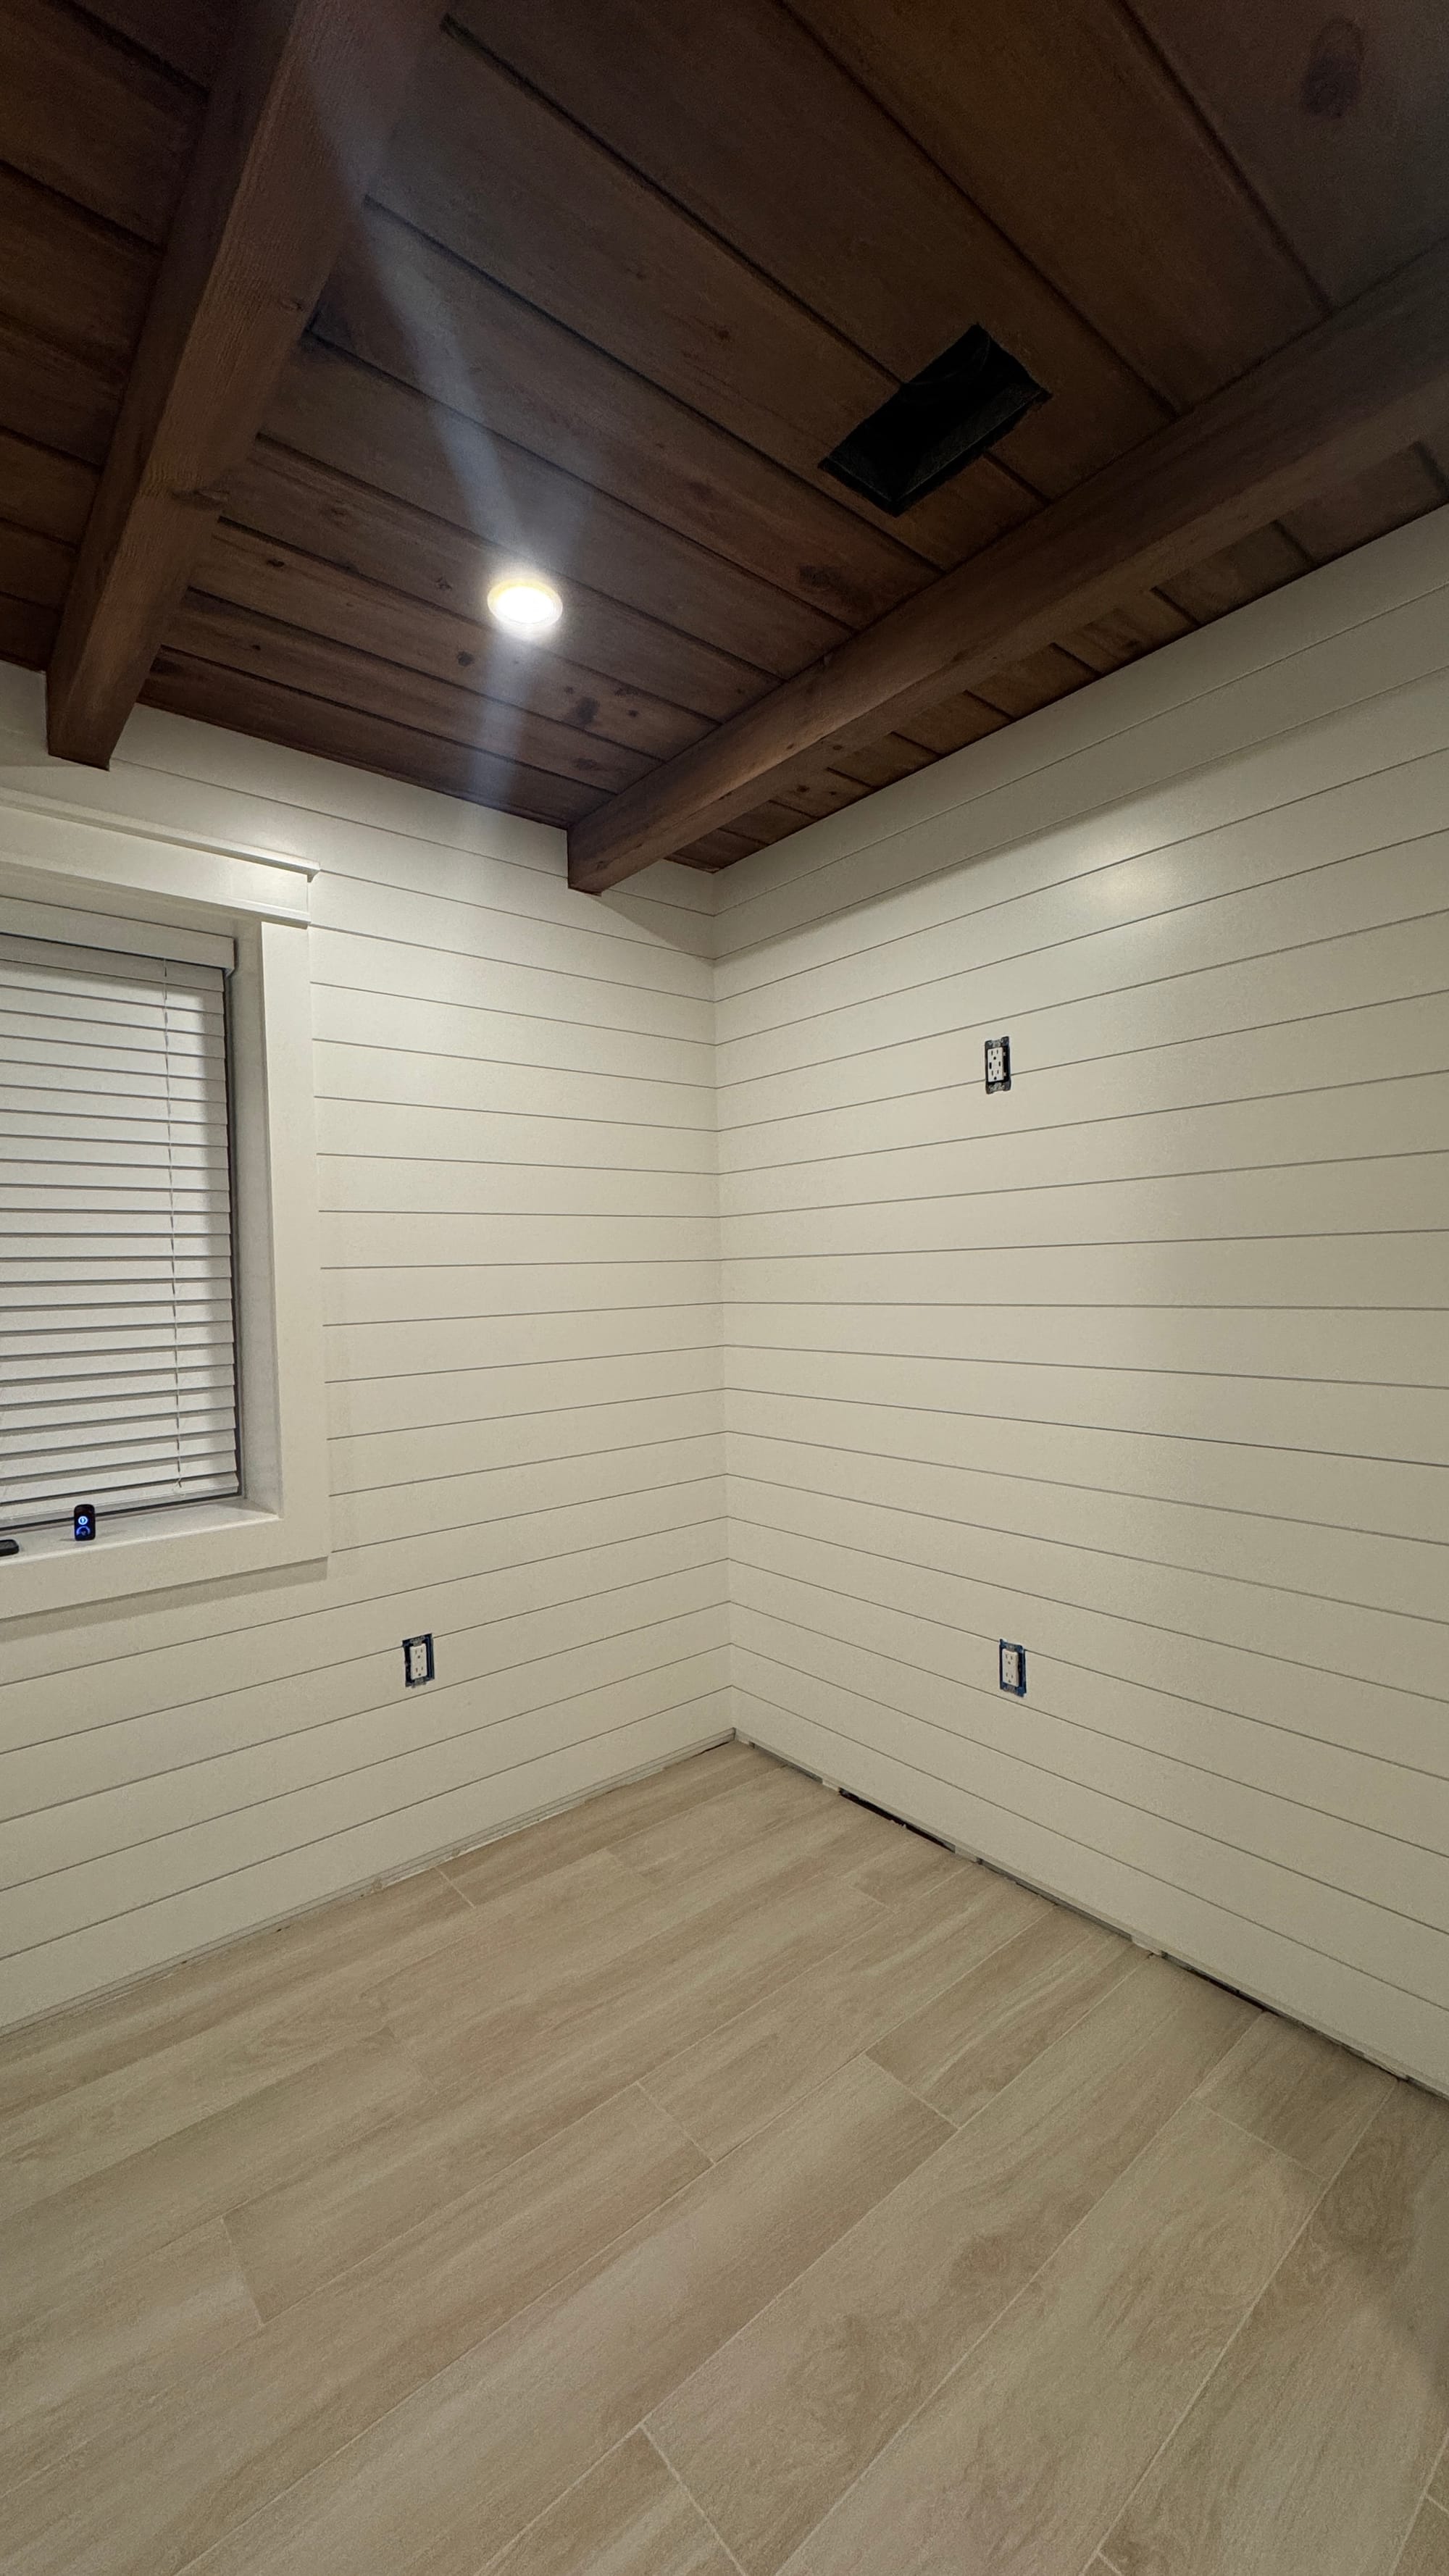
We decided to shiplap to brighten the entire cottage and give it a more coastal feel. We brought the walls all the way to the ceiling which added a little extra height and insulated the house more efficiently. We had a crew come in to help shiplap the walls and we filled all the nail holes and boy, were there a ton of holes.
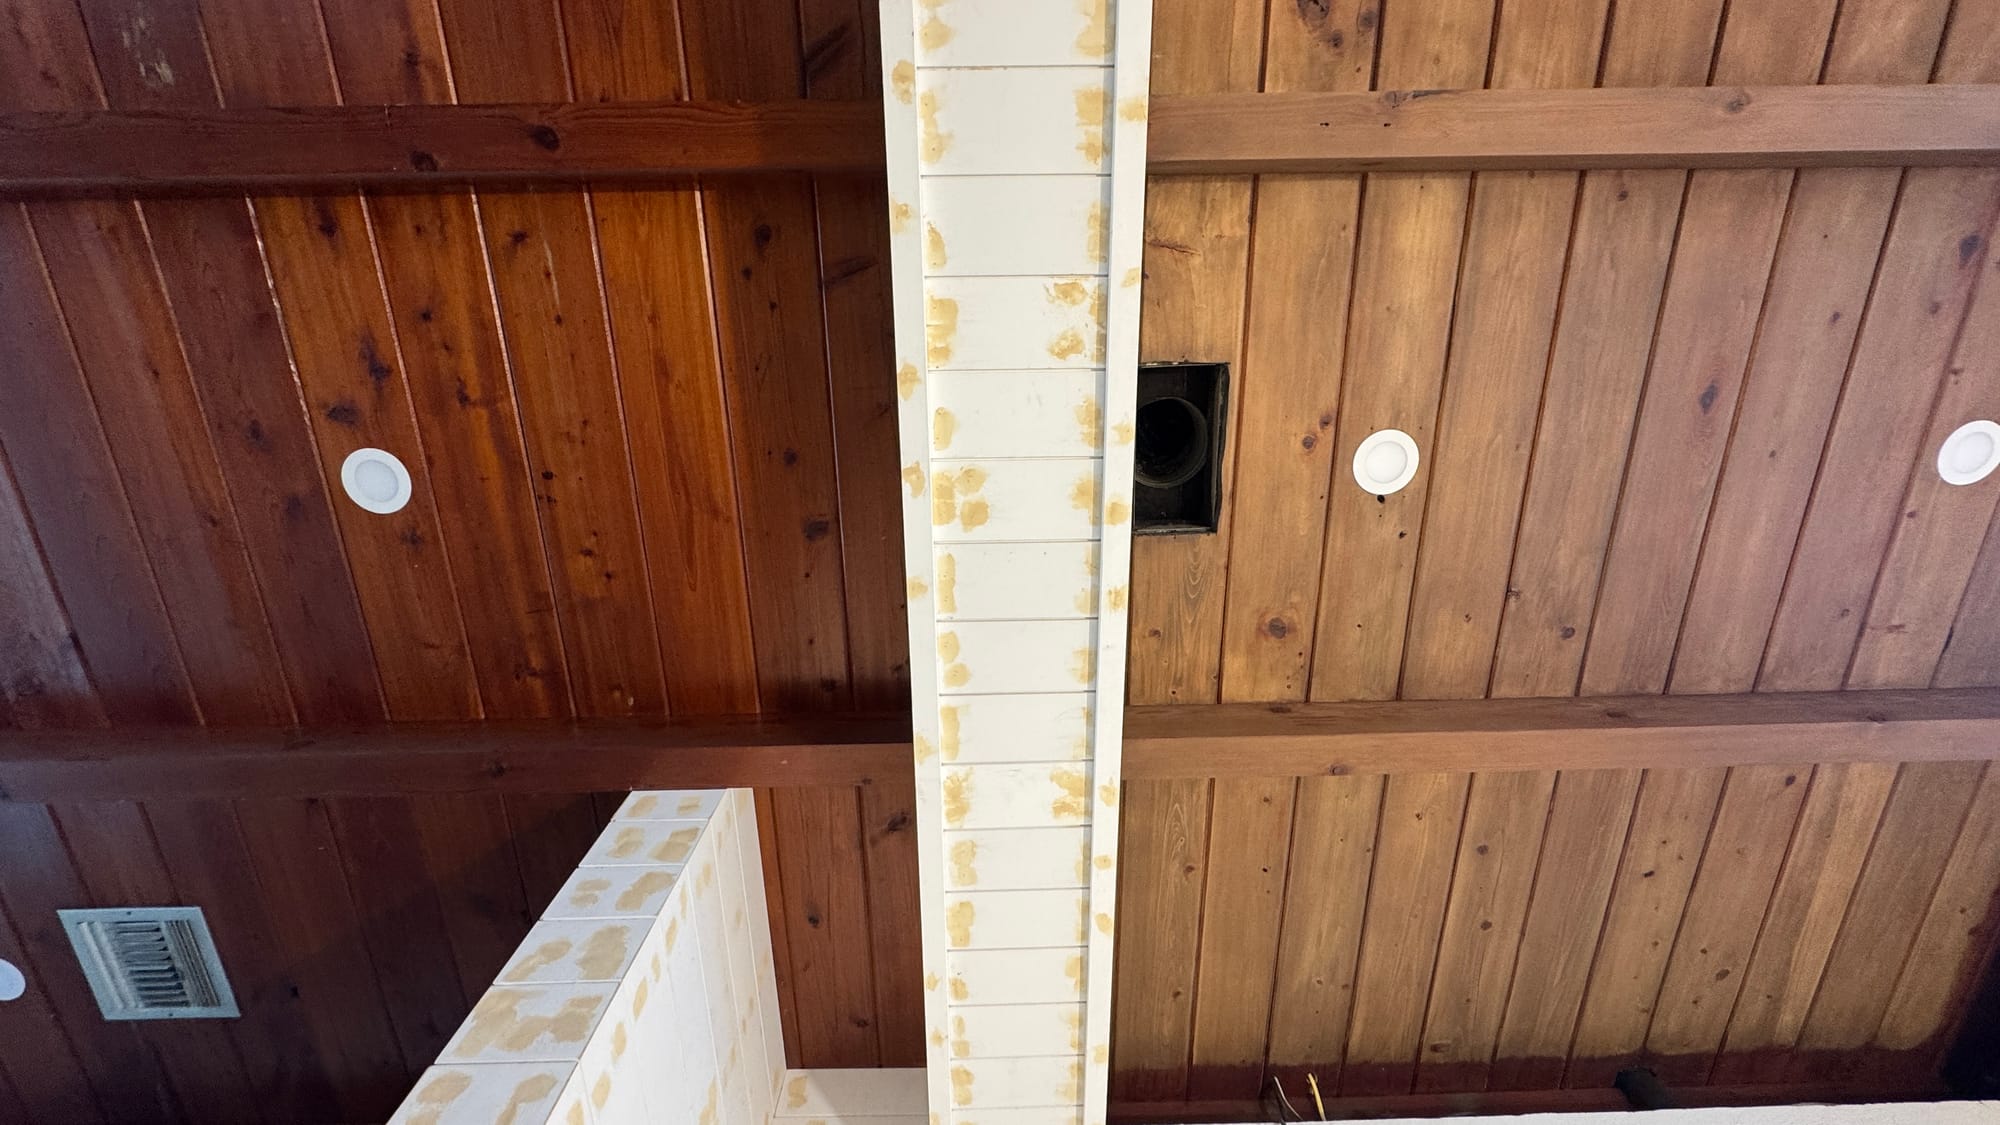
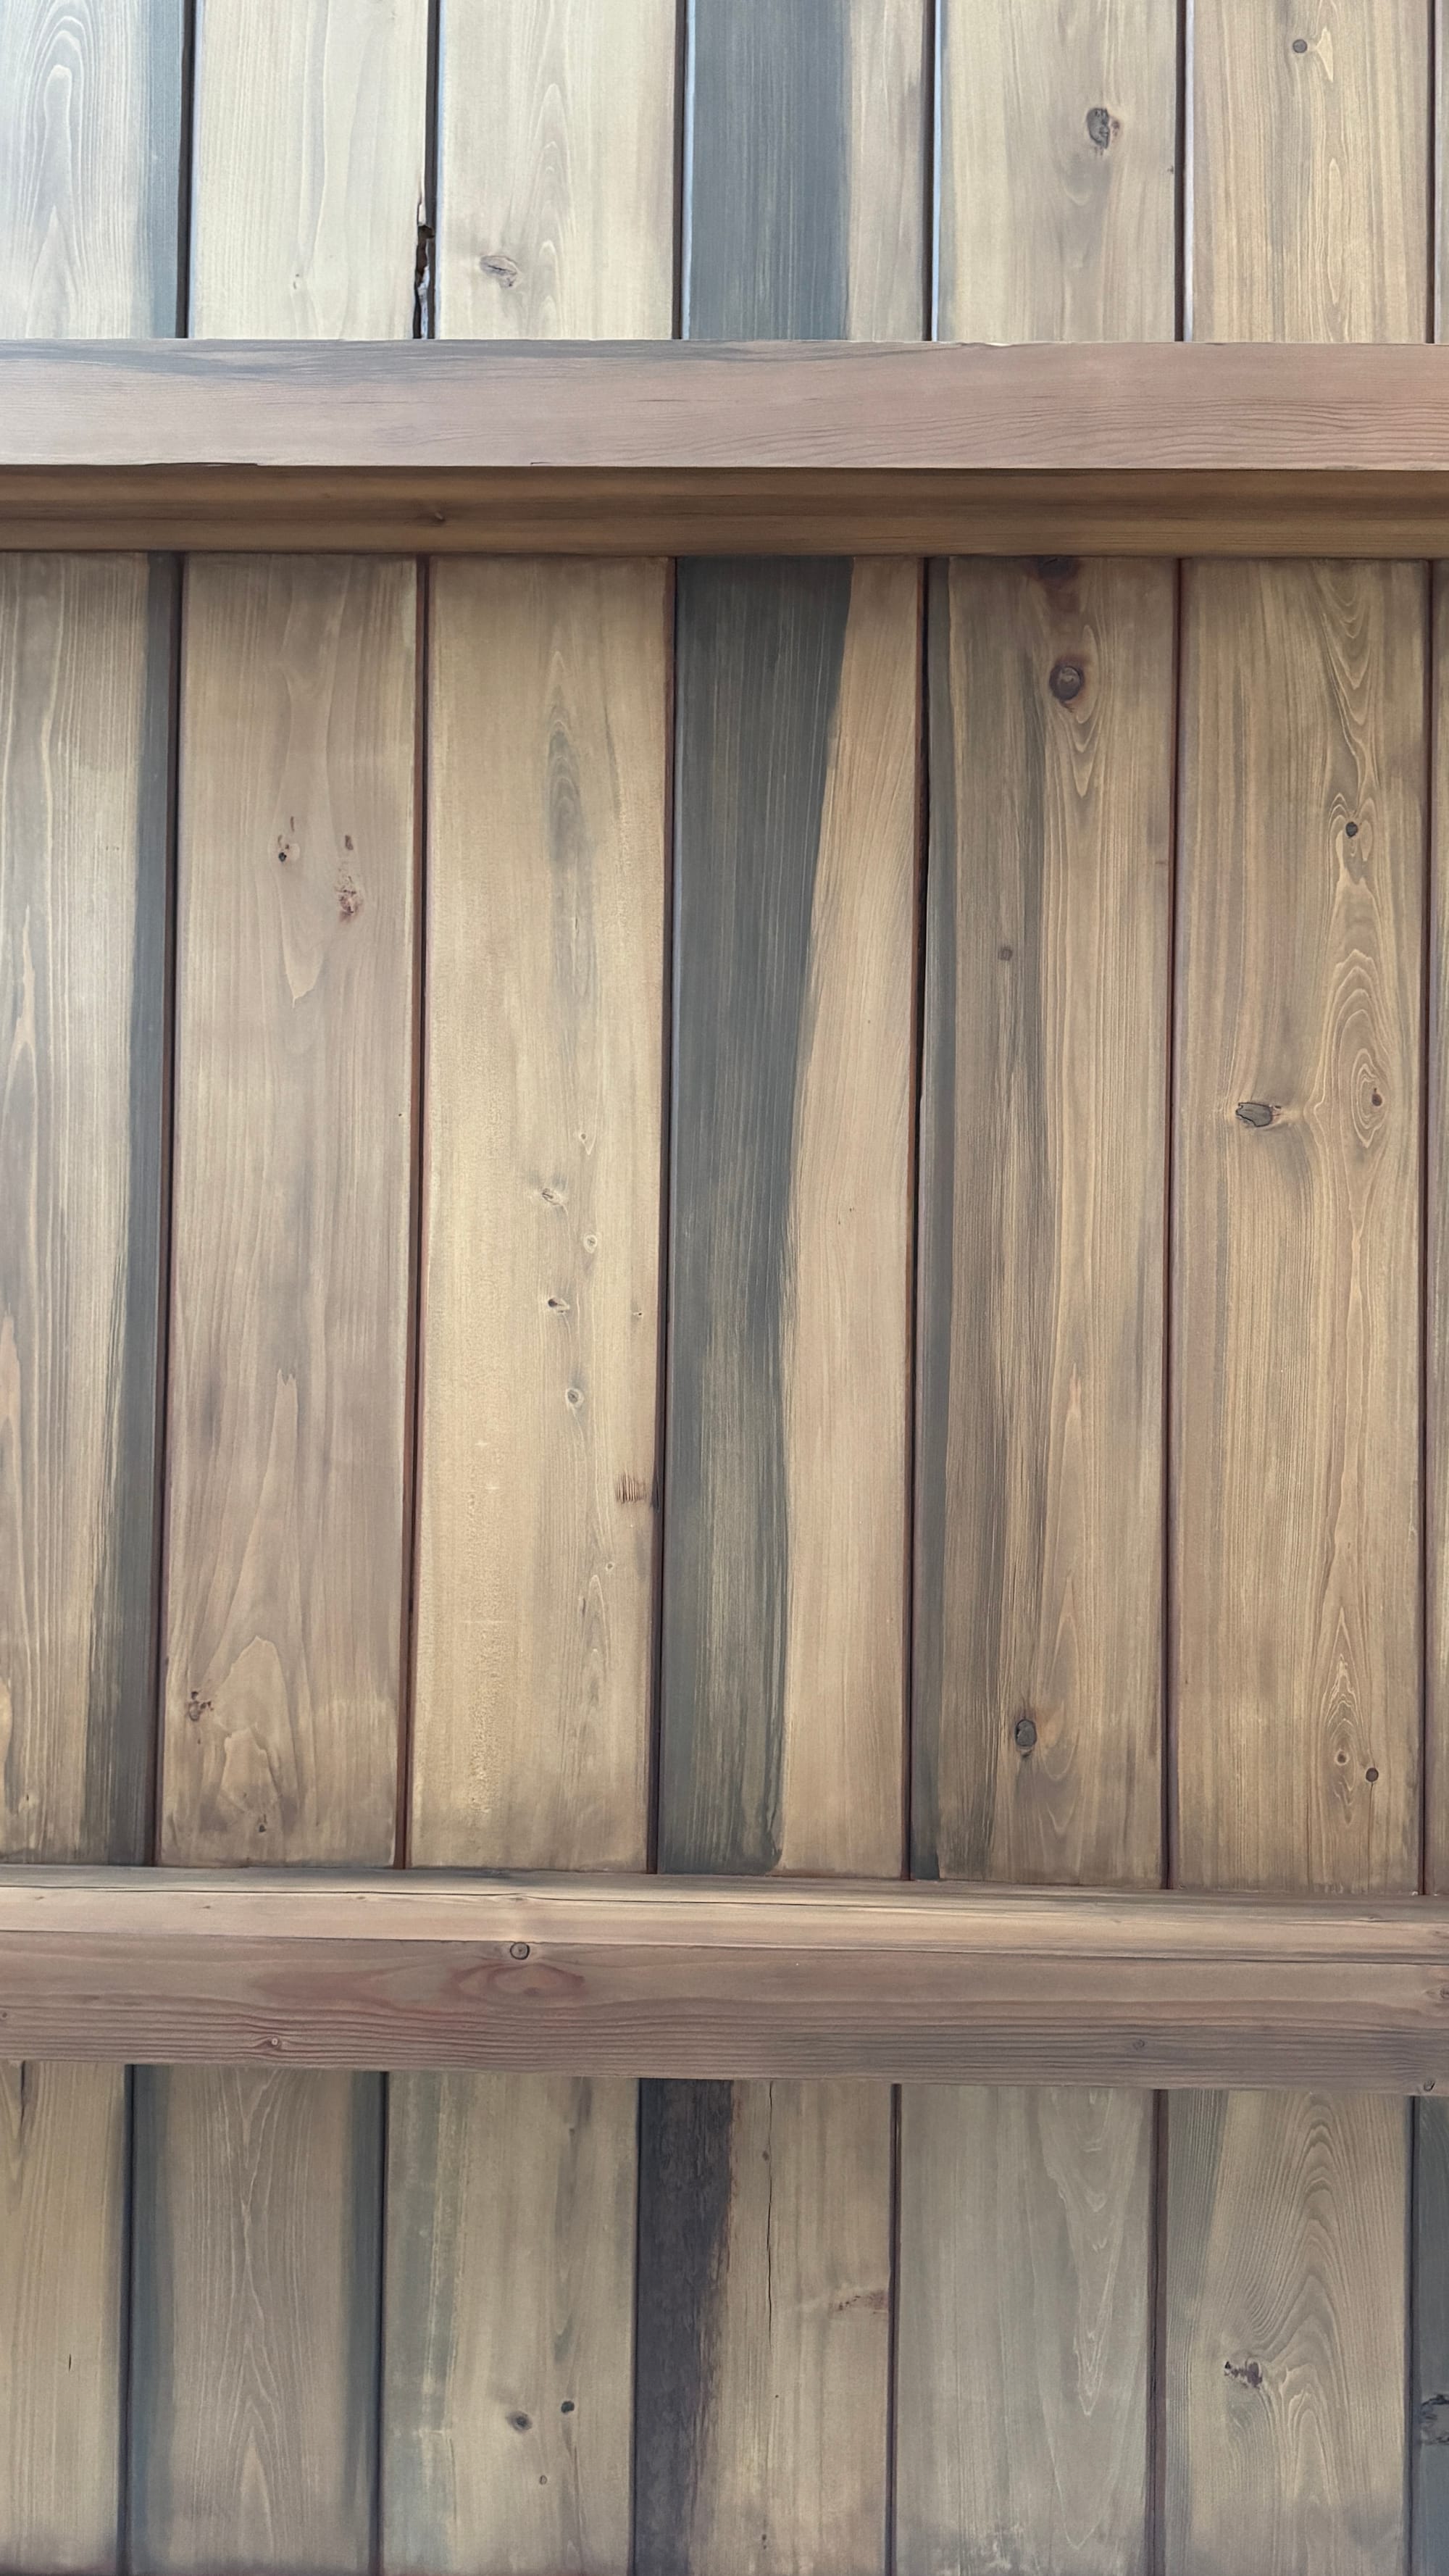
Then we started to work on our favorite part, the wood ceilings. The original wood was beautiful but the satin and sheen were not quite to our taste. It was this rich cherry with the glossiest finish, I really loathed the color. It made the house so dark and unnatural. I think a lot of people moving to a coastal beach town would have just painted the ceilings white and called it a day. But we chose to keep them as original as possible. My boyfriend re-sanded, and re-stained every inch of the ceilings. The work that went into these ceilings was kind of insane but we tend to take the more challenging route, it’s always the most rewarding.
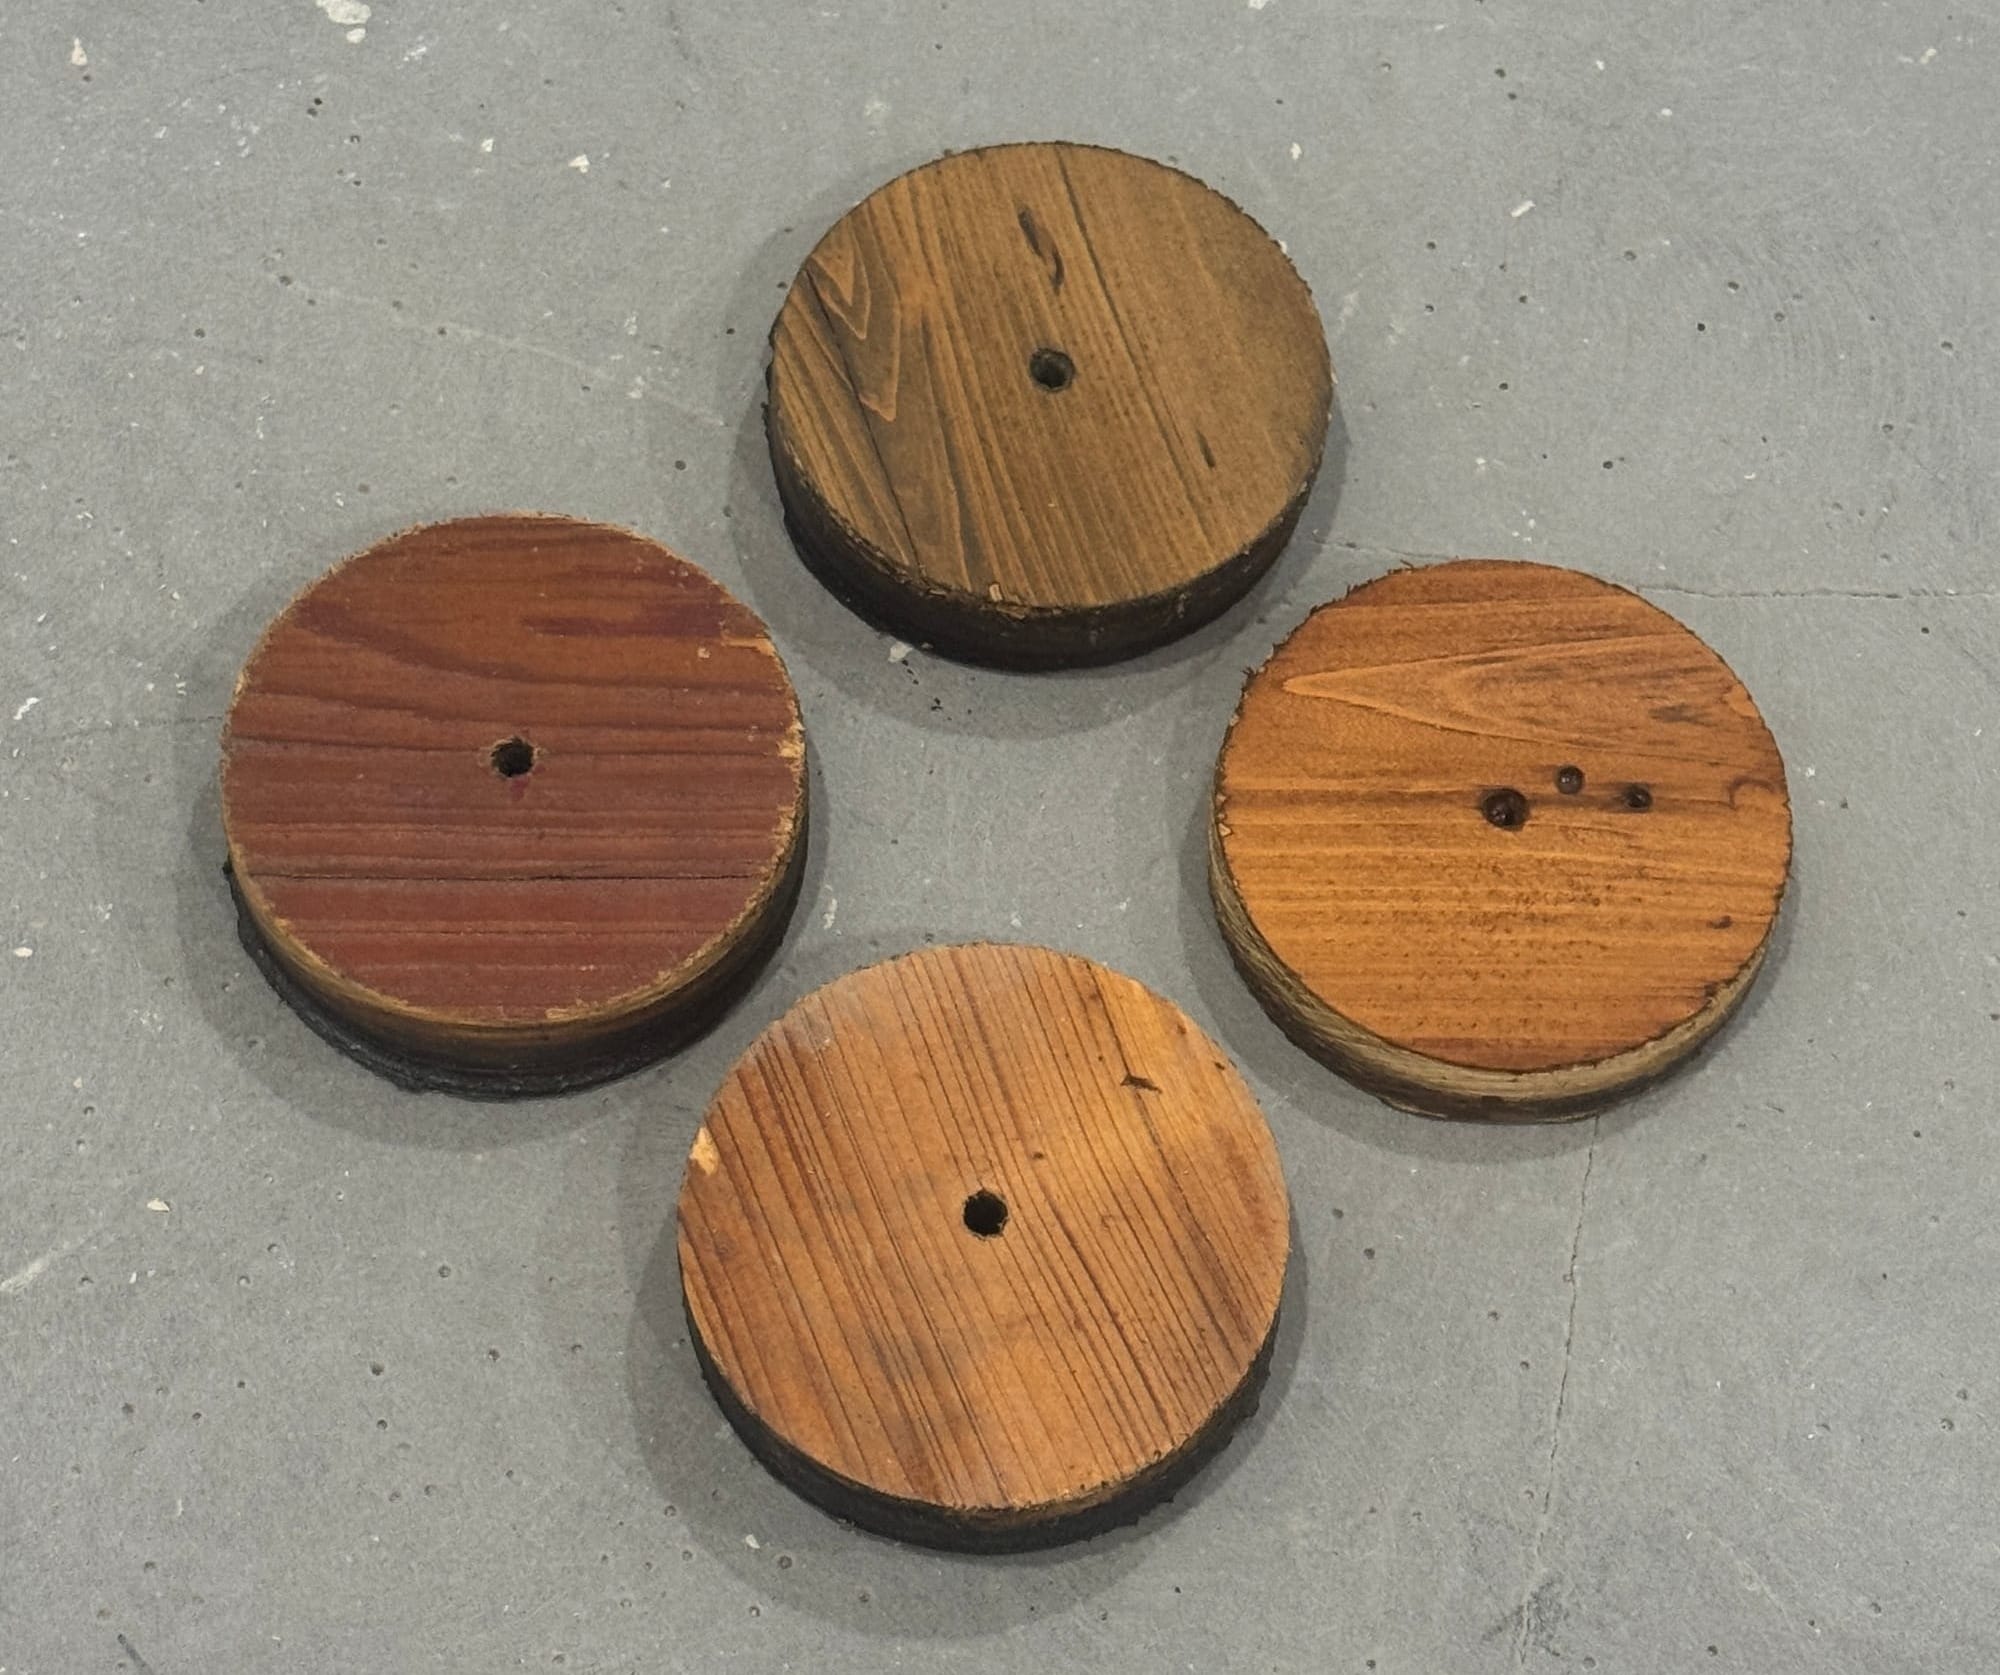
Sometimes when I wake up, I lay in bed and just stare at the ceilings and admire all of the hard work that he put into each board, knot and beam. Each board is layered with an antique oak, a wash of graystone and bits of the natural grain popping out creating this organic looking driftwood color. He carefully hand stained every knot in a medium brown dye to create additional dimension.
Before the finished look, we went through and tried so many color options. It became exhausting and we were starting to hit a wall. After endless research, trial and error he finally formulated the perfect equation of stain.
He sprayed the final look with this beautiful translucent matte finish that doesn't take away from the natural grain yet still creates a protective coat.
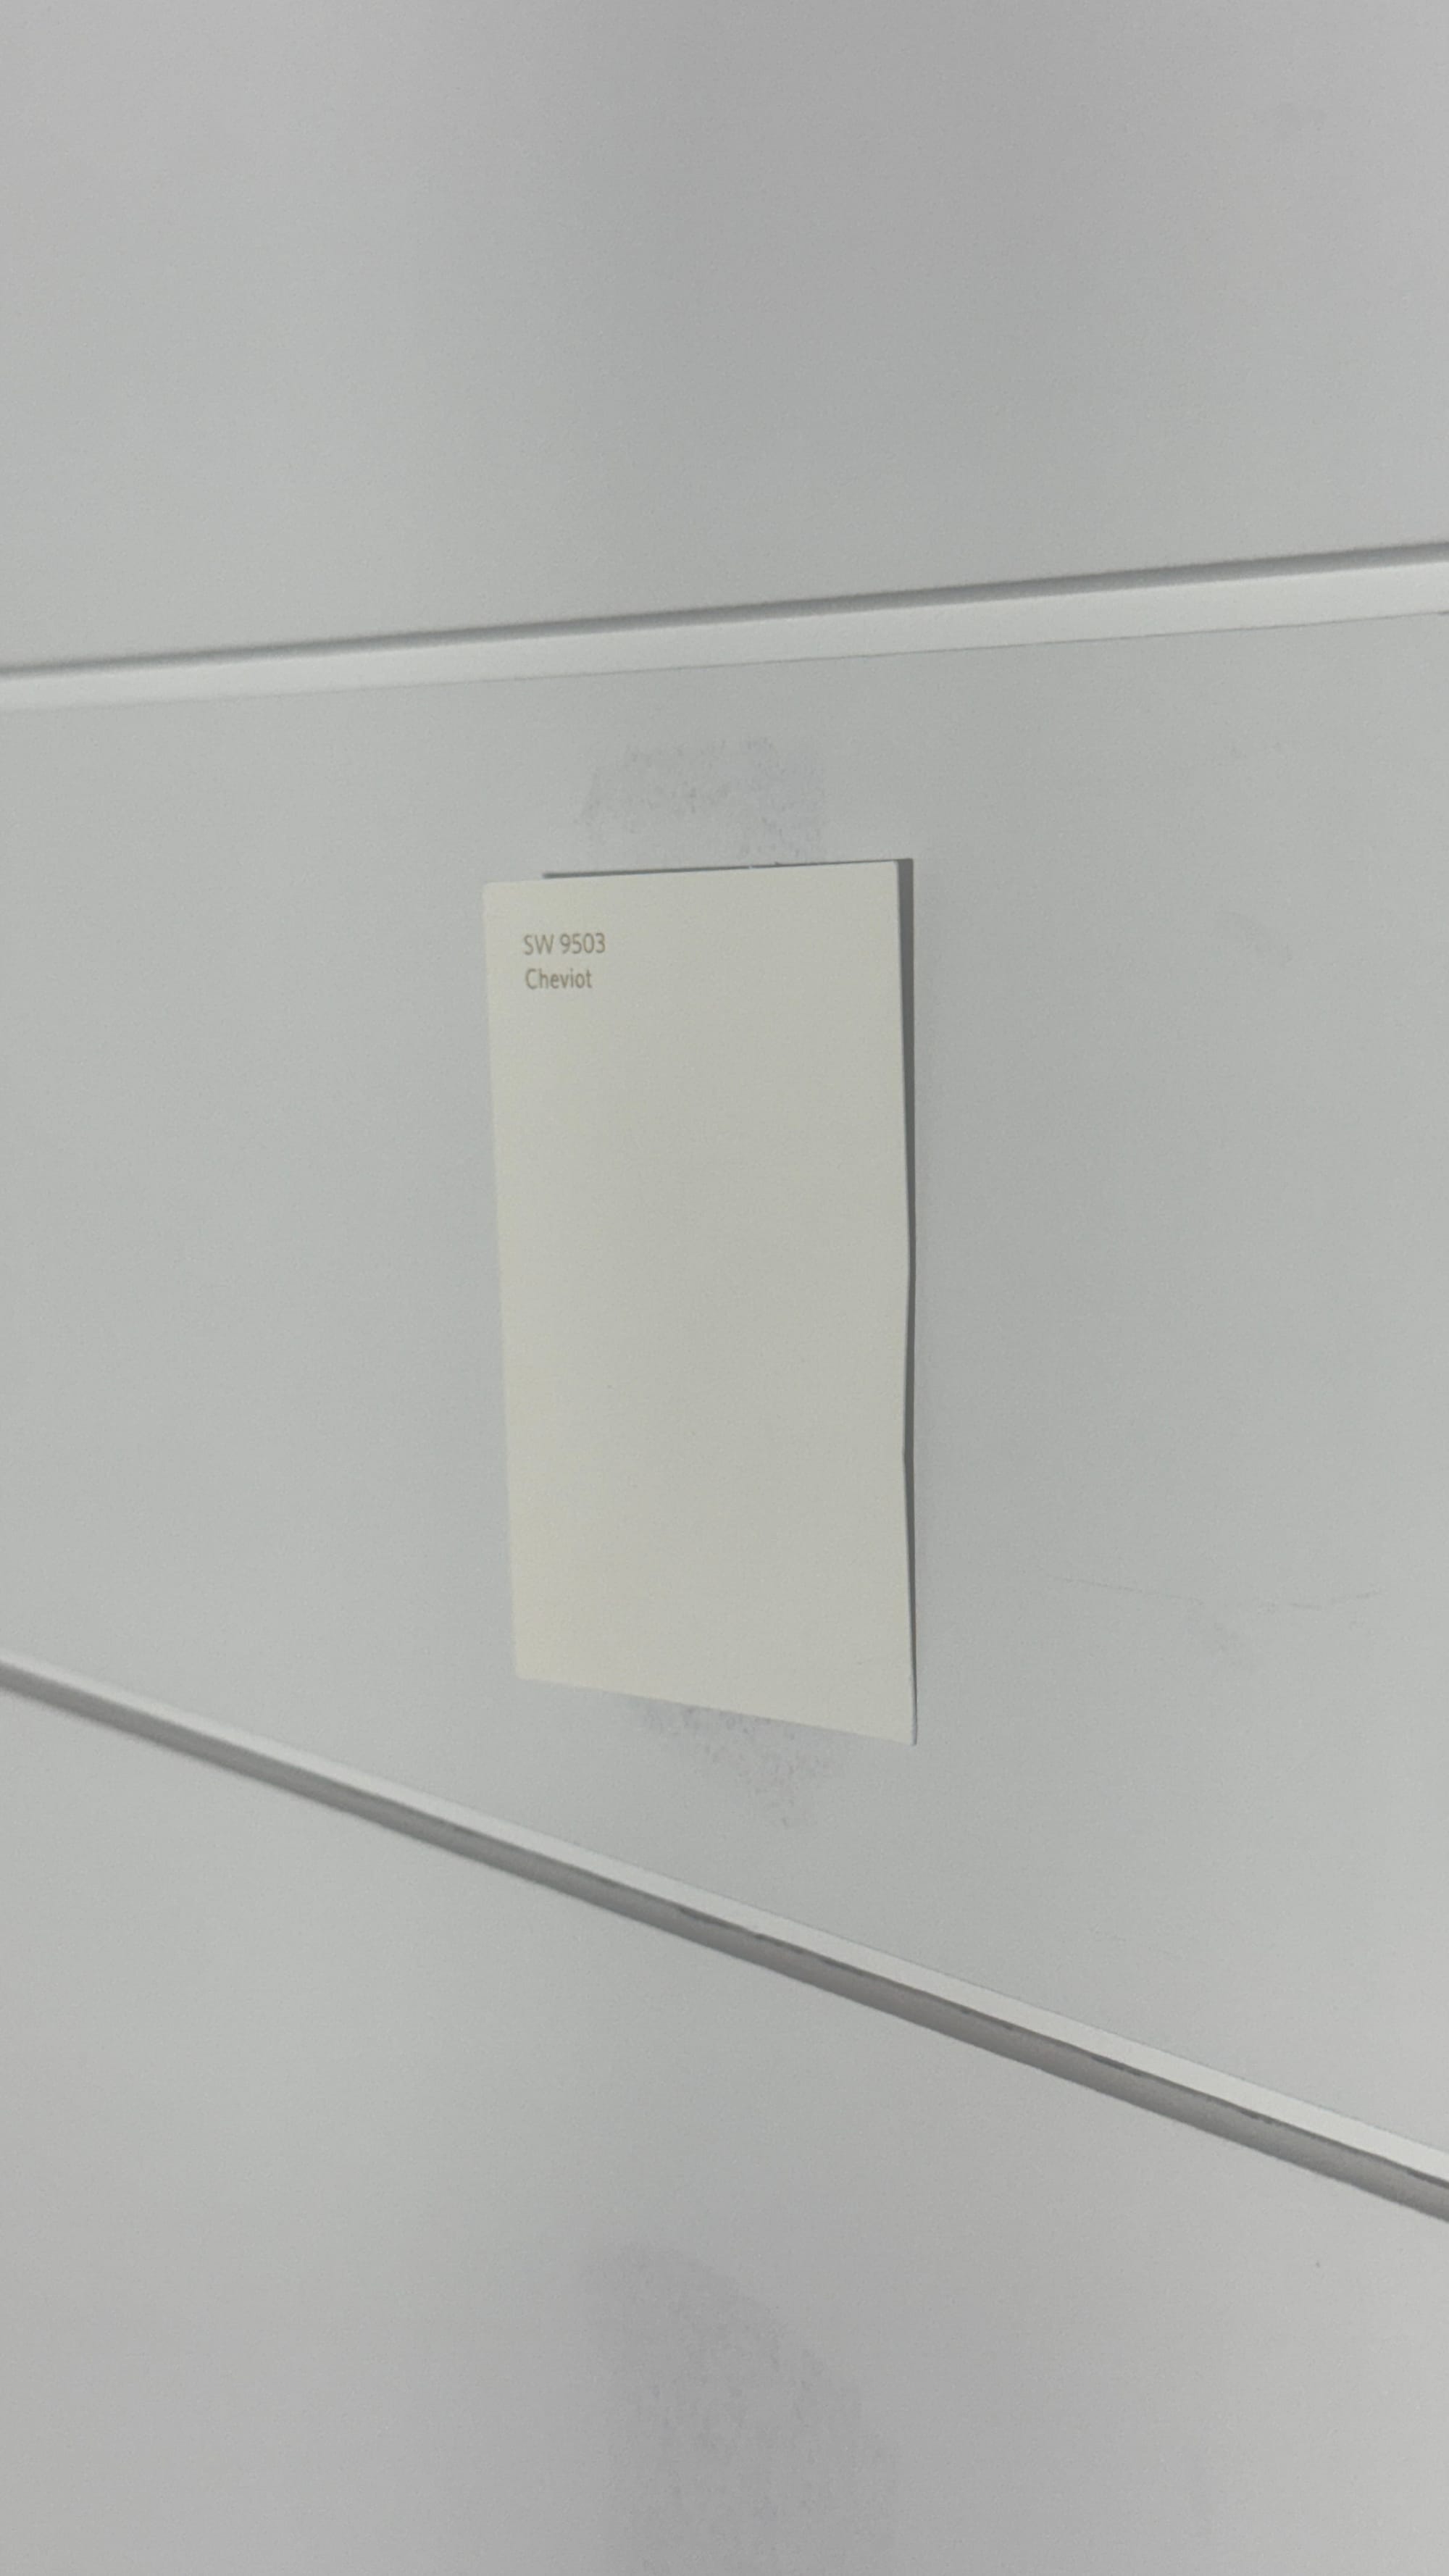
After the ceiling we moved back to the shiplap. He sprayed each room in Sherwin Williams Cheviot. It took us a while to figure out what to do with the trim. We wanted something coastal and simple but still somewhat elevated.
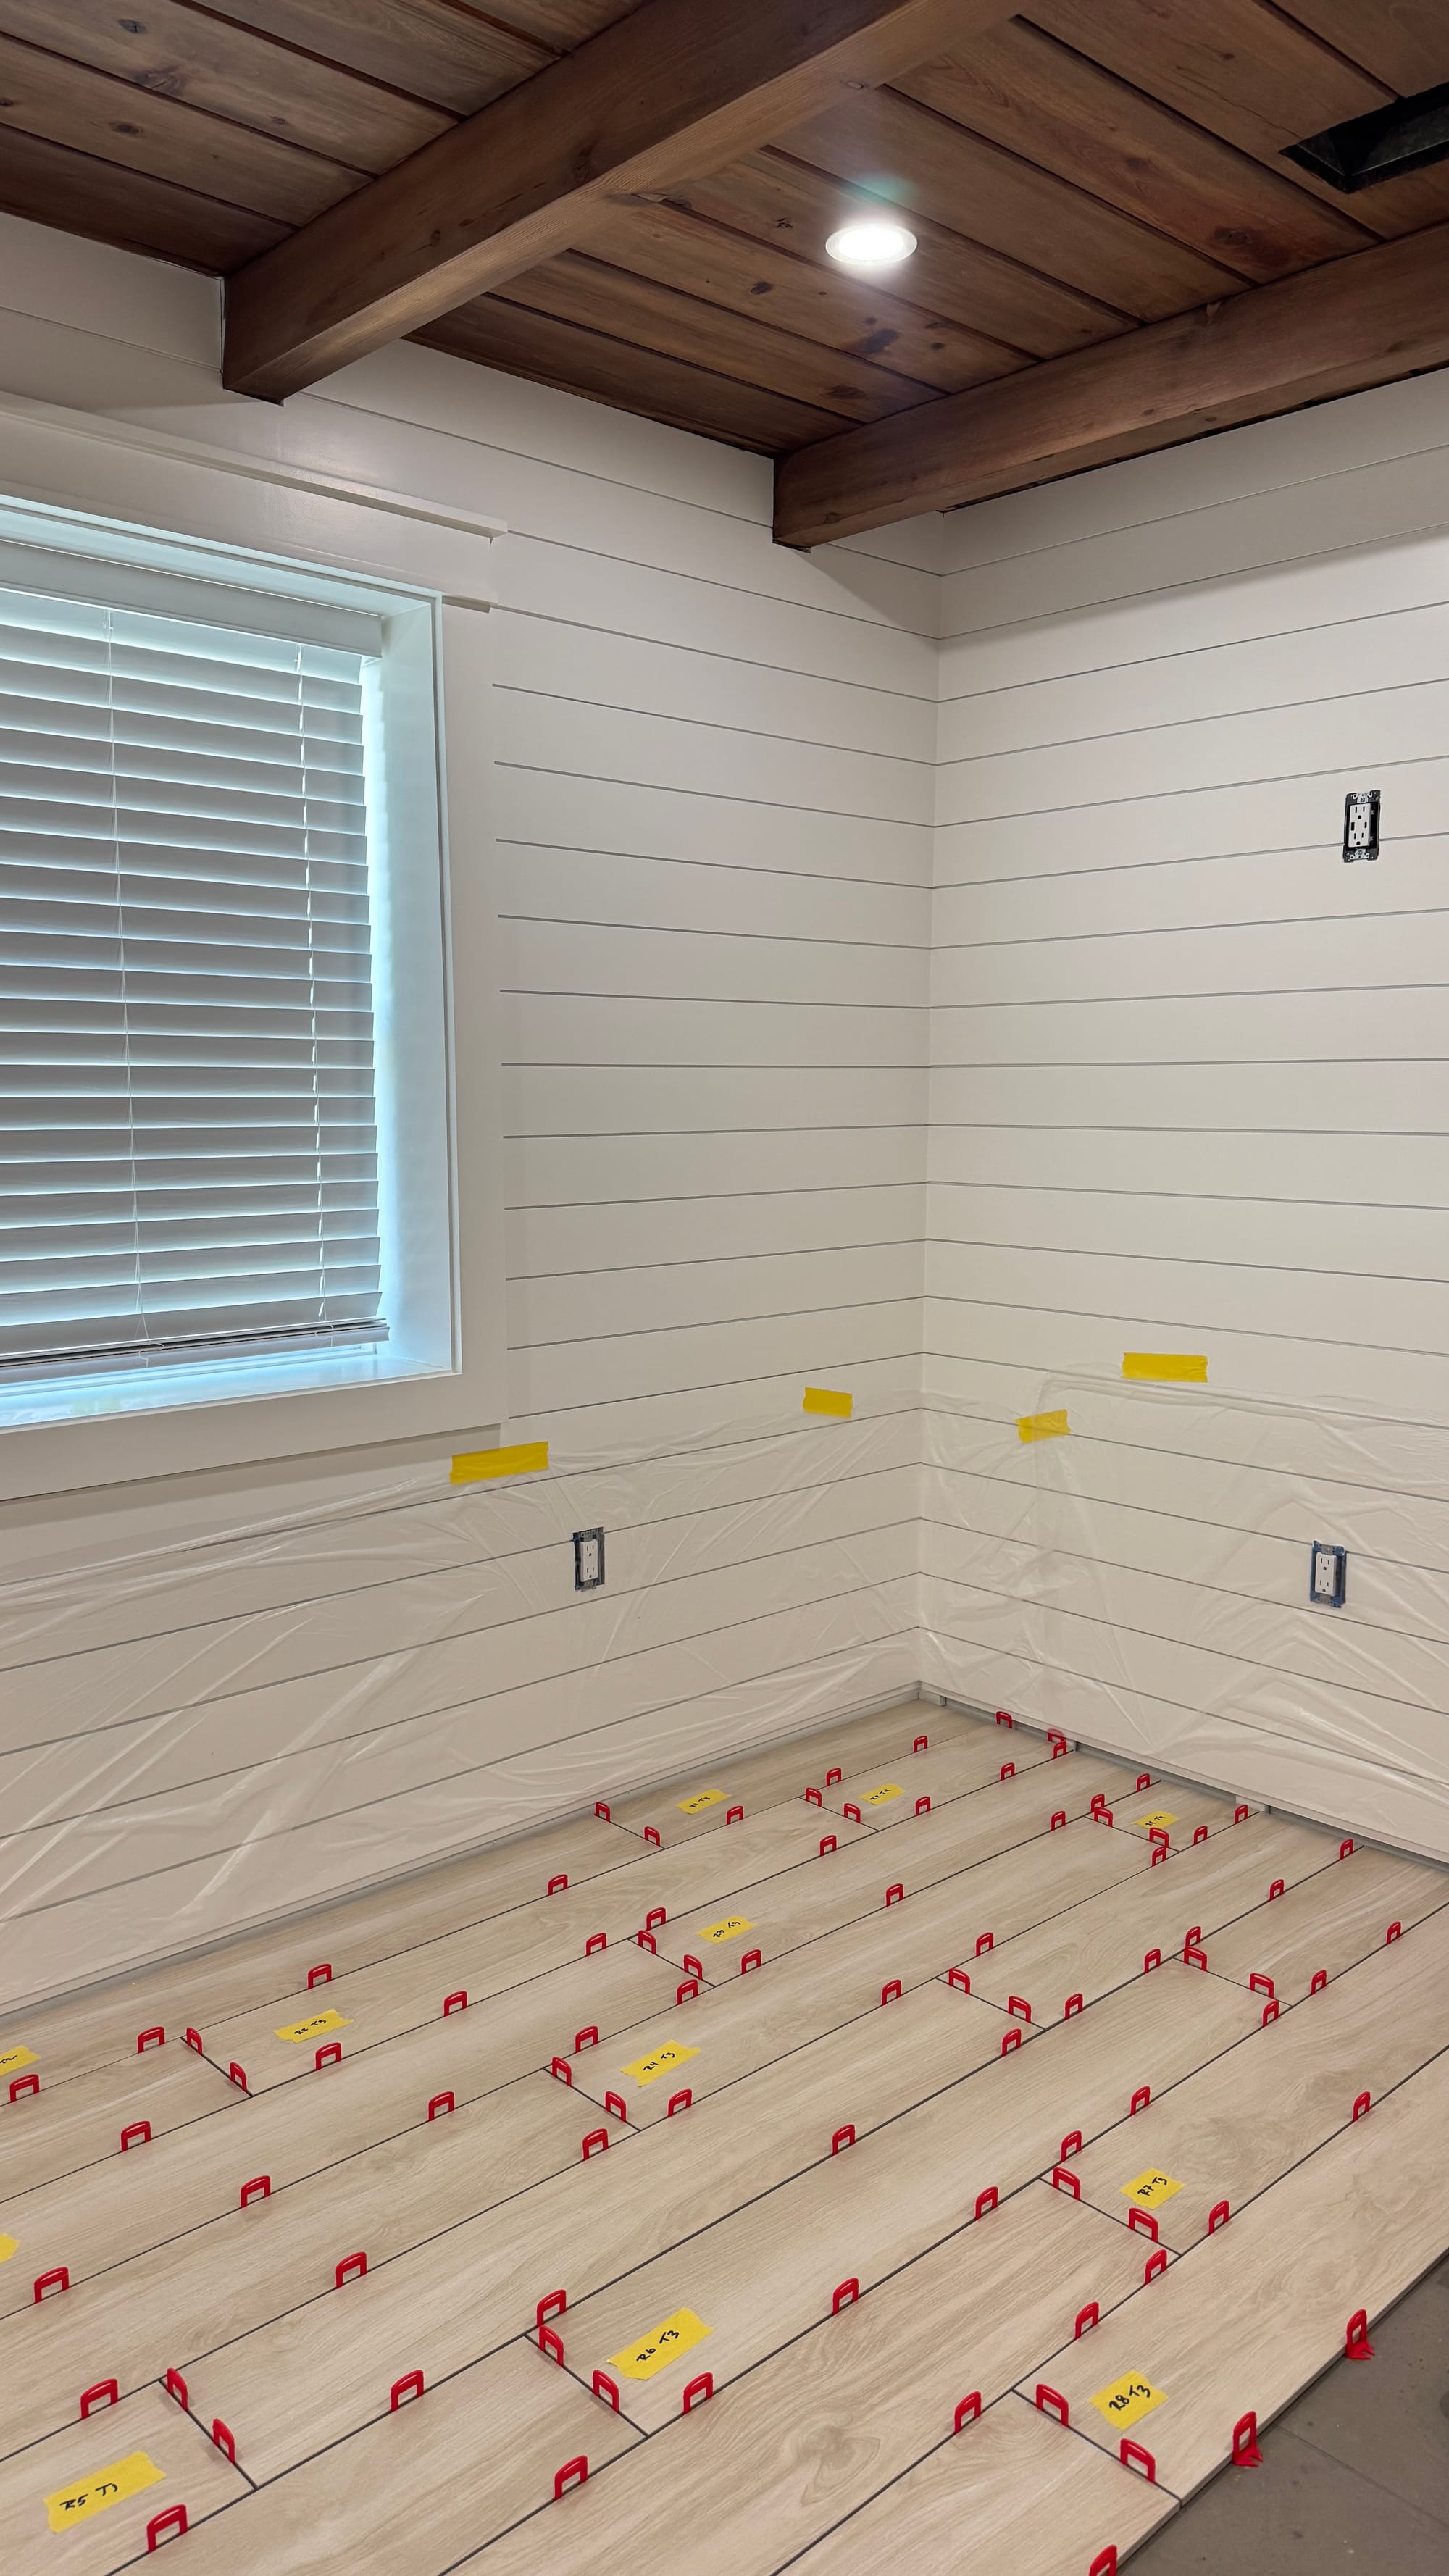
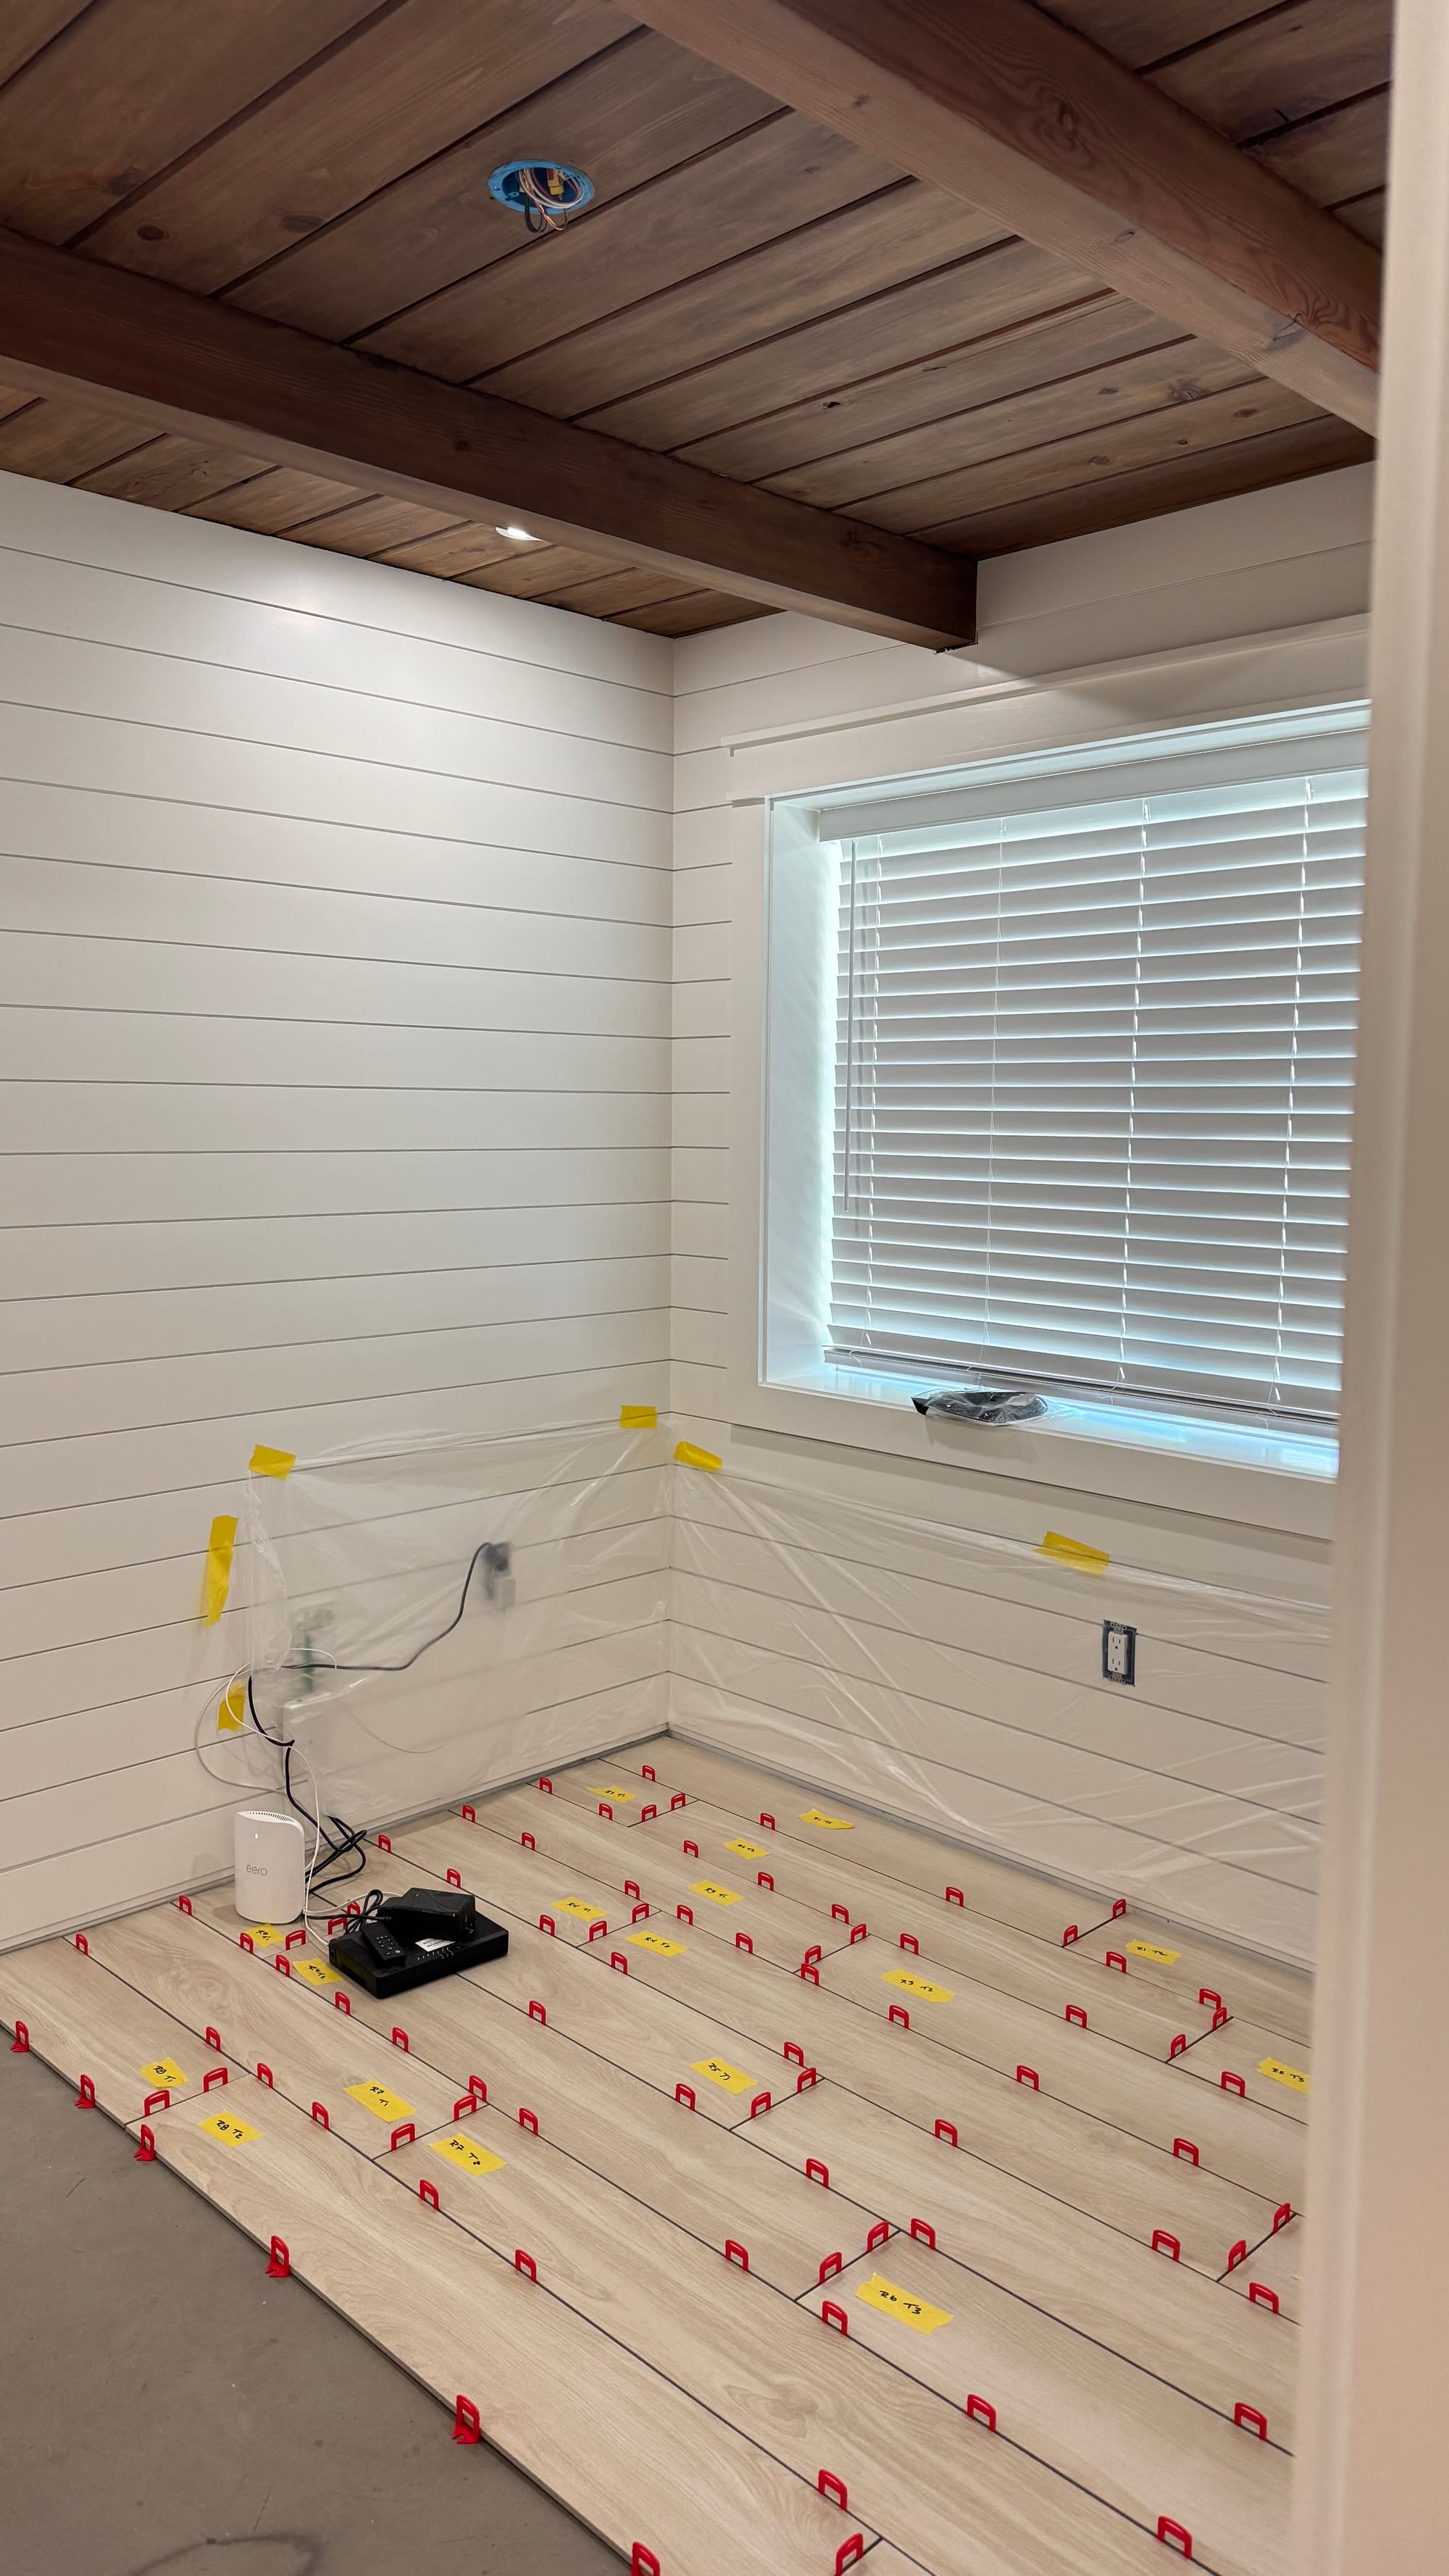
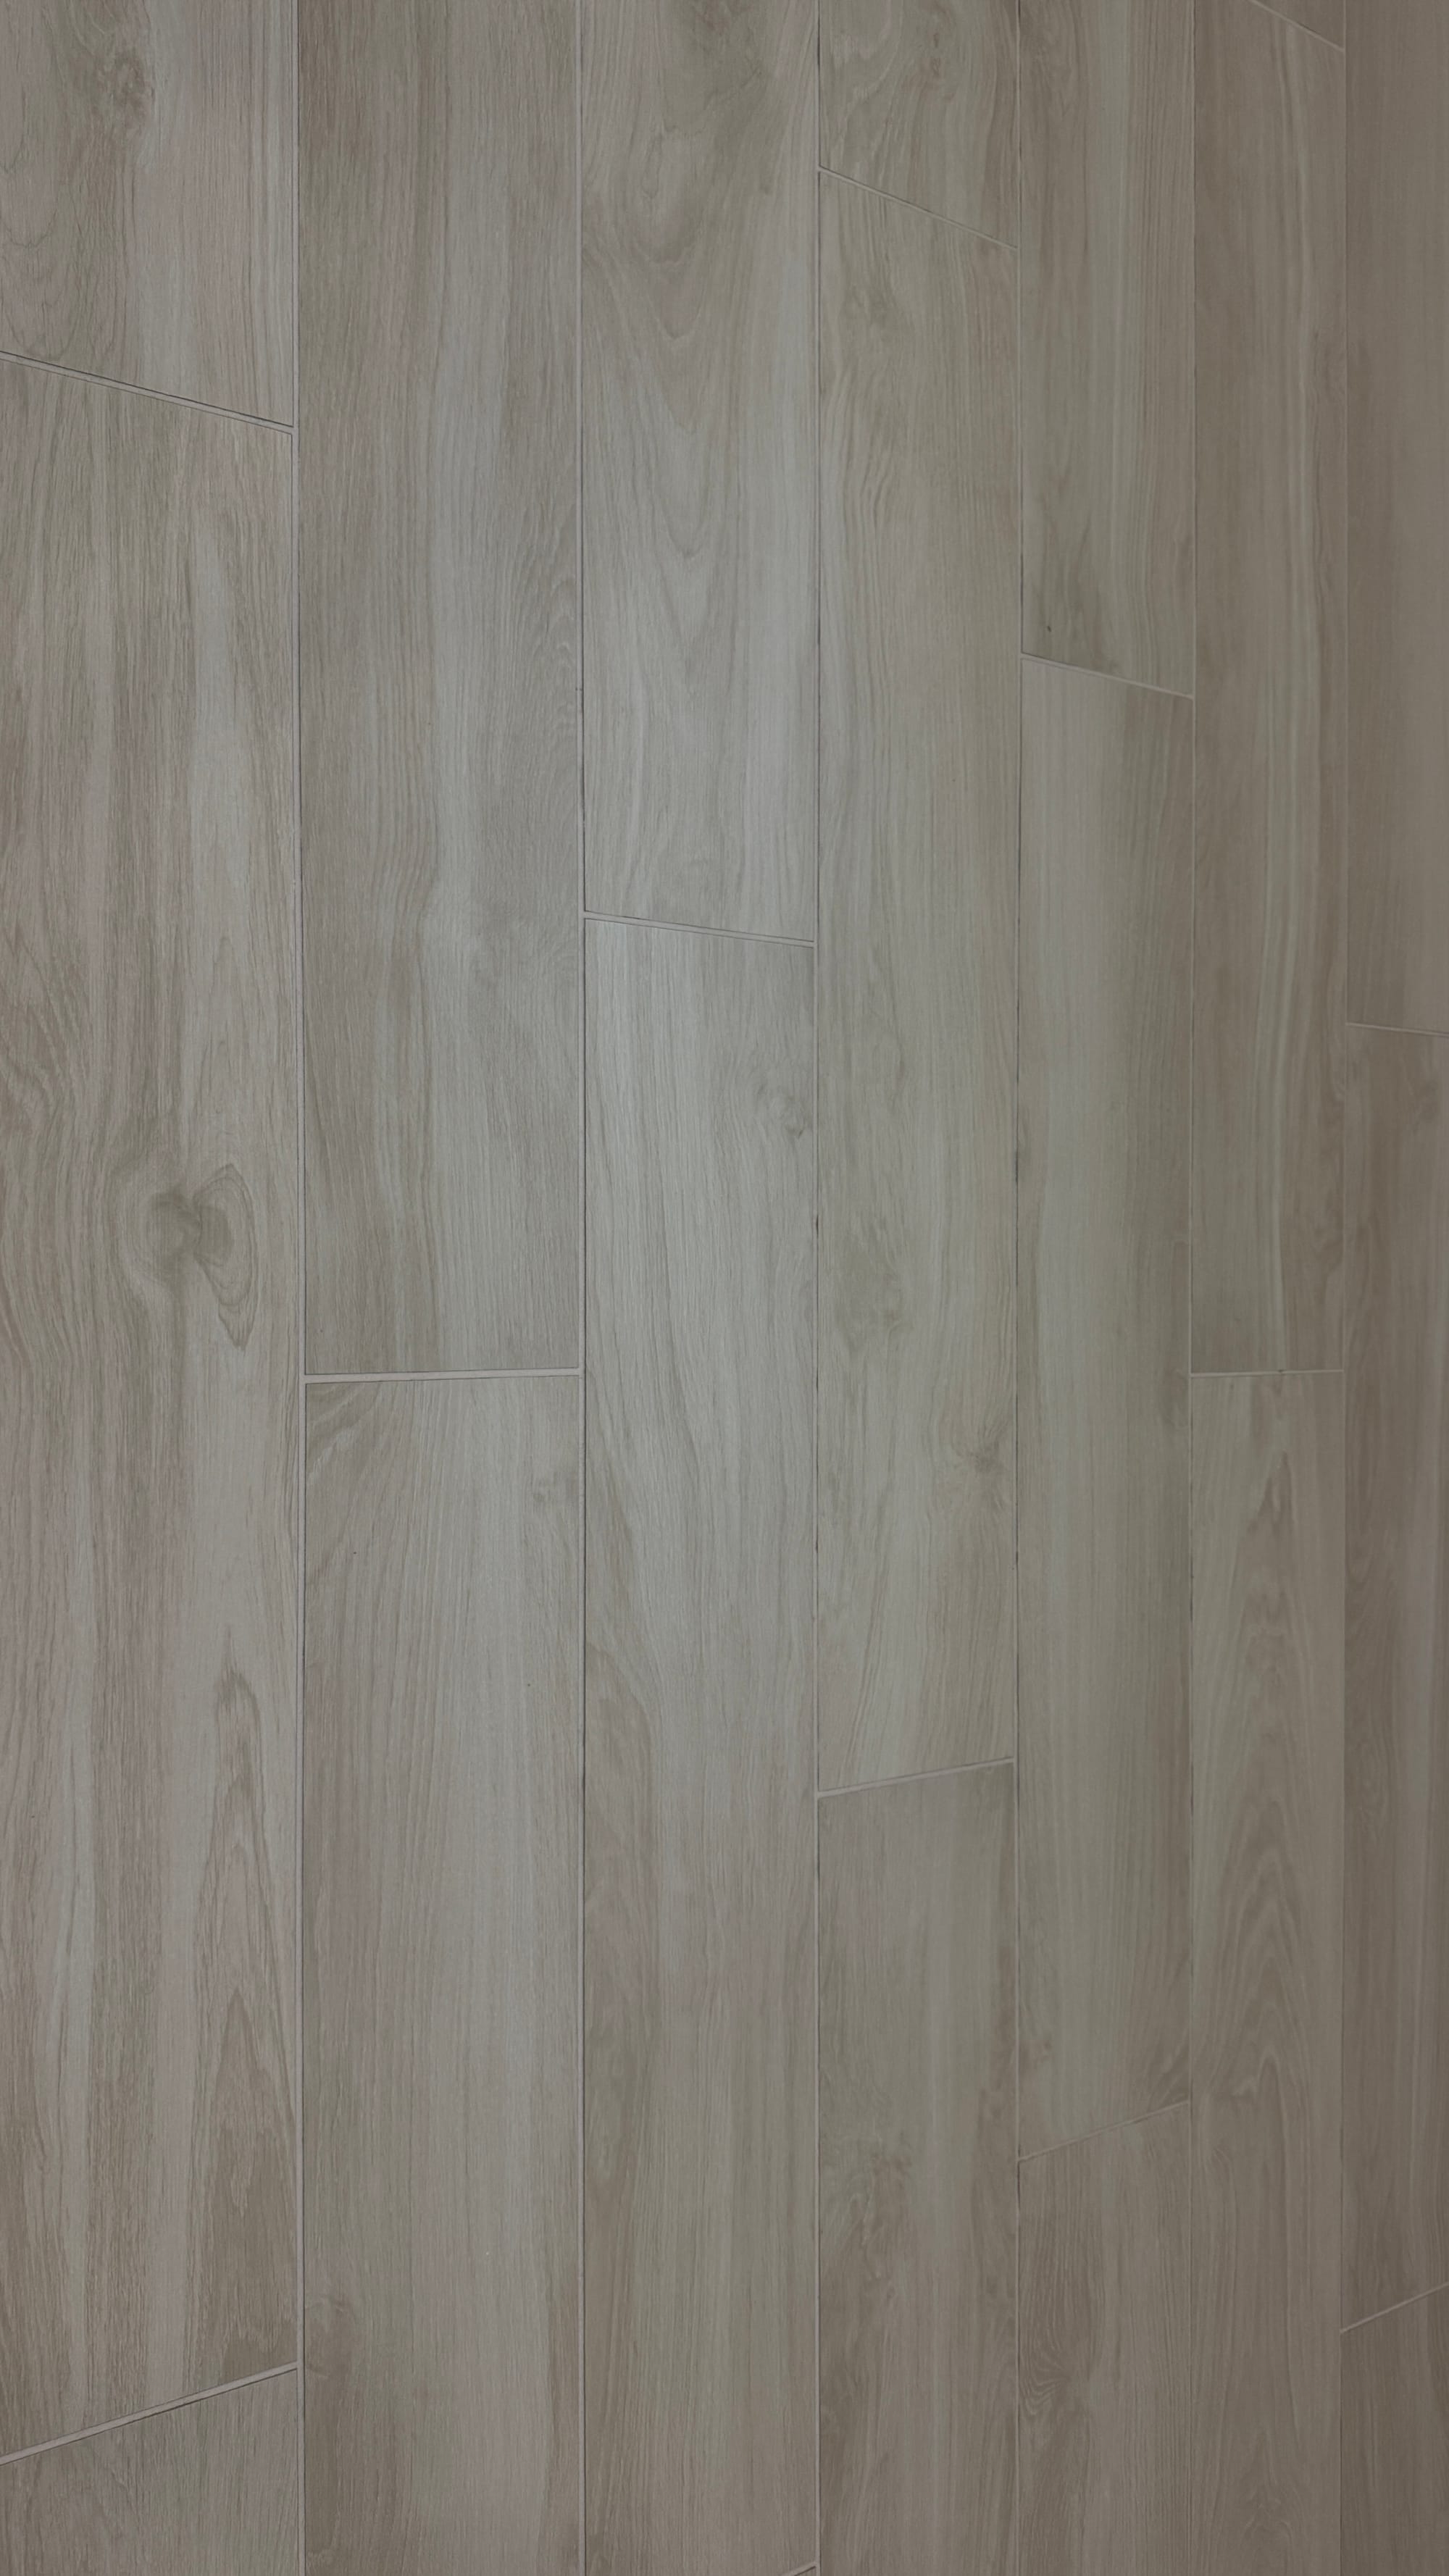
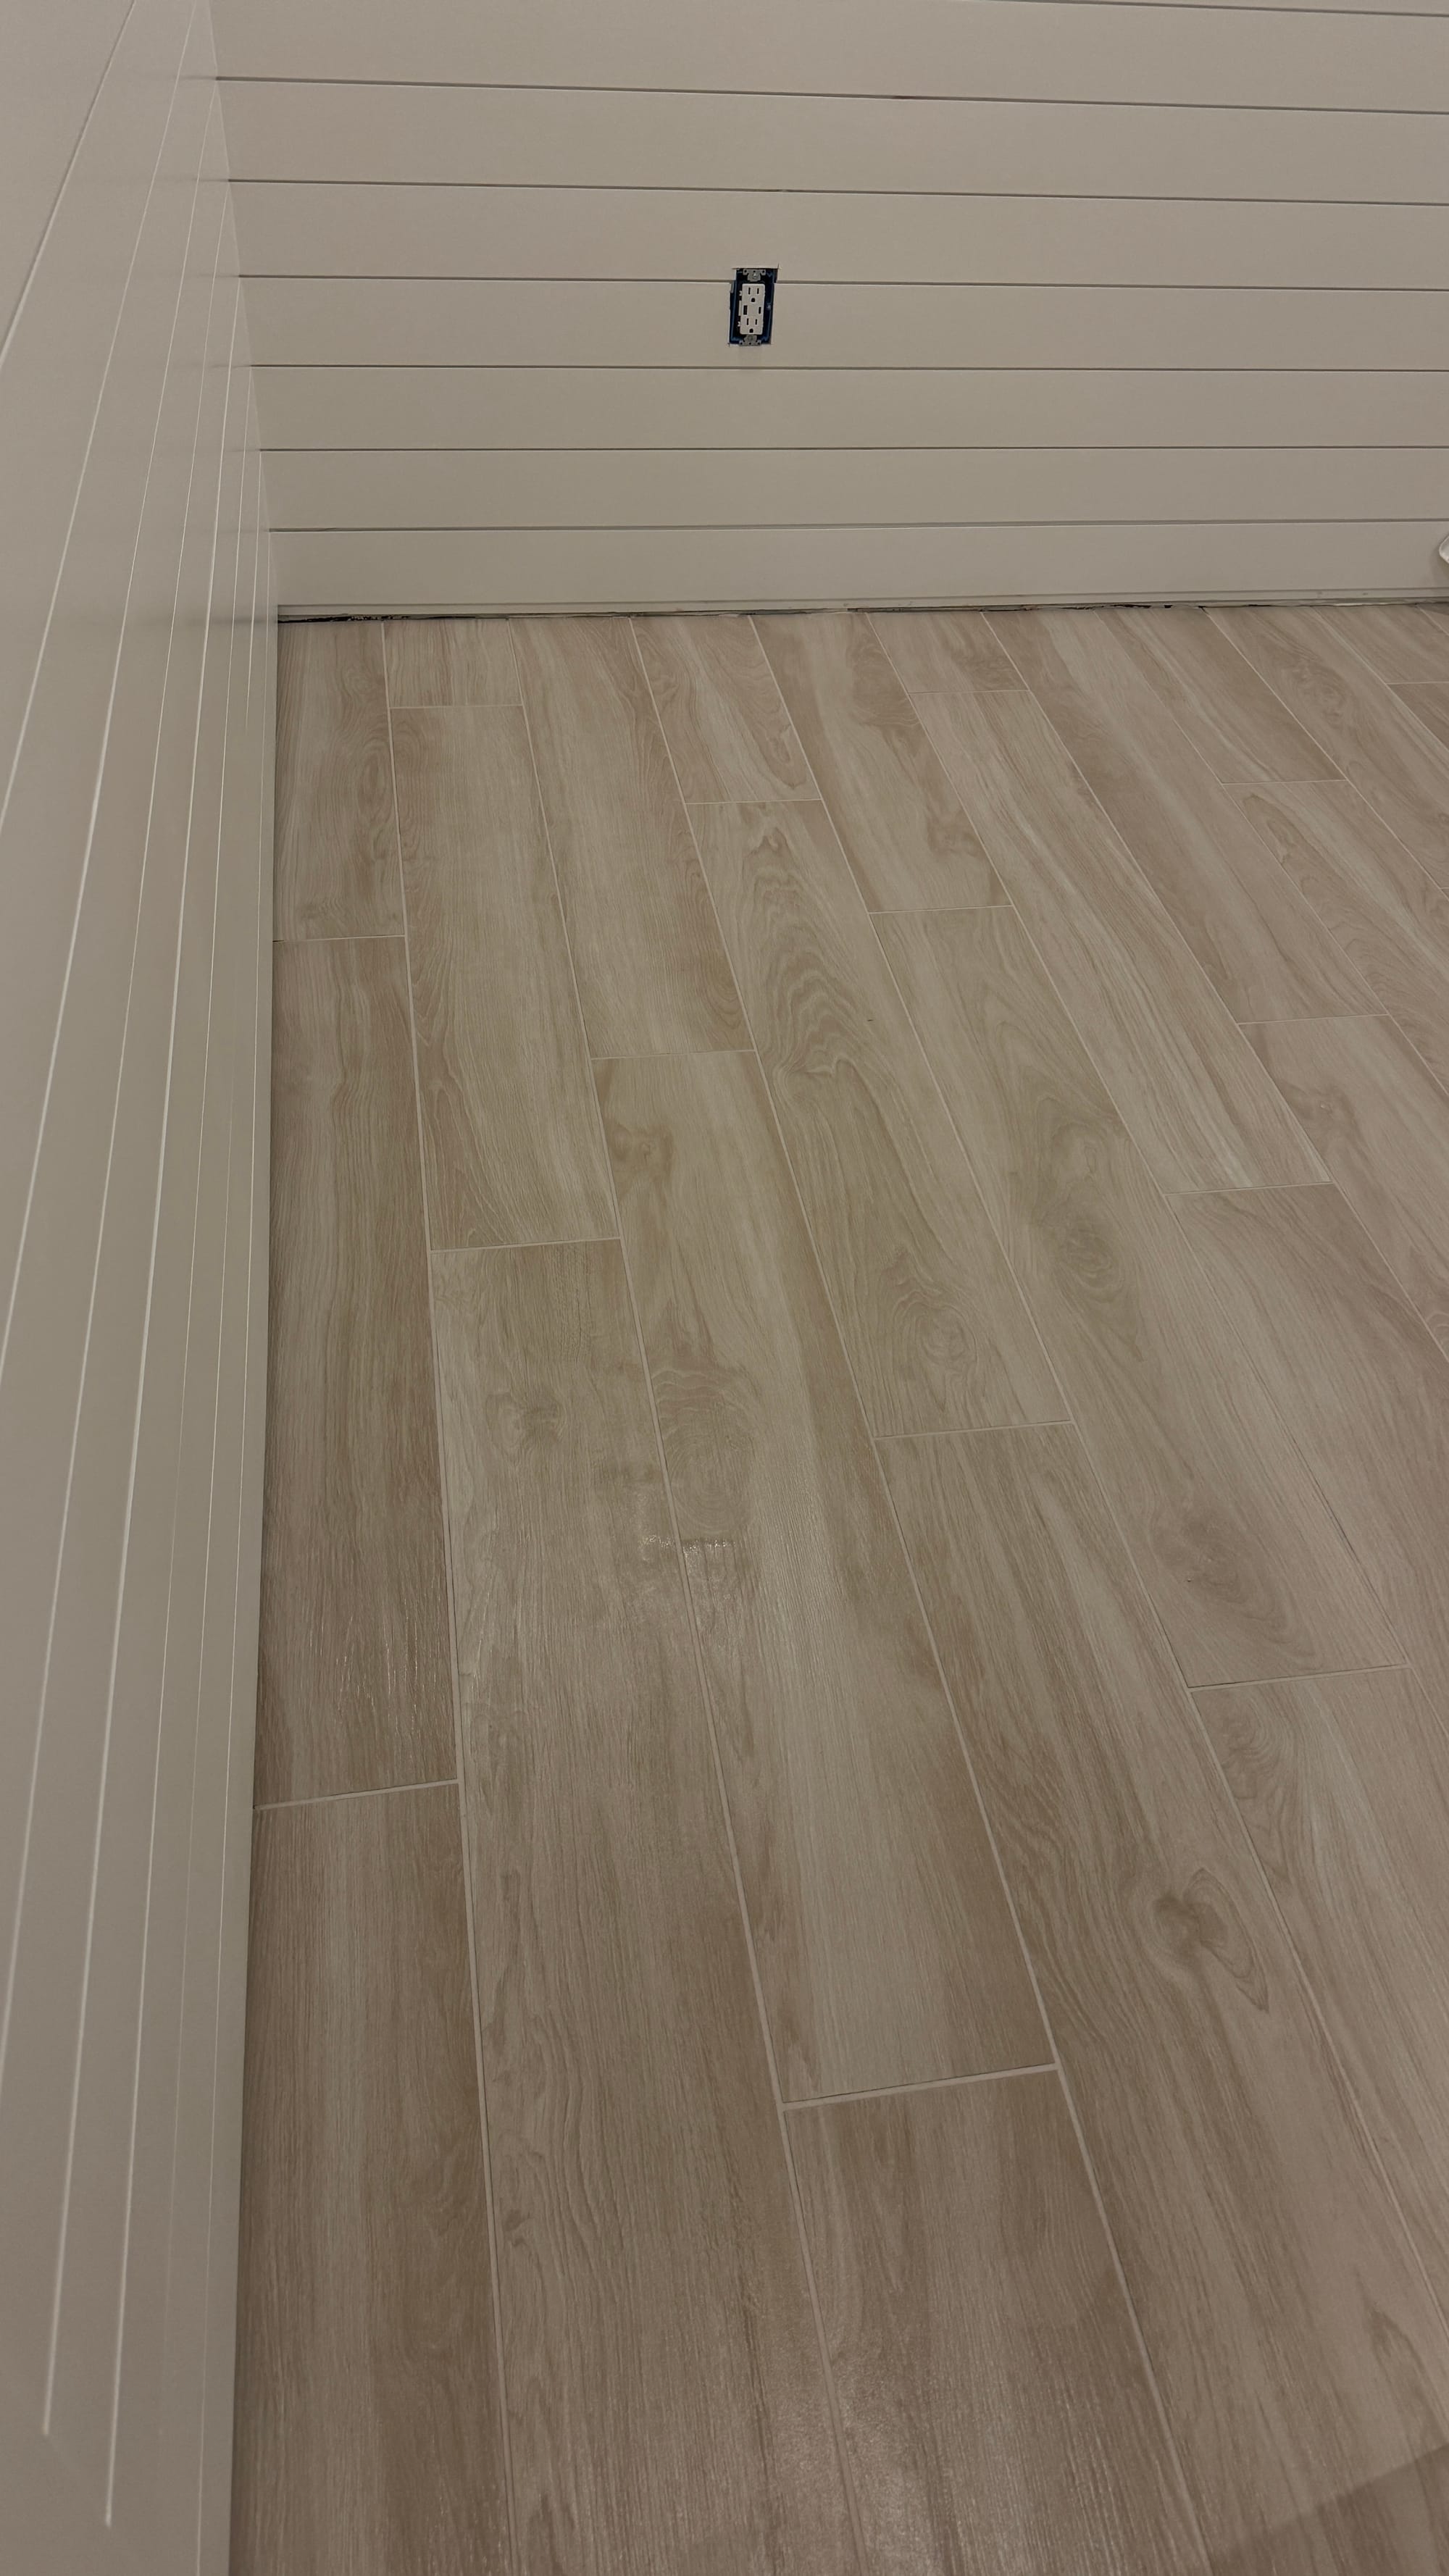
Currently, we are working on laying the remaining tile floors. We just have the living room and the guest bedroom left and then we are officially finished with tile, thank goodness. Laying tile is not for the weak. We have a complete new respect for all tile layers.
I can’t wait to get started on the decor. We’ve been completely focused on the basics for now. We are going for a cozy coastal grandfather cottage with old Florida vibes. Hopefully by the next postcard, it will be time for decorating.
sea you soon,x Bee
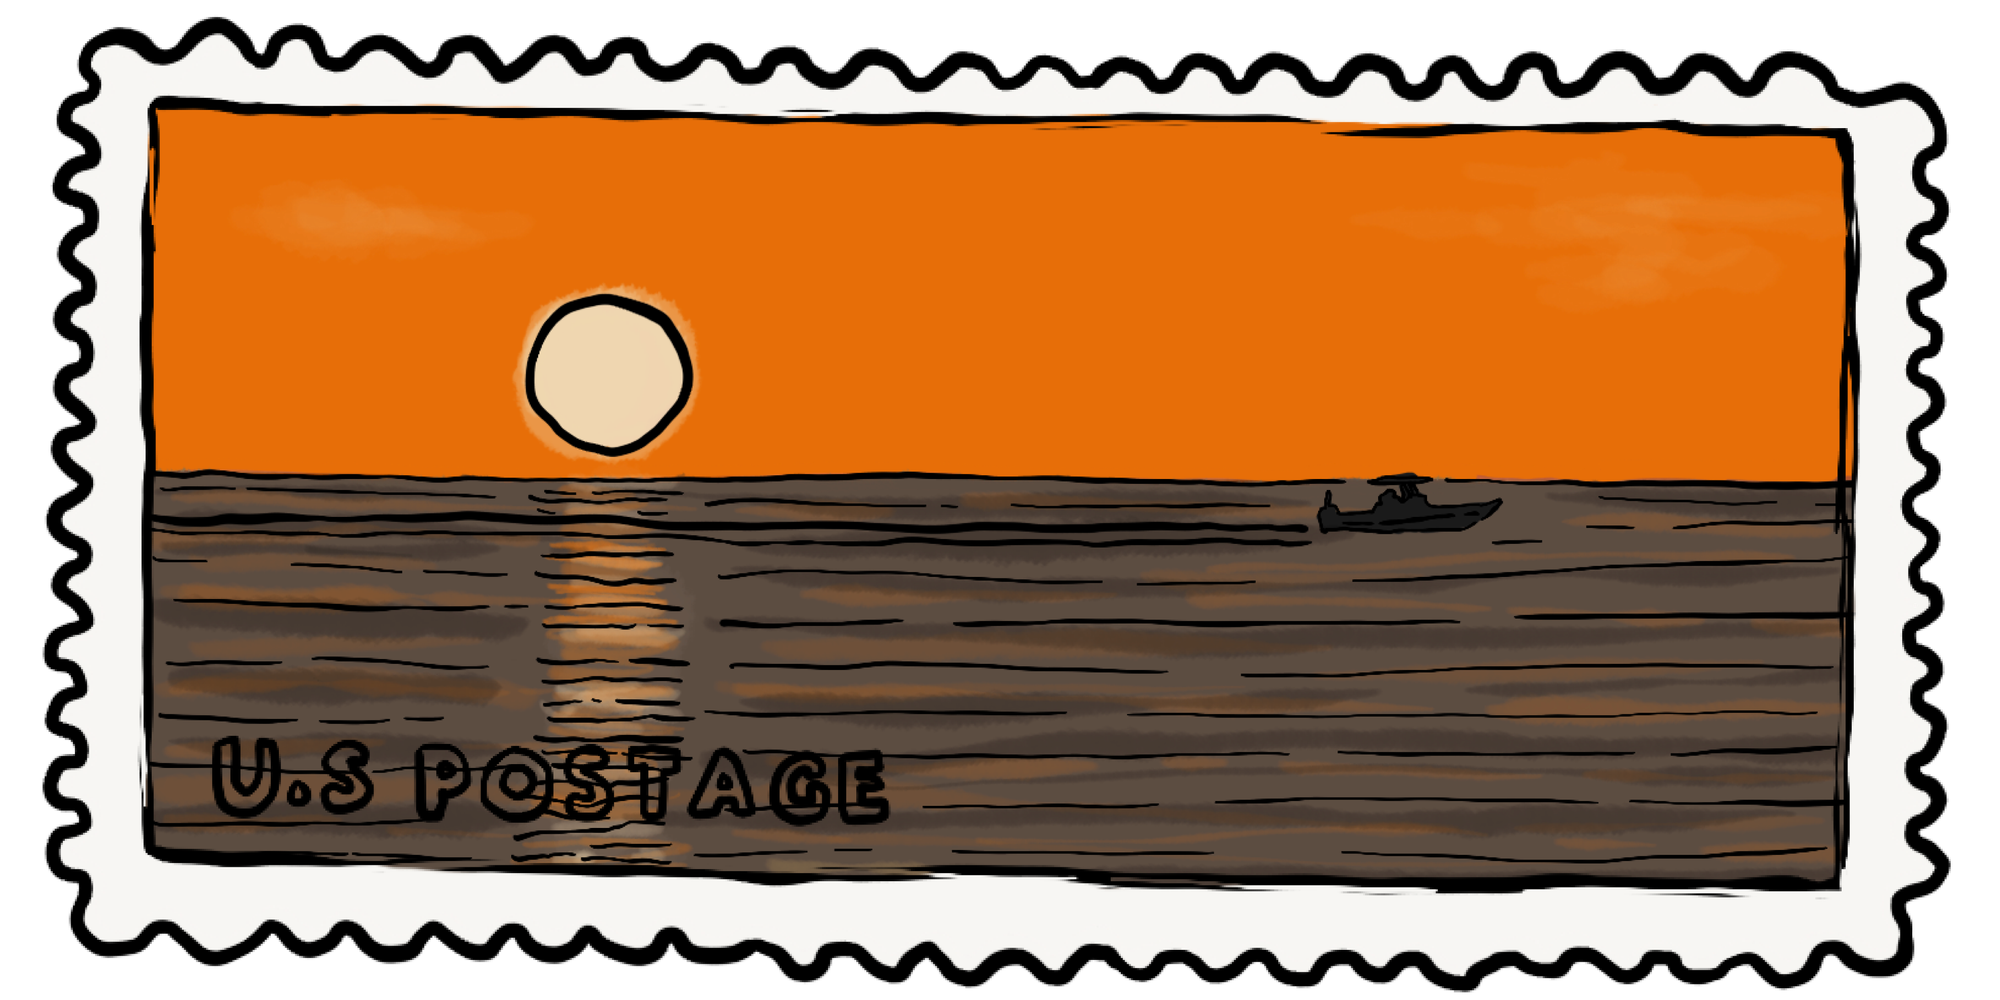
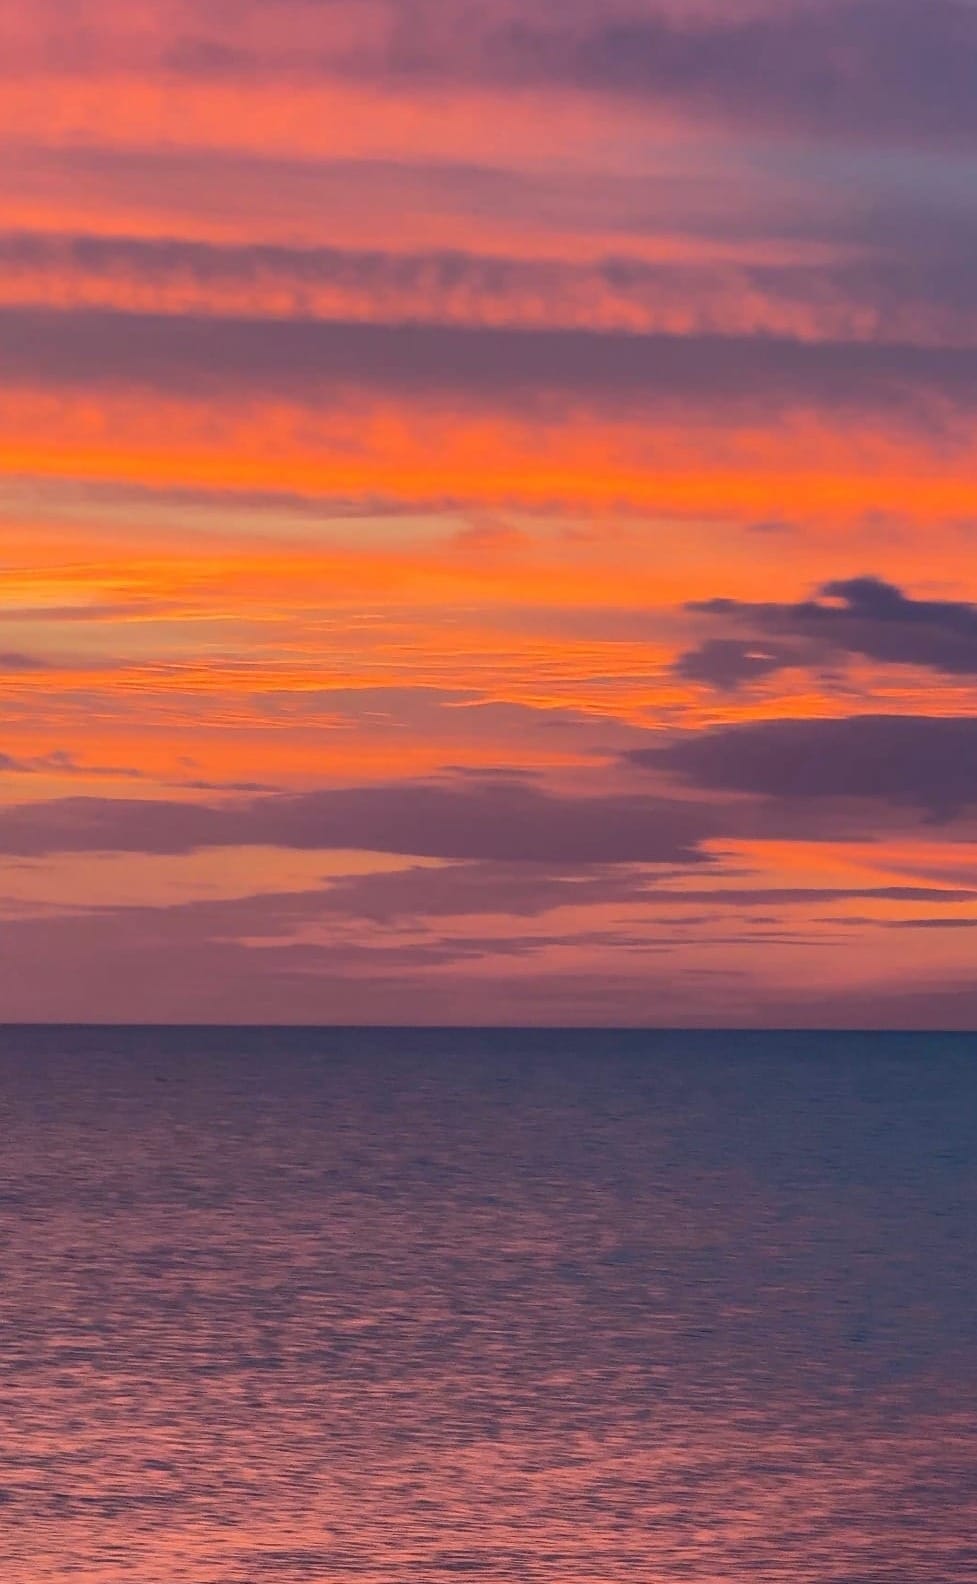
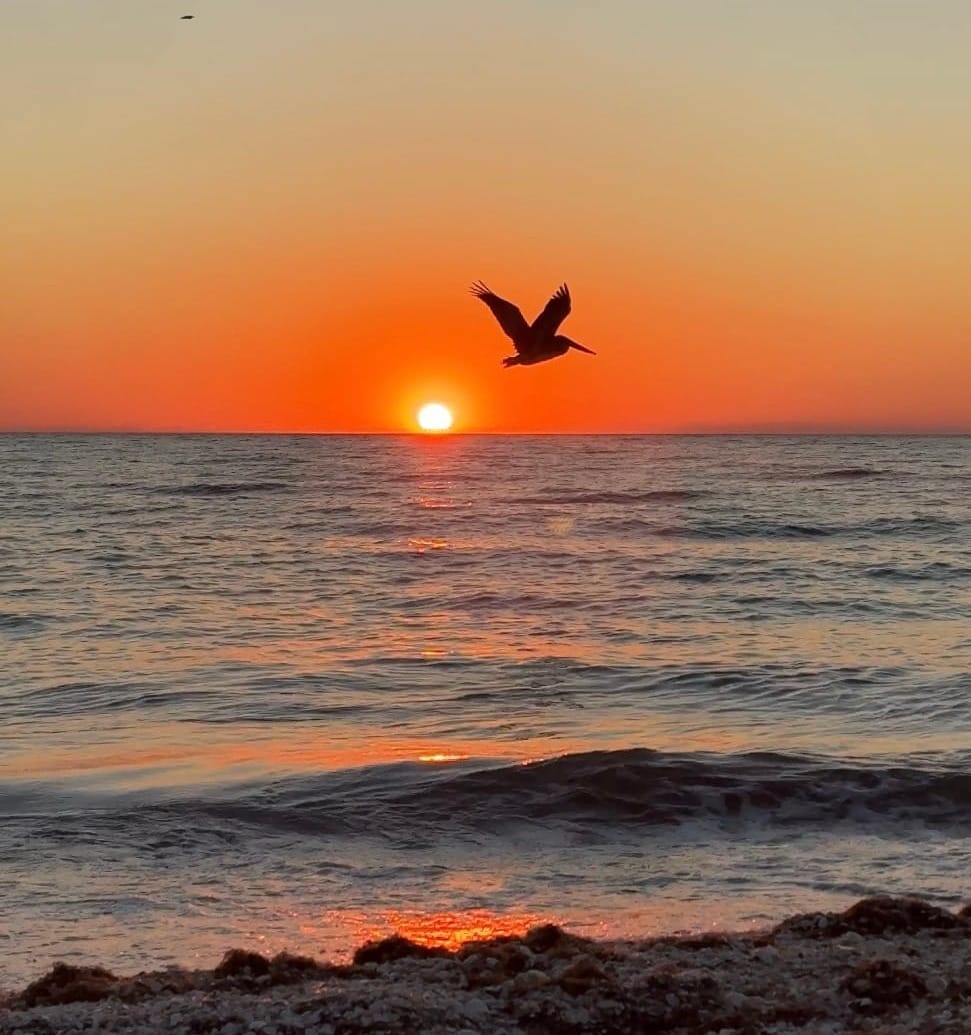
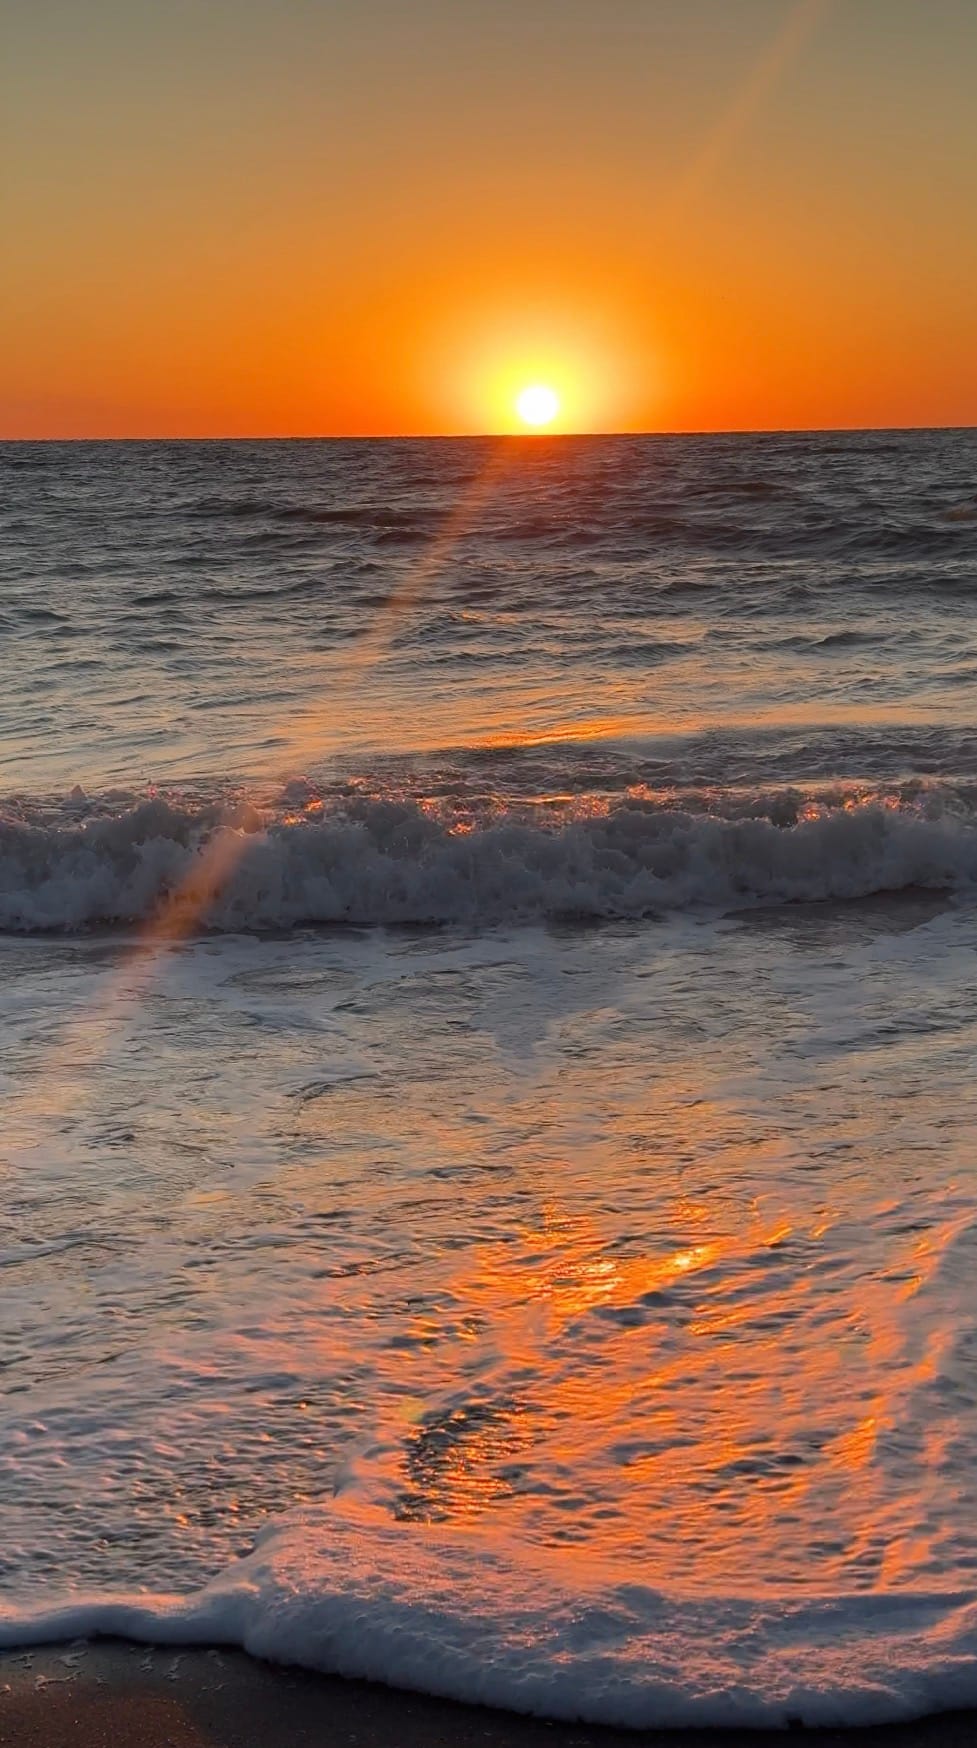
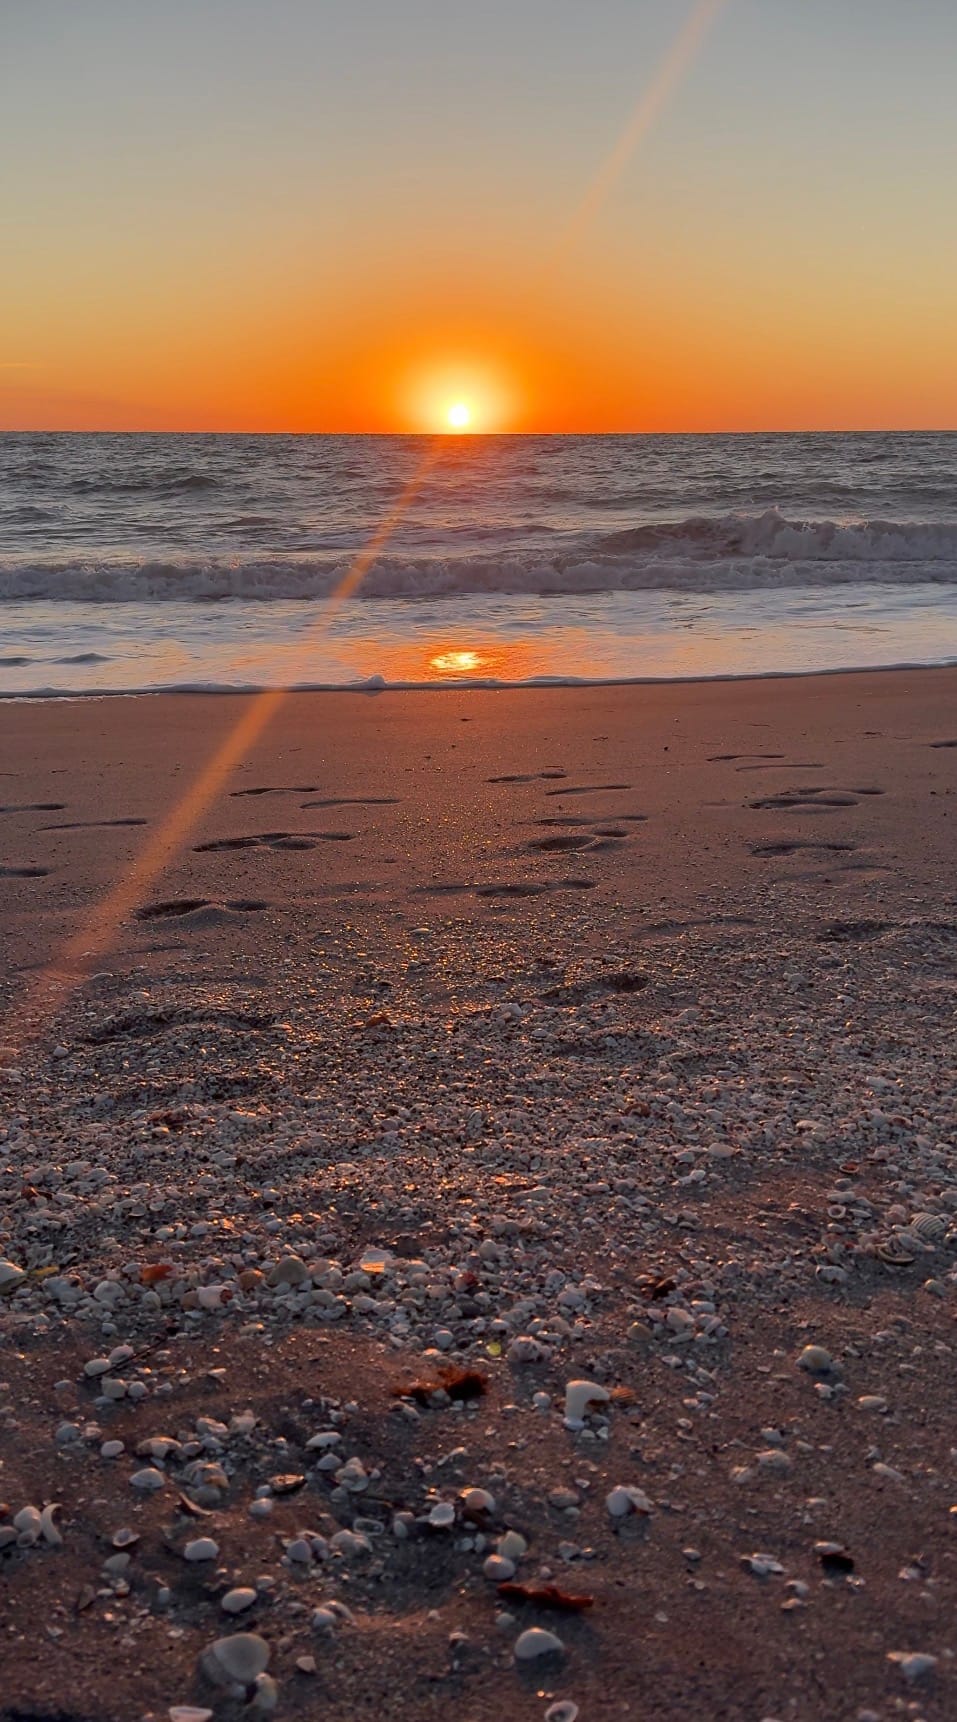
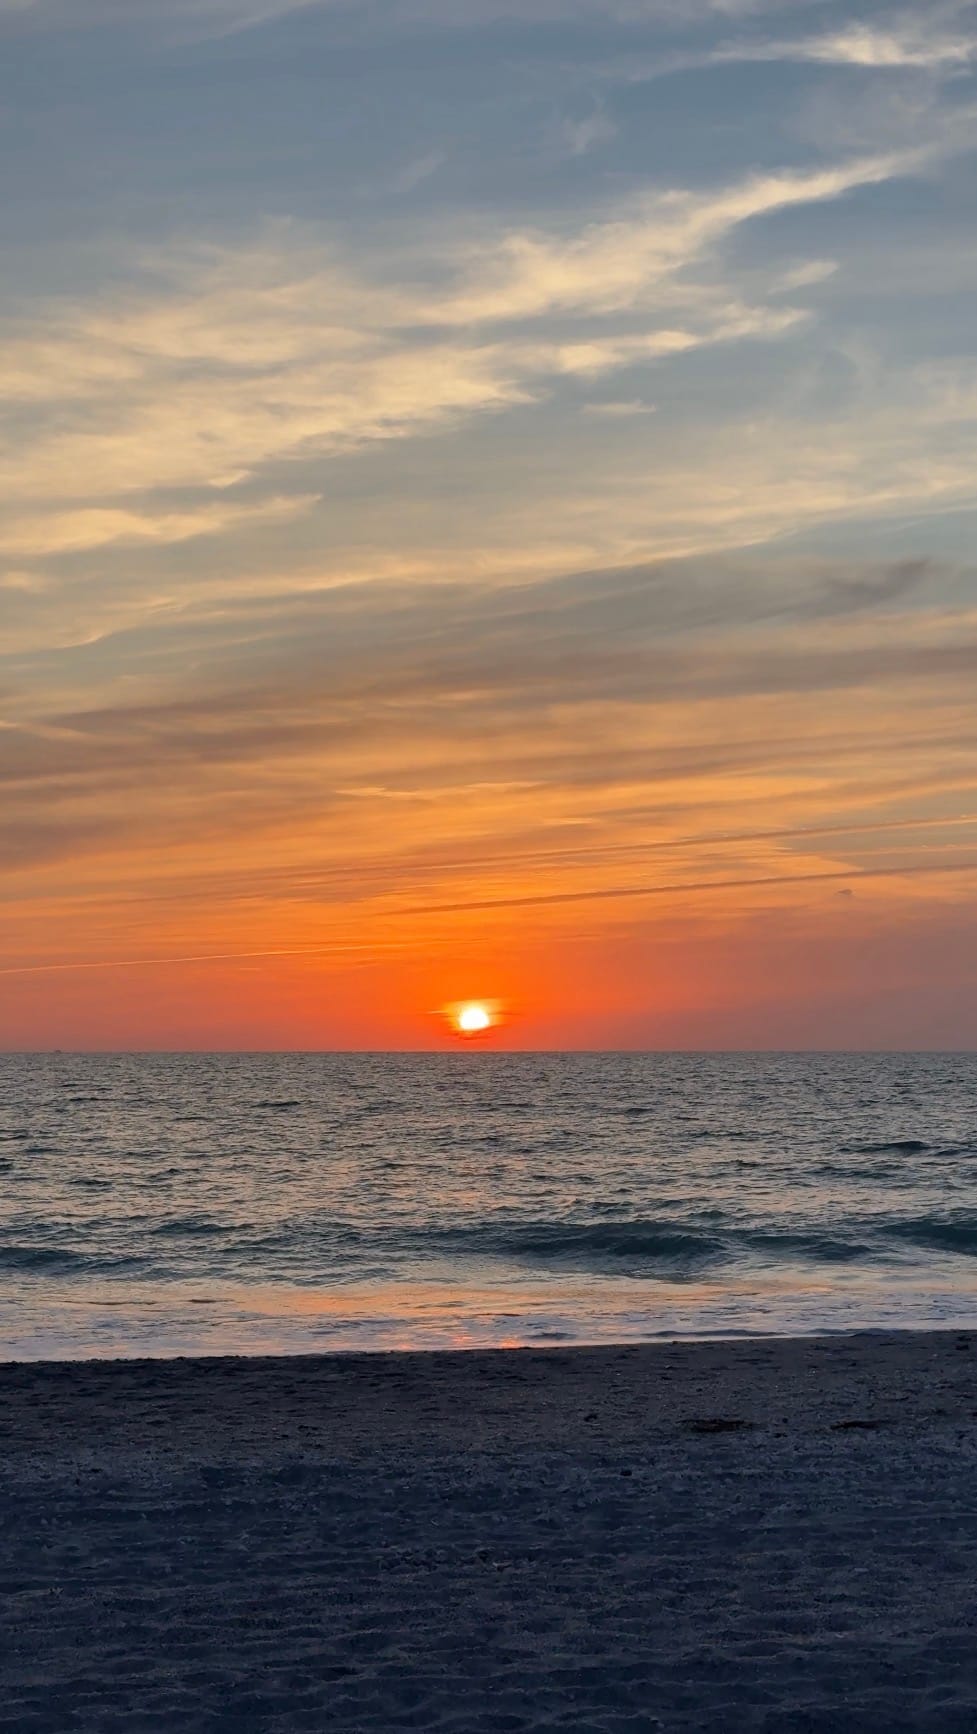
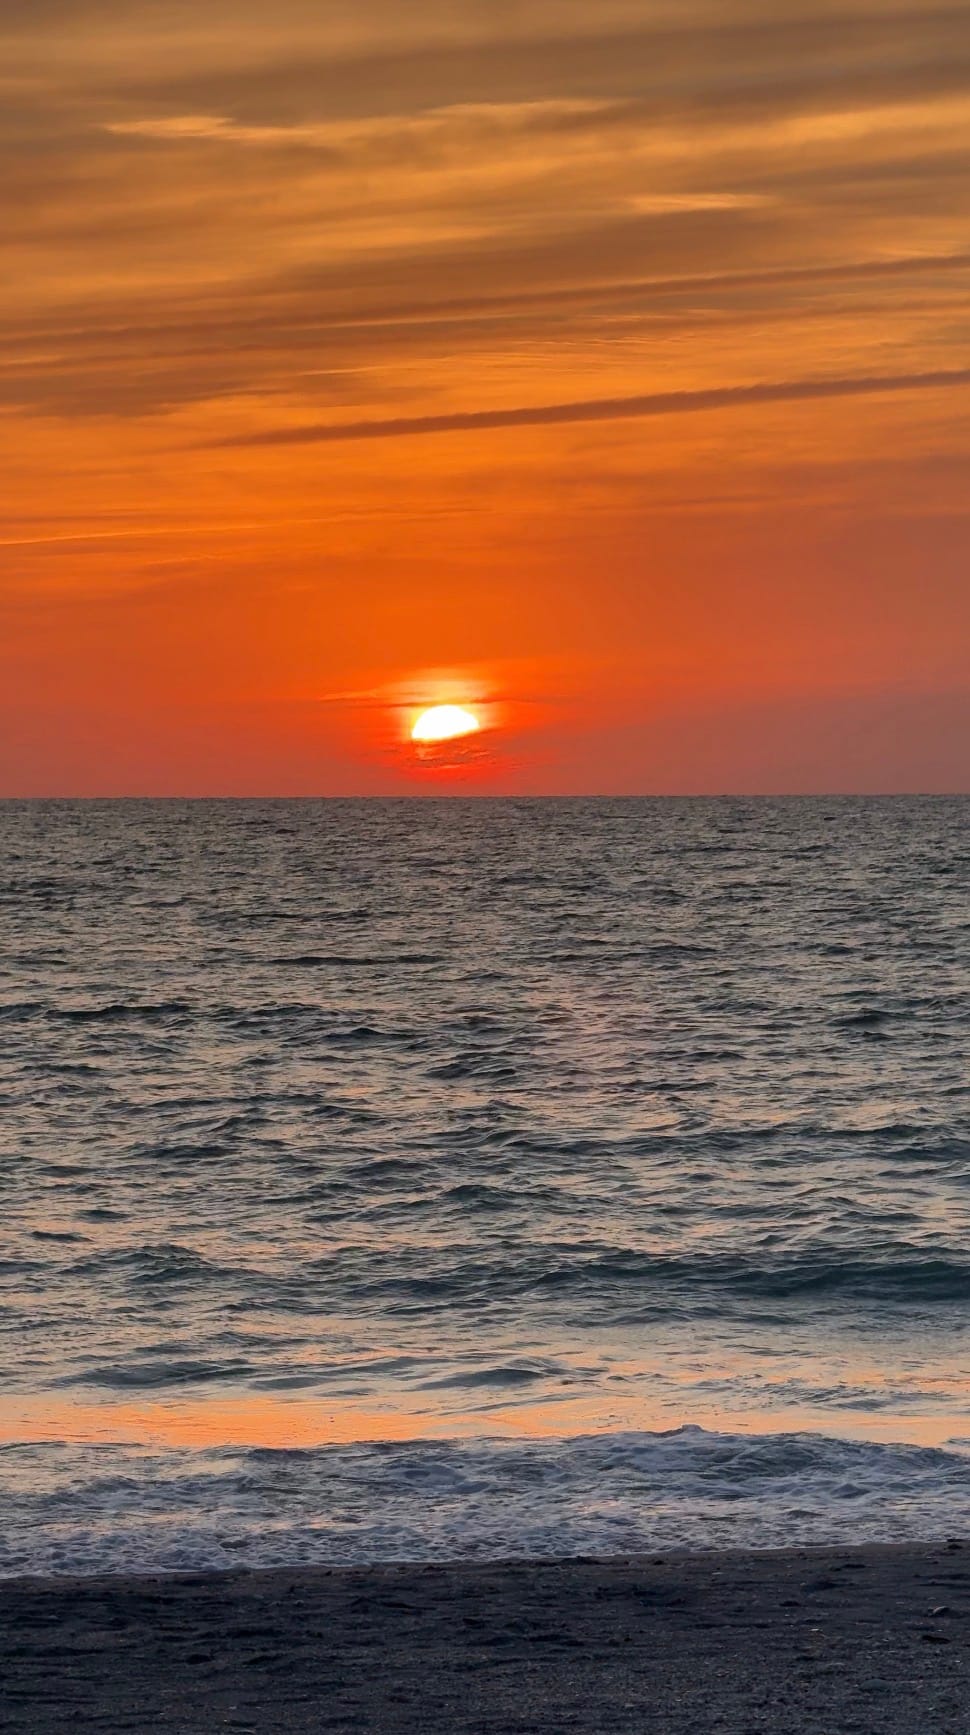
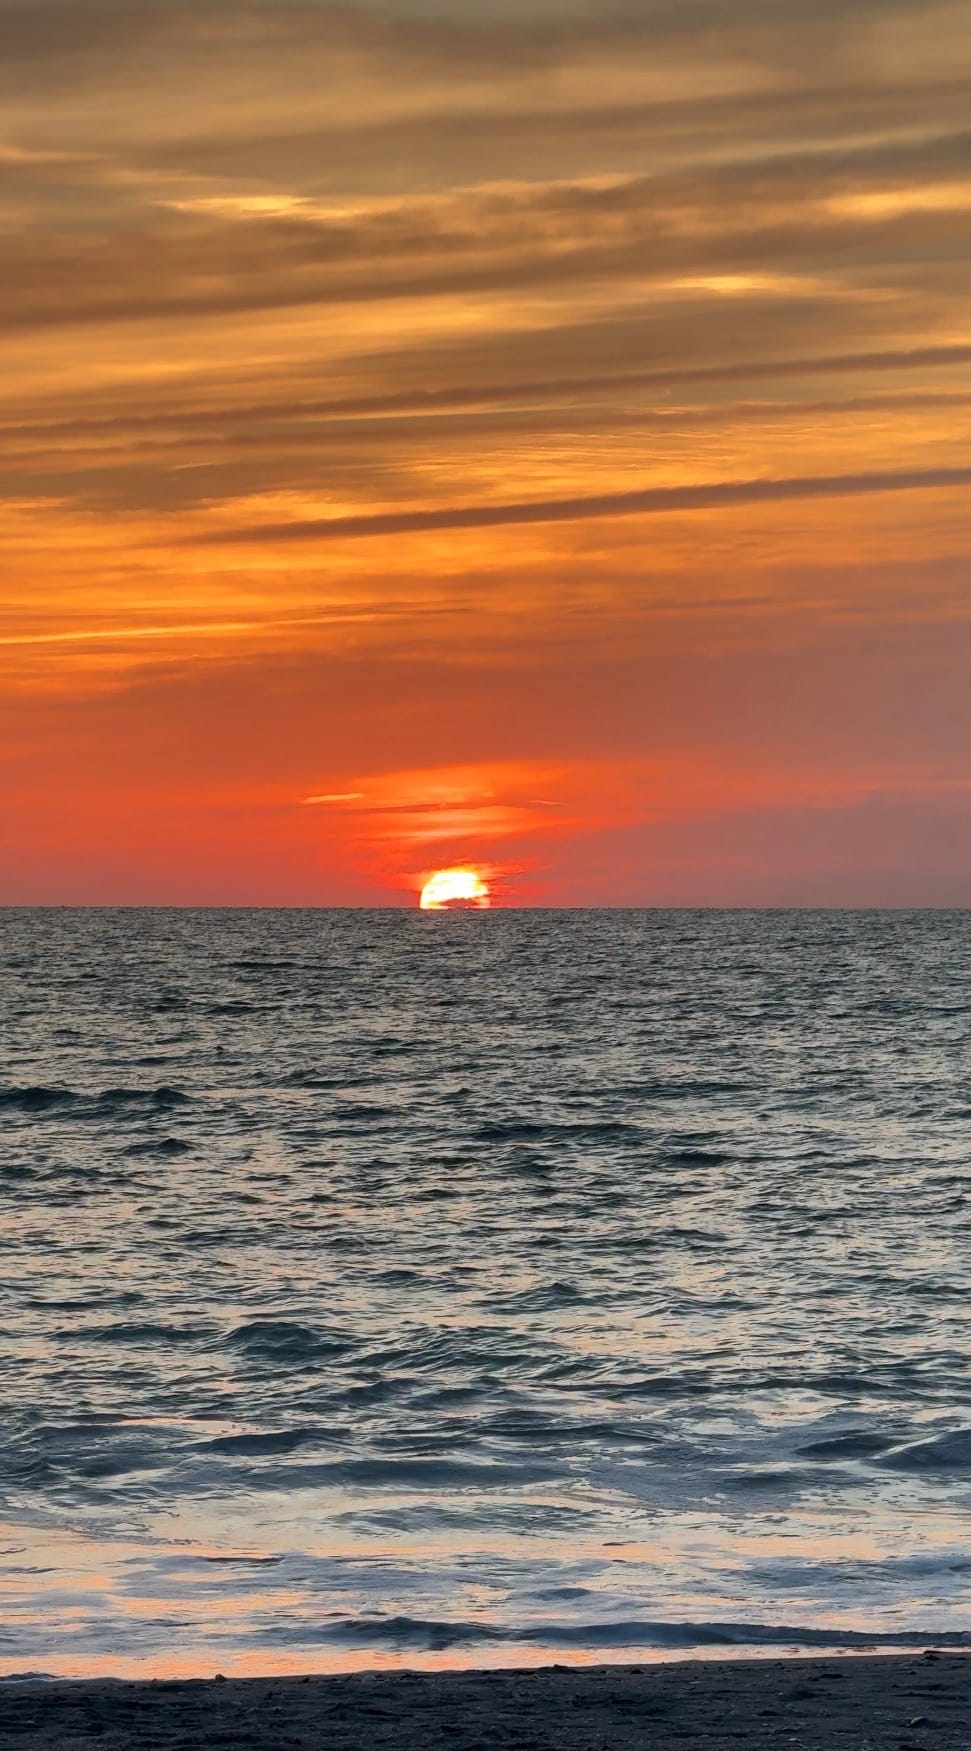
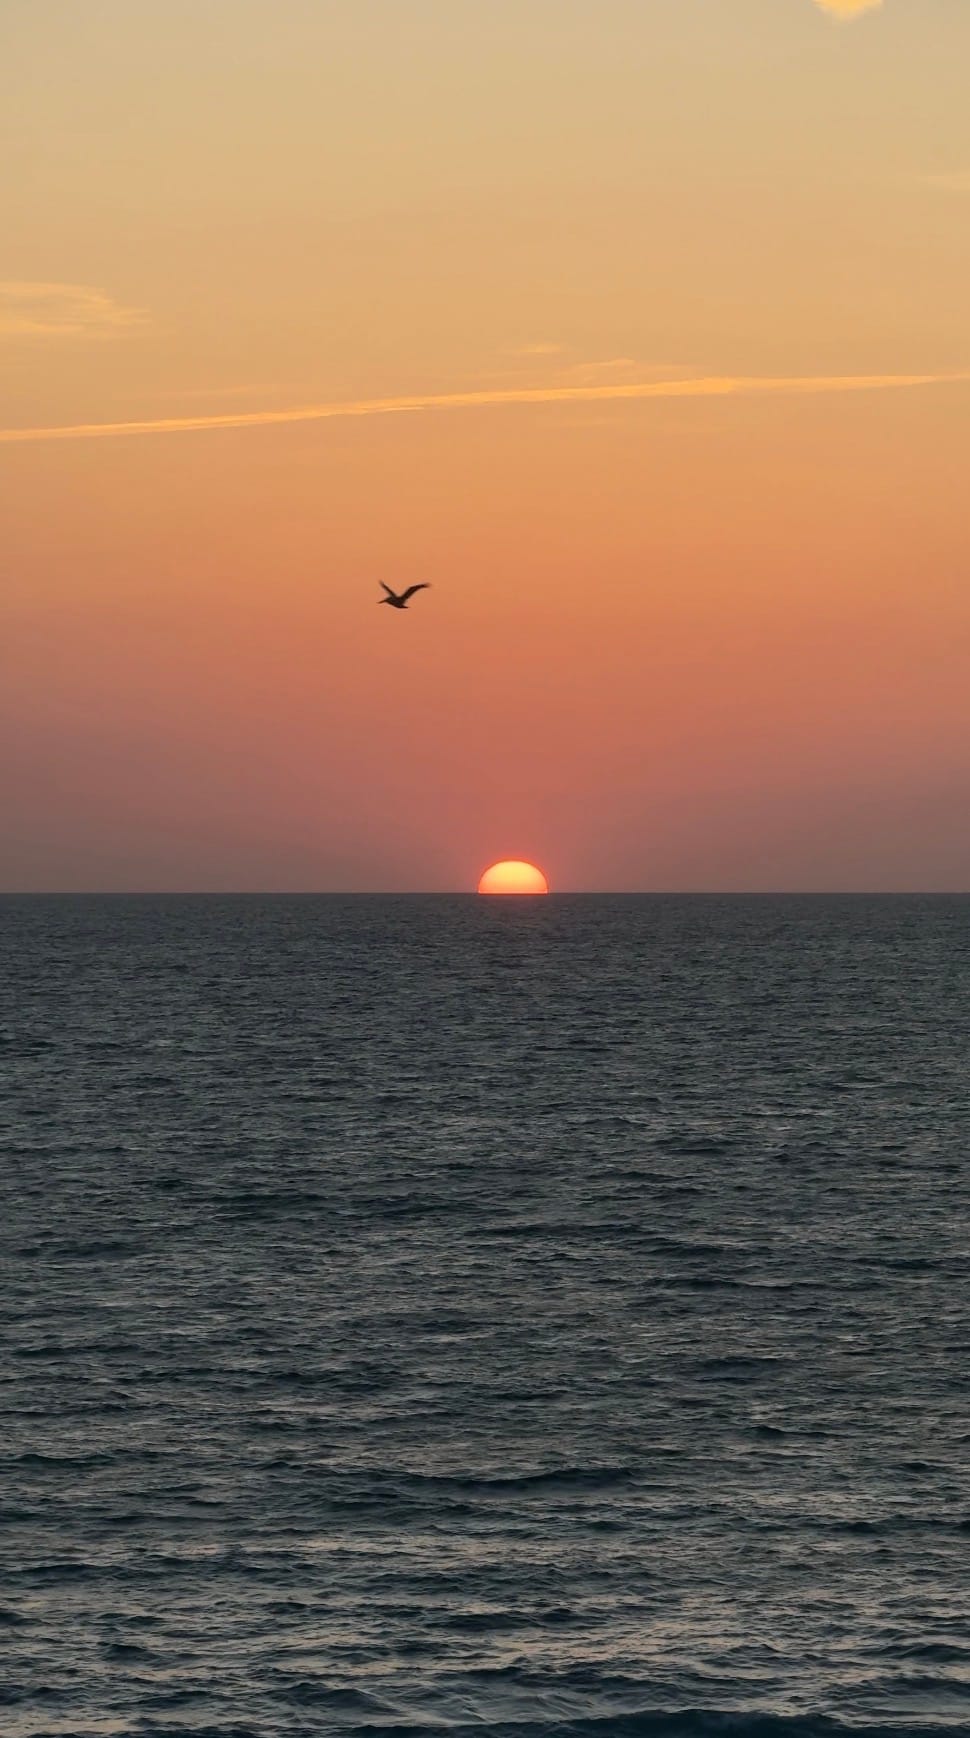
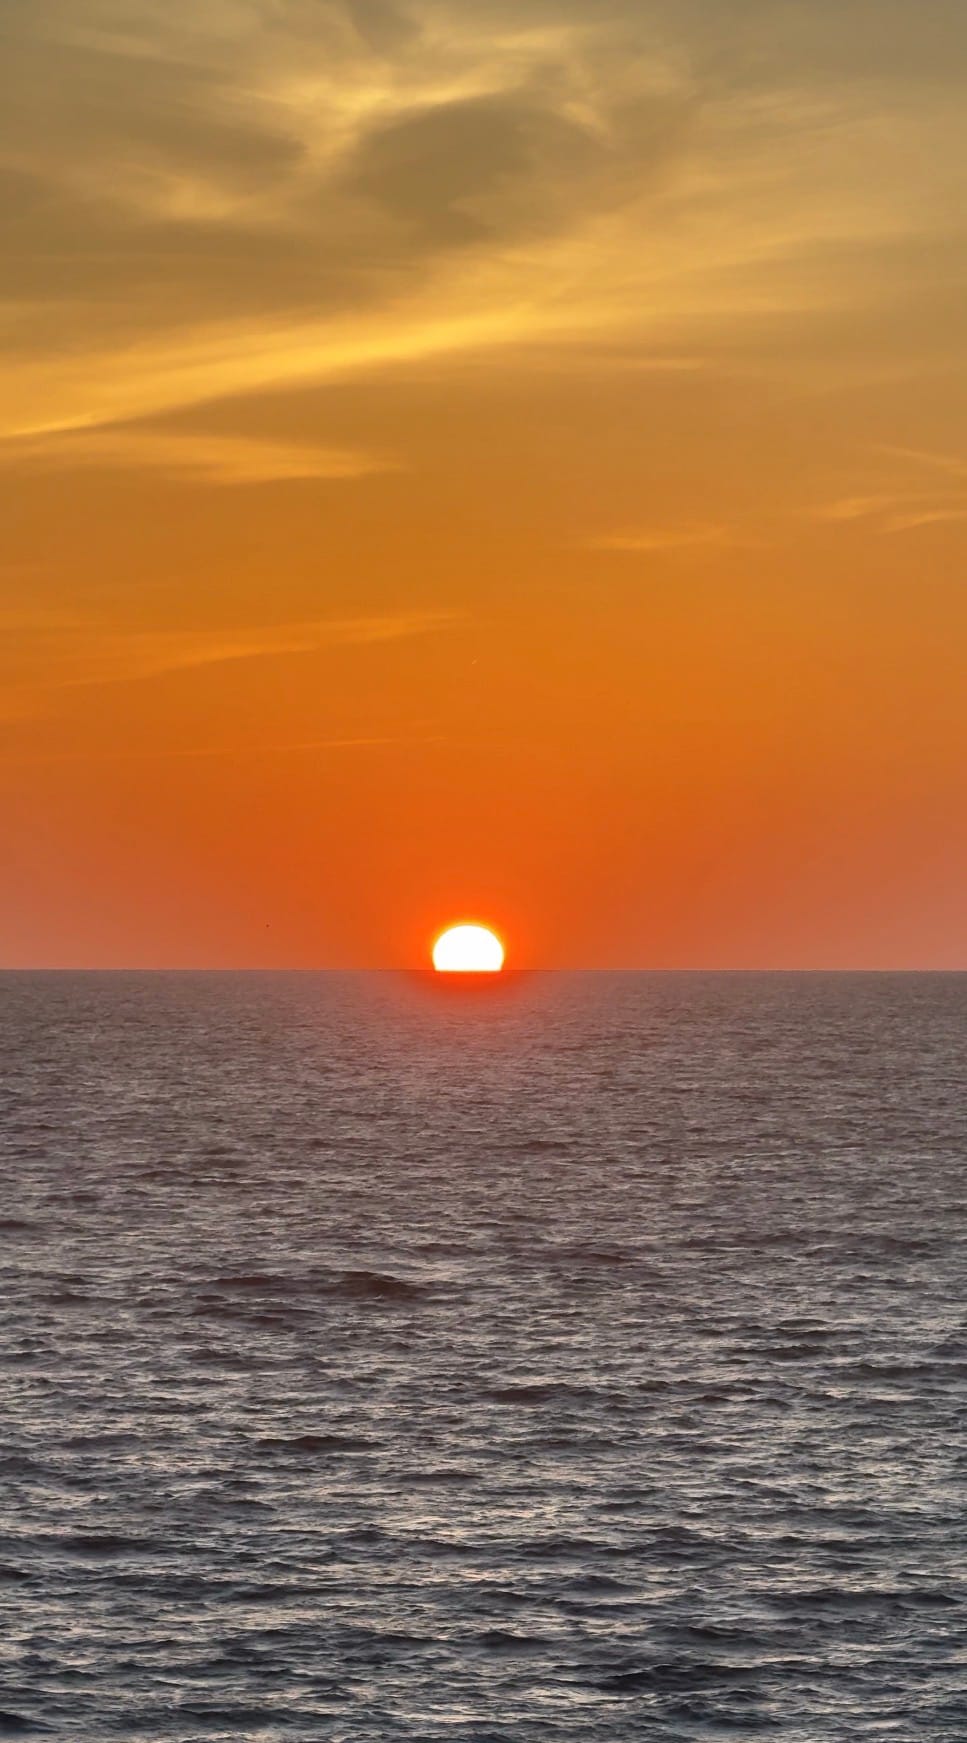
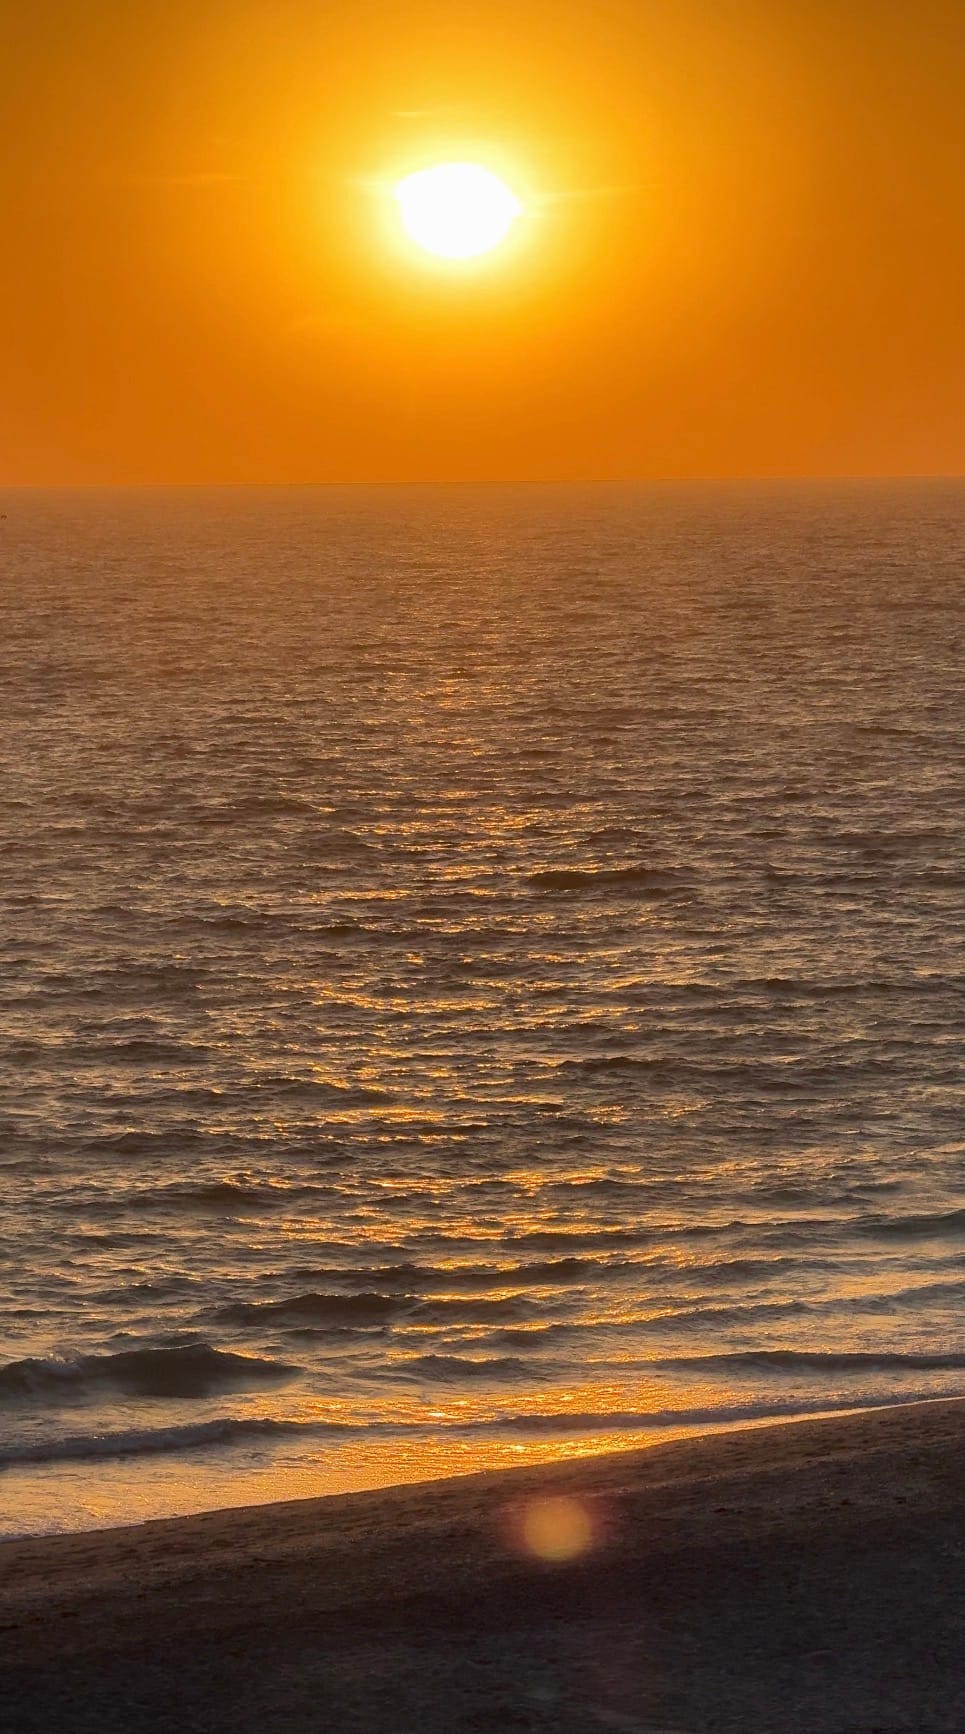
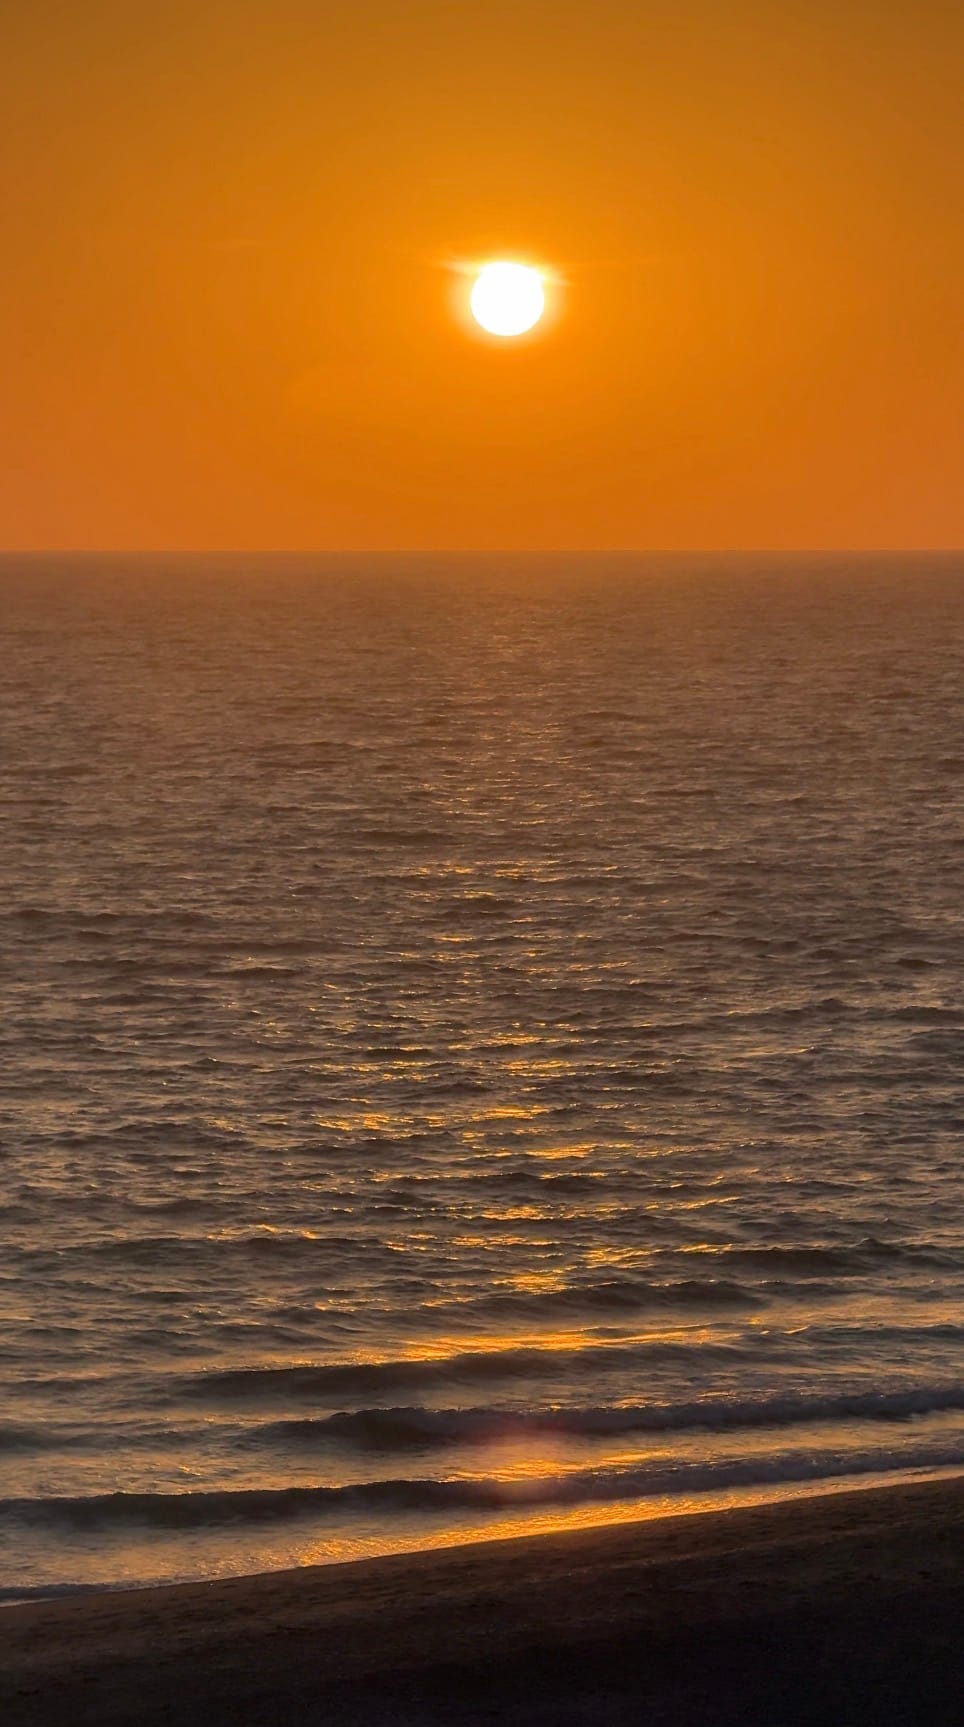
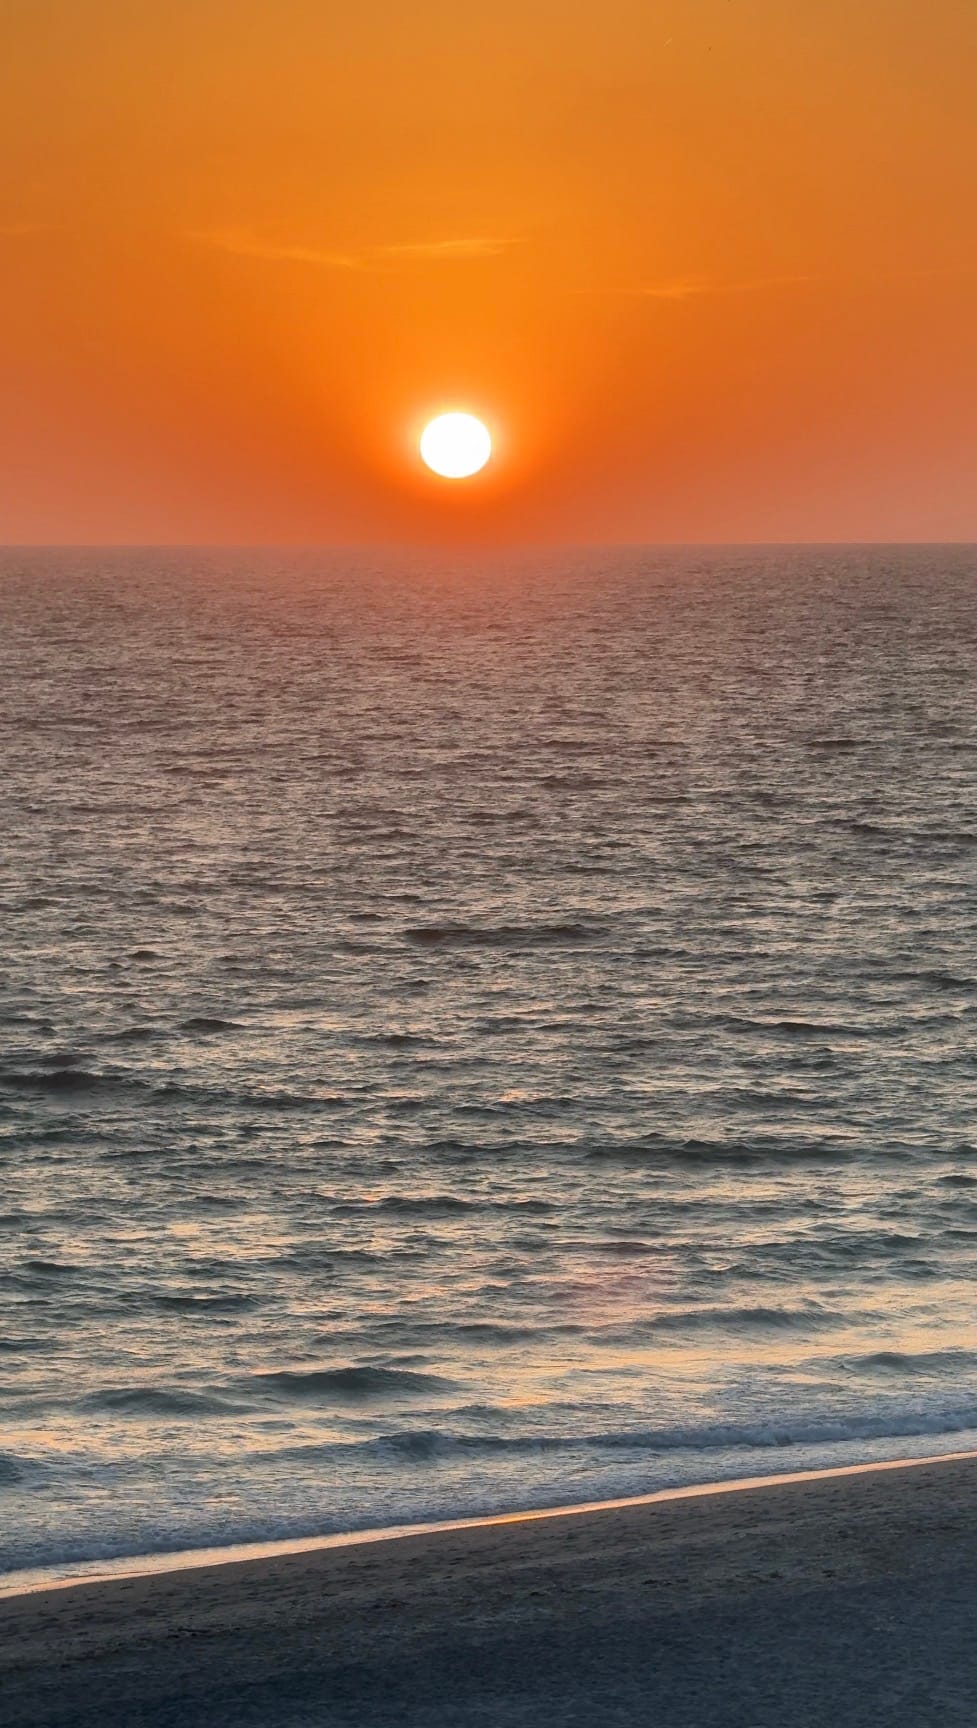
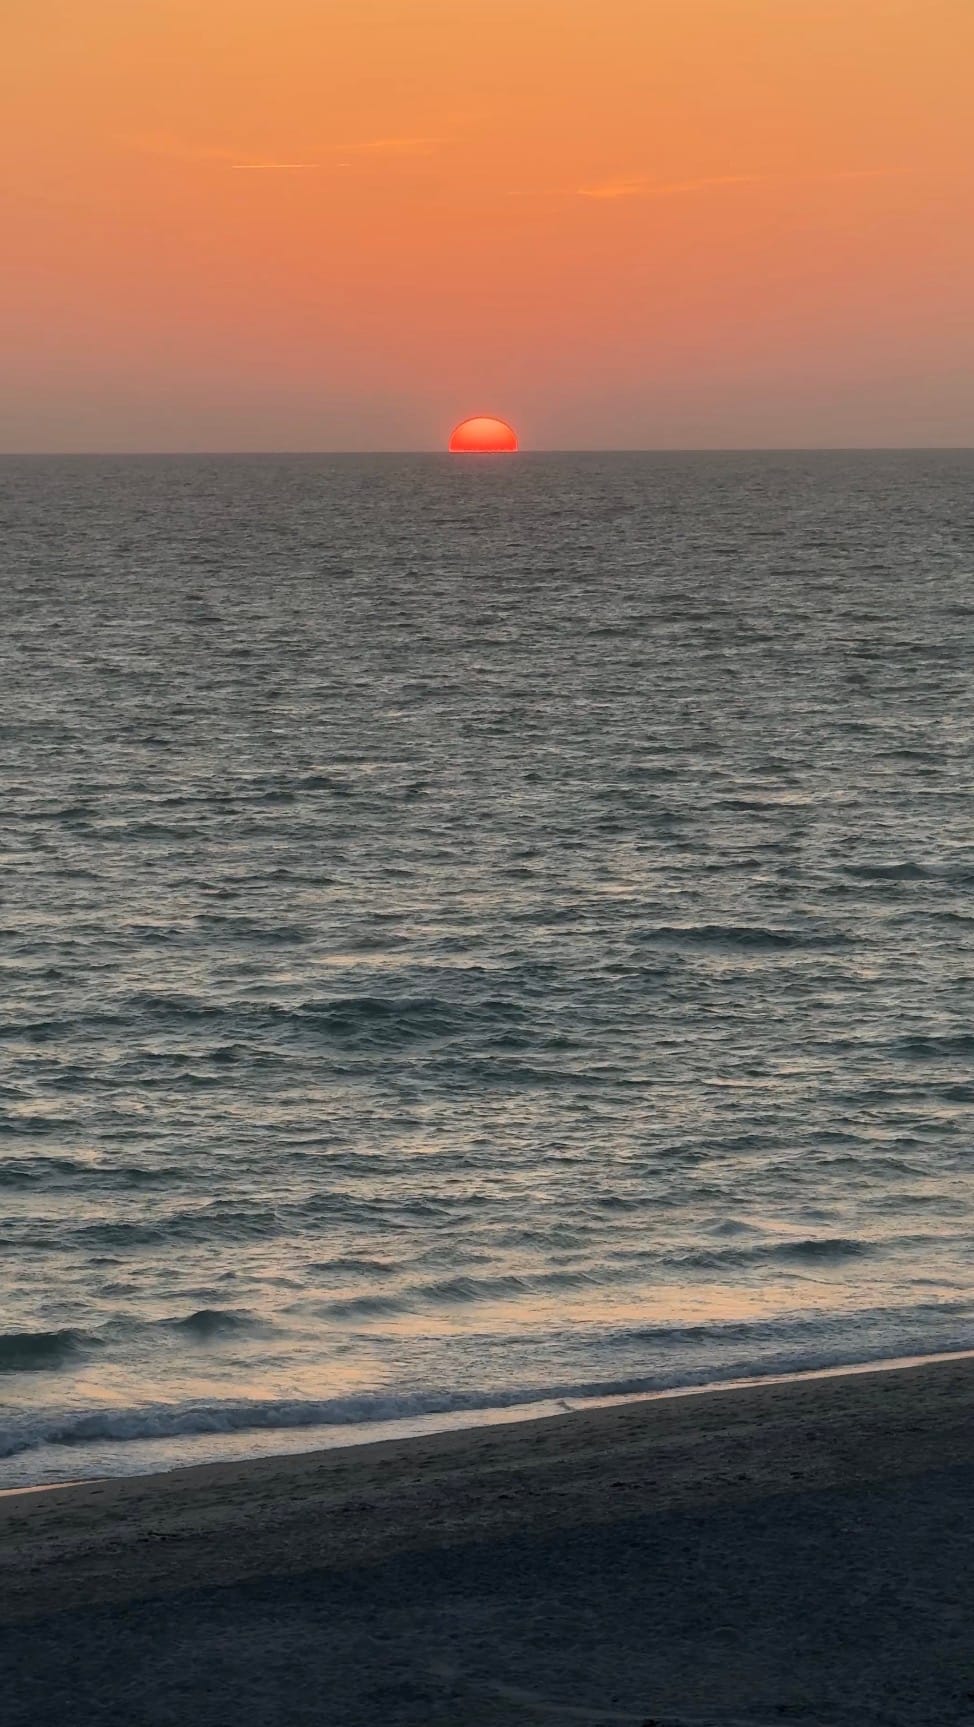
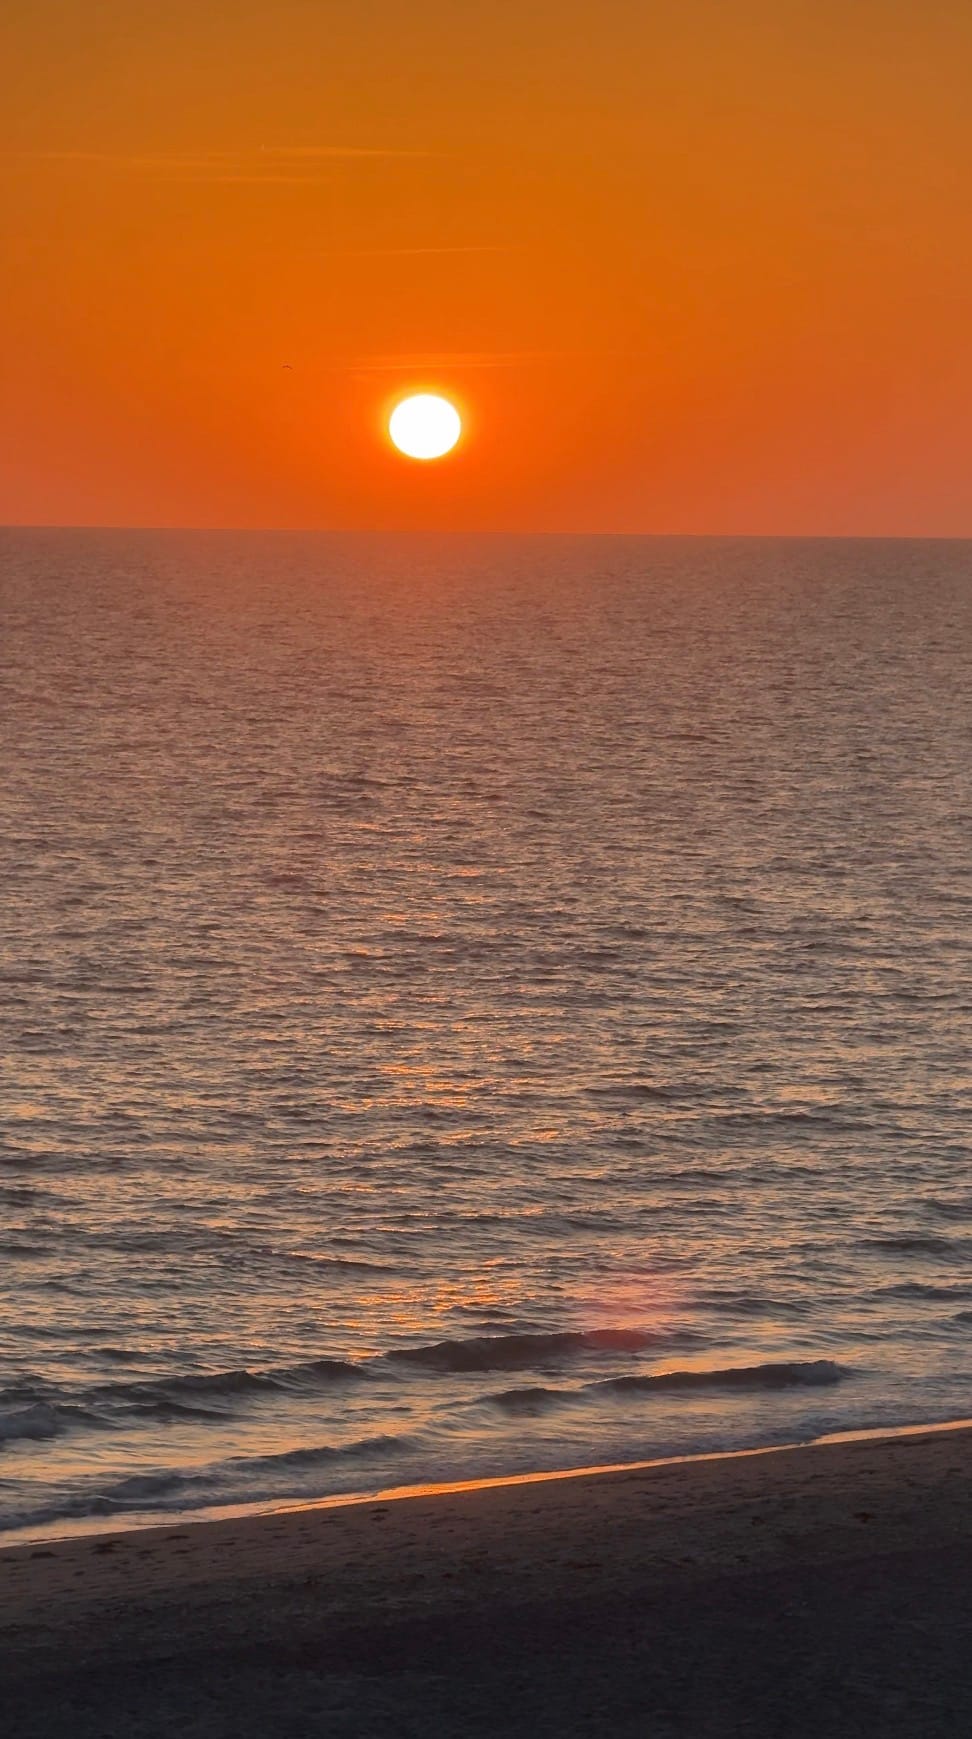
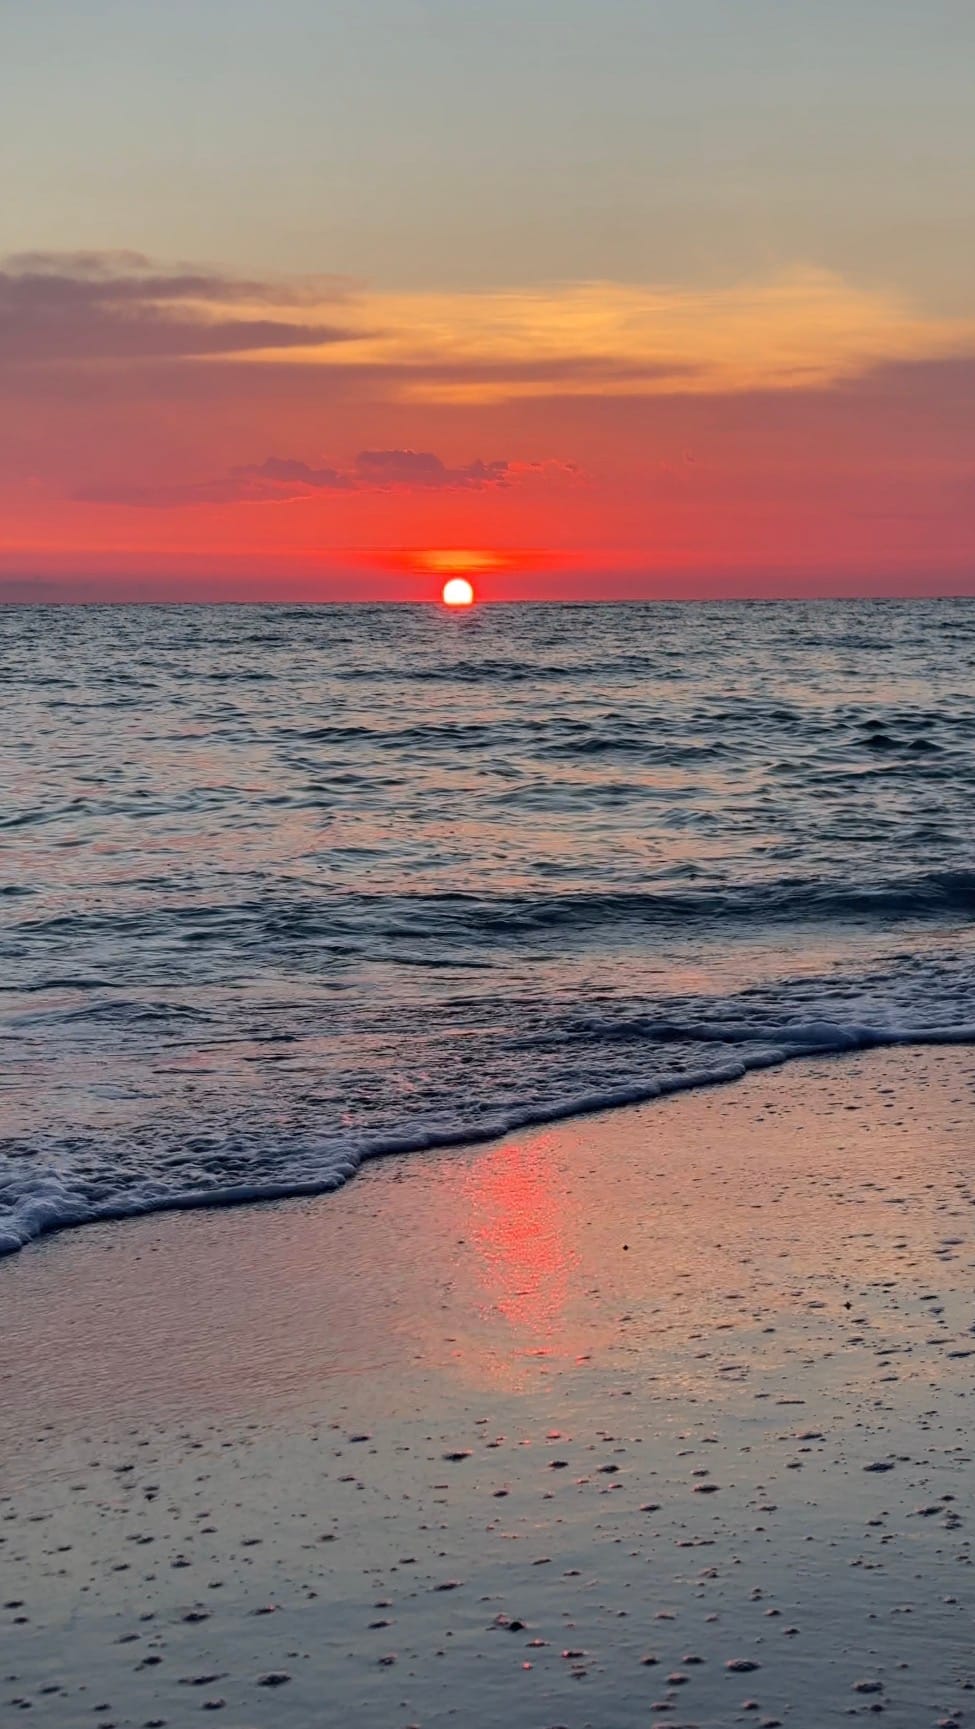
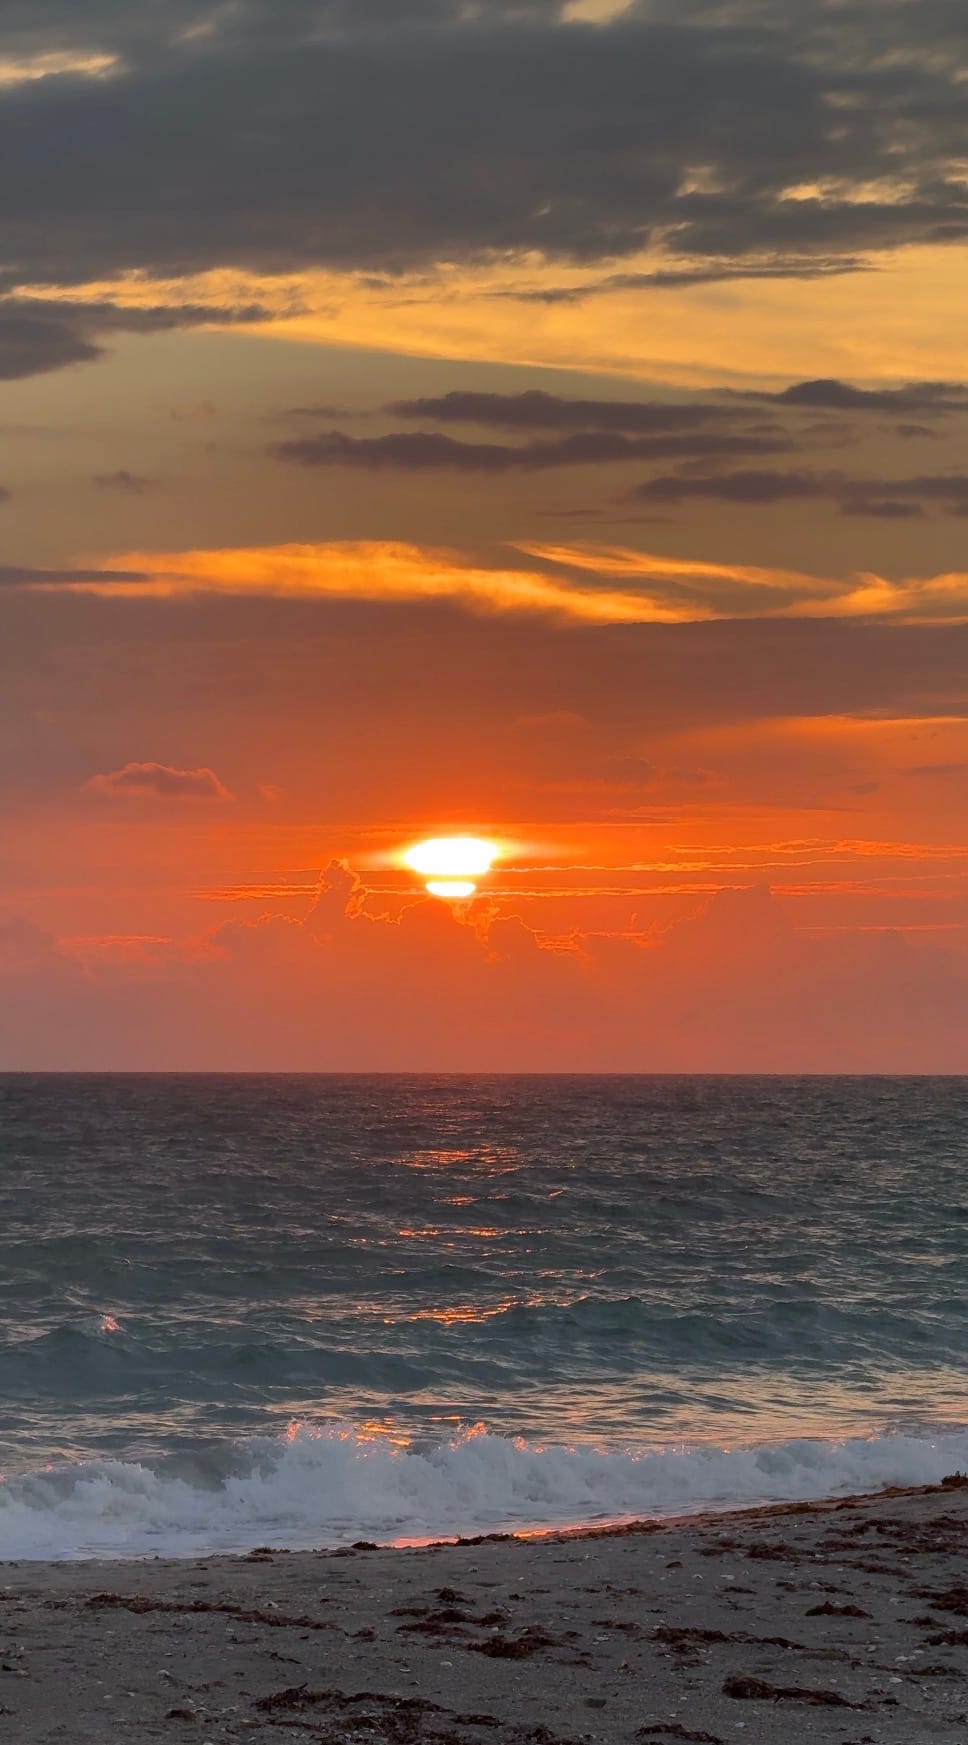
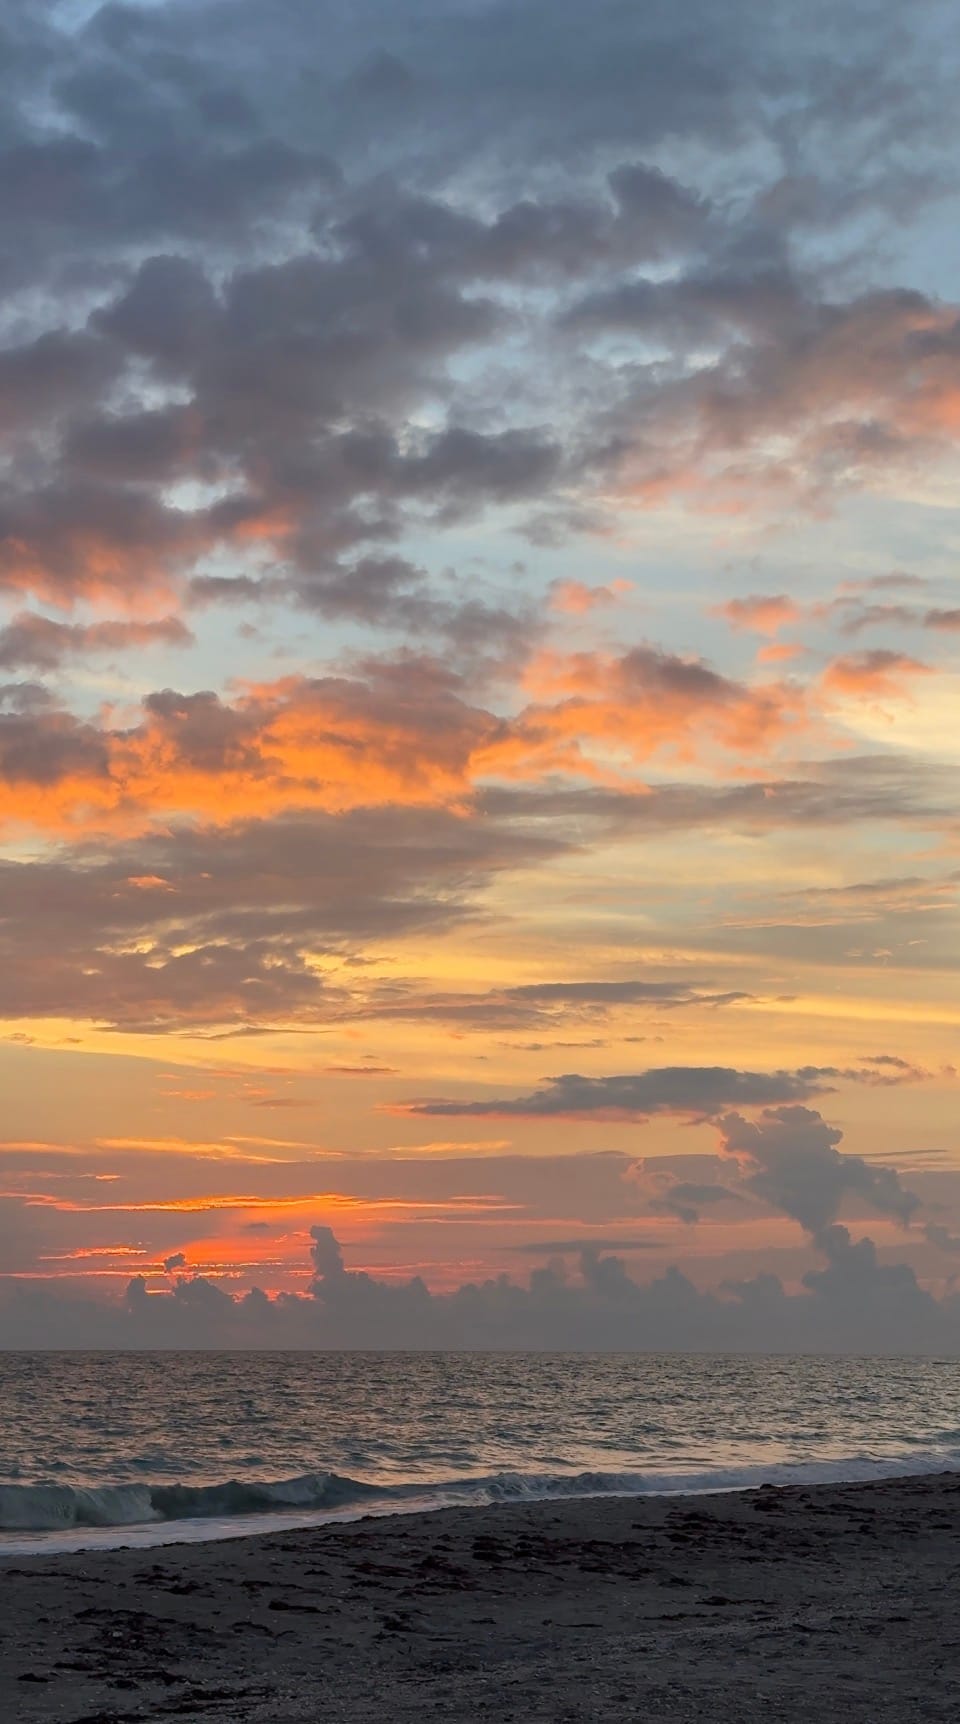
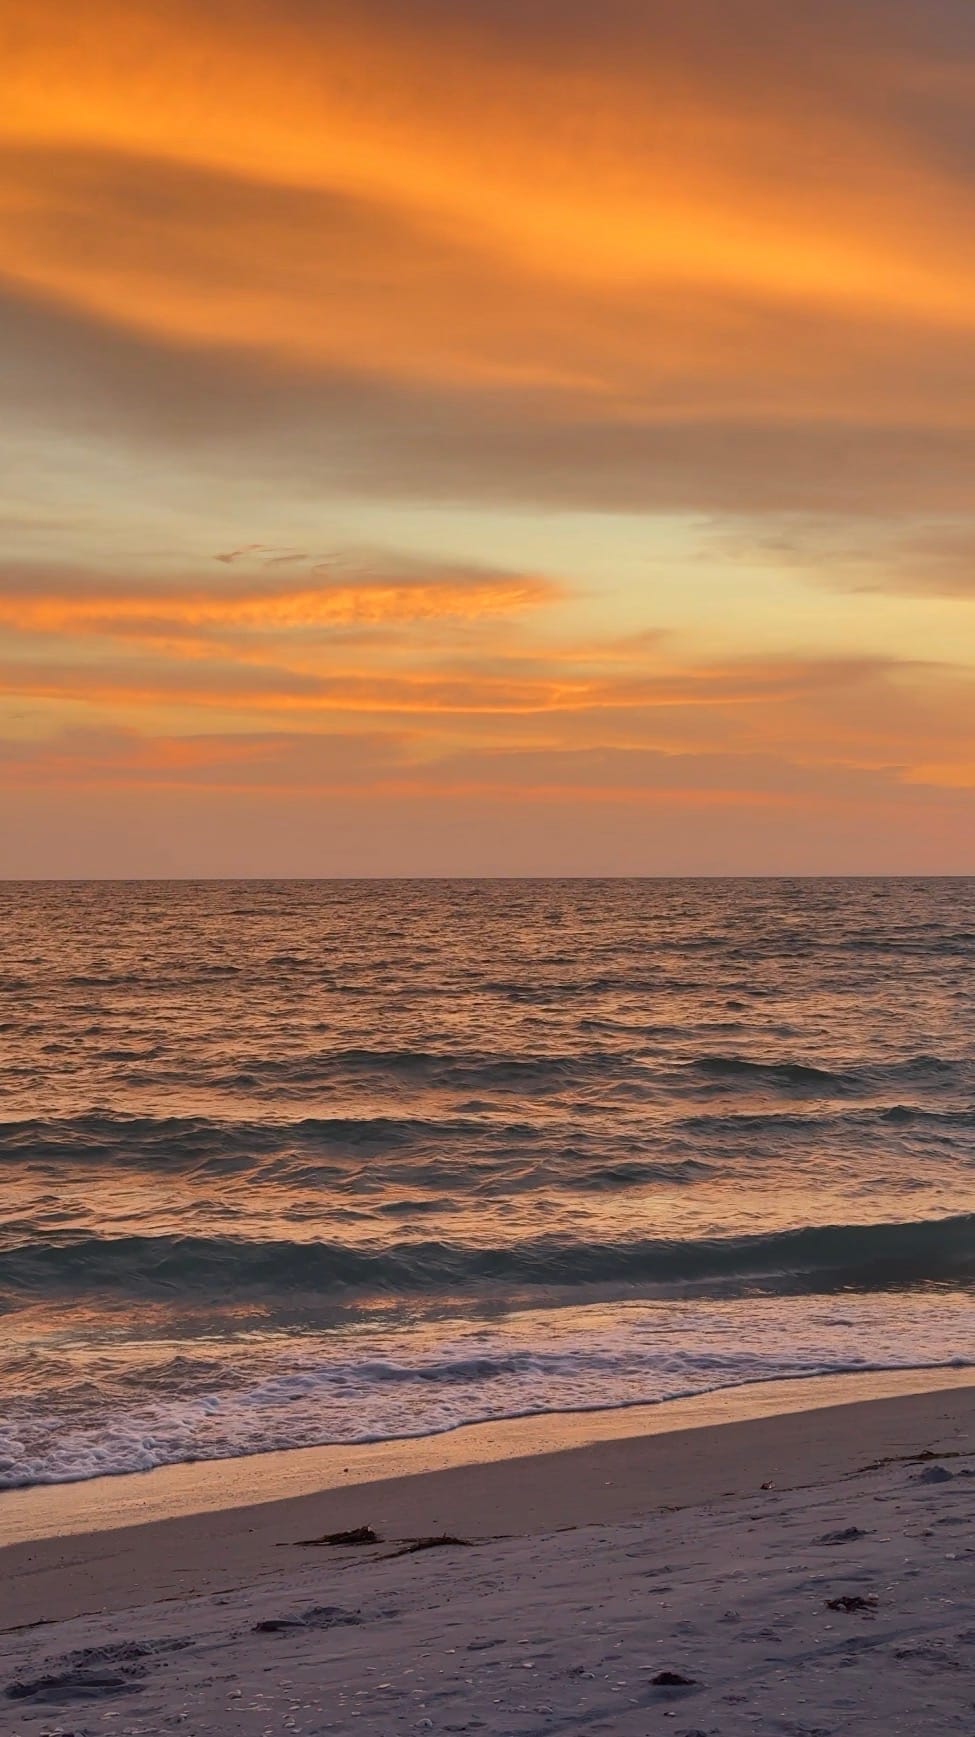
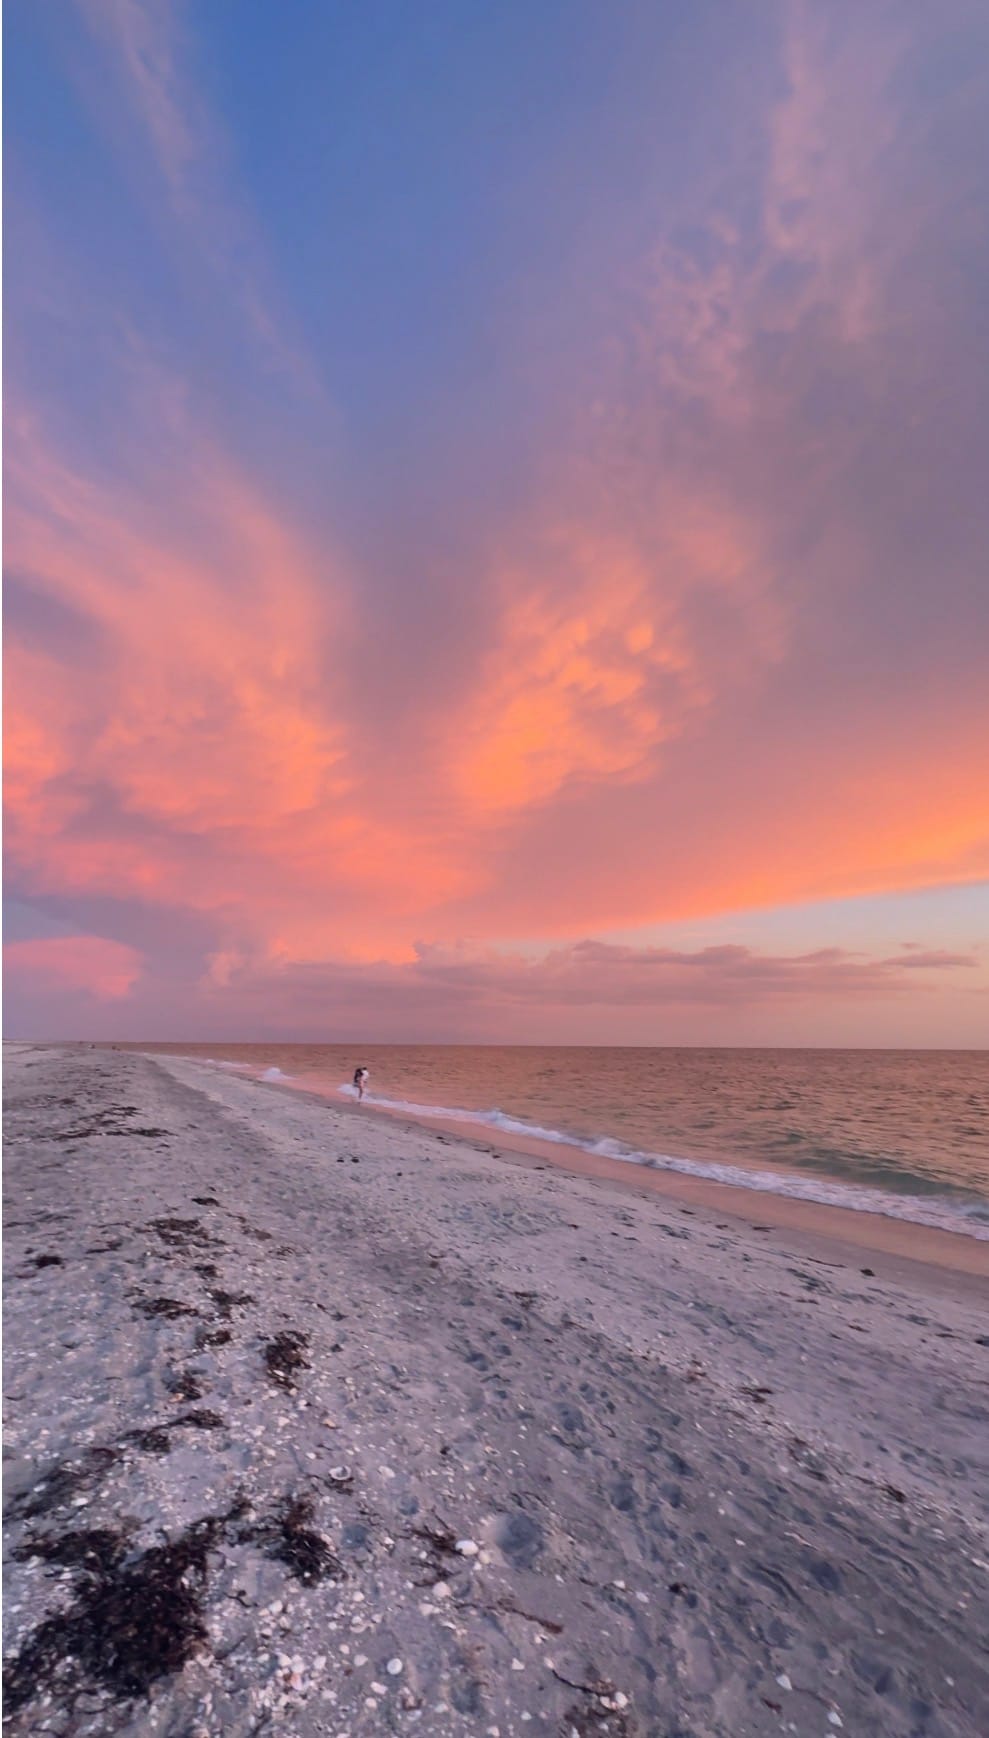
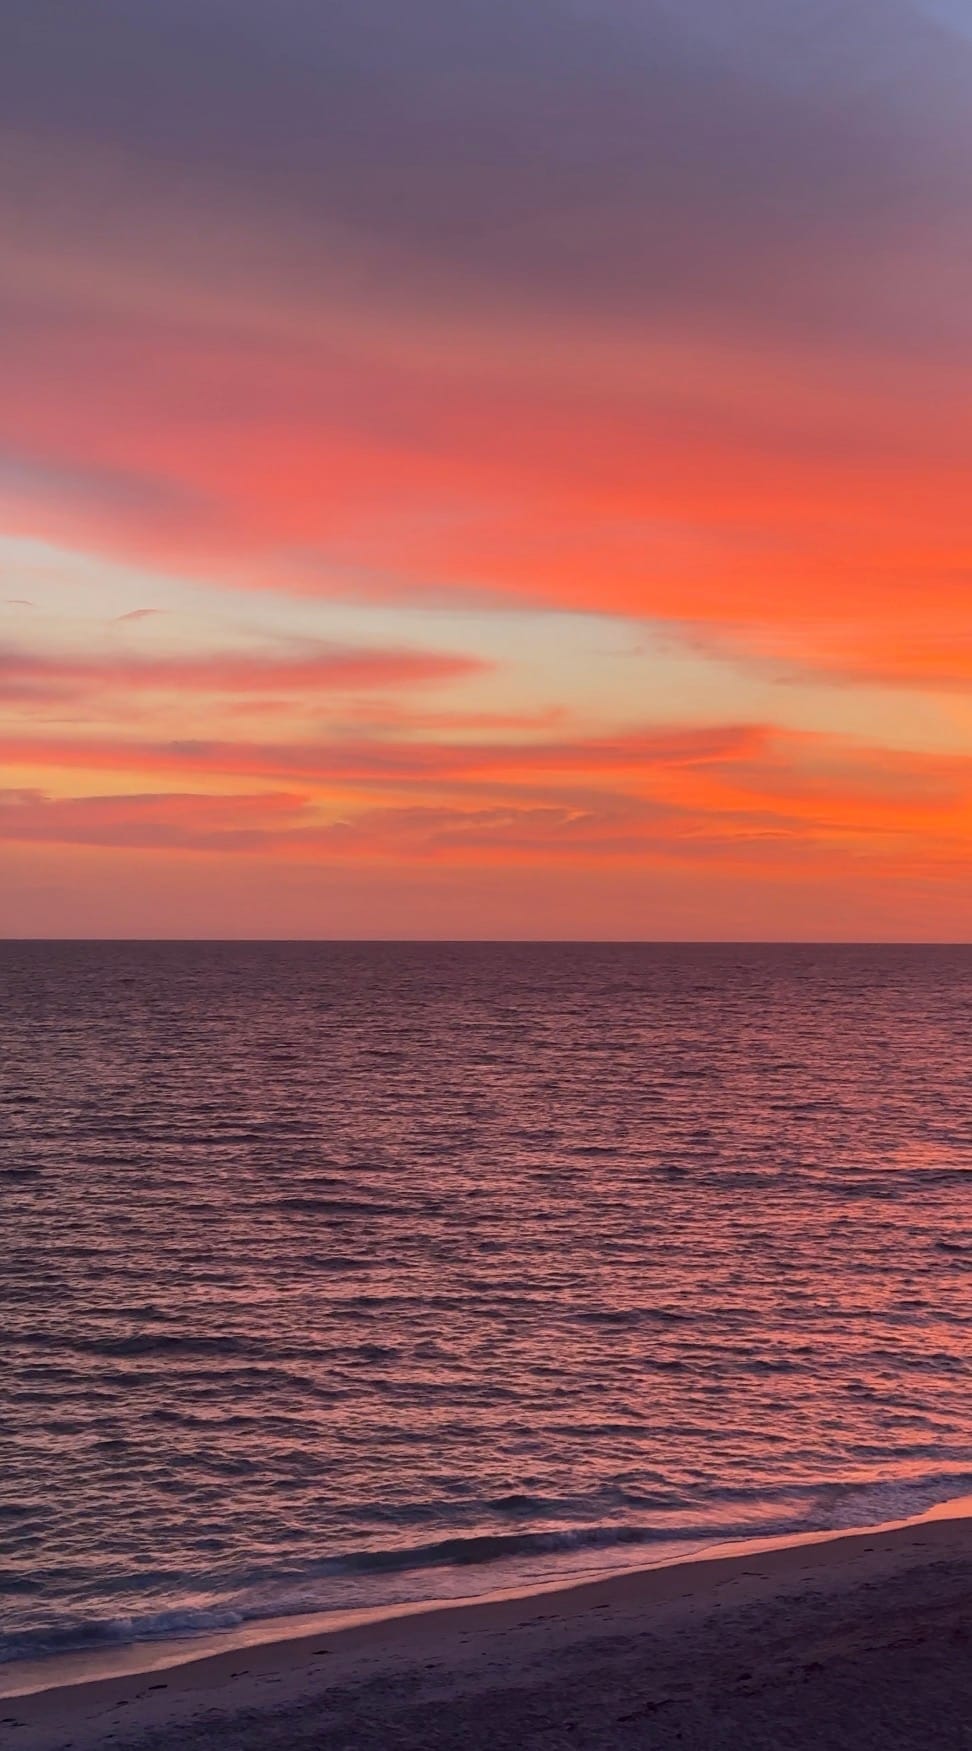
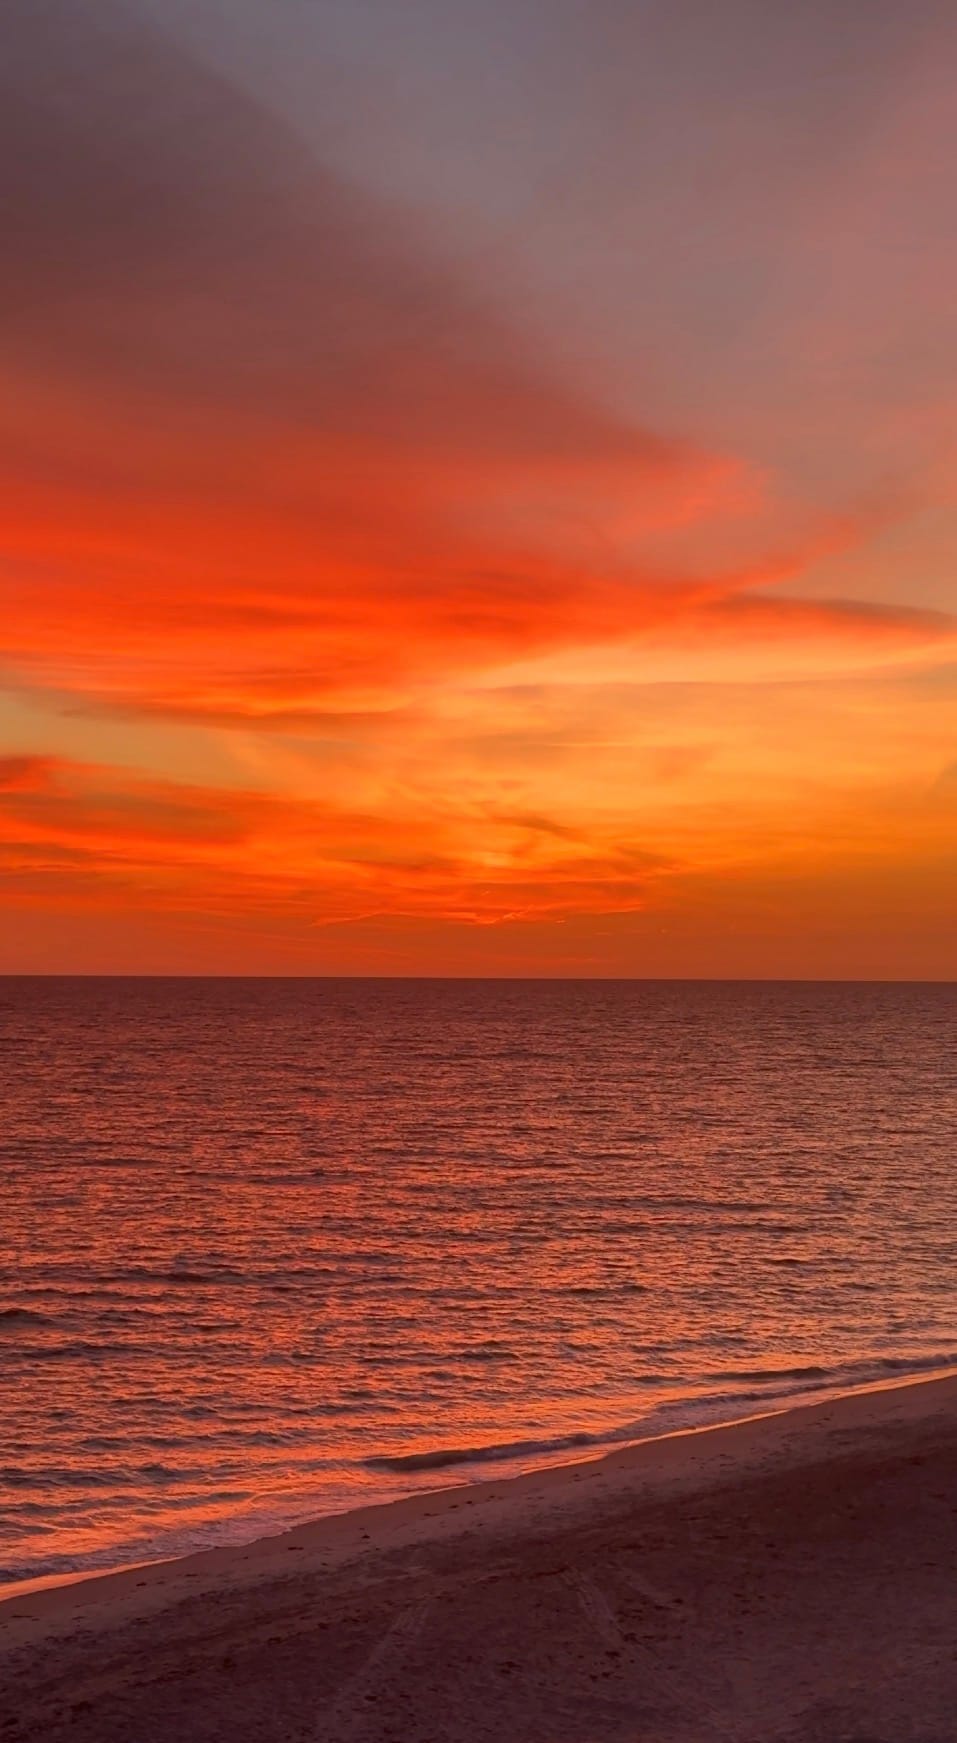
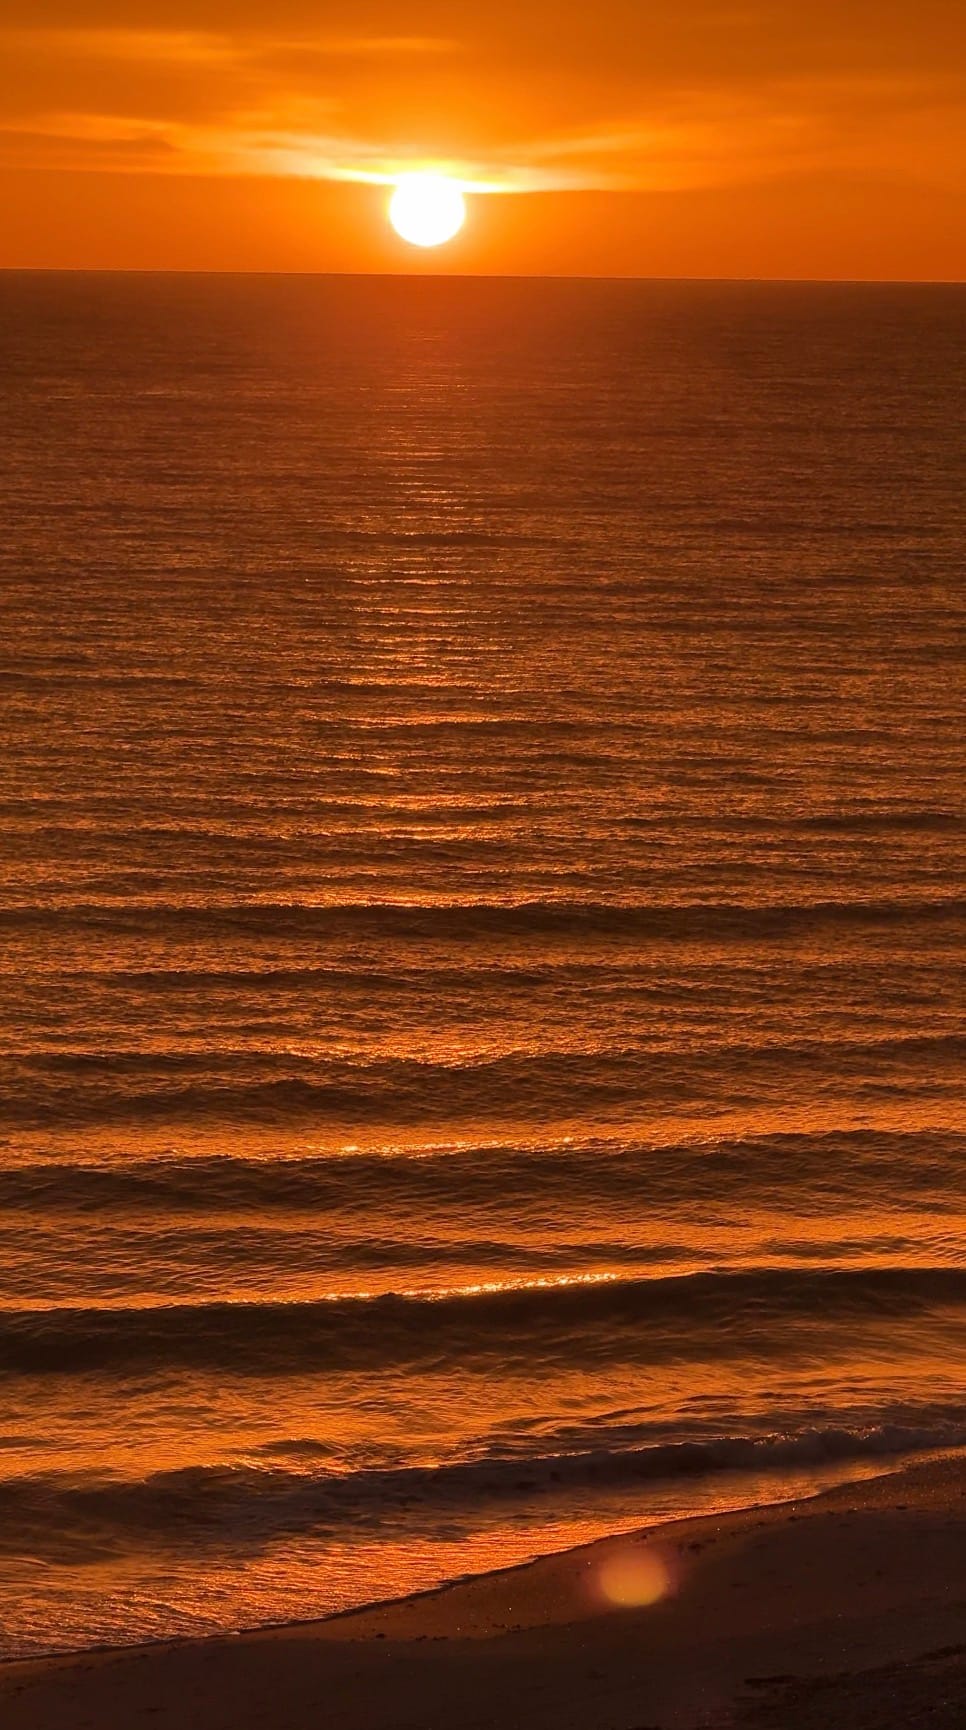
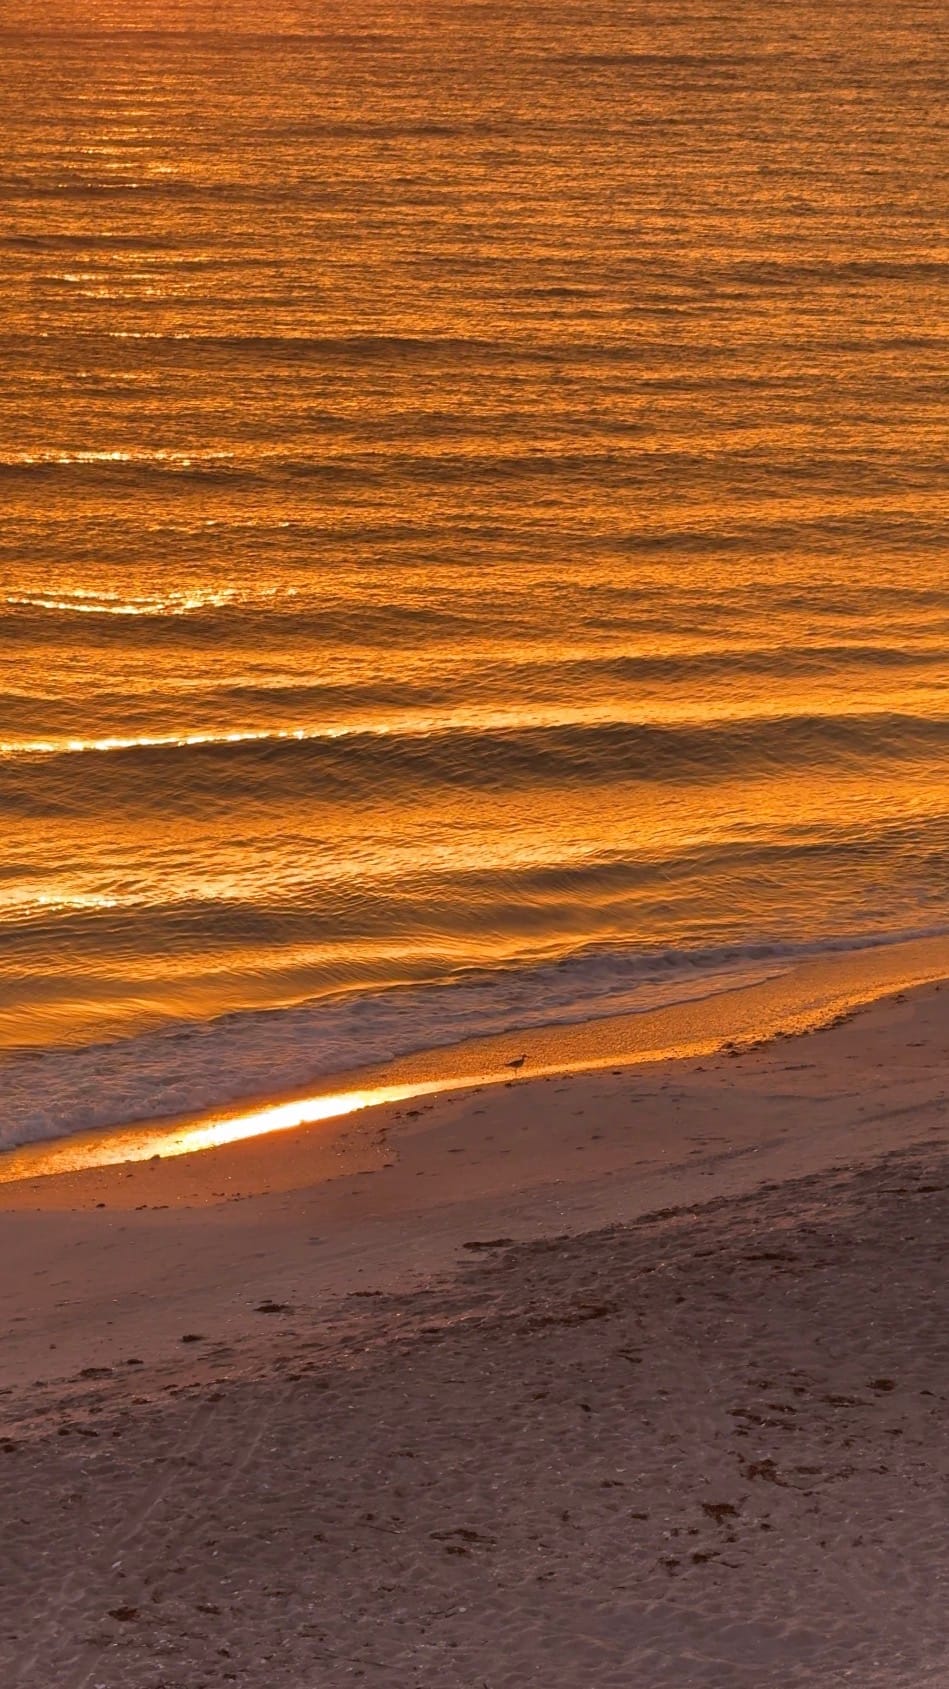
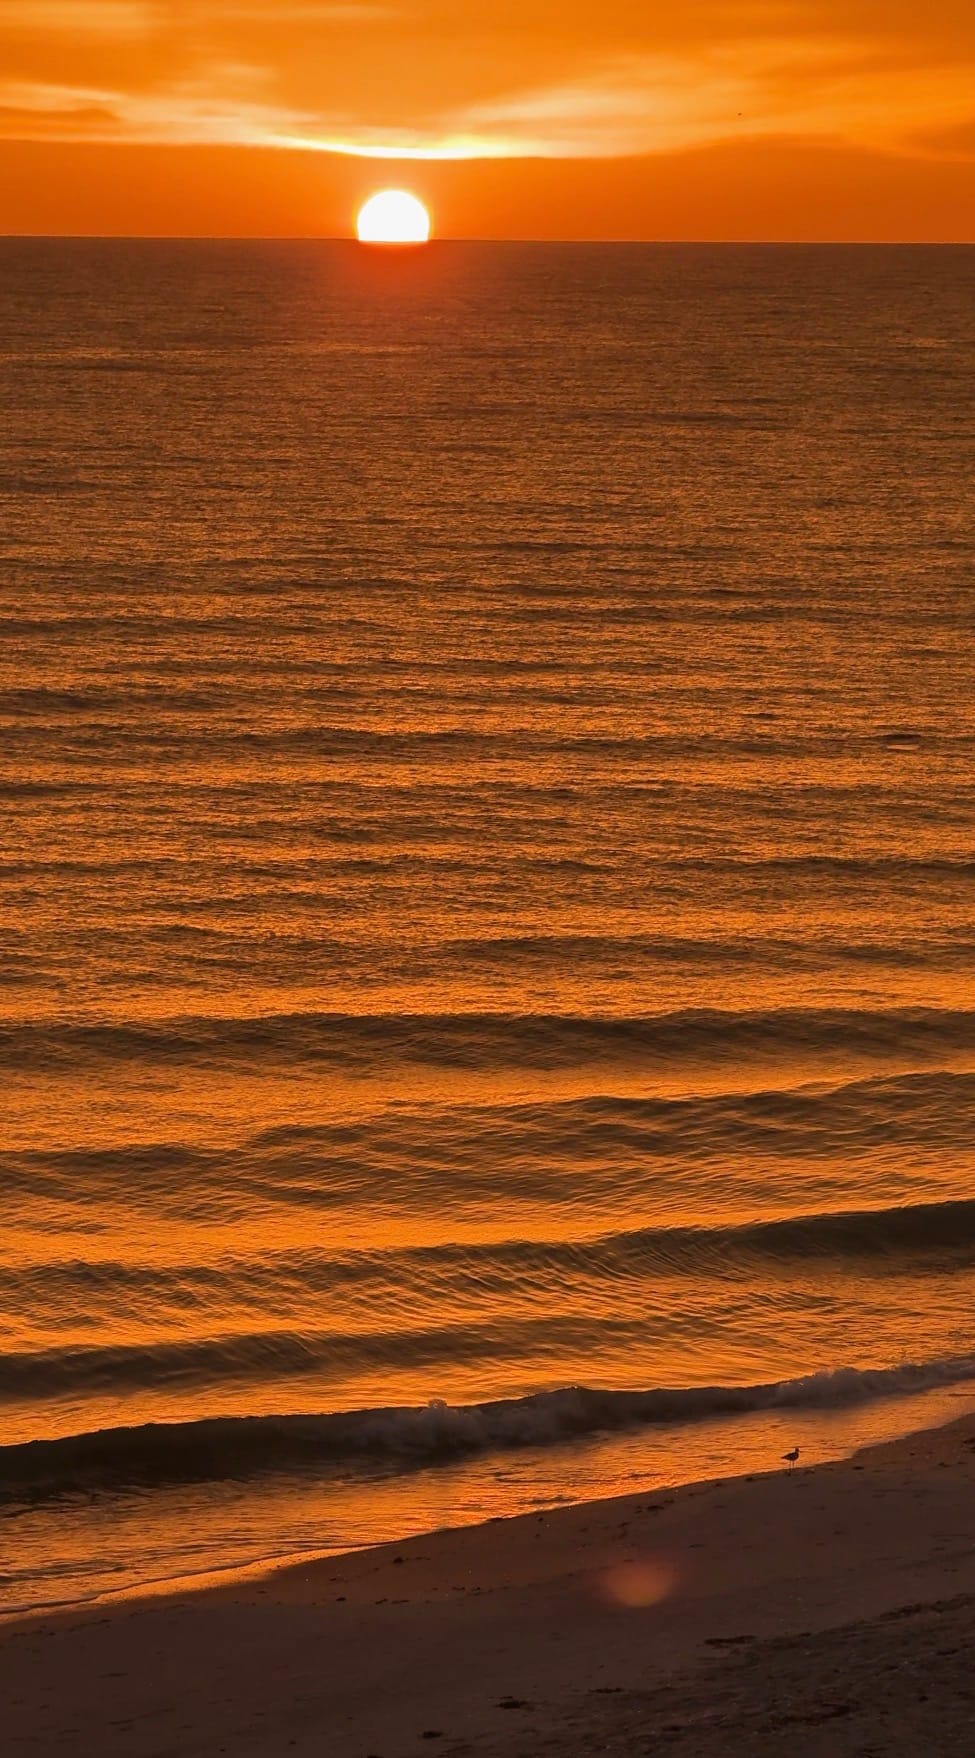
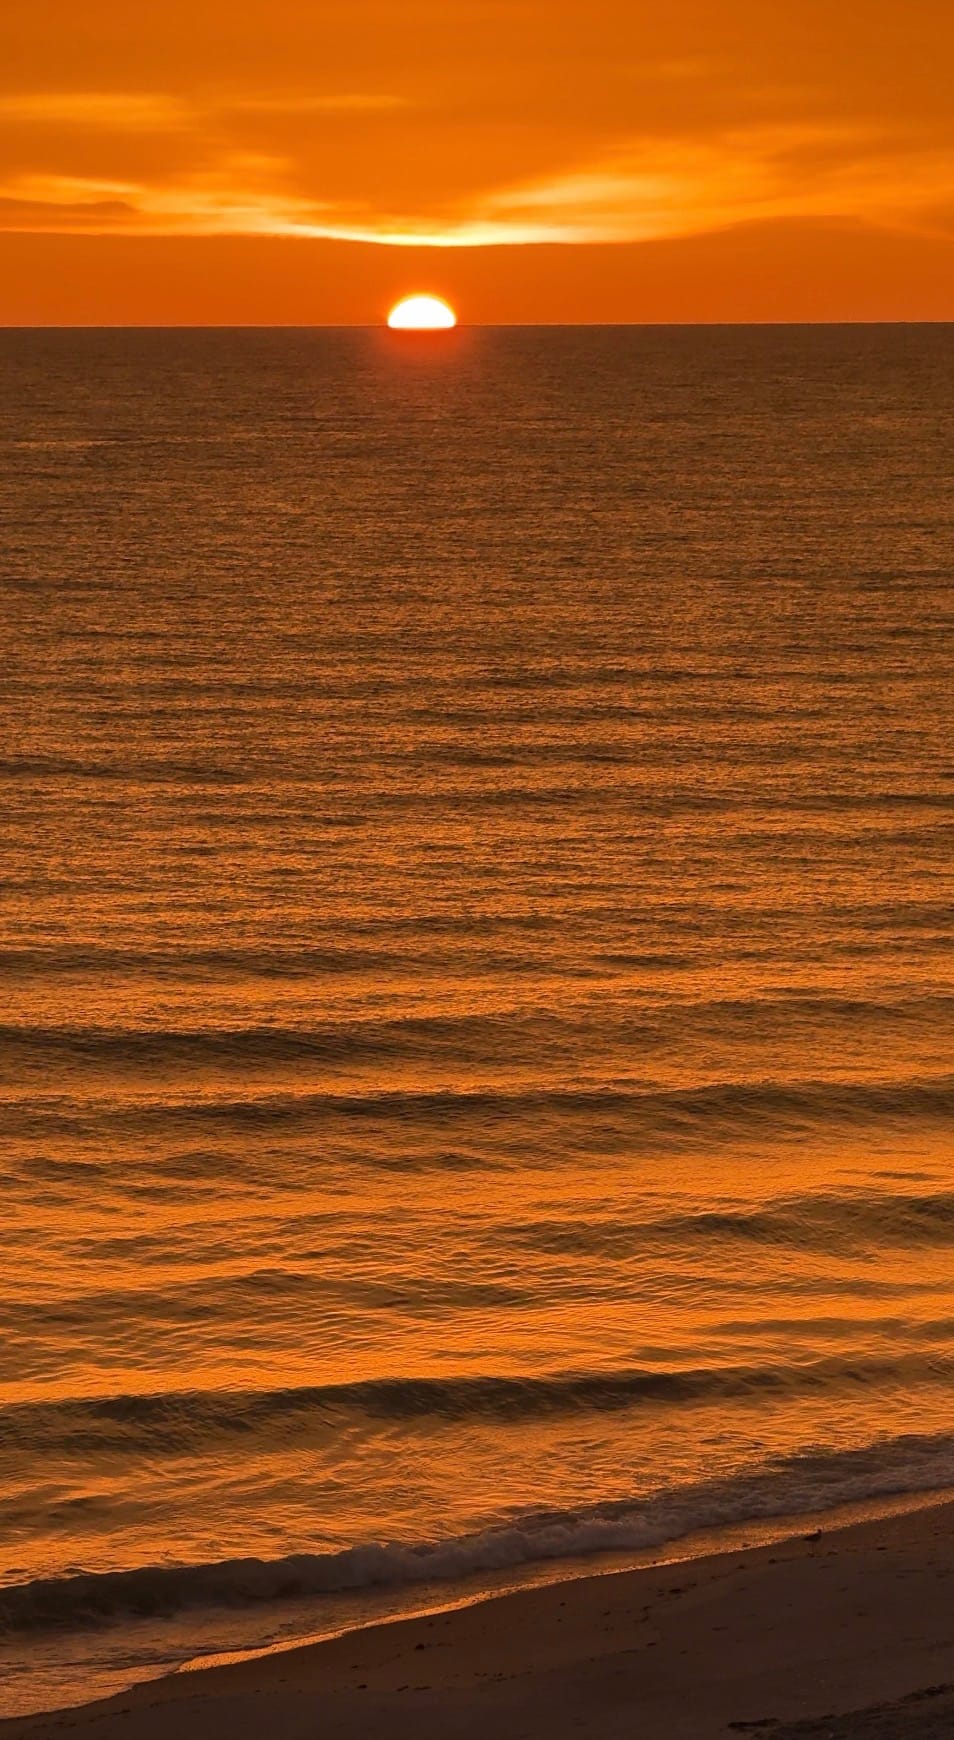
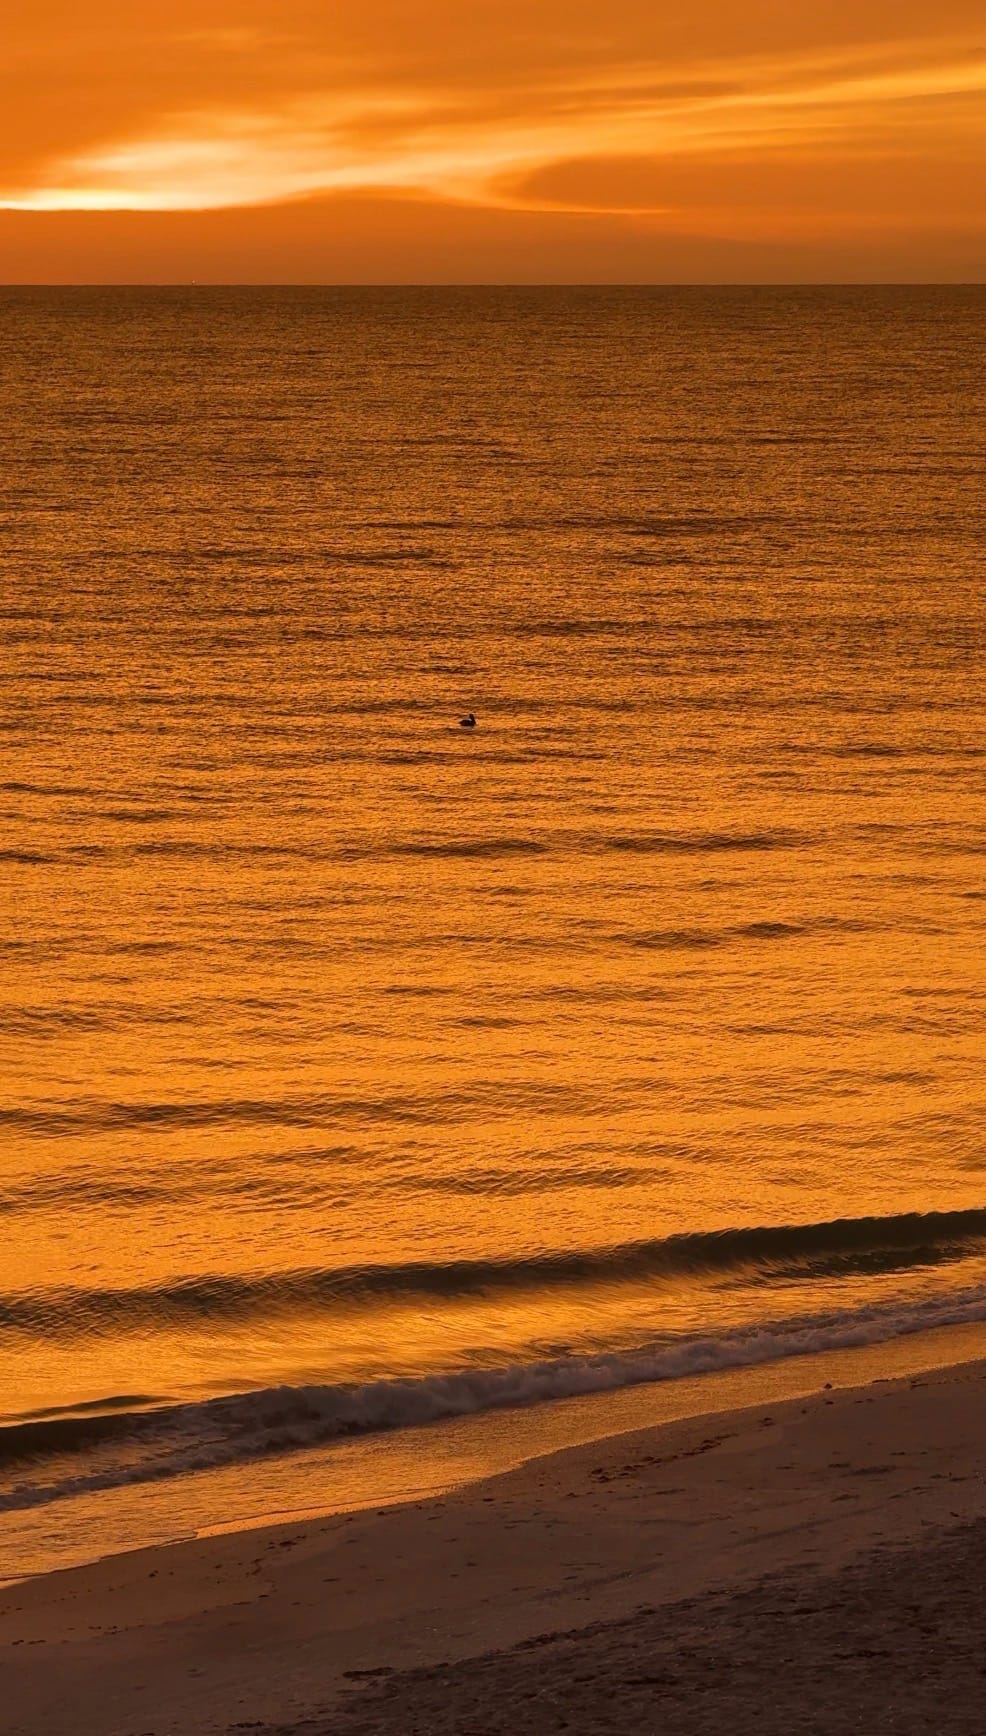
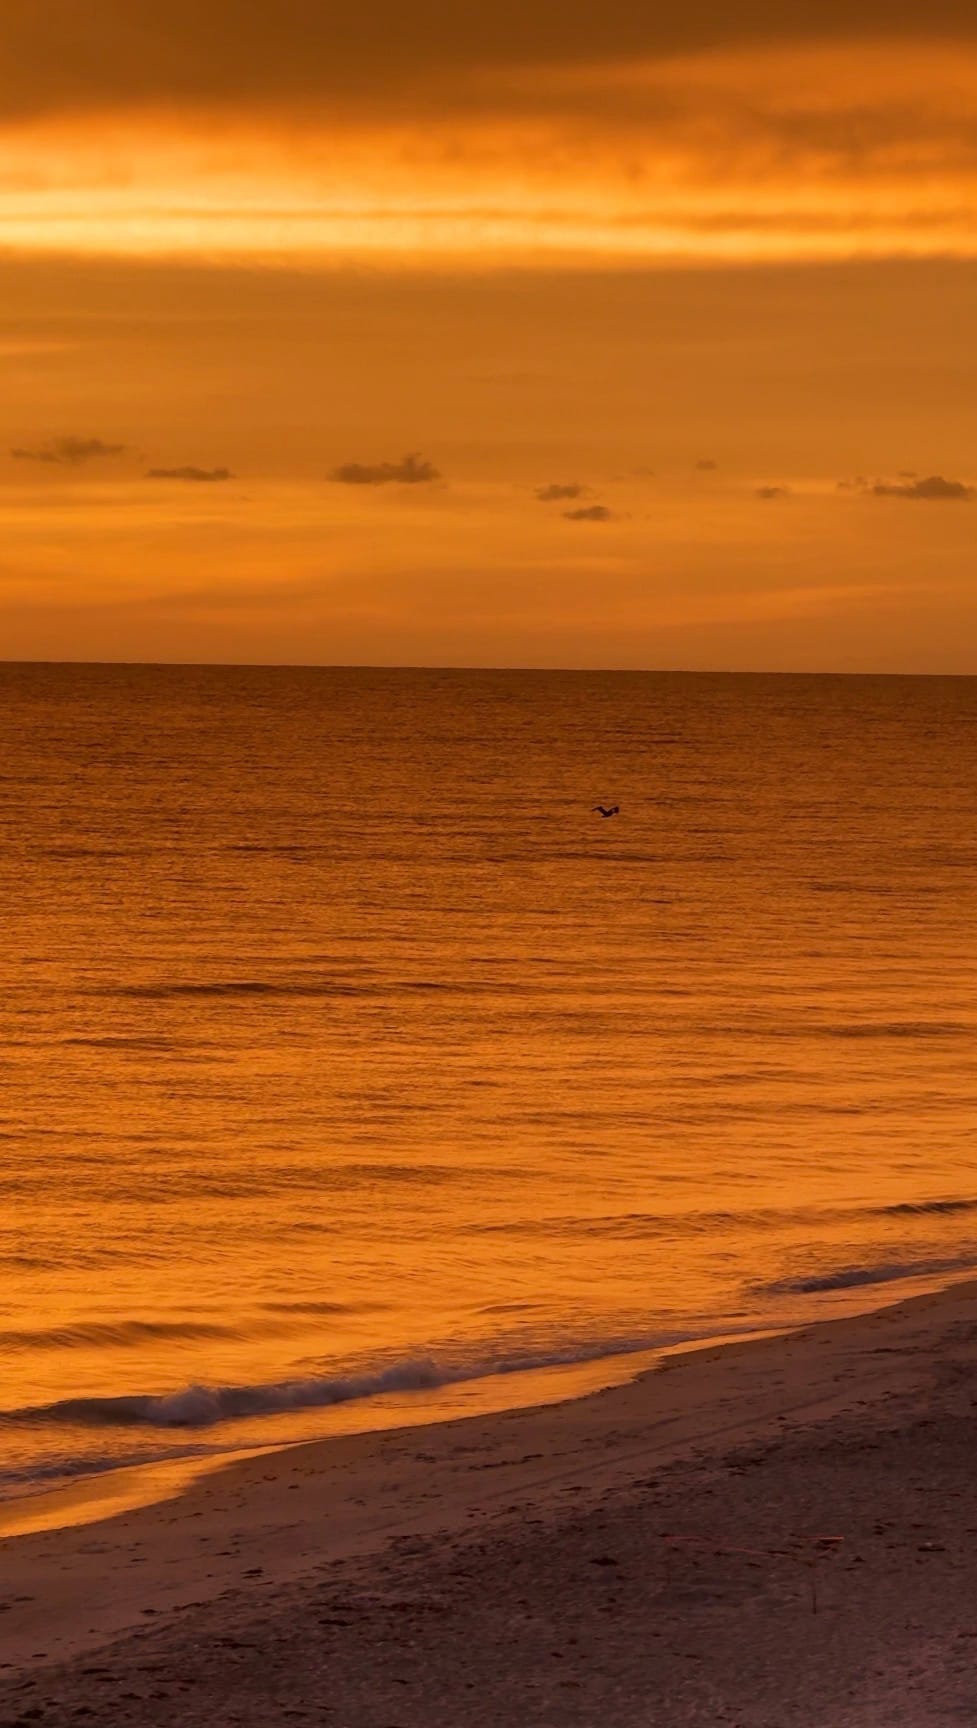
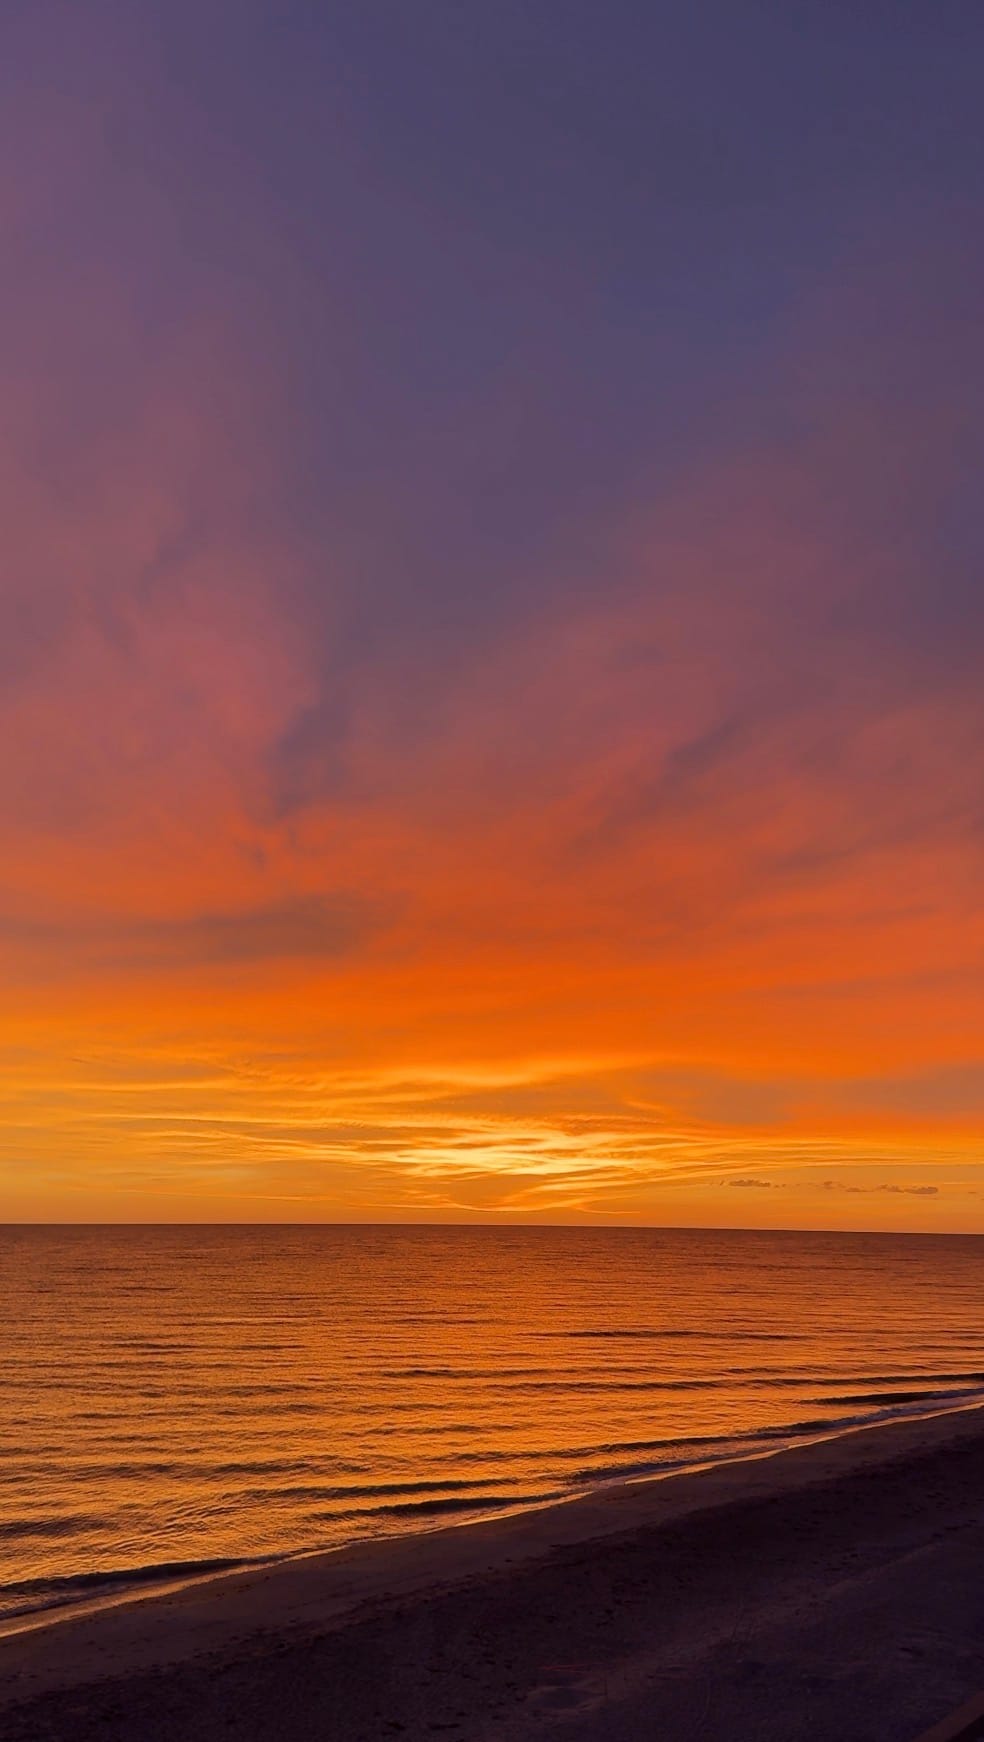
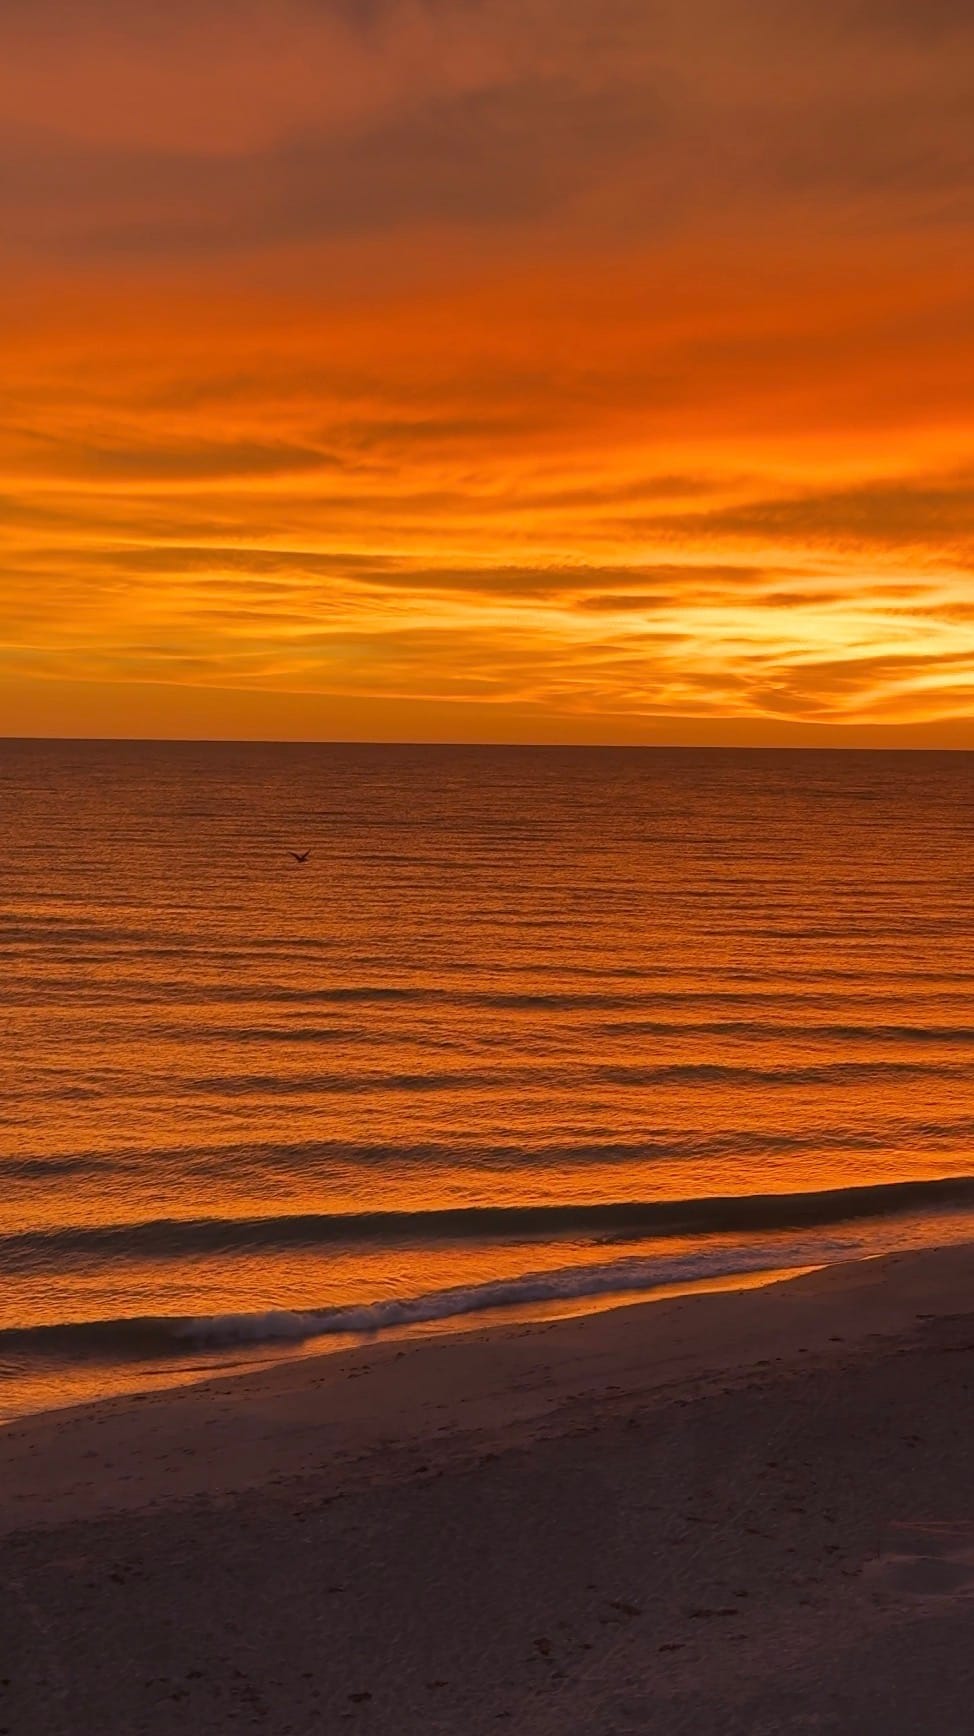
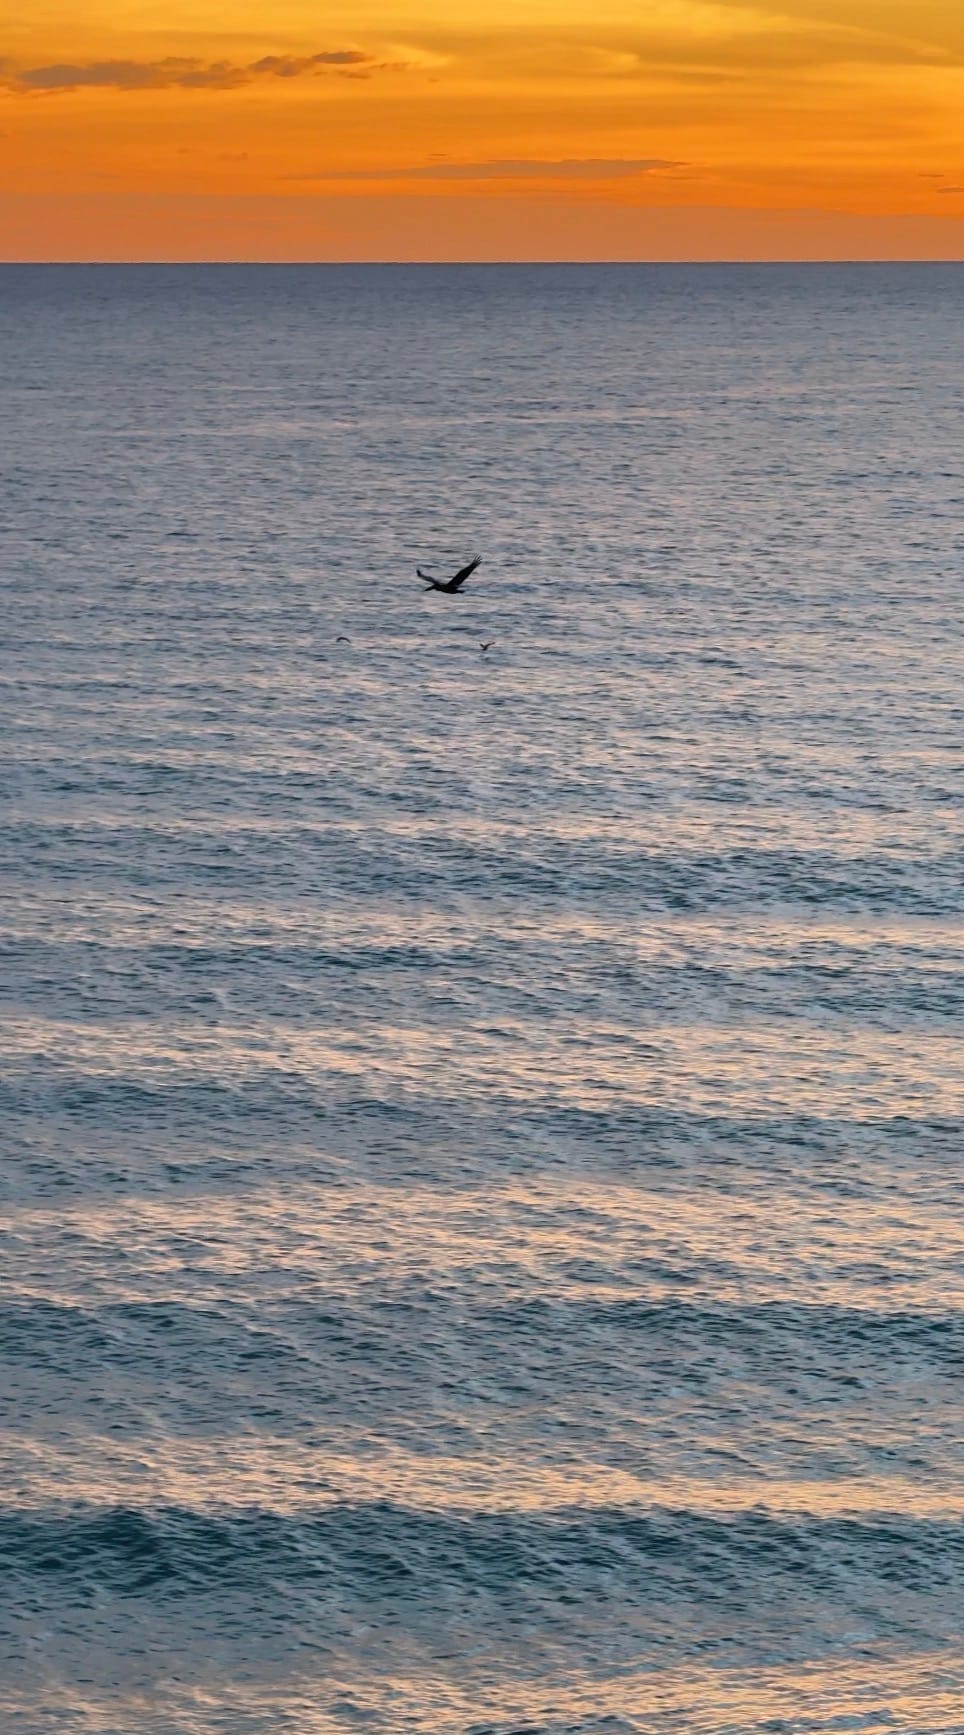
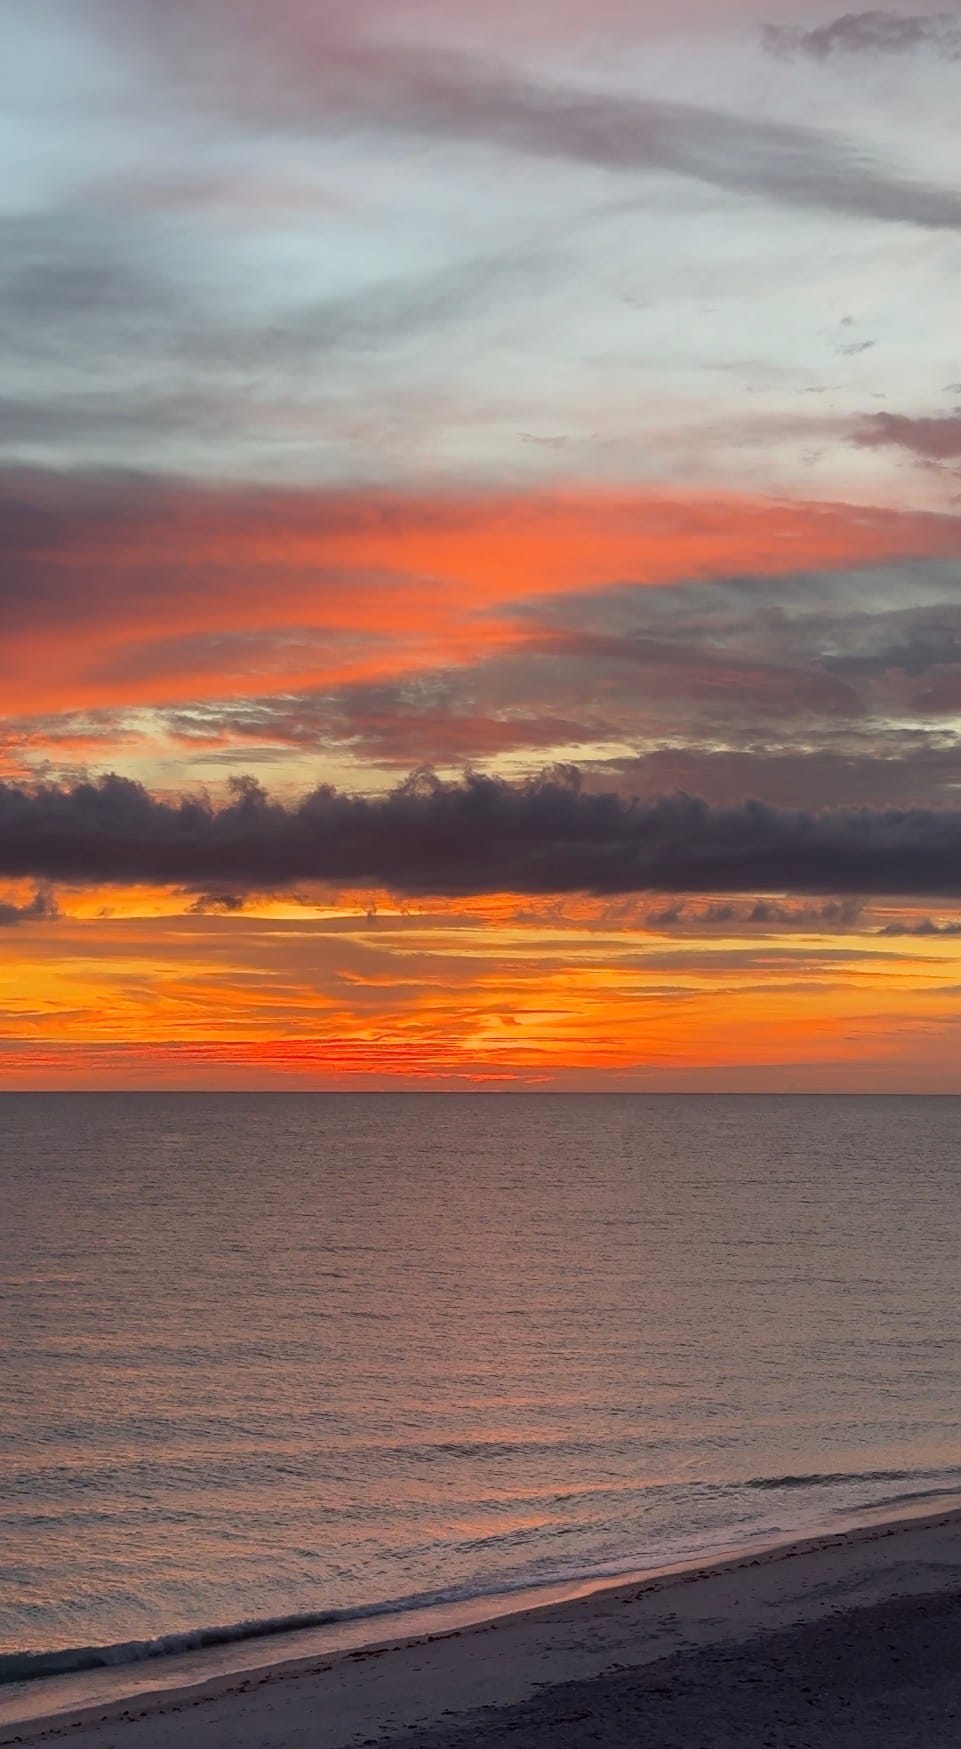
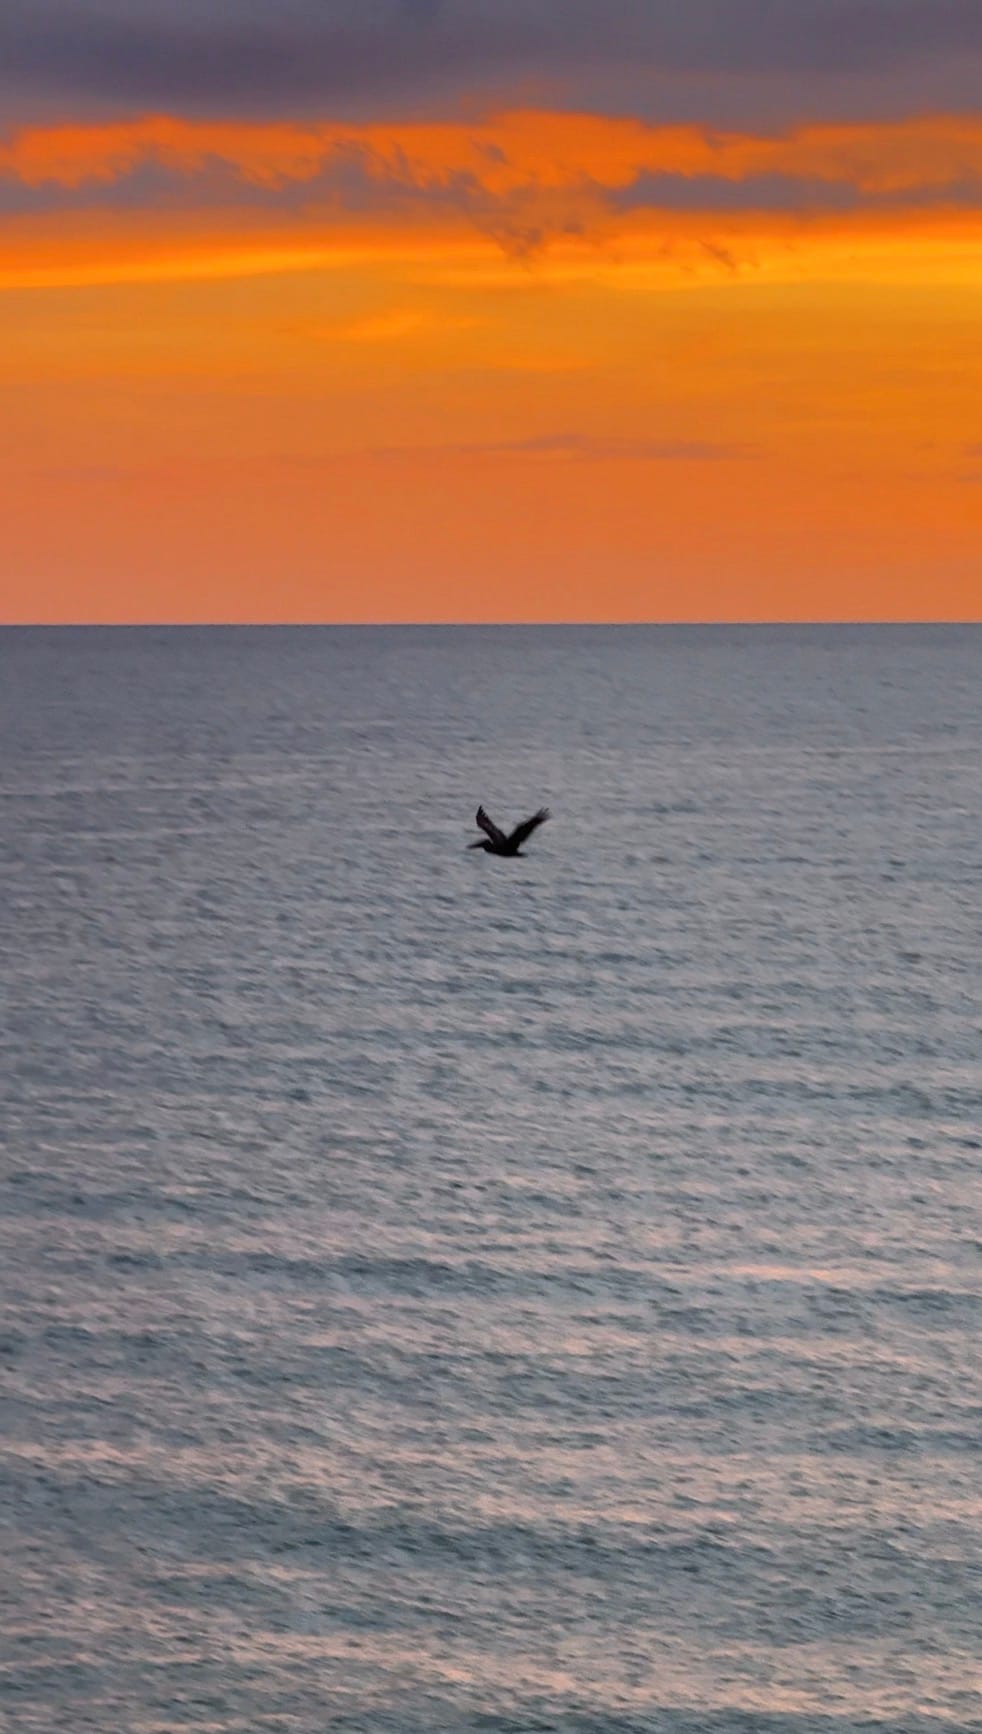
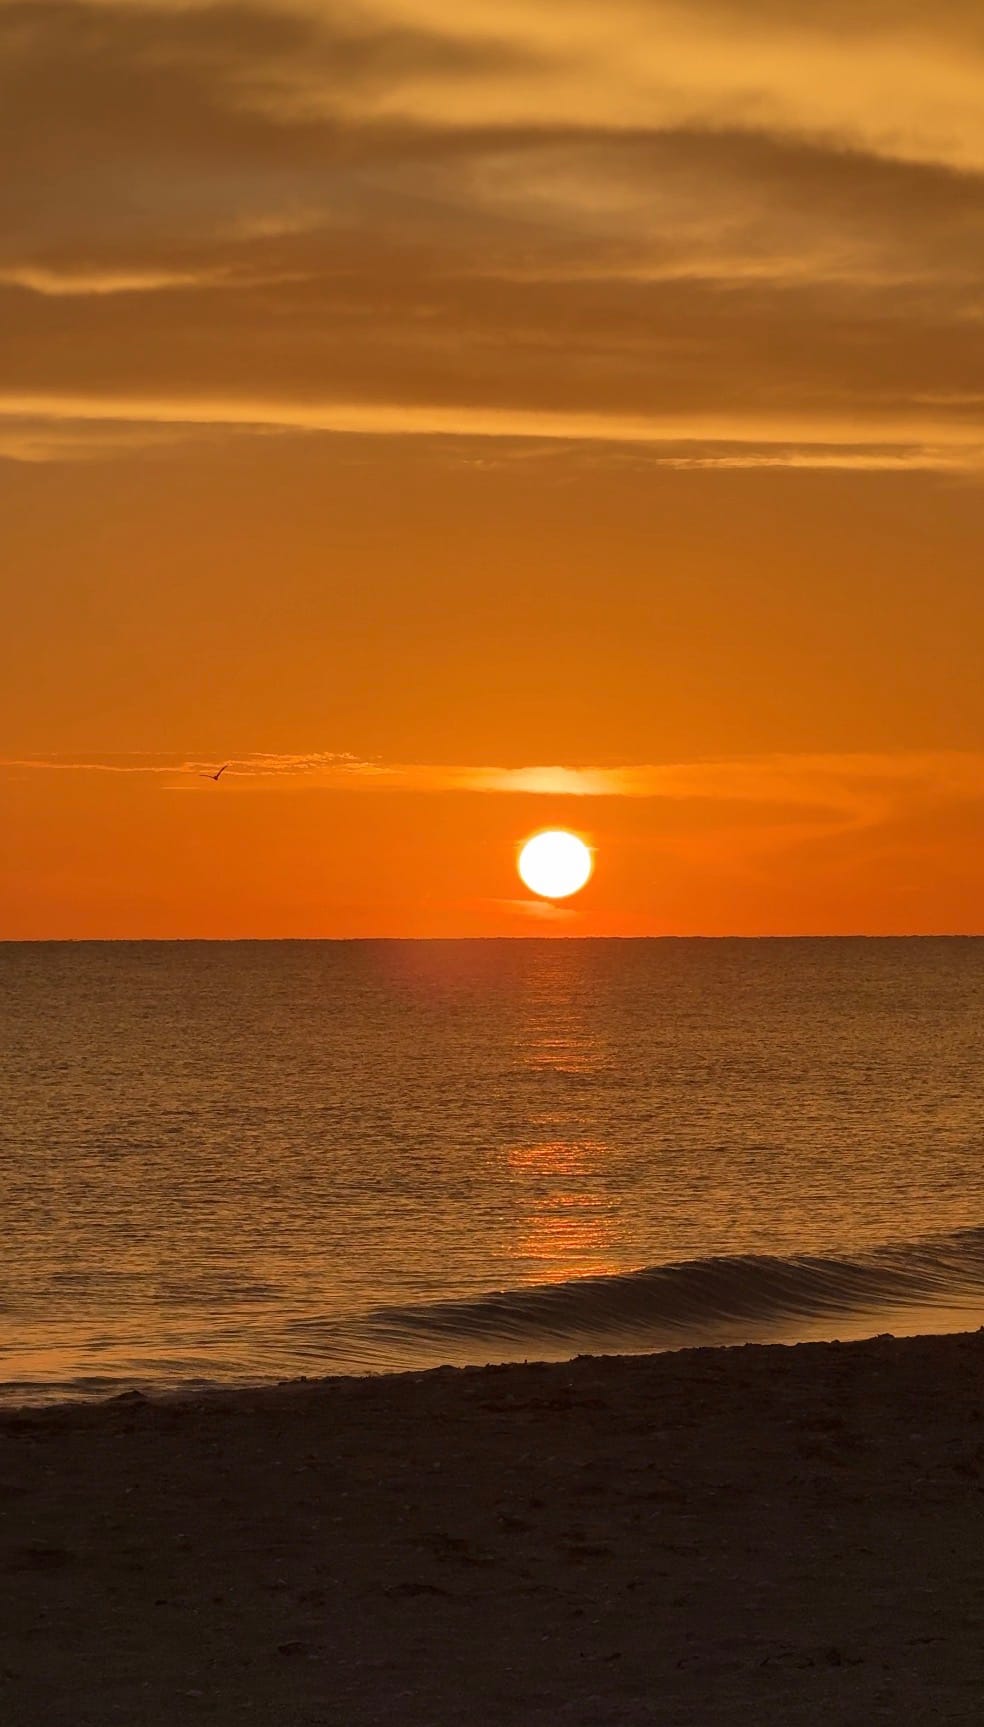
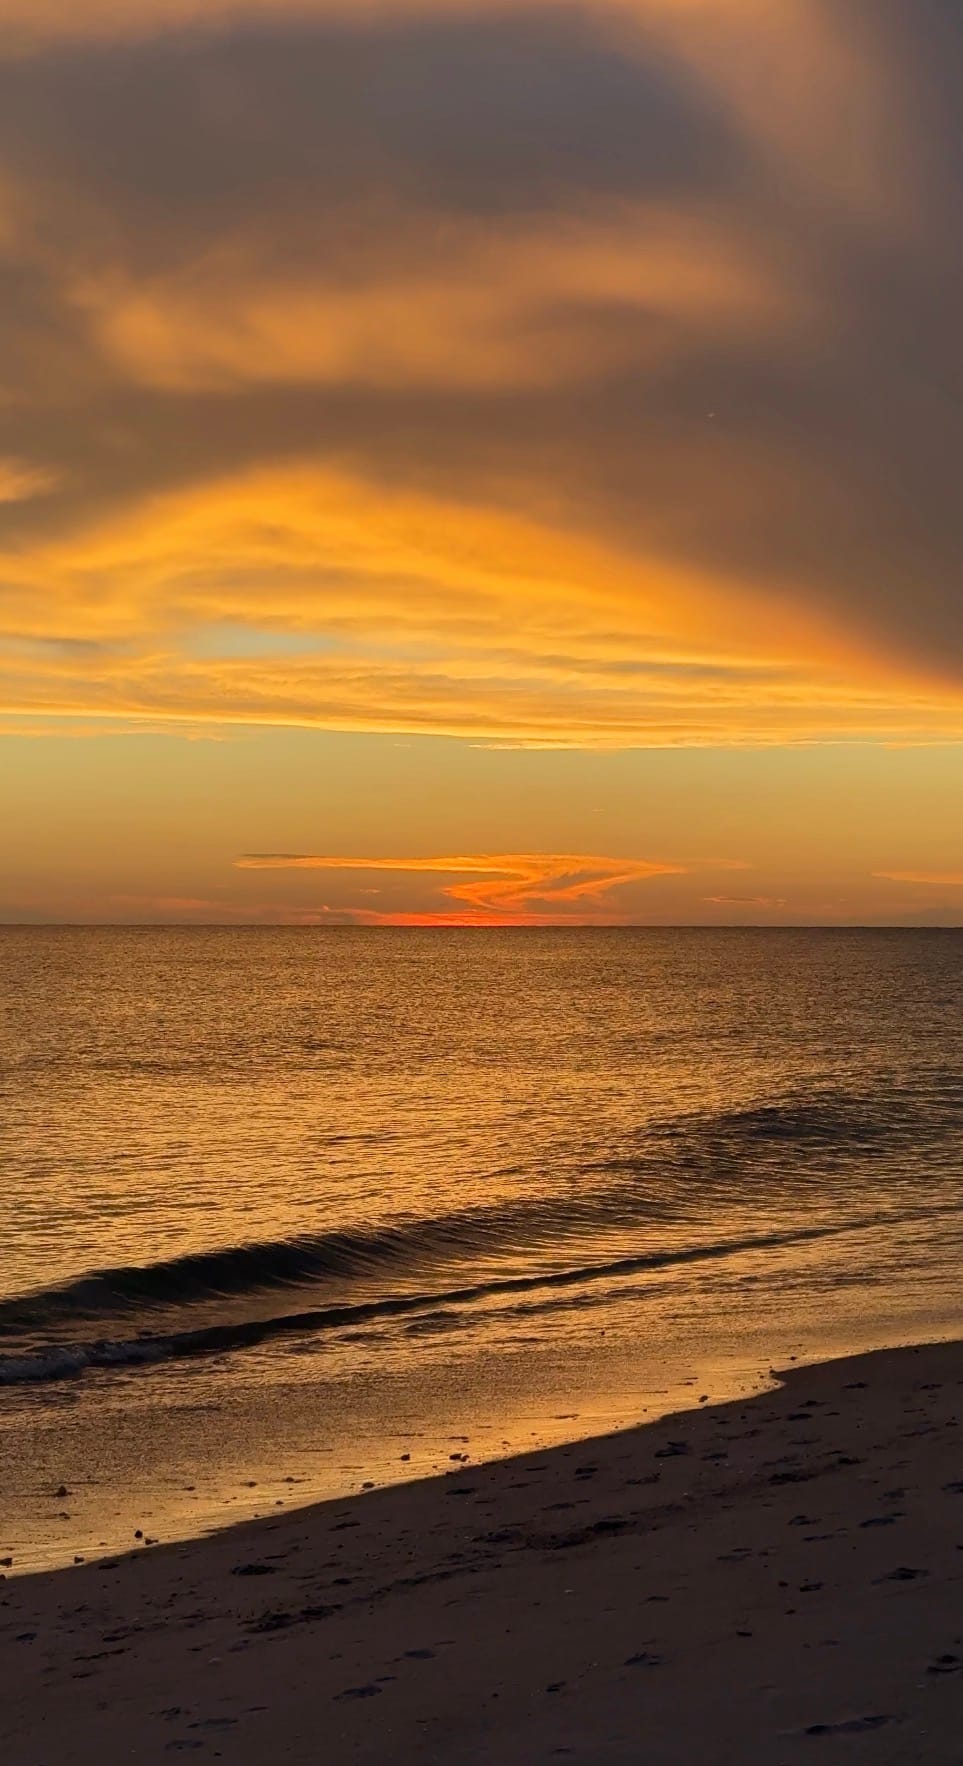
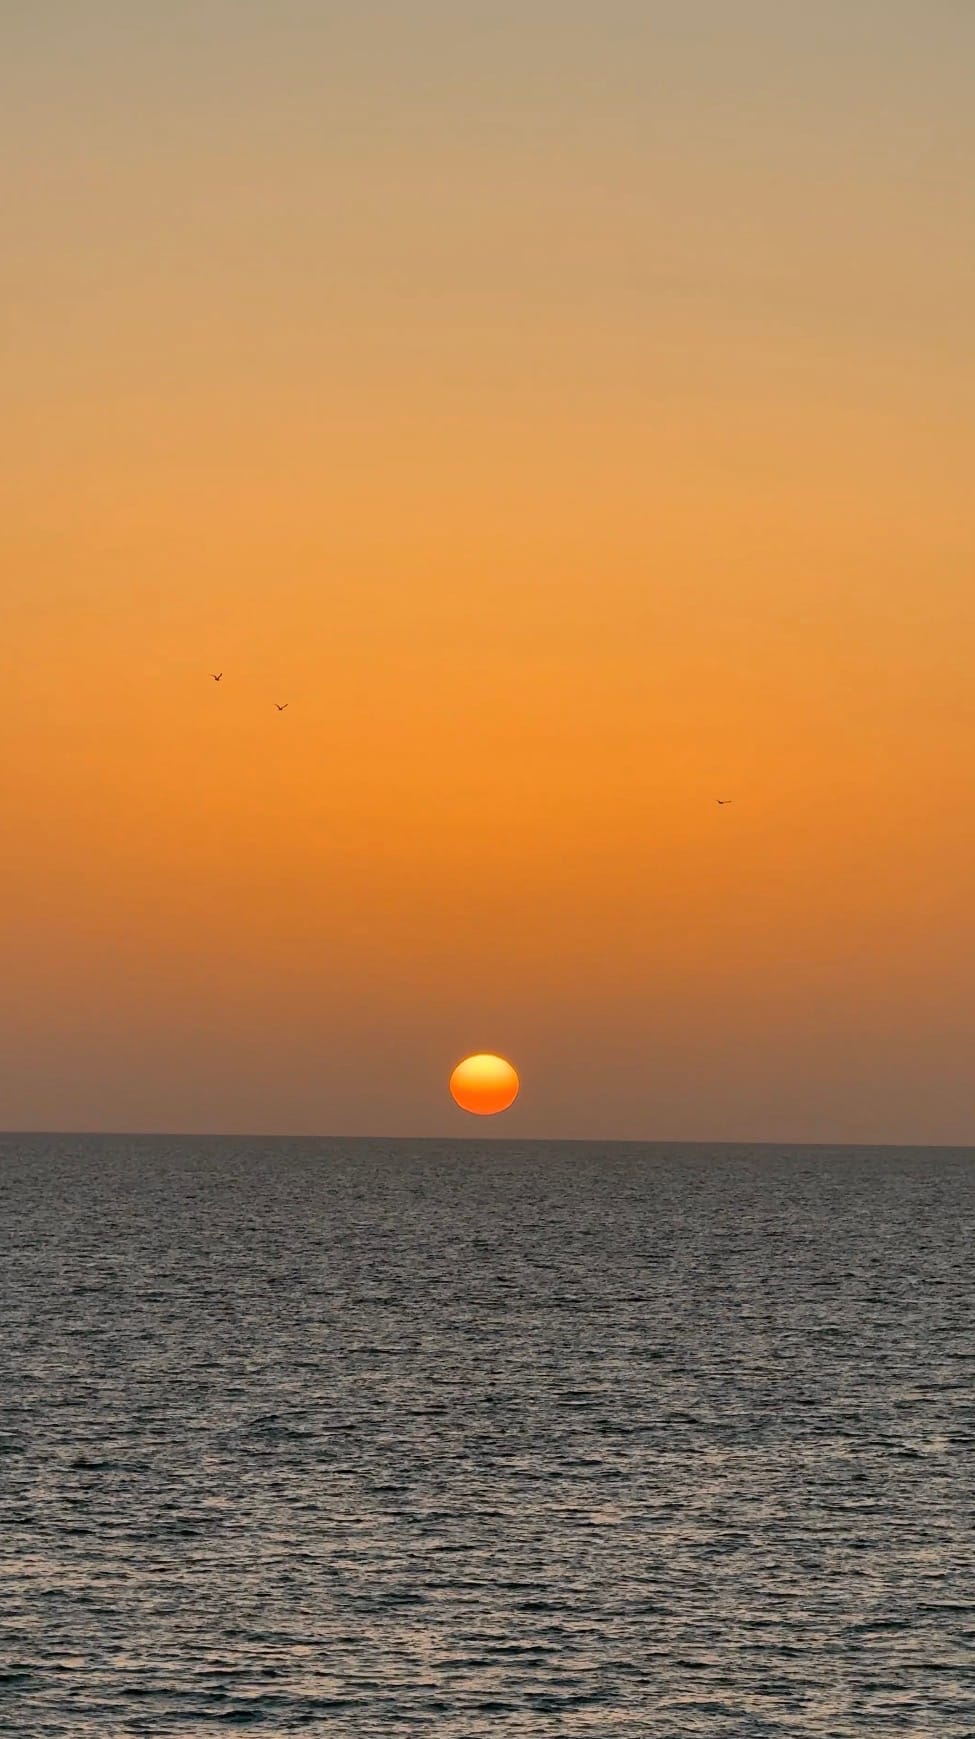
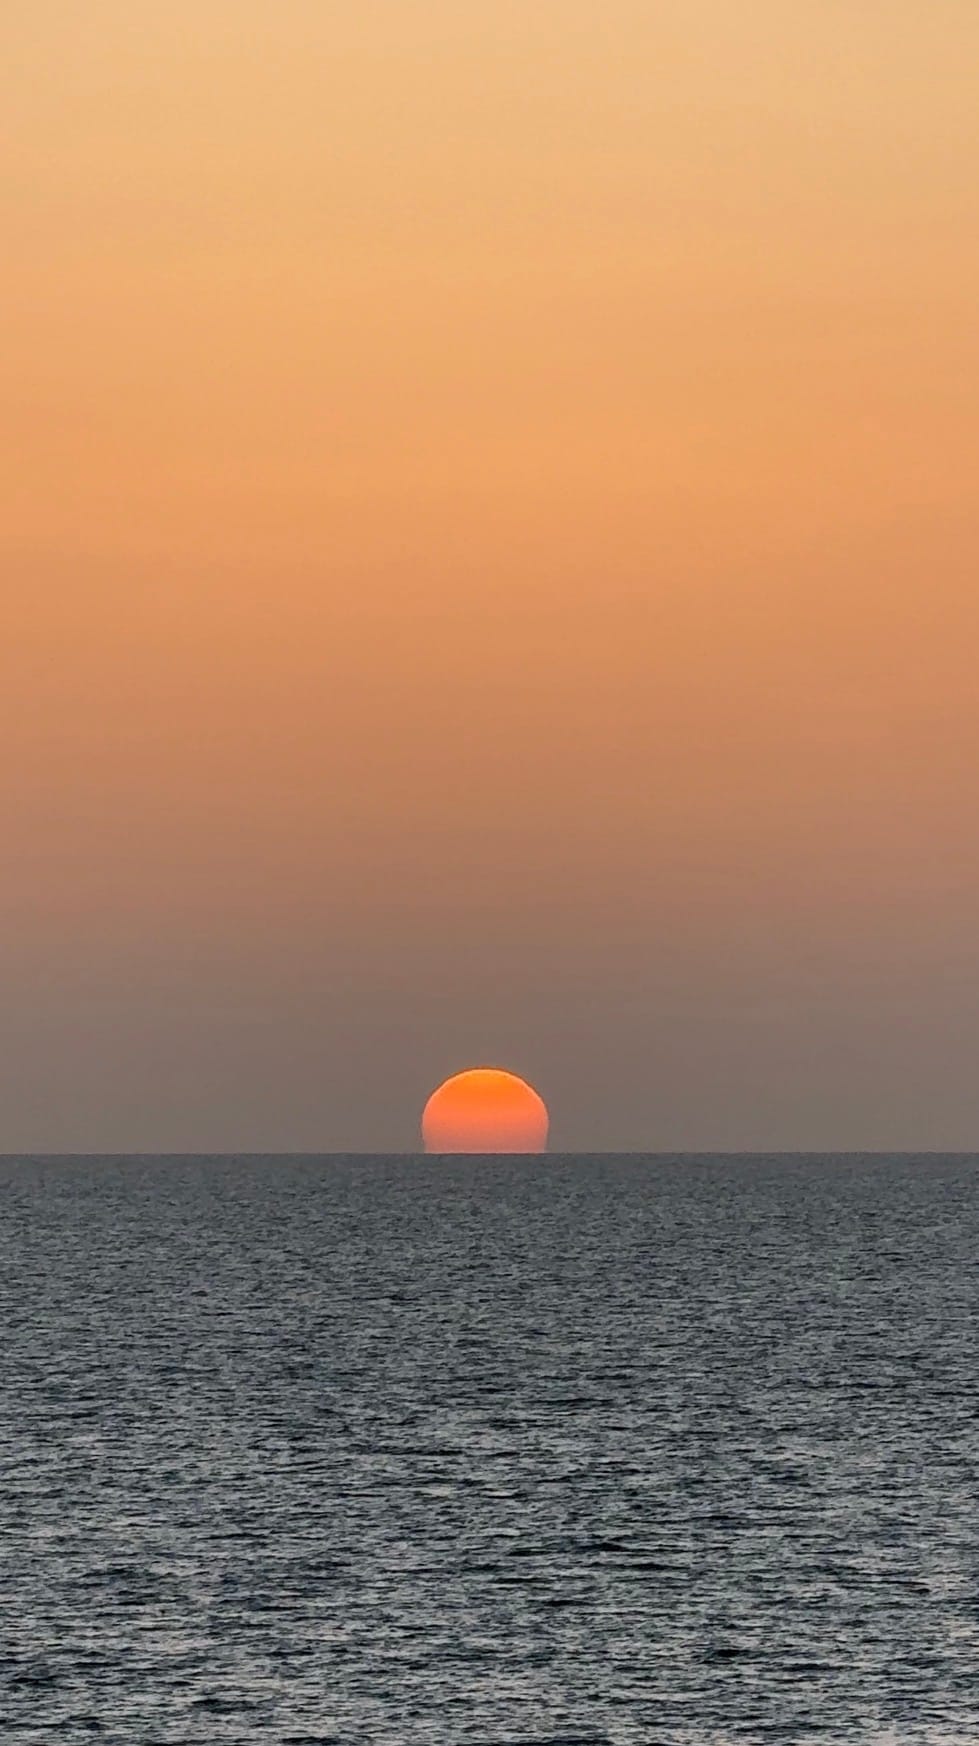
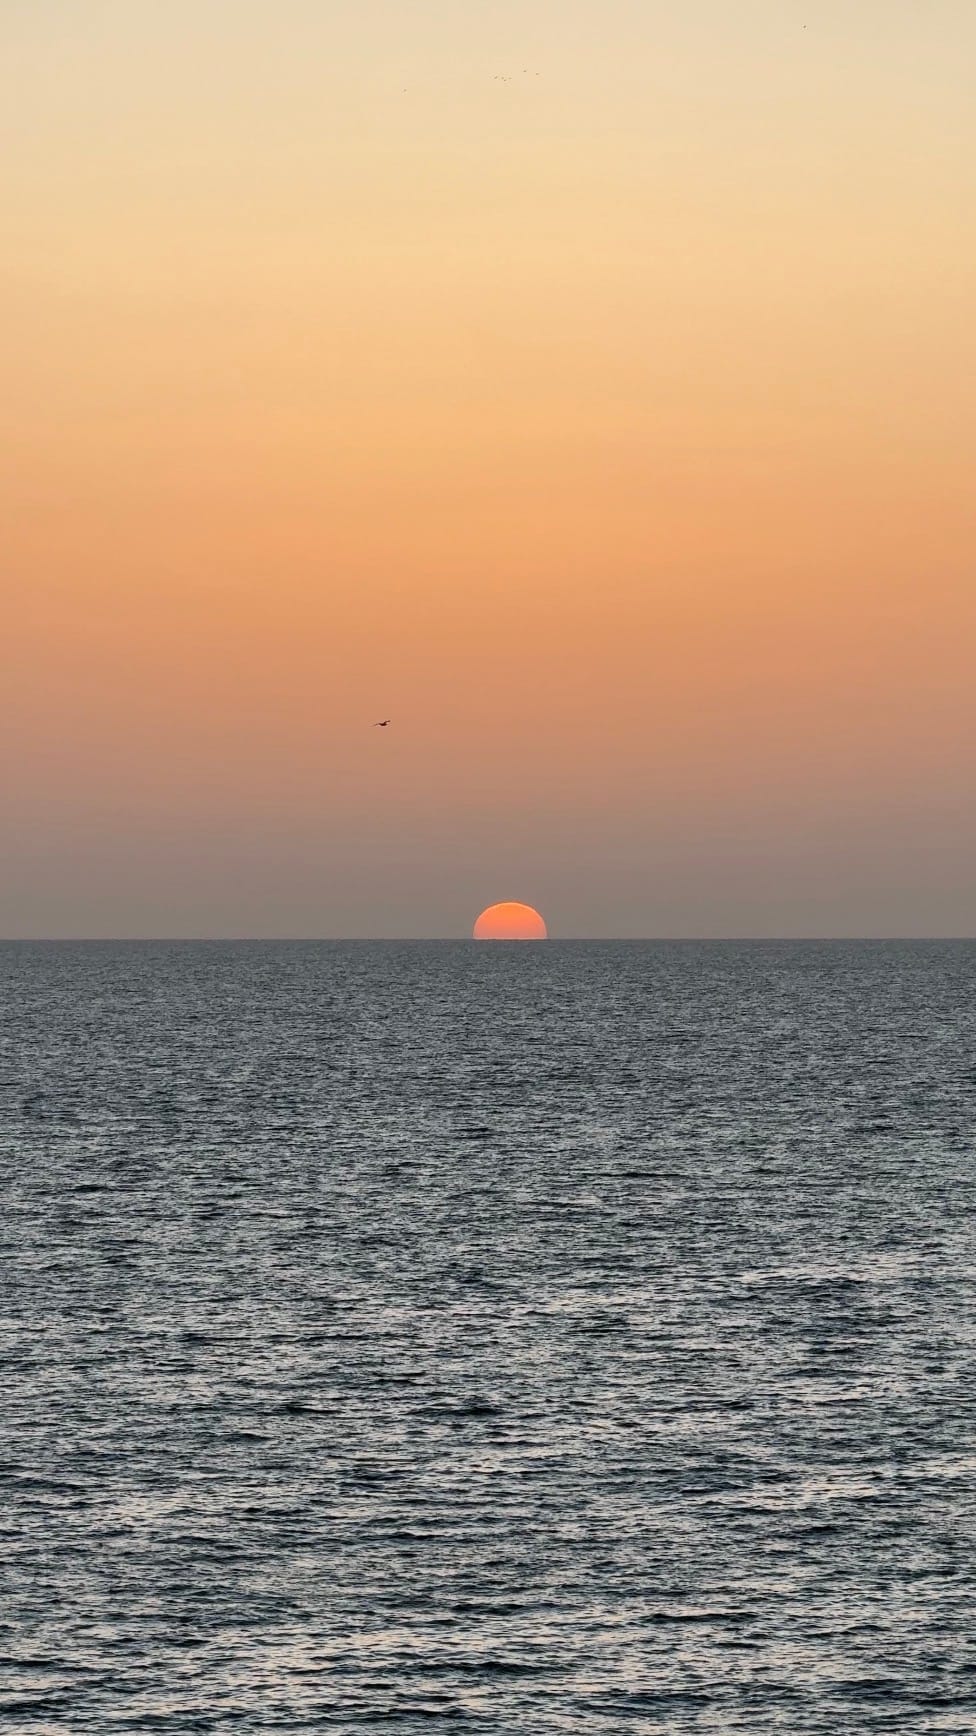
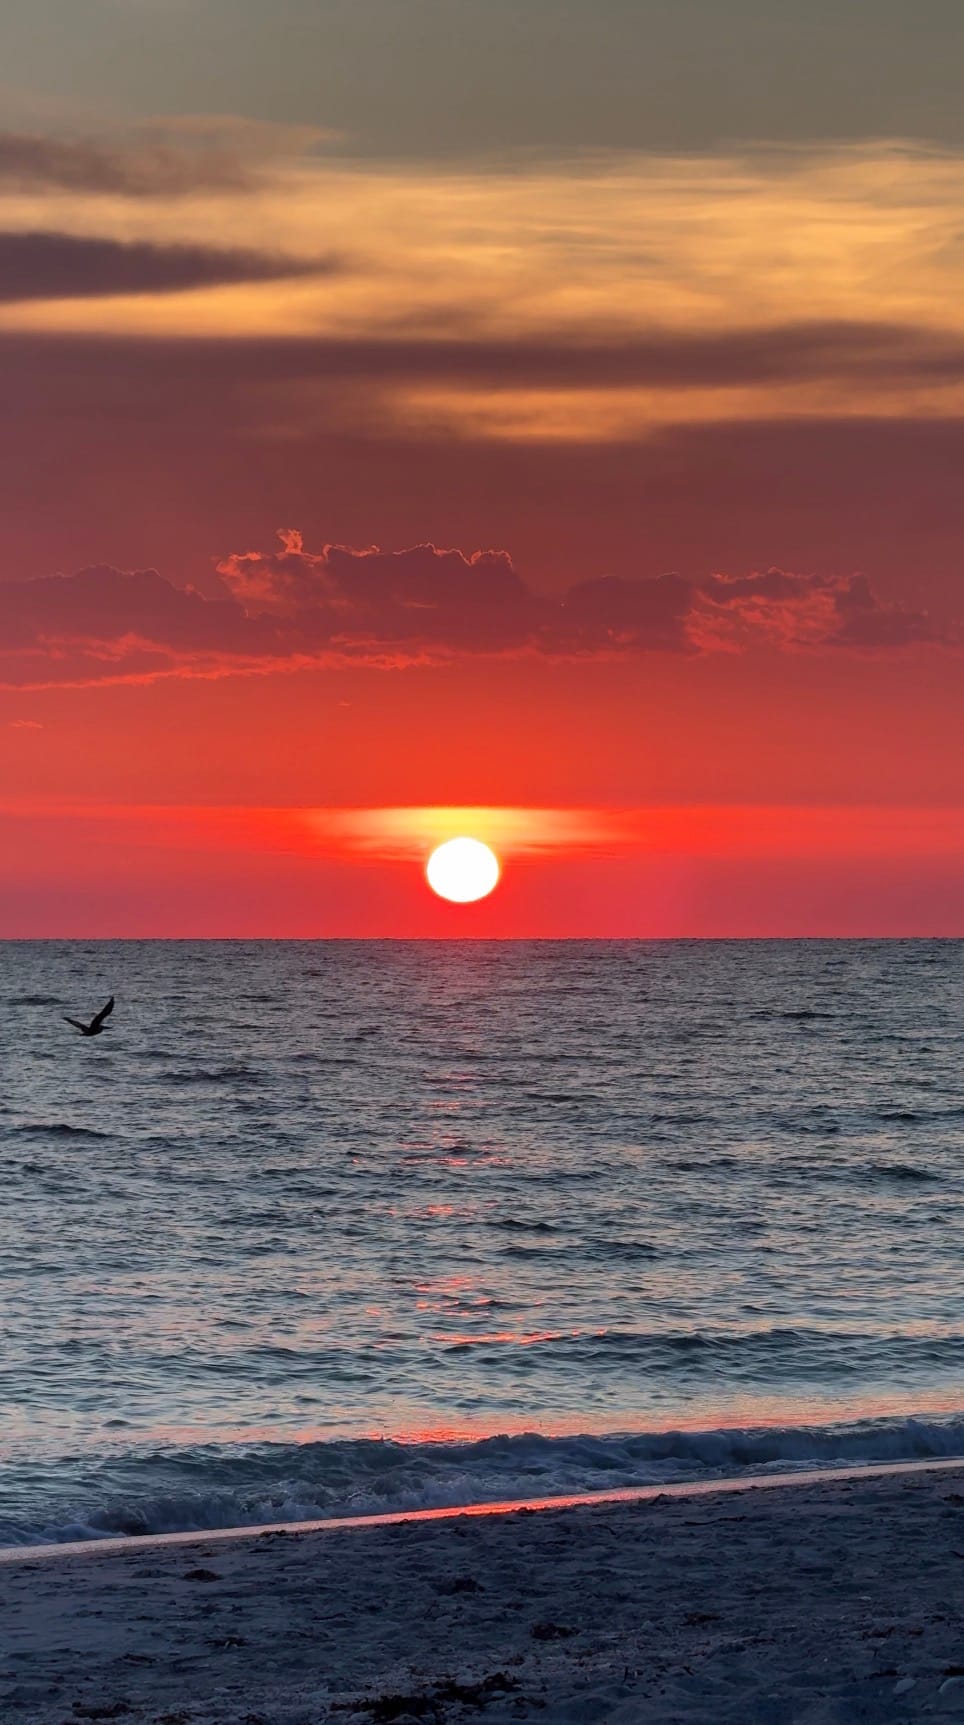
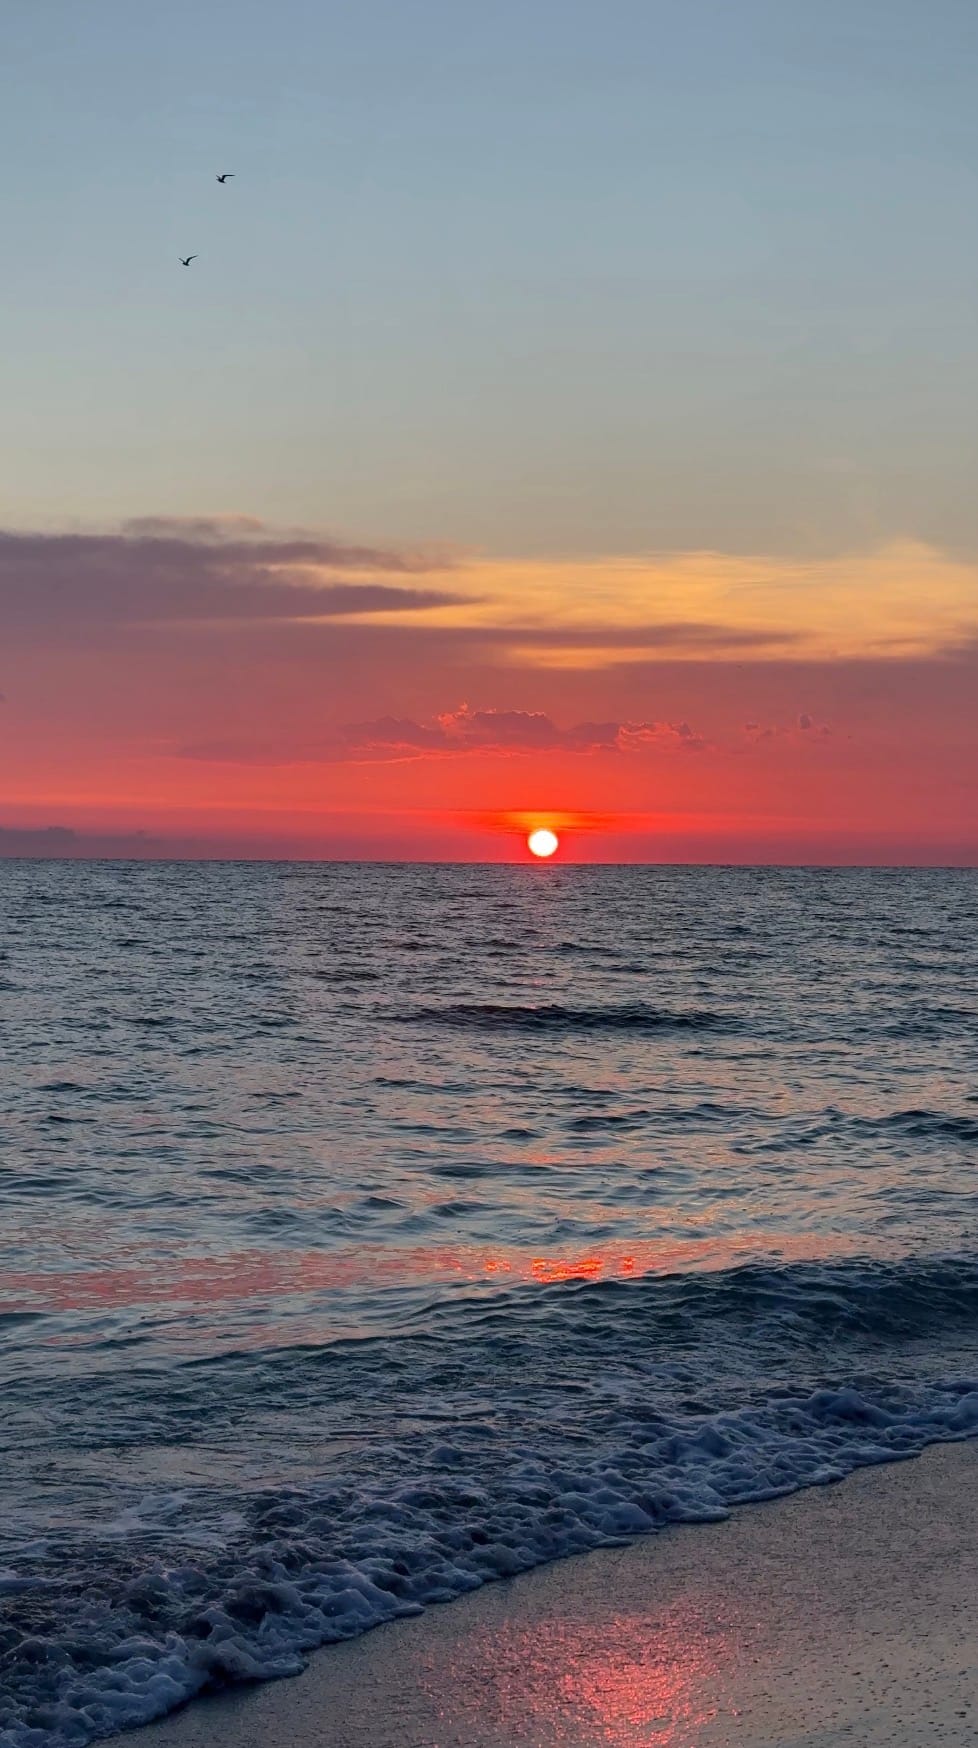
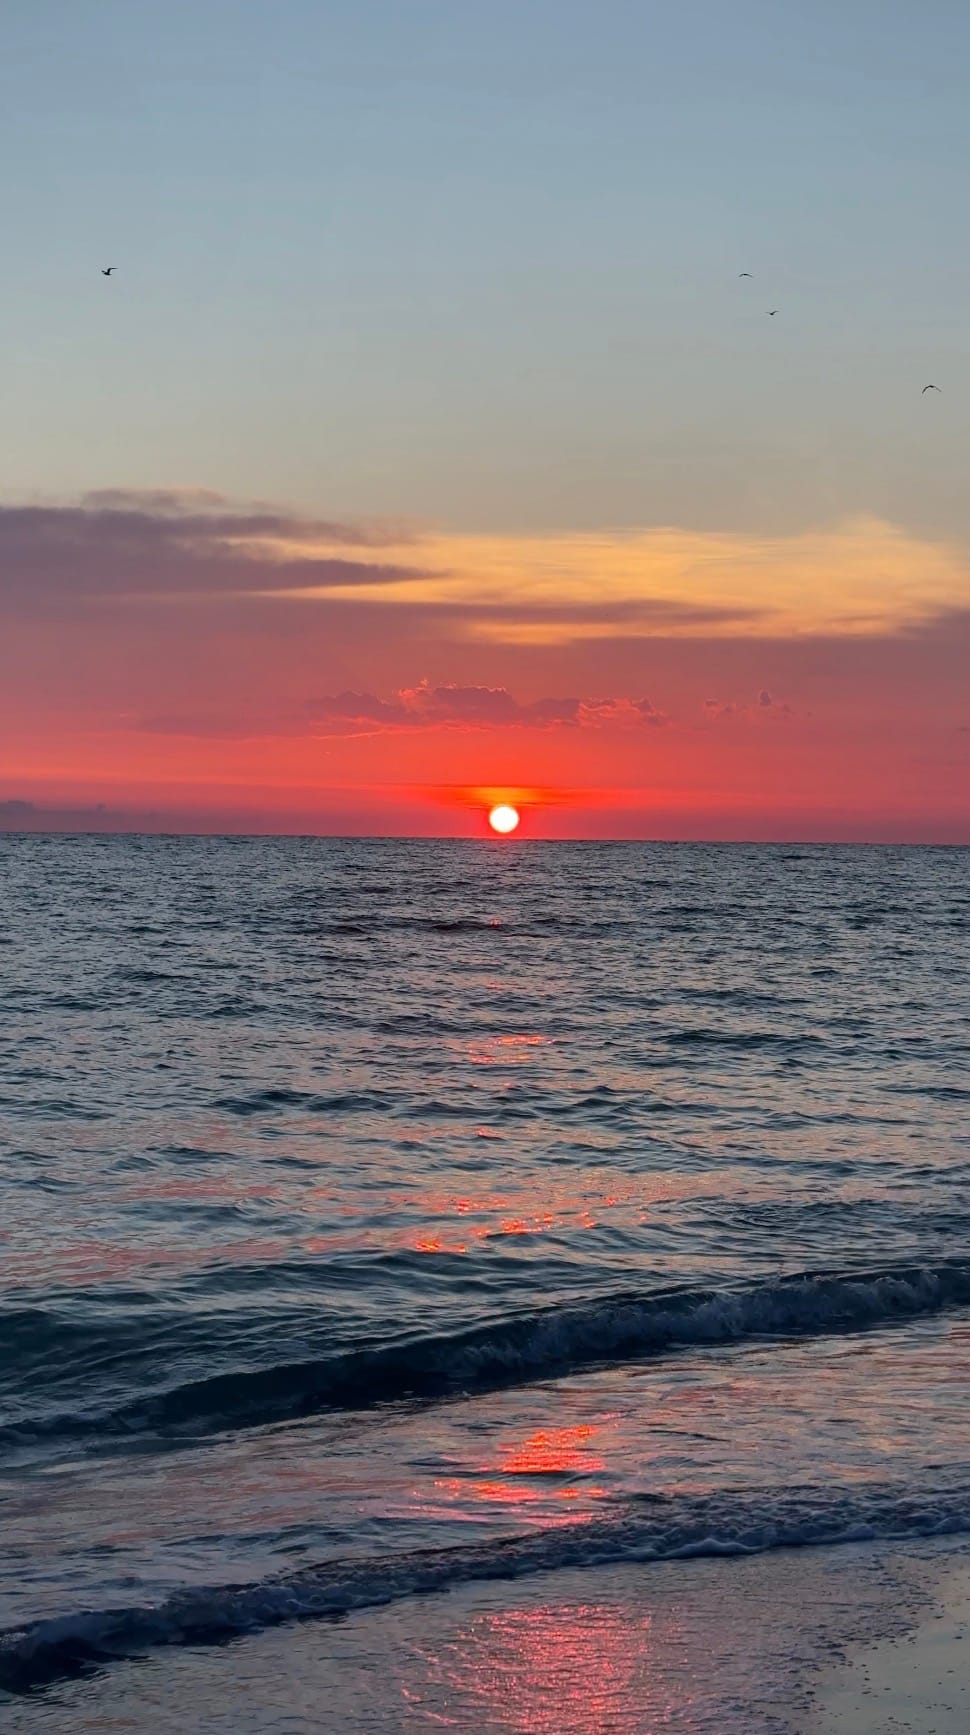
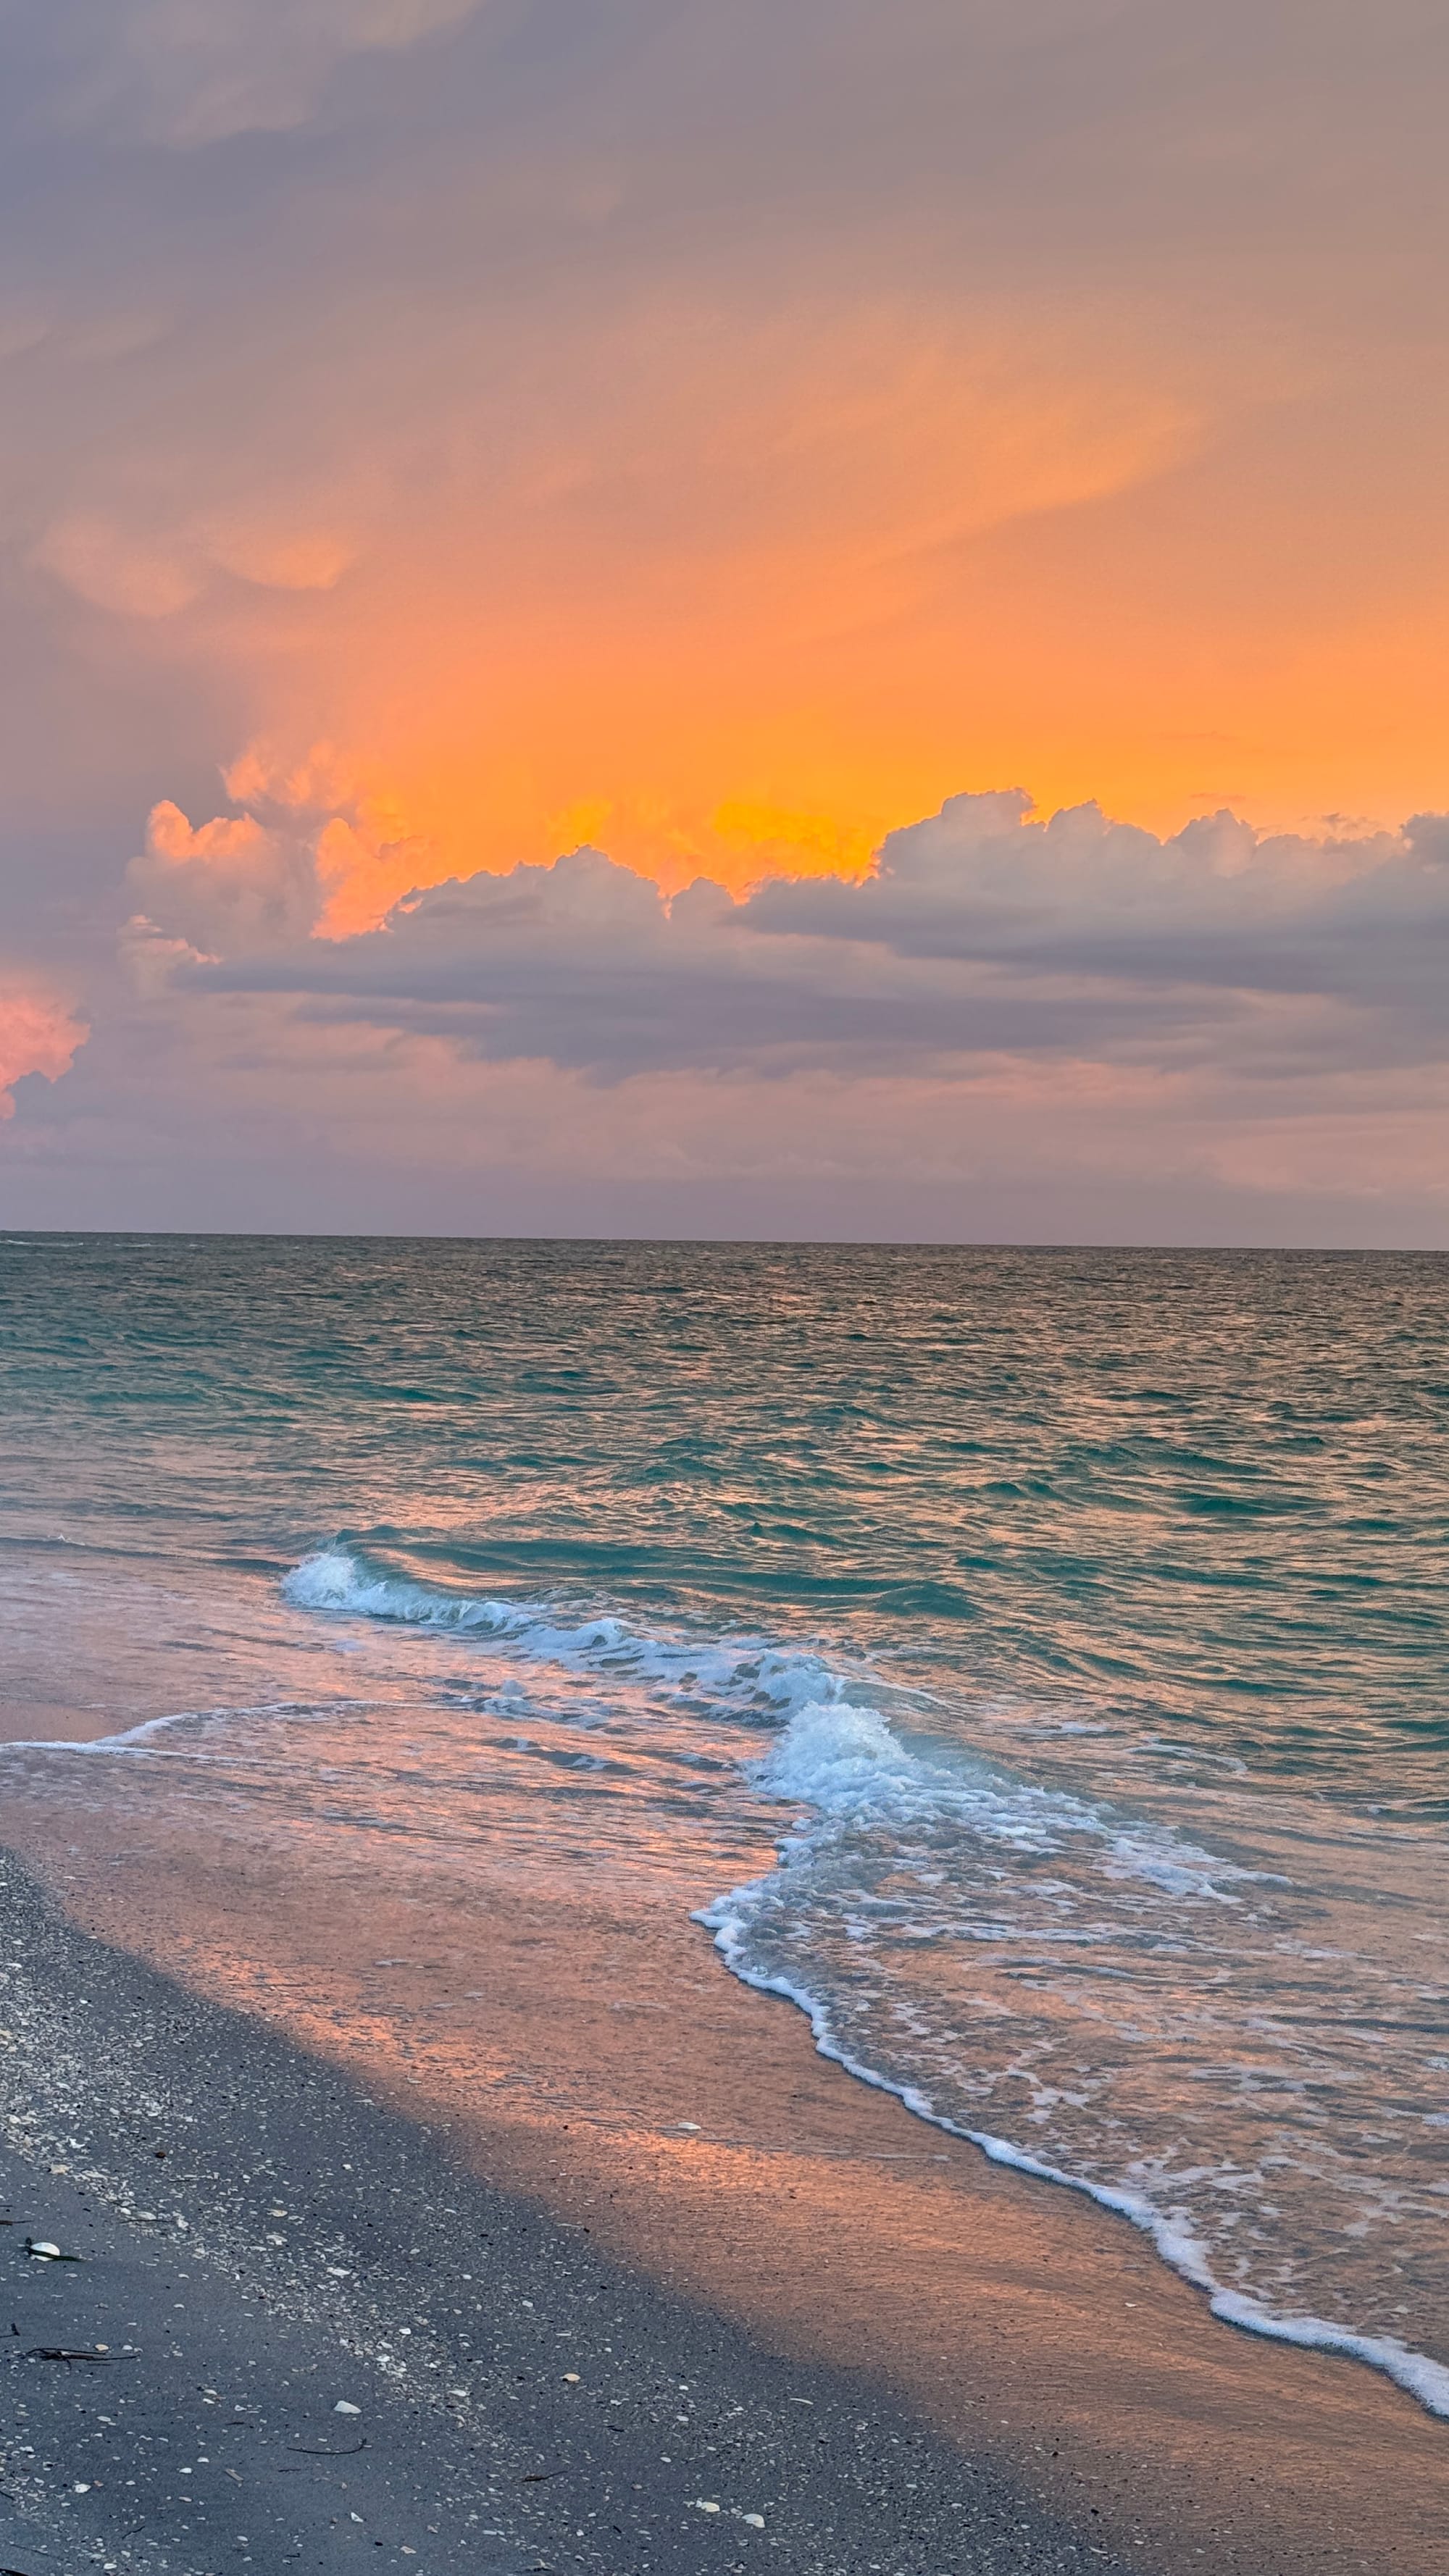
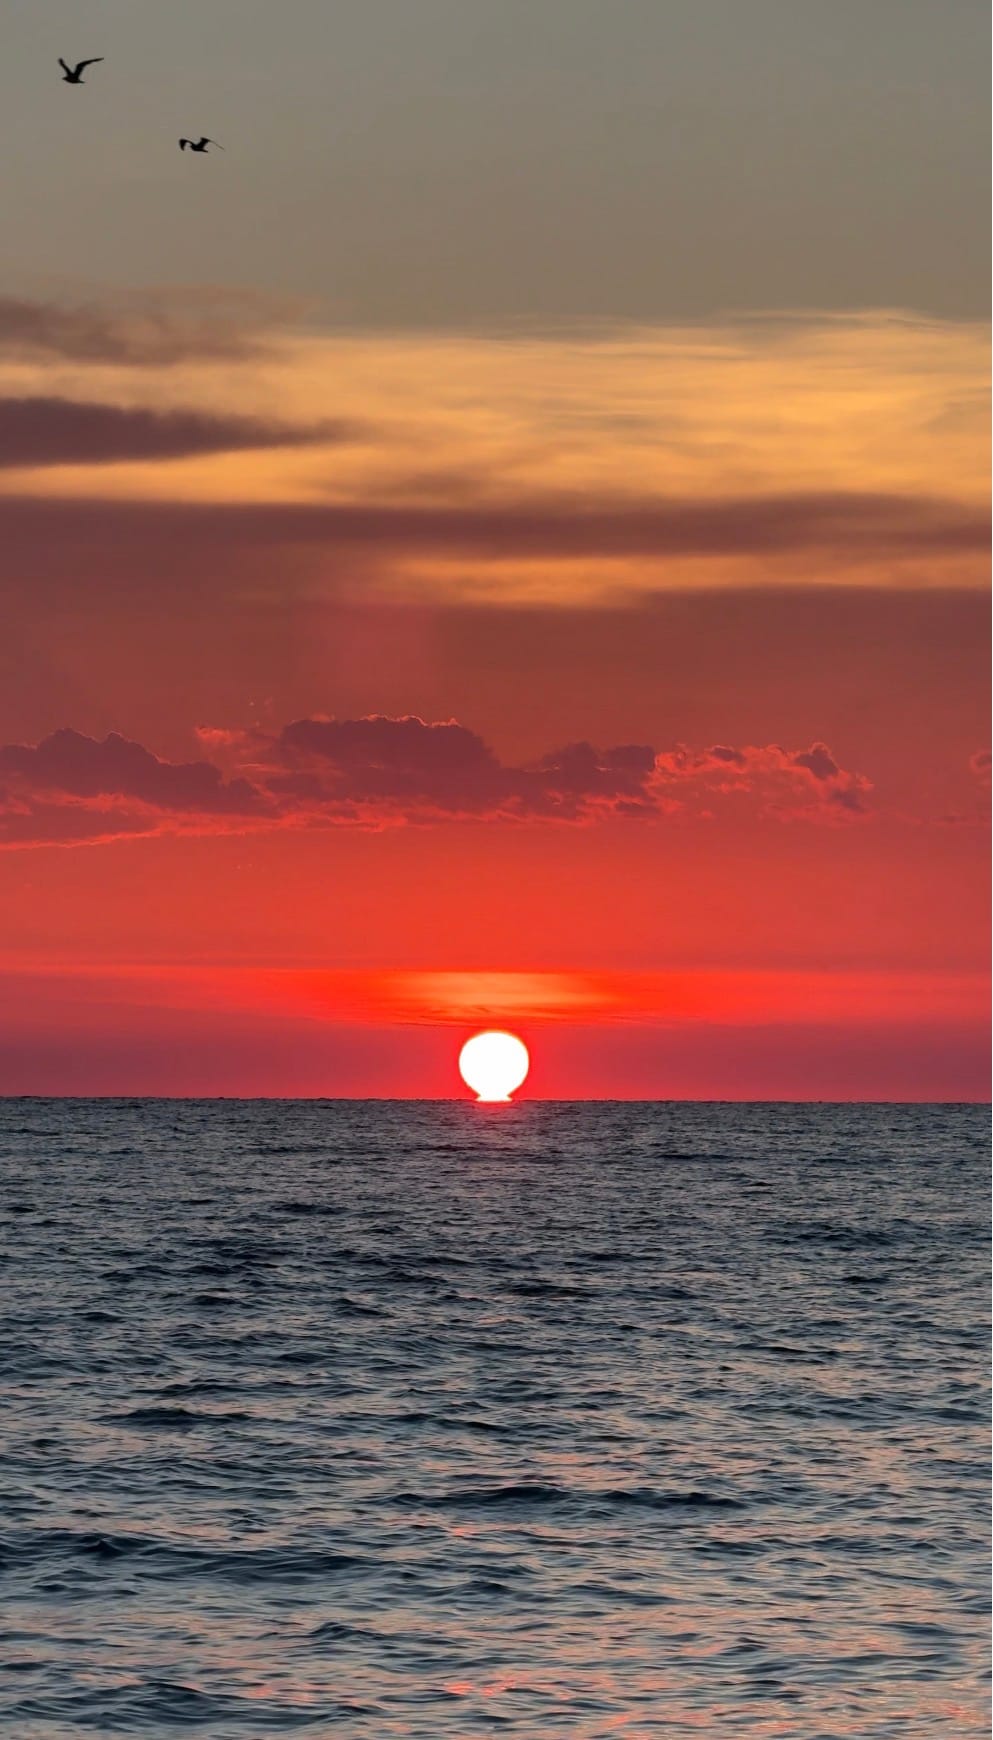
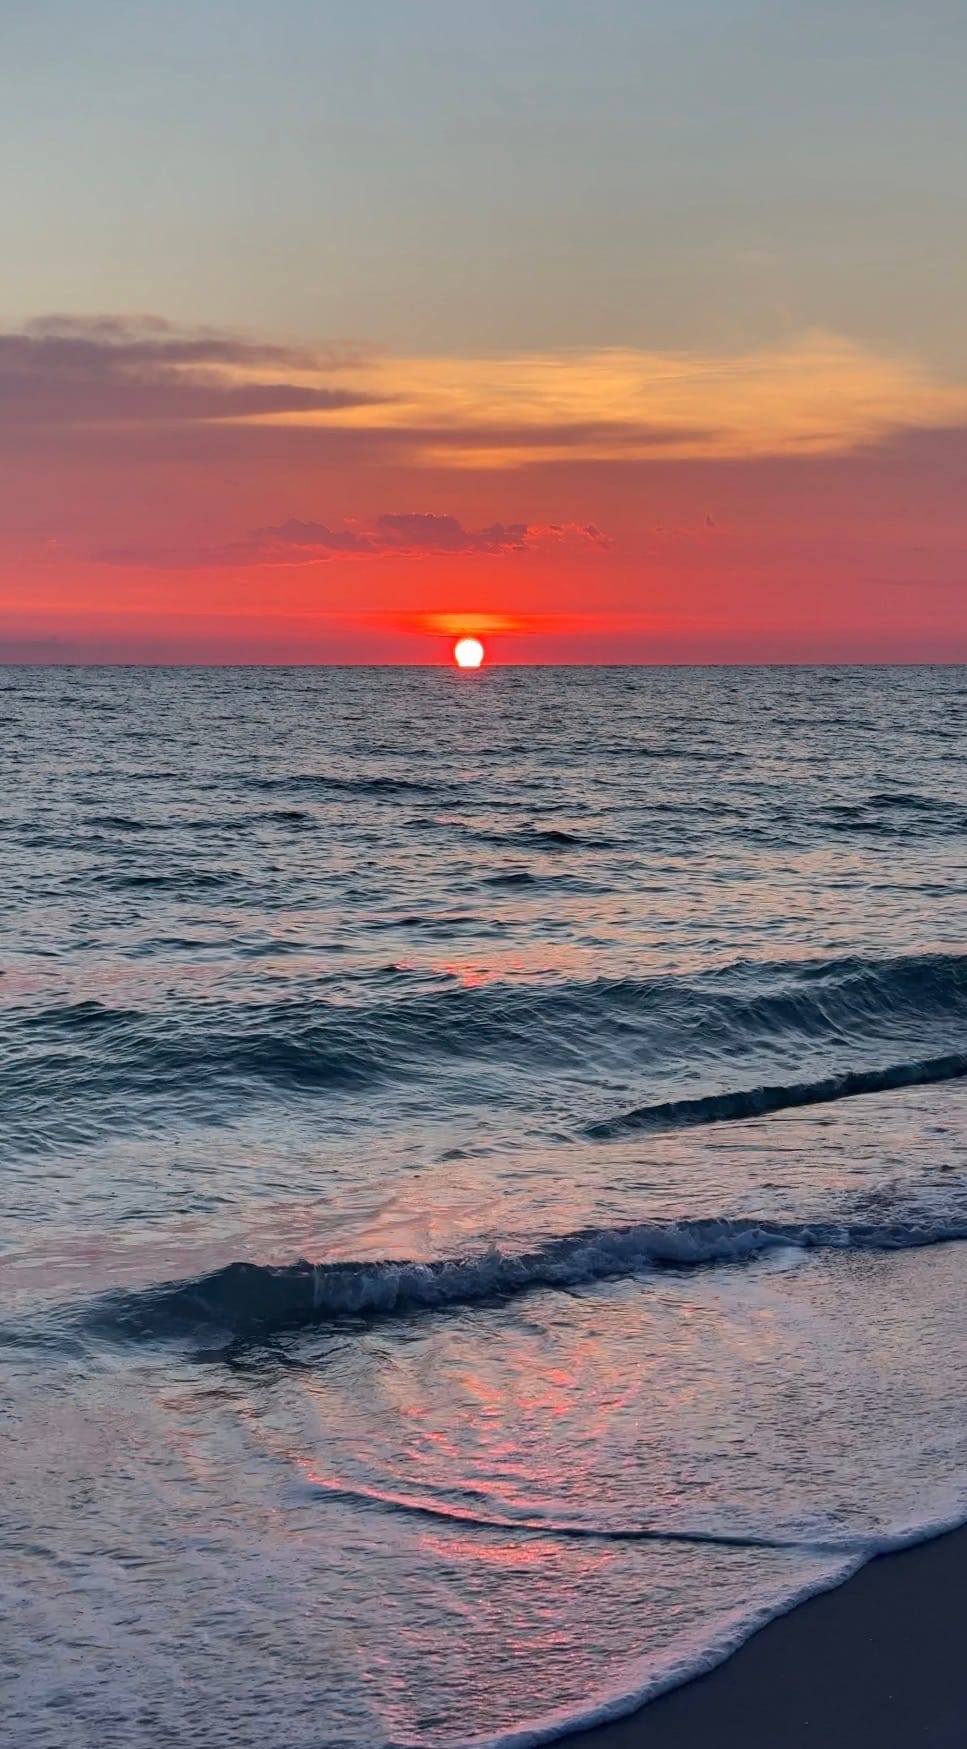
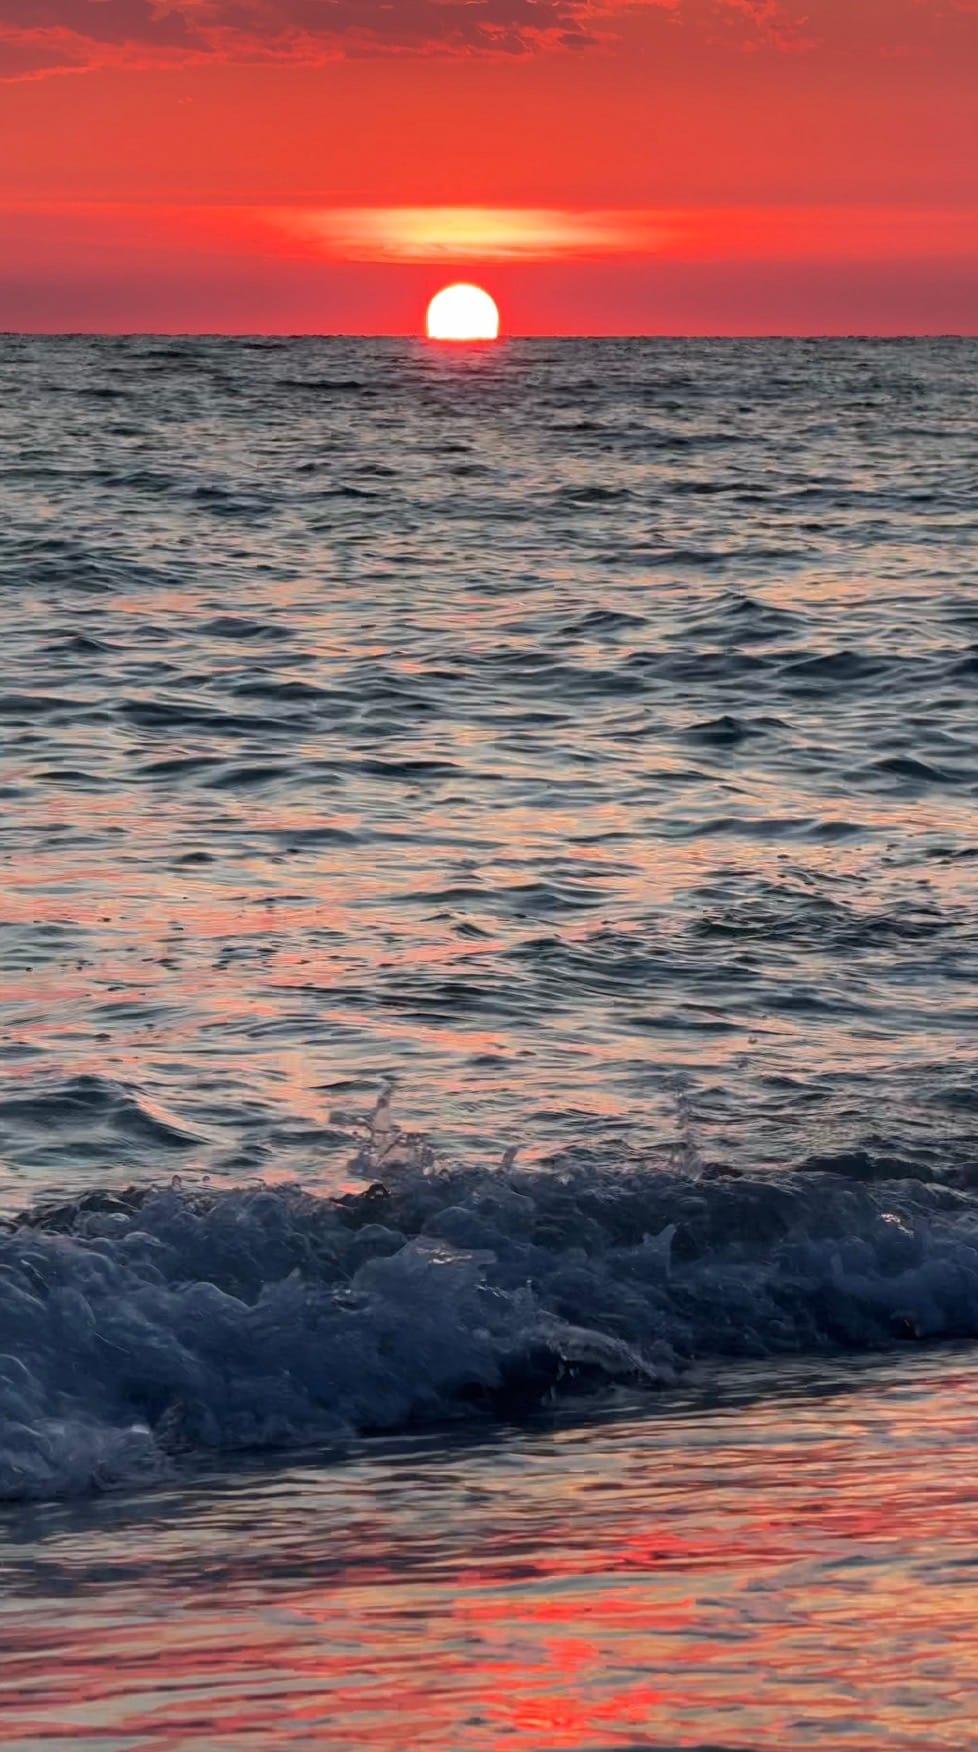
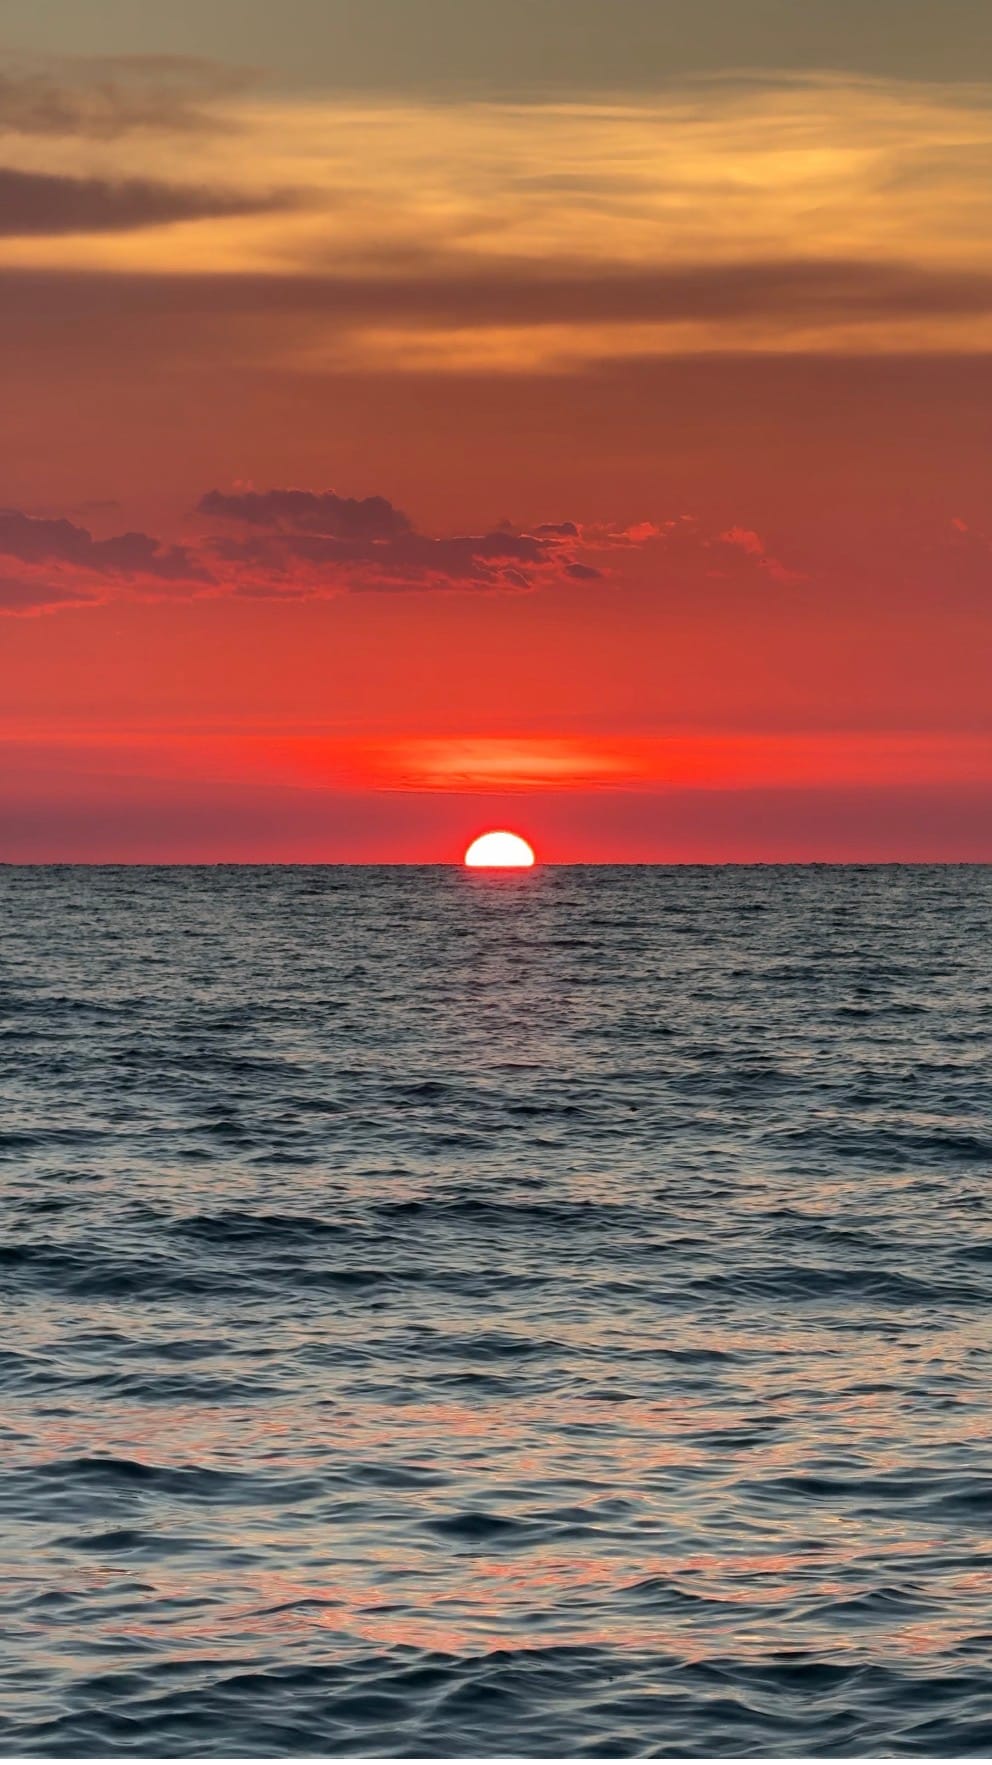
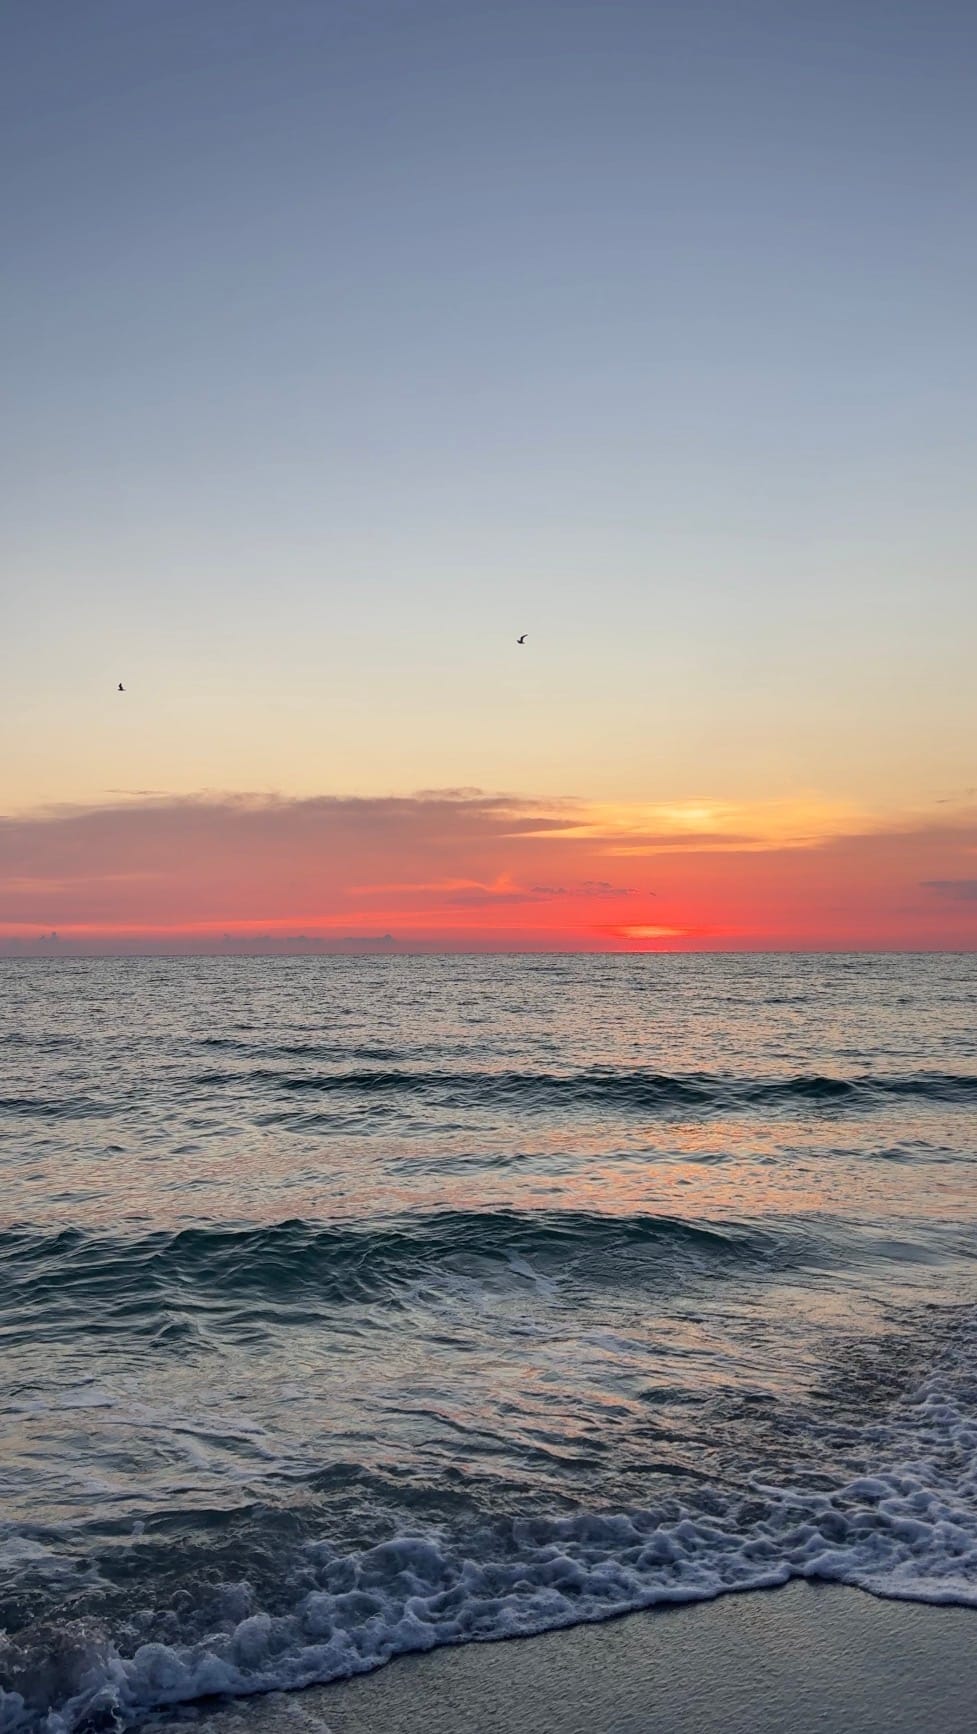
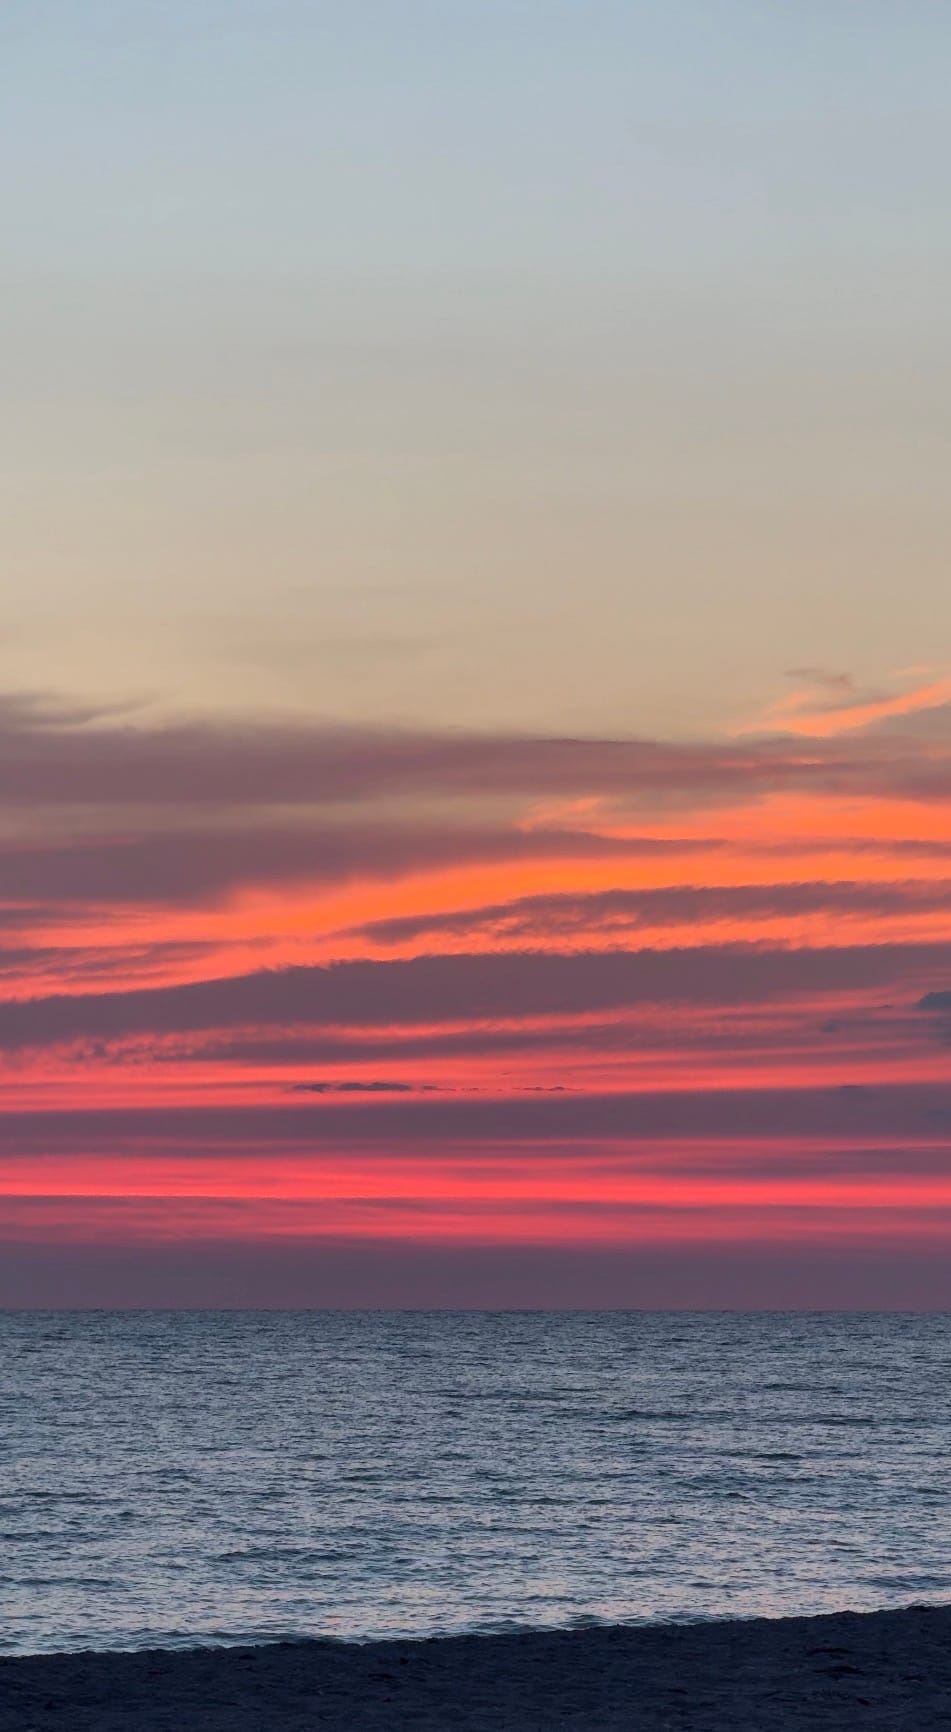
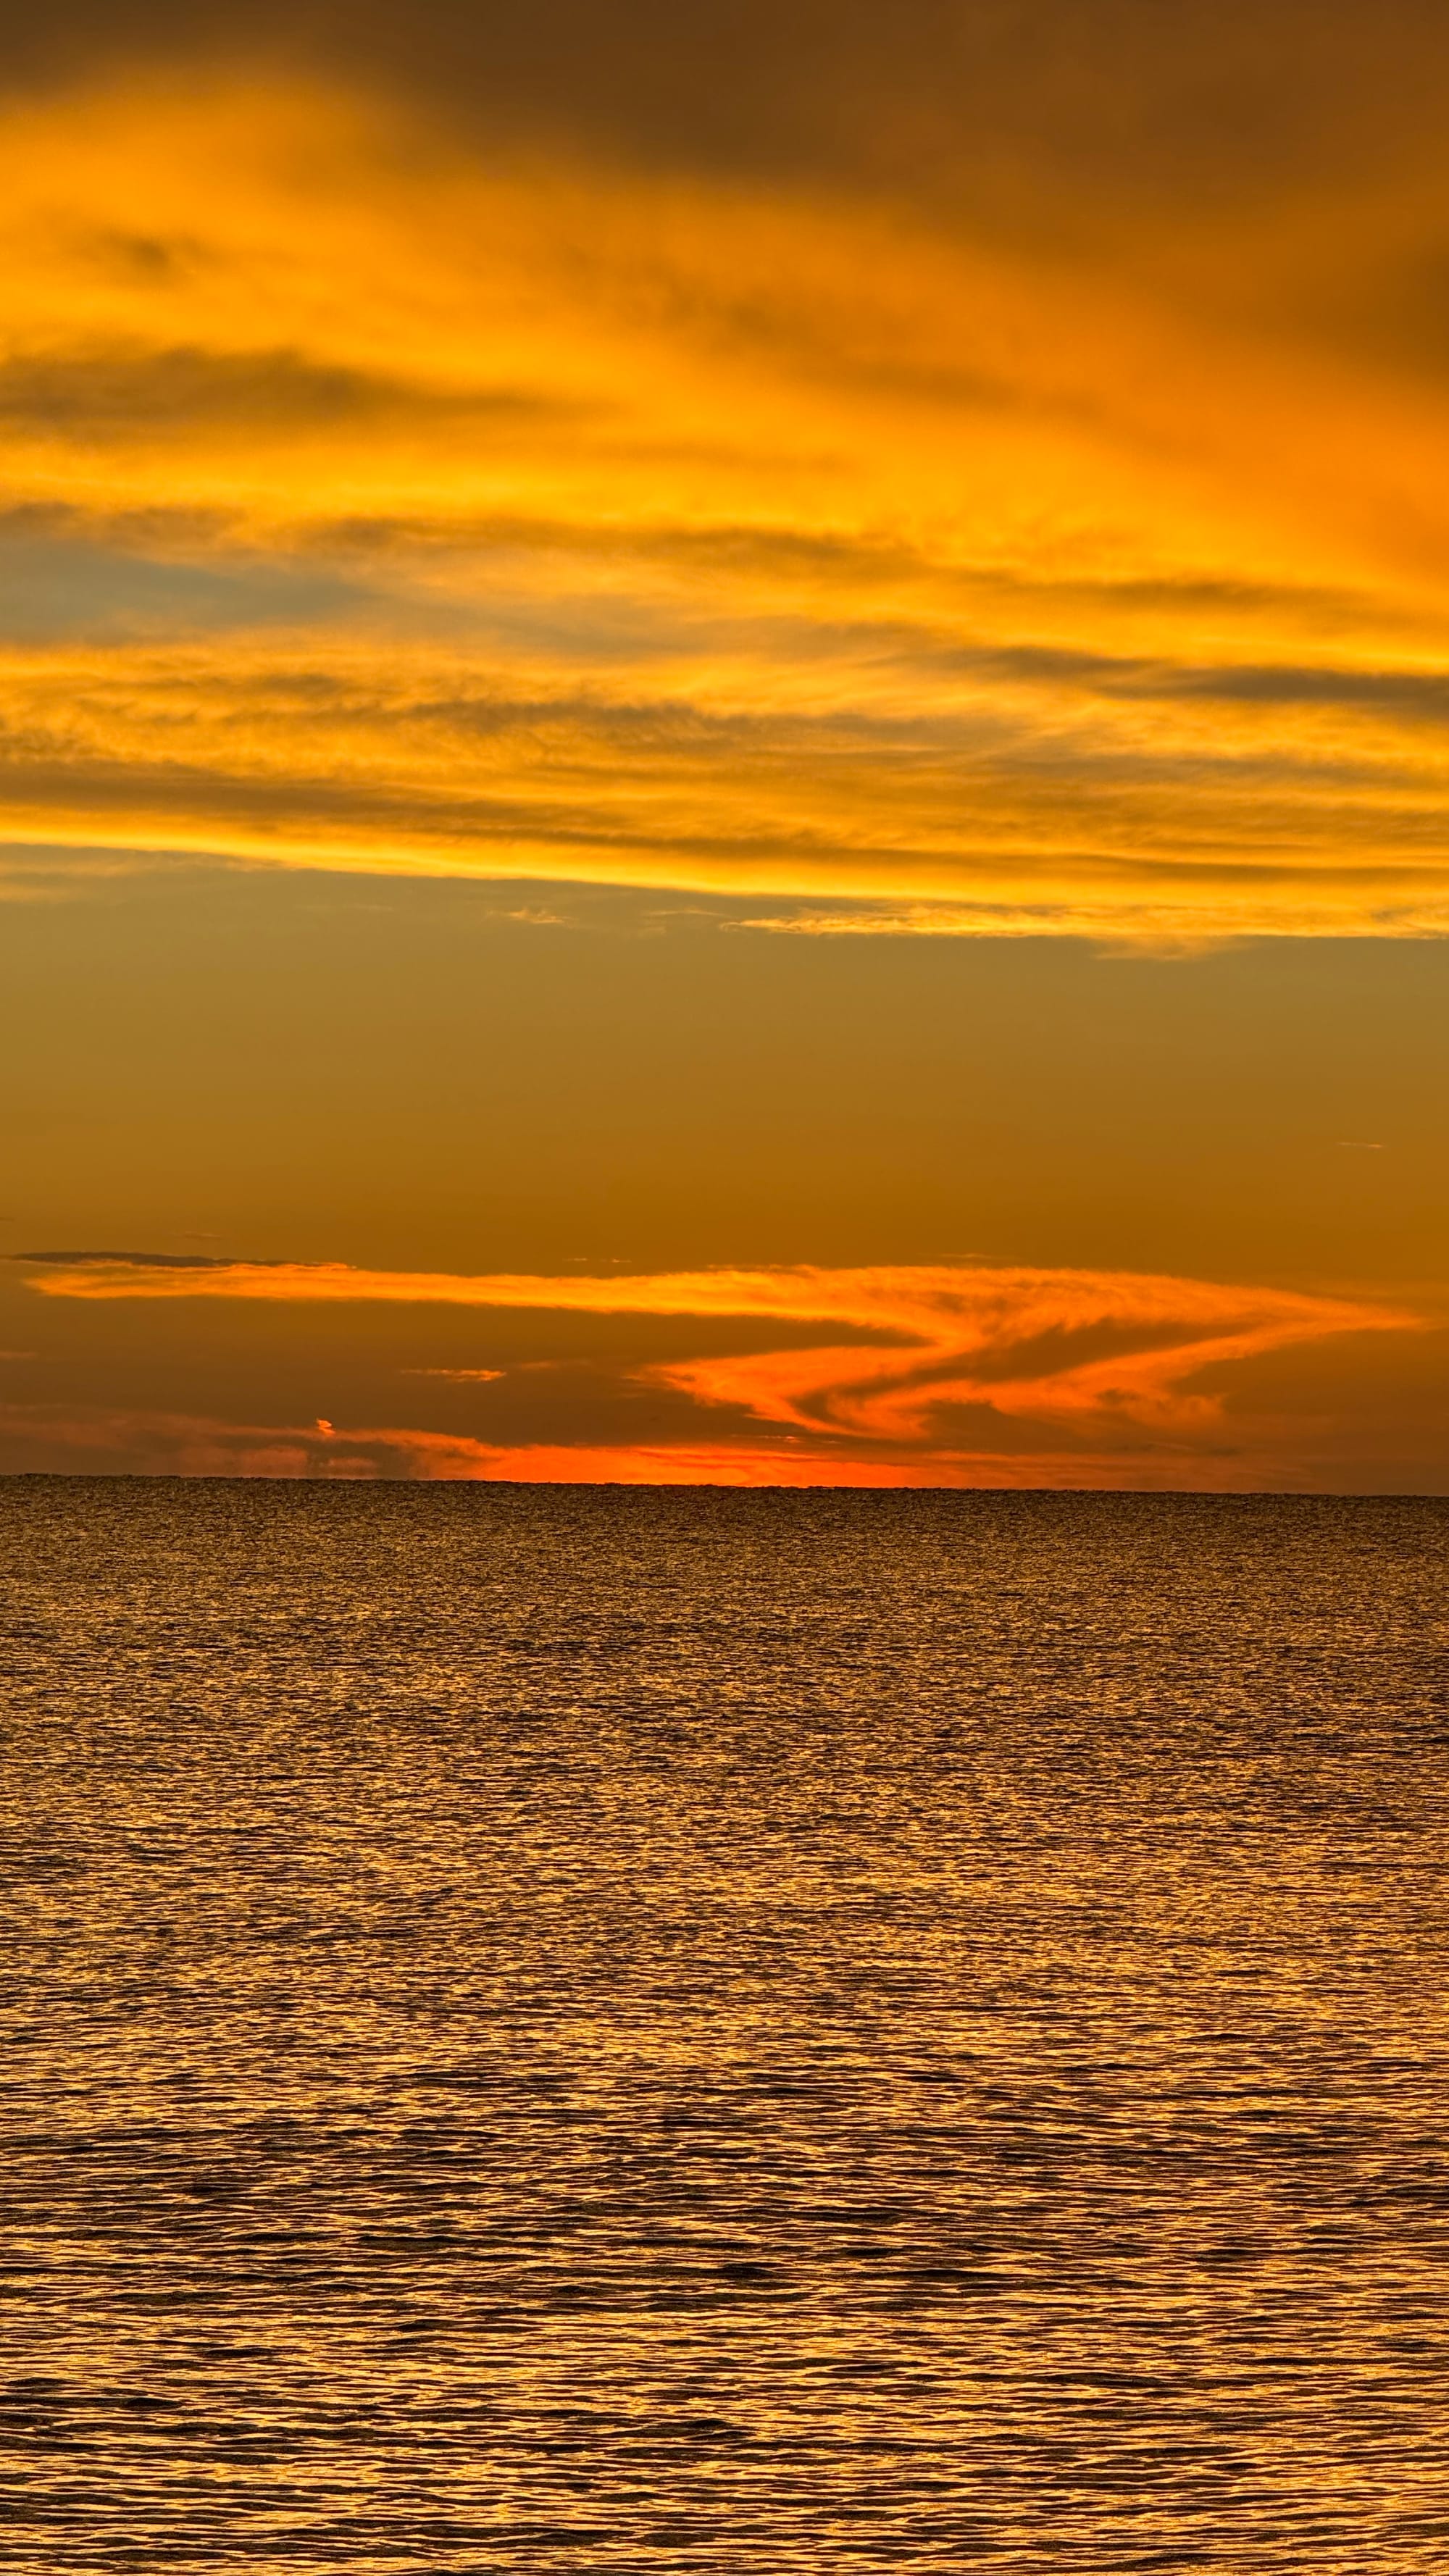
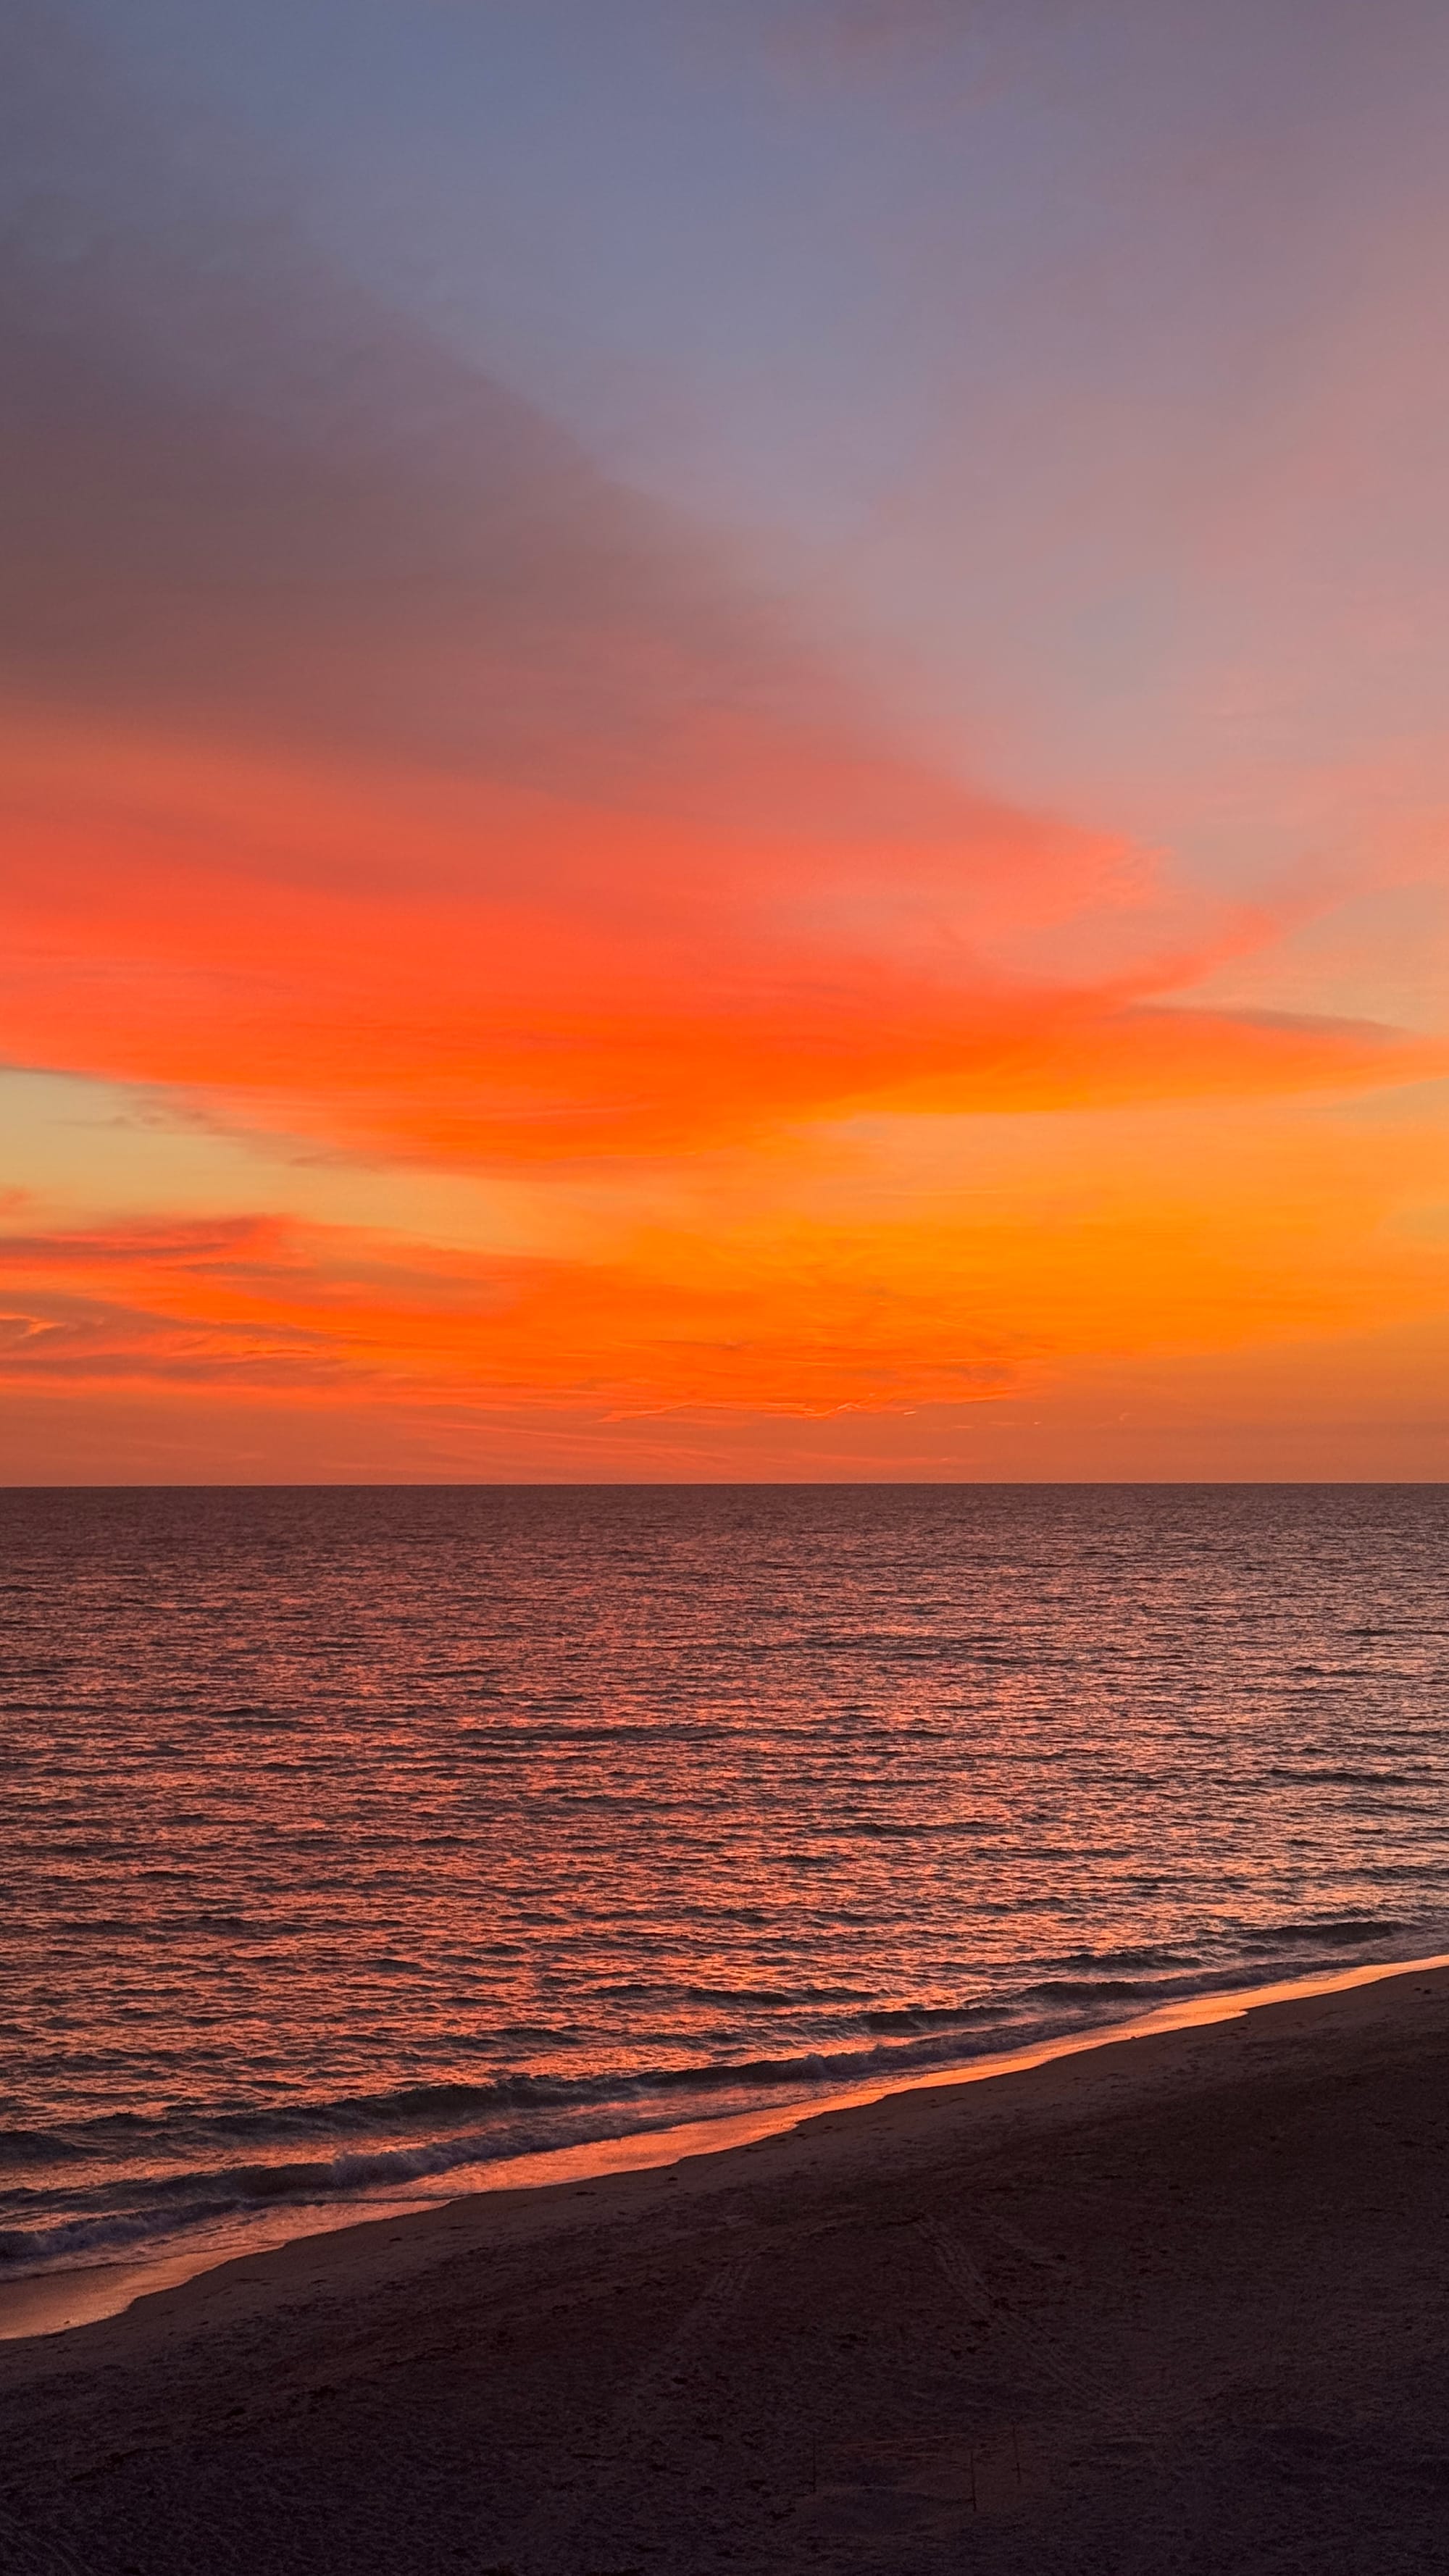
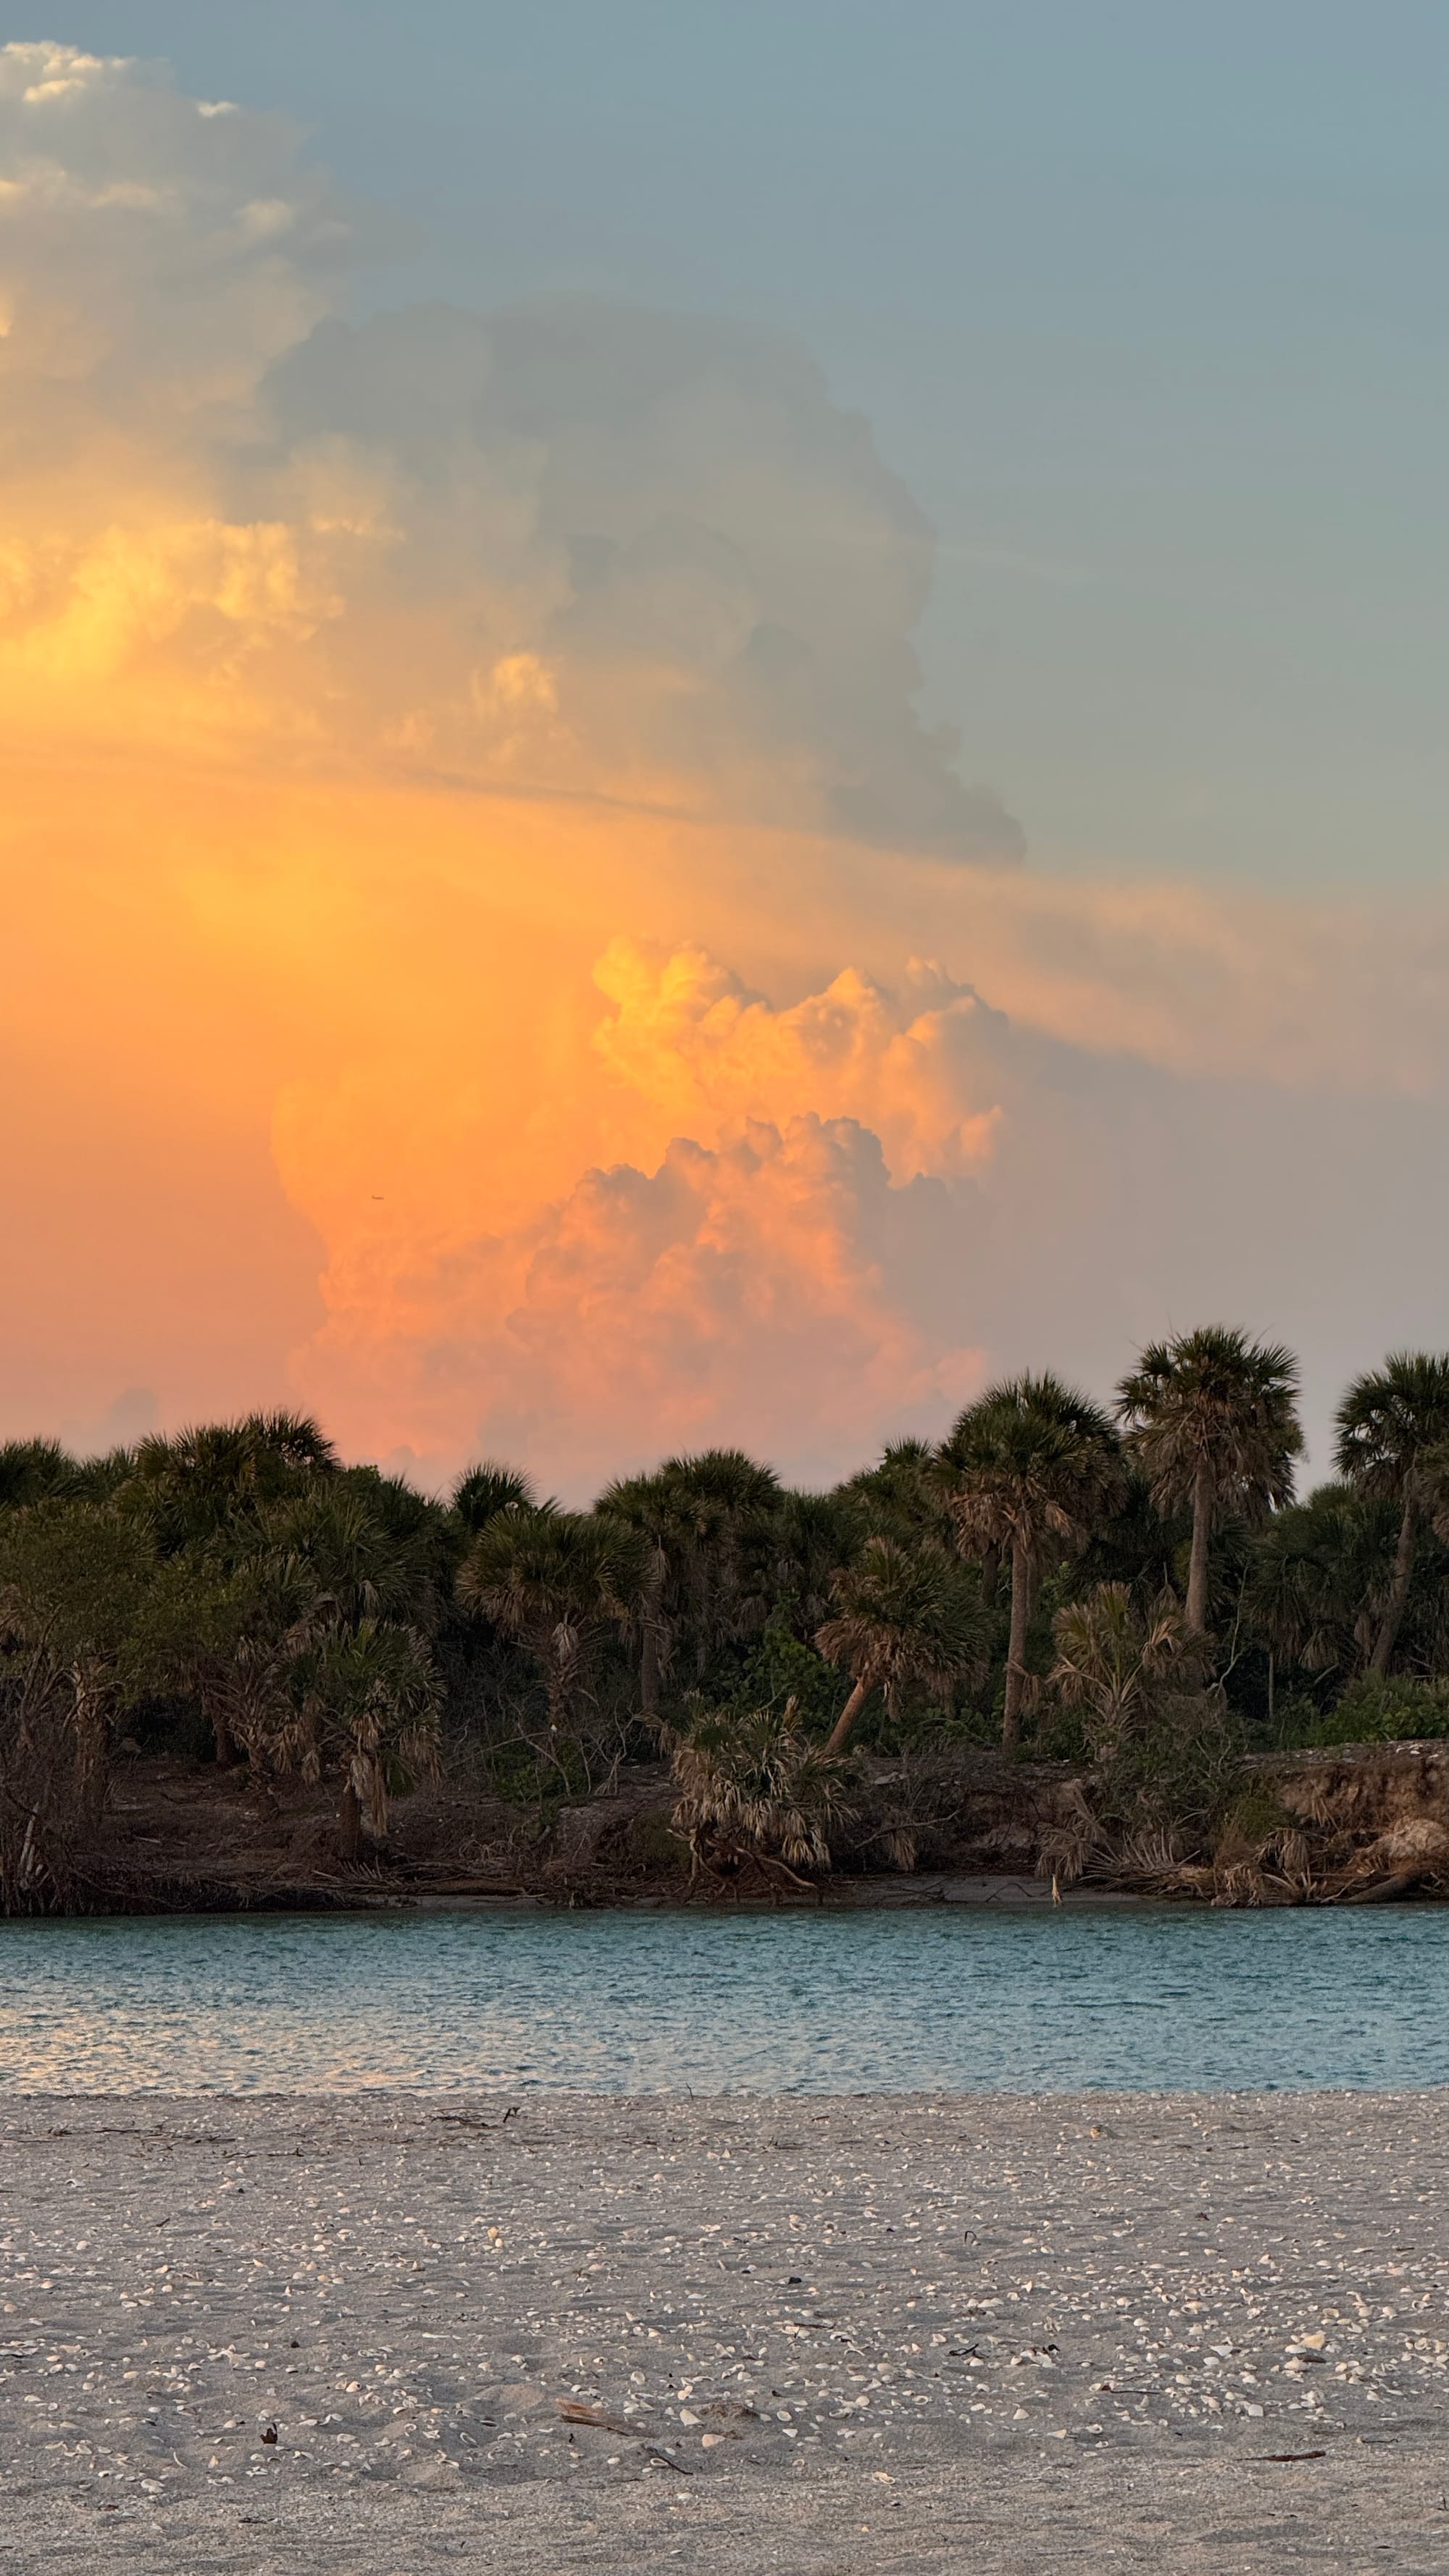
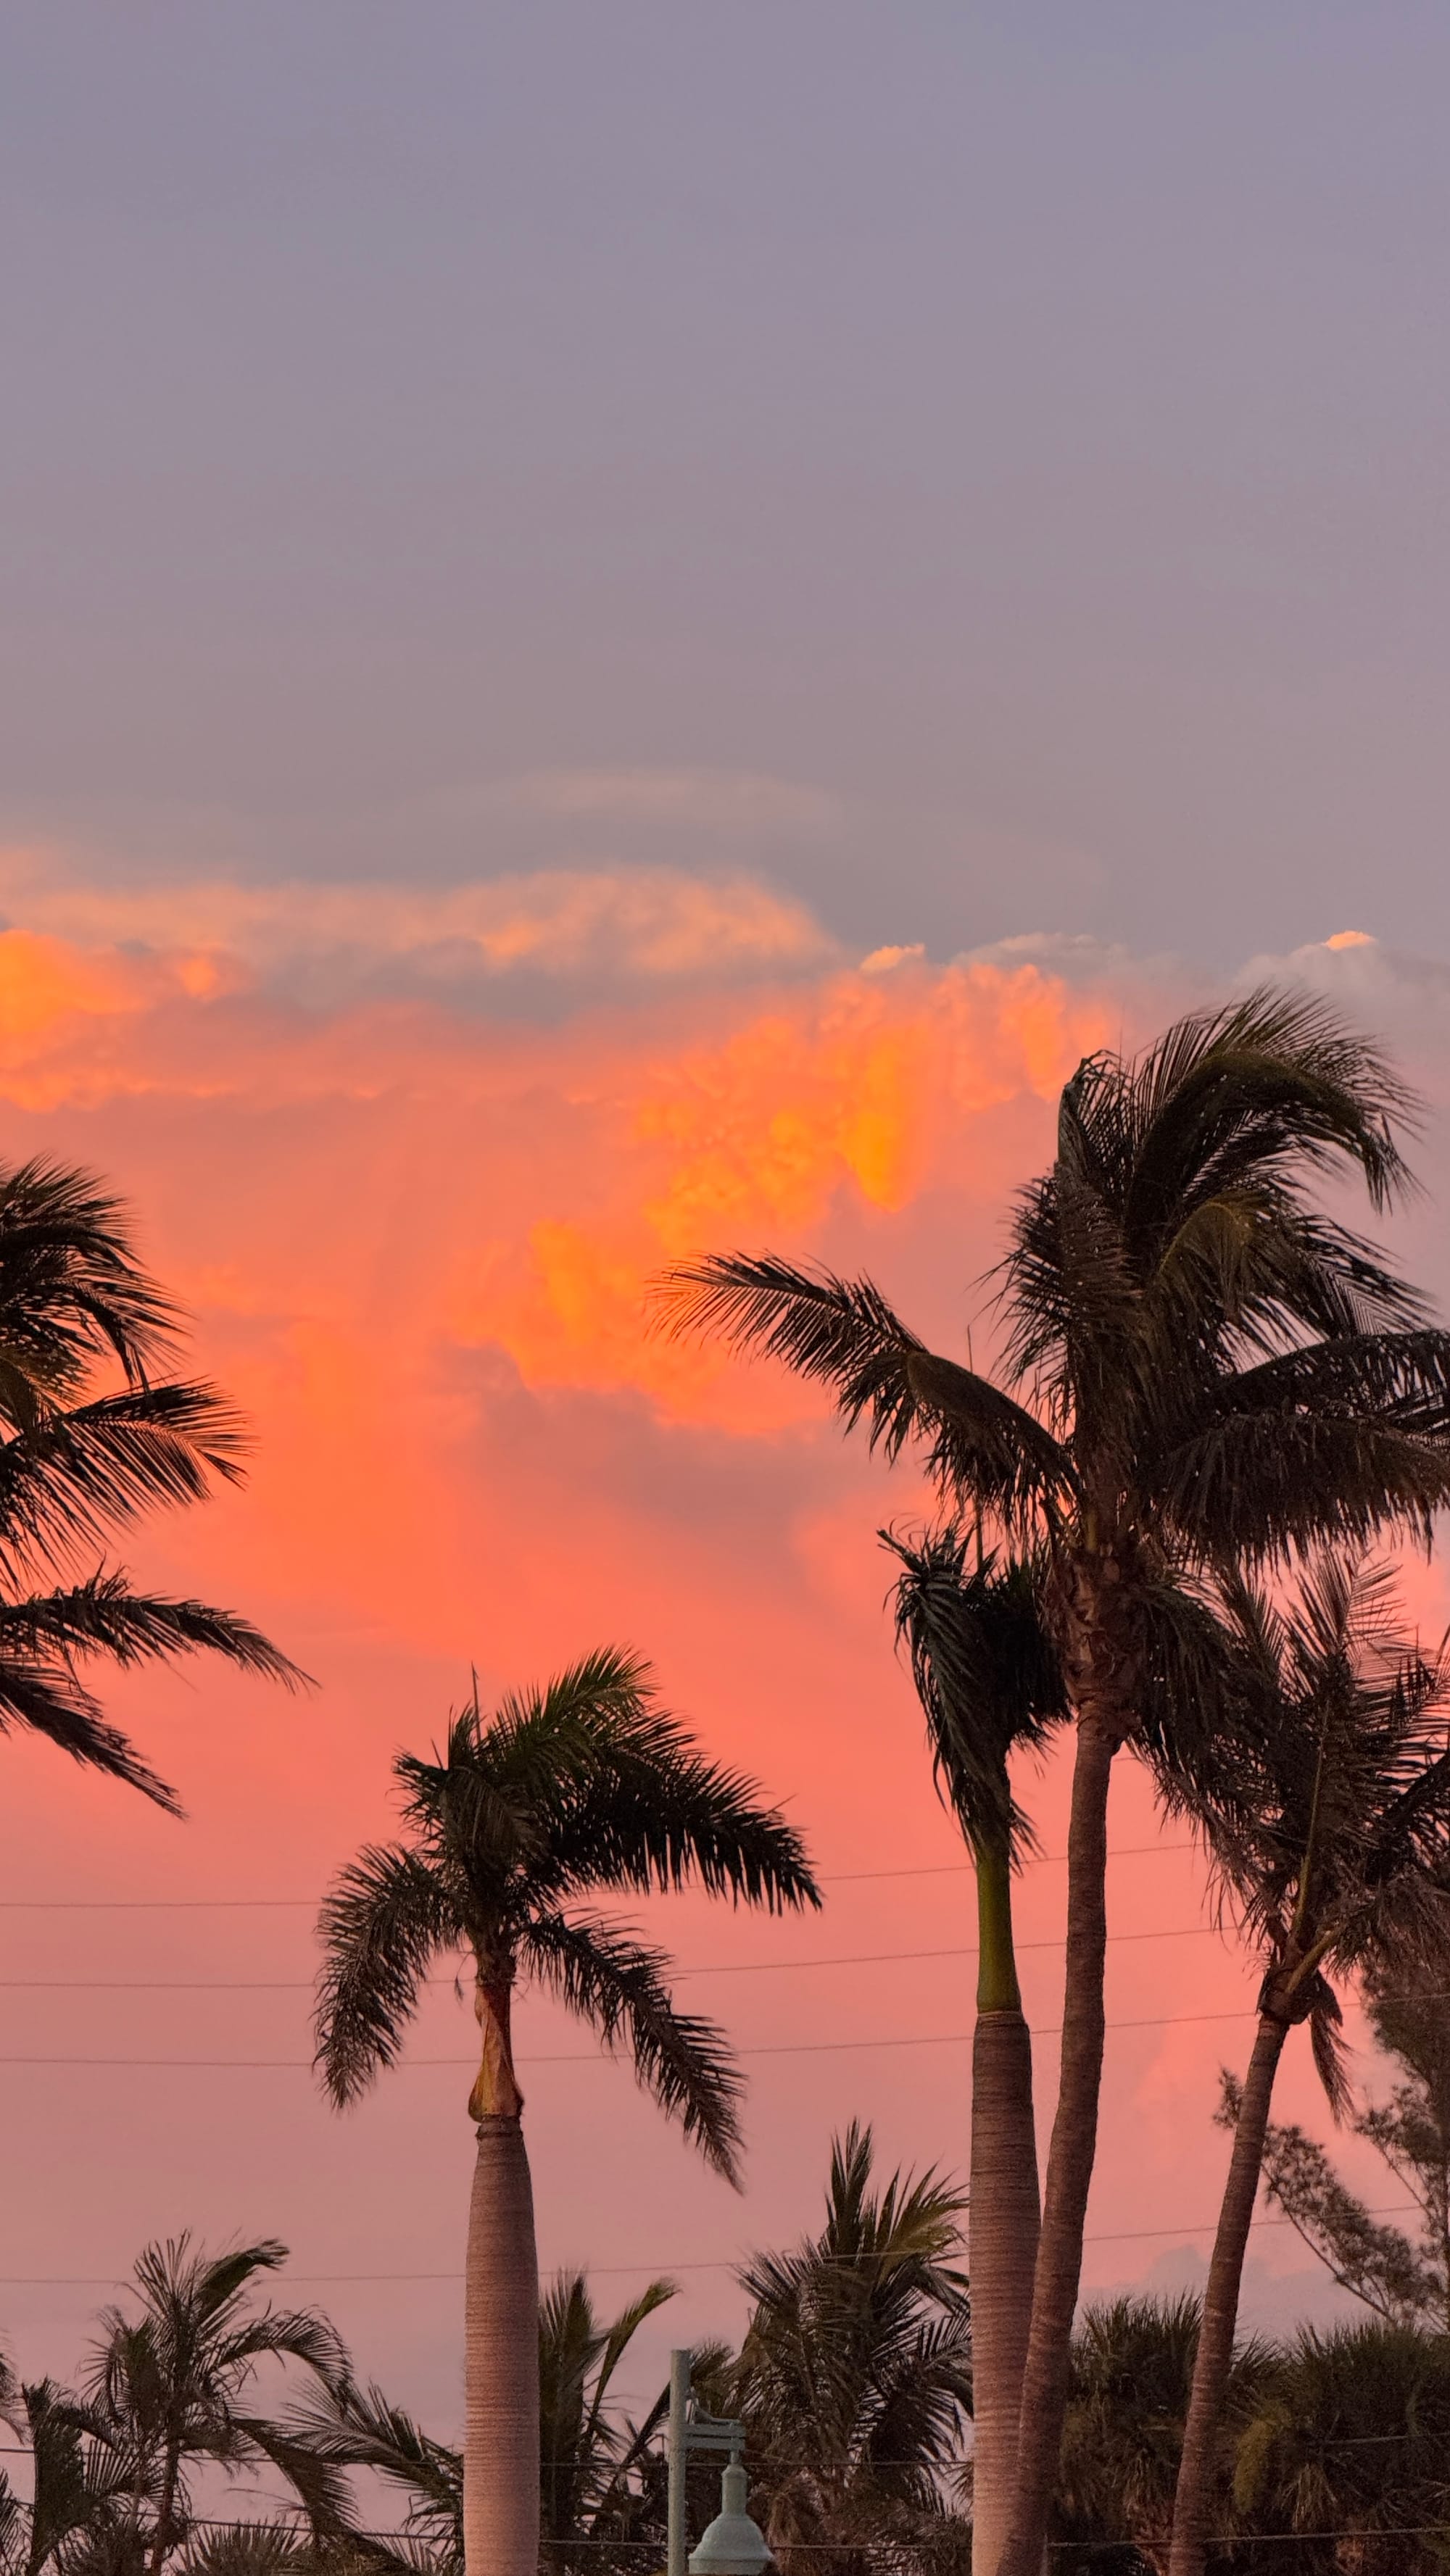
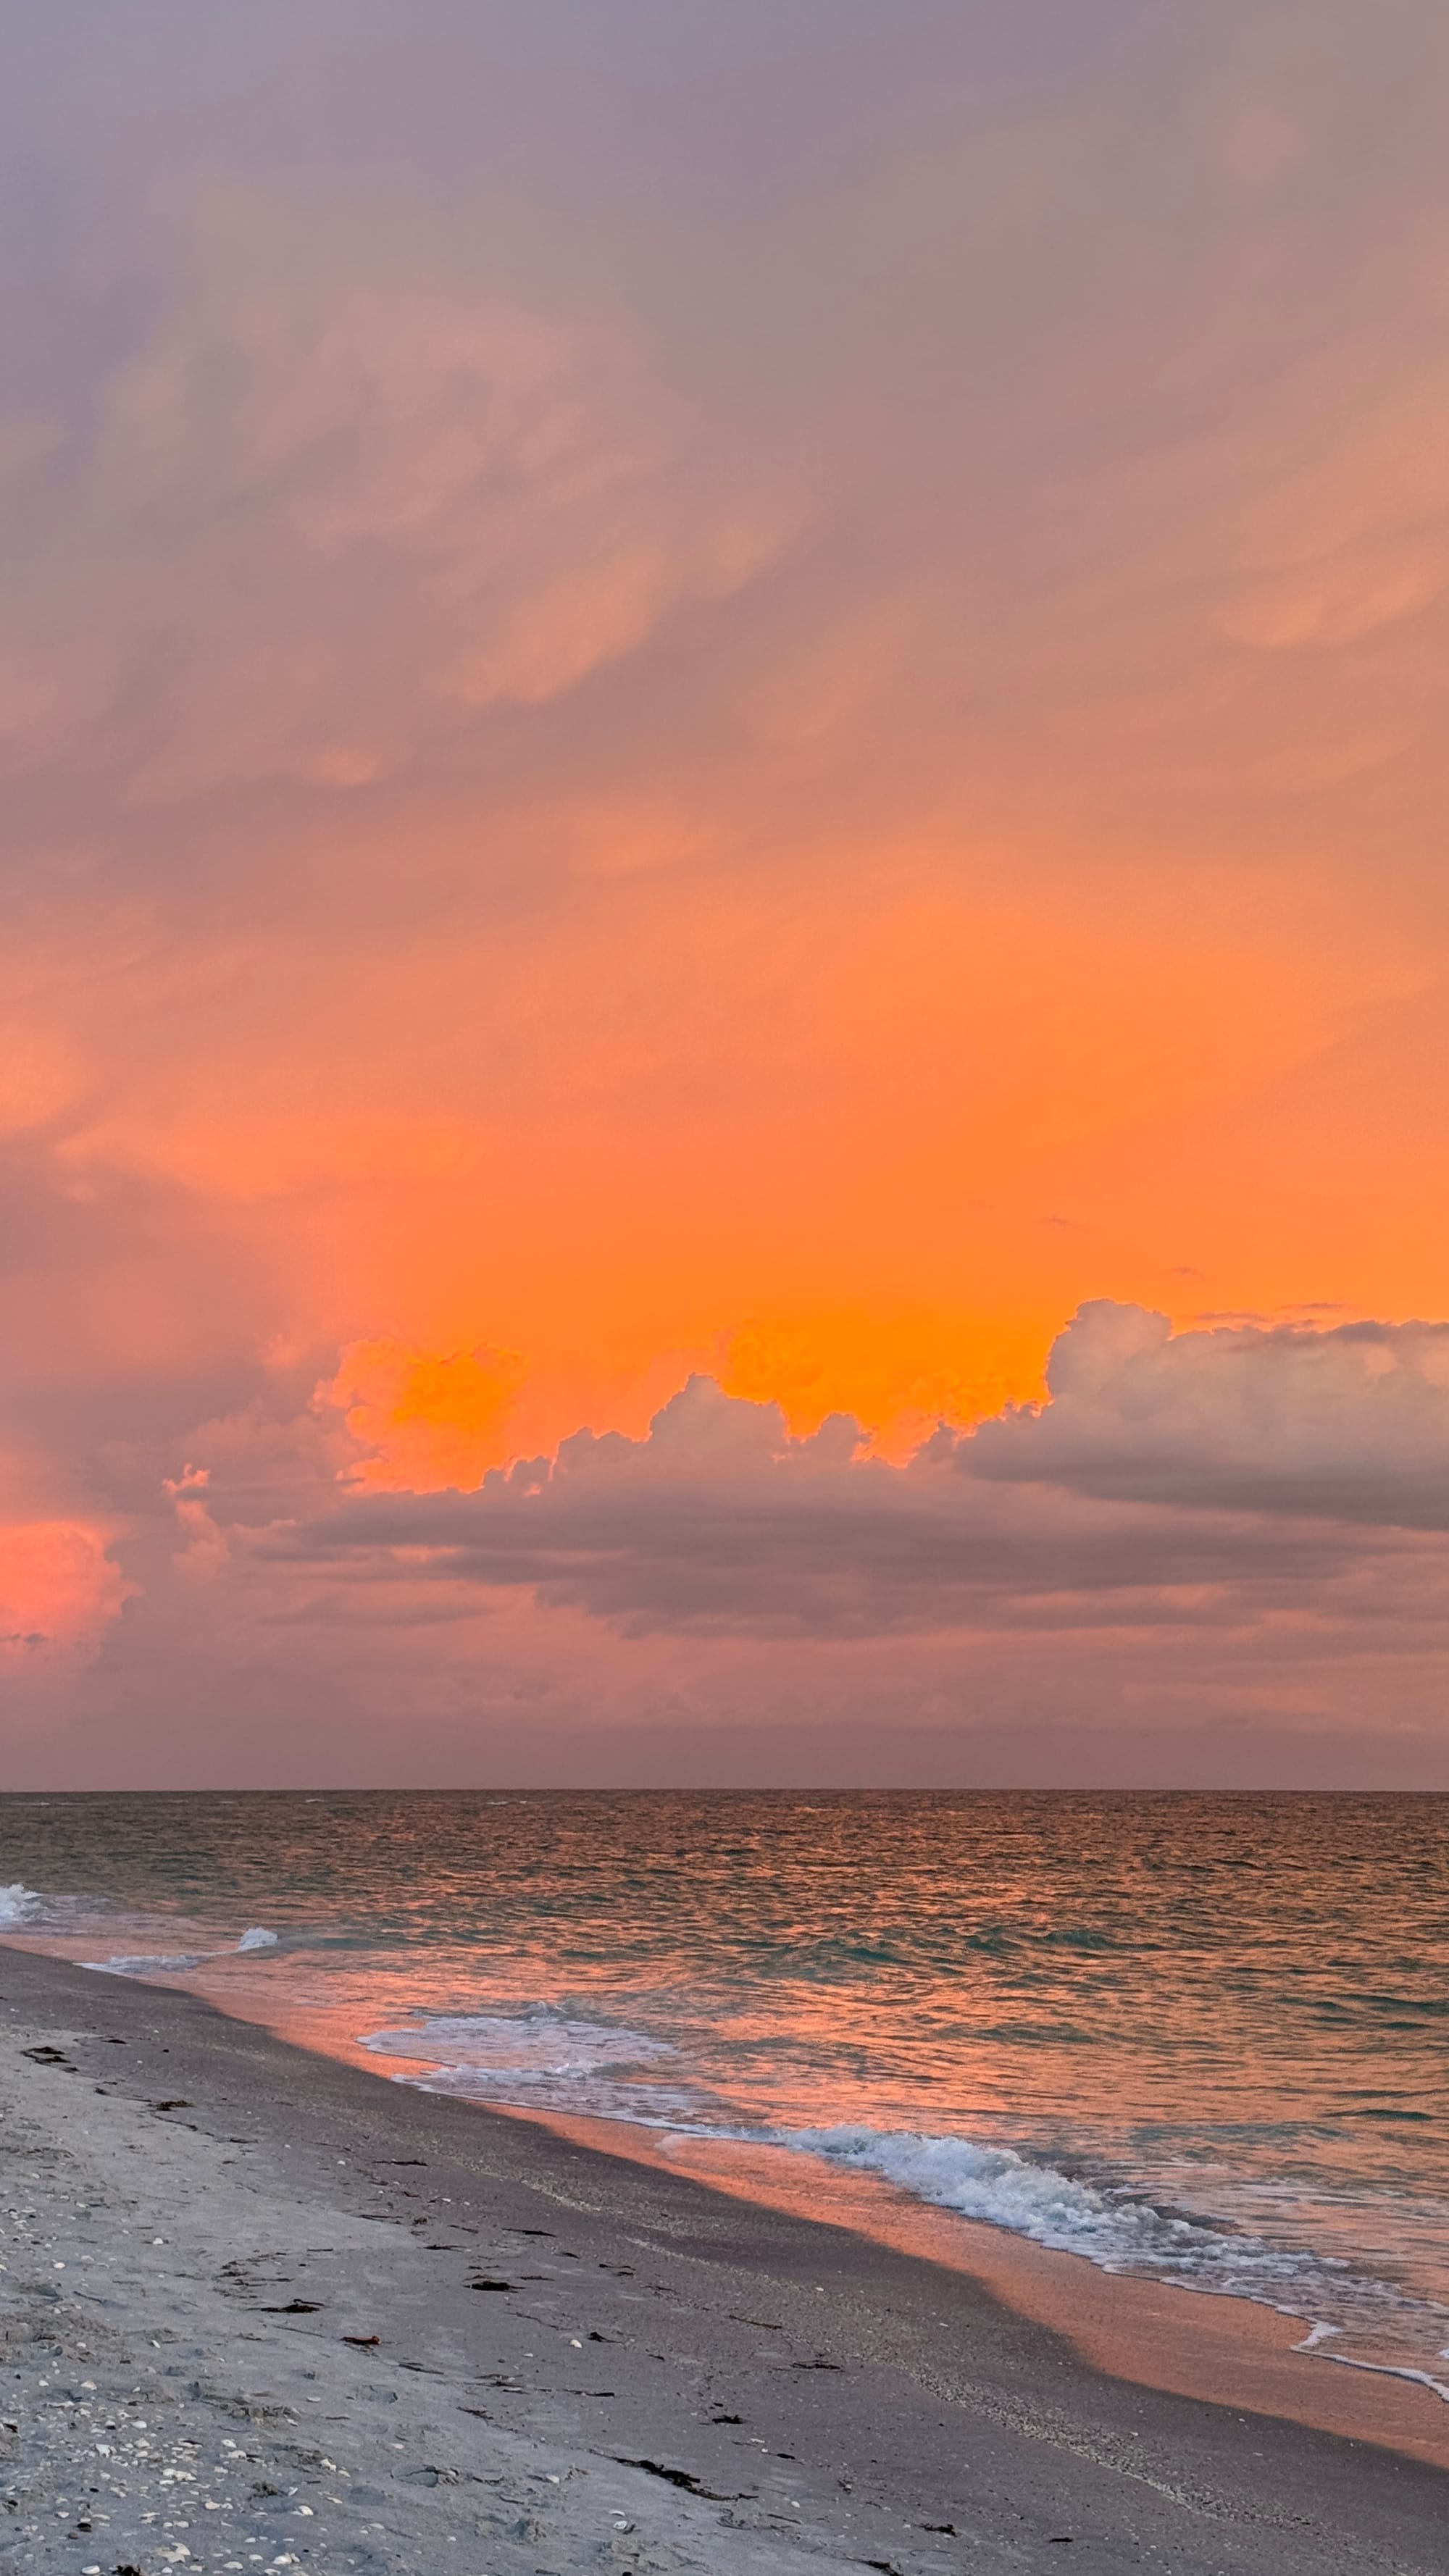
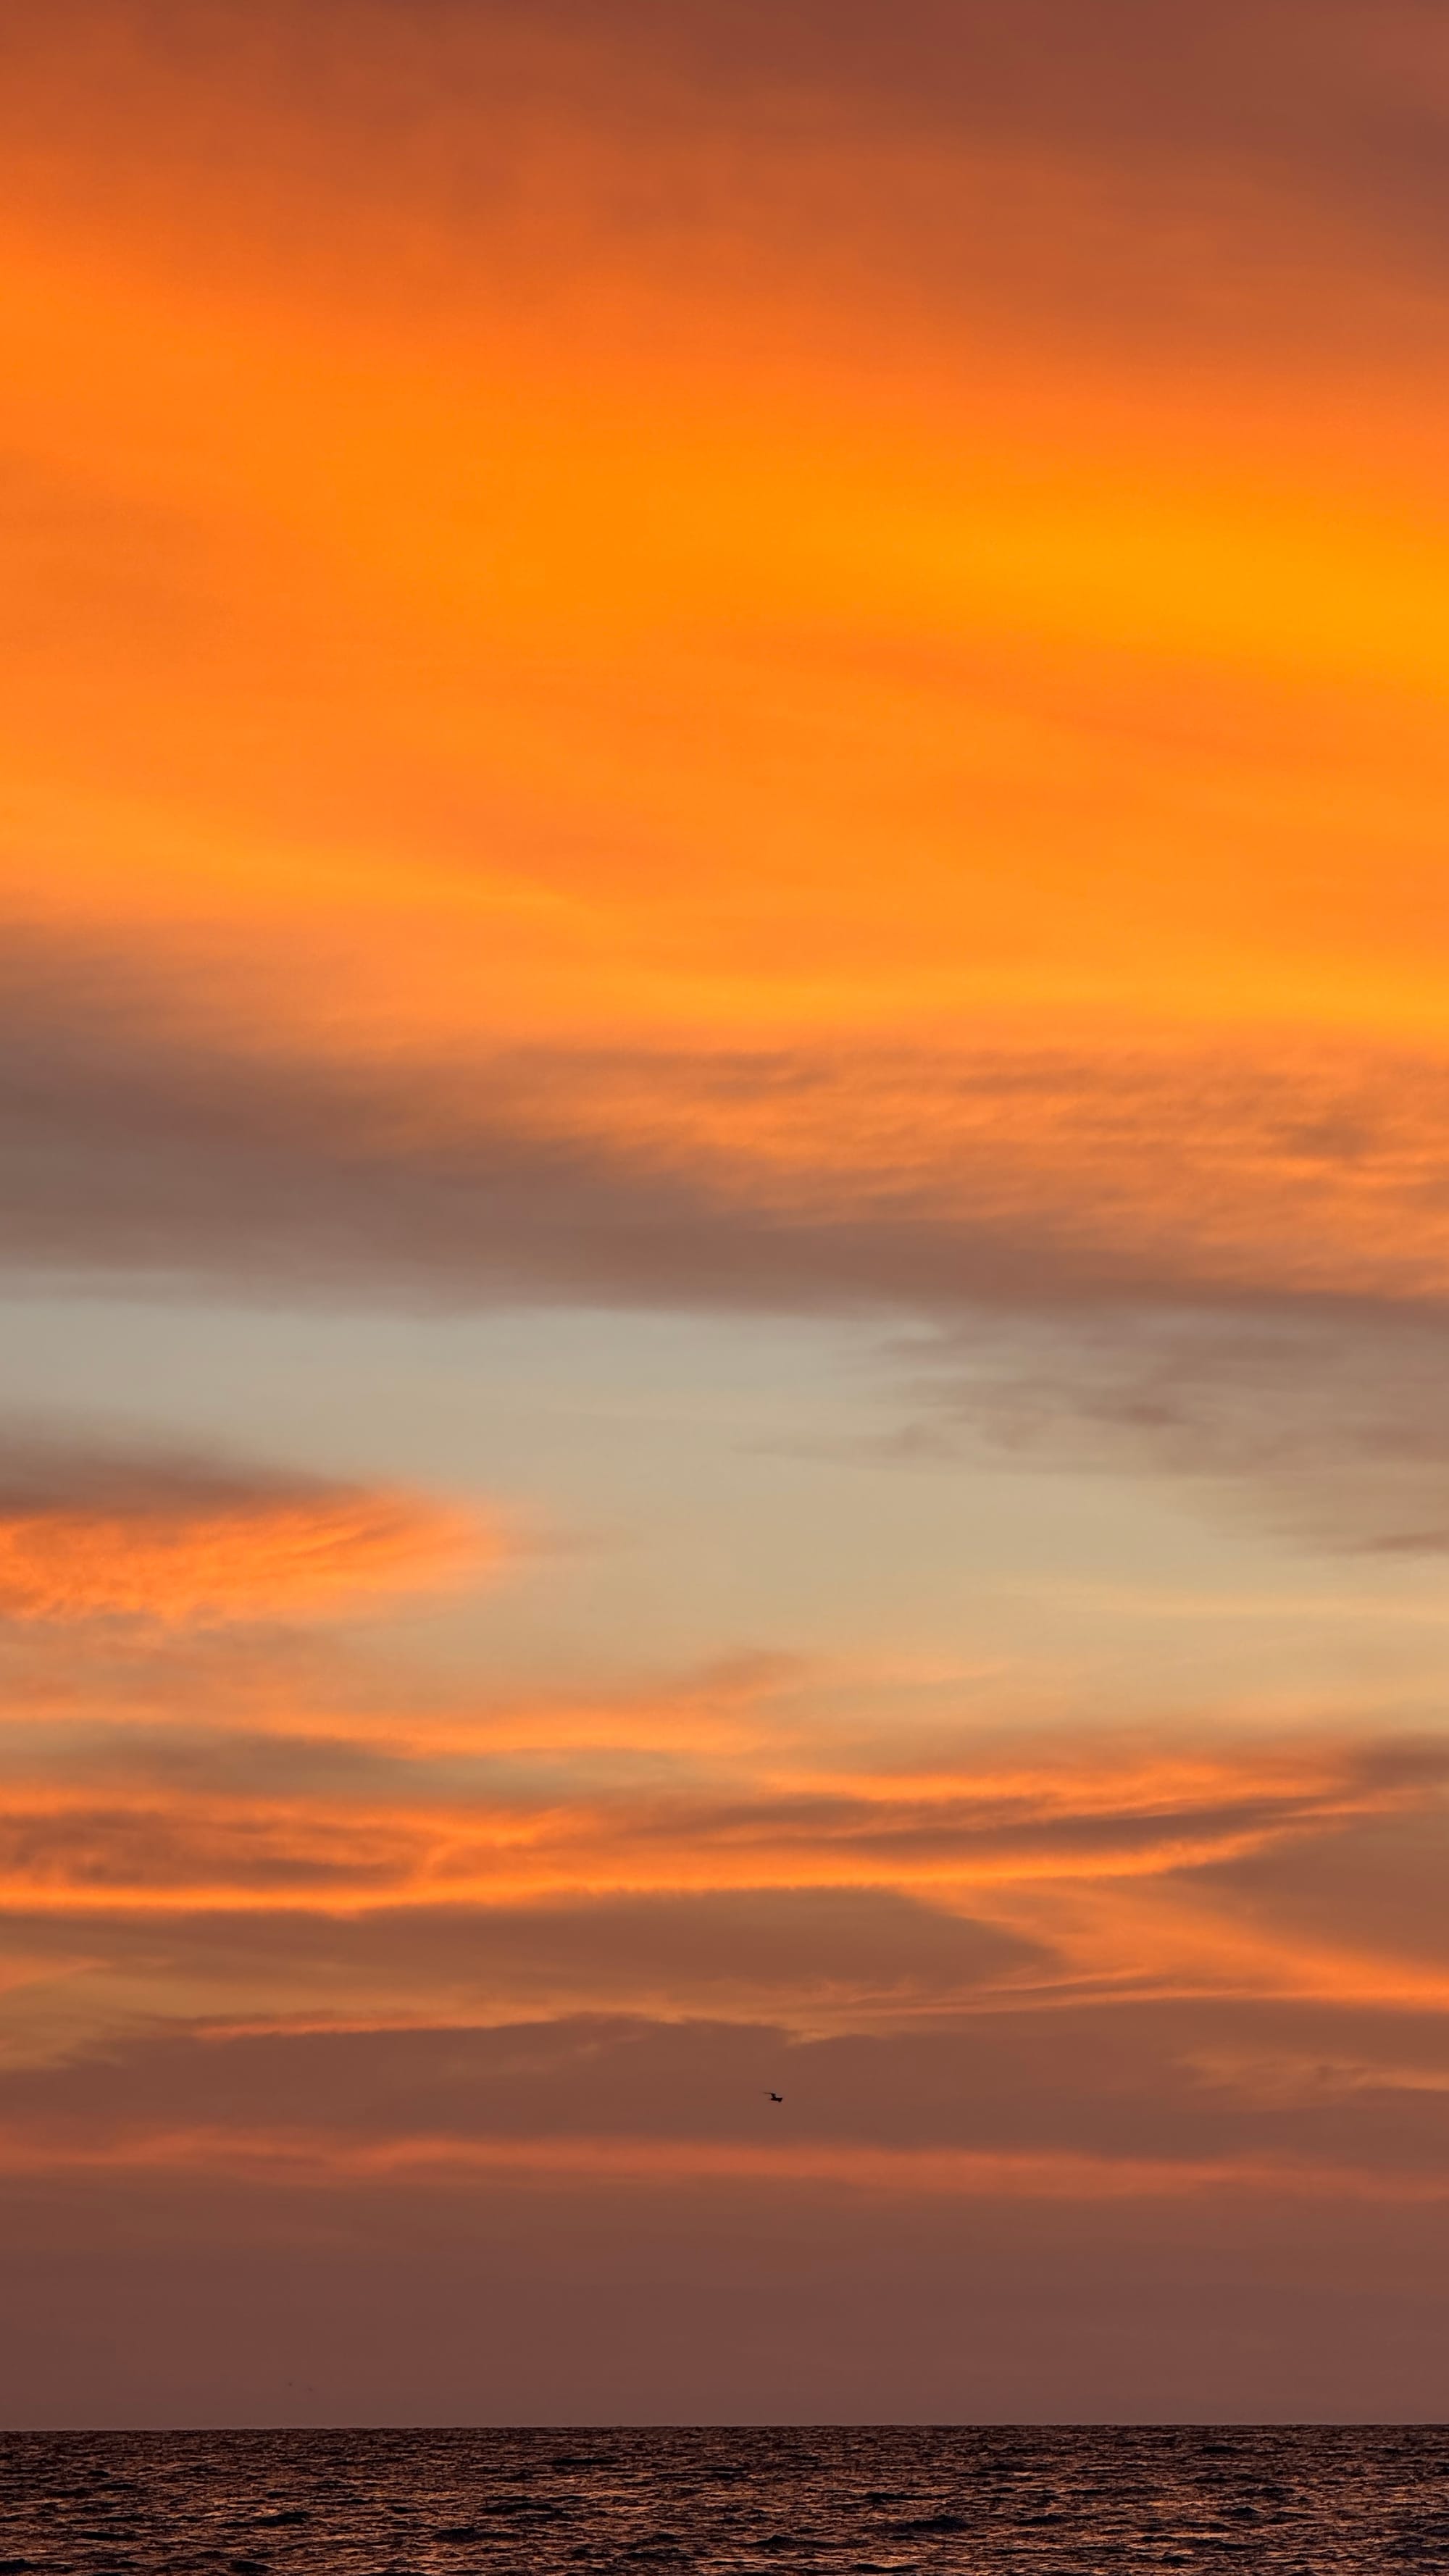
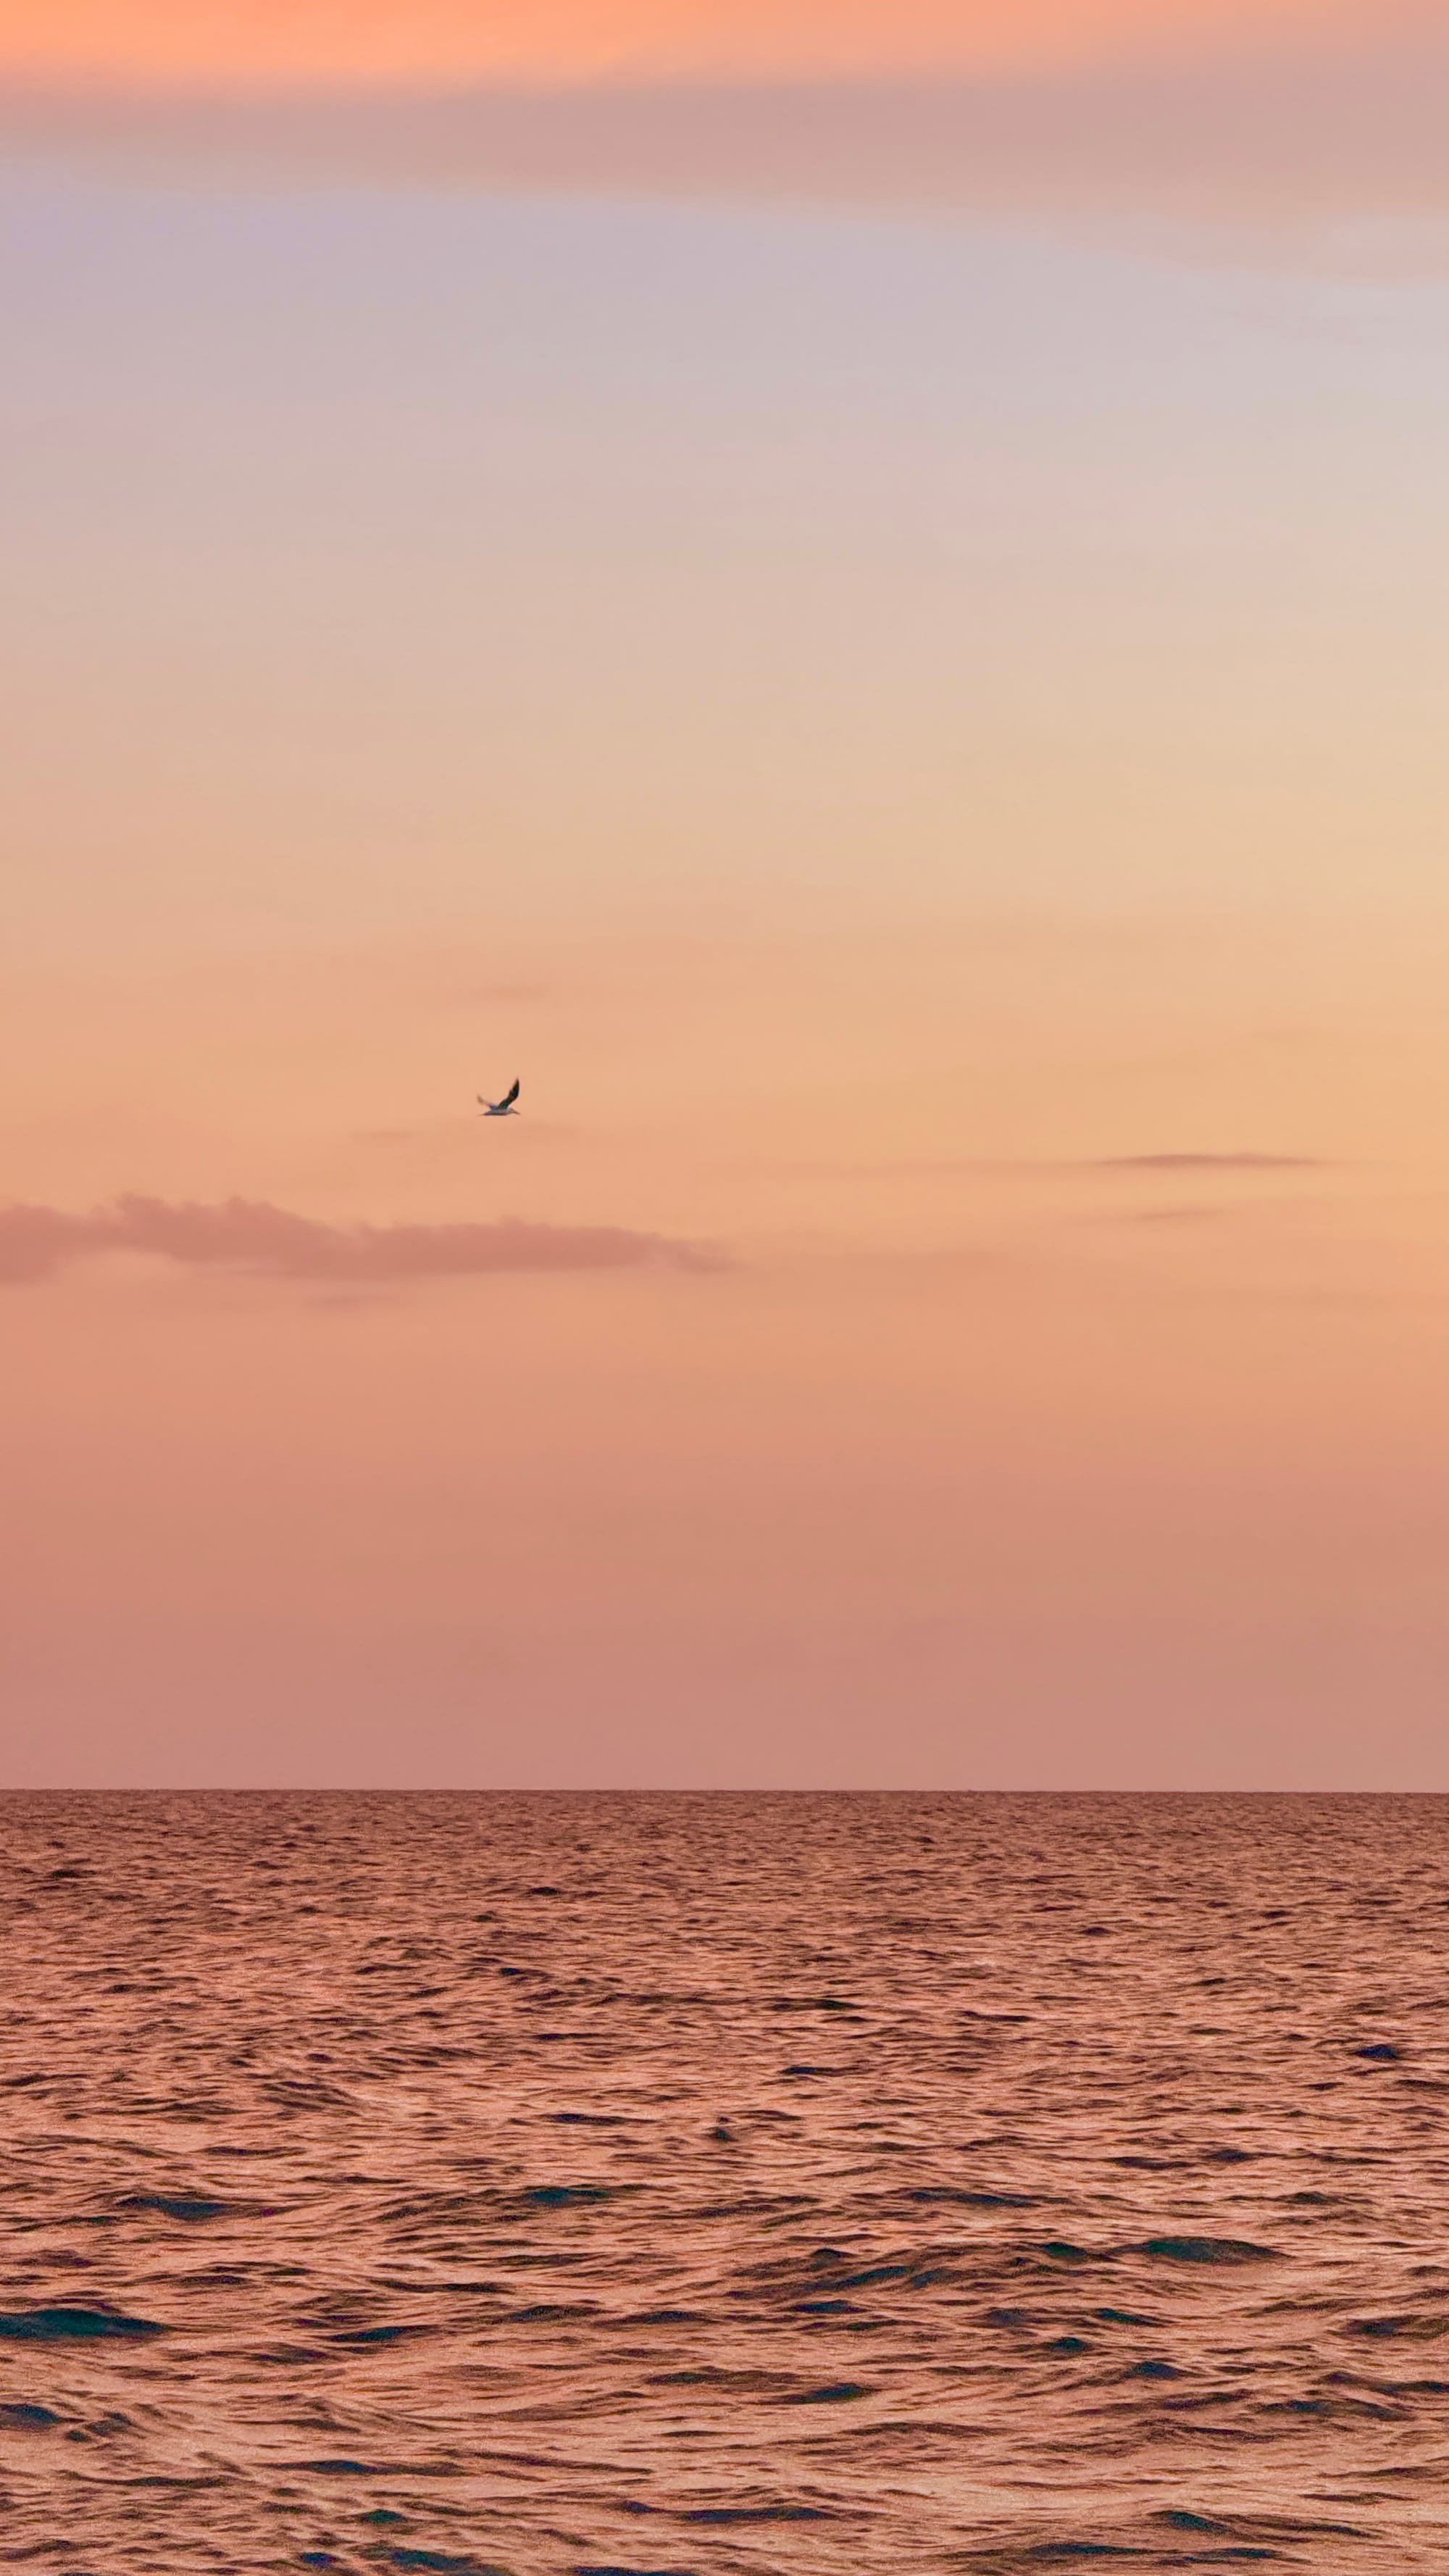
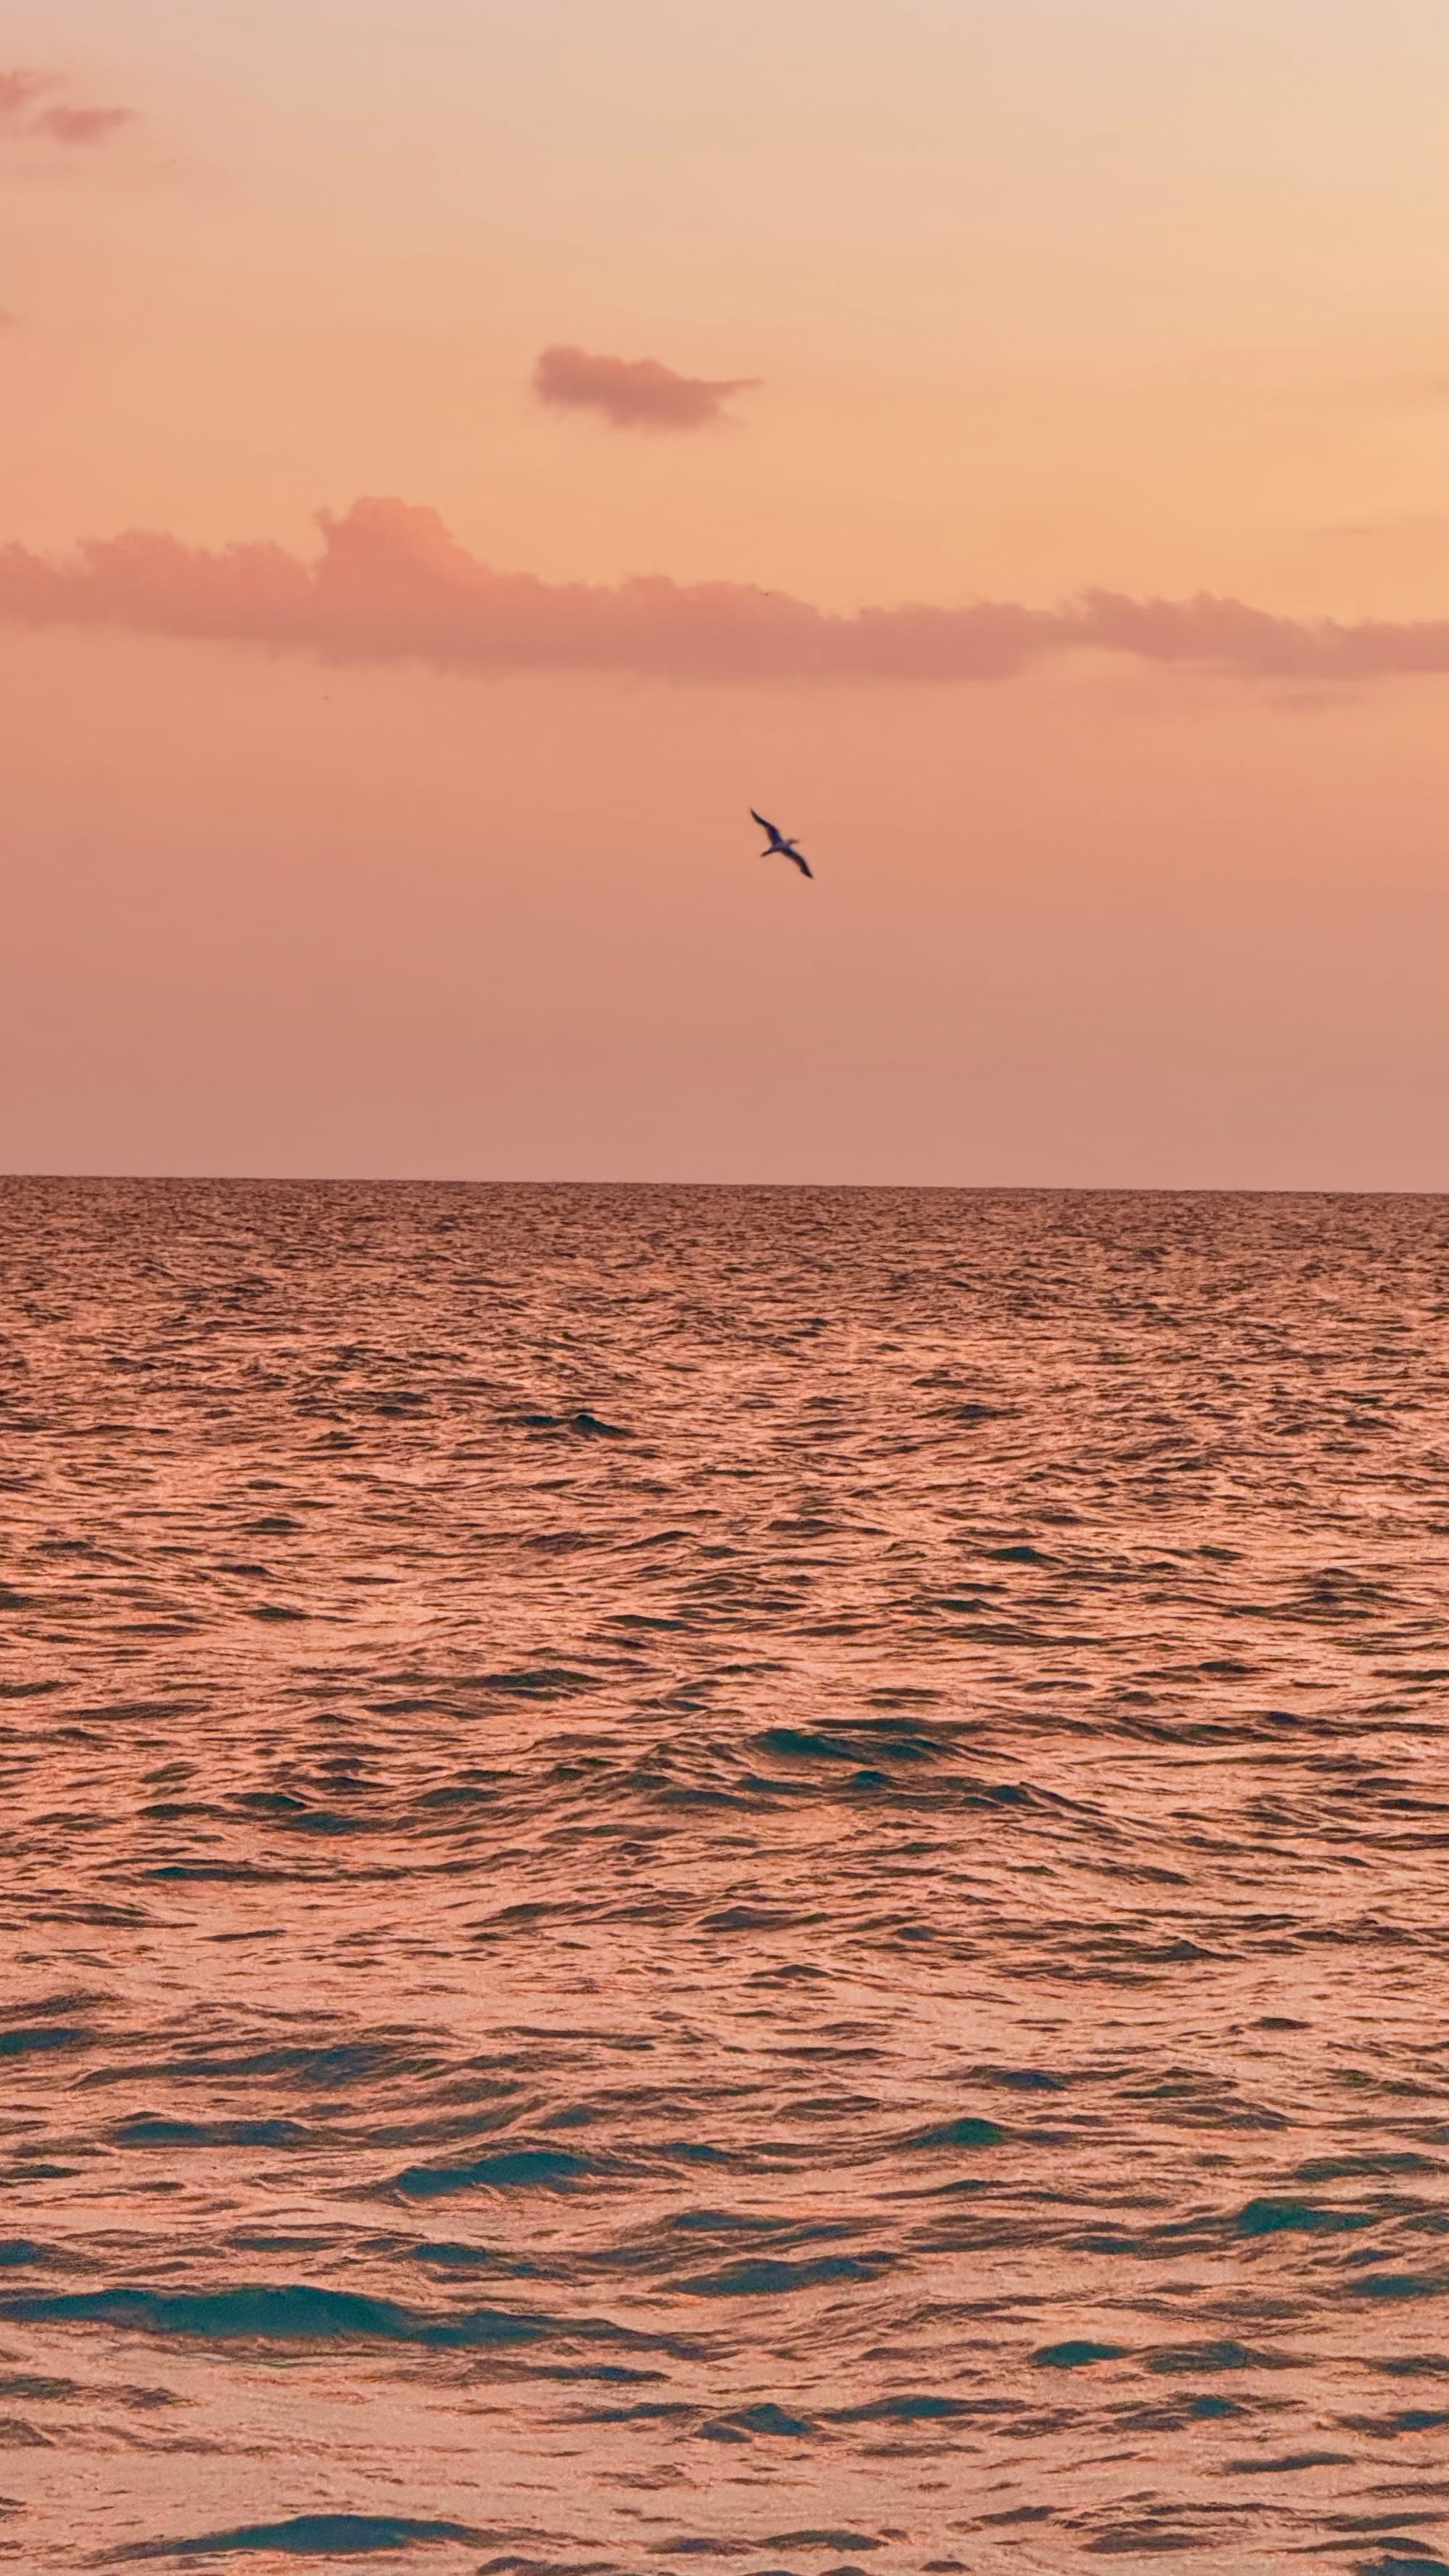
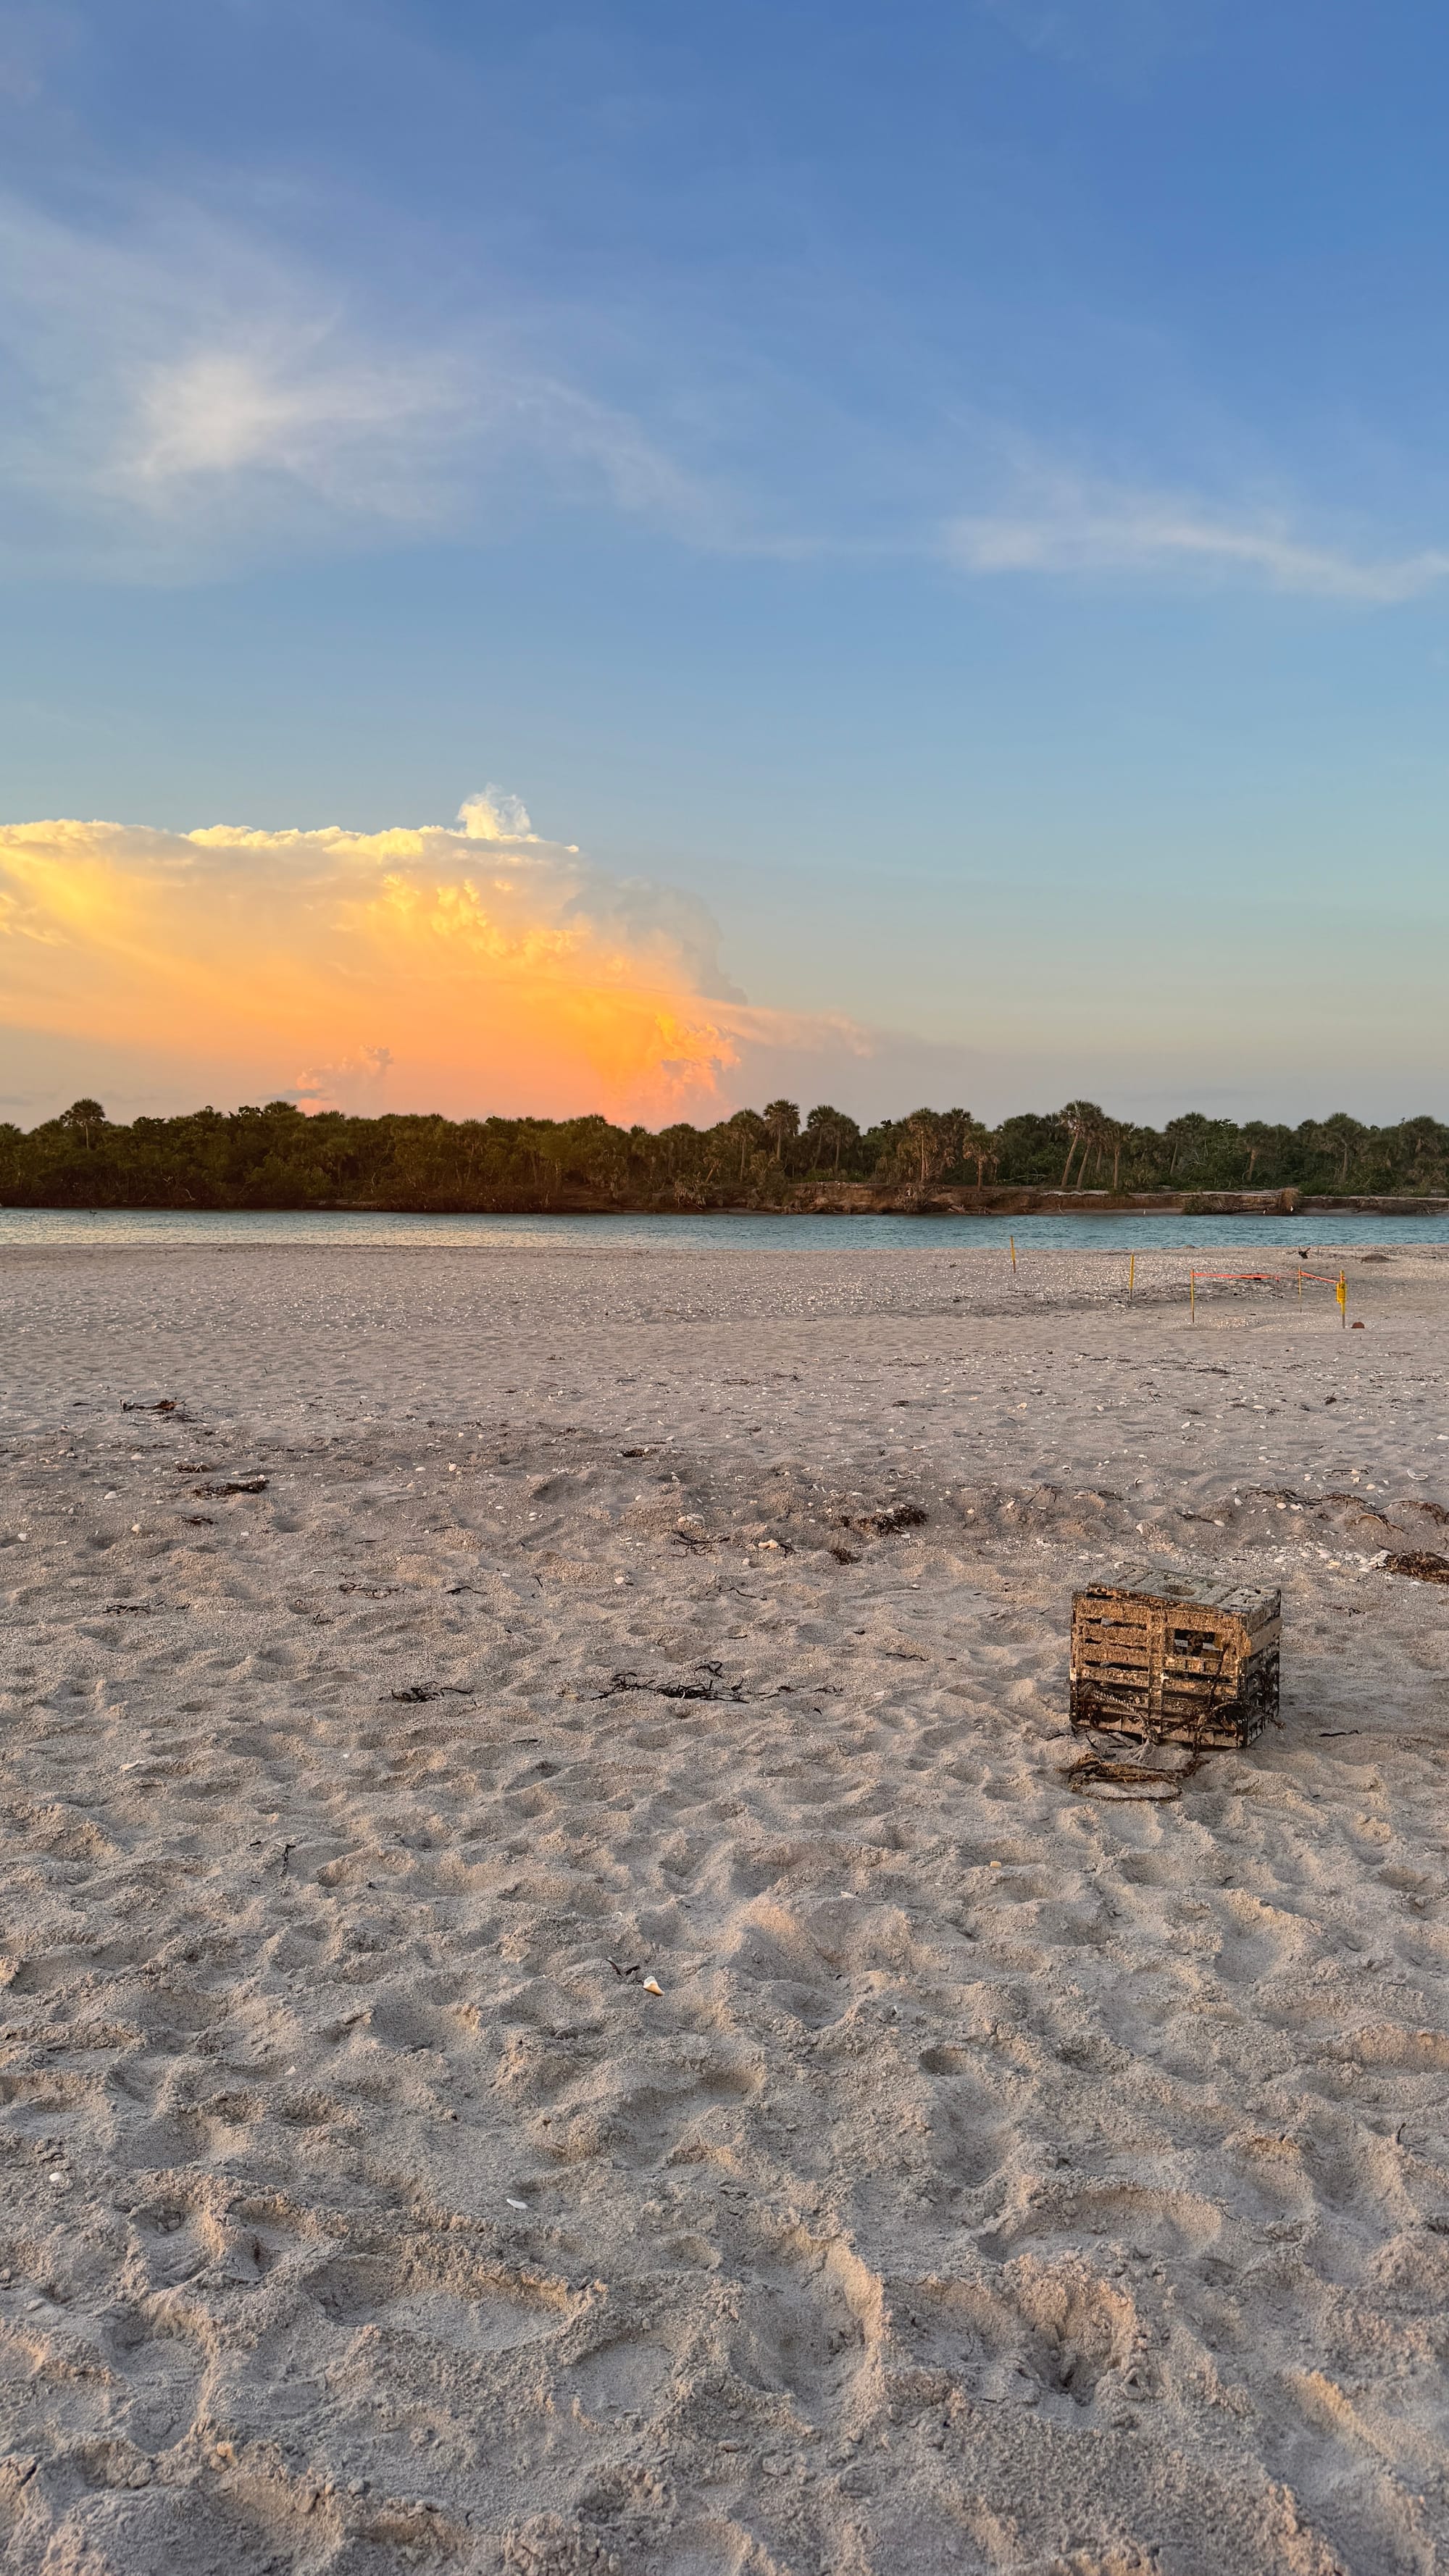
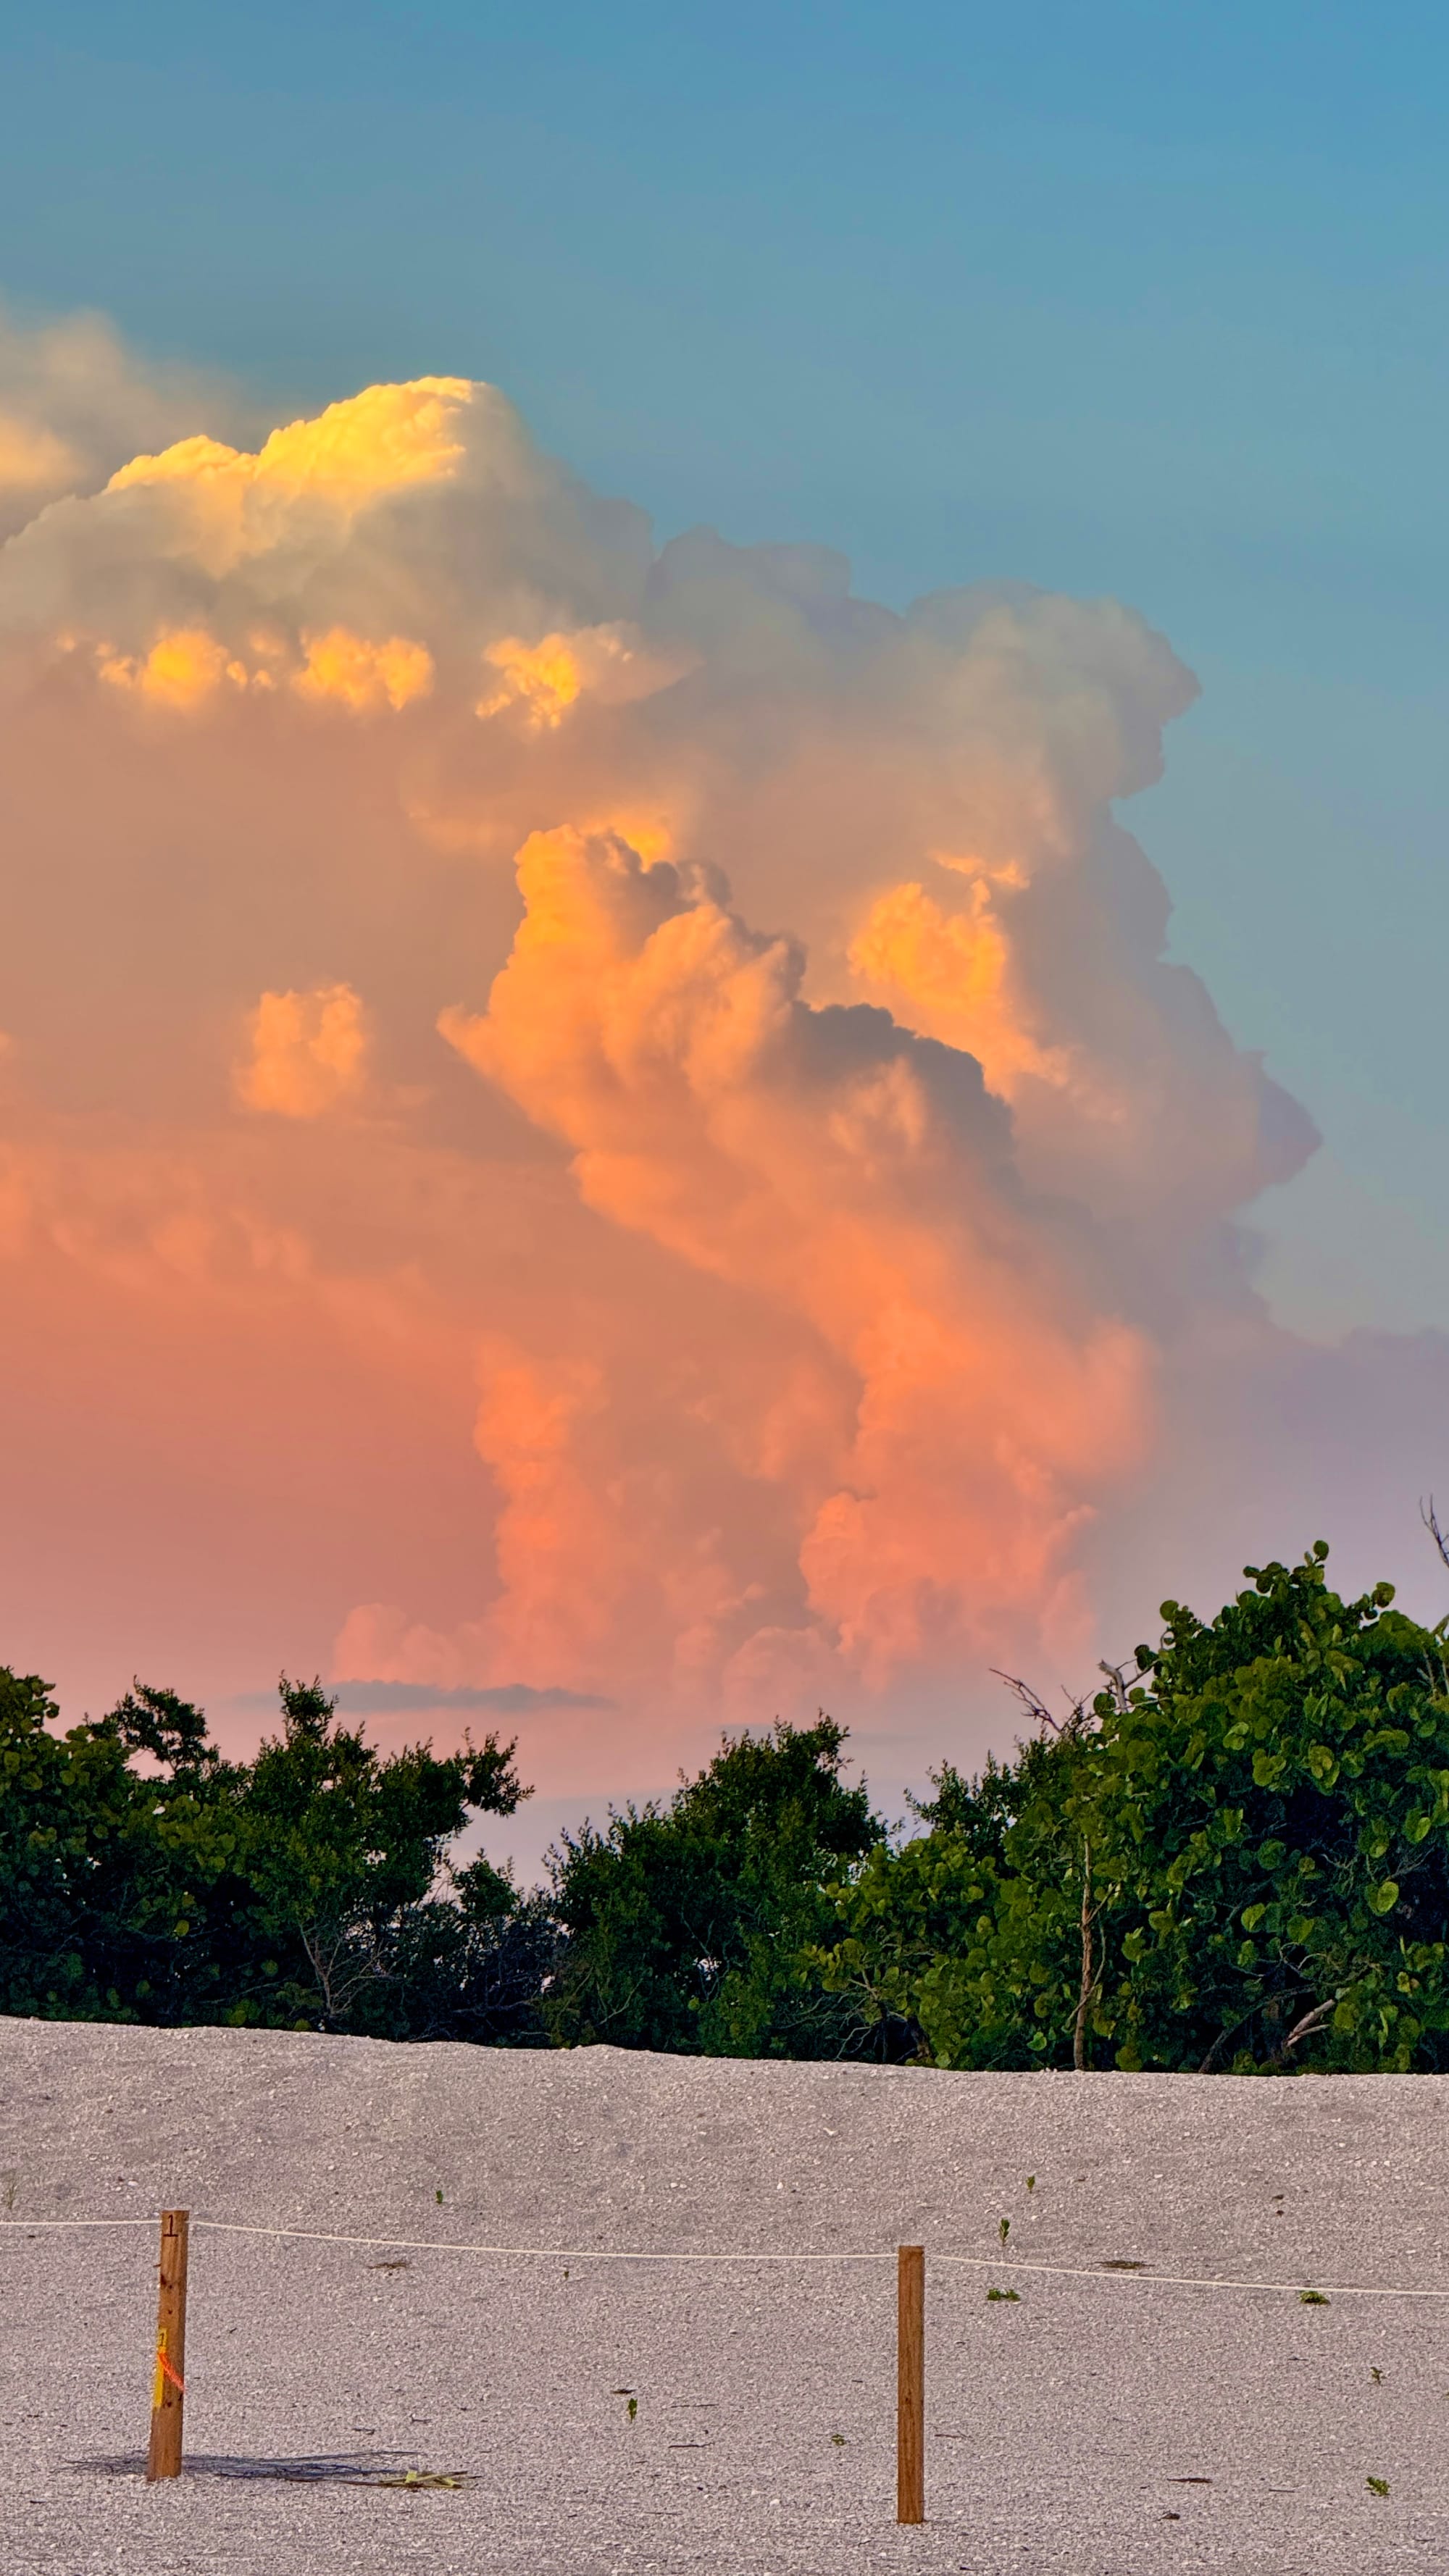
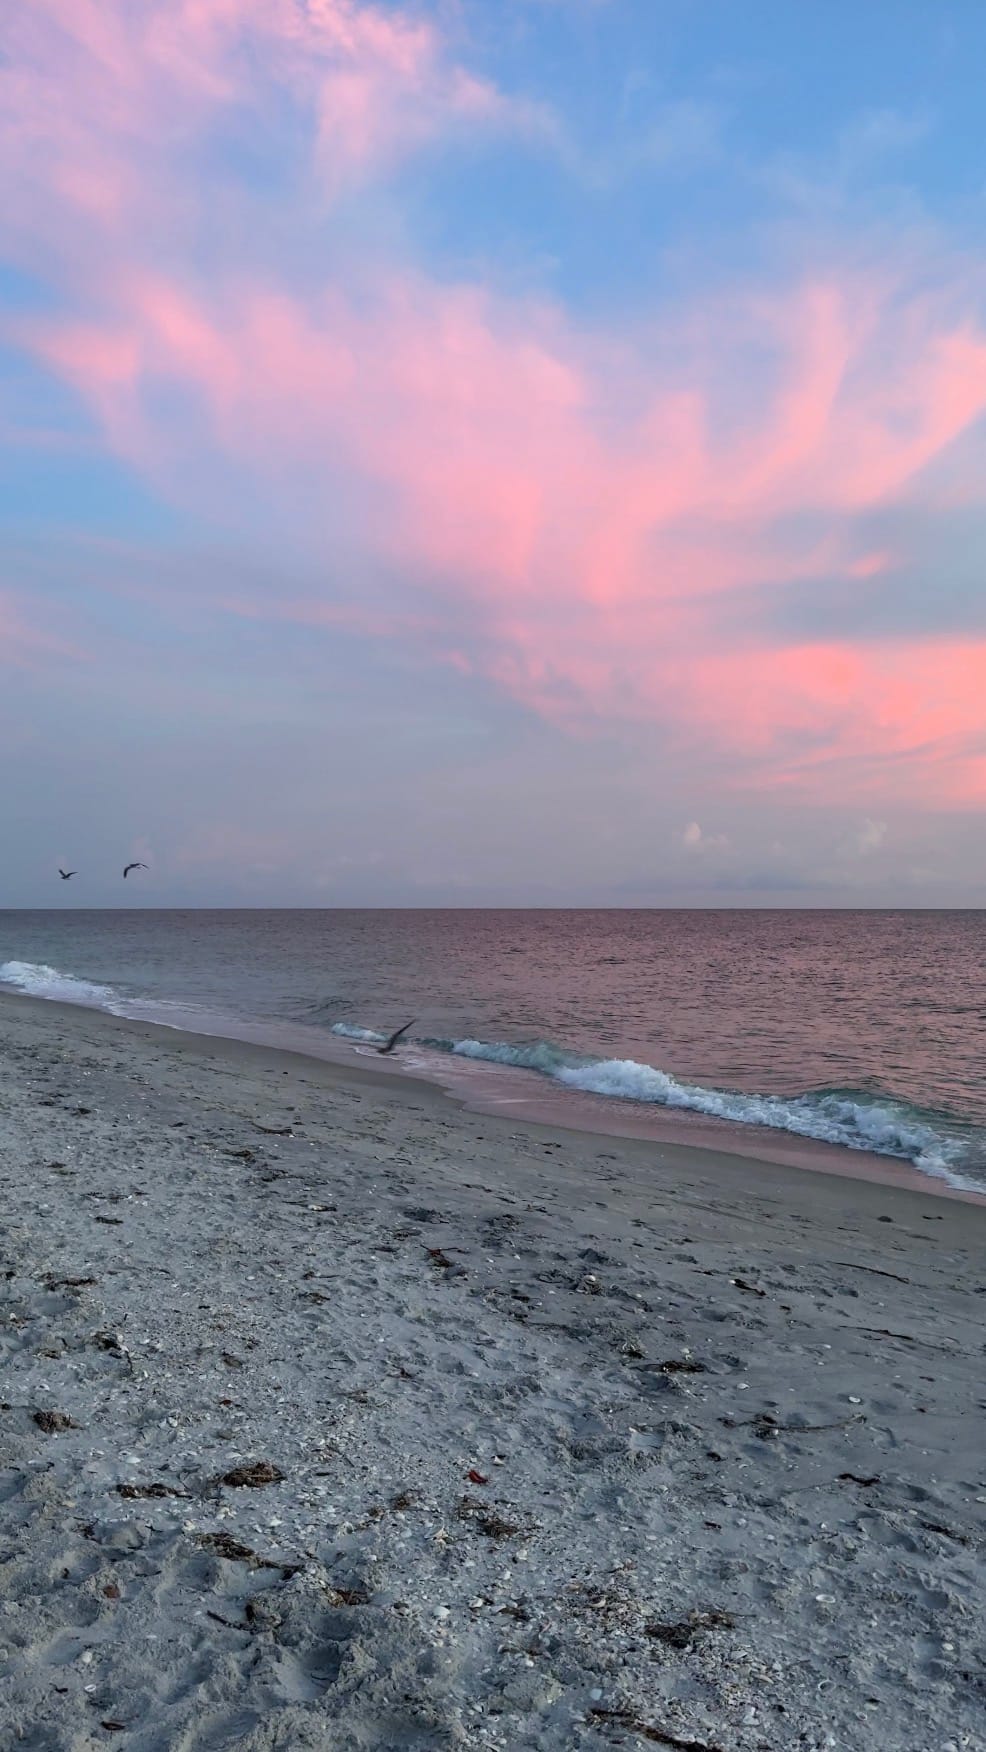
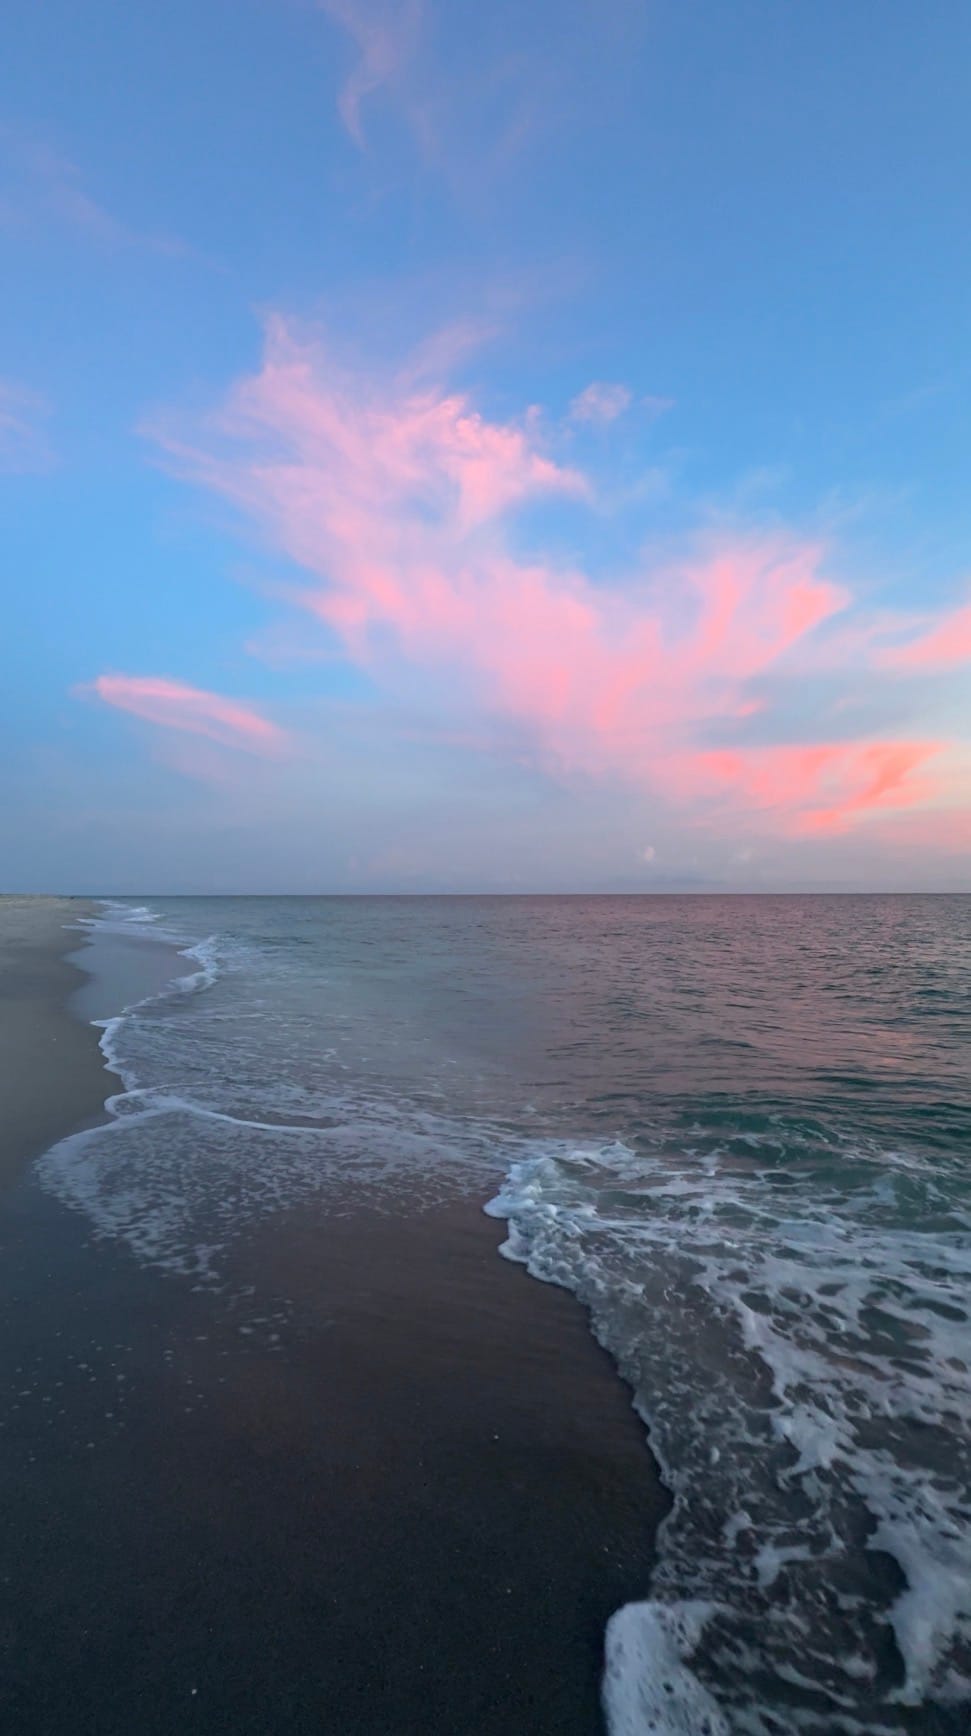
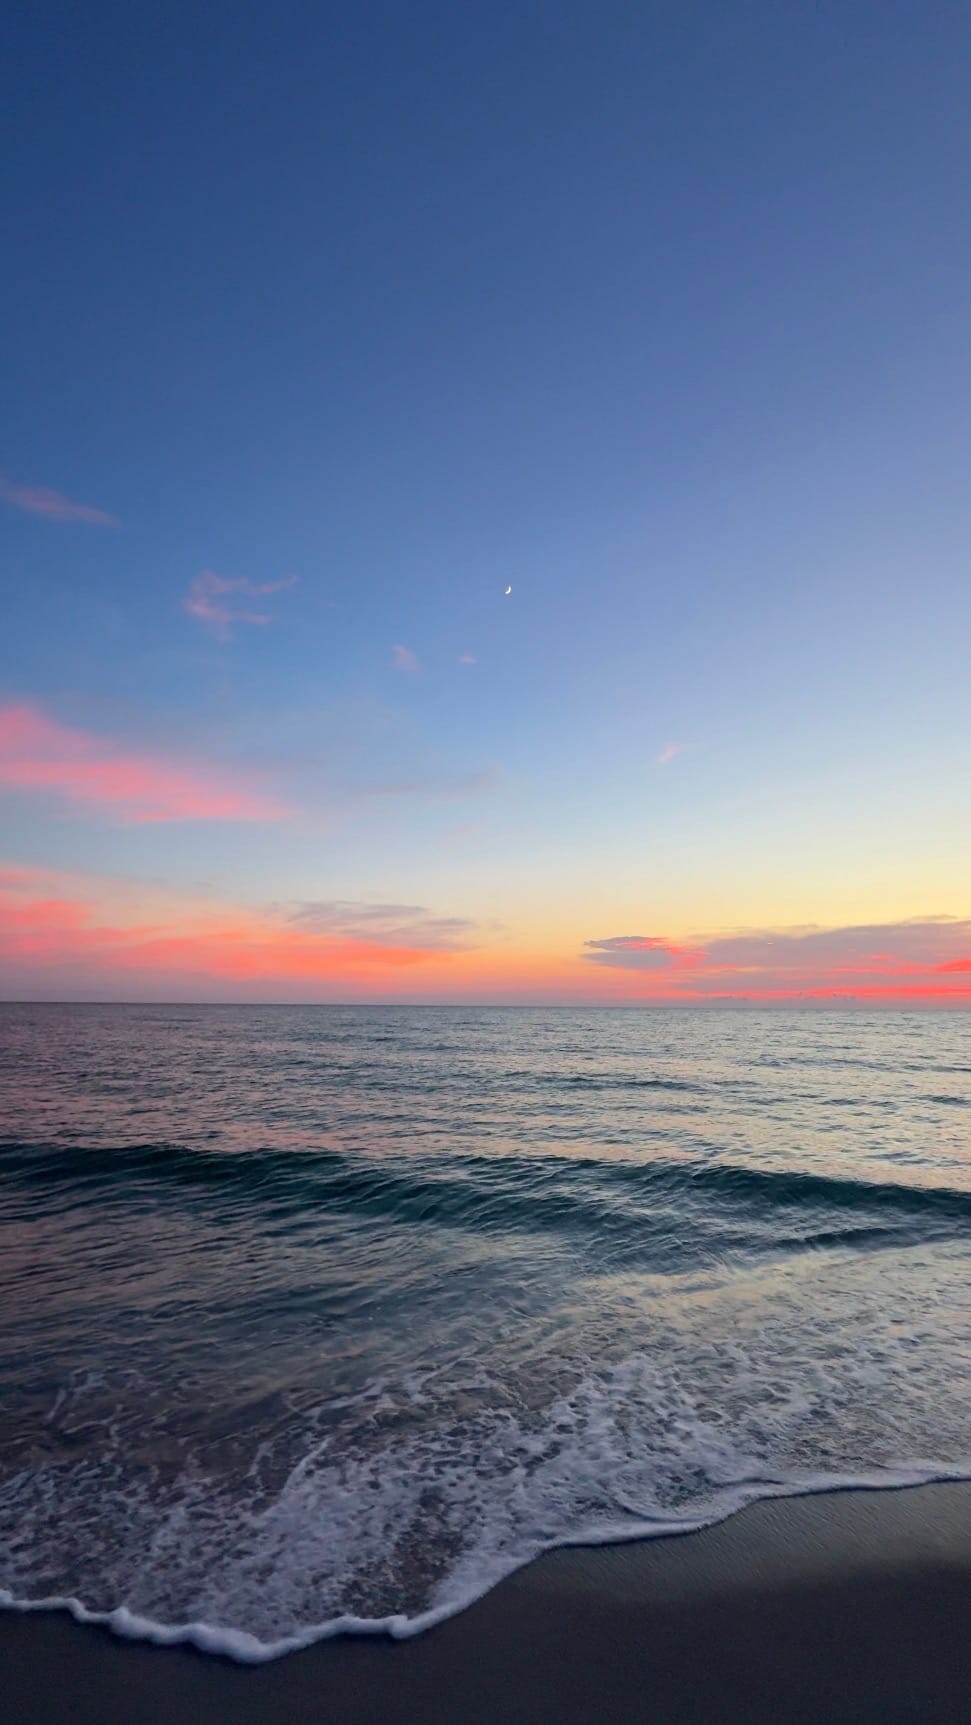
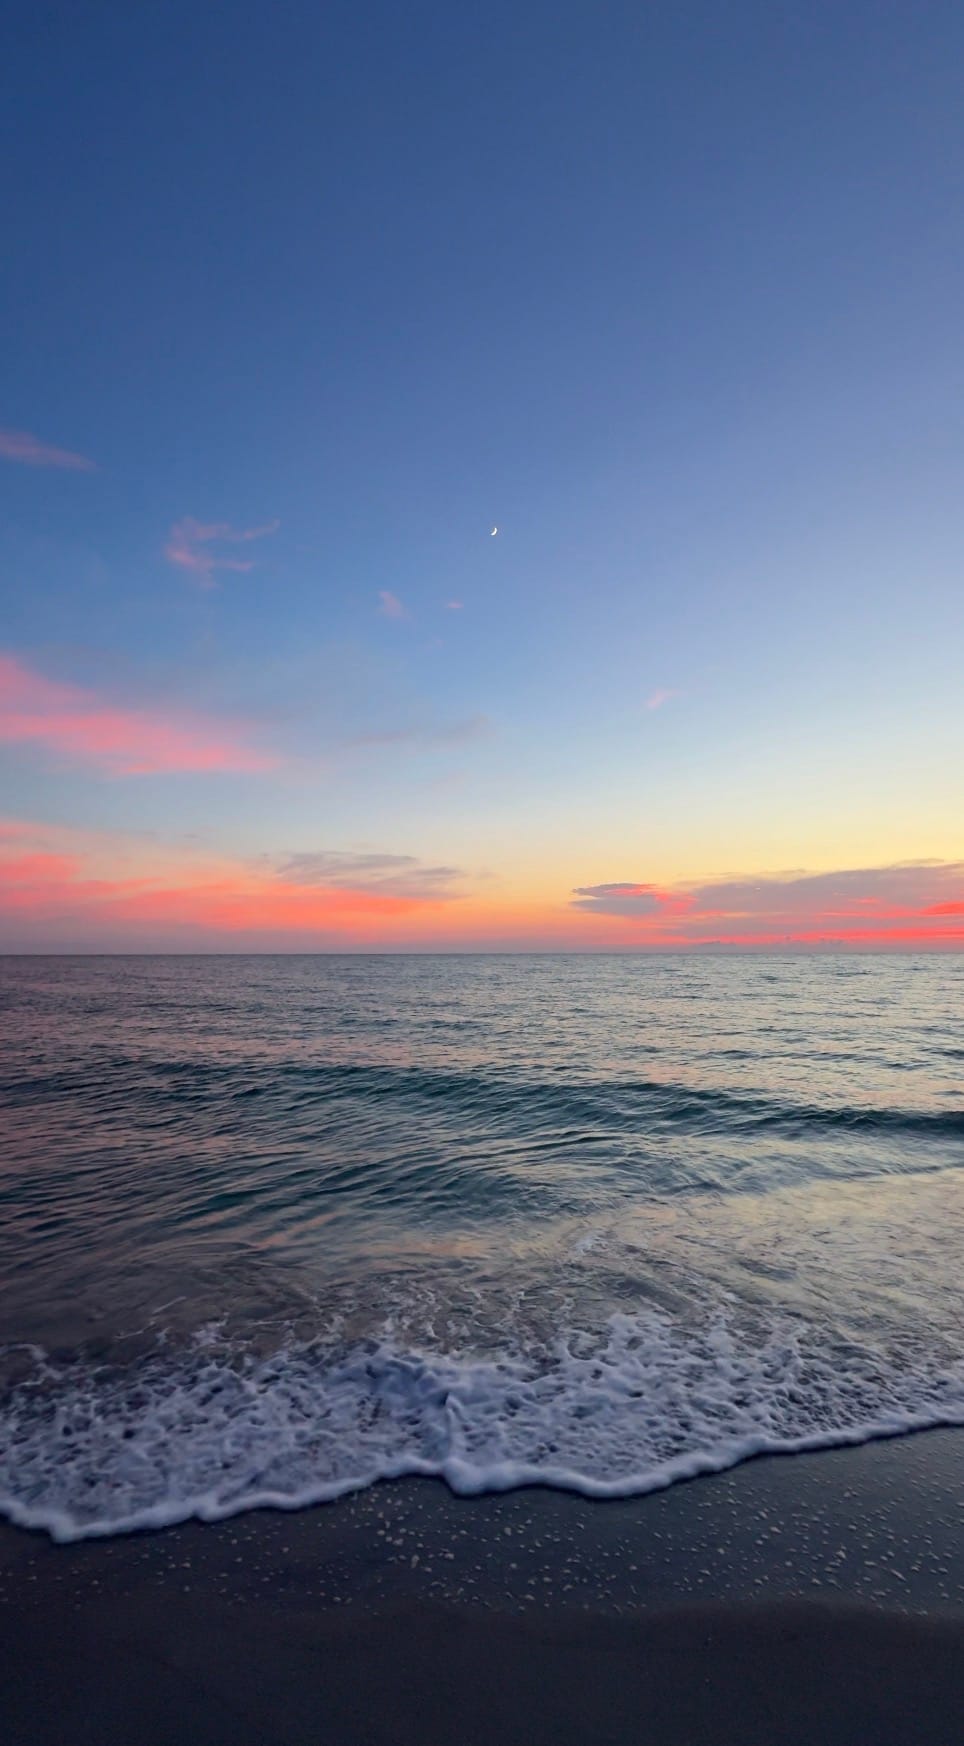
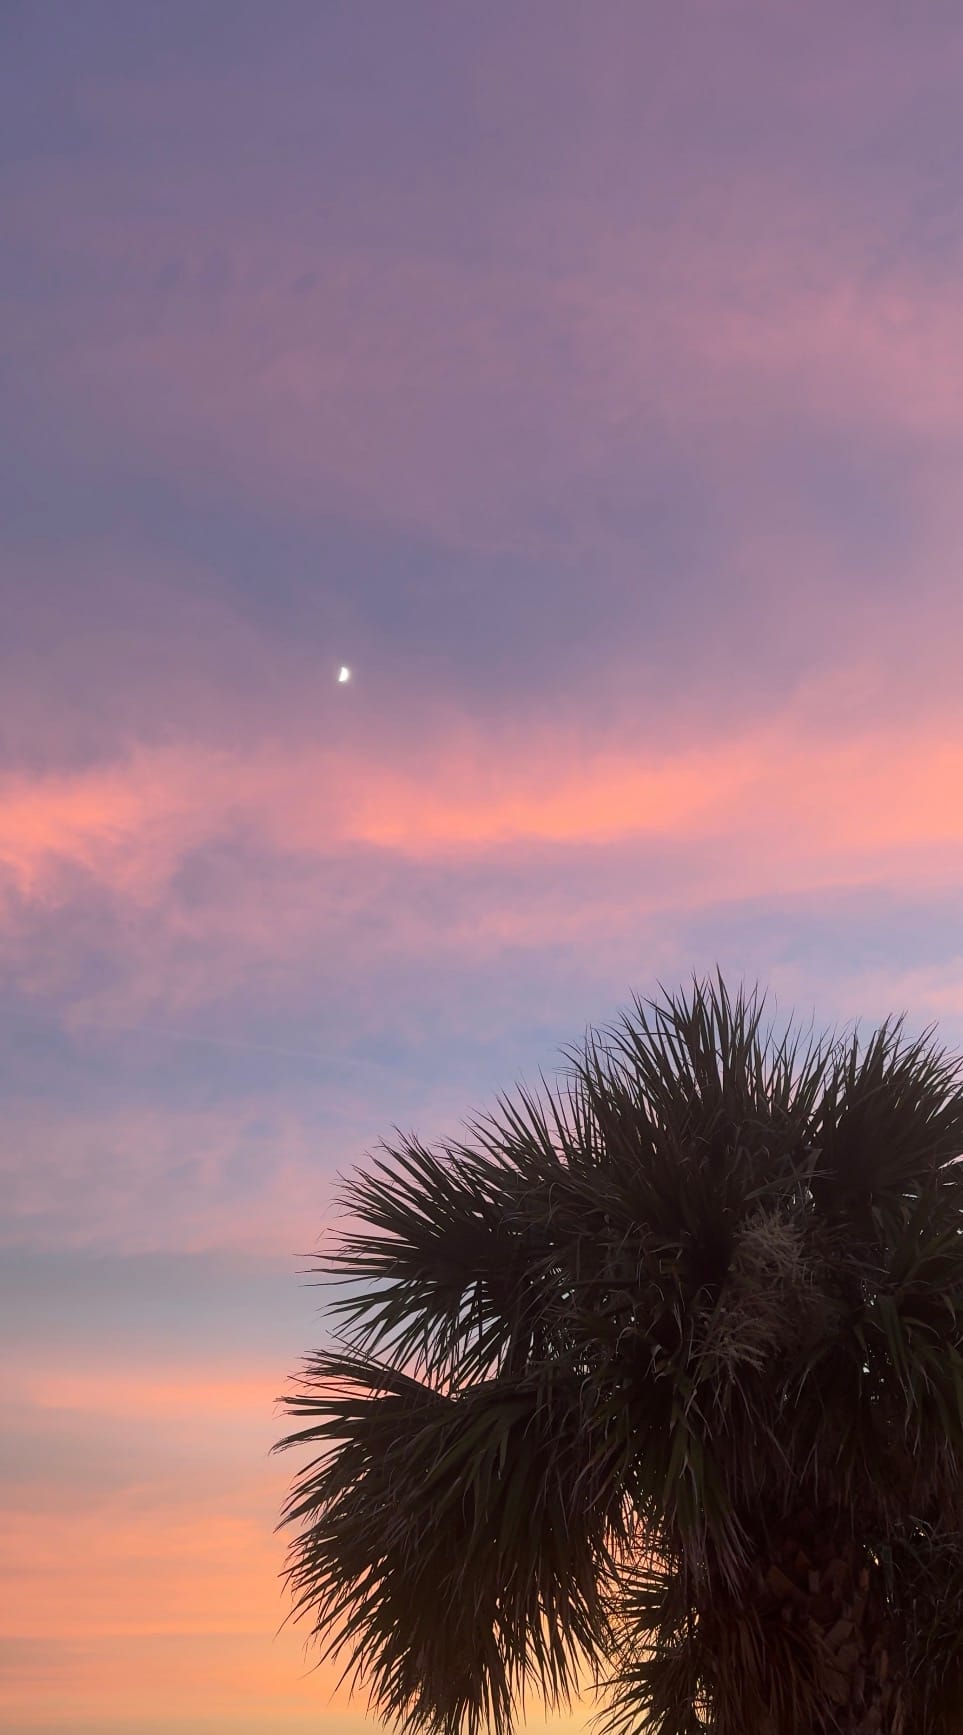
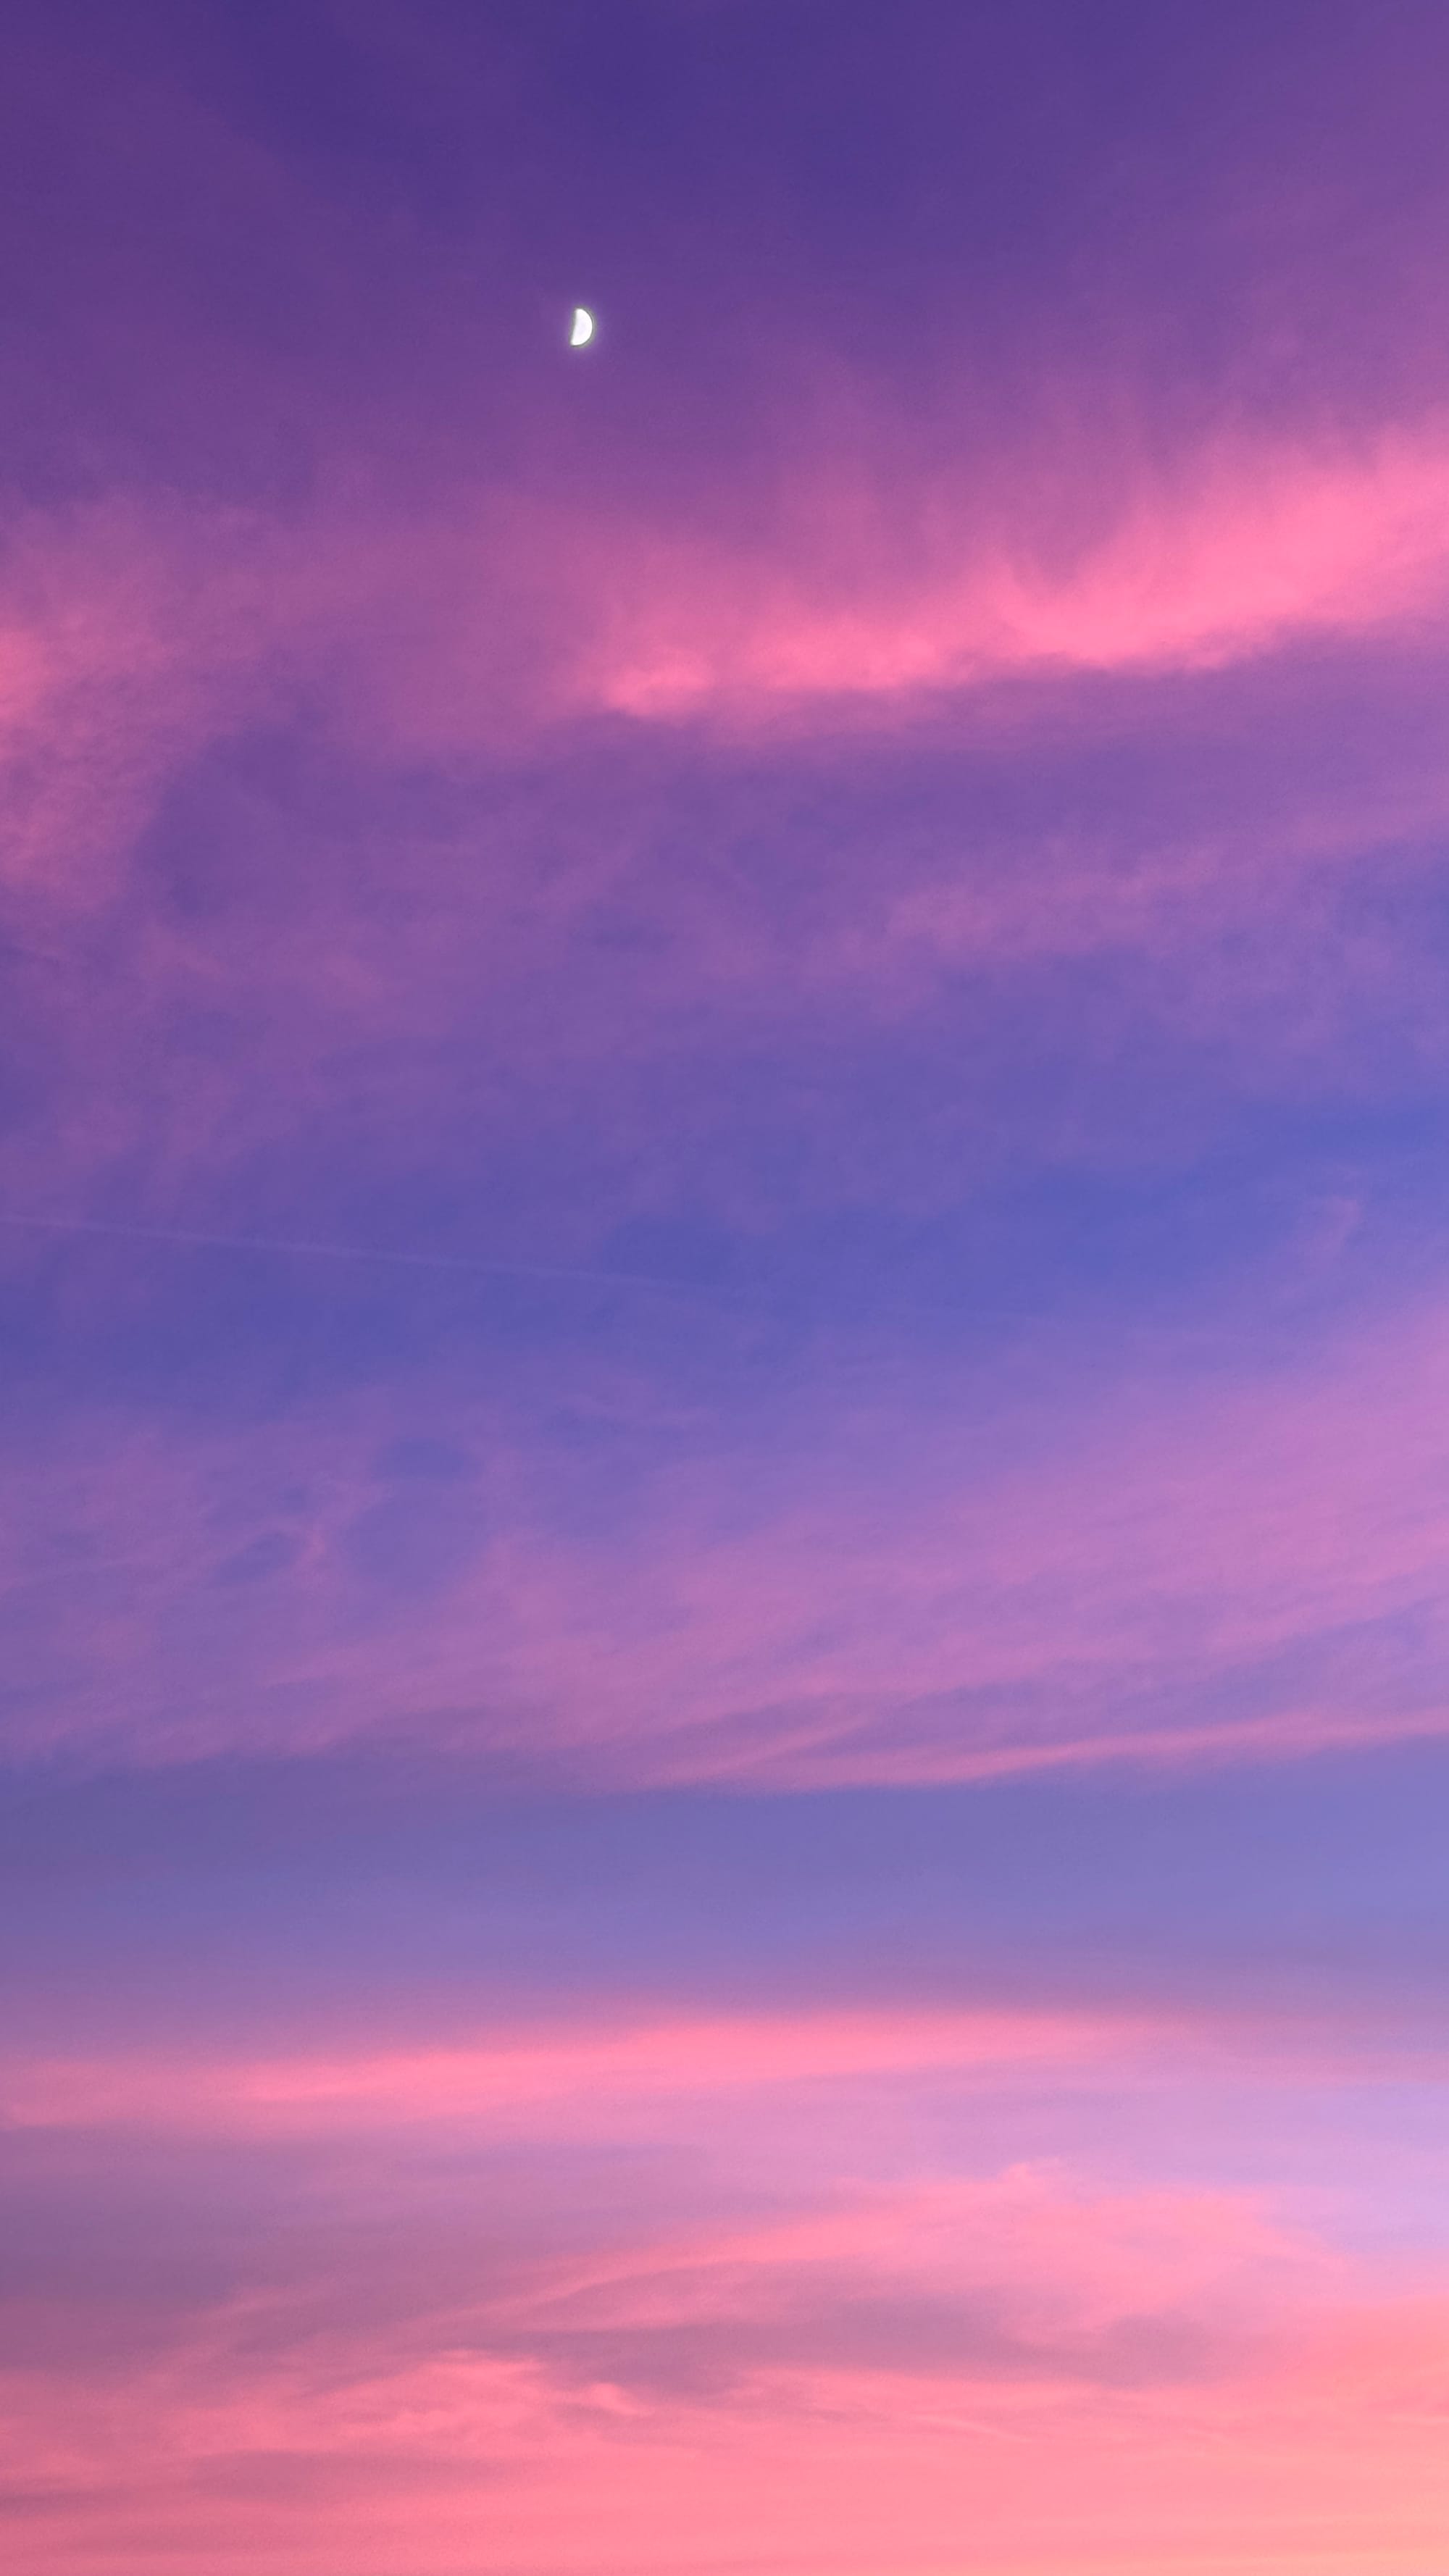
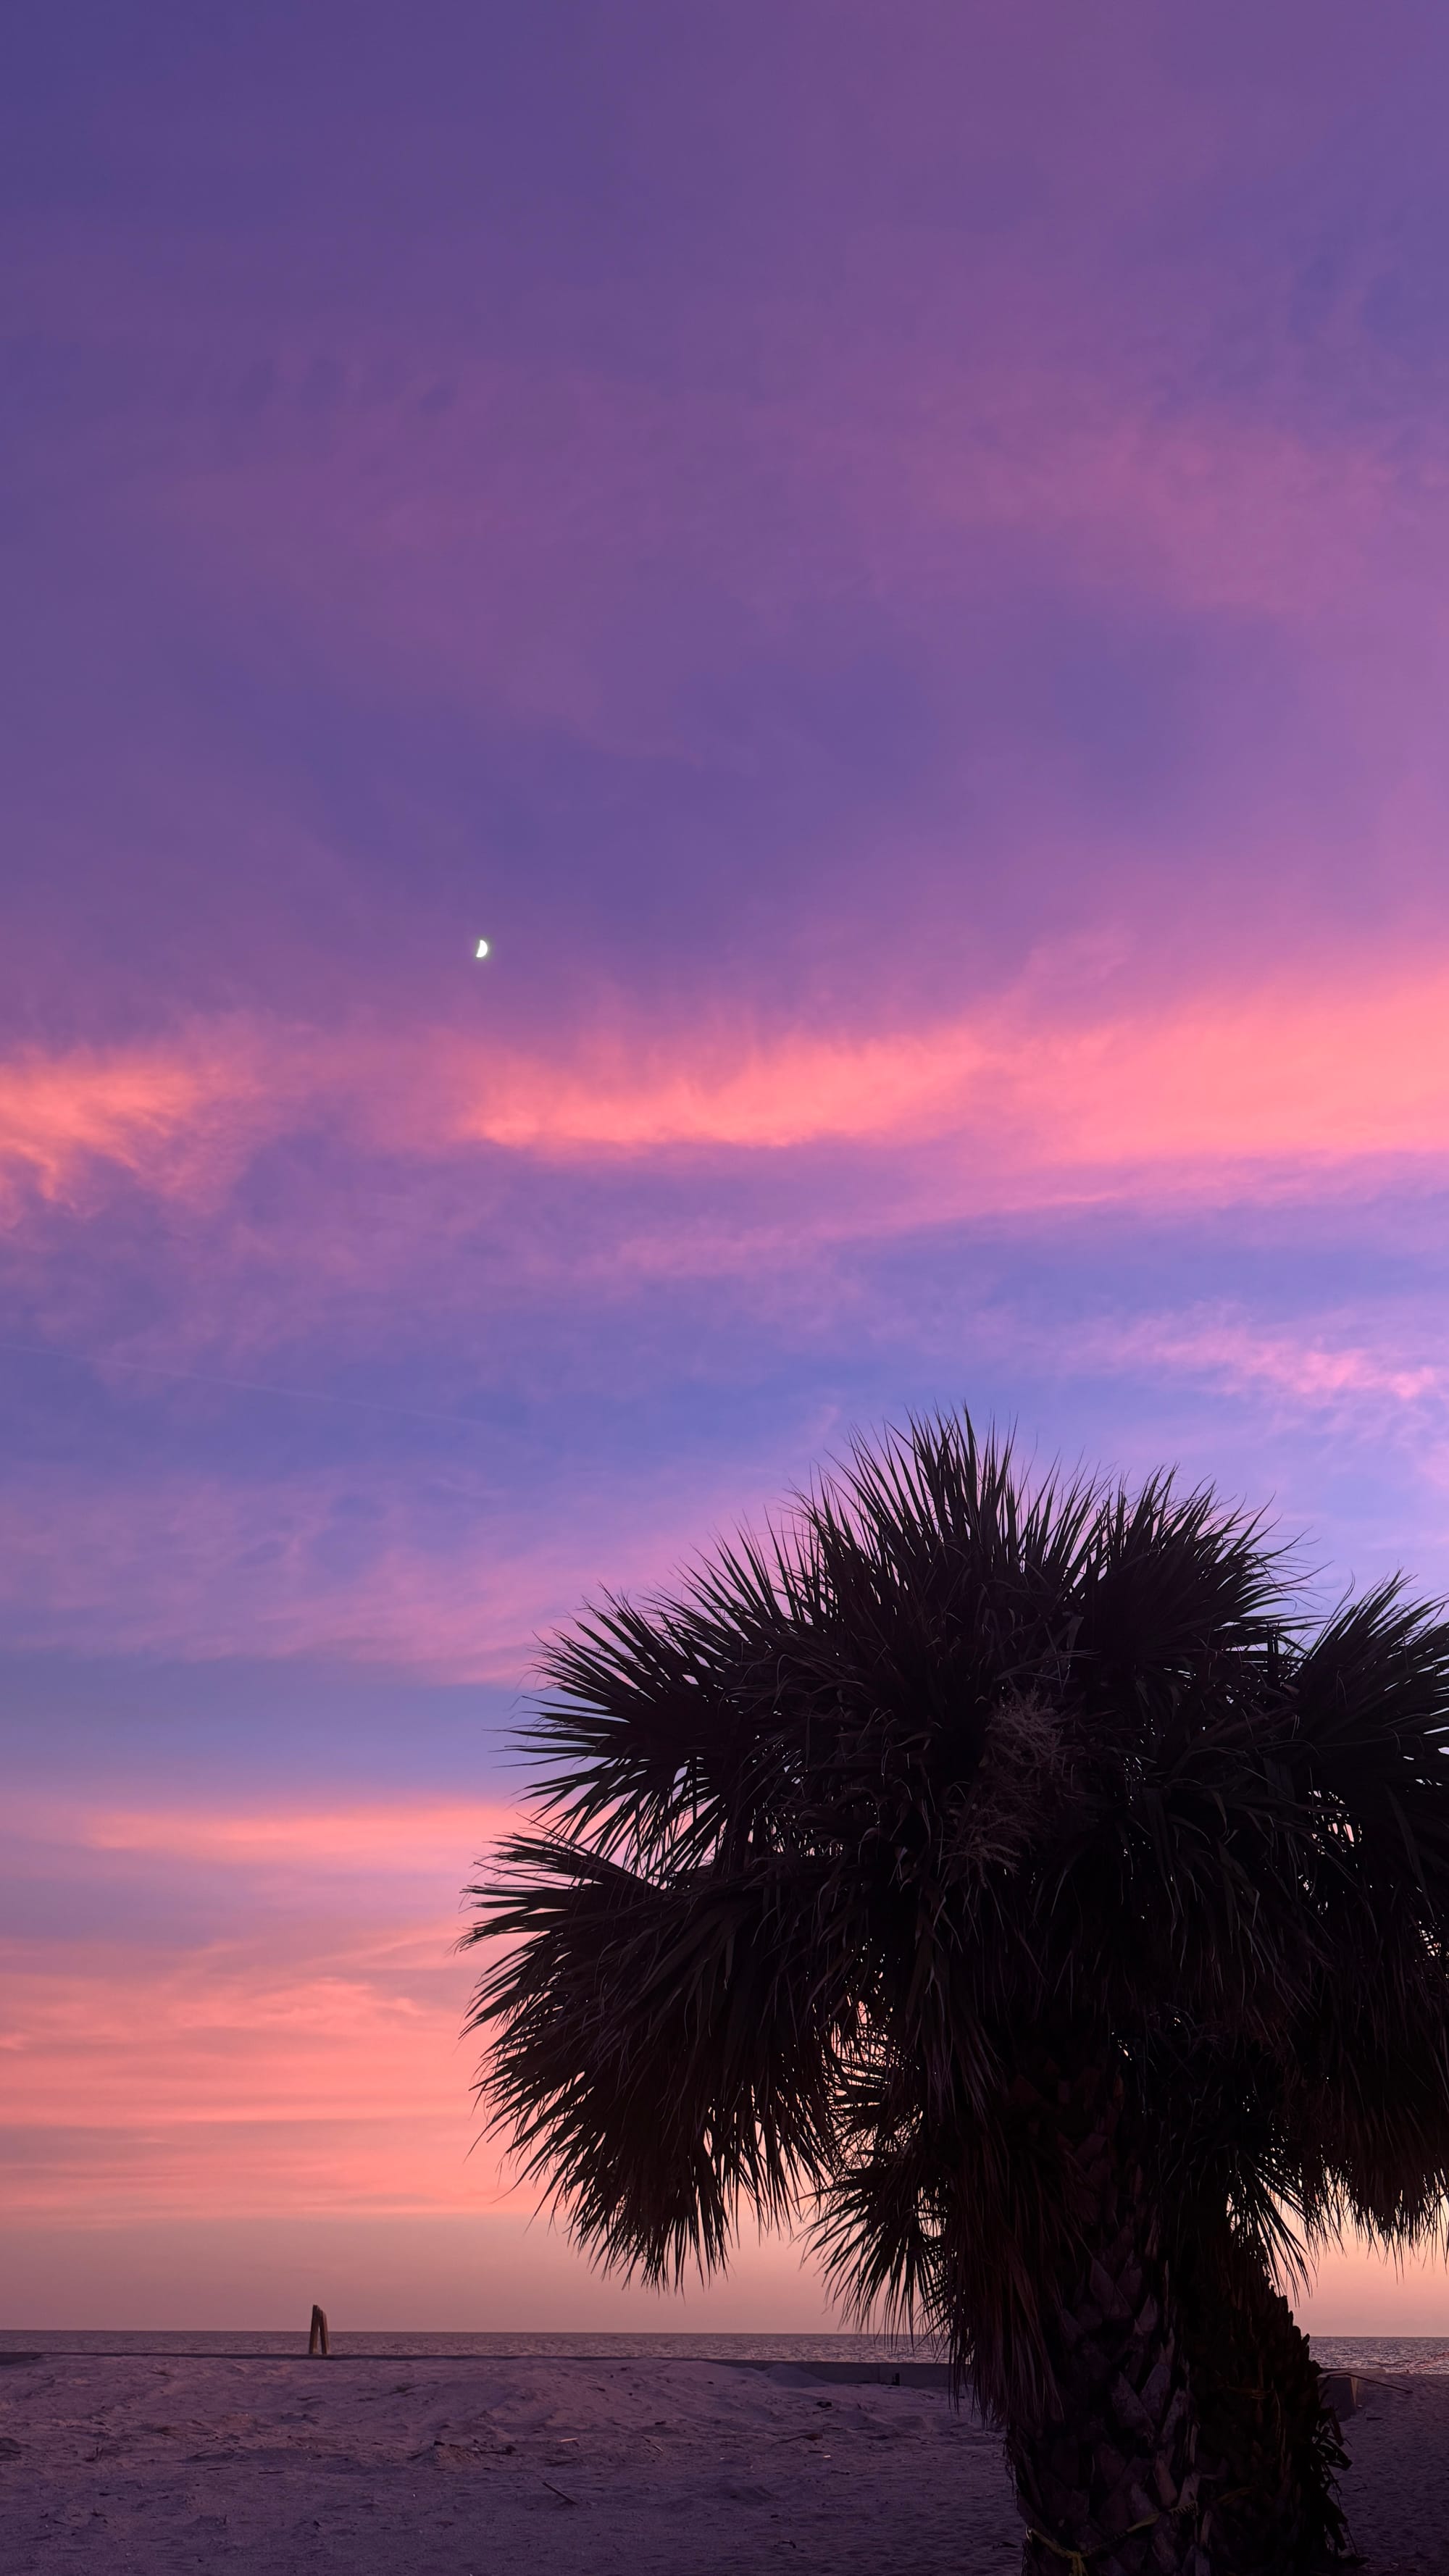
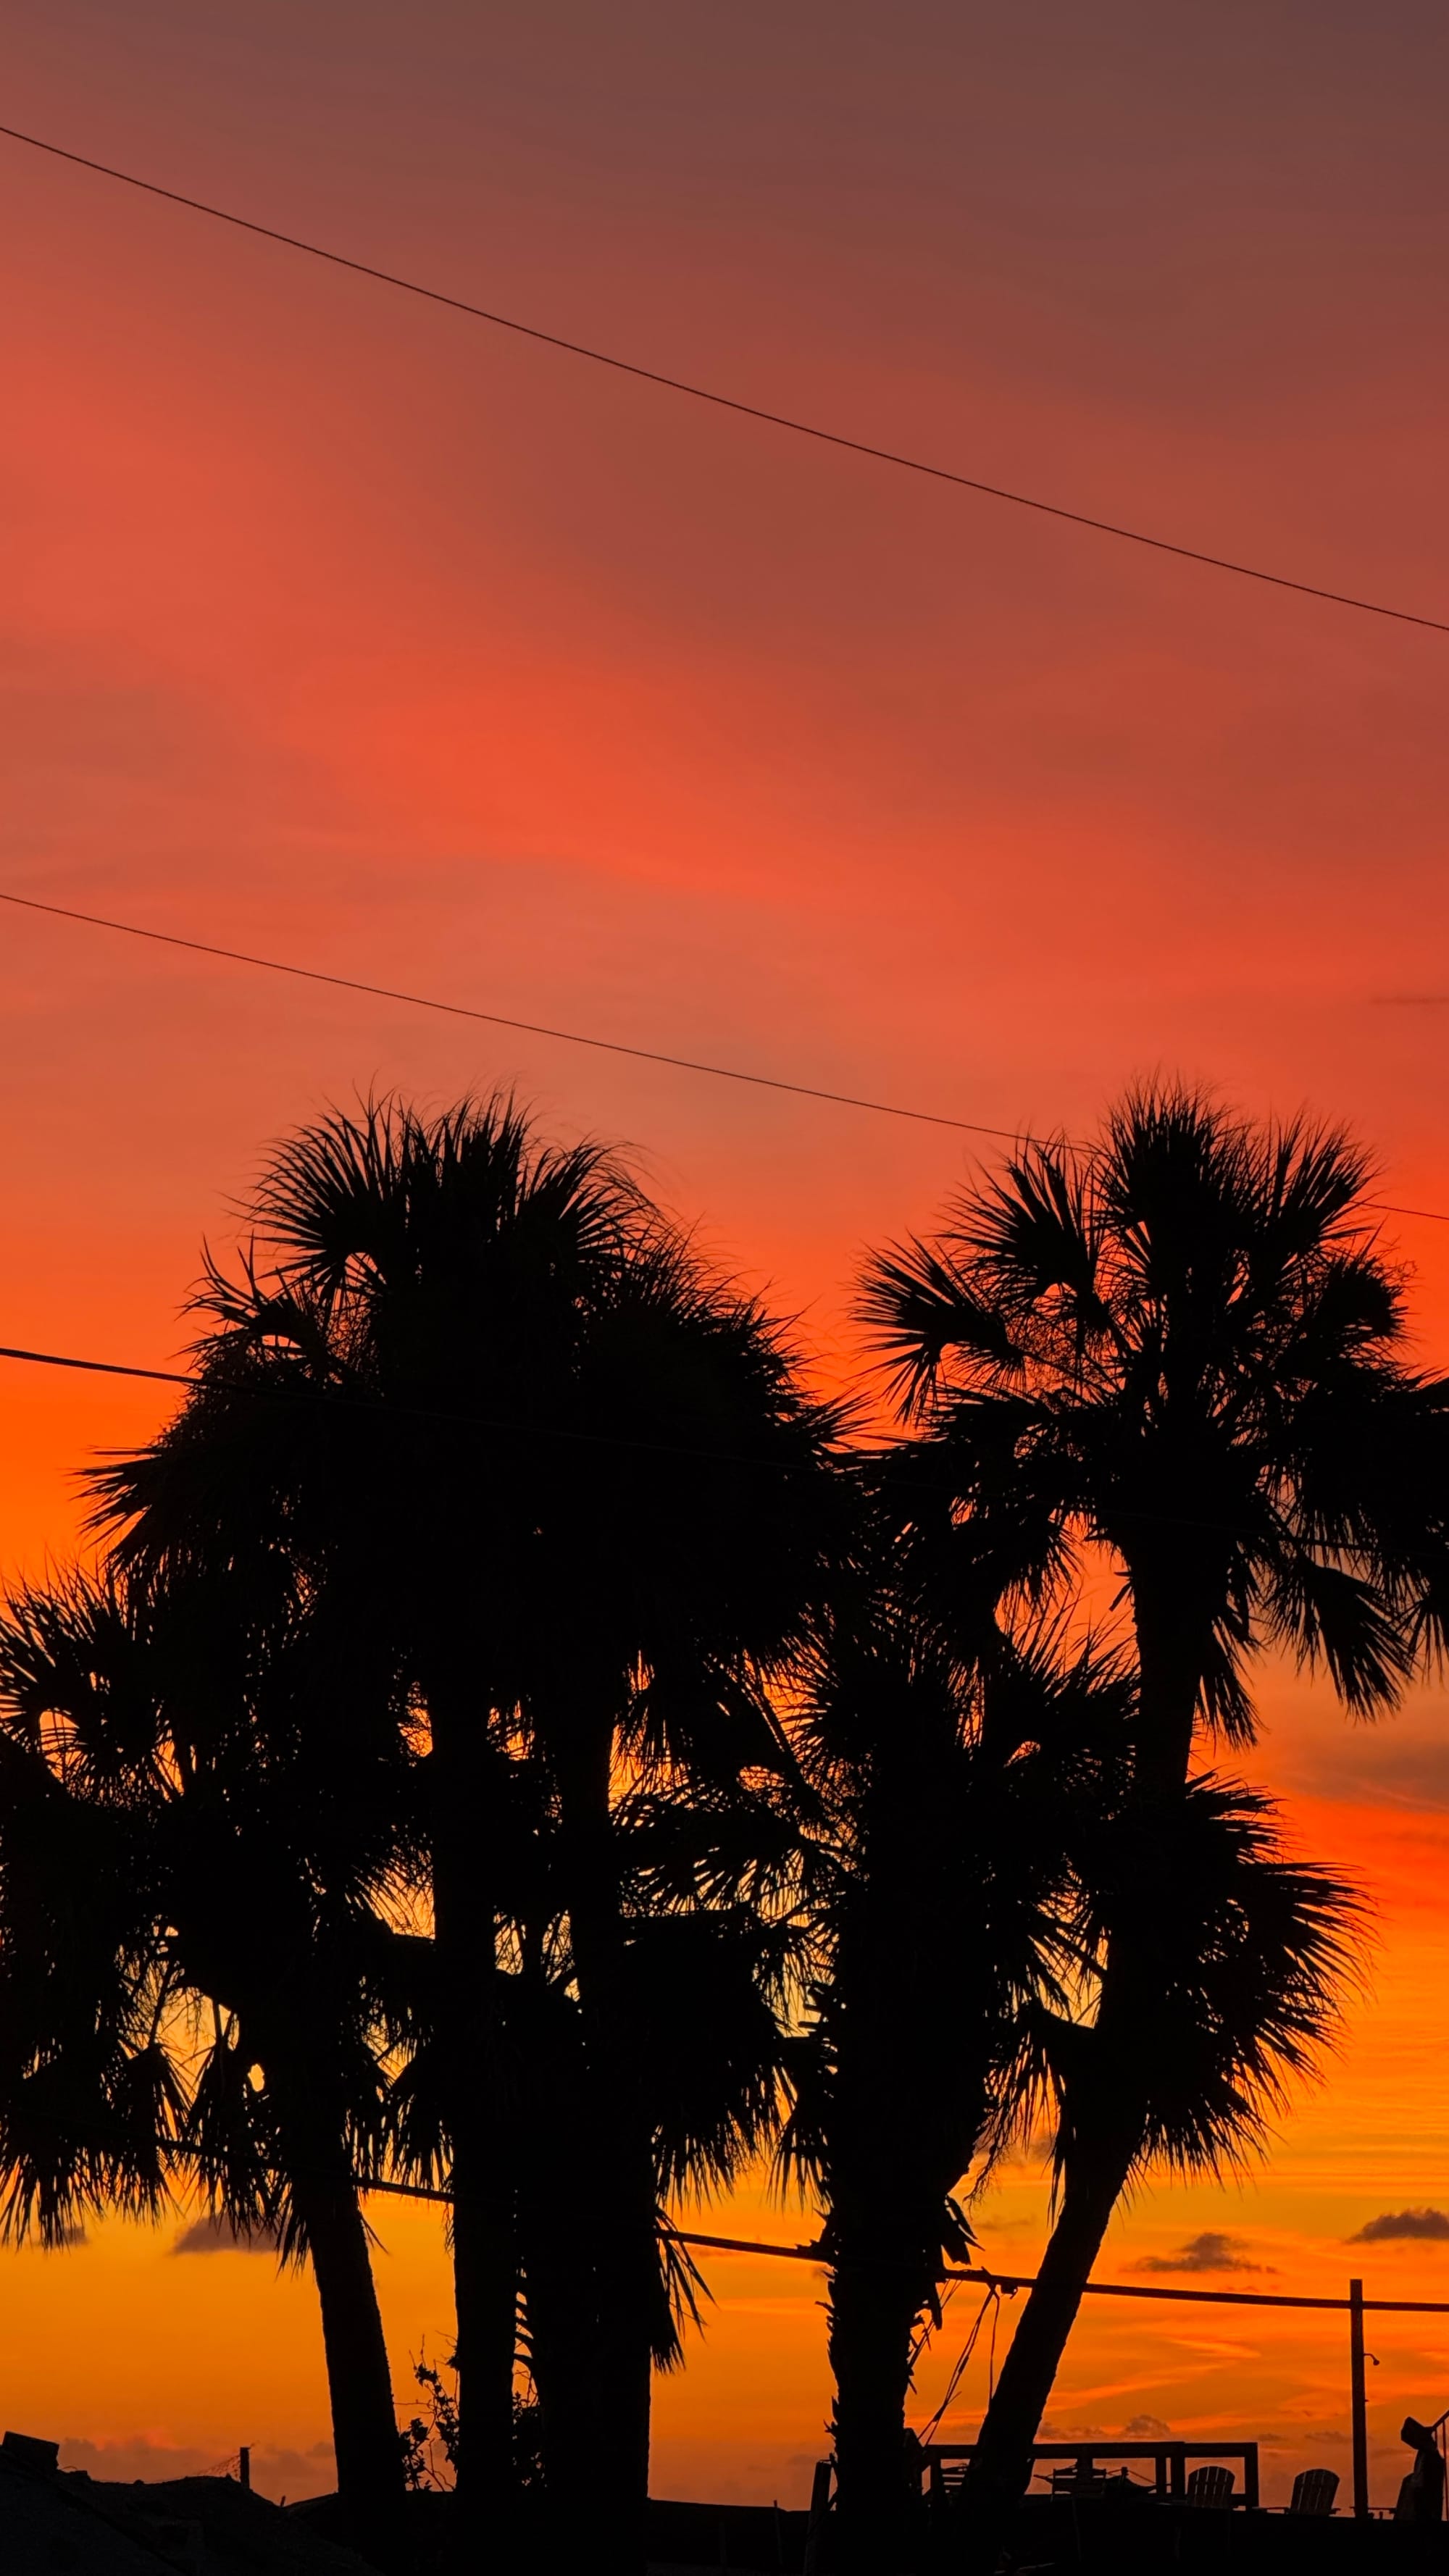
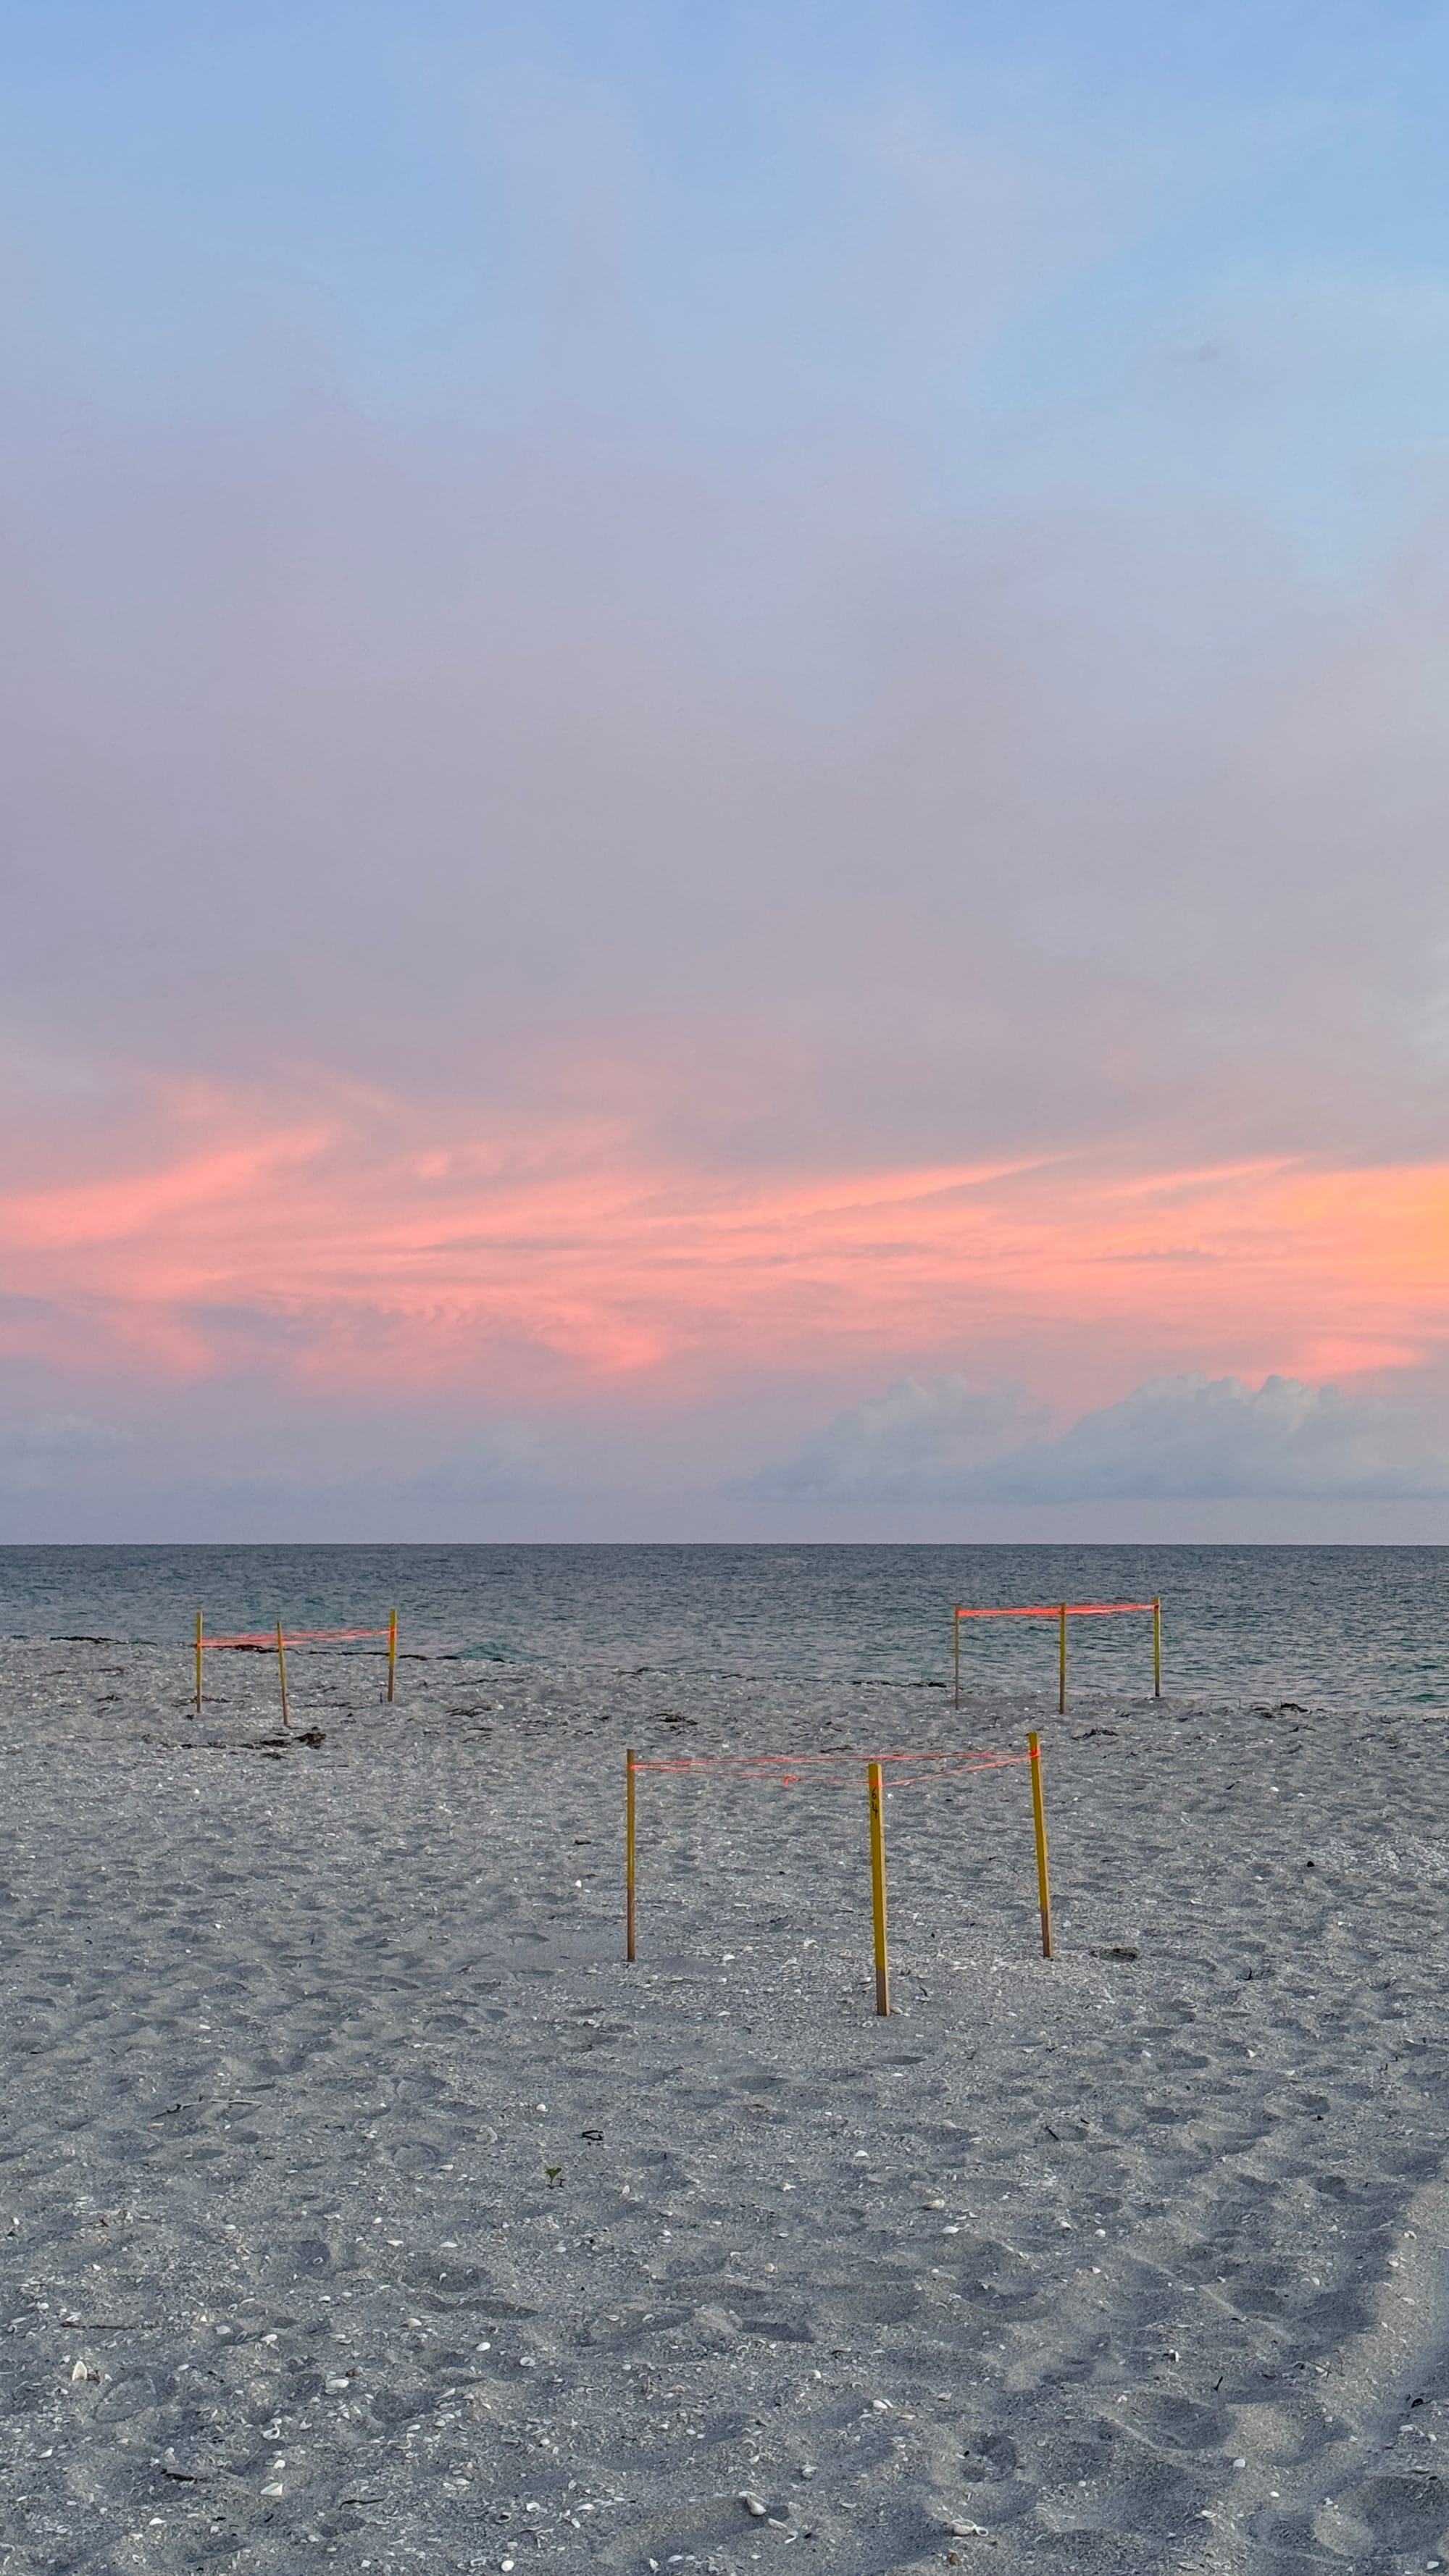
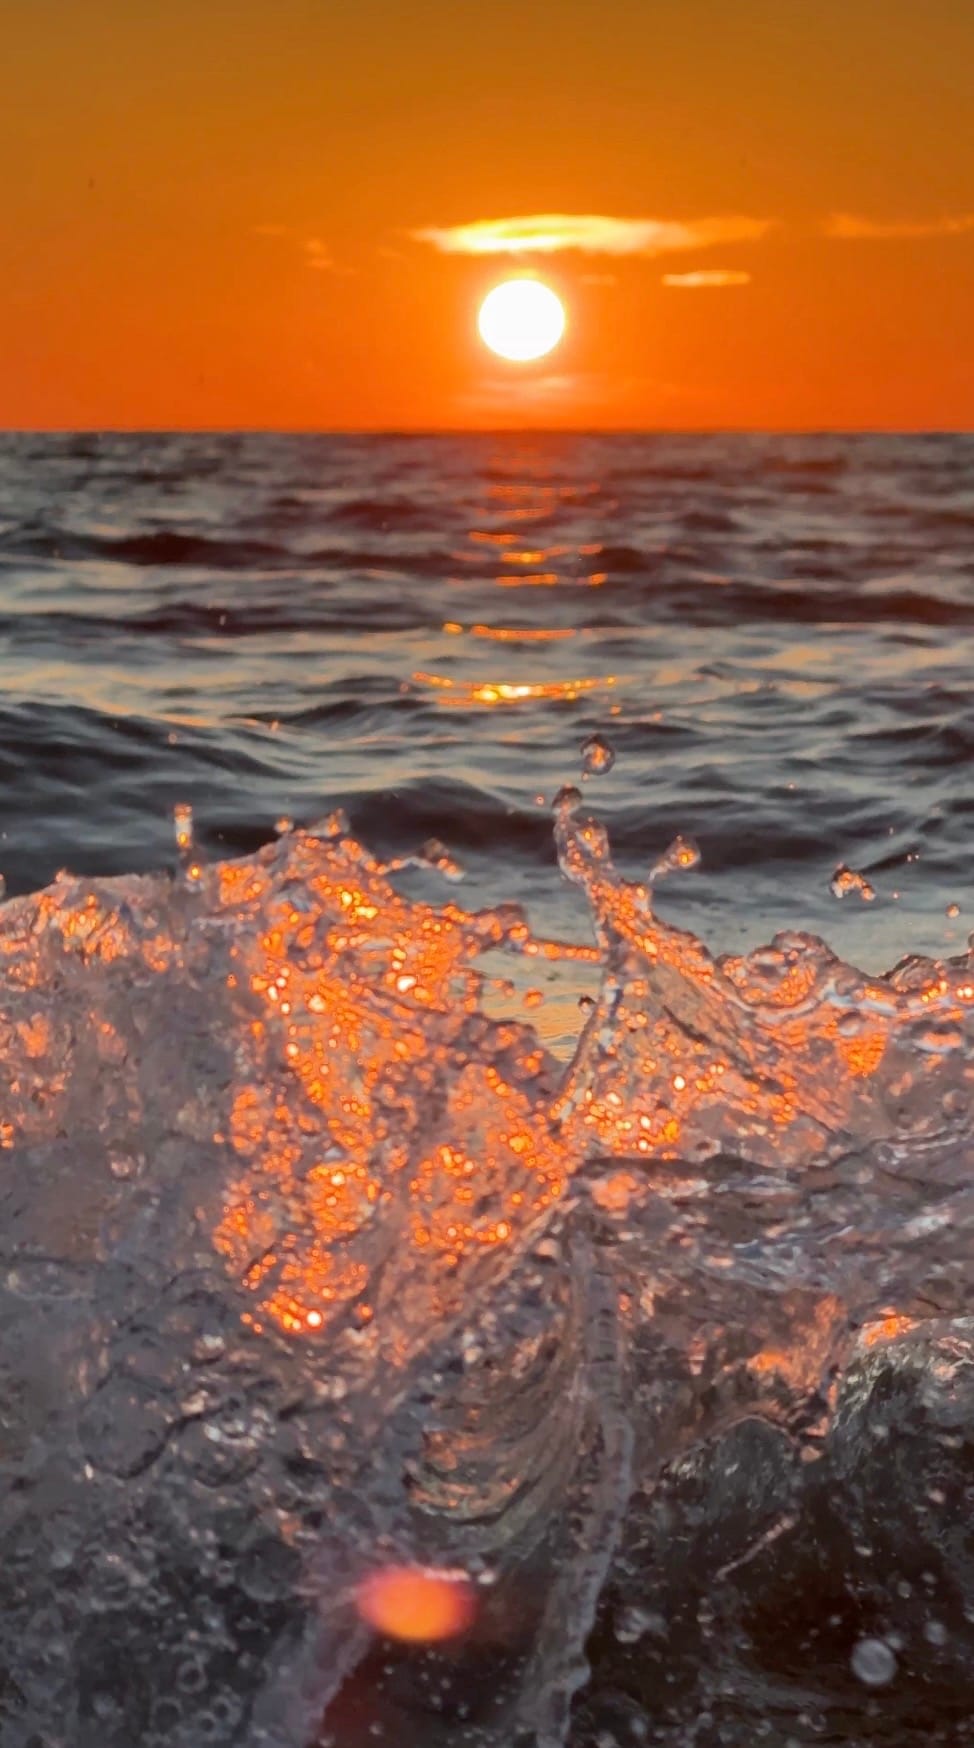
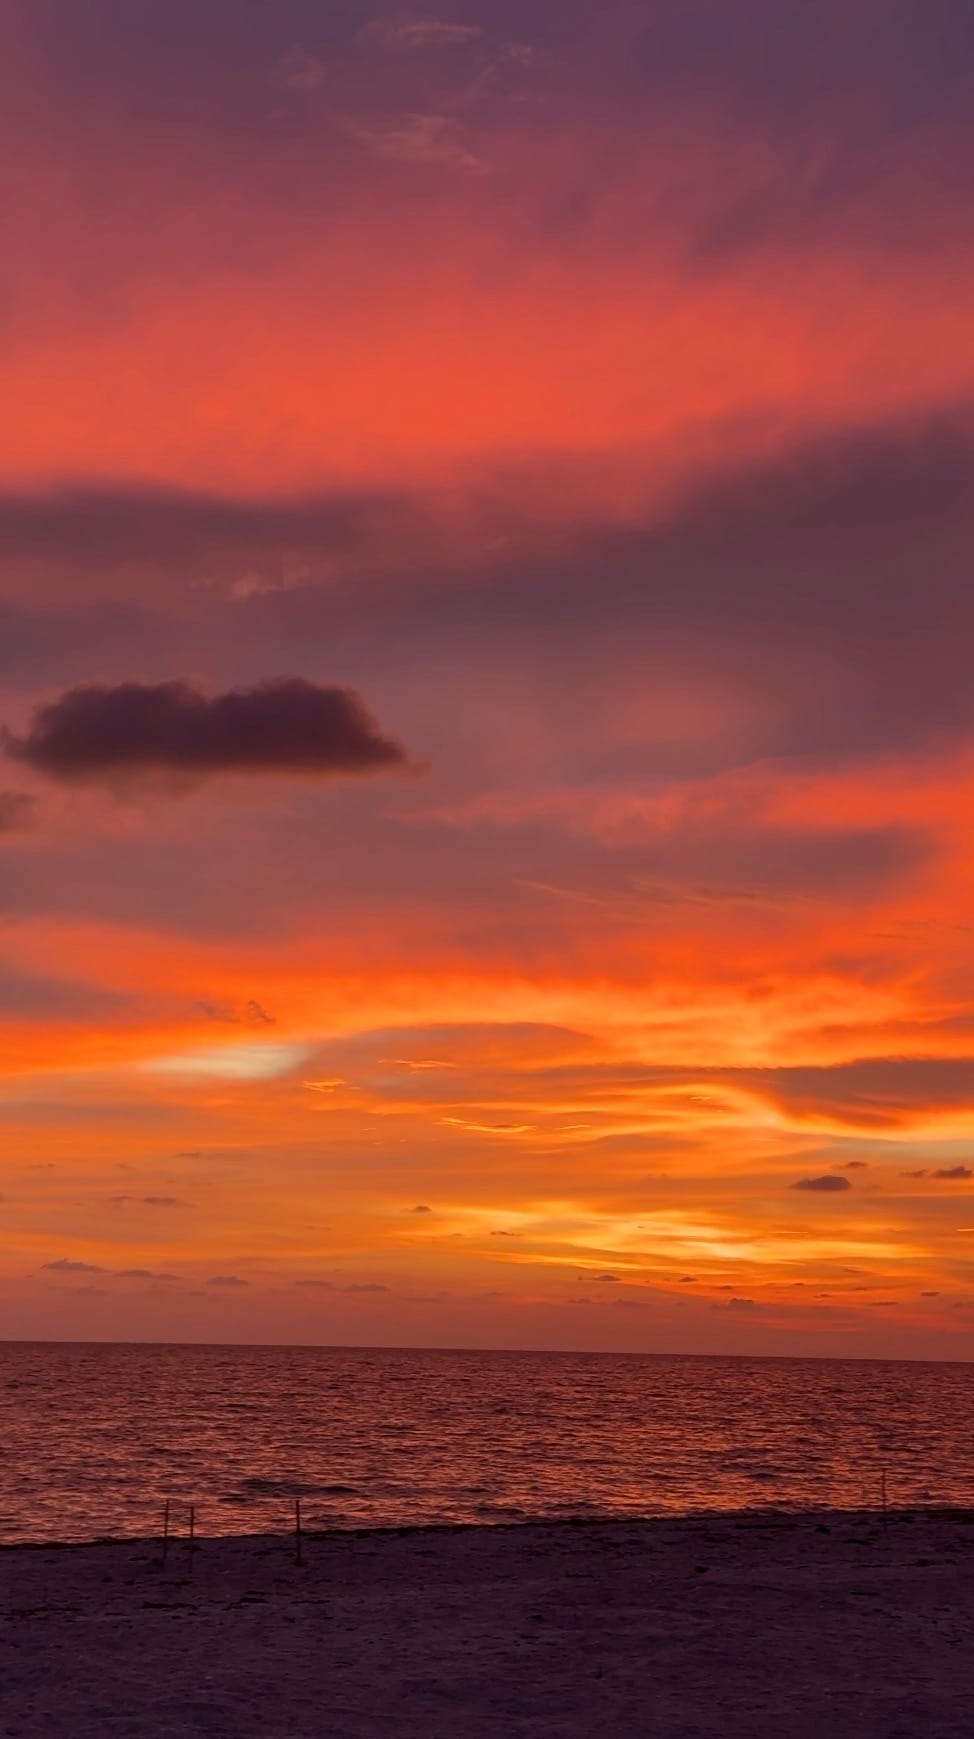
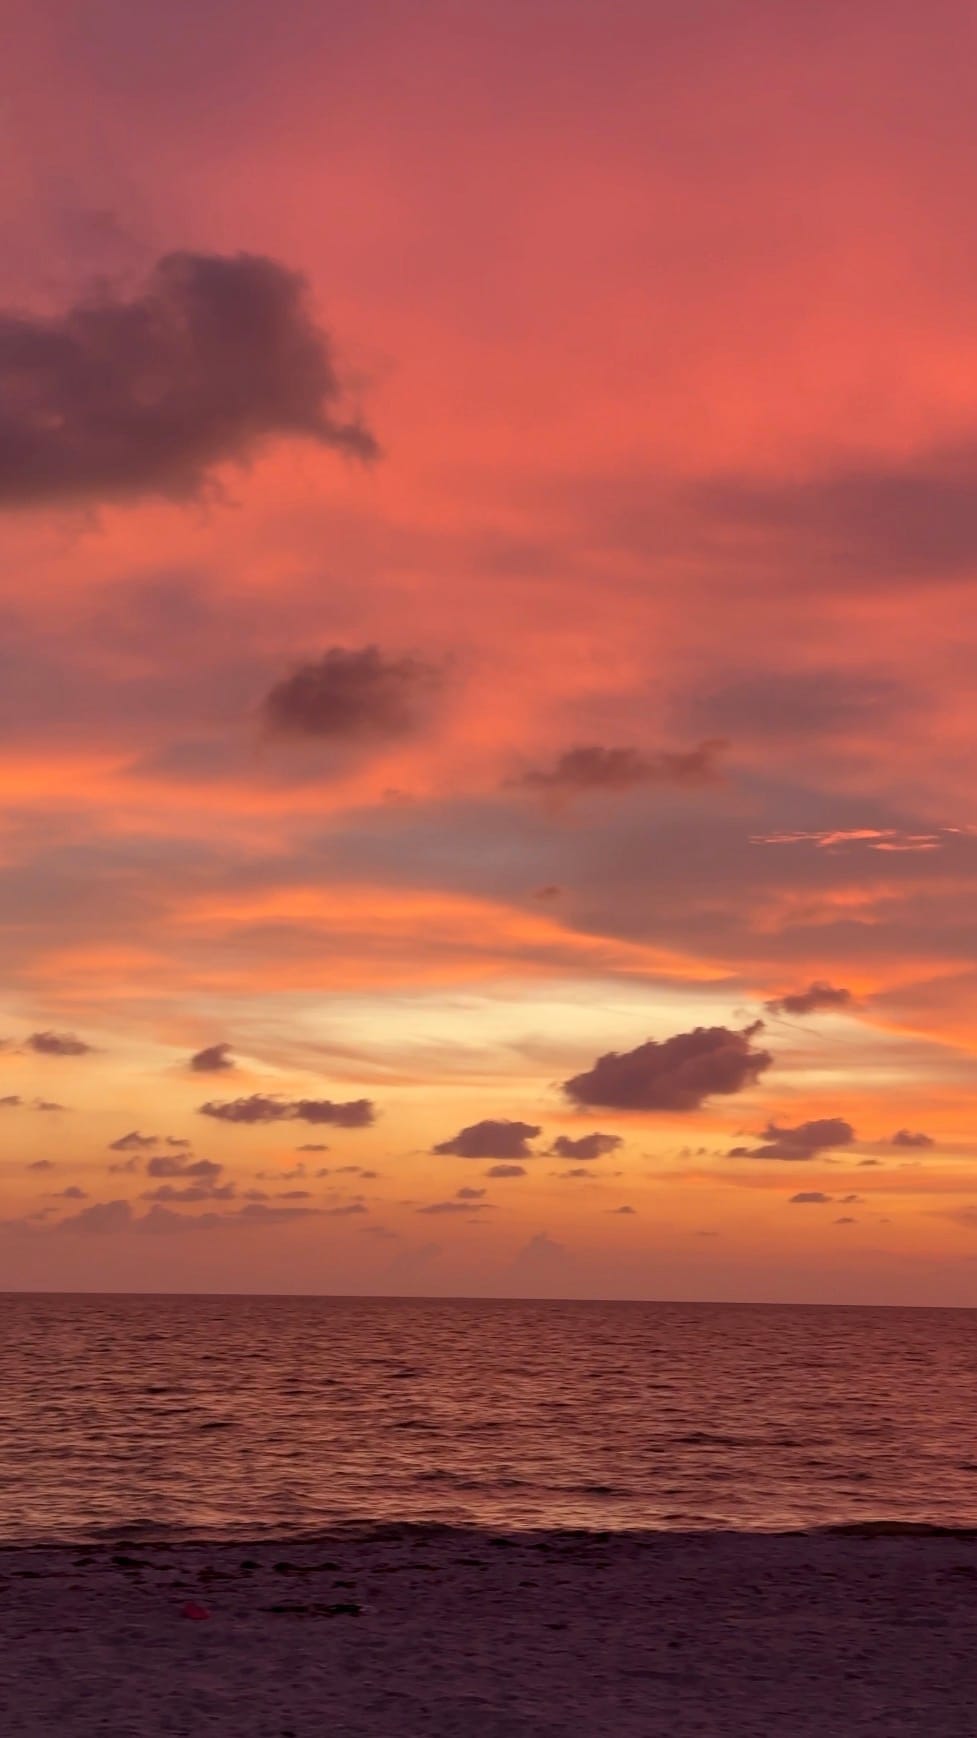
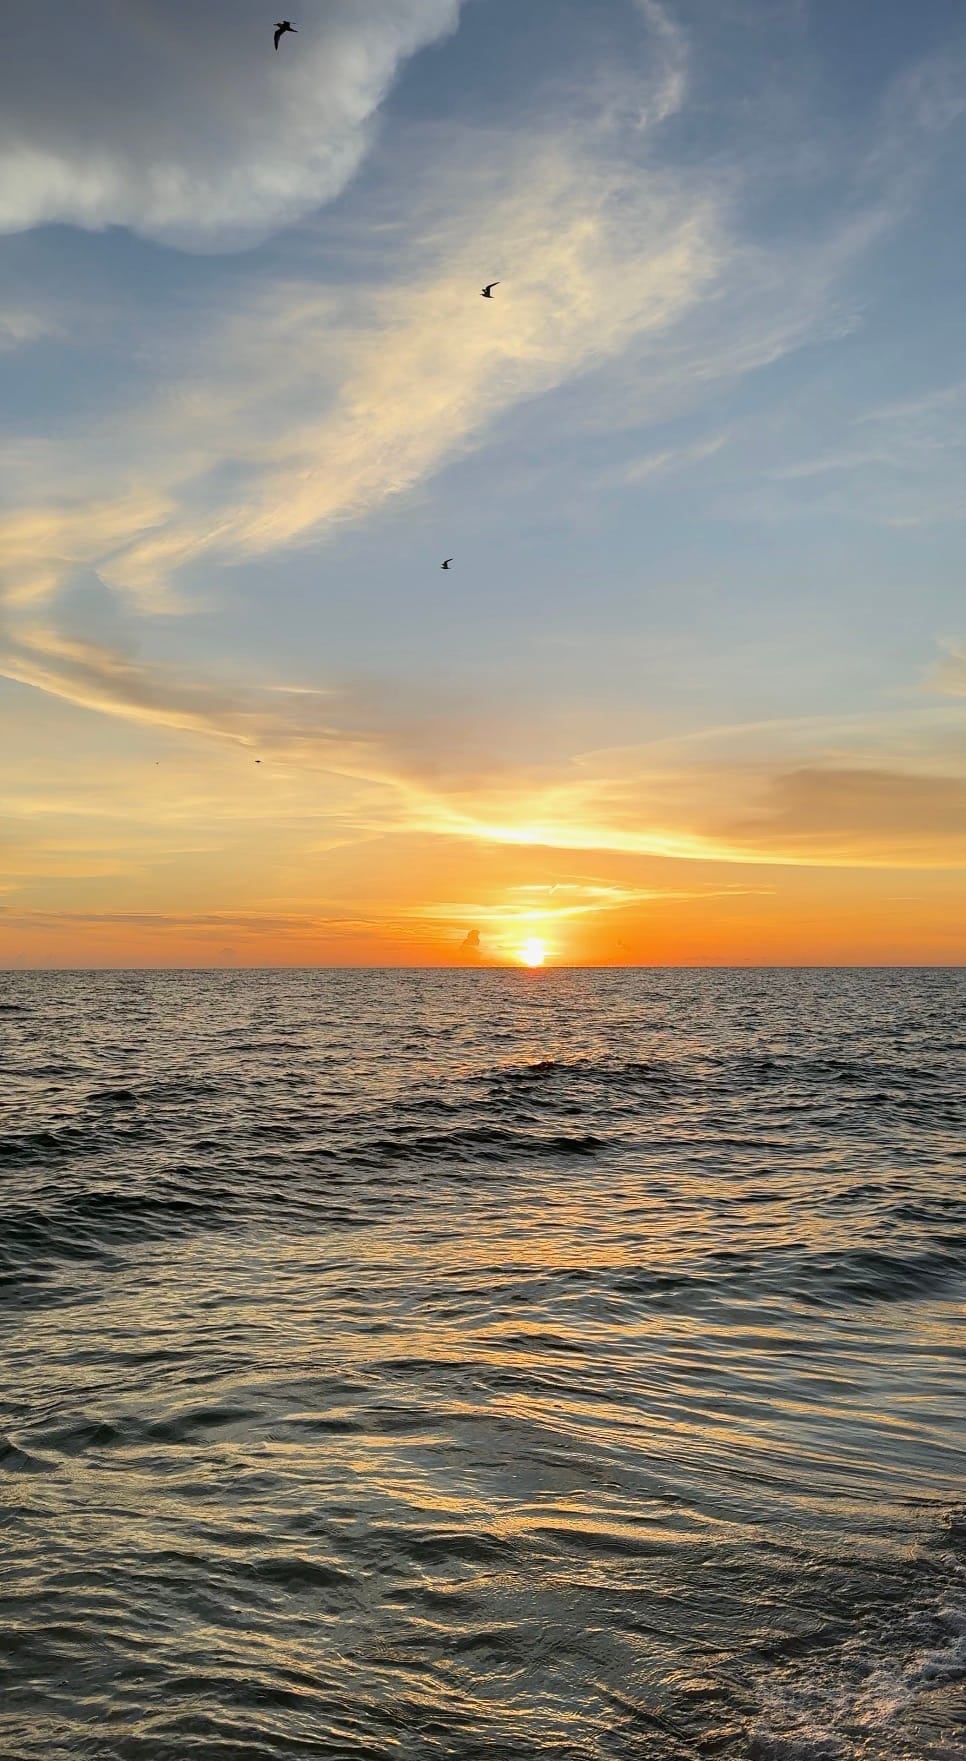
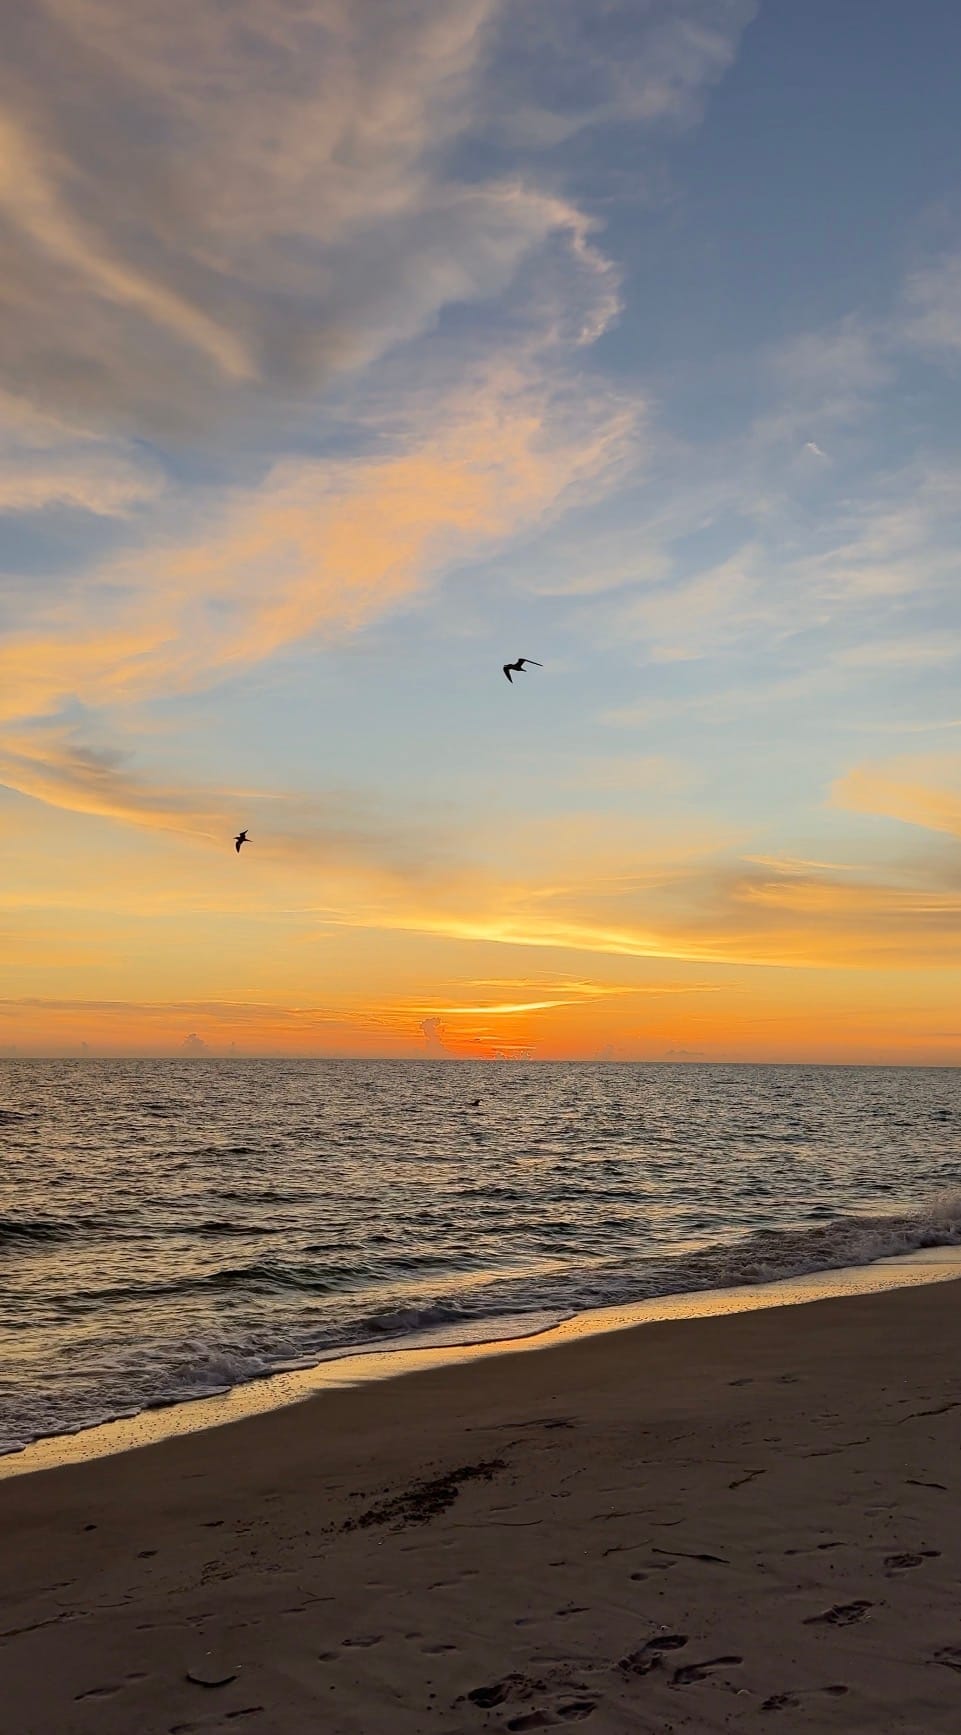
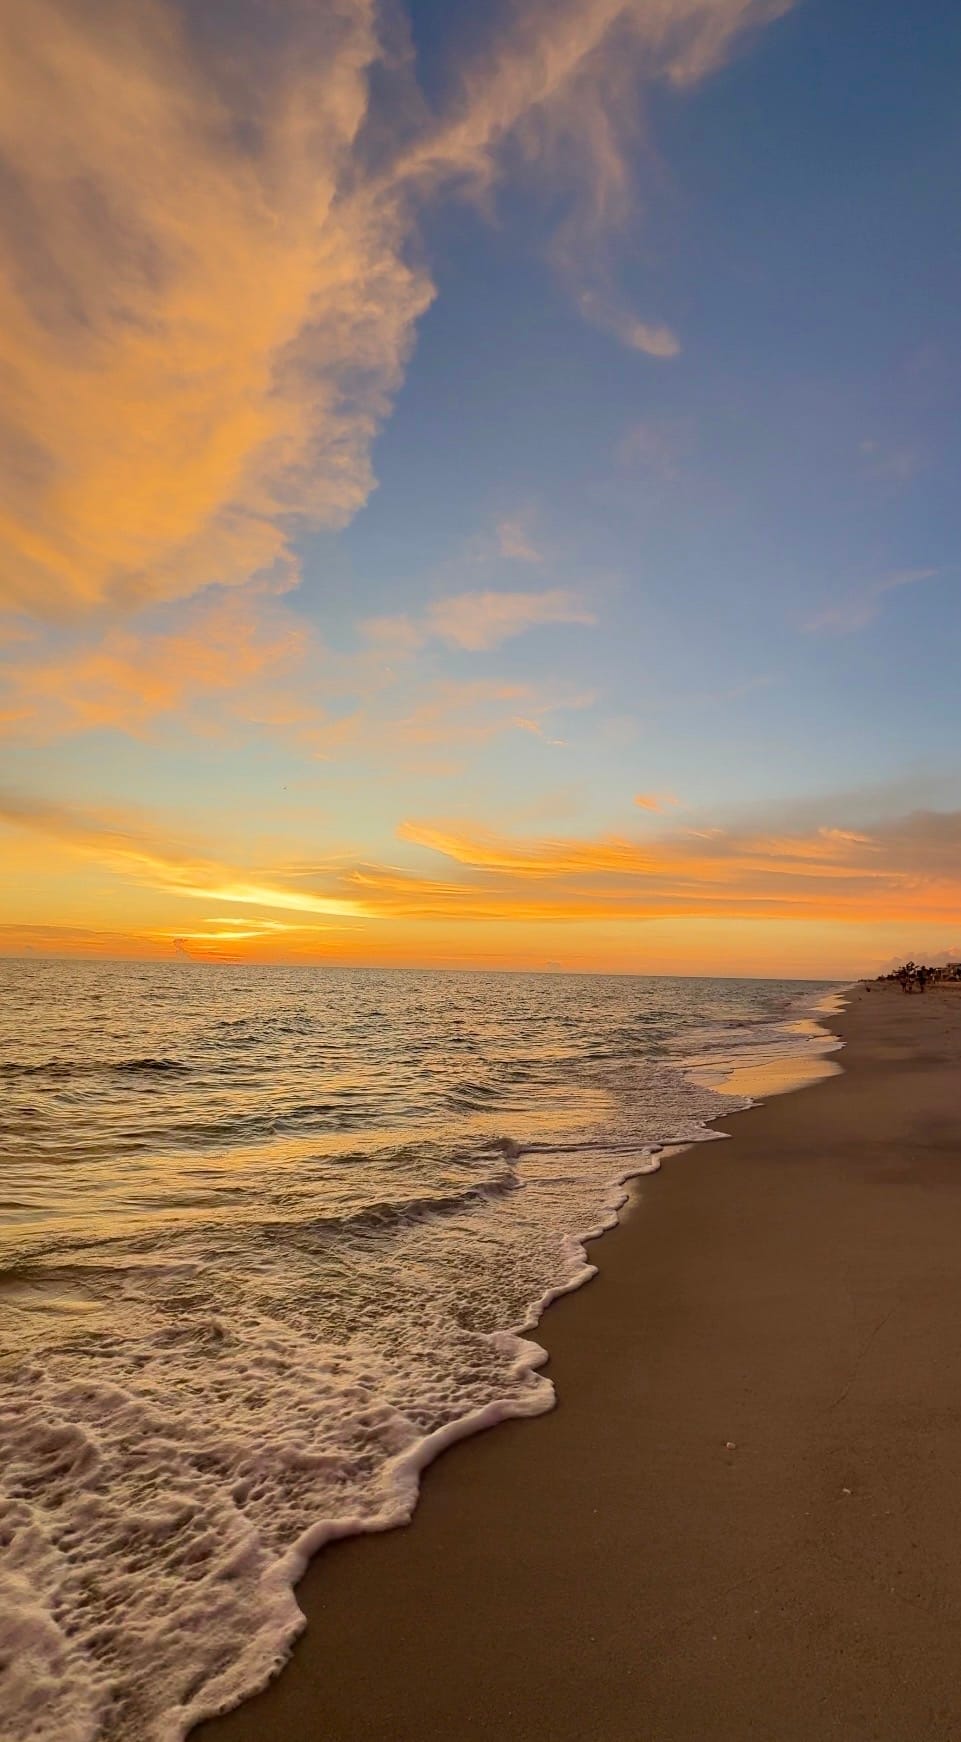
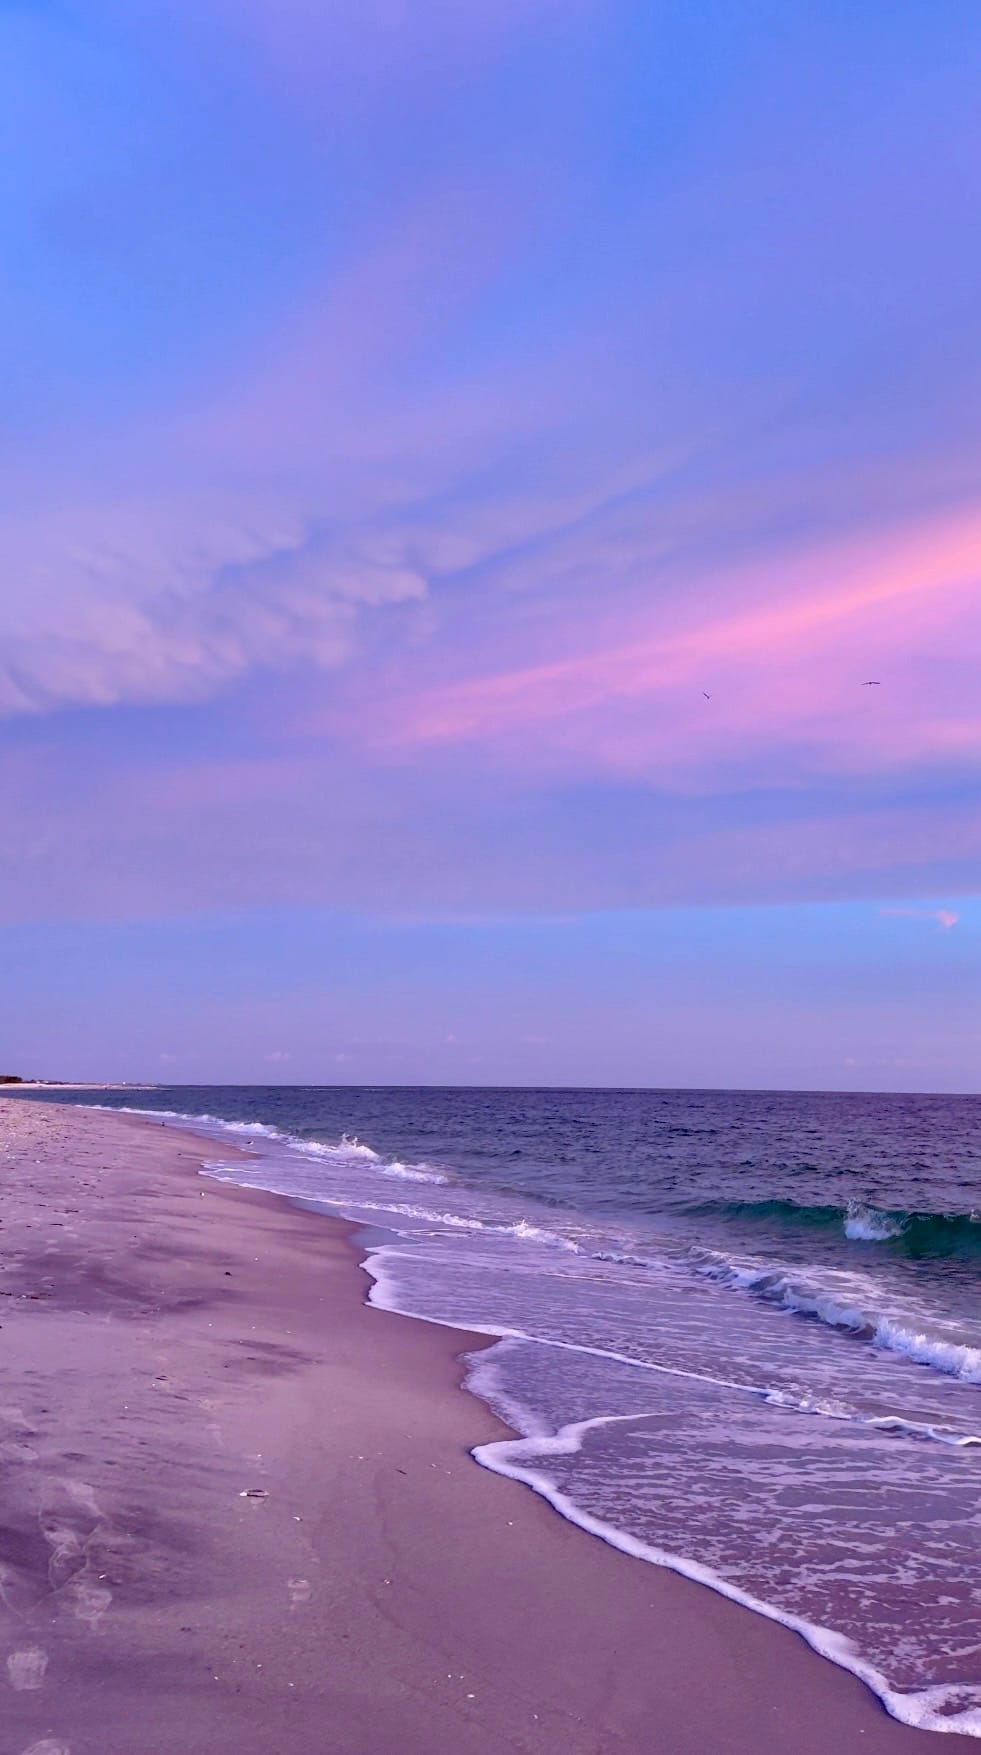
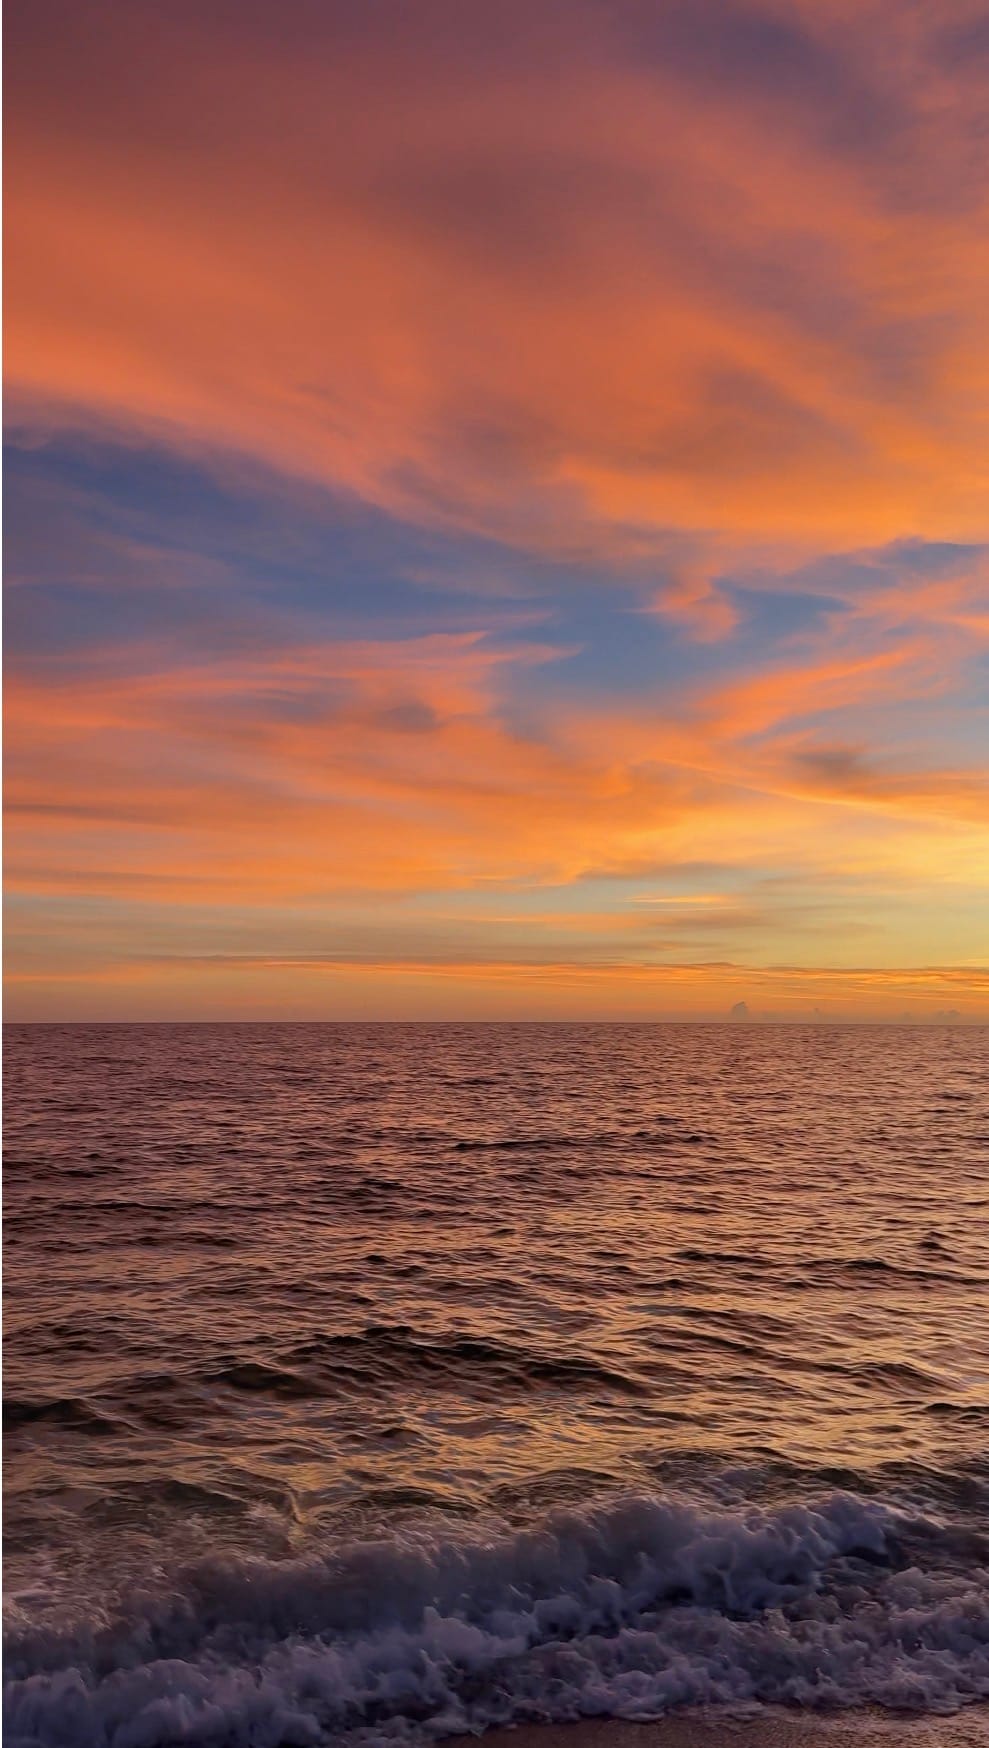
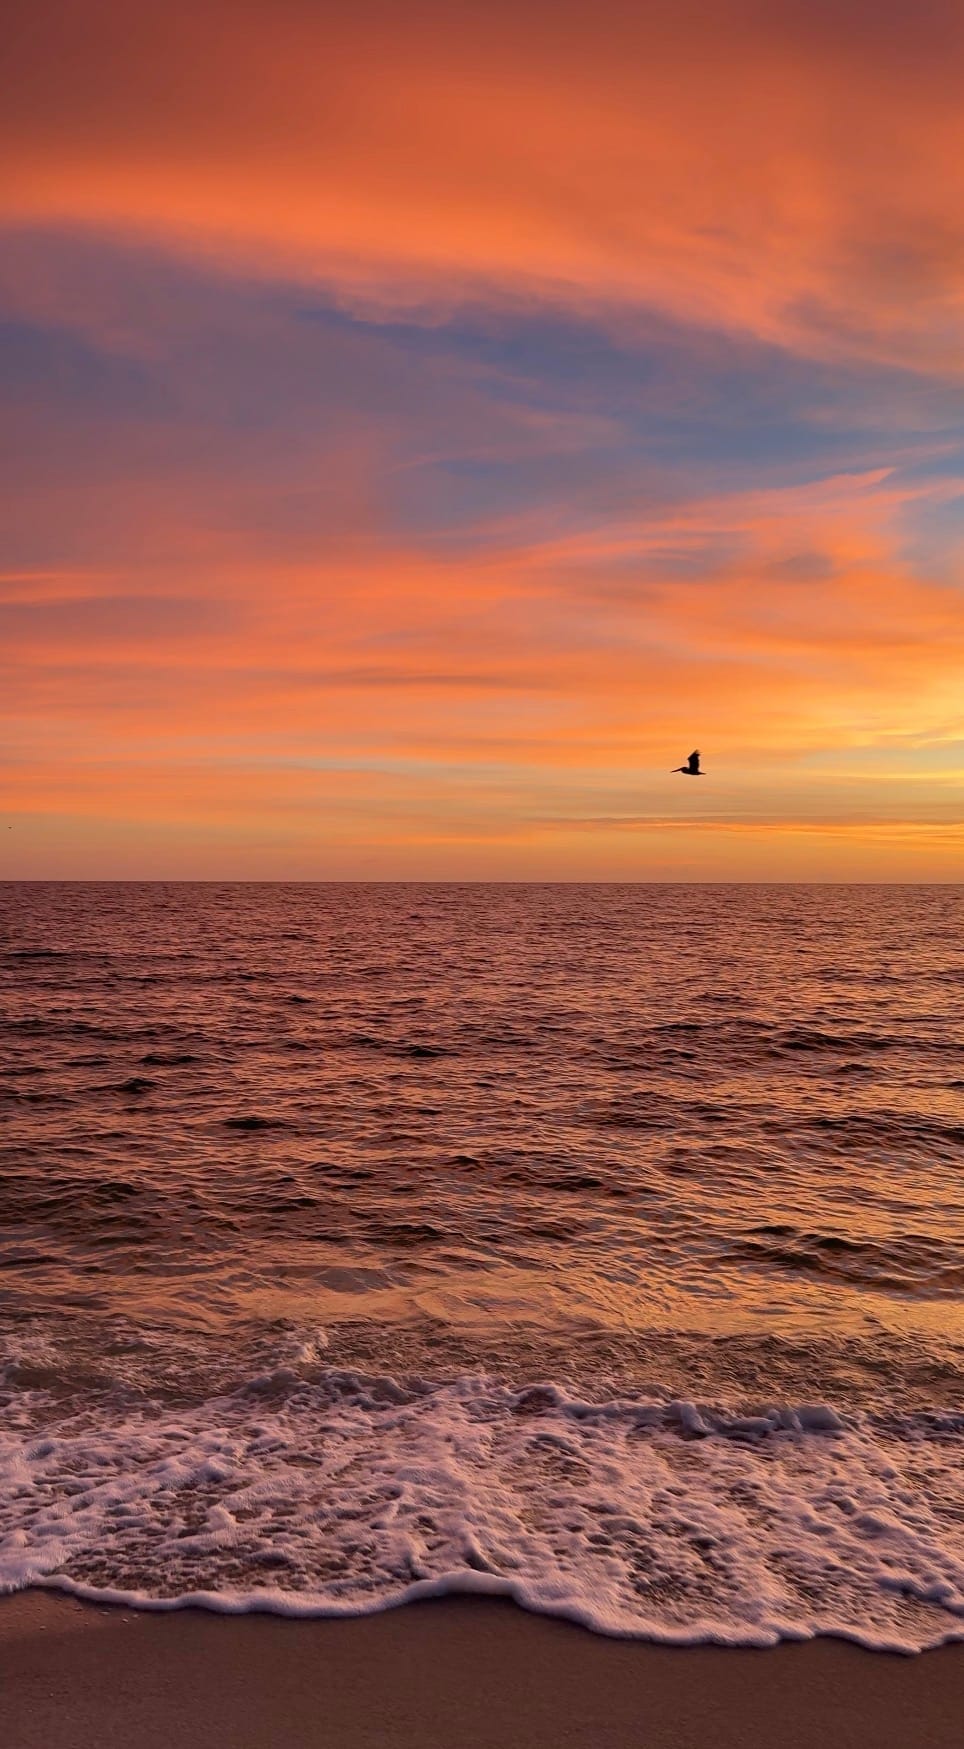
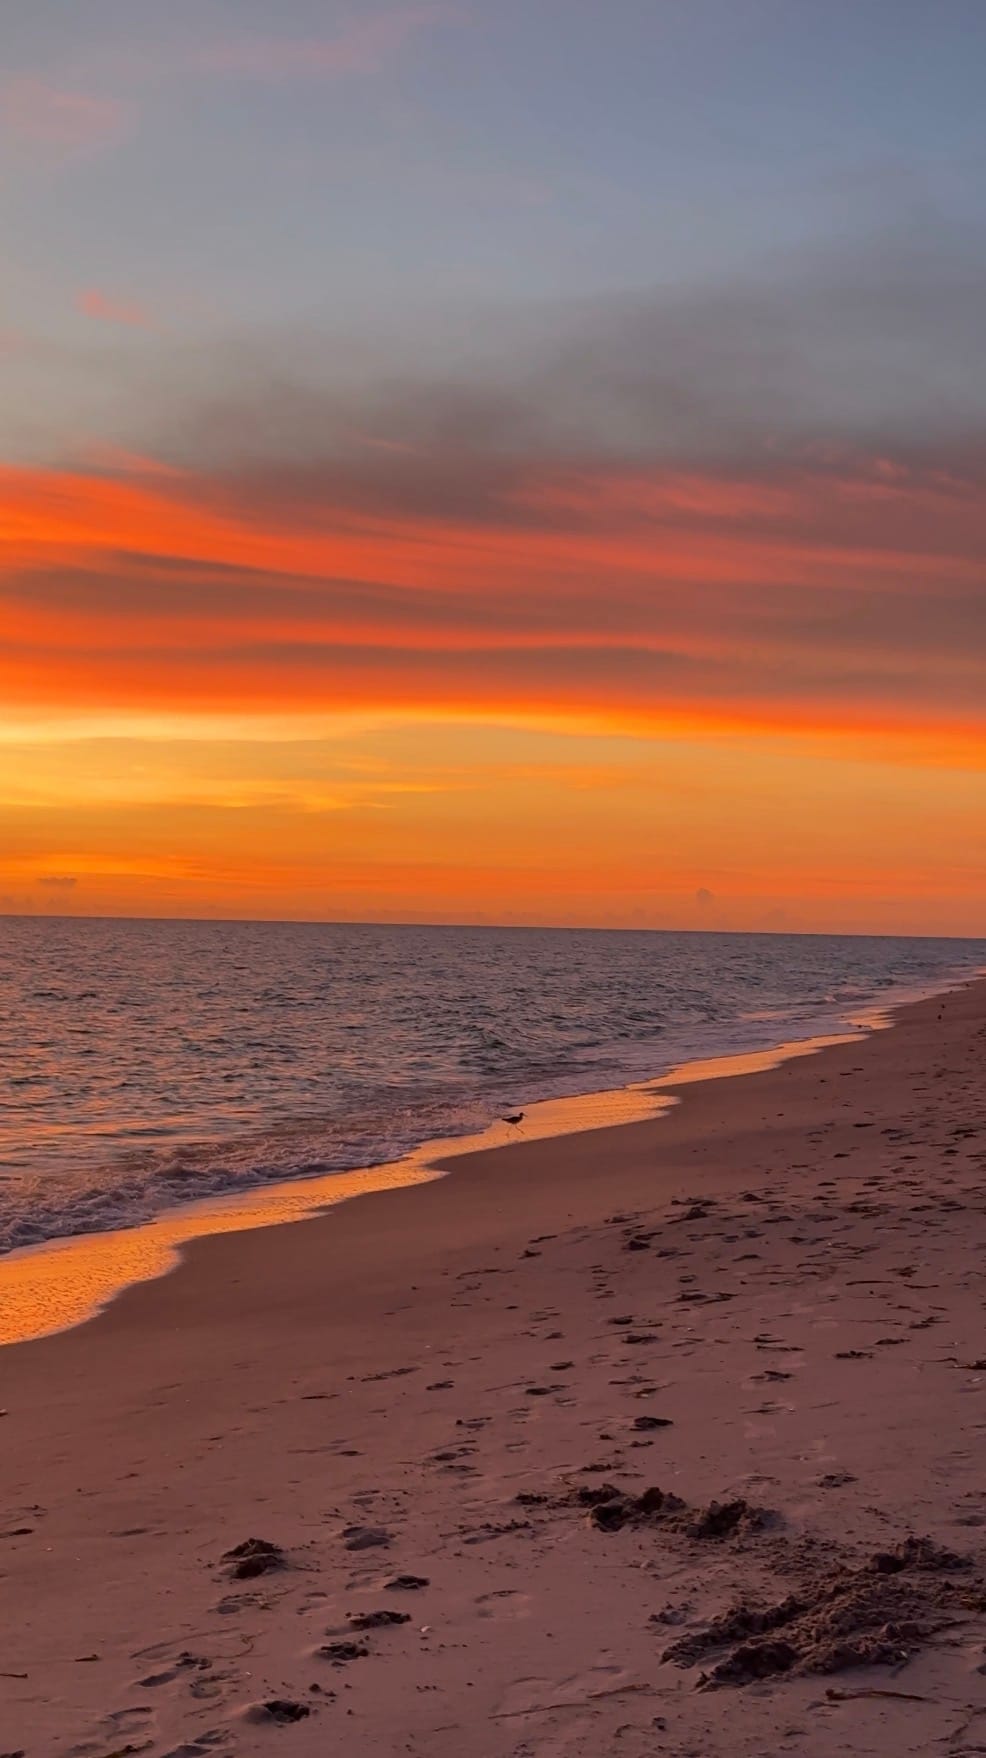
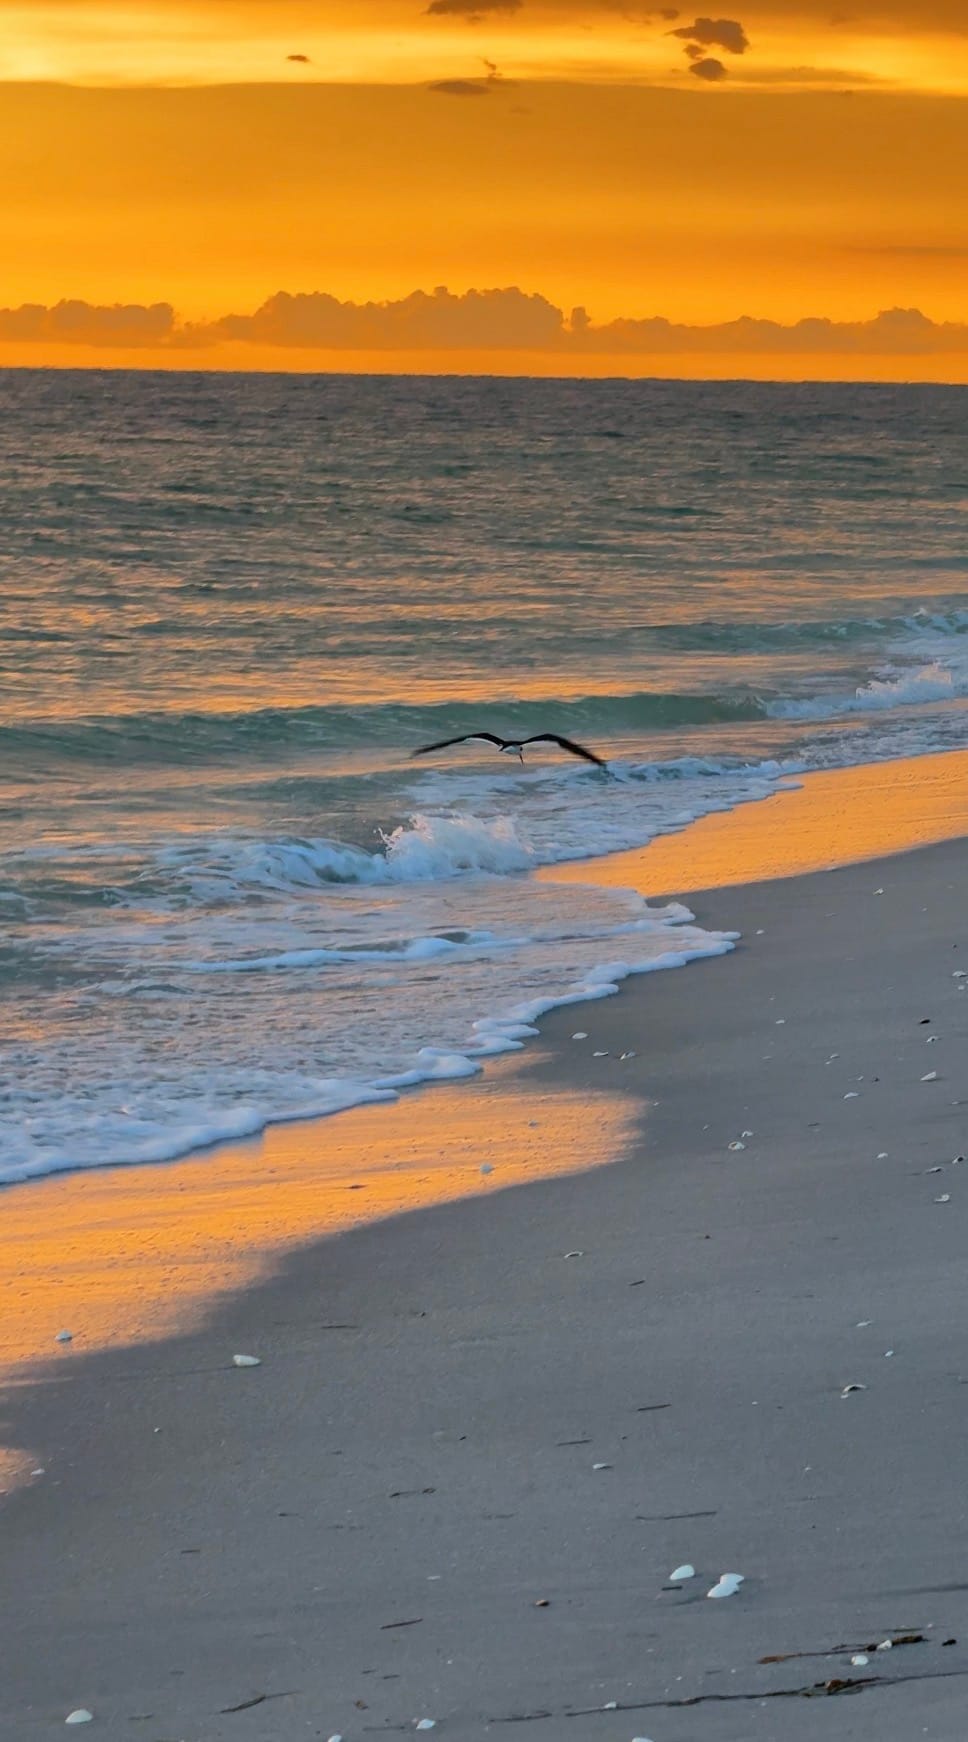
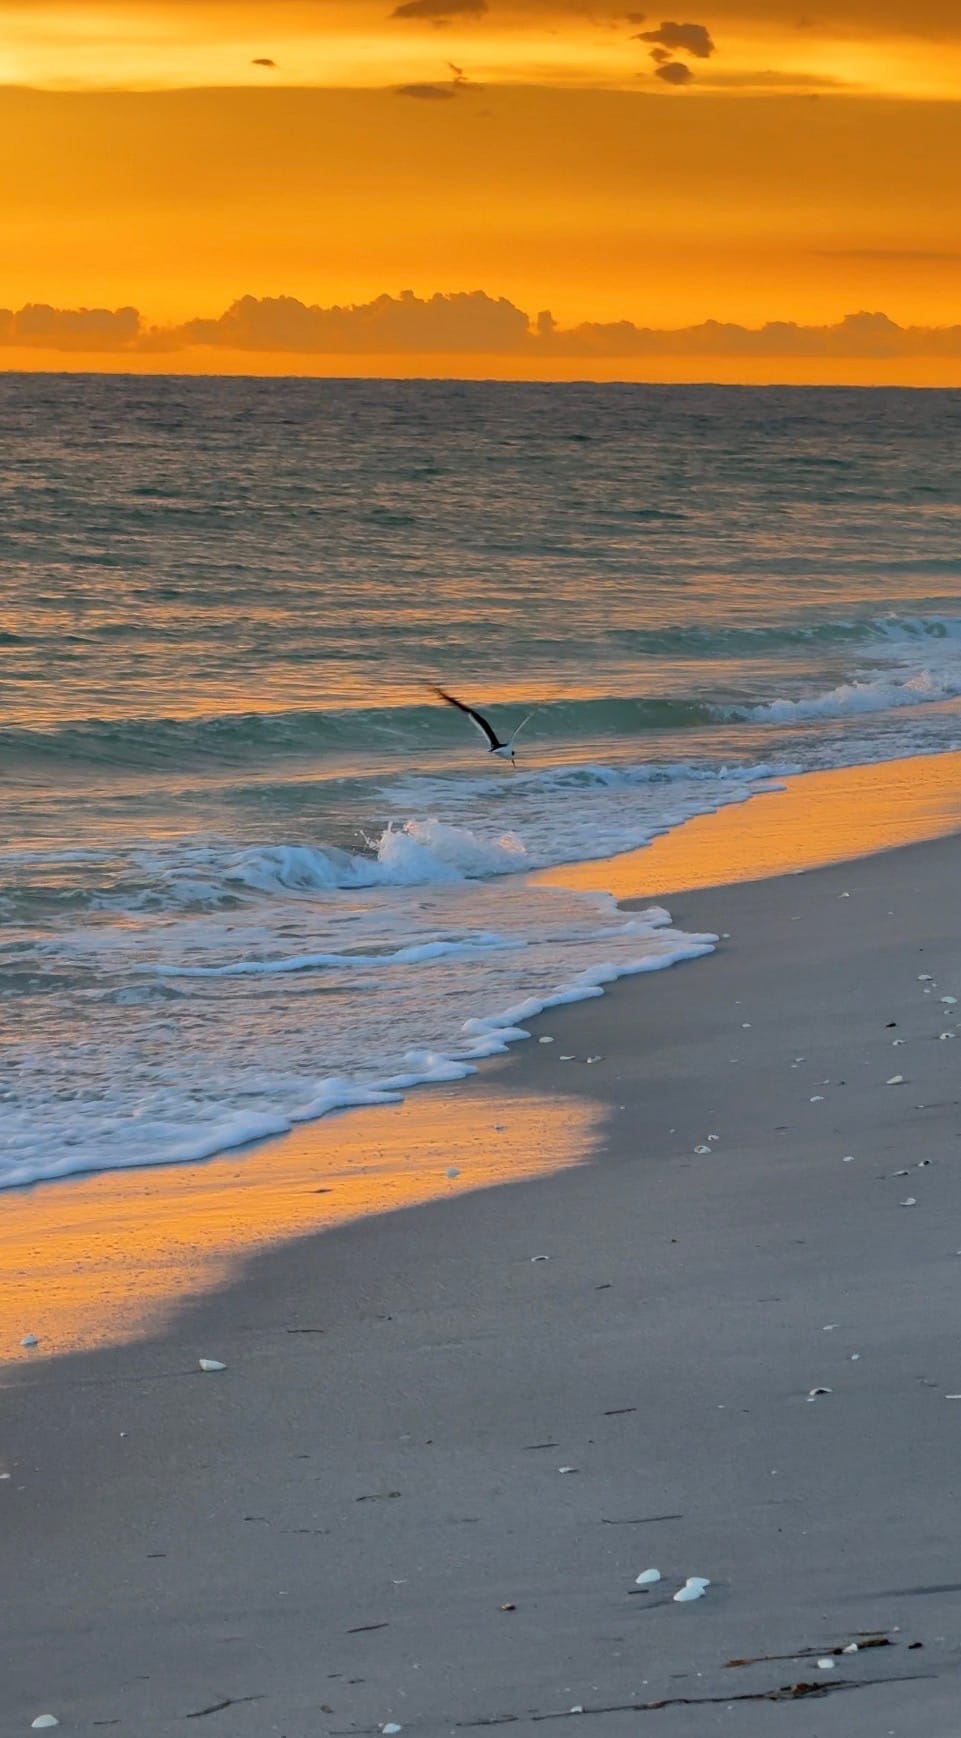
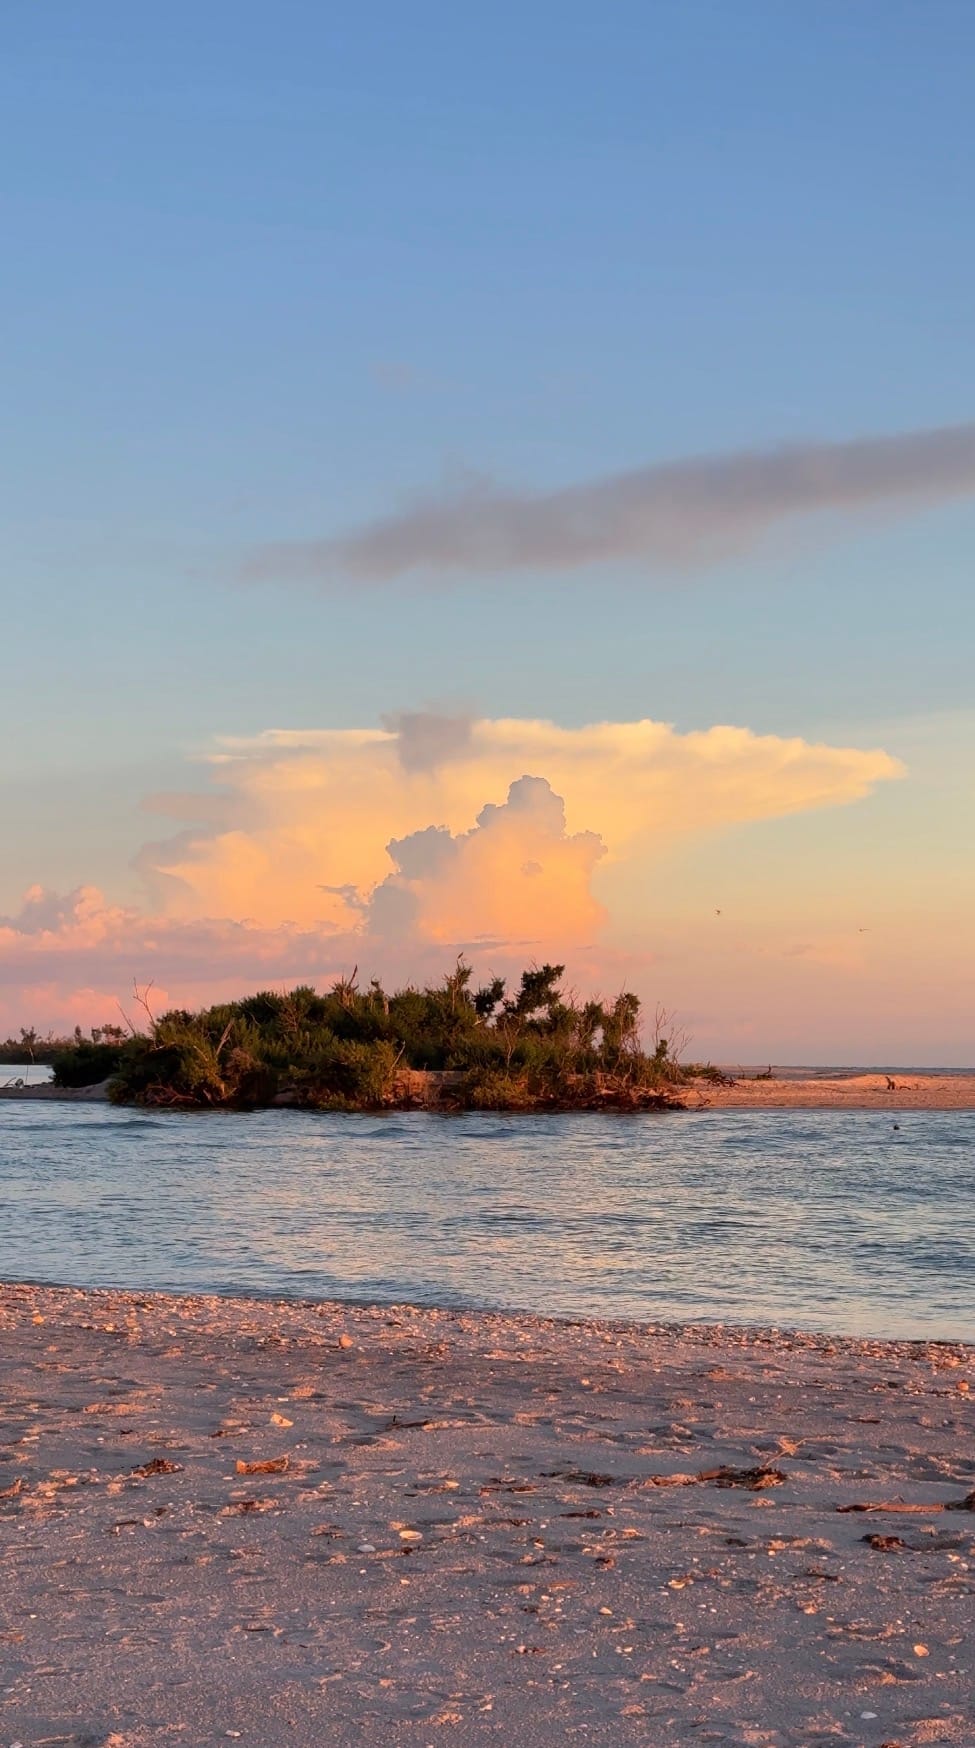
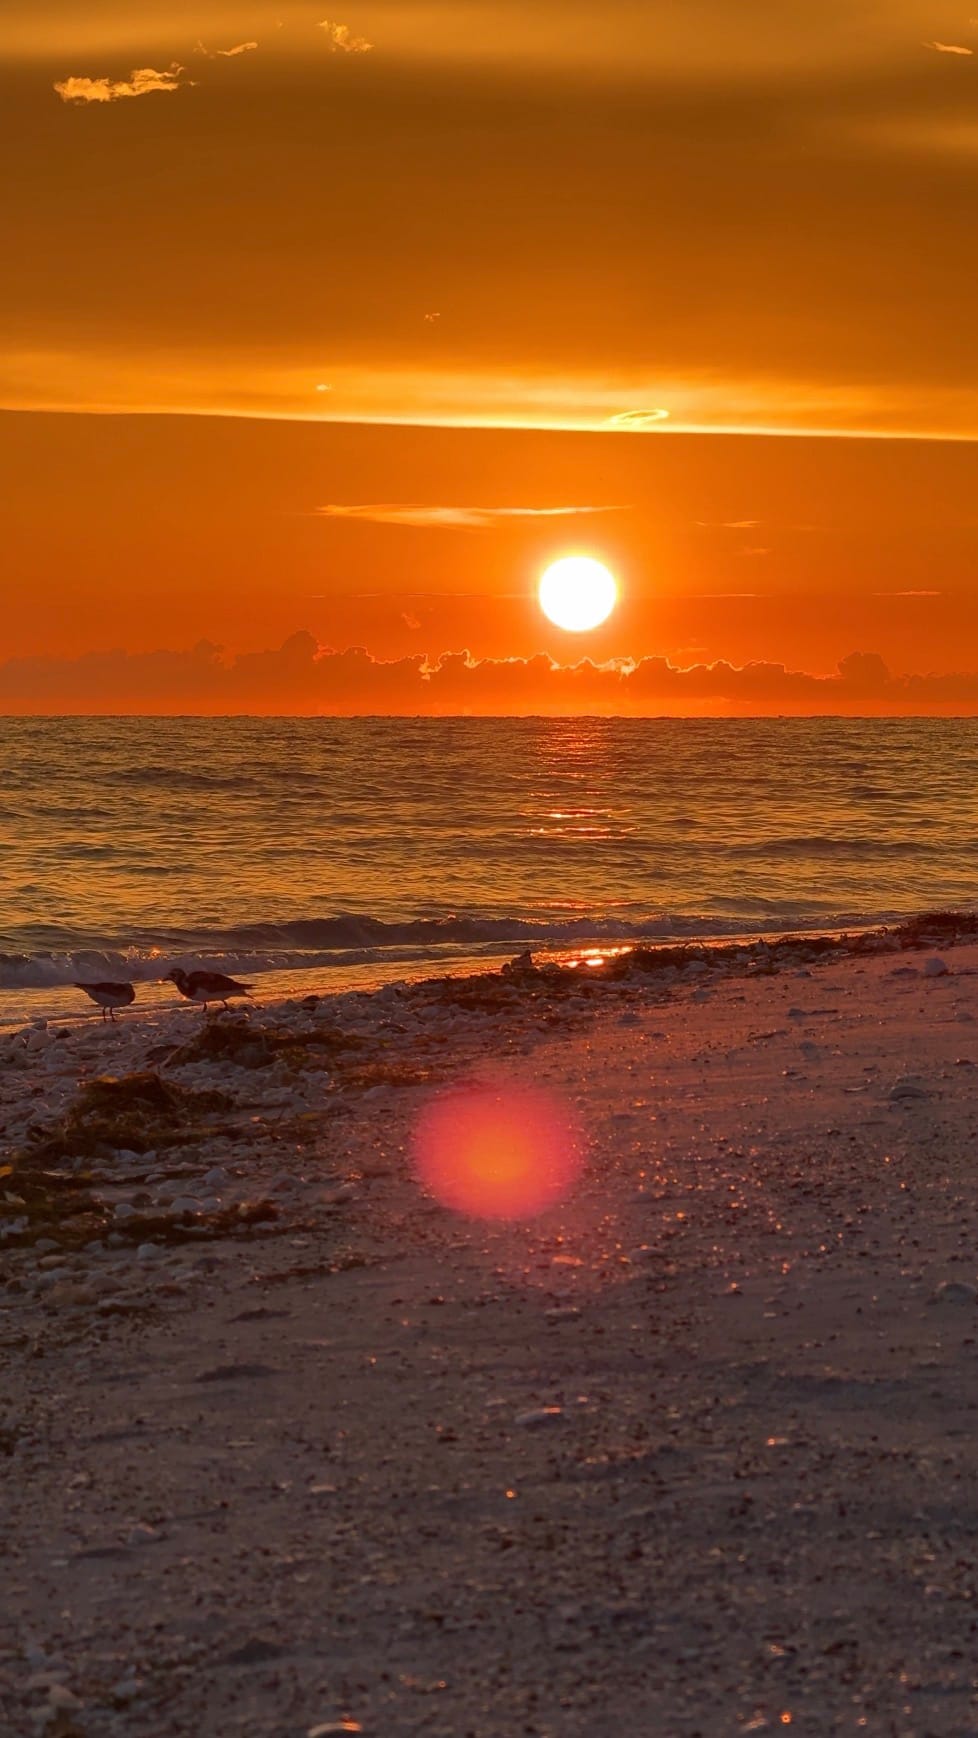
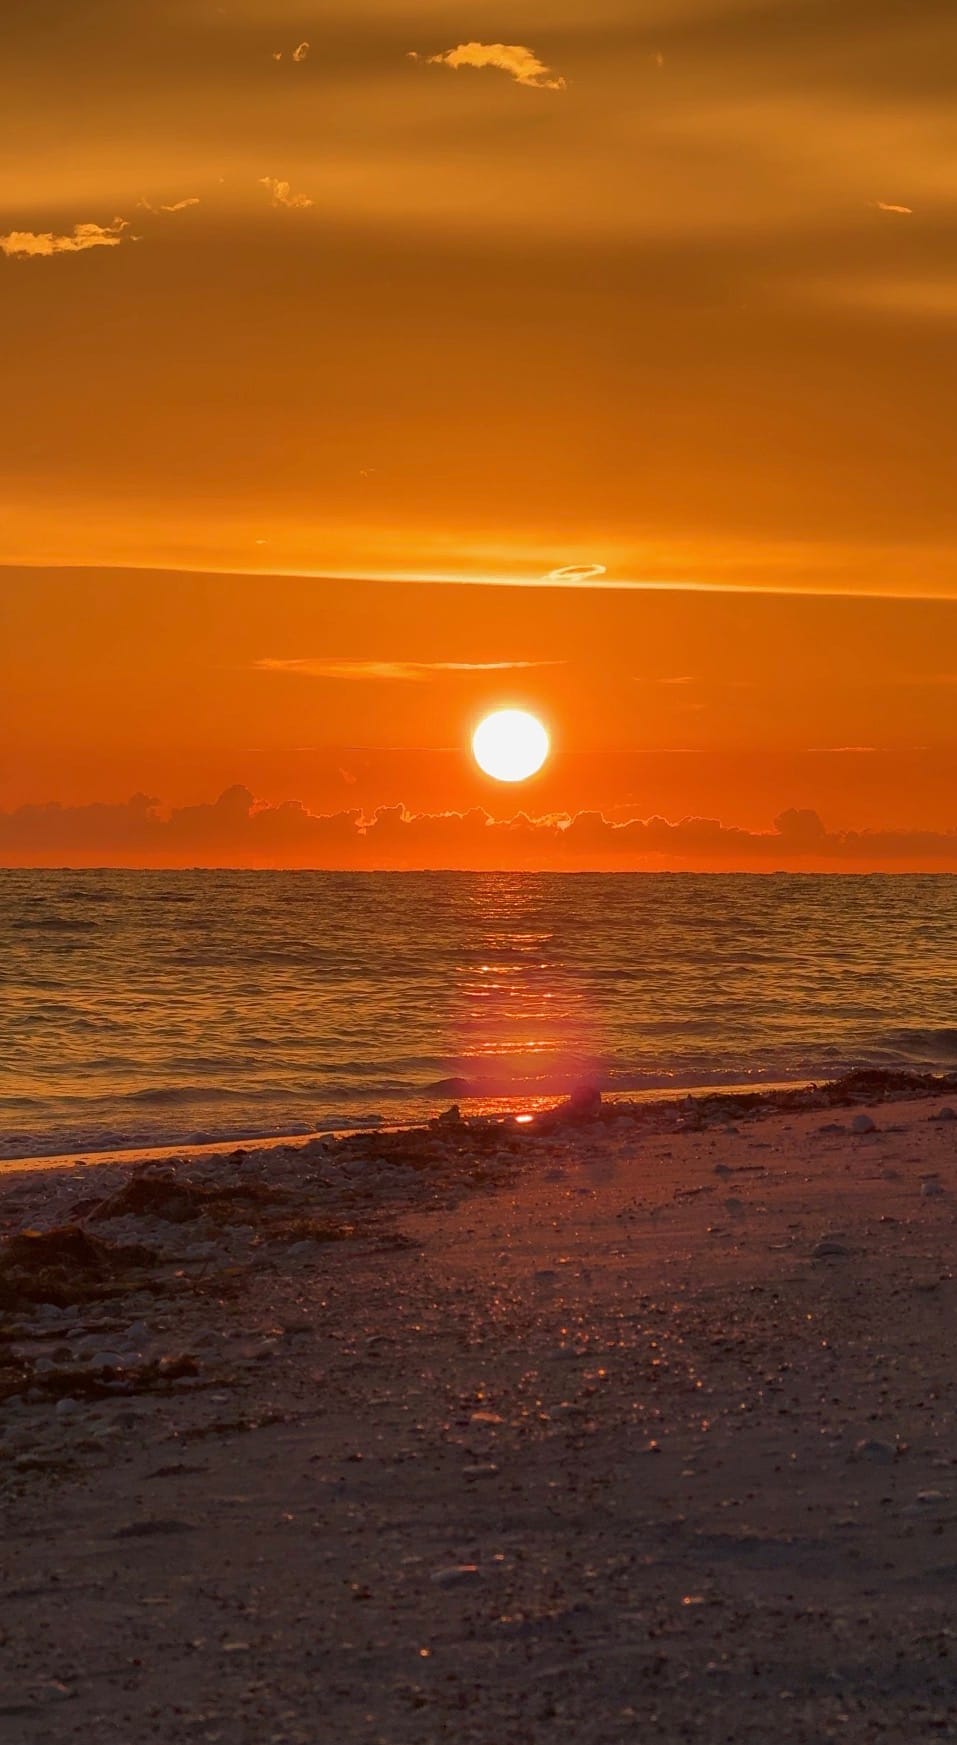
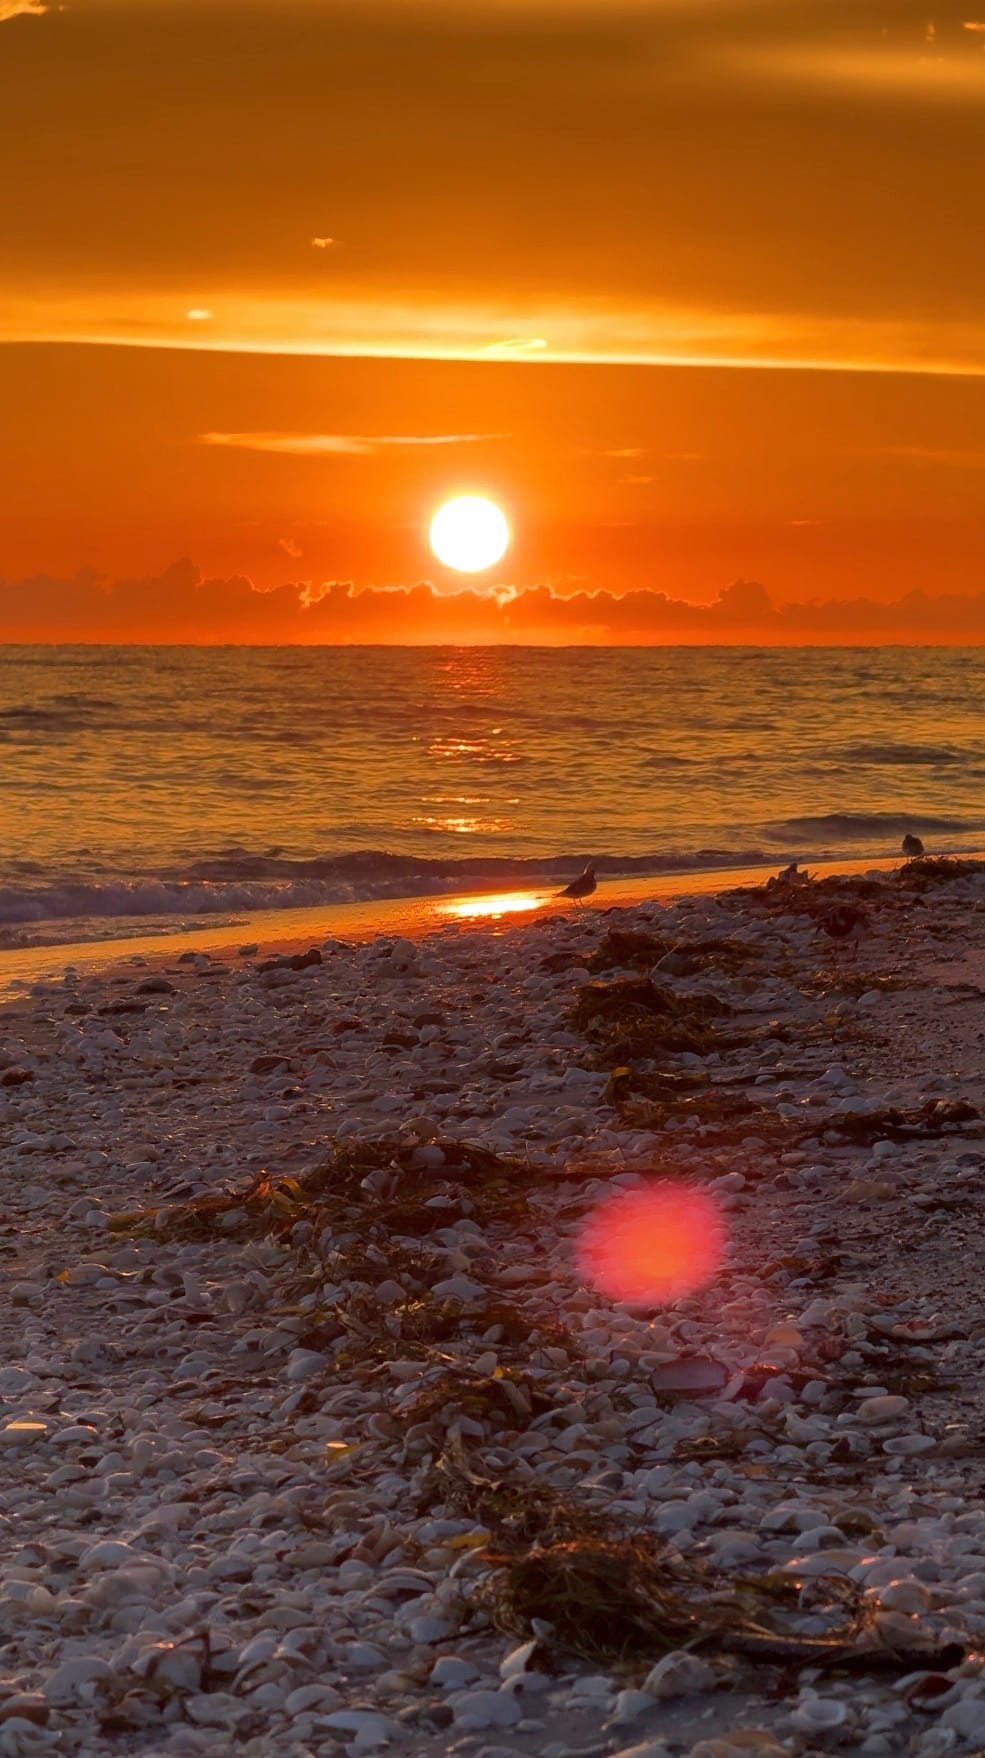
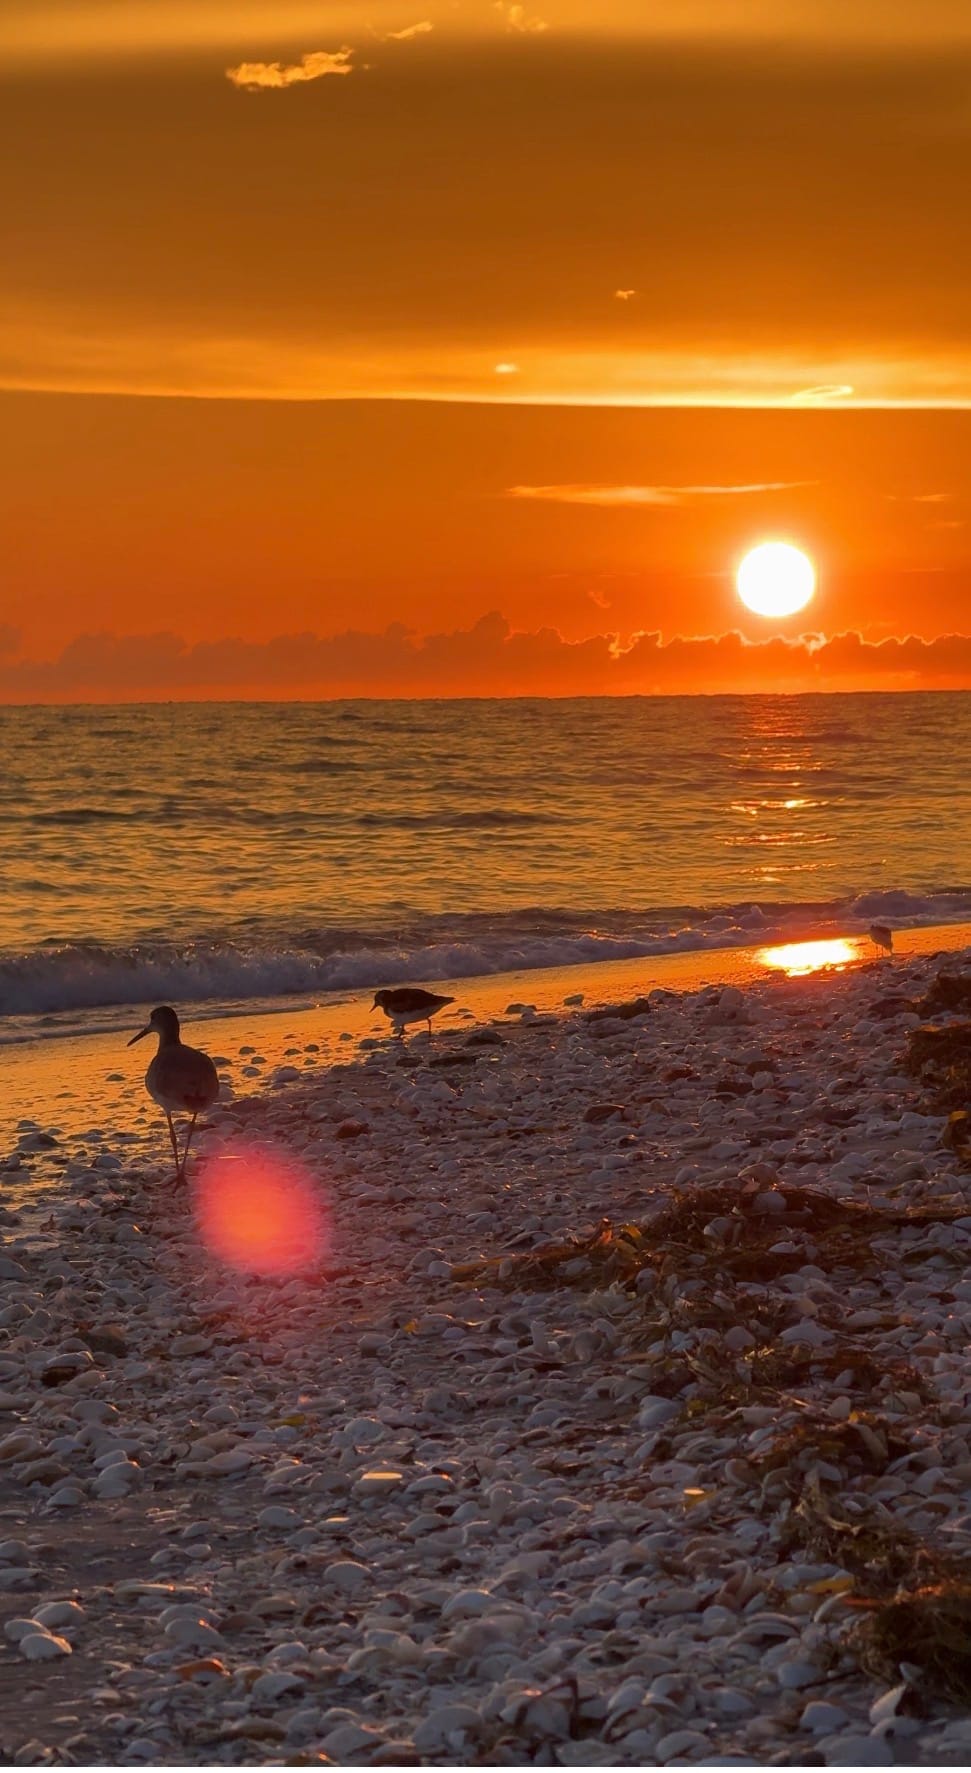
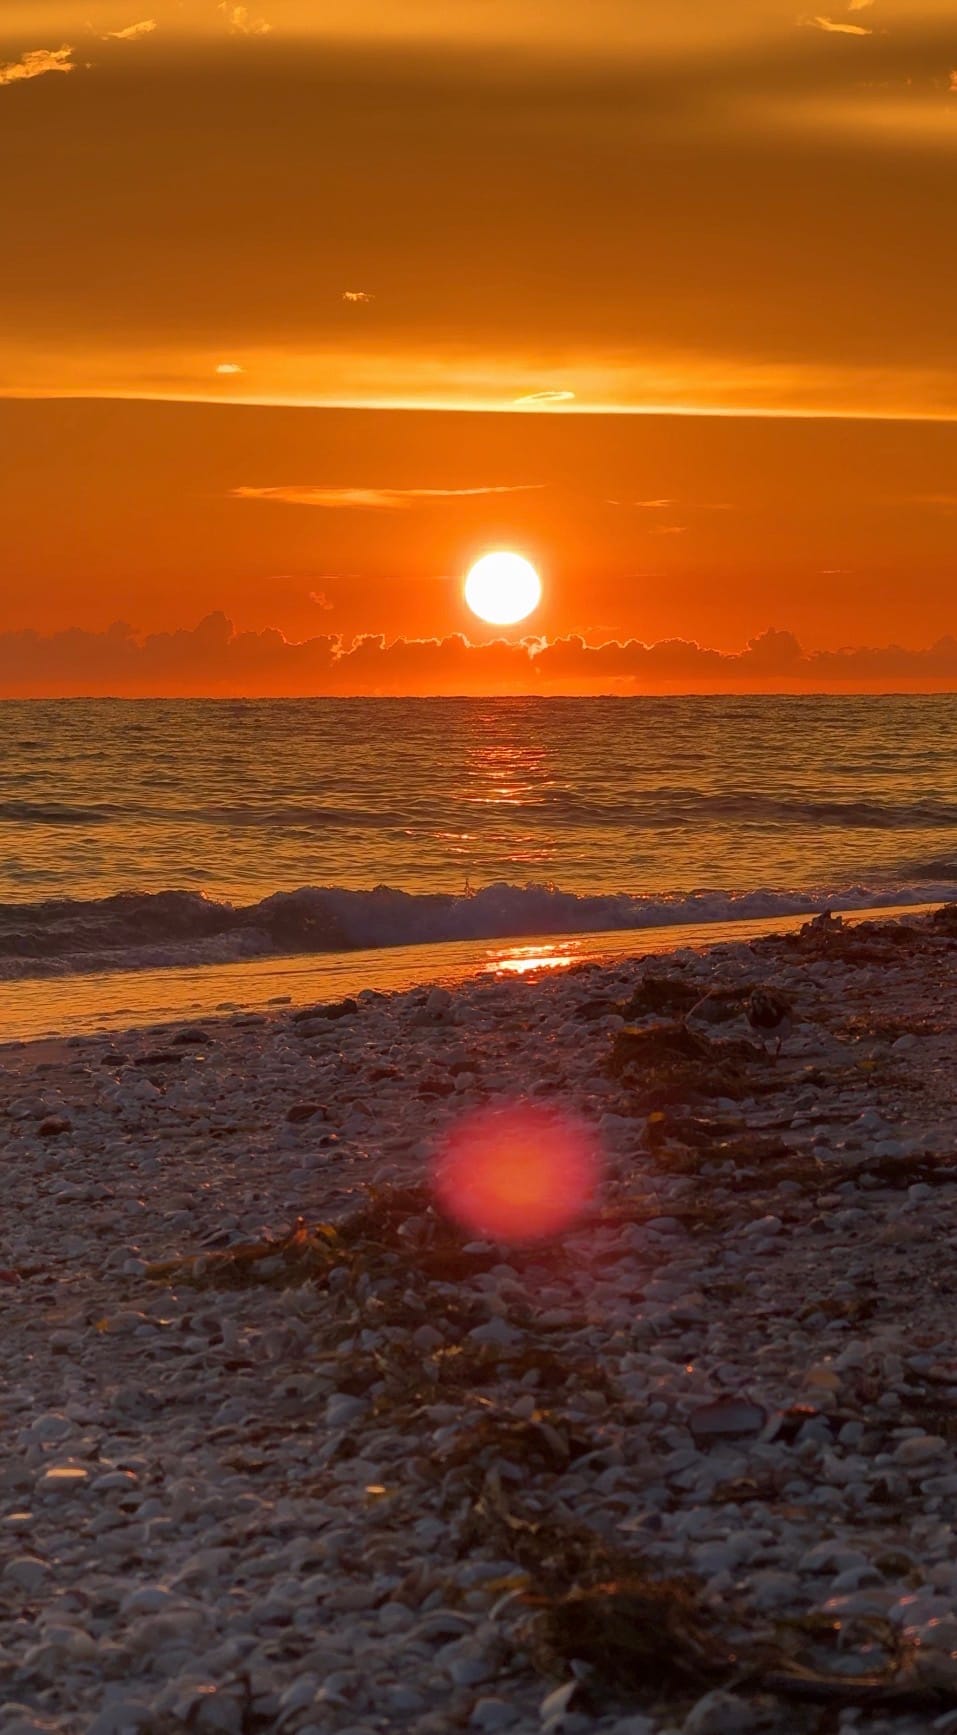
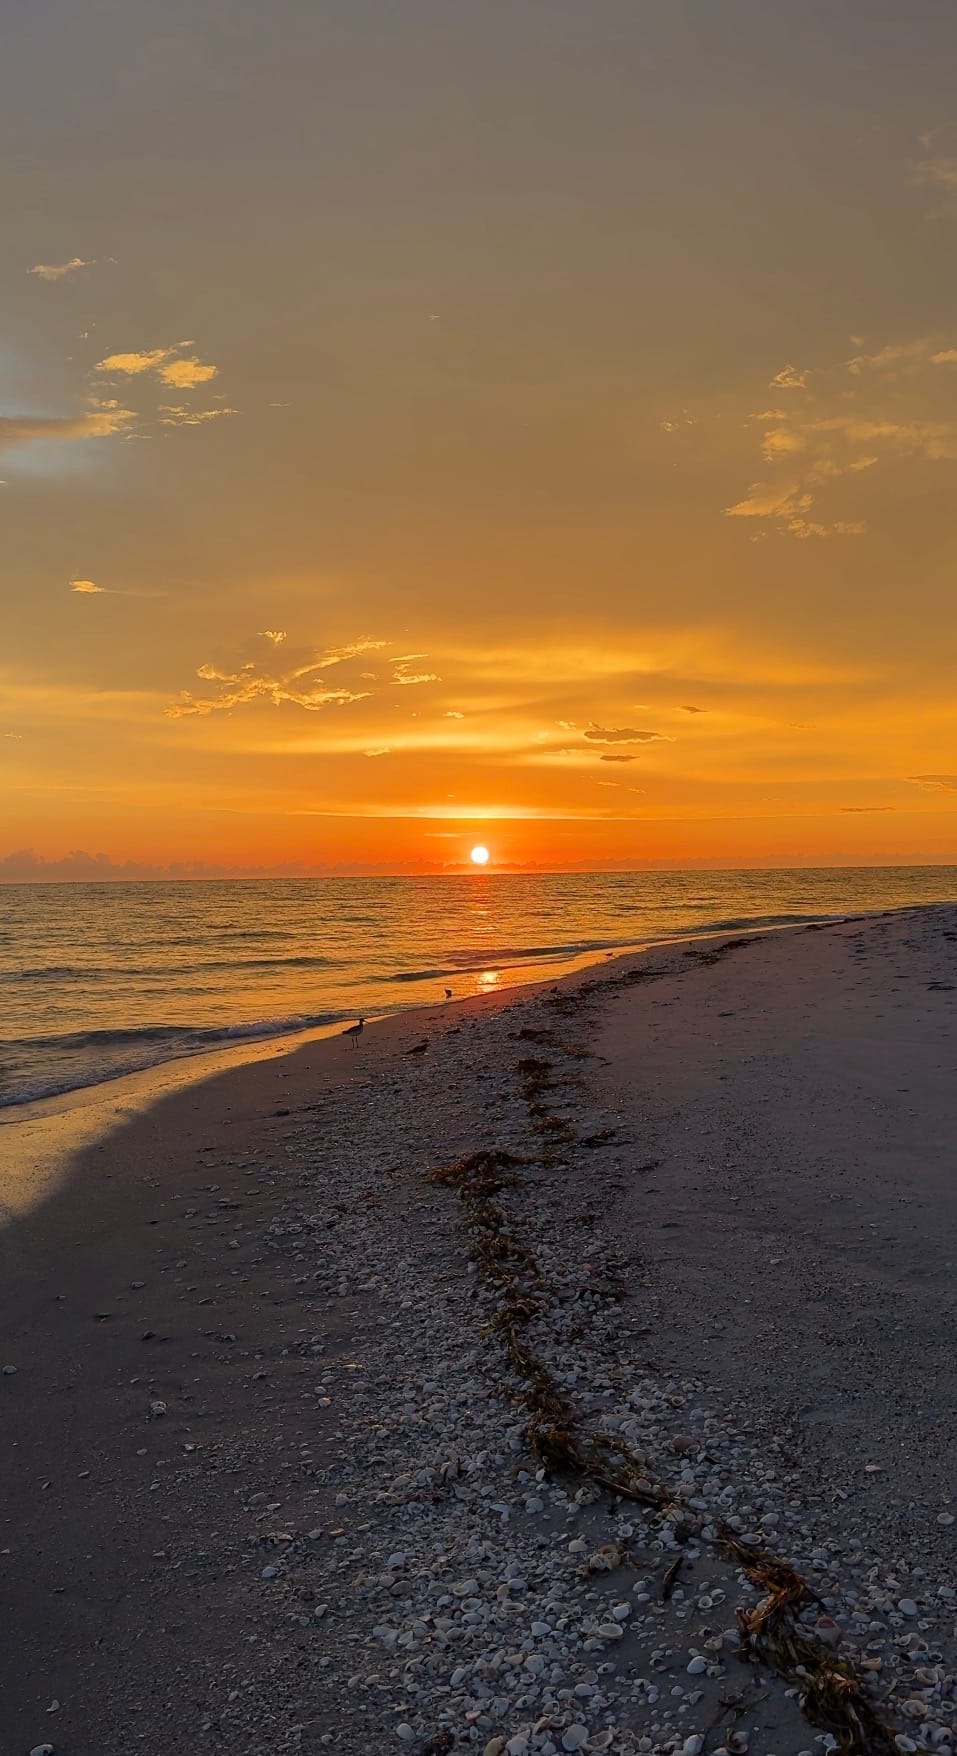
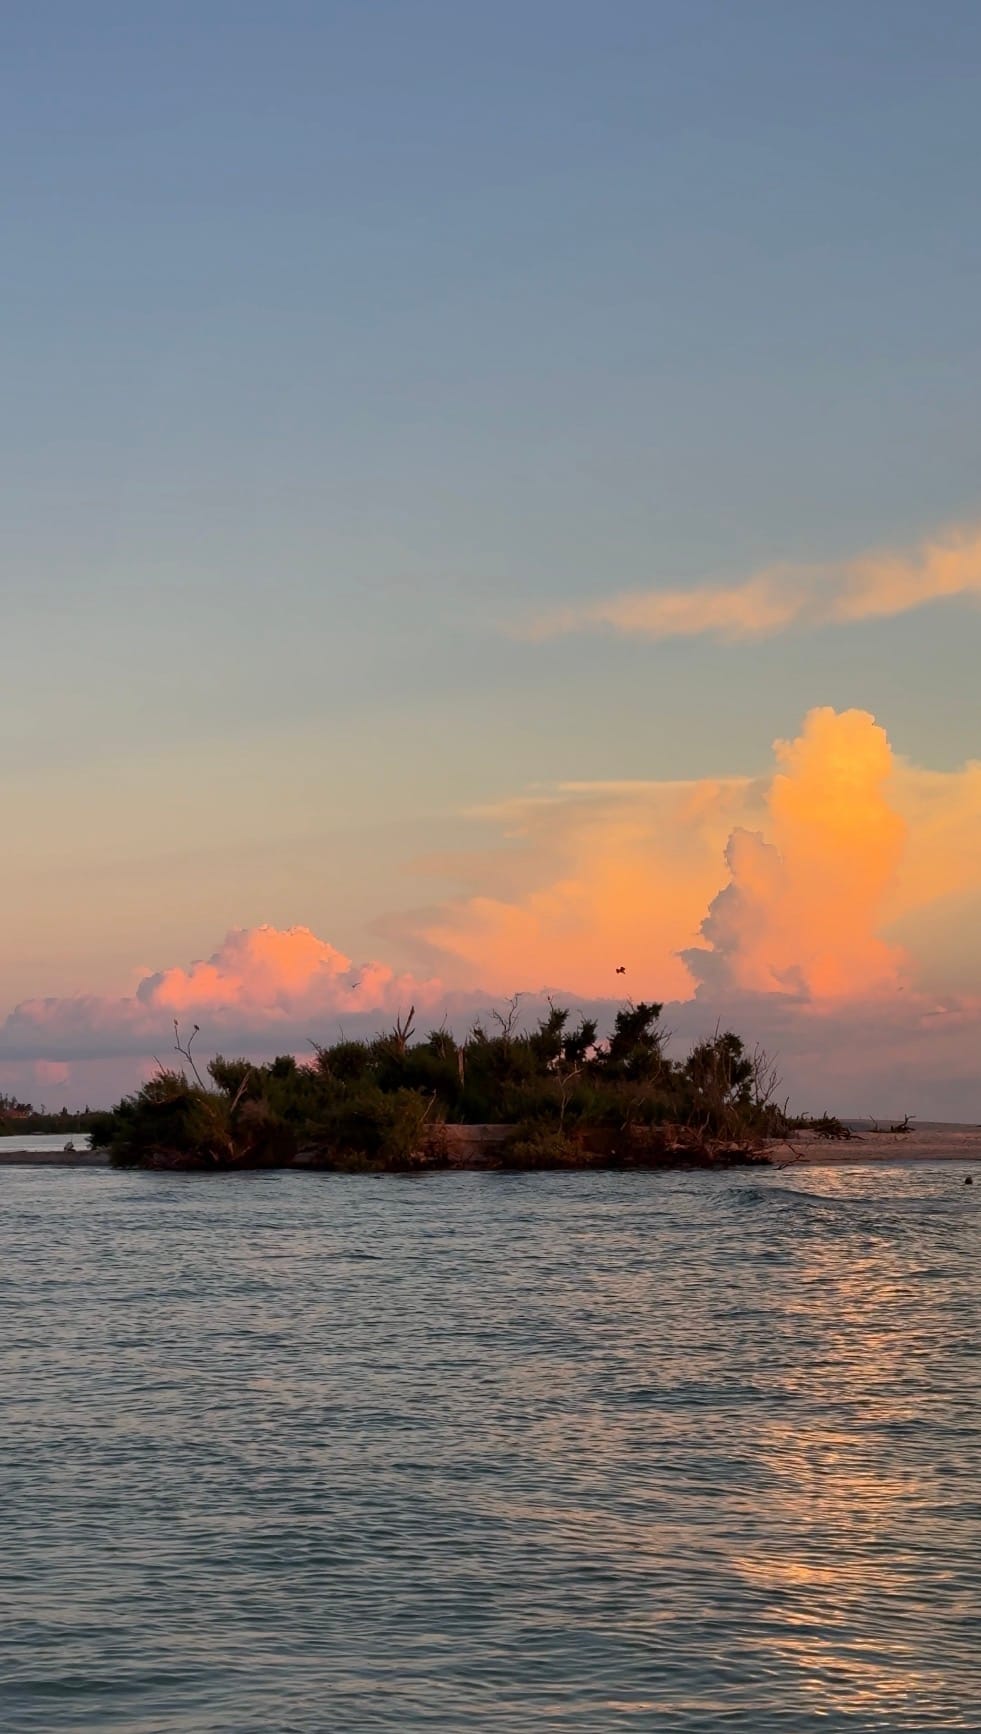
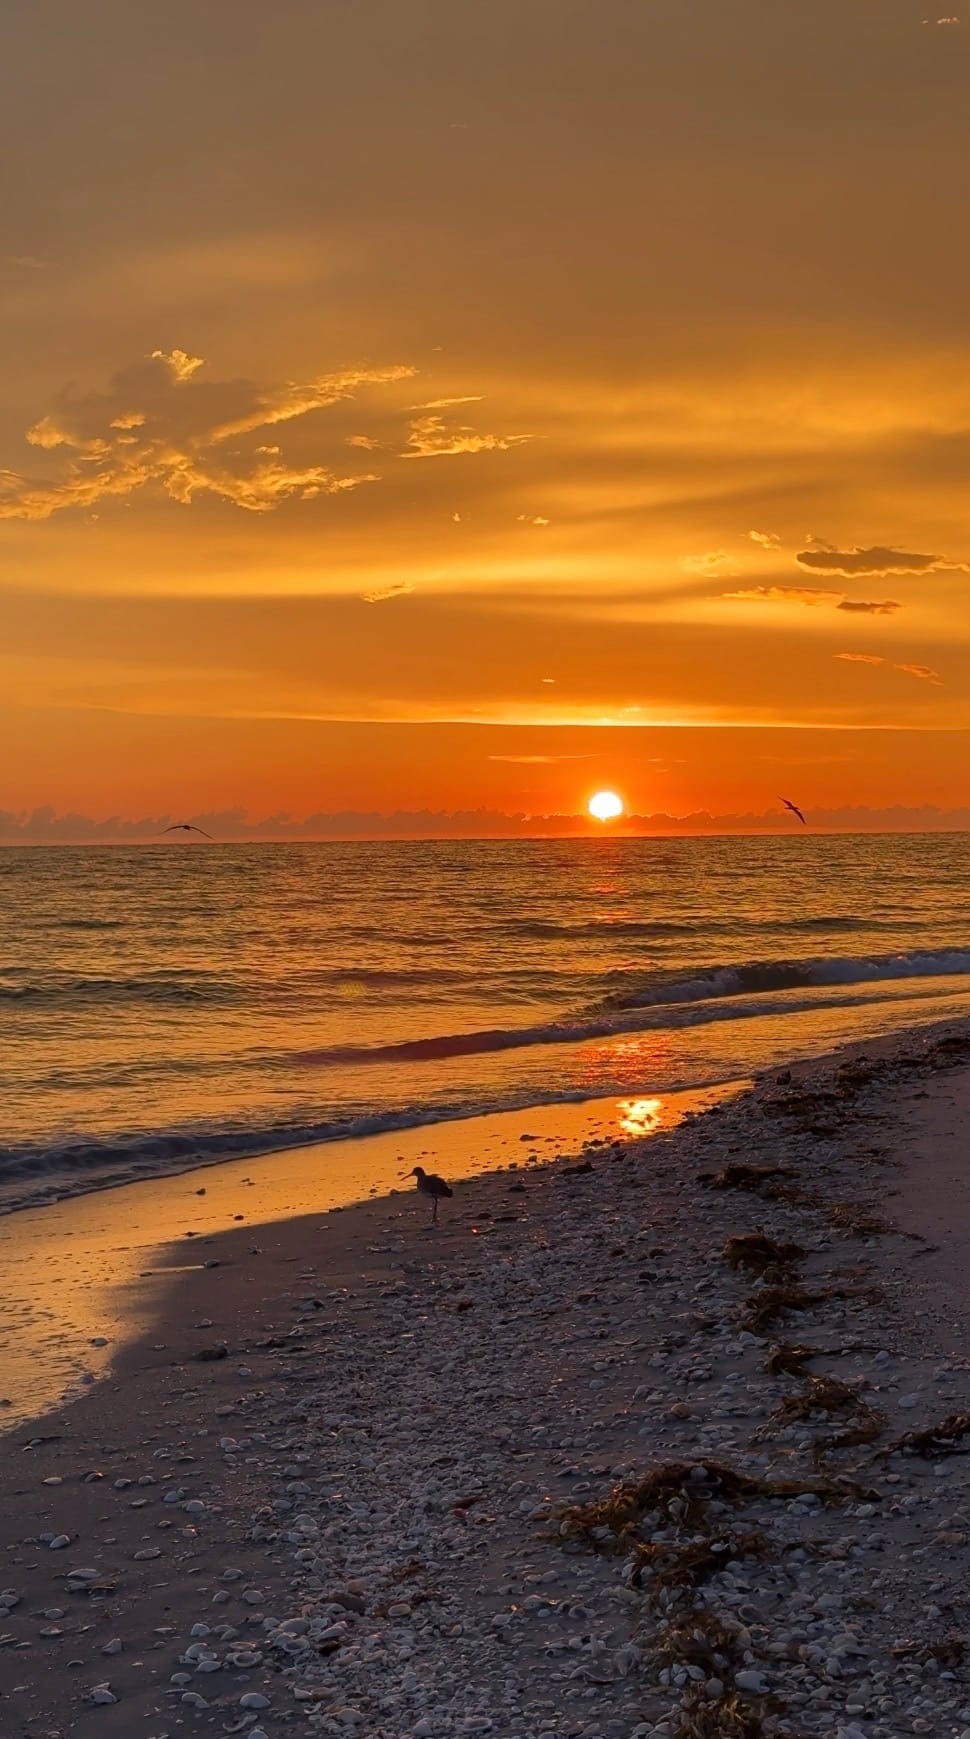
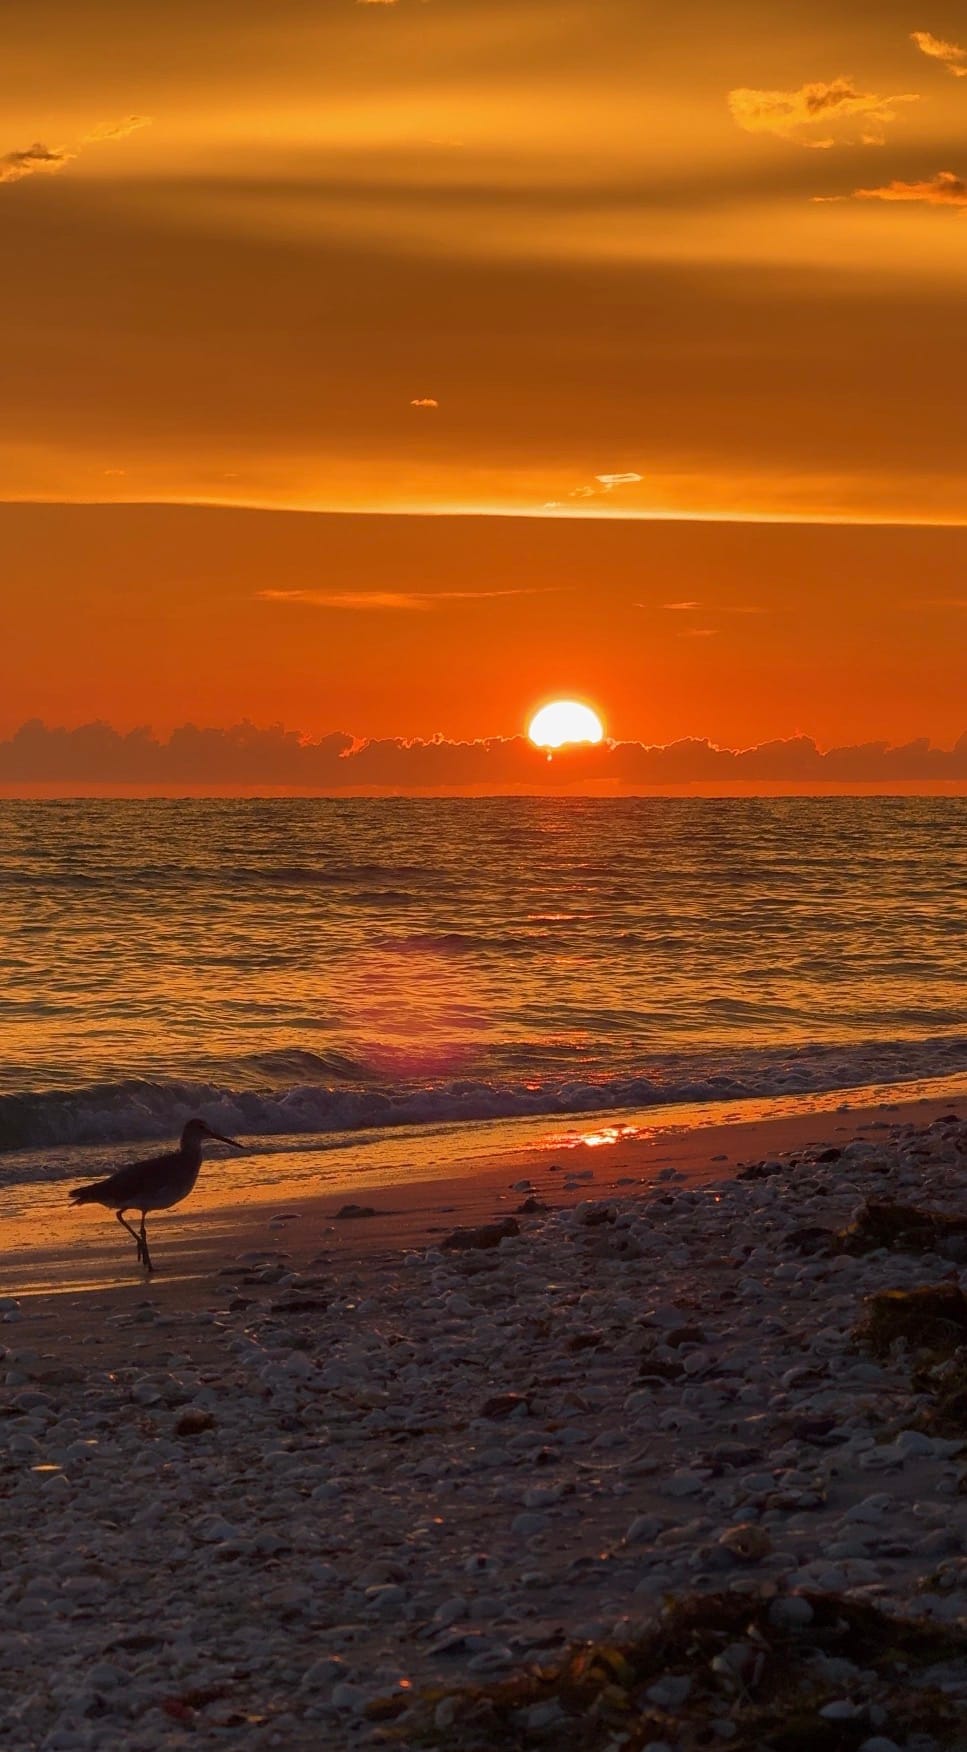
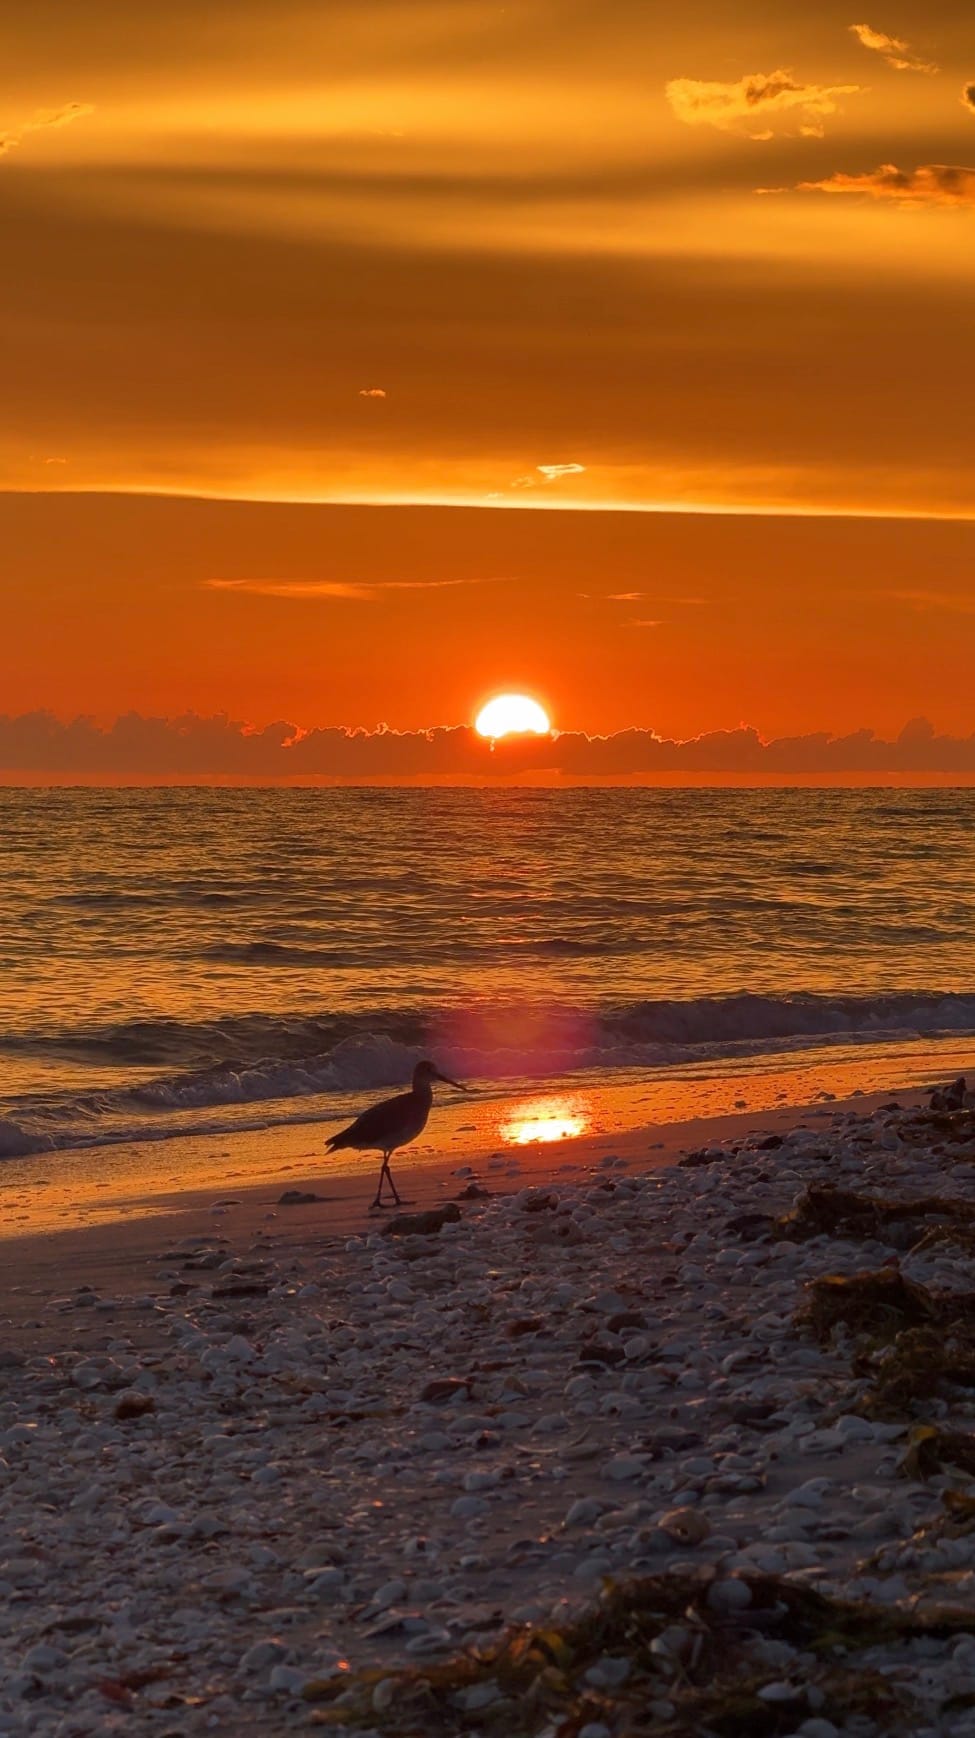
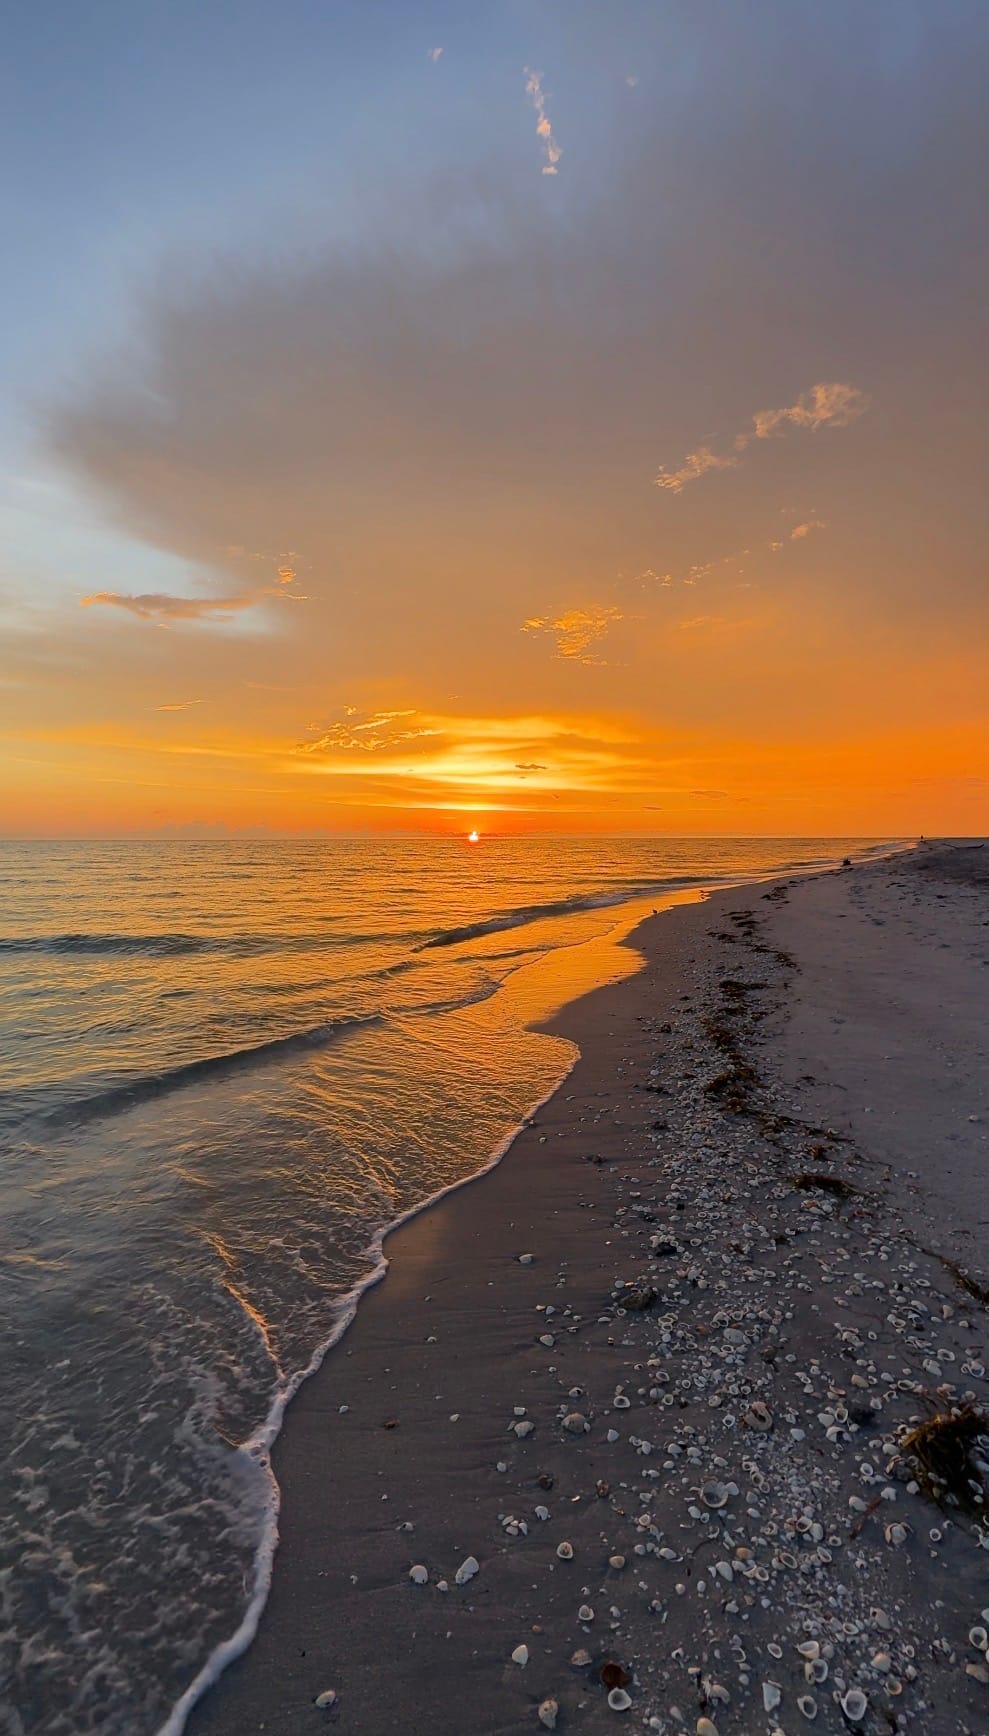
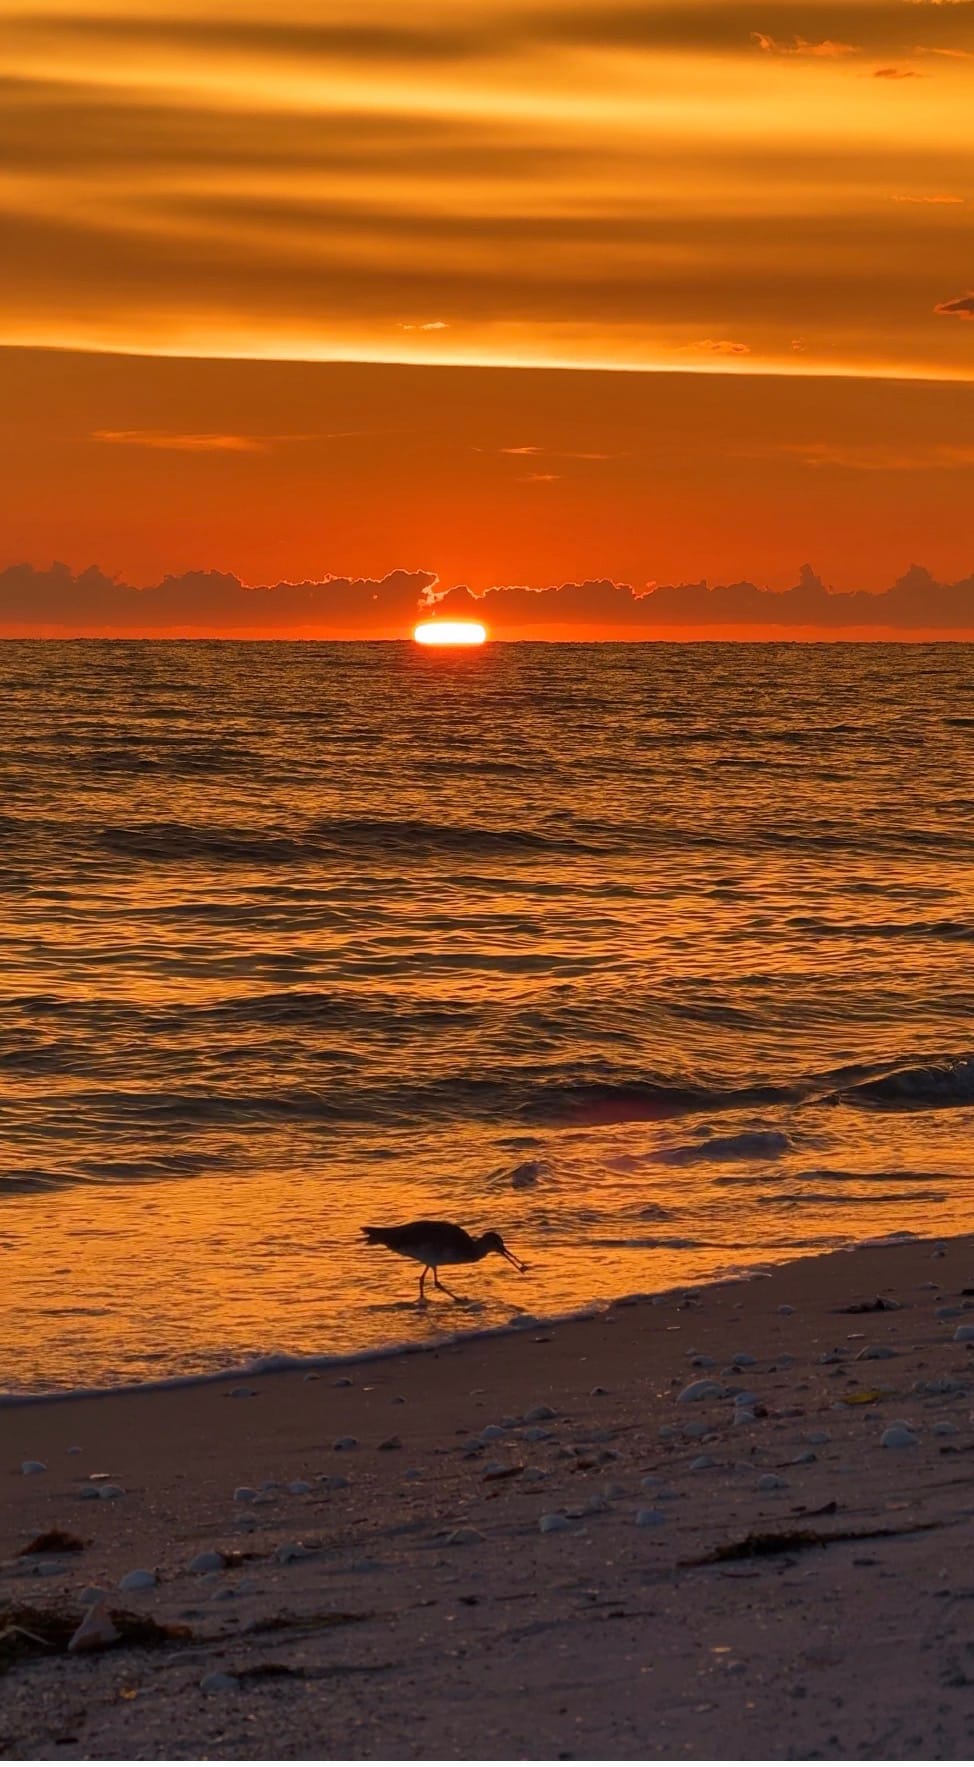
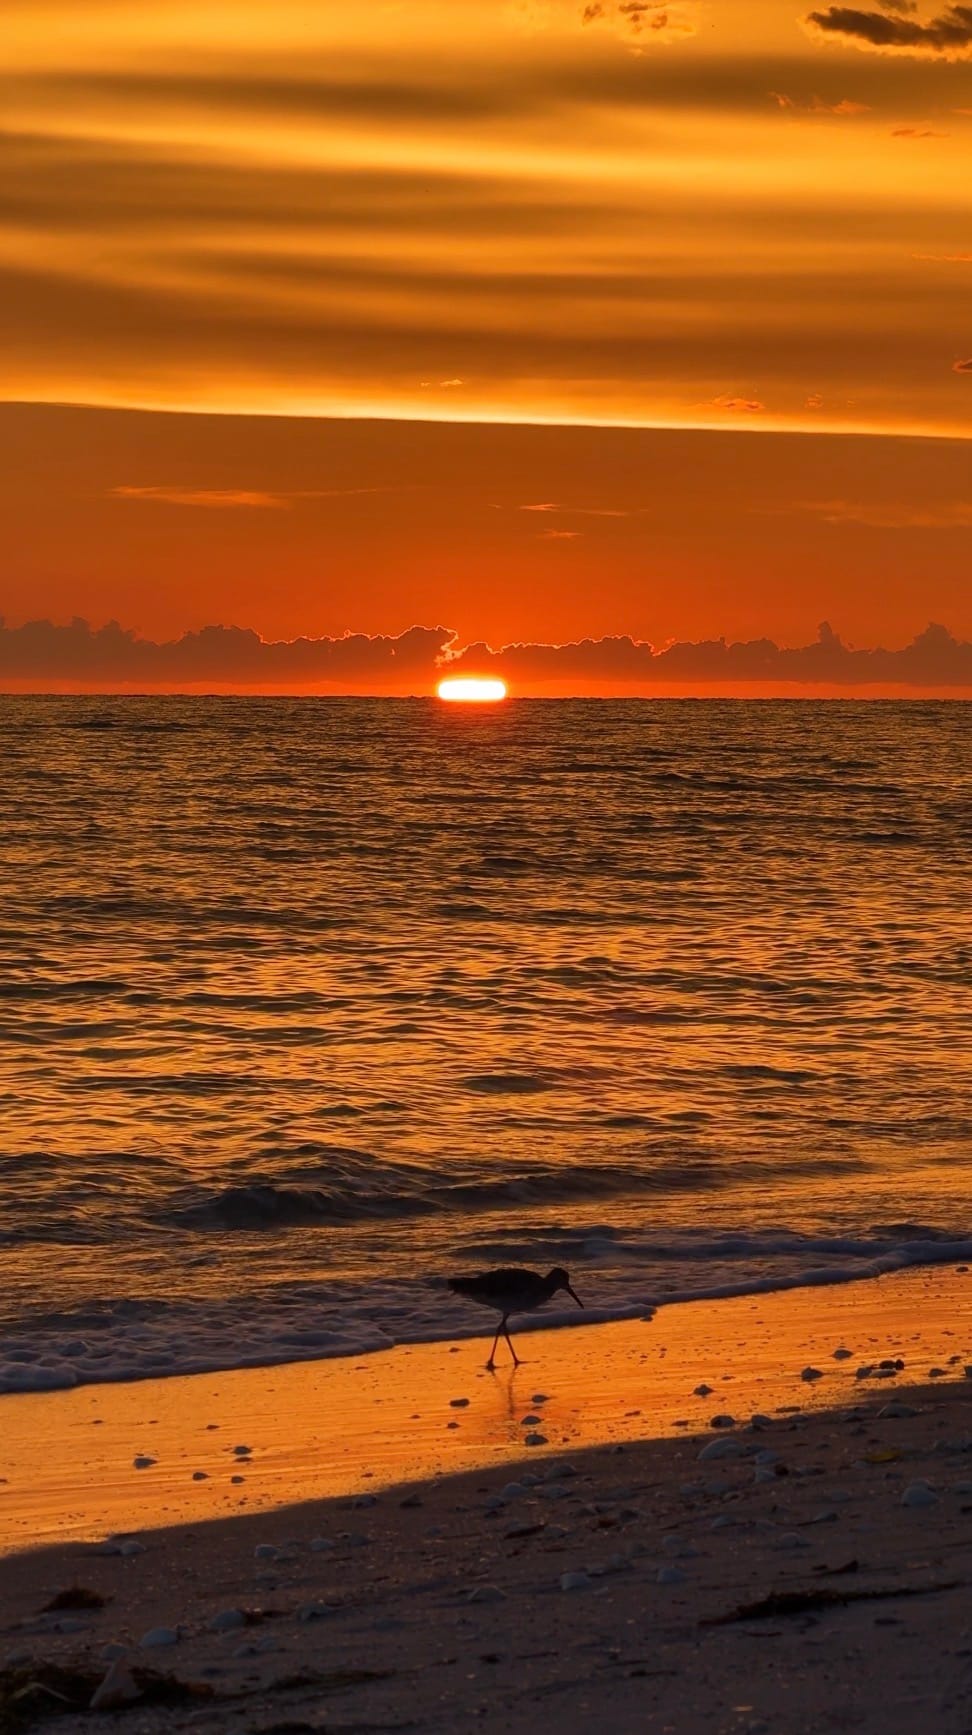
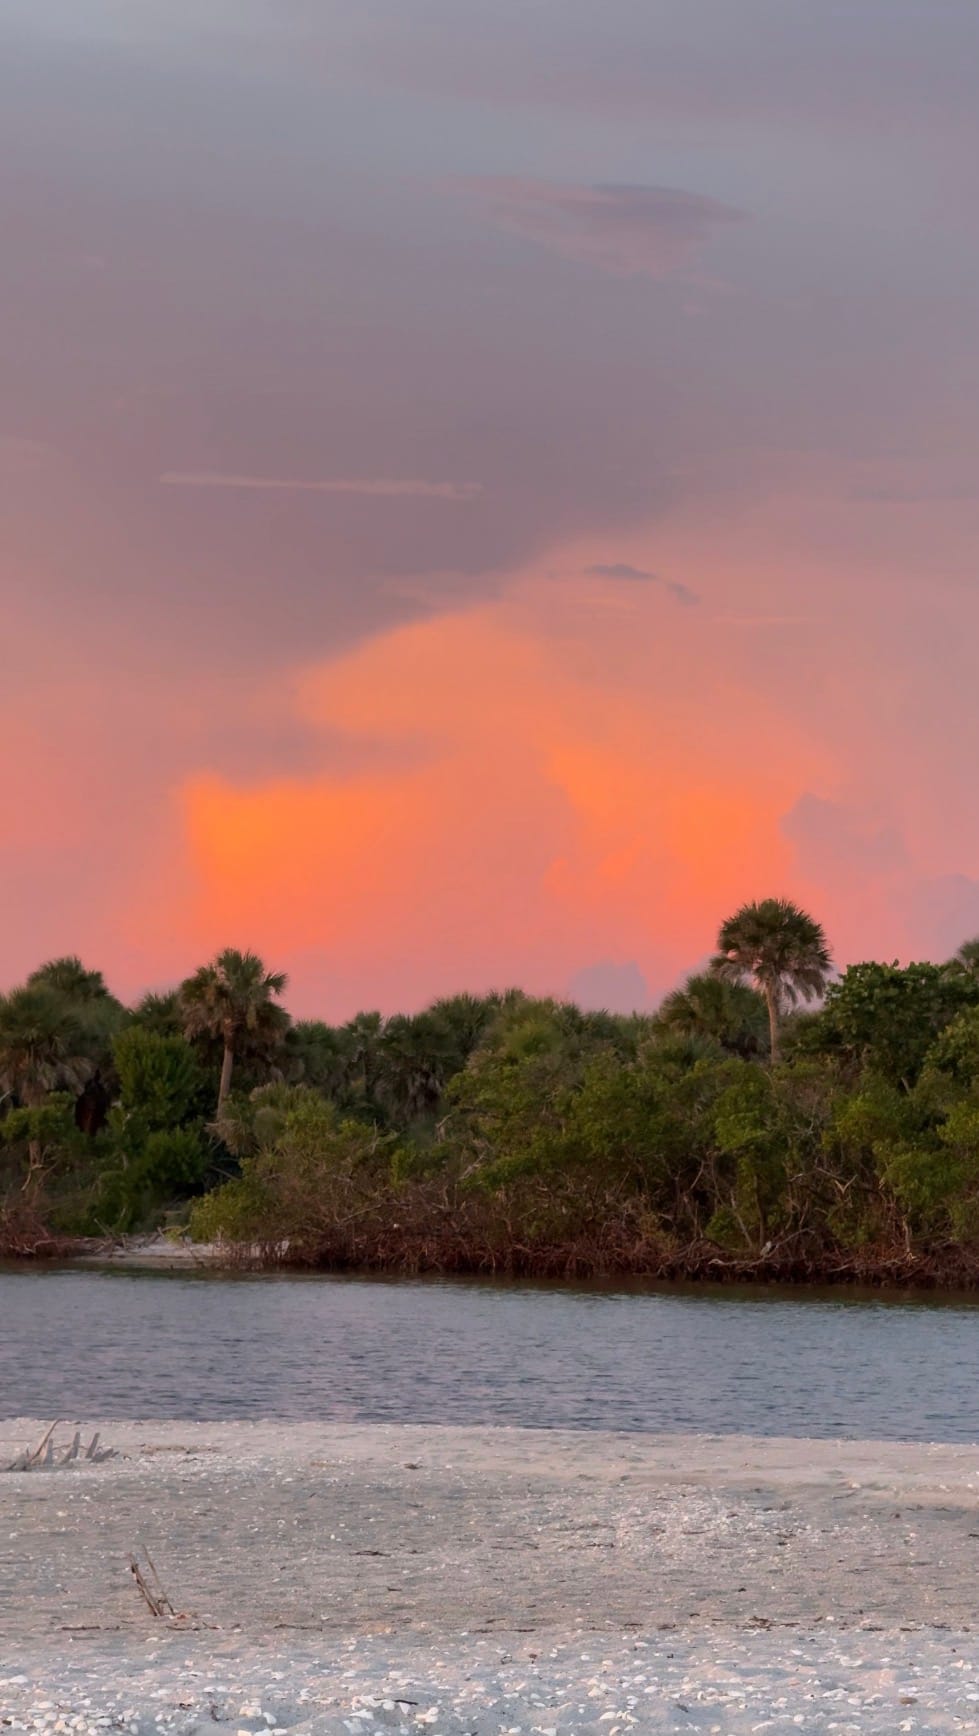
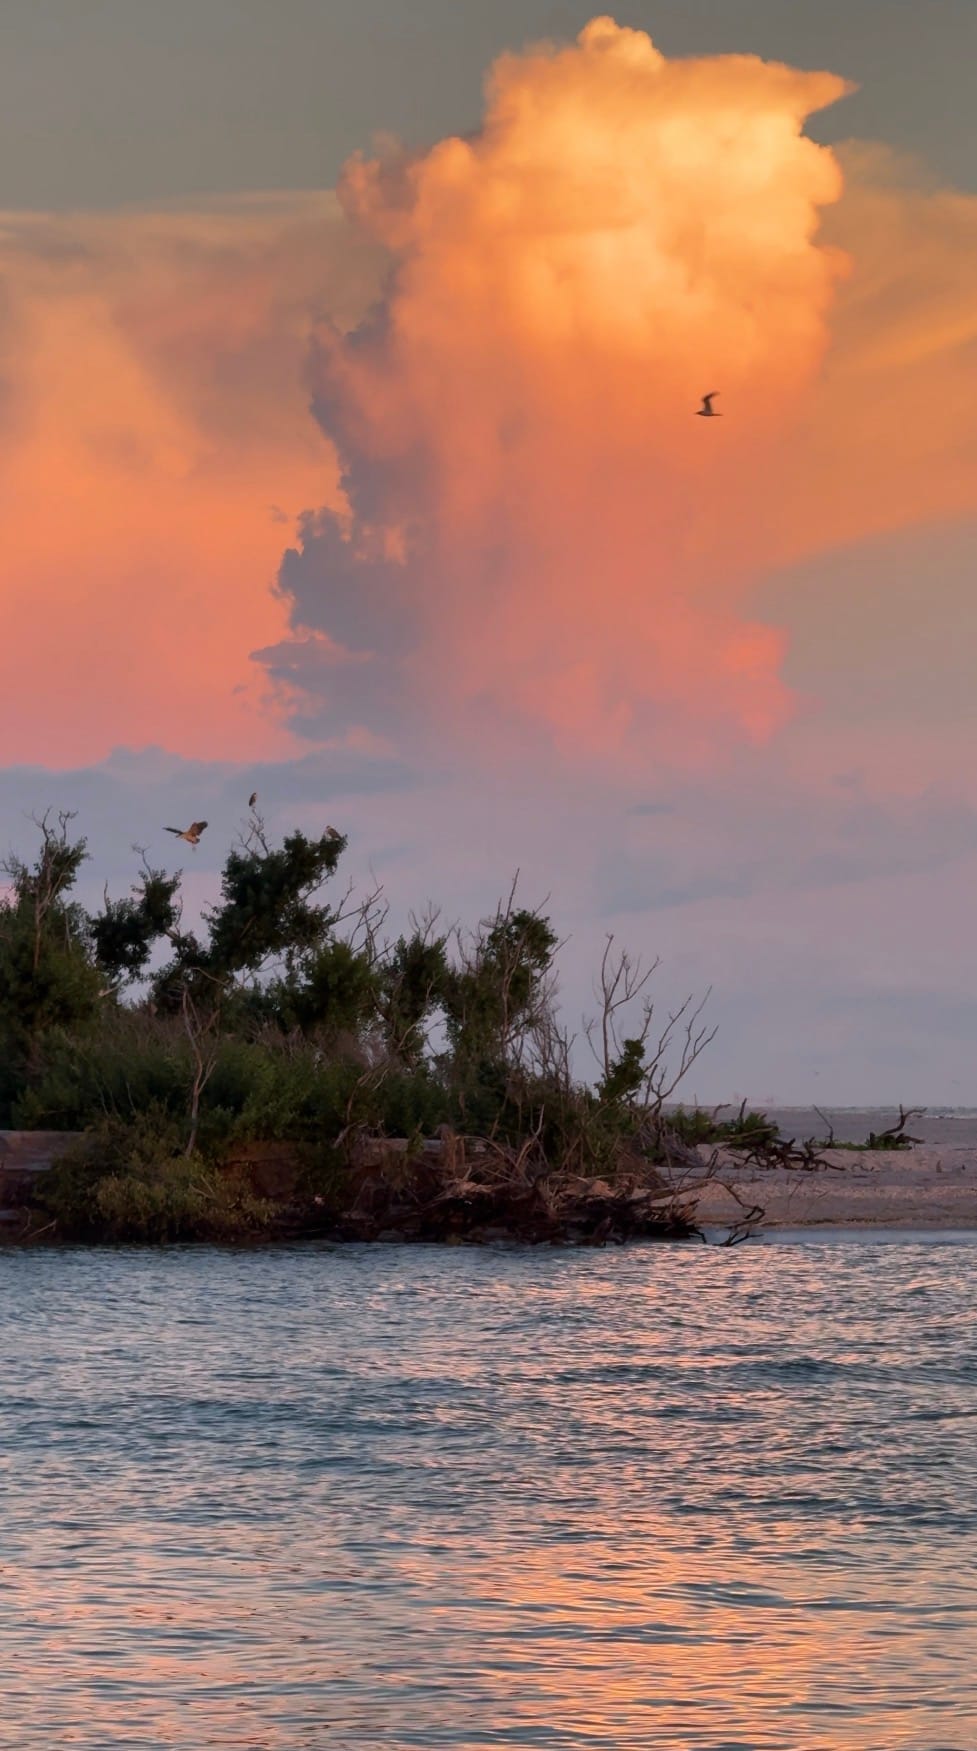
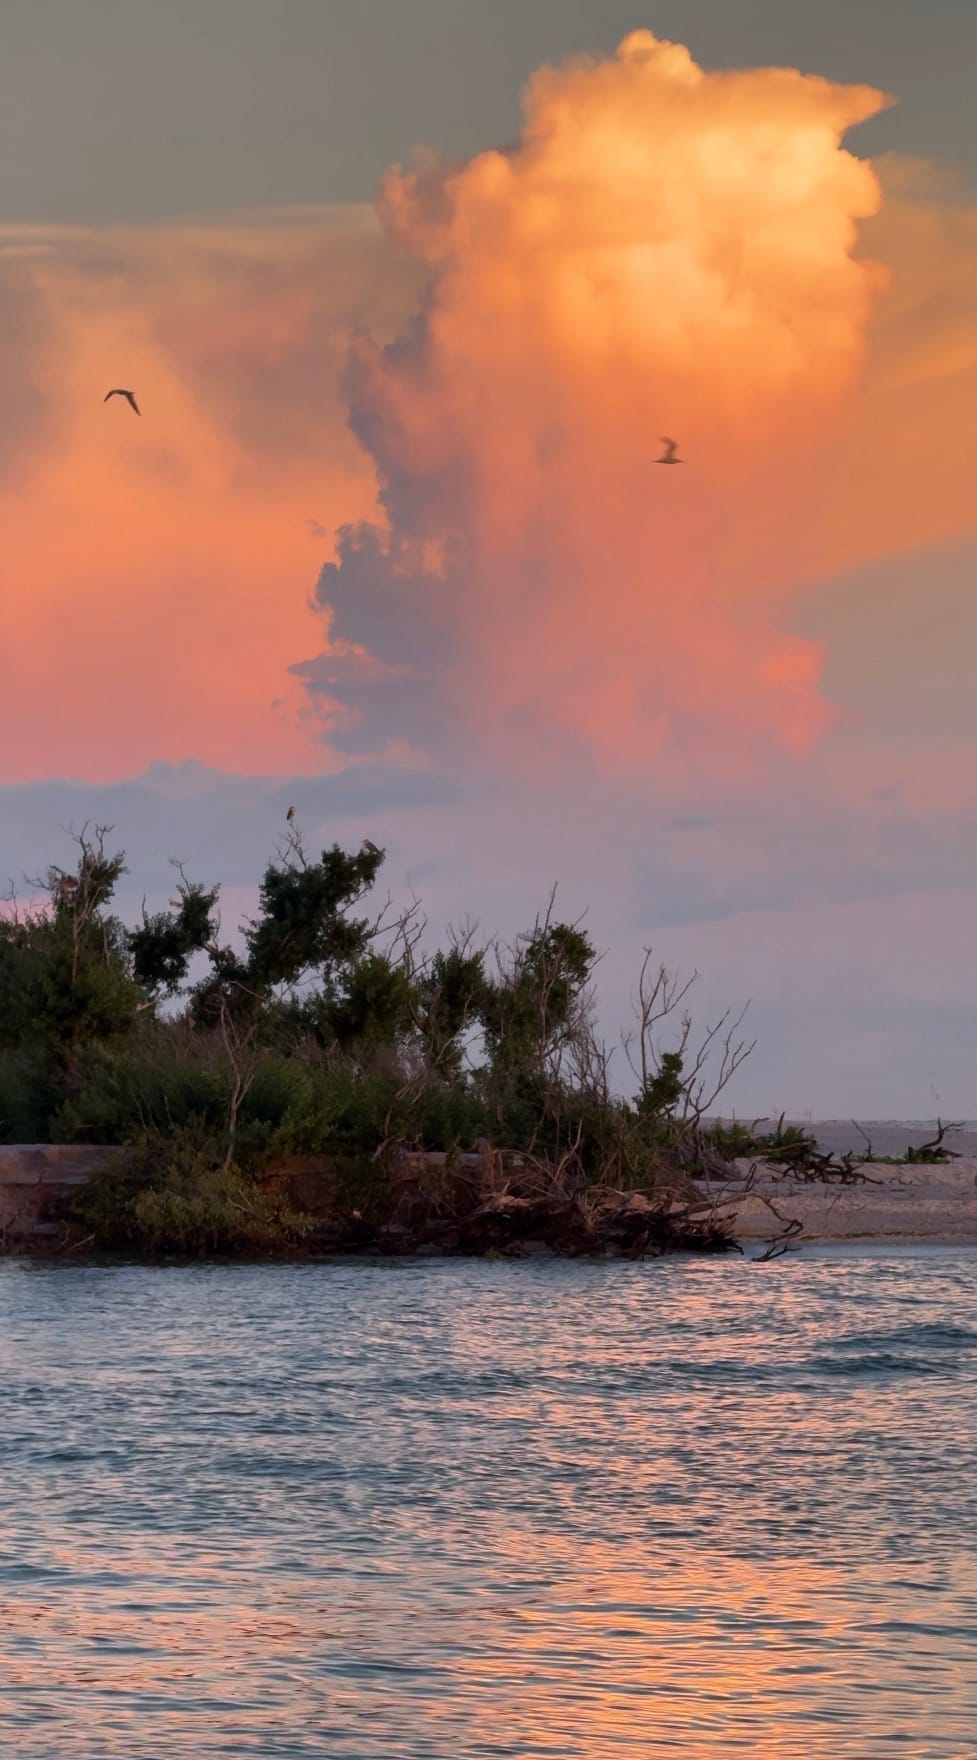
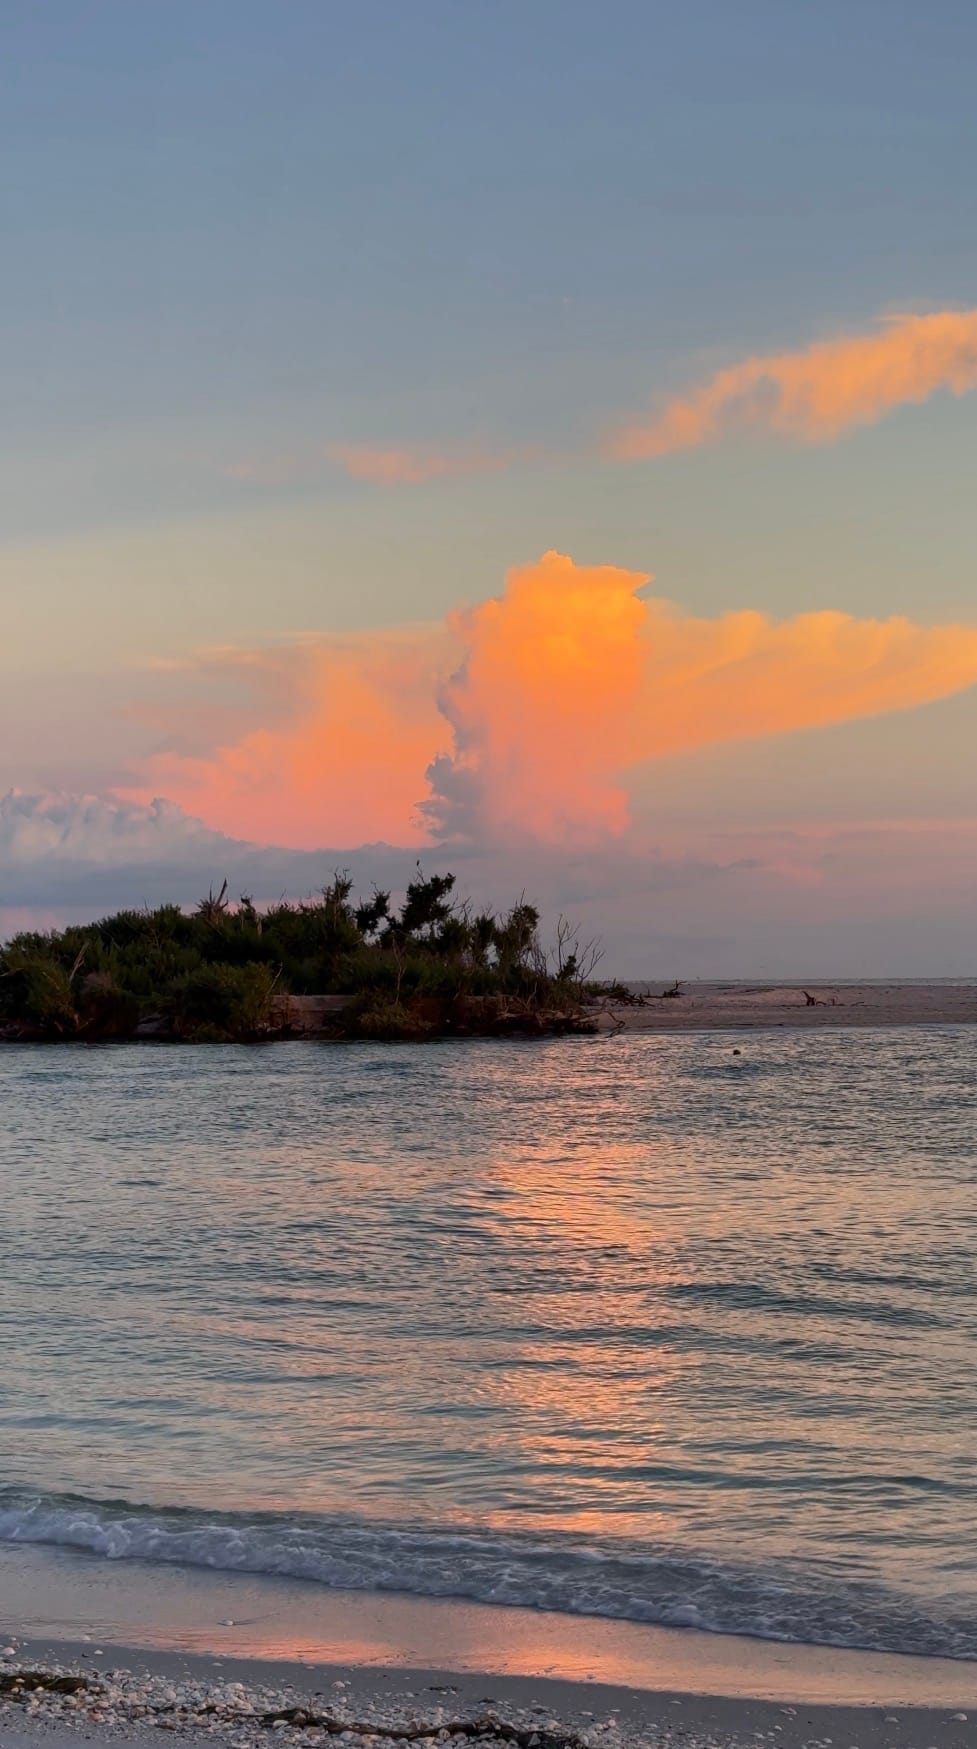
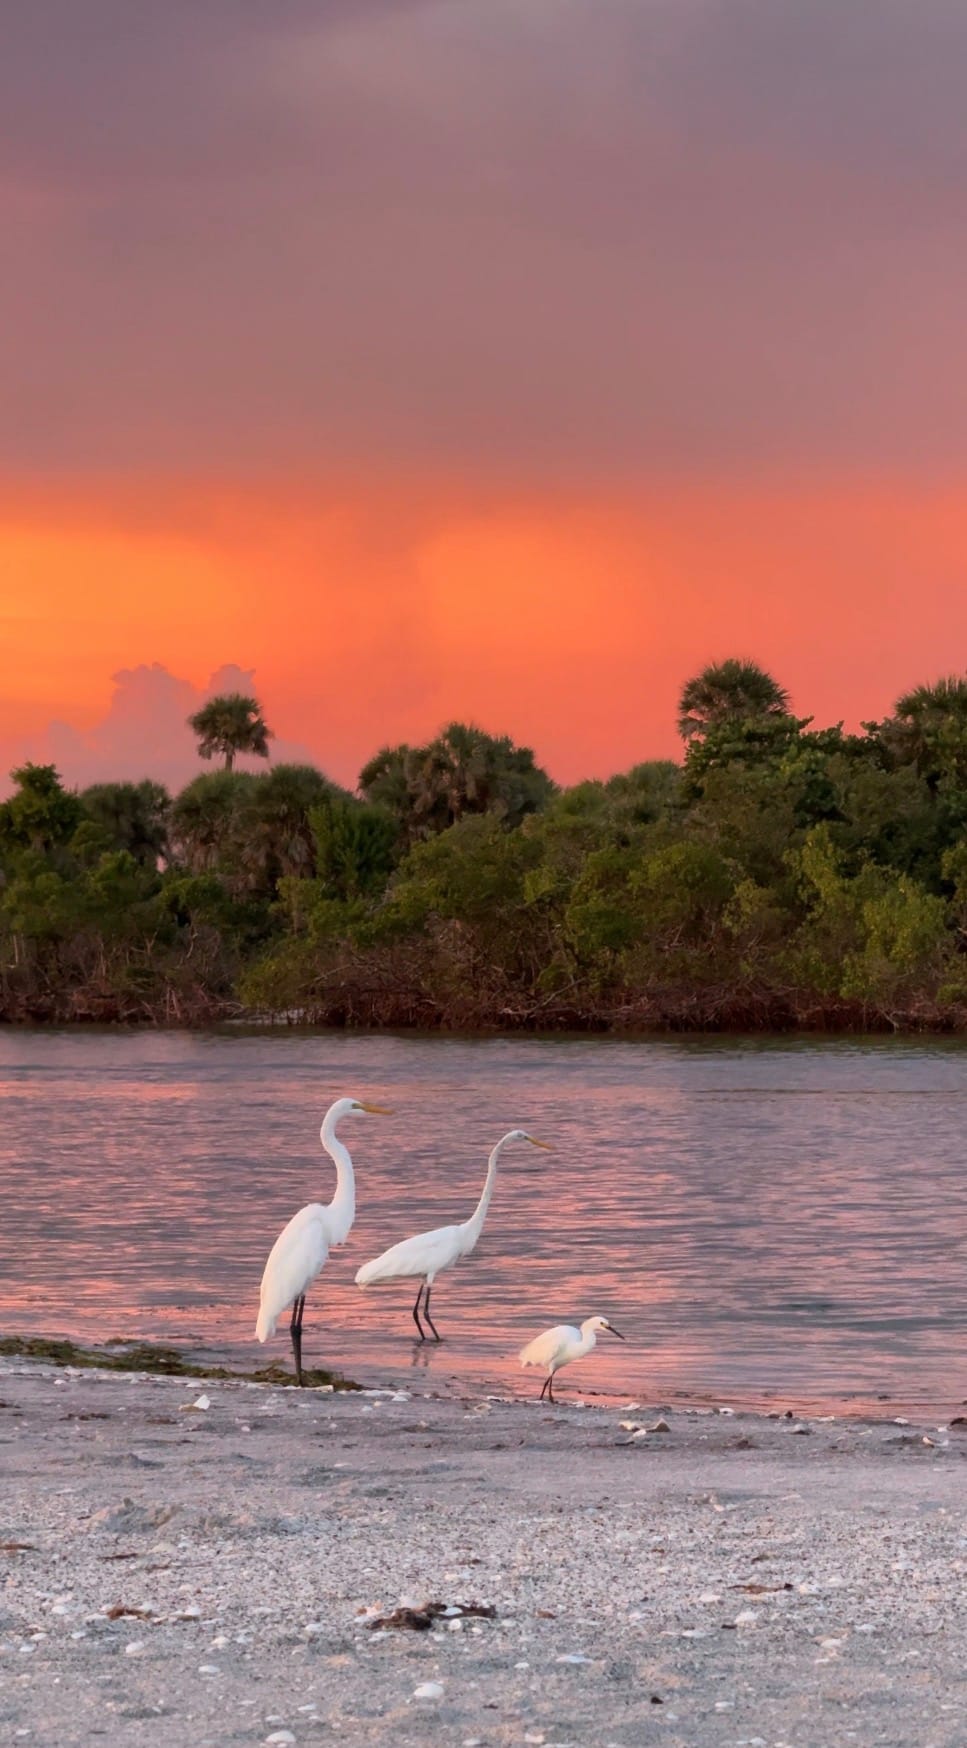
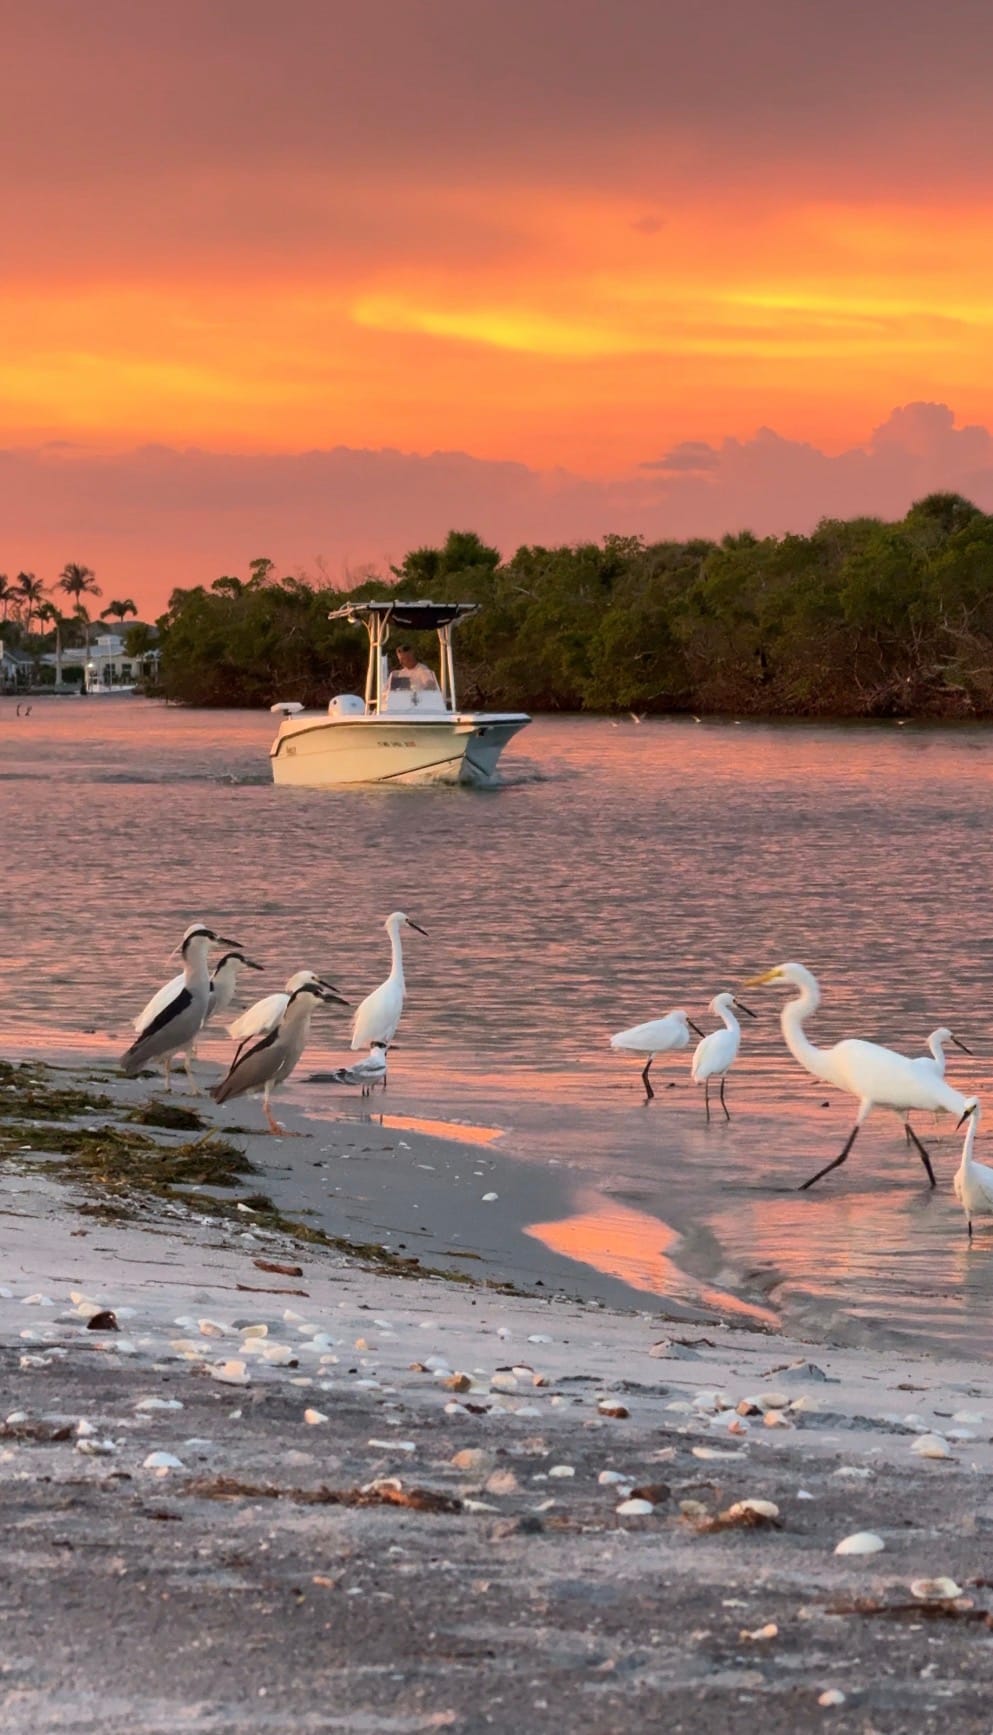
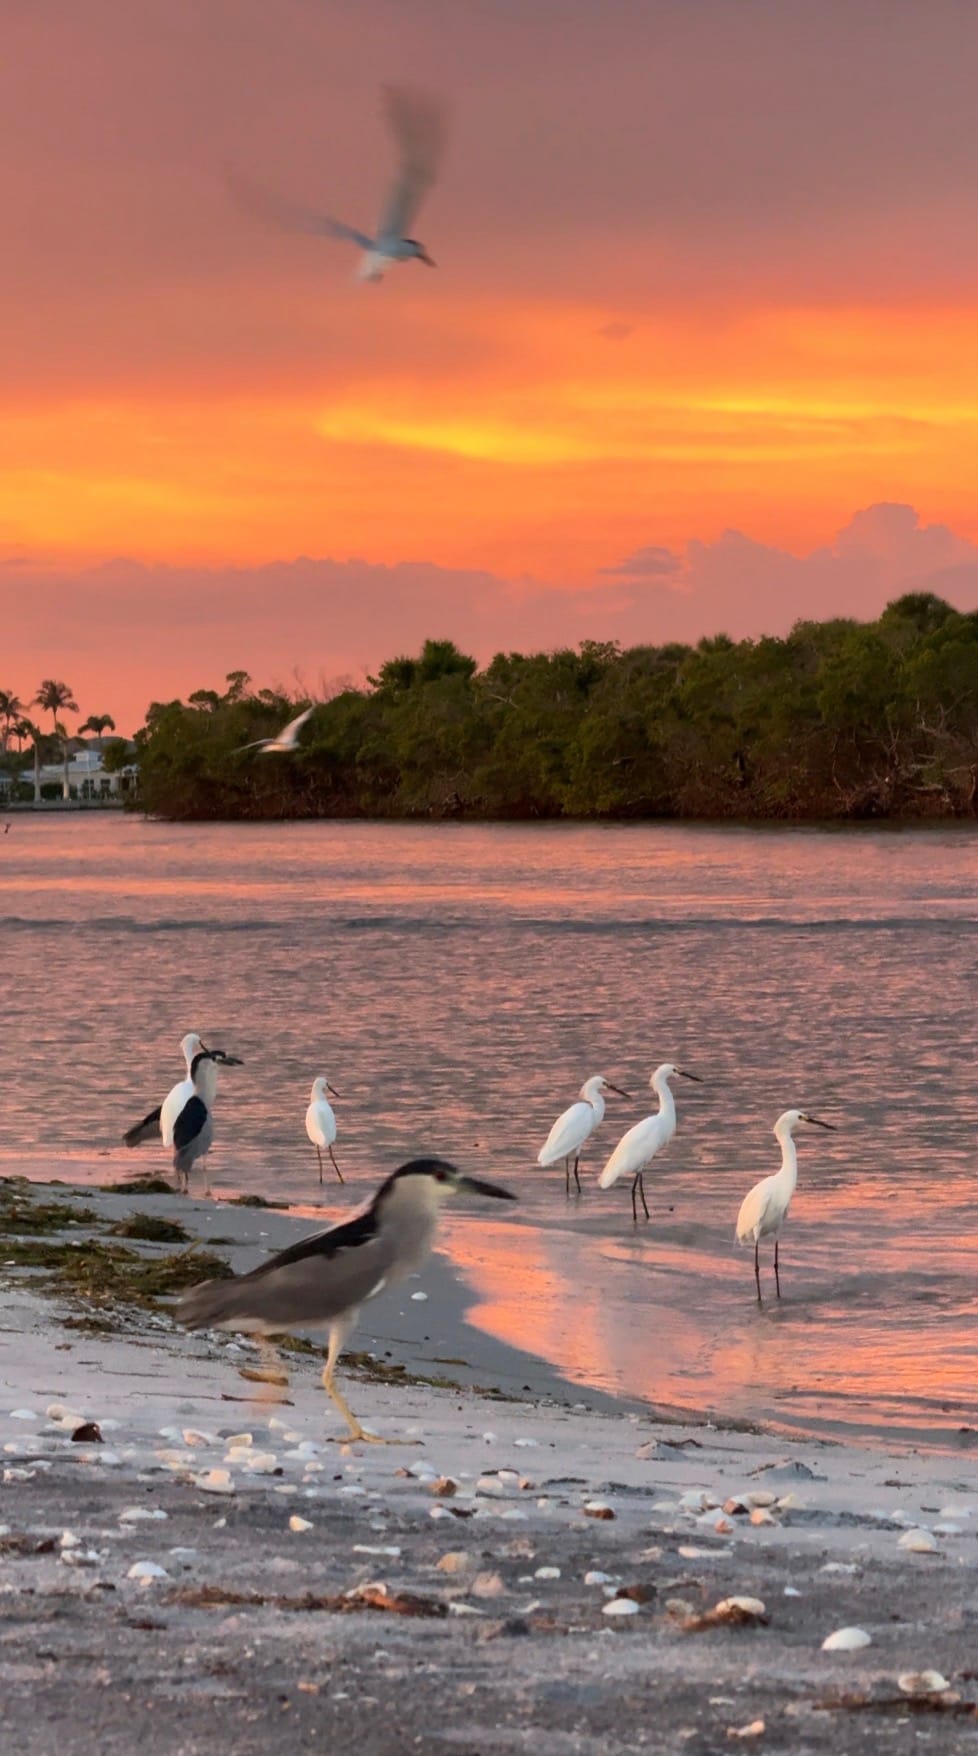
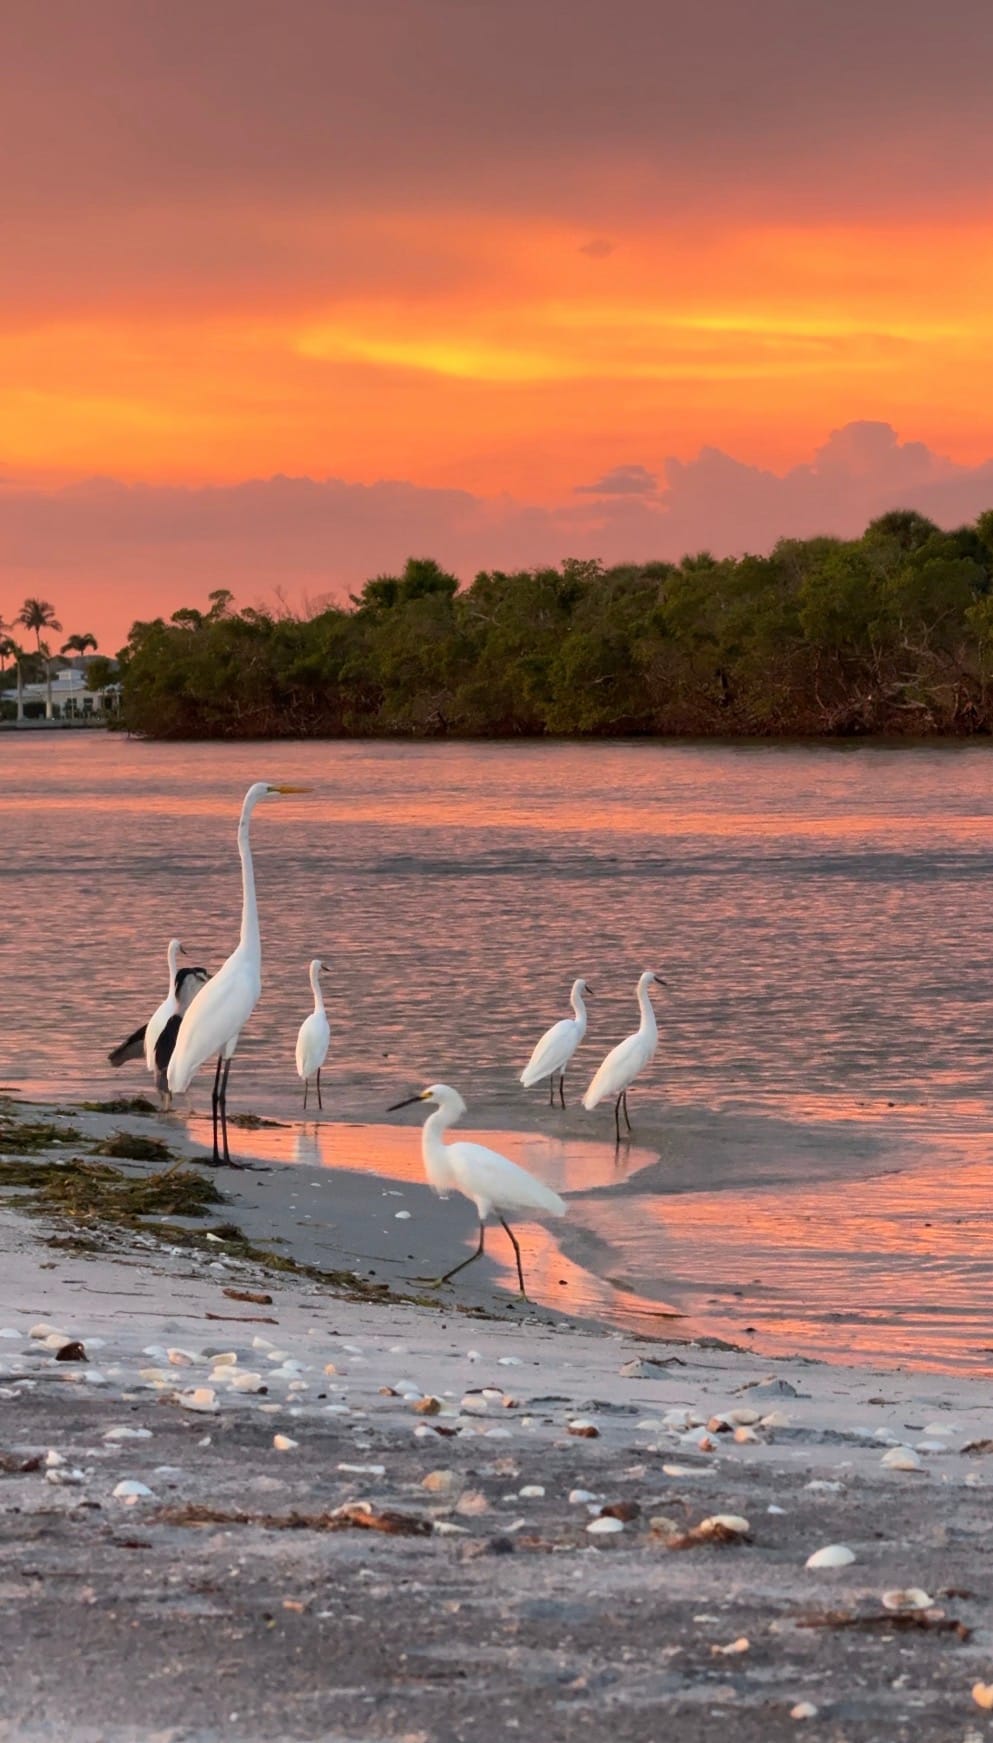
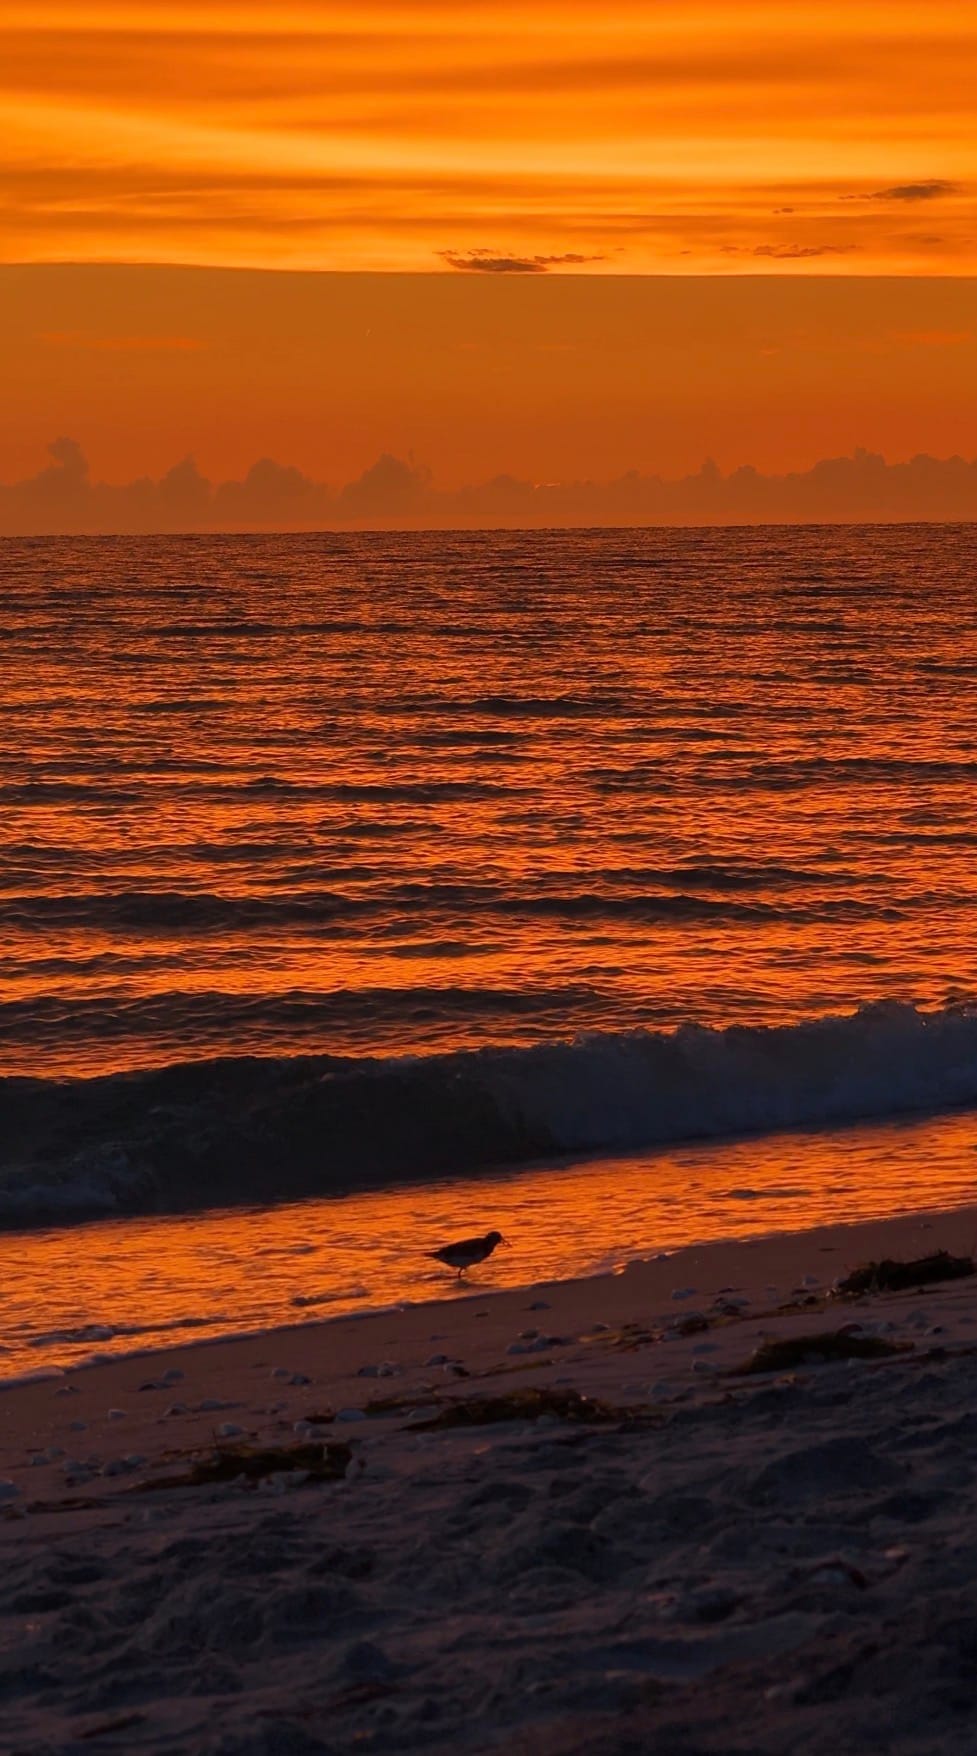
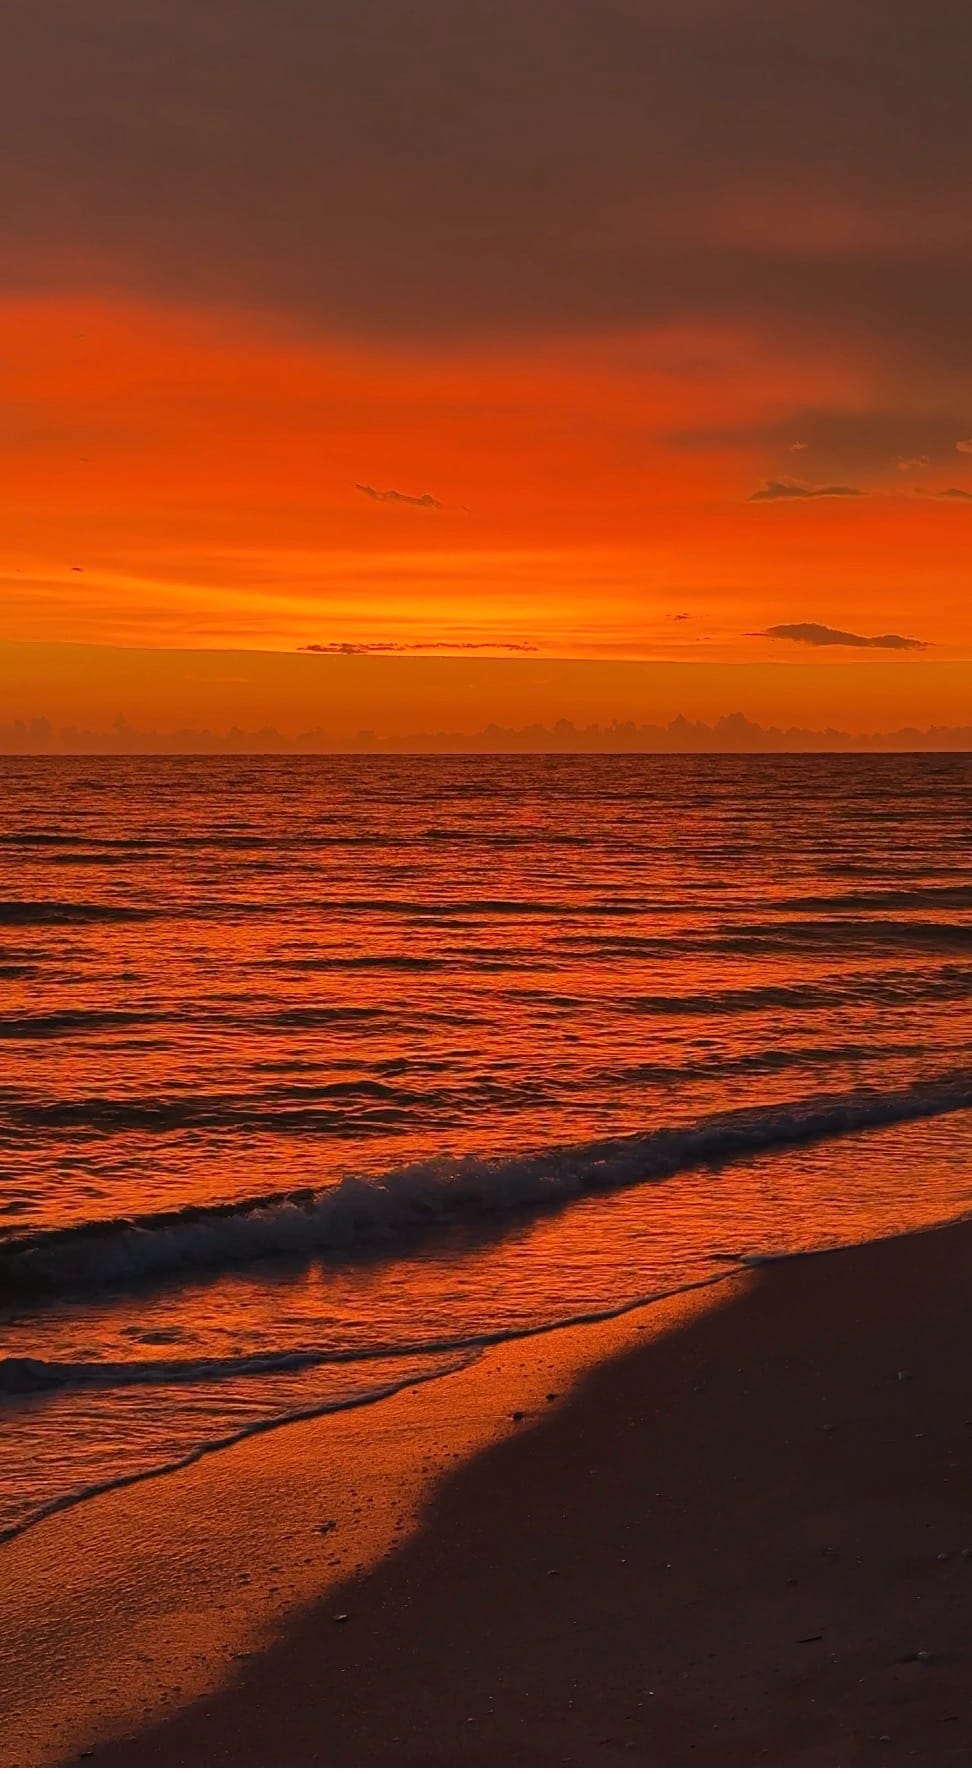
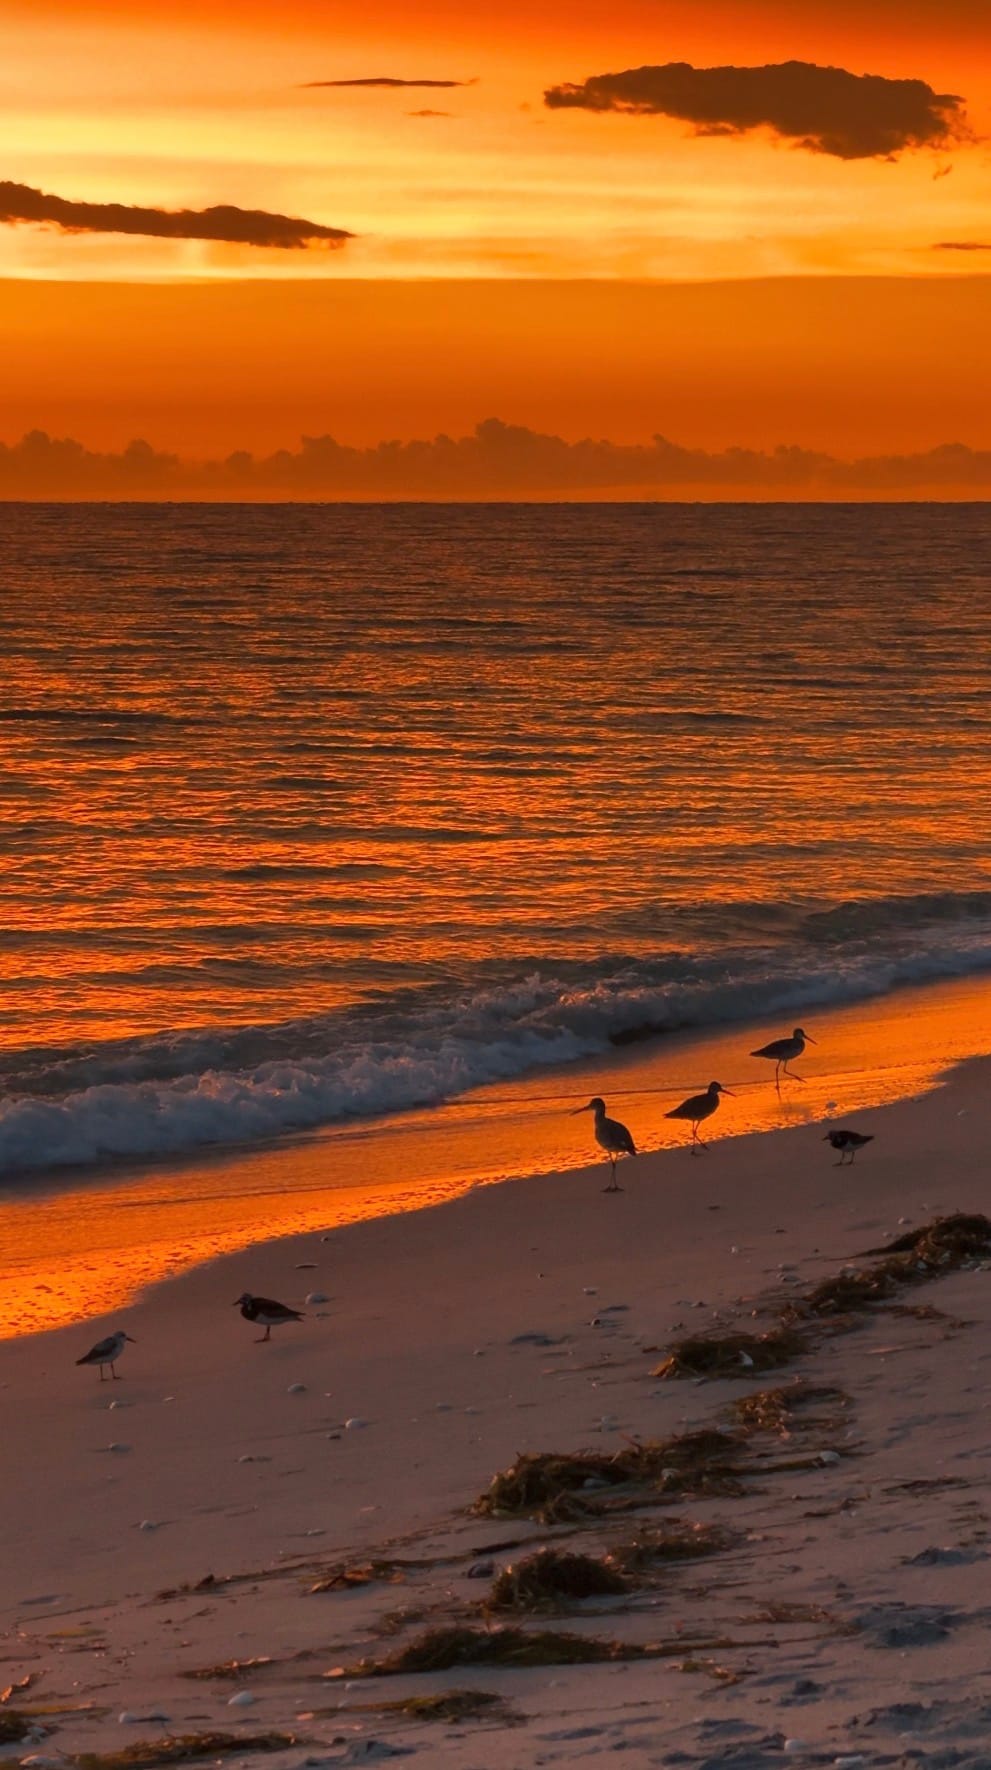
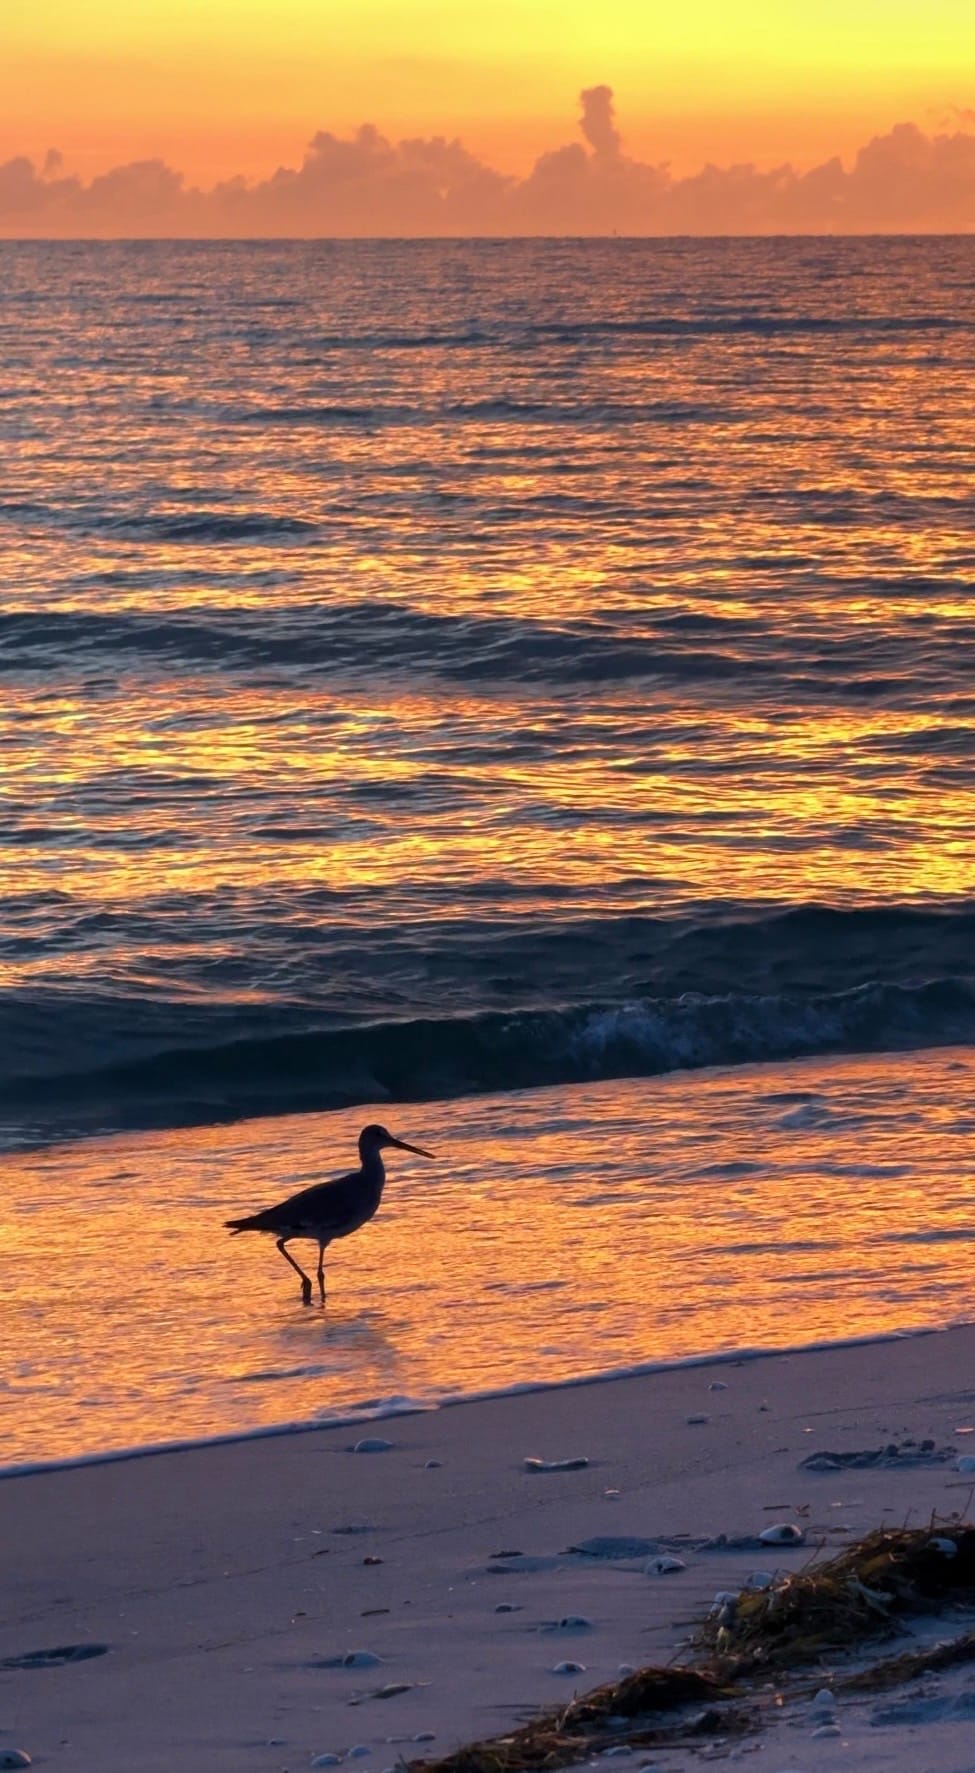
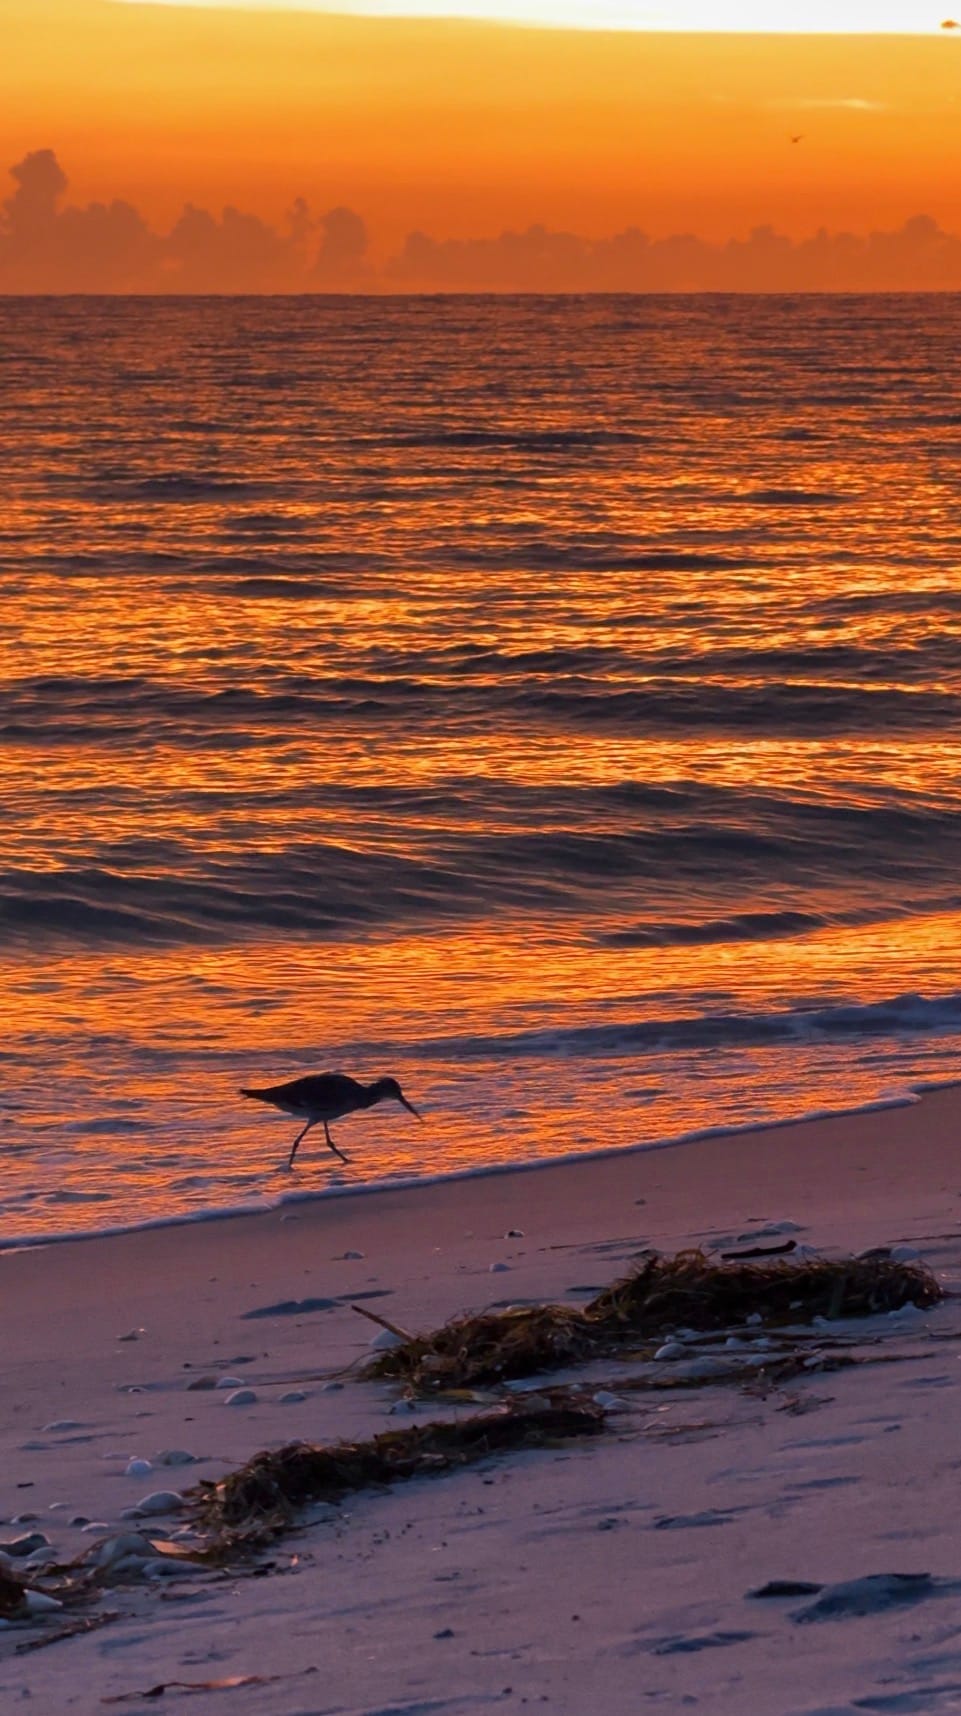
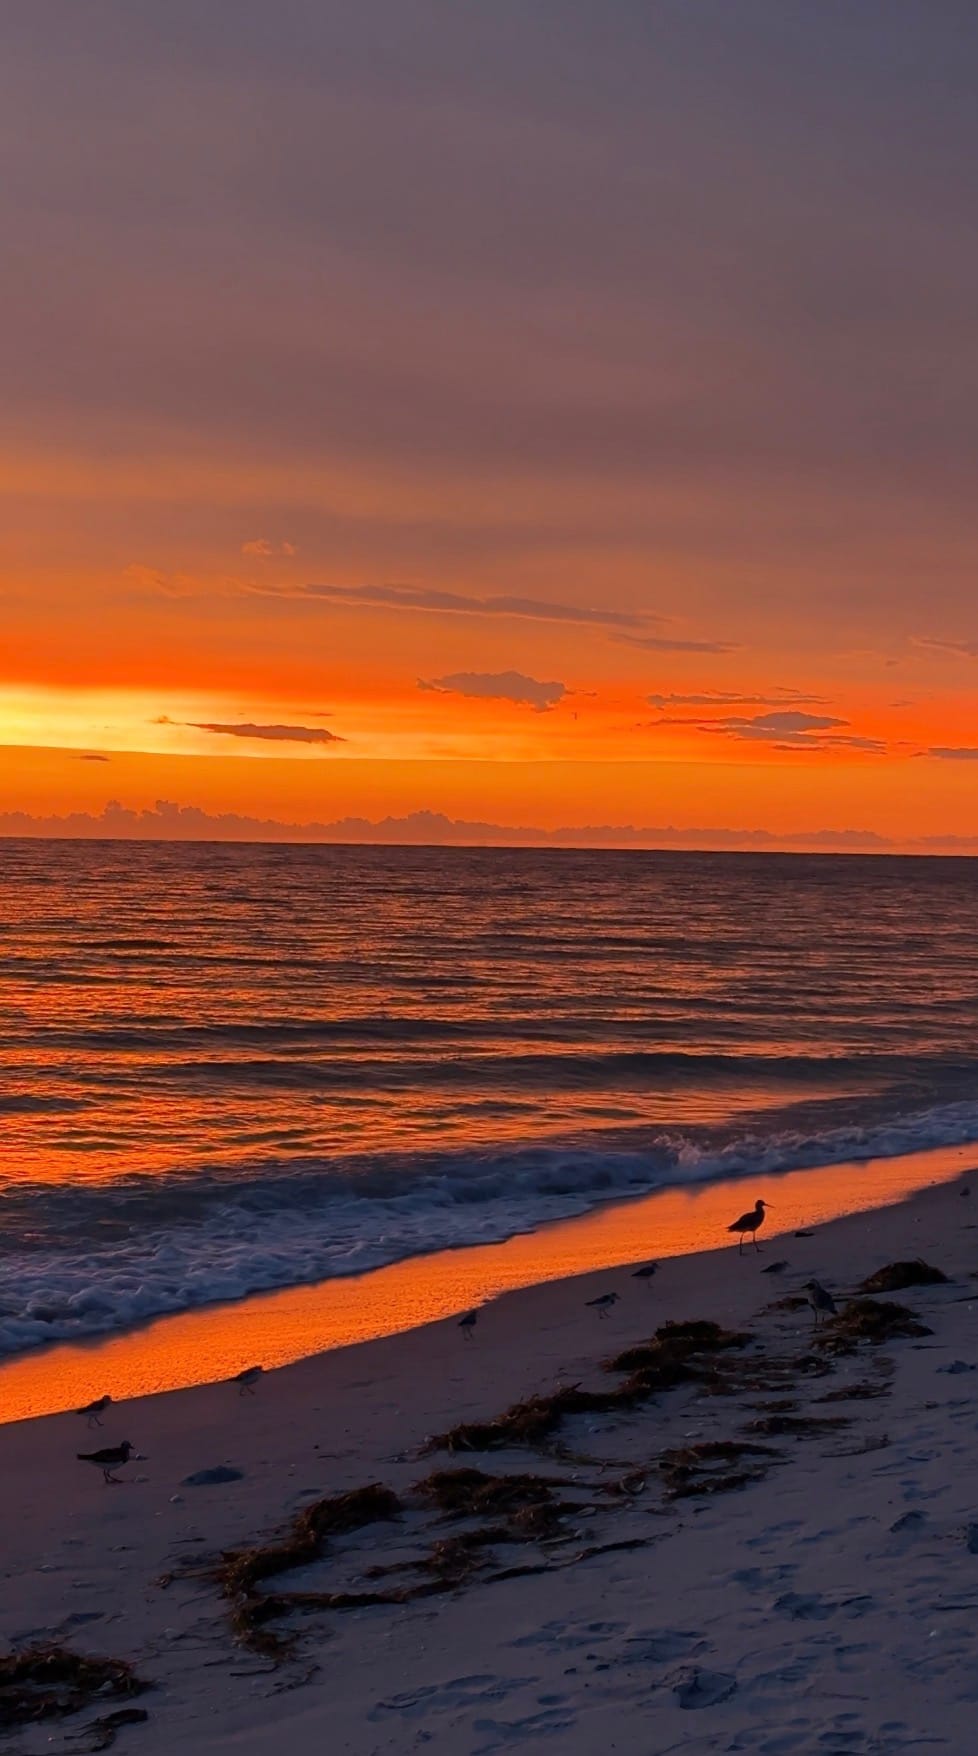
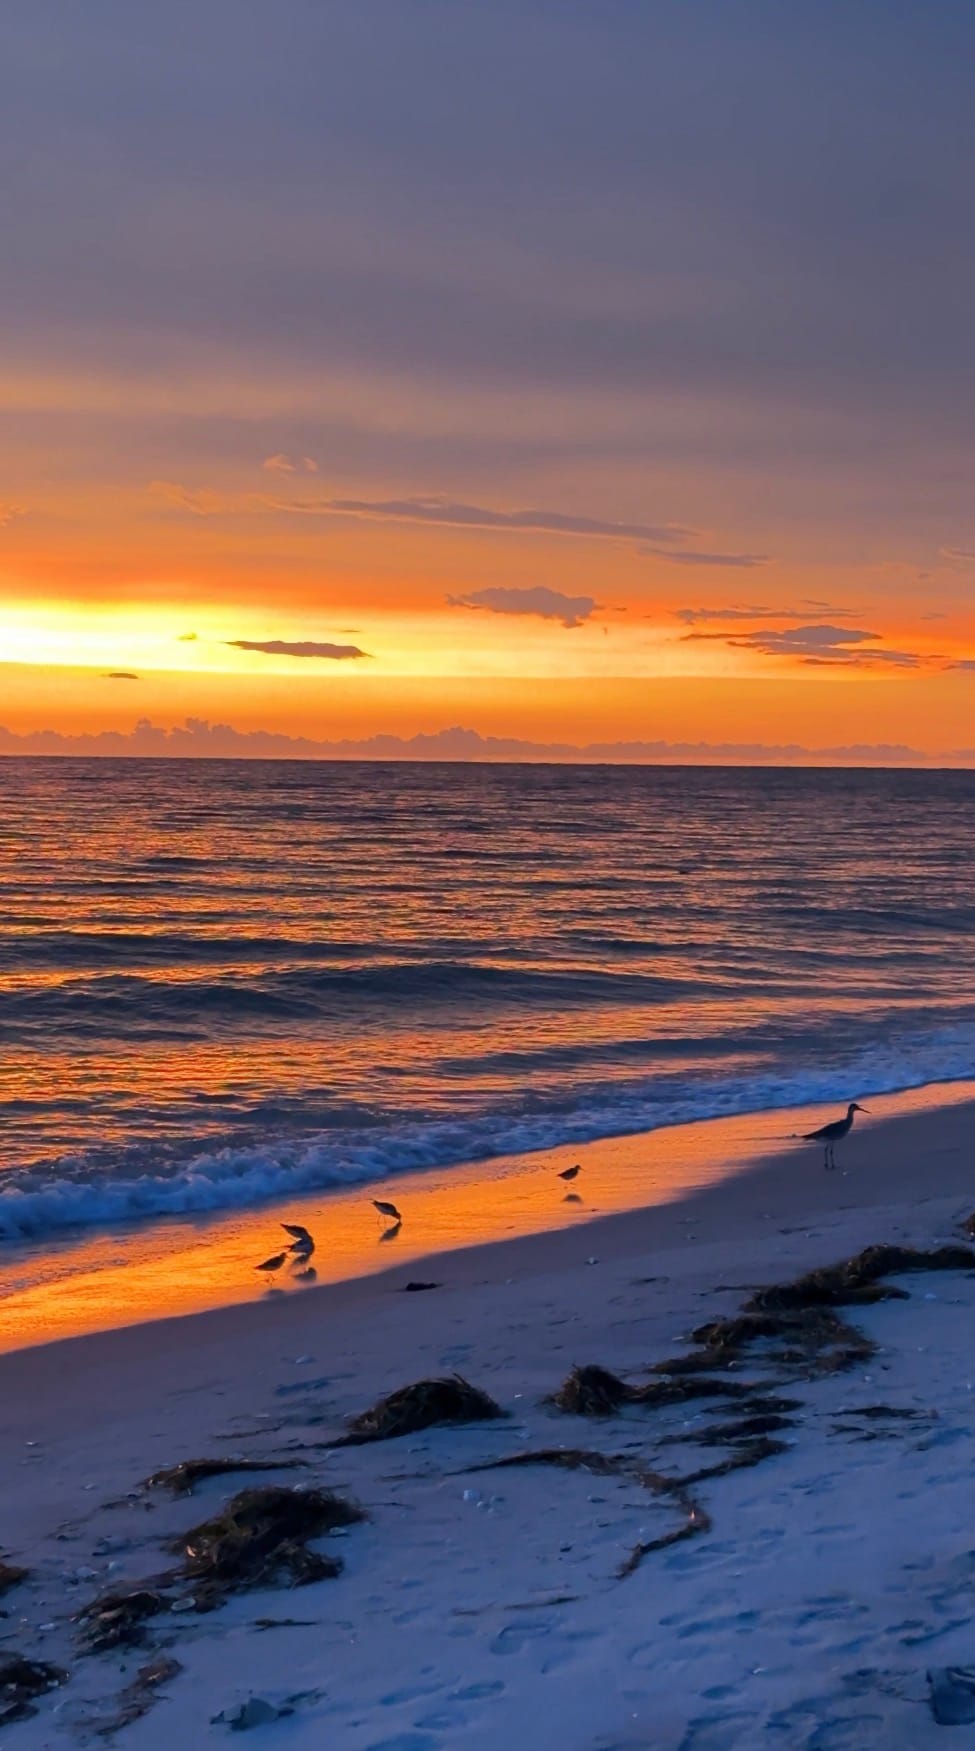
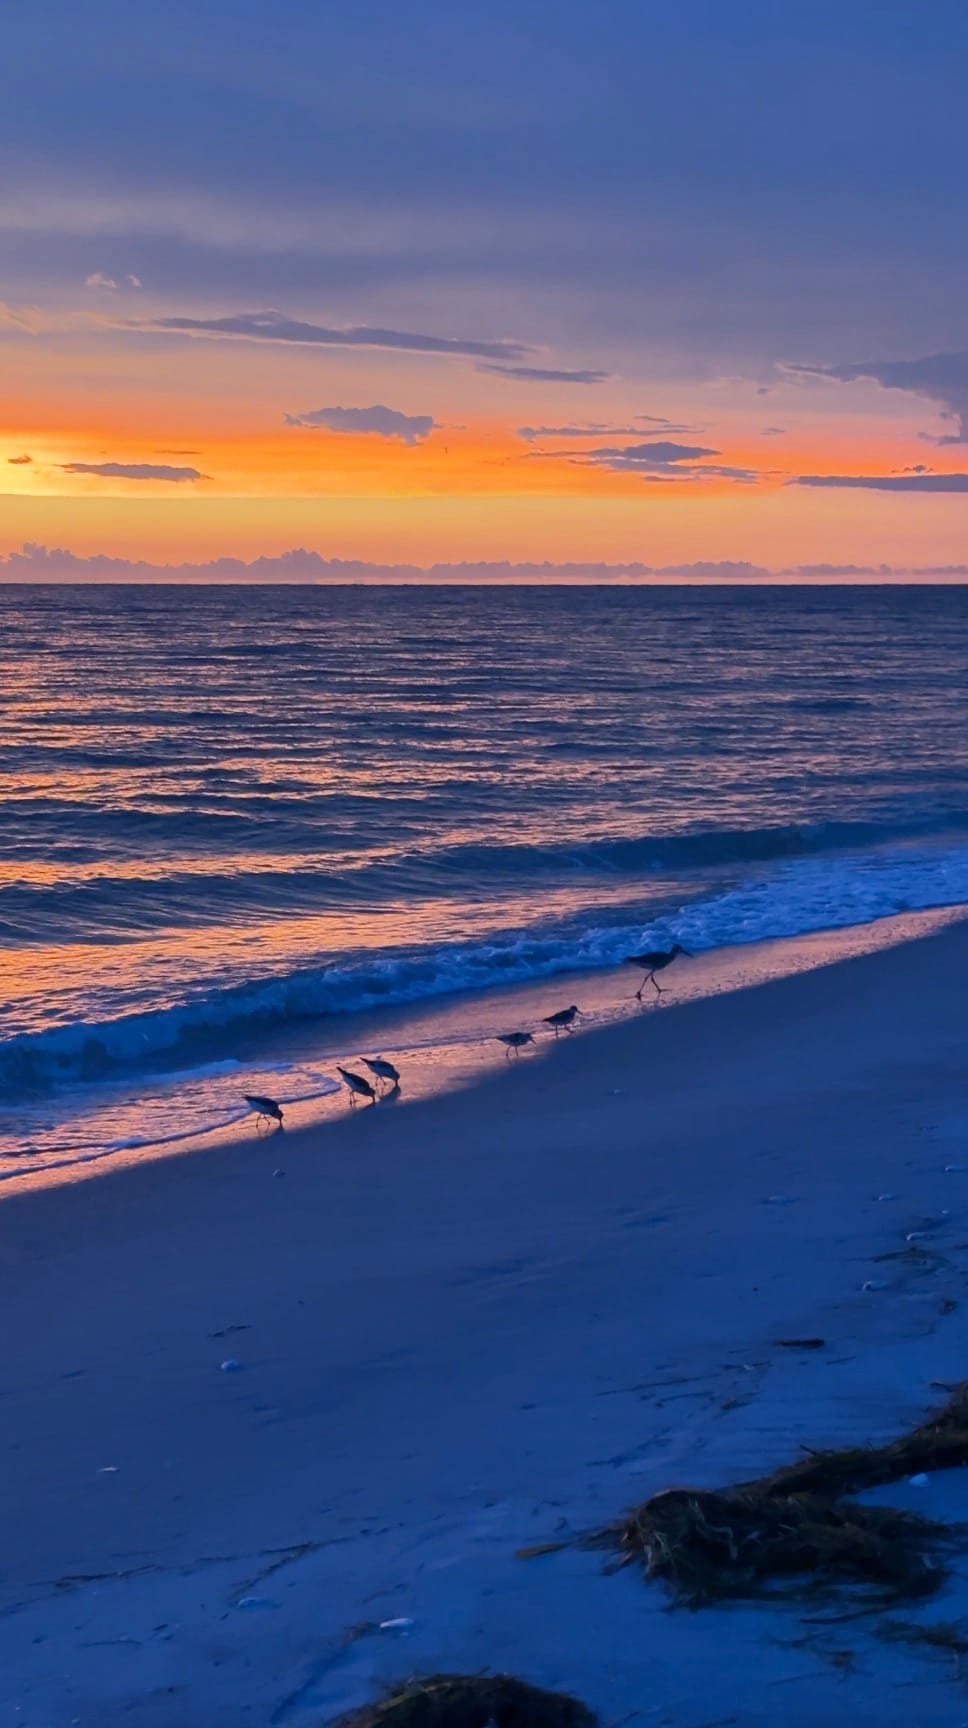
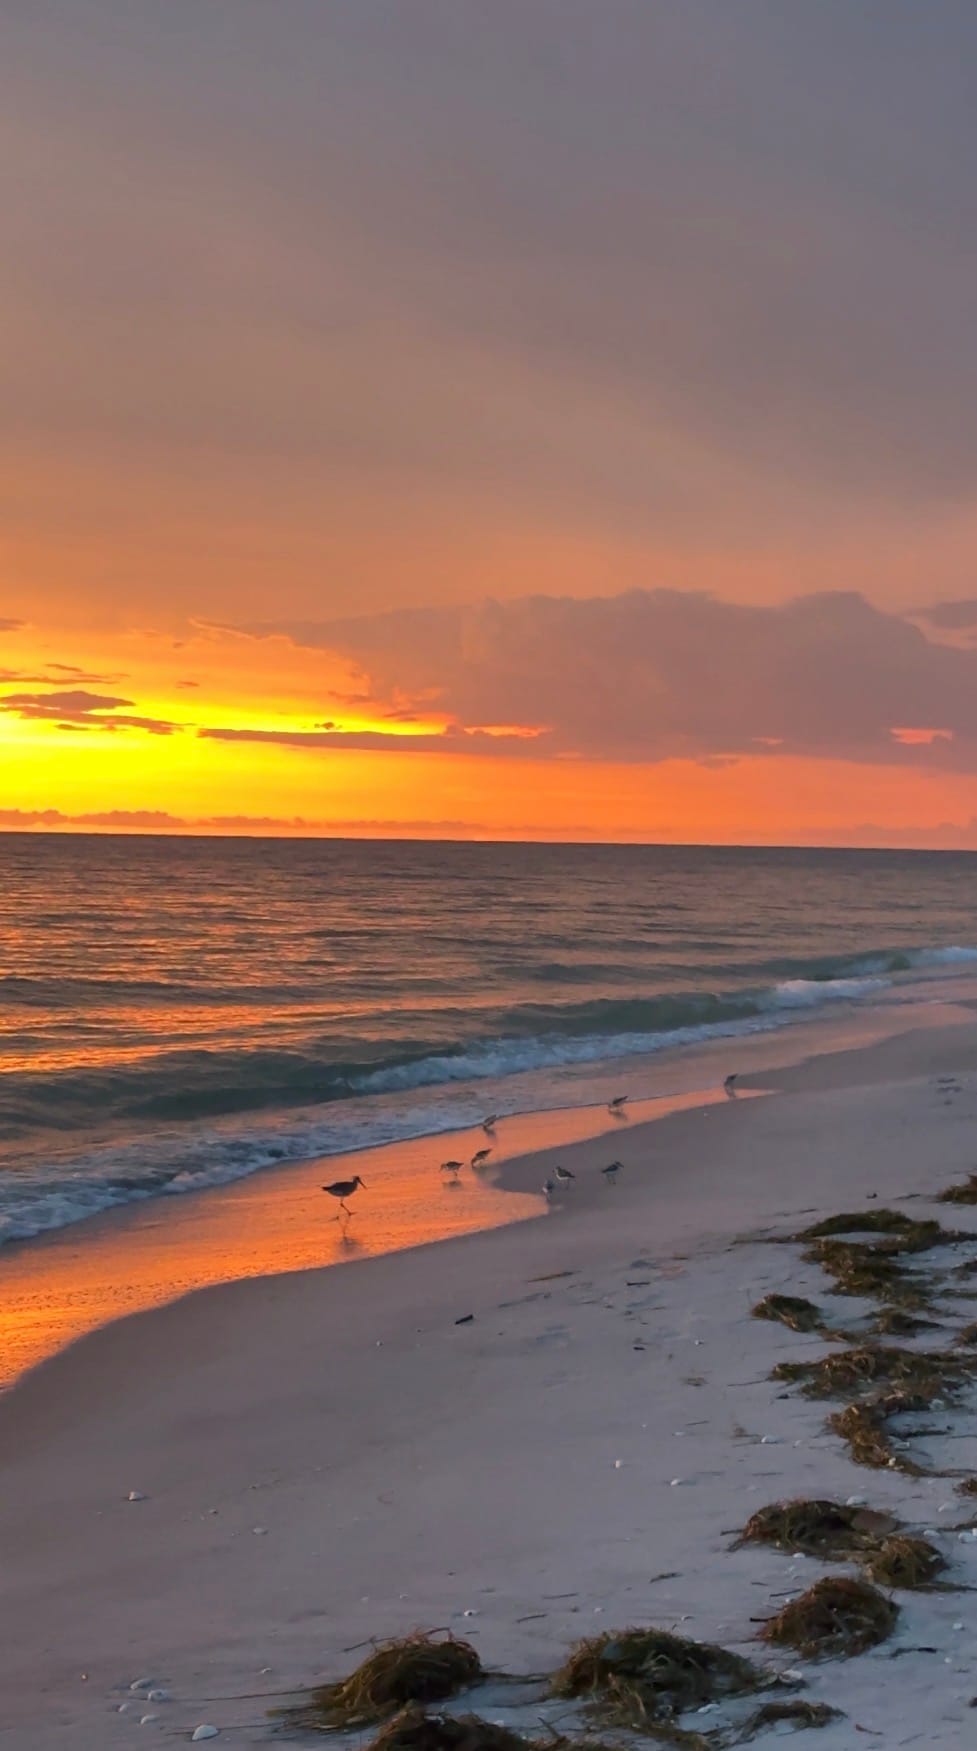
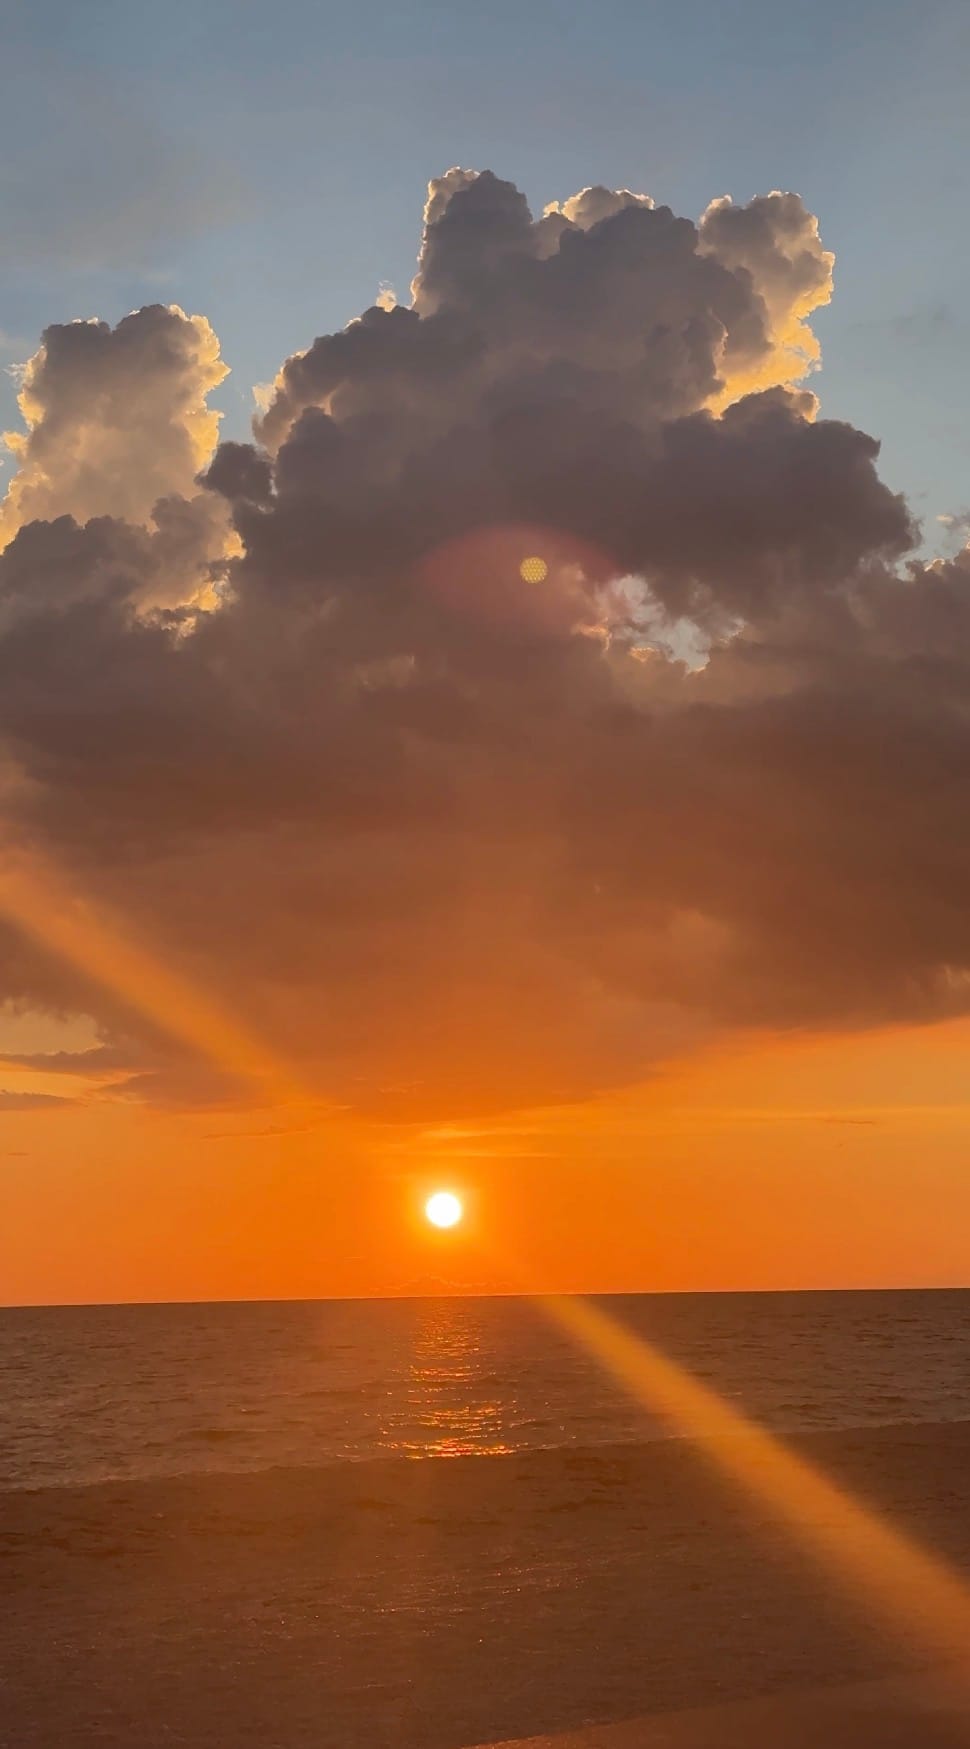
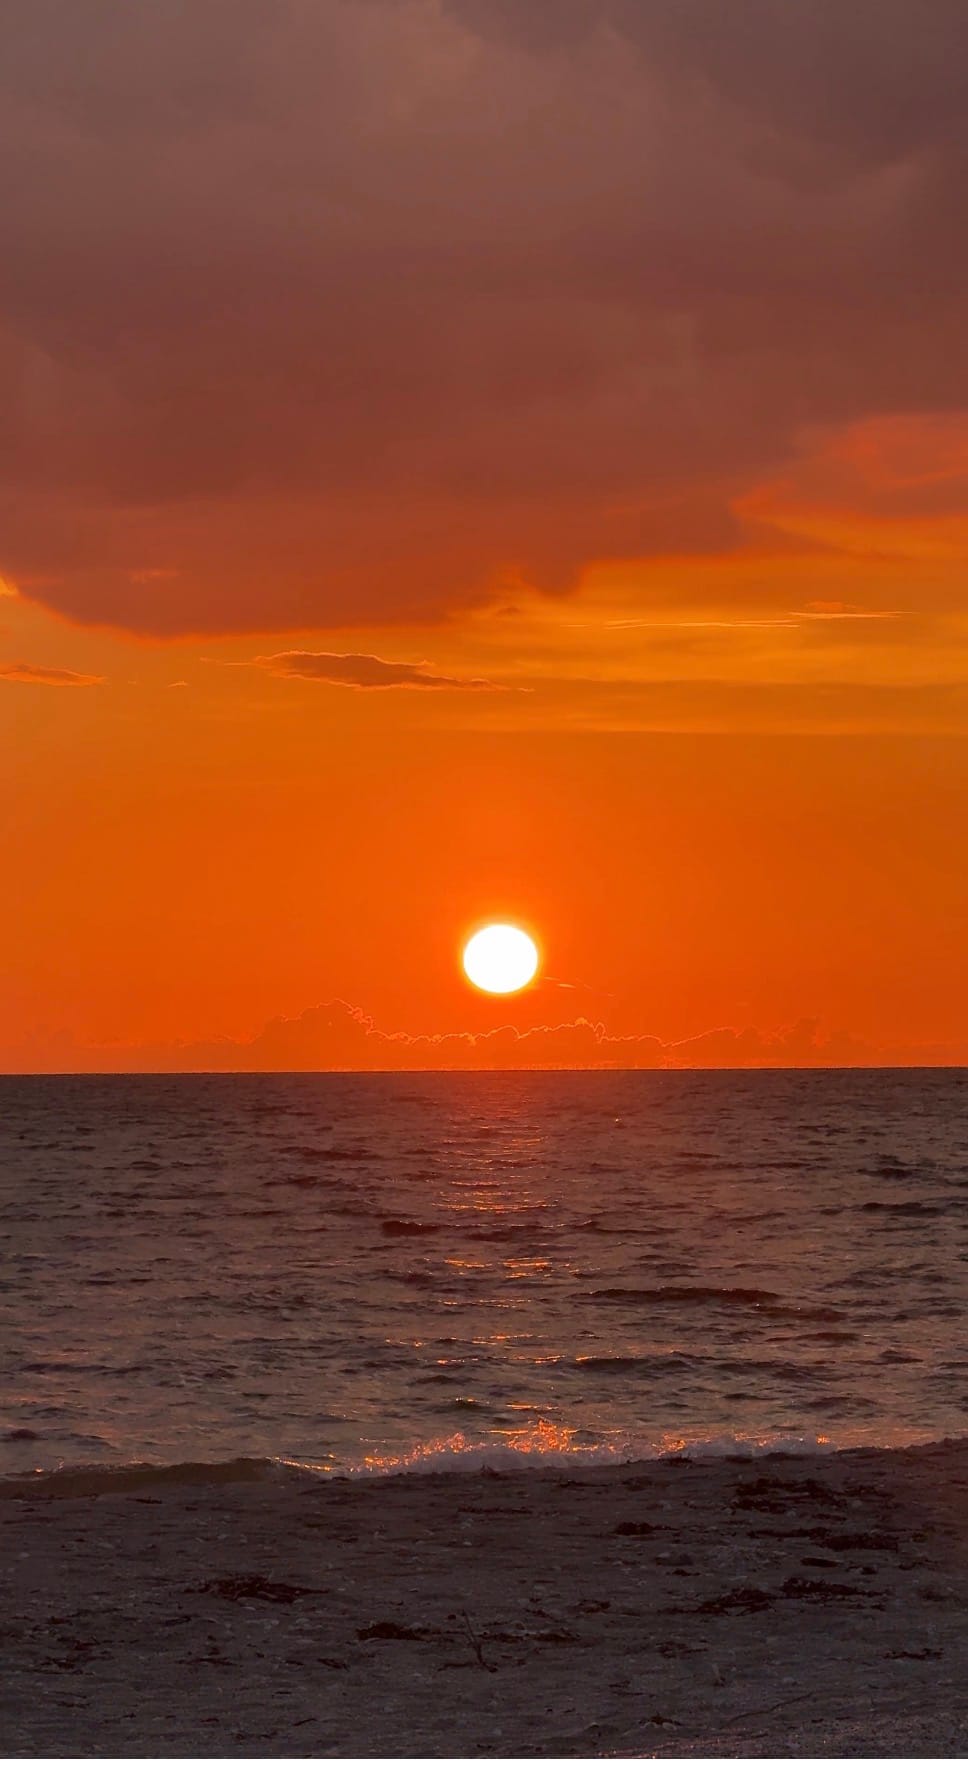
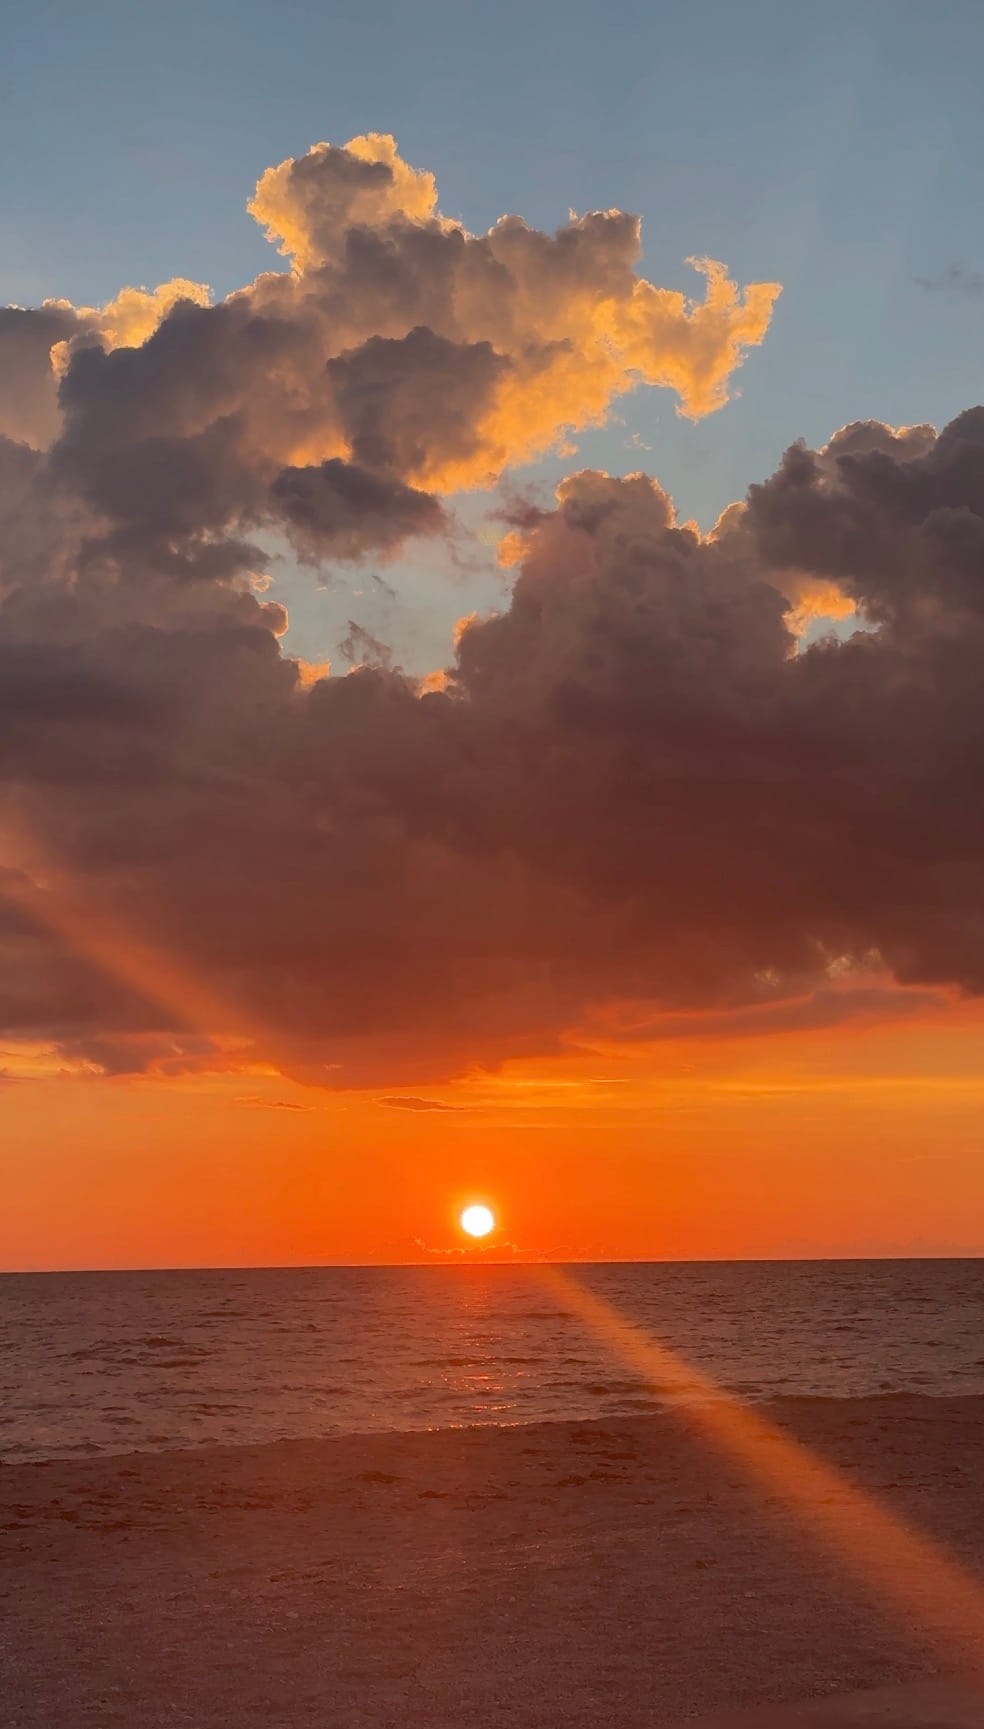
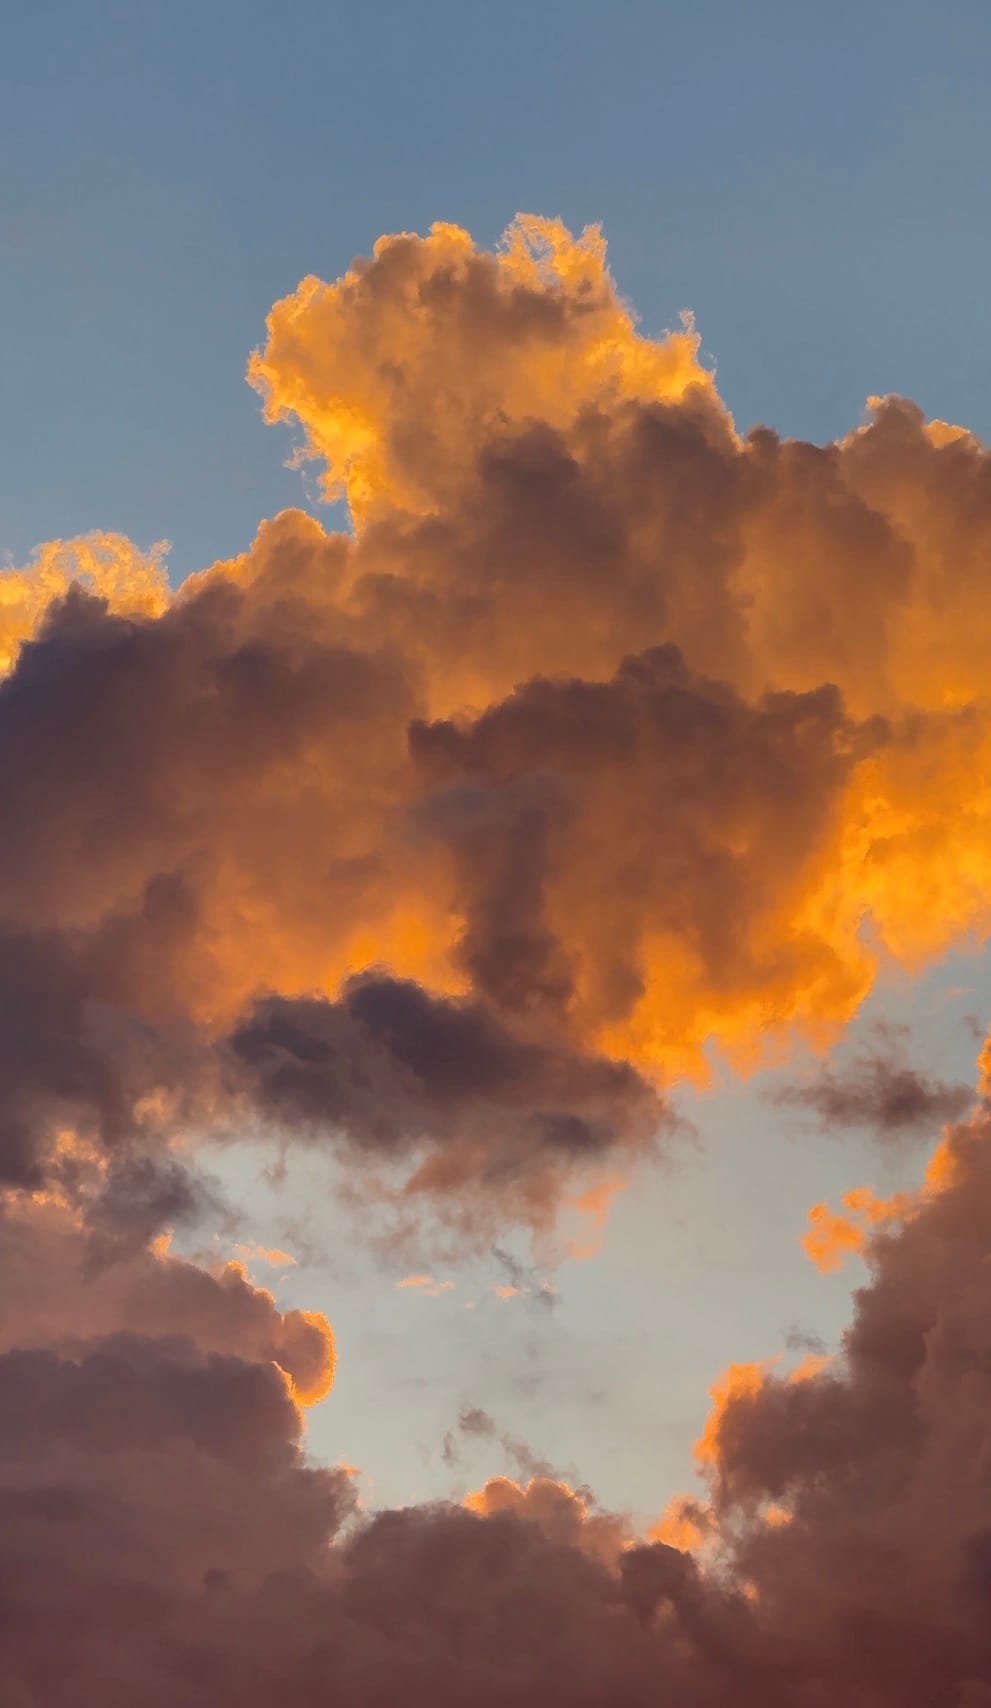
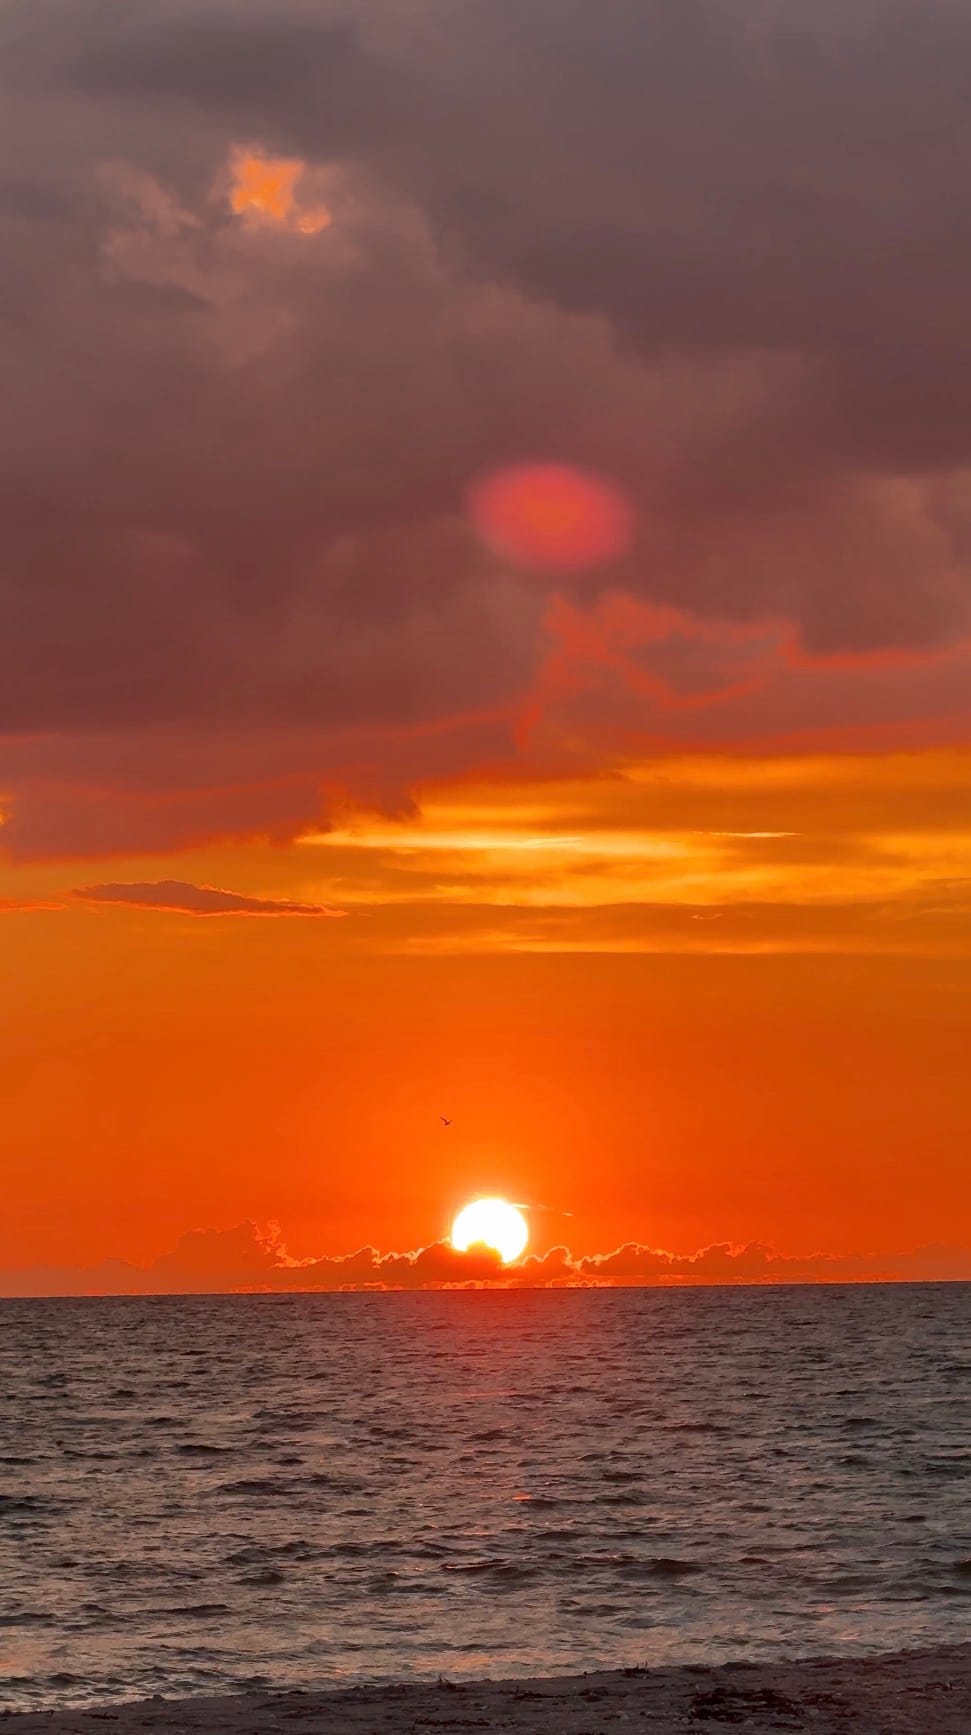
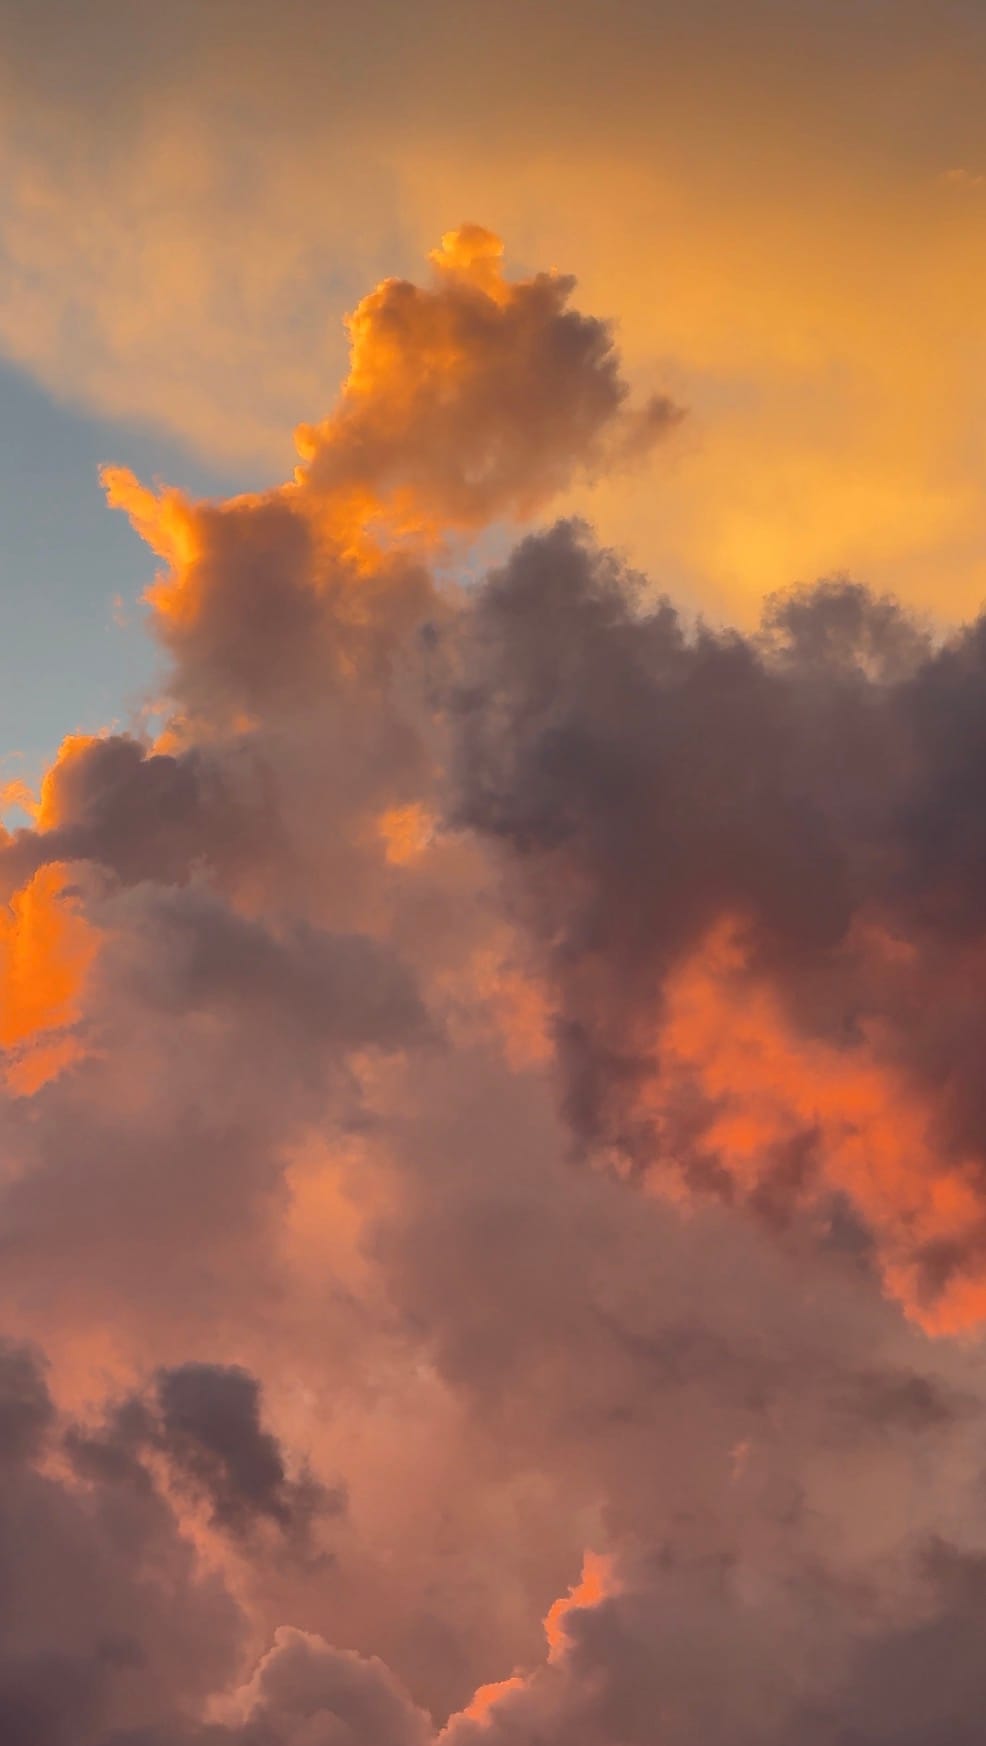
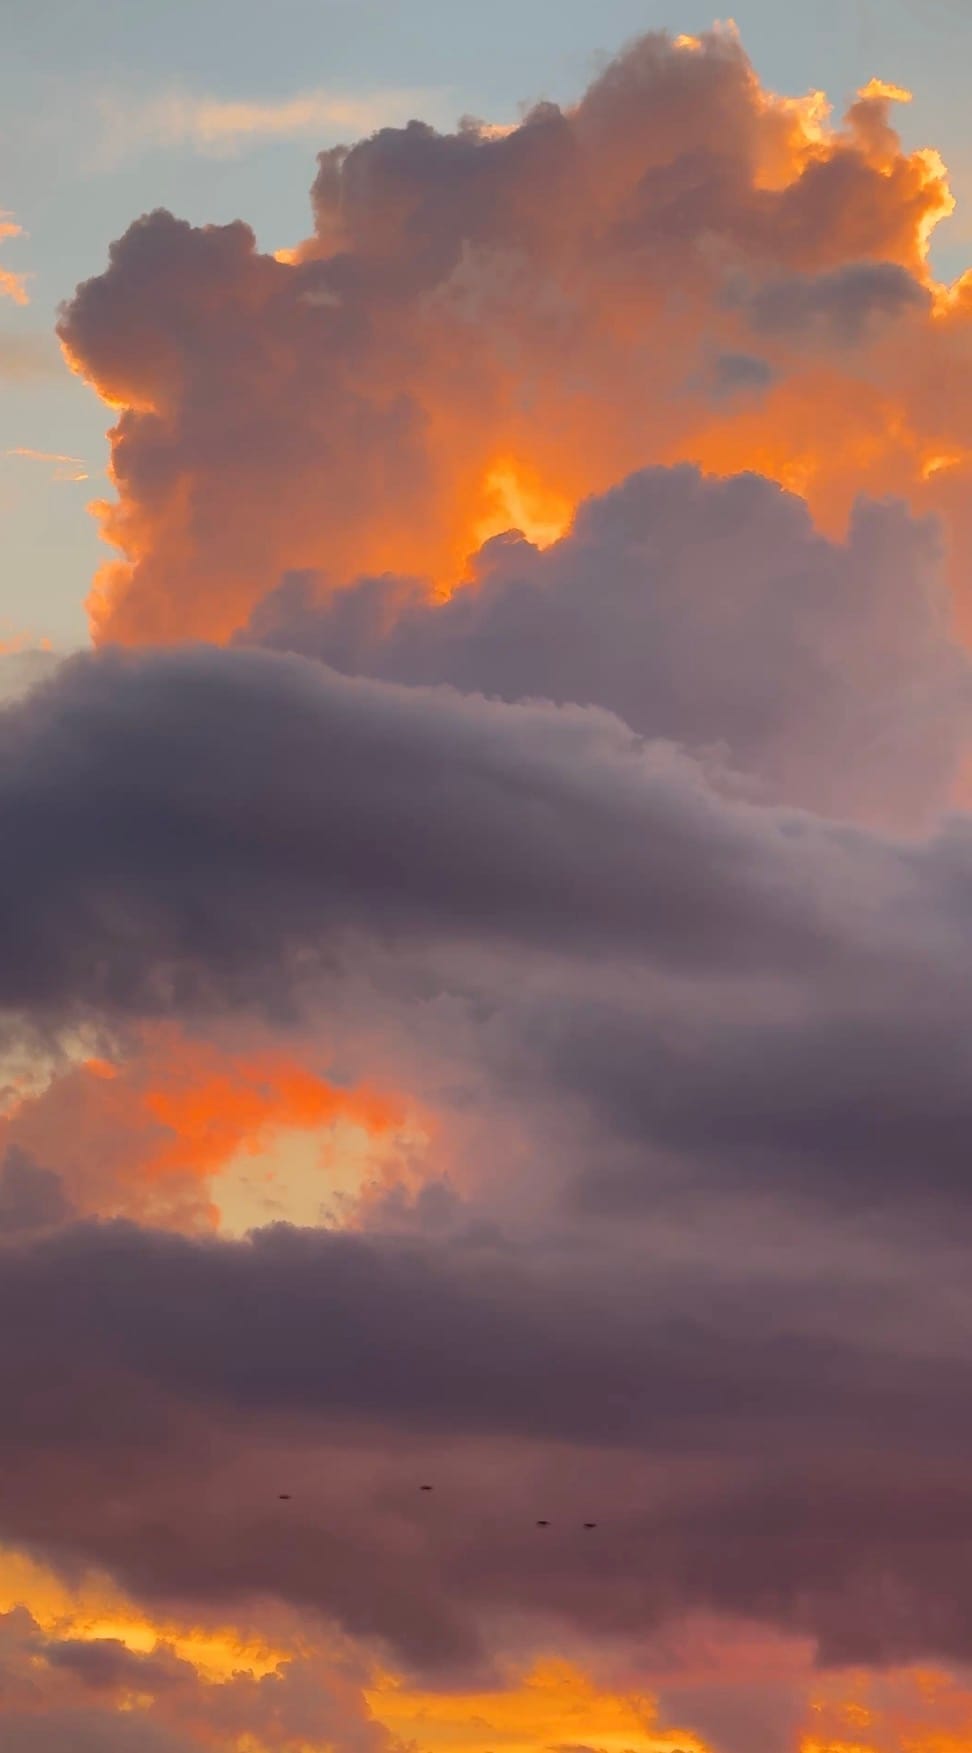
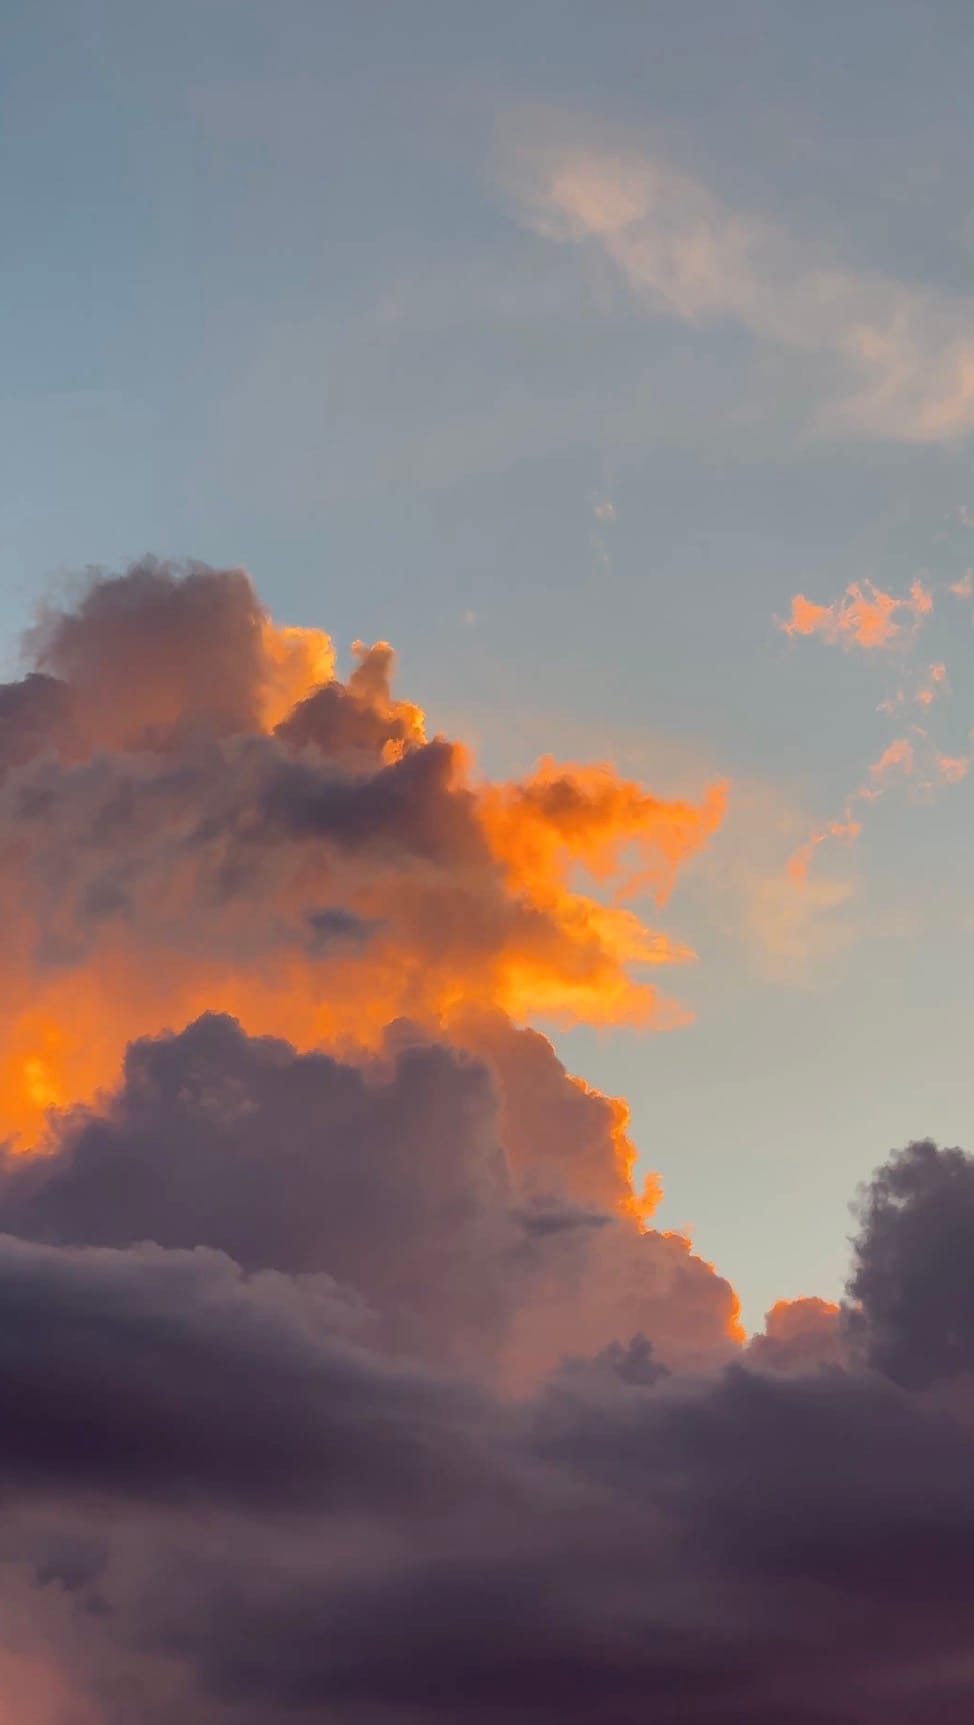
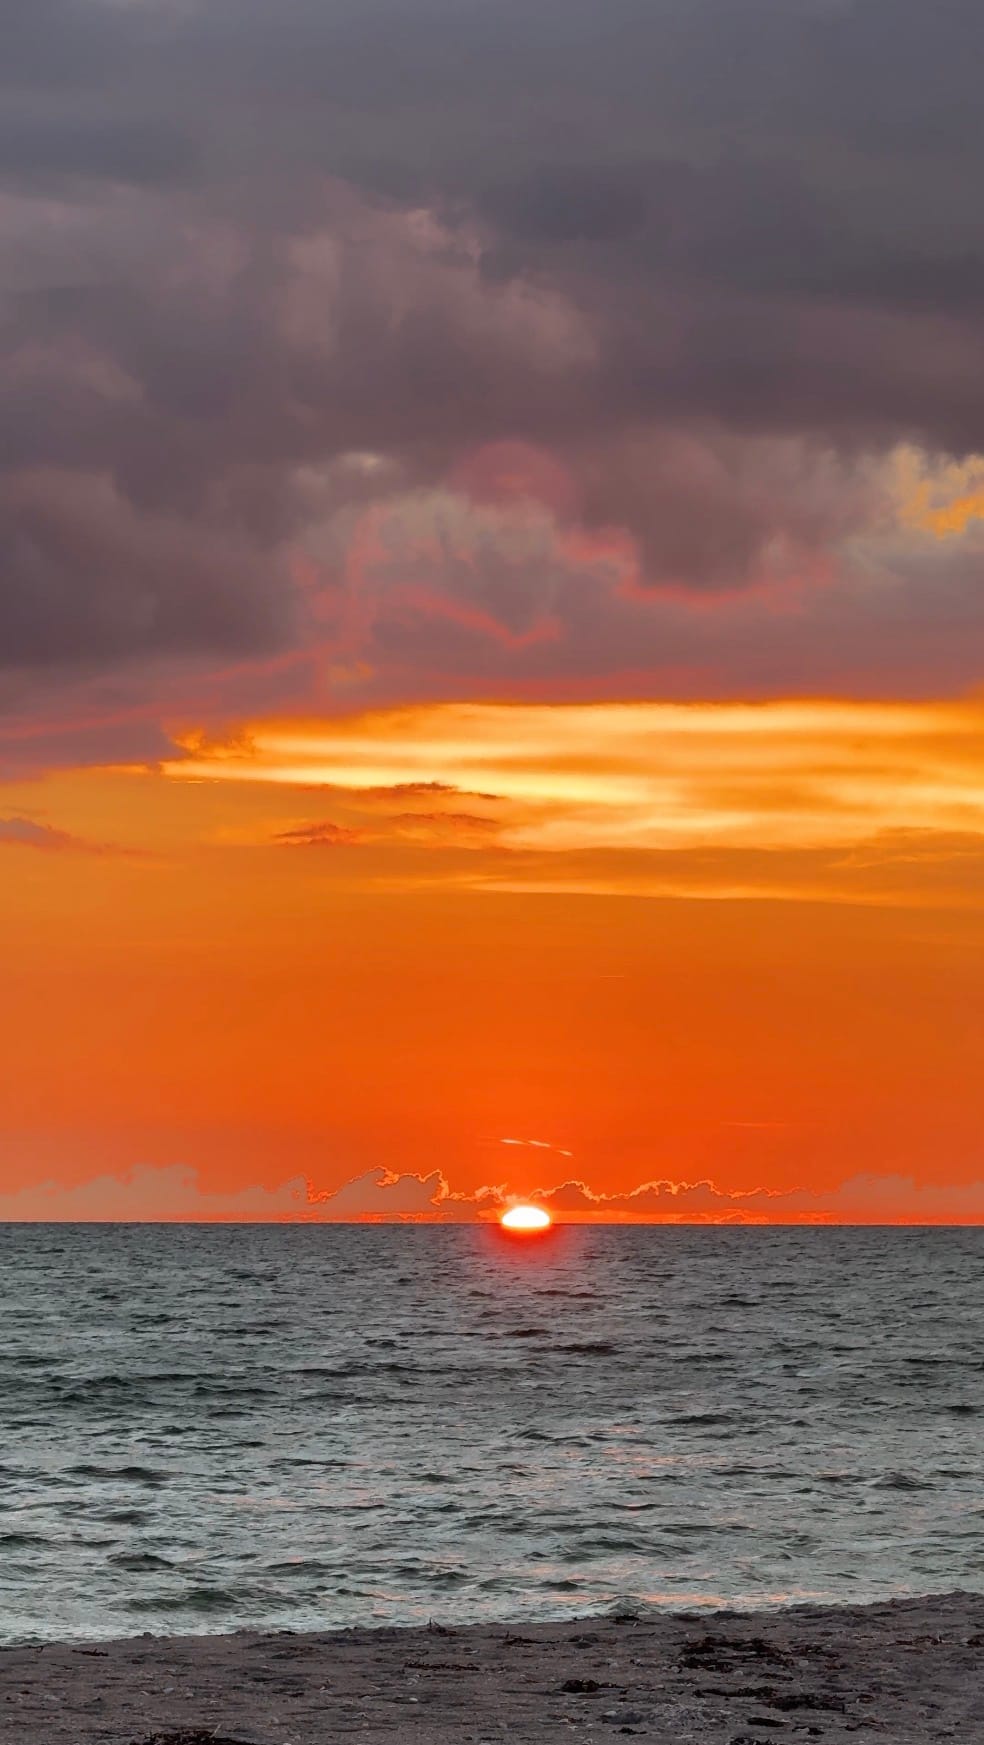
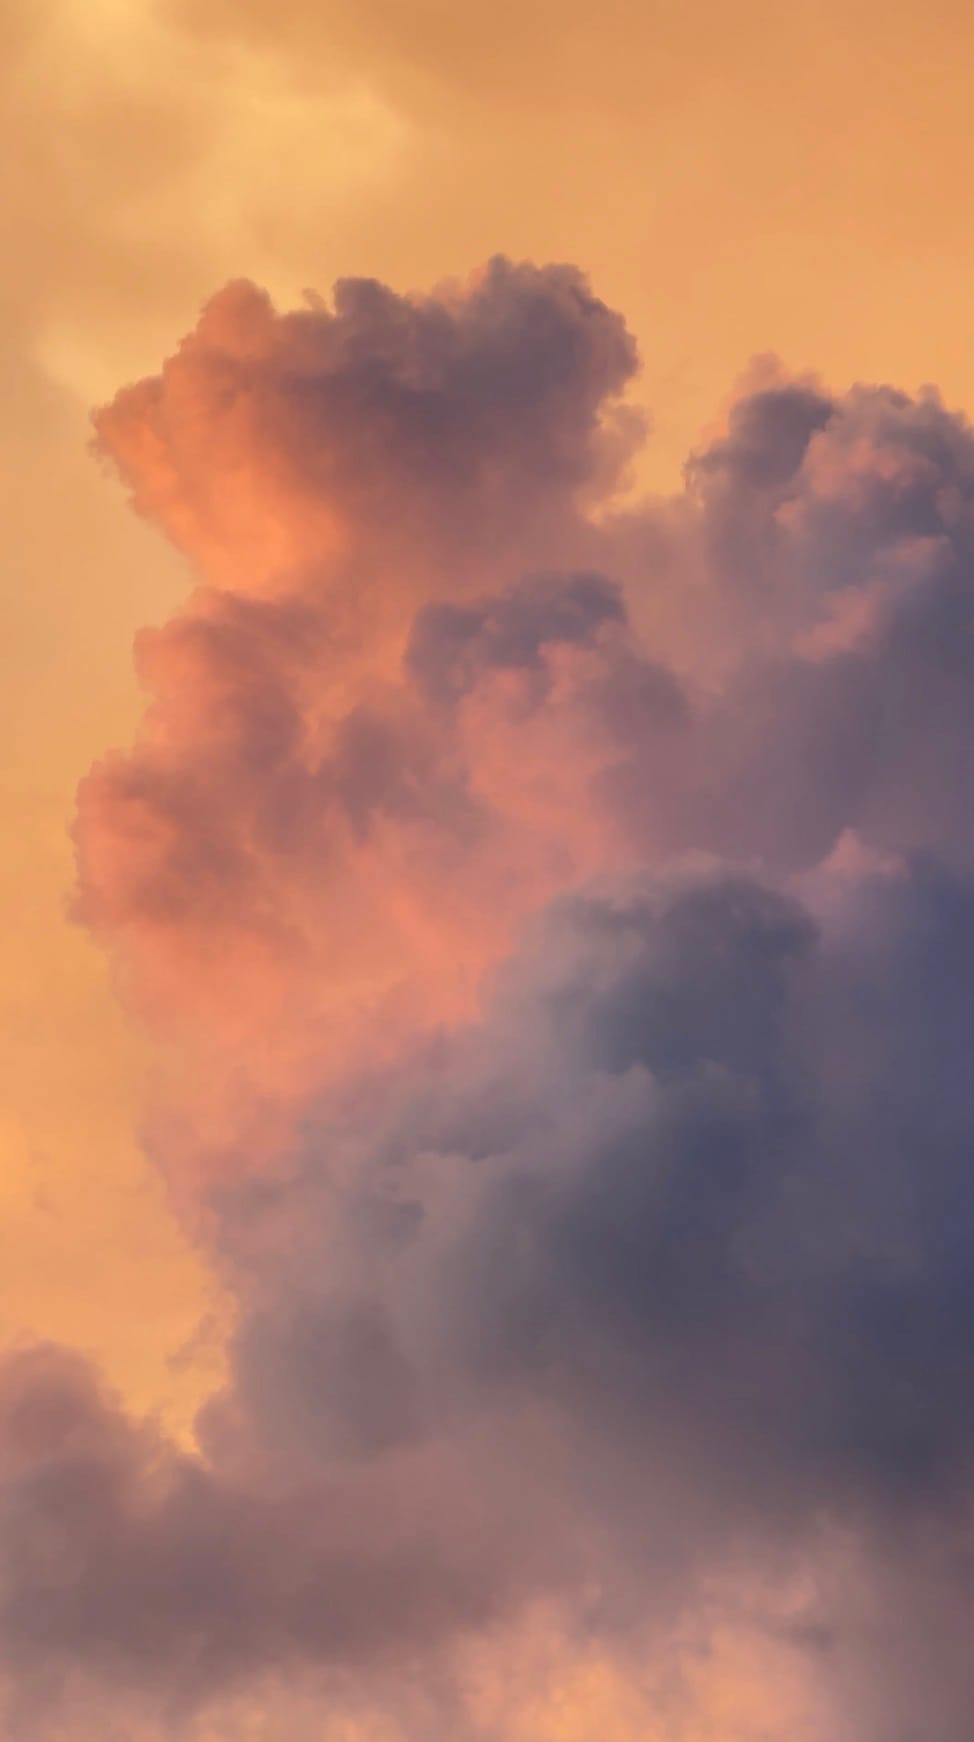
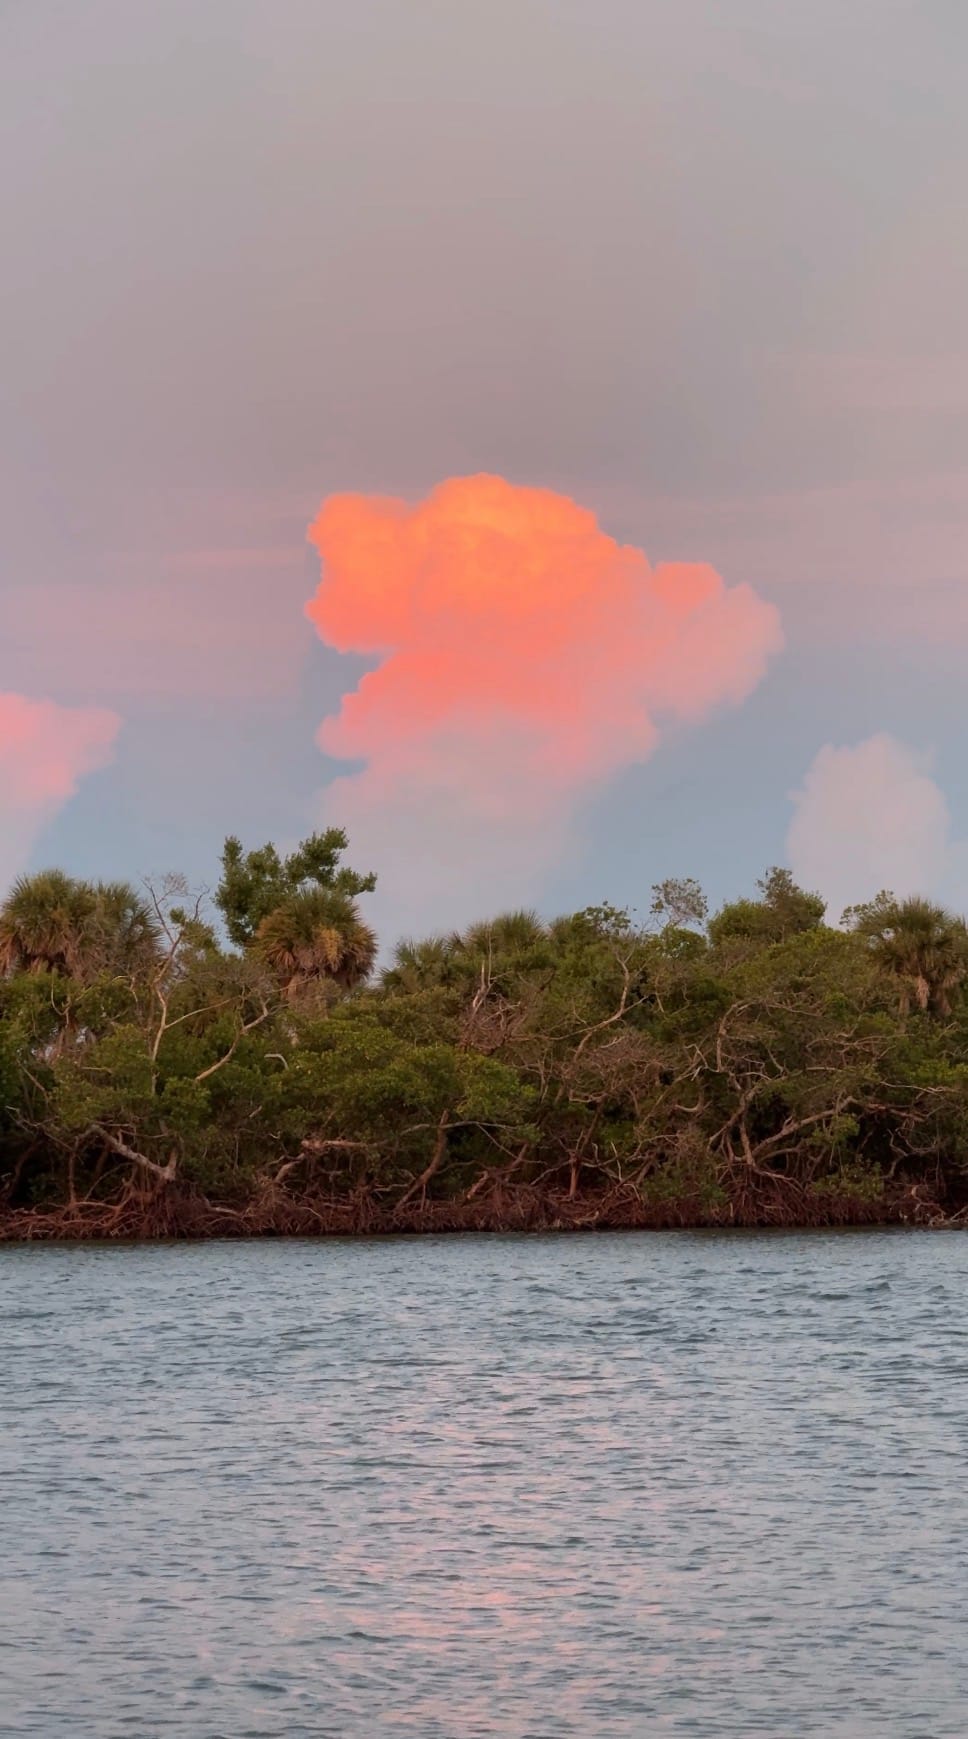
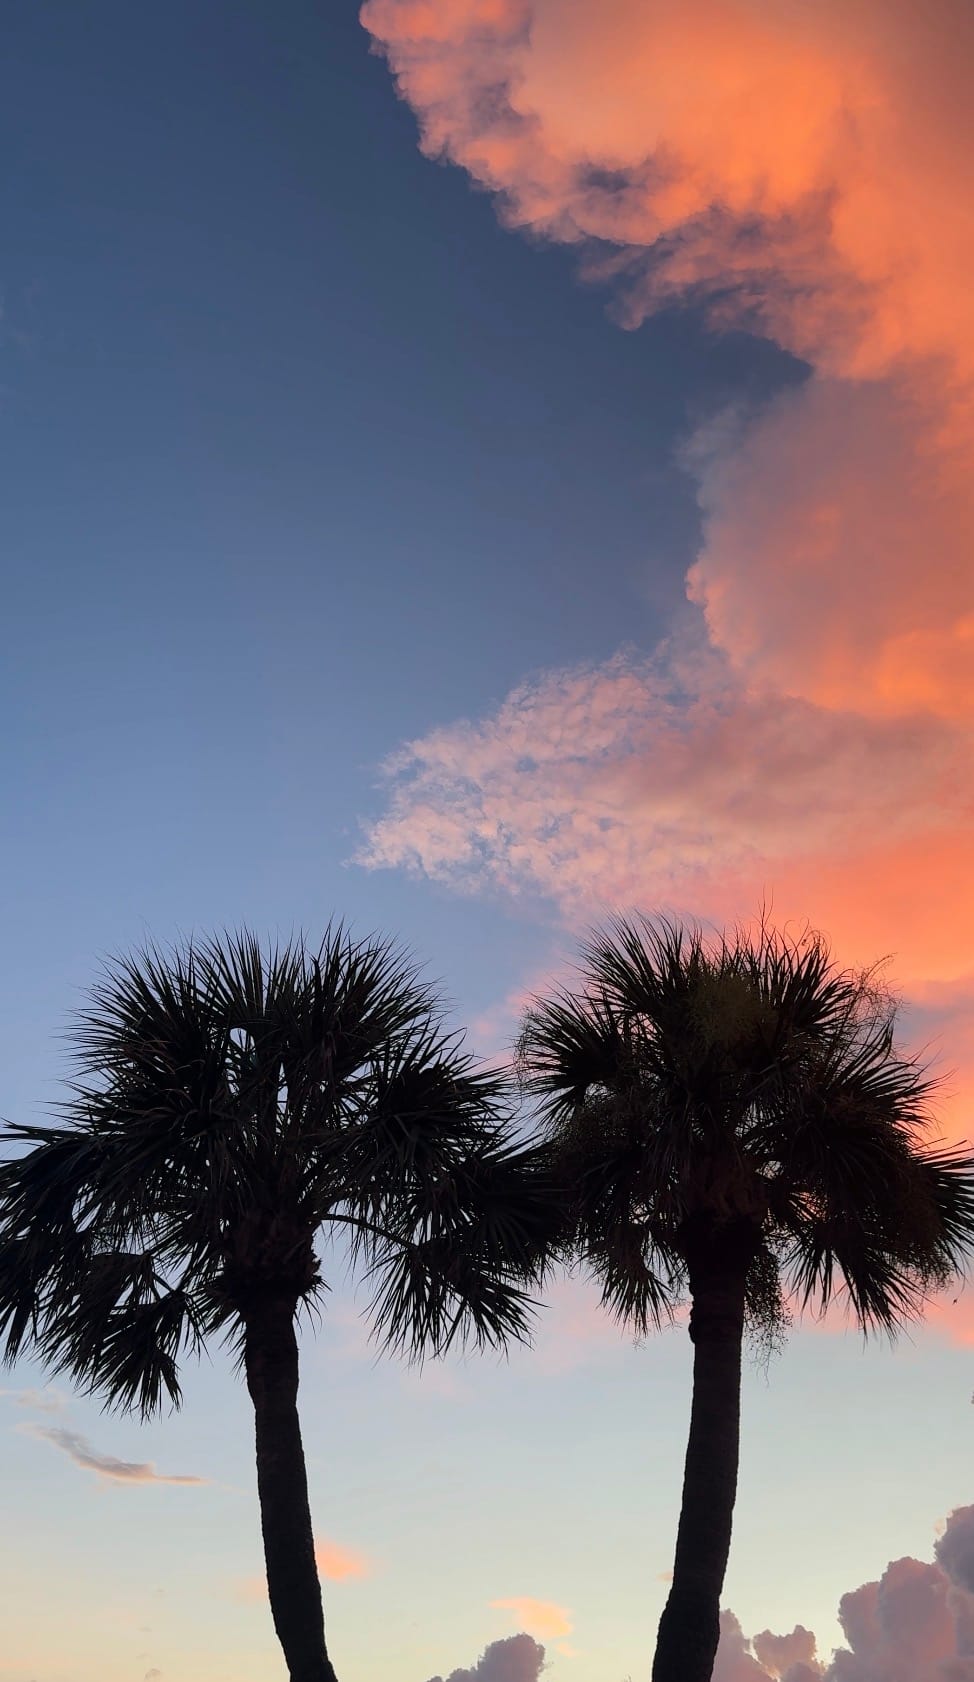
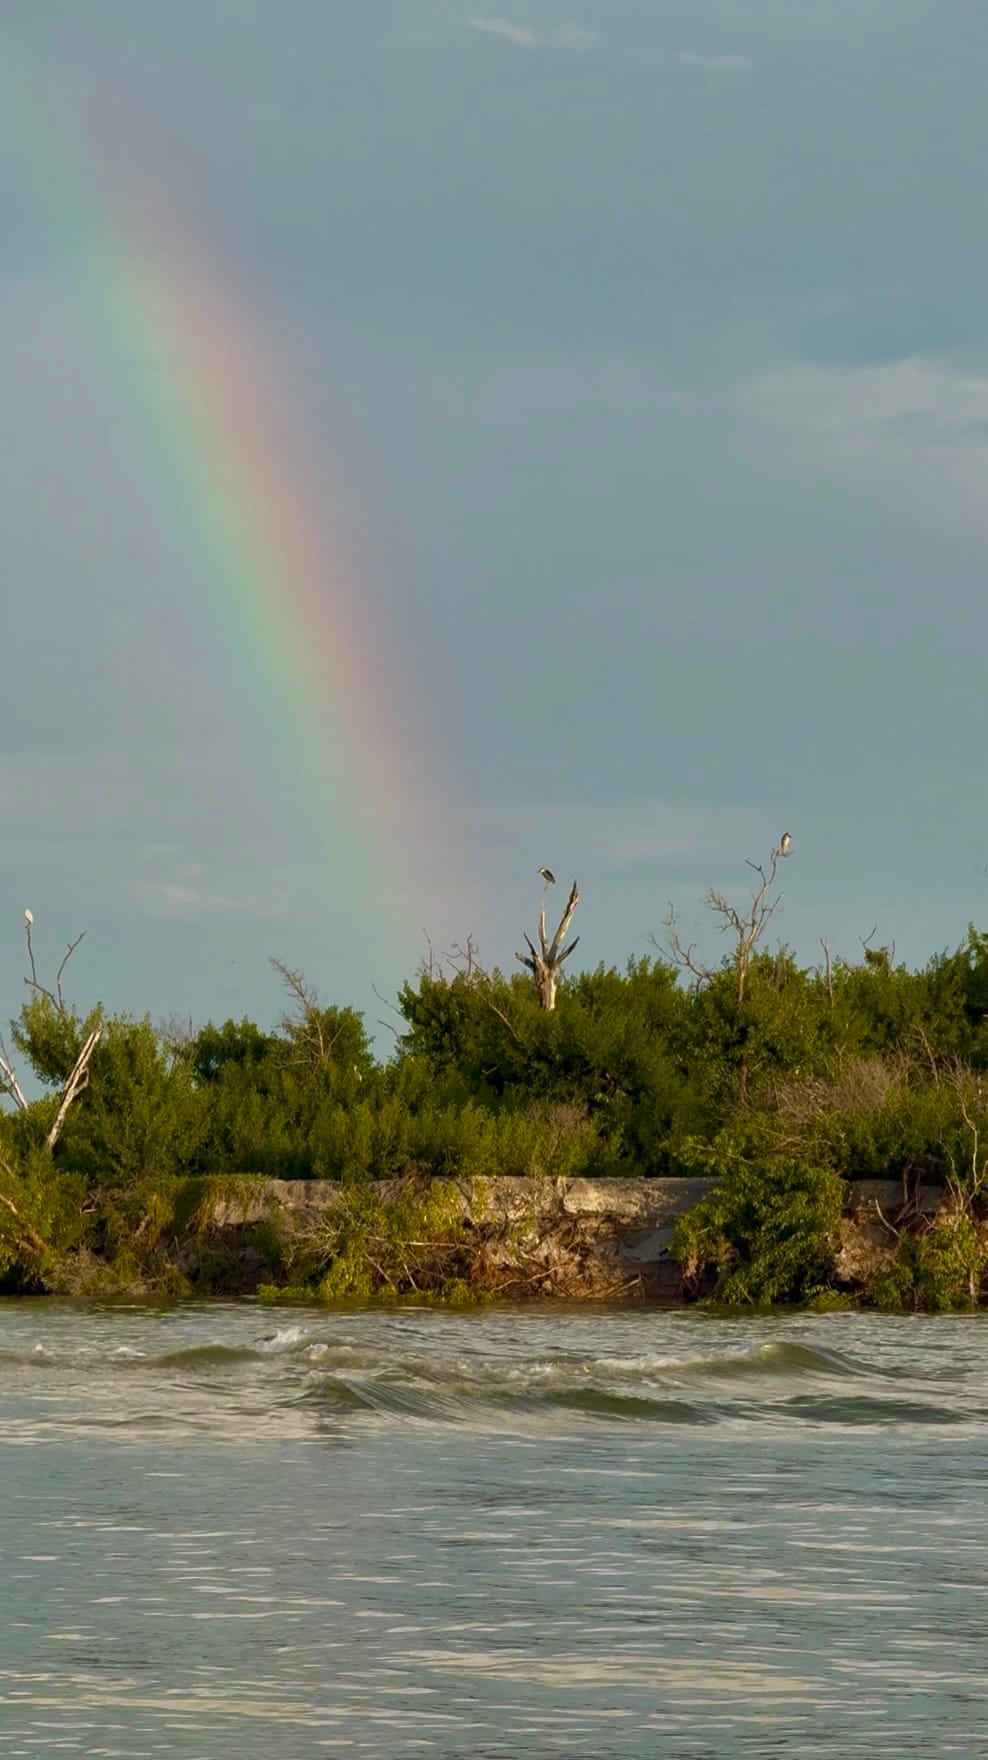
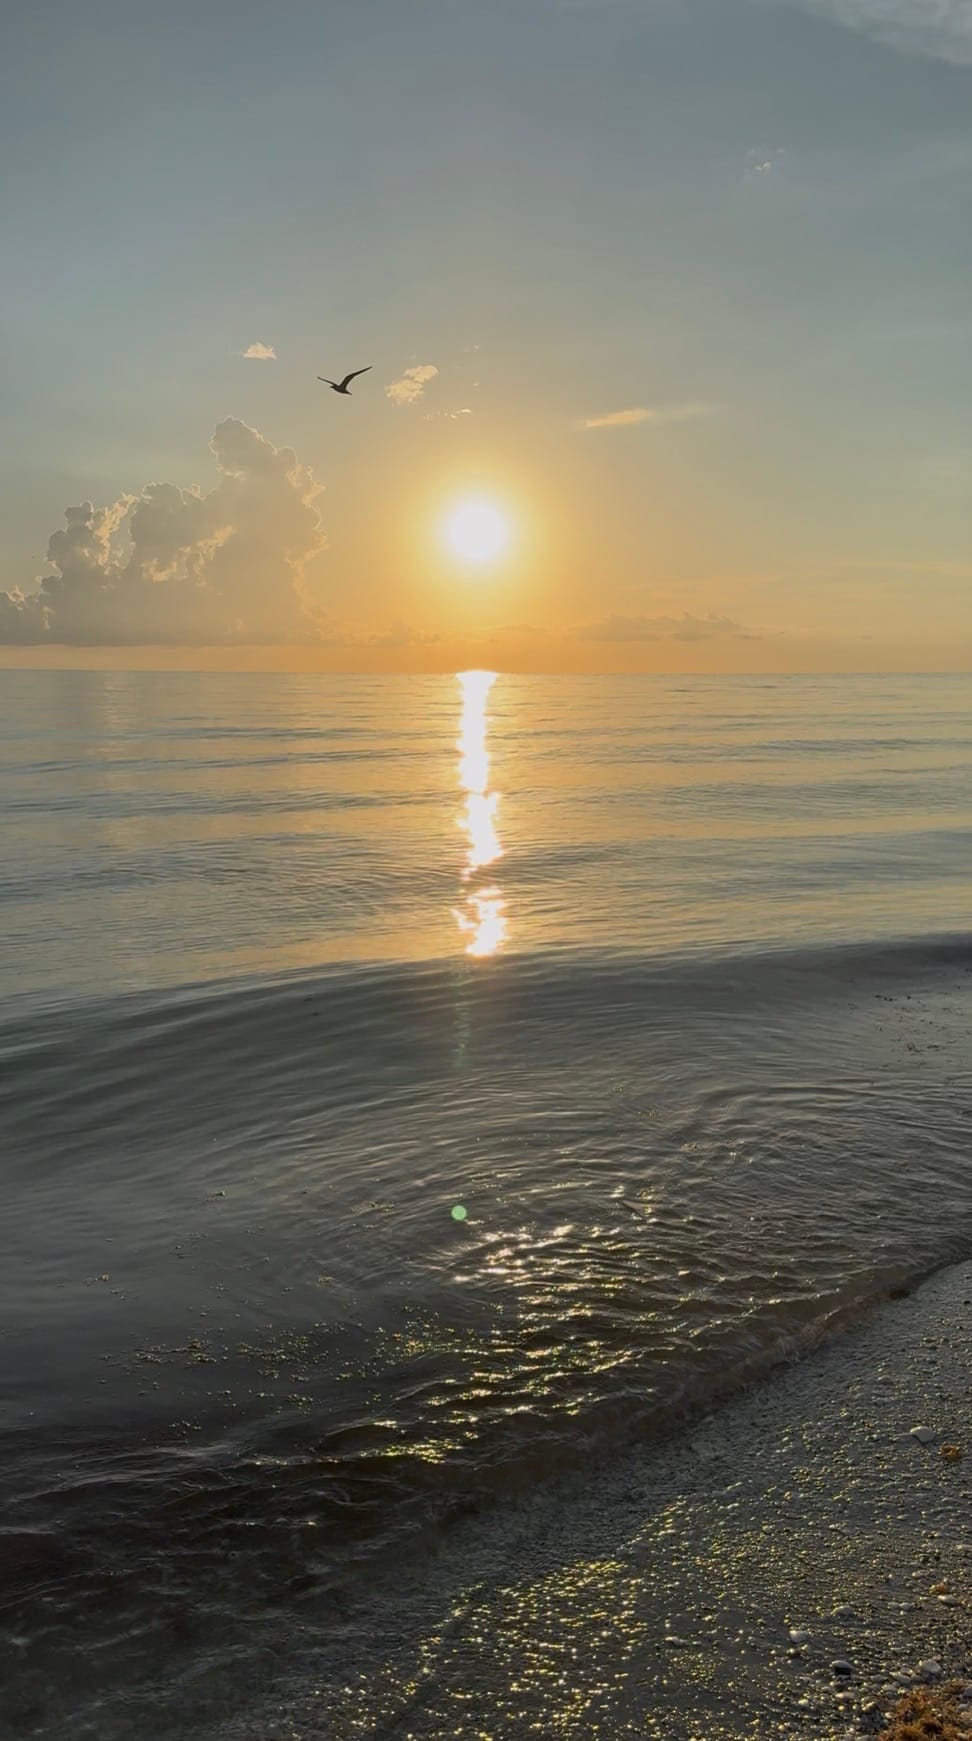
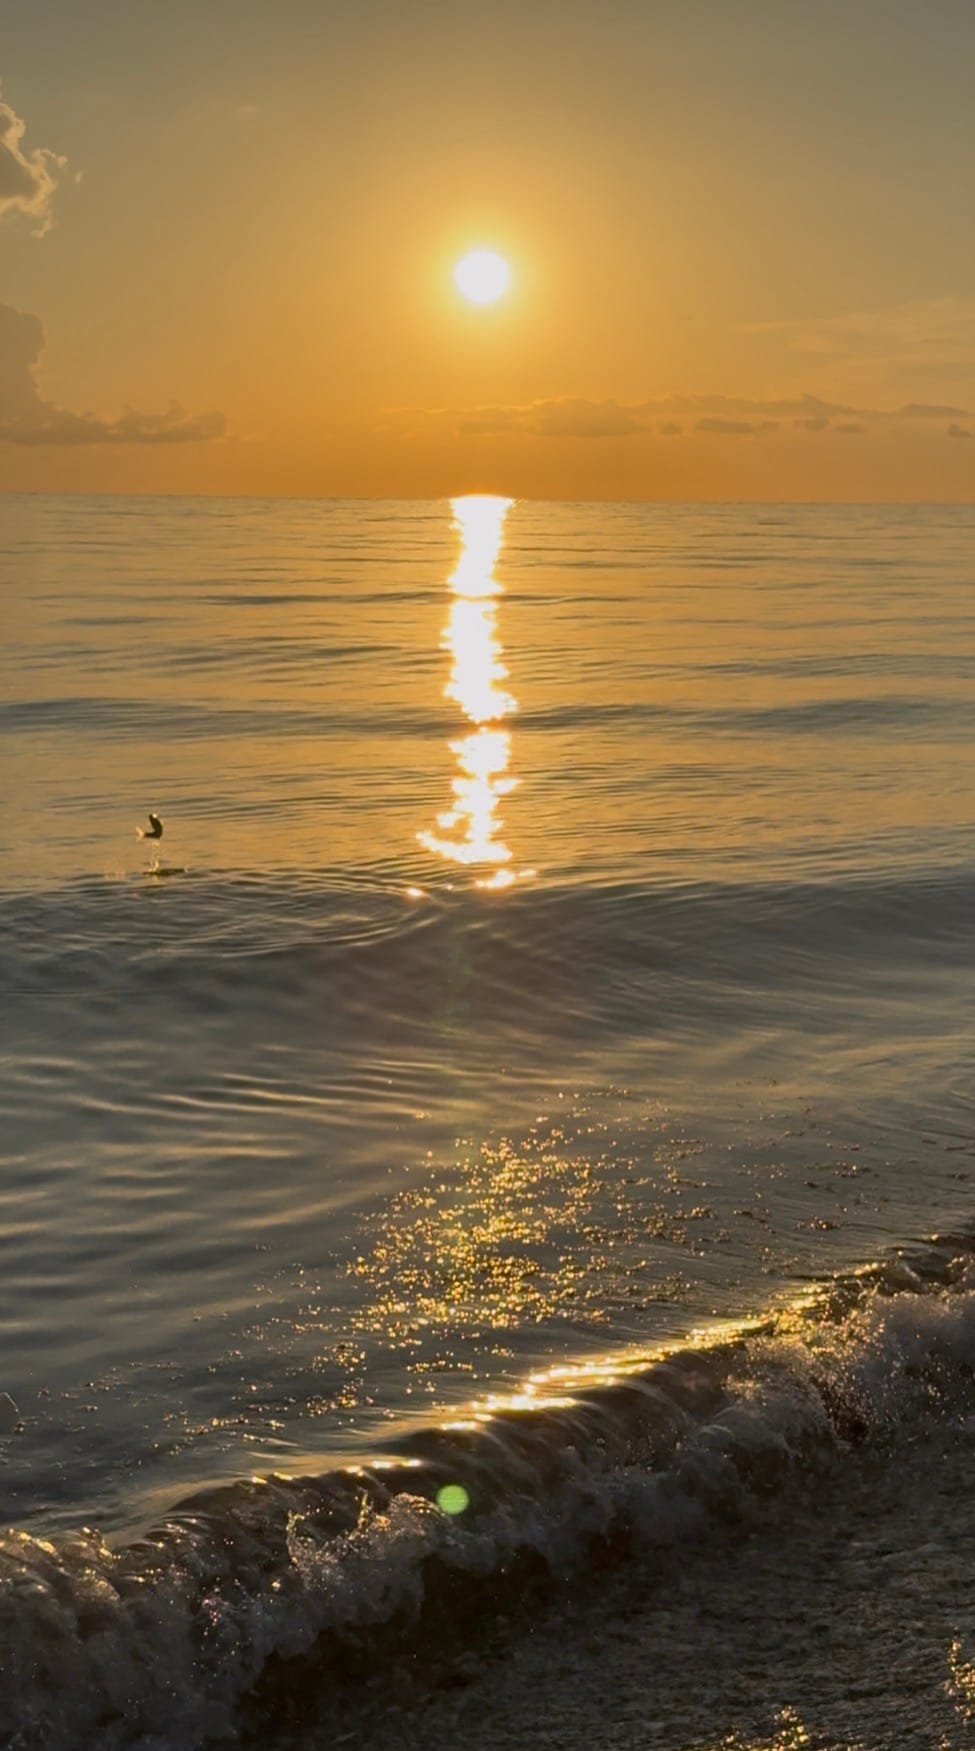
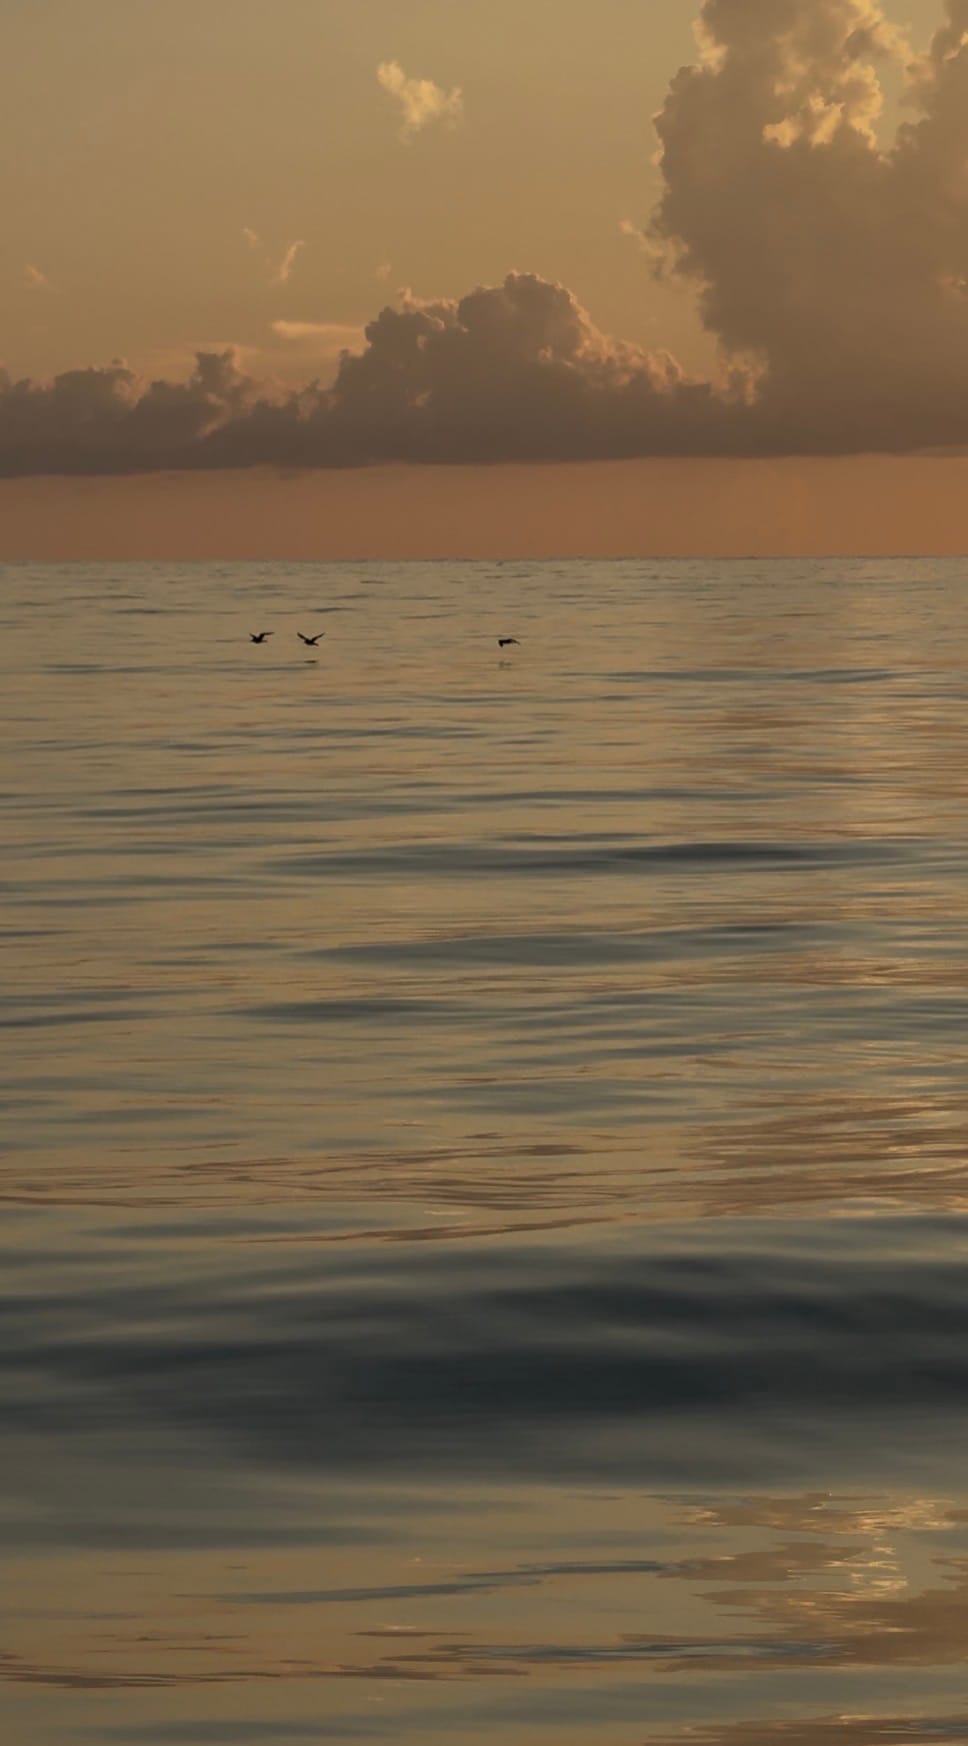
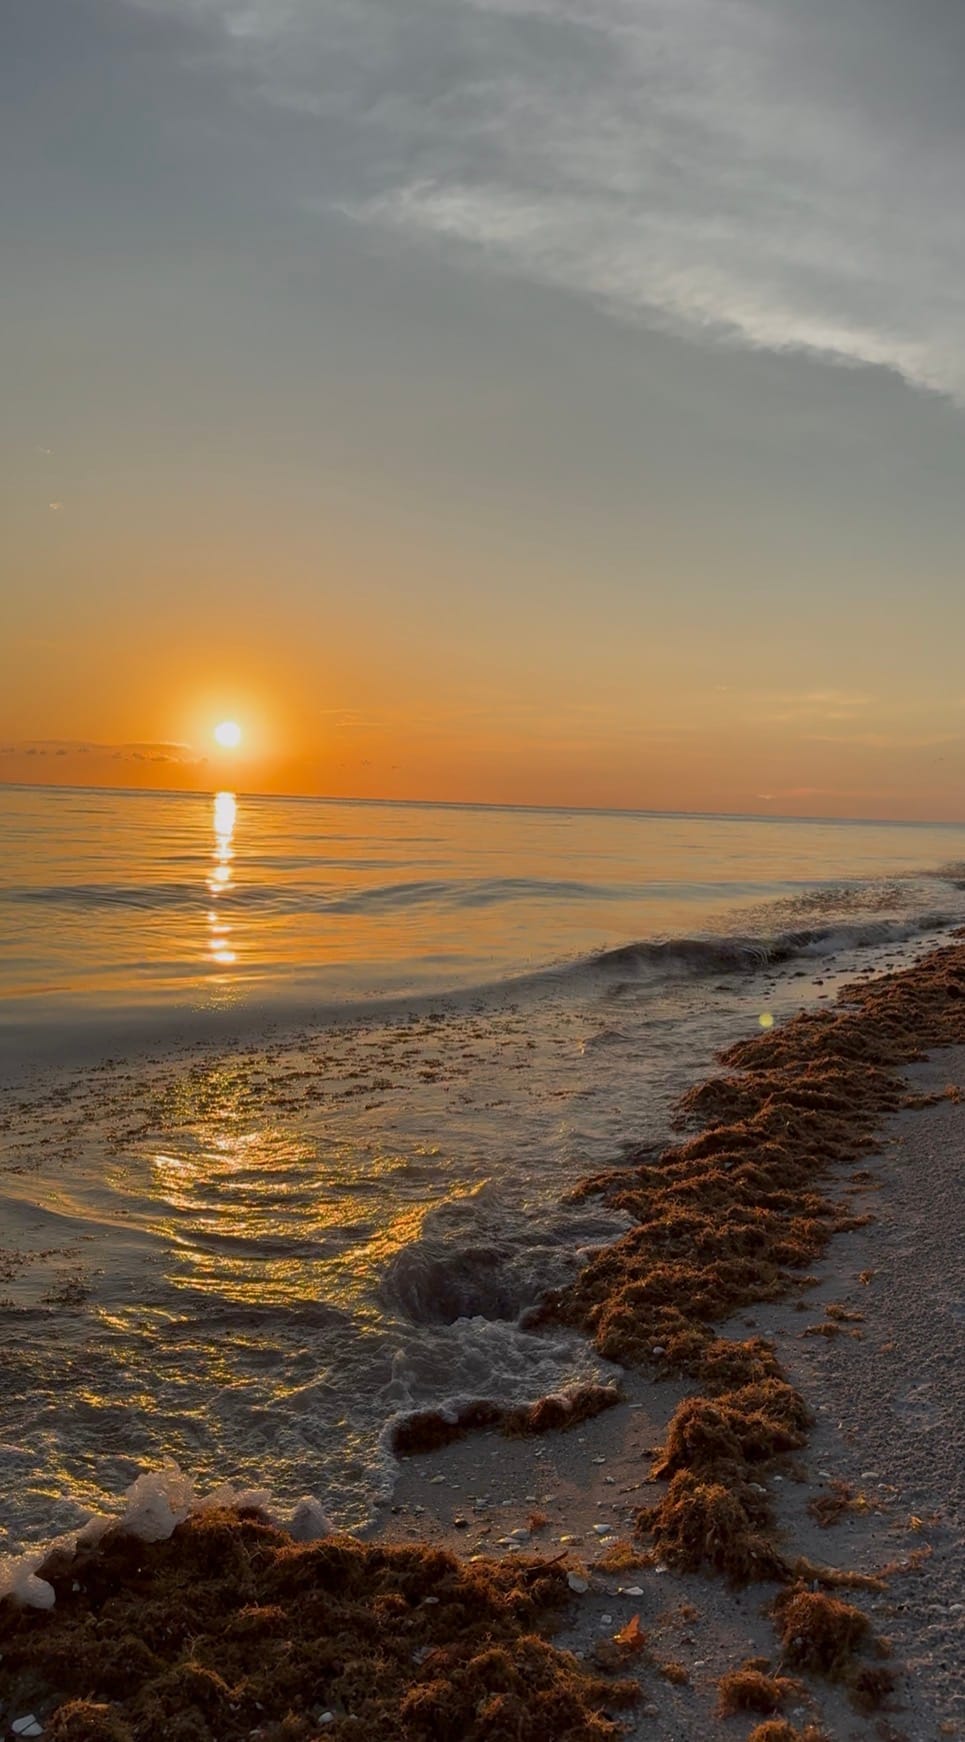
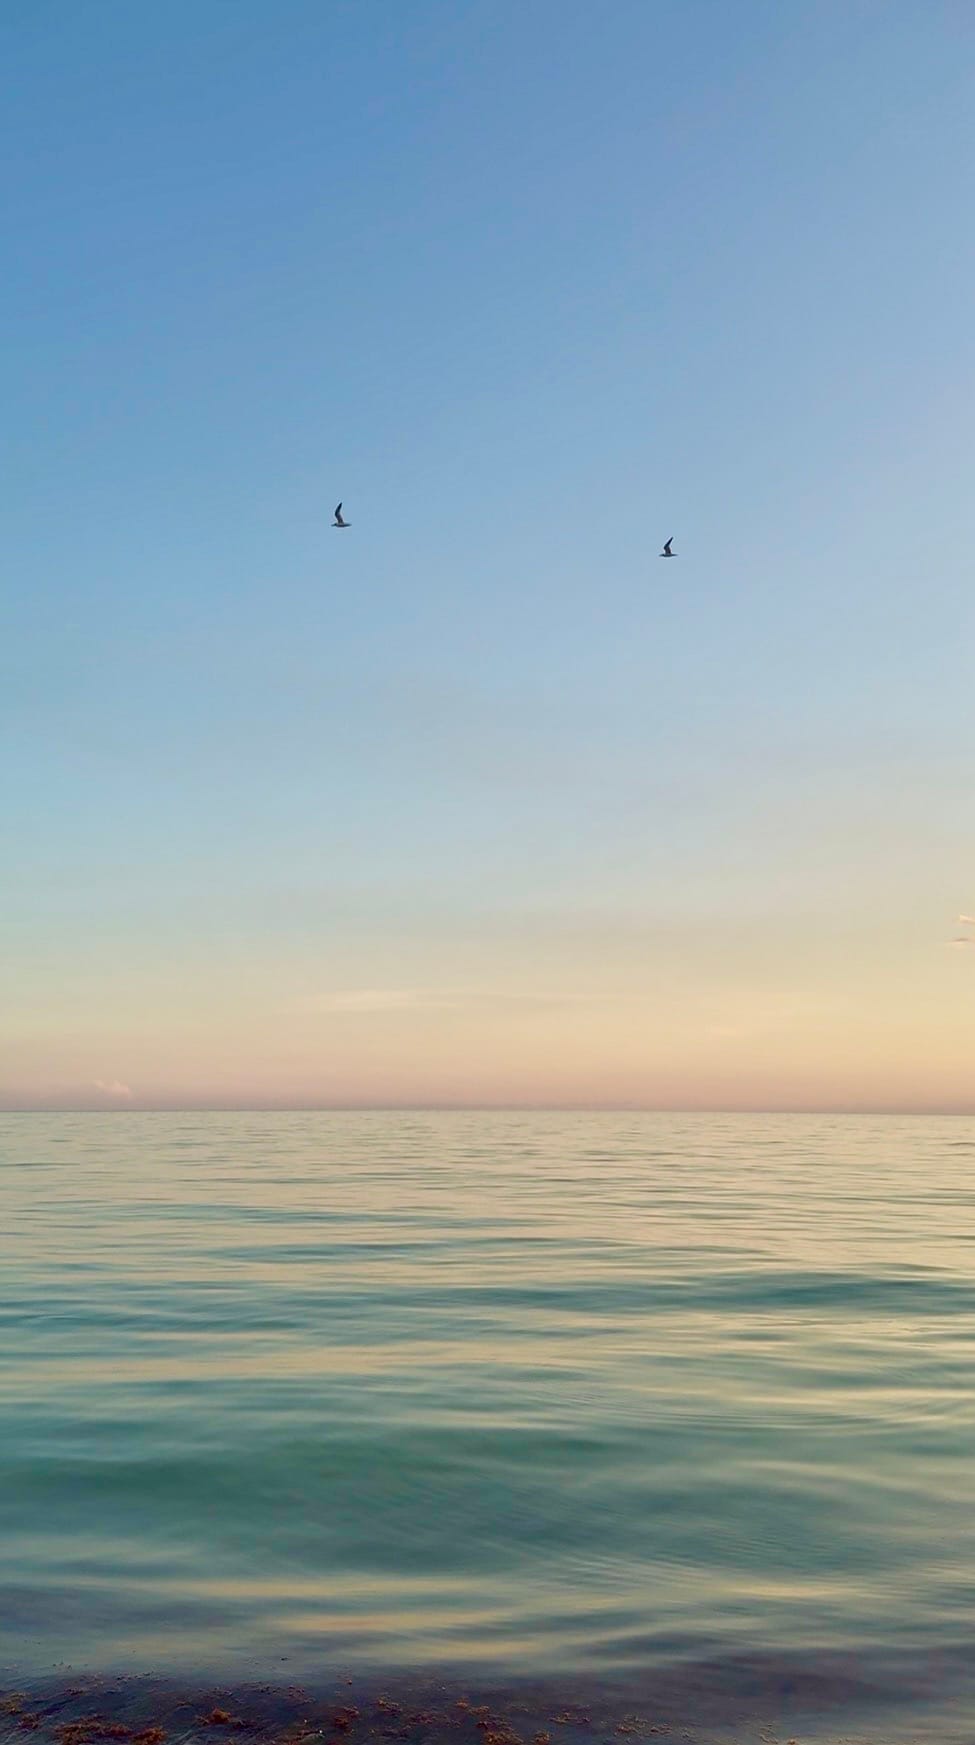
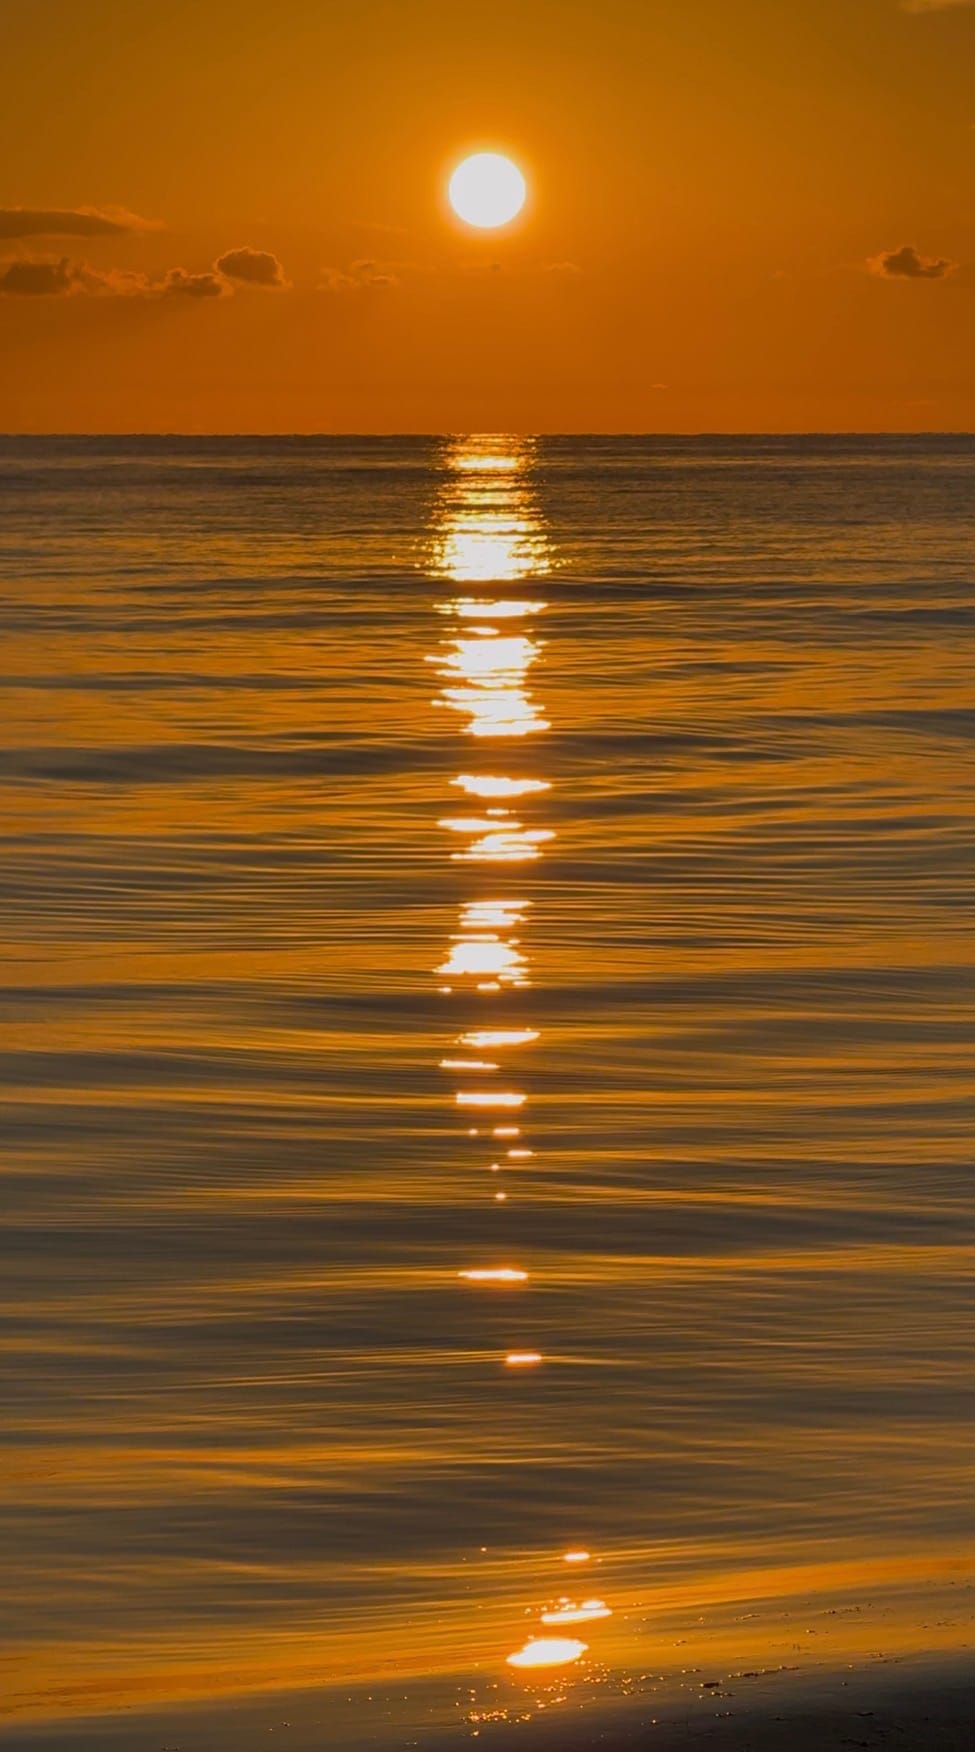
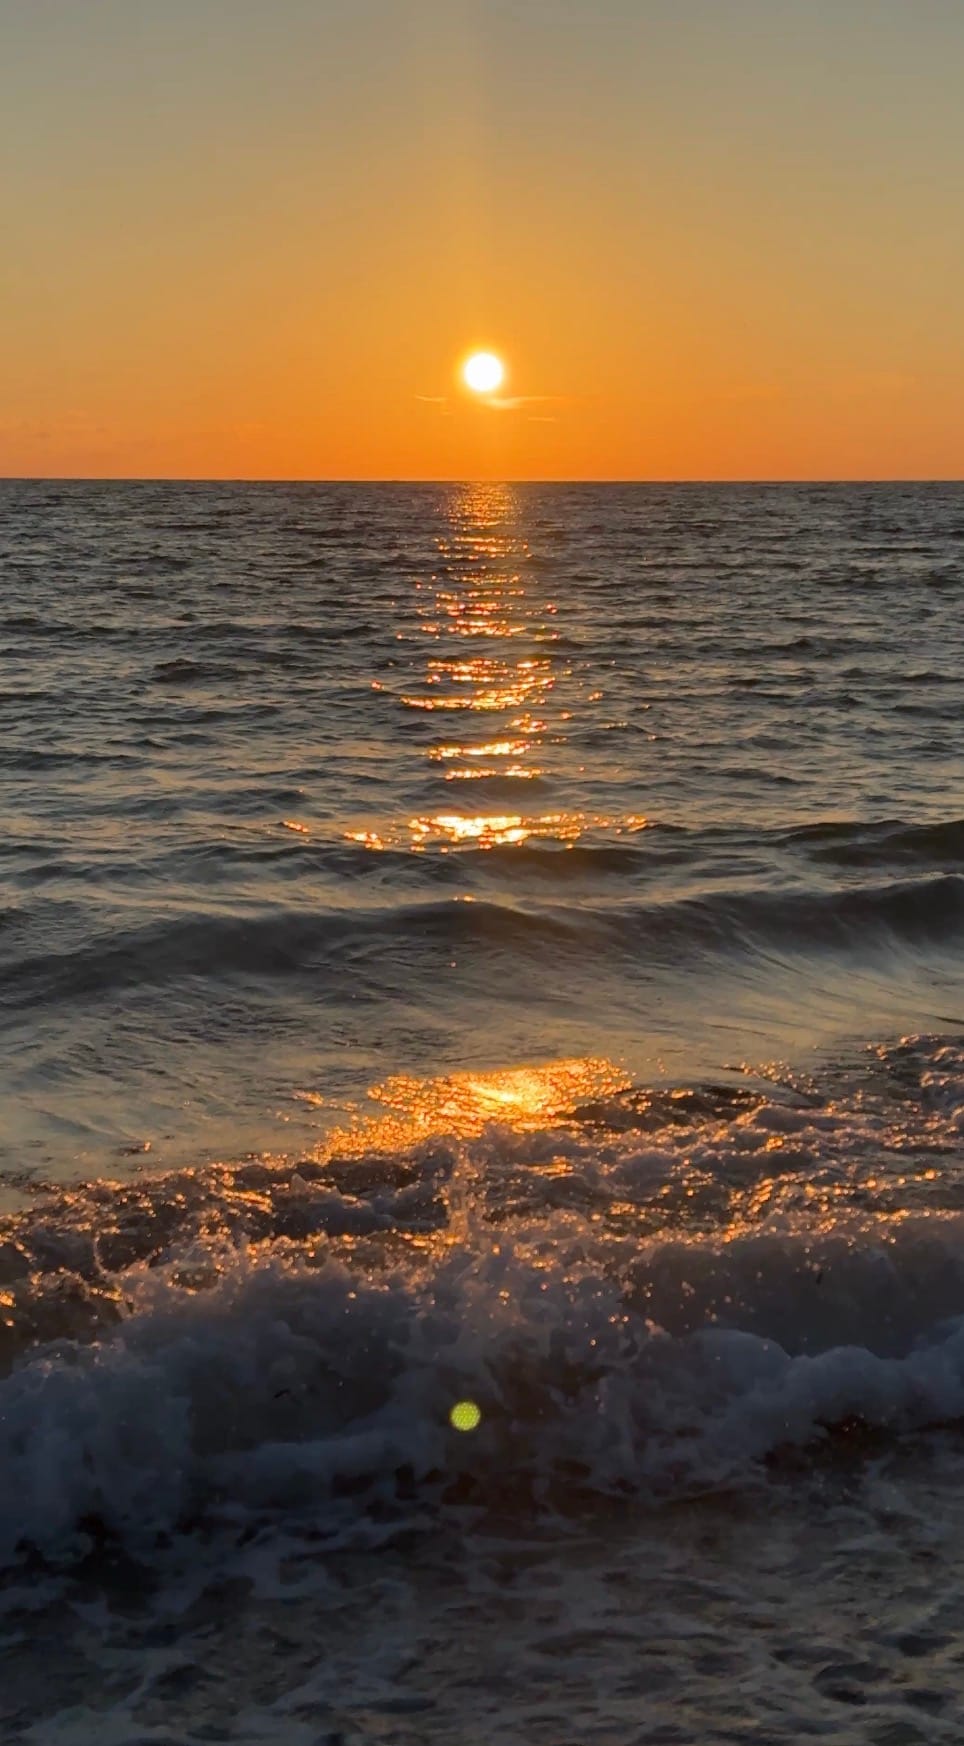
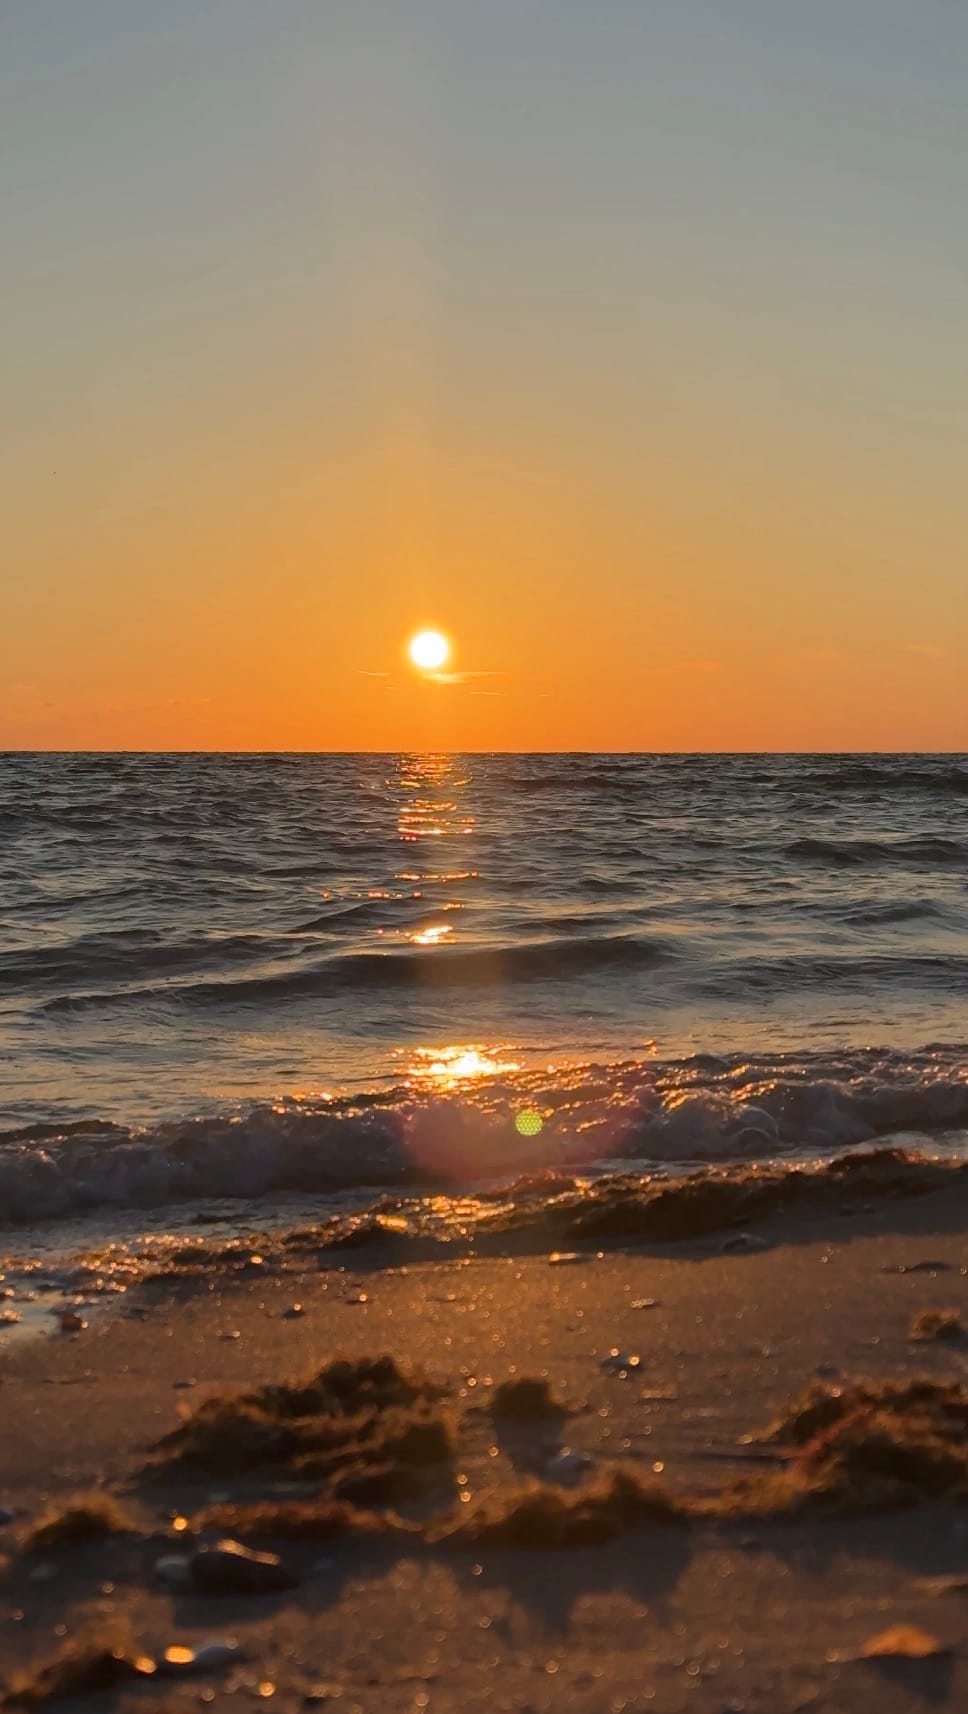
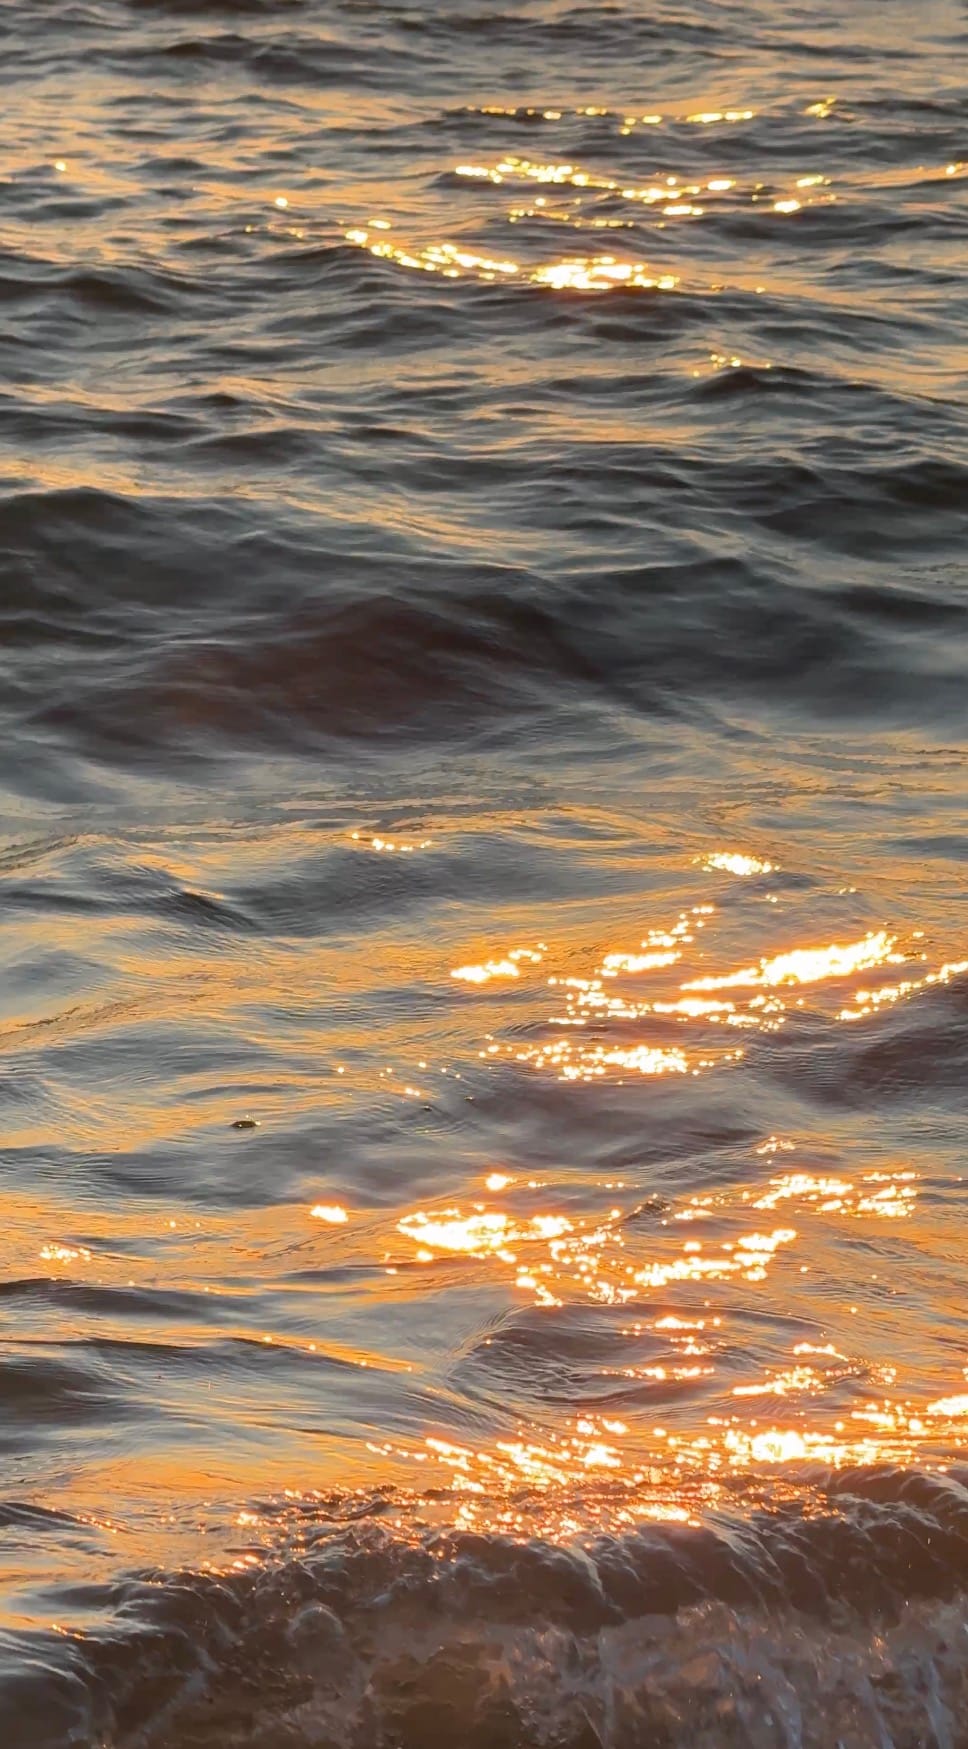
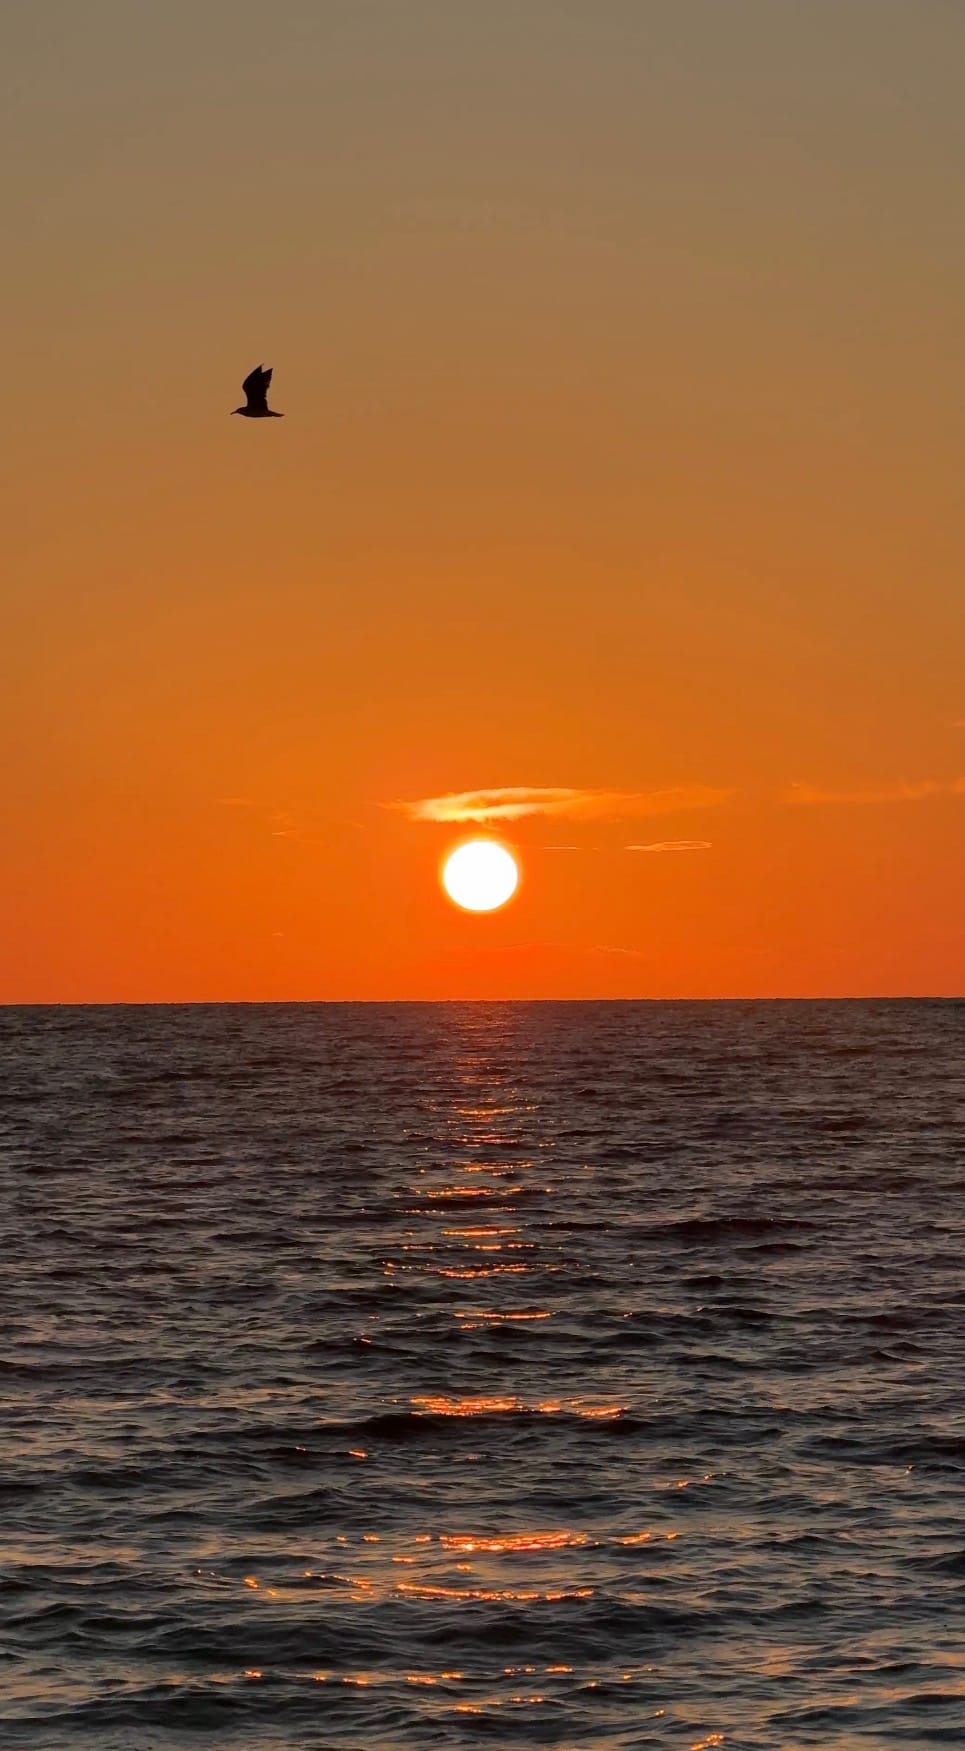
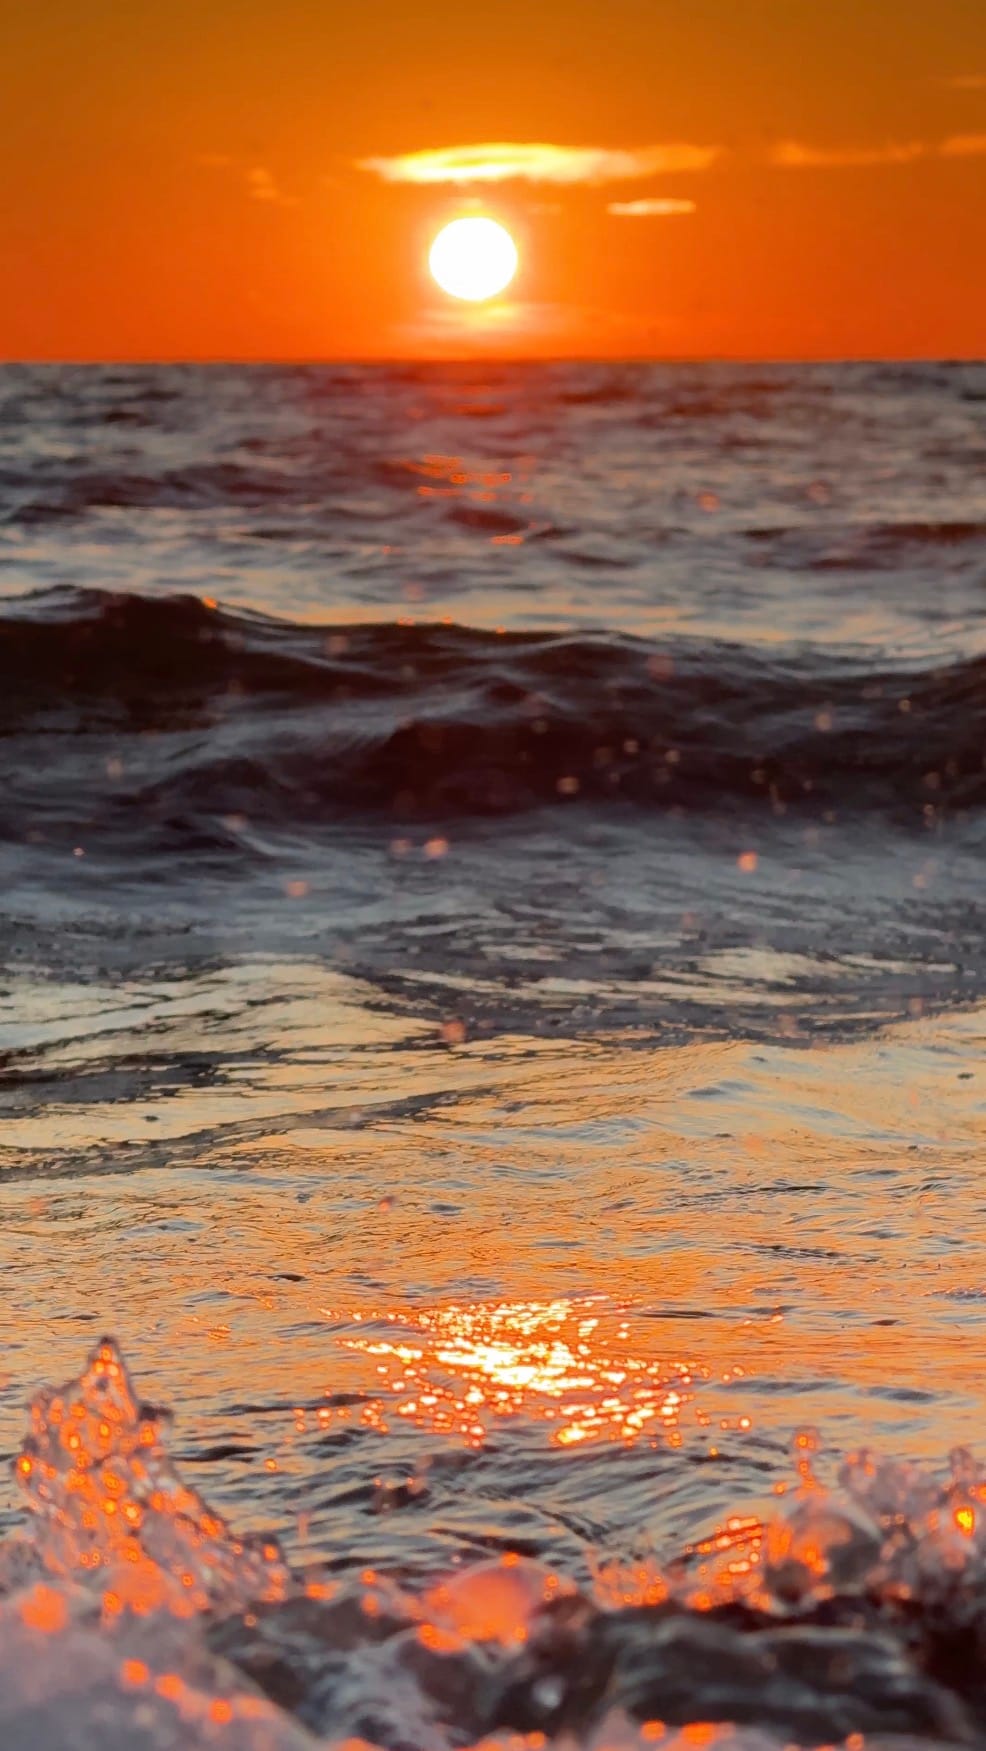
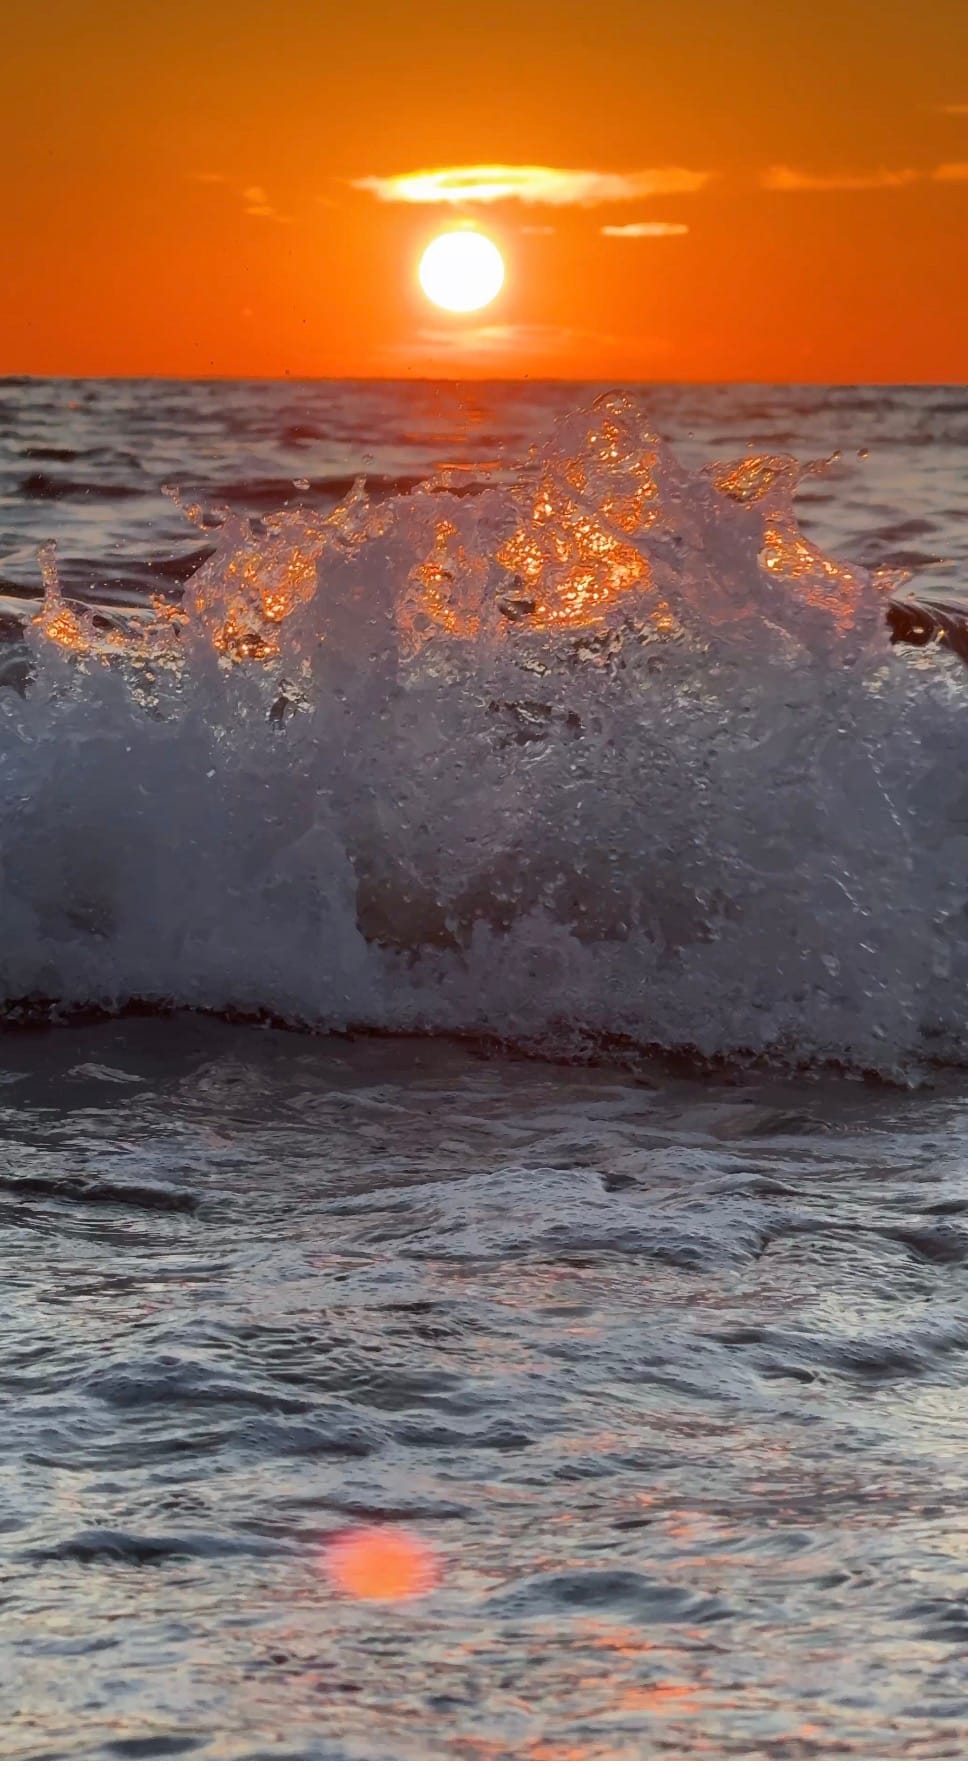
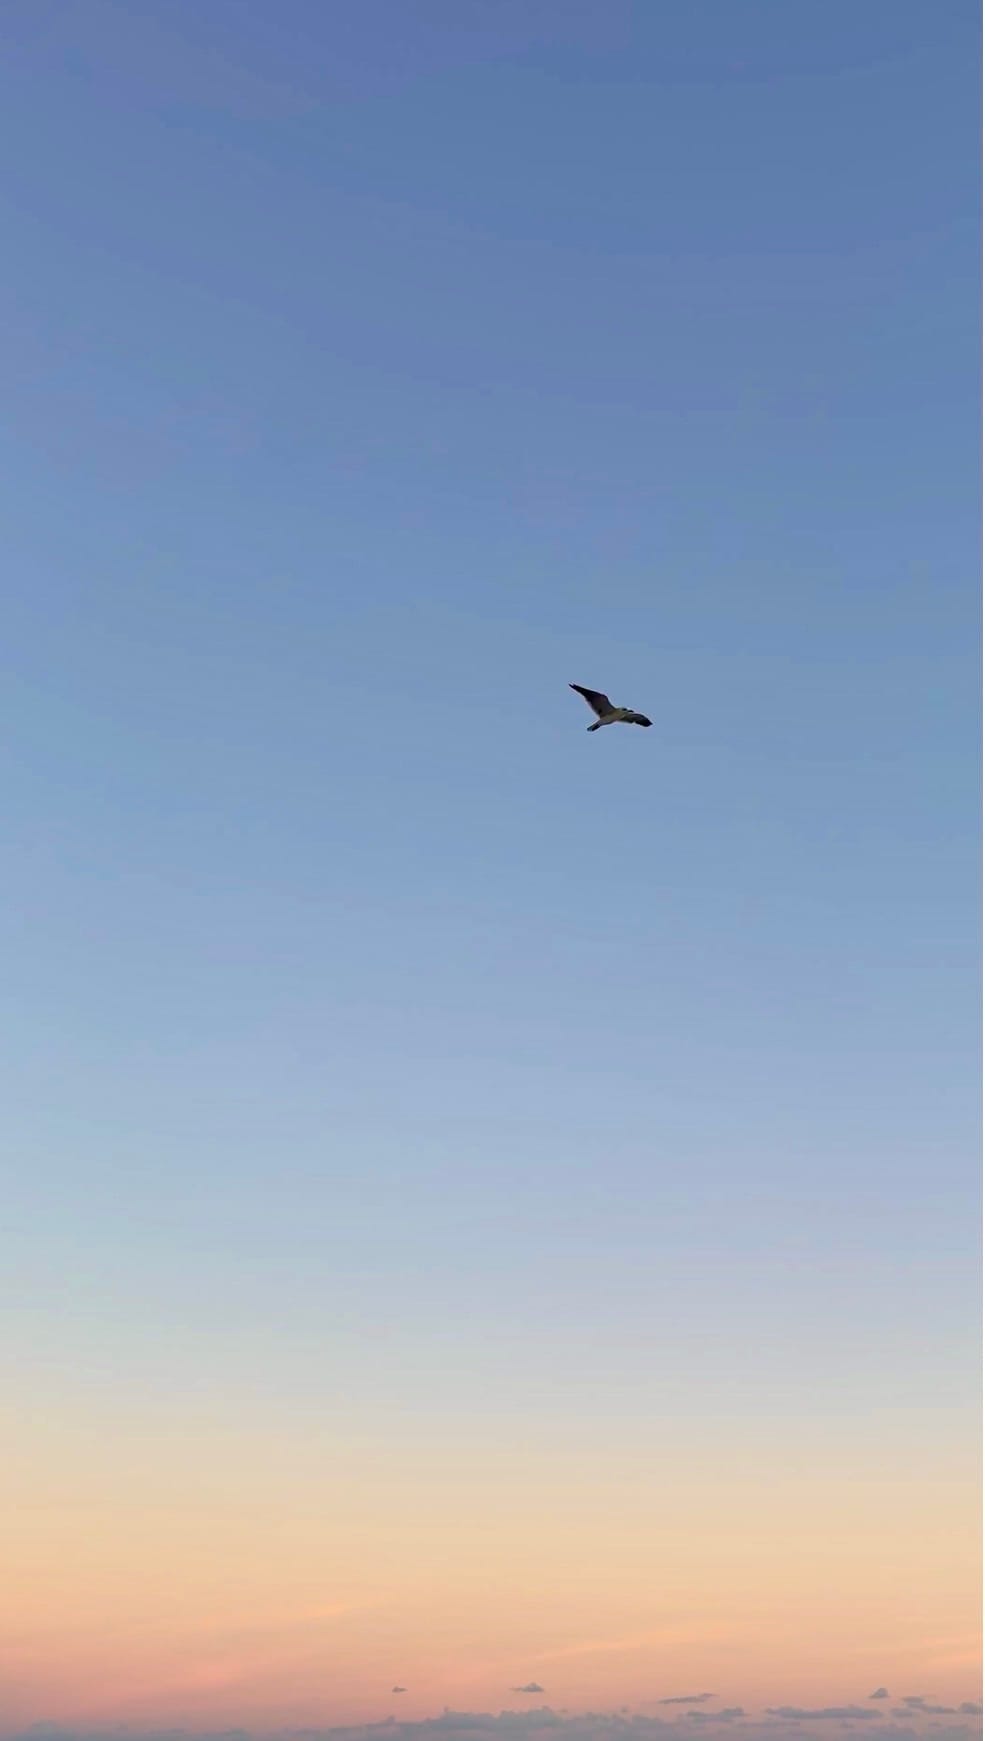
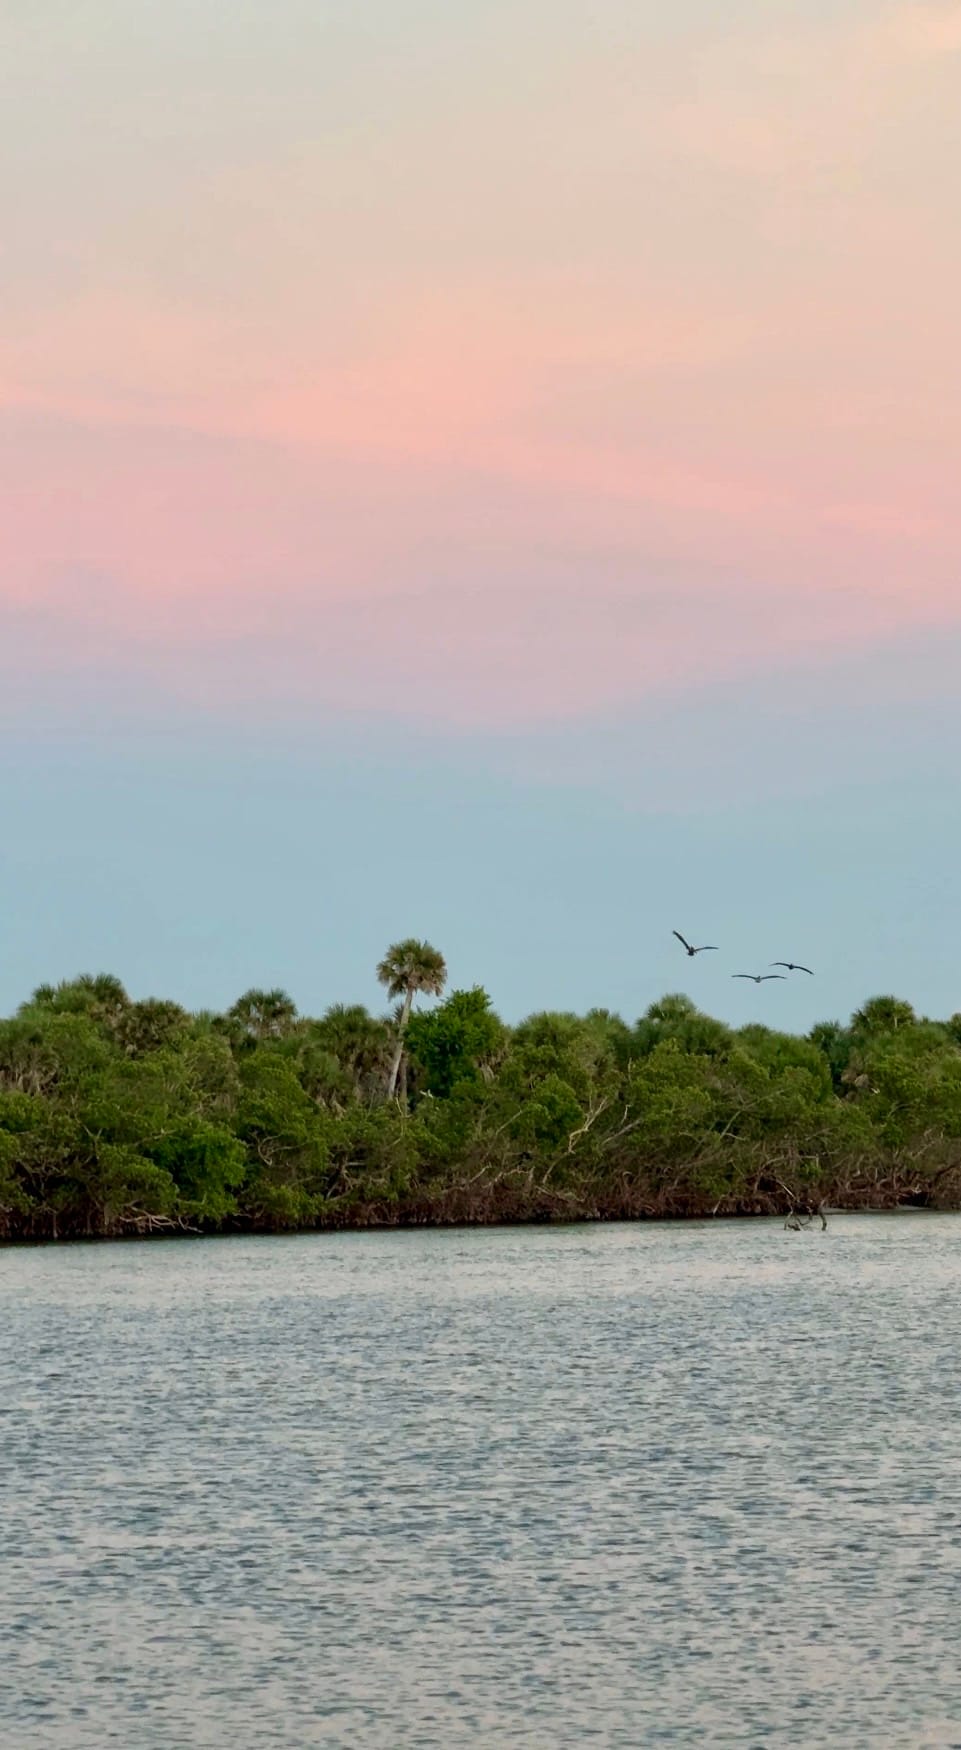
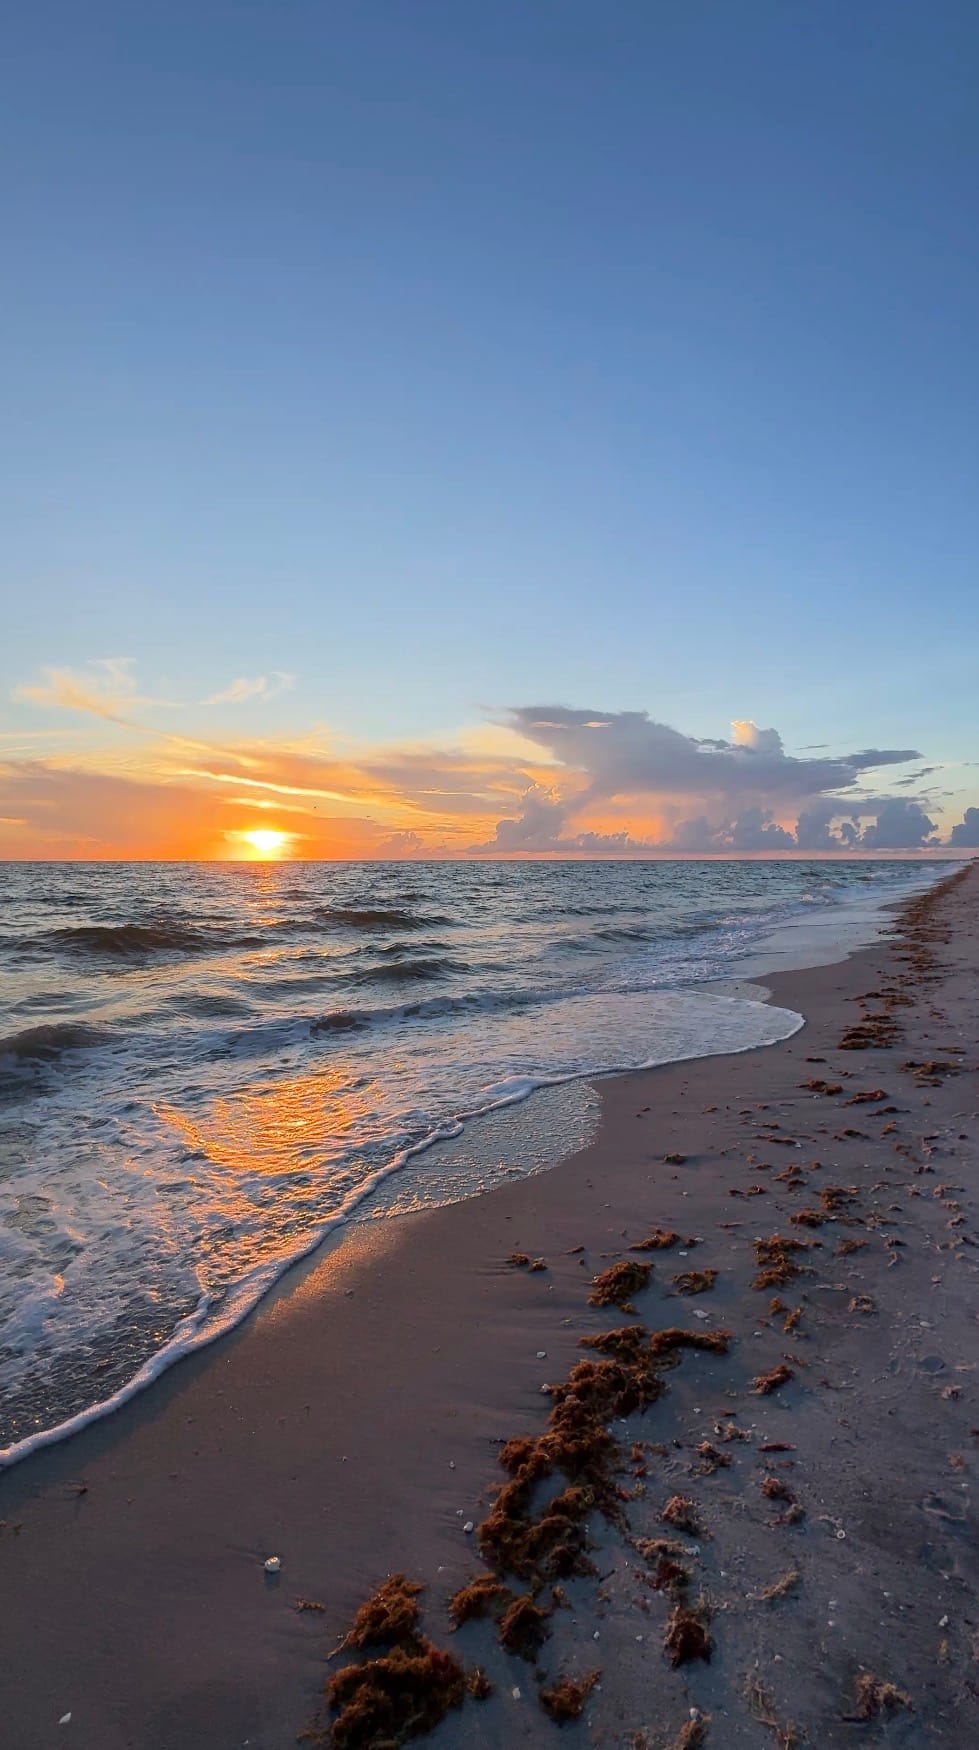
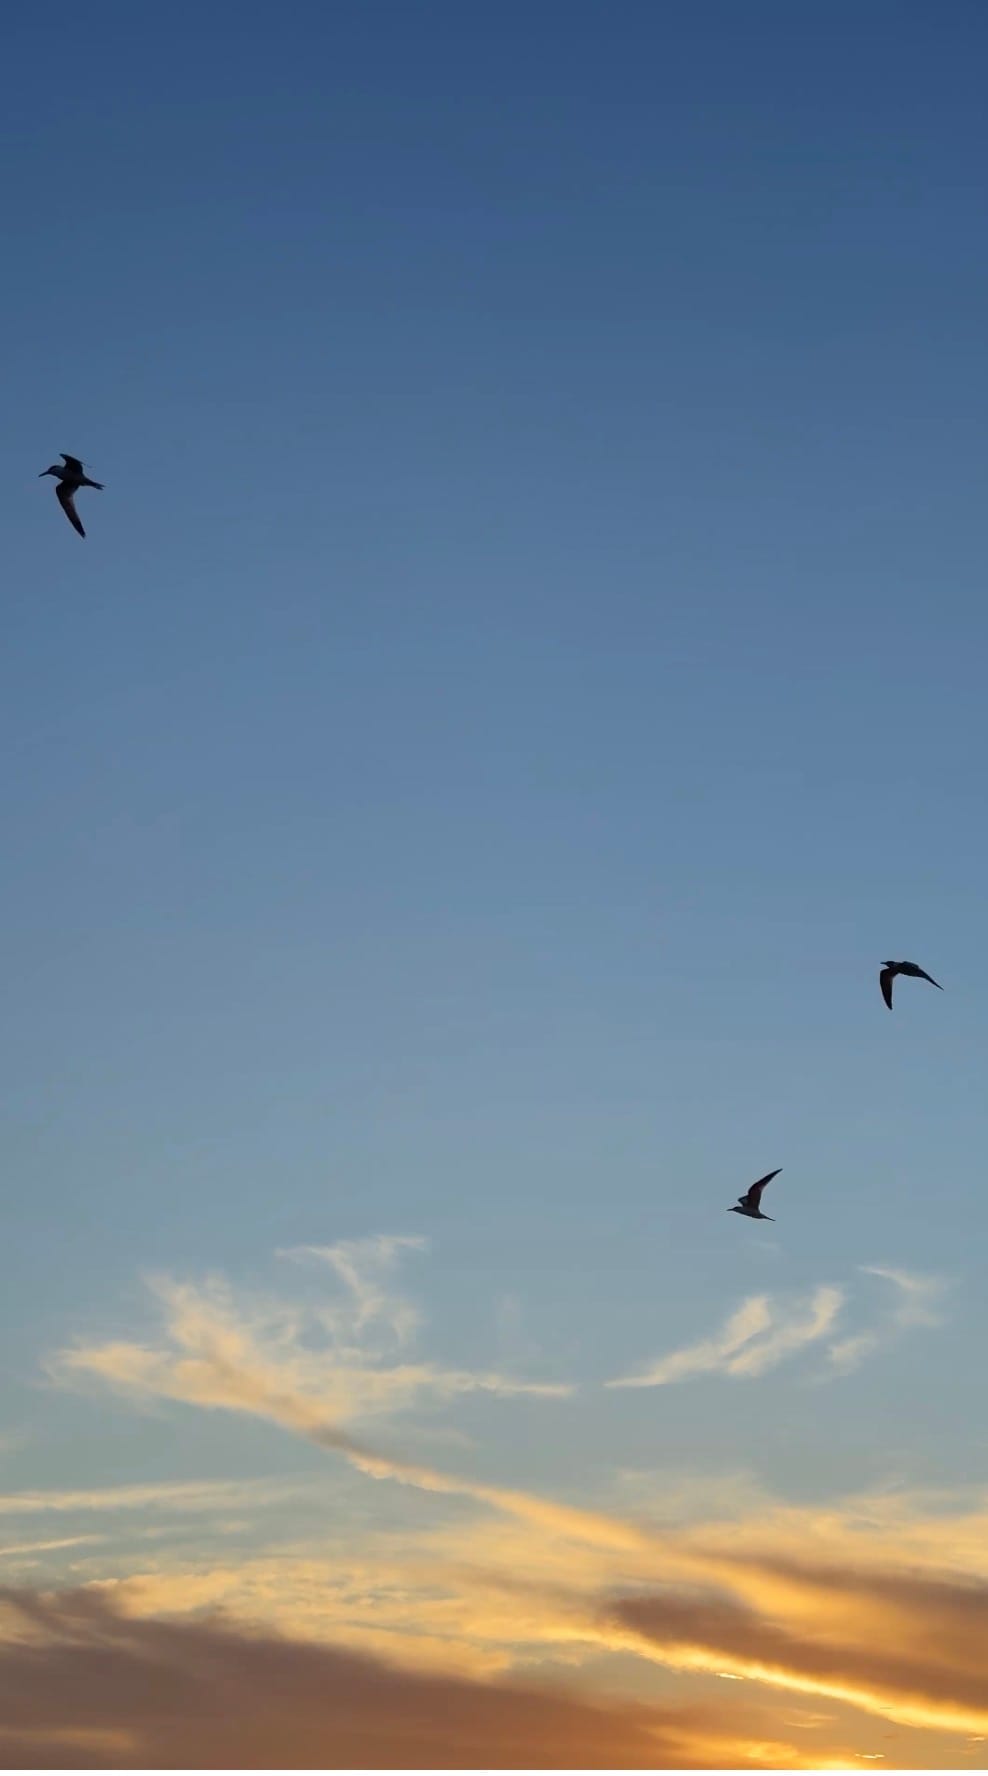
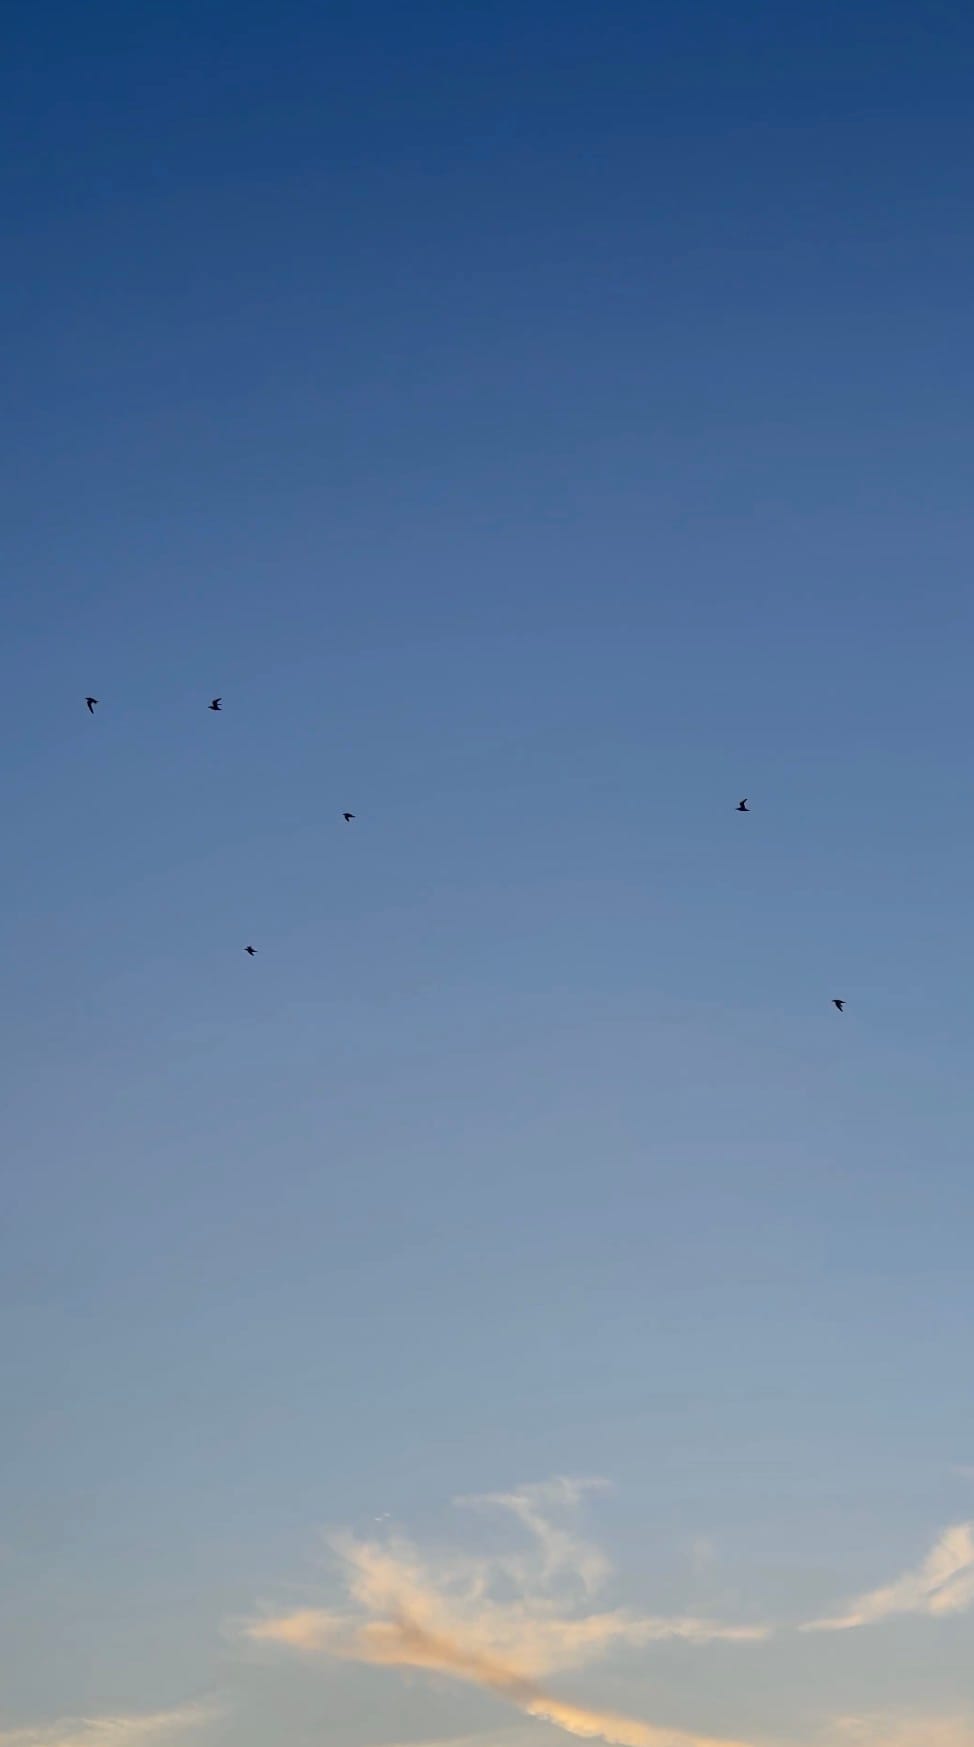
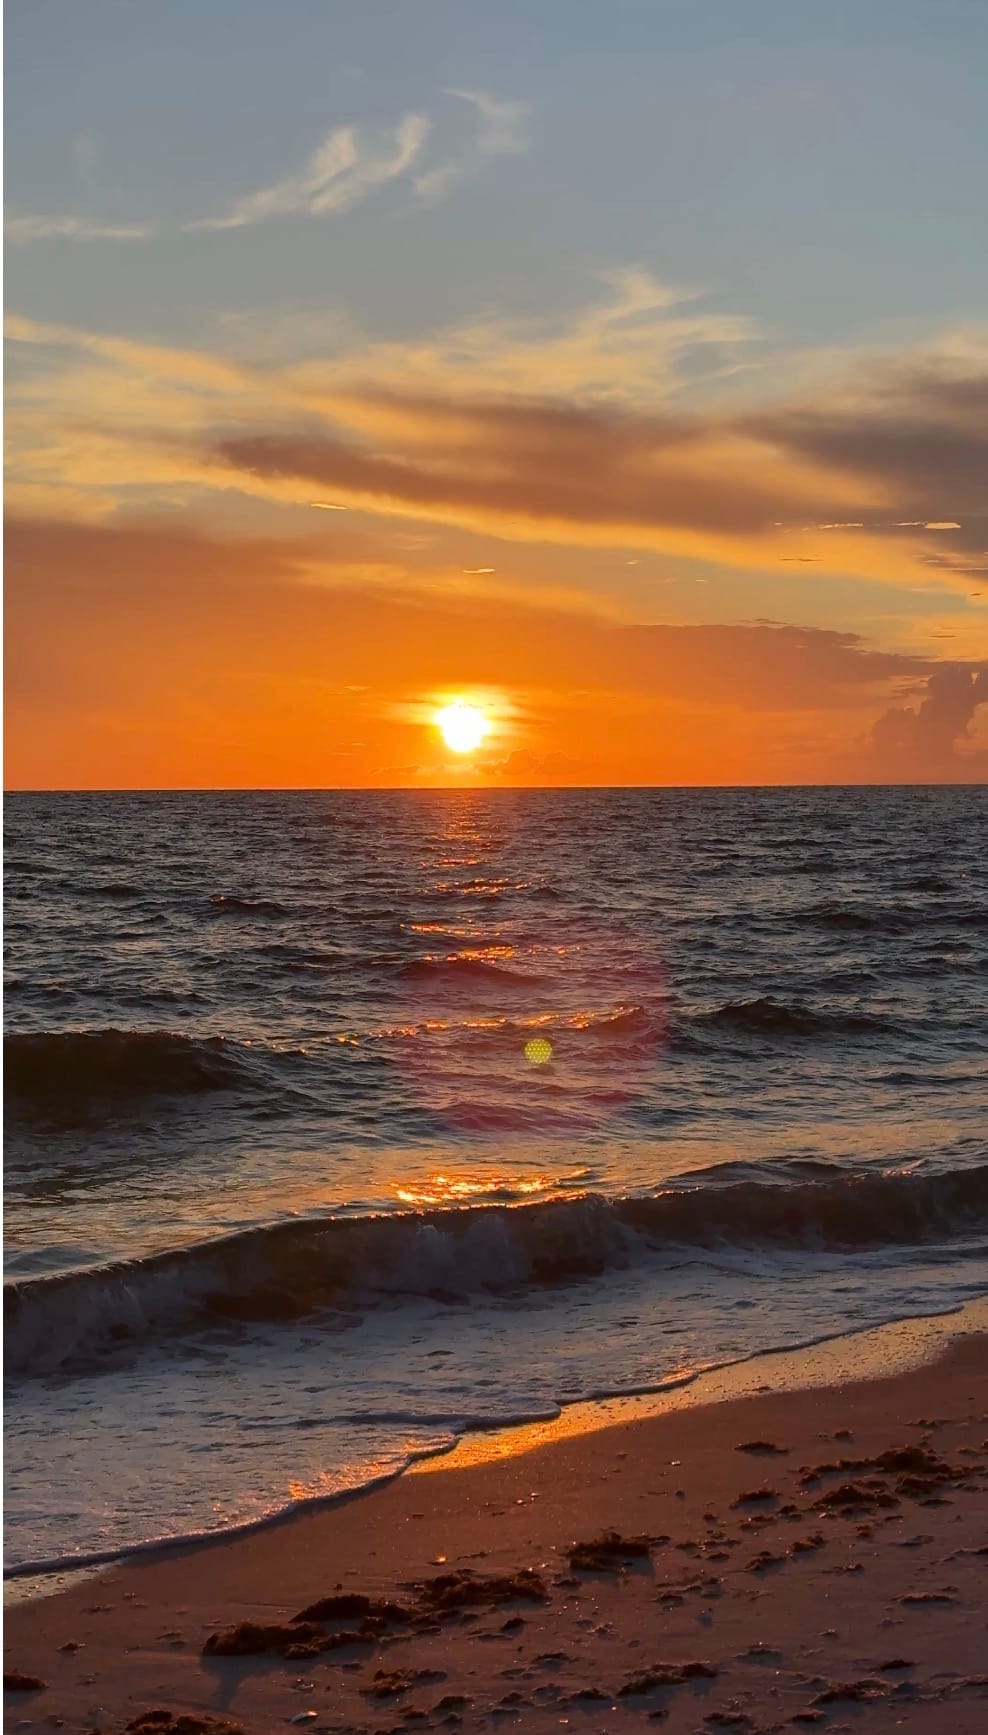
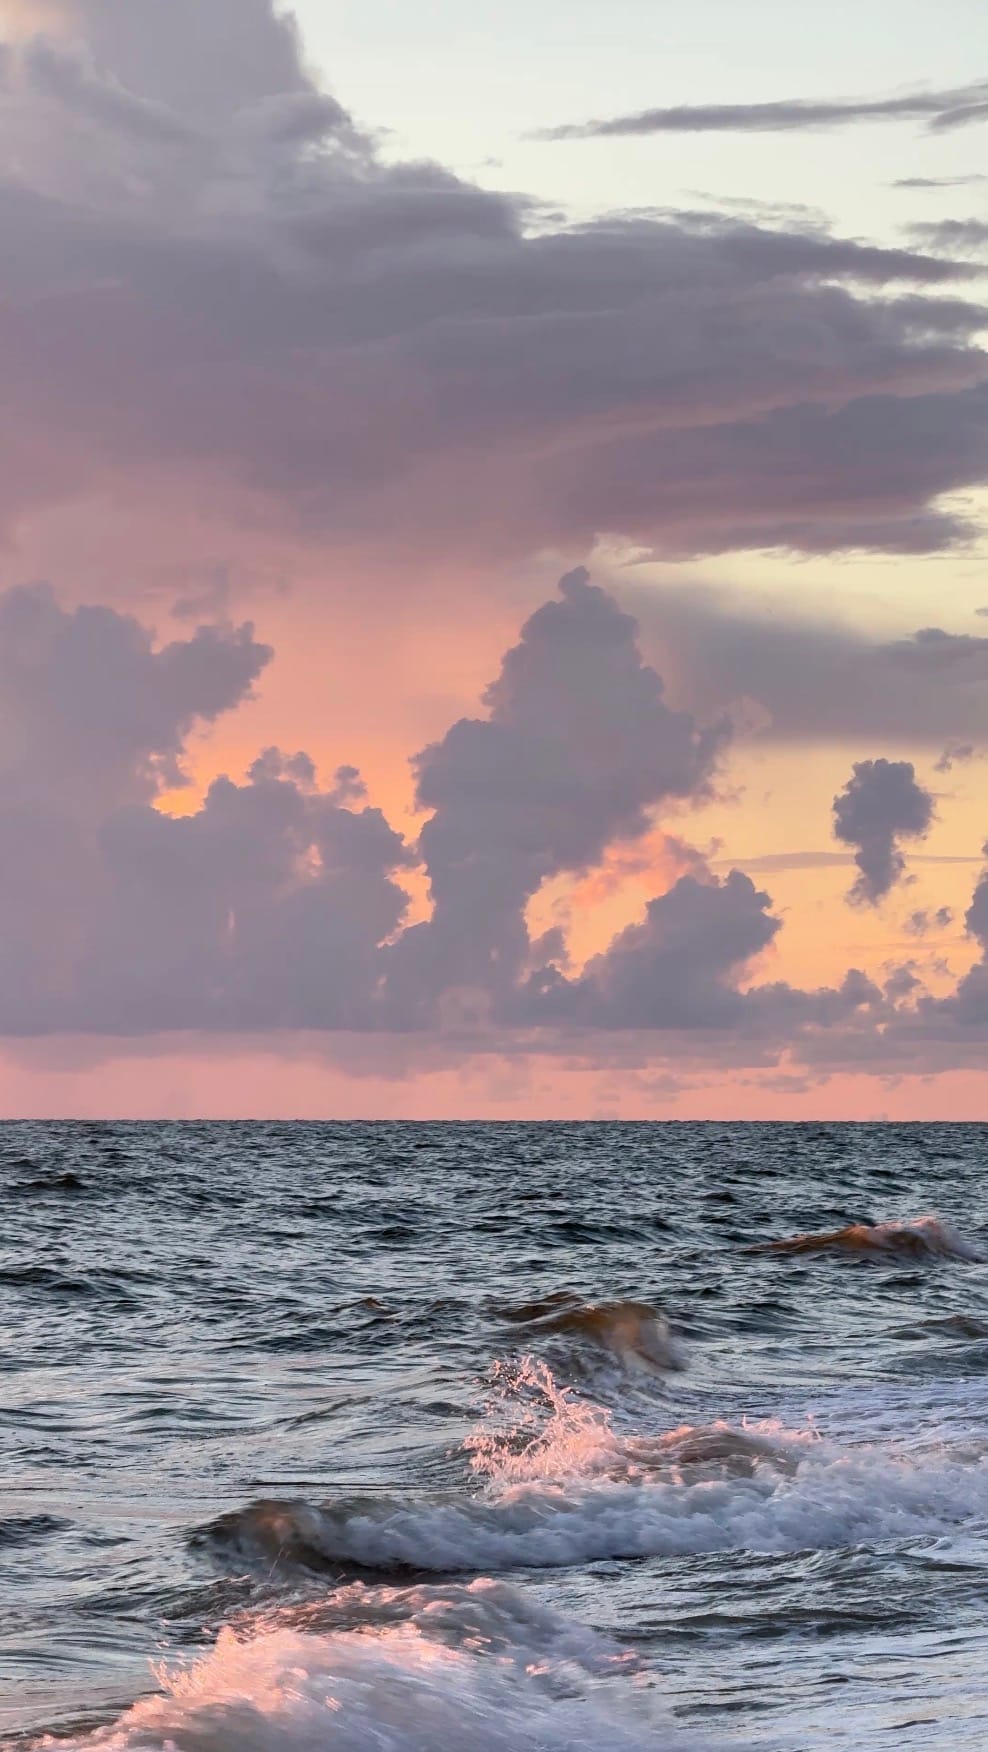
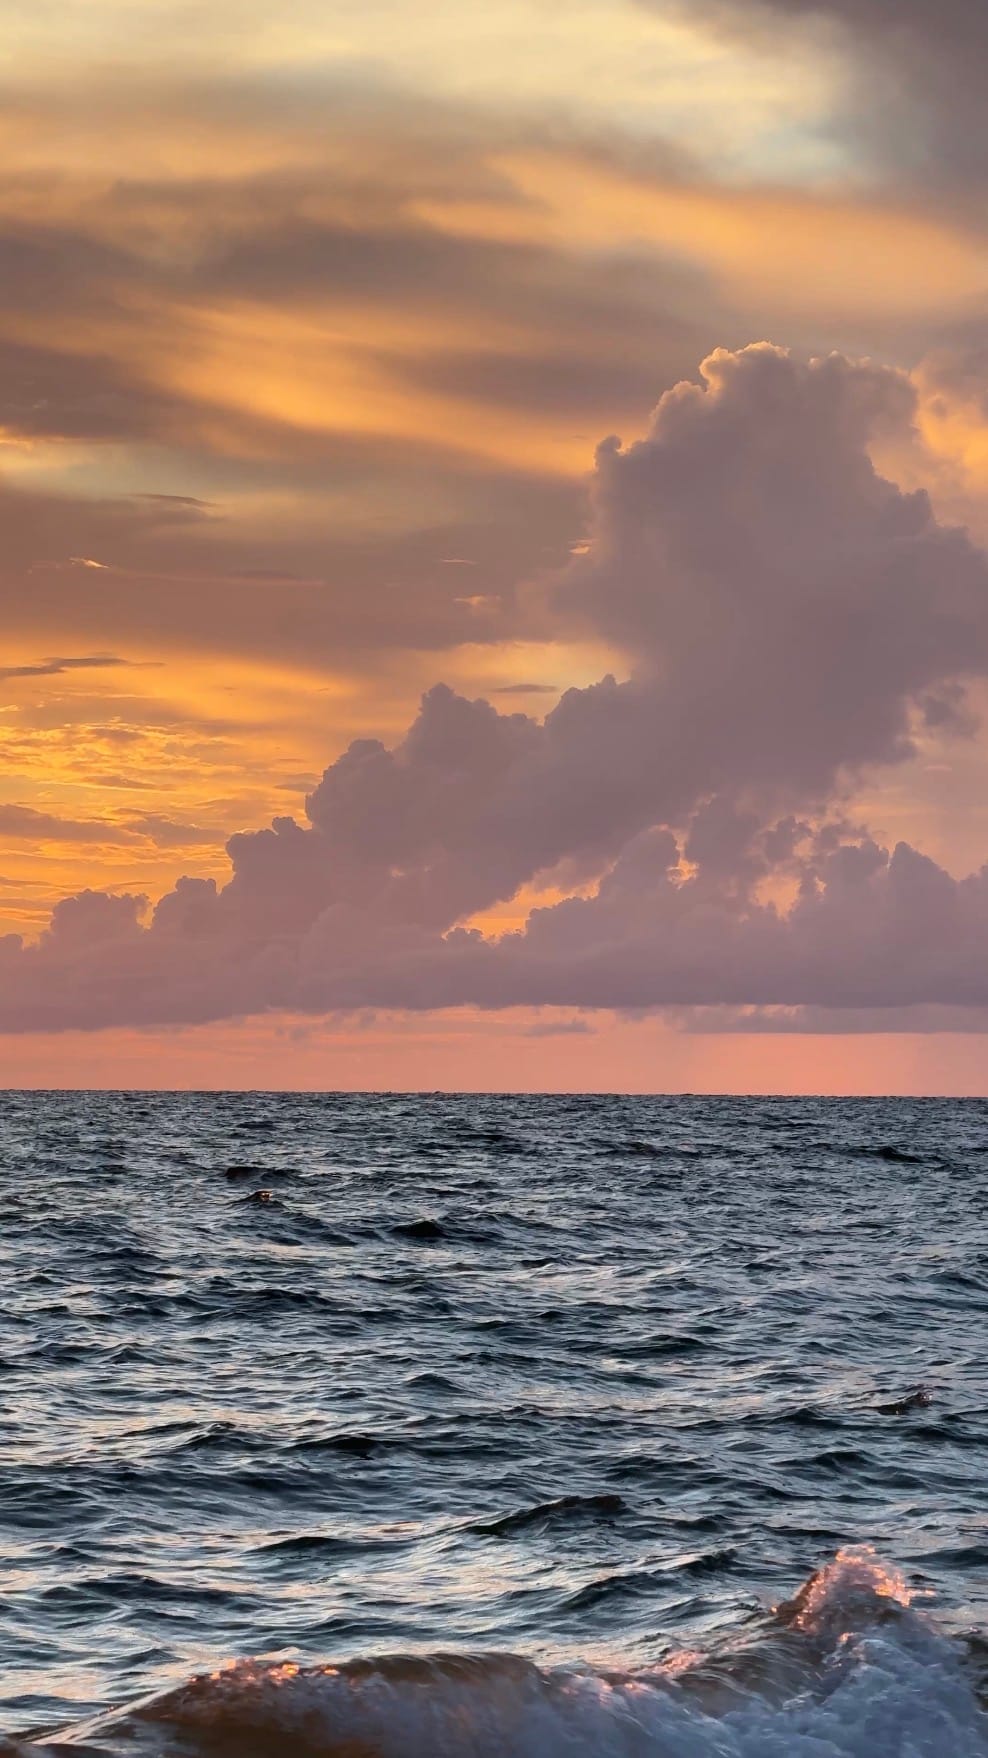
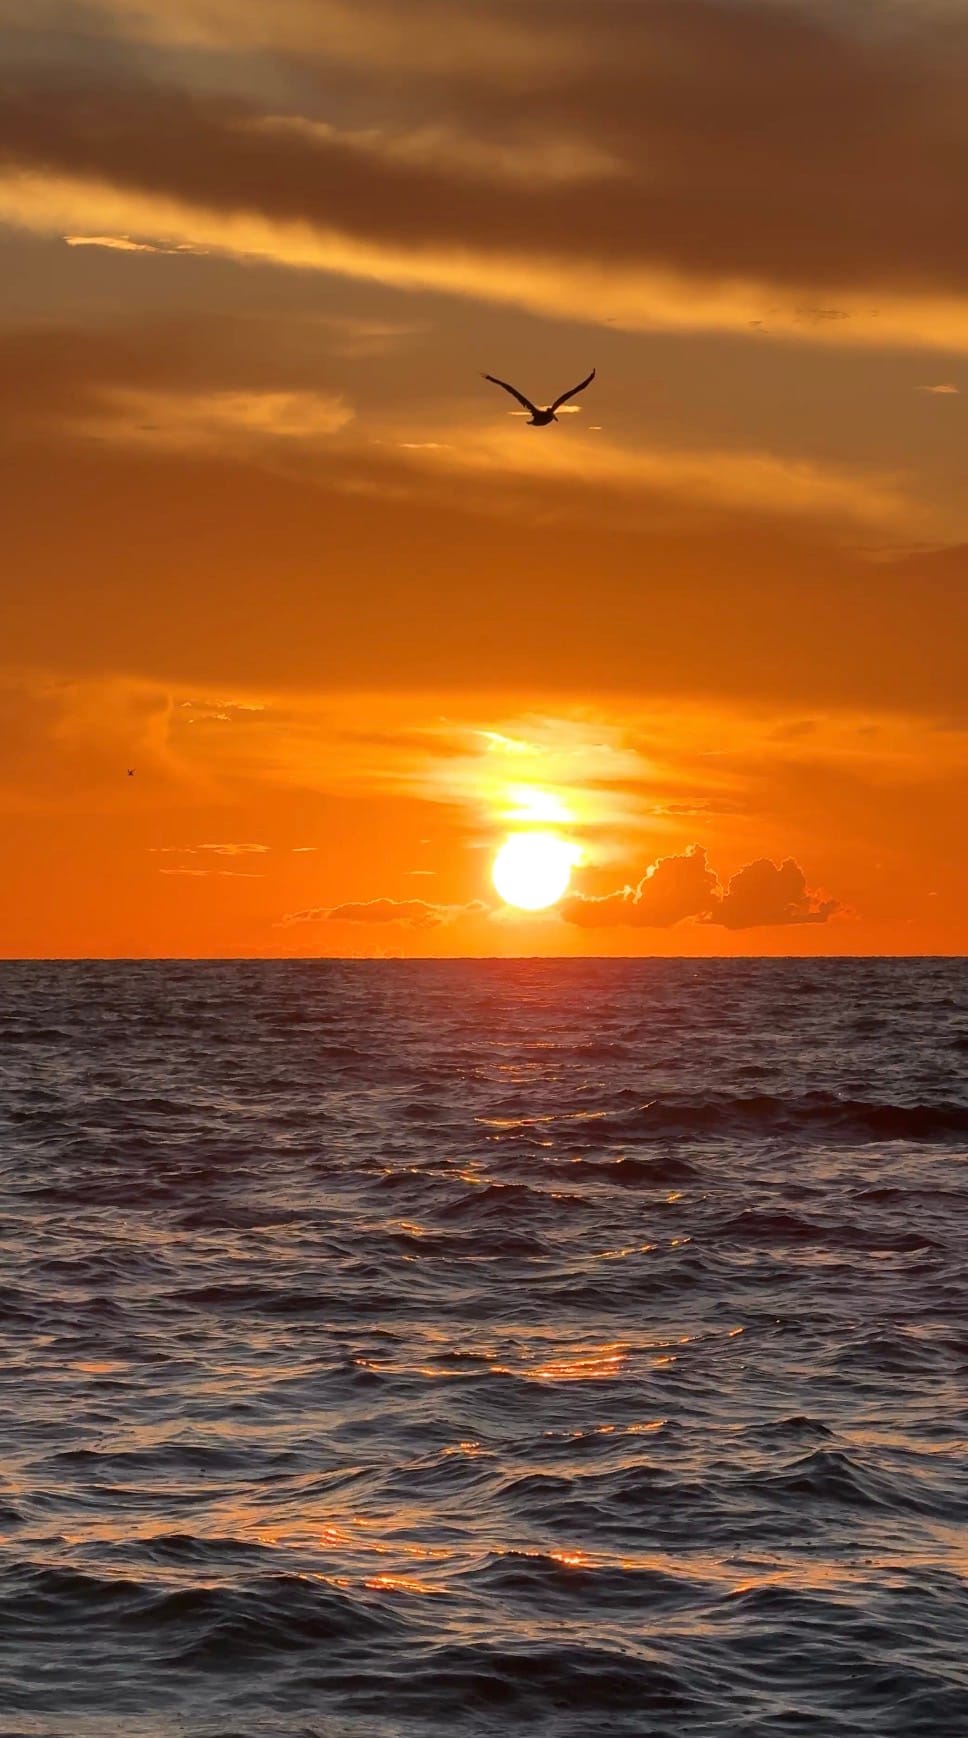
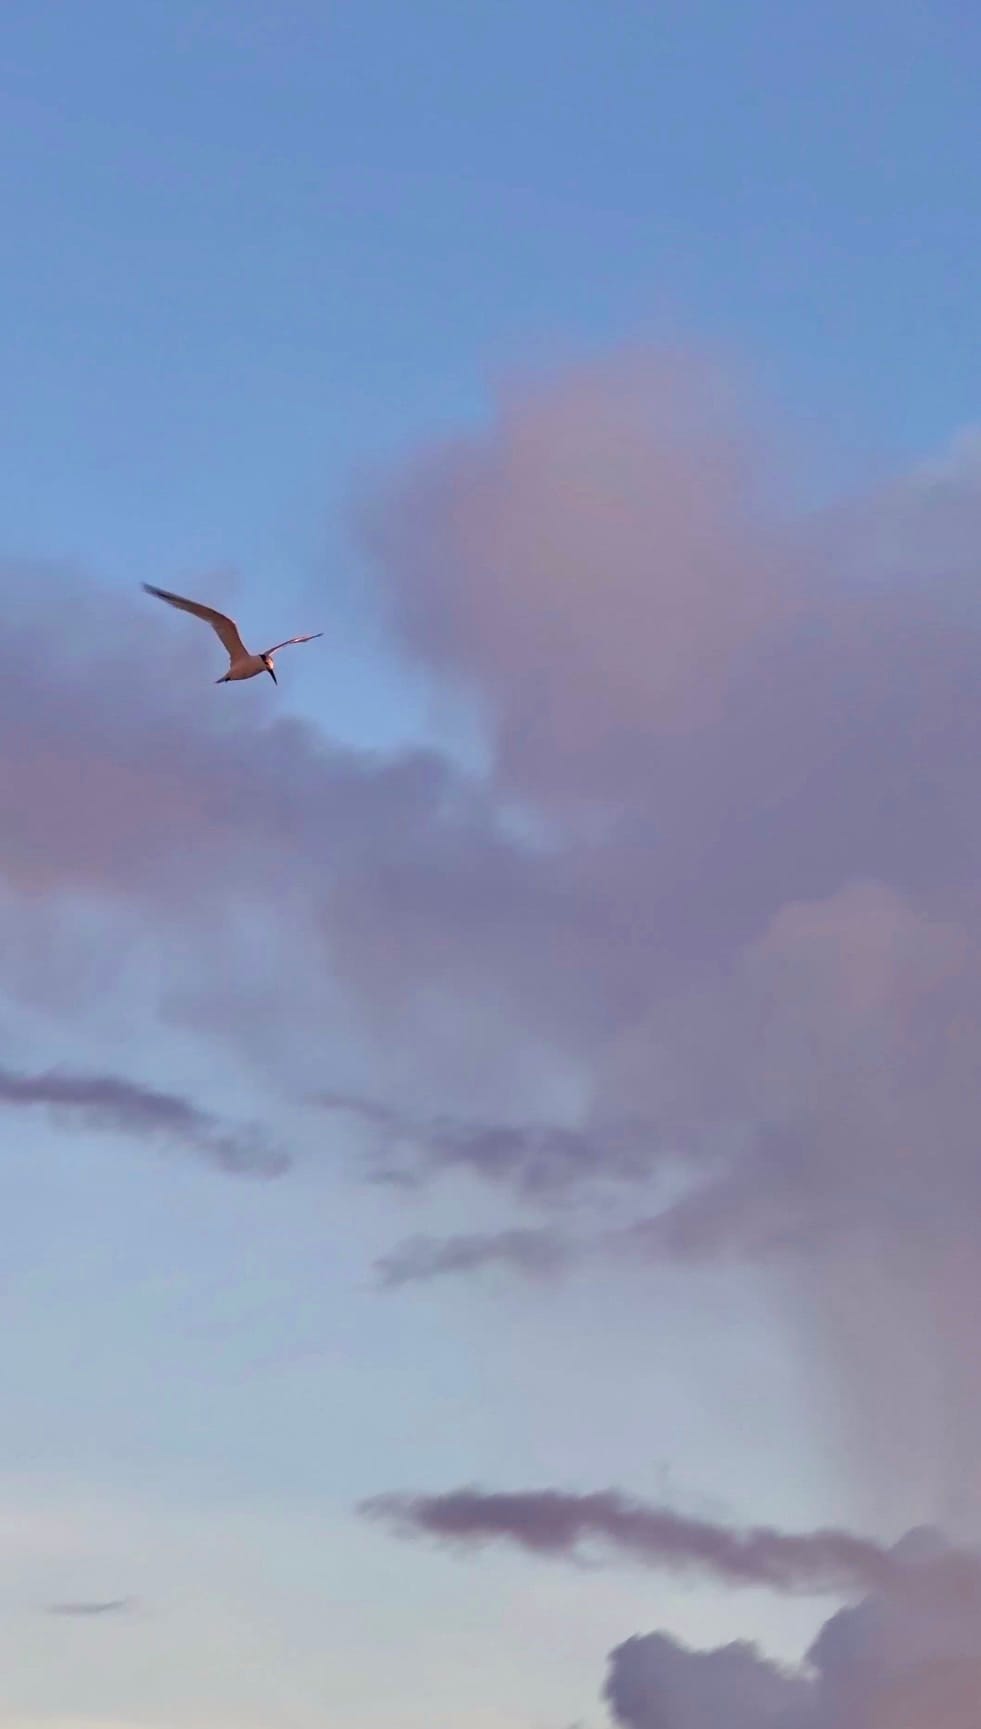
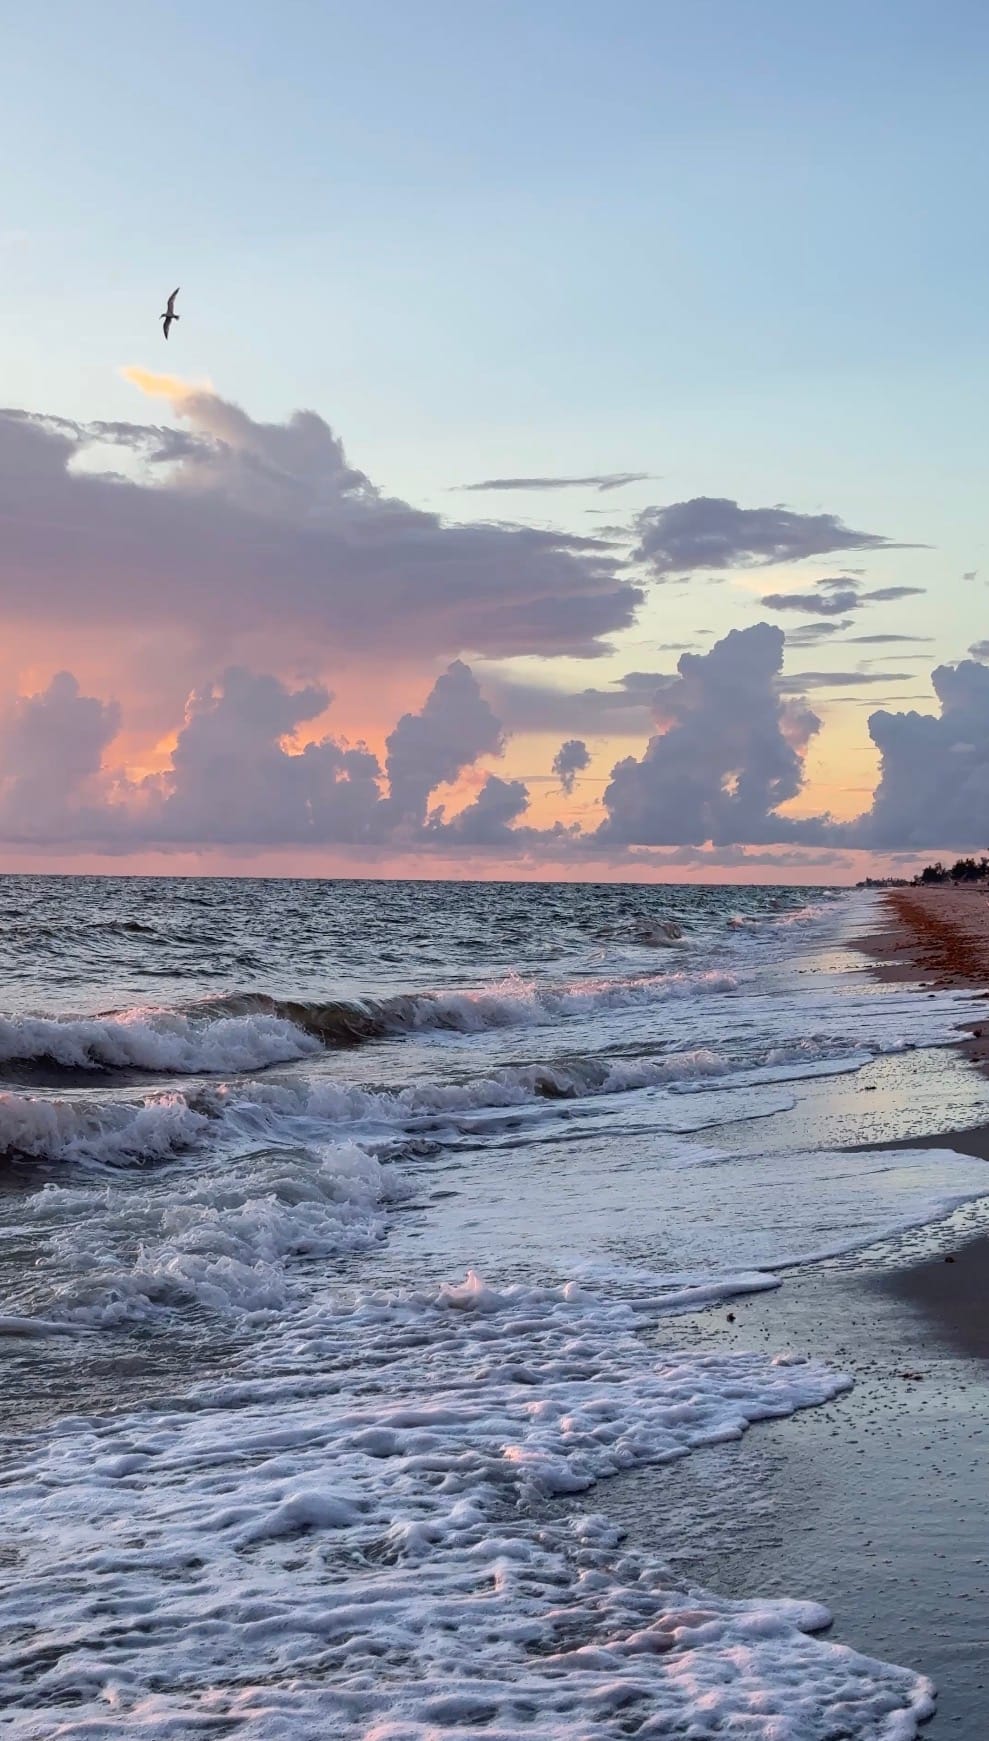
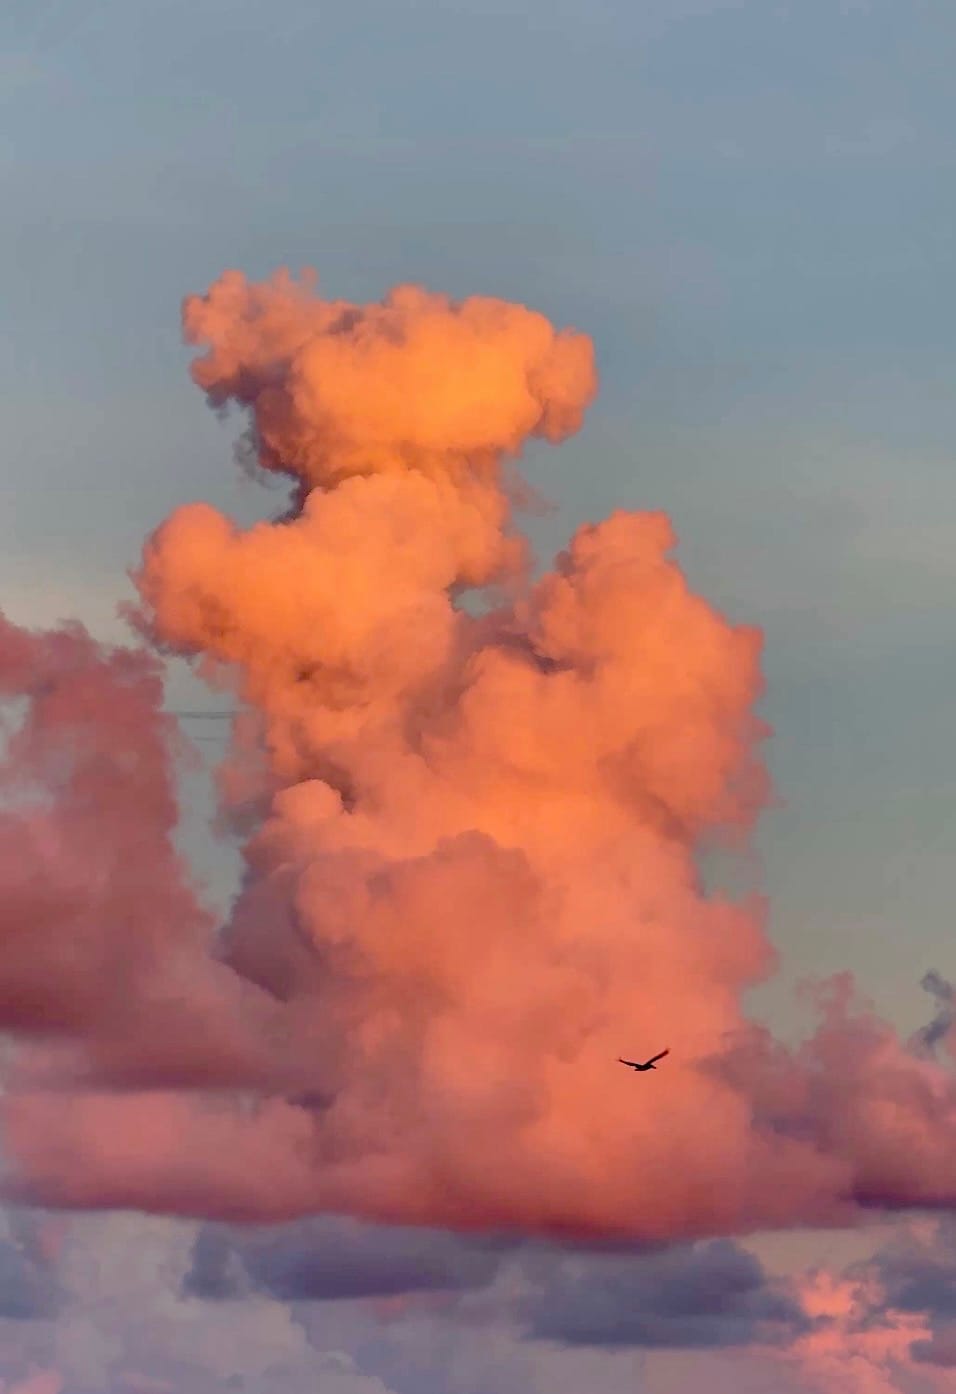
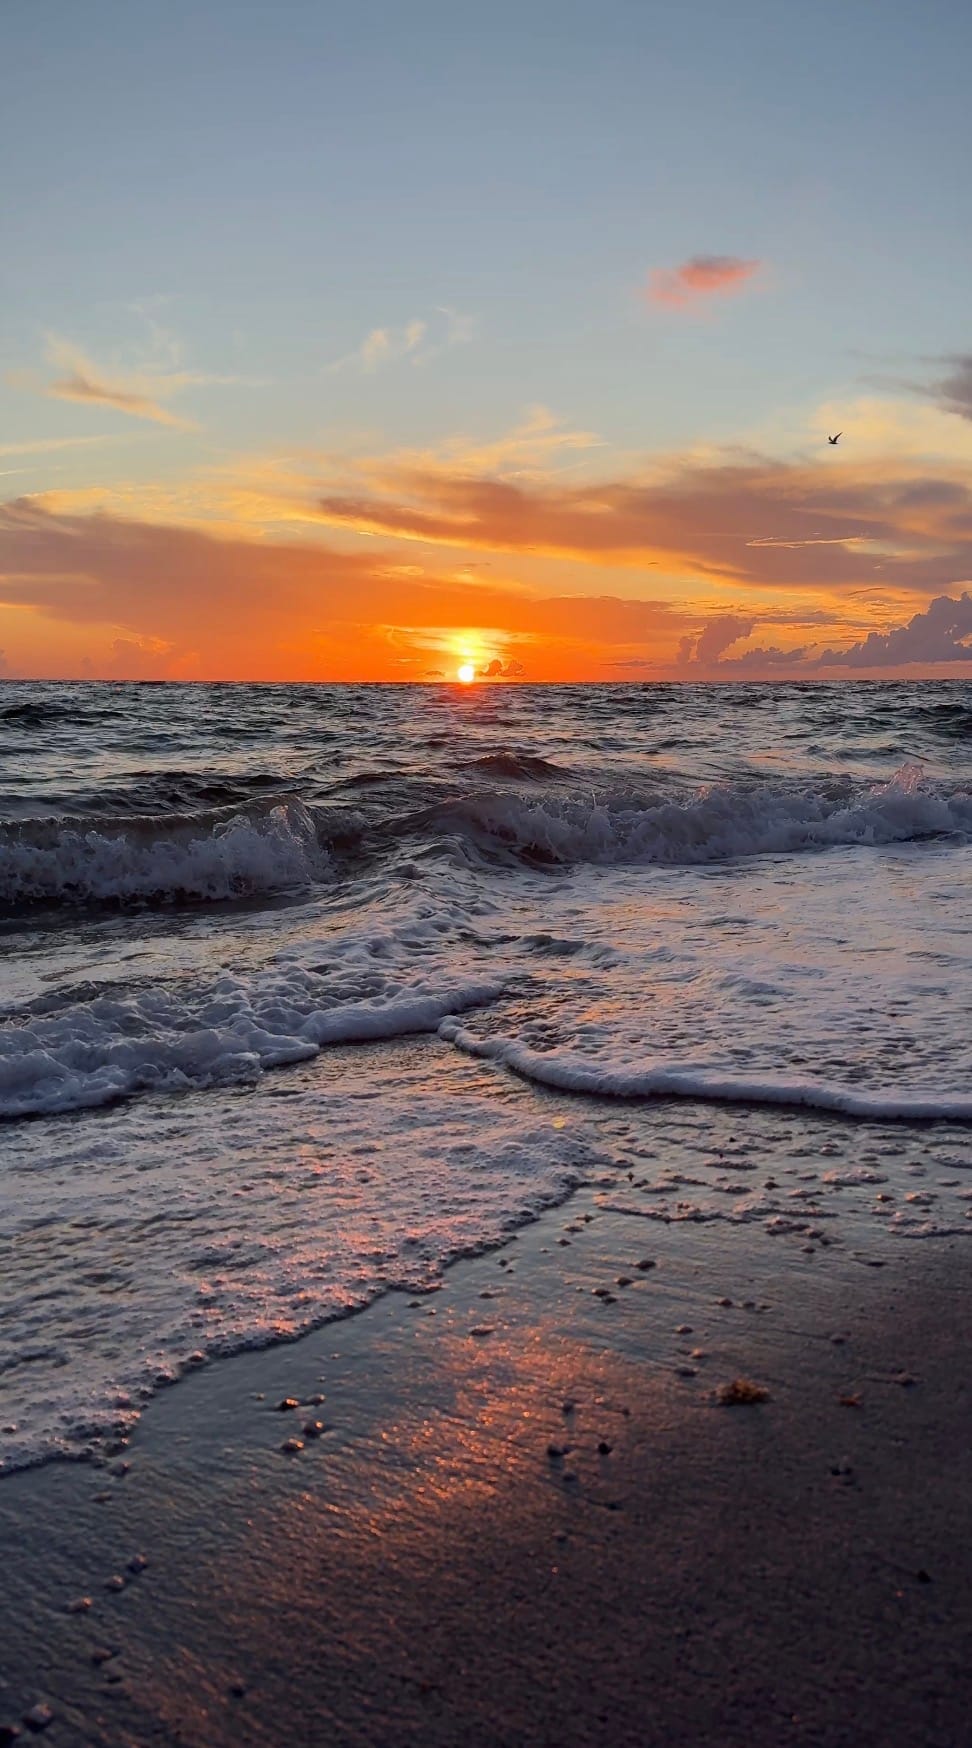
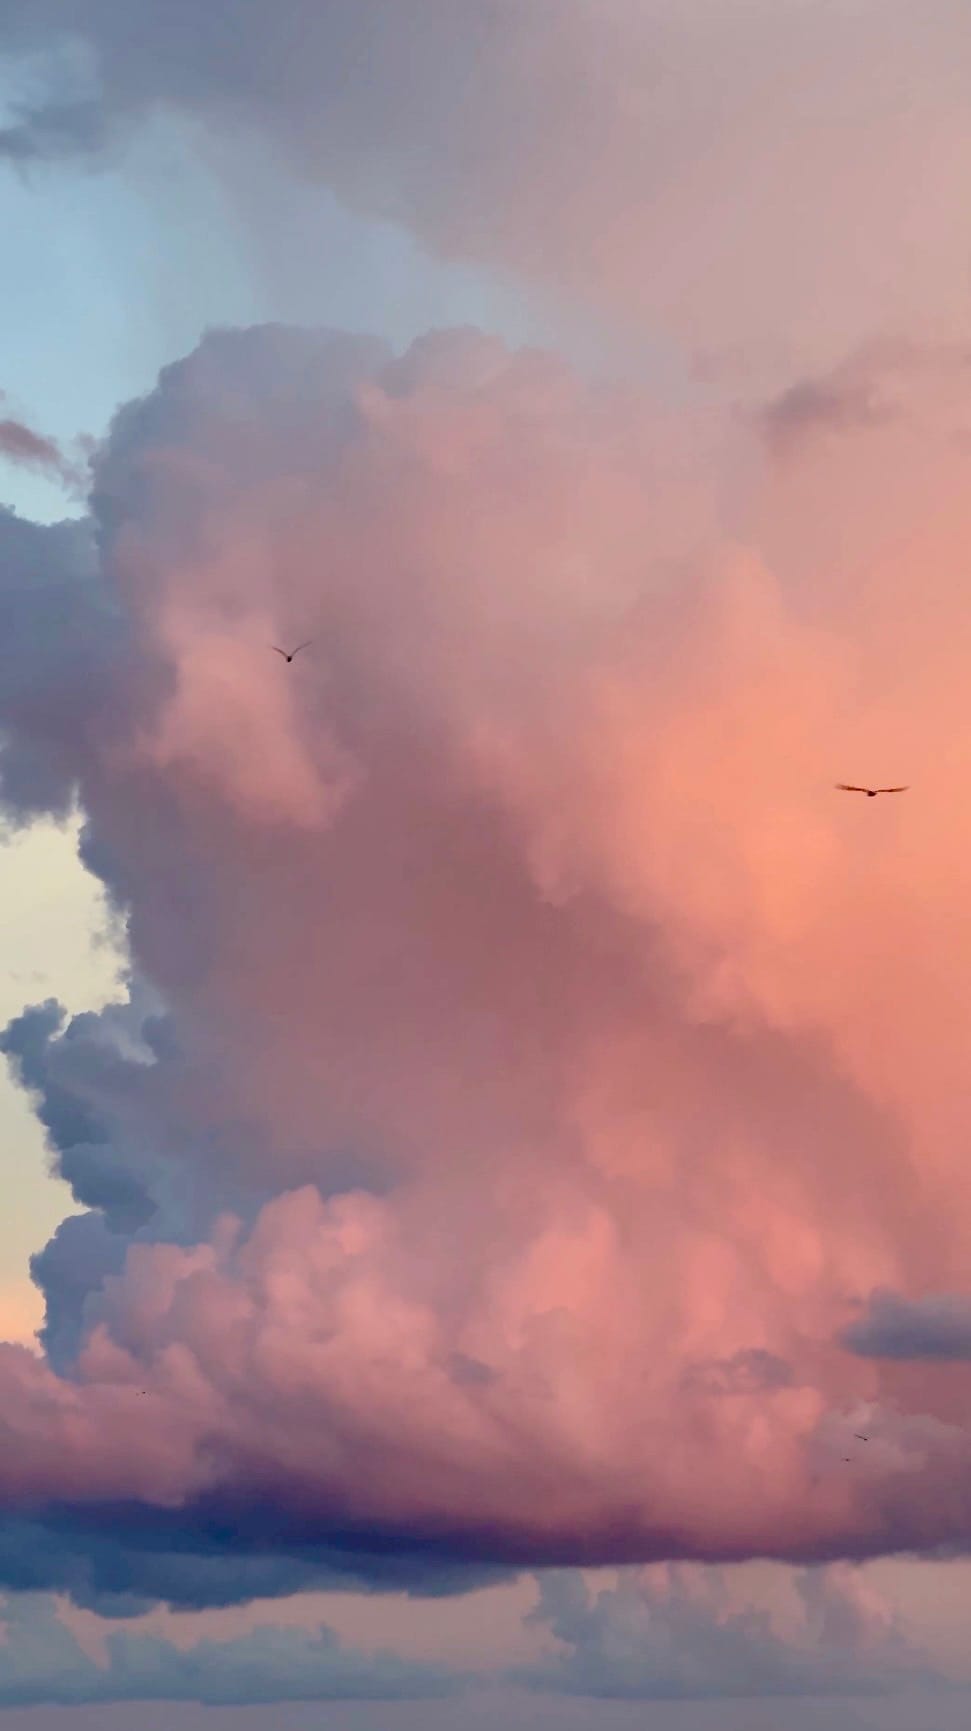
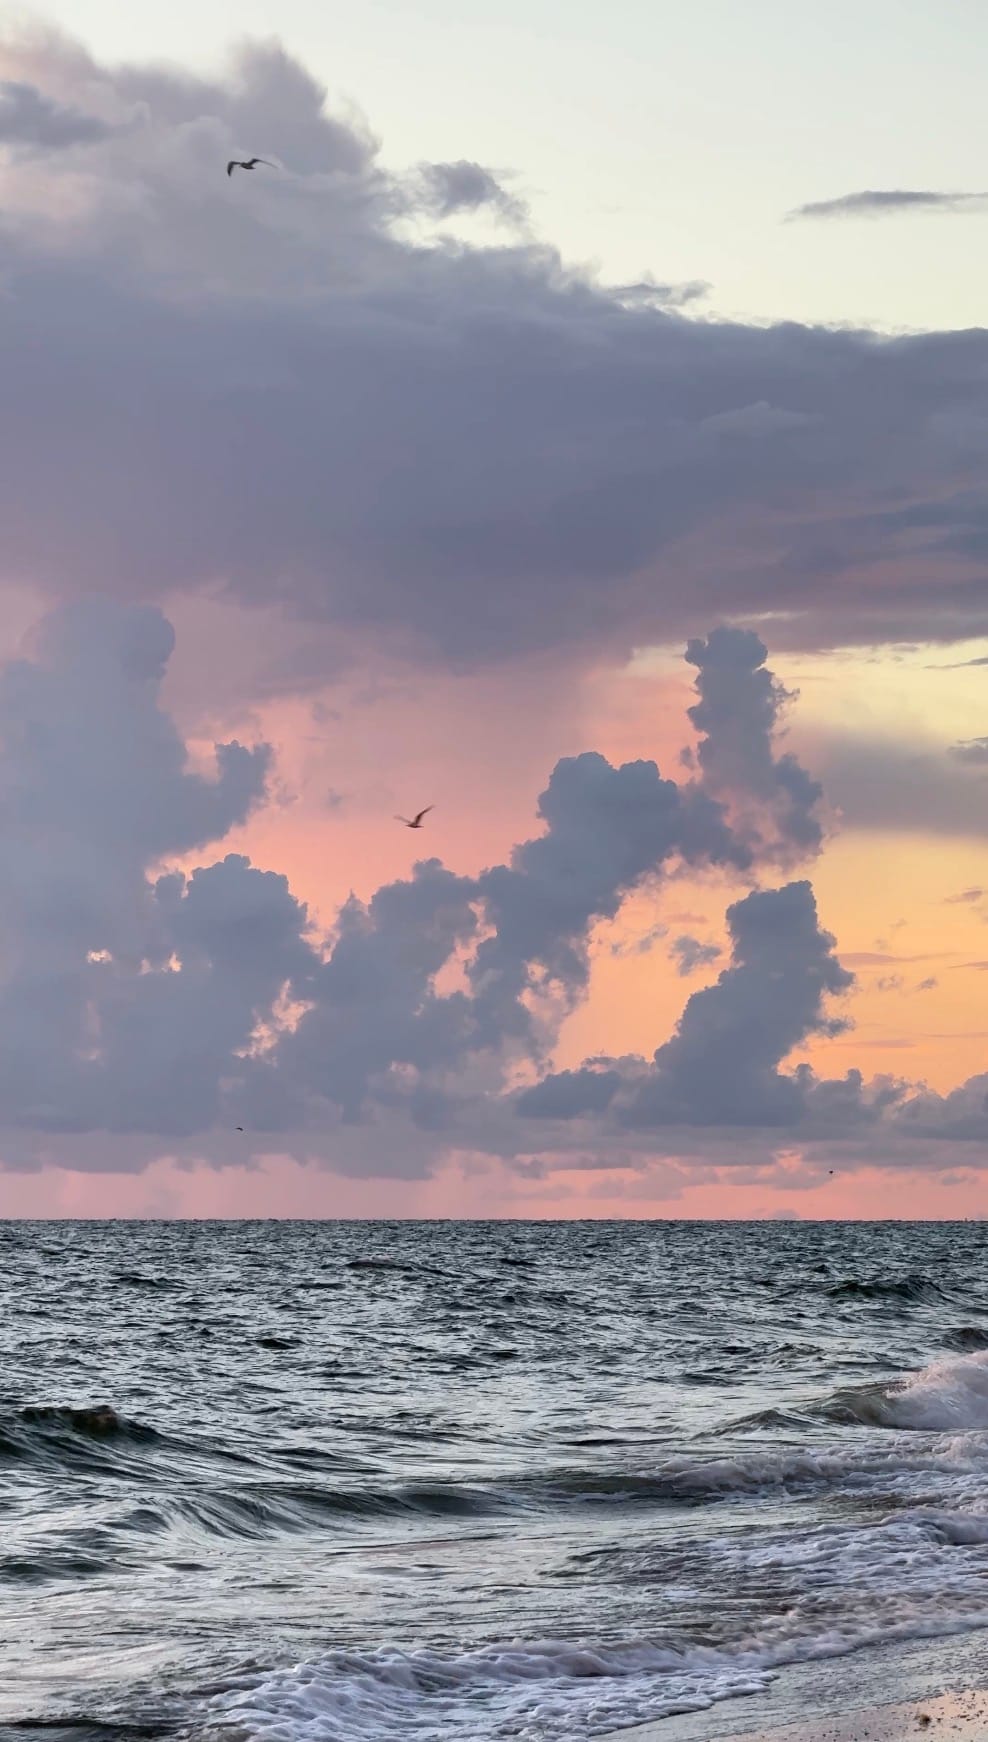
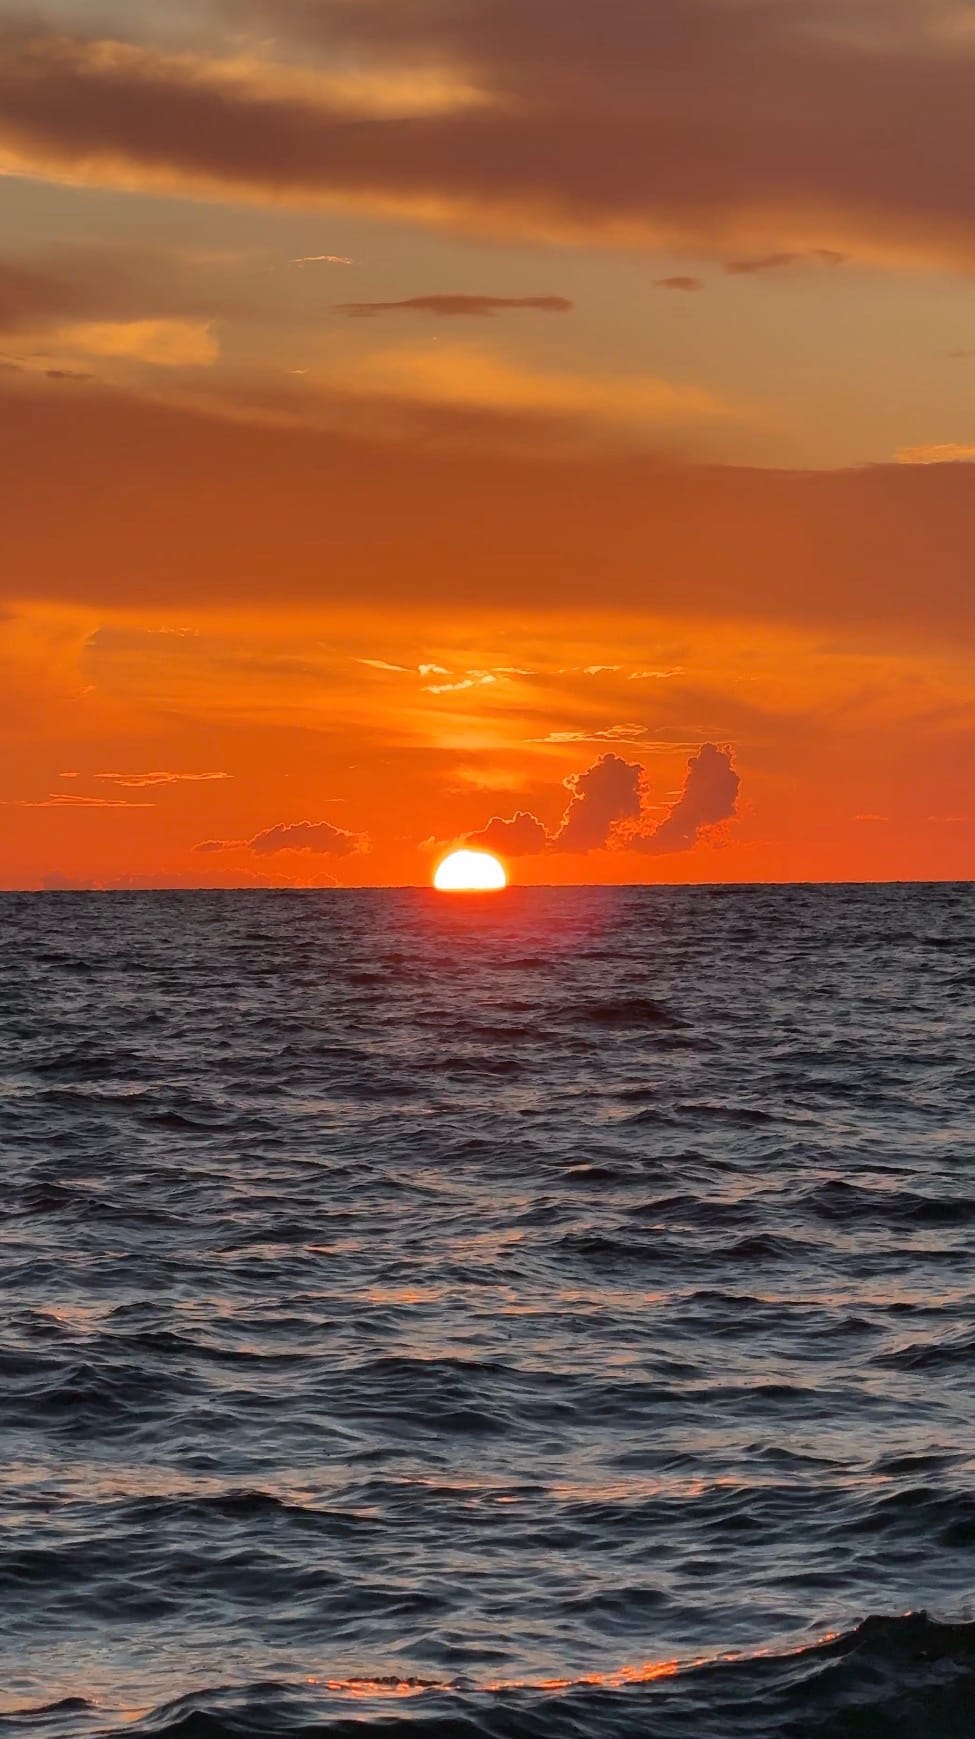
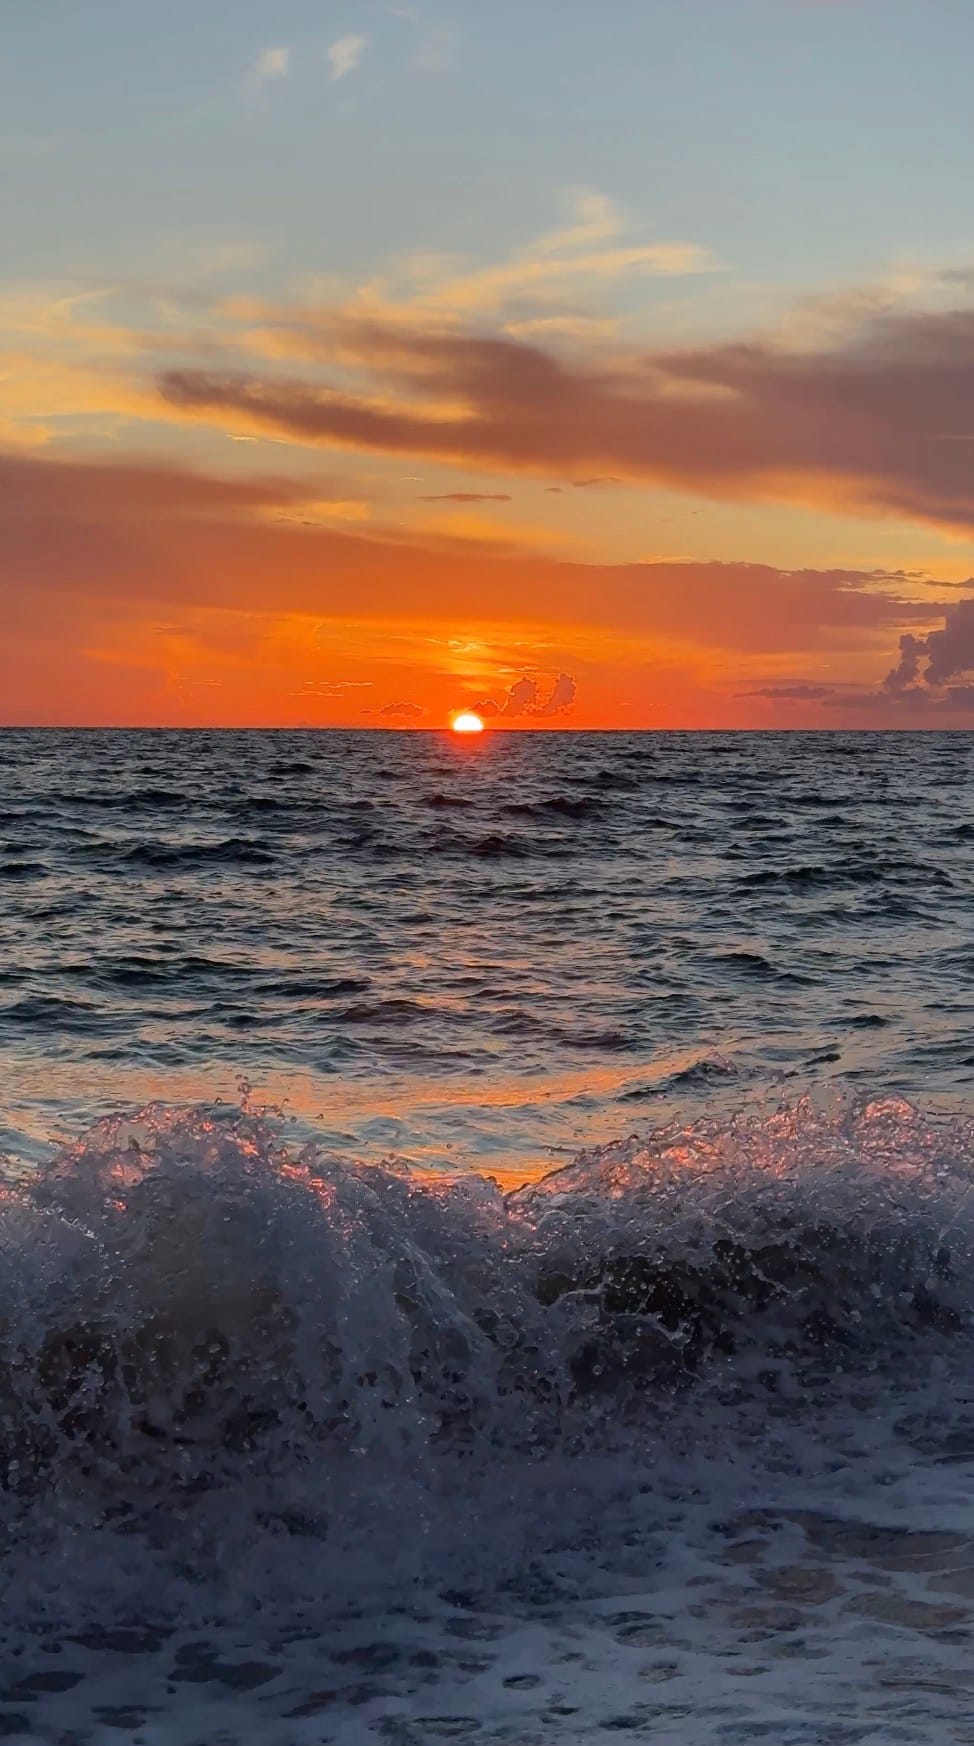
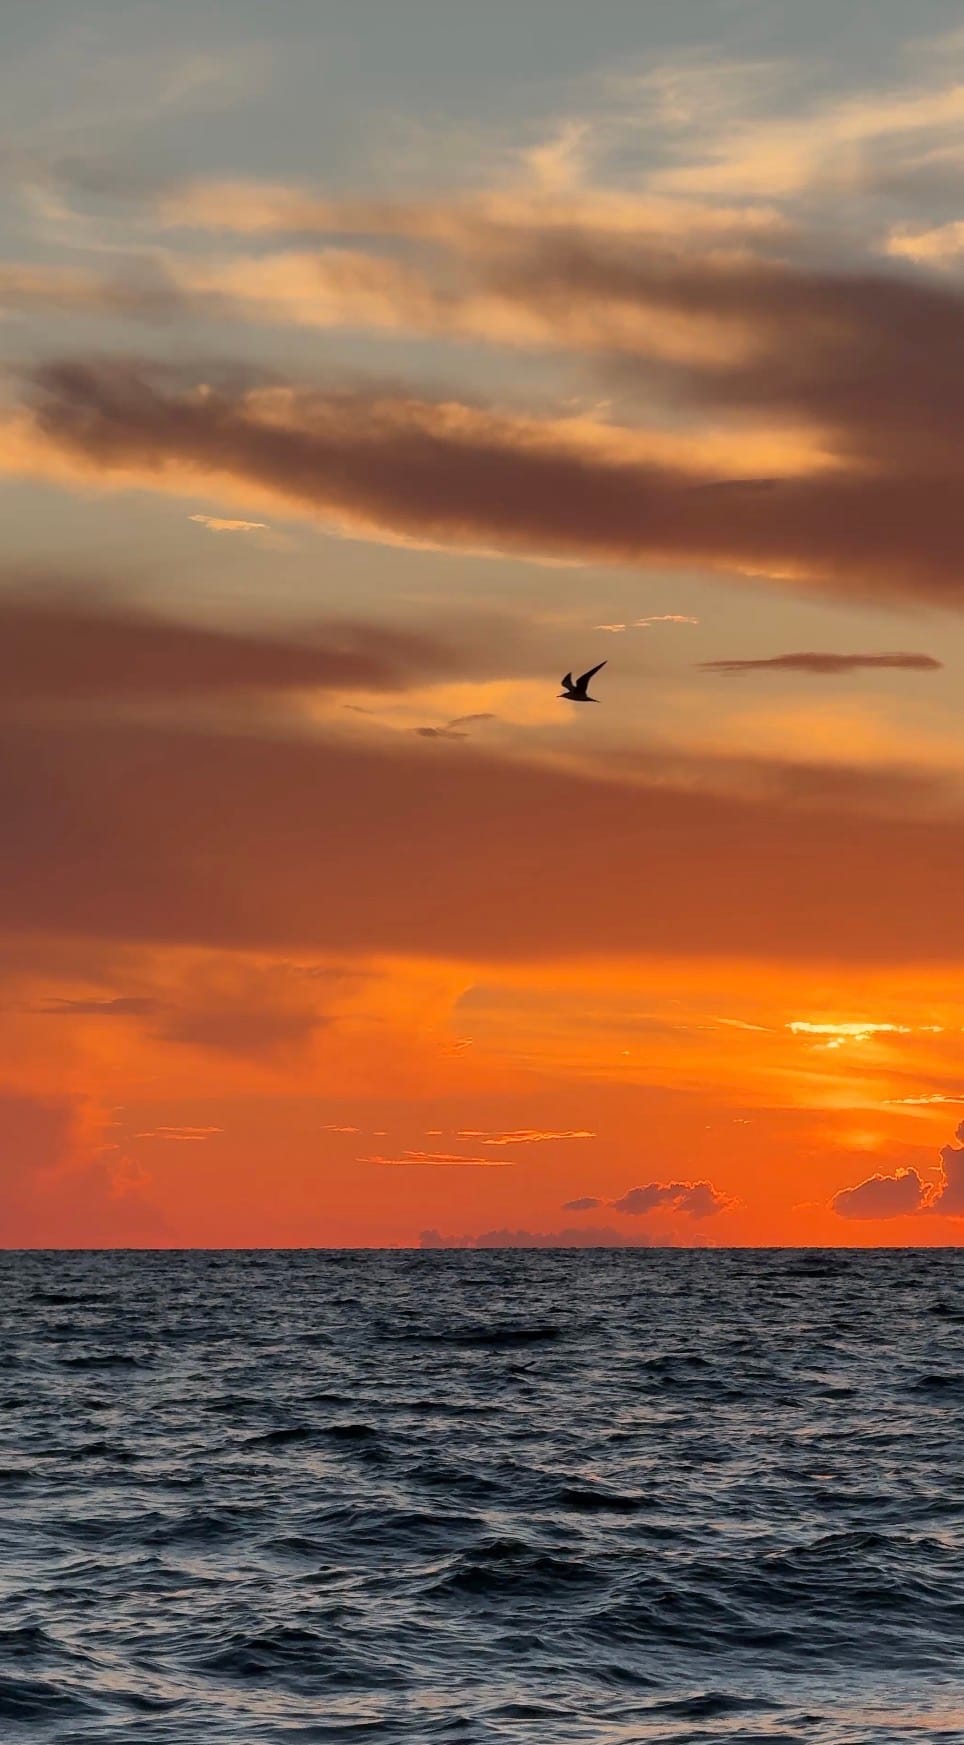
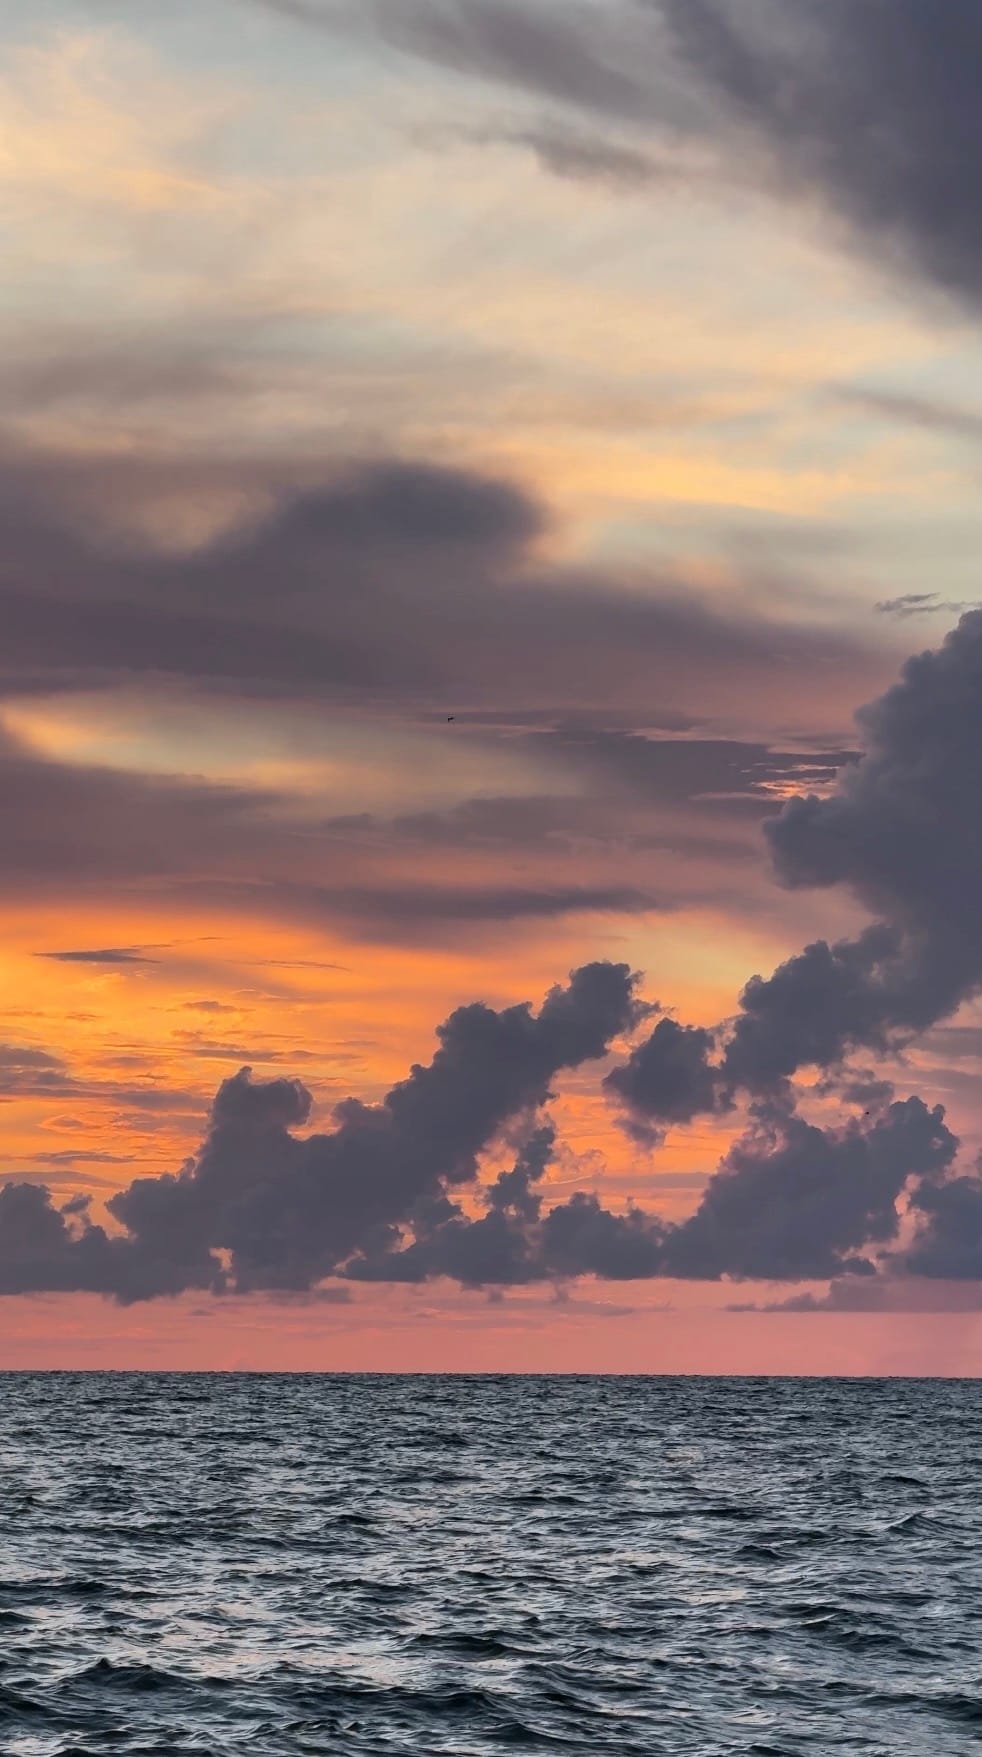
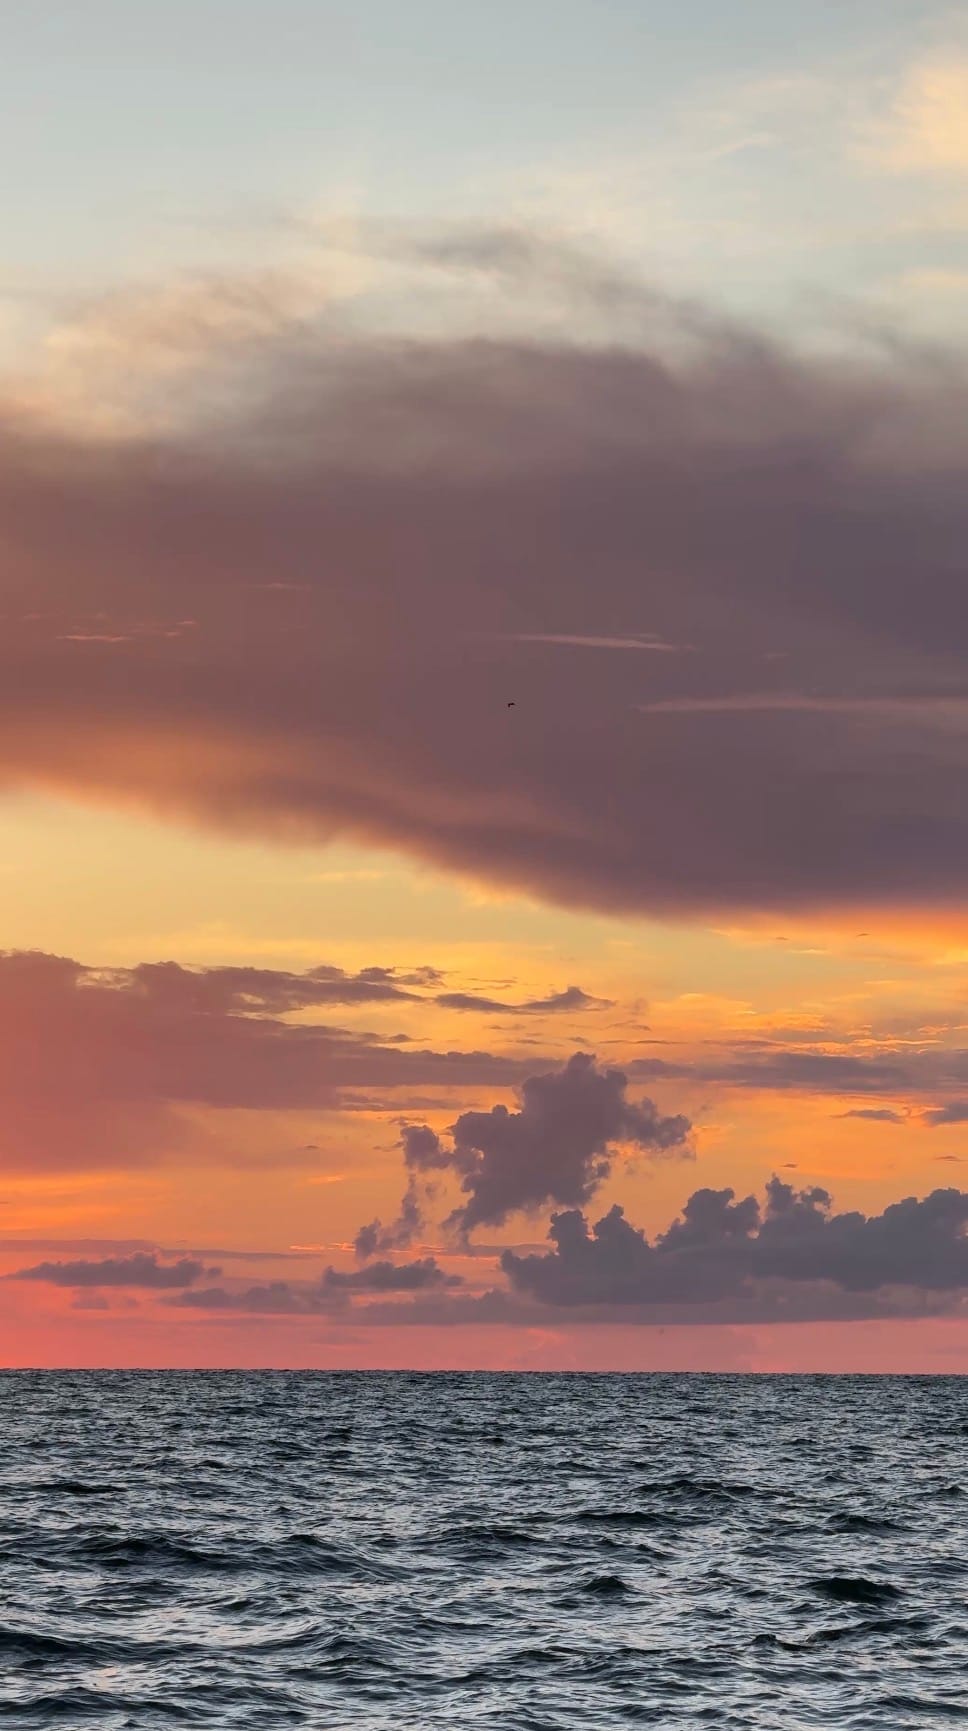
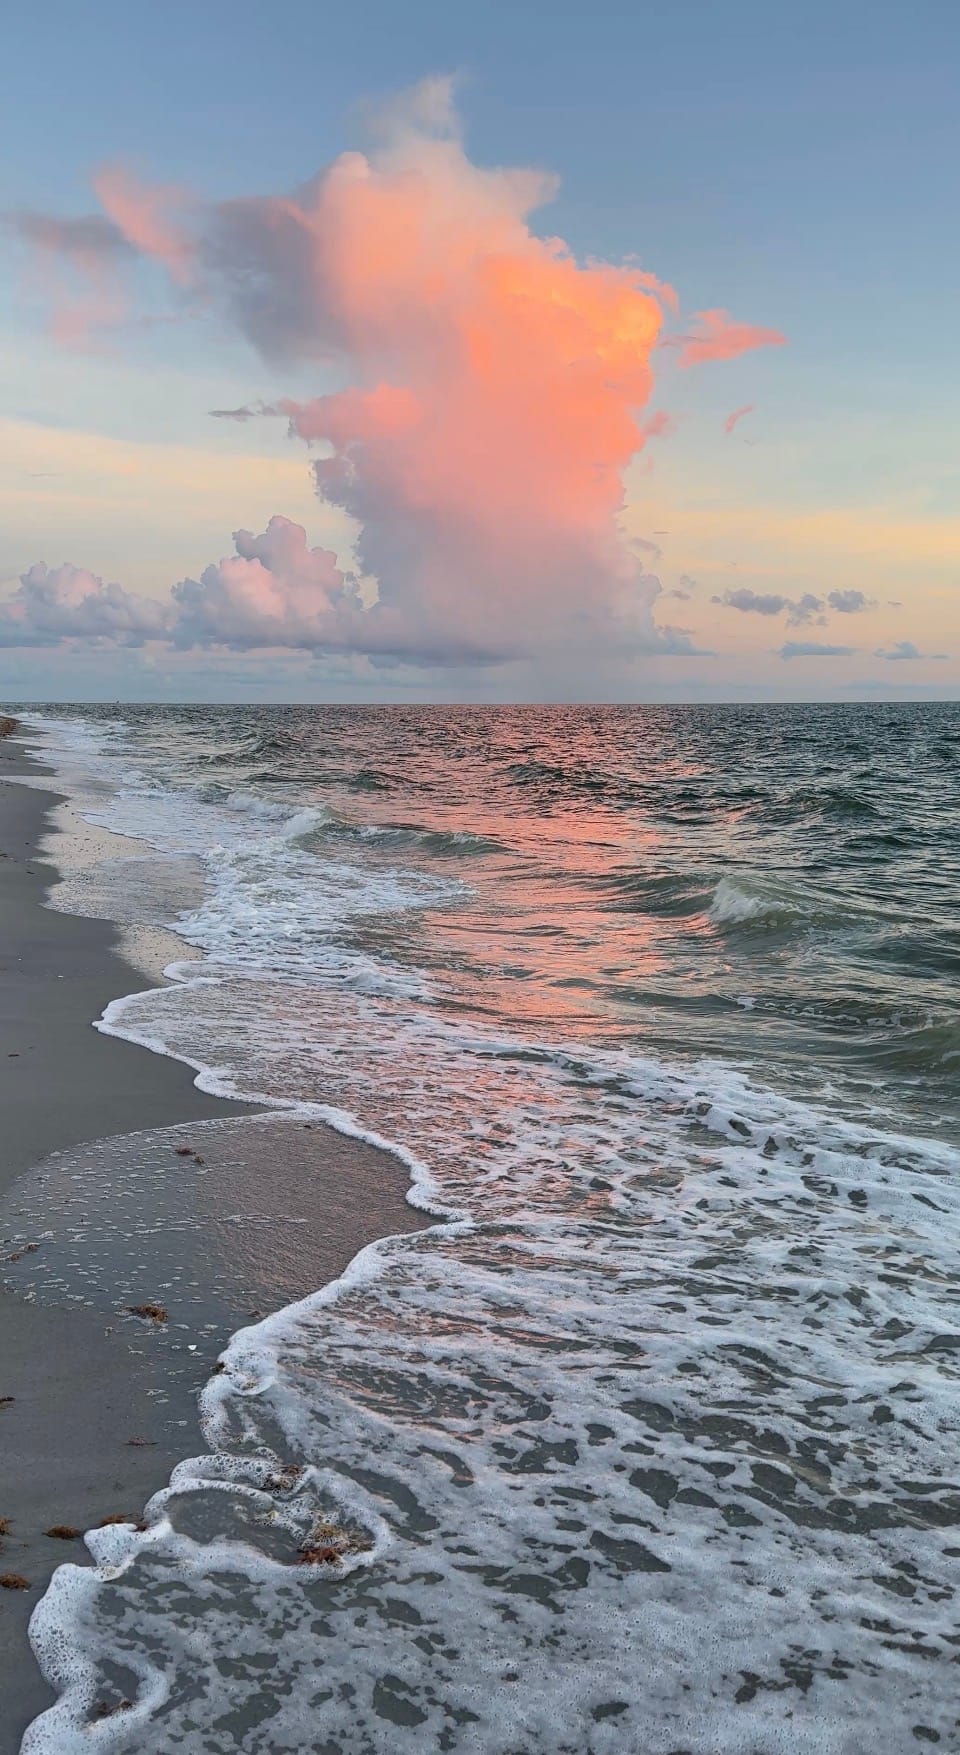
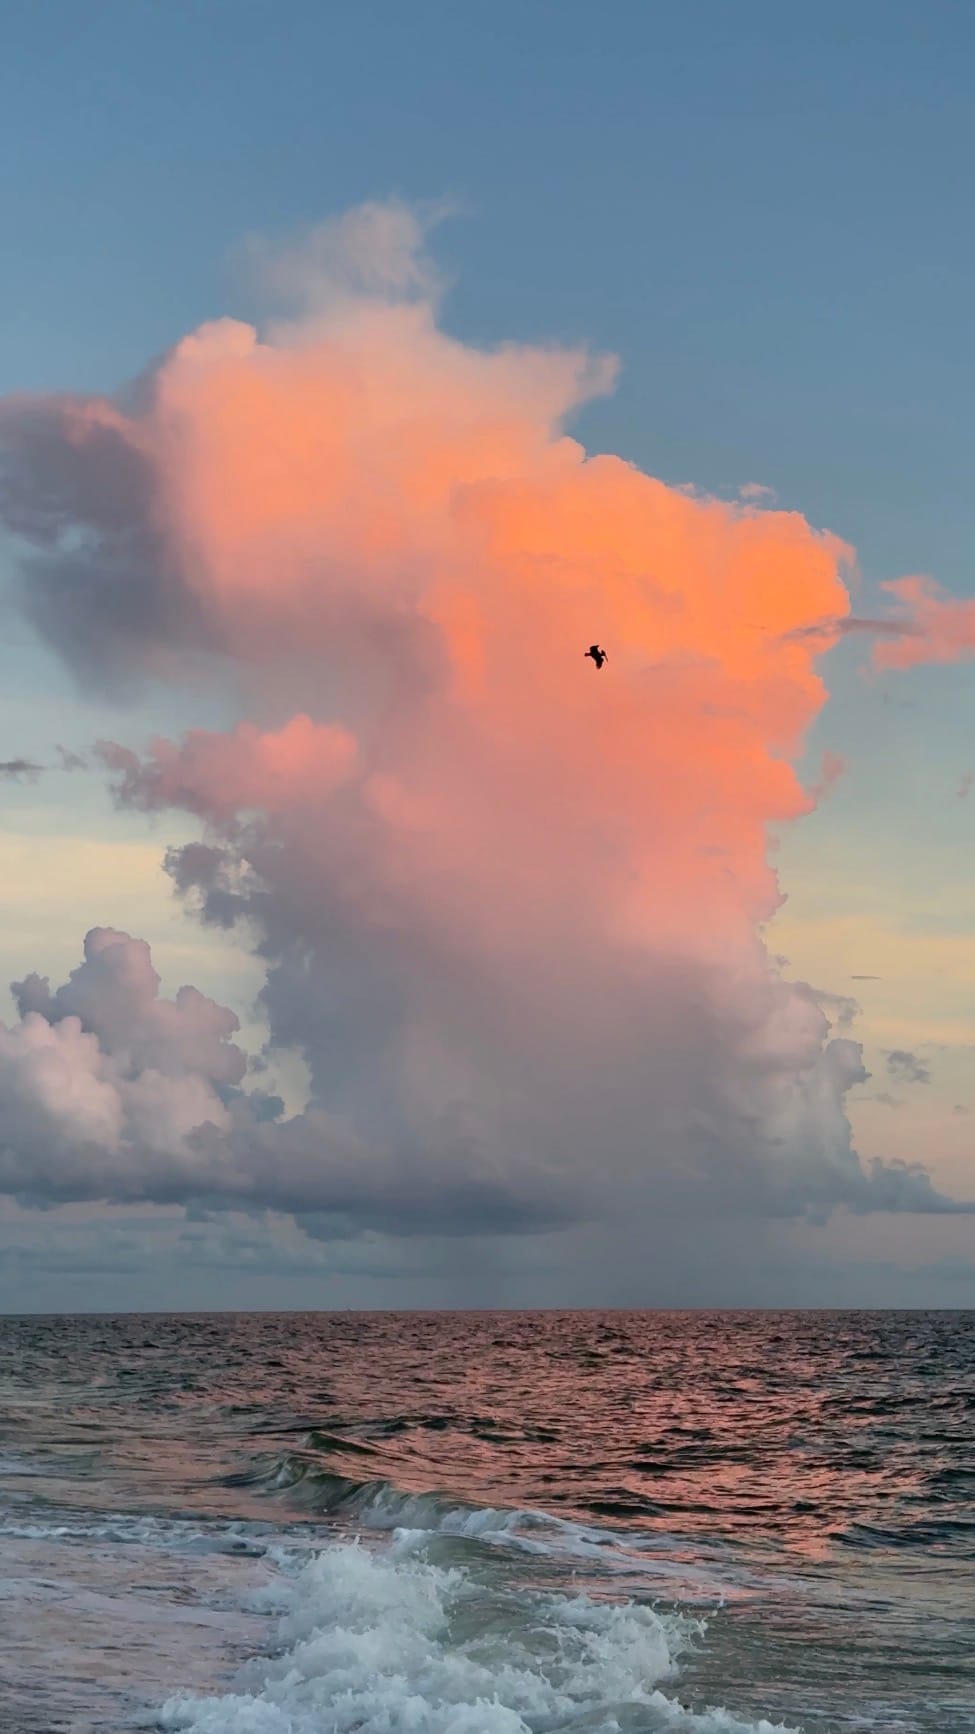
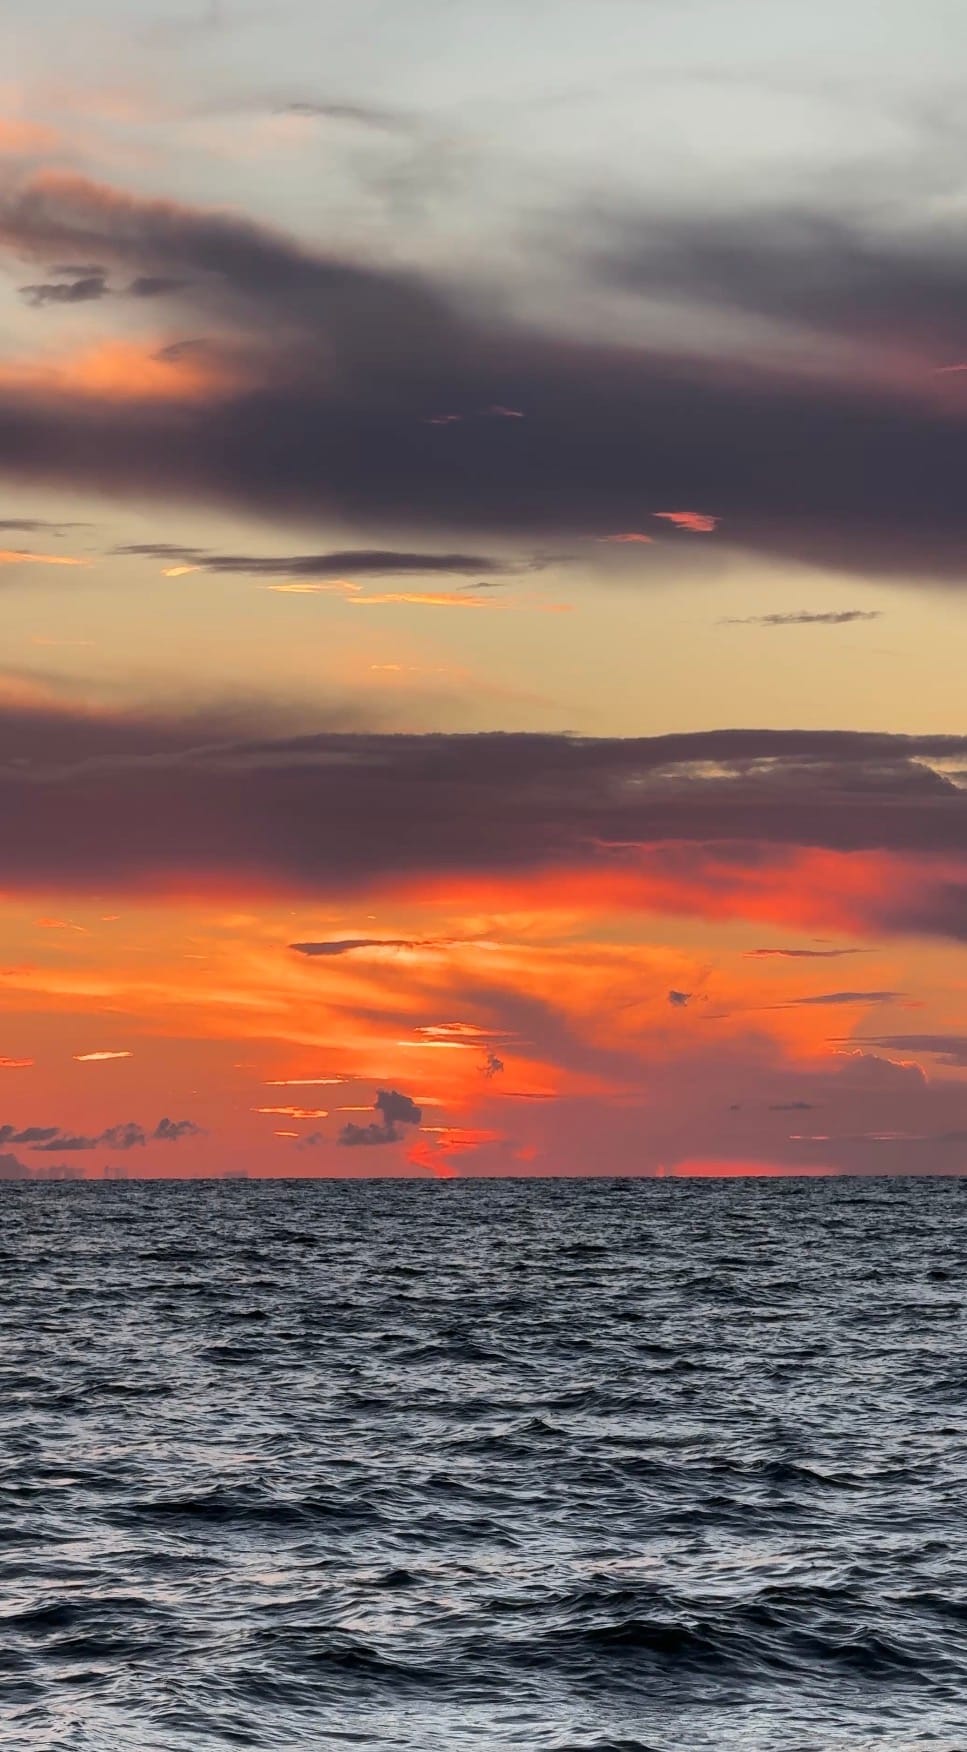
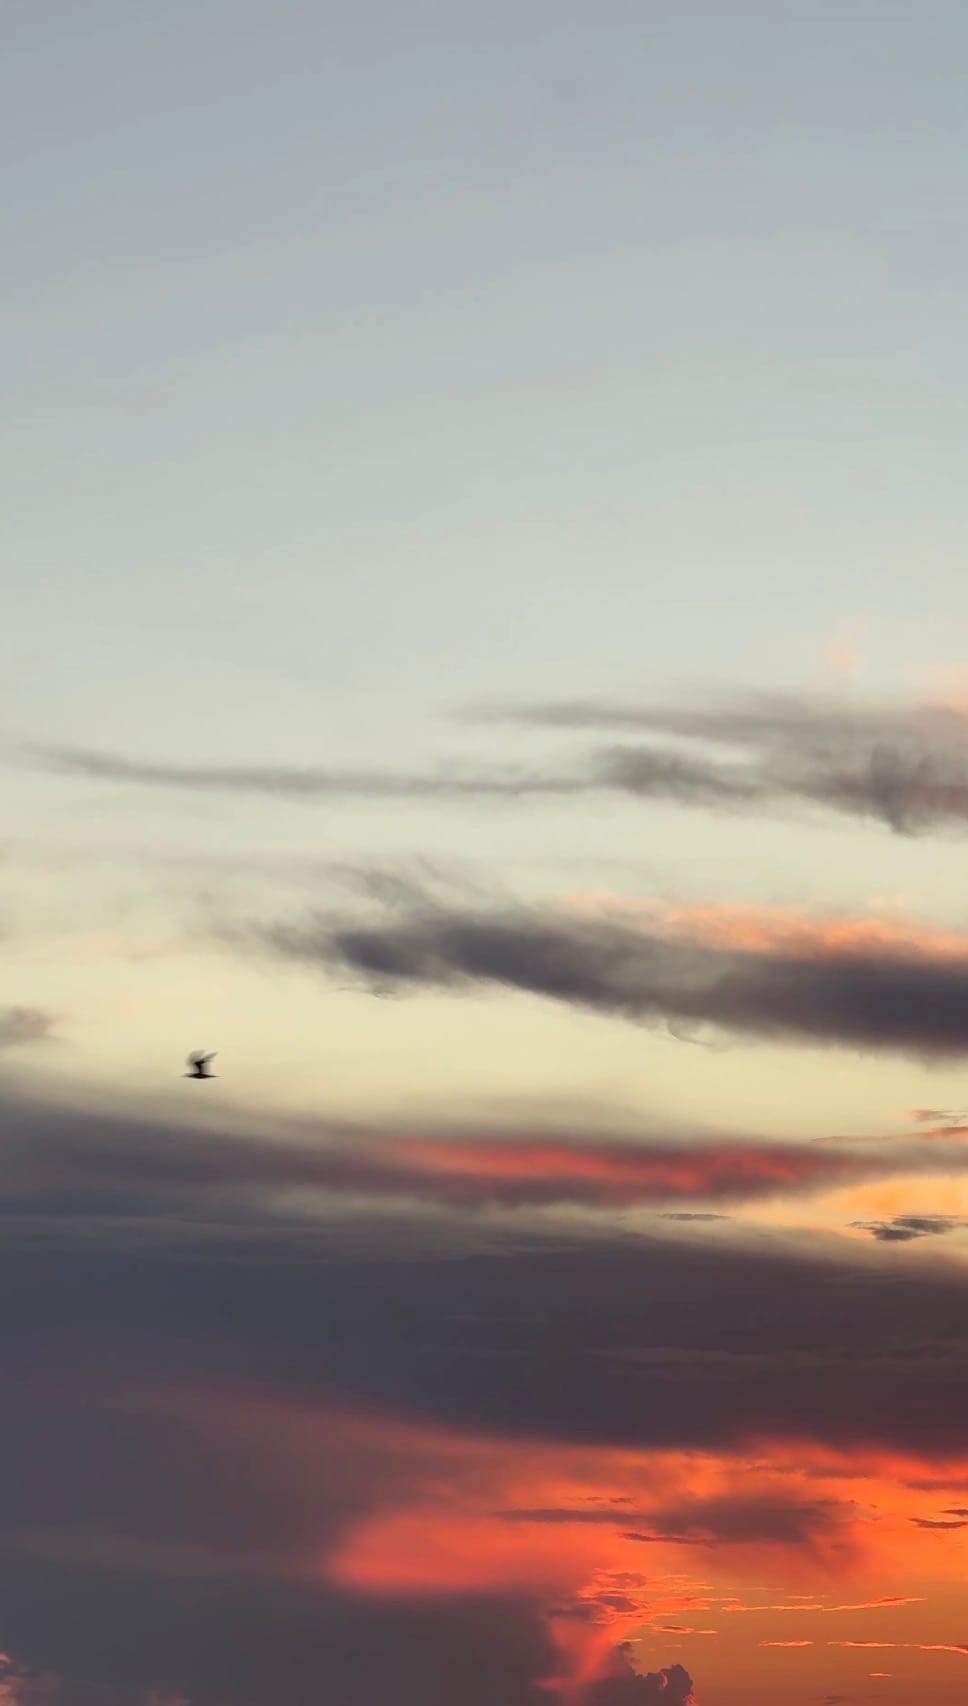
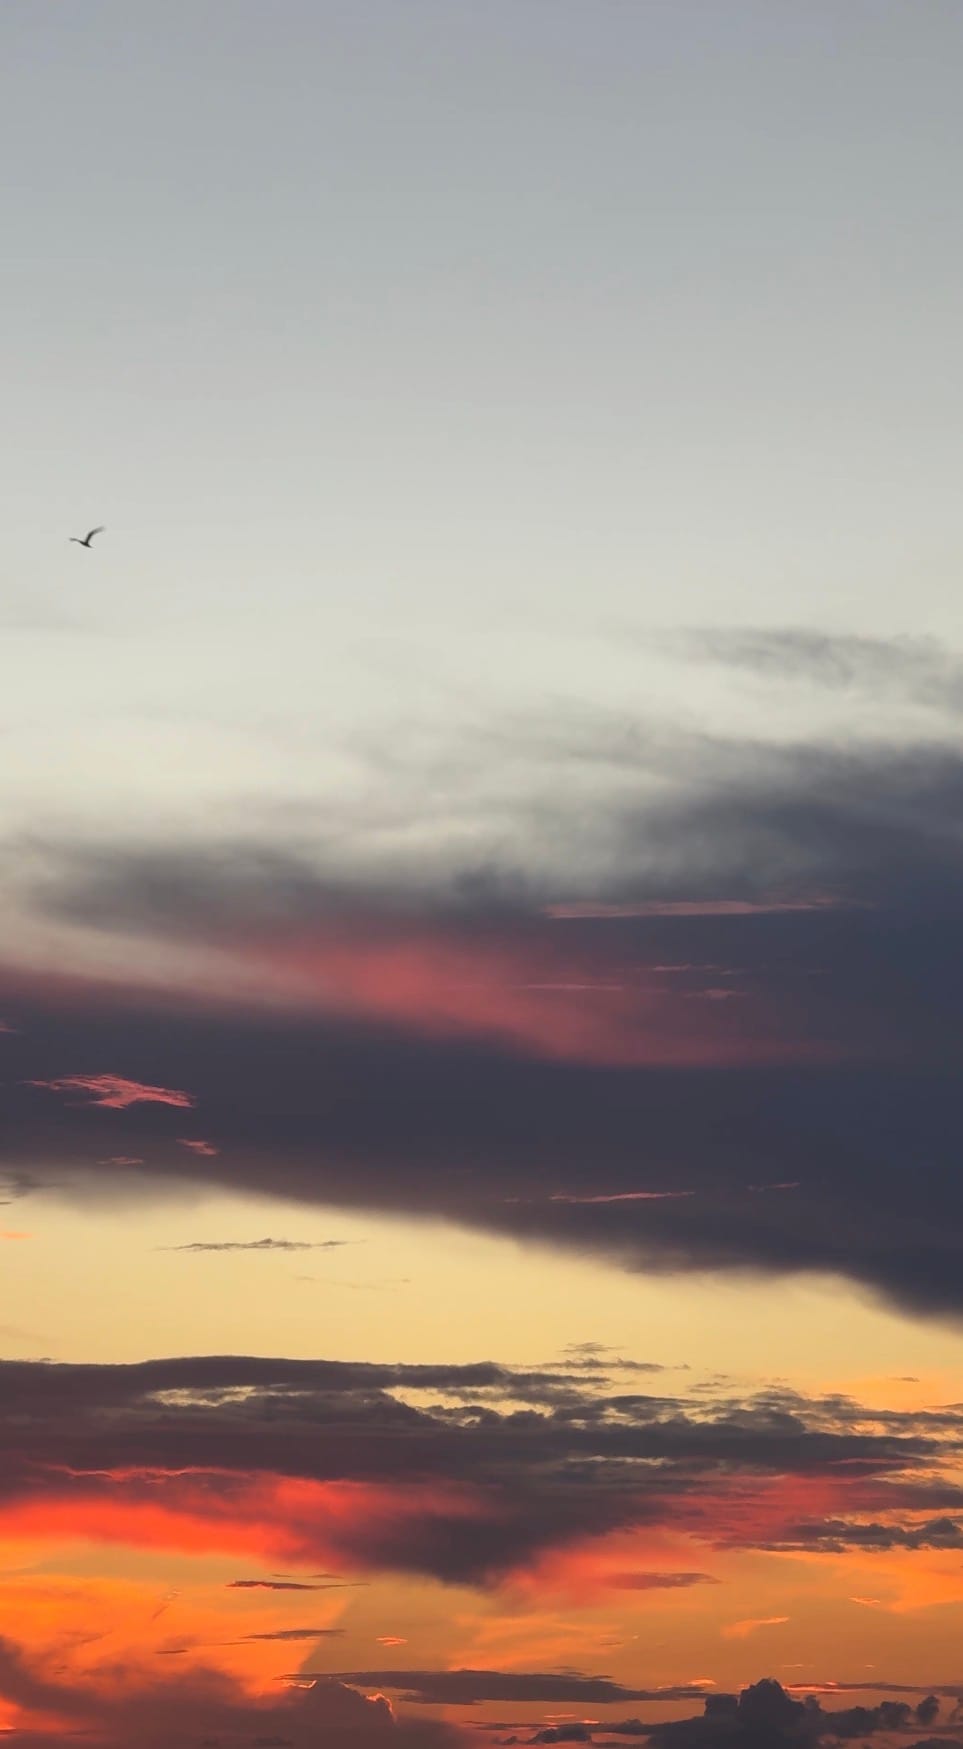
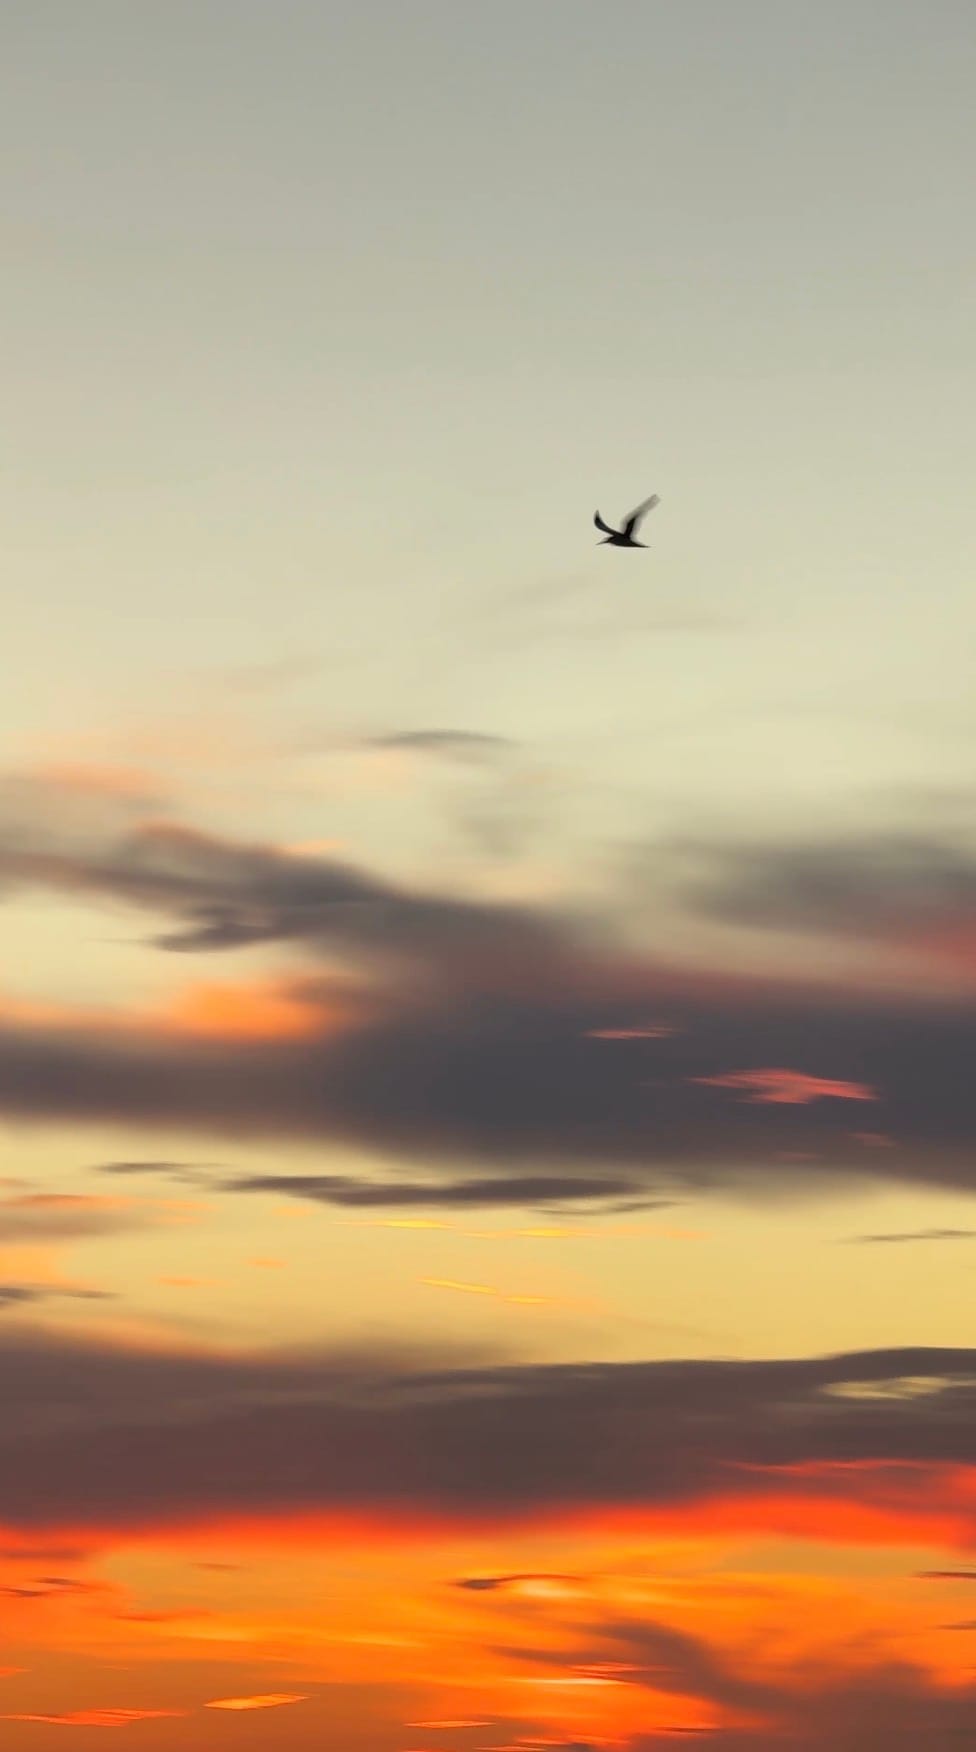
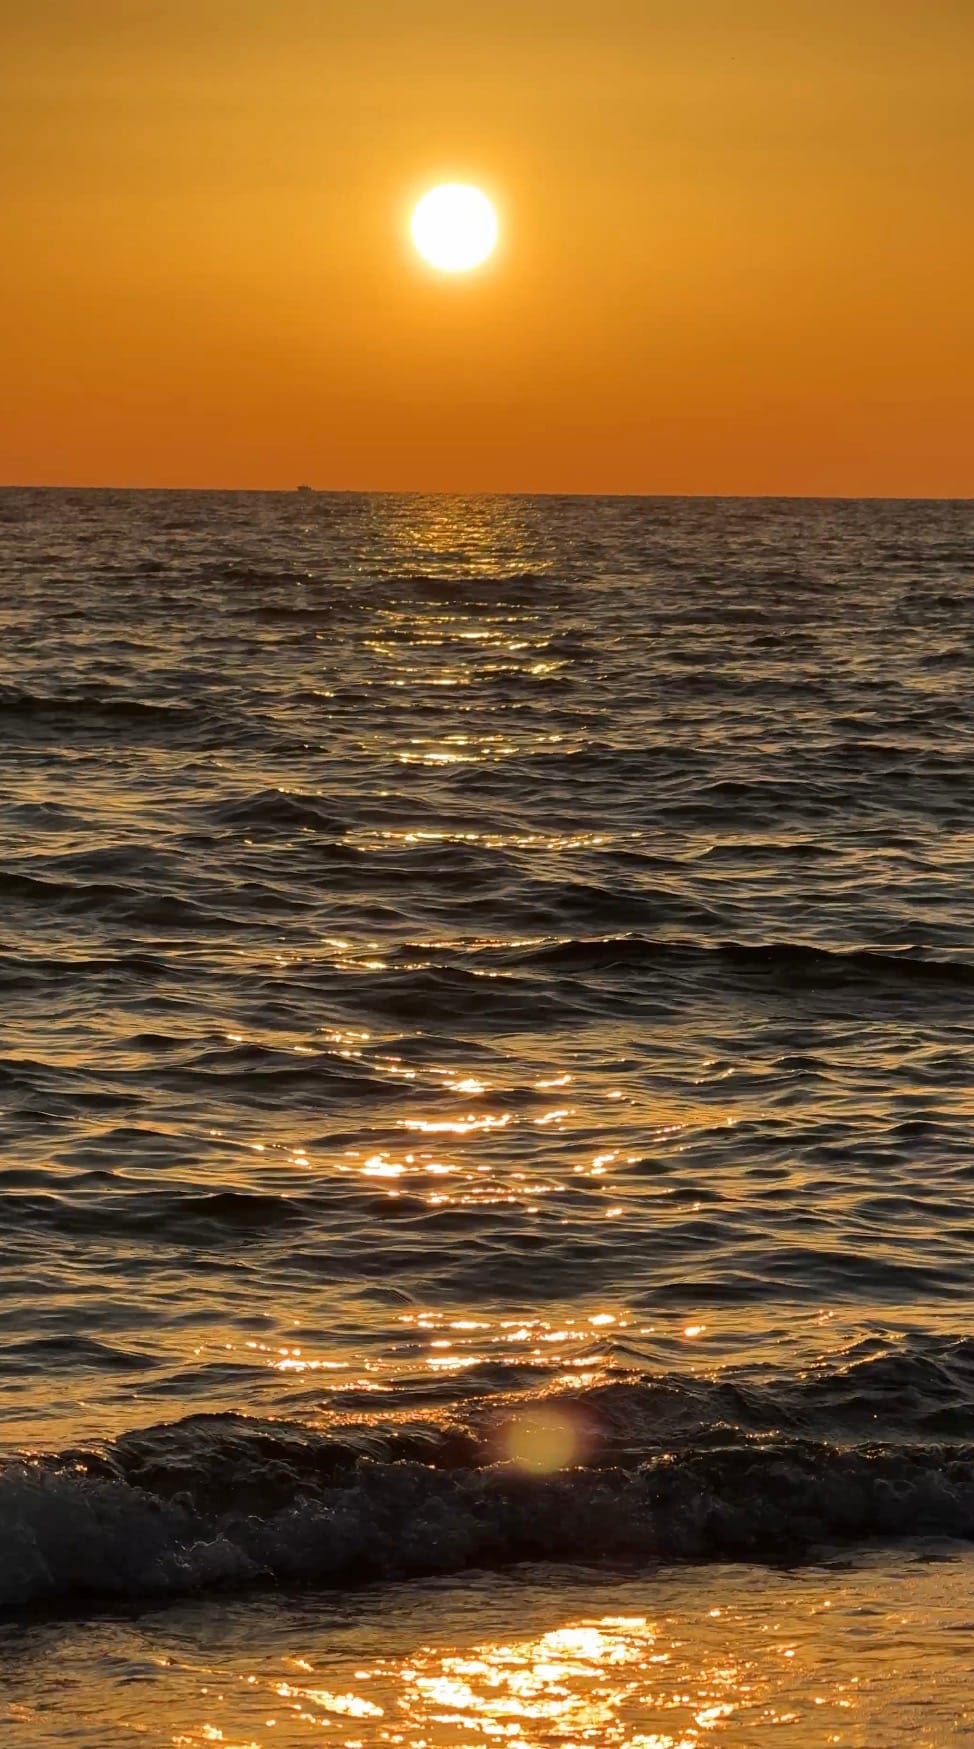
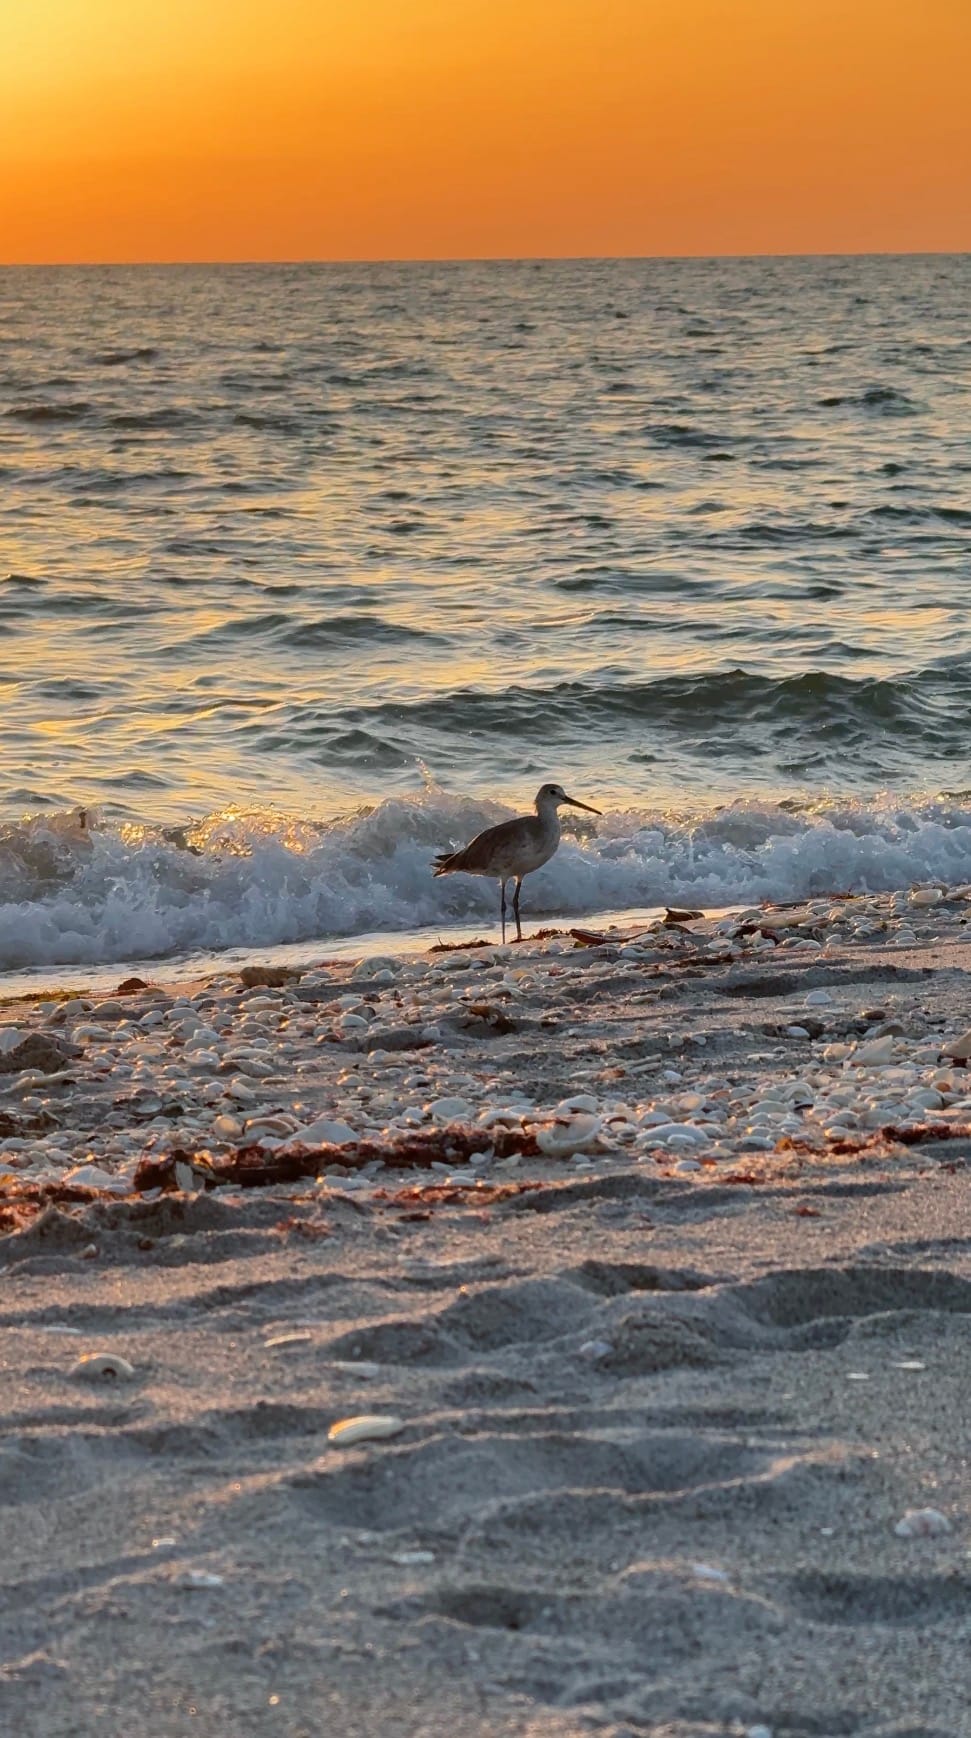
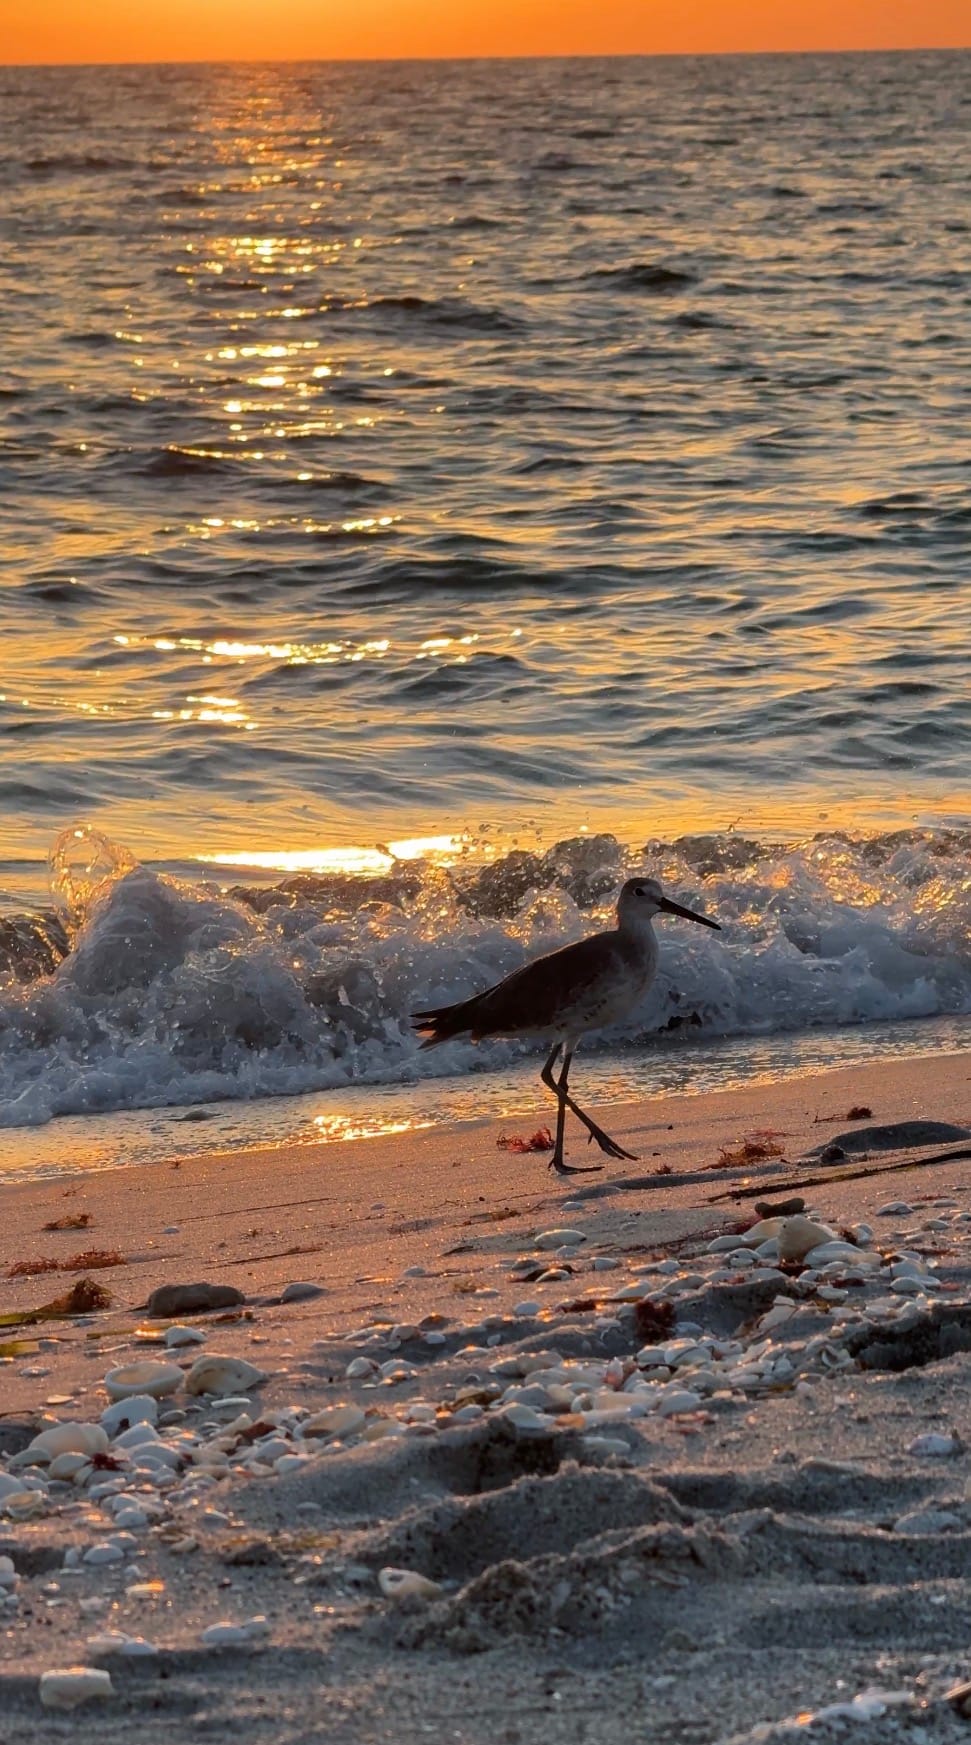
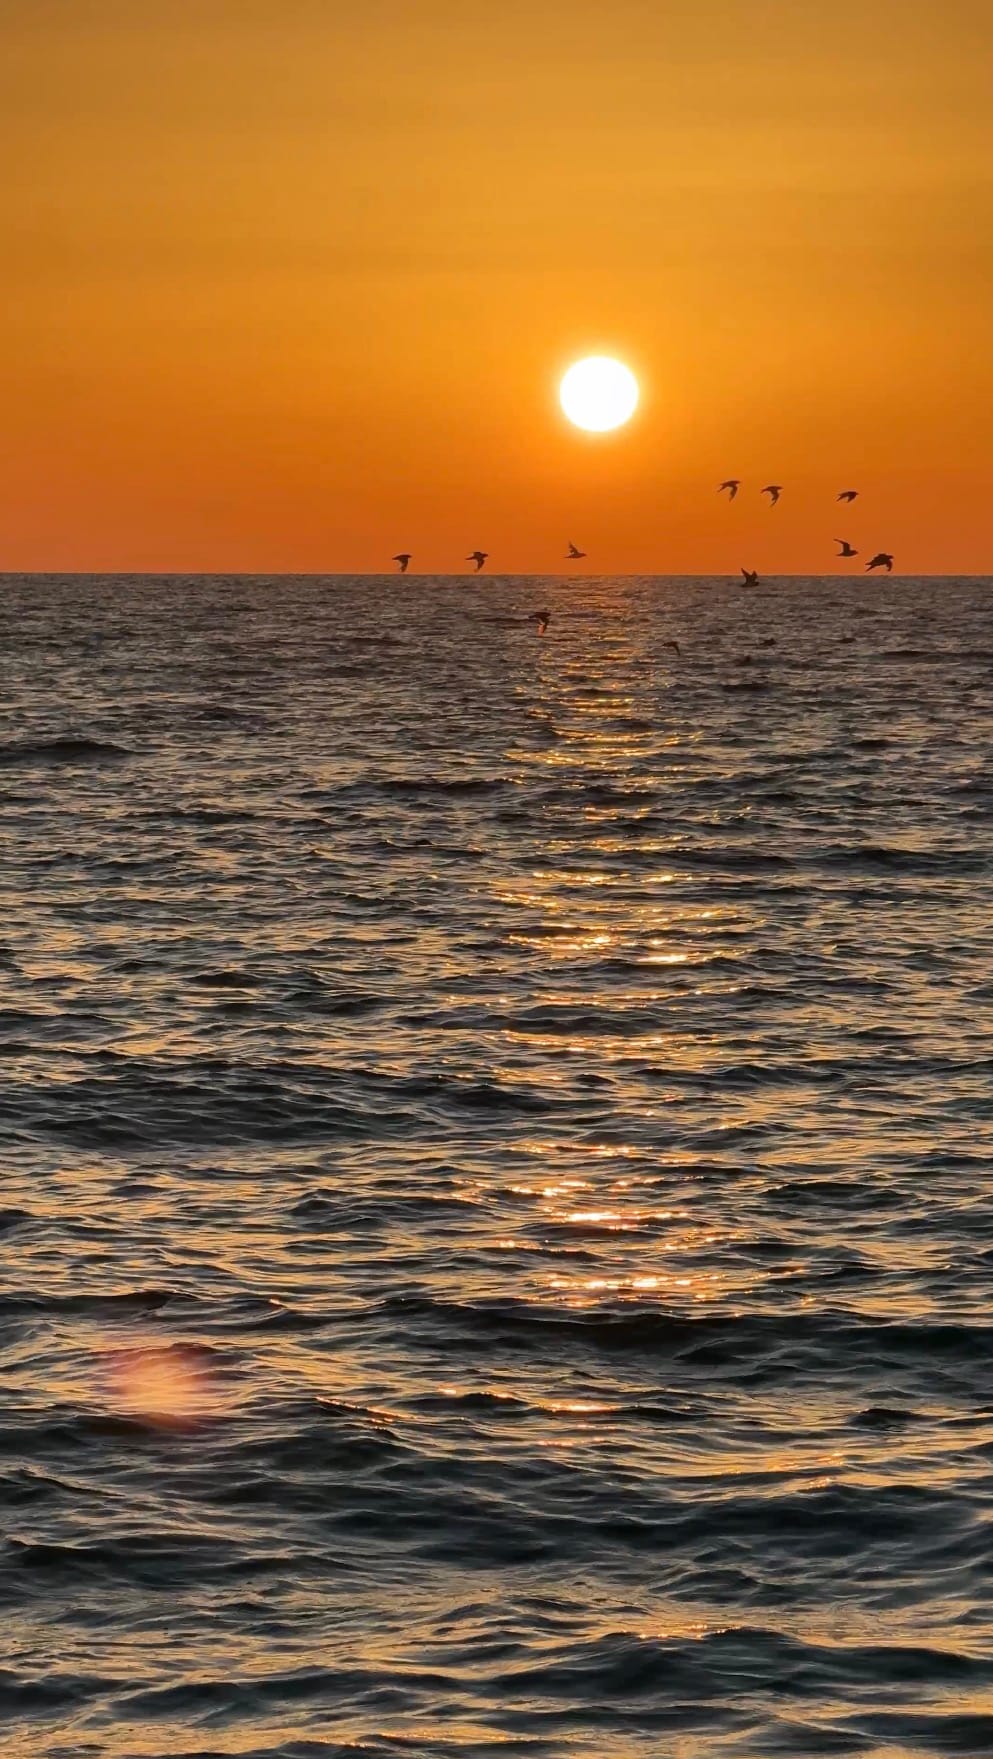
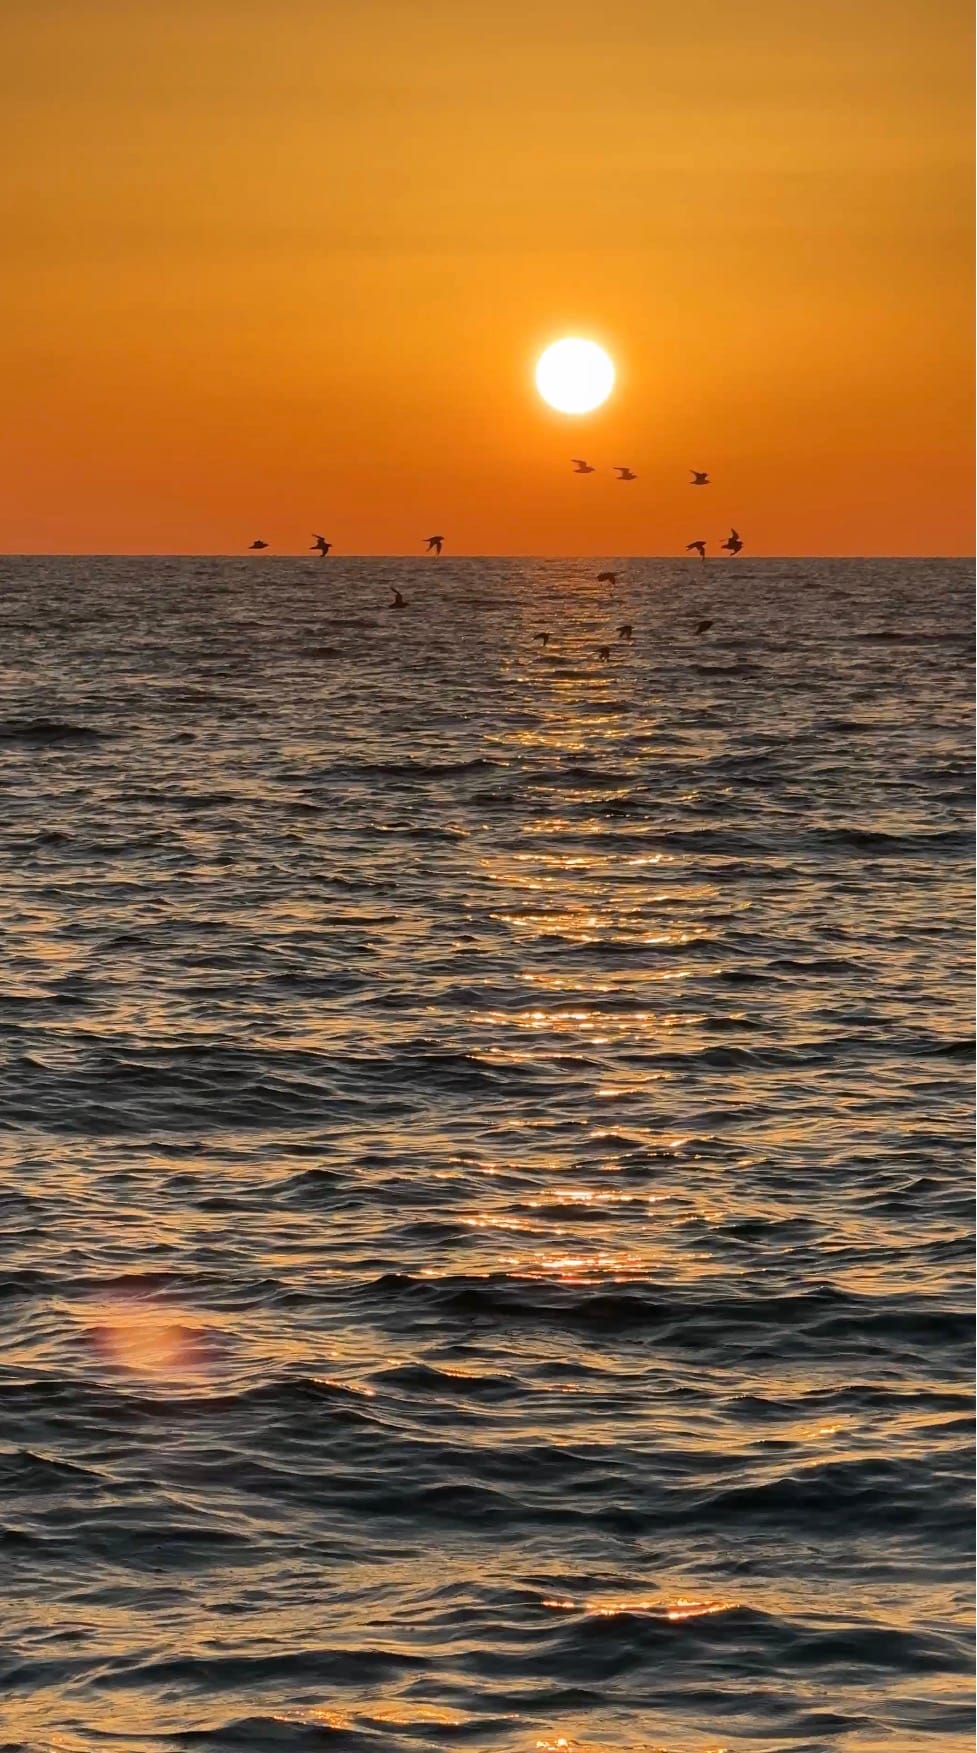
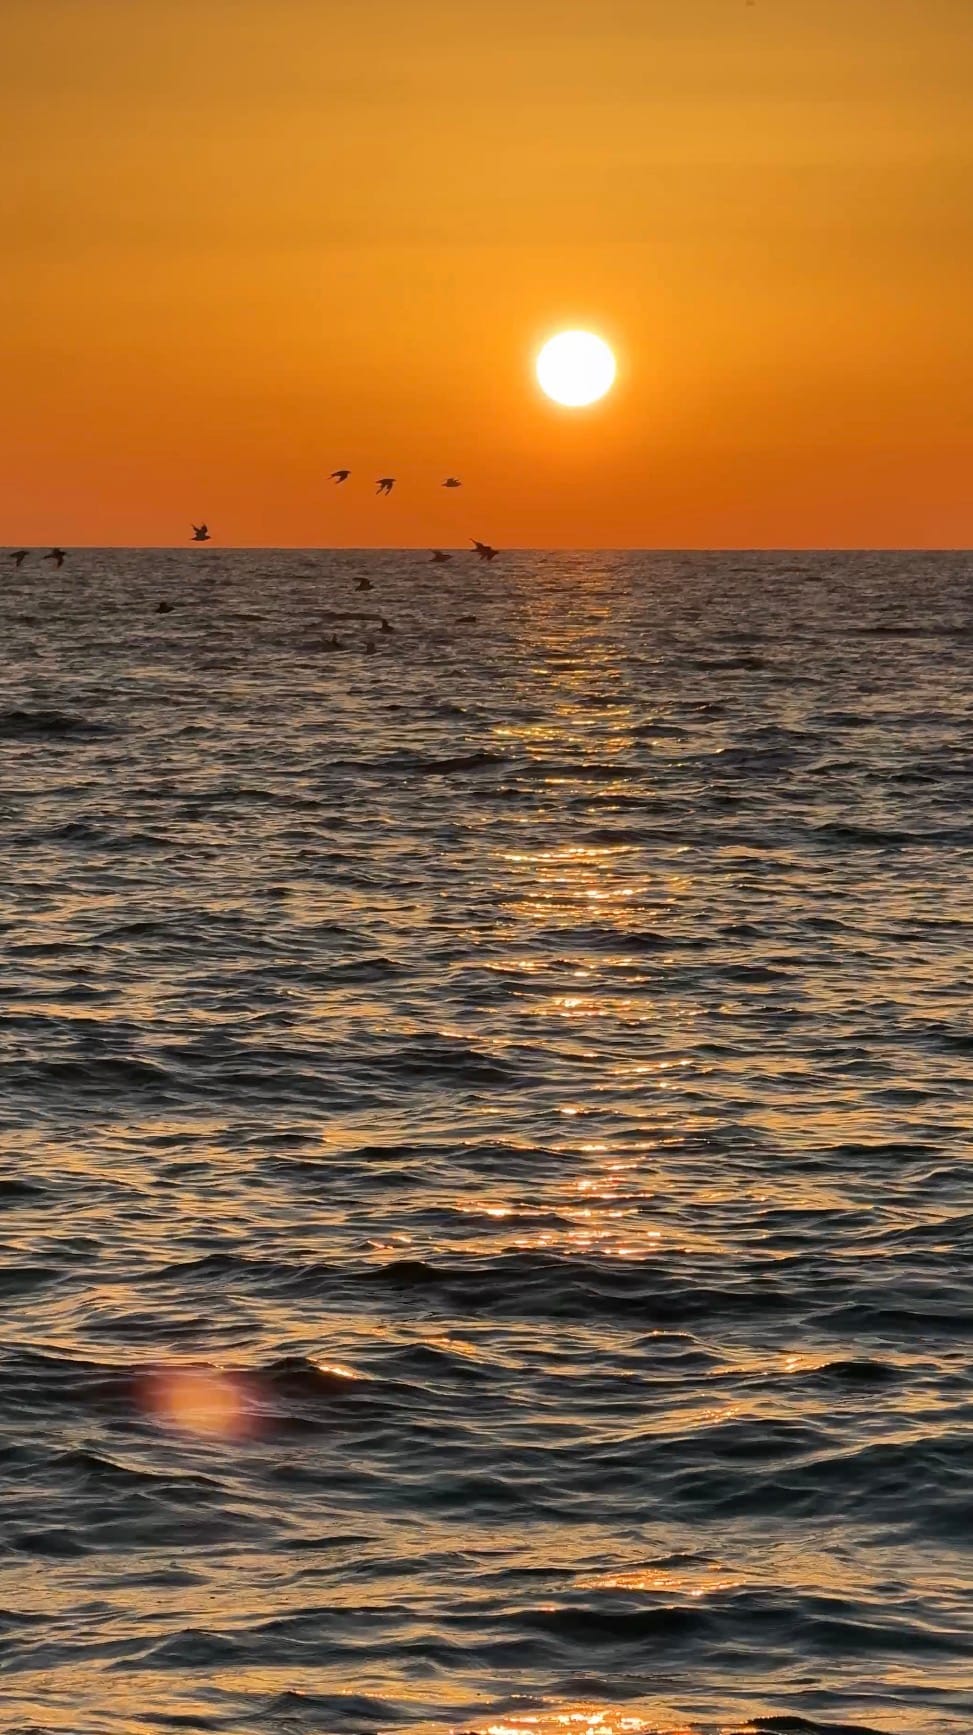
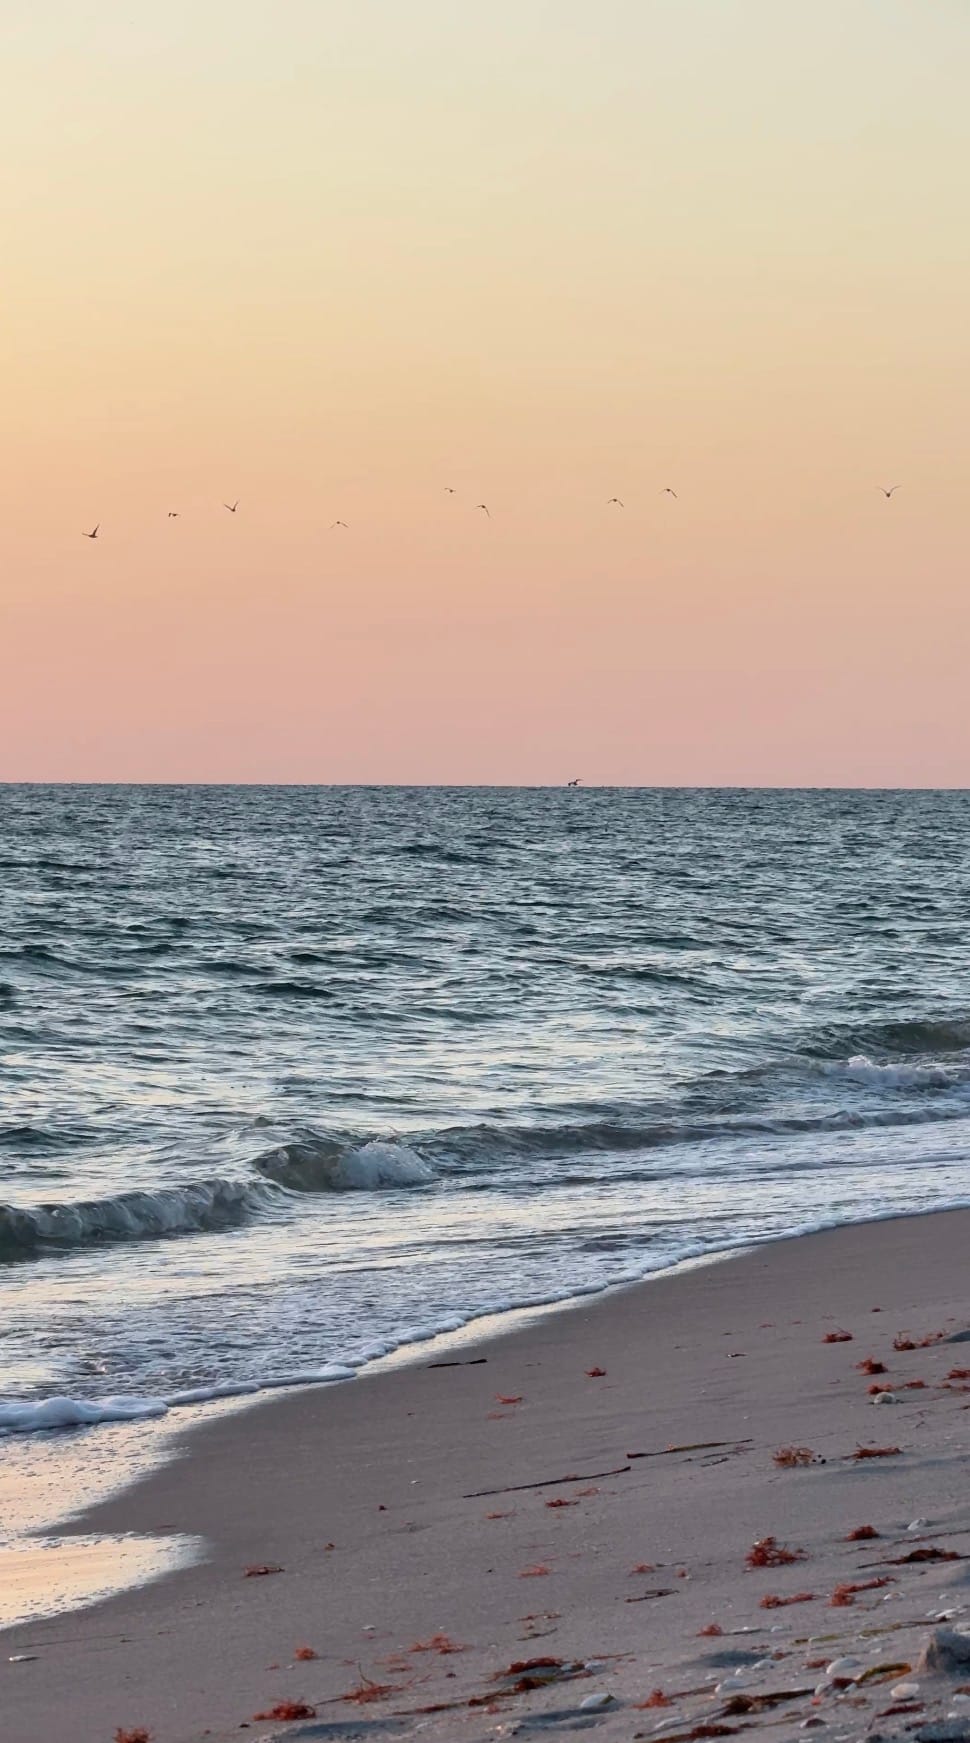
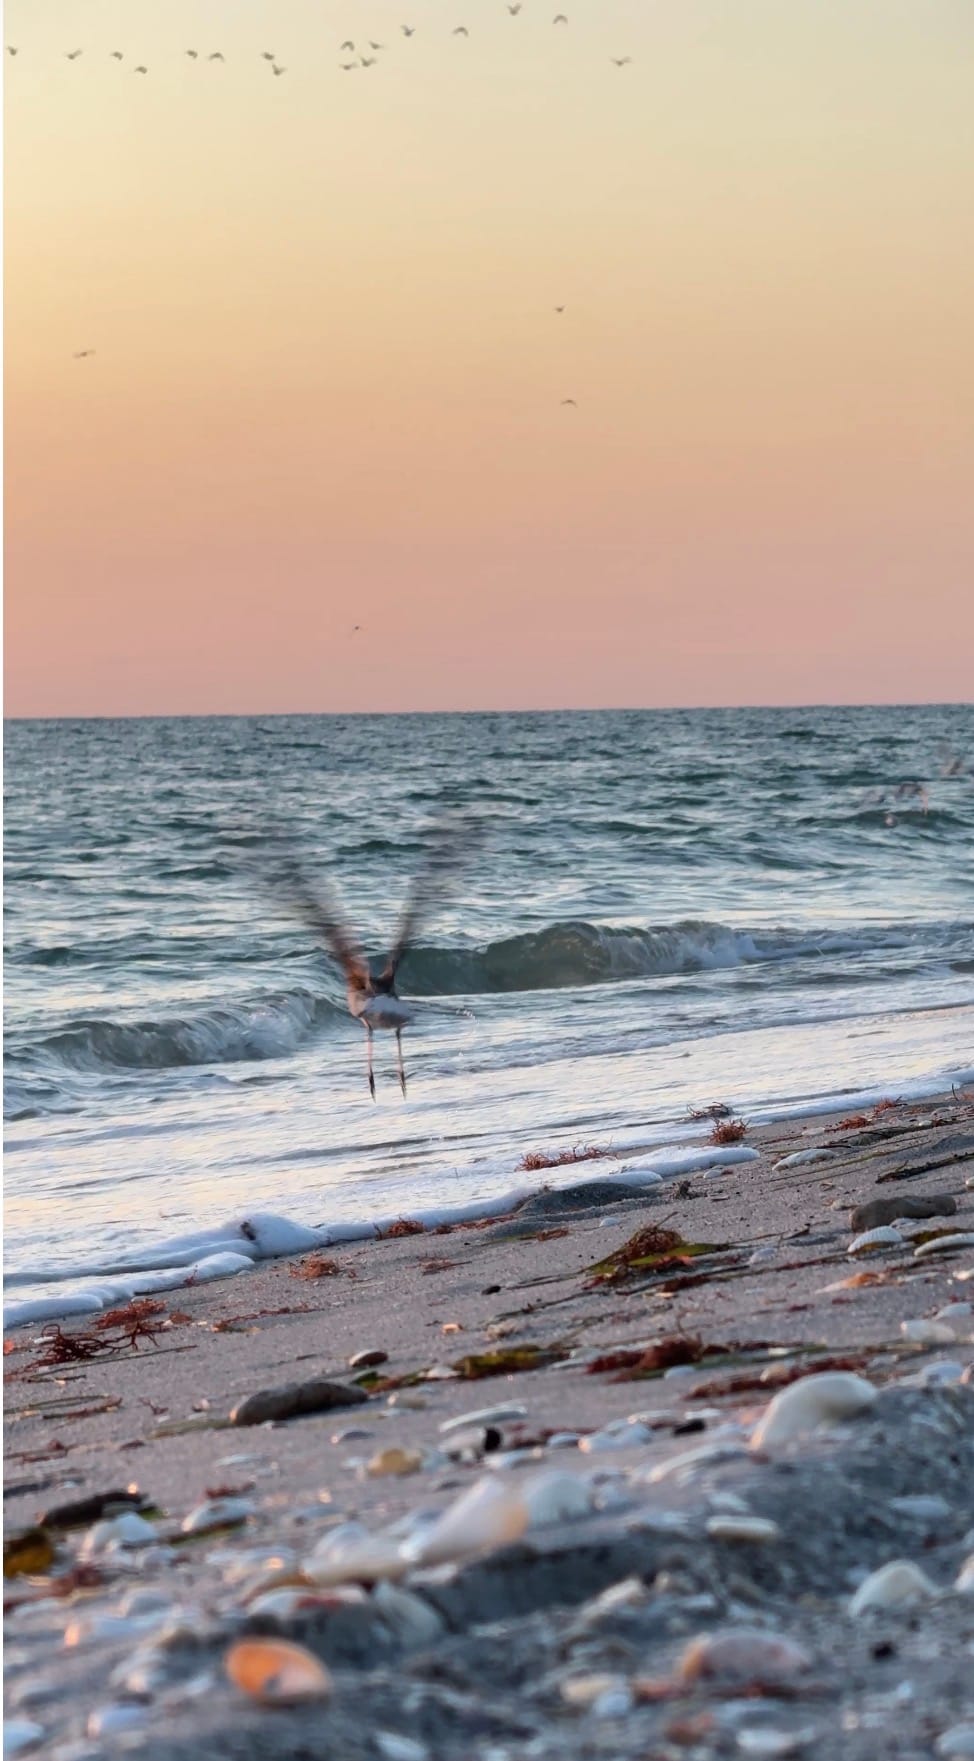
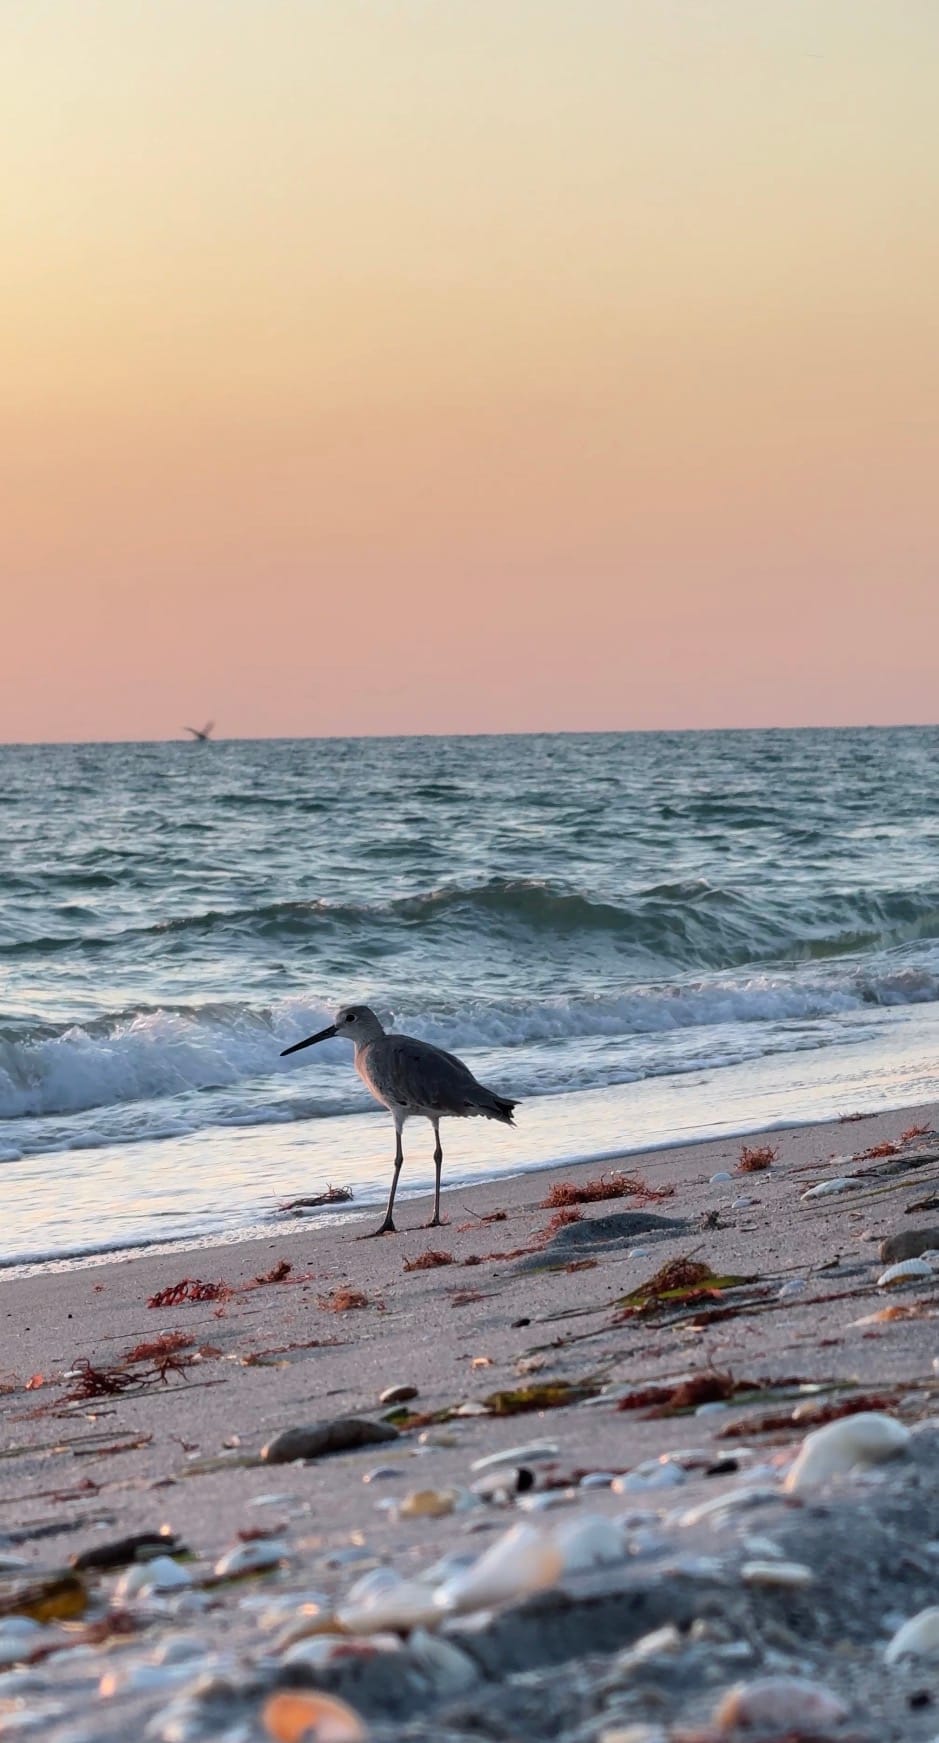
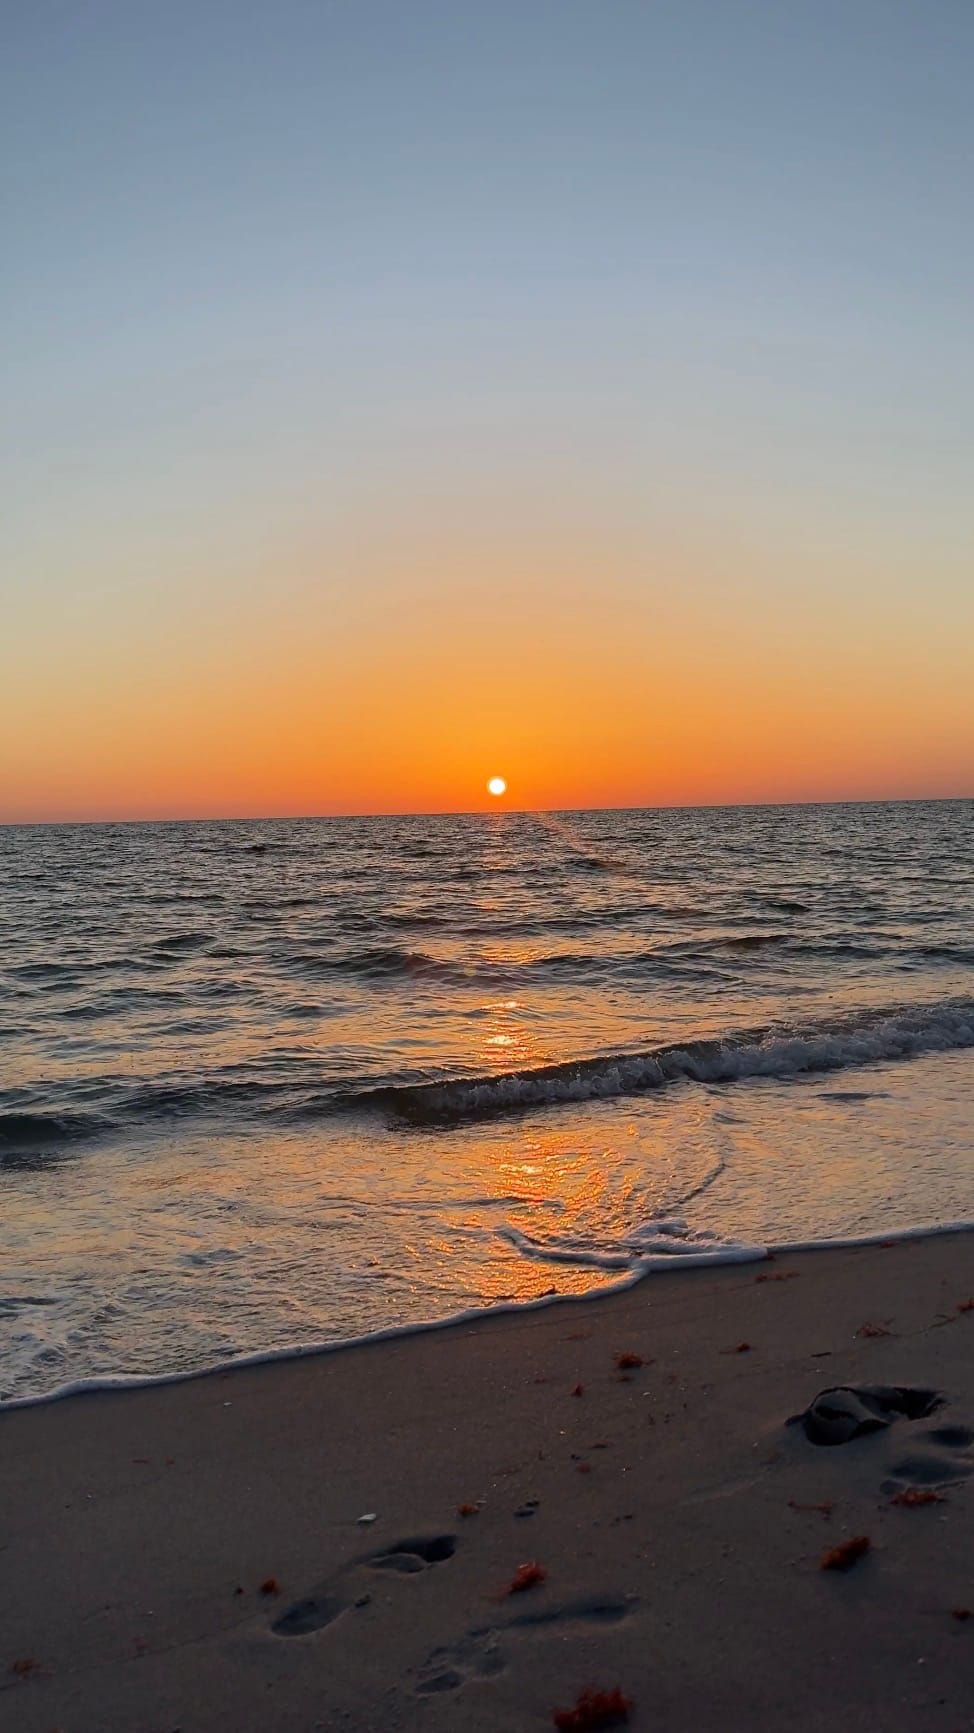
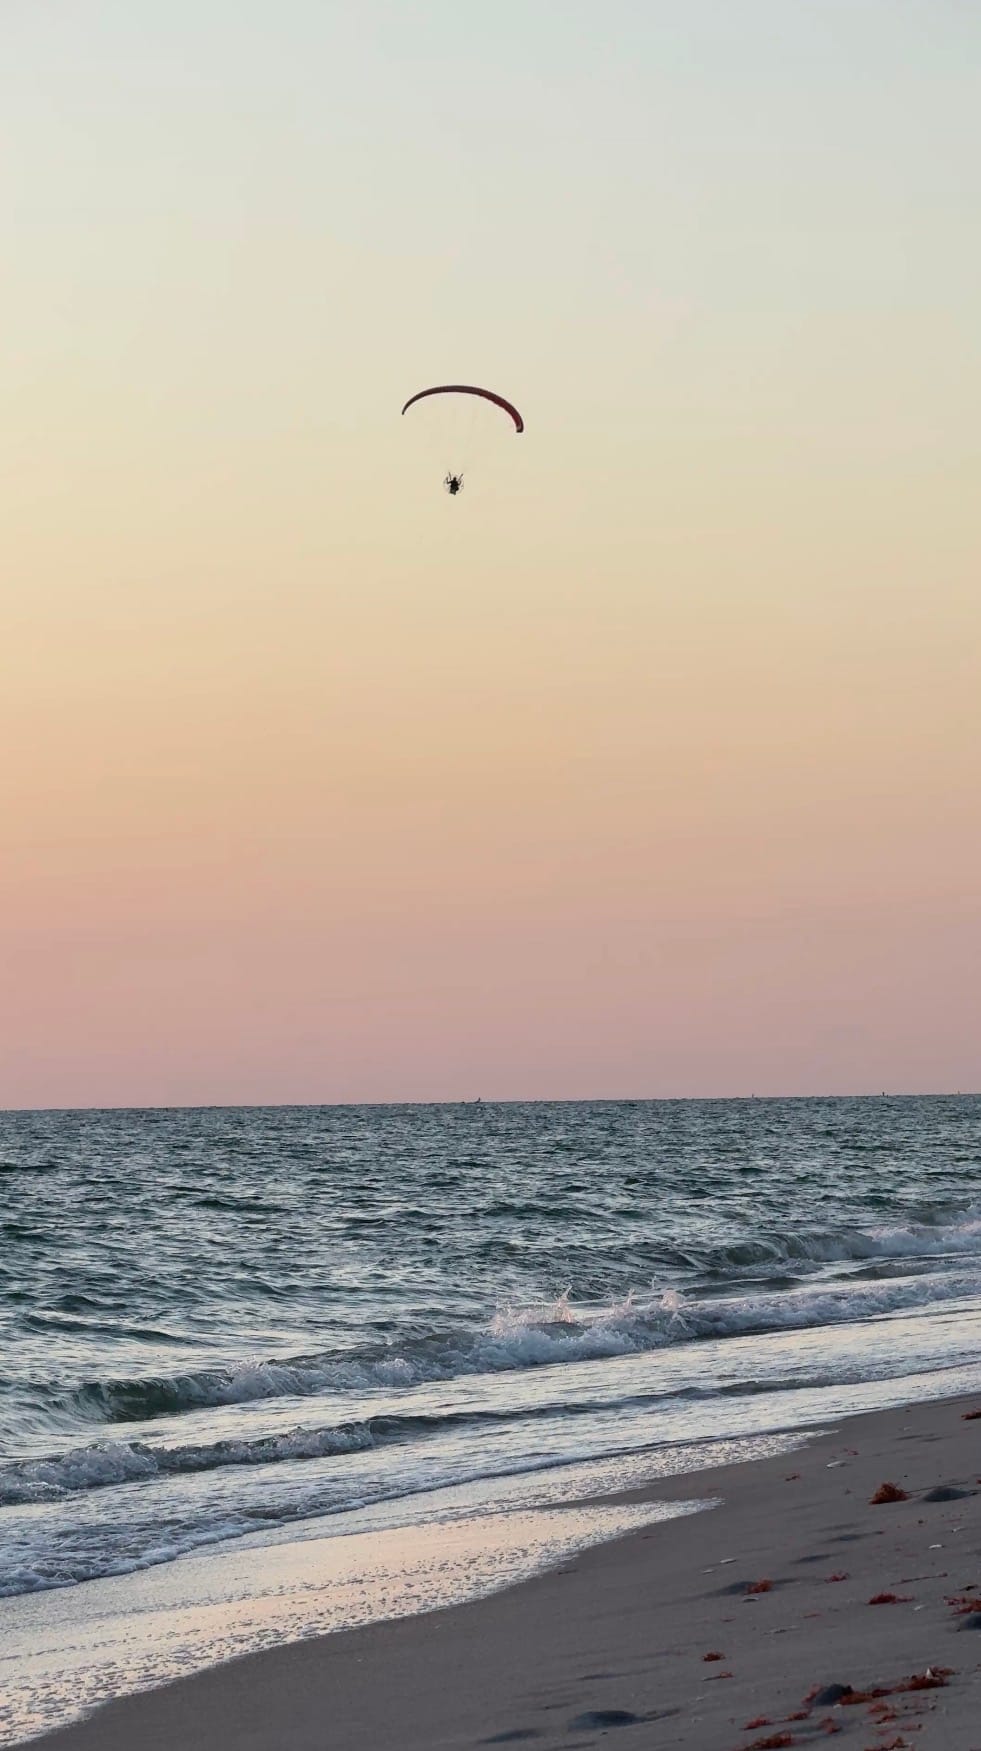
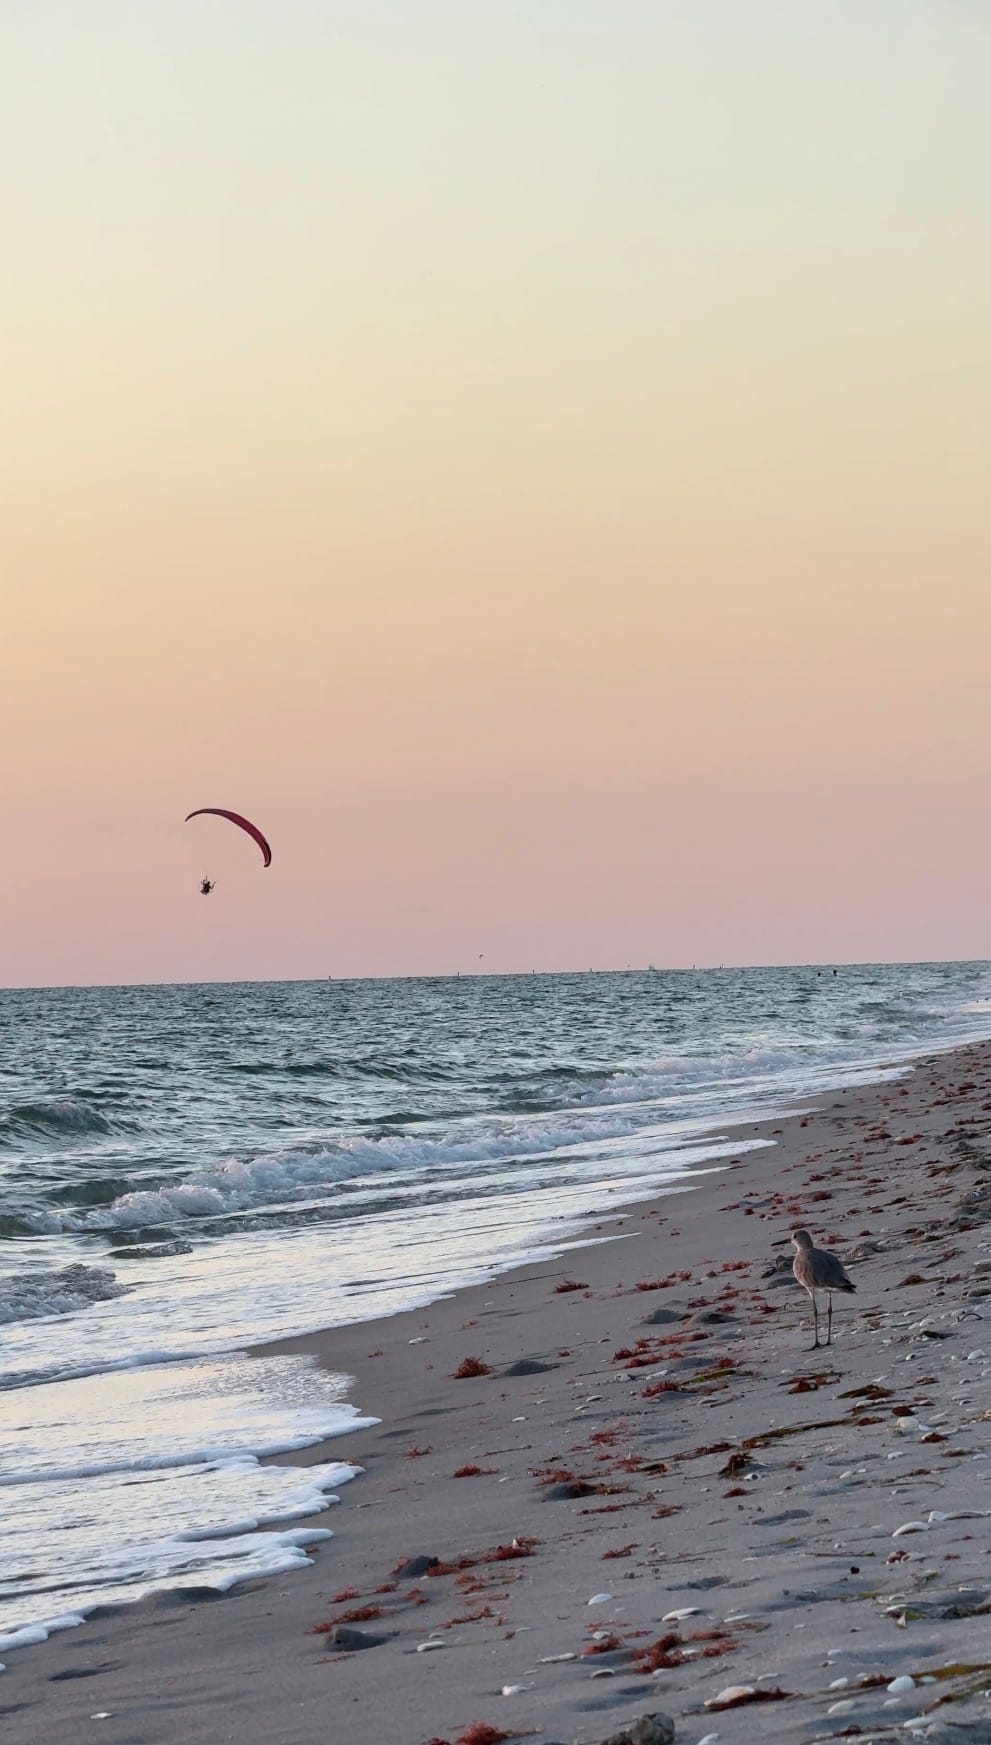
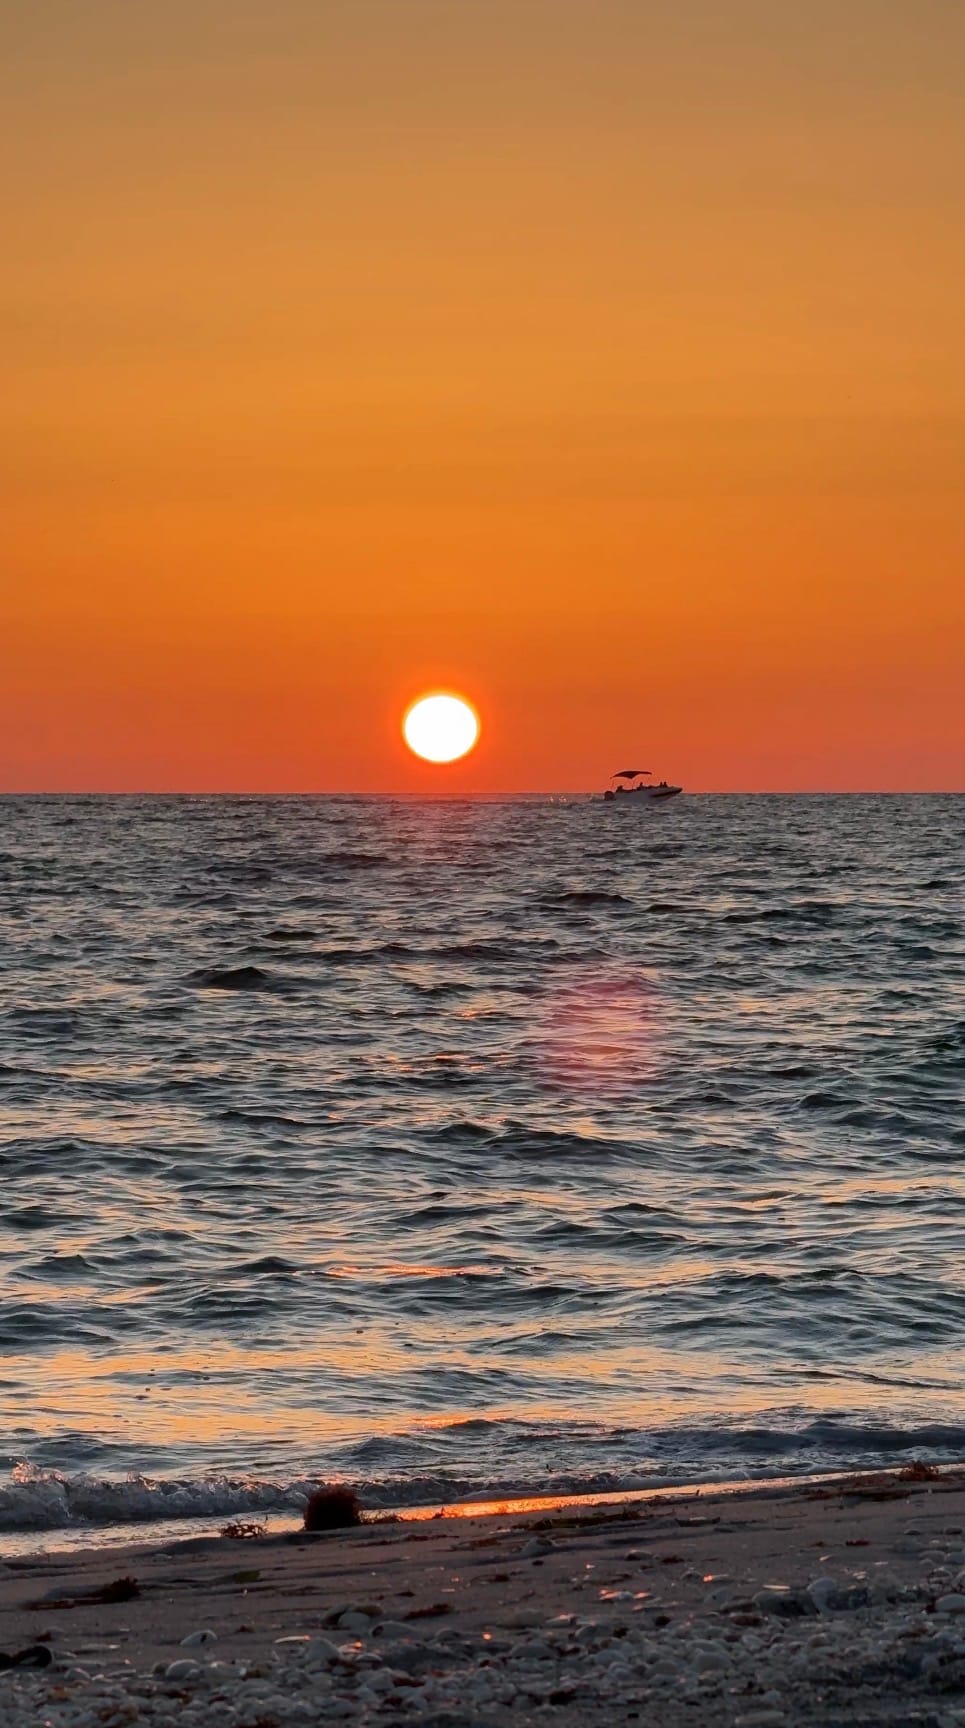
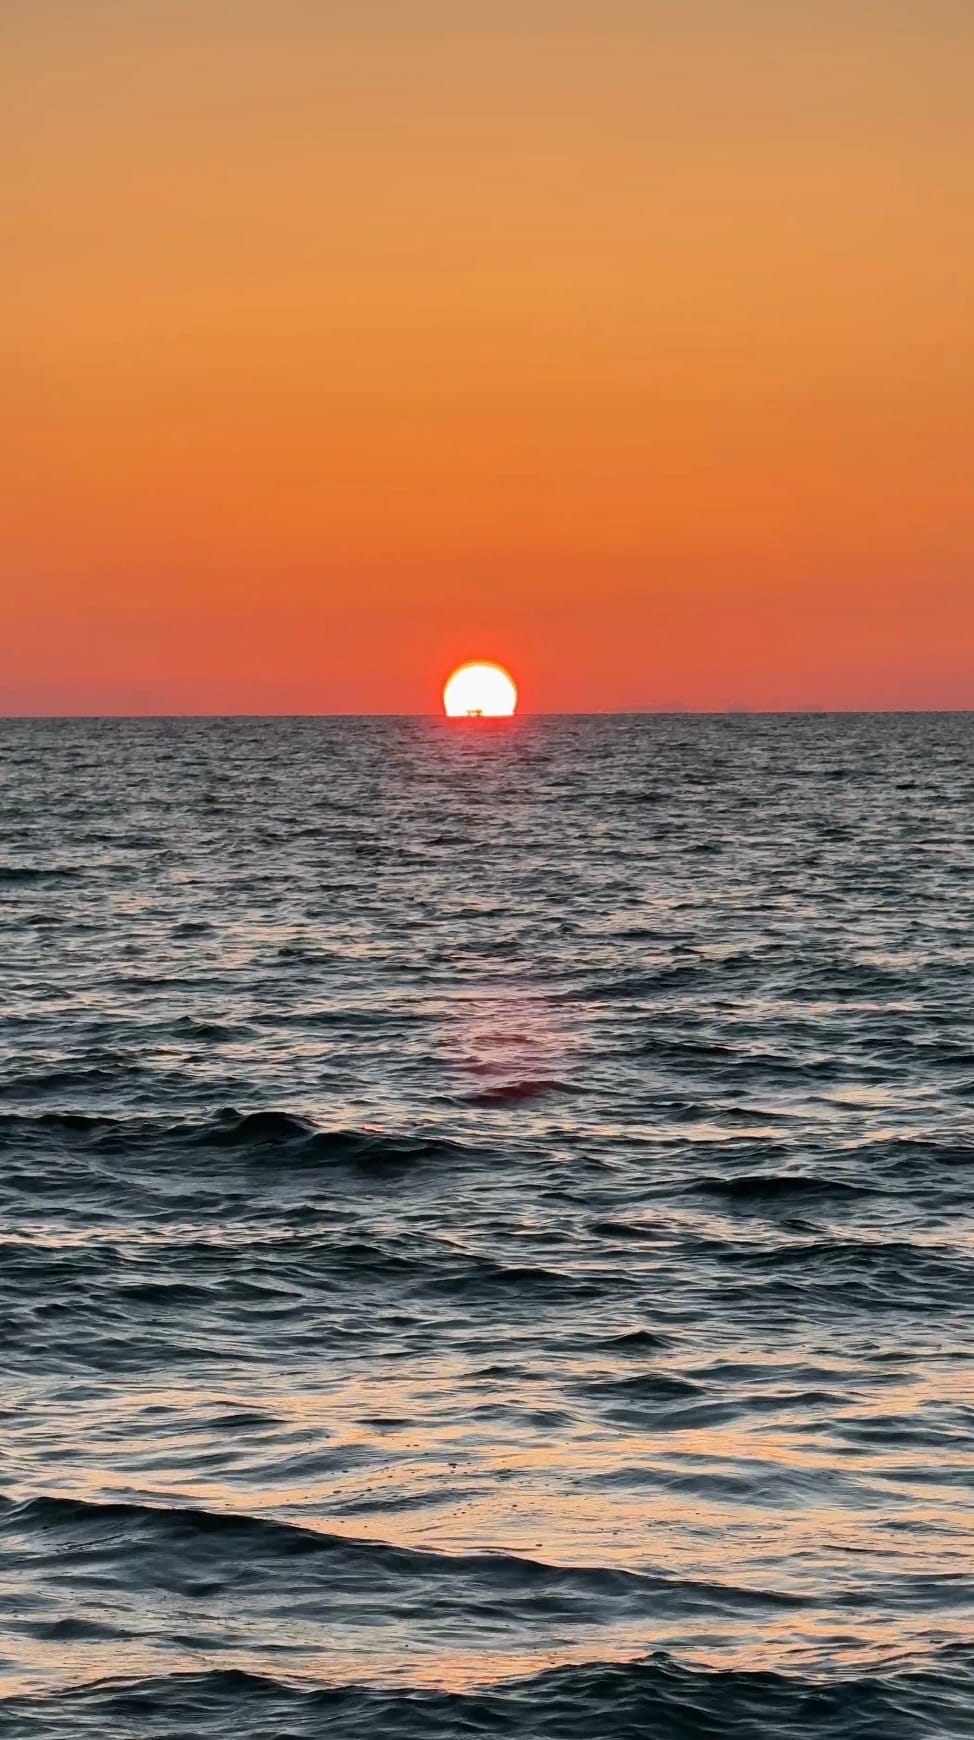
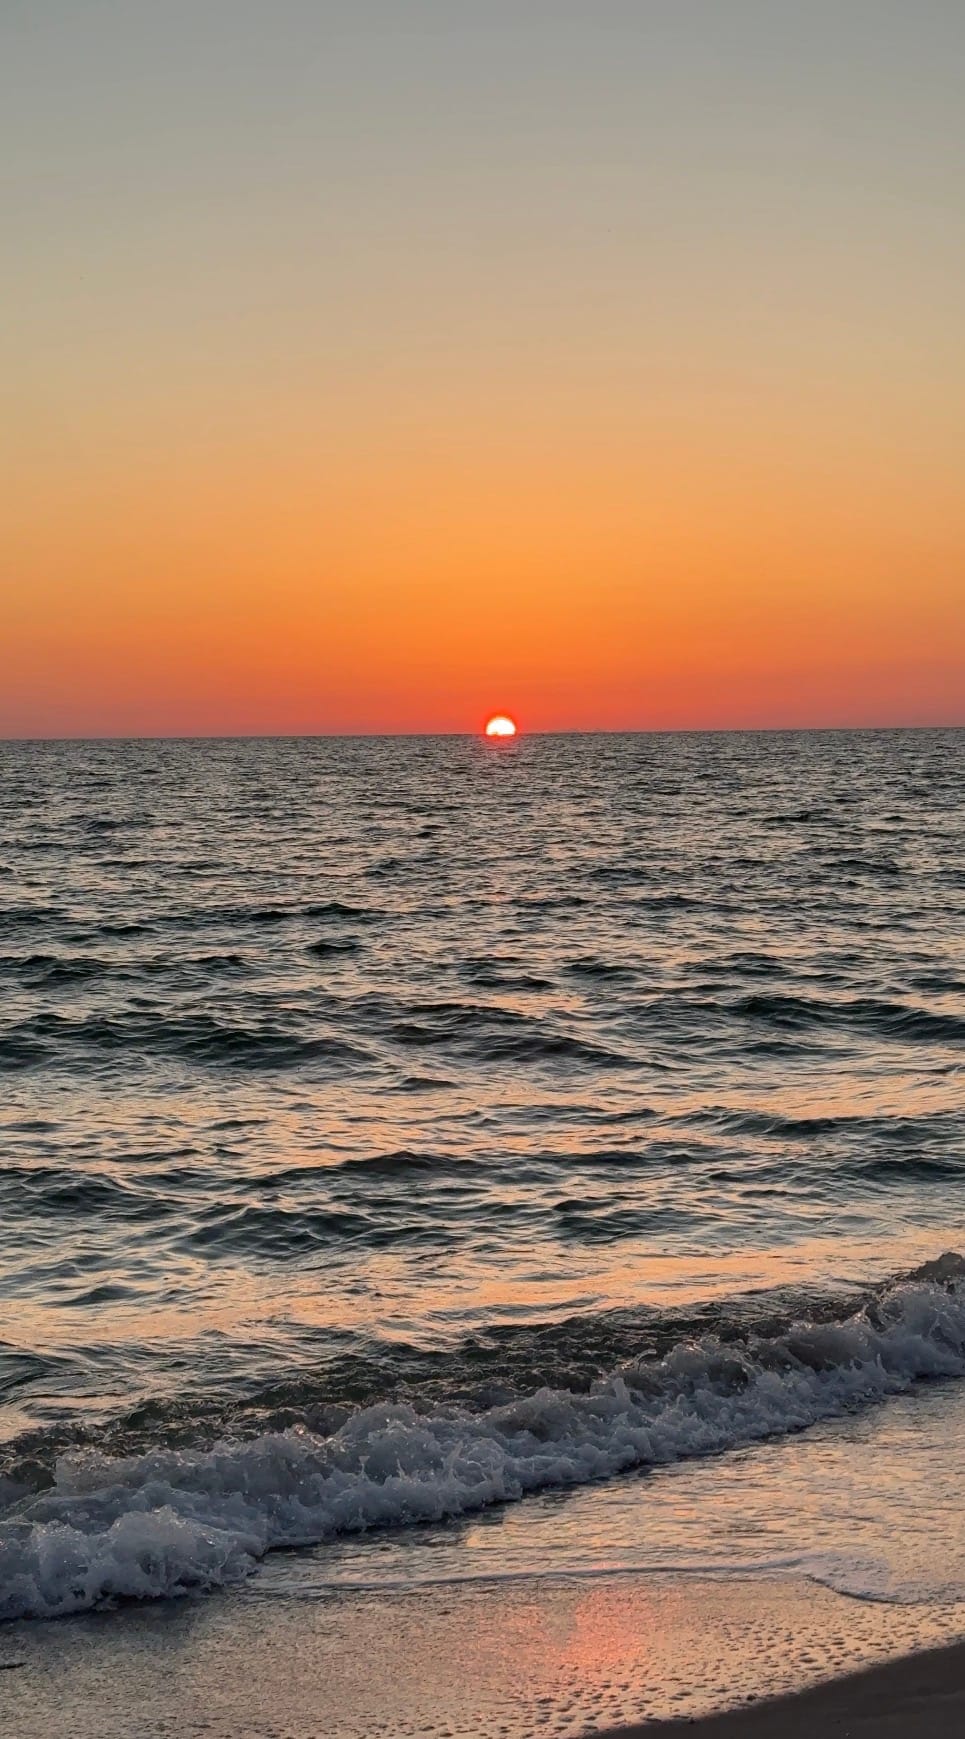
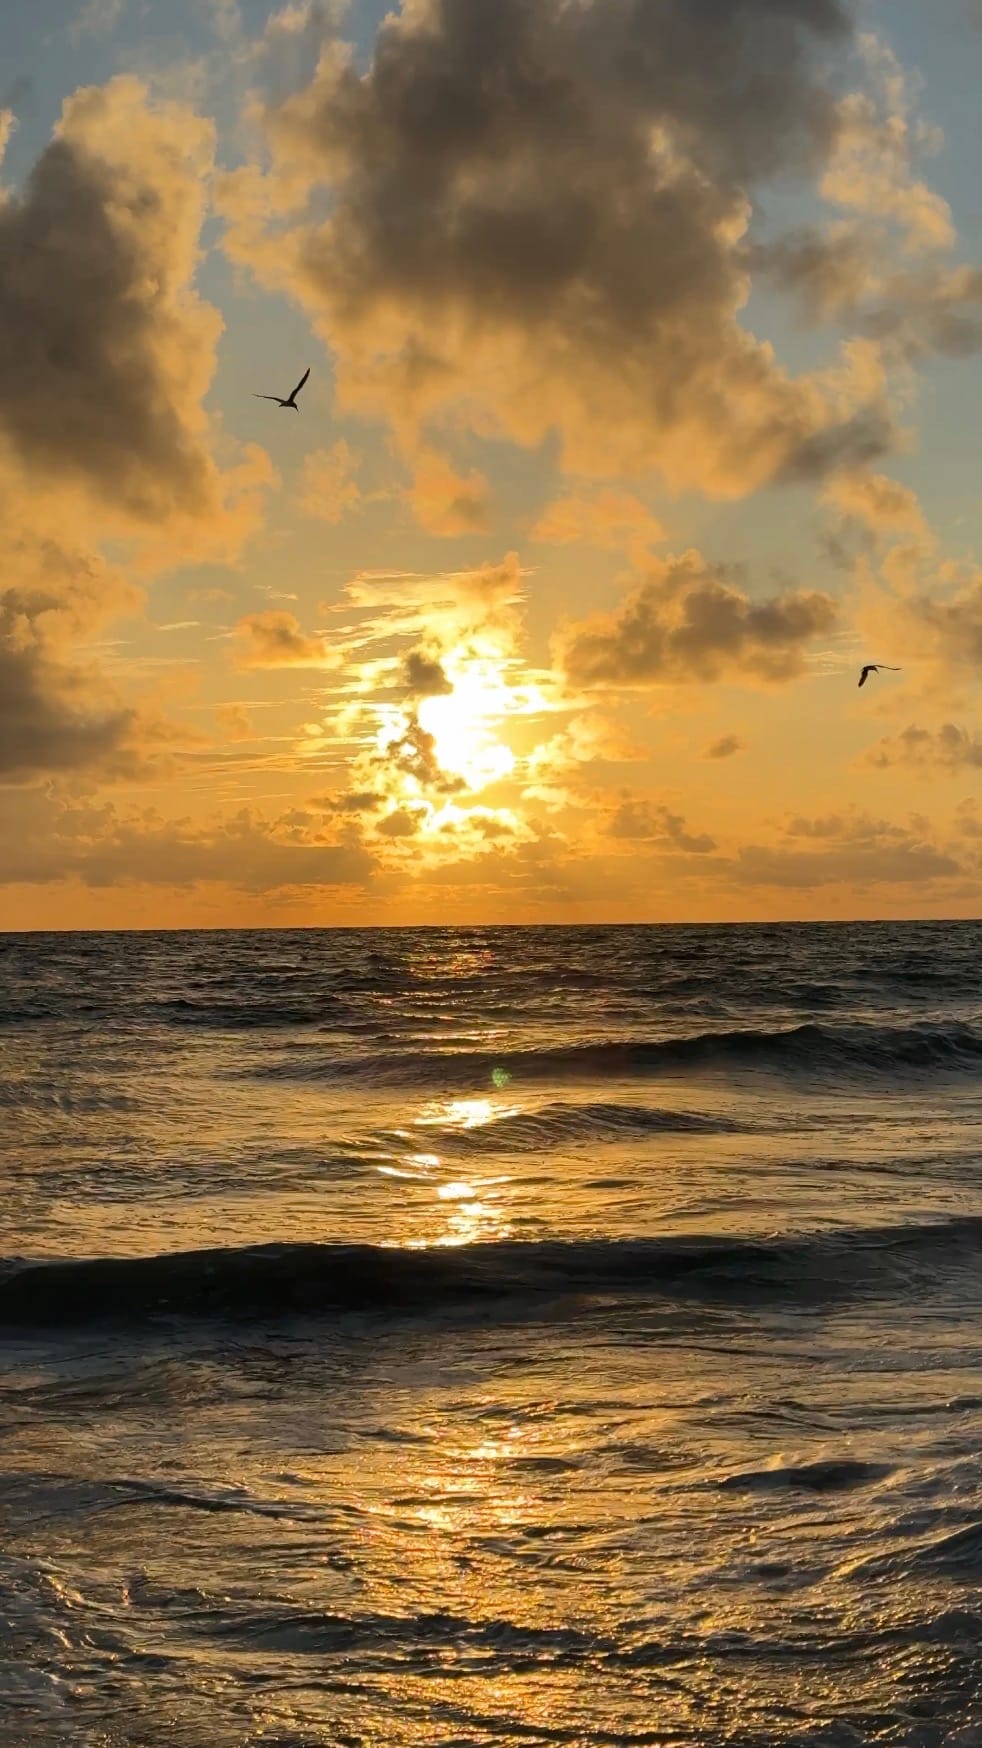
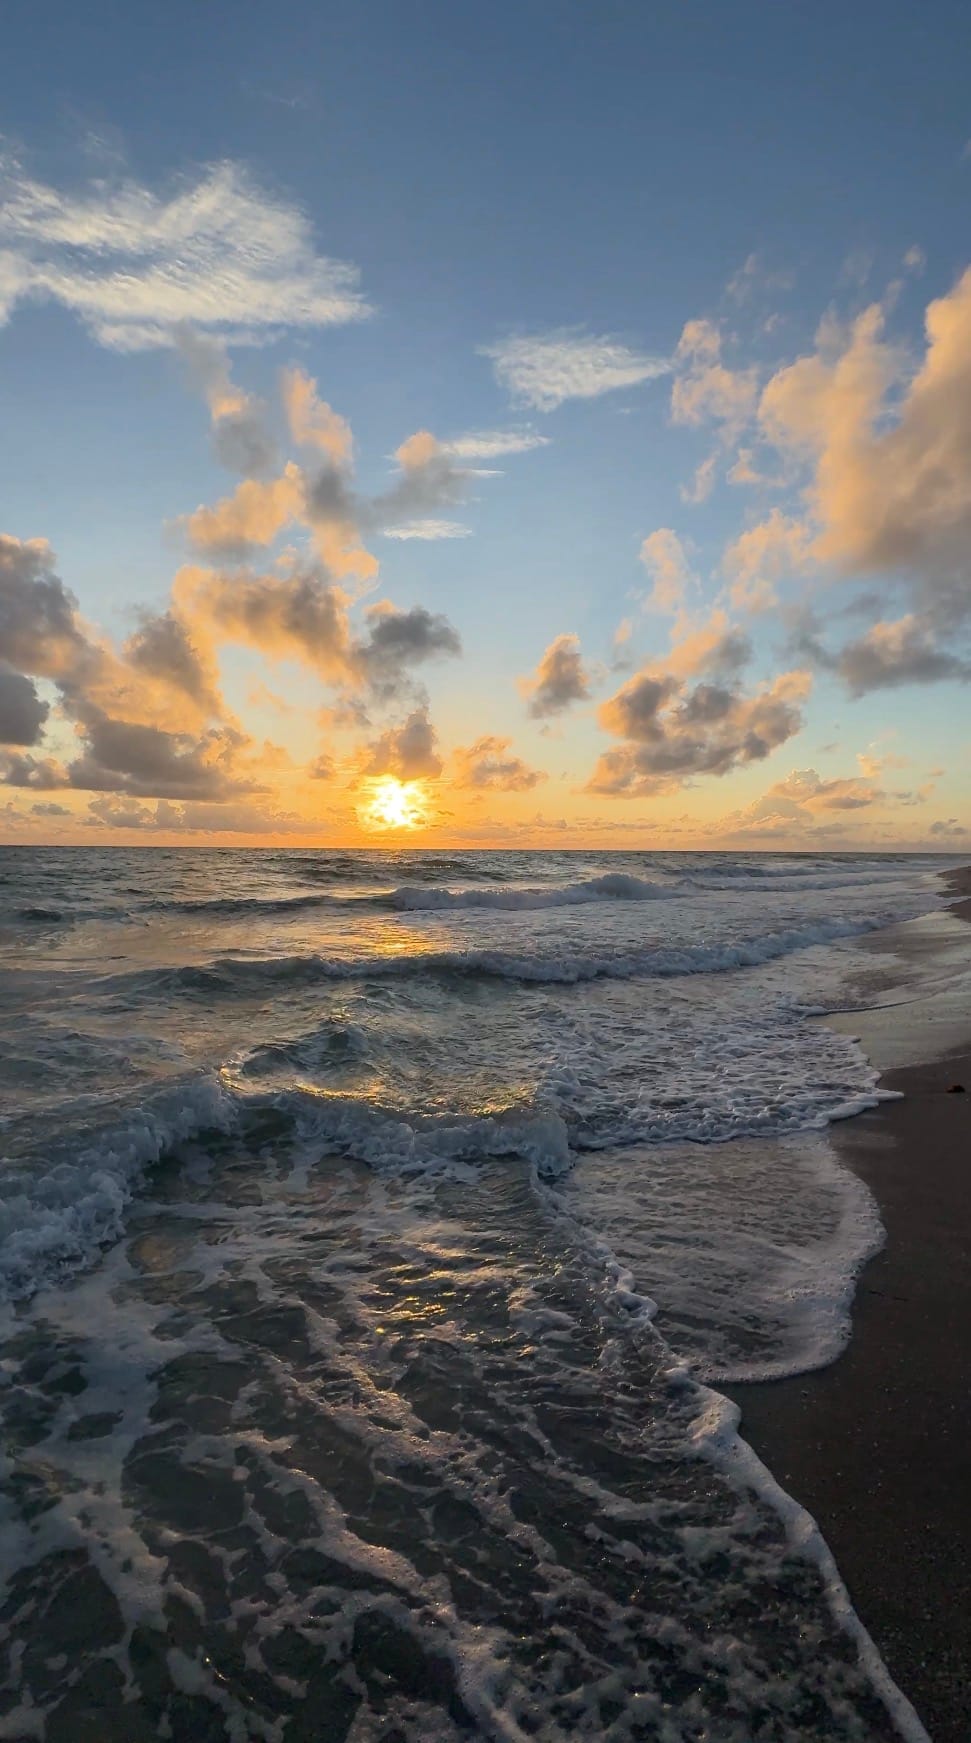
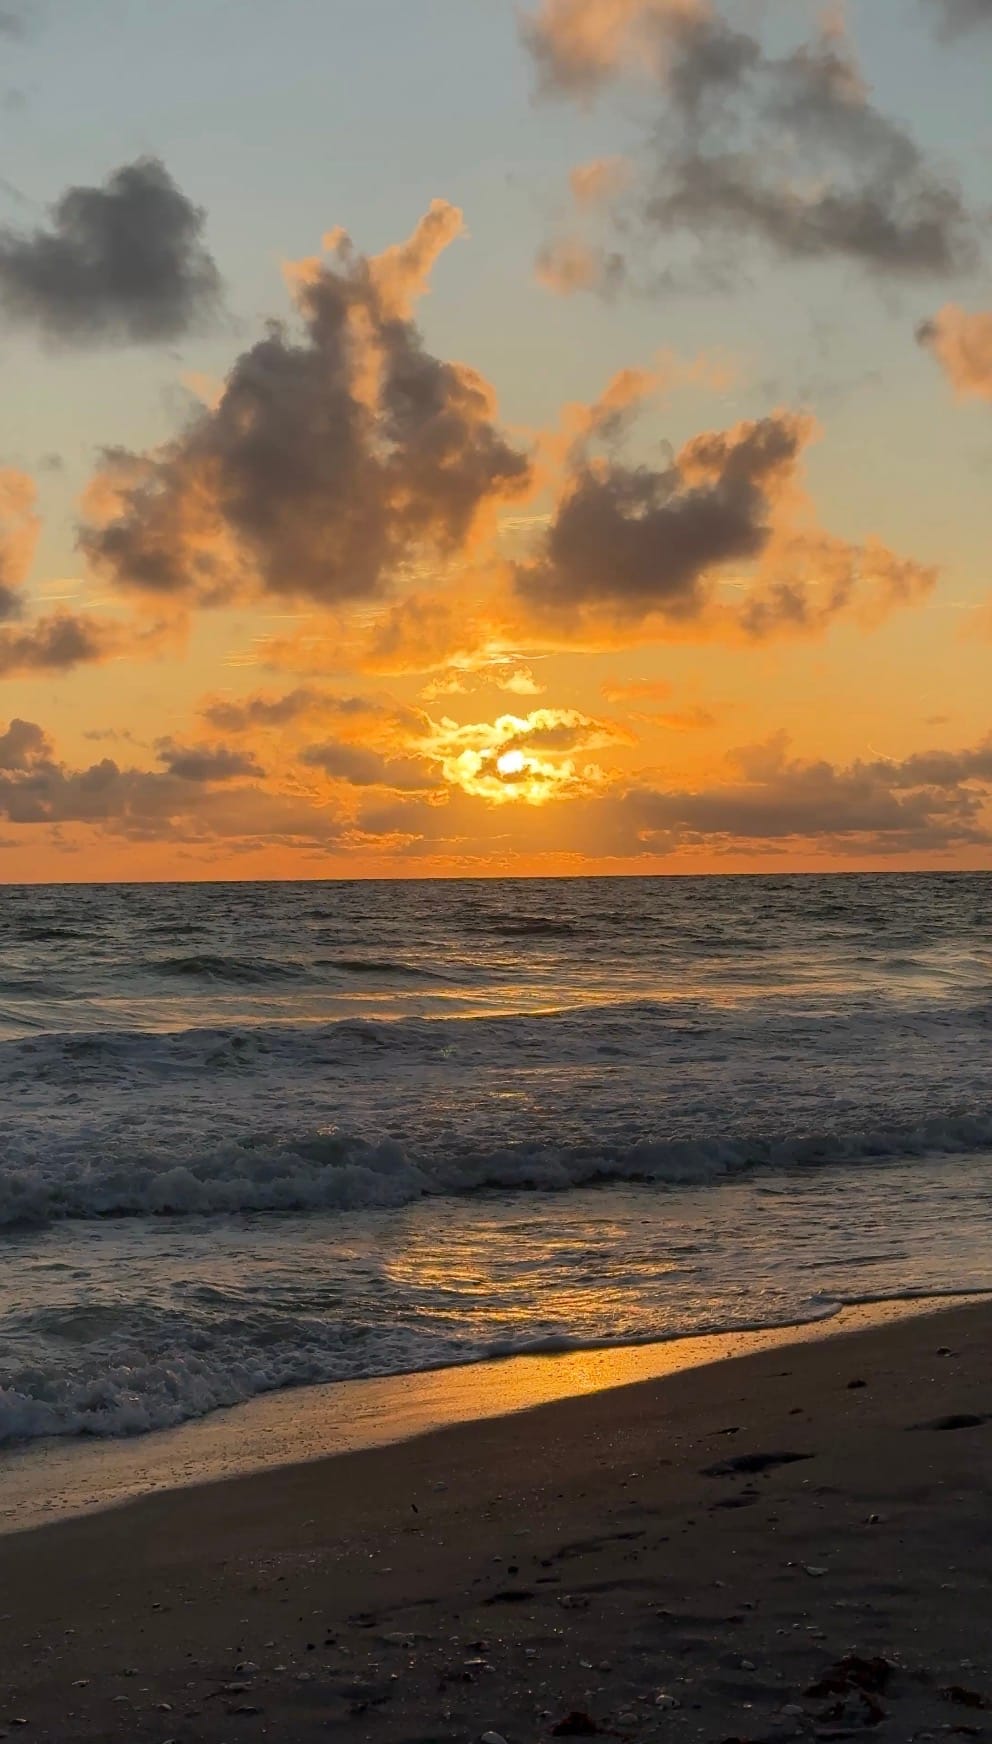
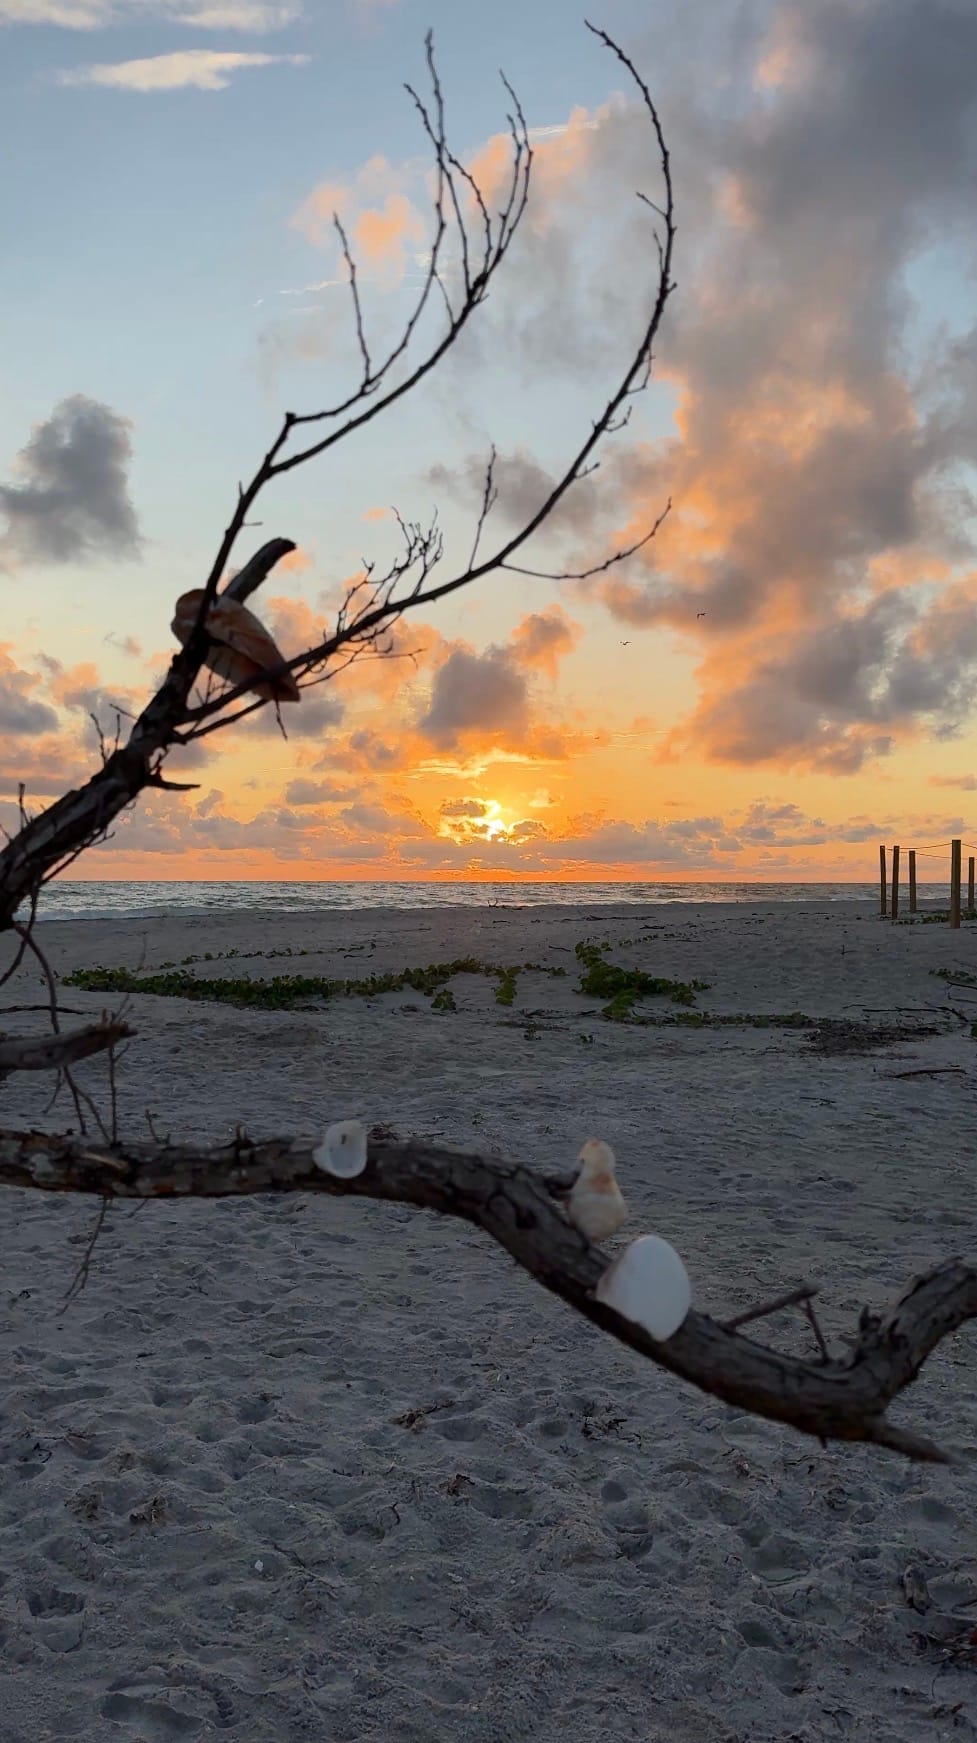
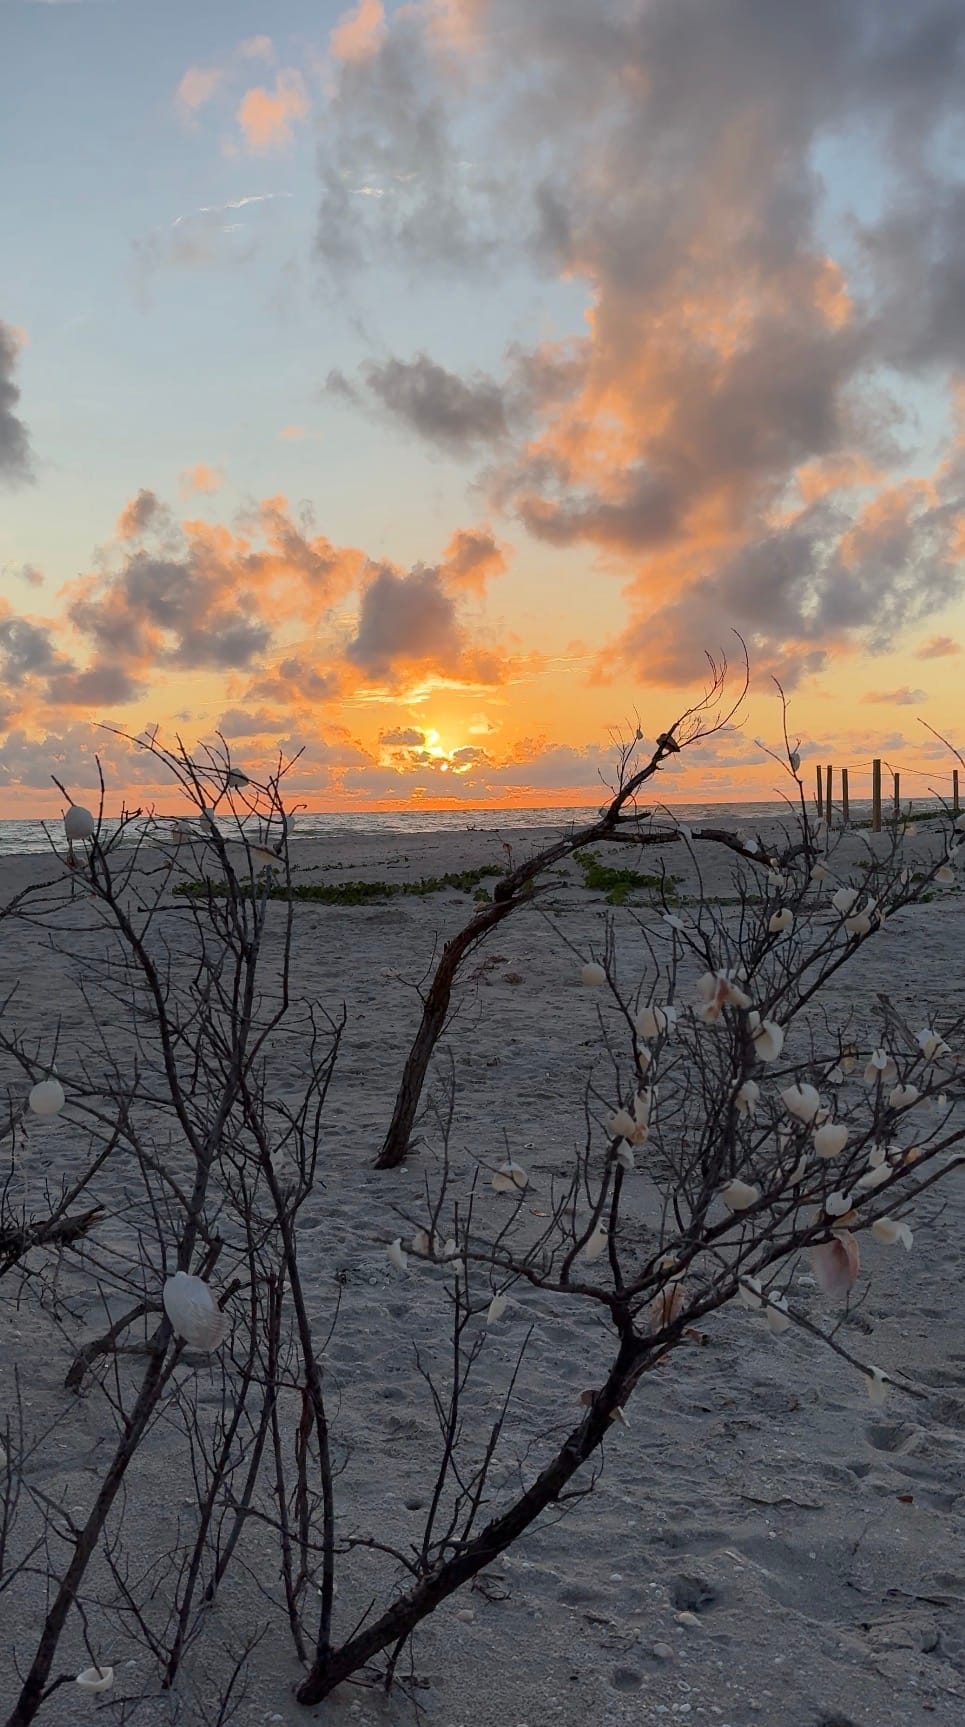
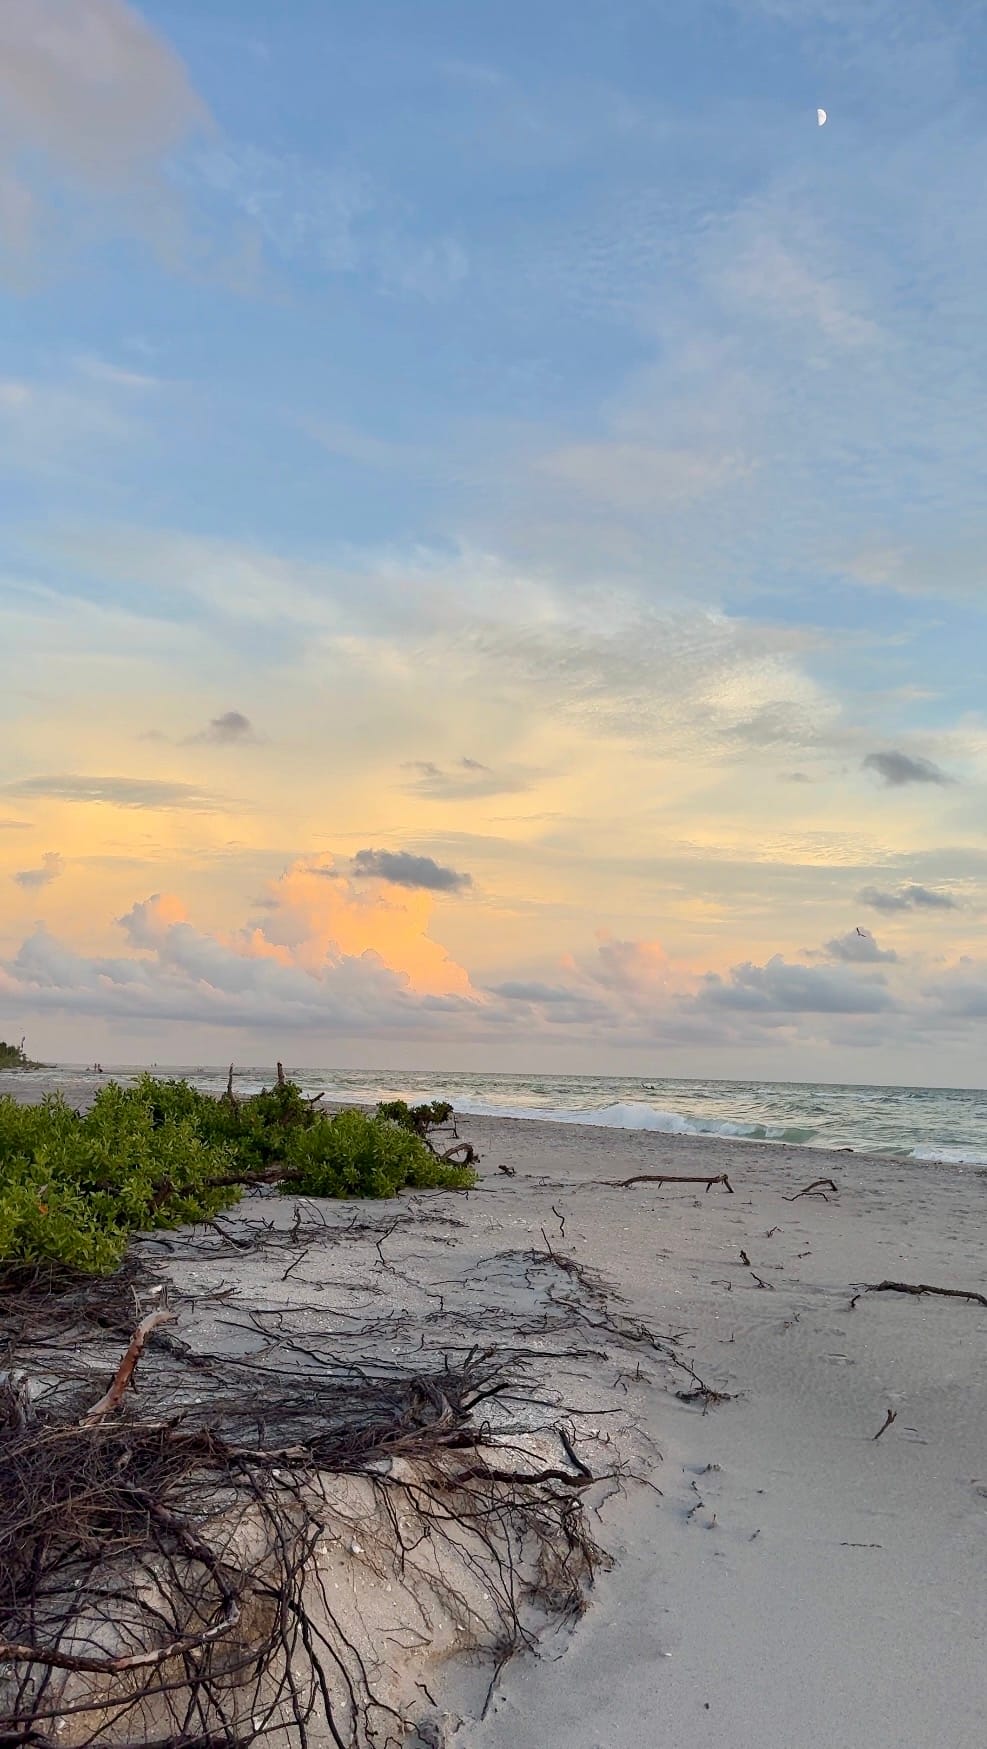
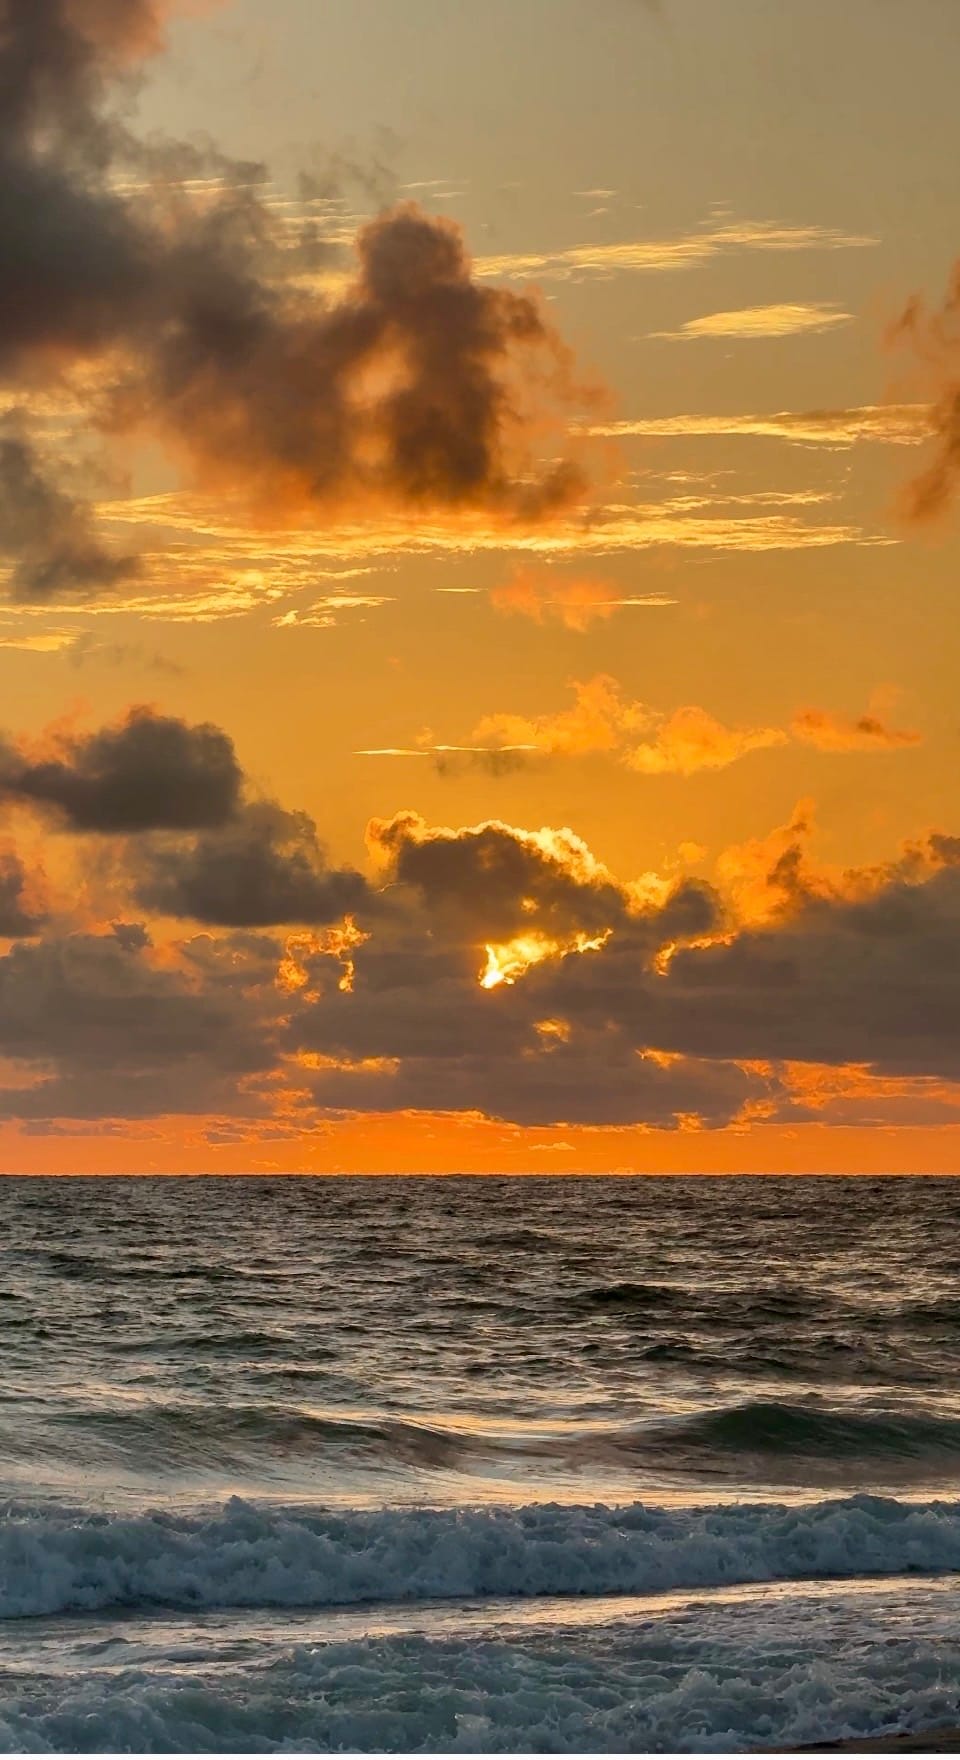
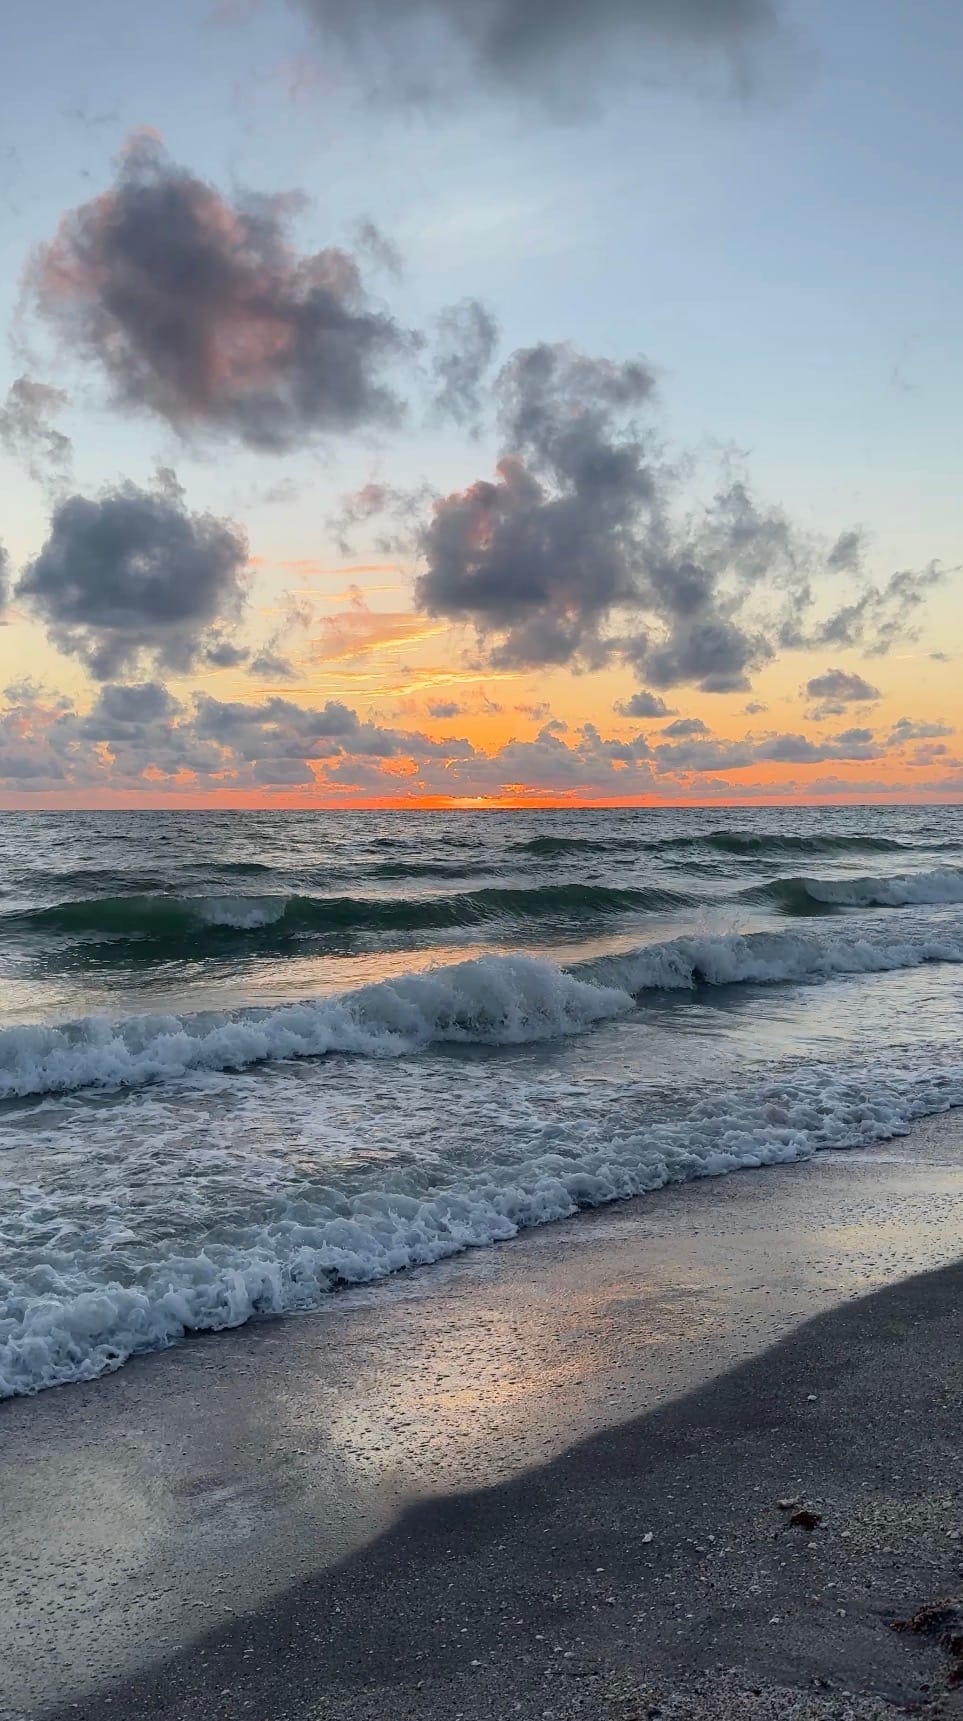
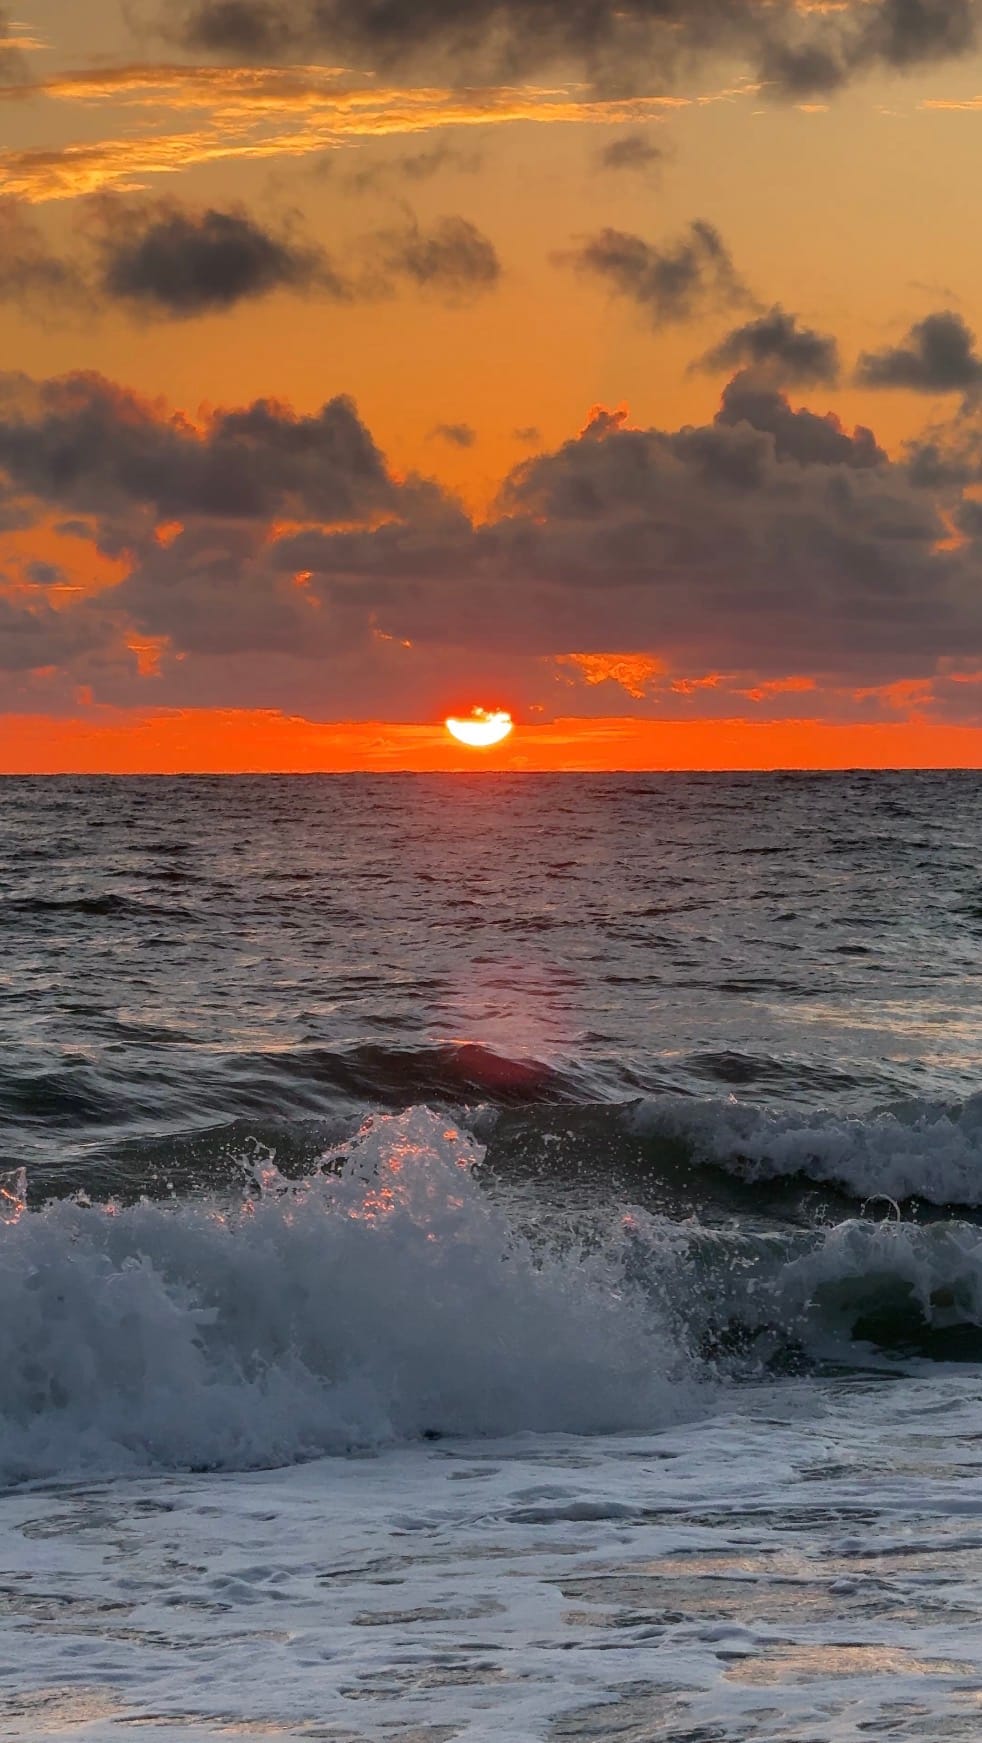
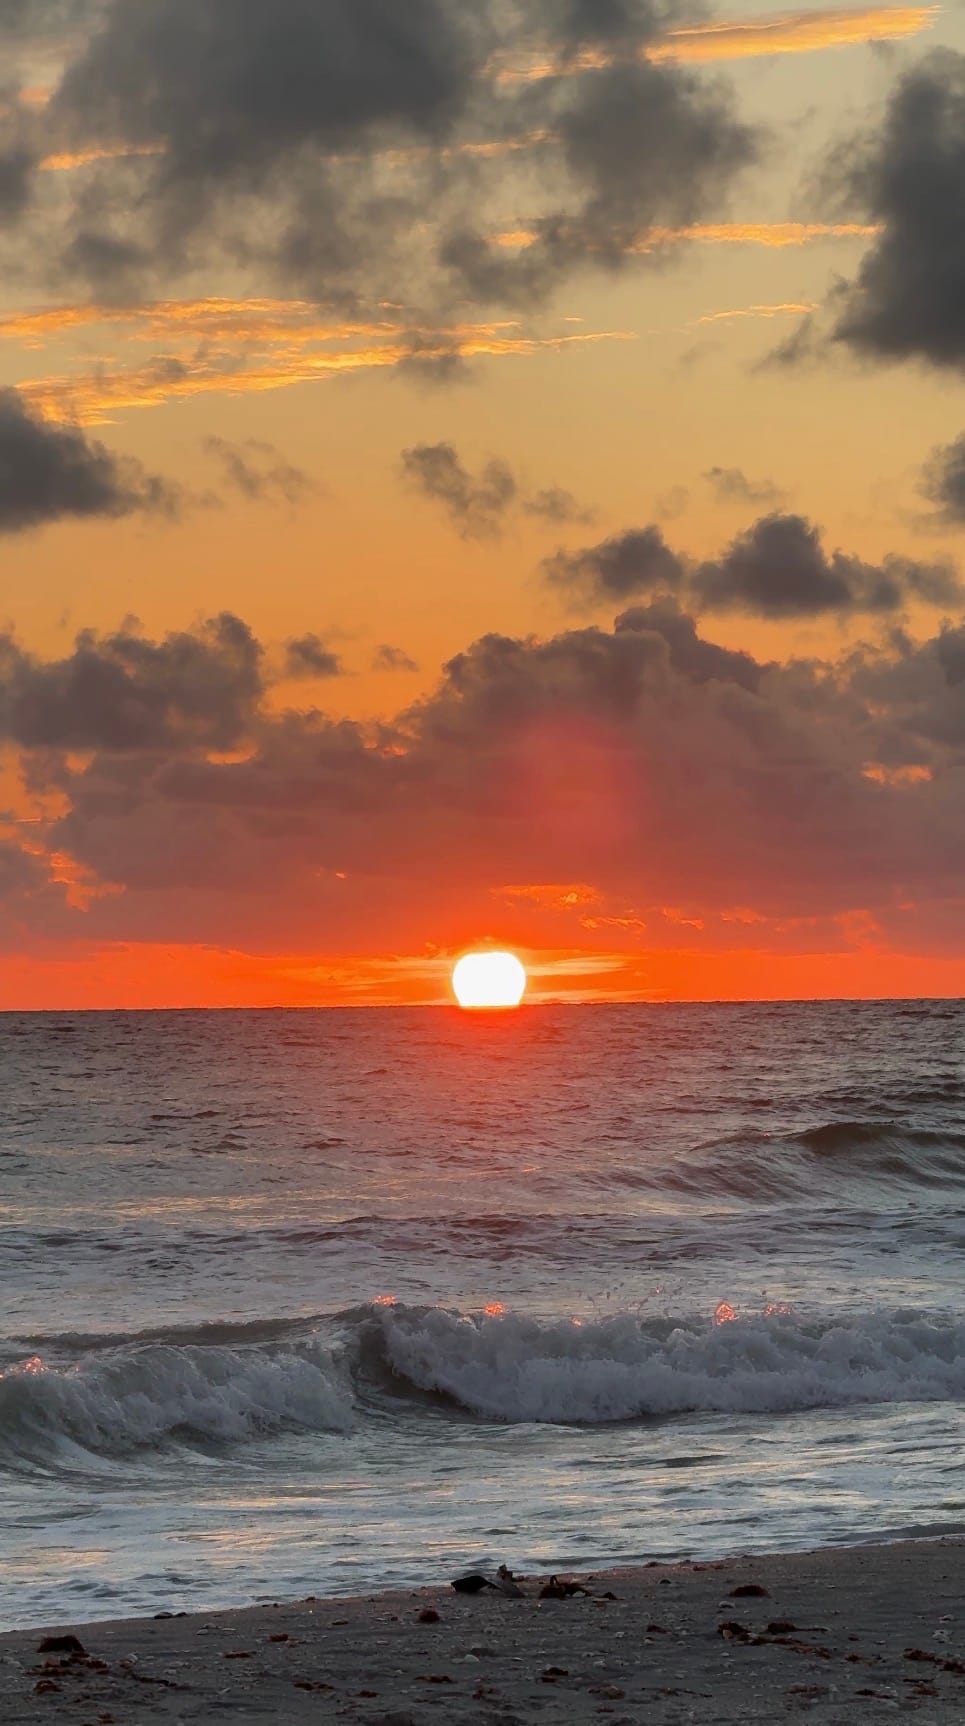
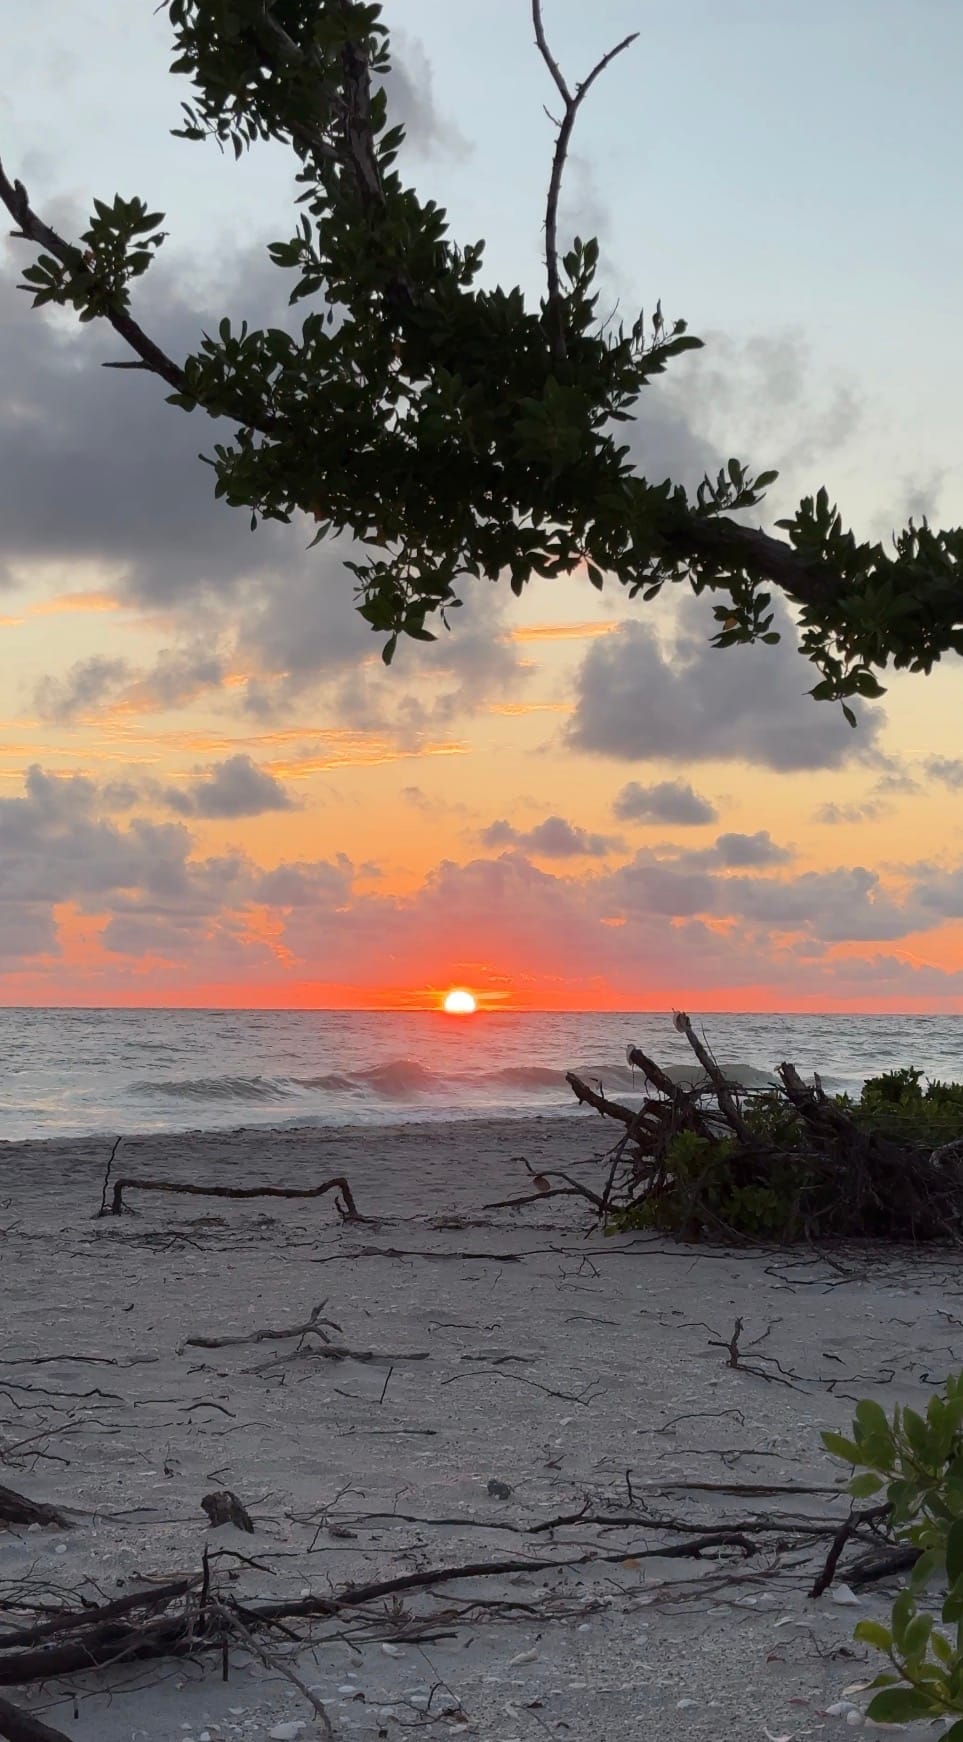
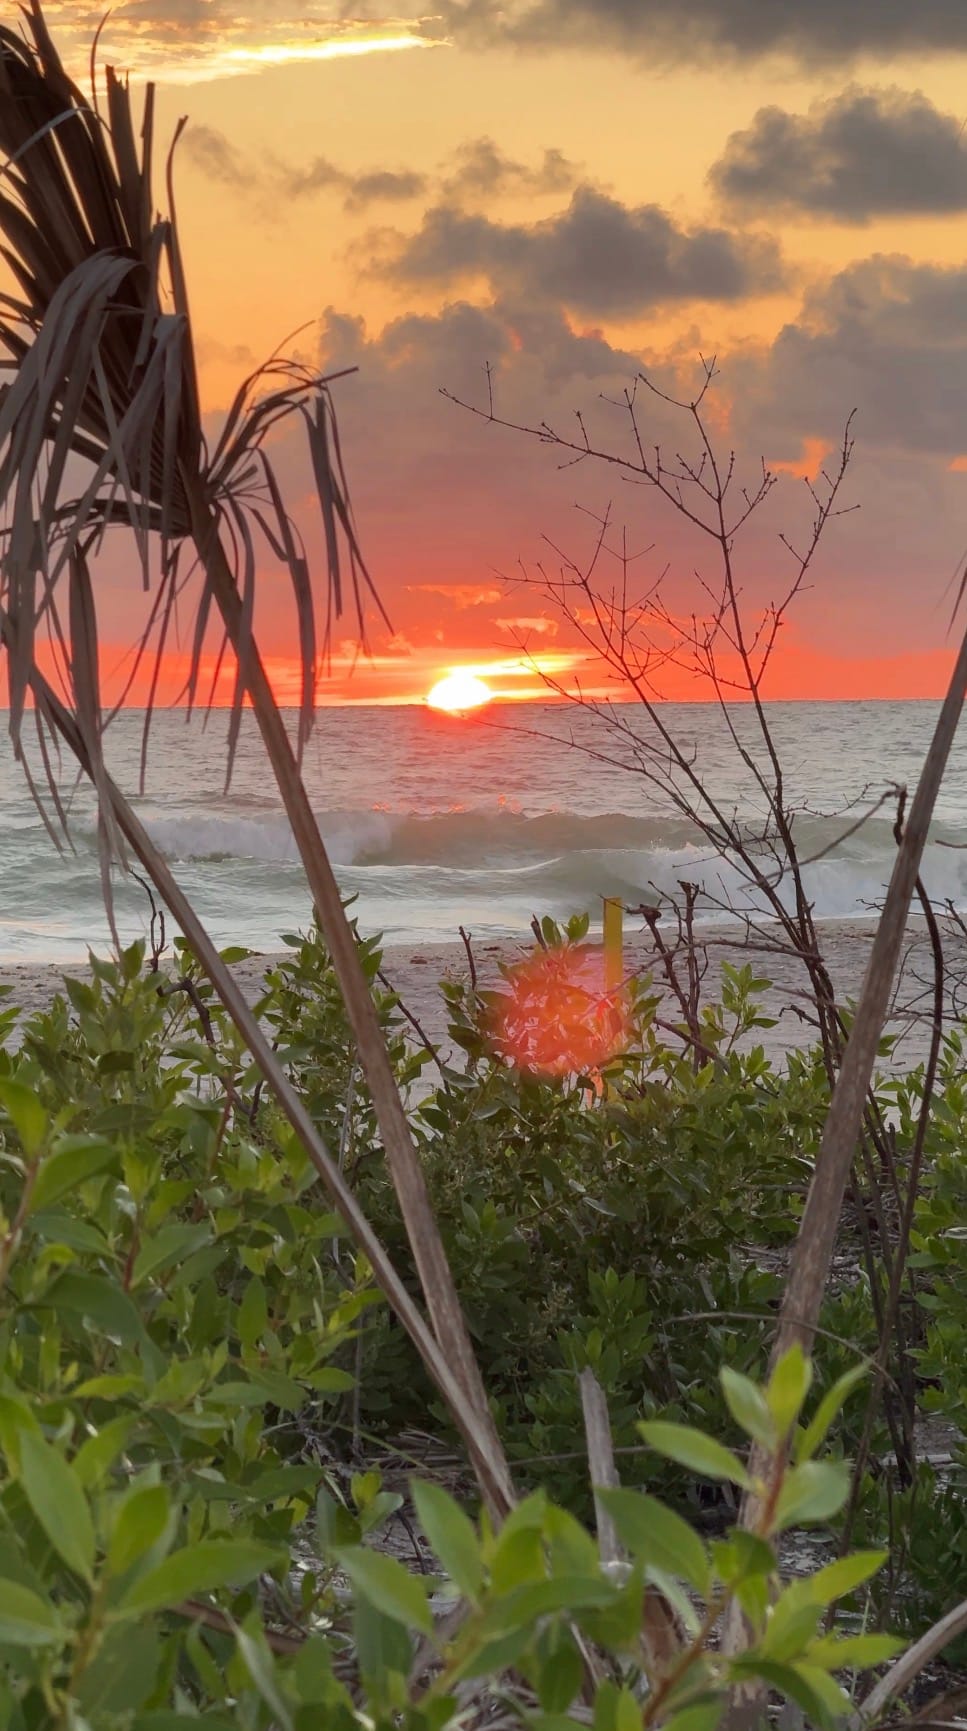
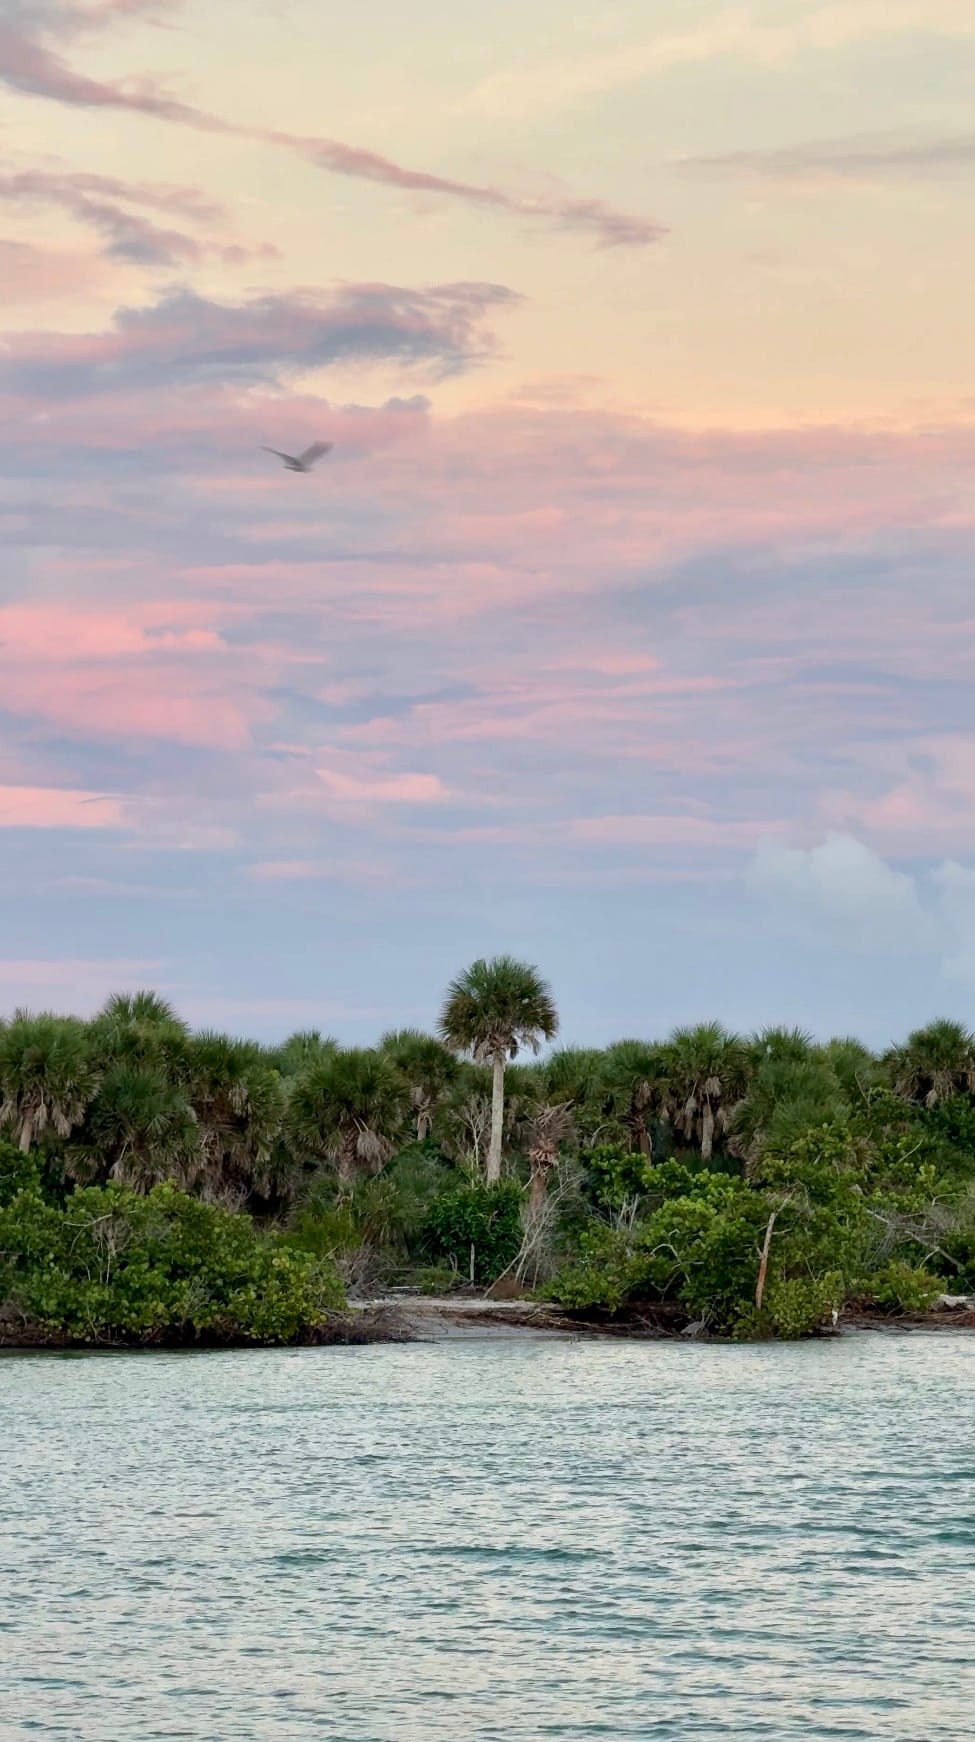
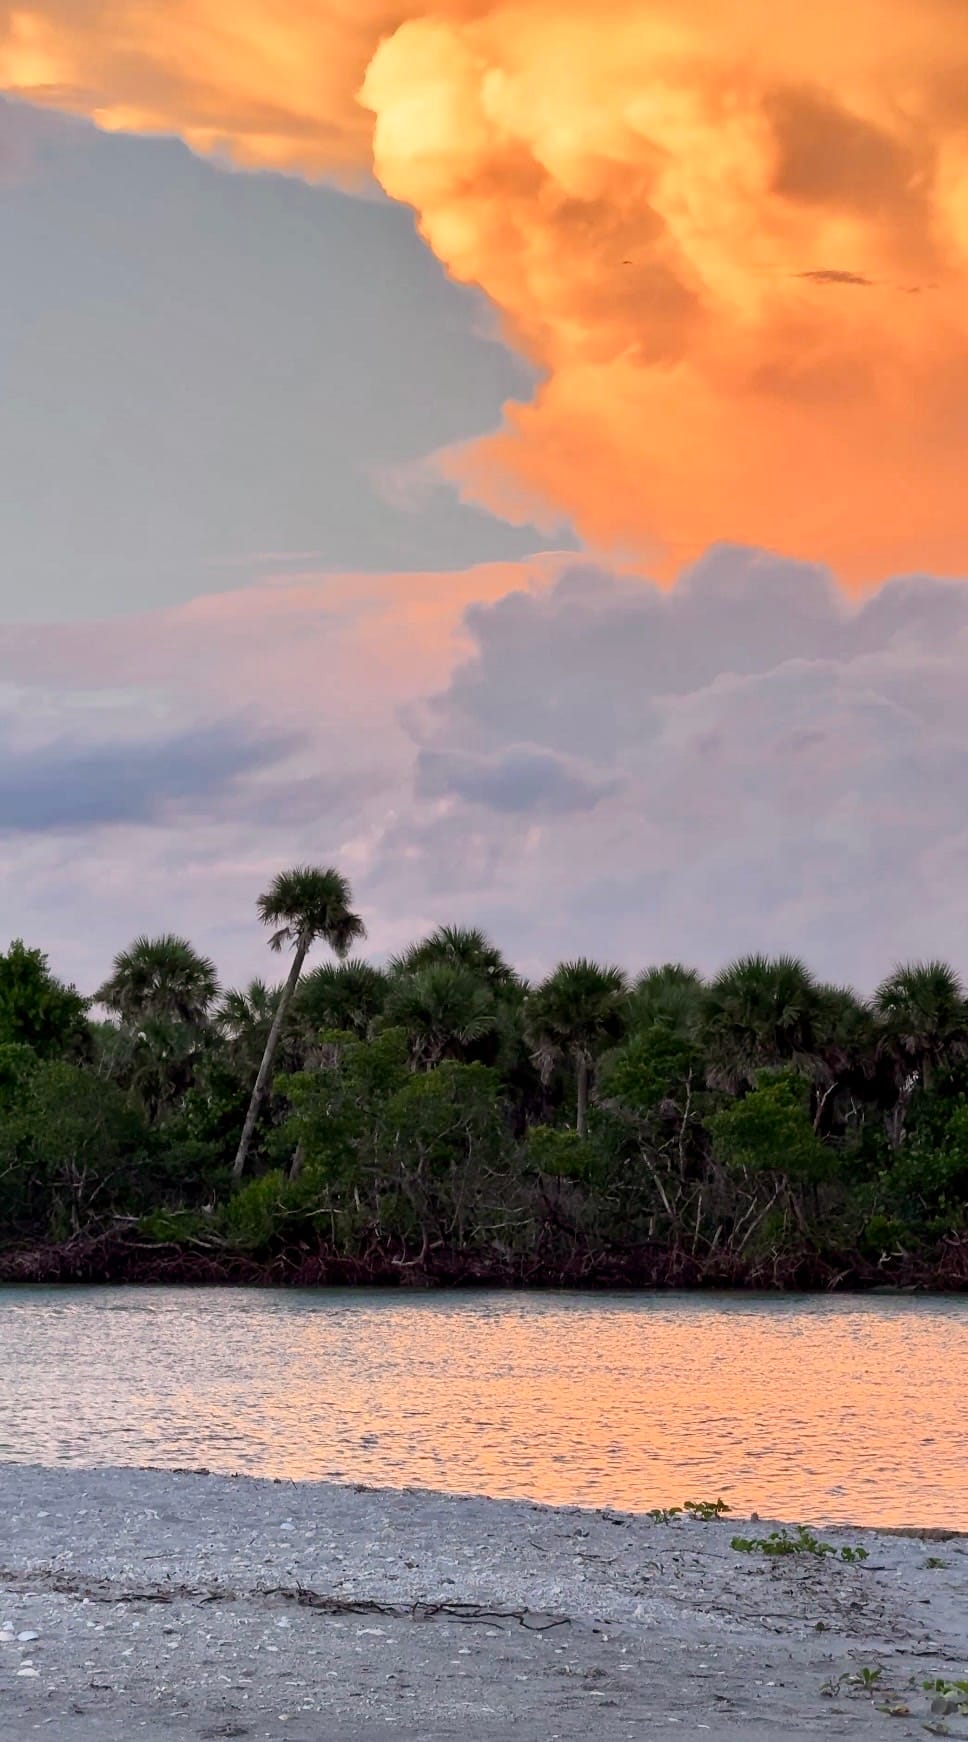
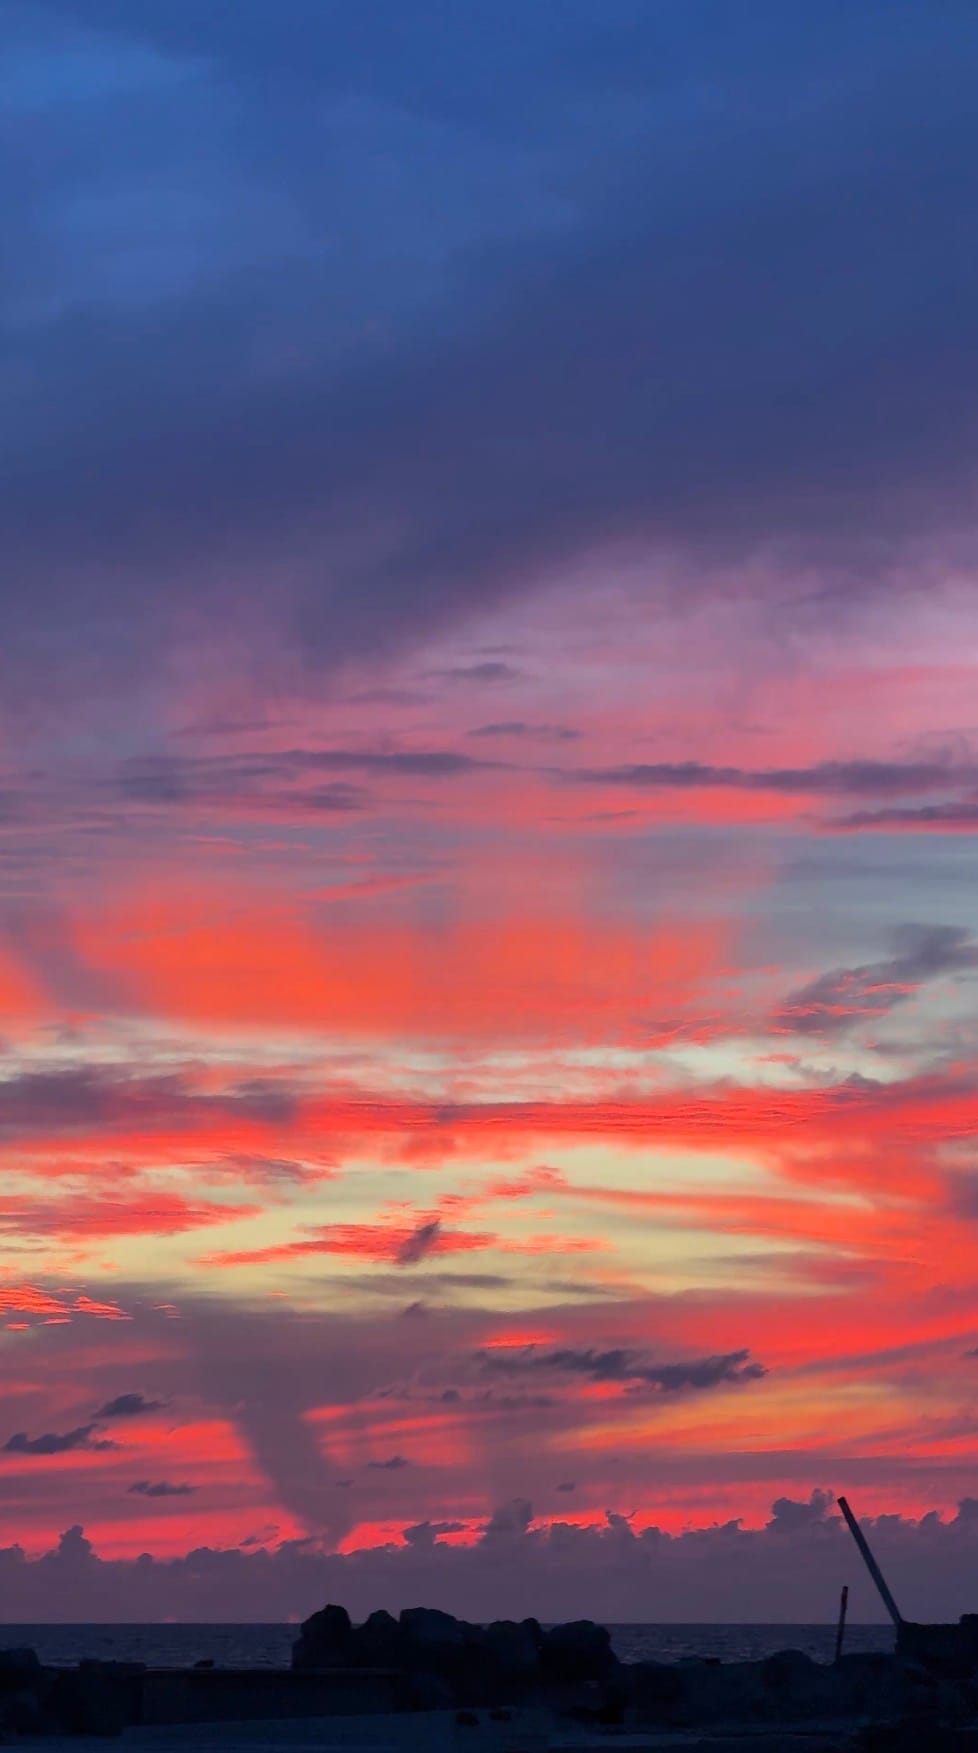
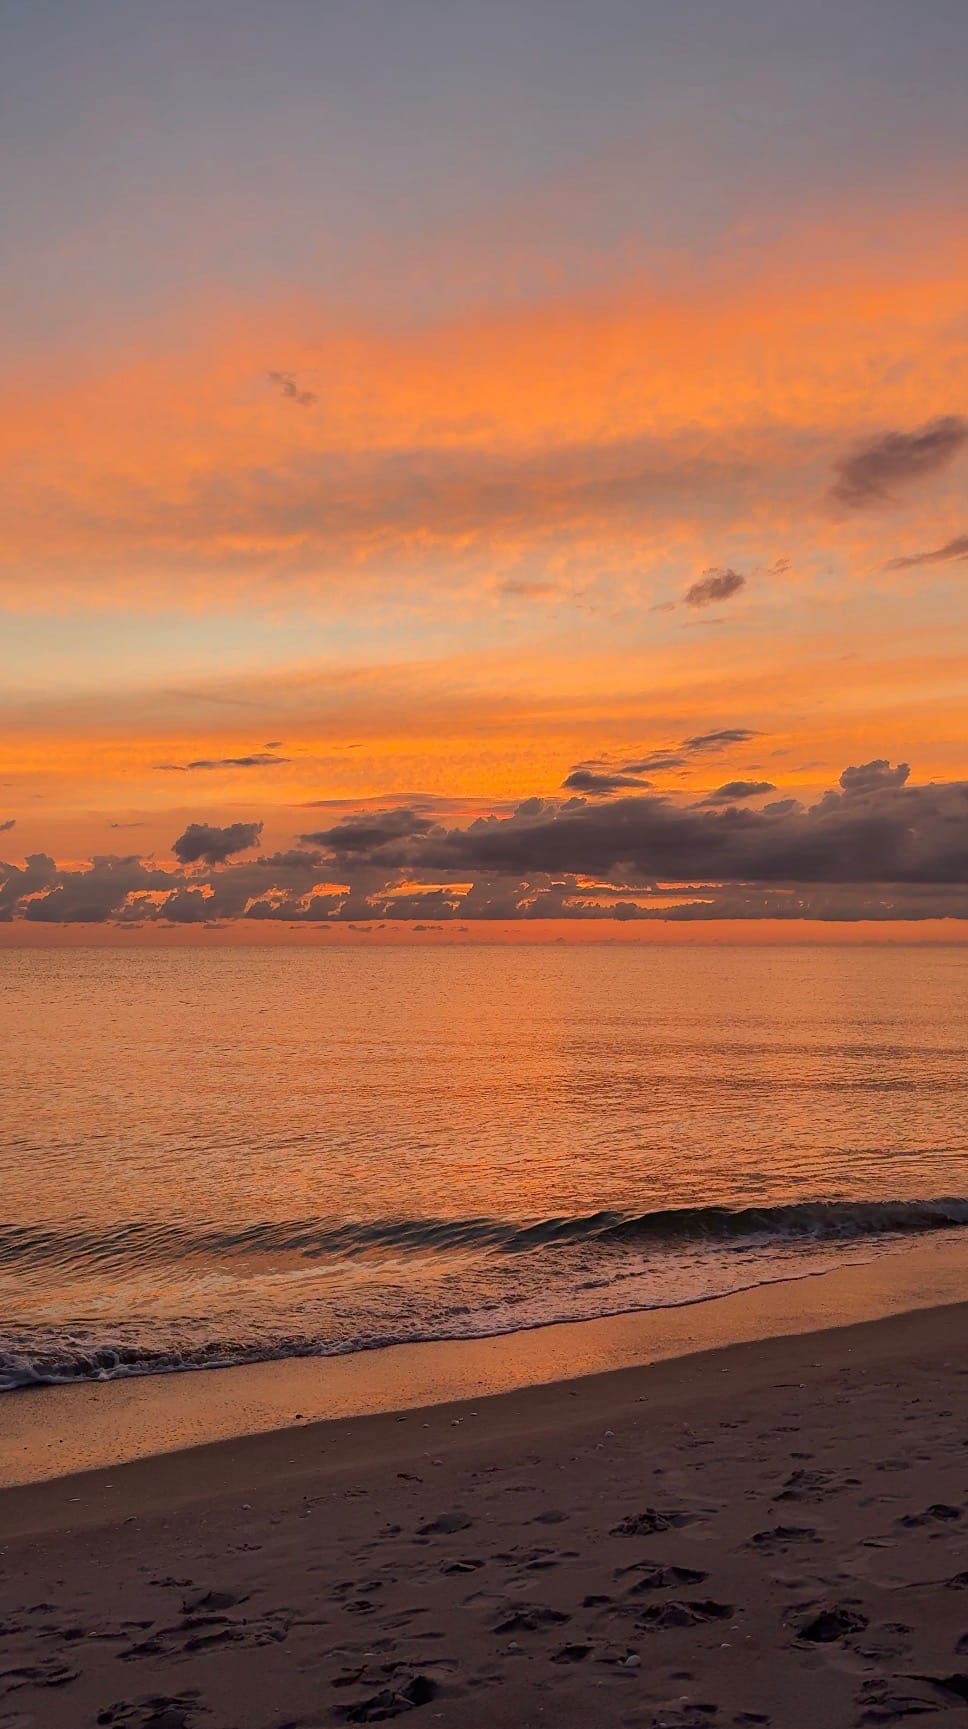
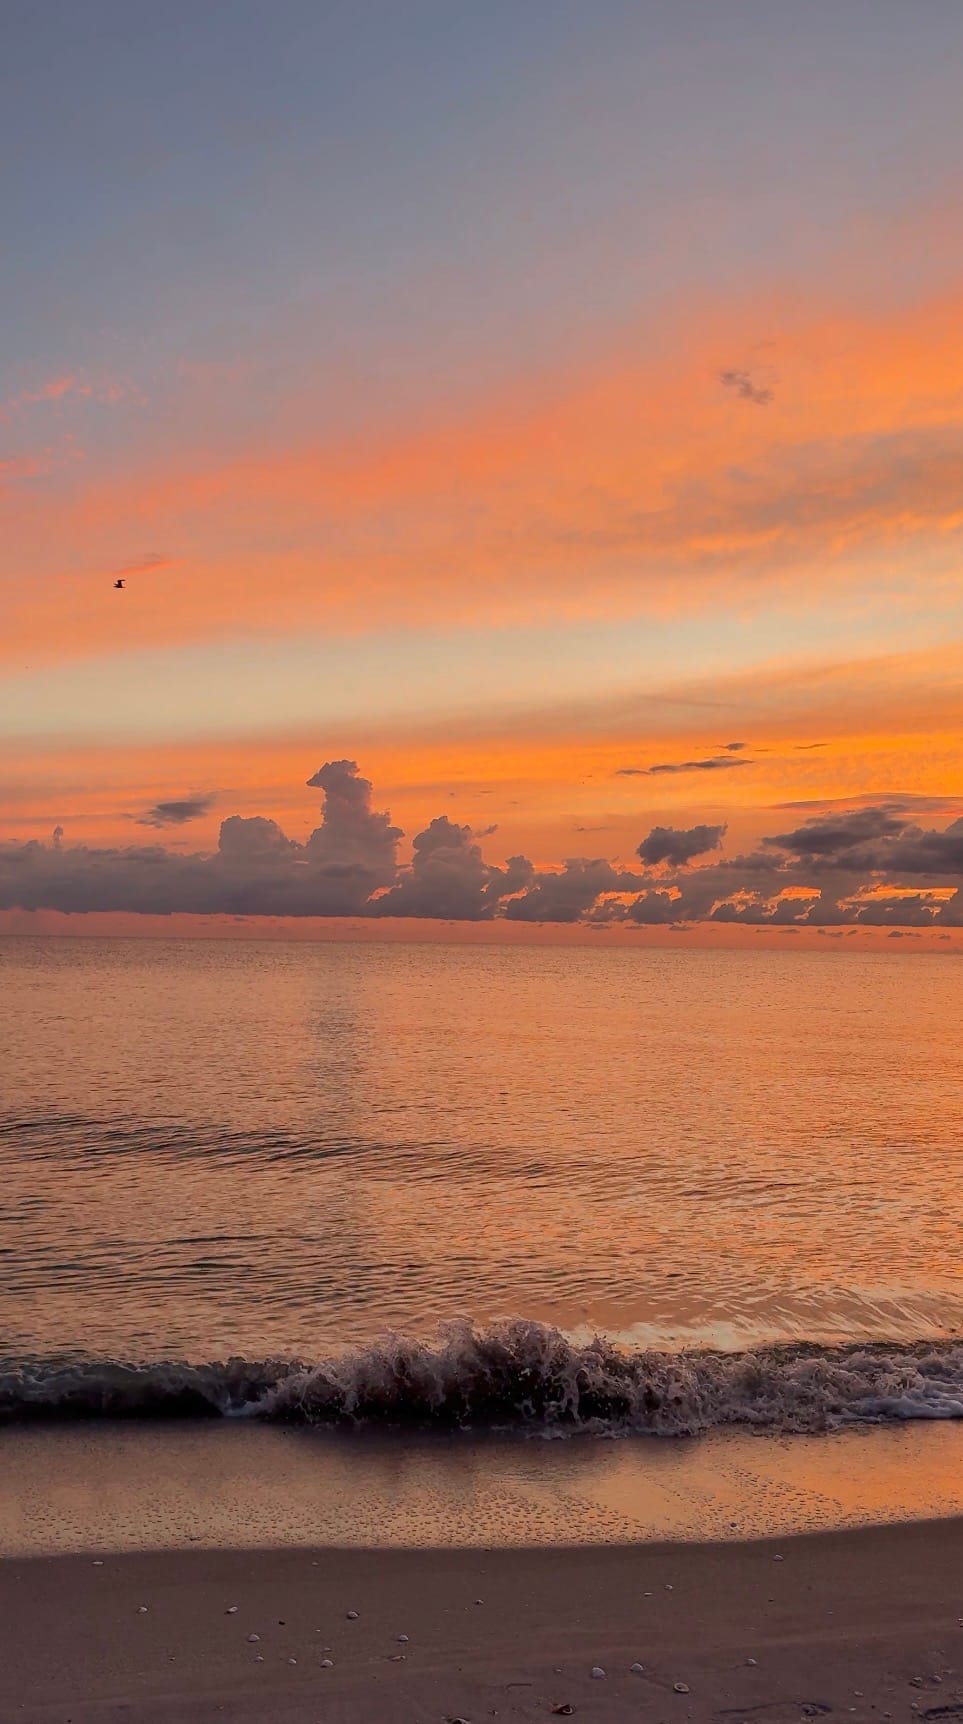
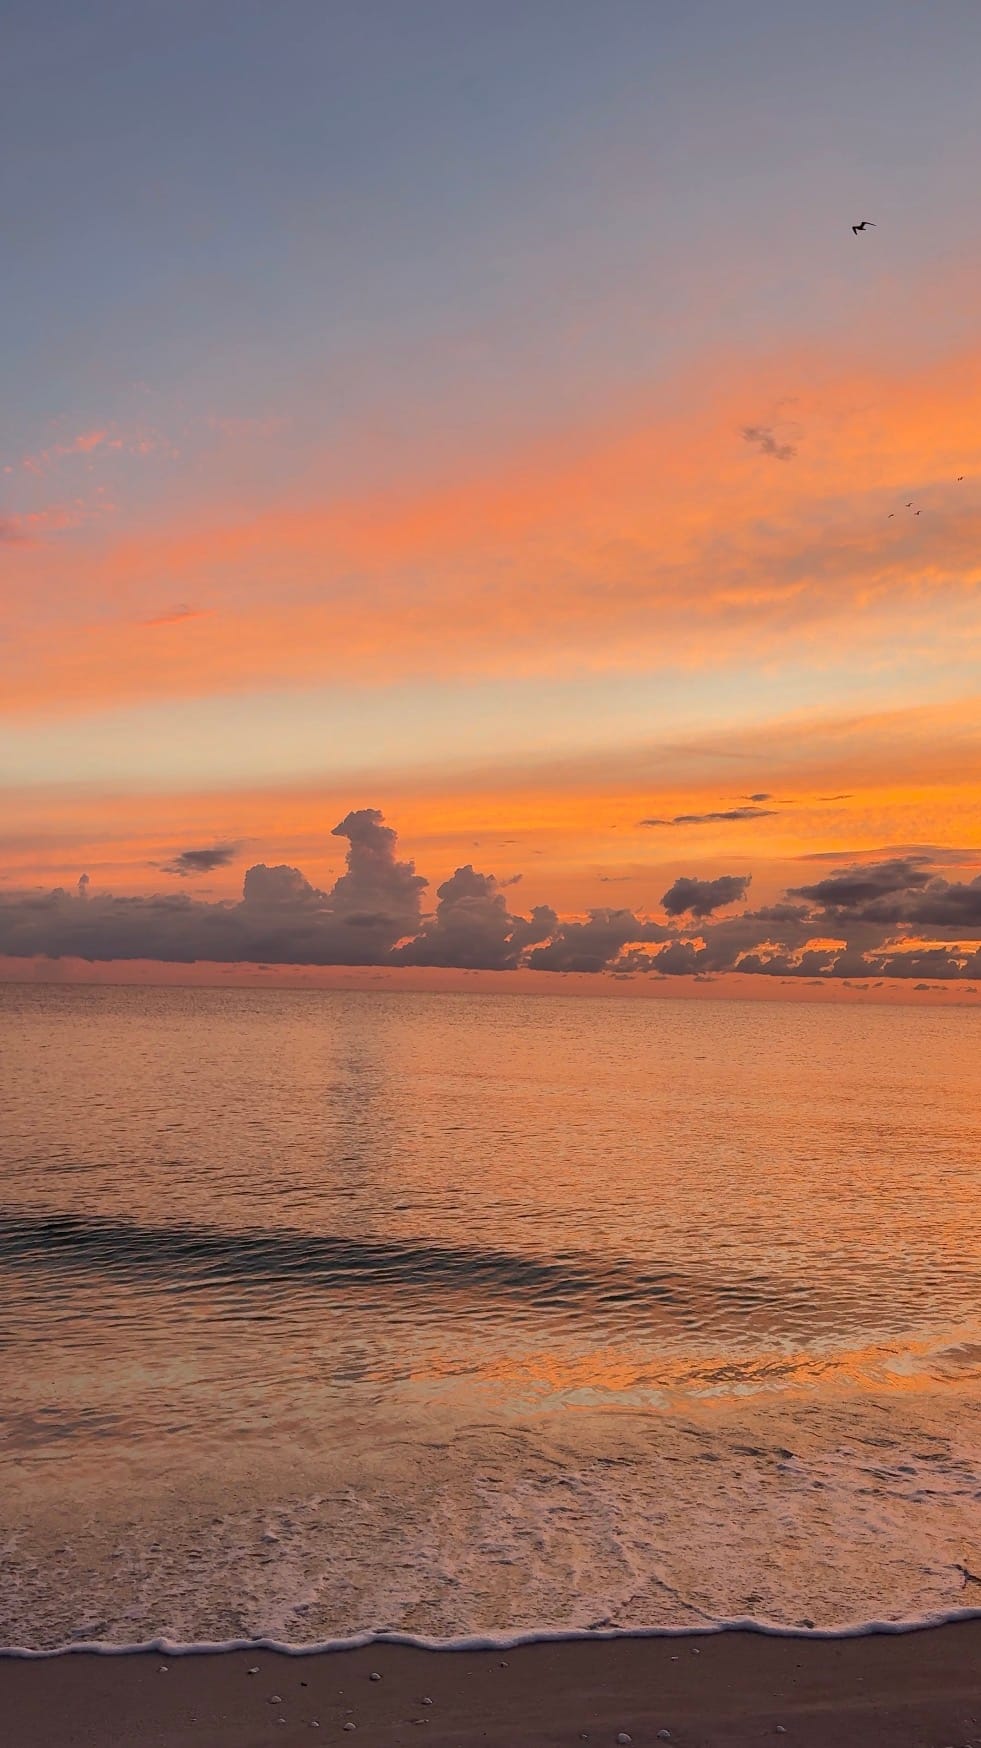
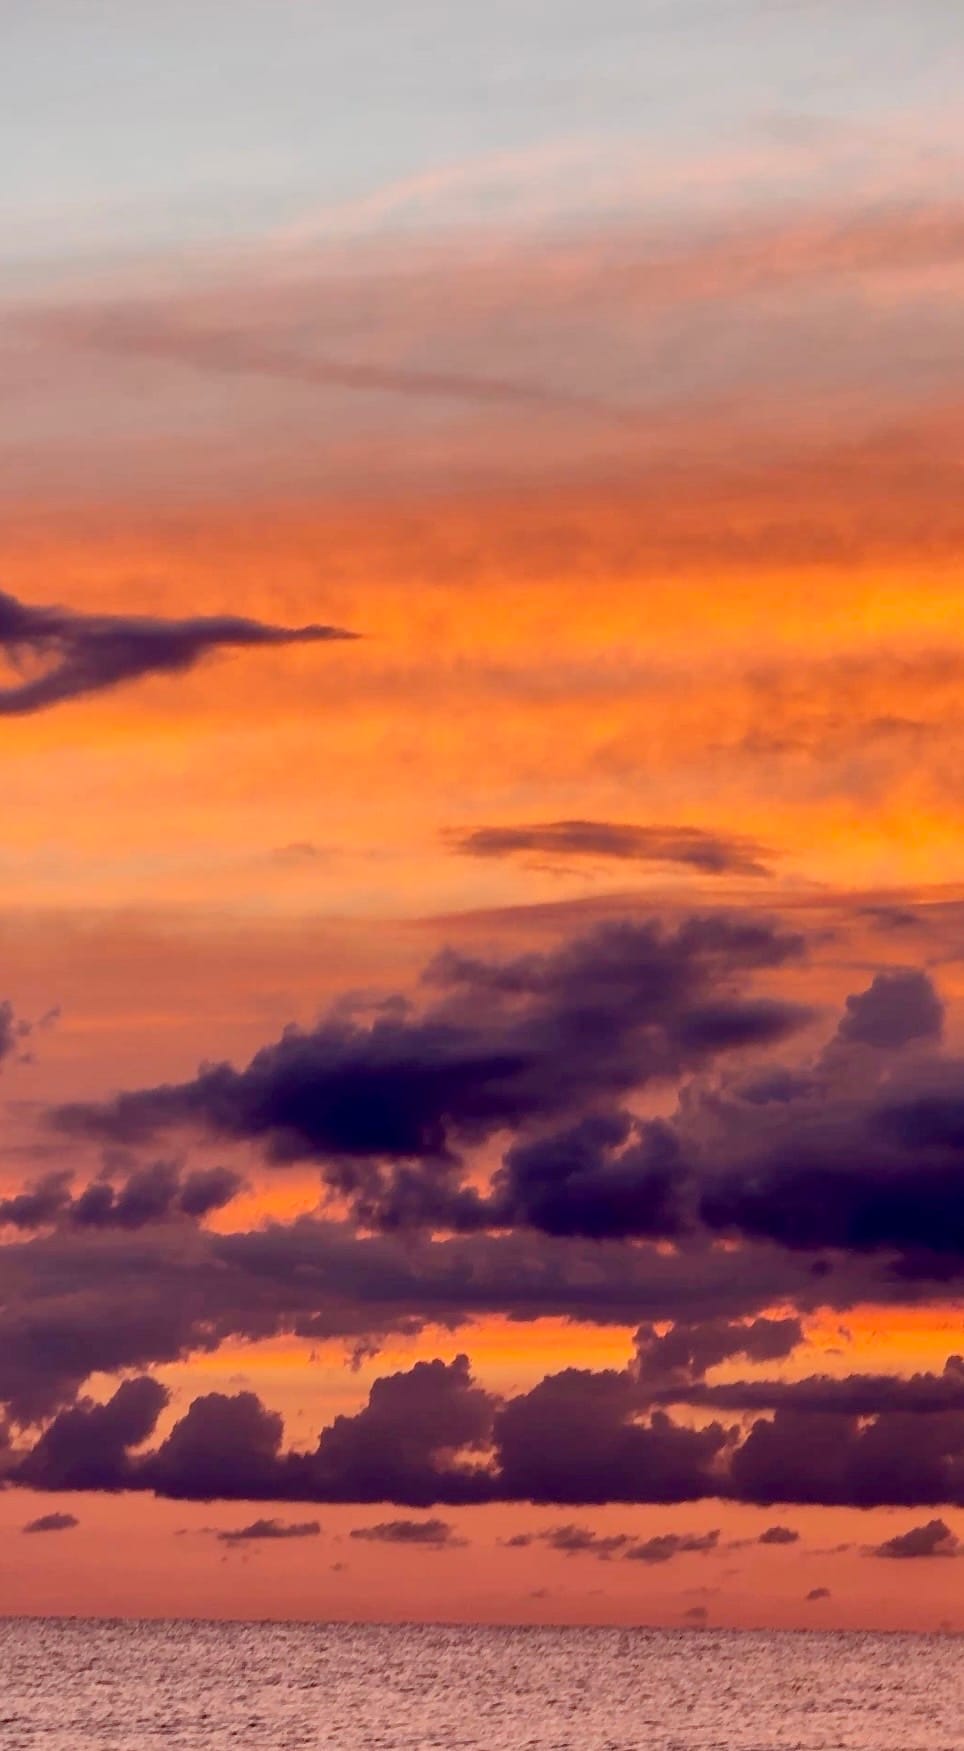
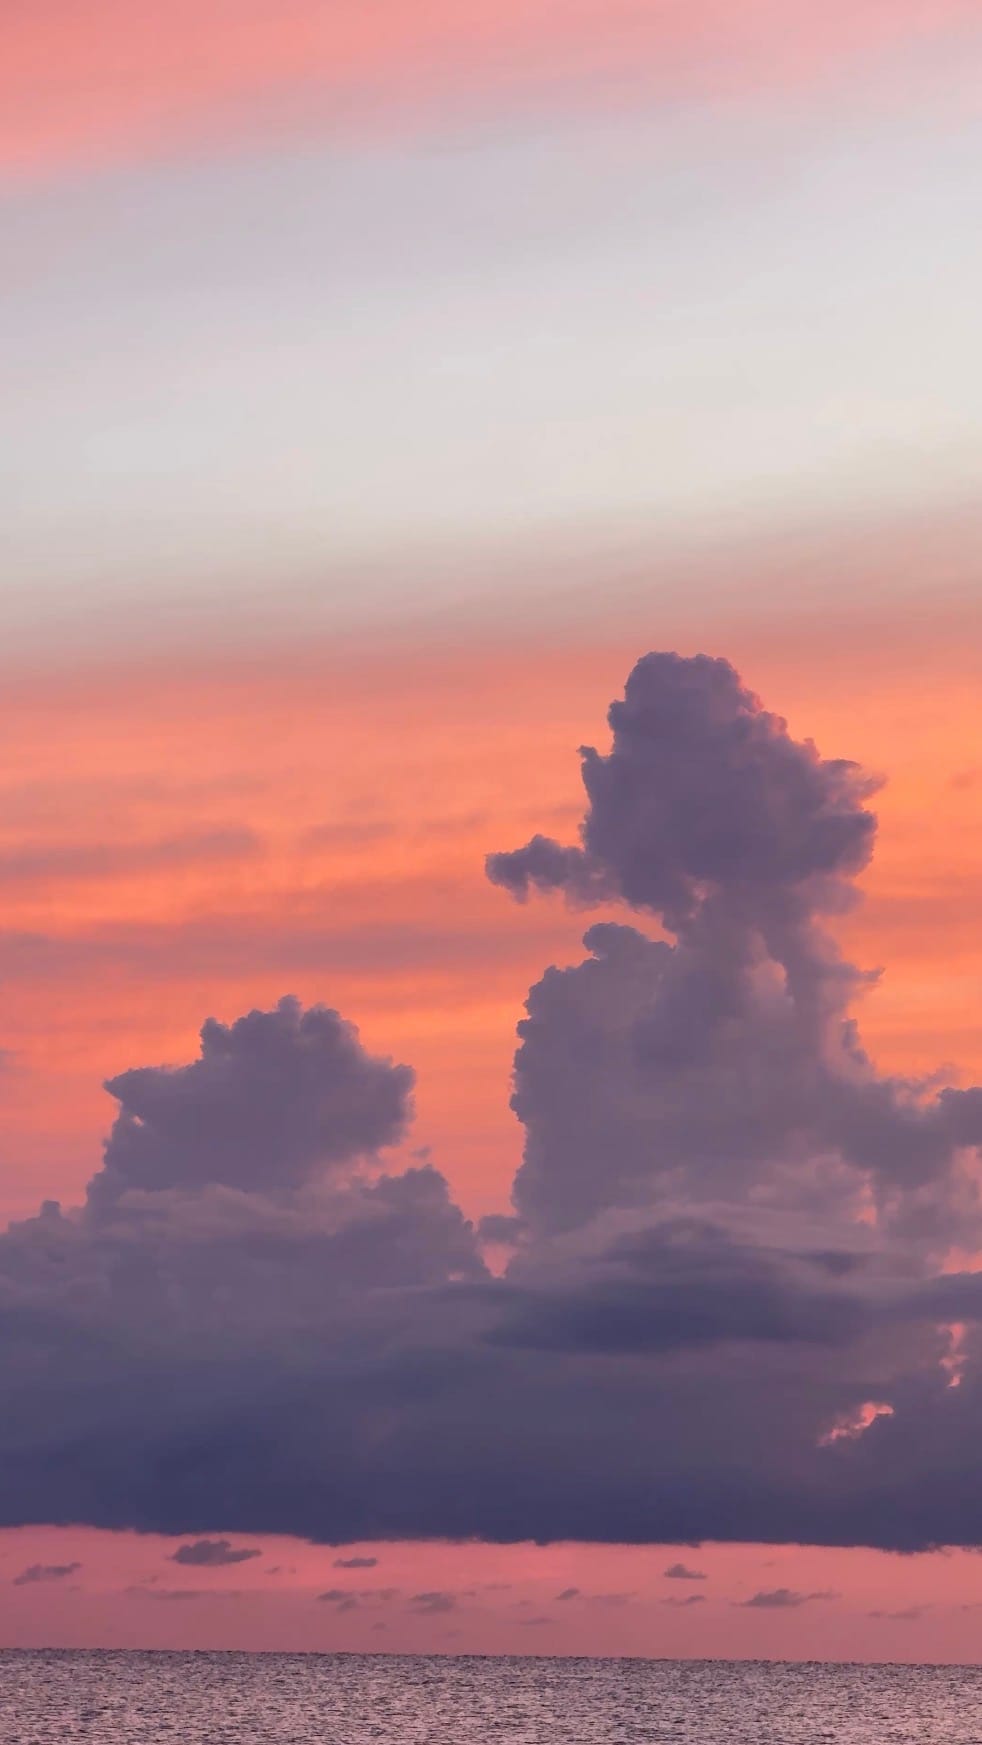
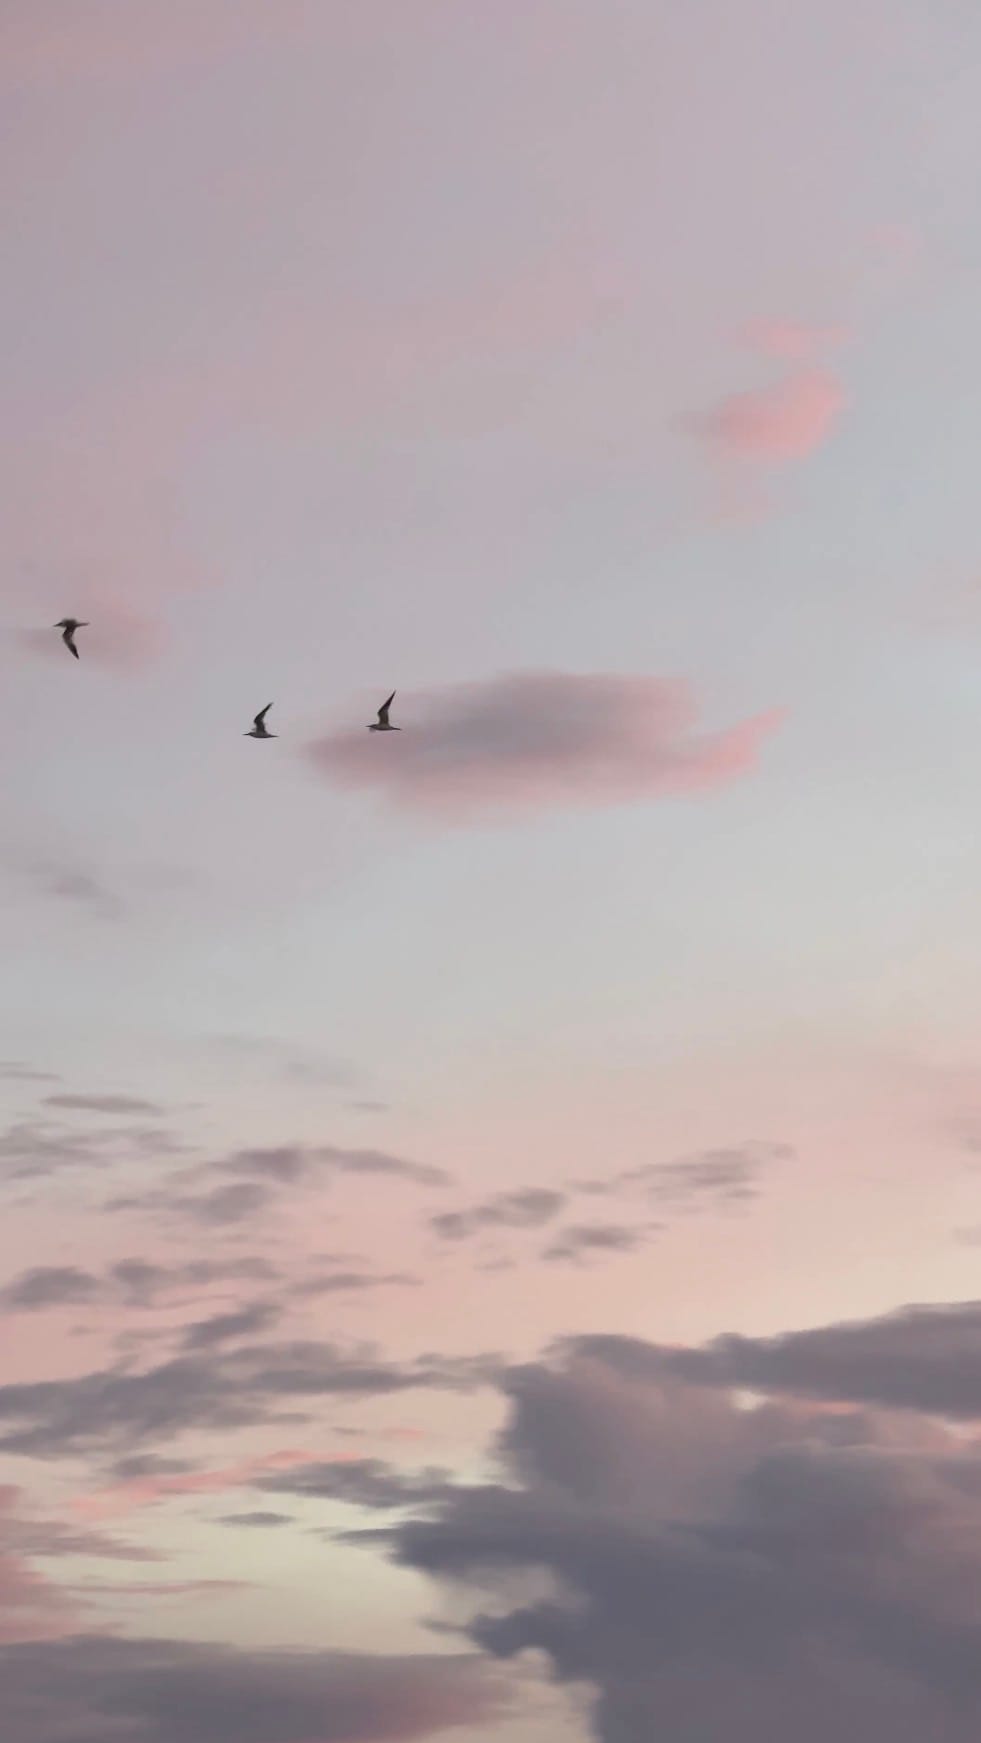
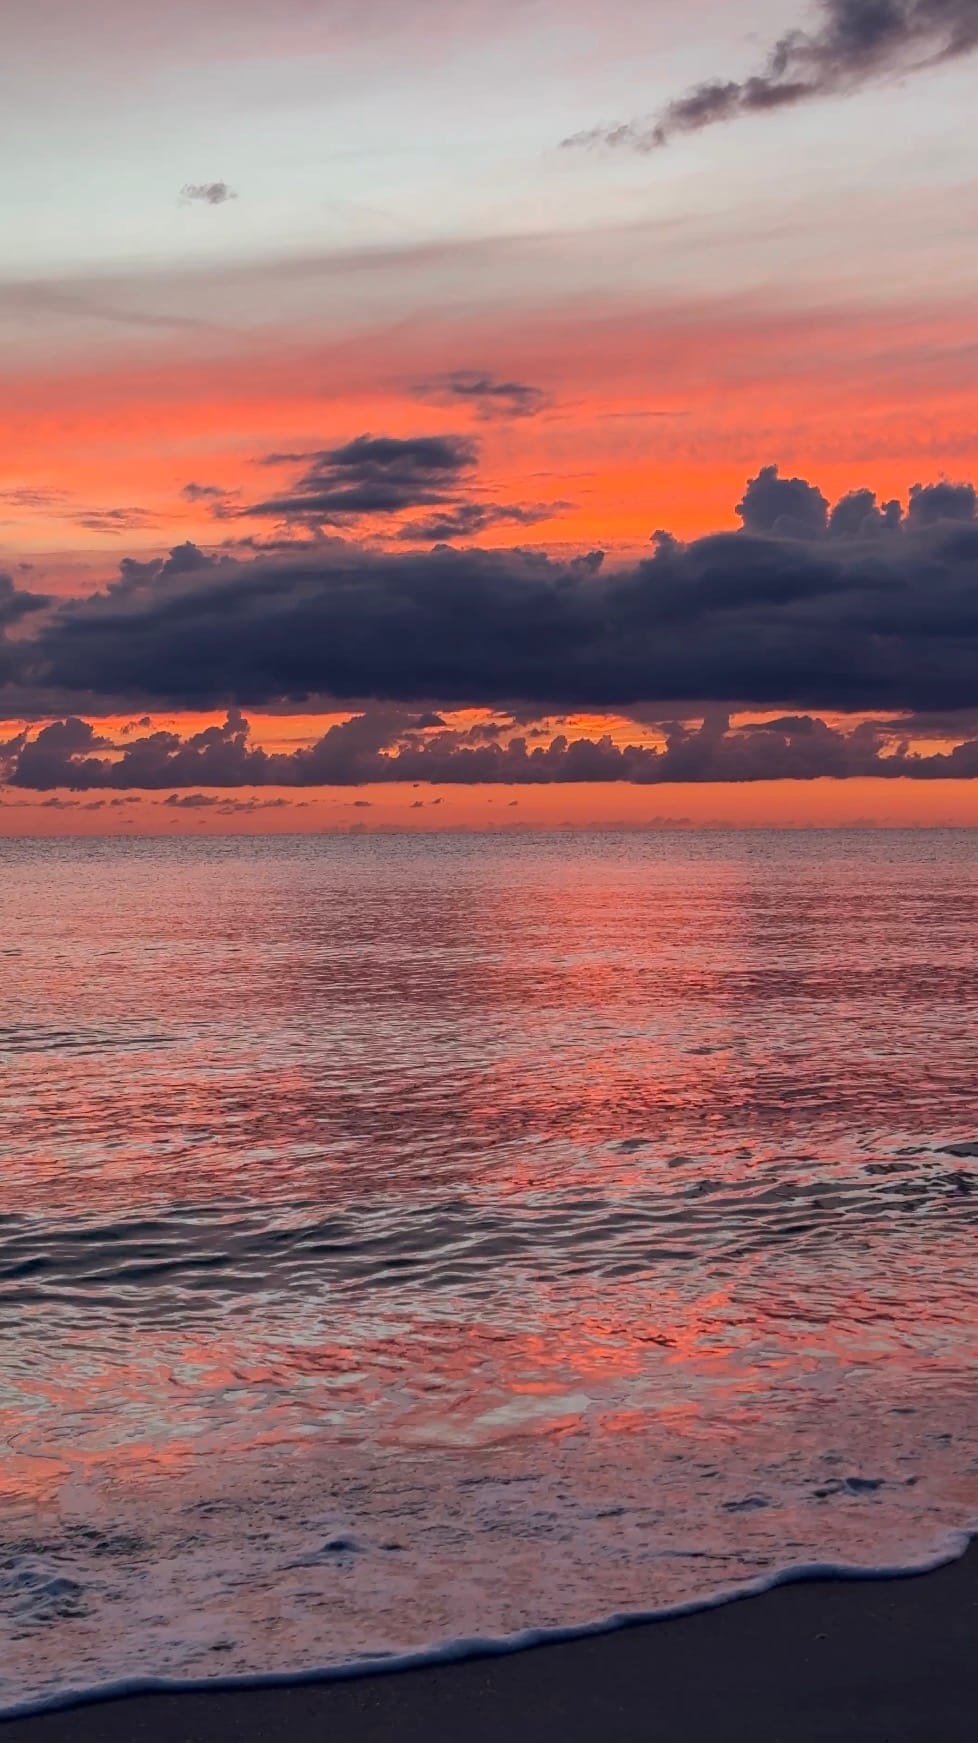
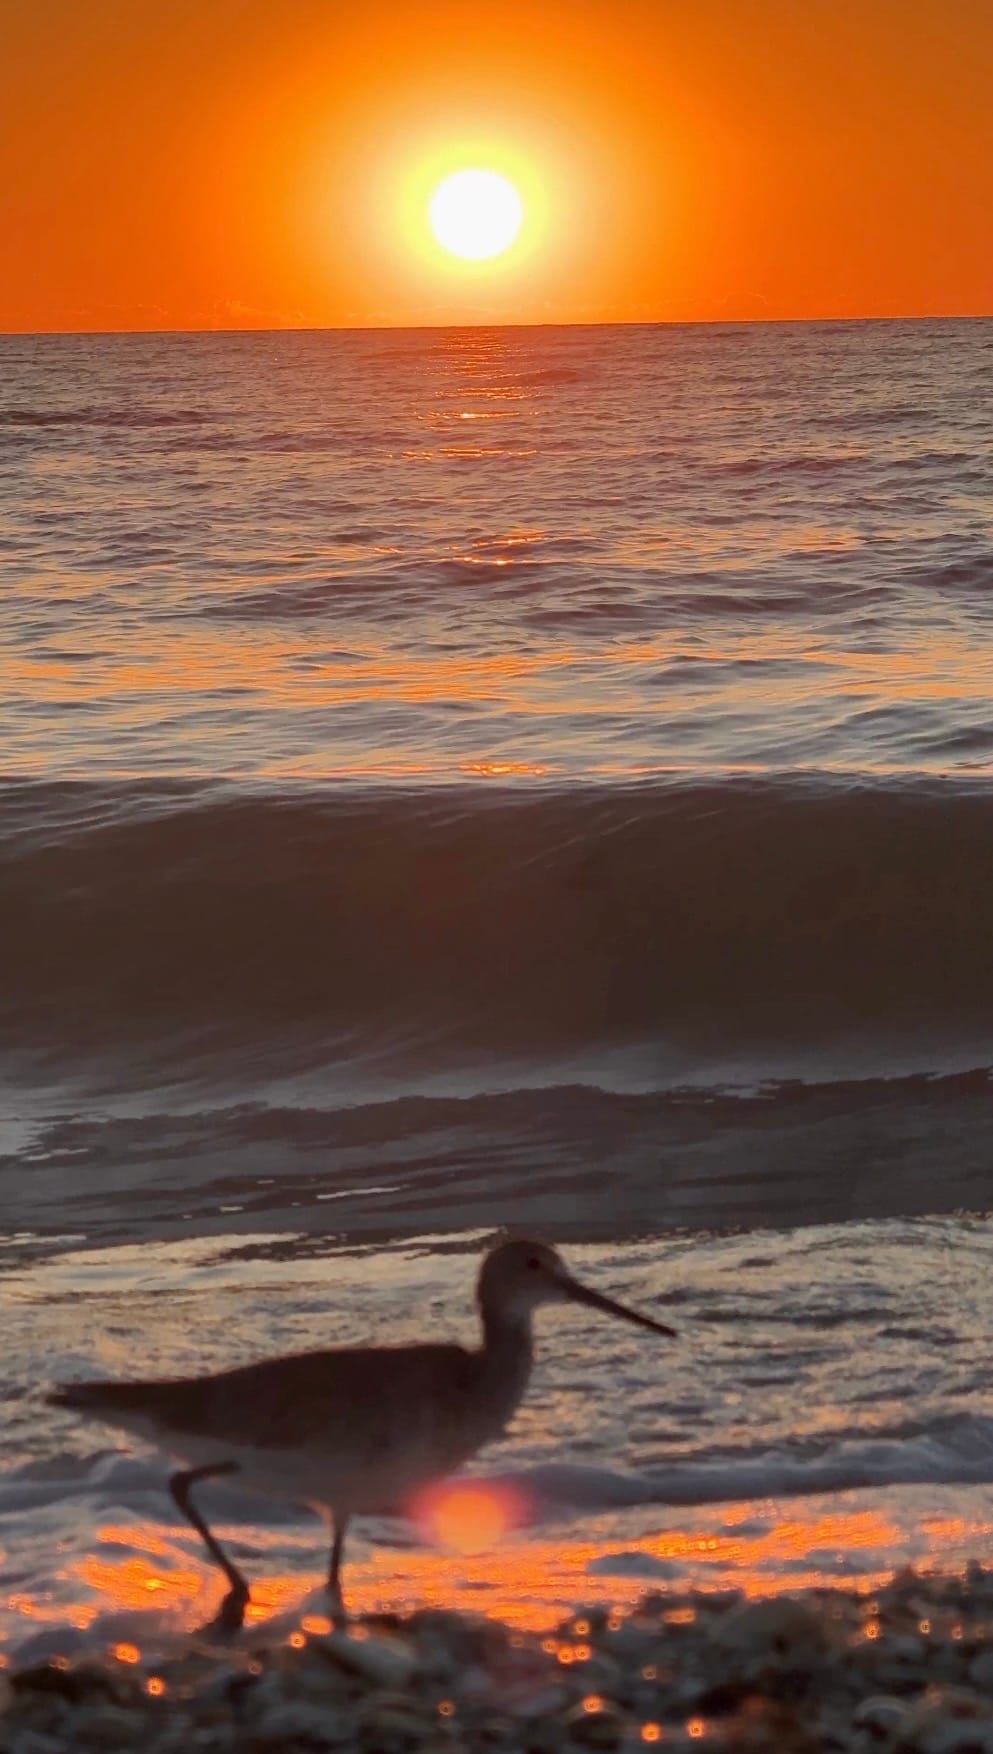
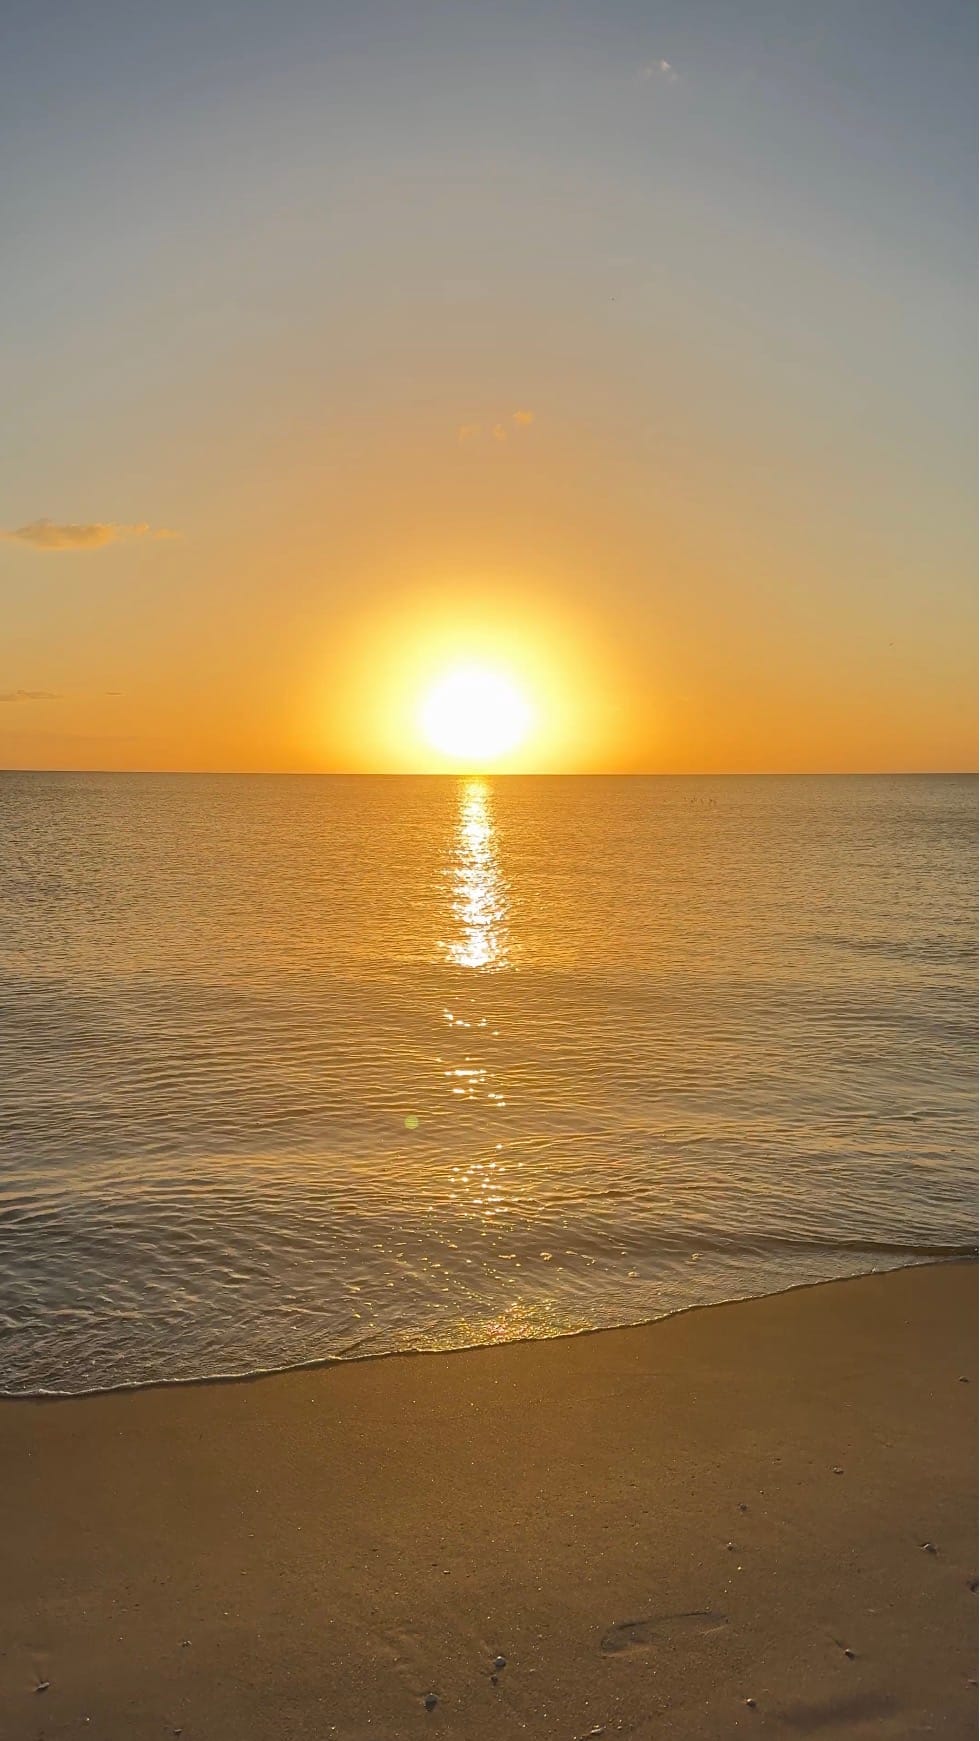
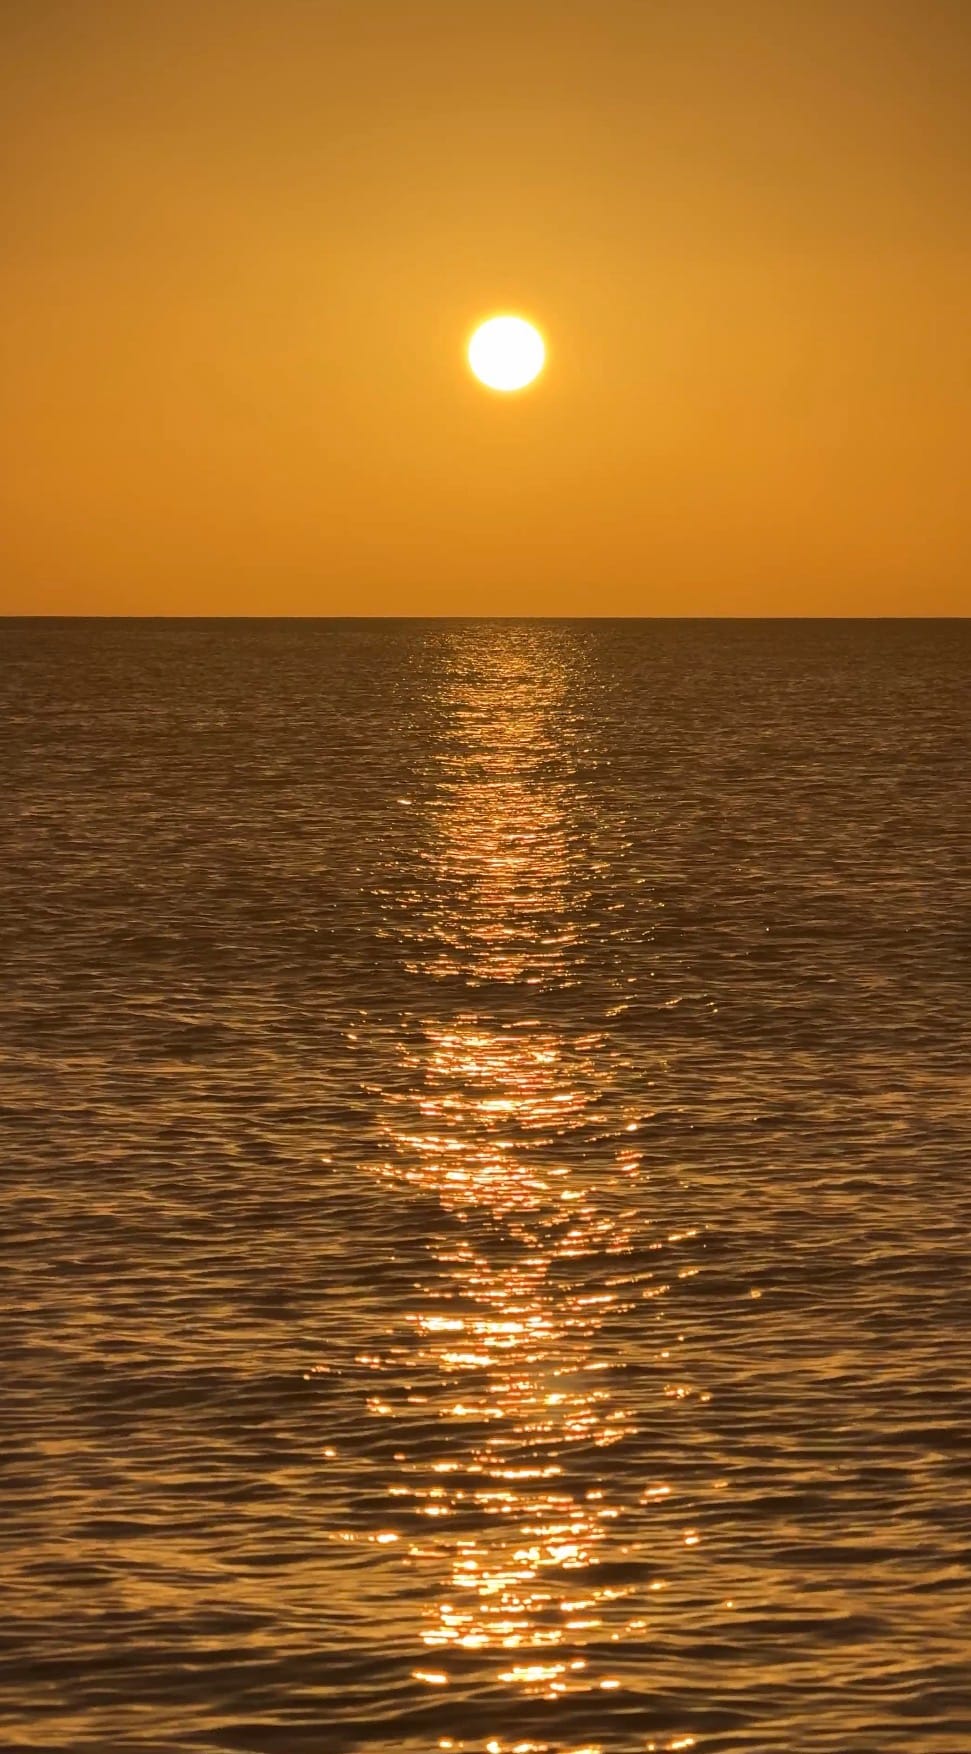
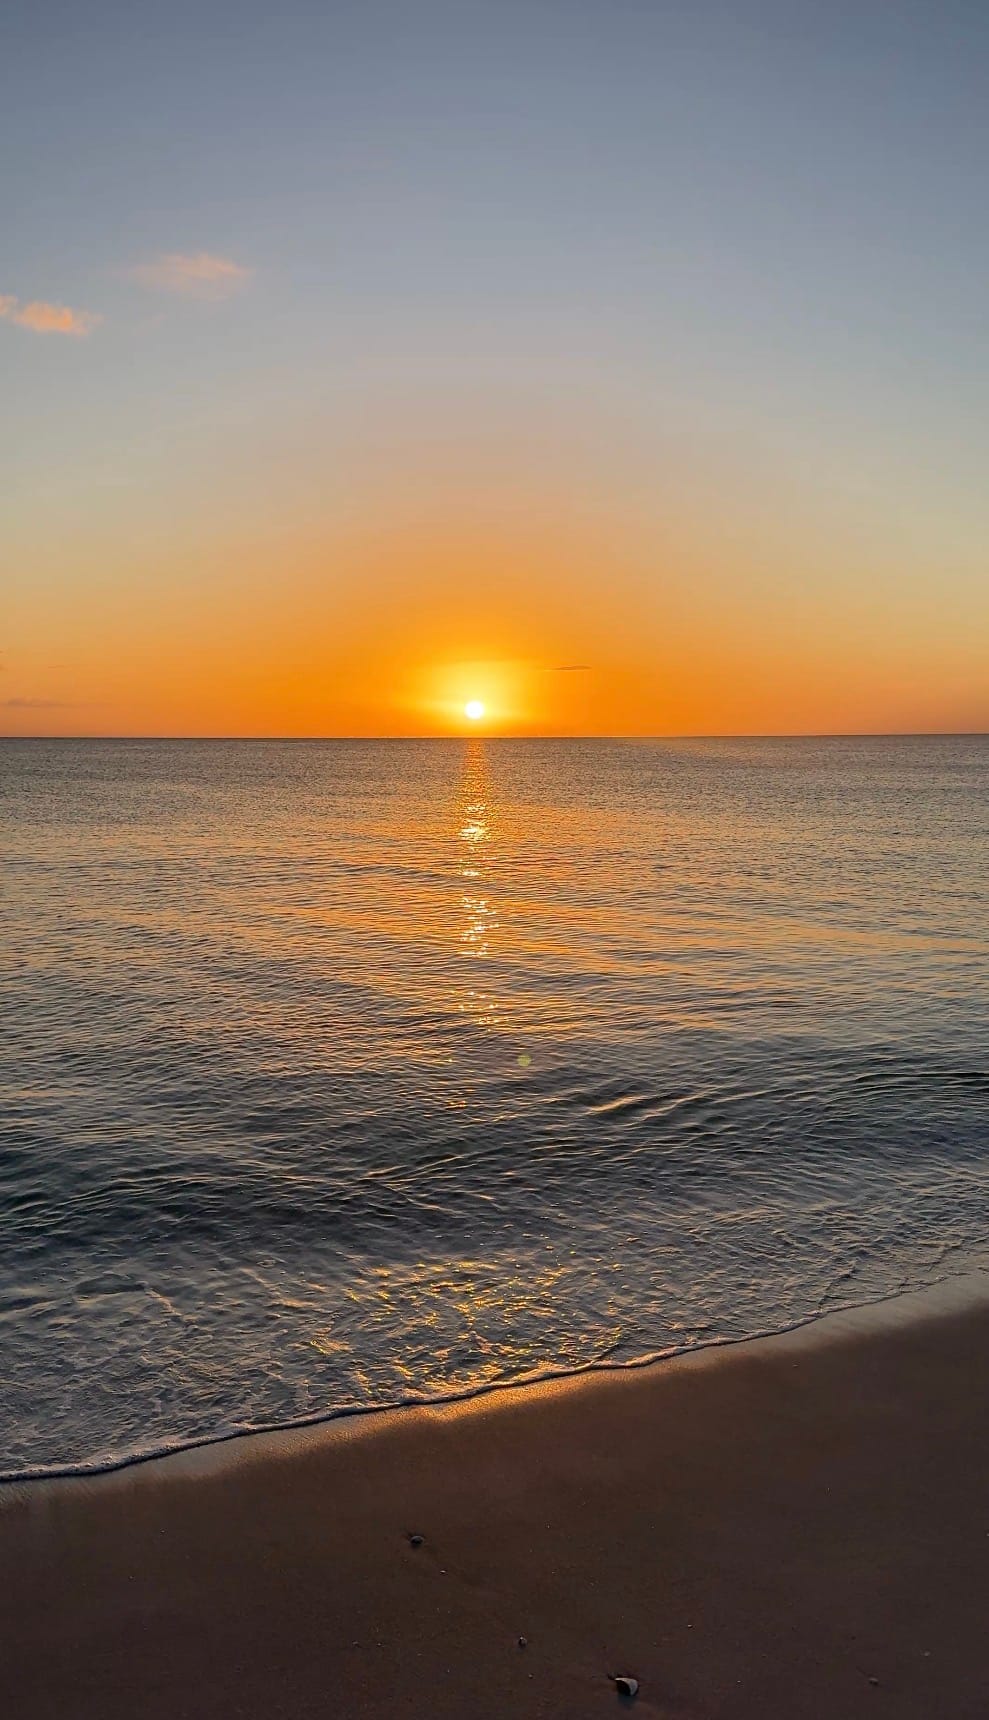
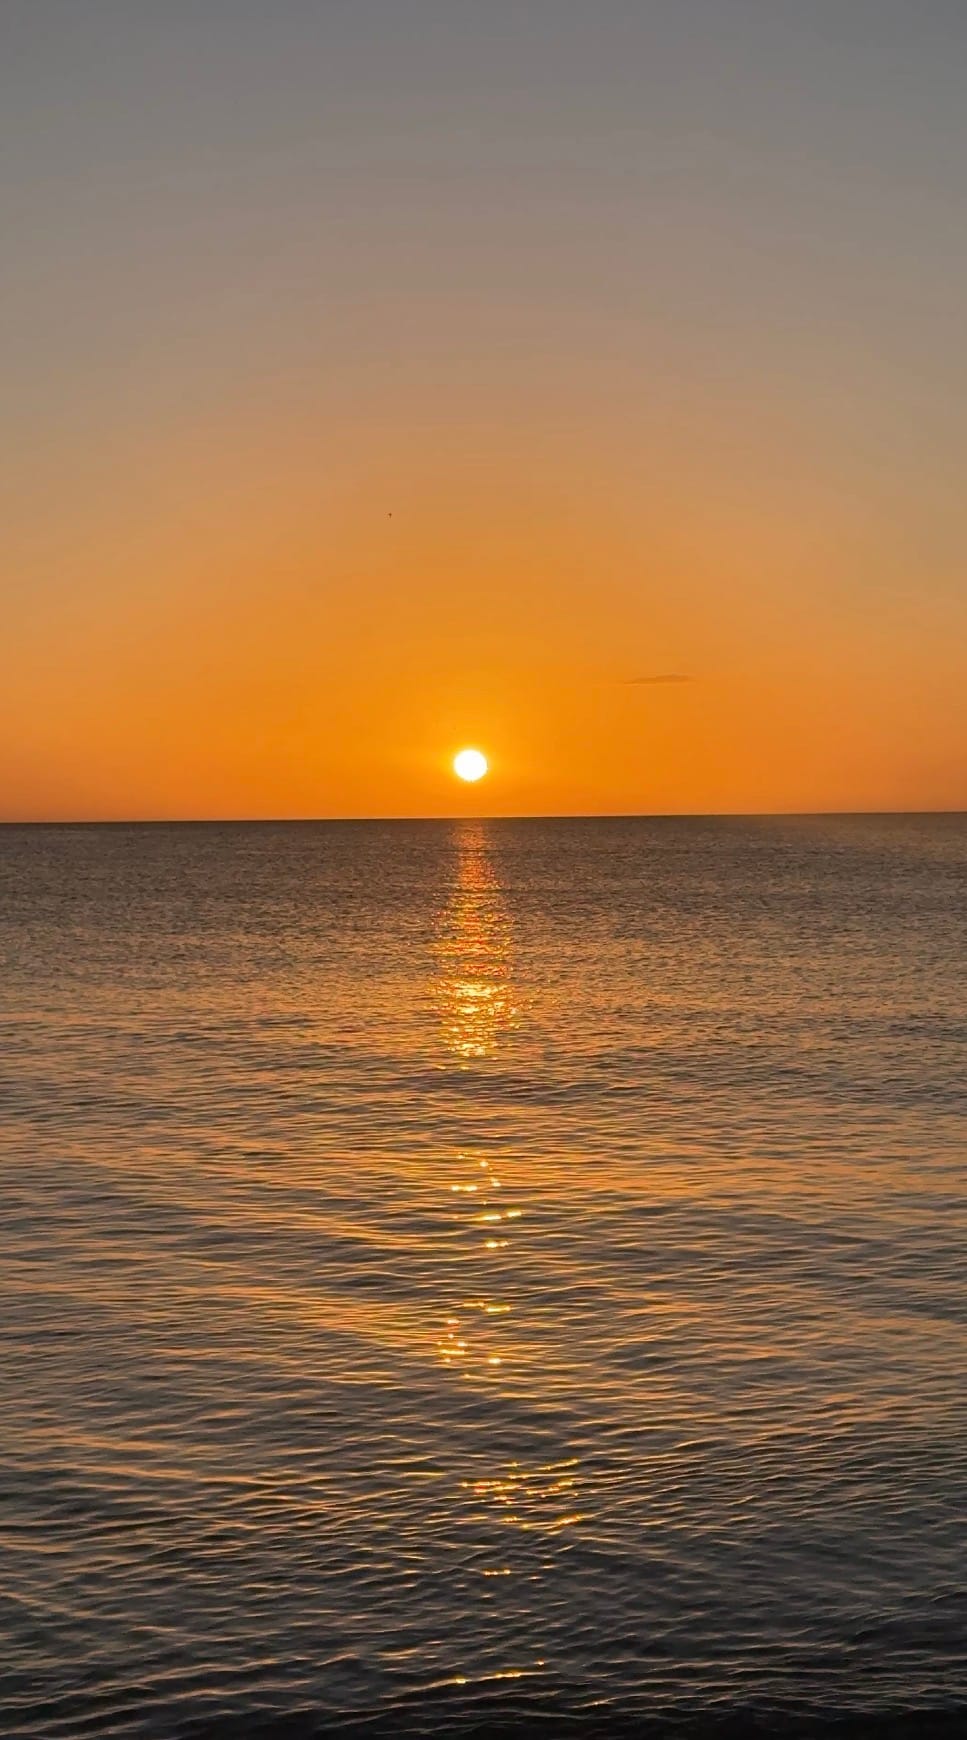
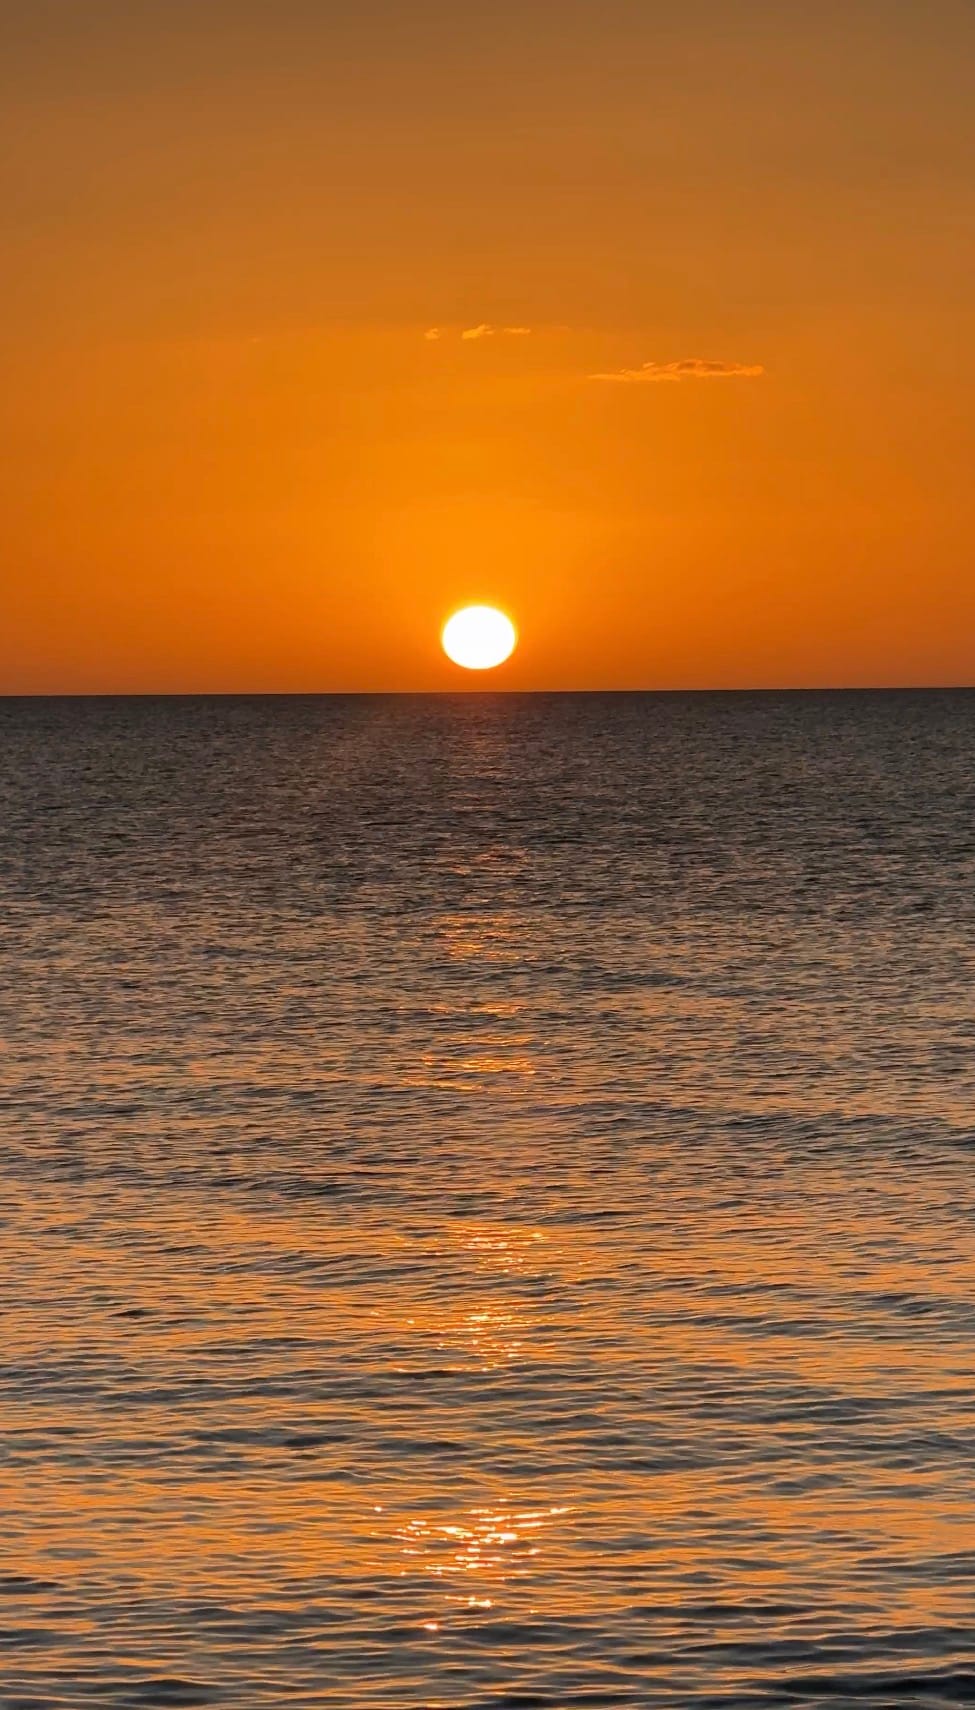
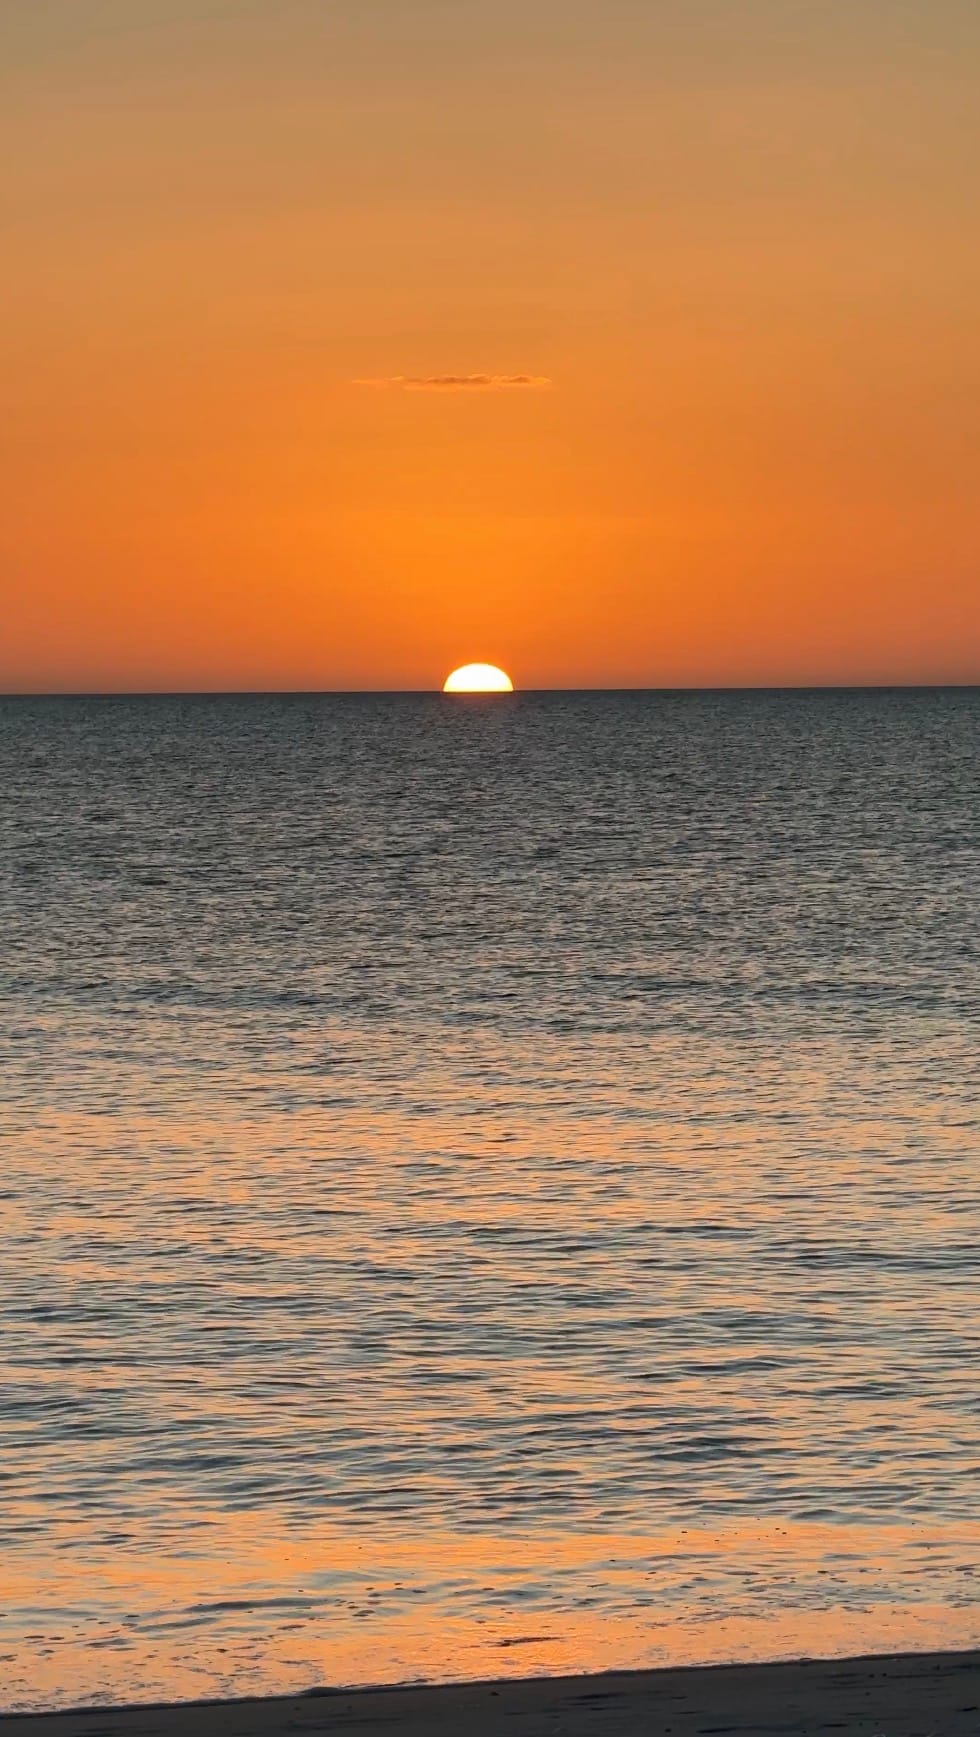
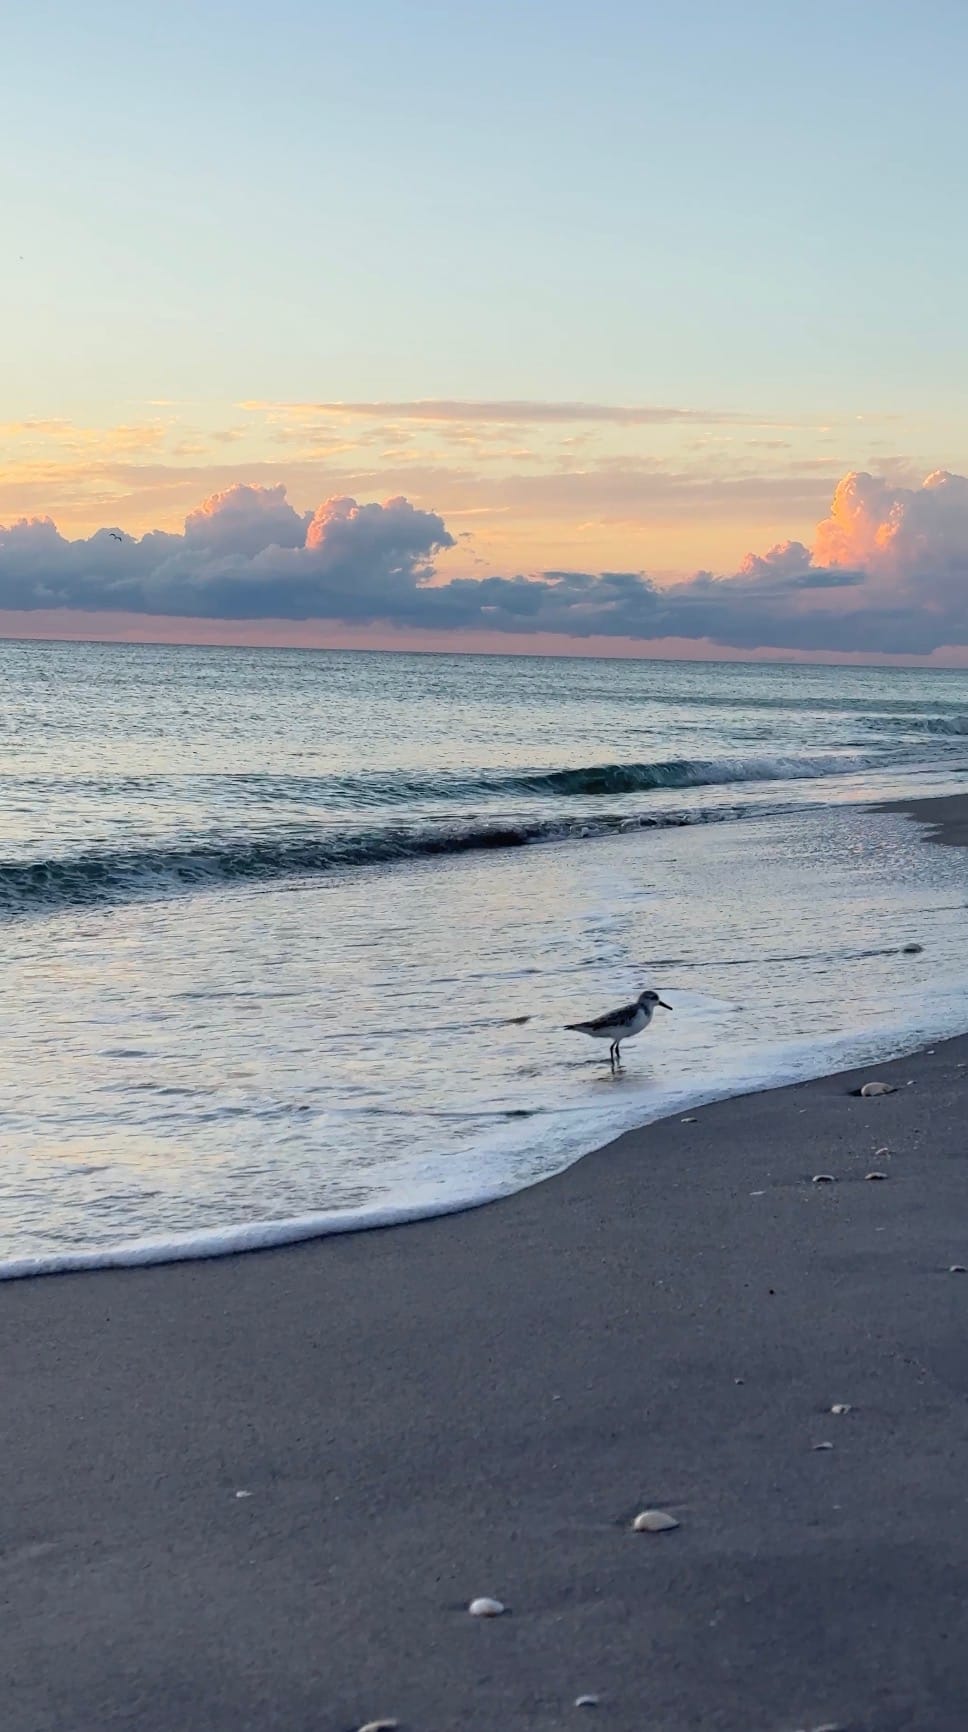
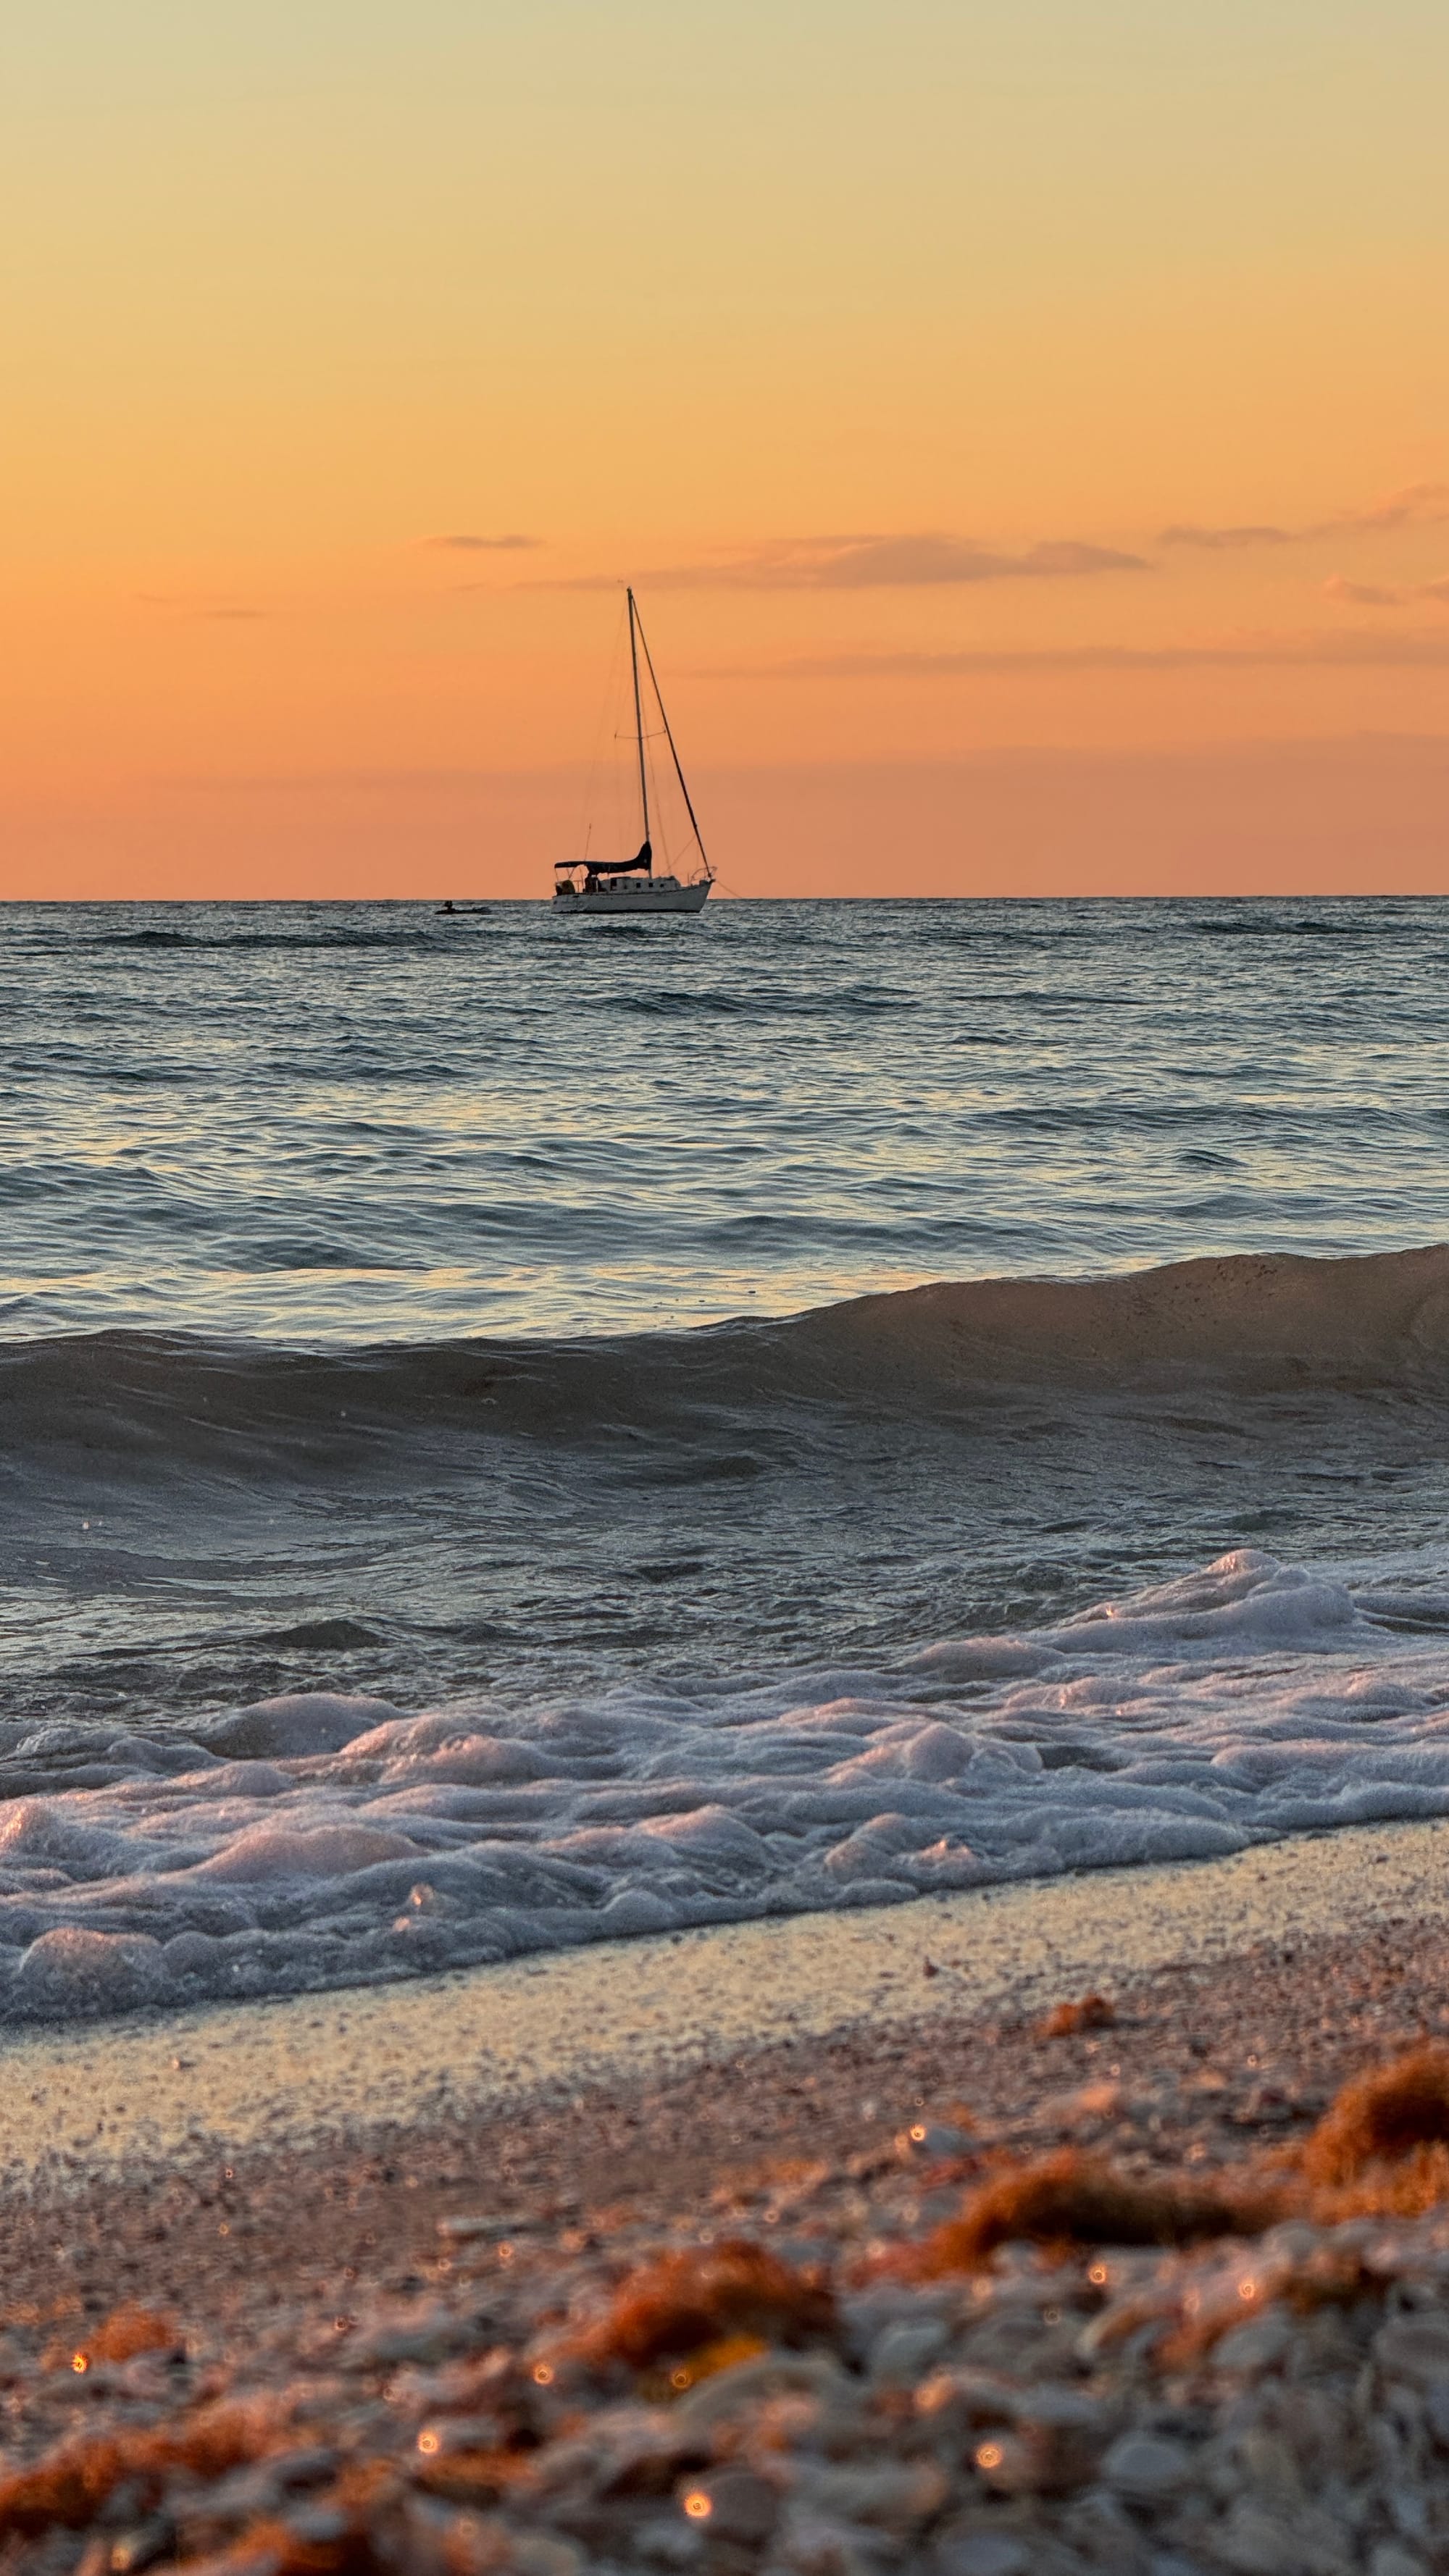
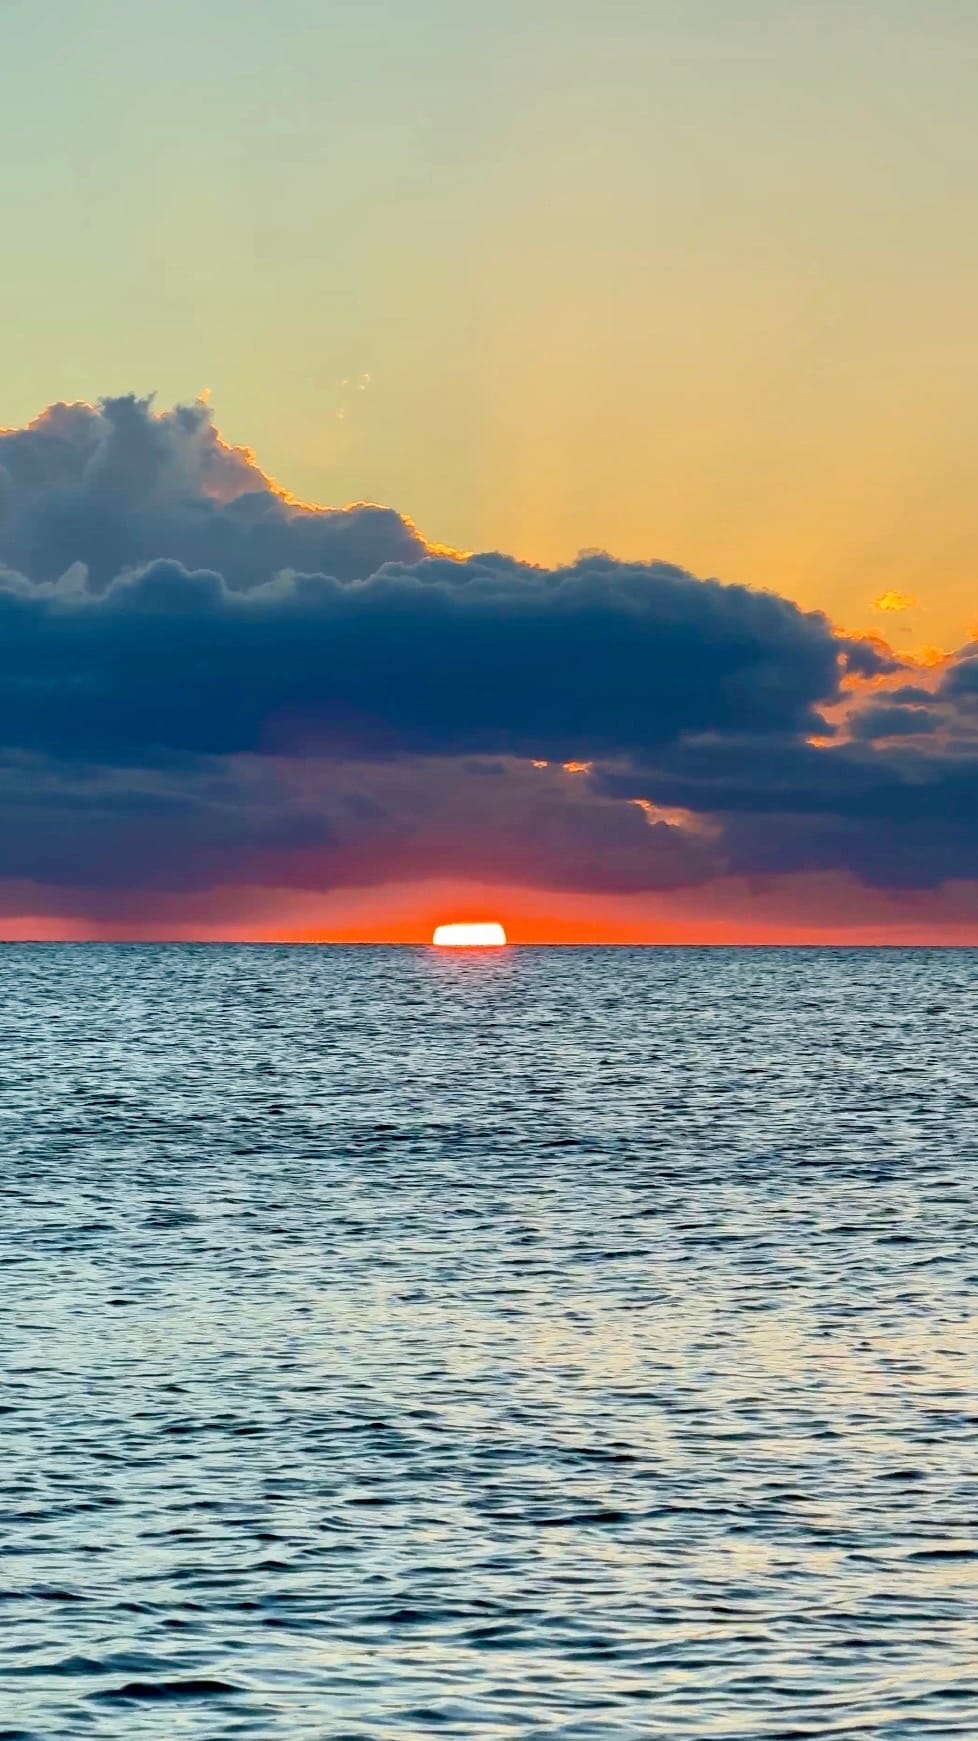
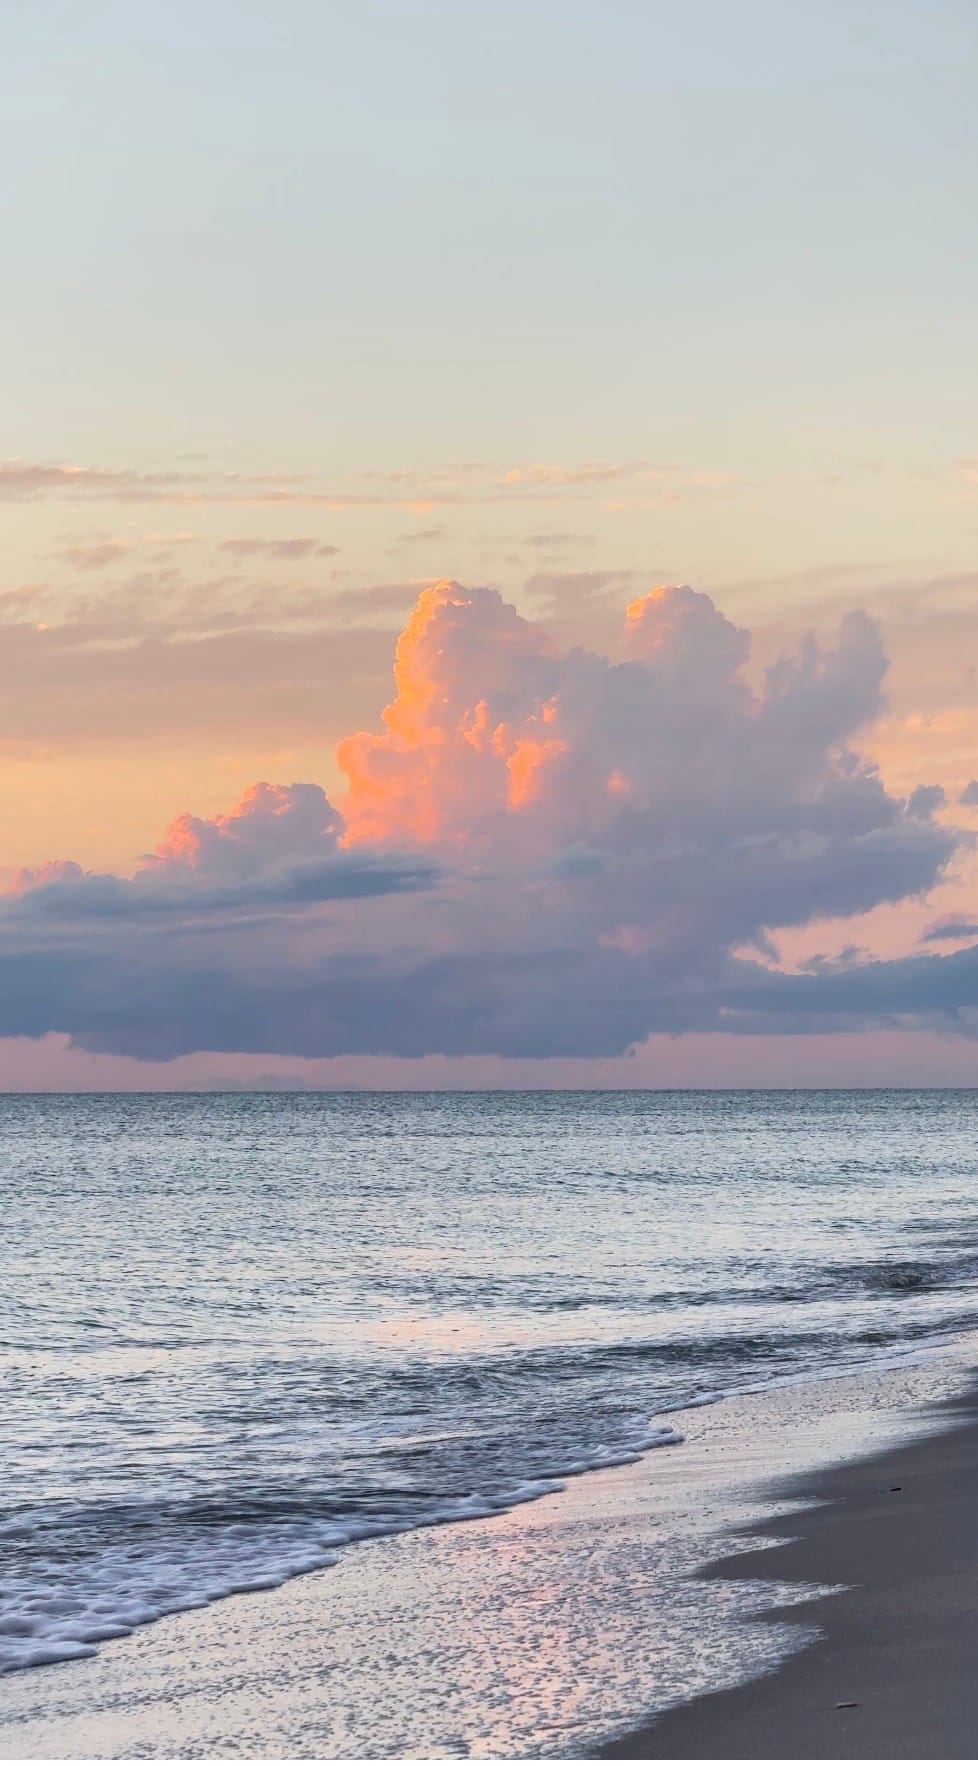
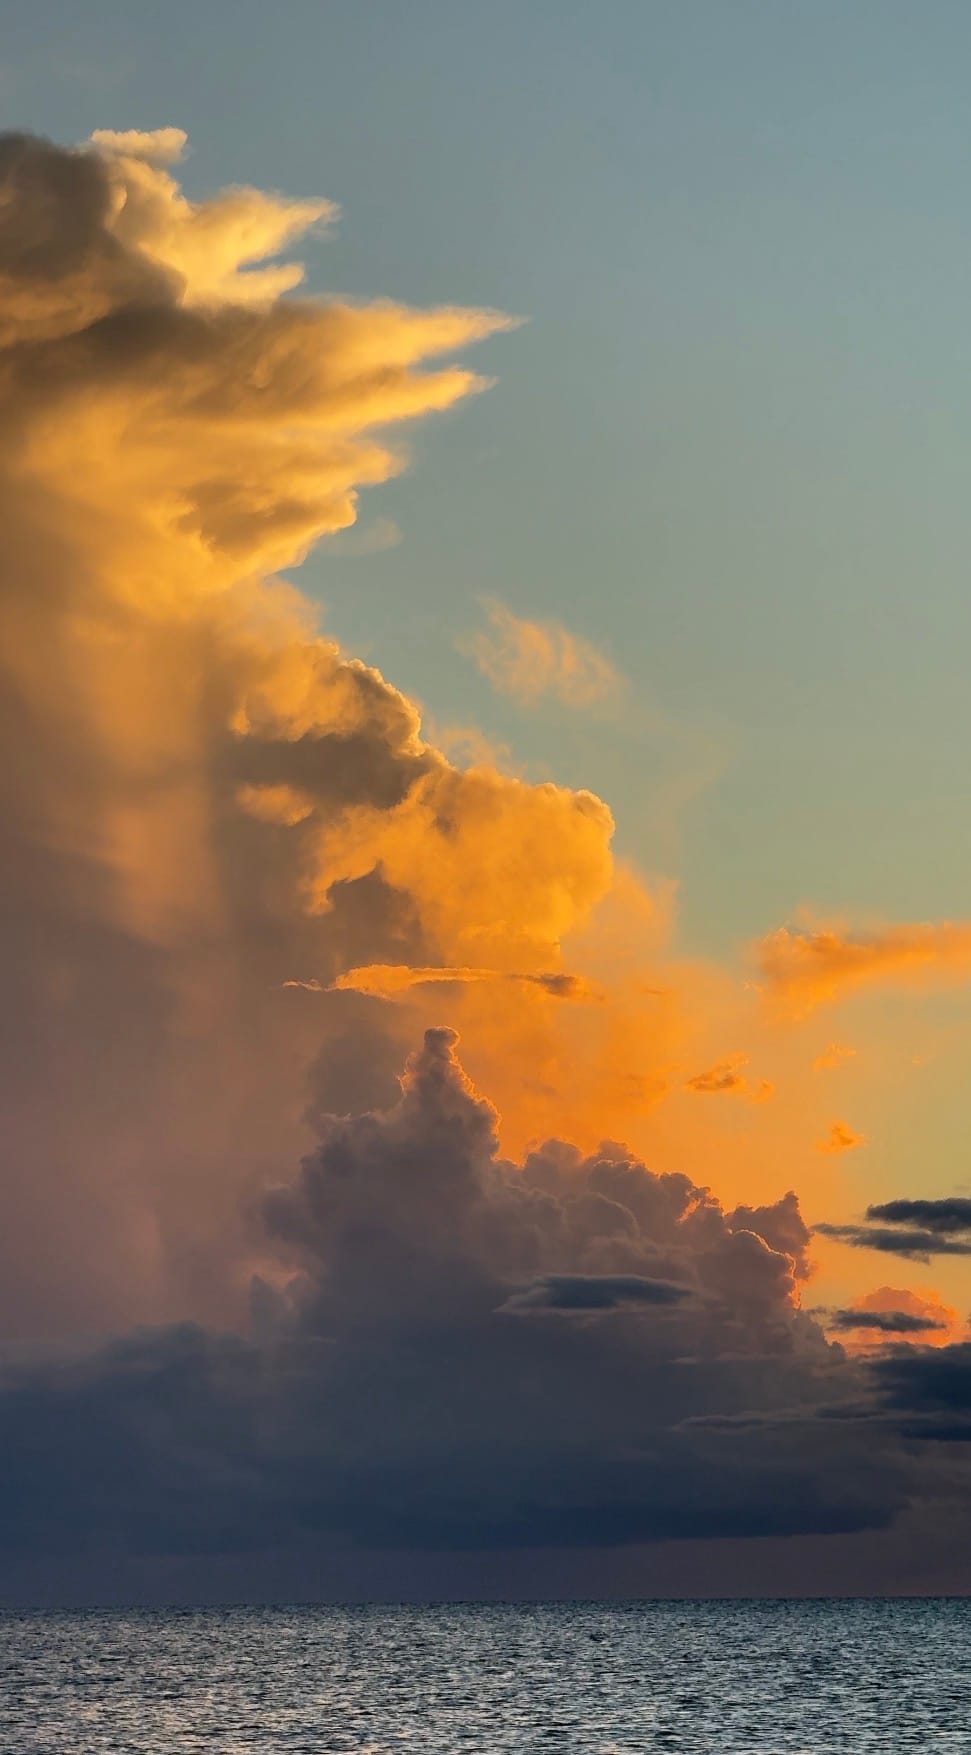
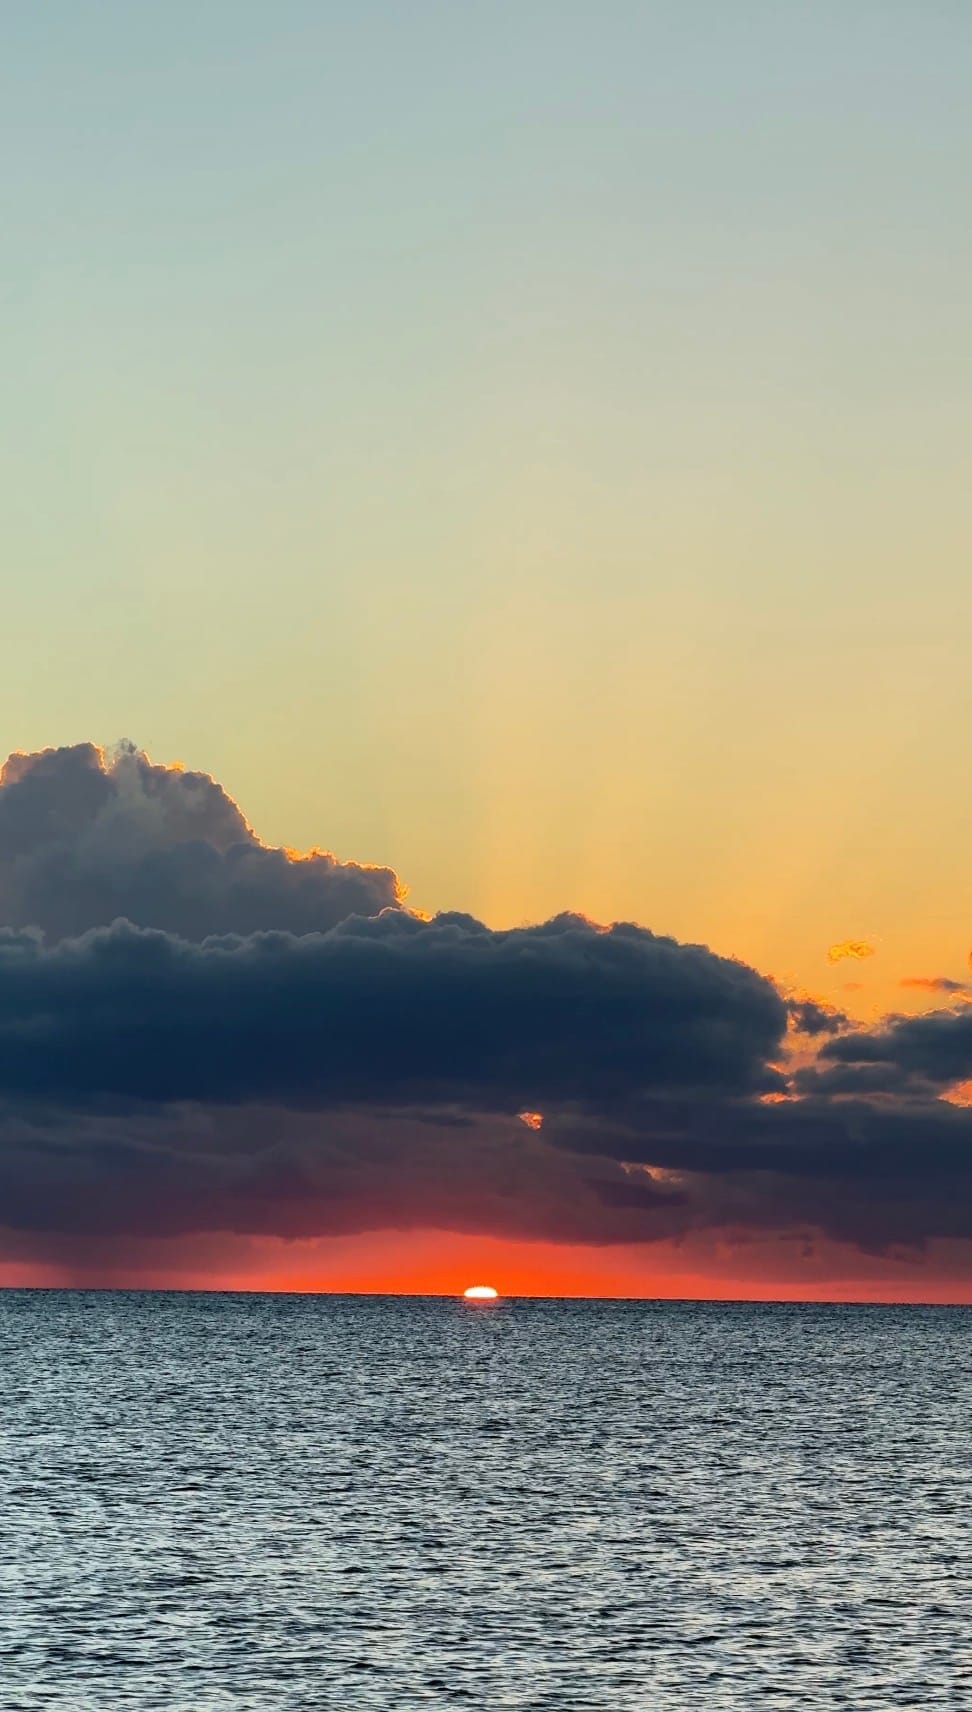
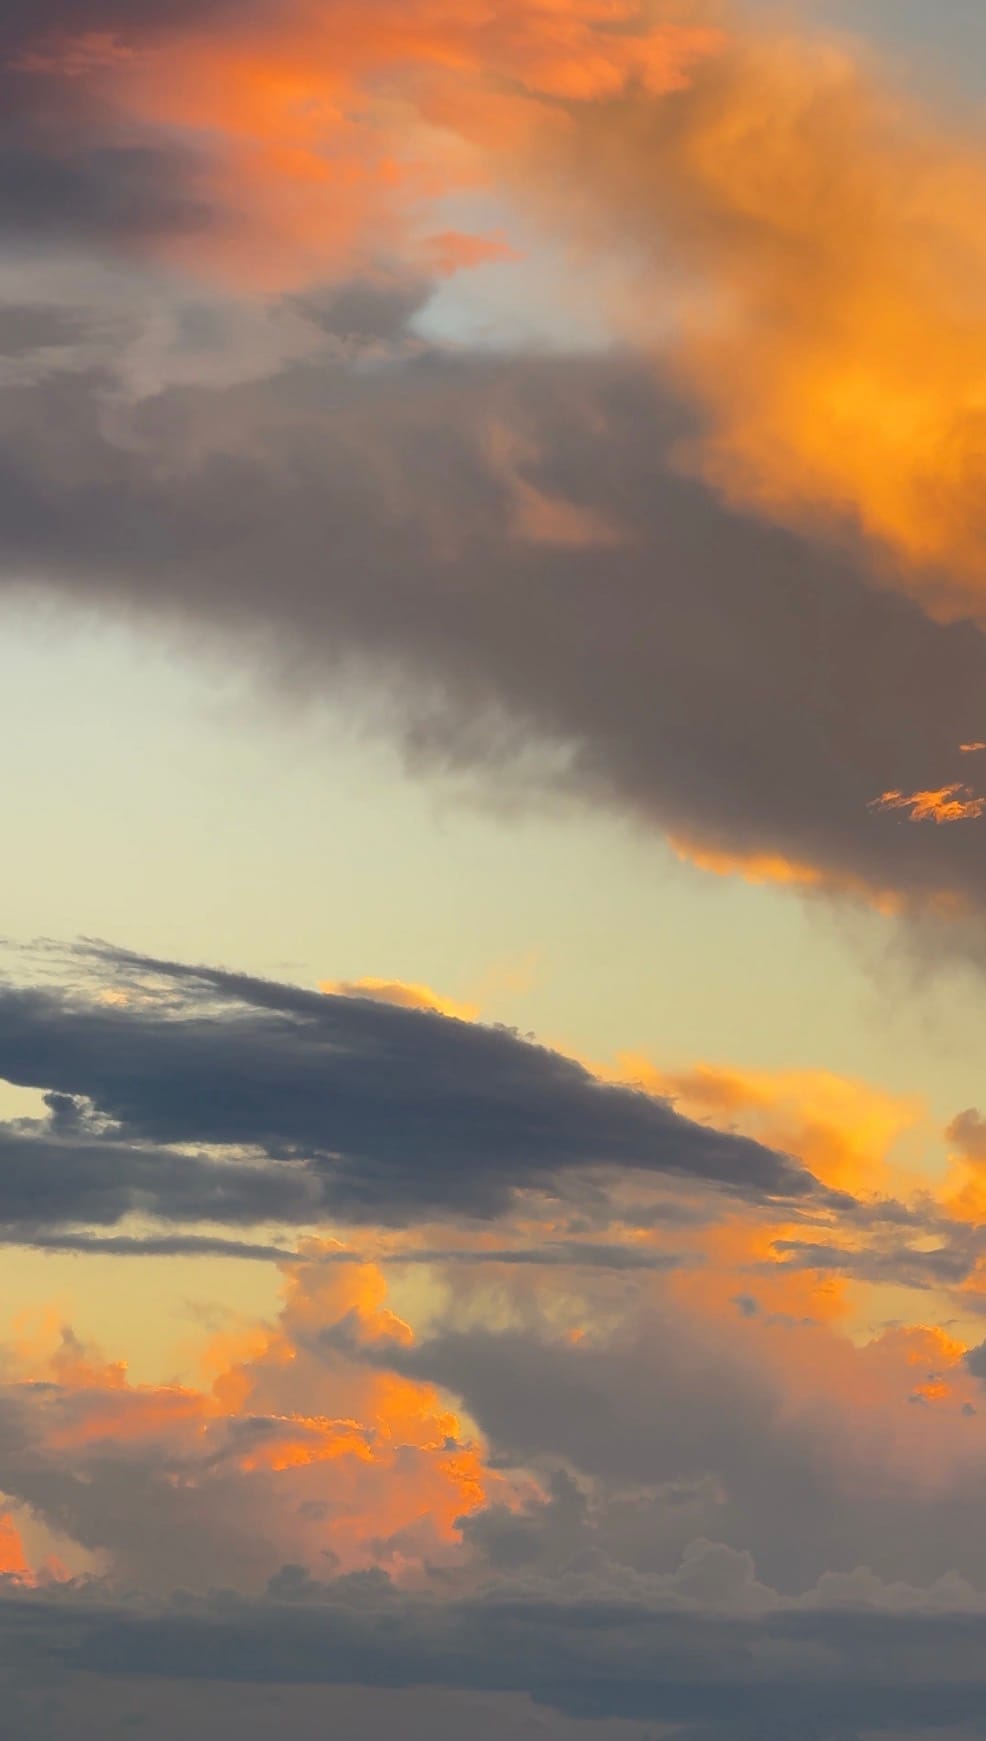
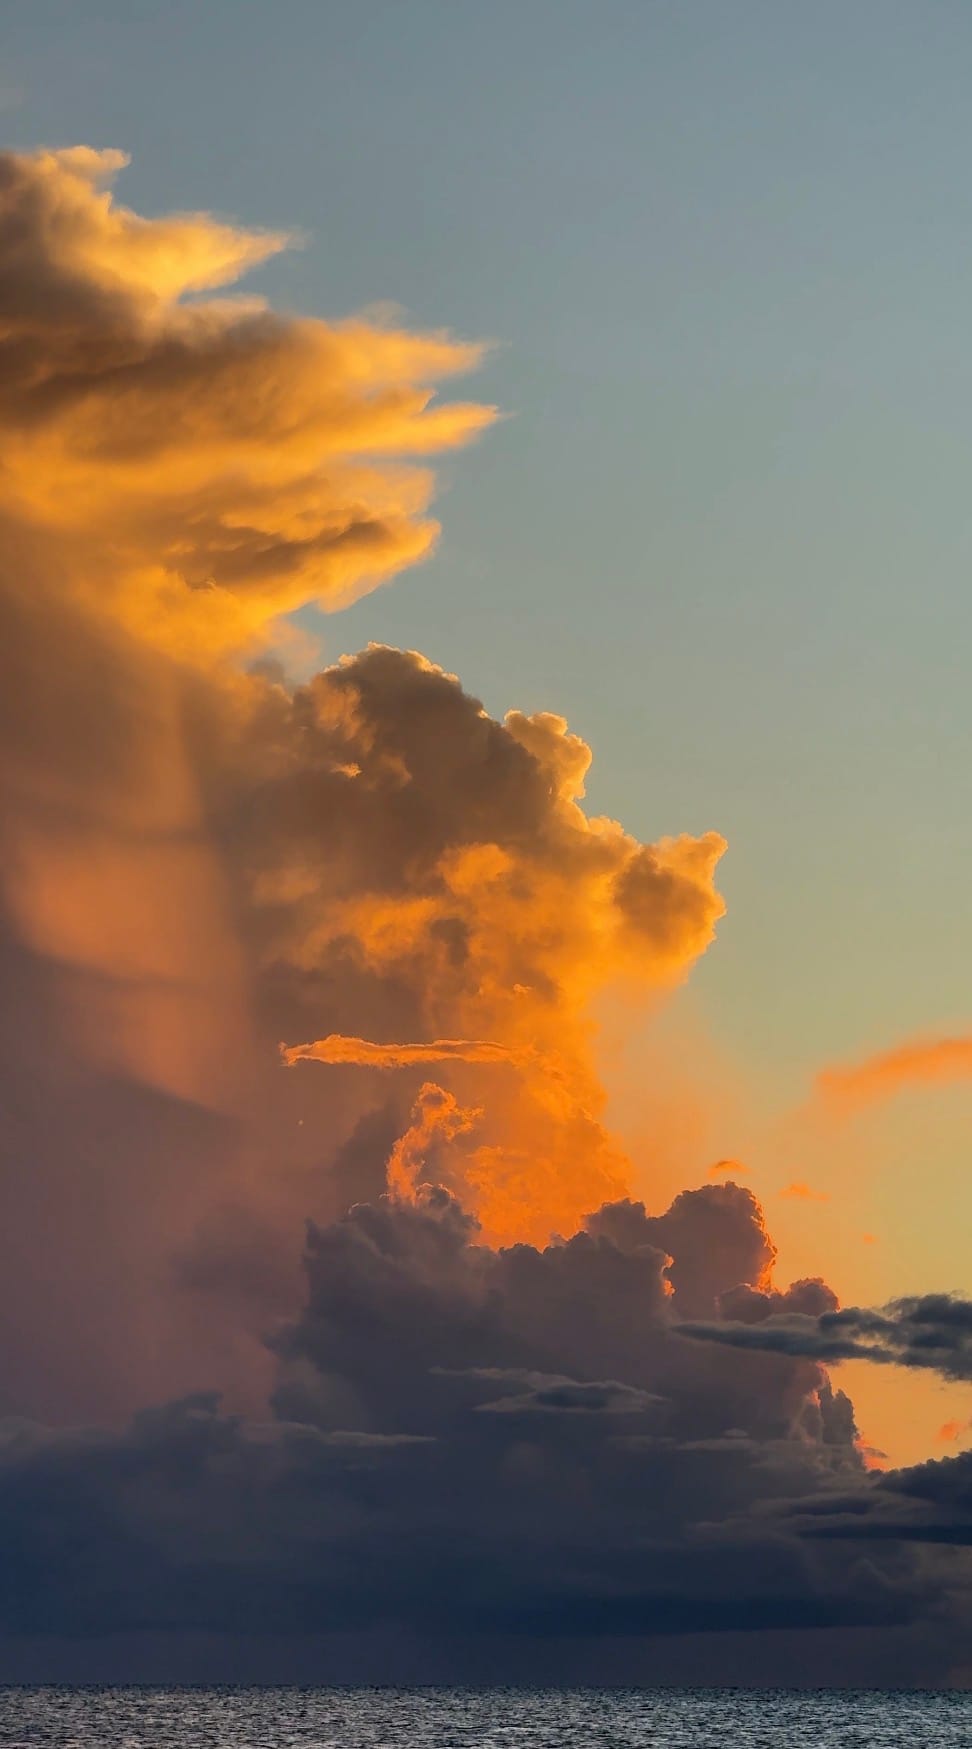
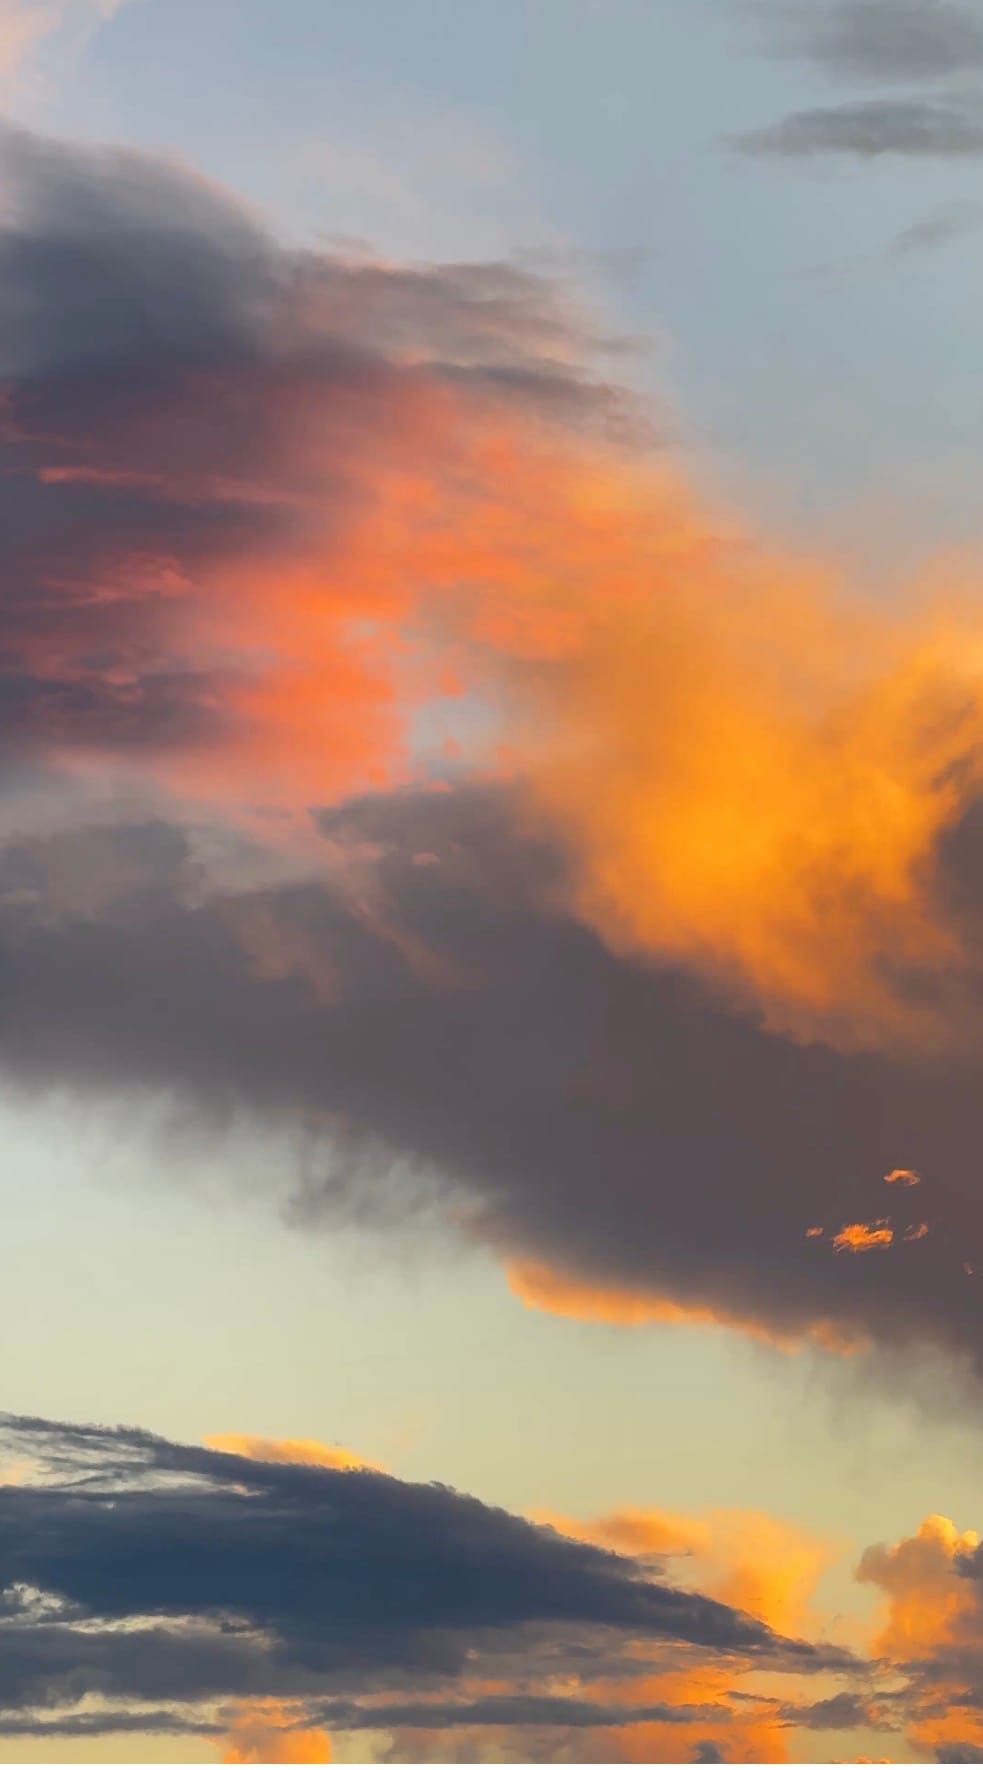
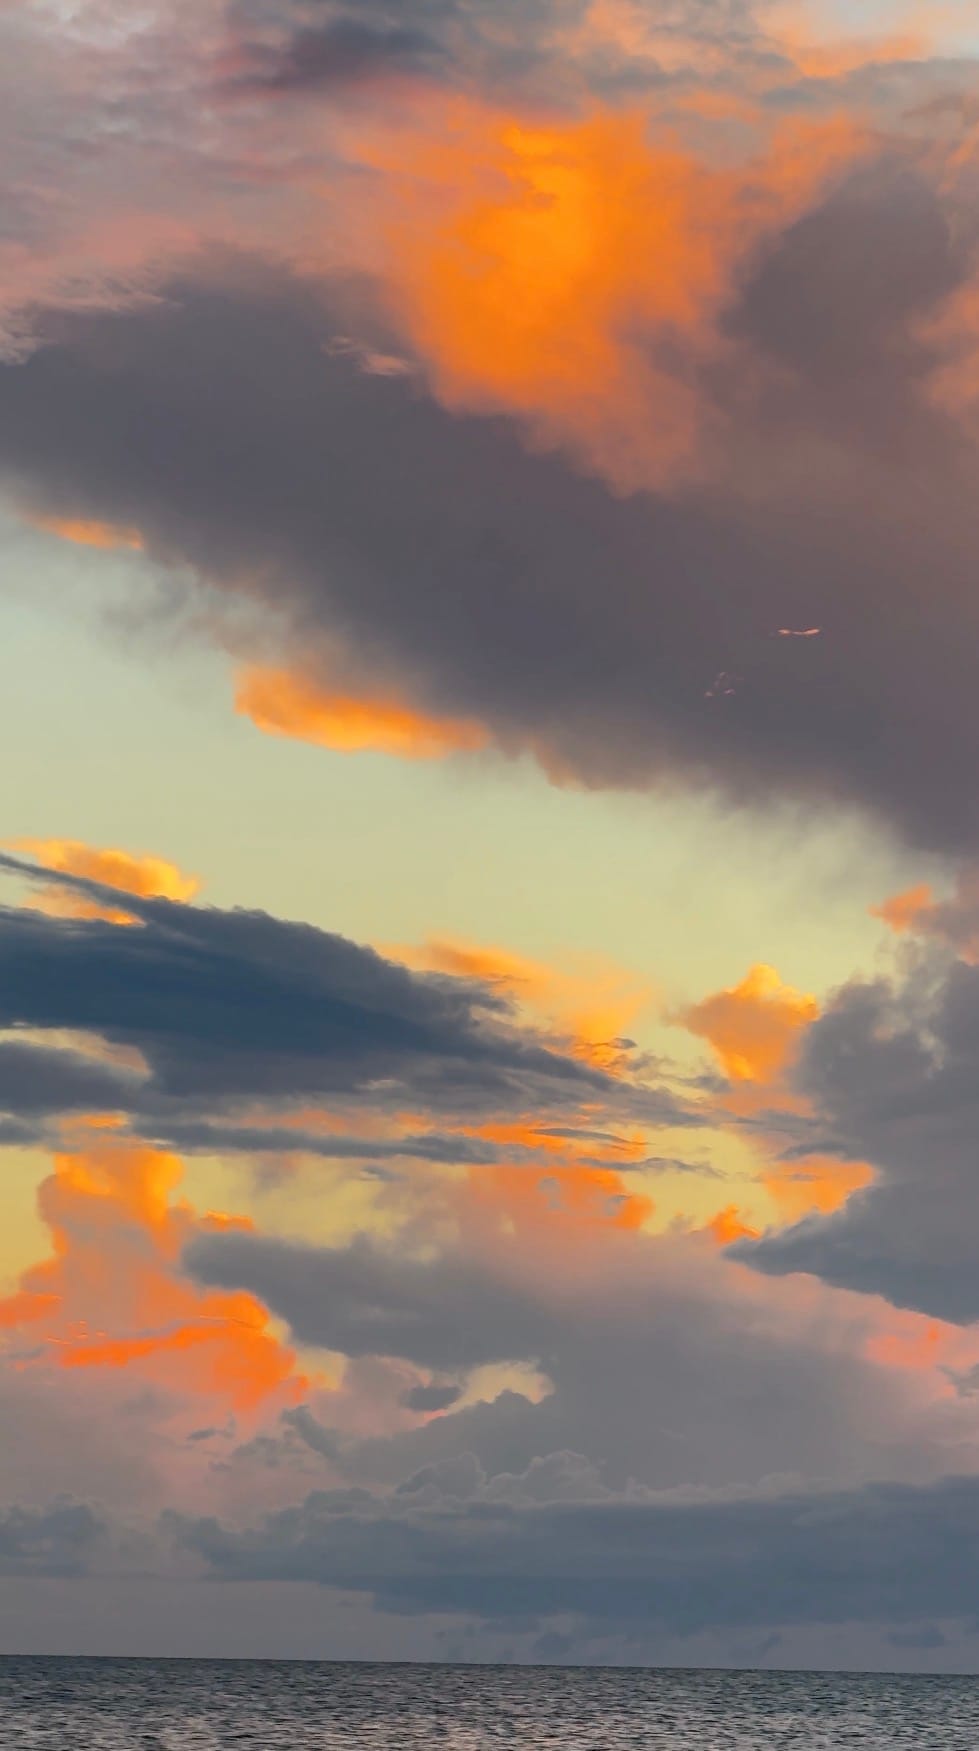
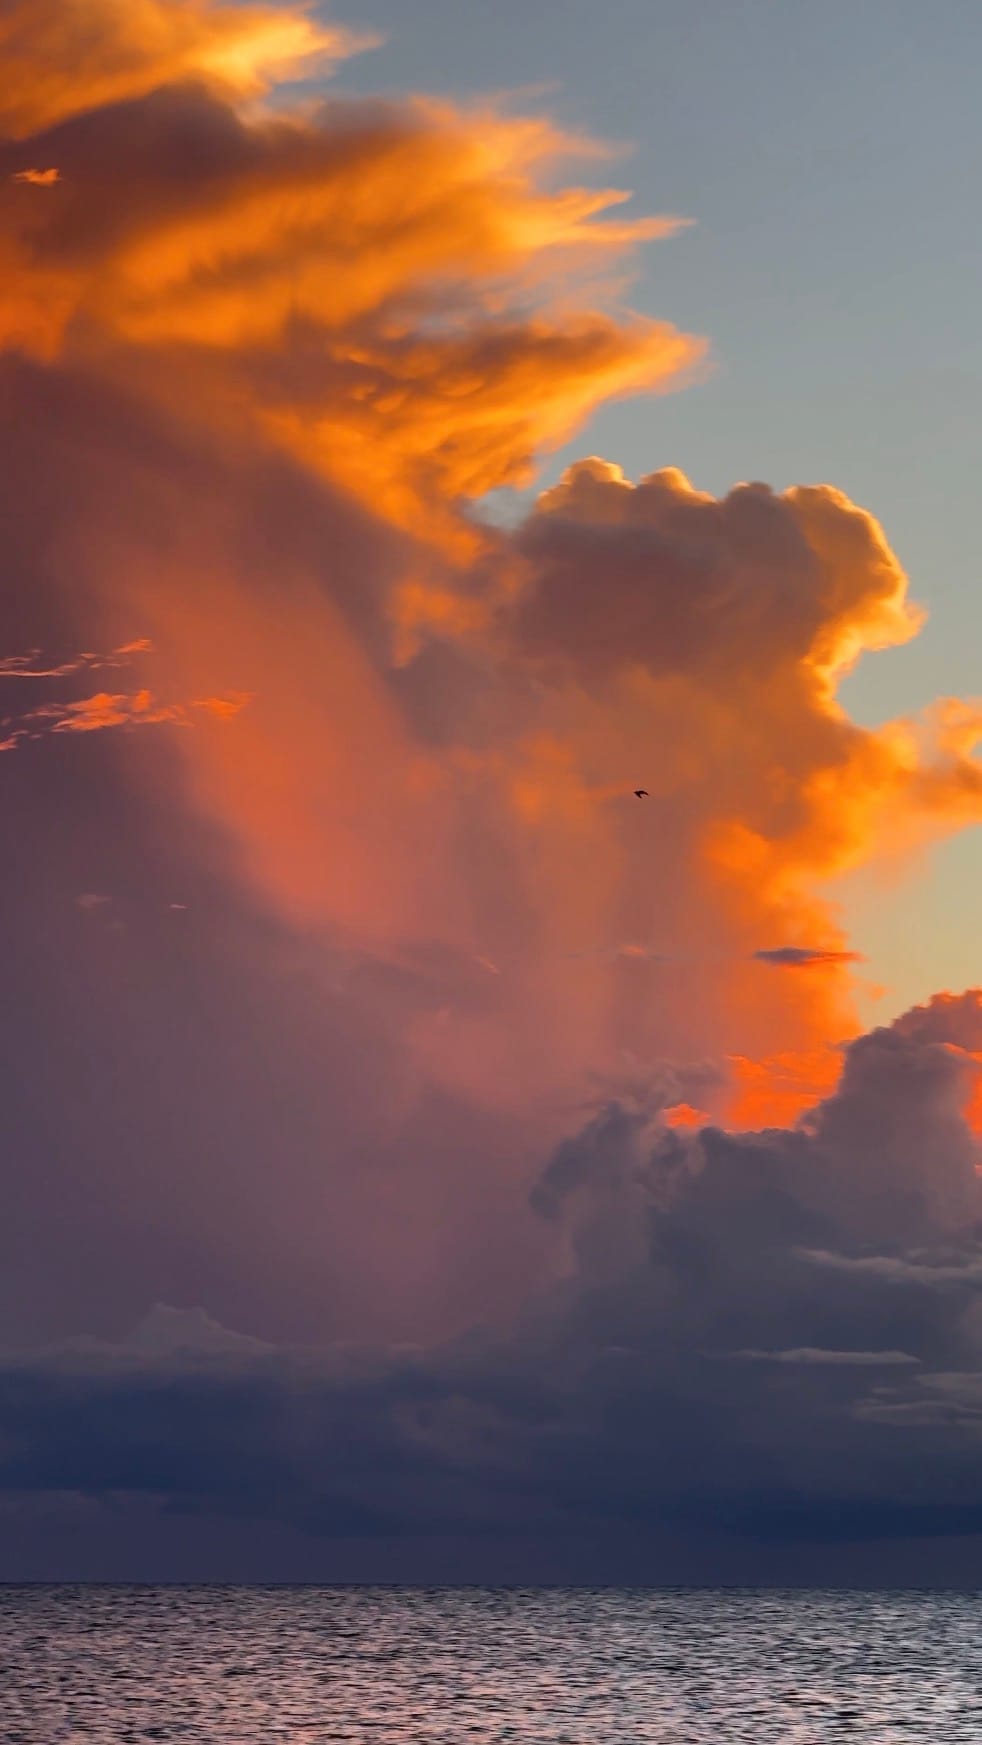
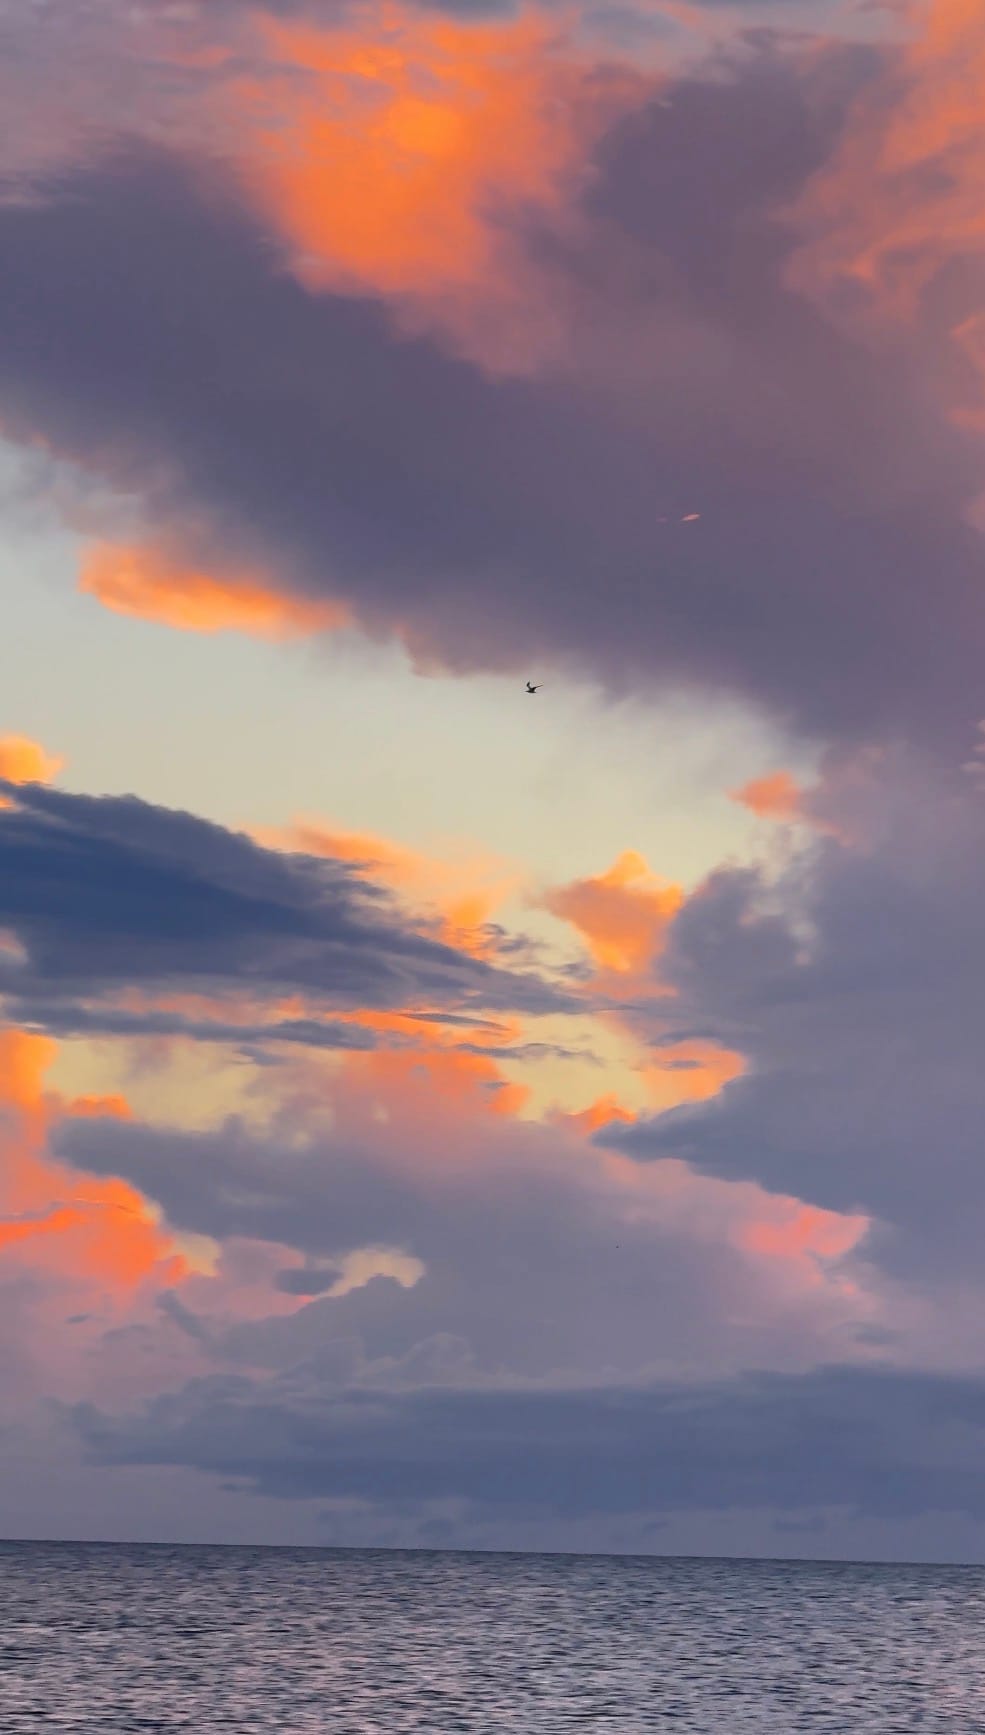
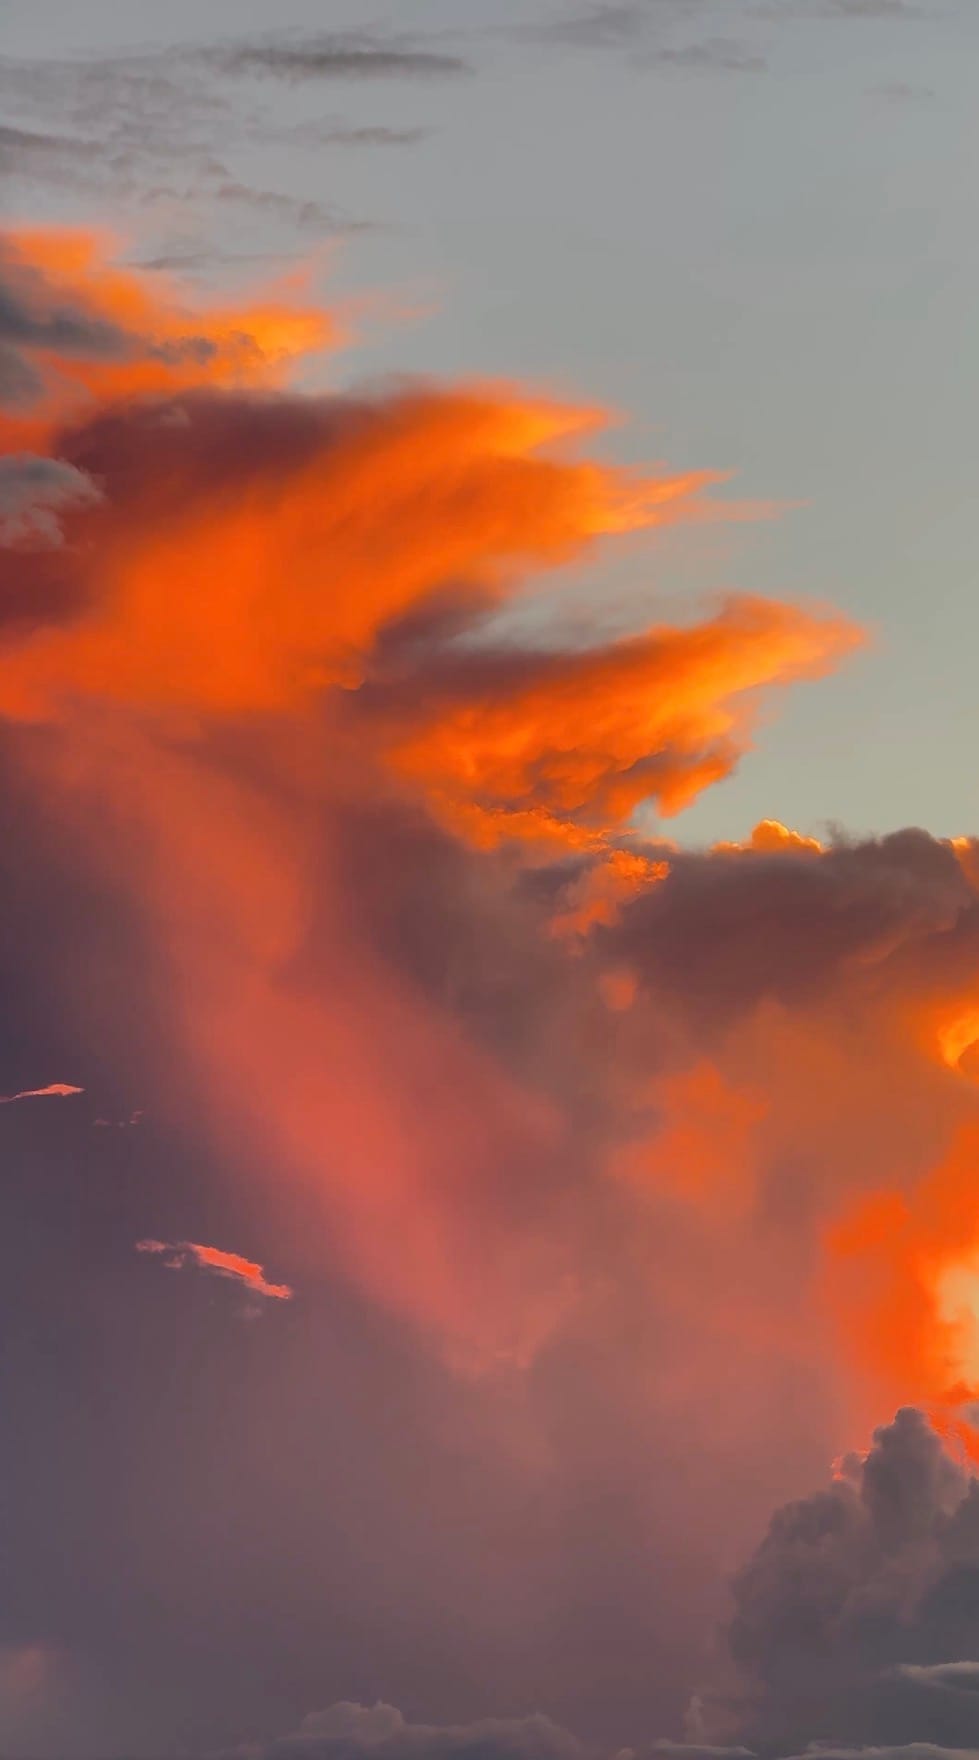
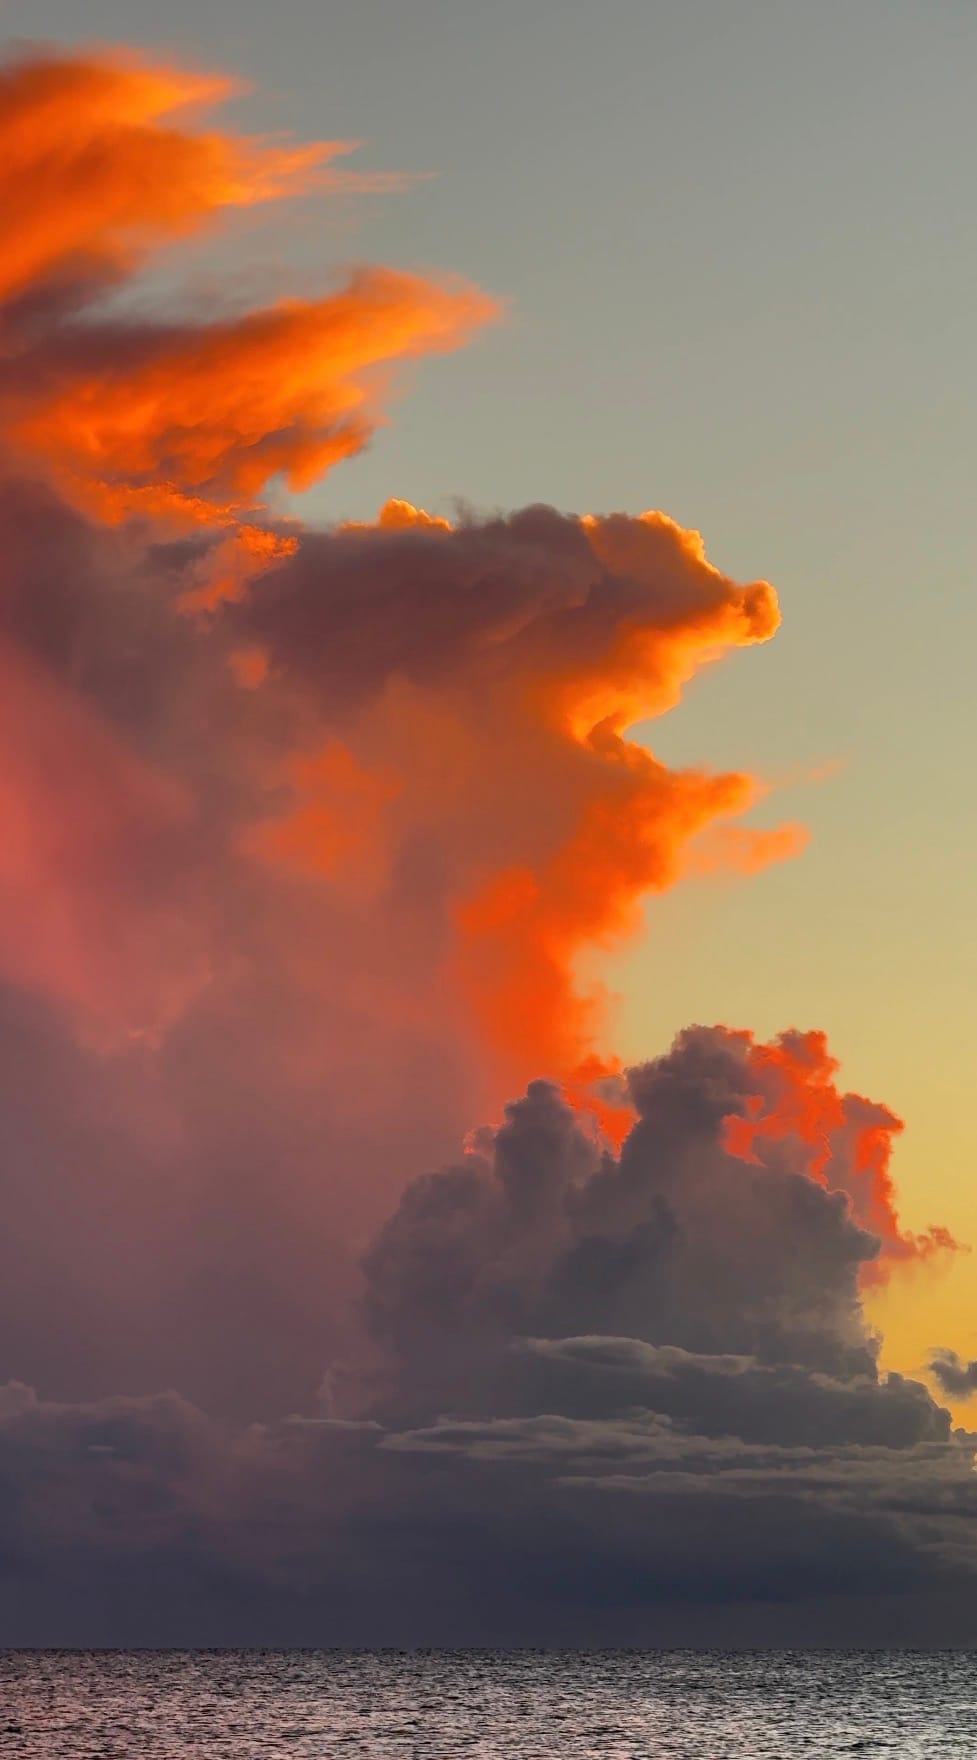
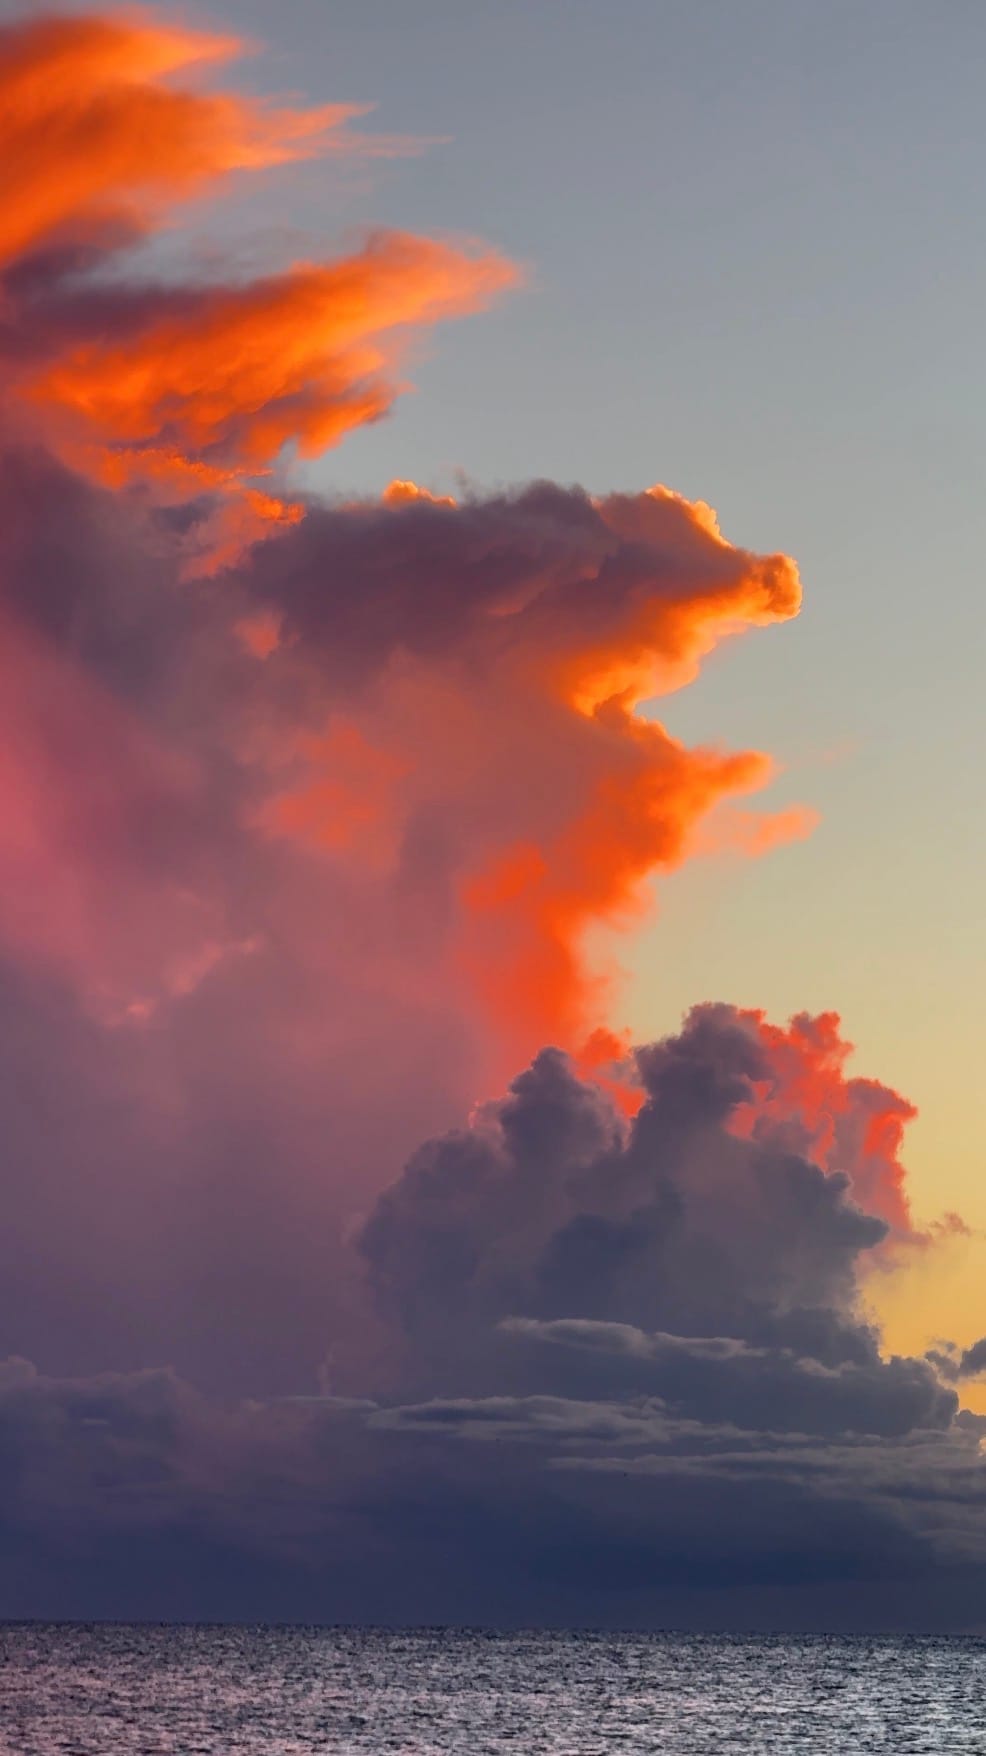
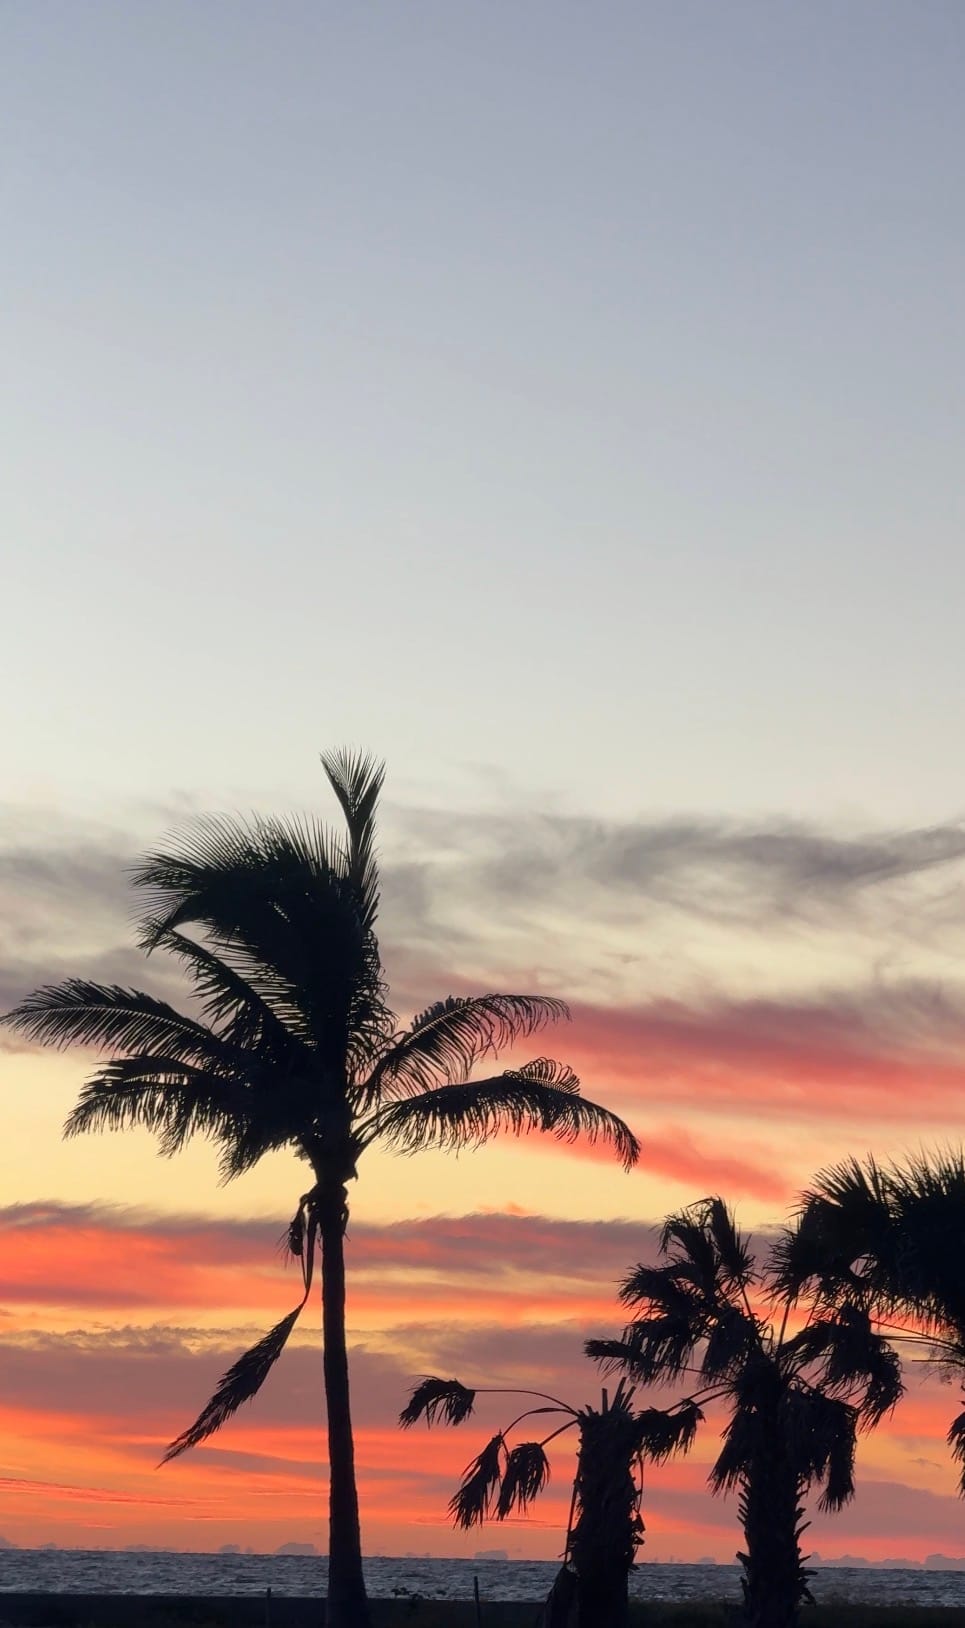
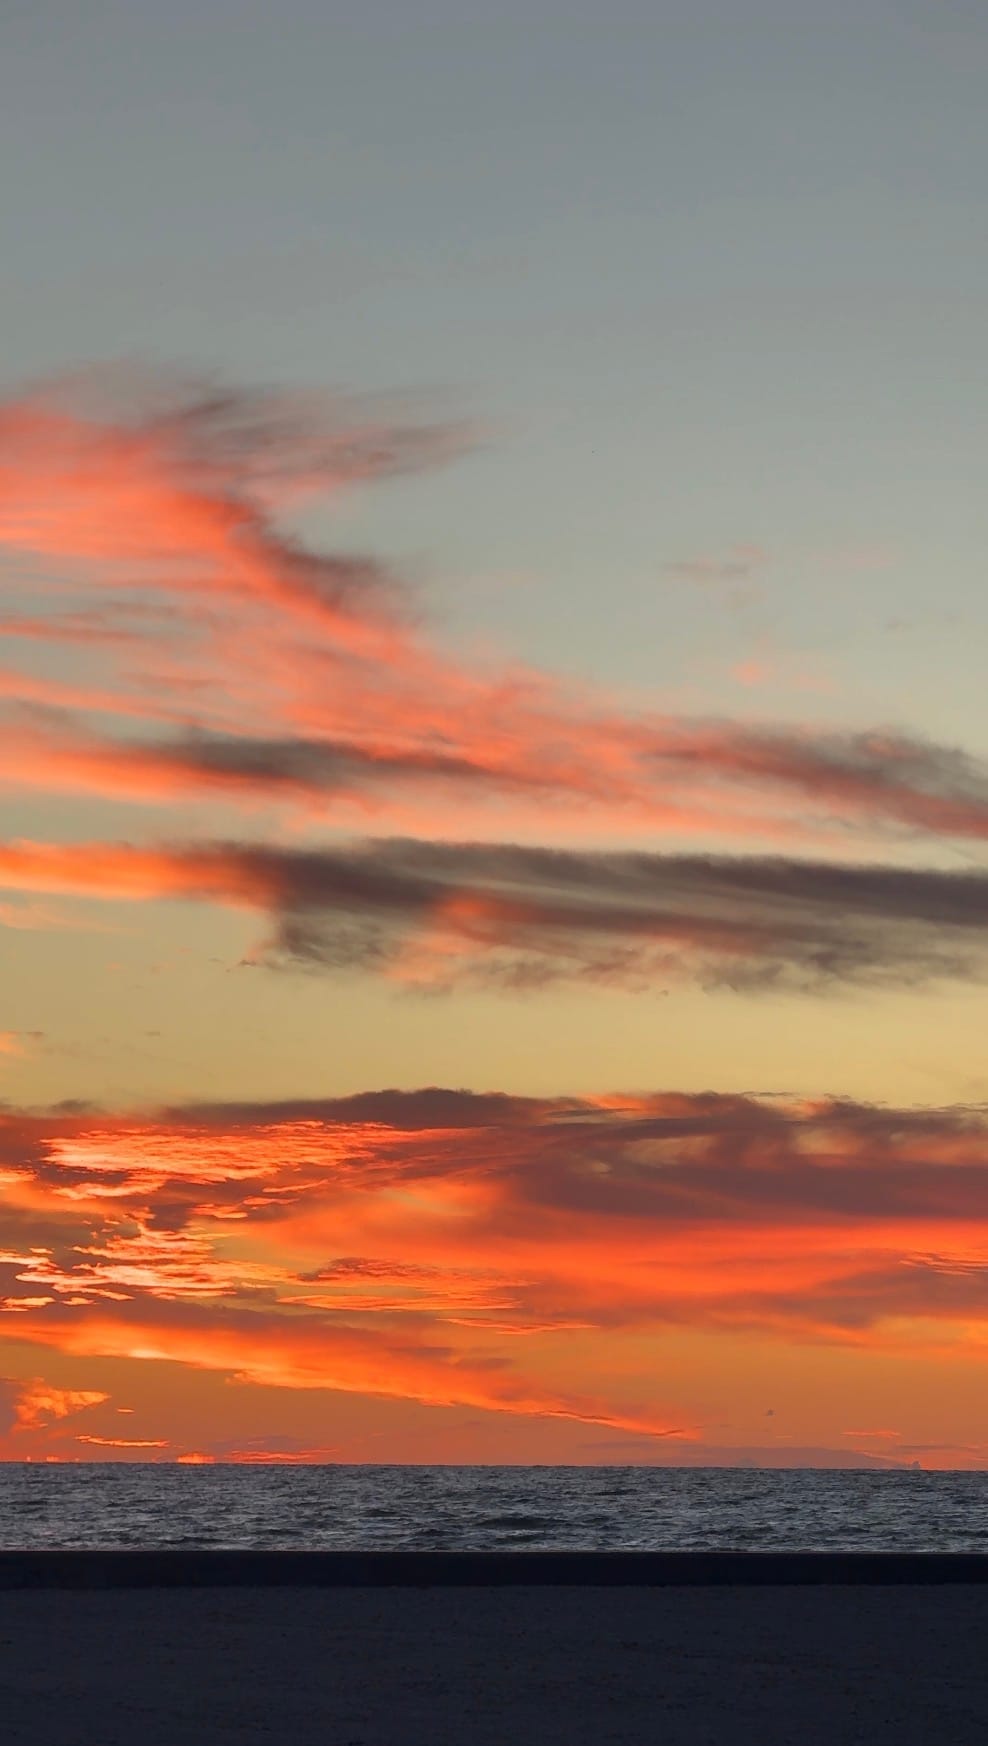
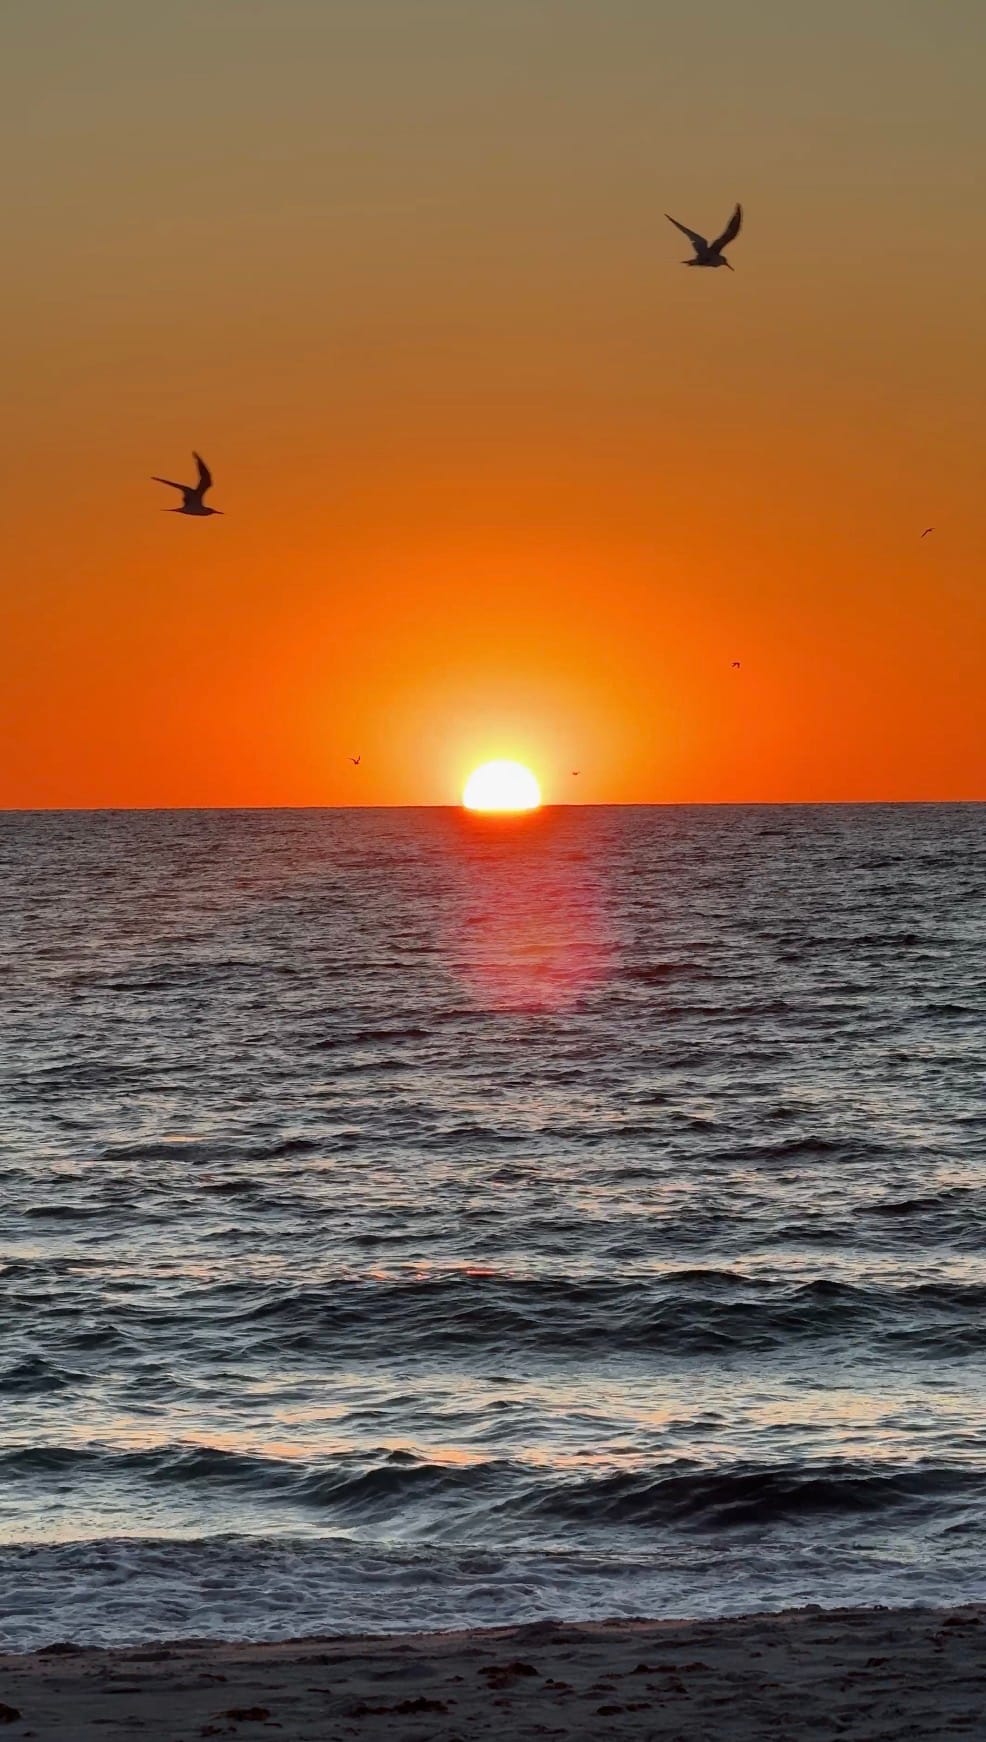
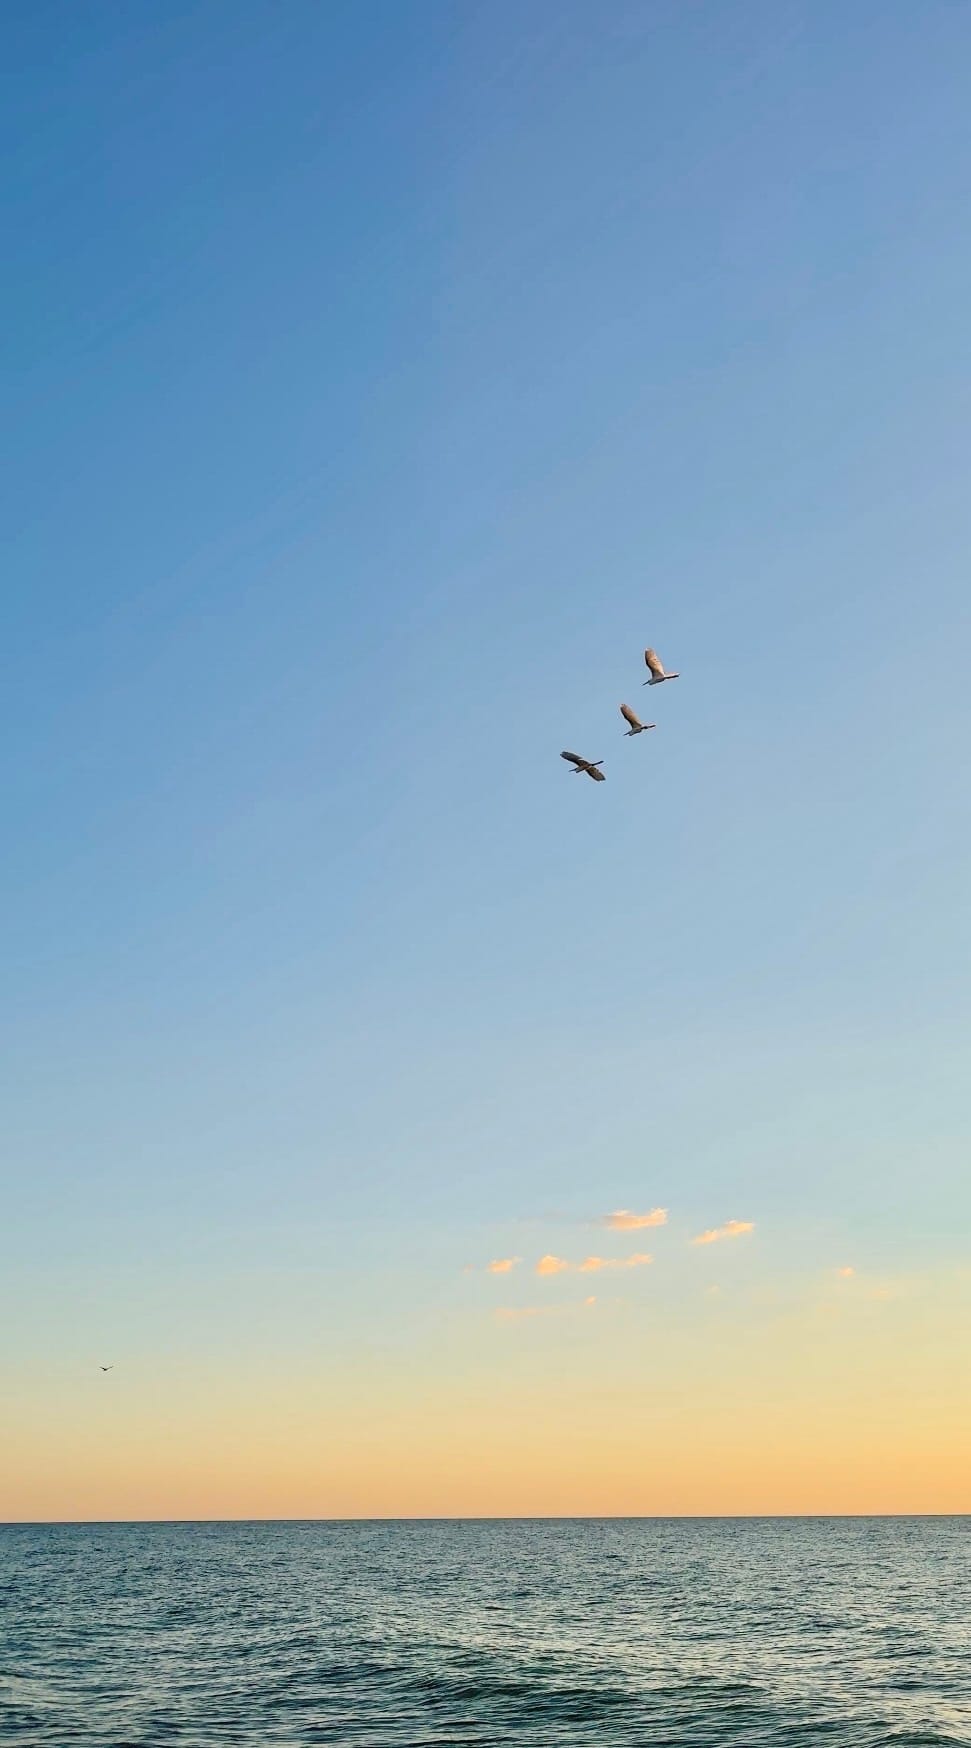
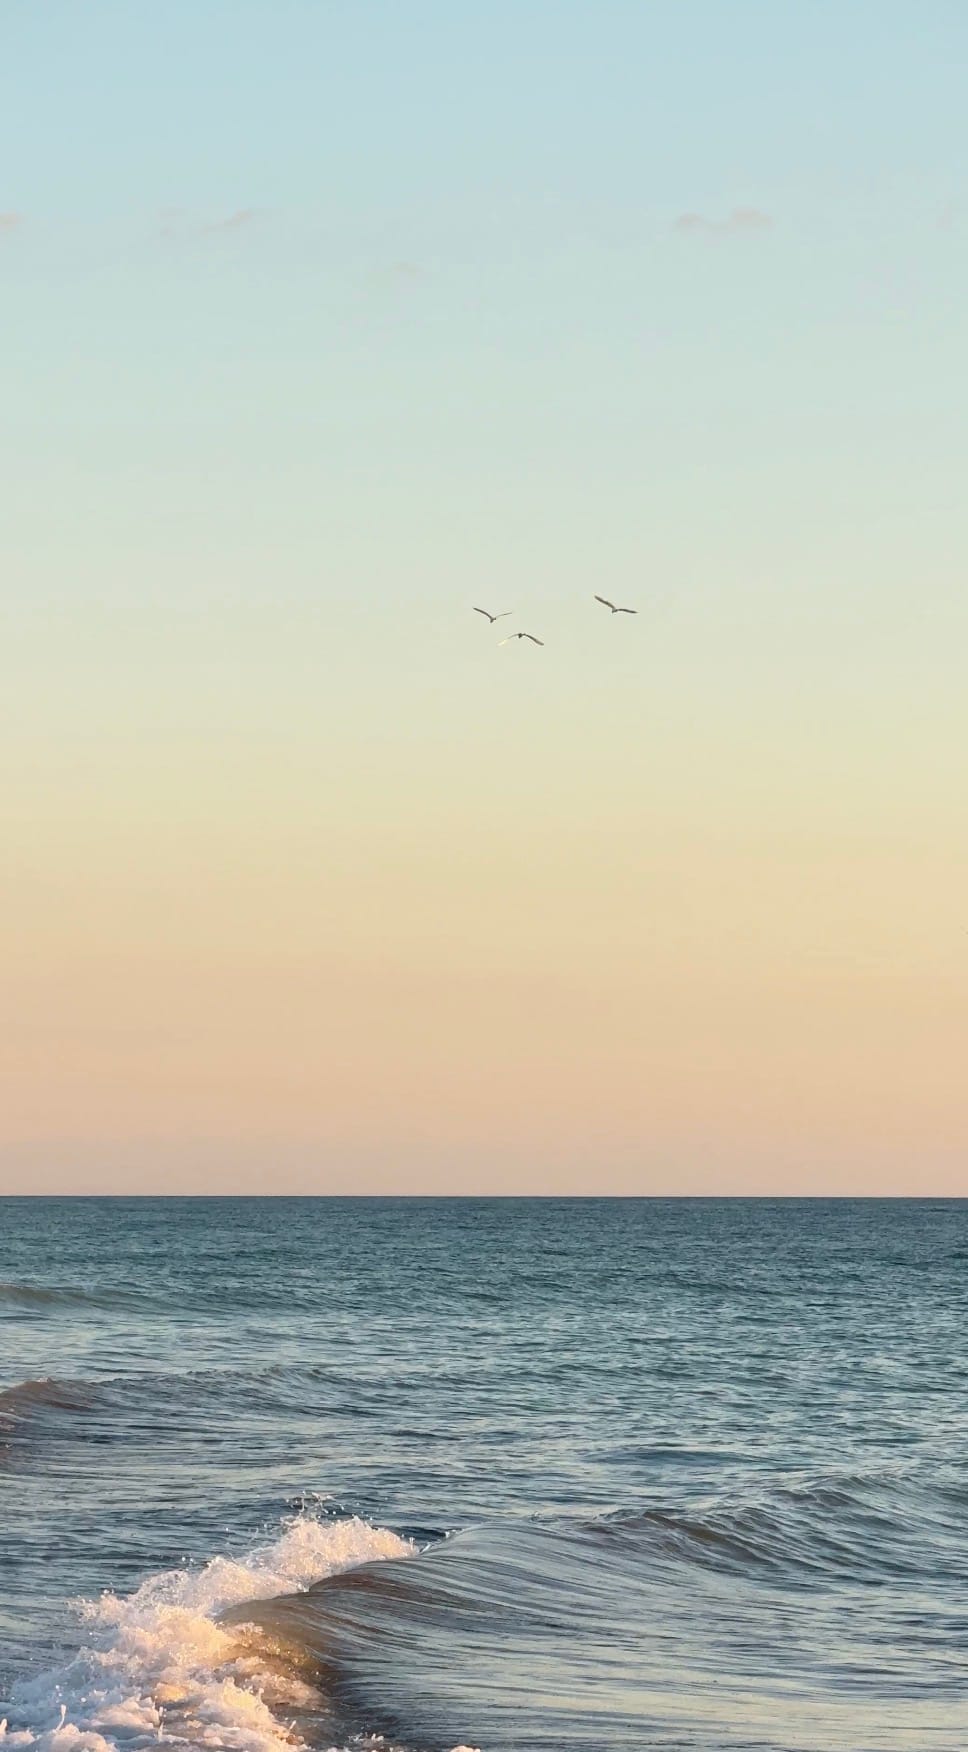
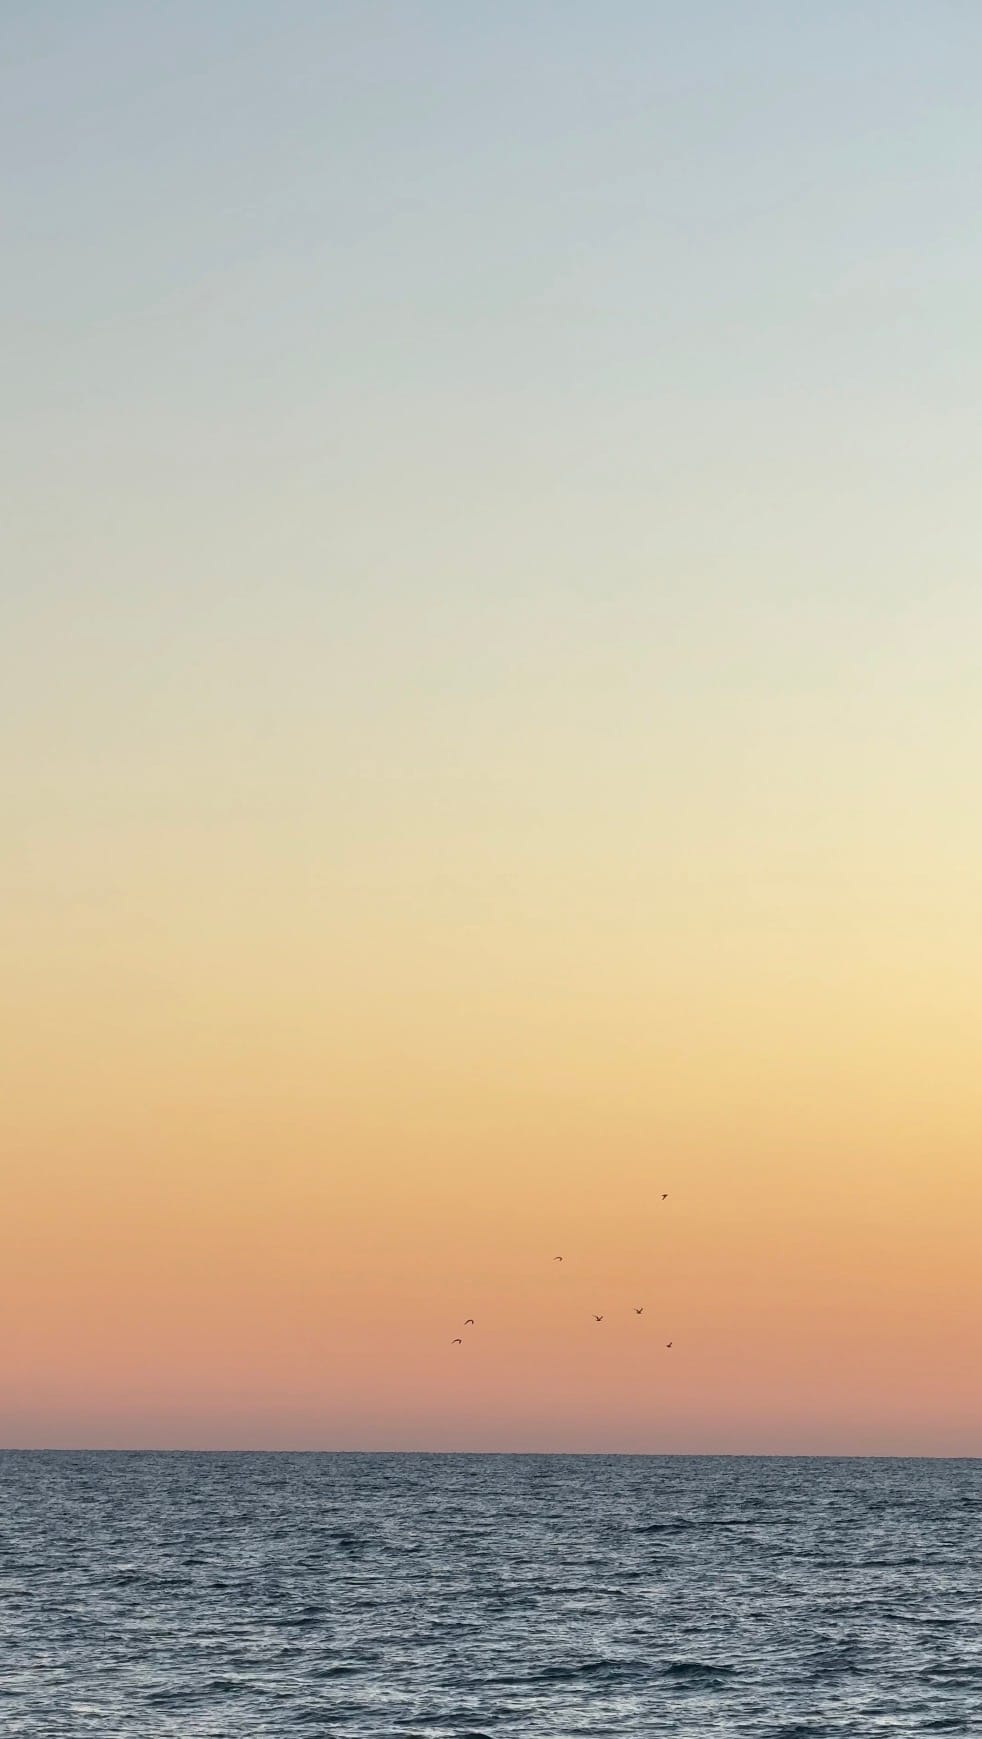
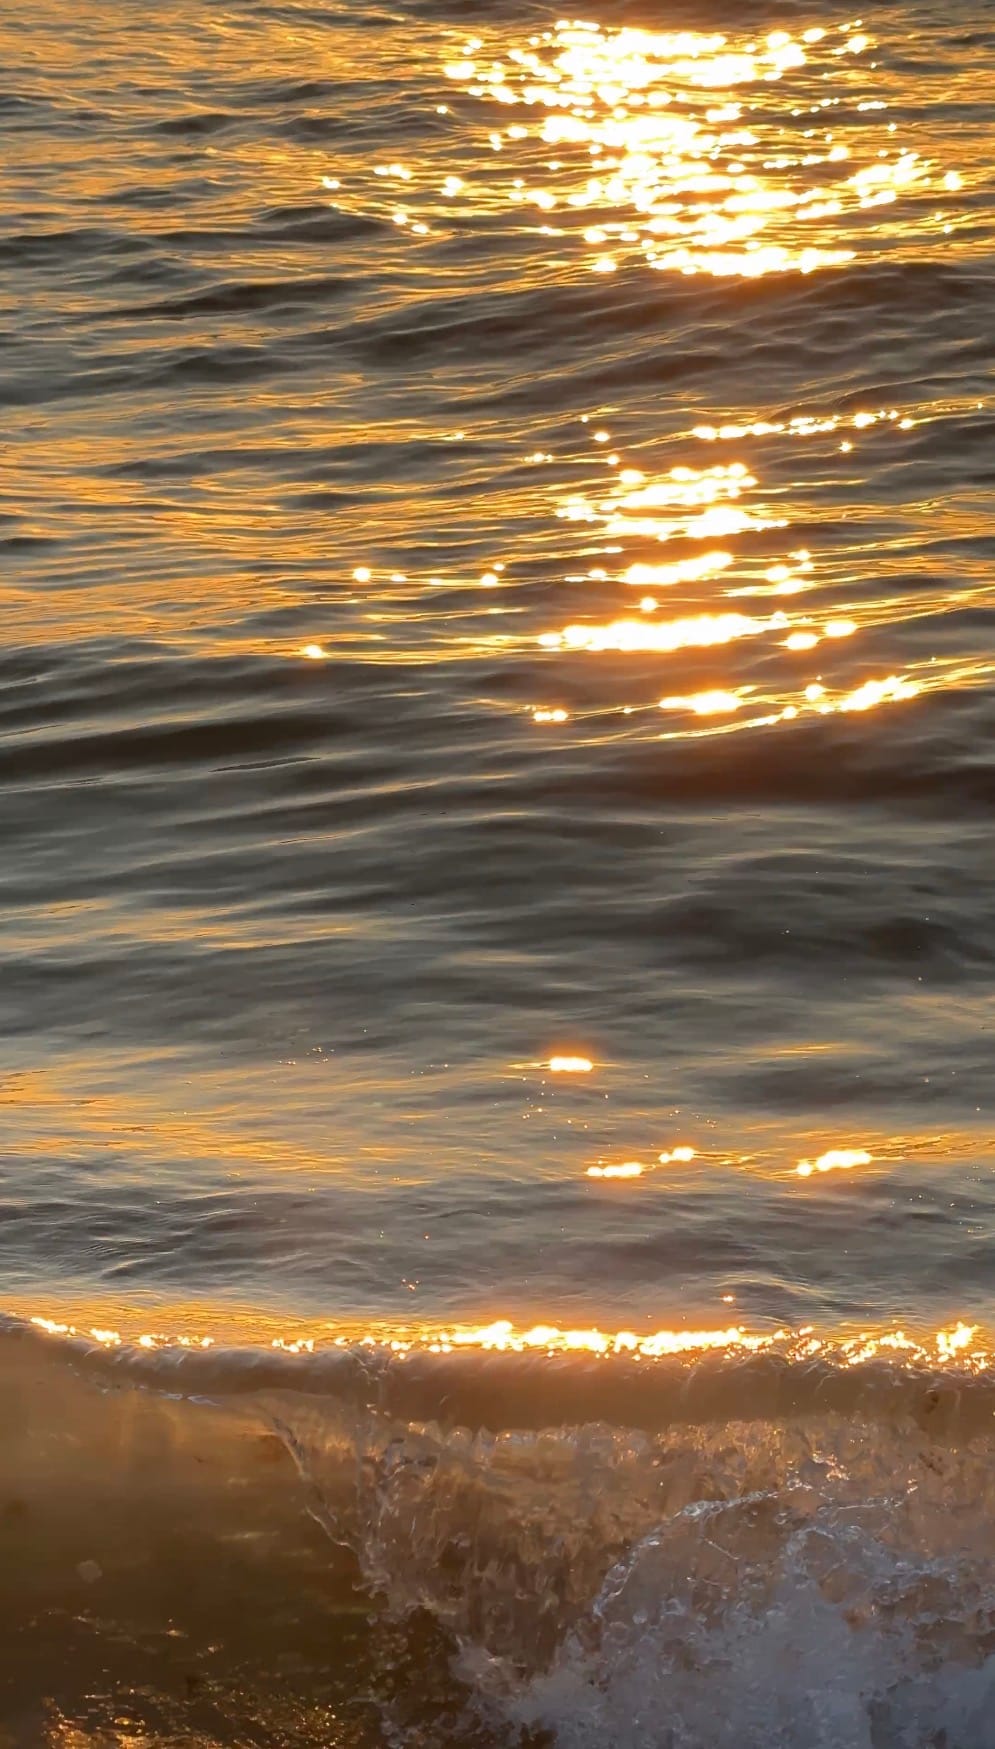
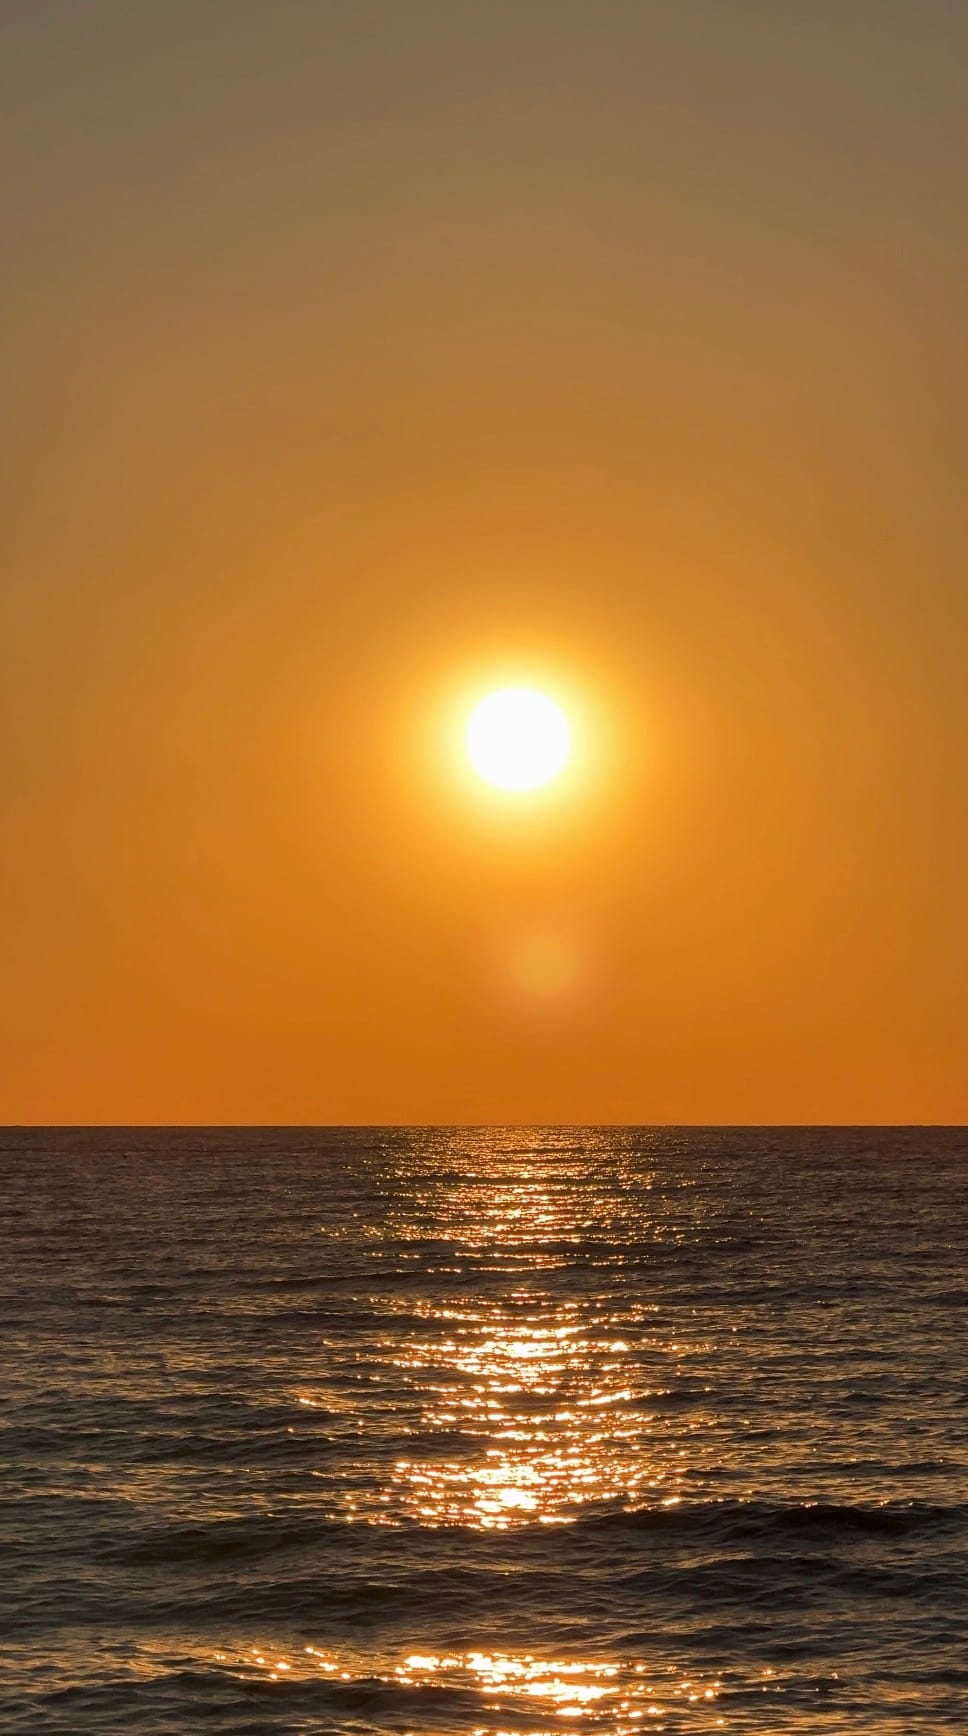
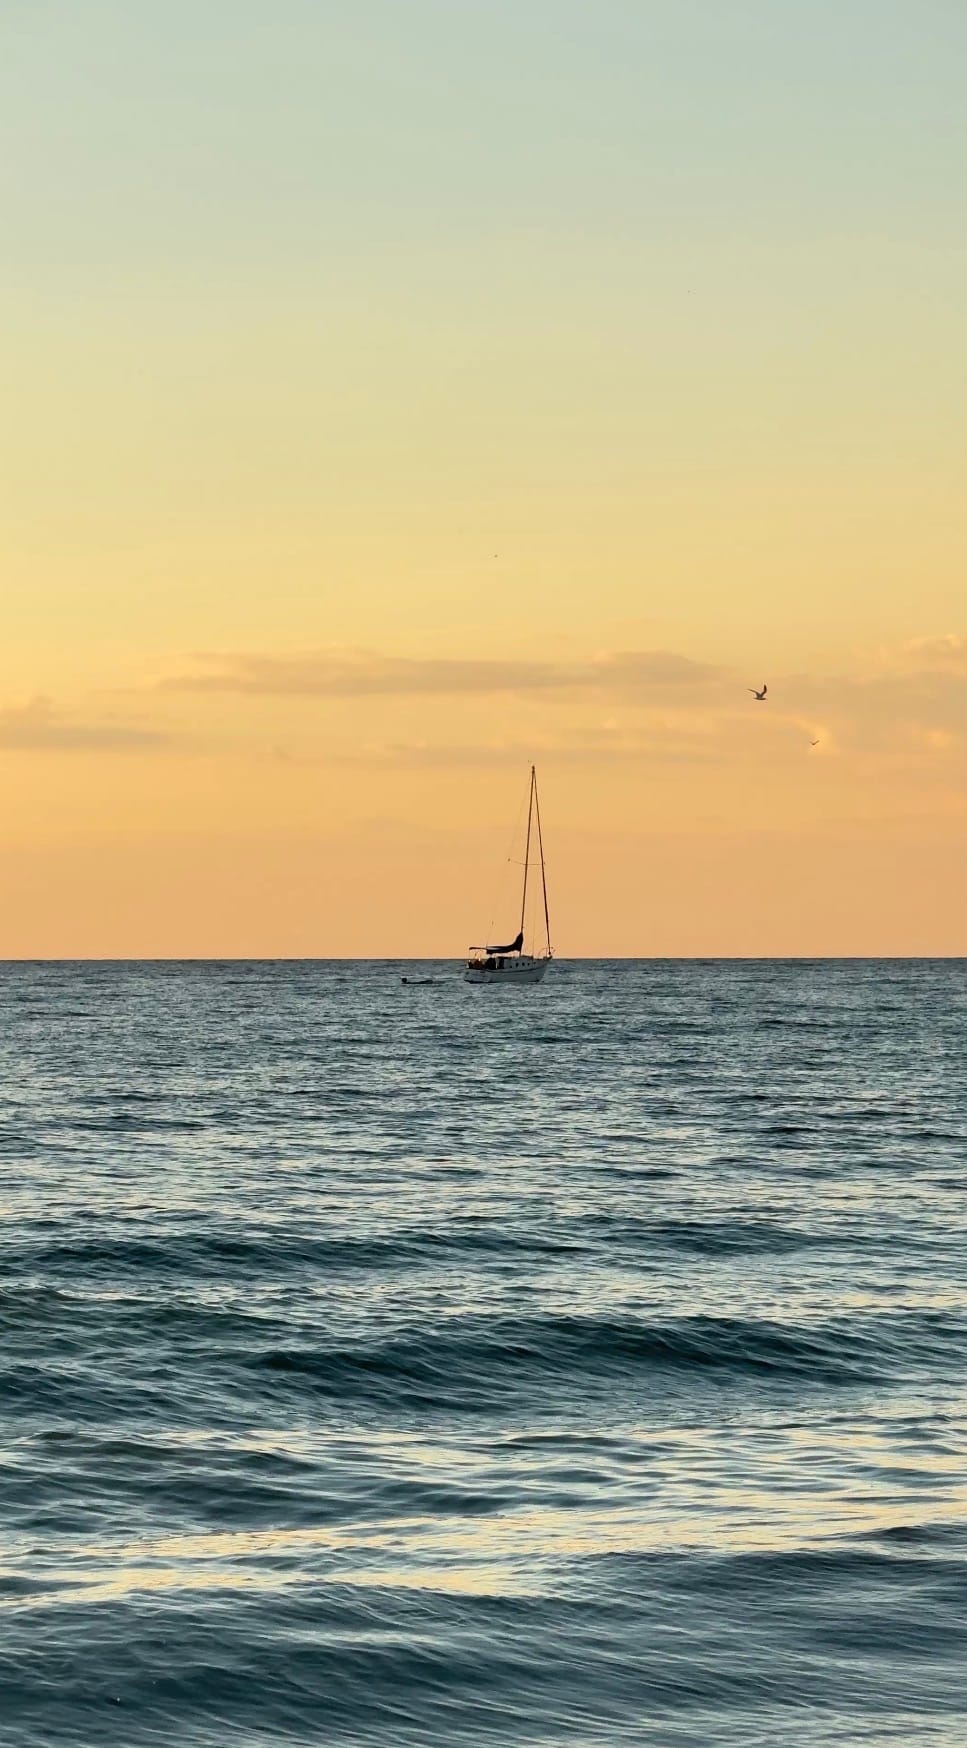
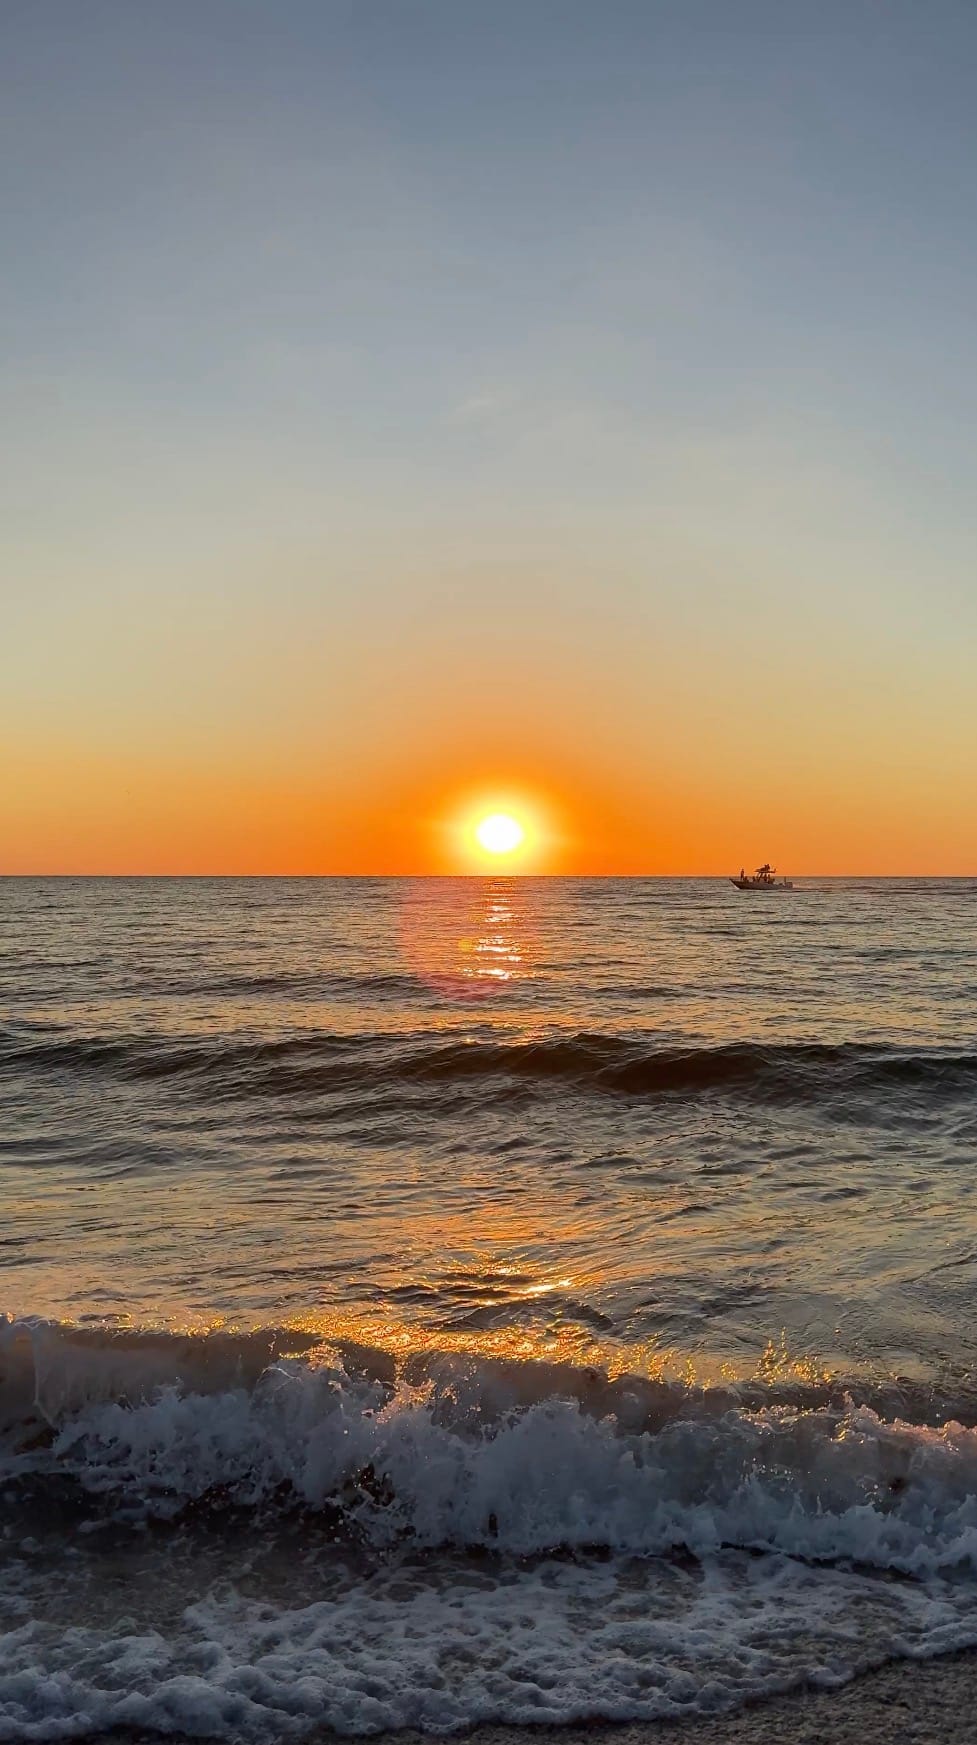
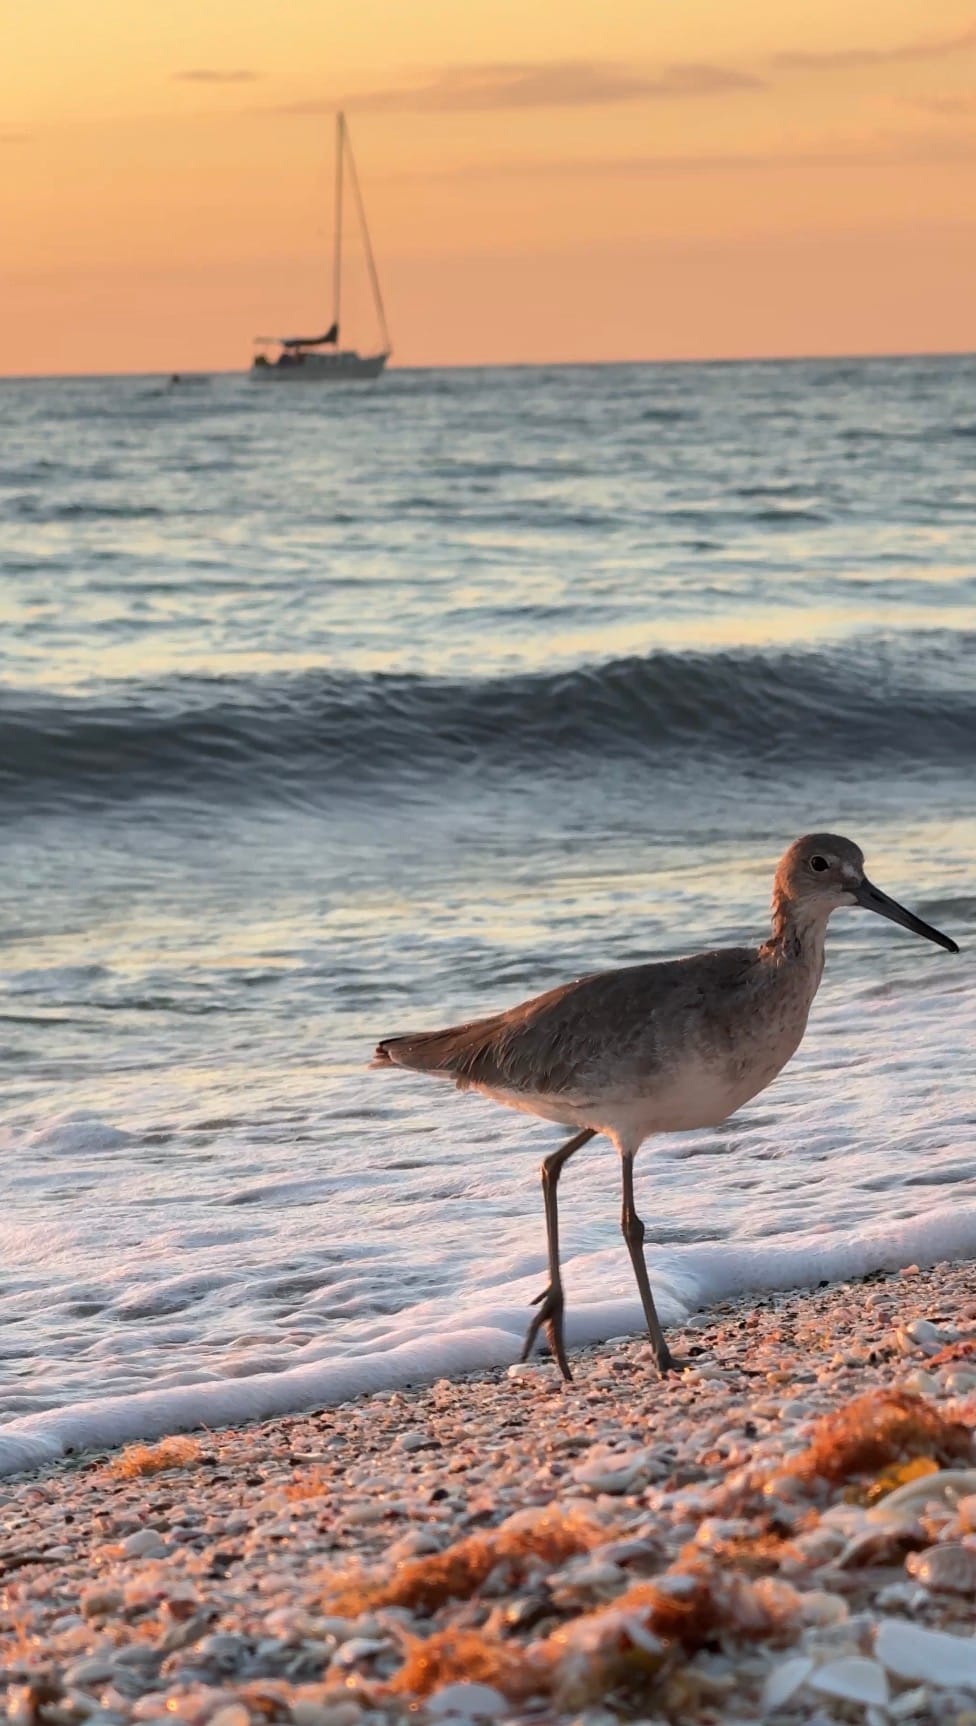
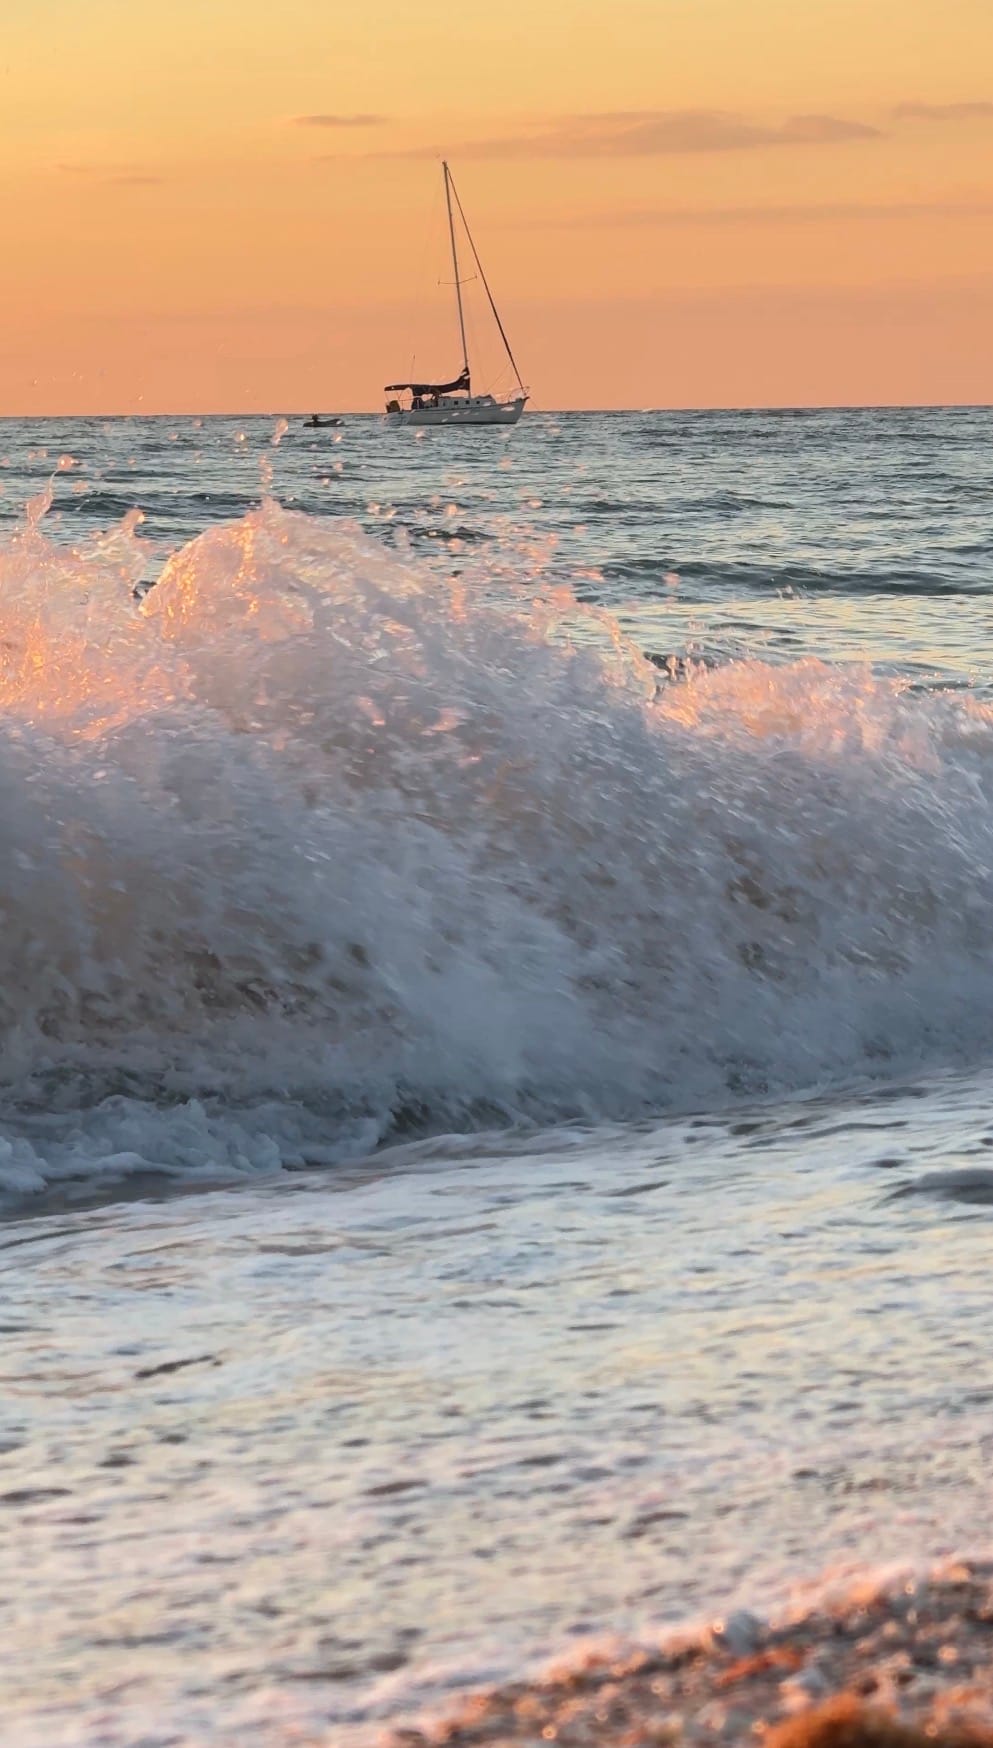
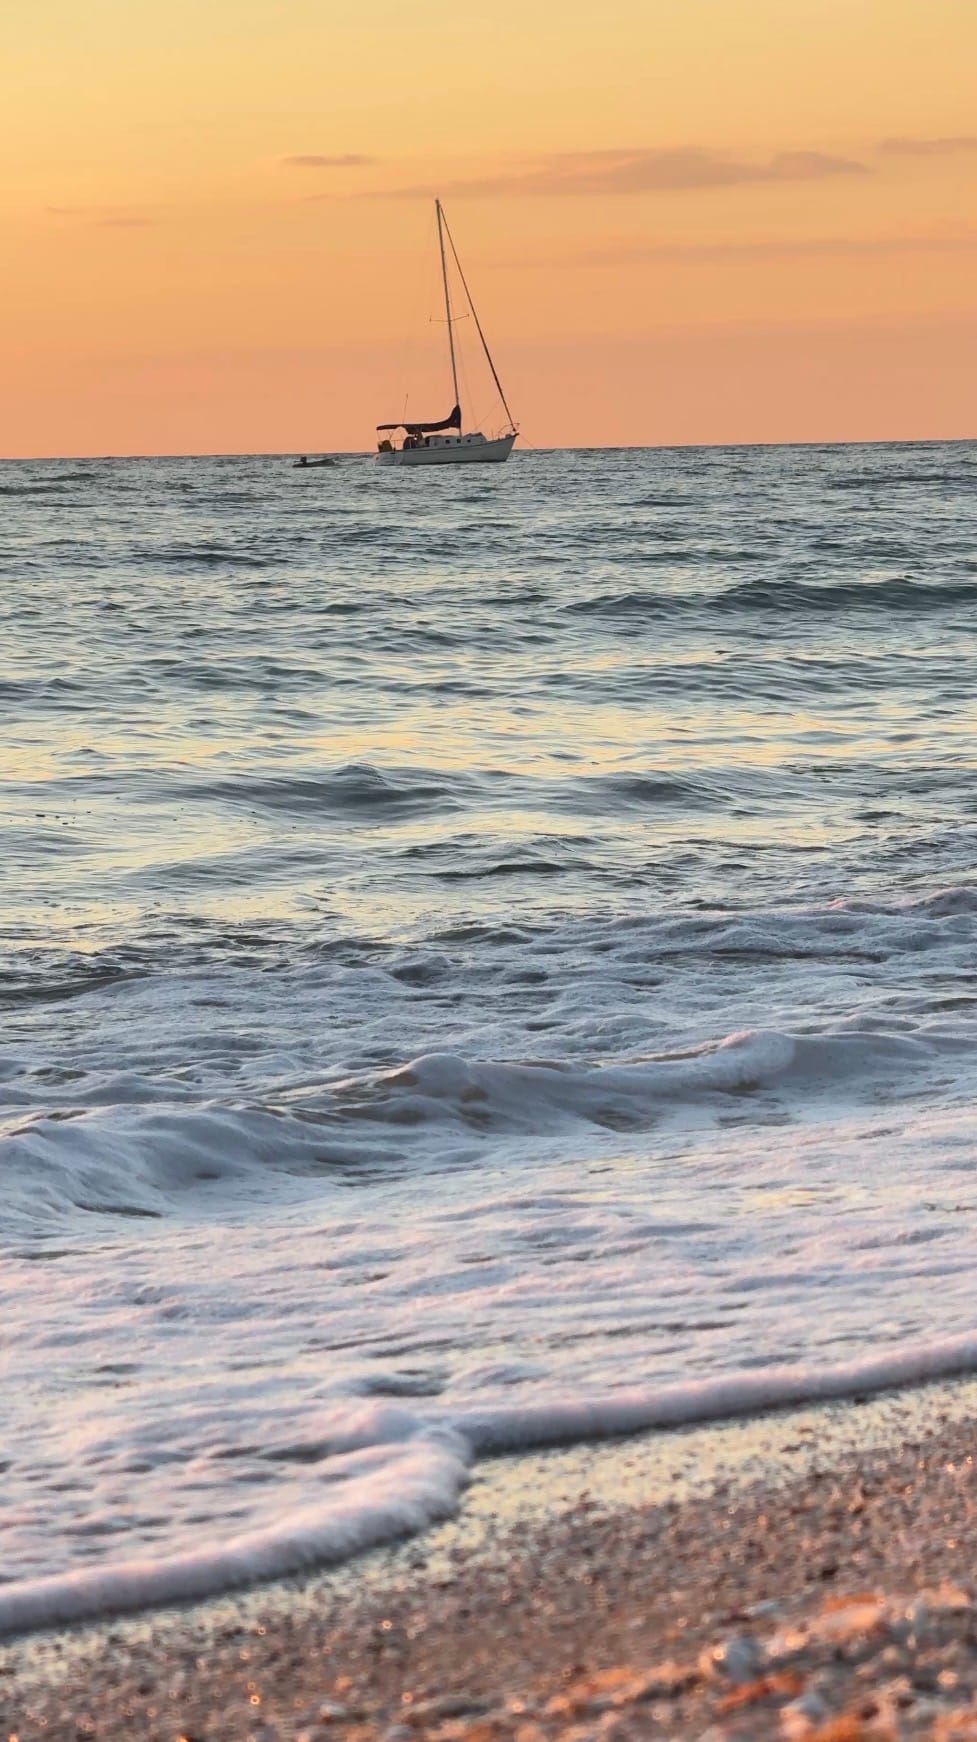
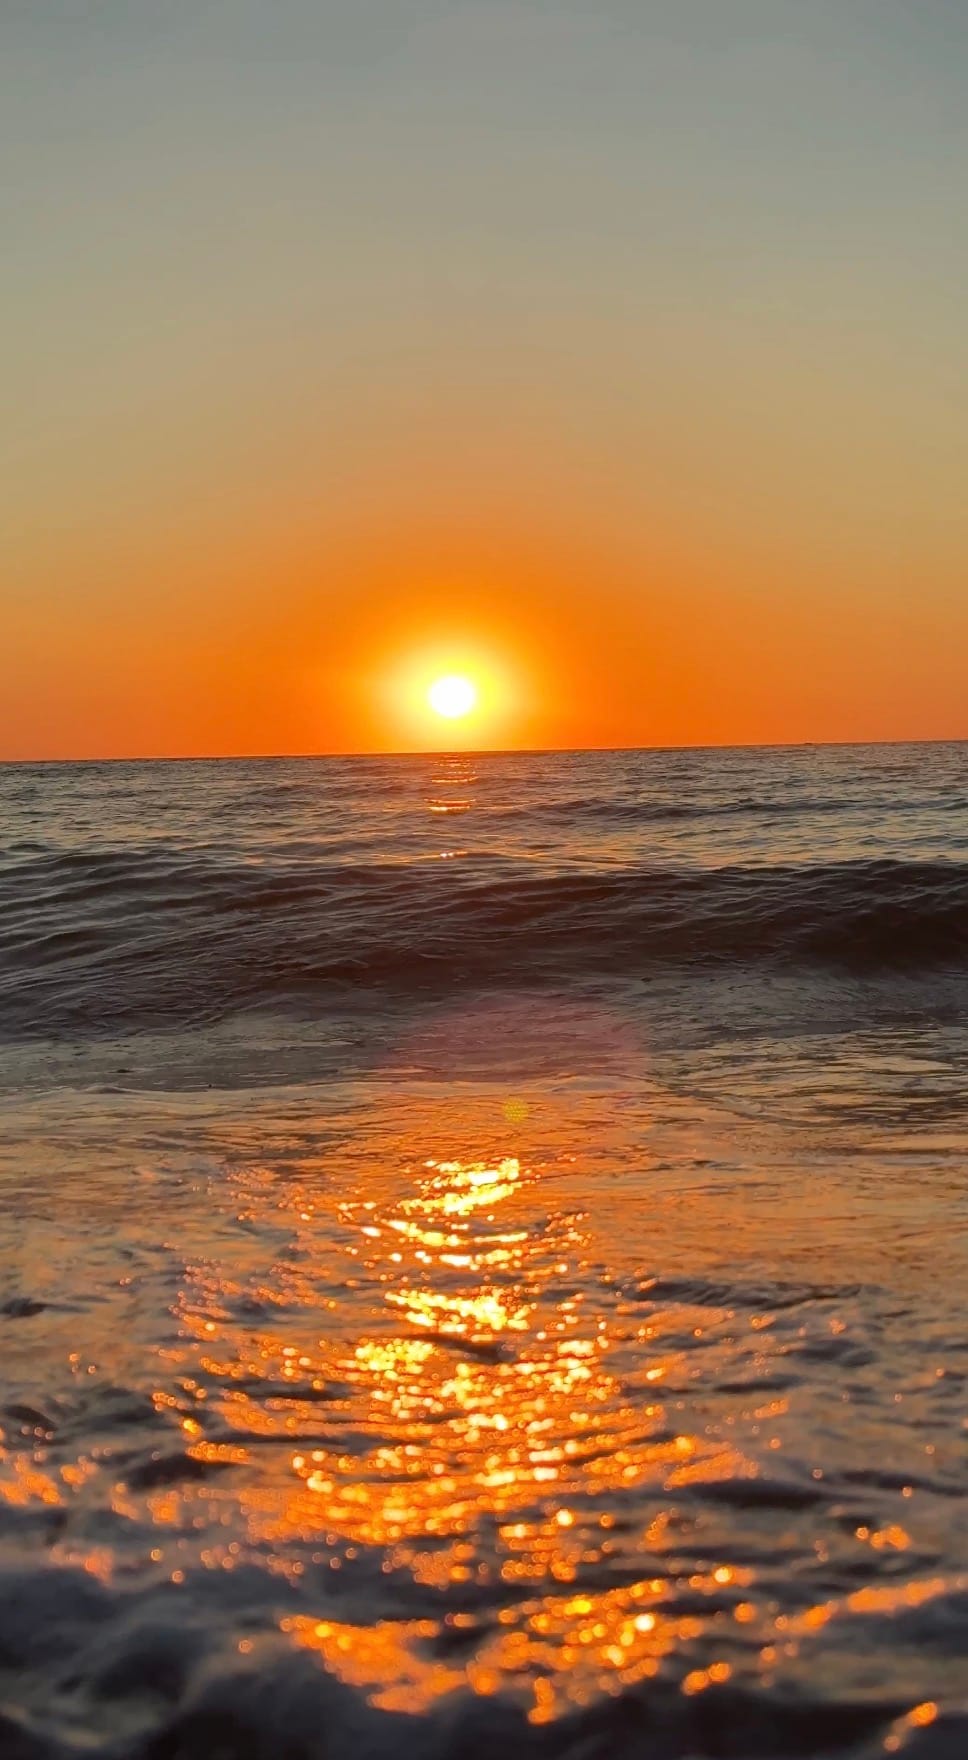
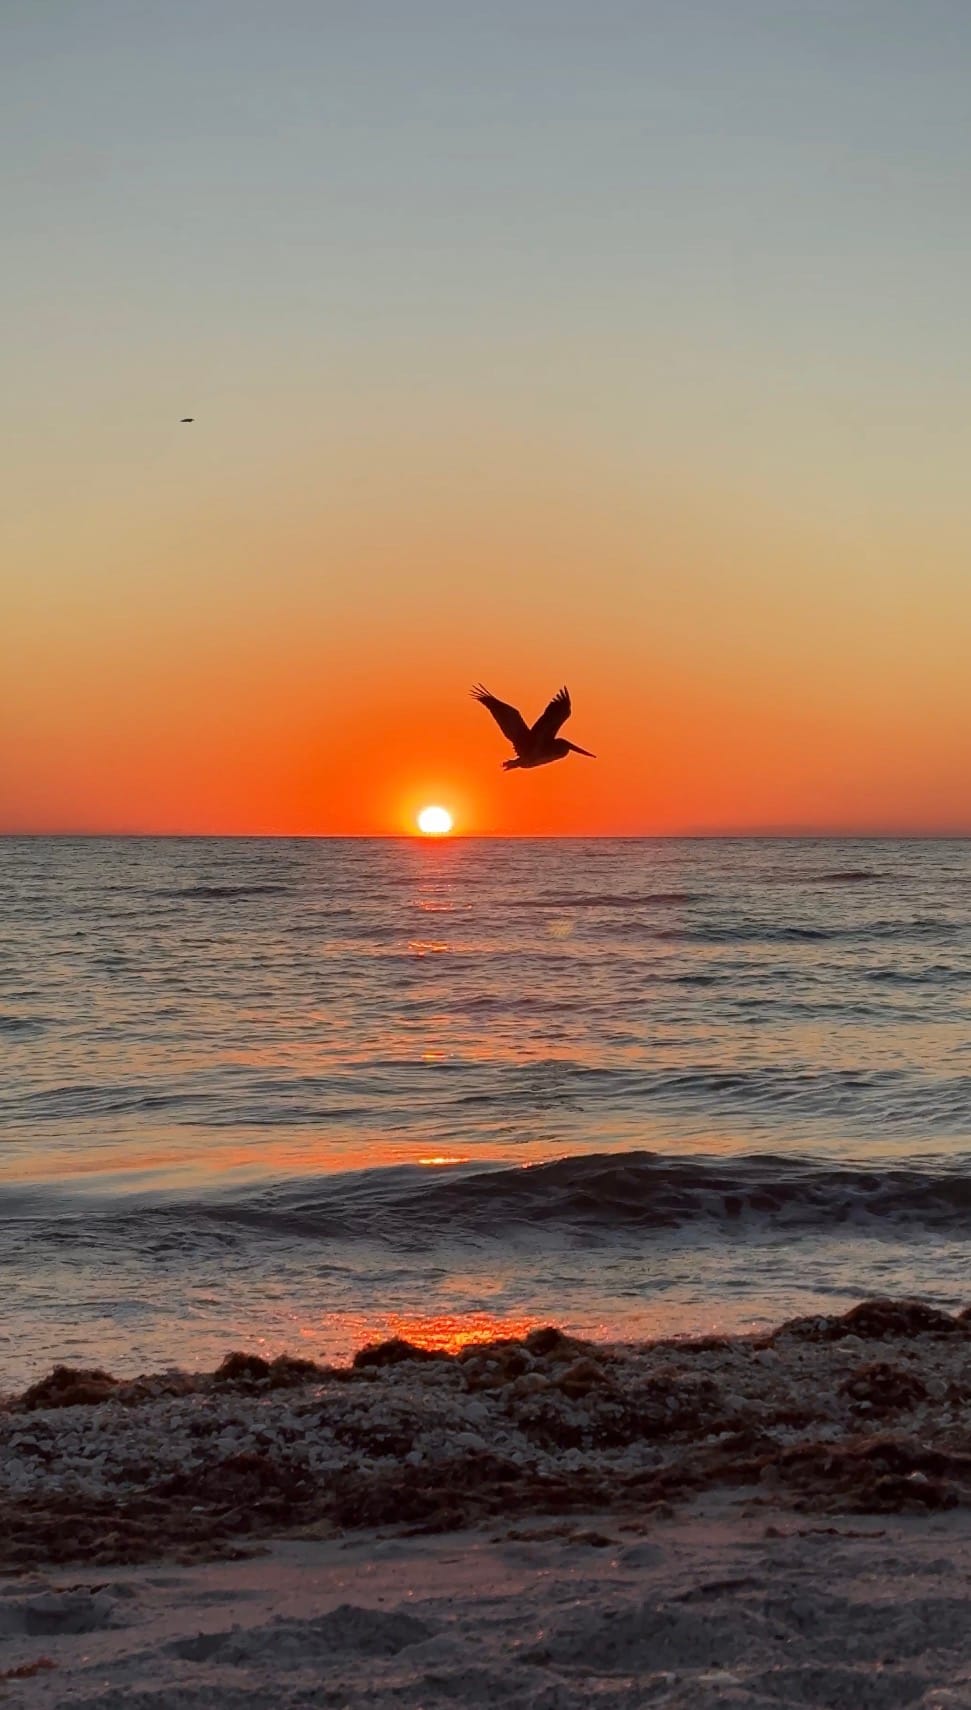
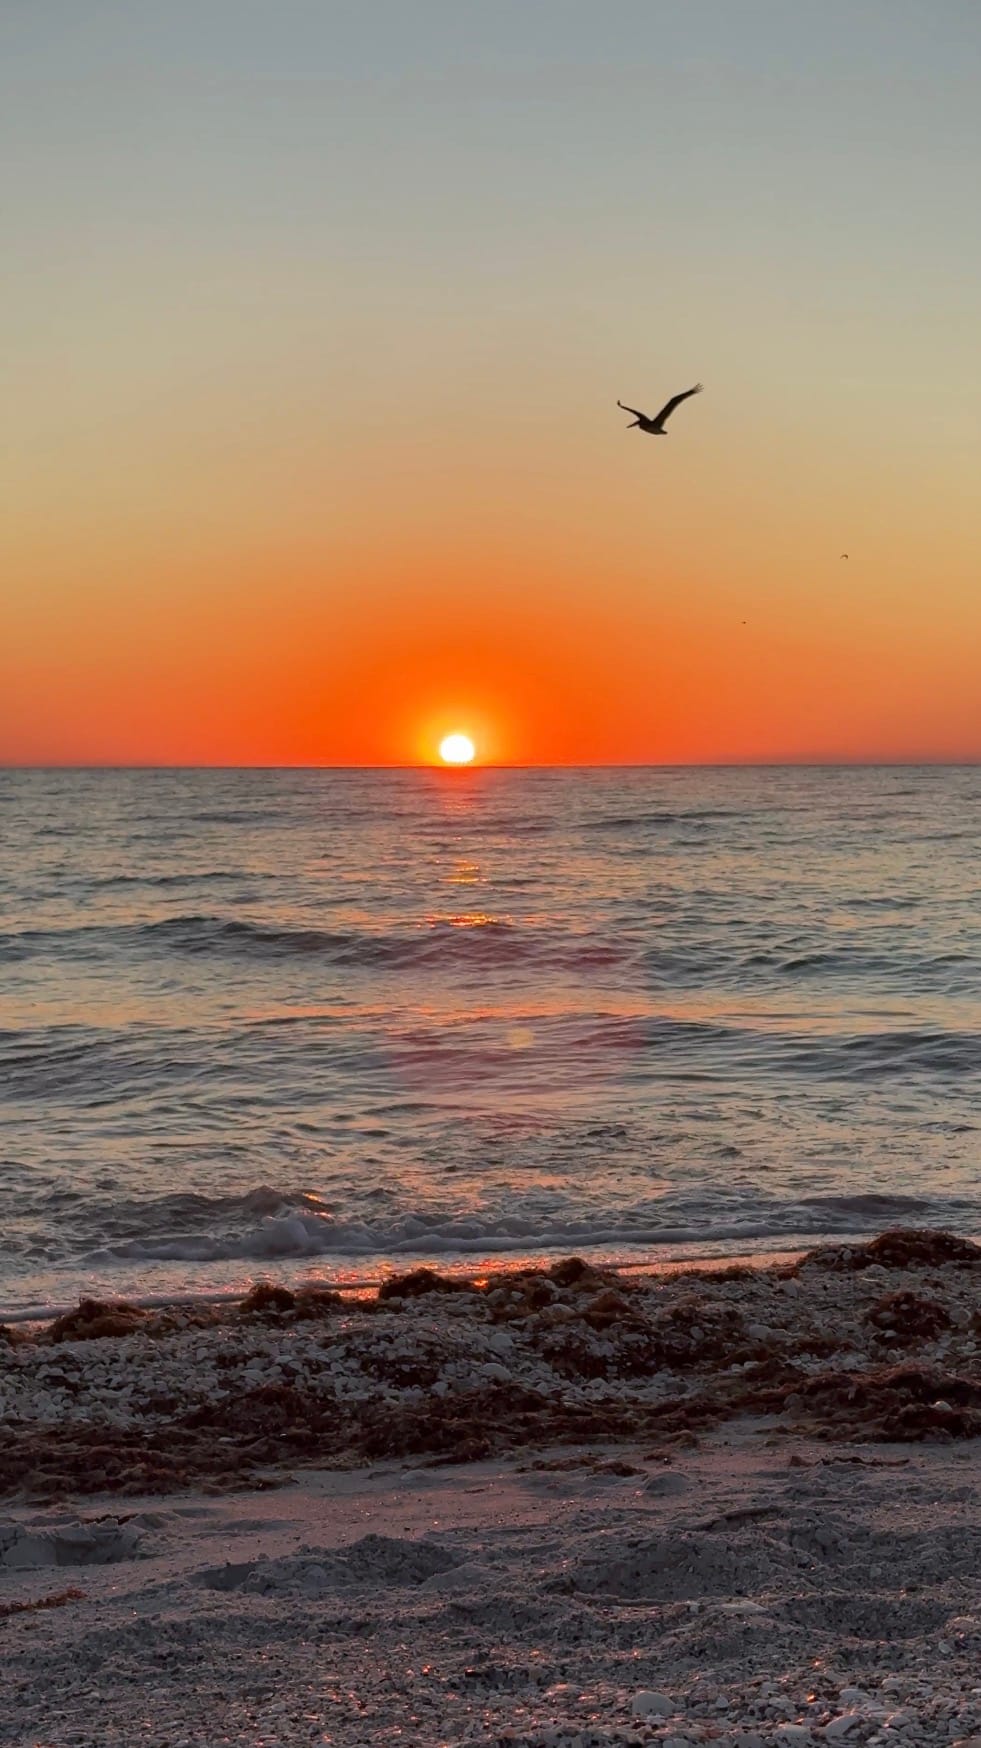
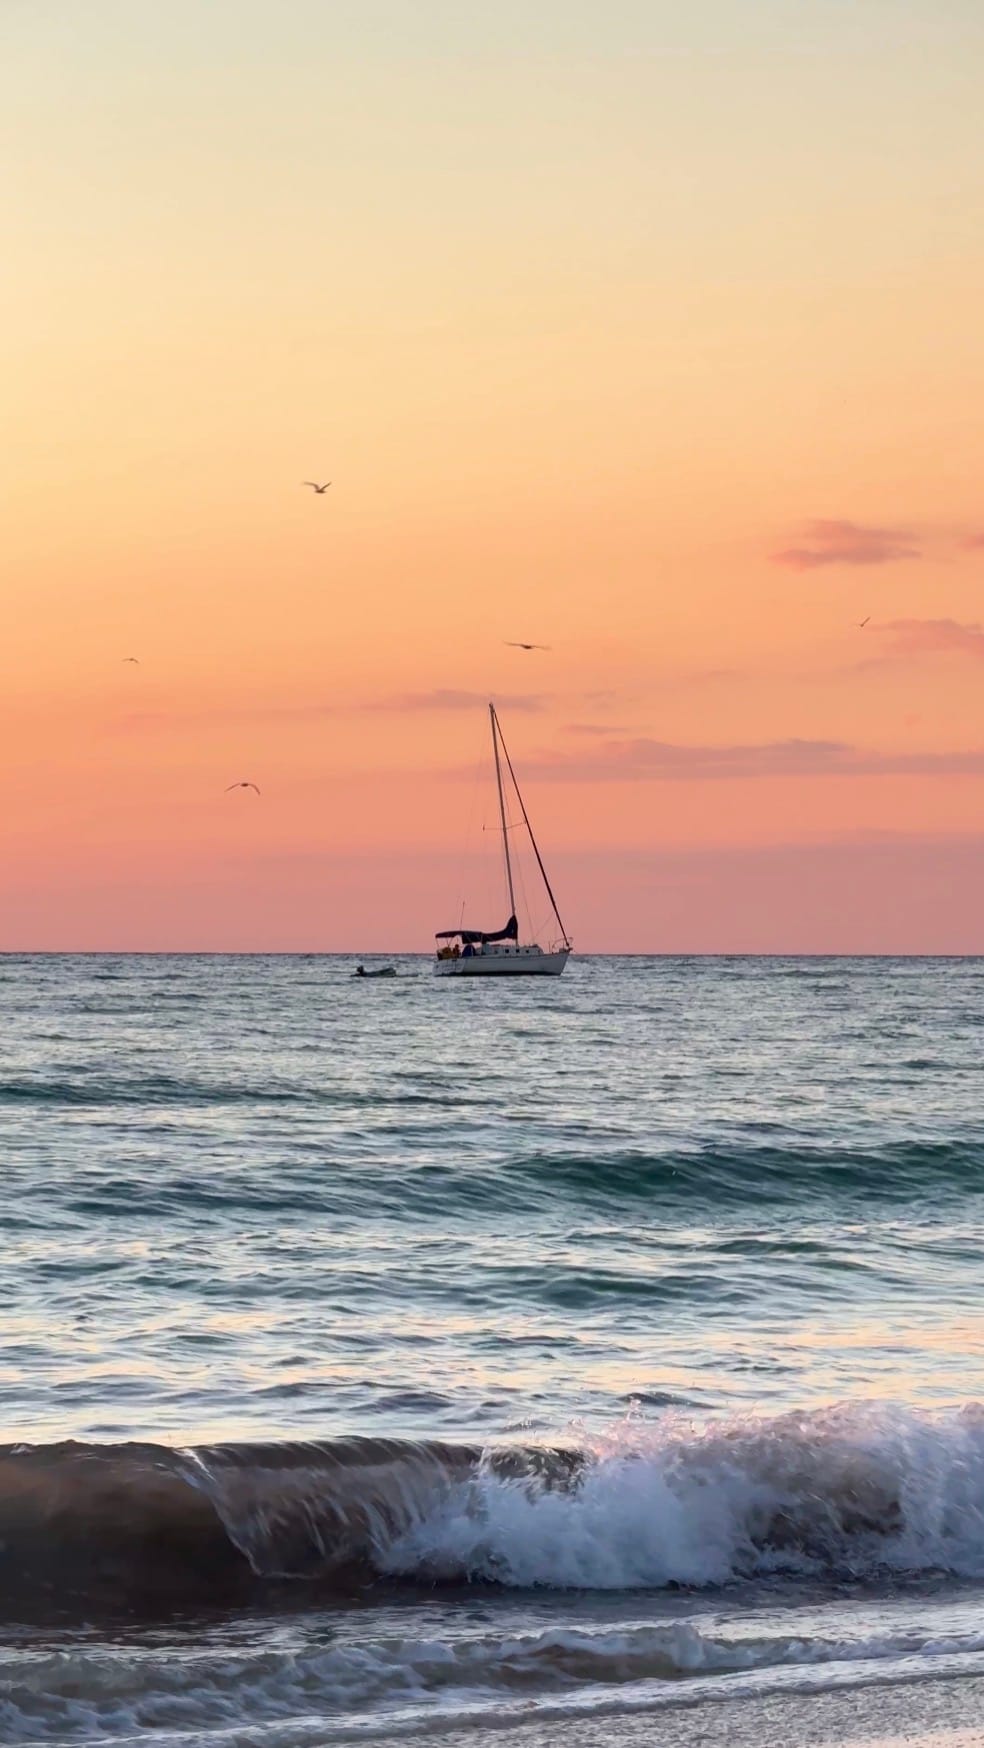
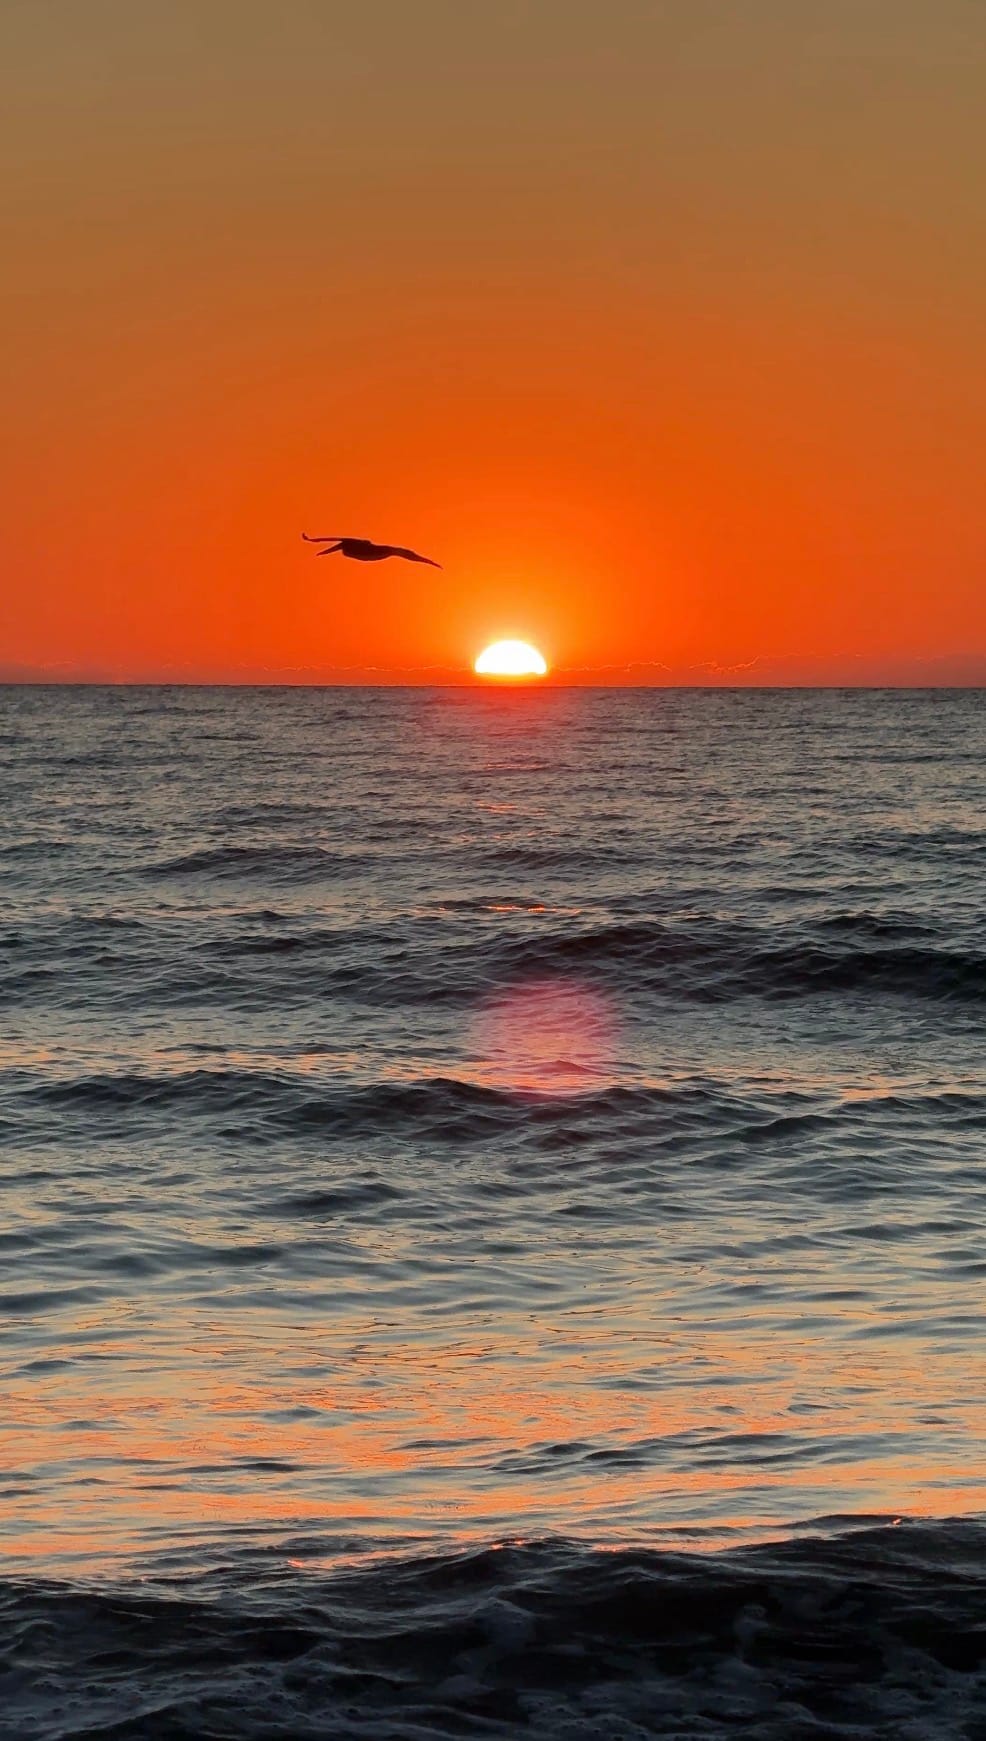
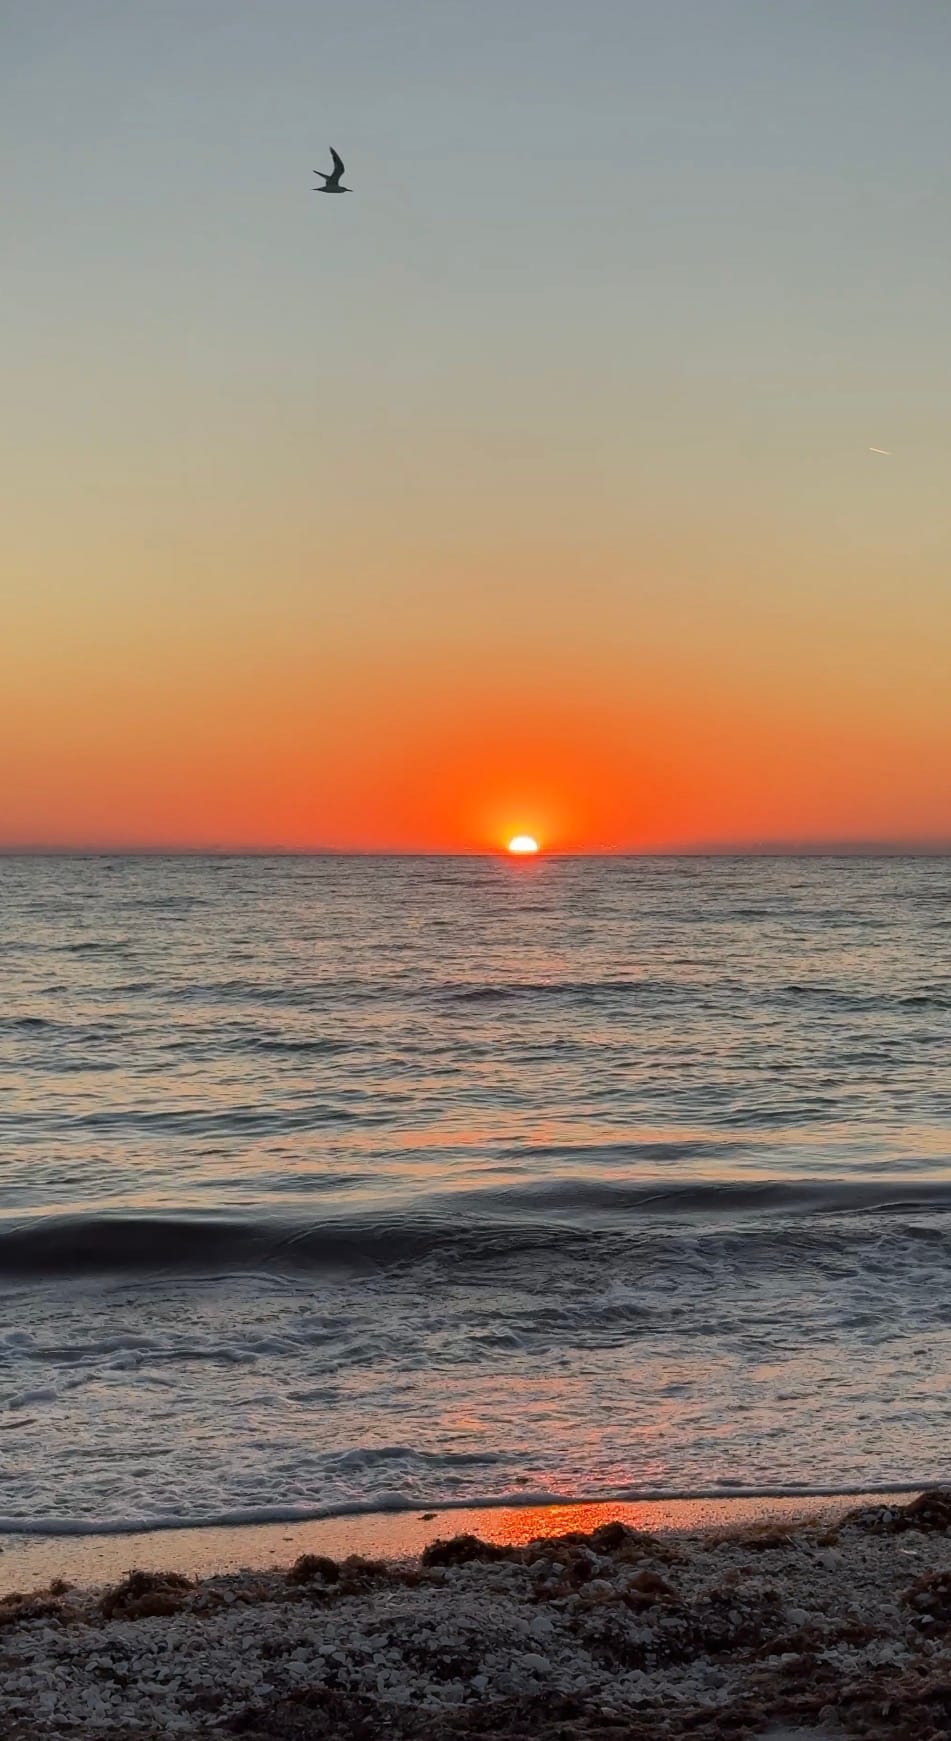
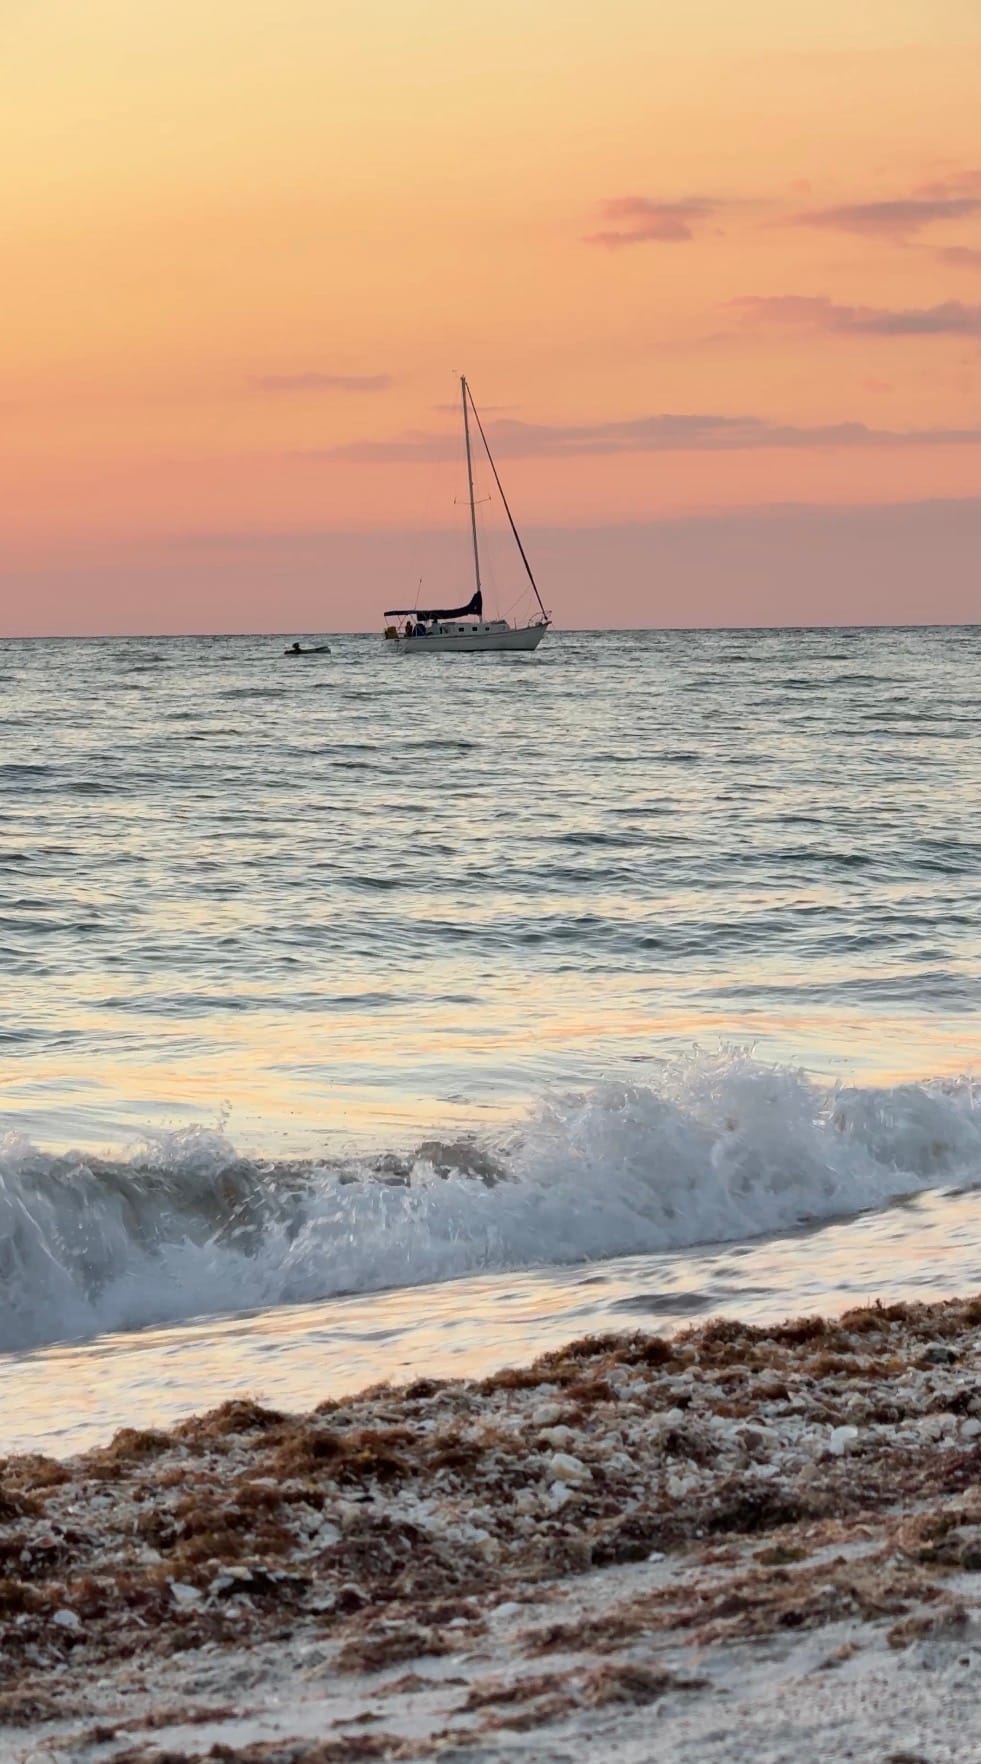
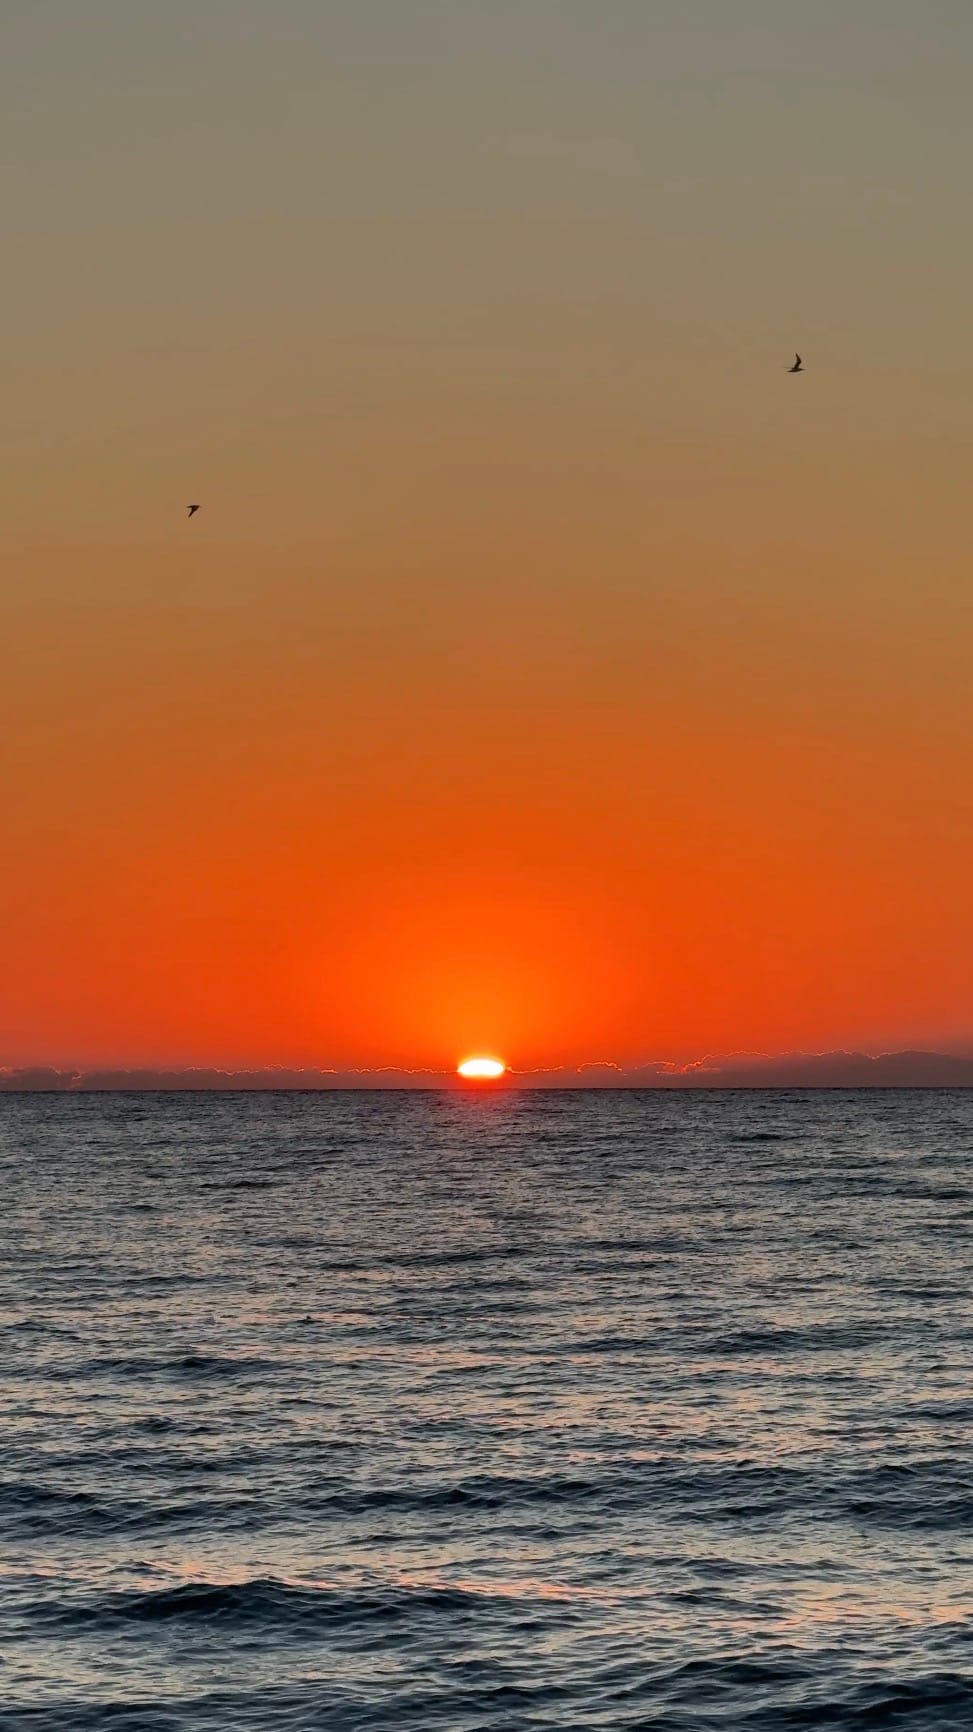
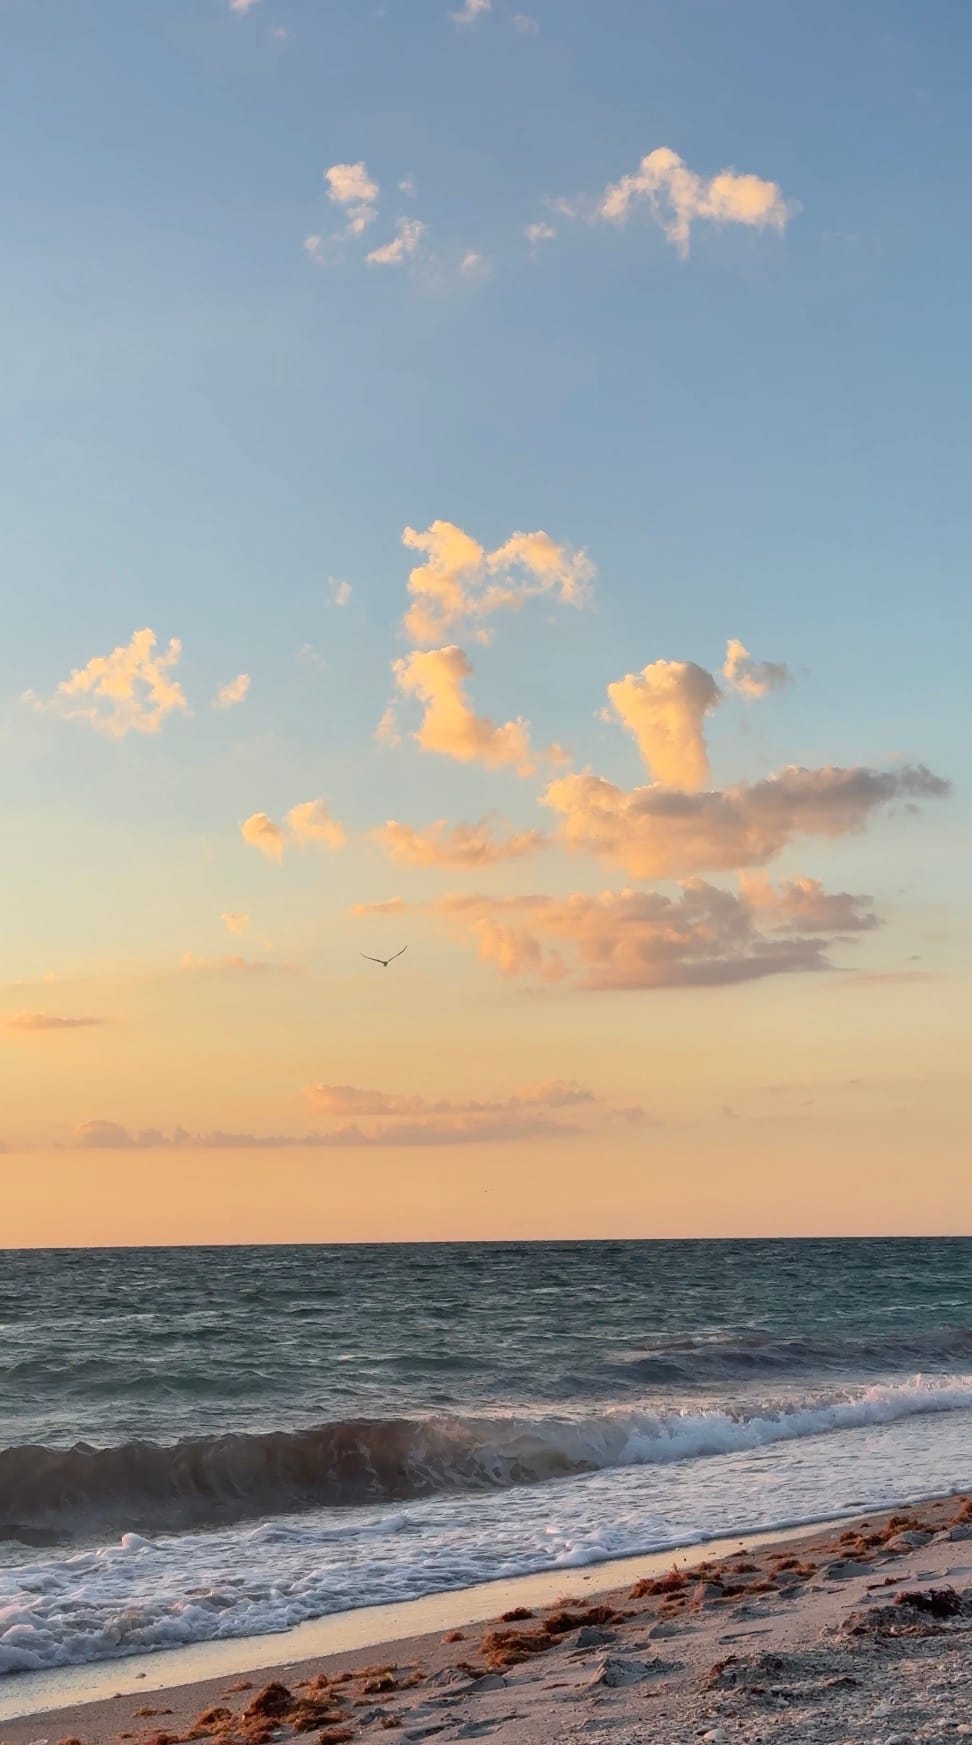
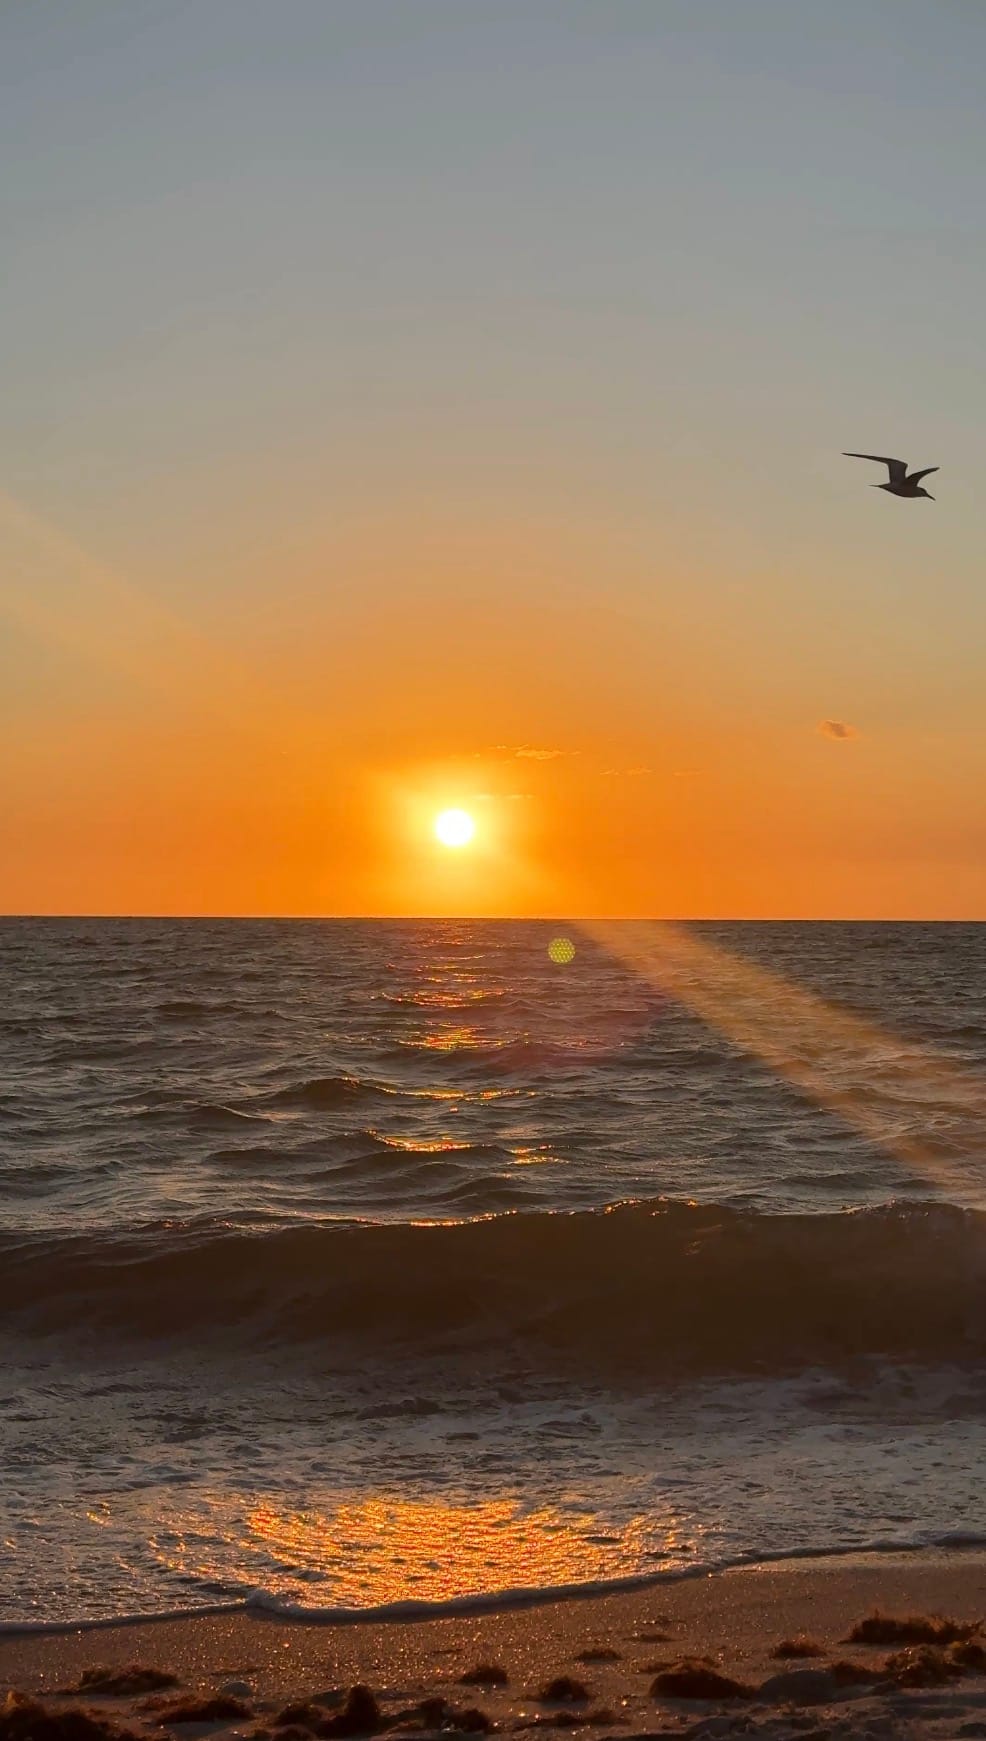
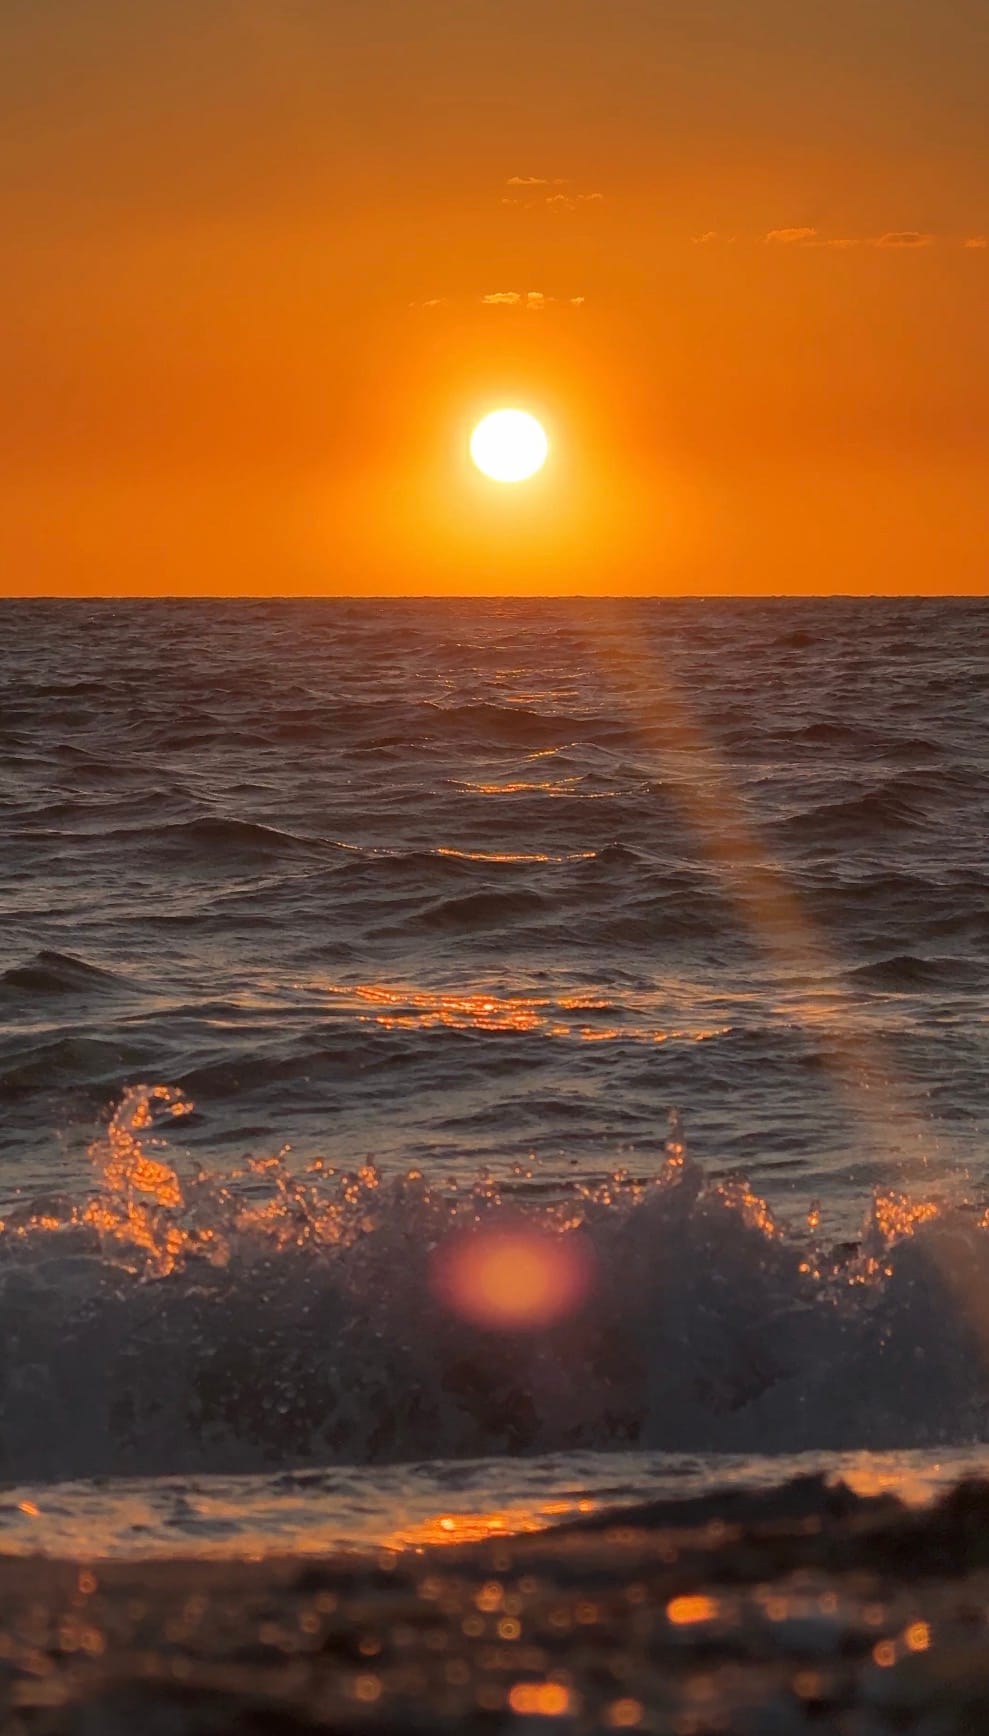
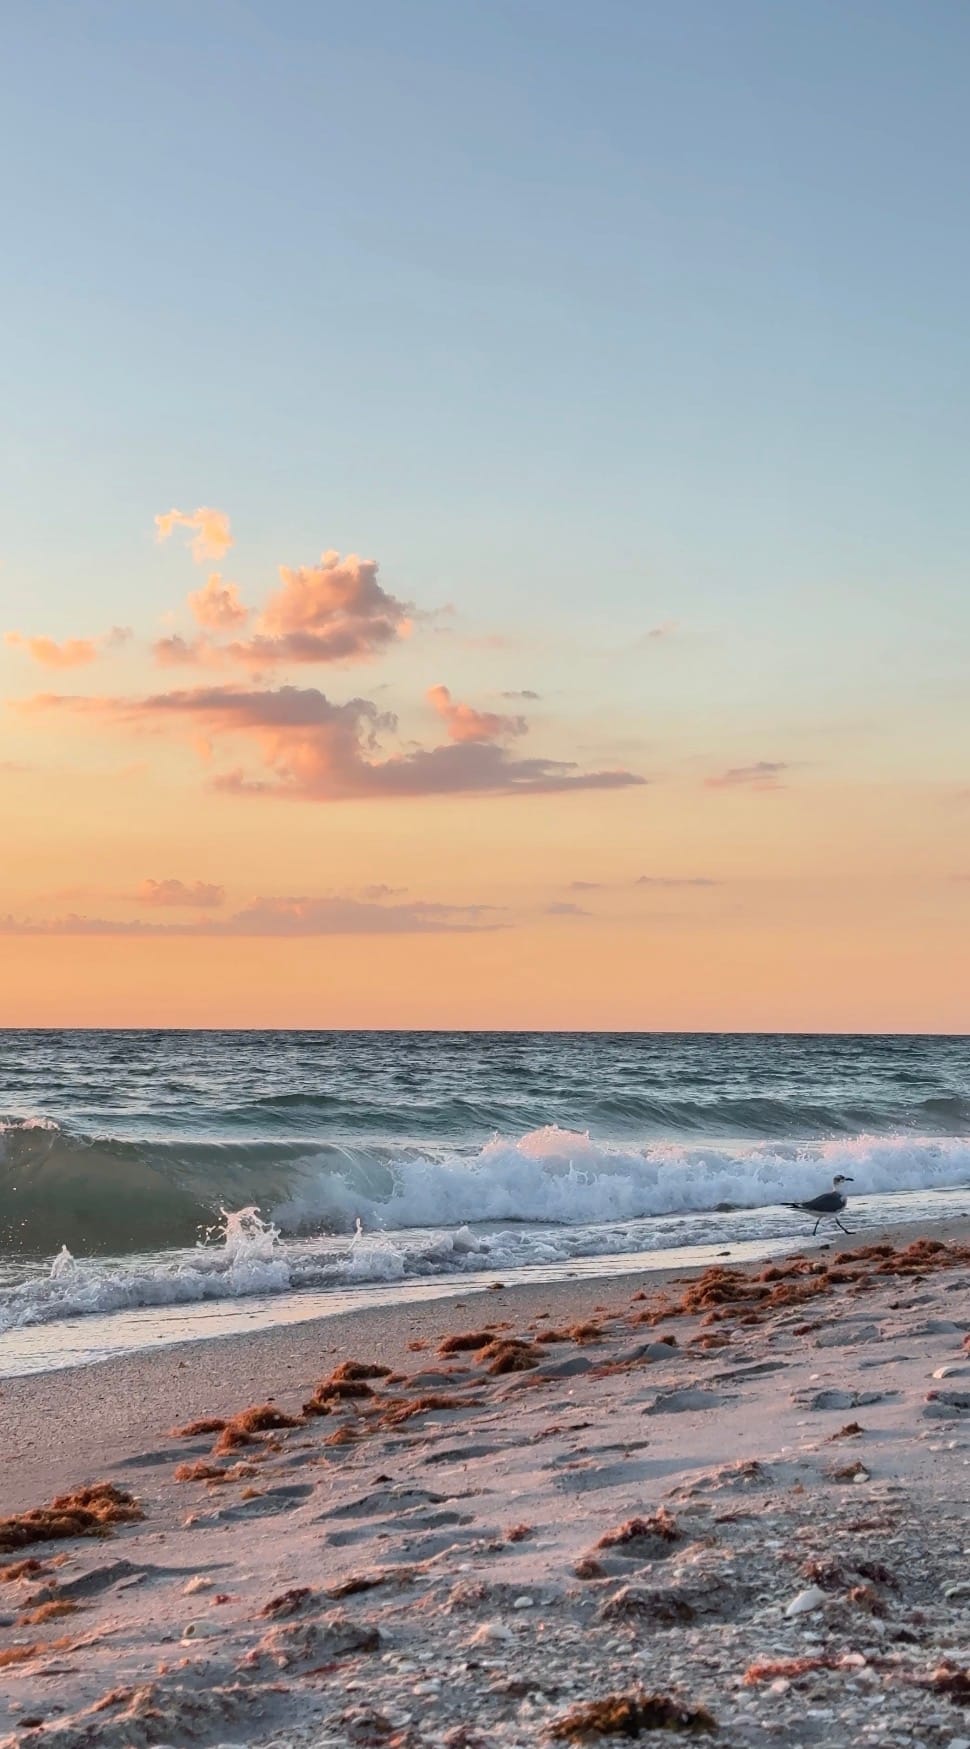
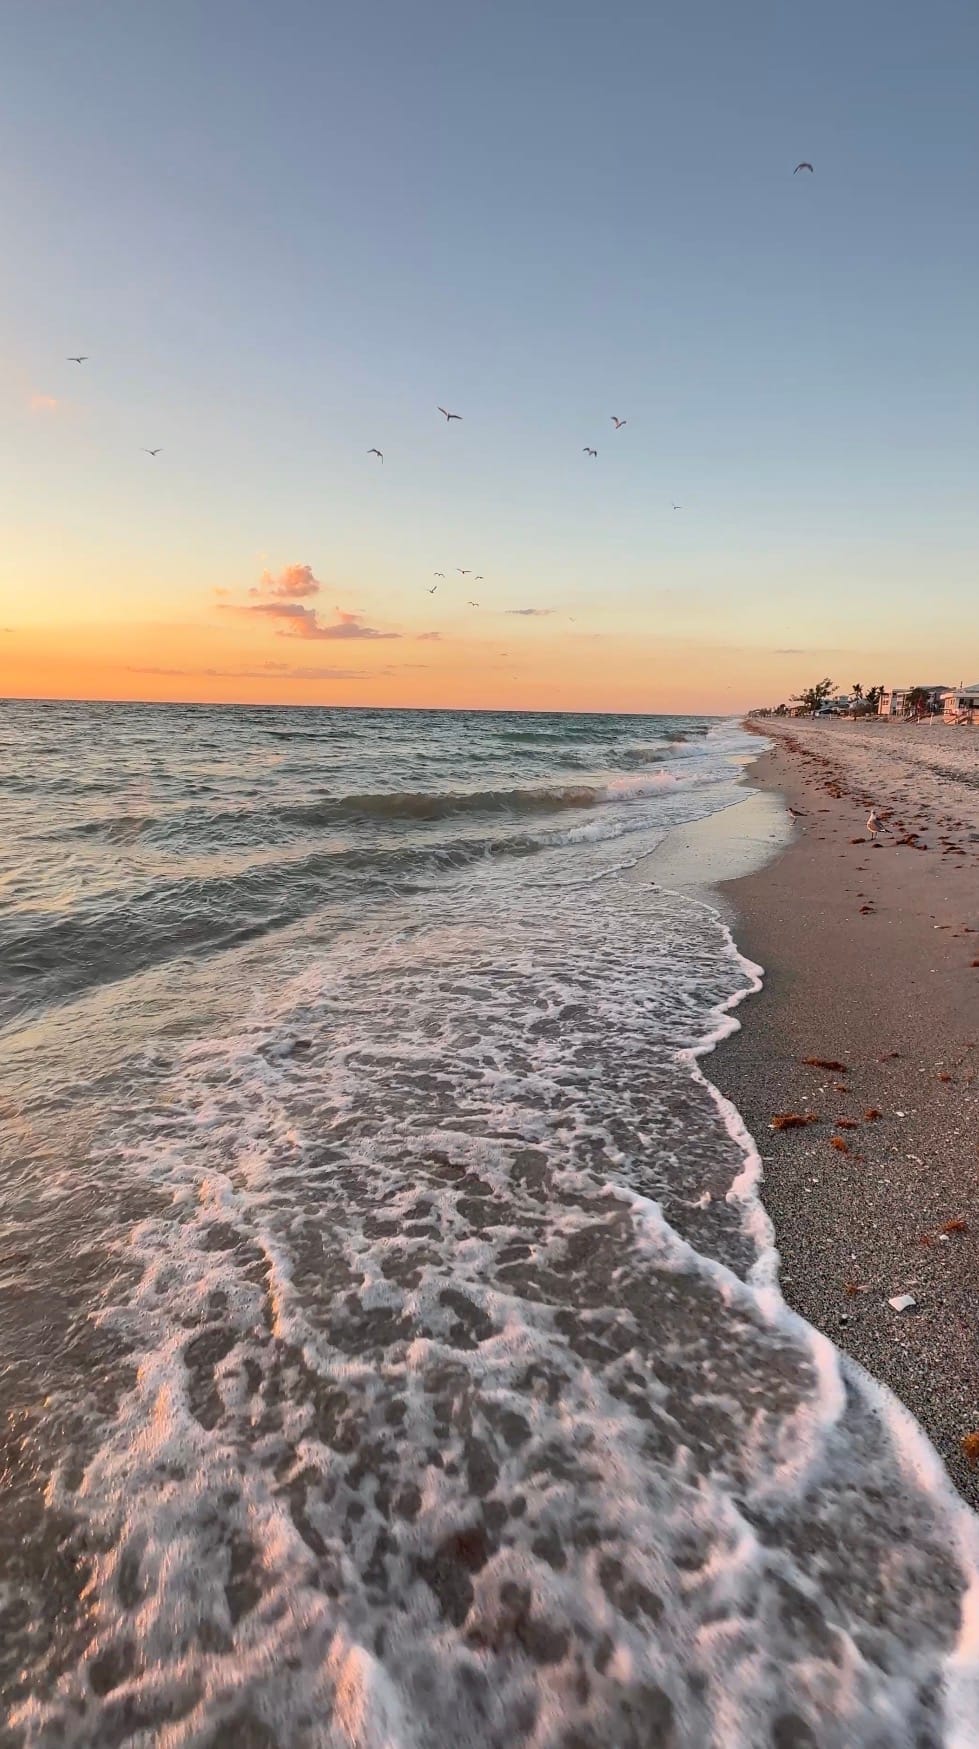
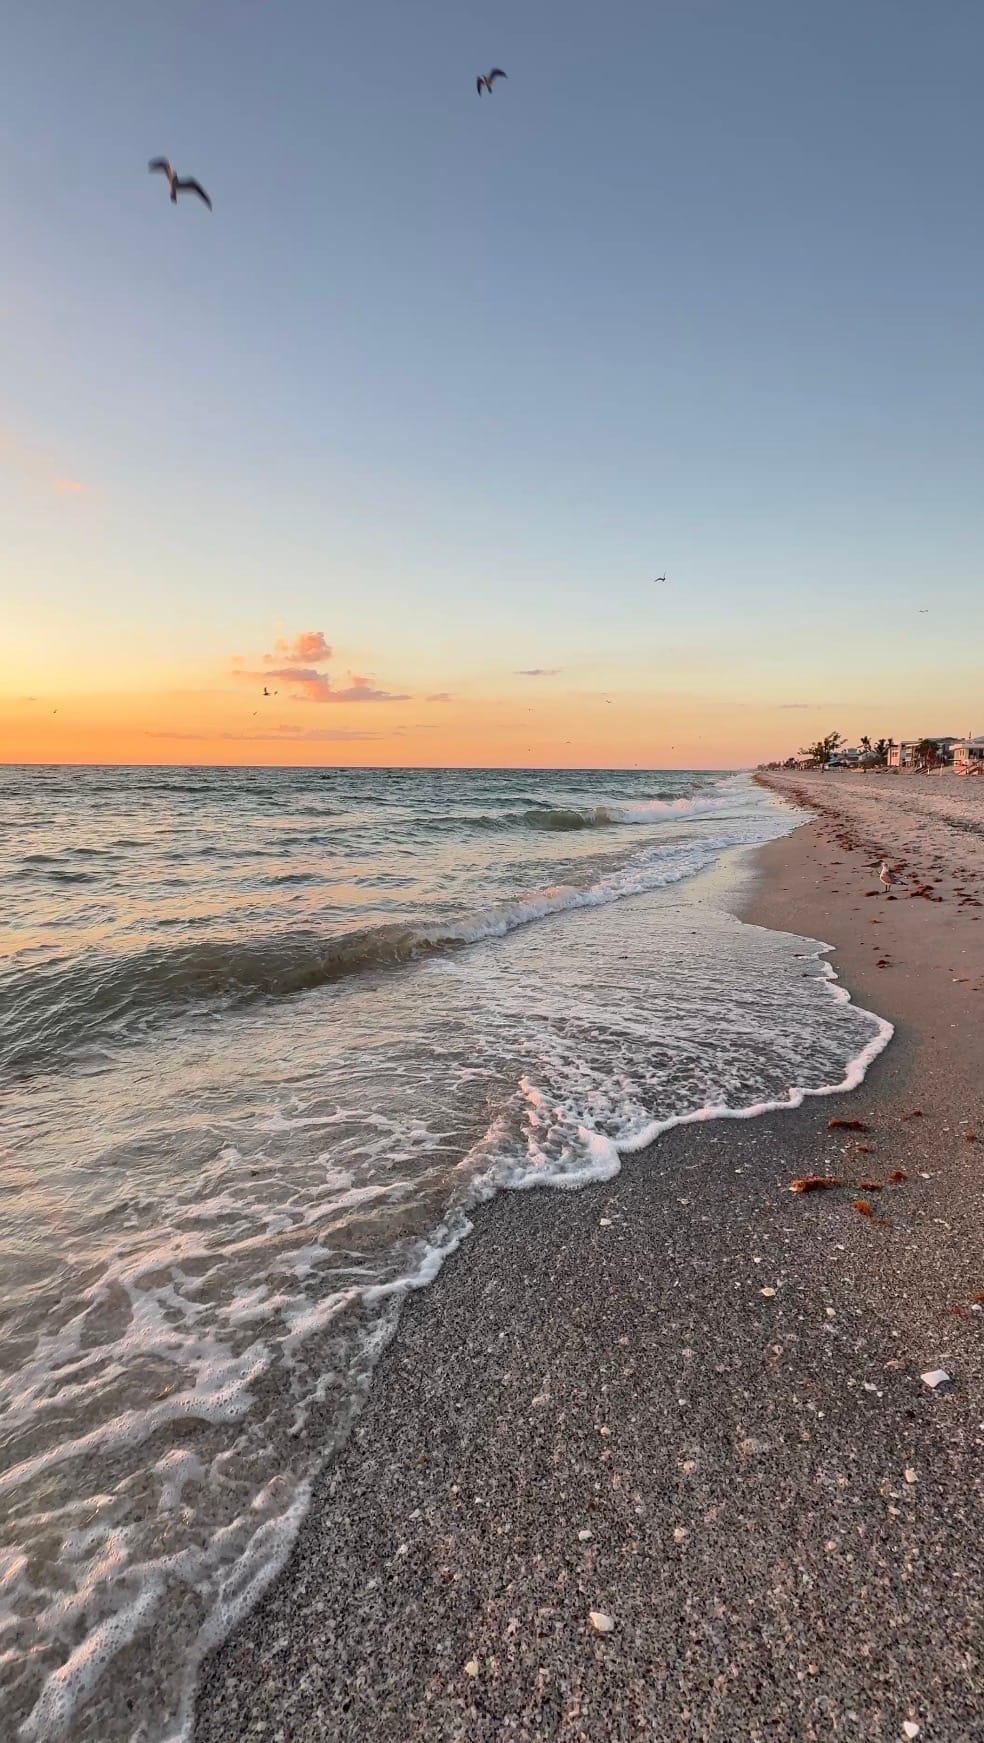
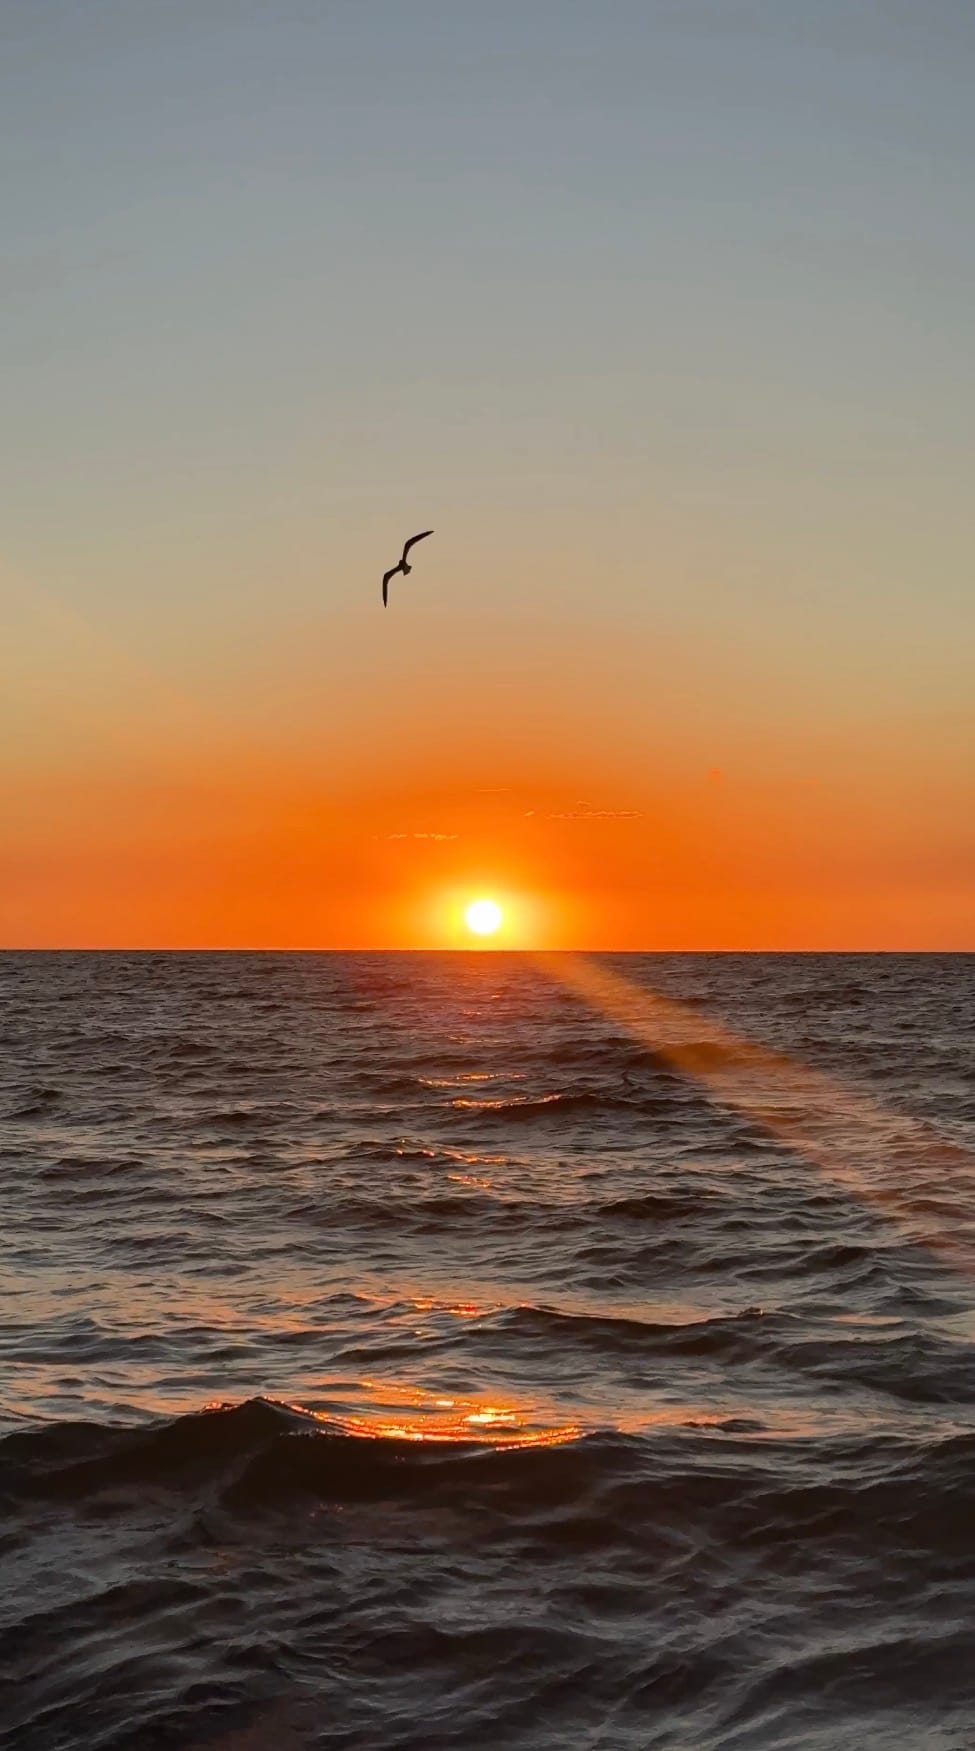
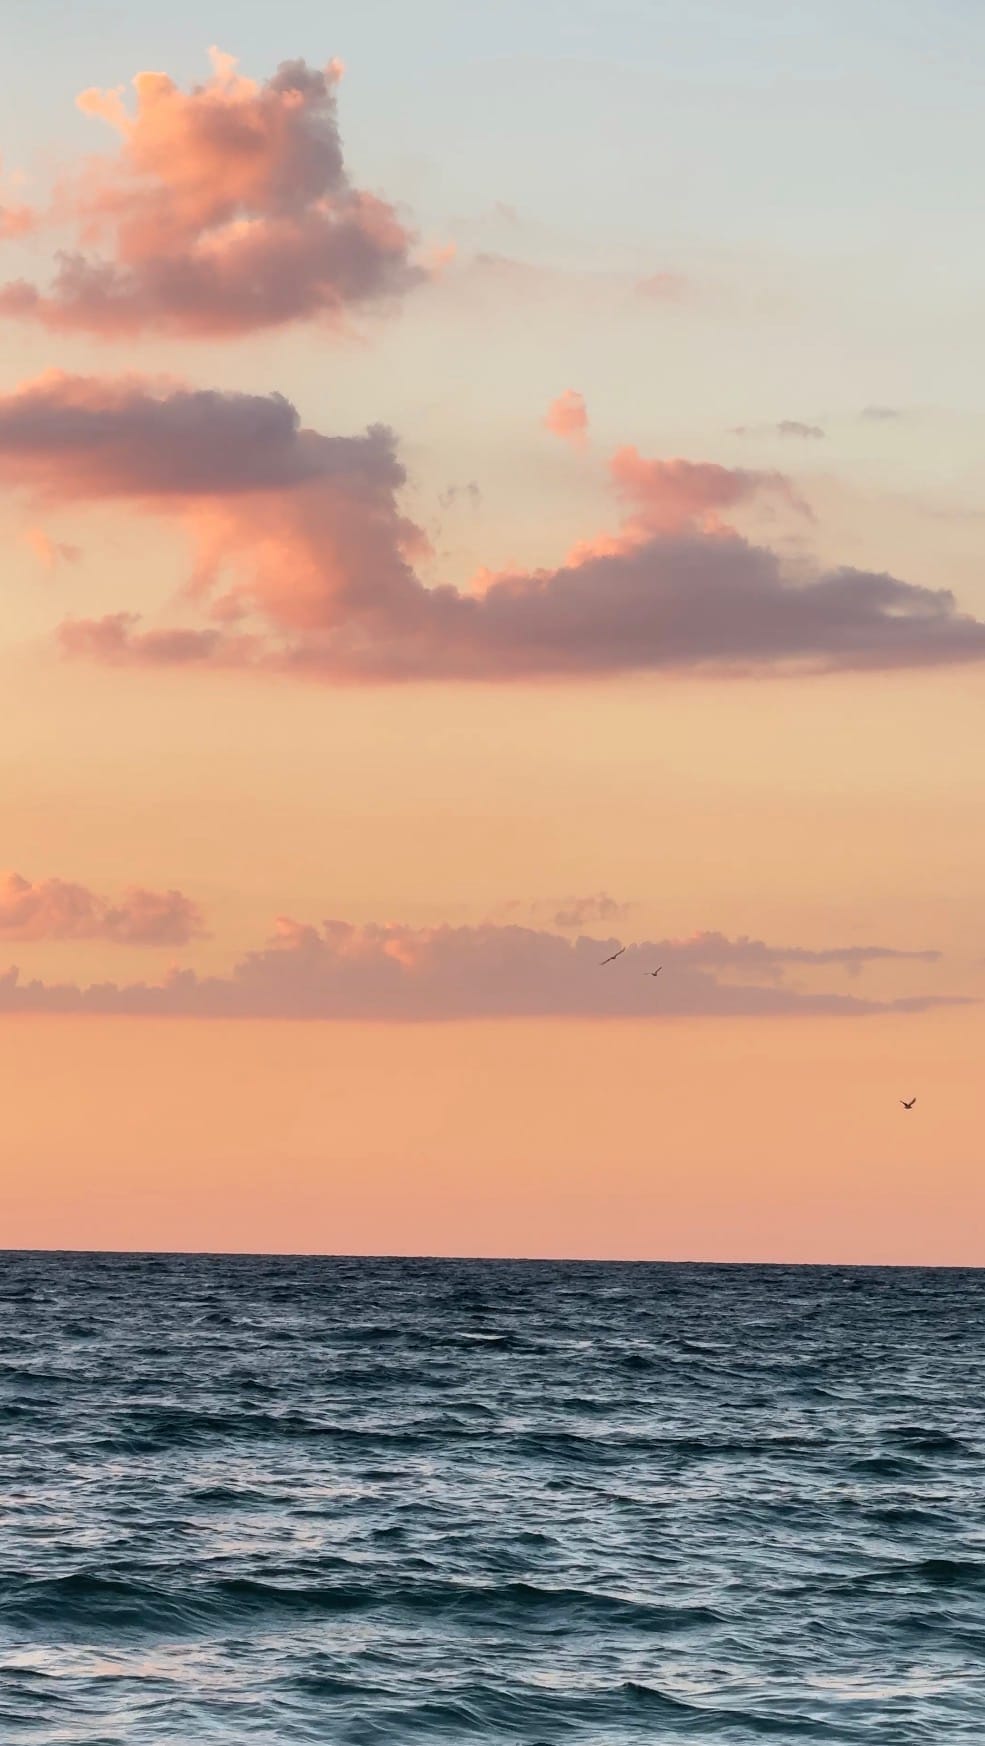
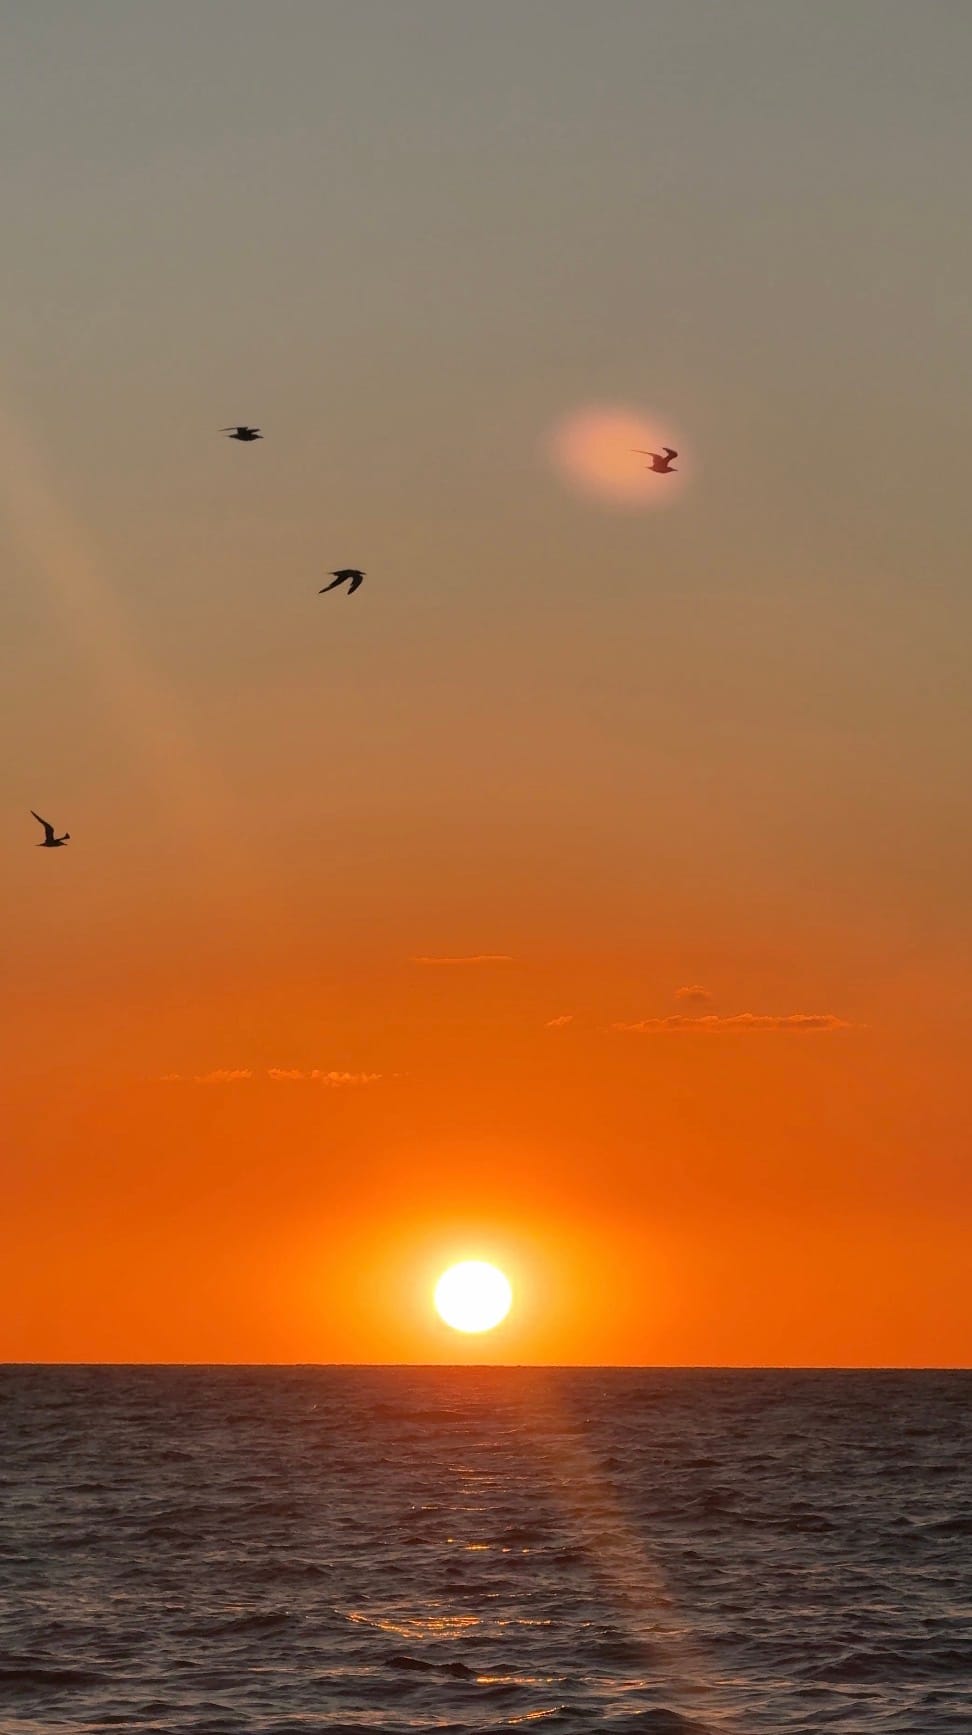
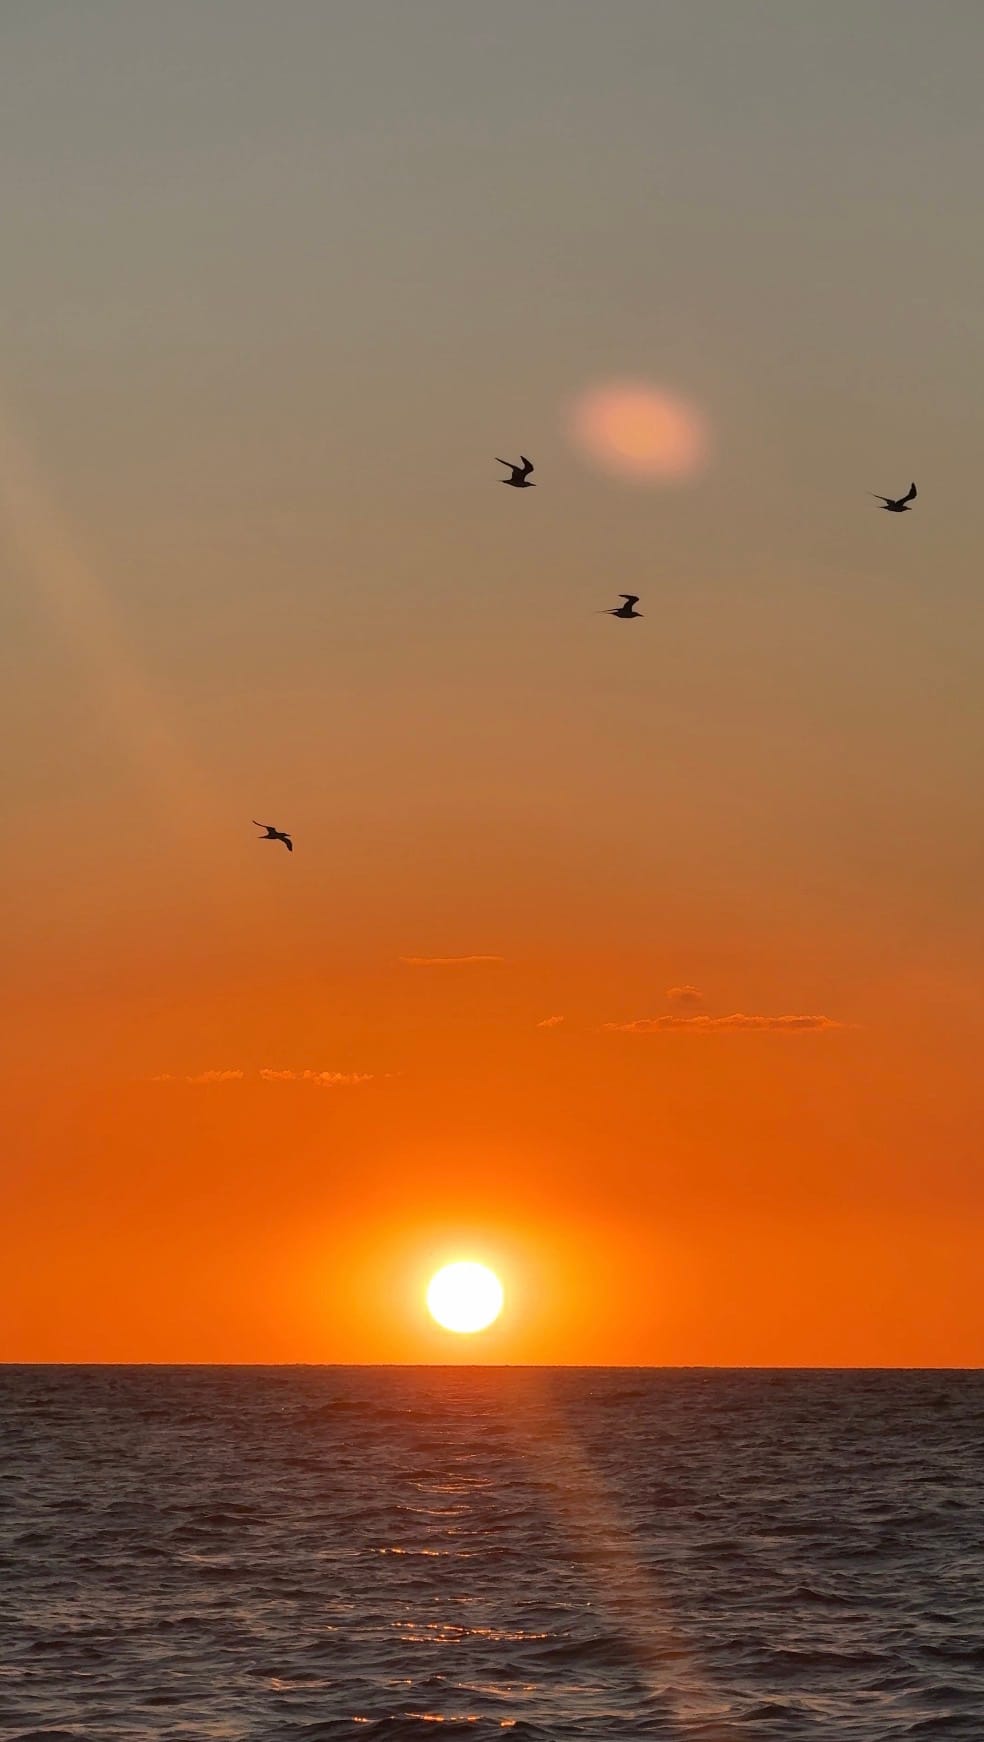
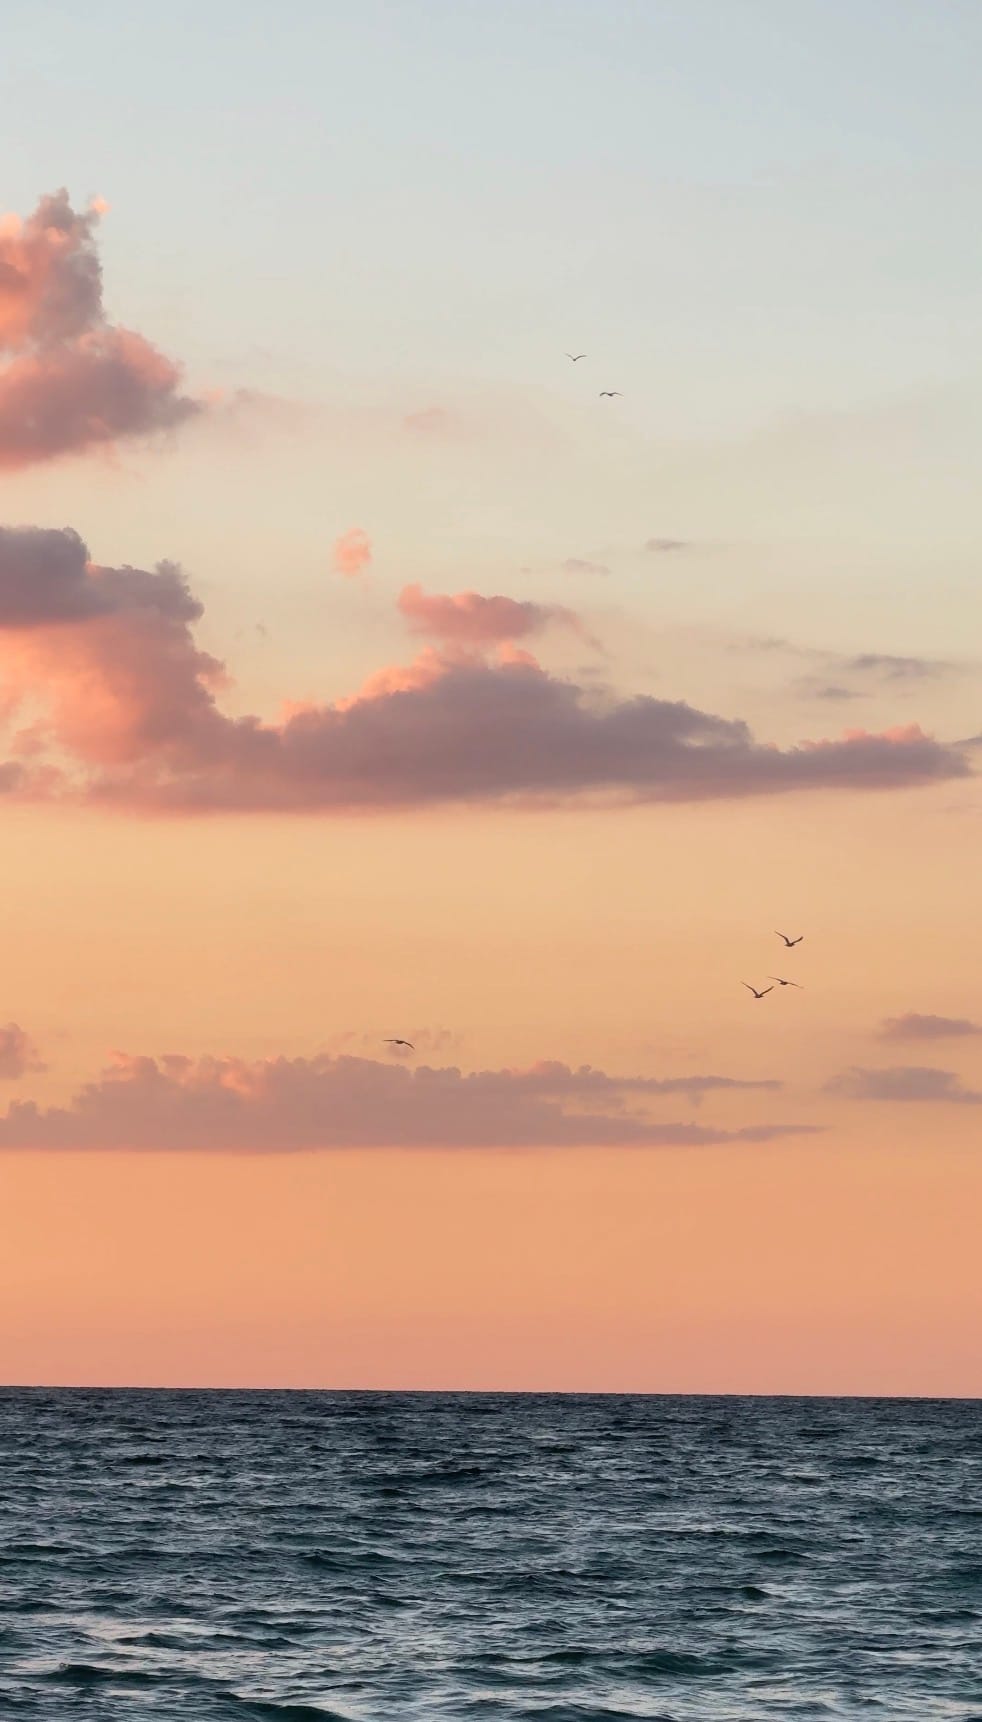
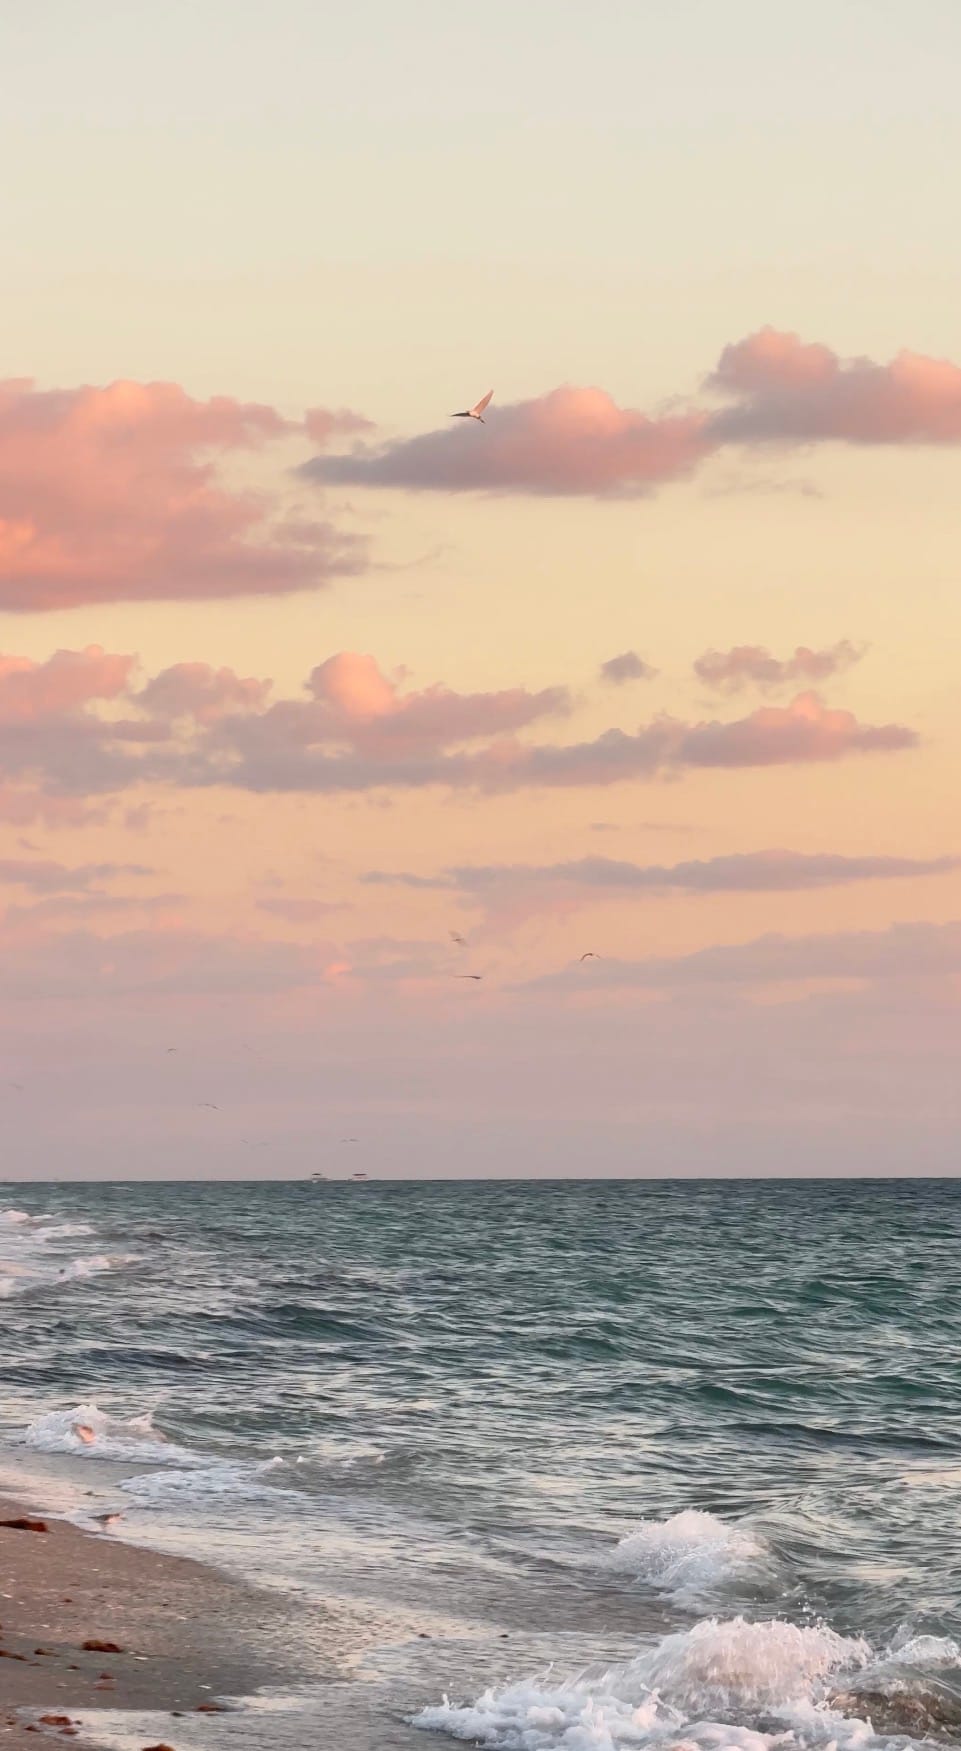
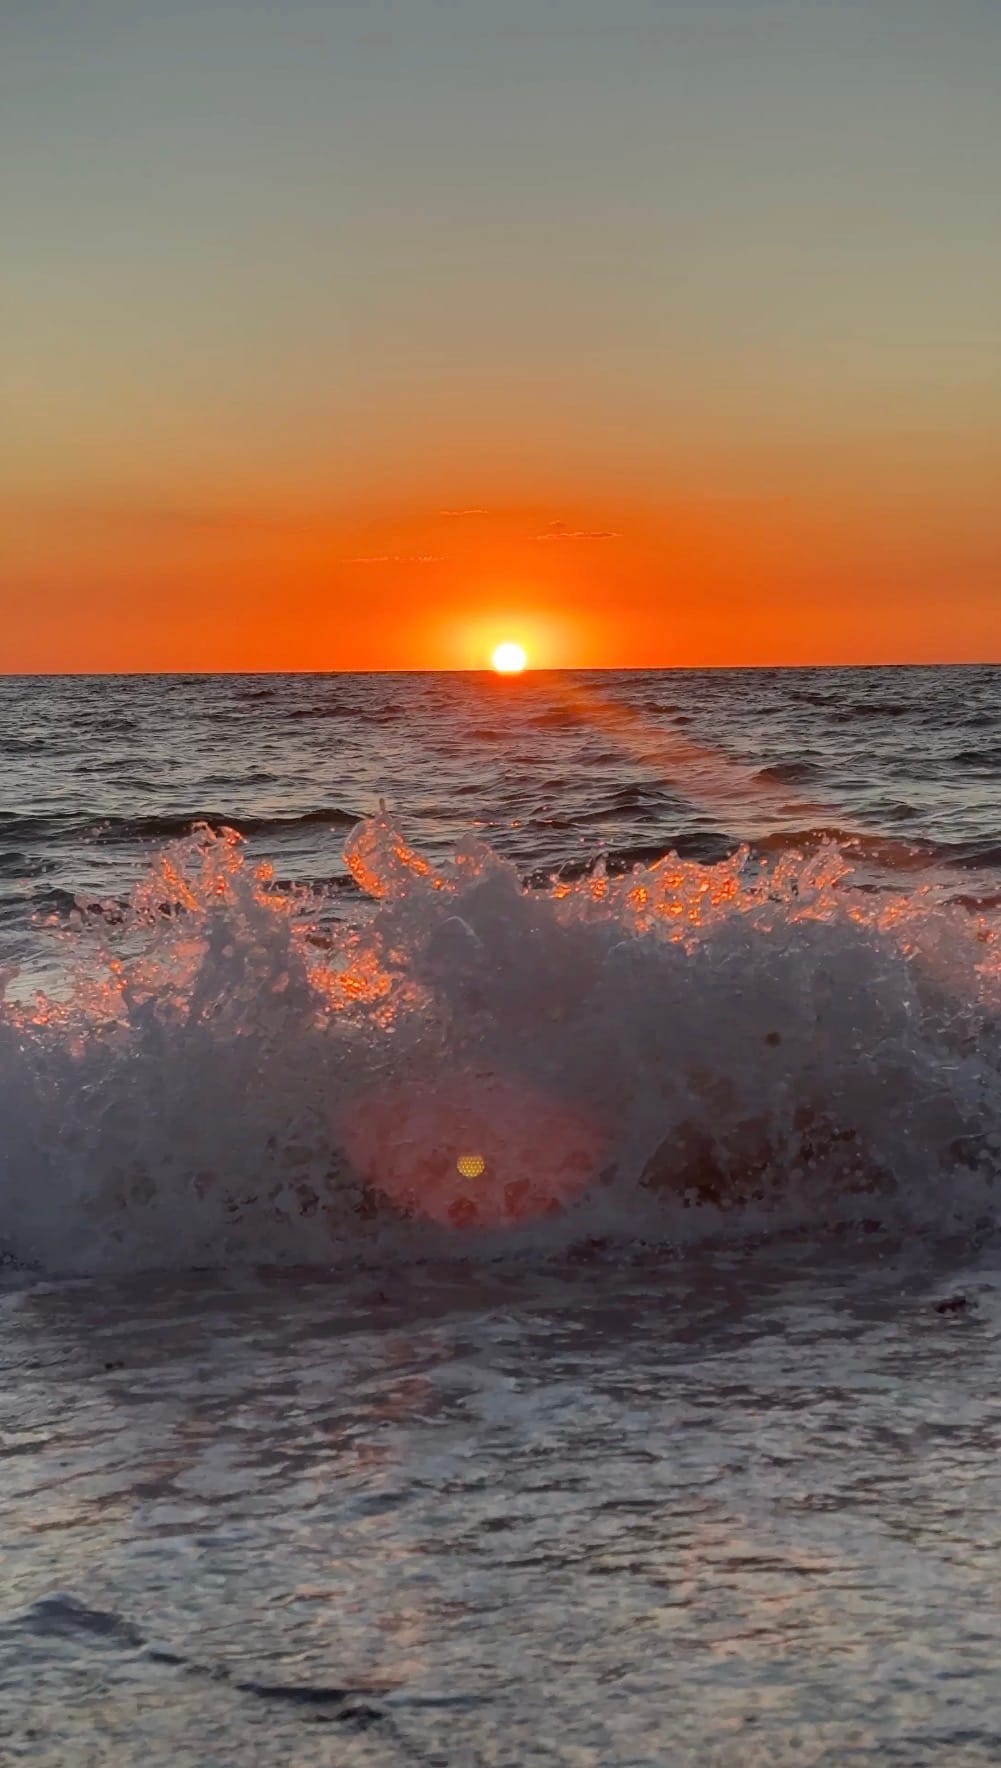
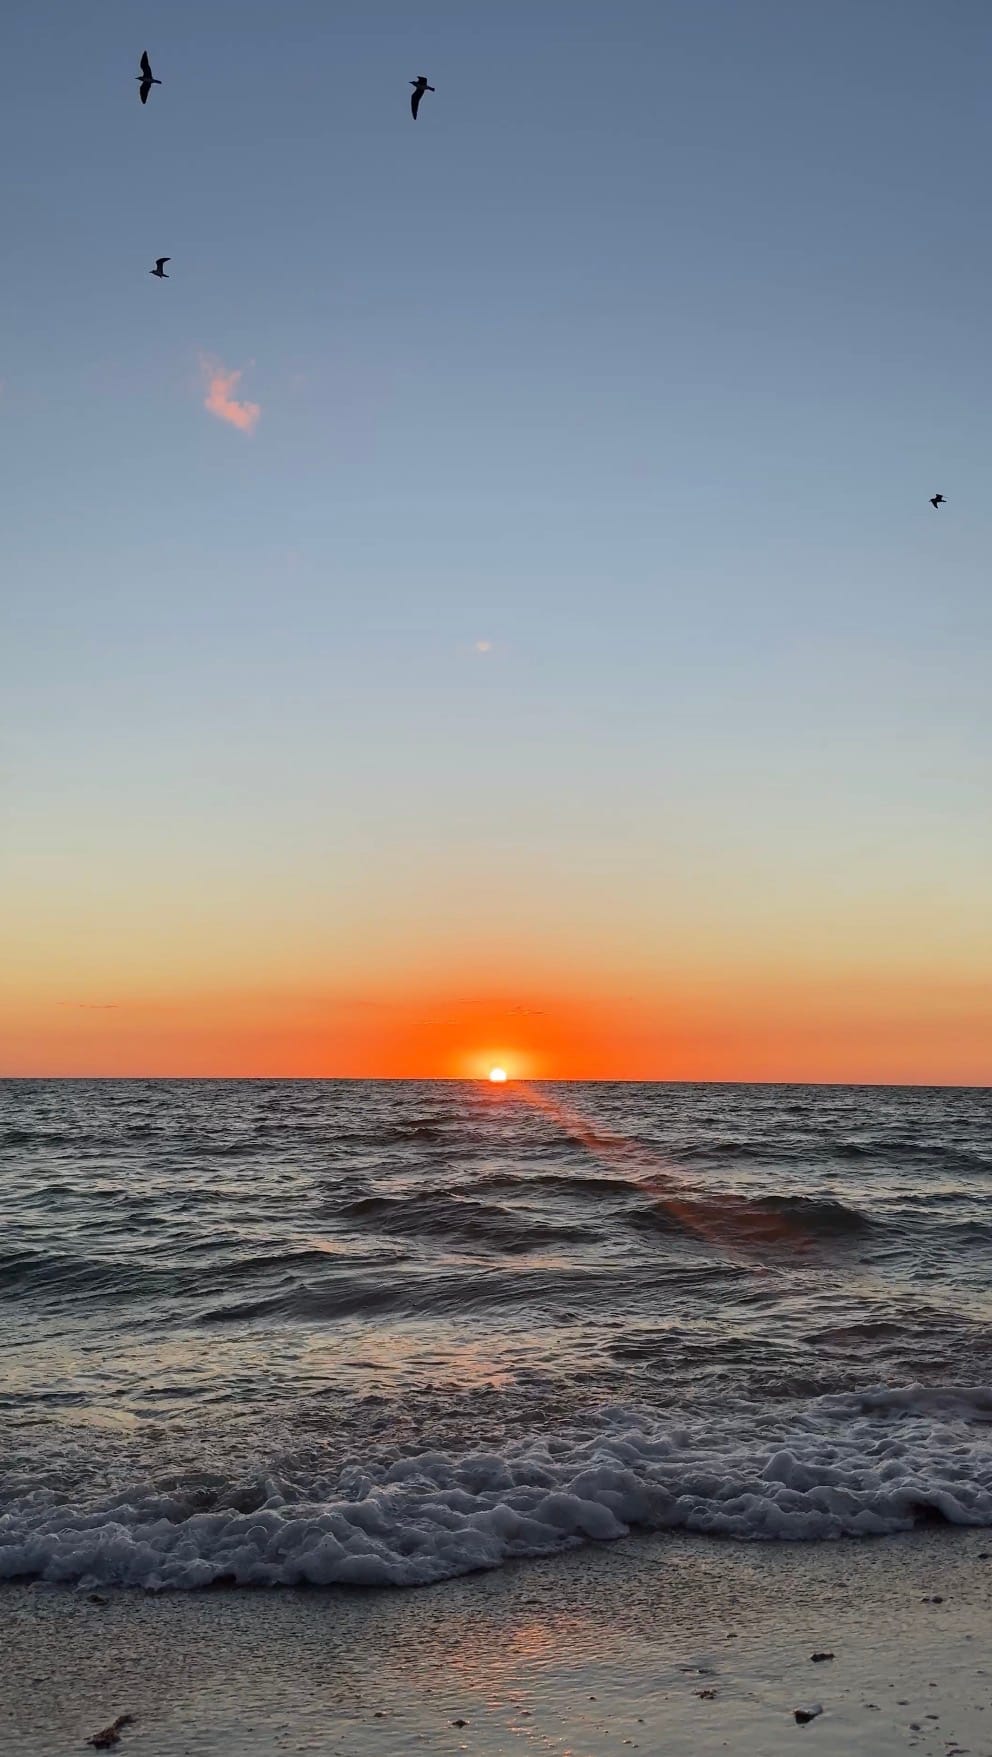
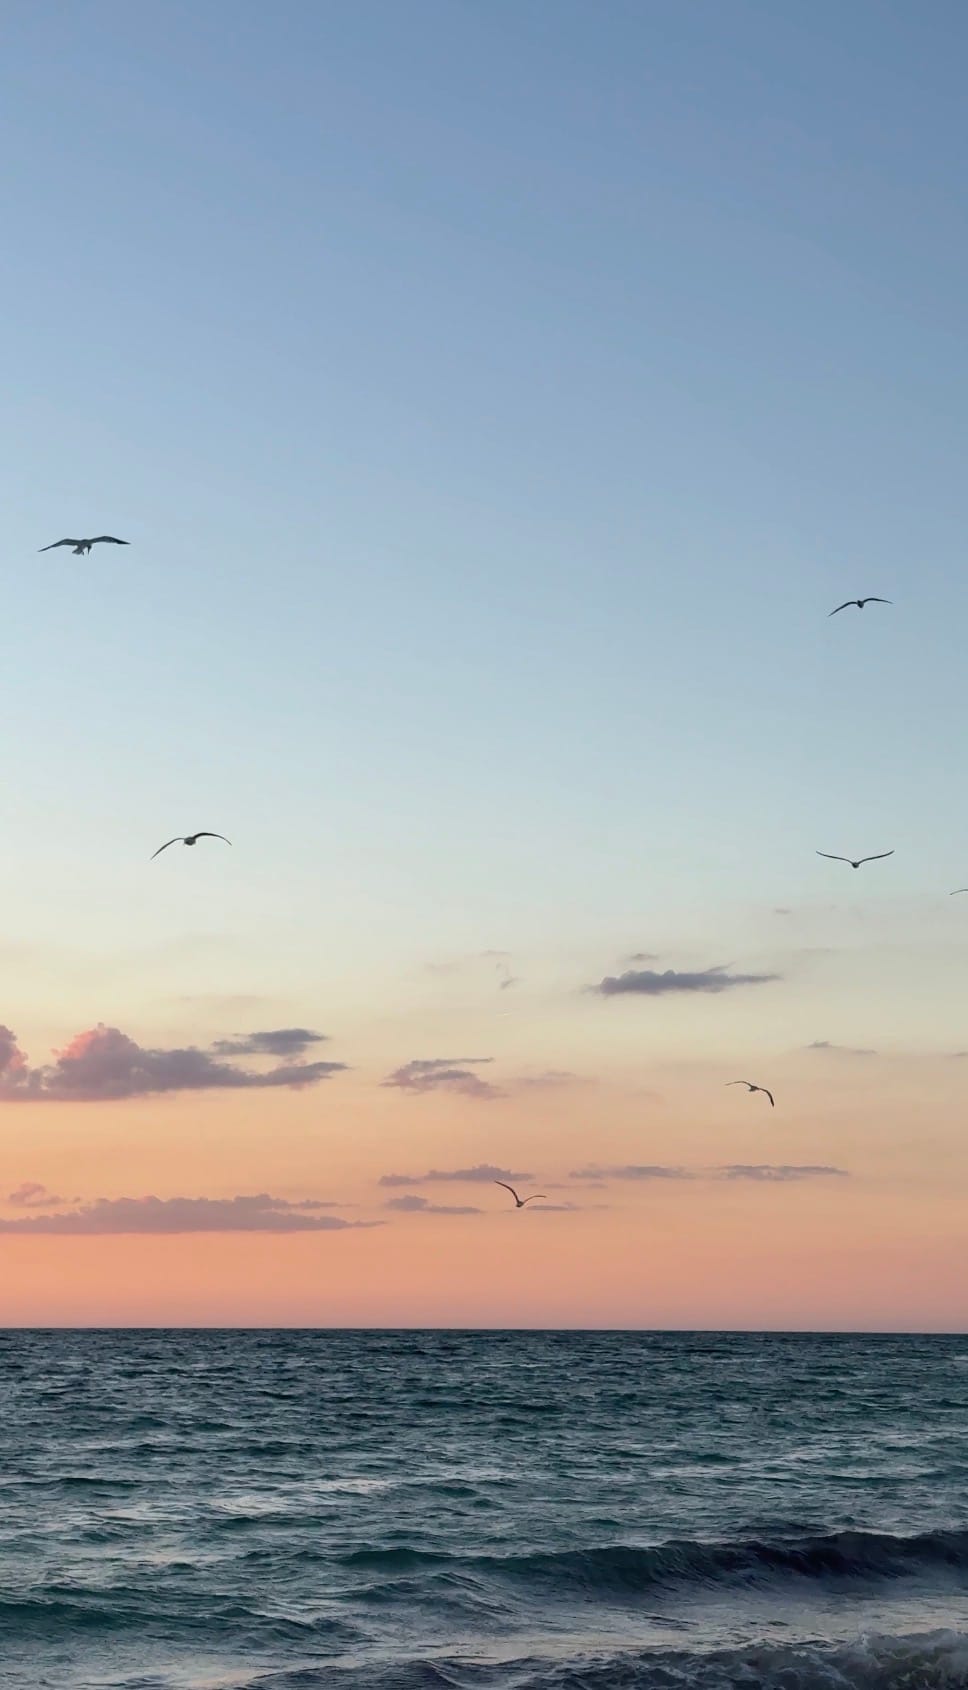
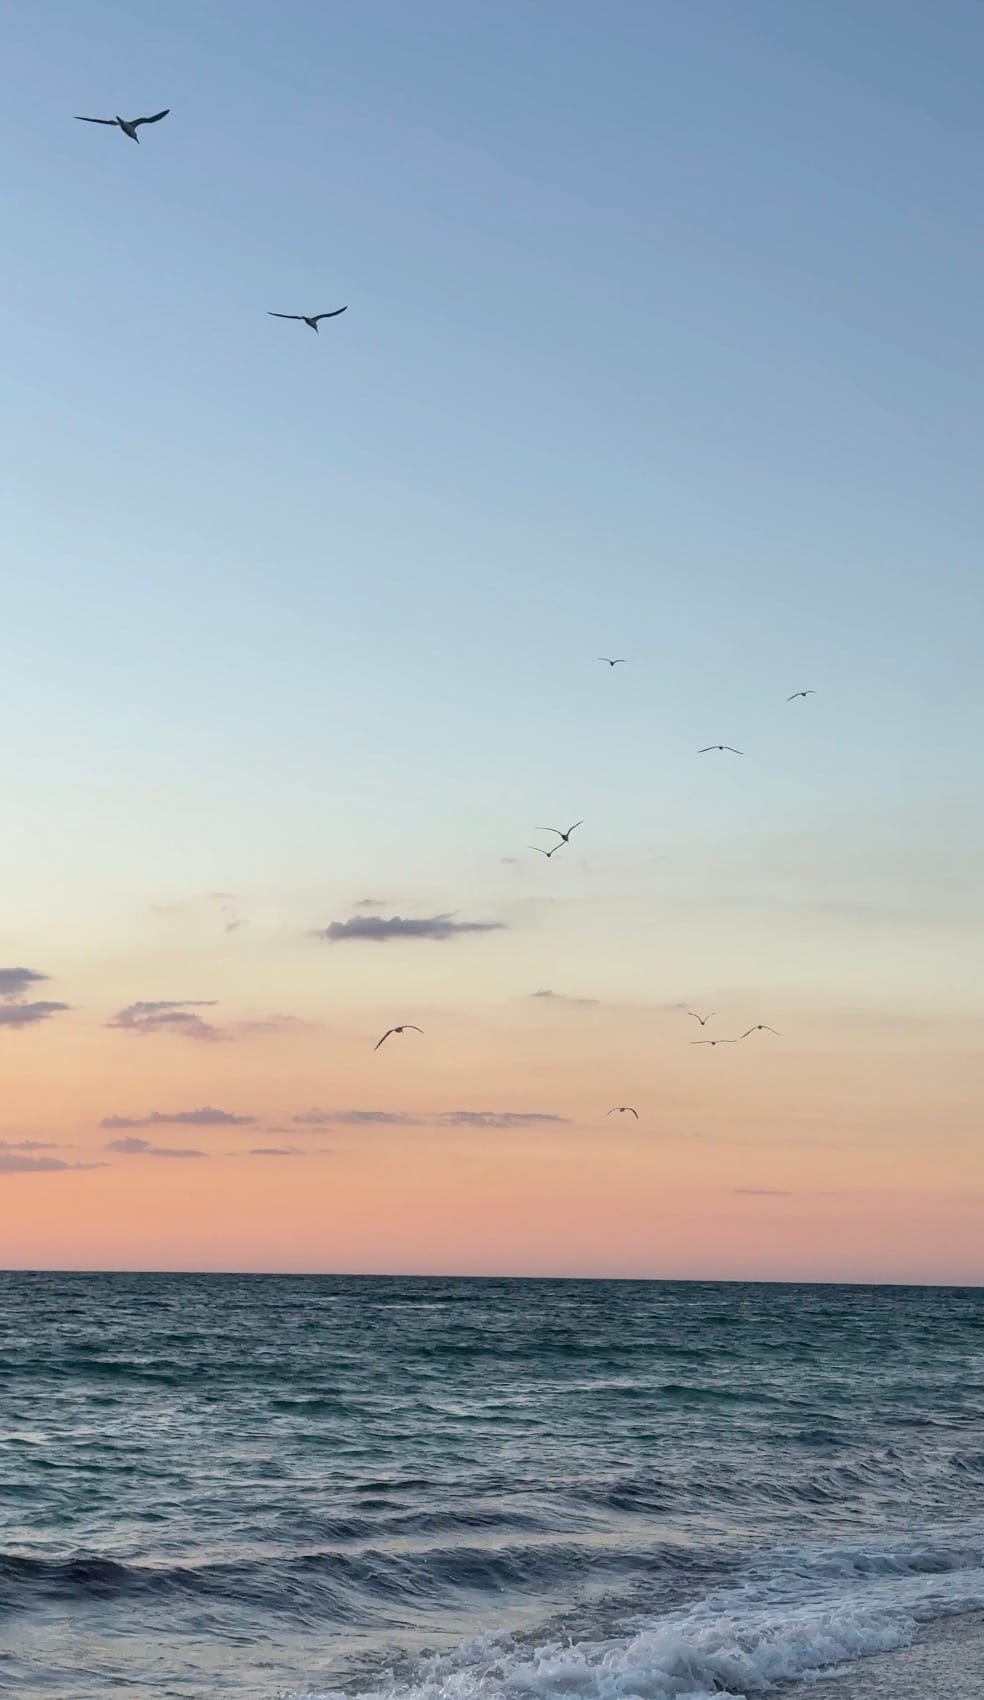
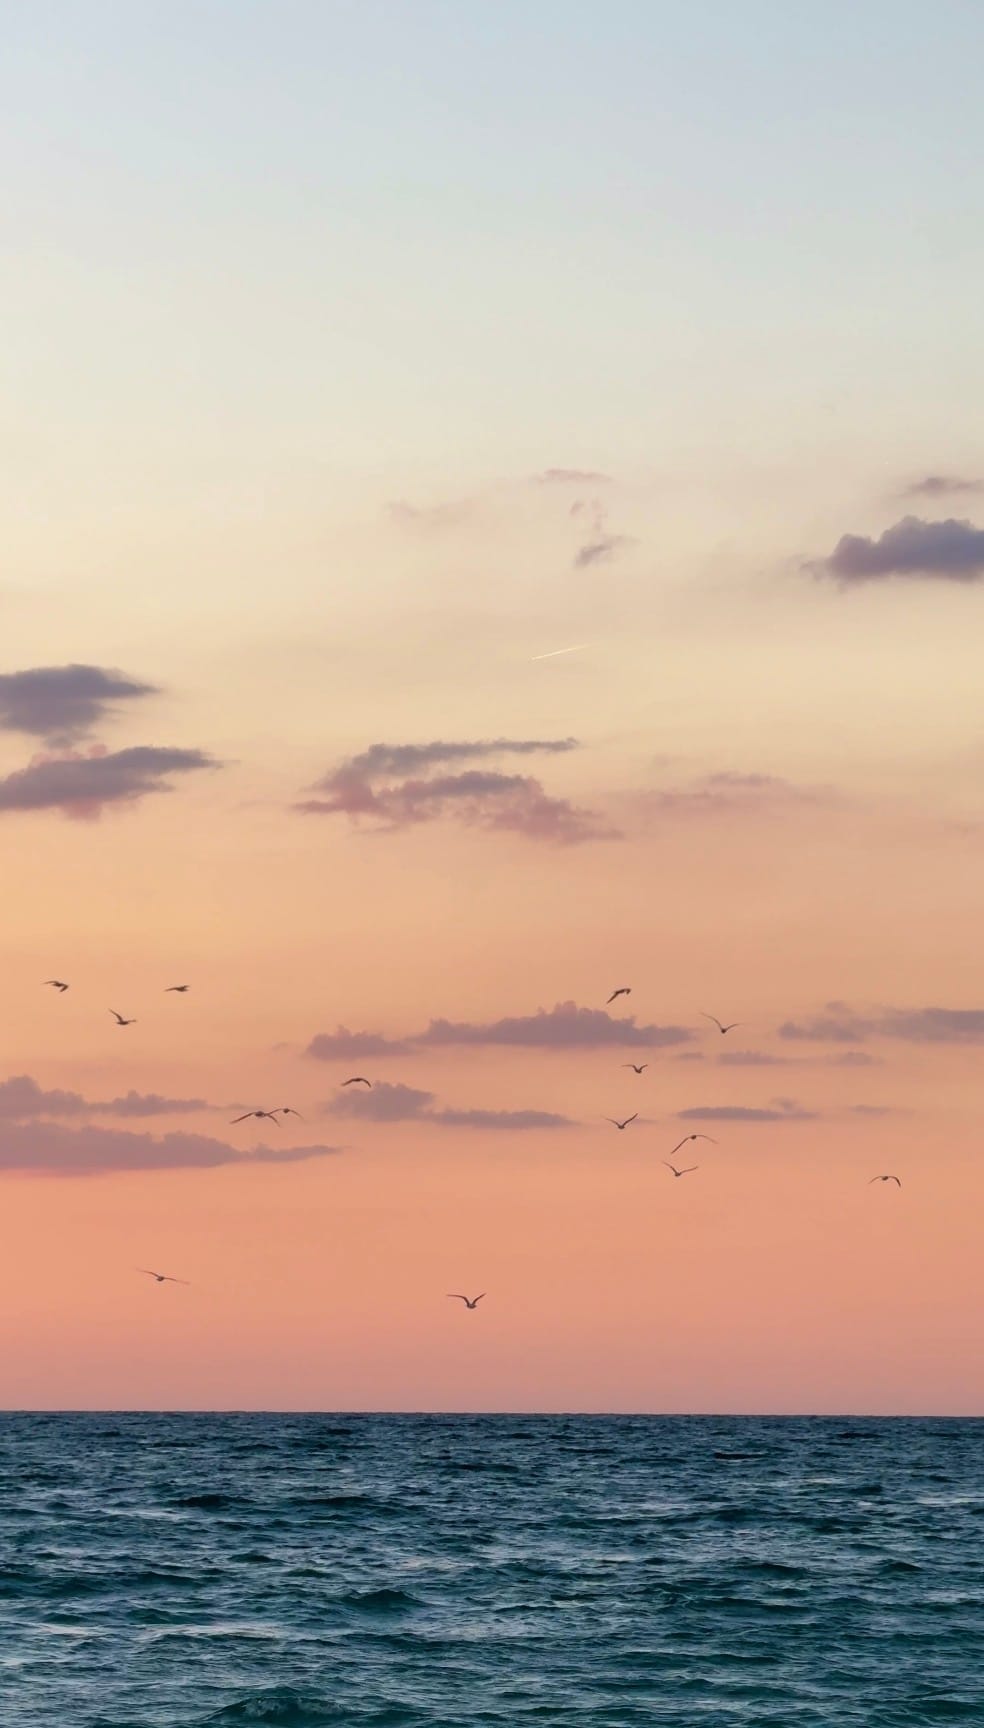
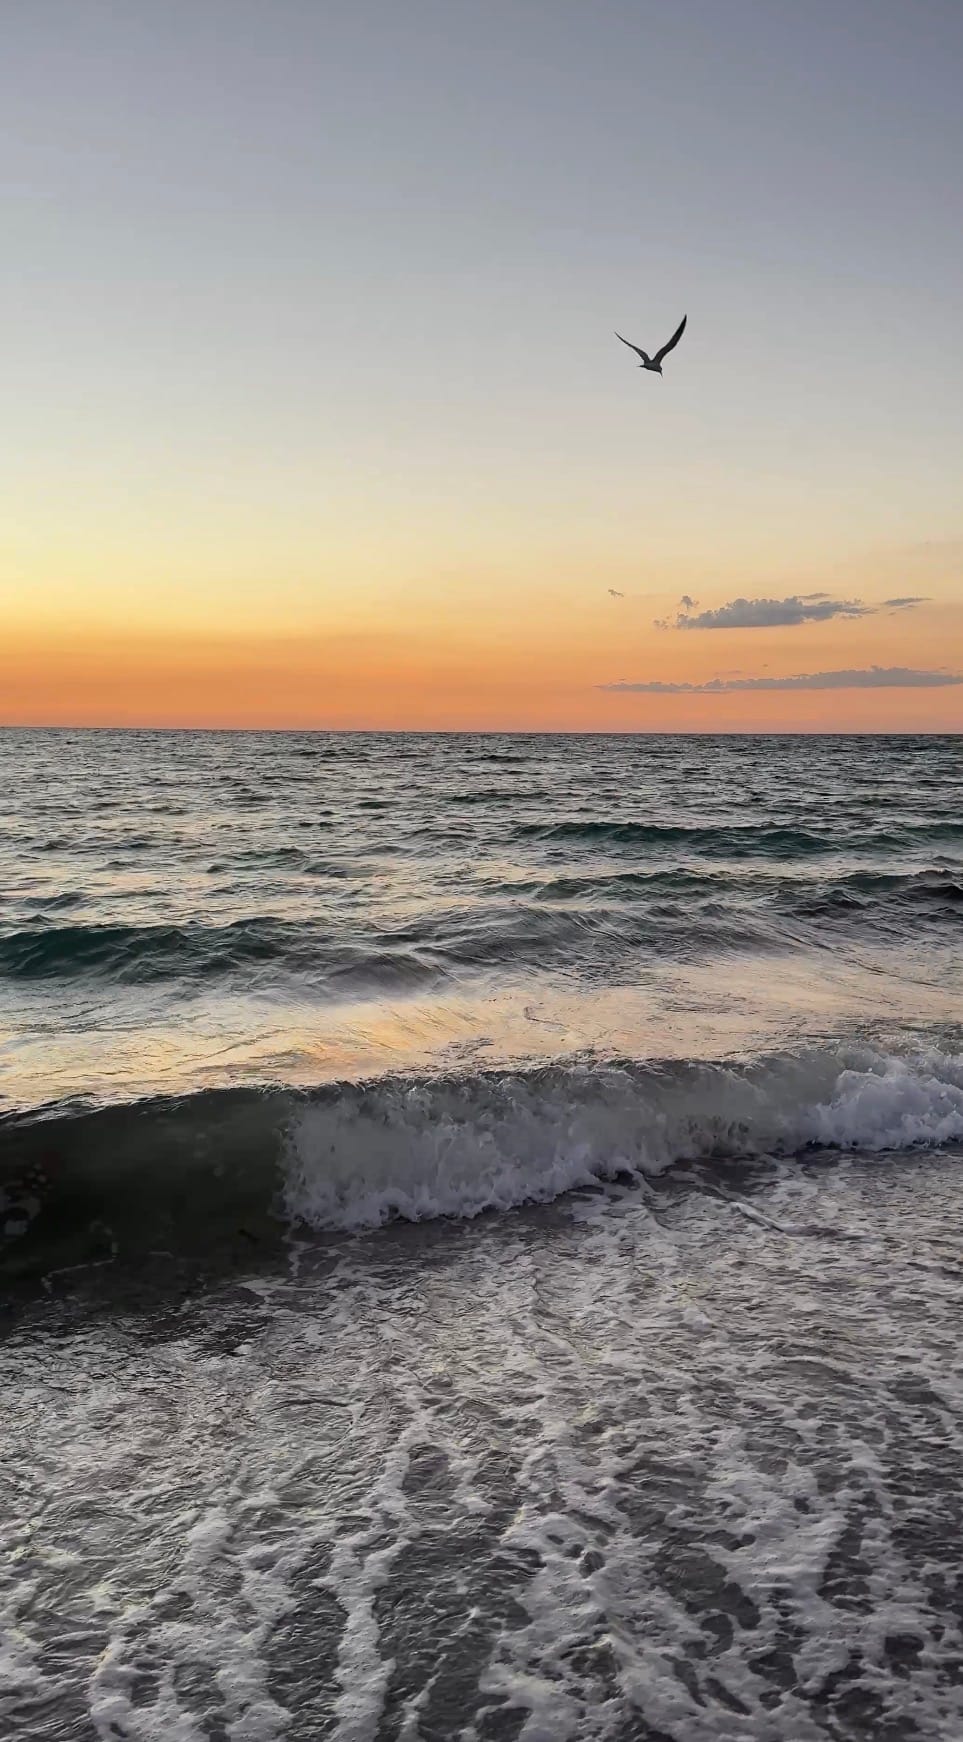
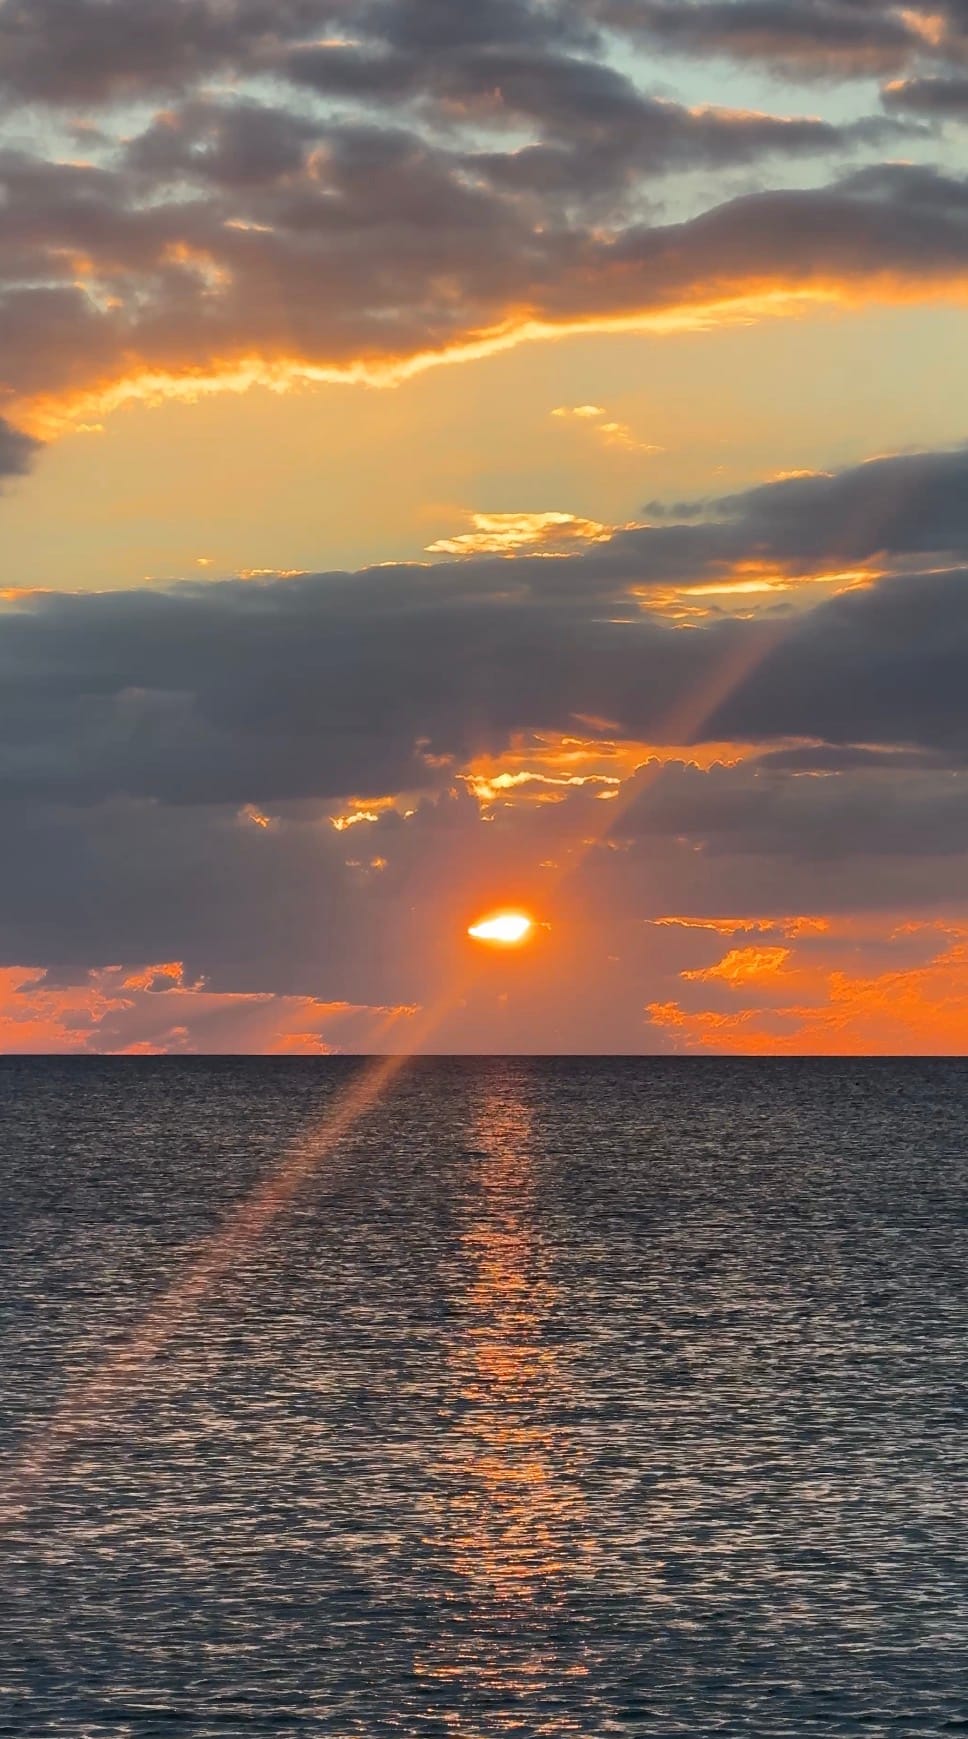
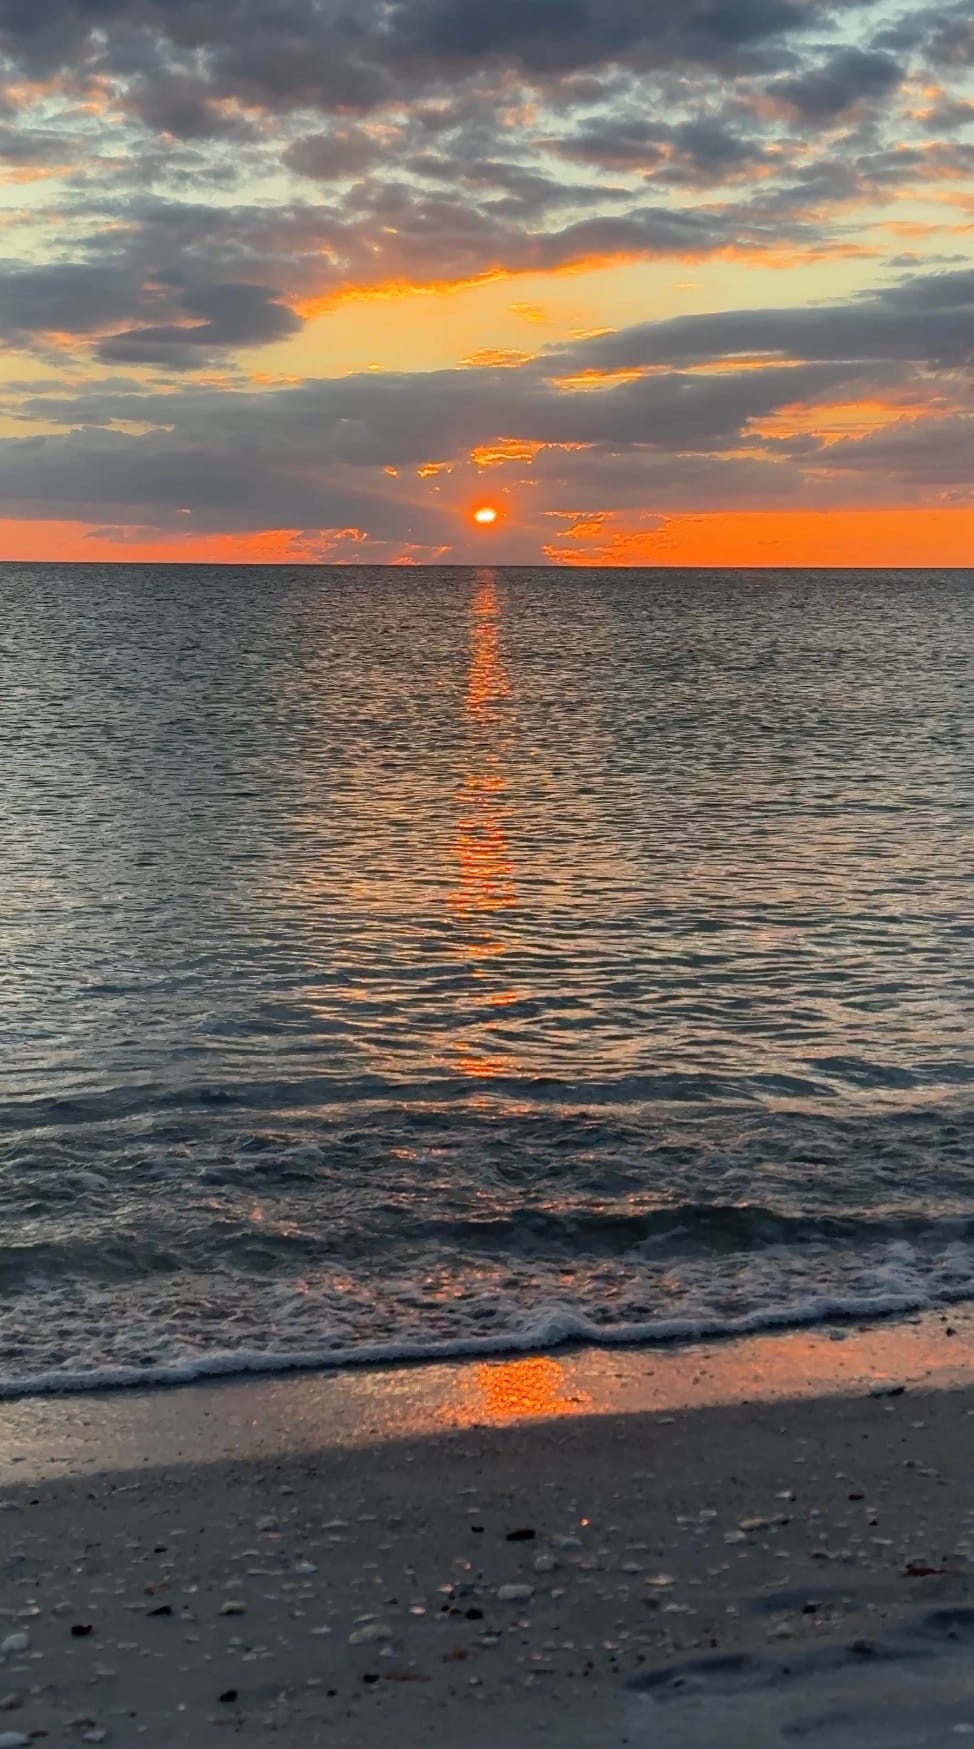
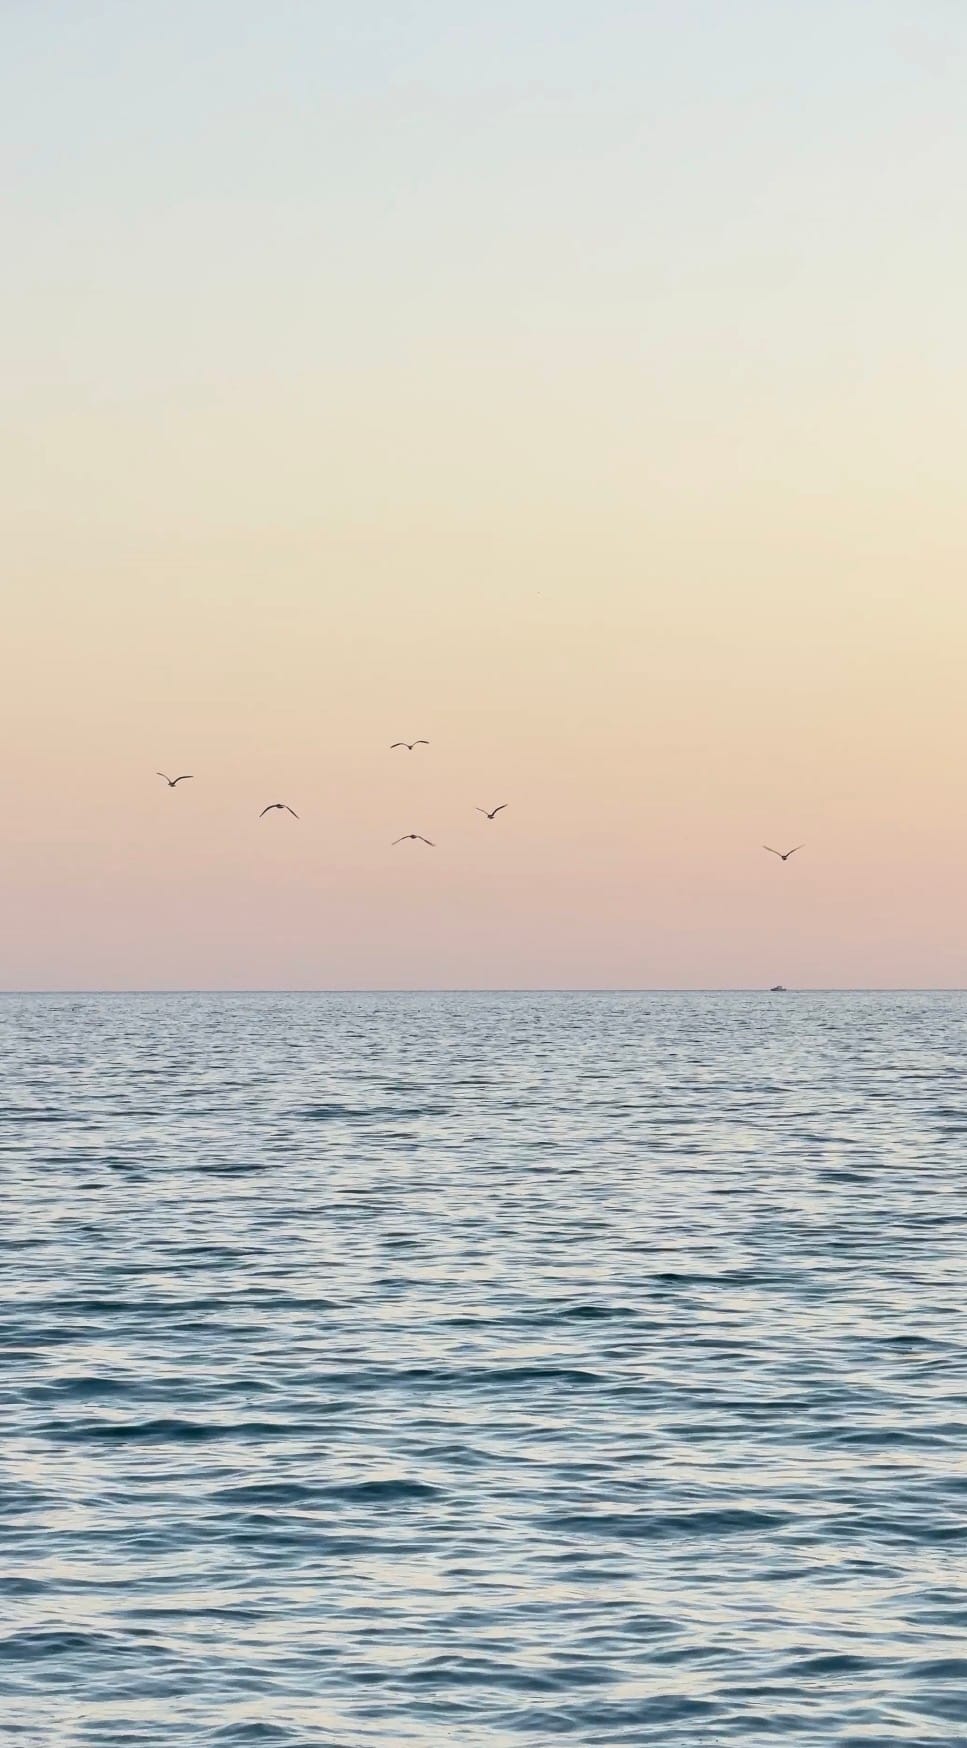
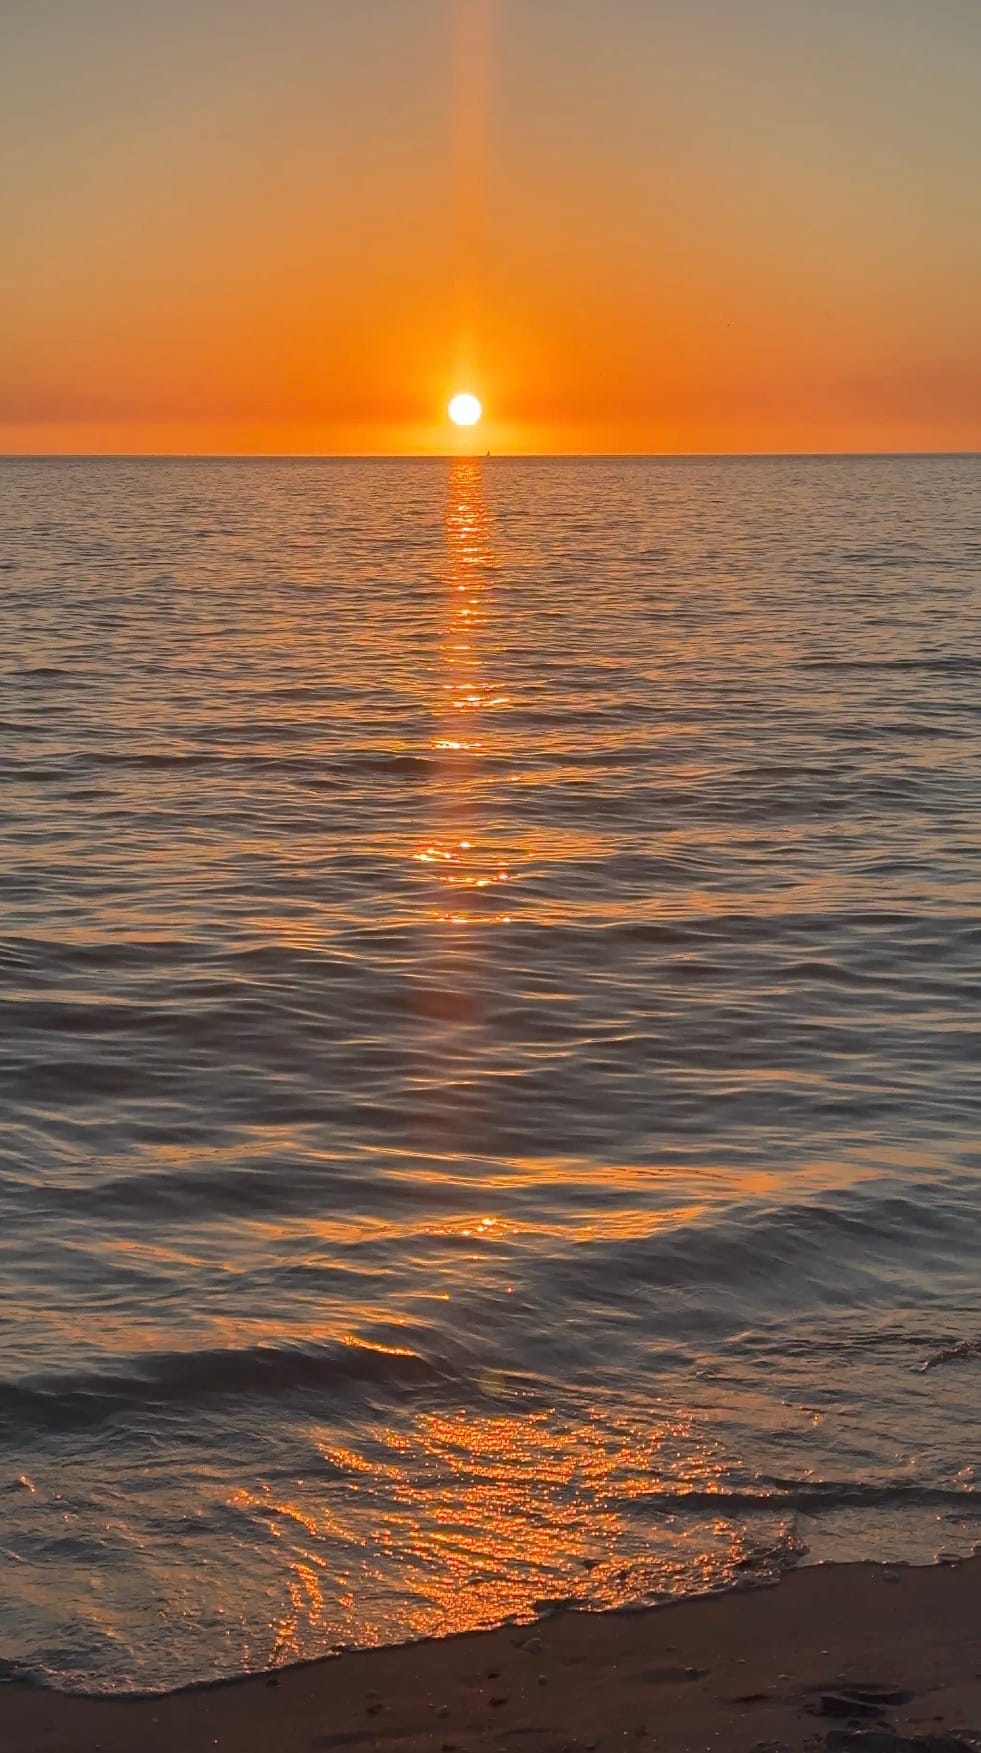
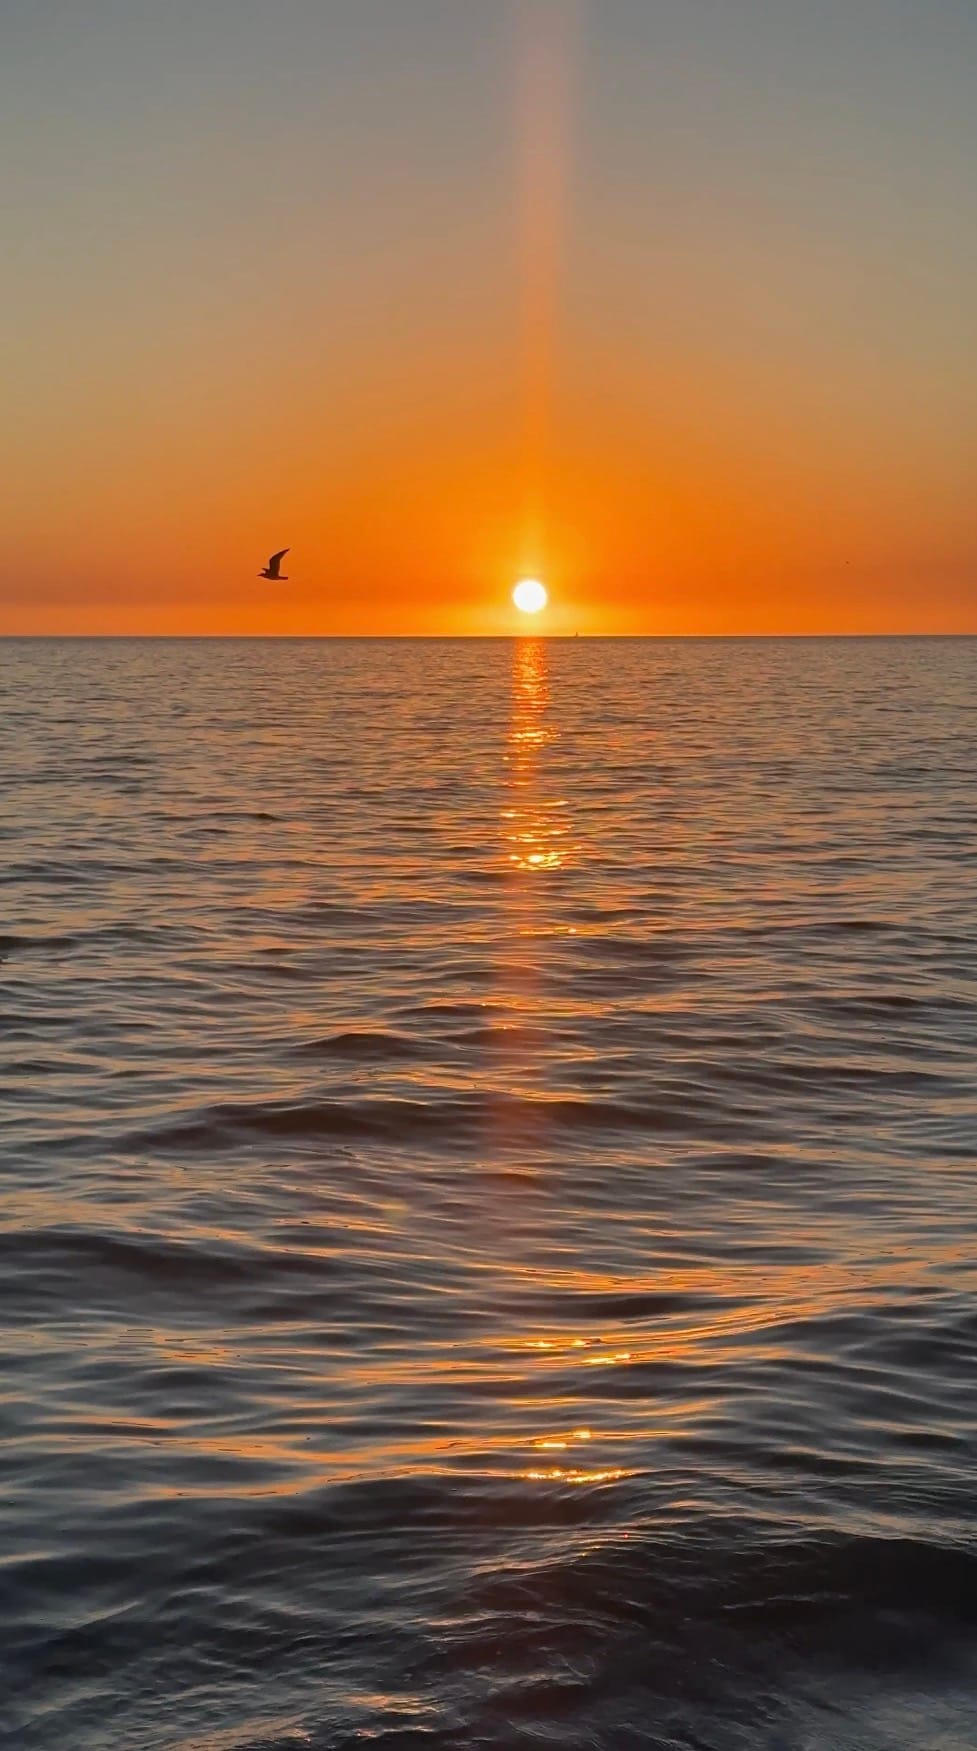
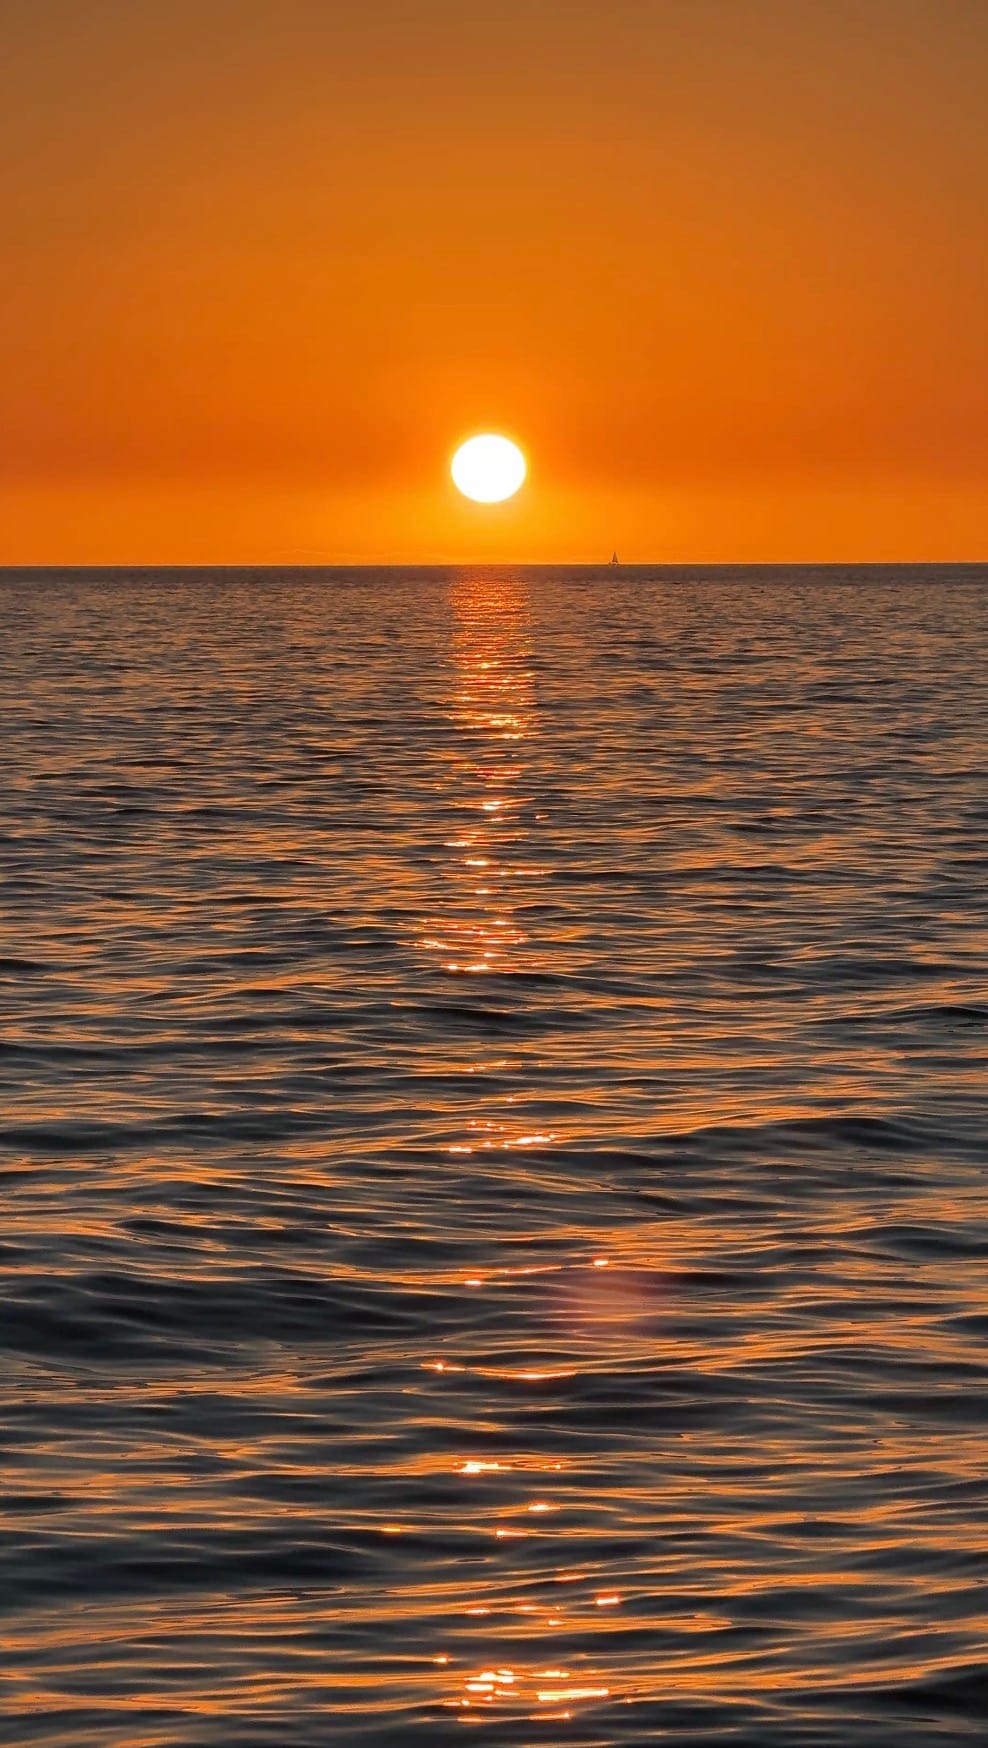
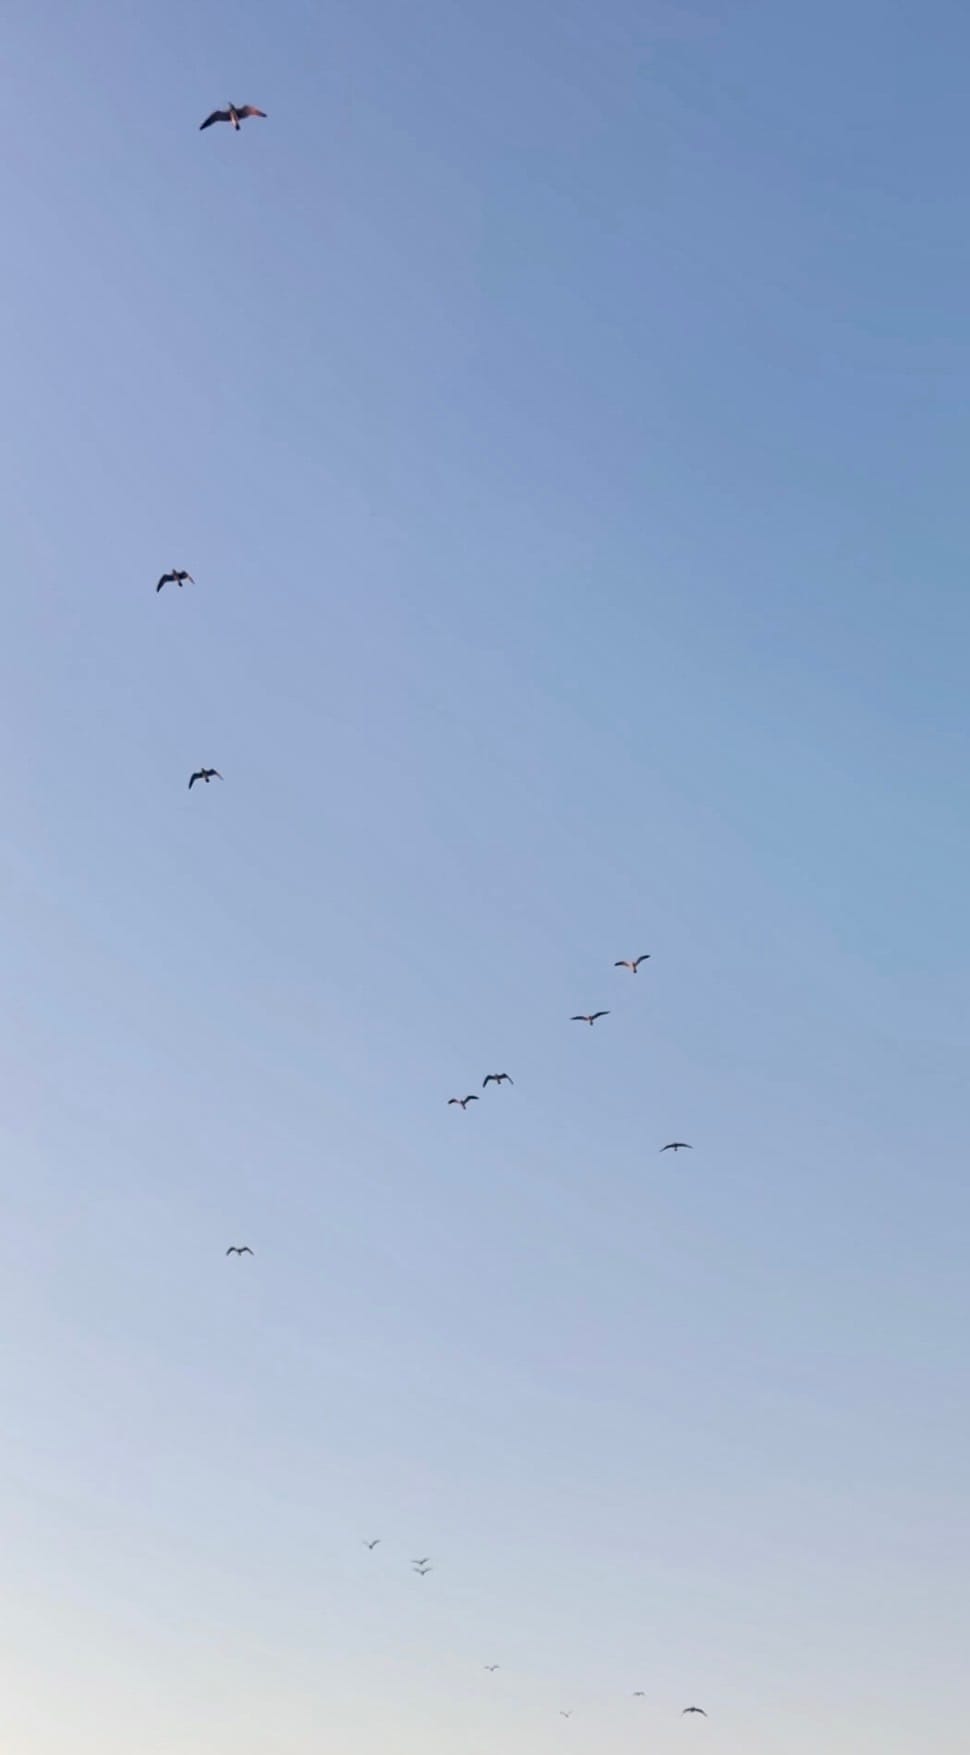
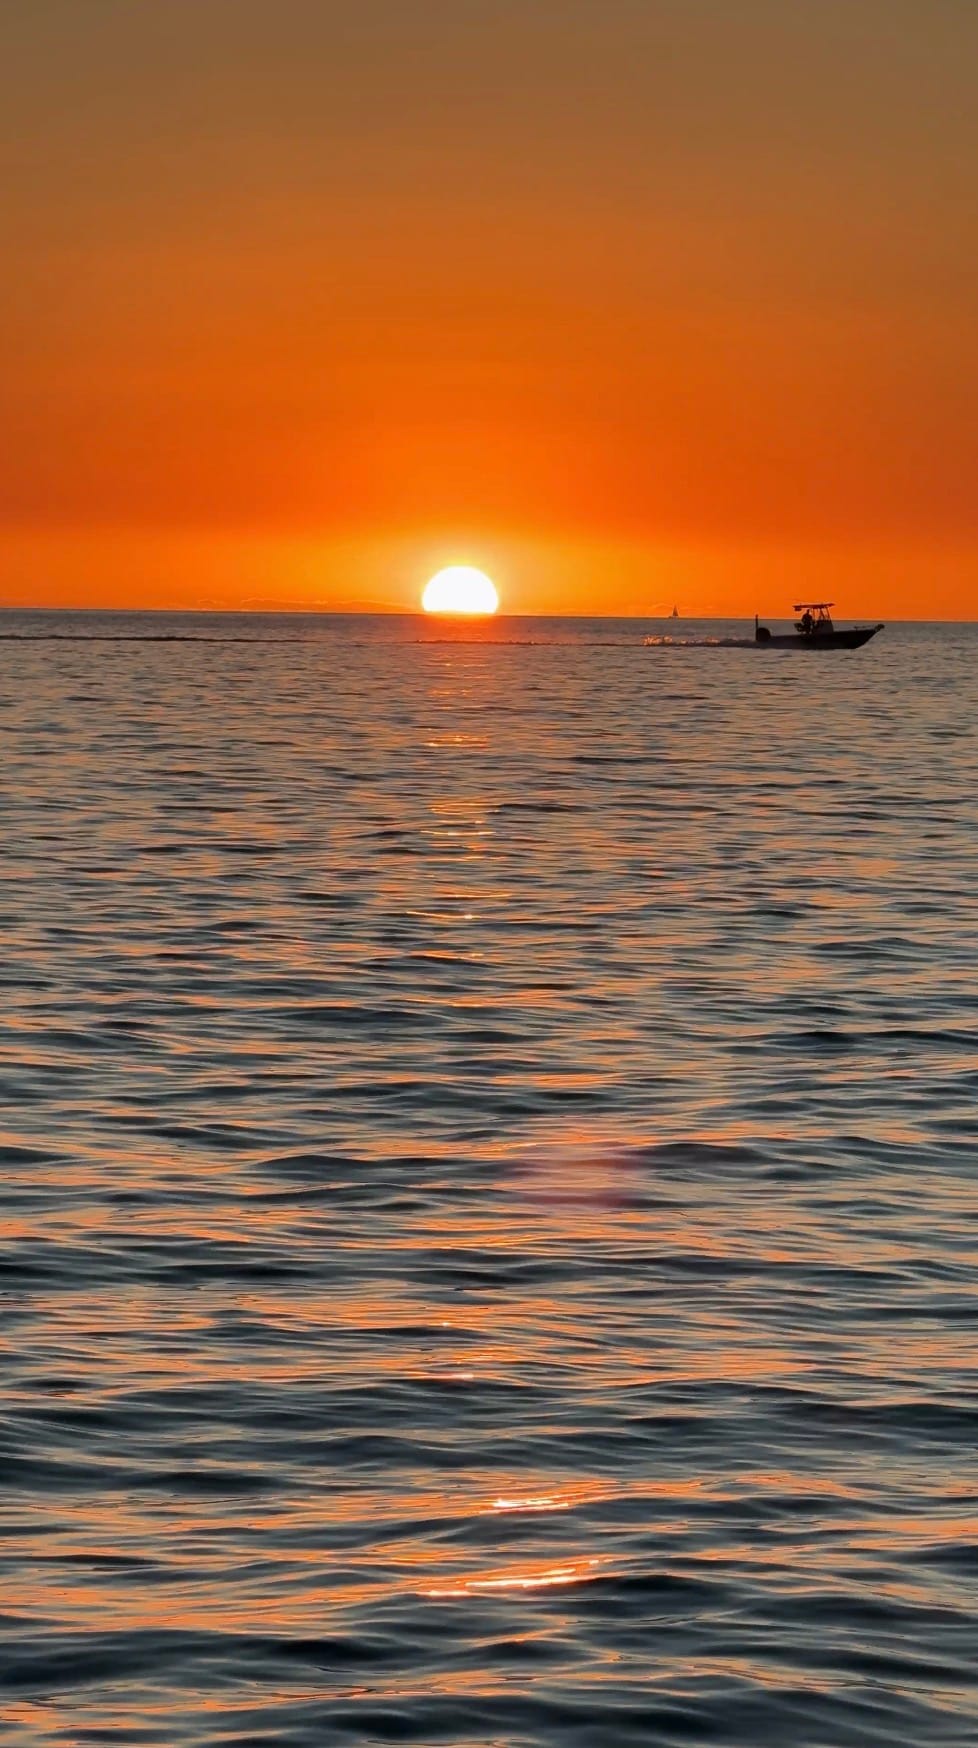
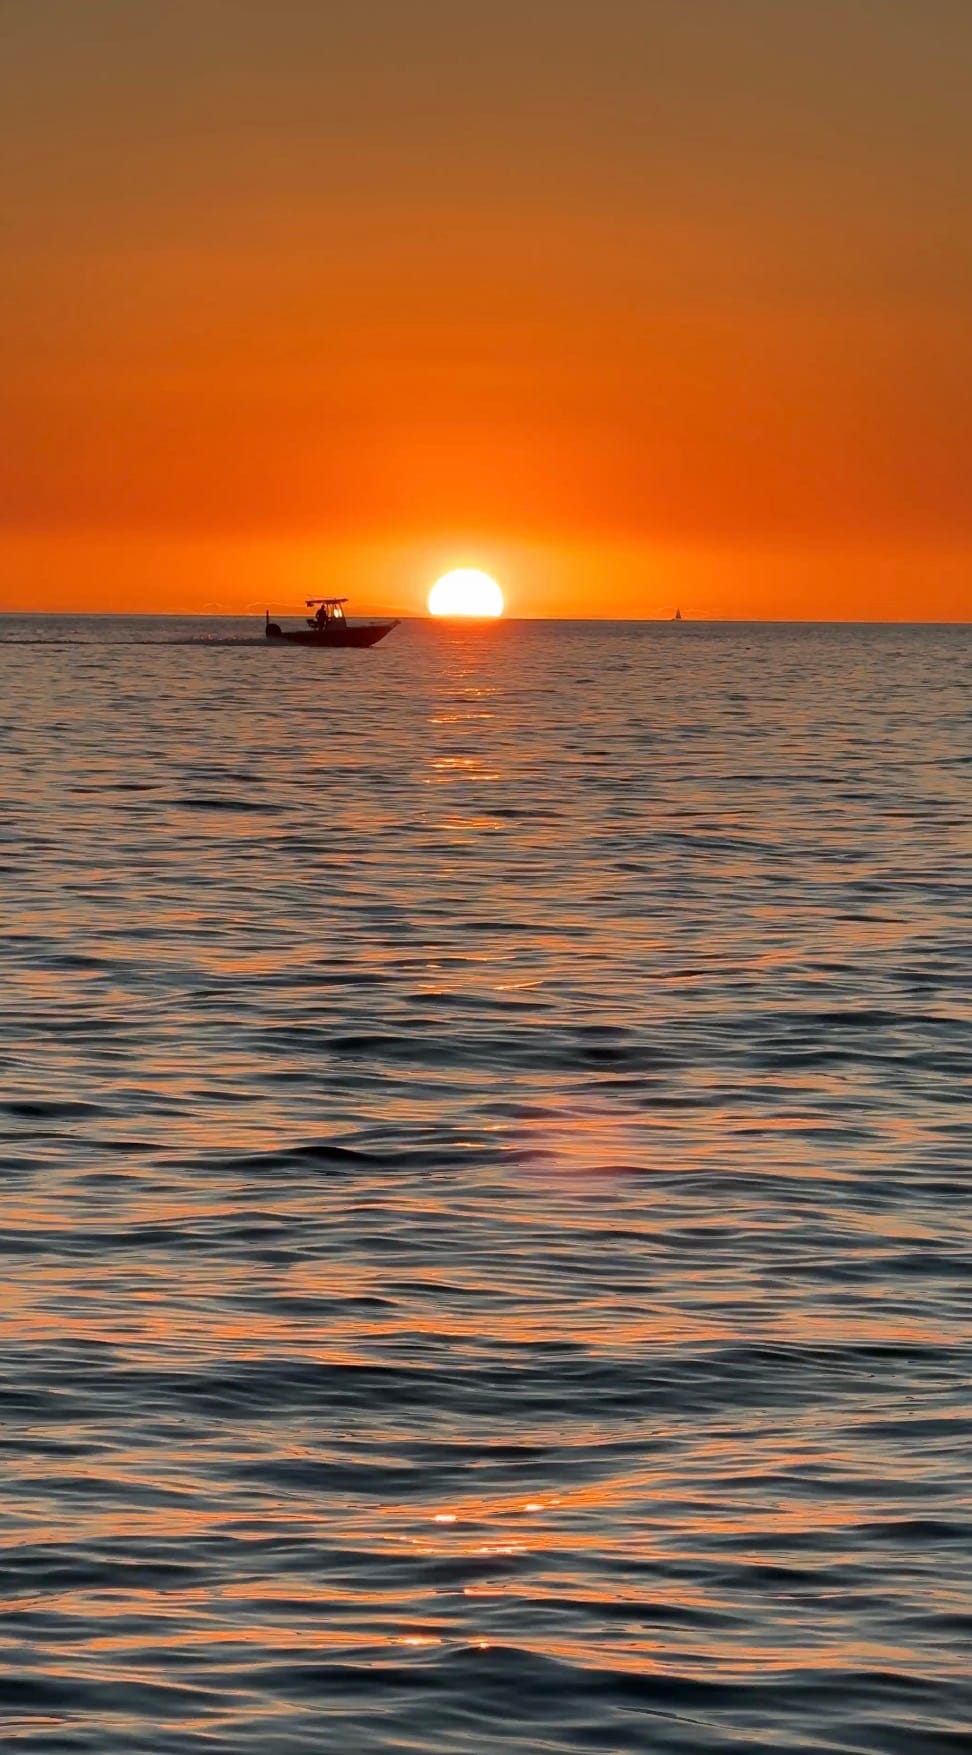
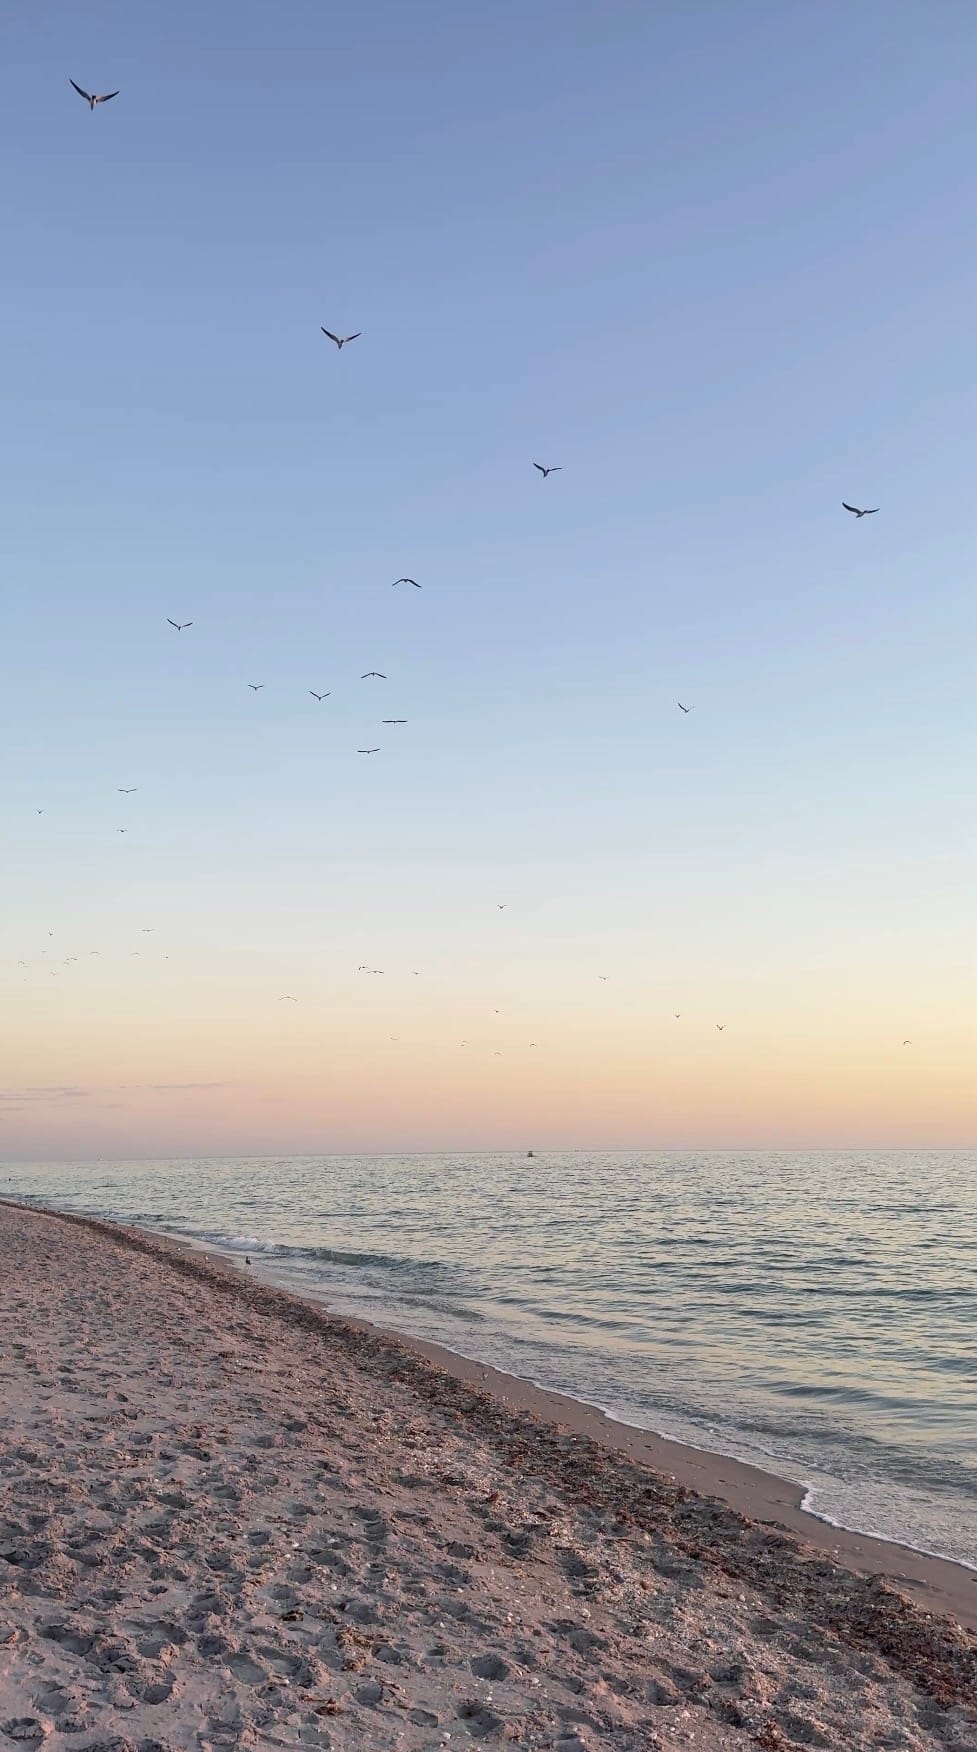
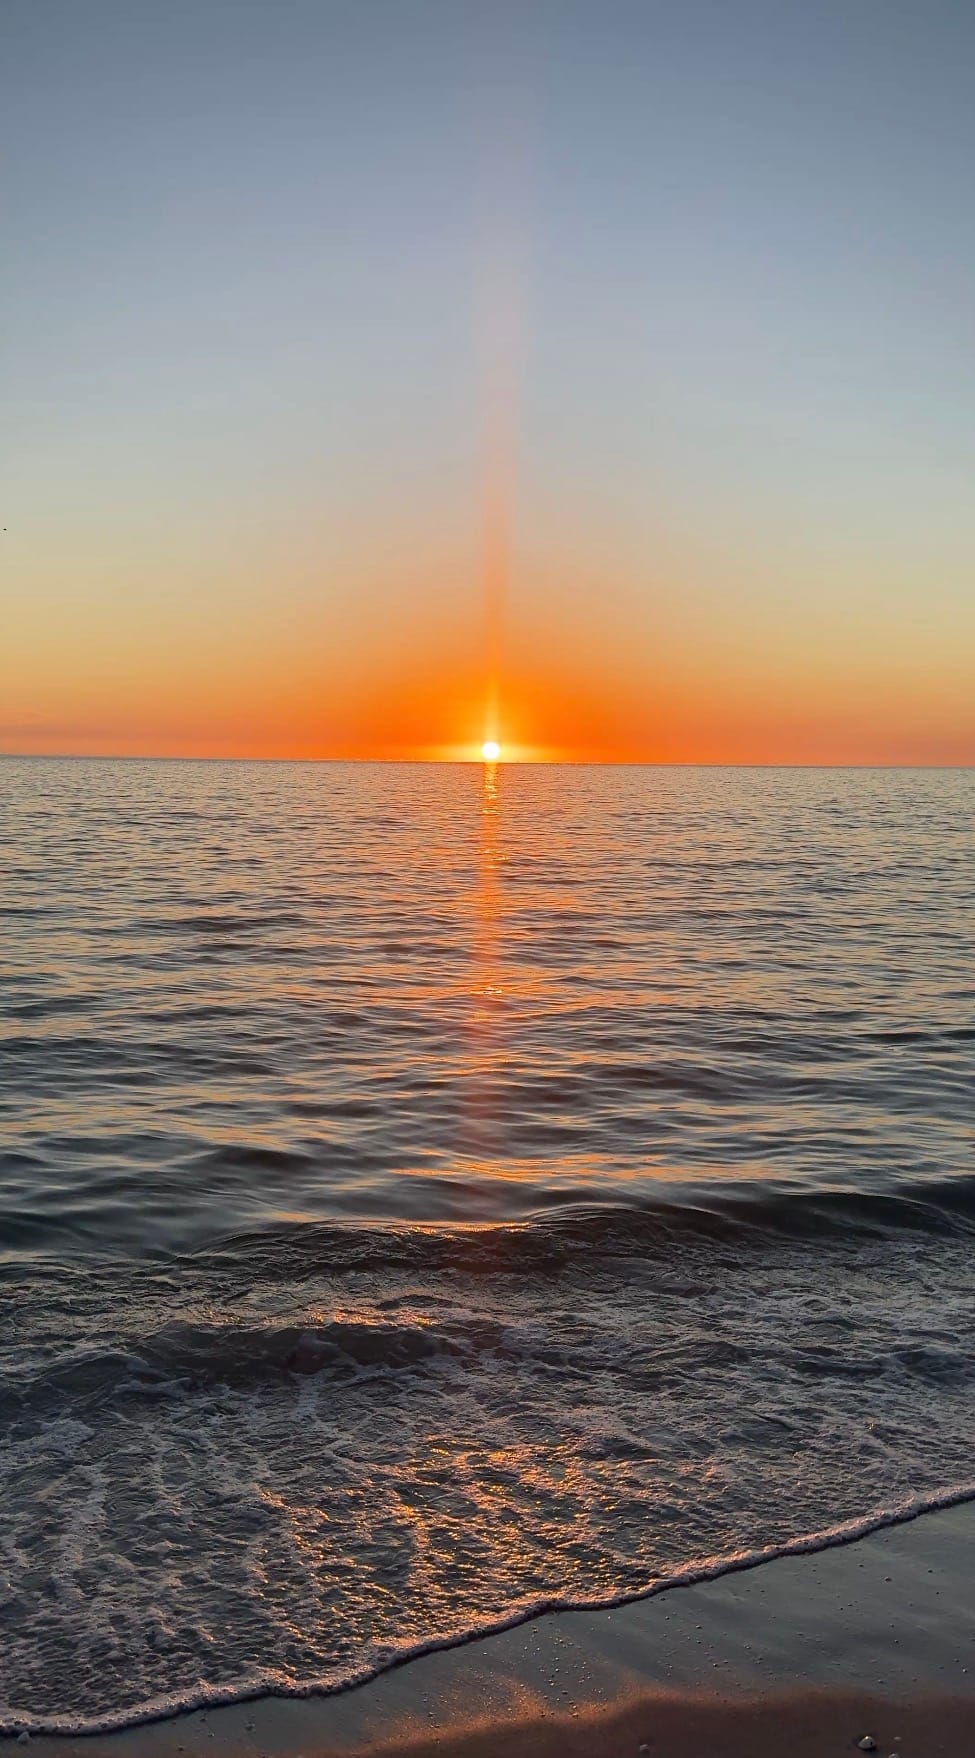
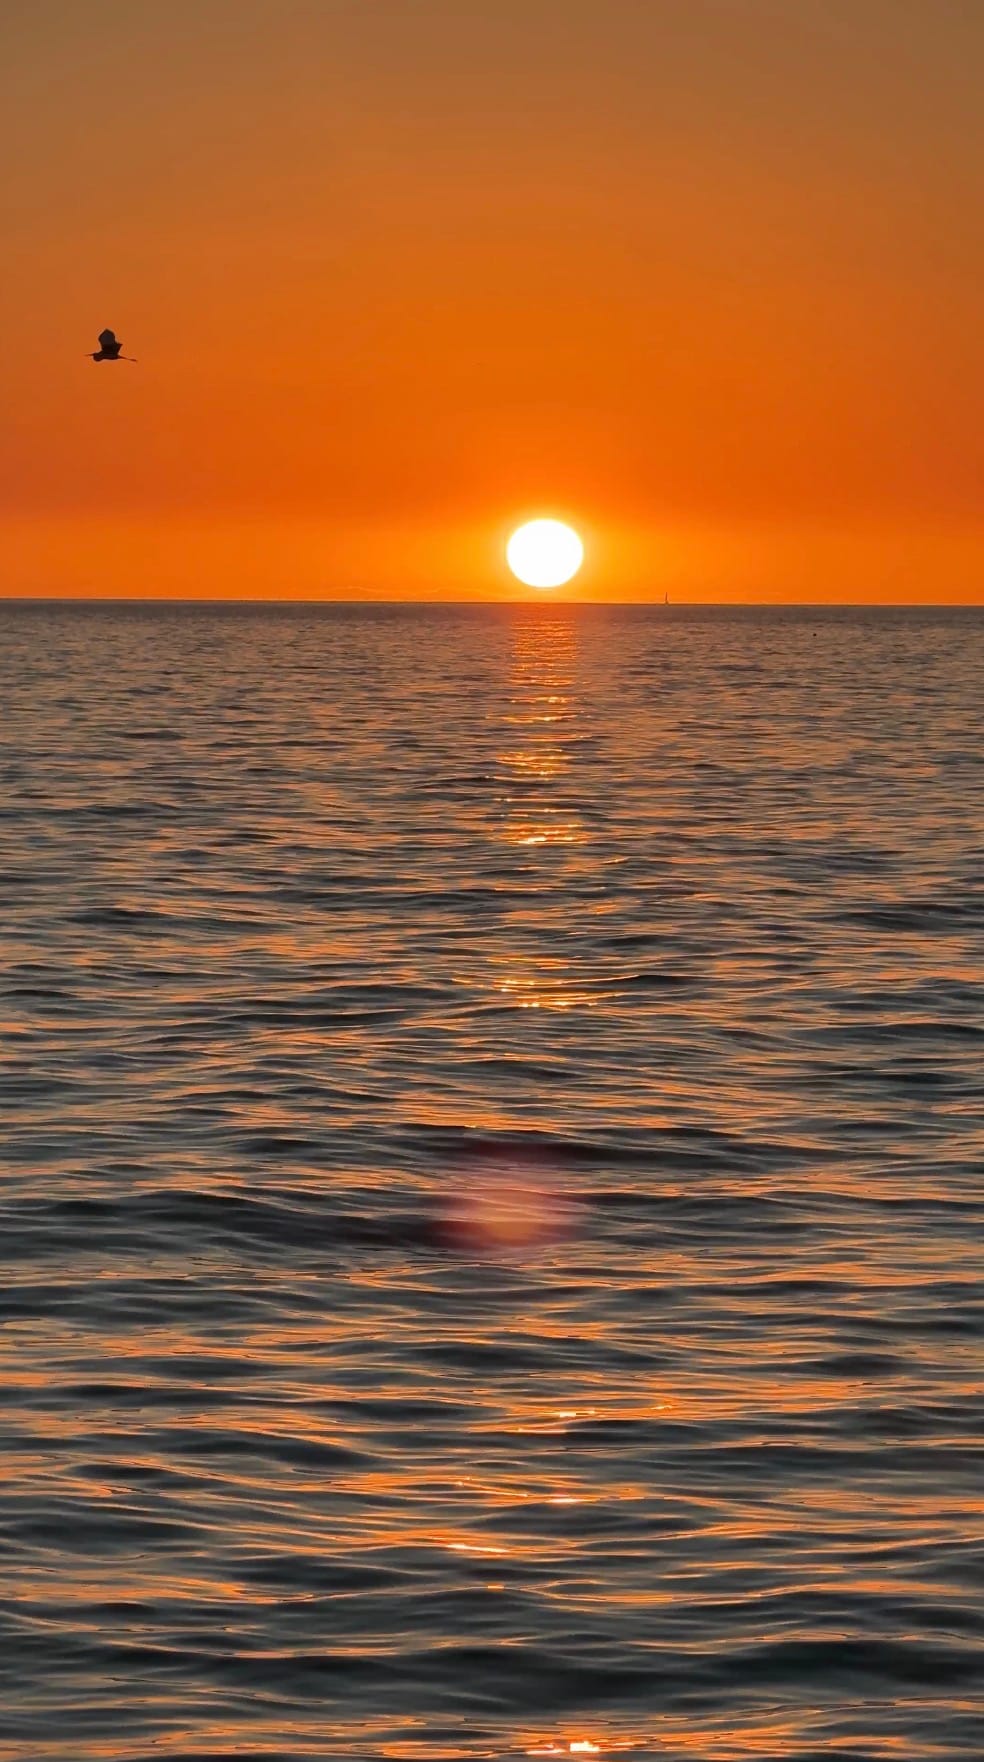
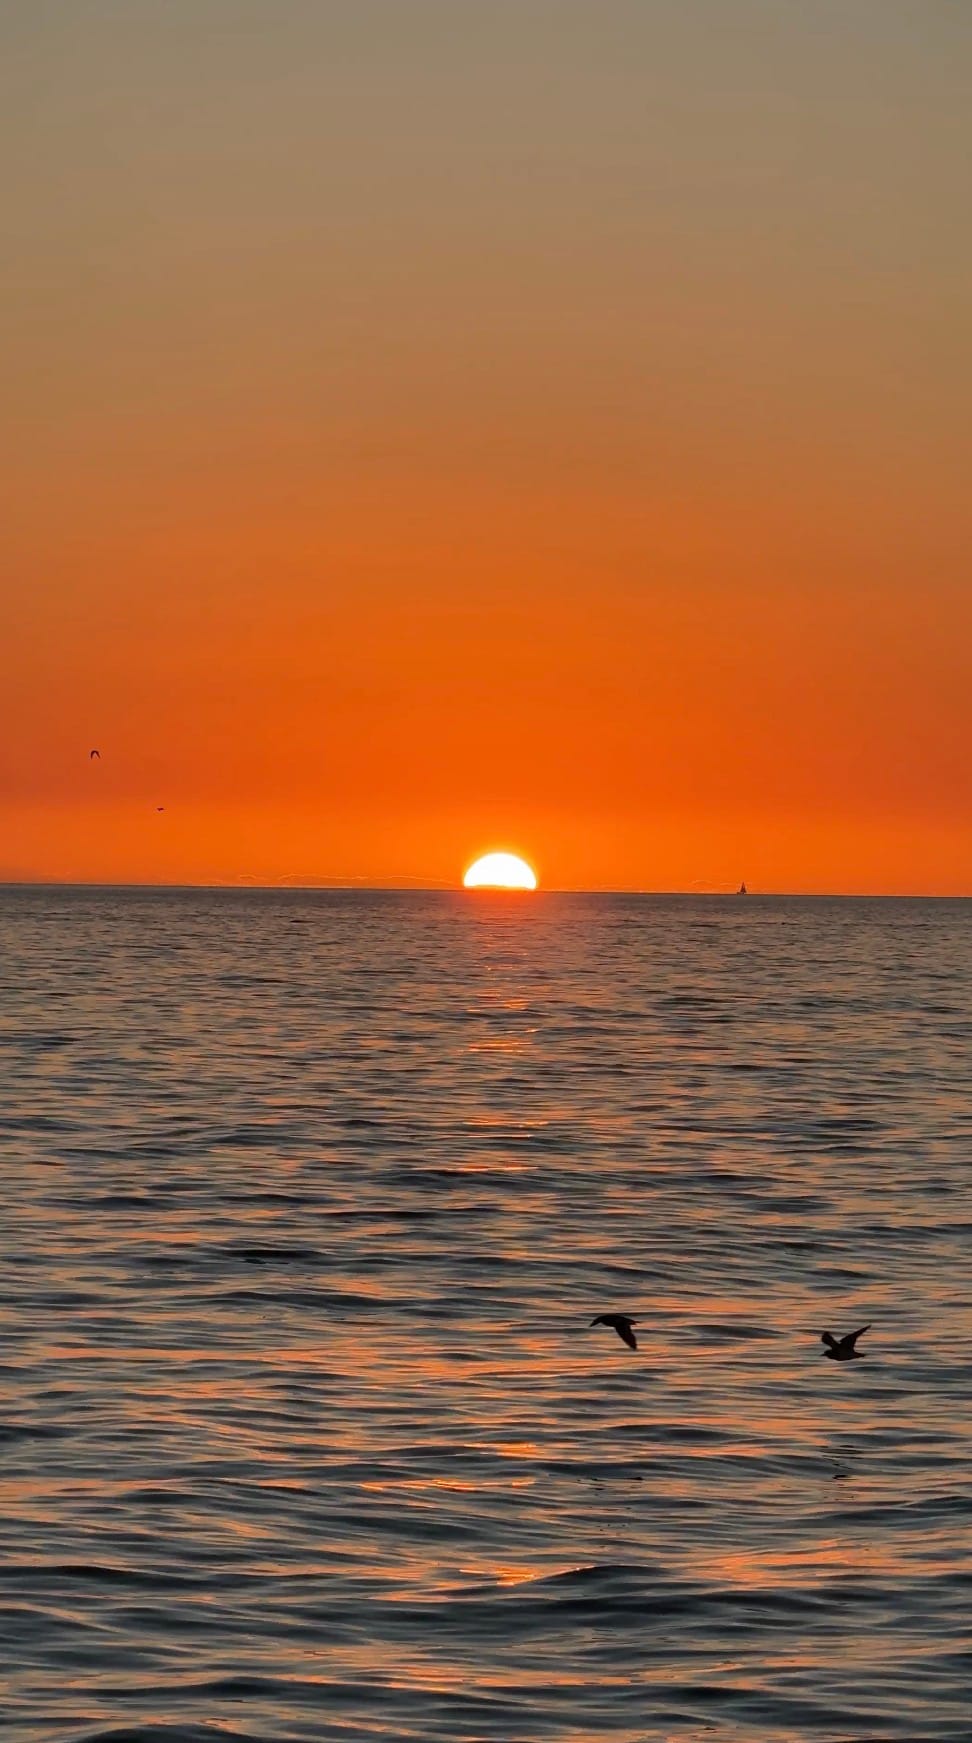
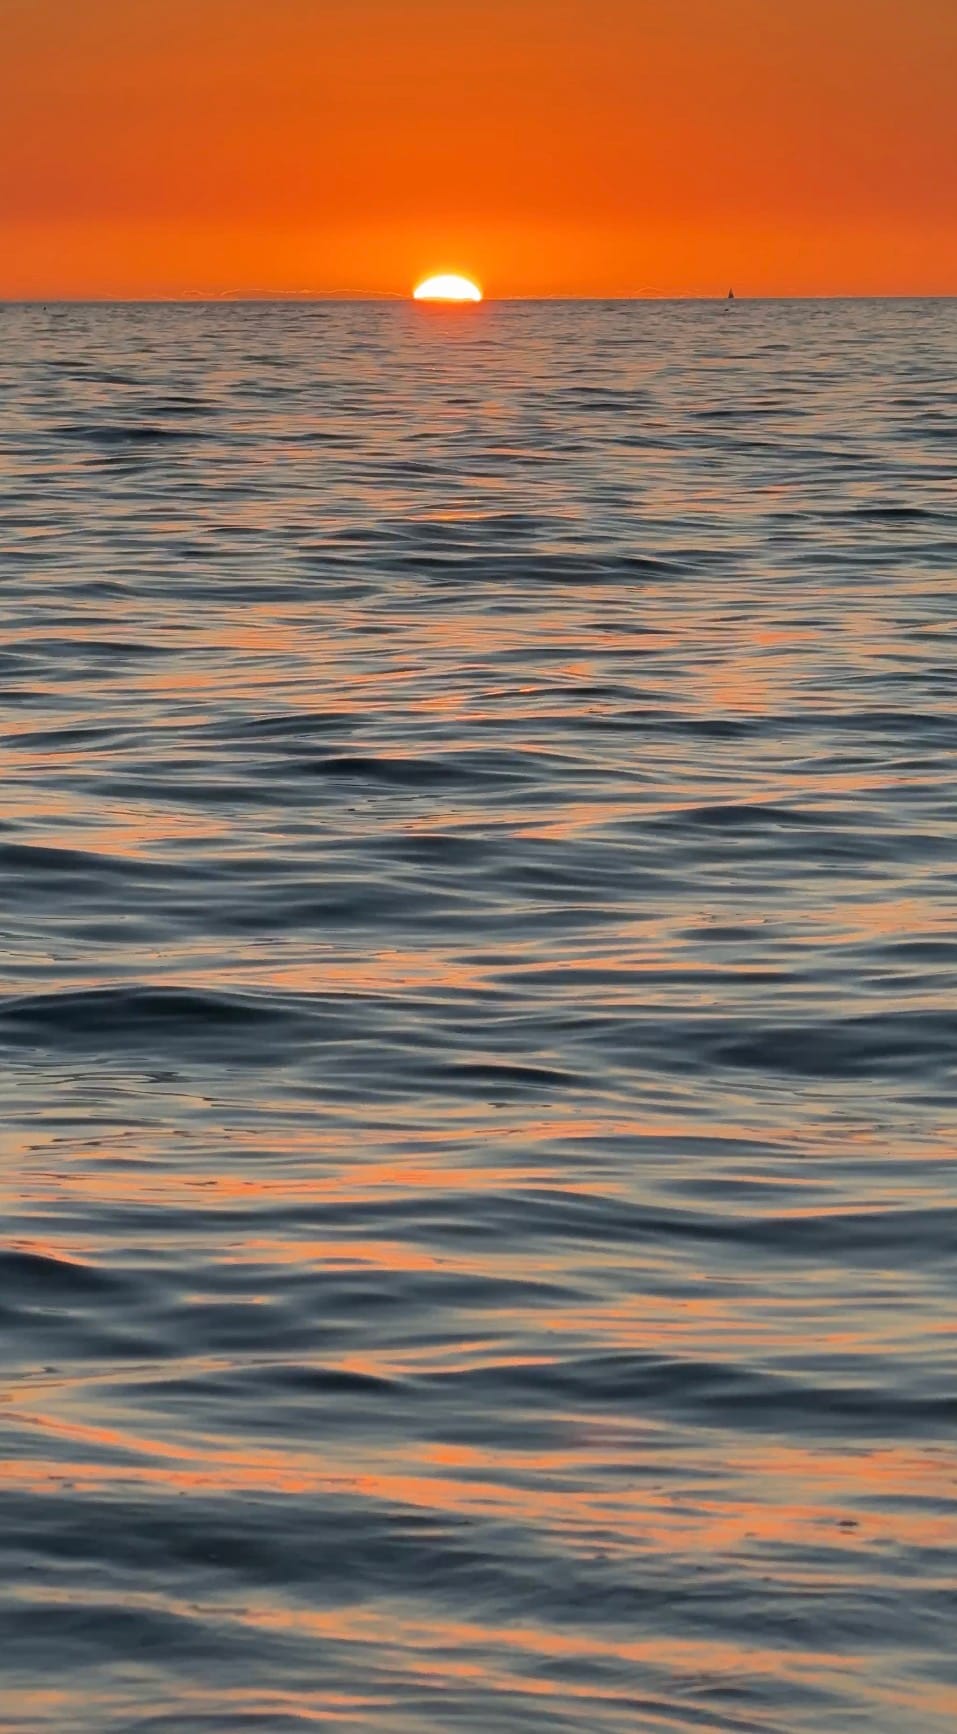
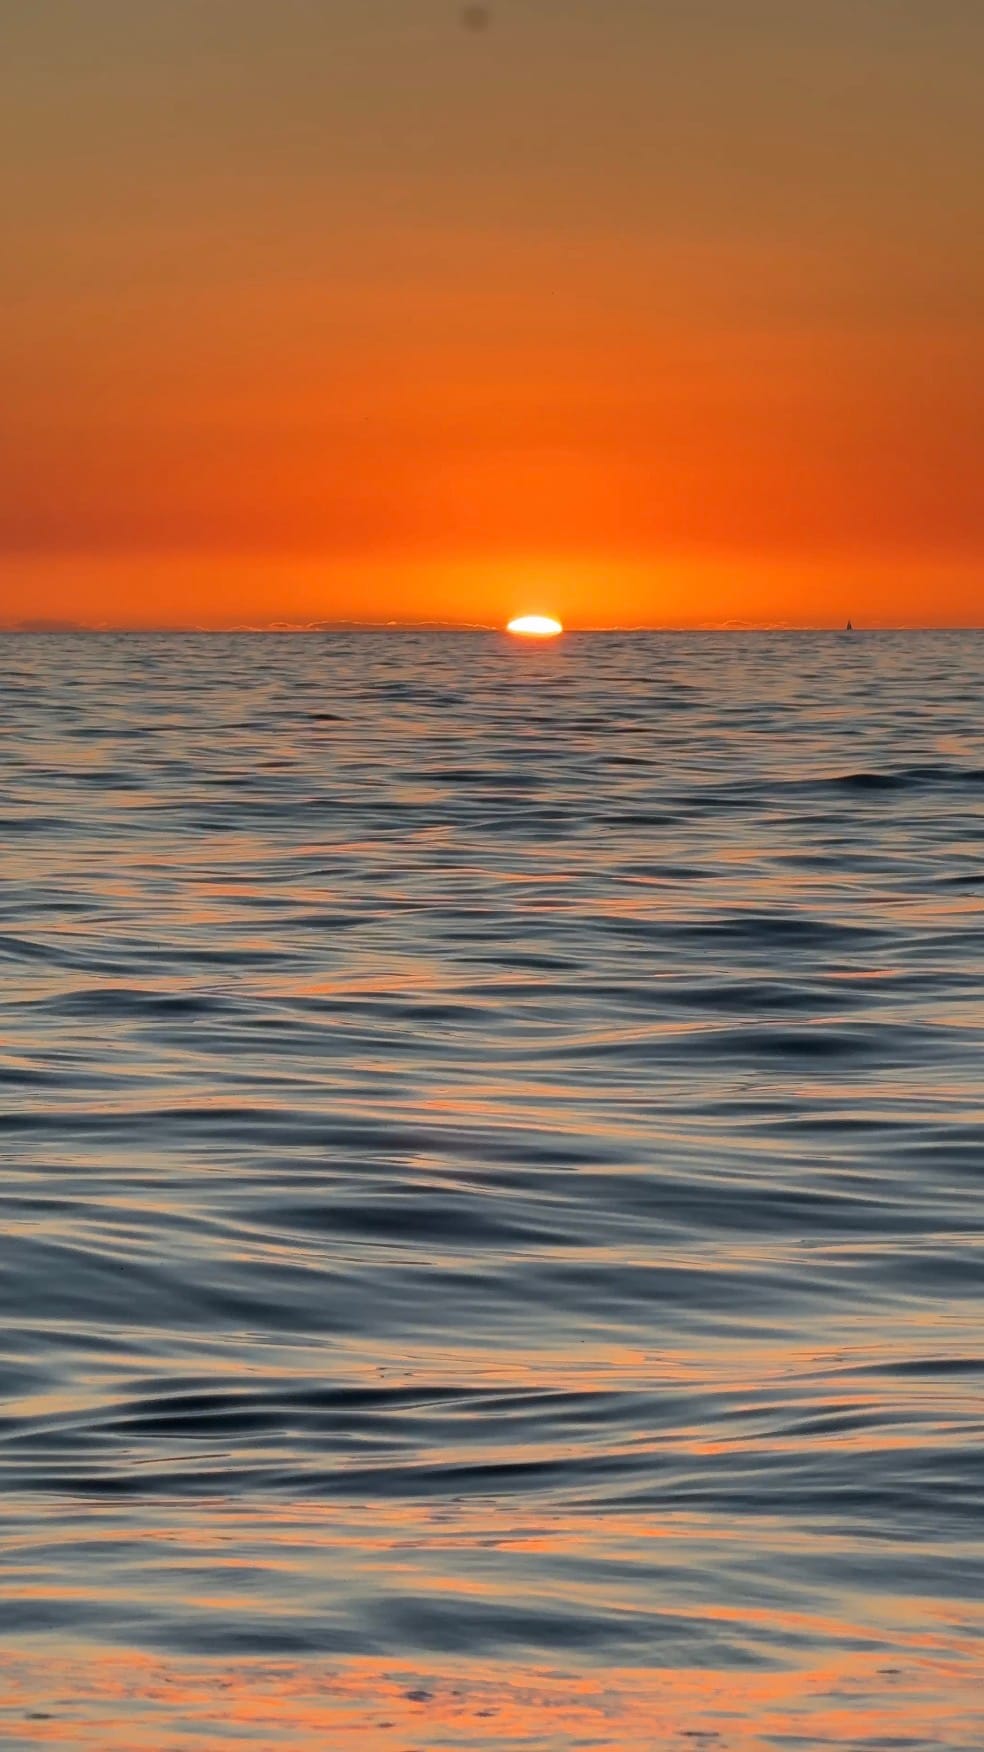
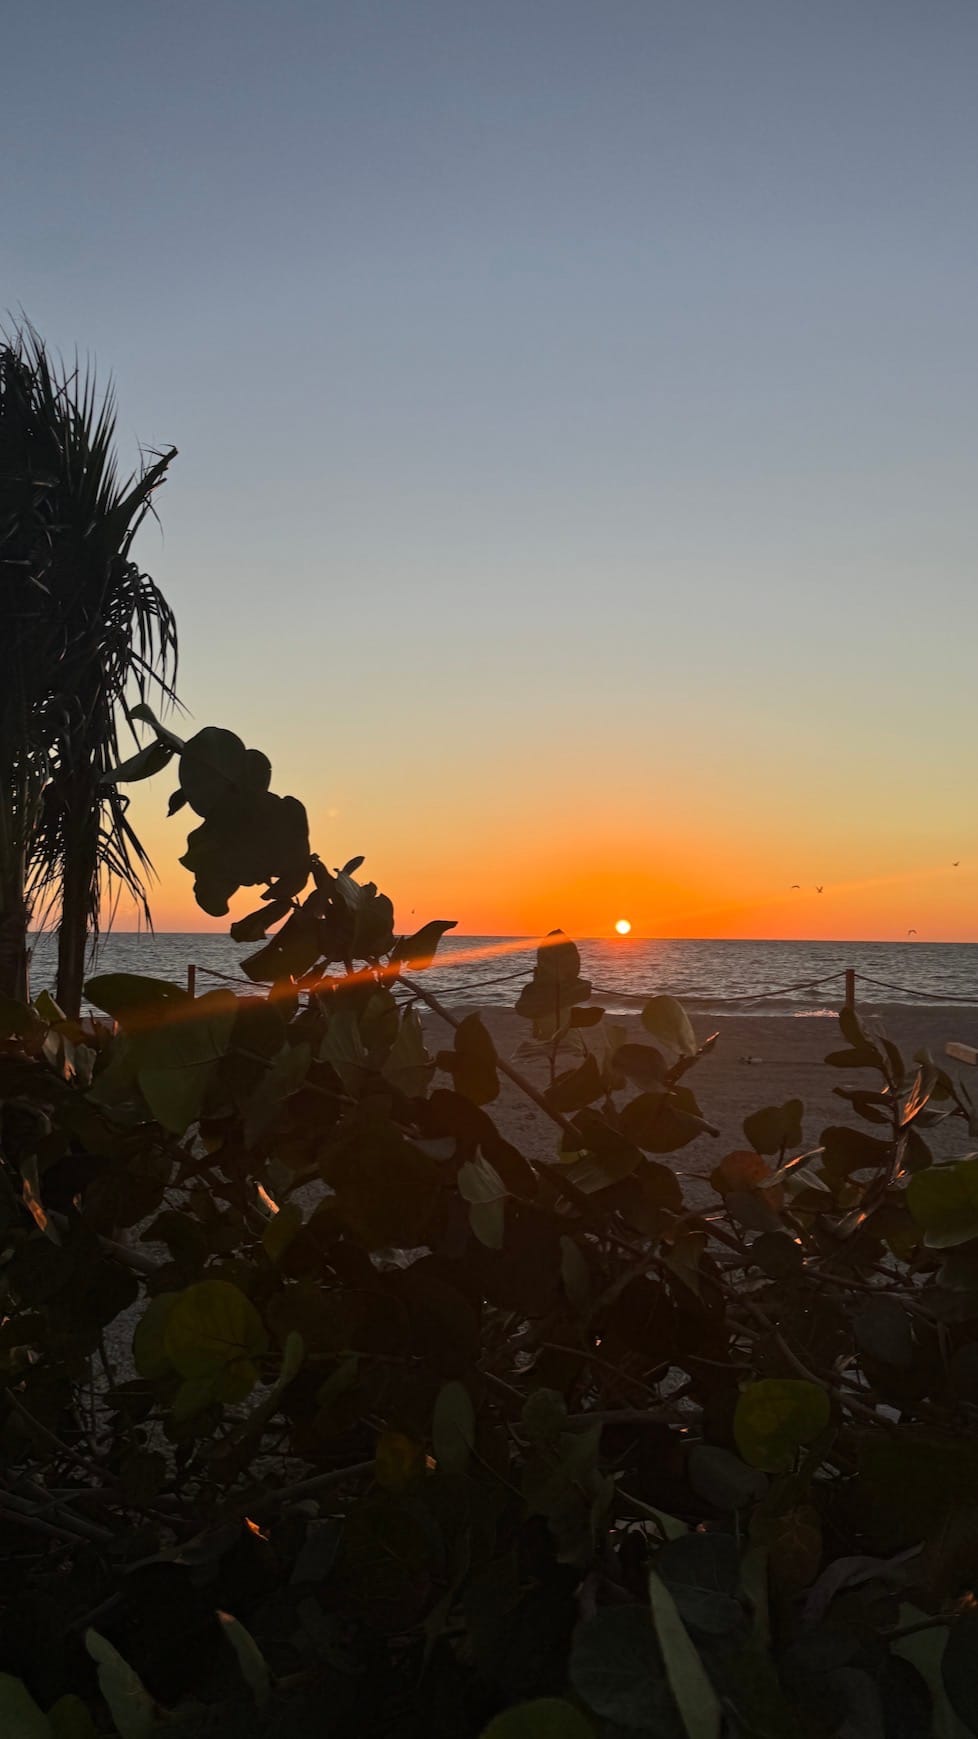
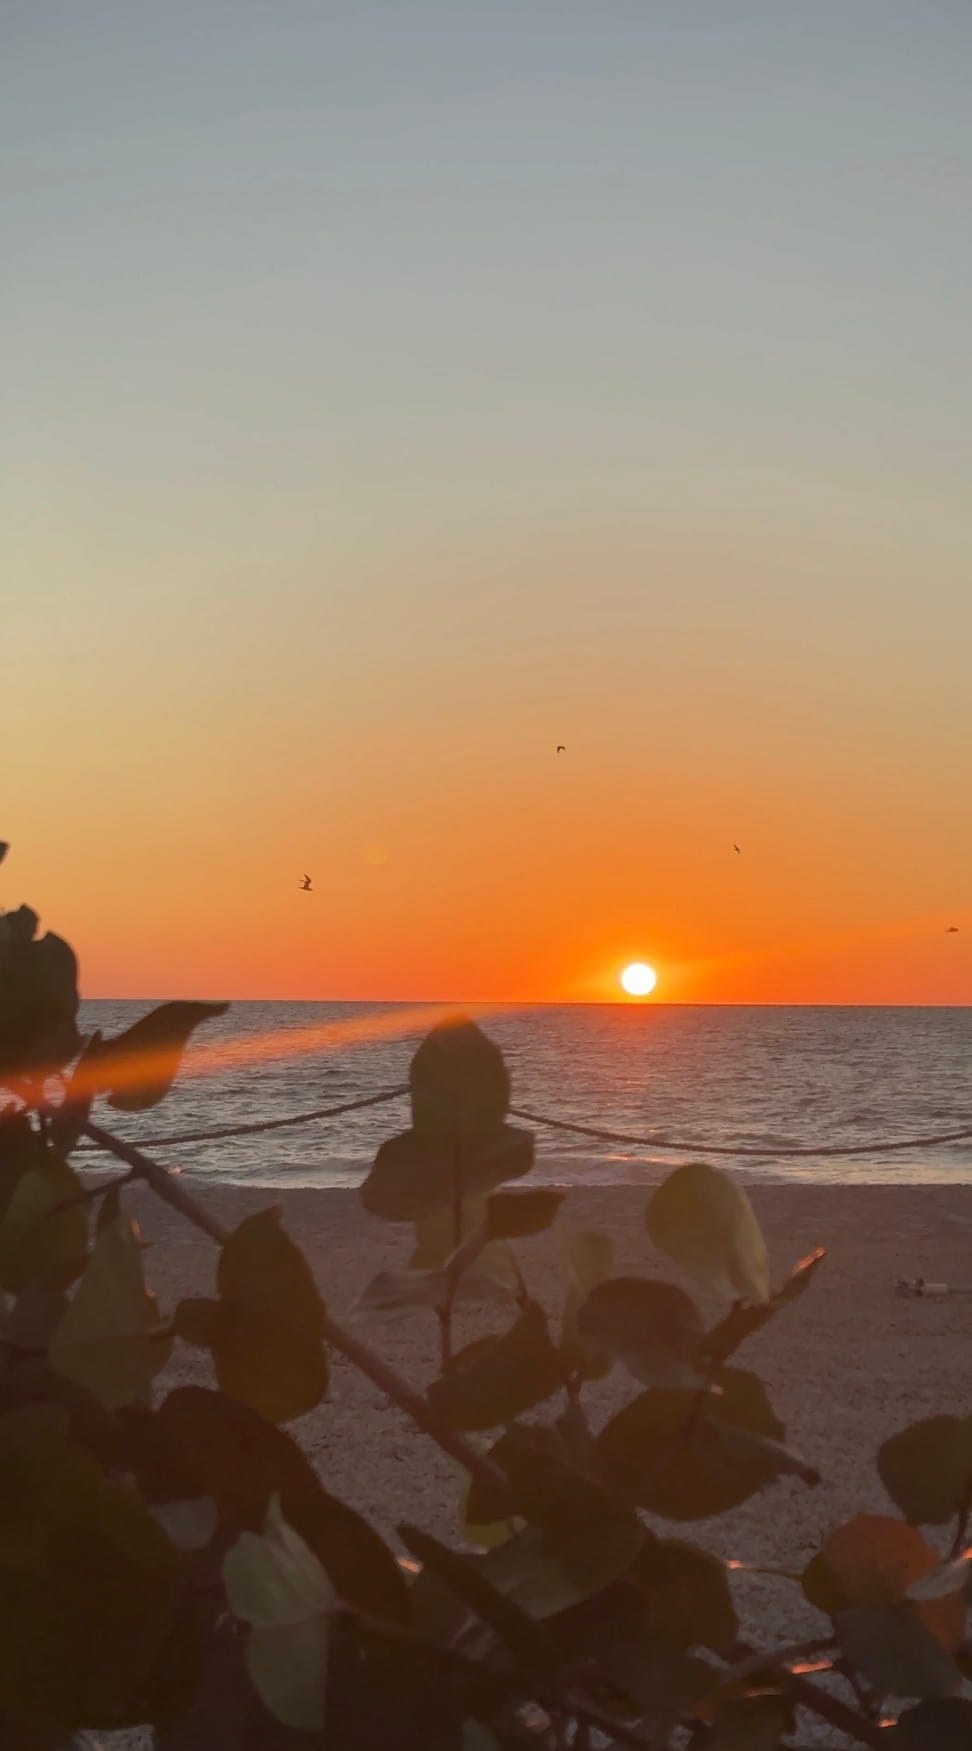
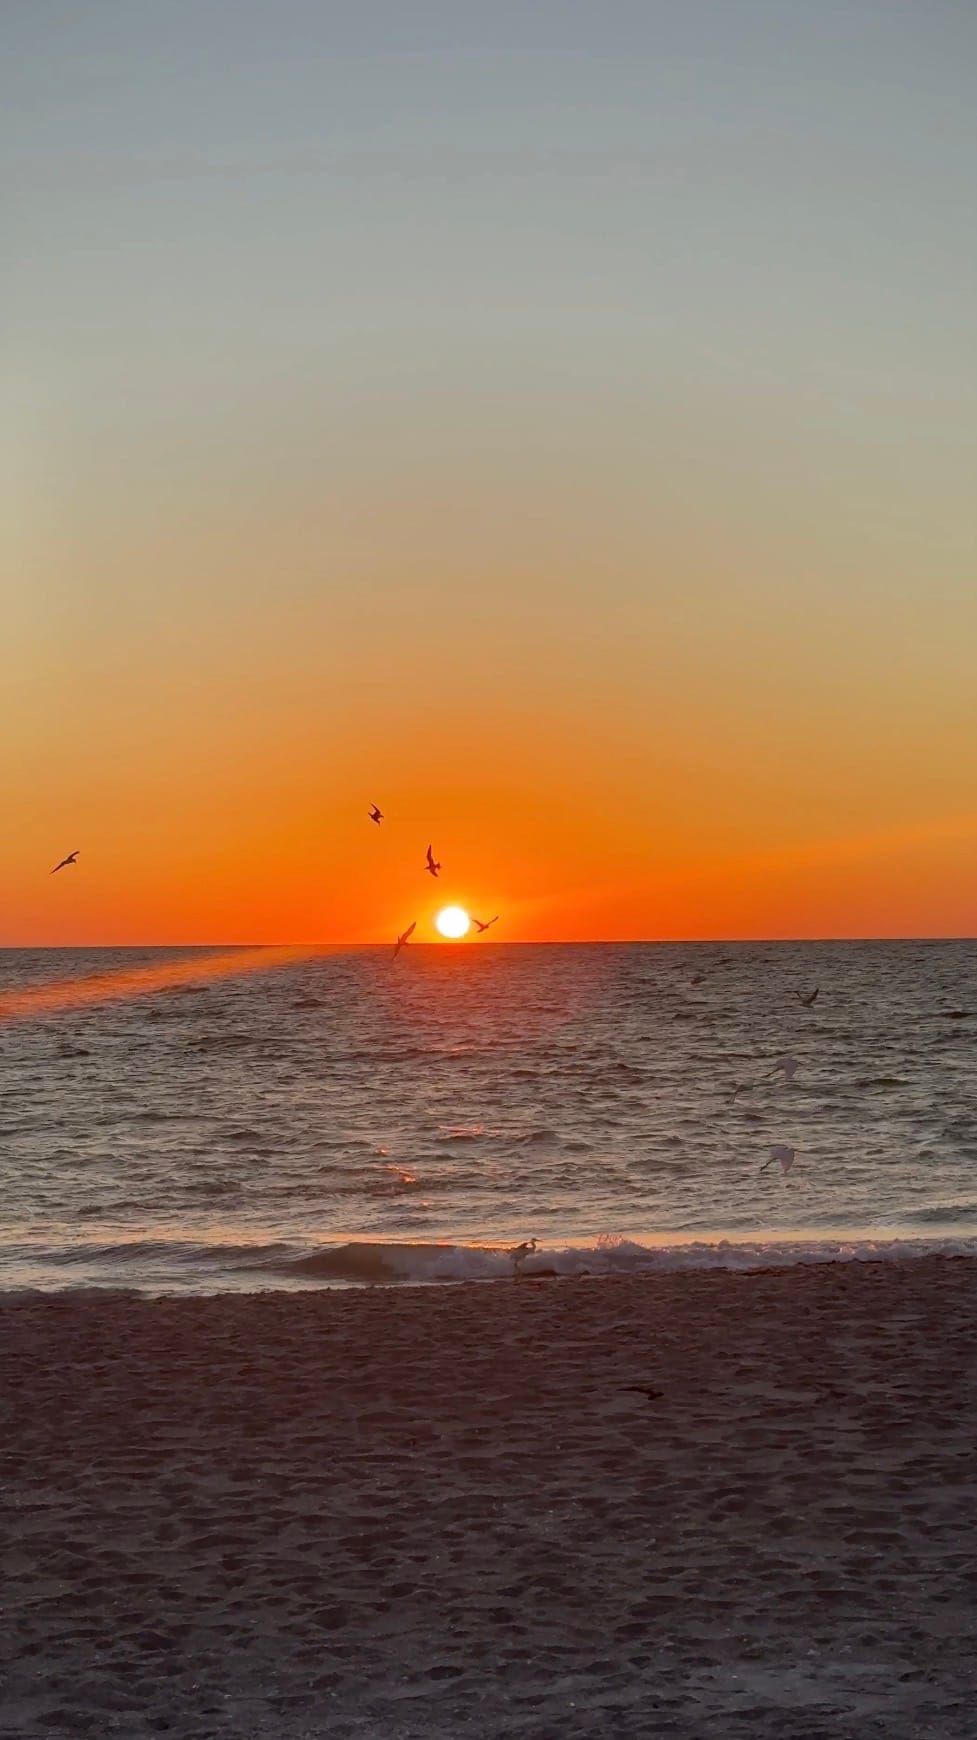
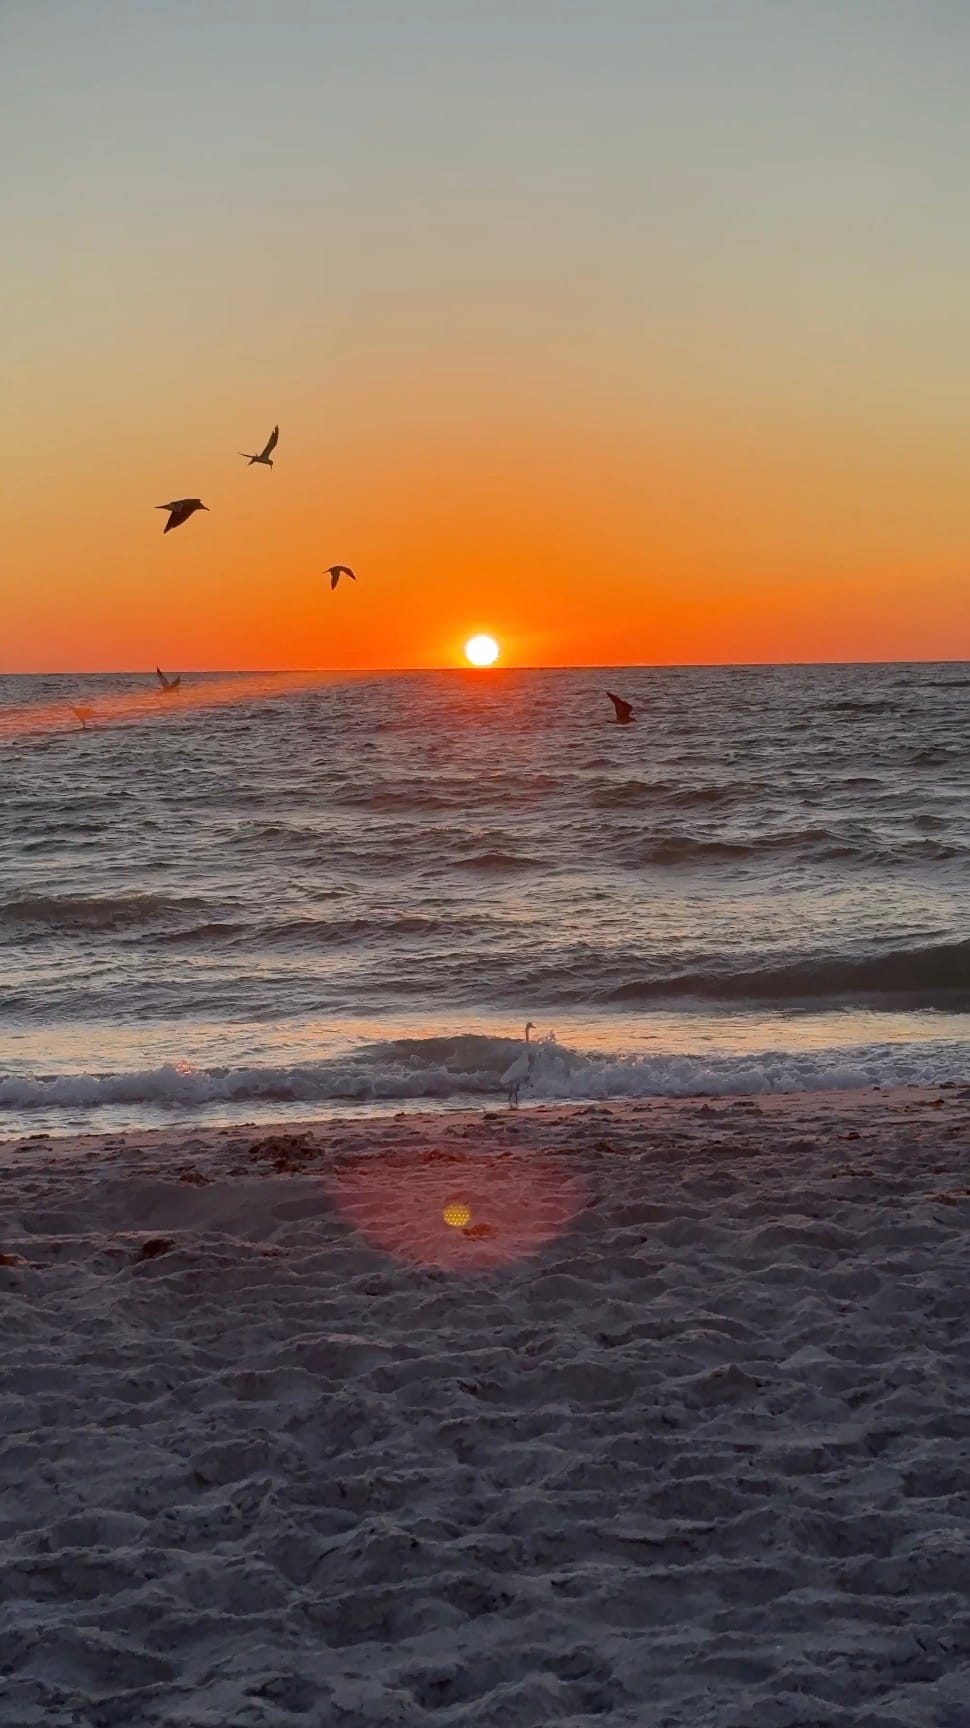
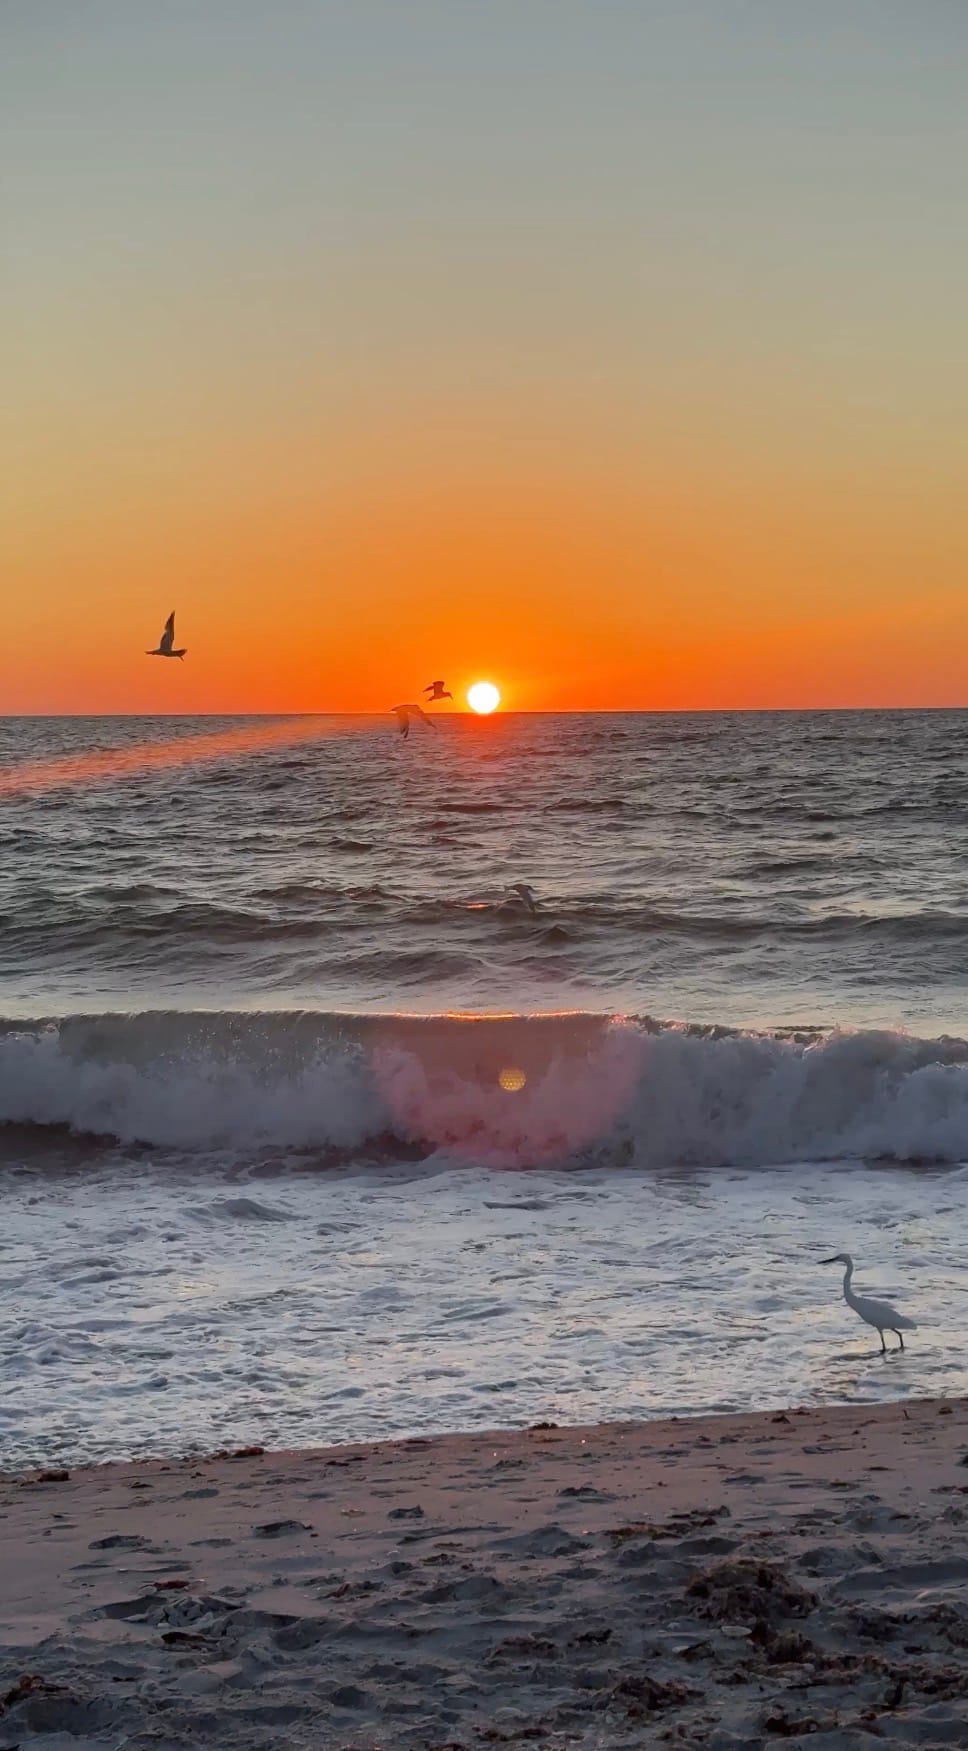
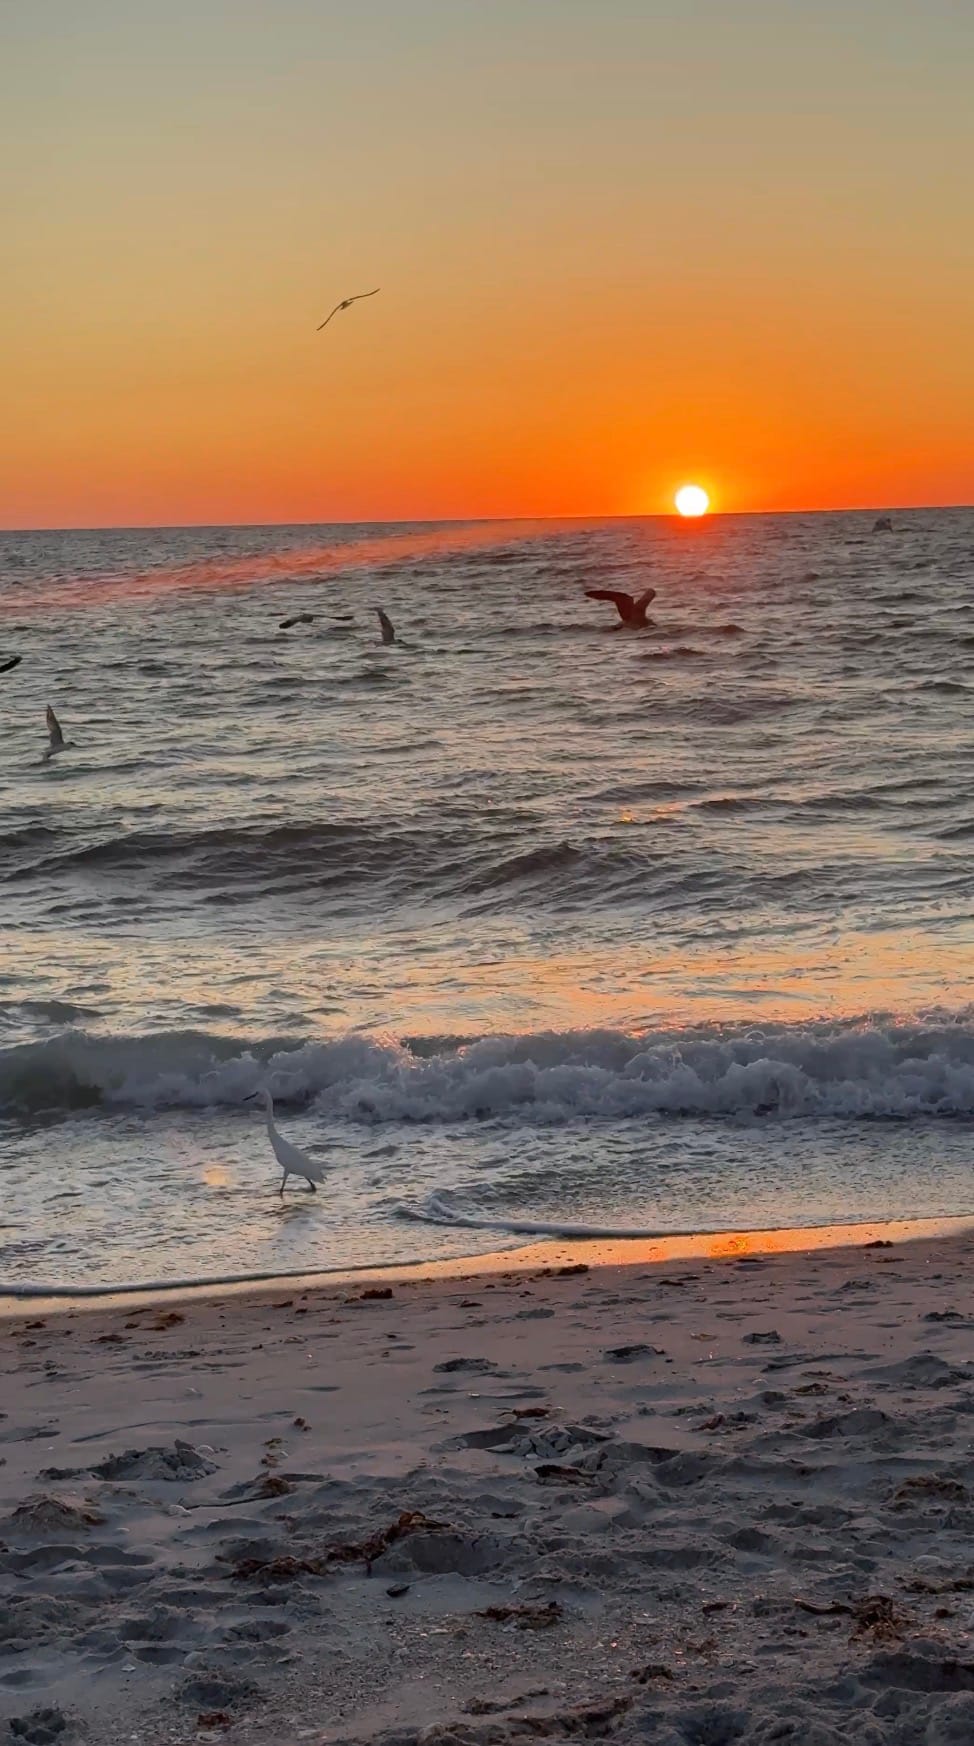
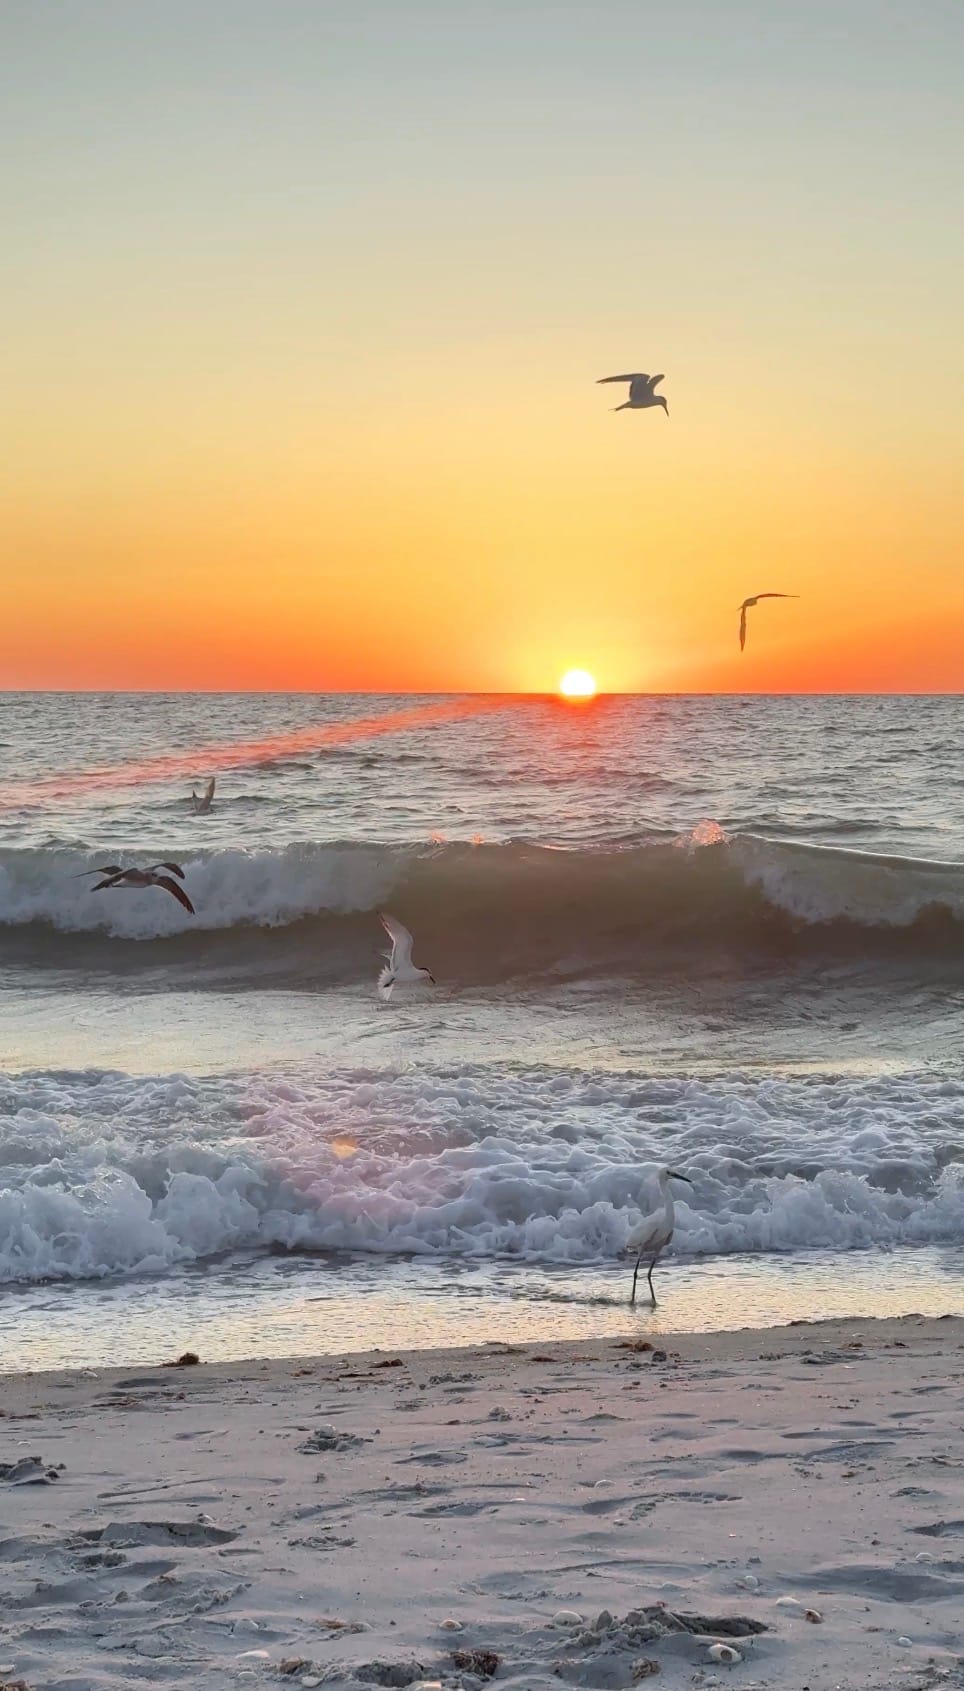
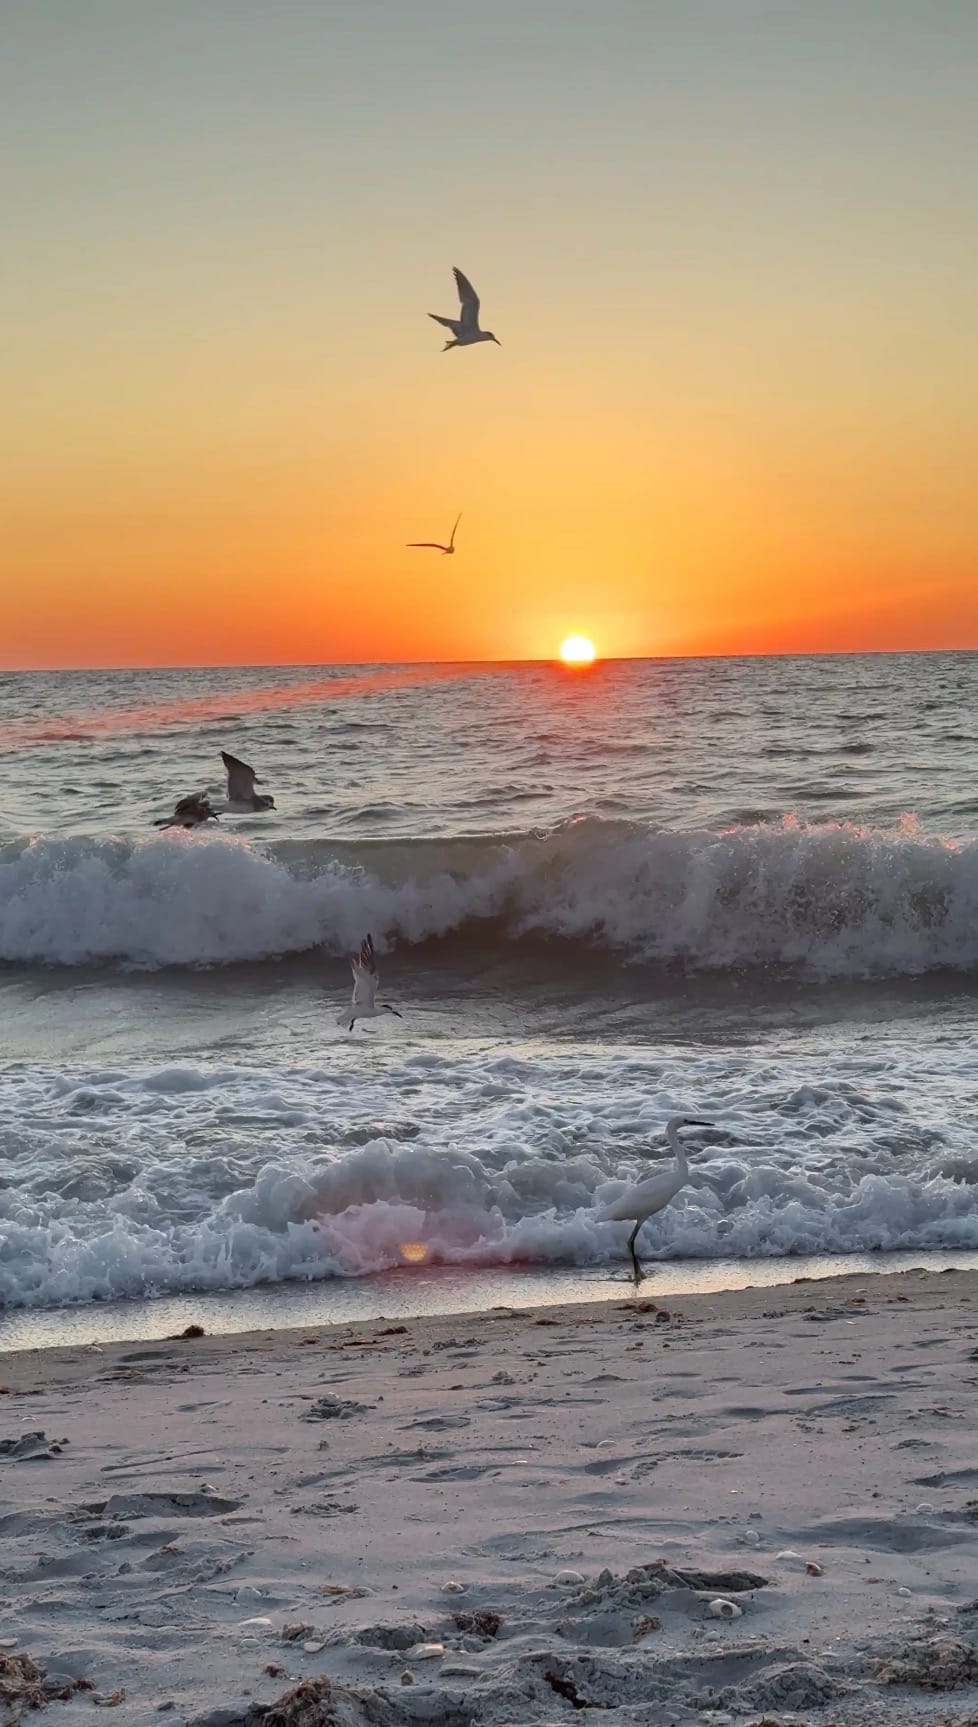
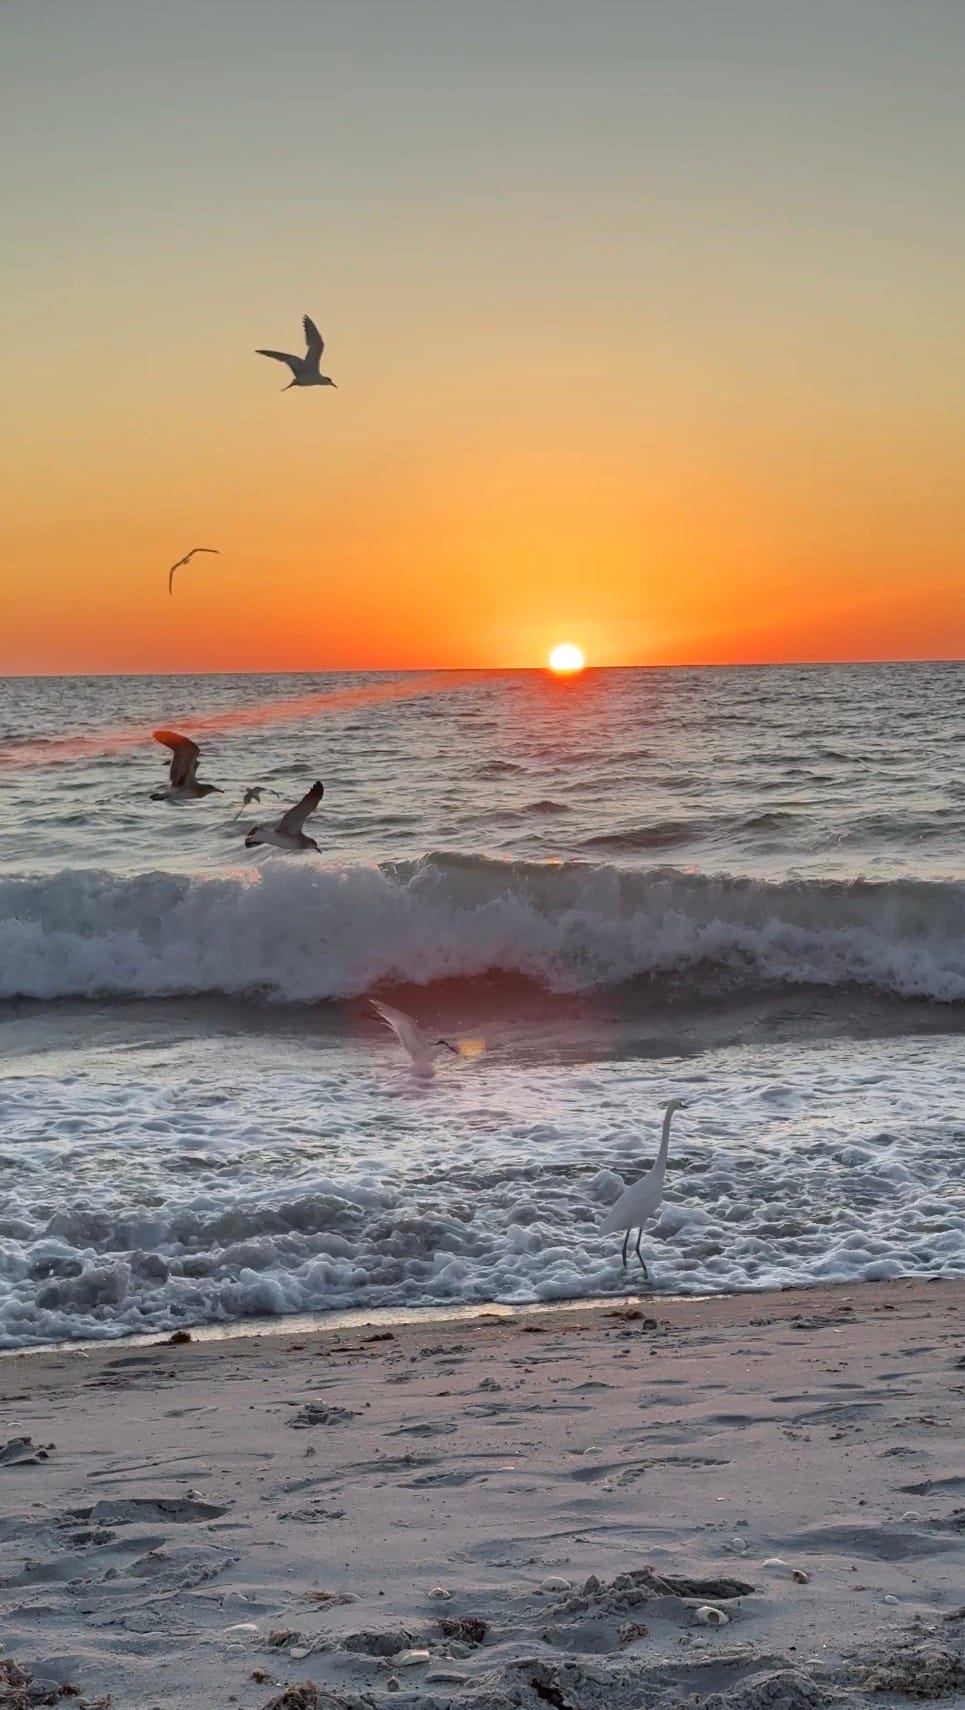
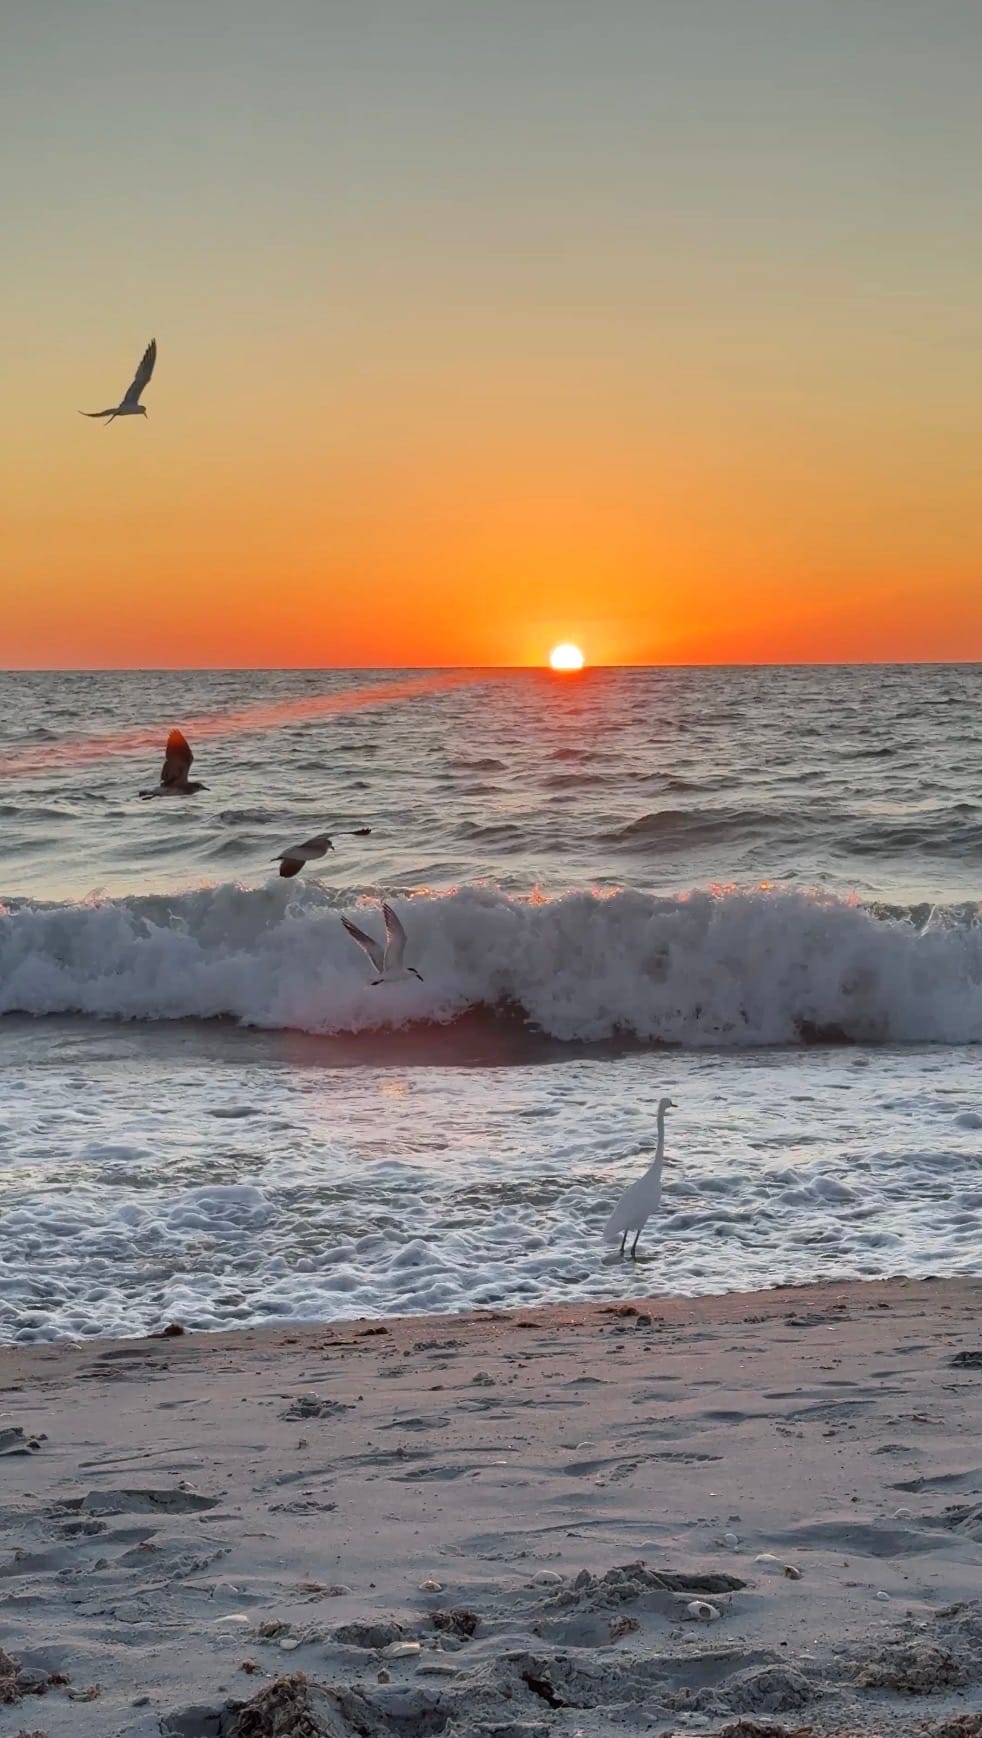
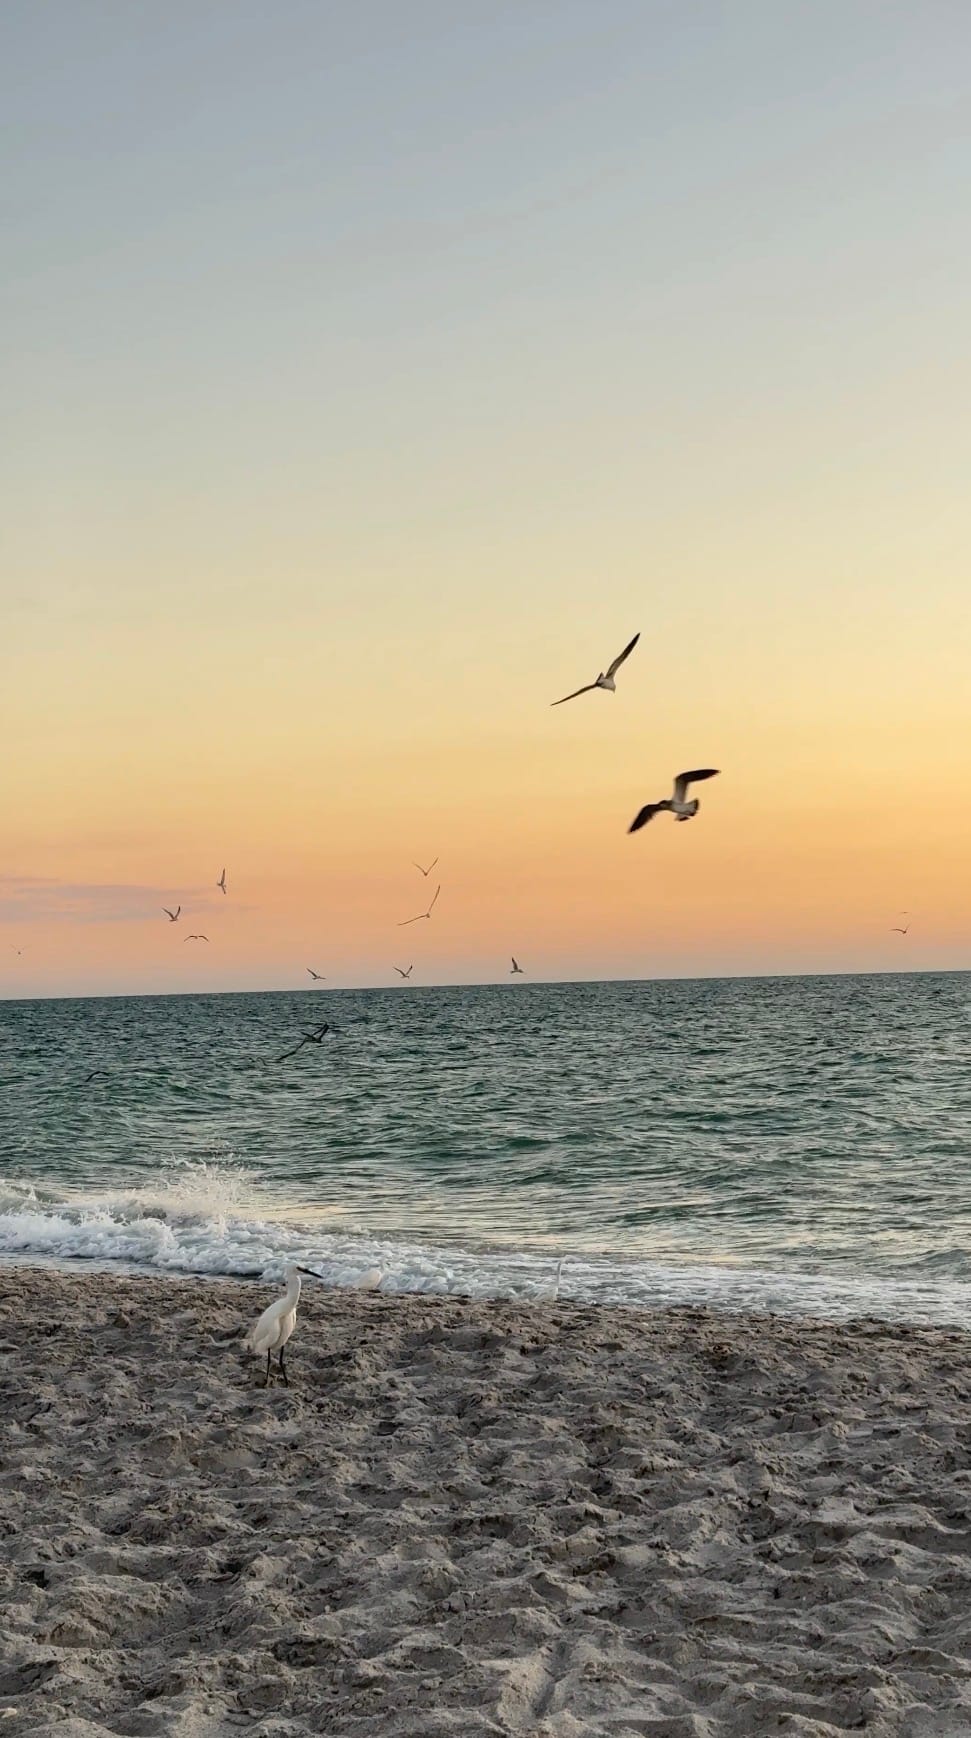
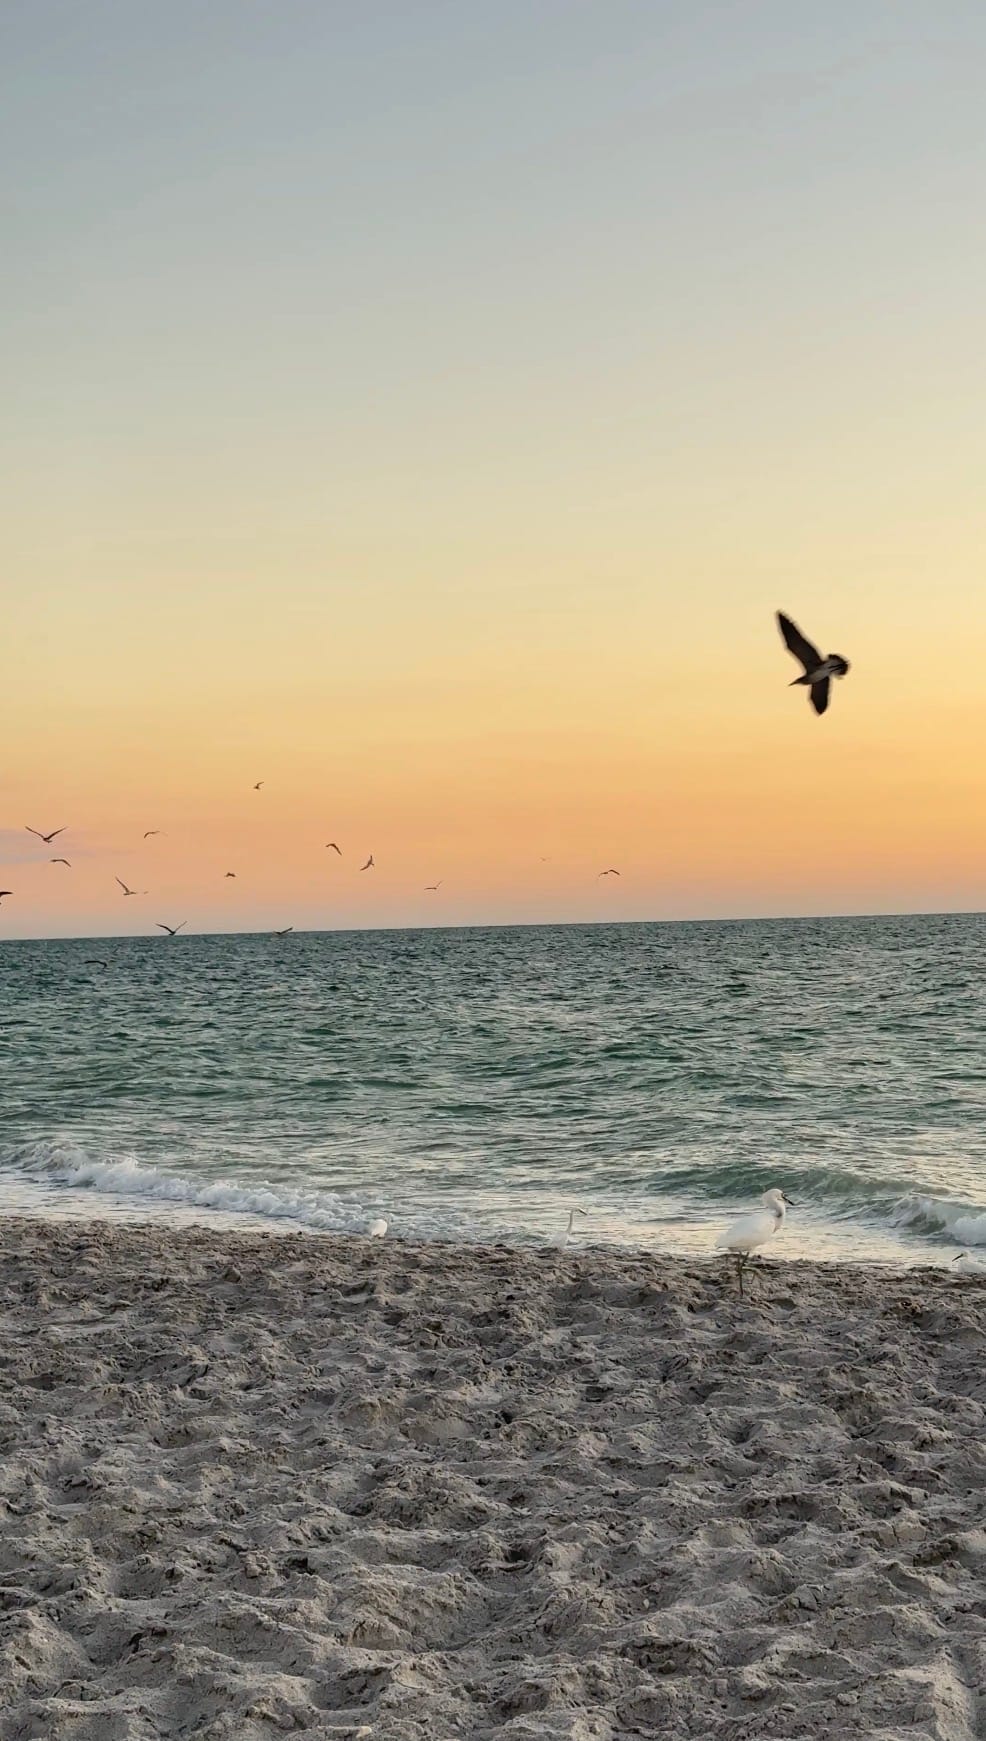
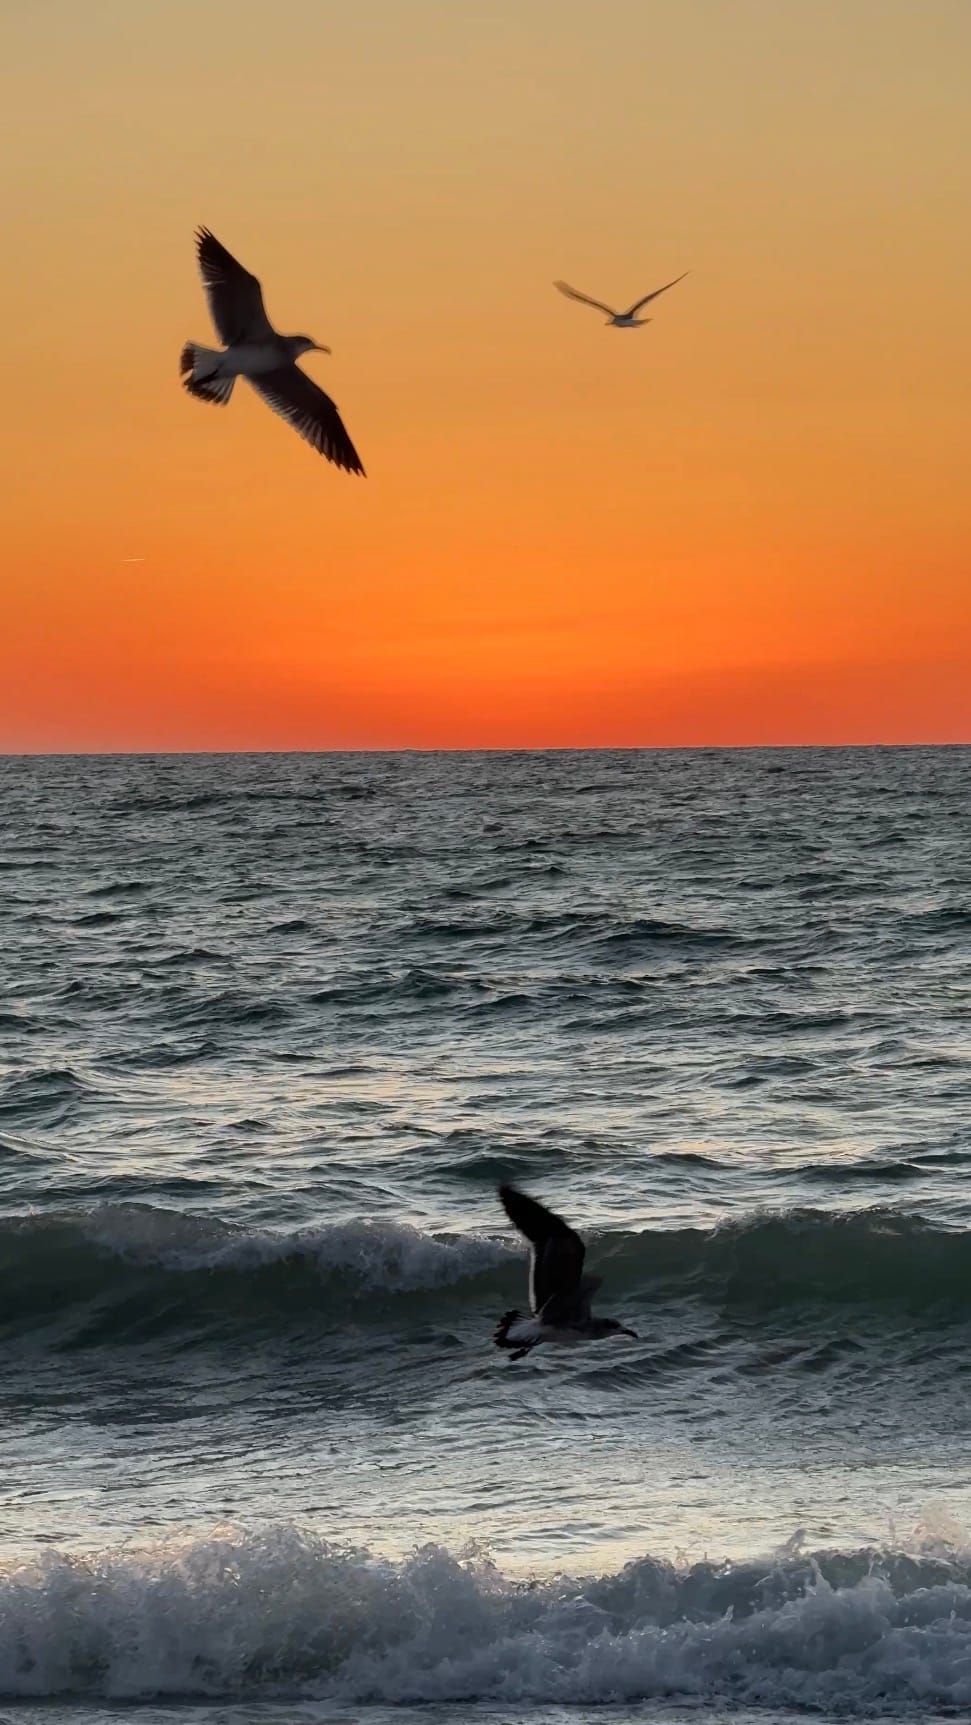
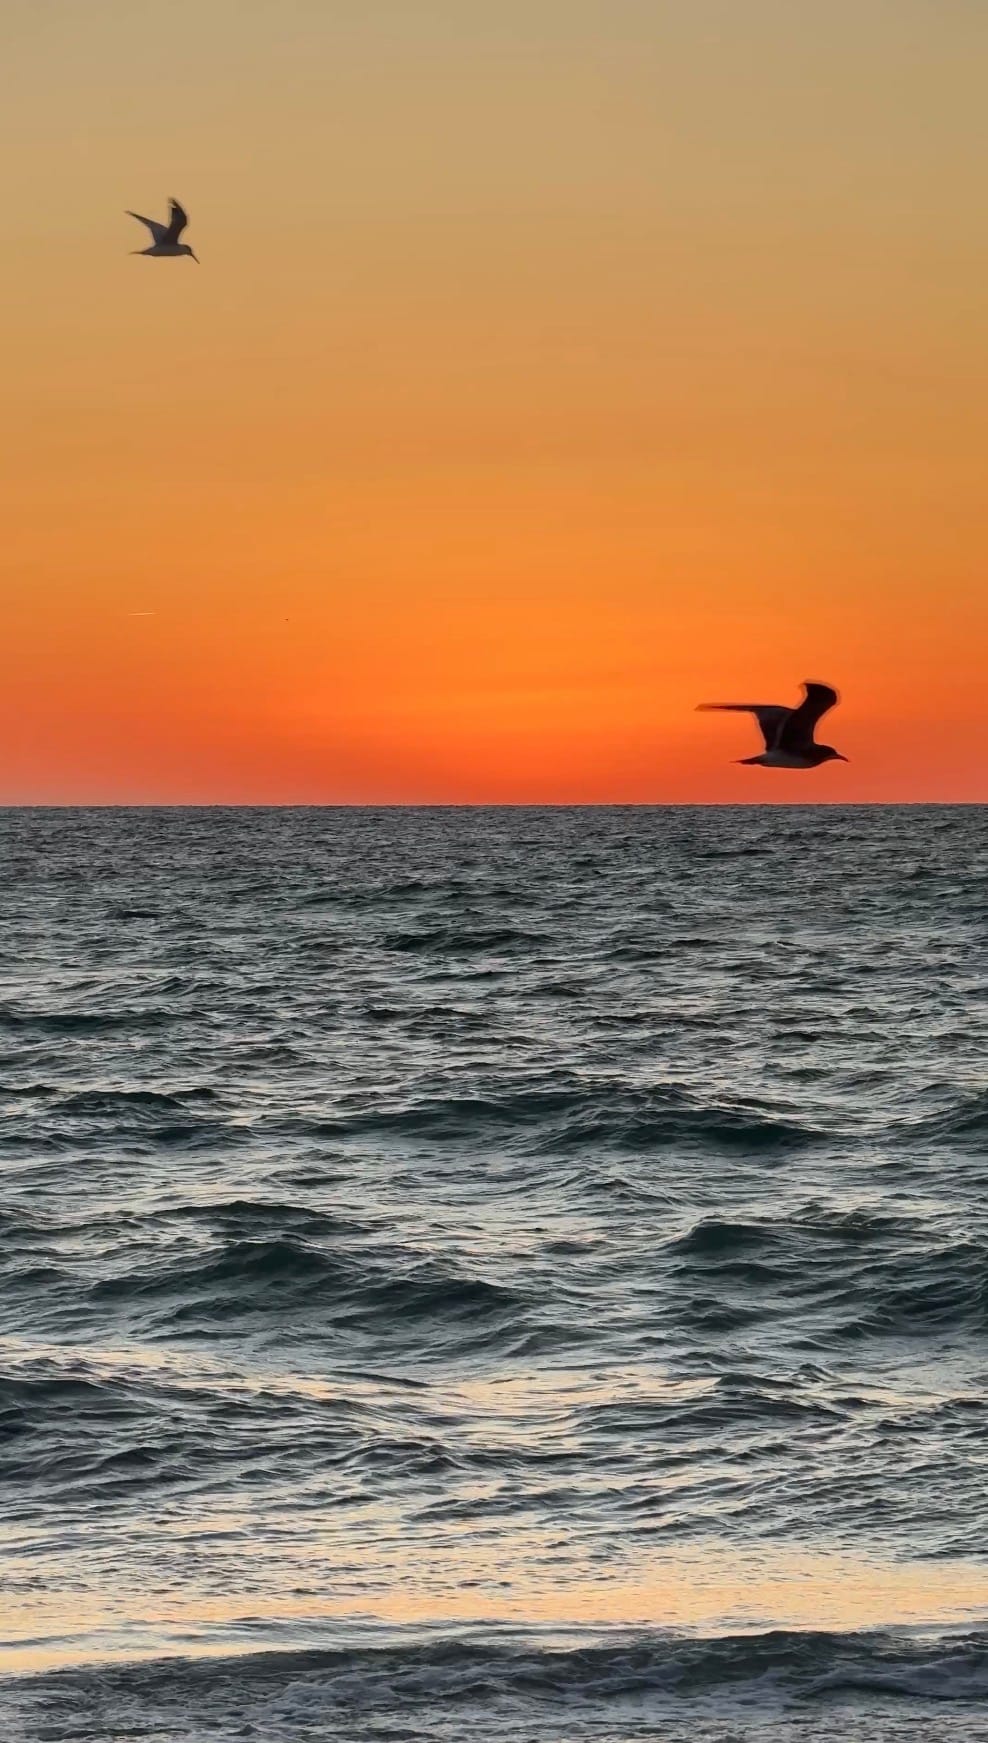
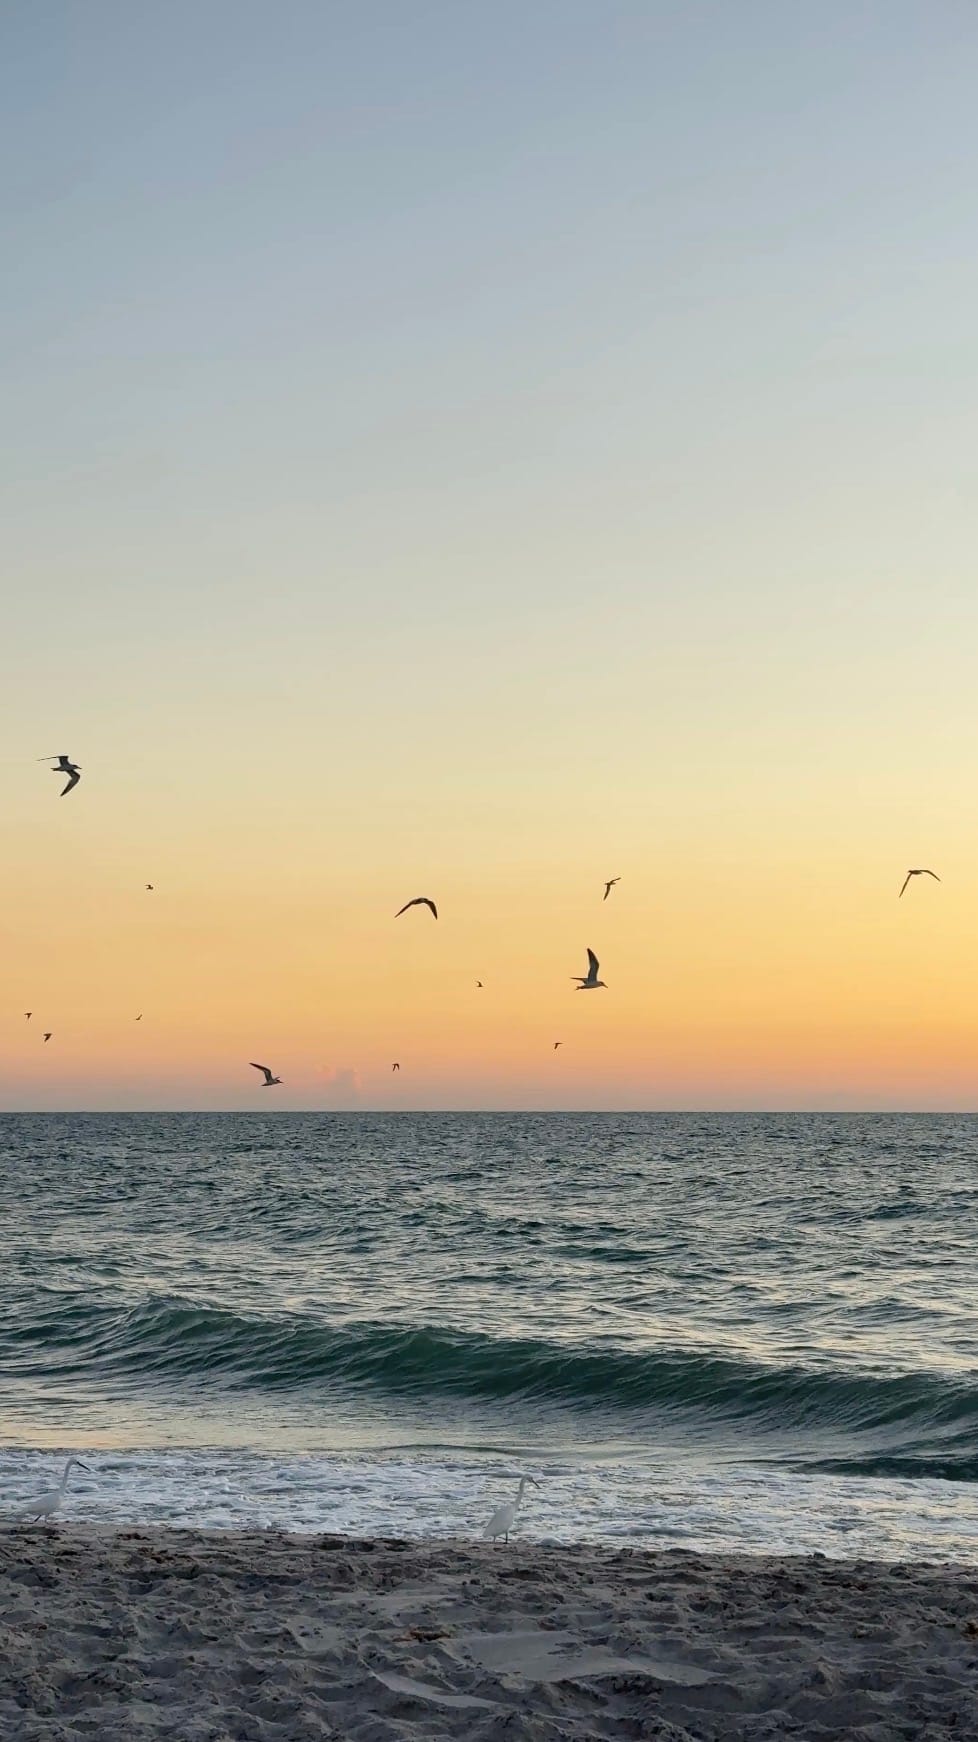
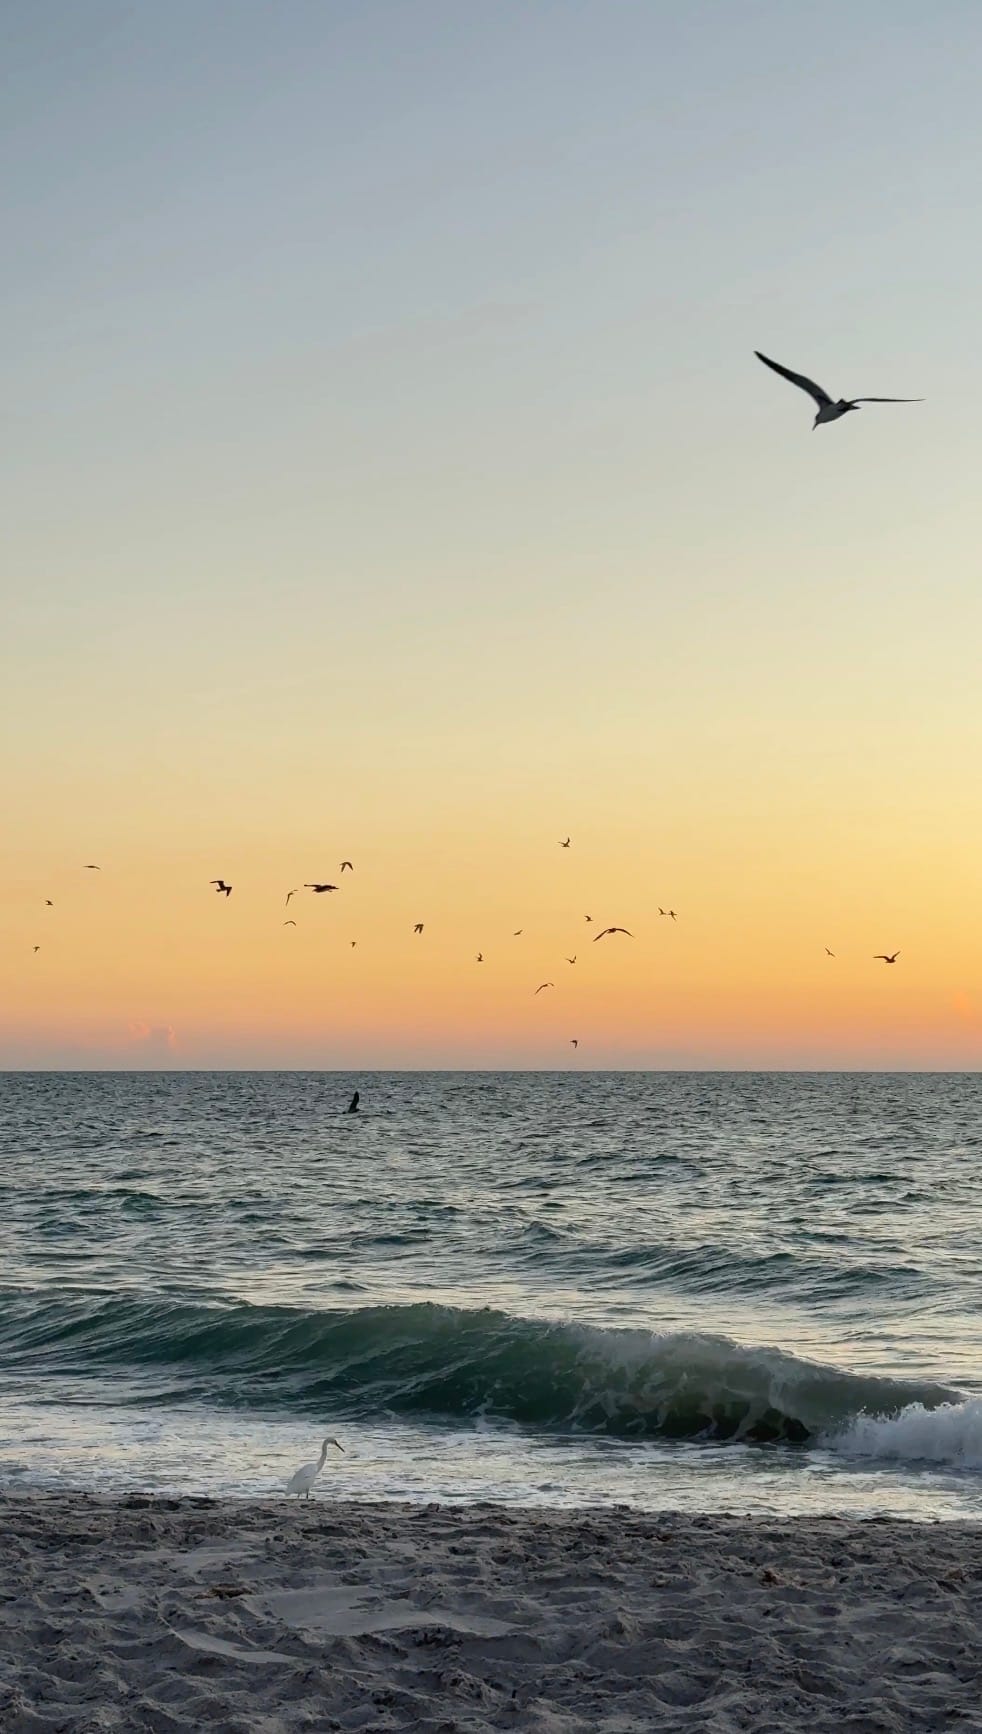
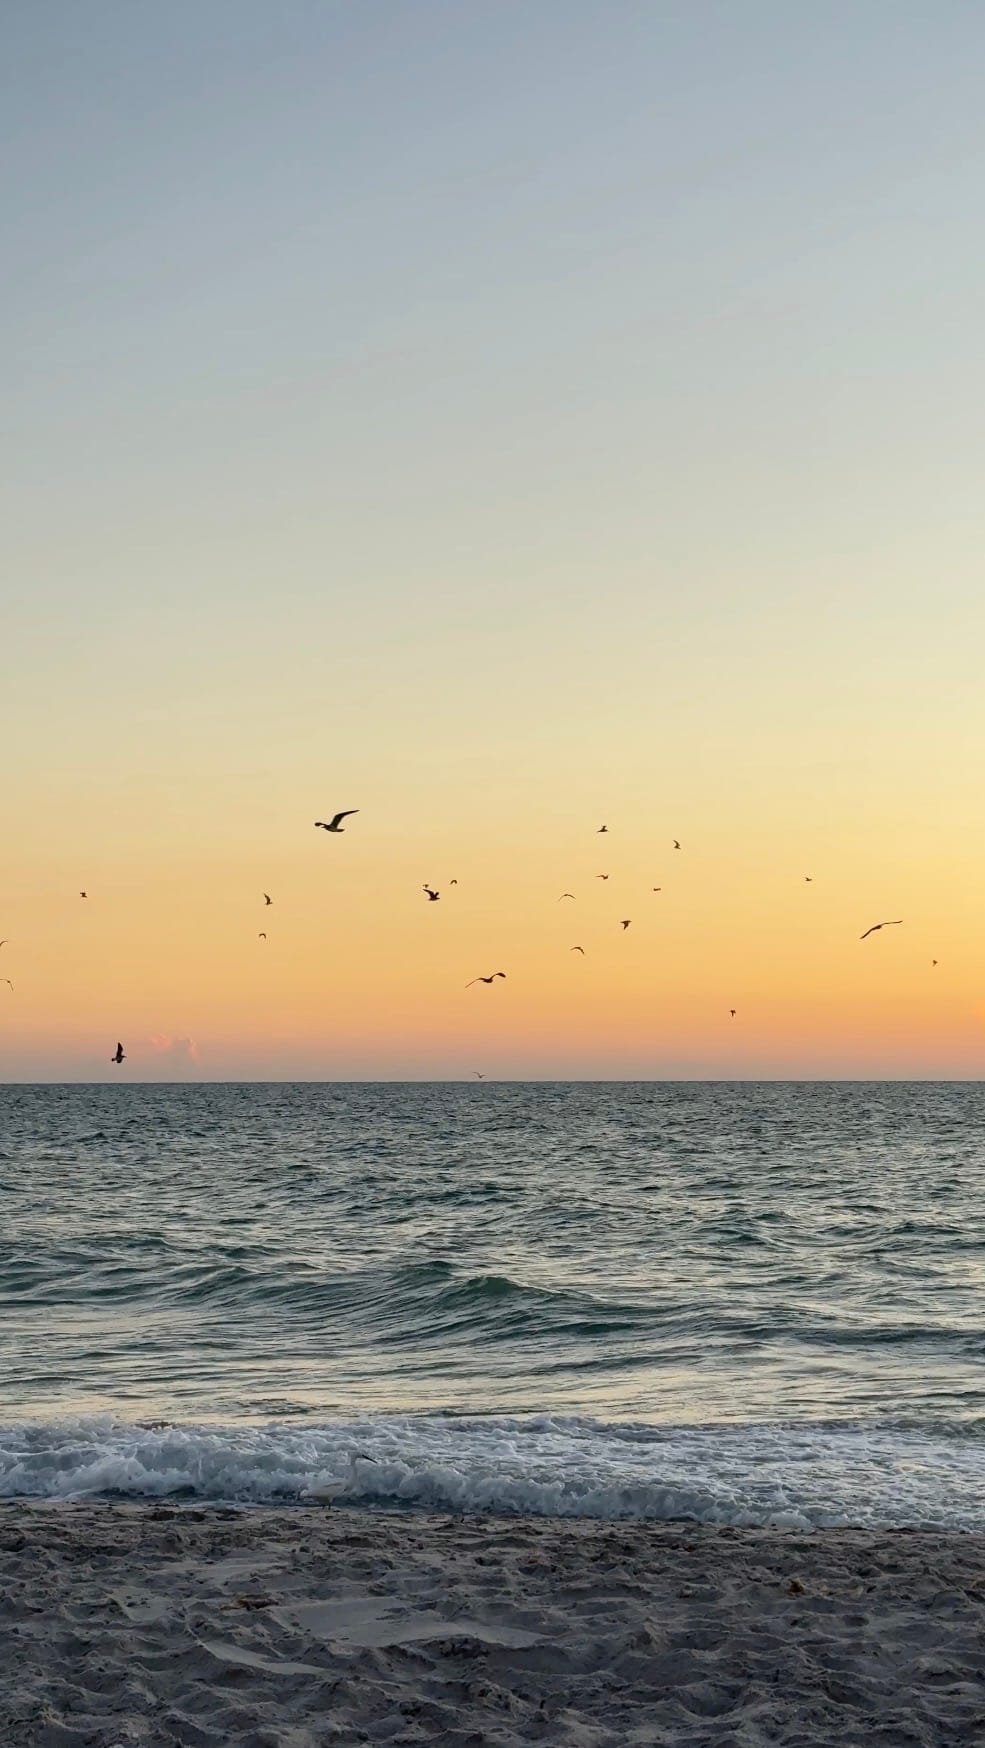
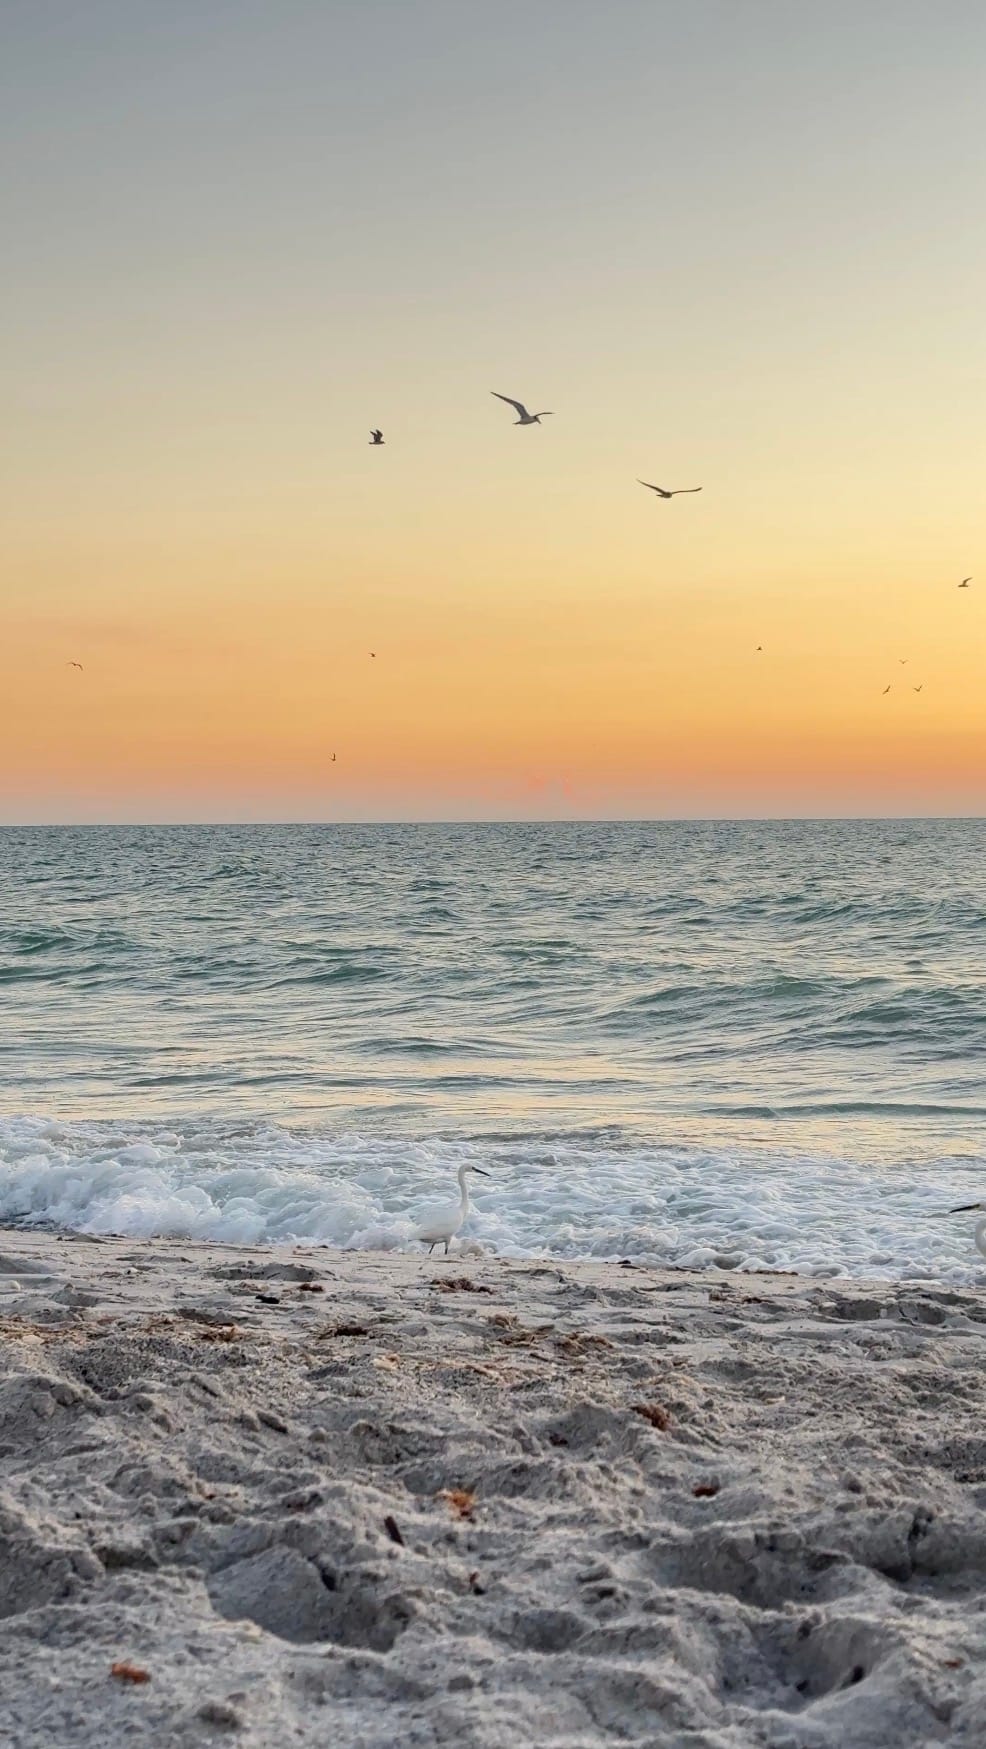
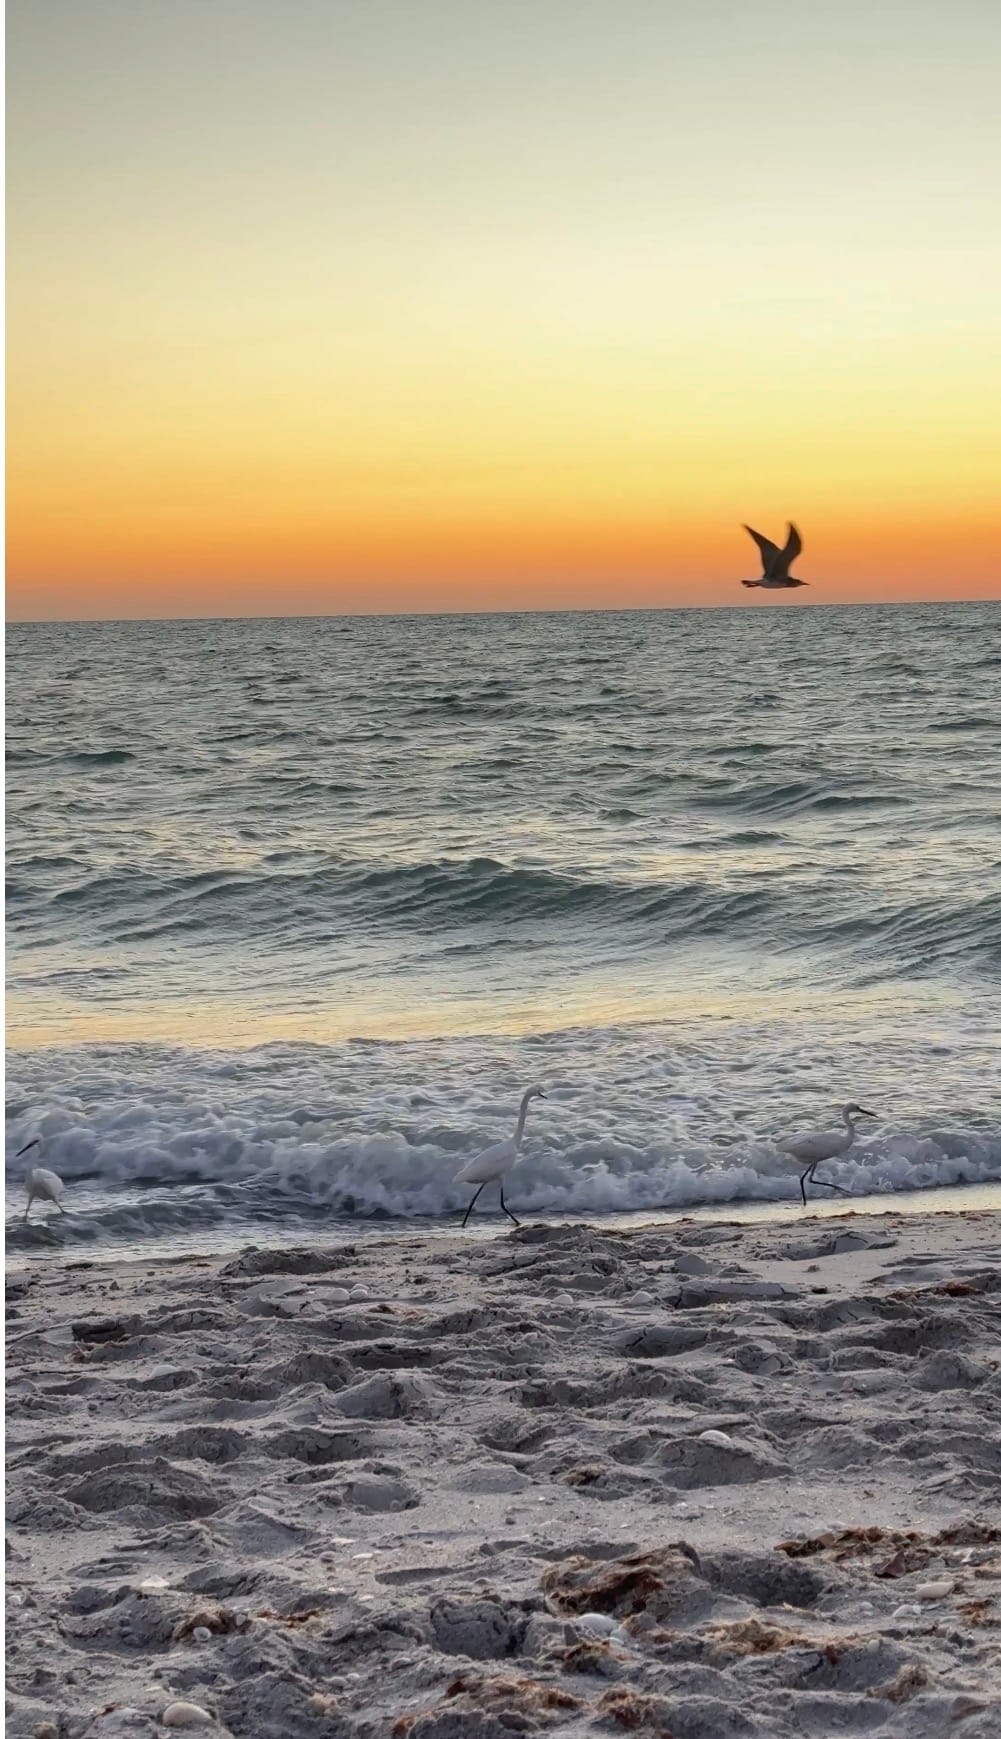
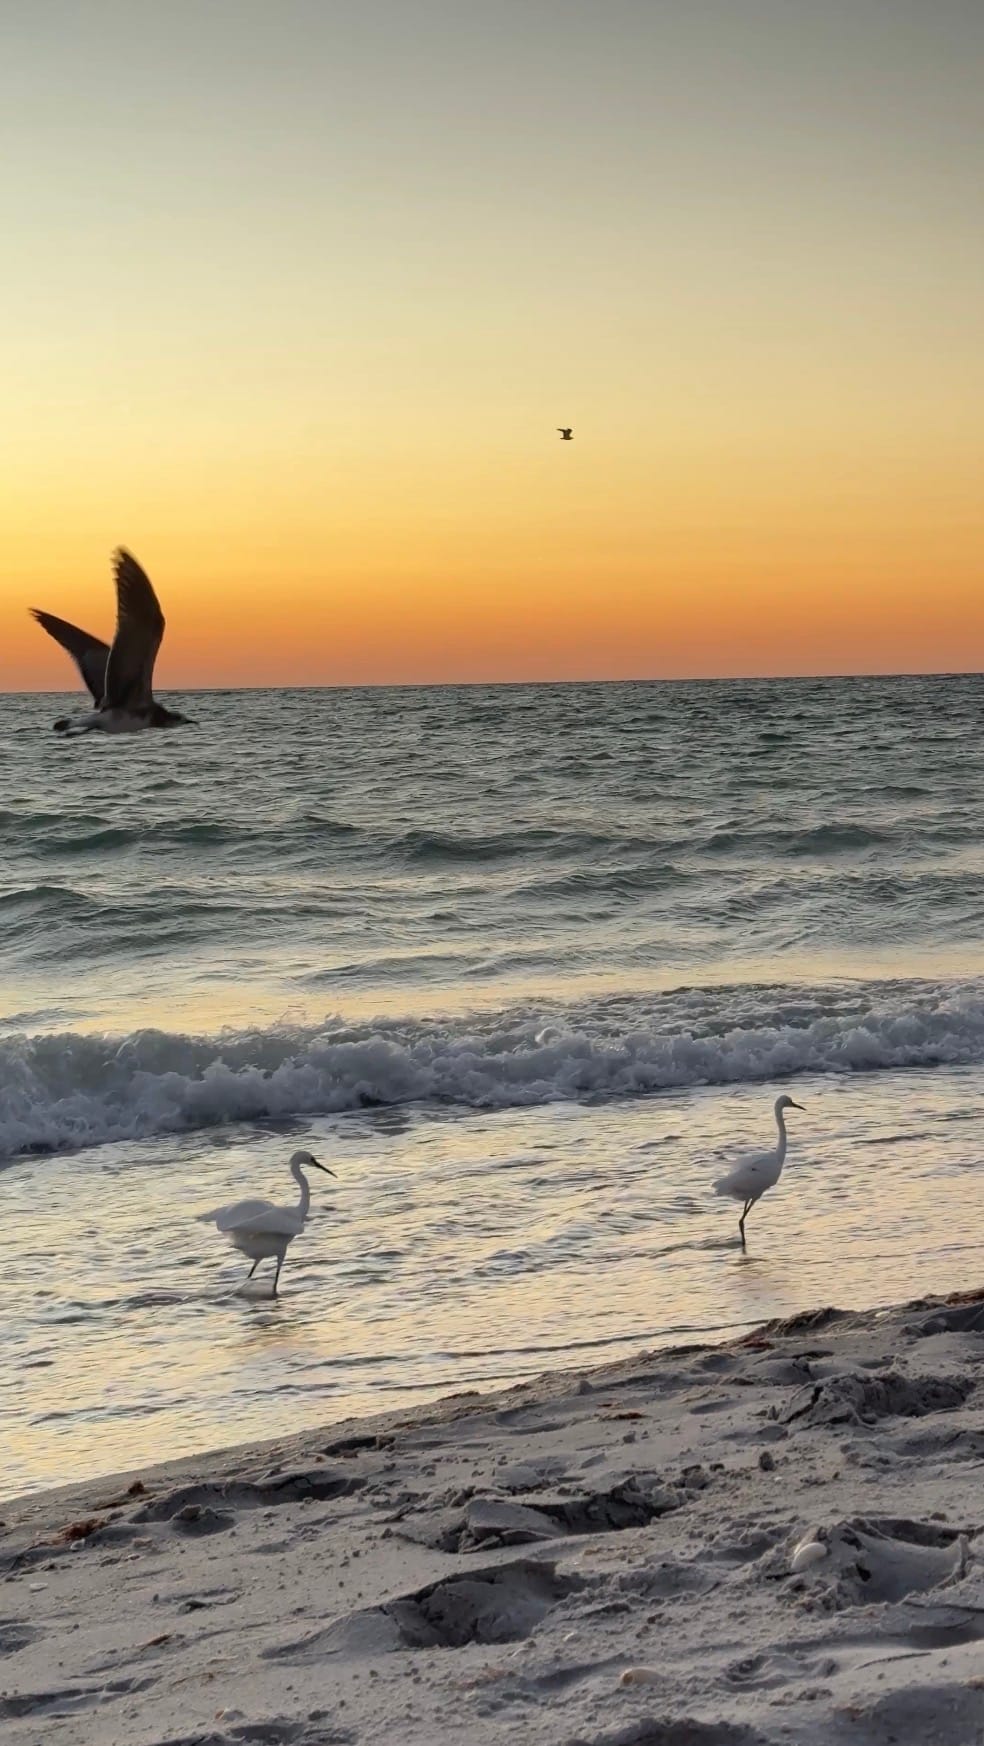
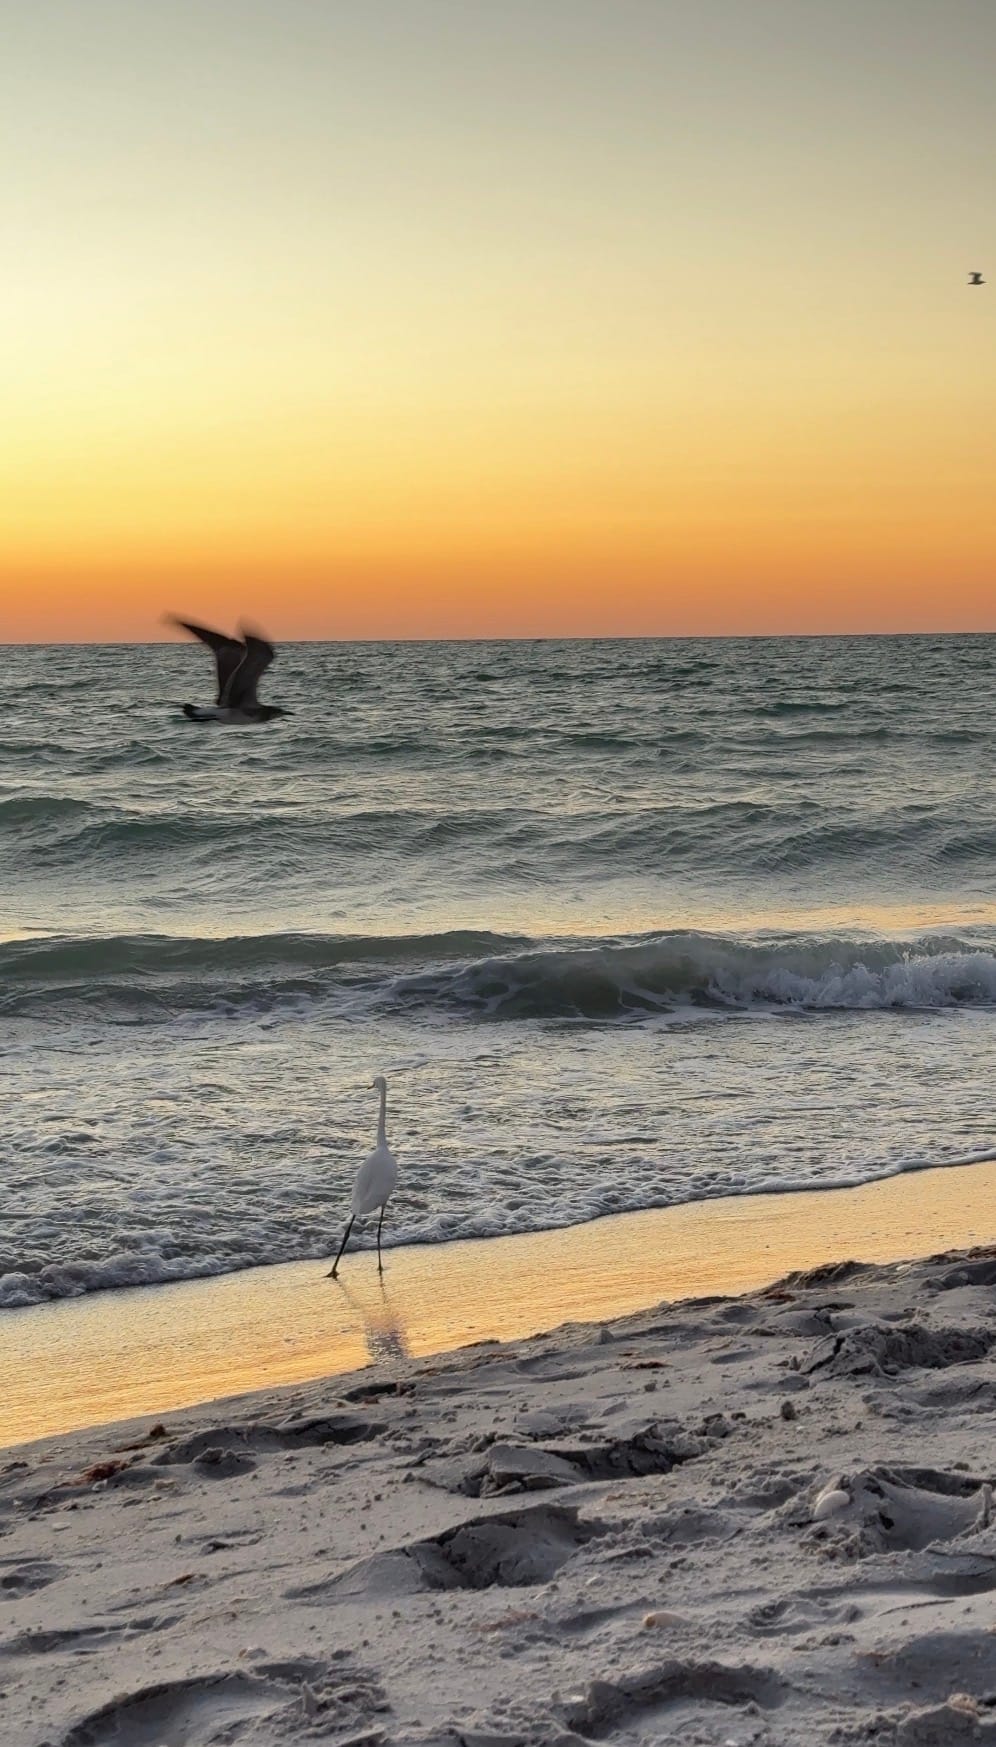
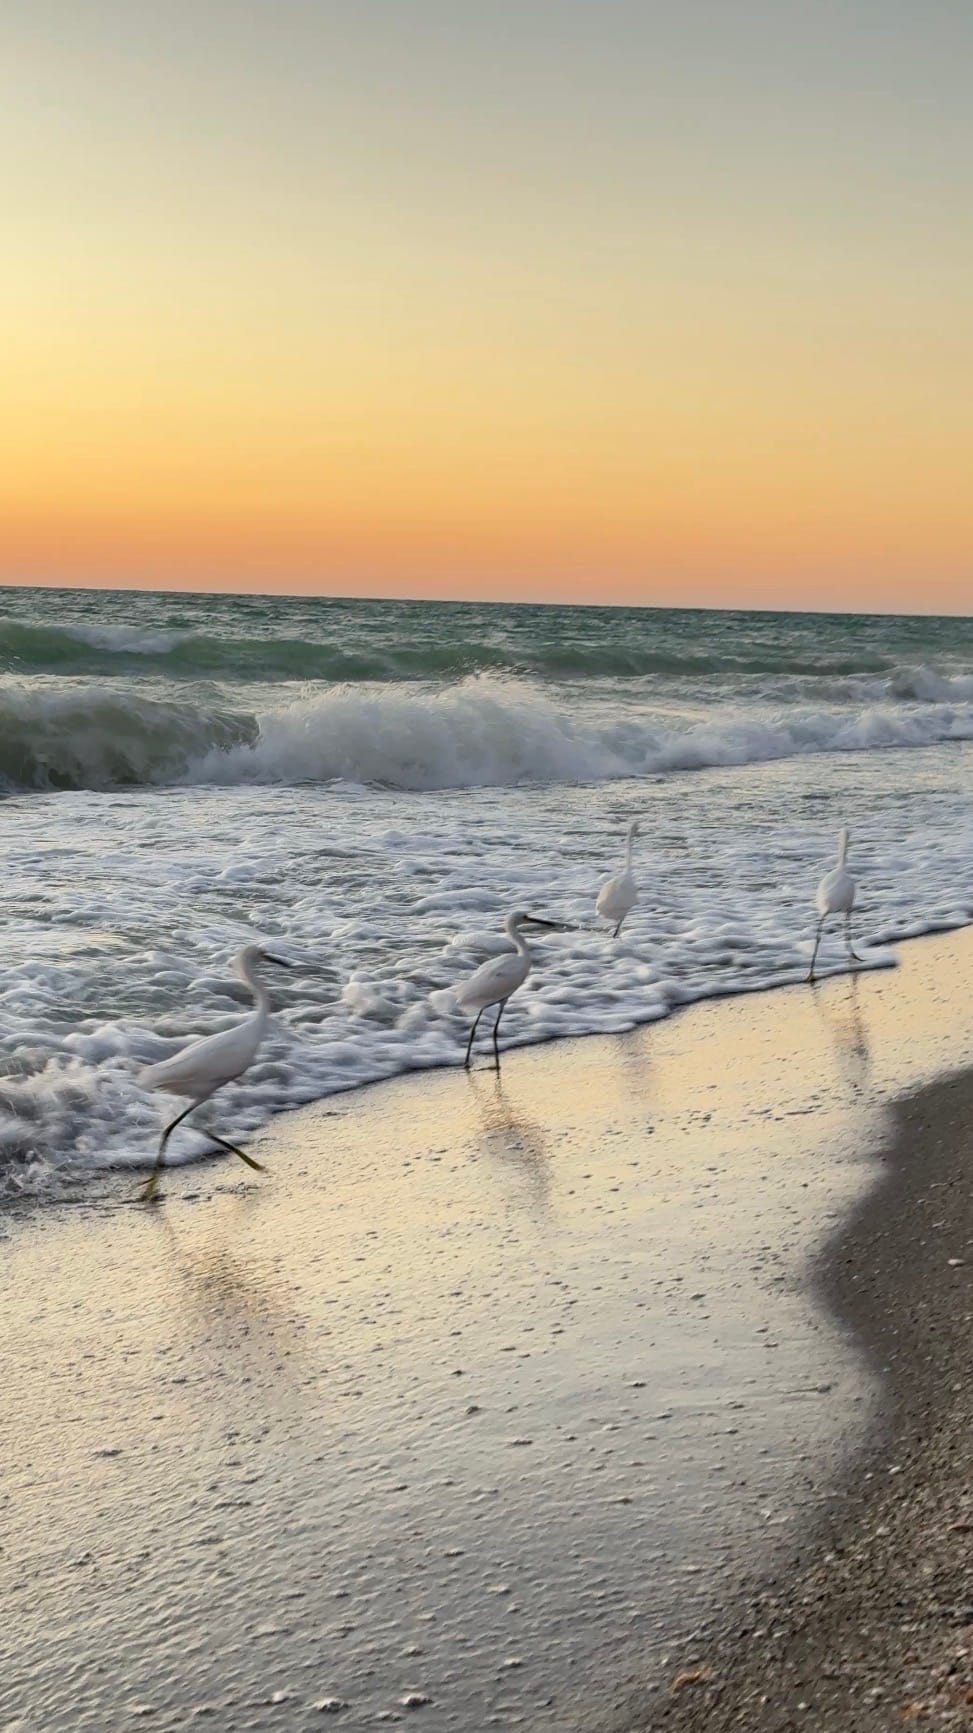
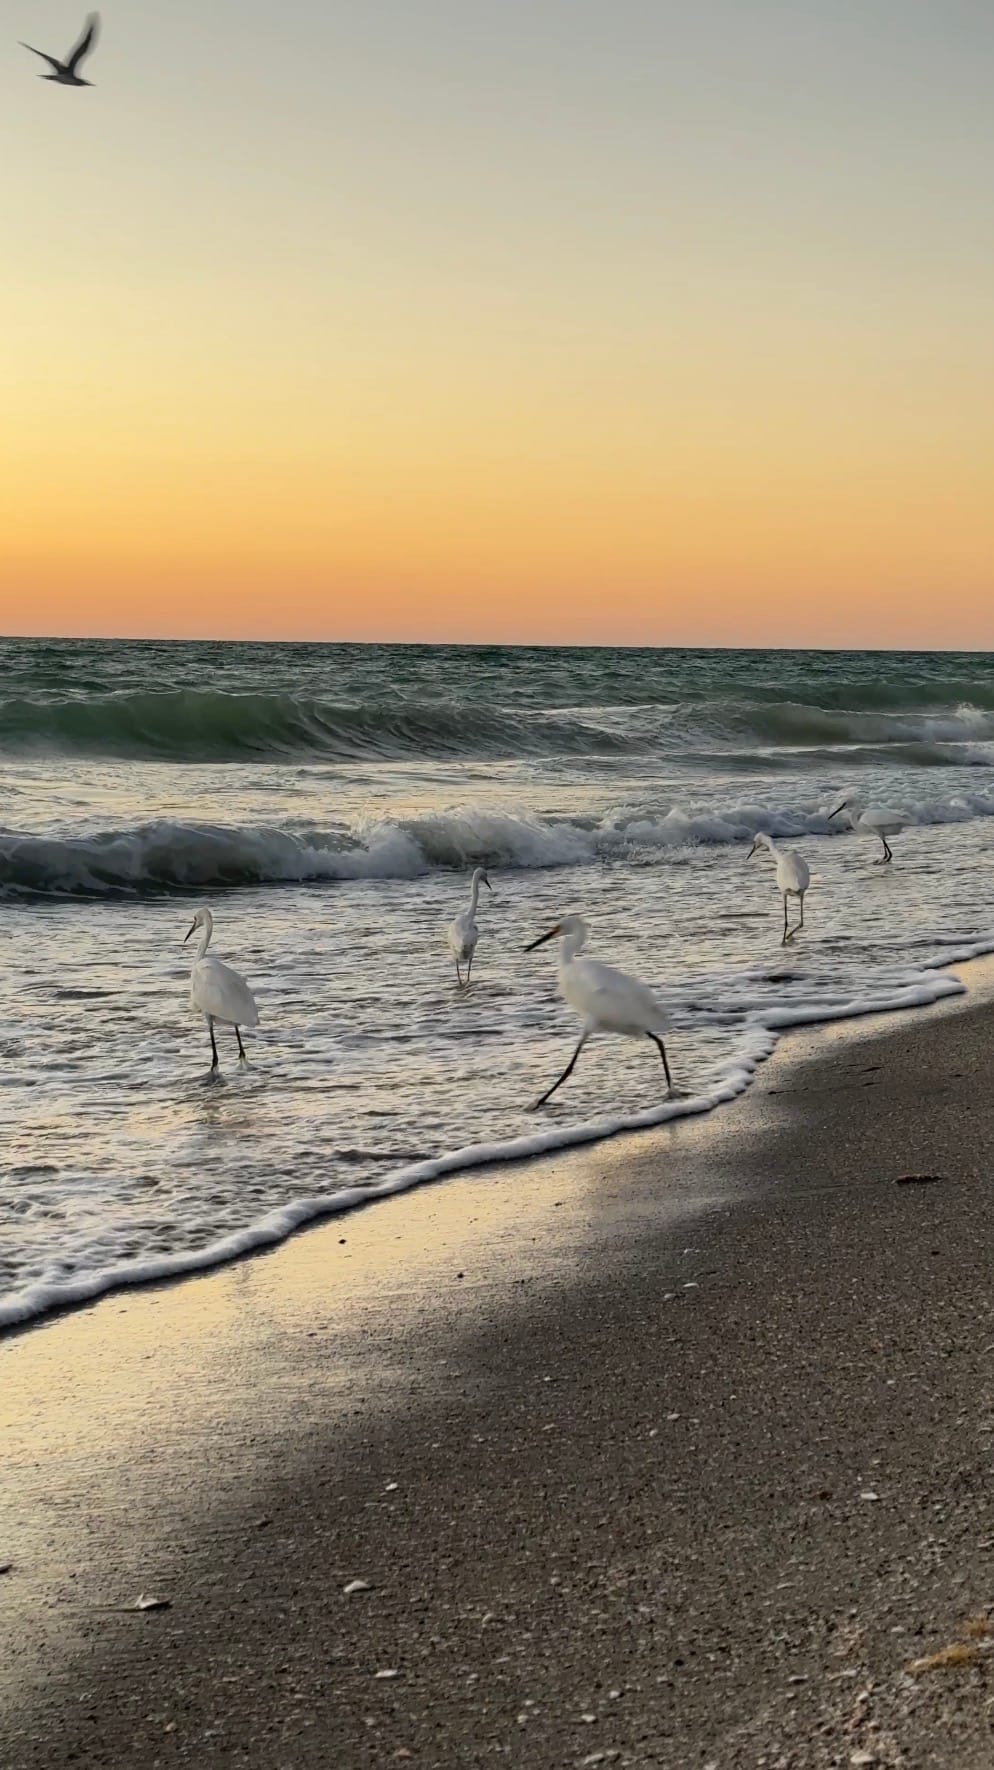
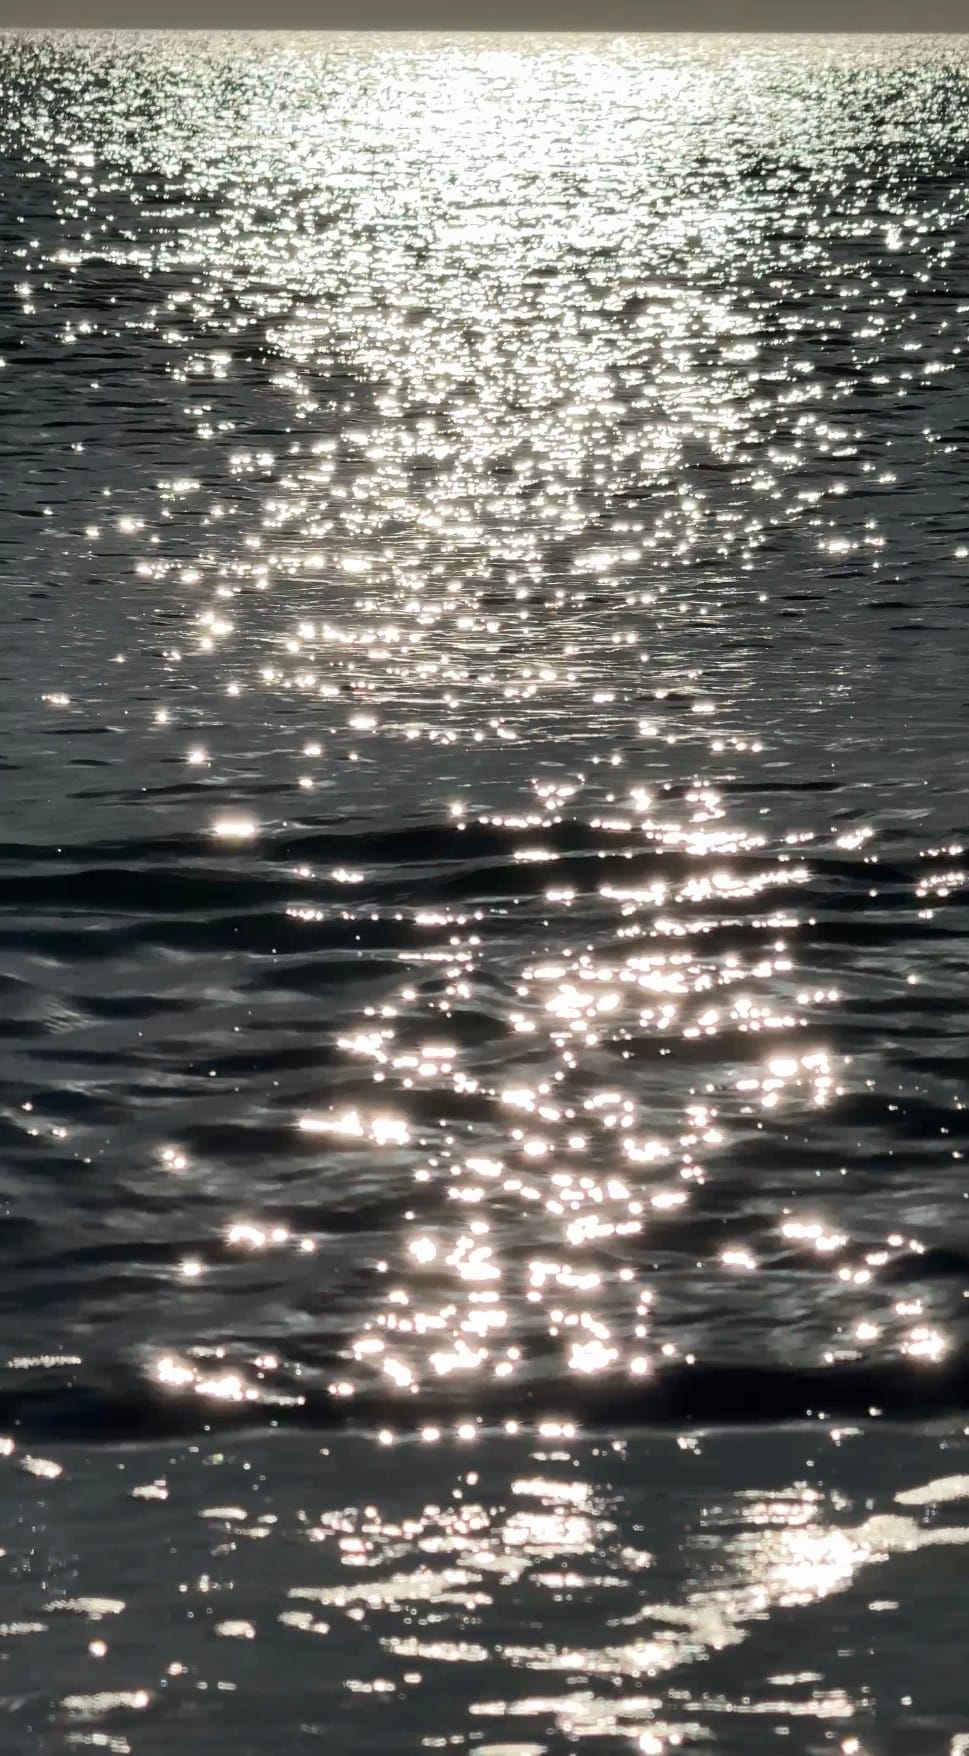
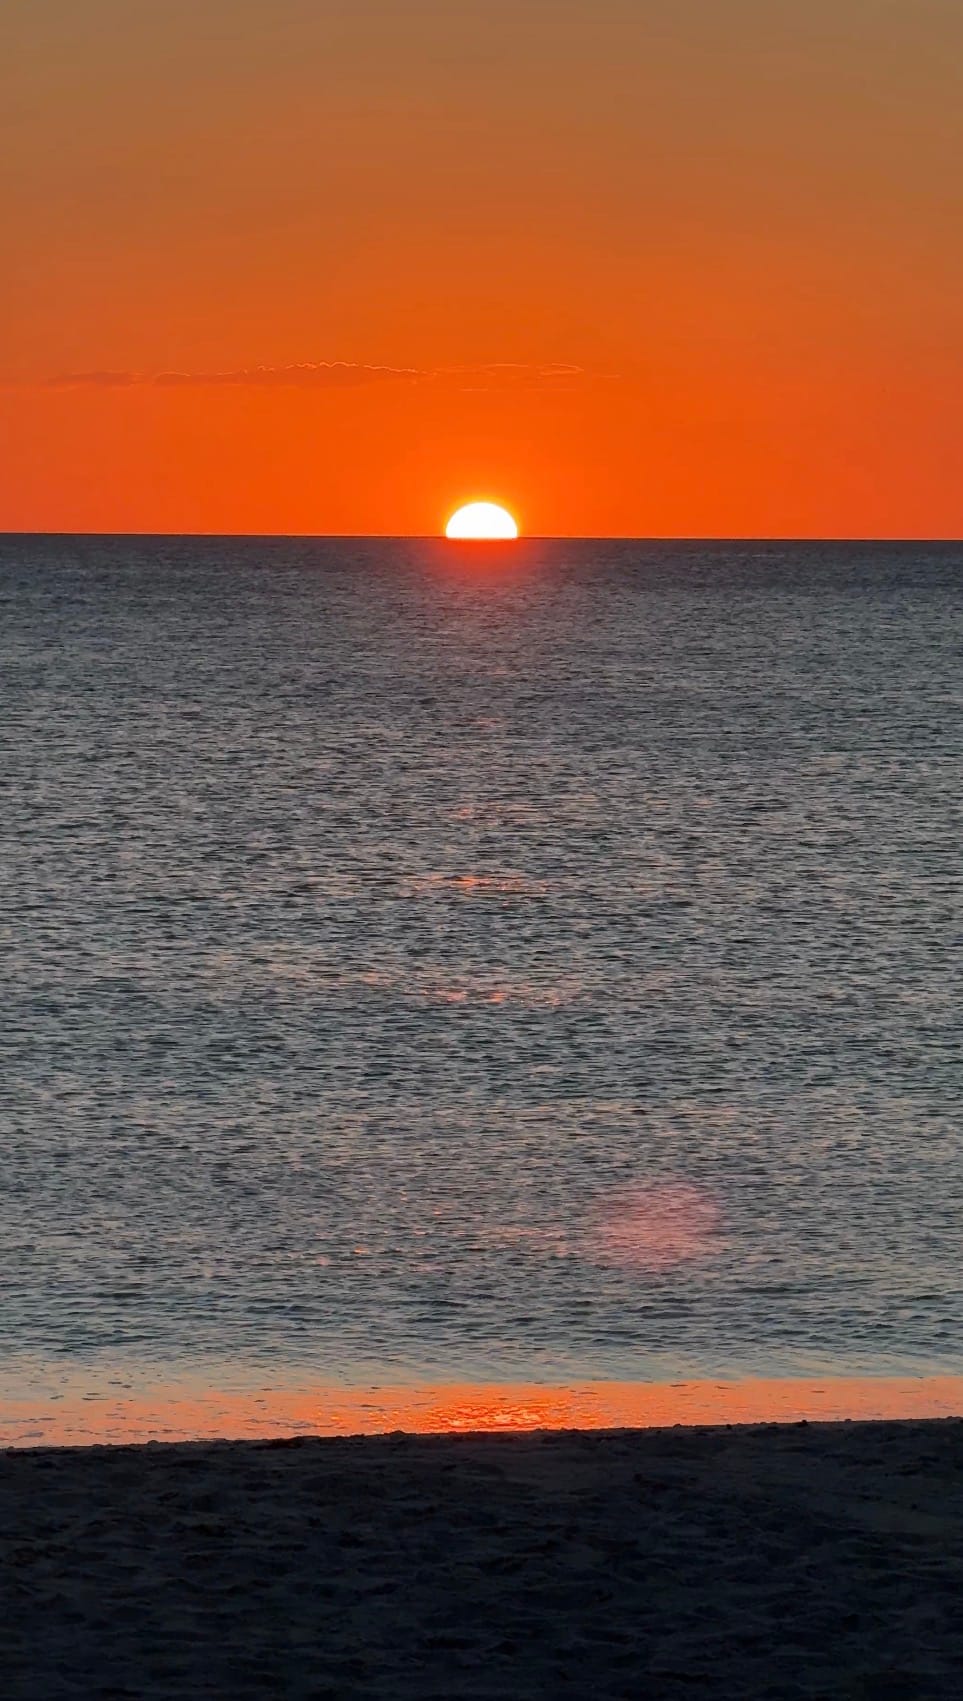
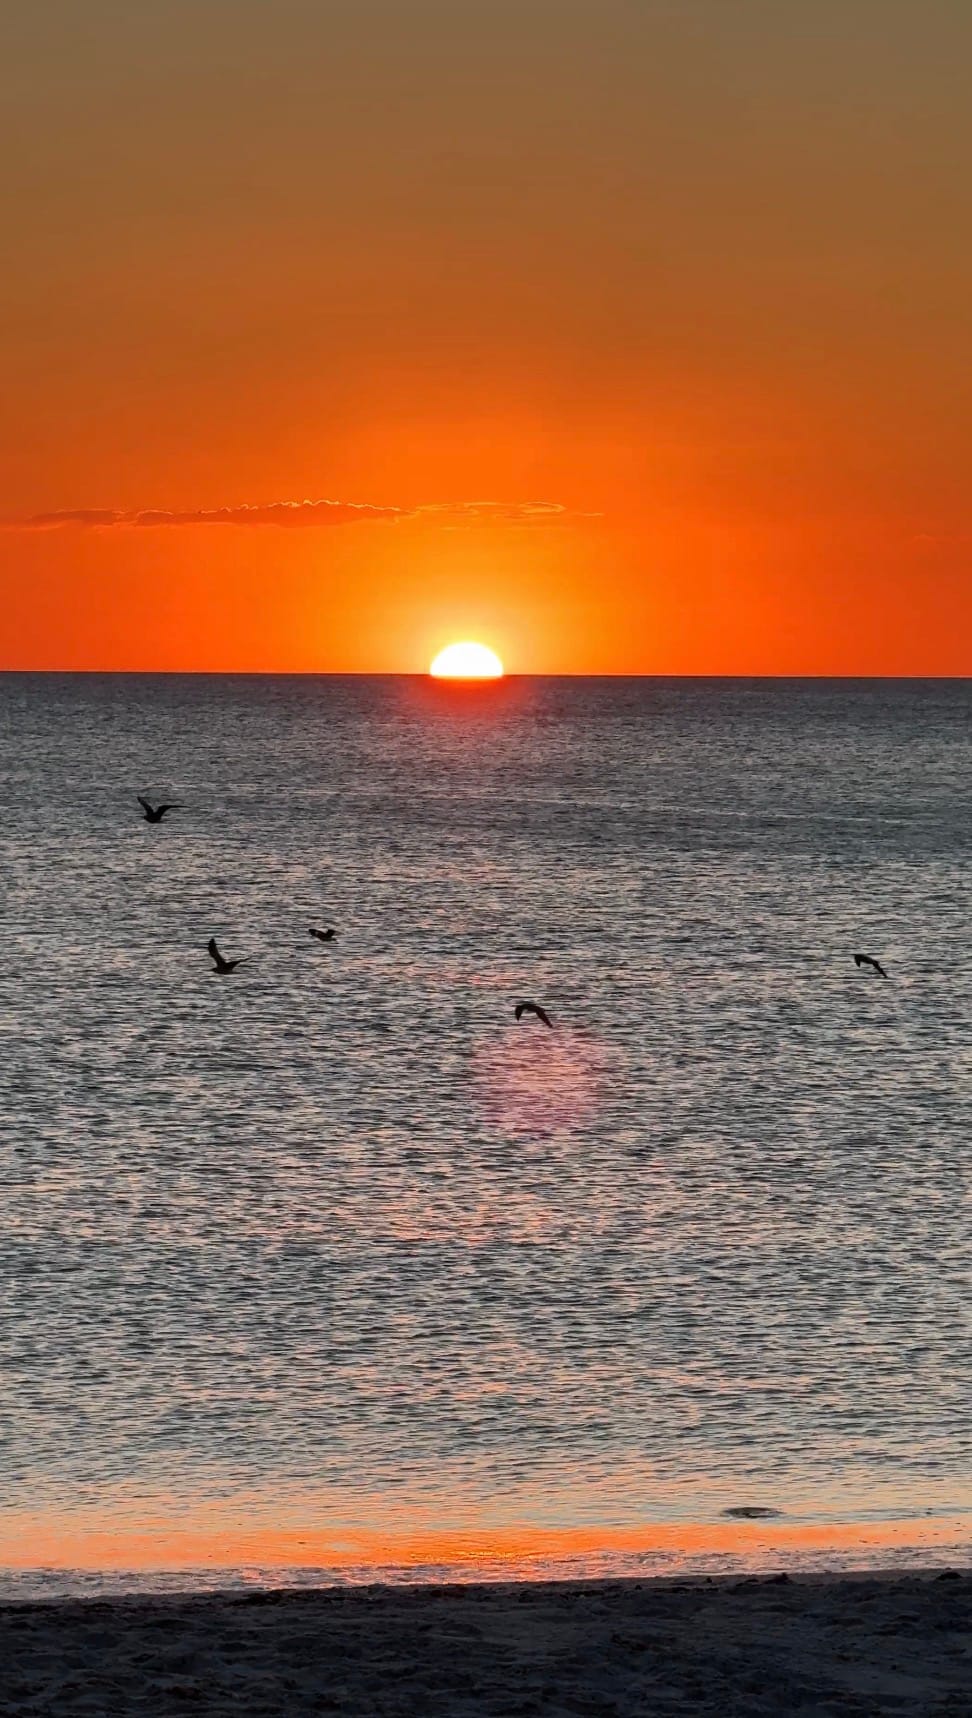
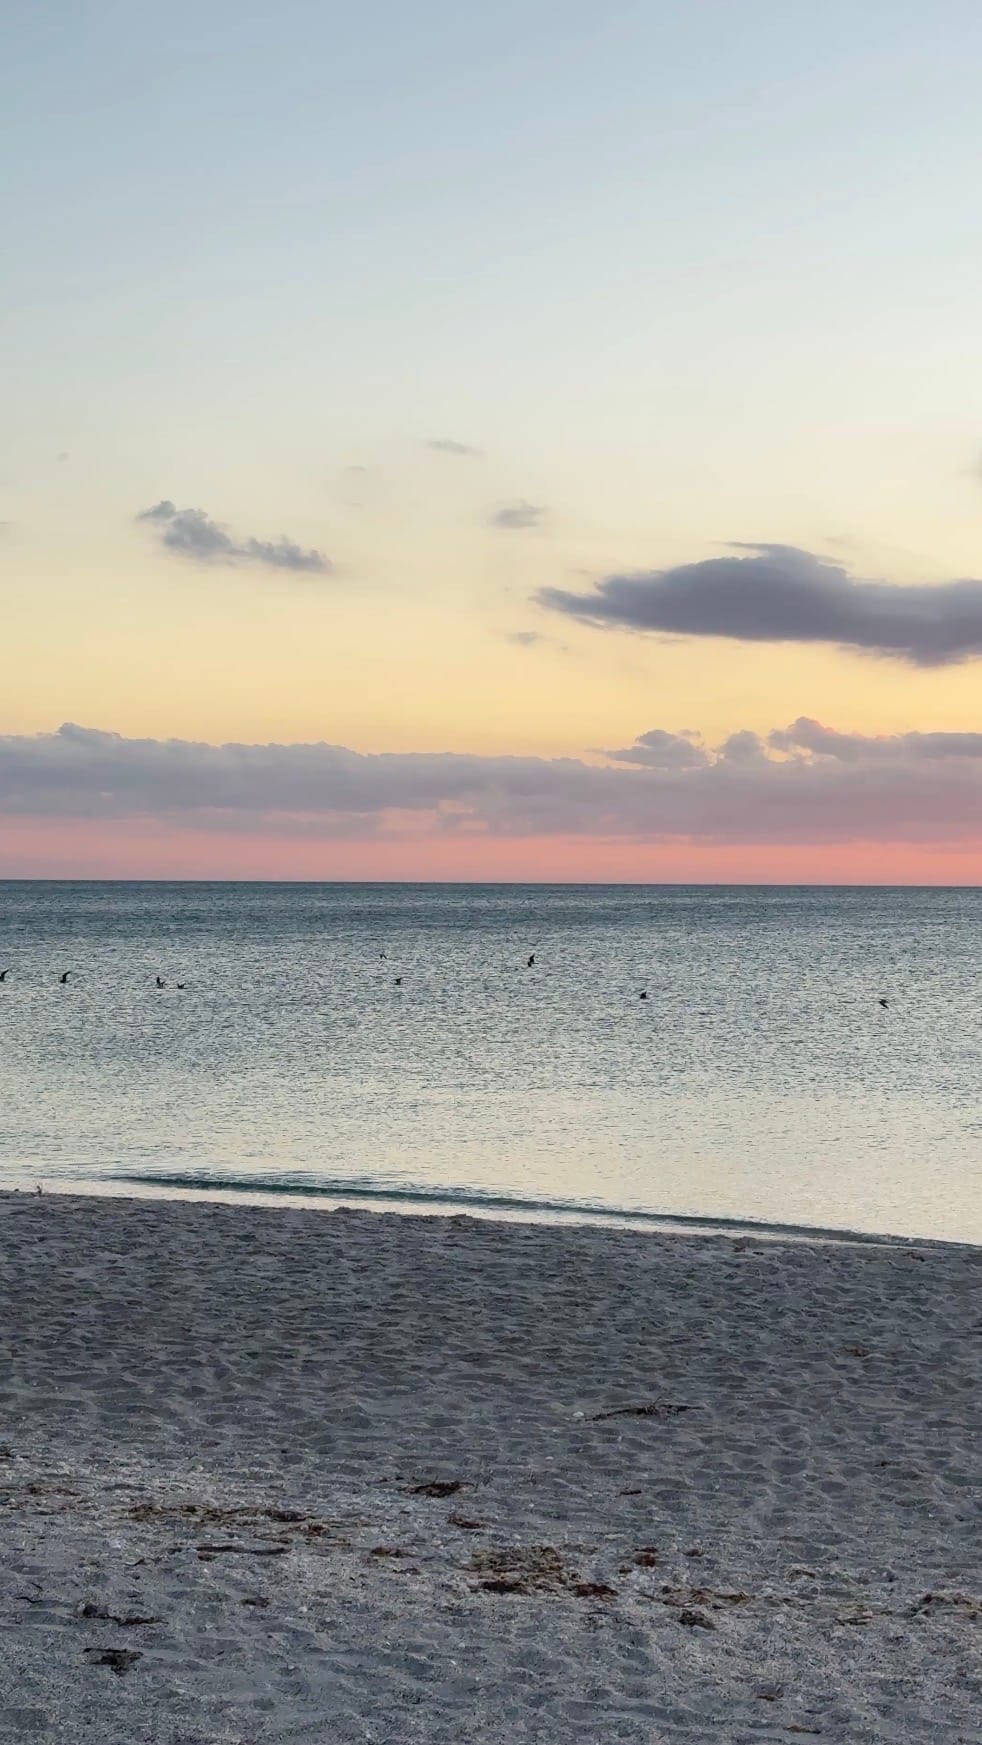
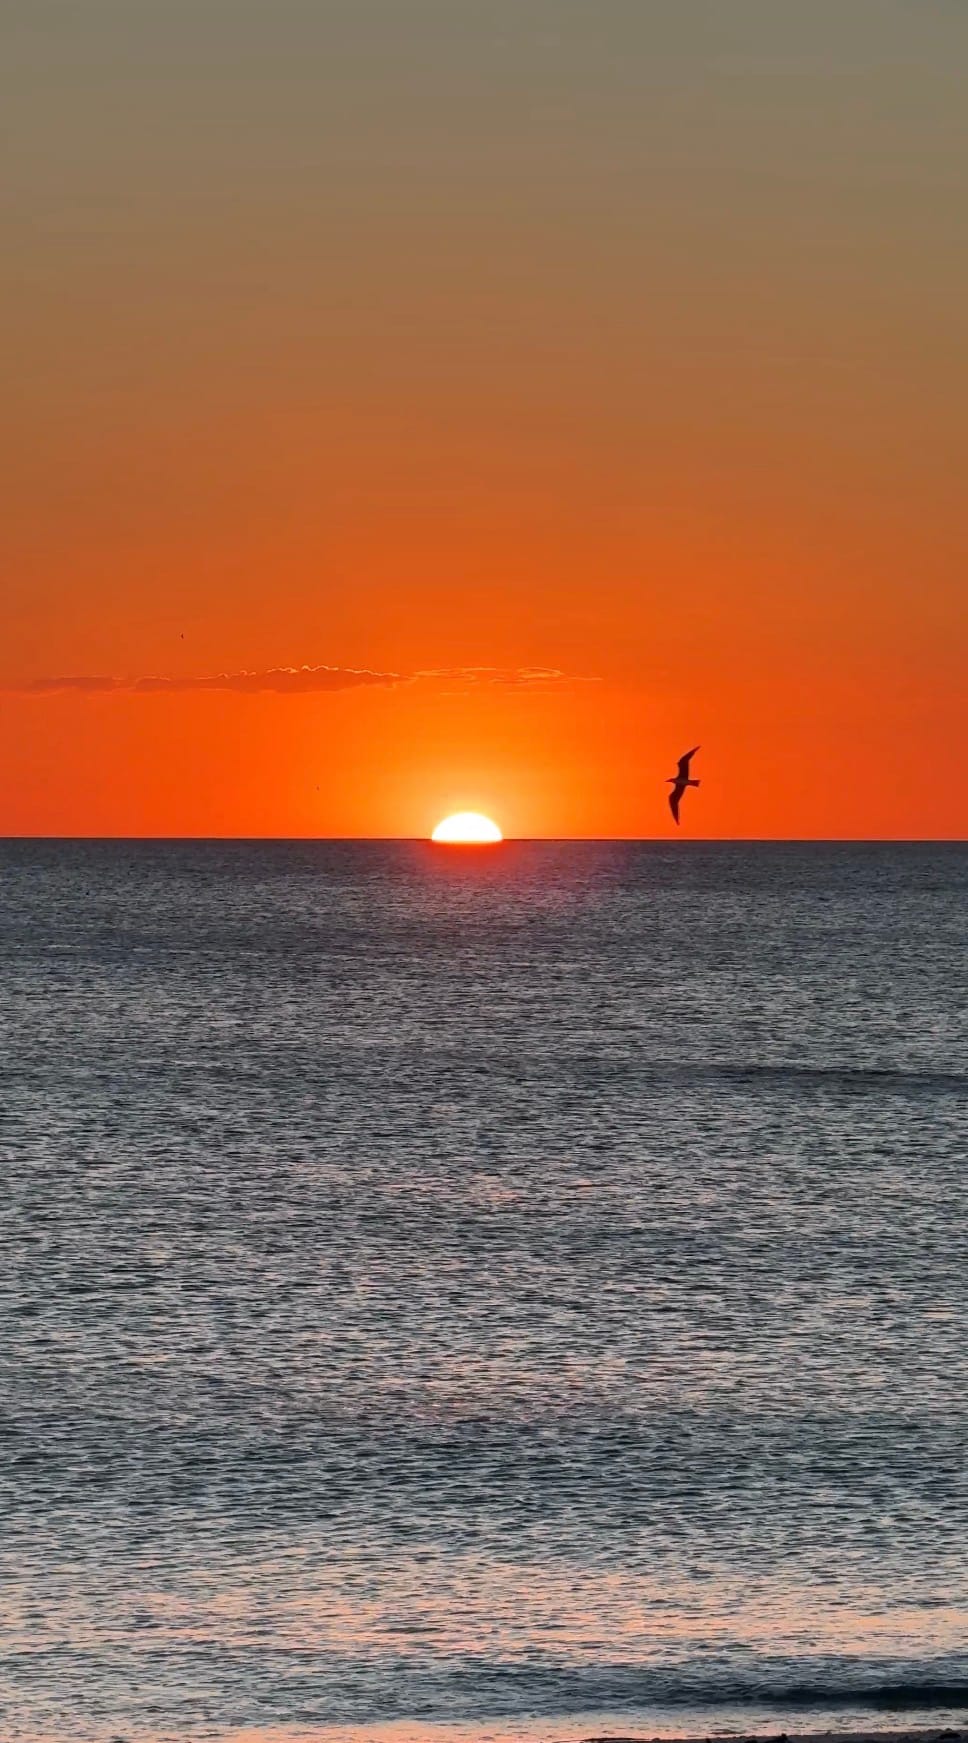
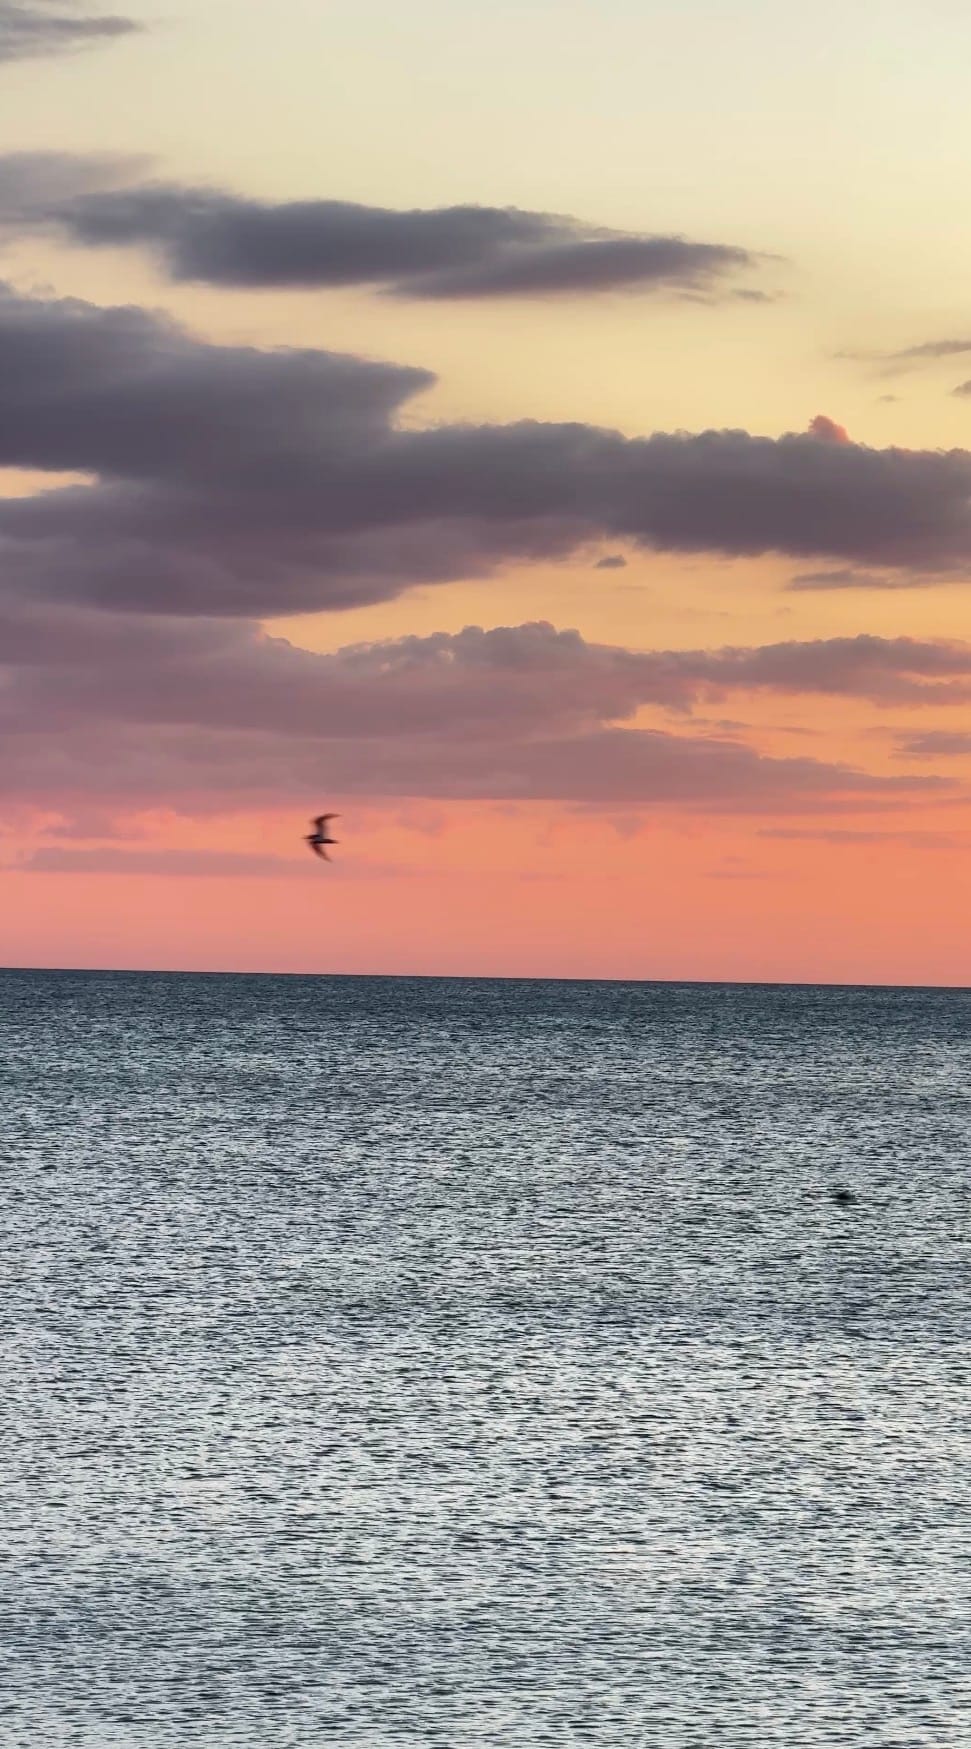
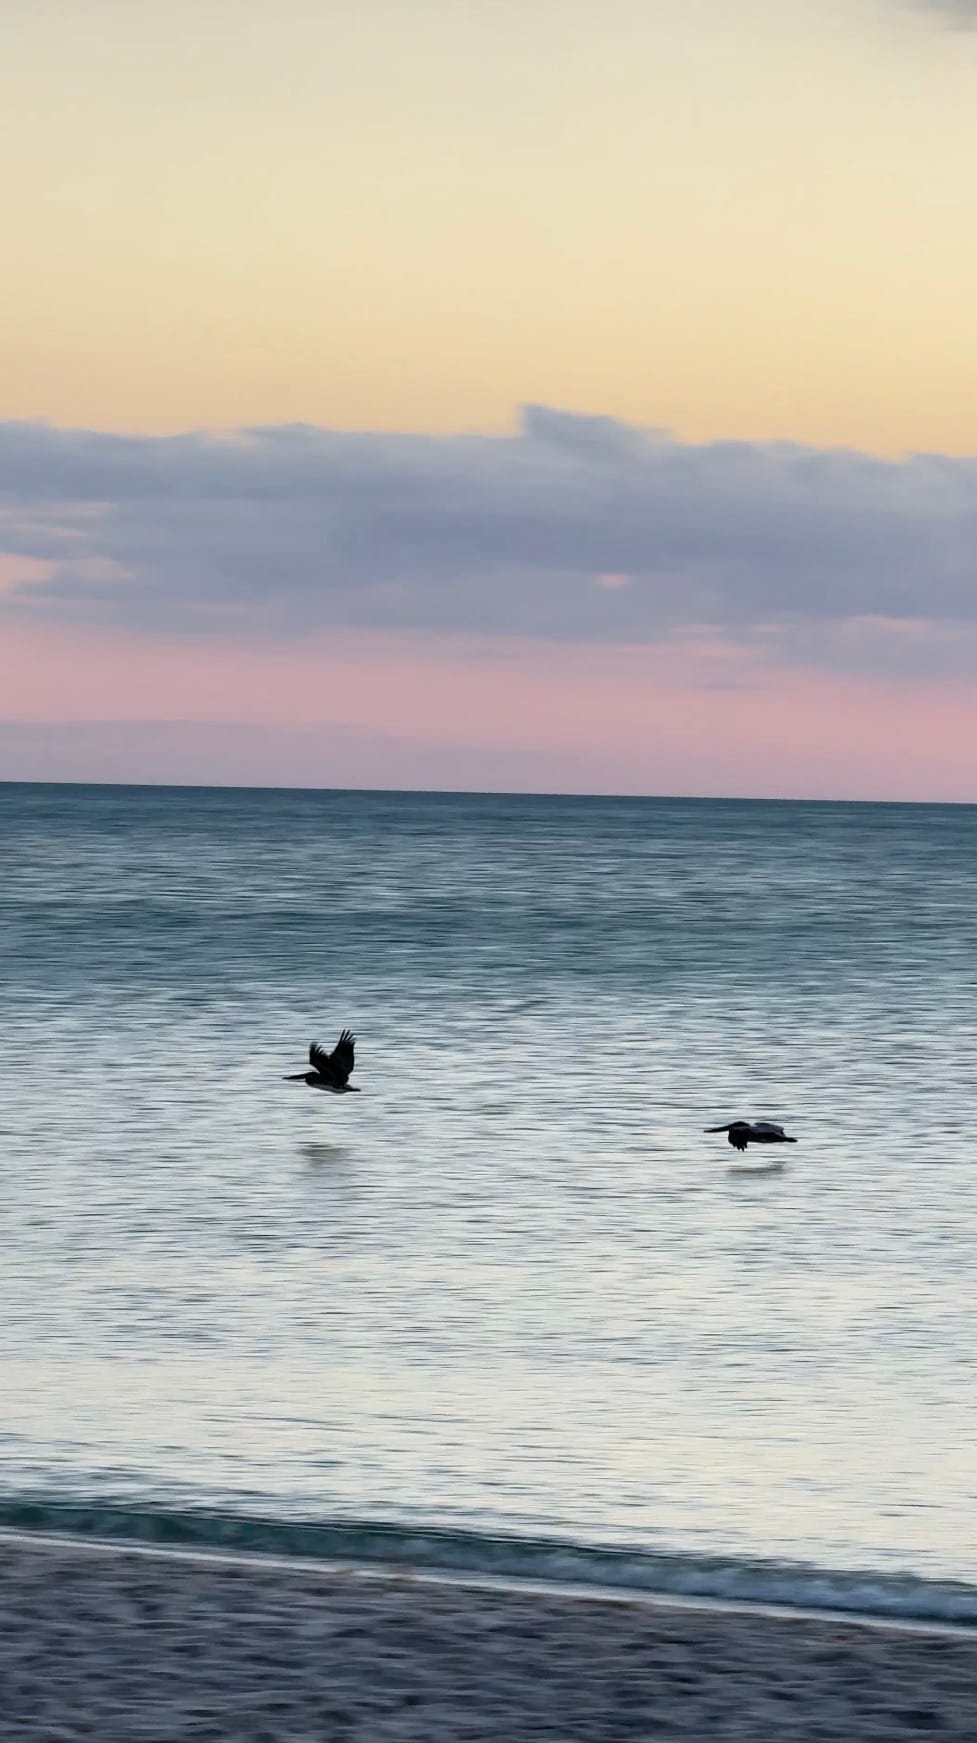
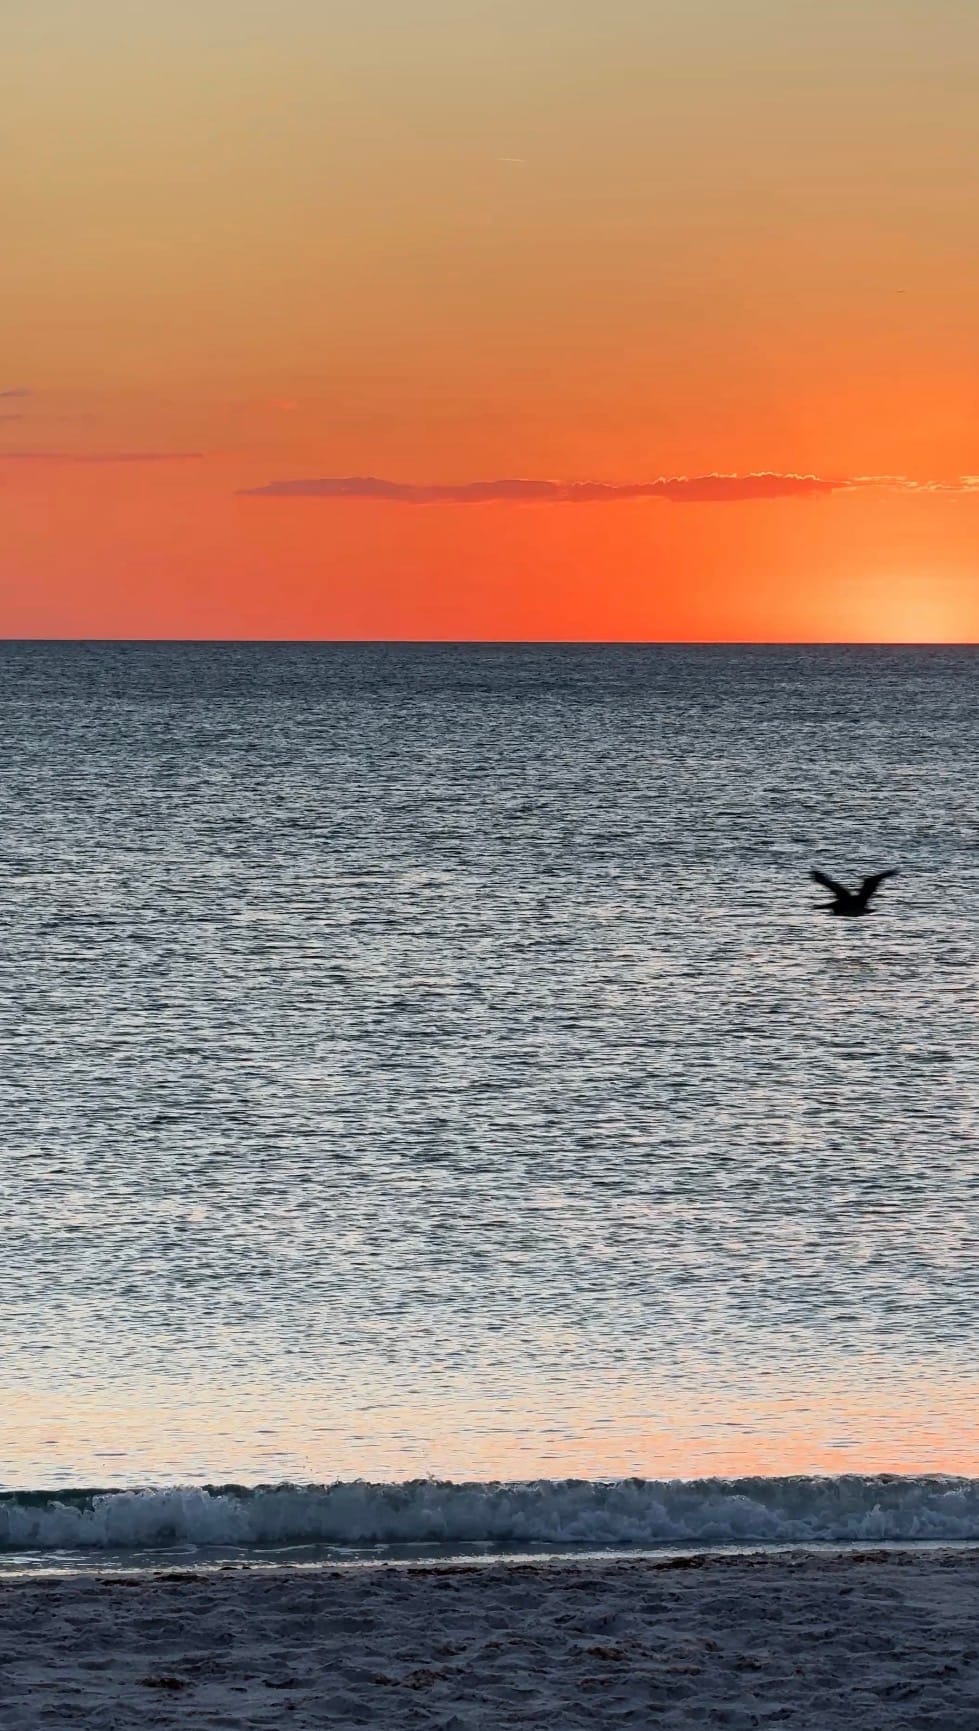
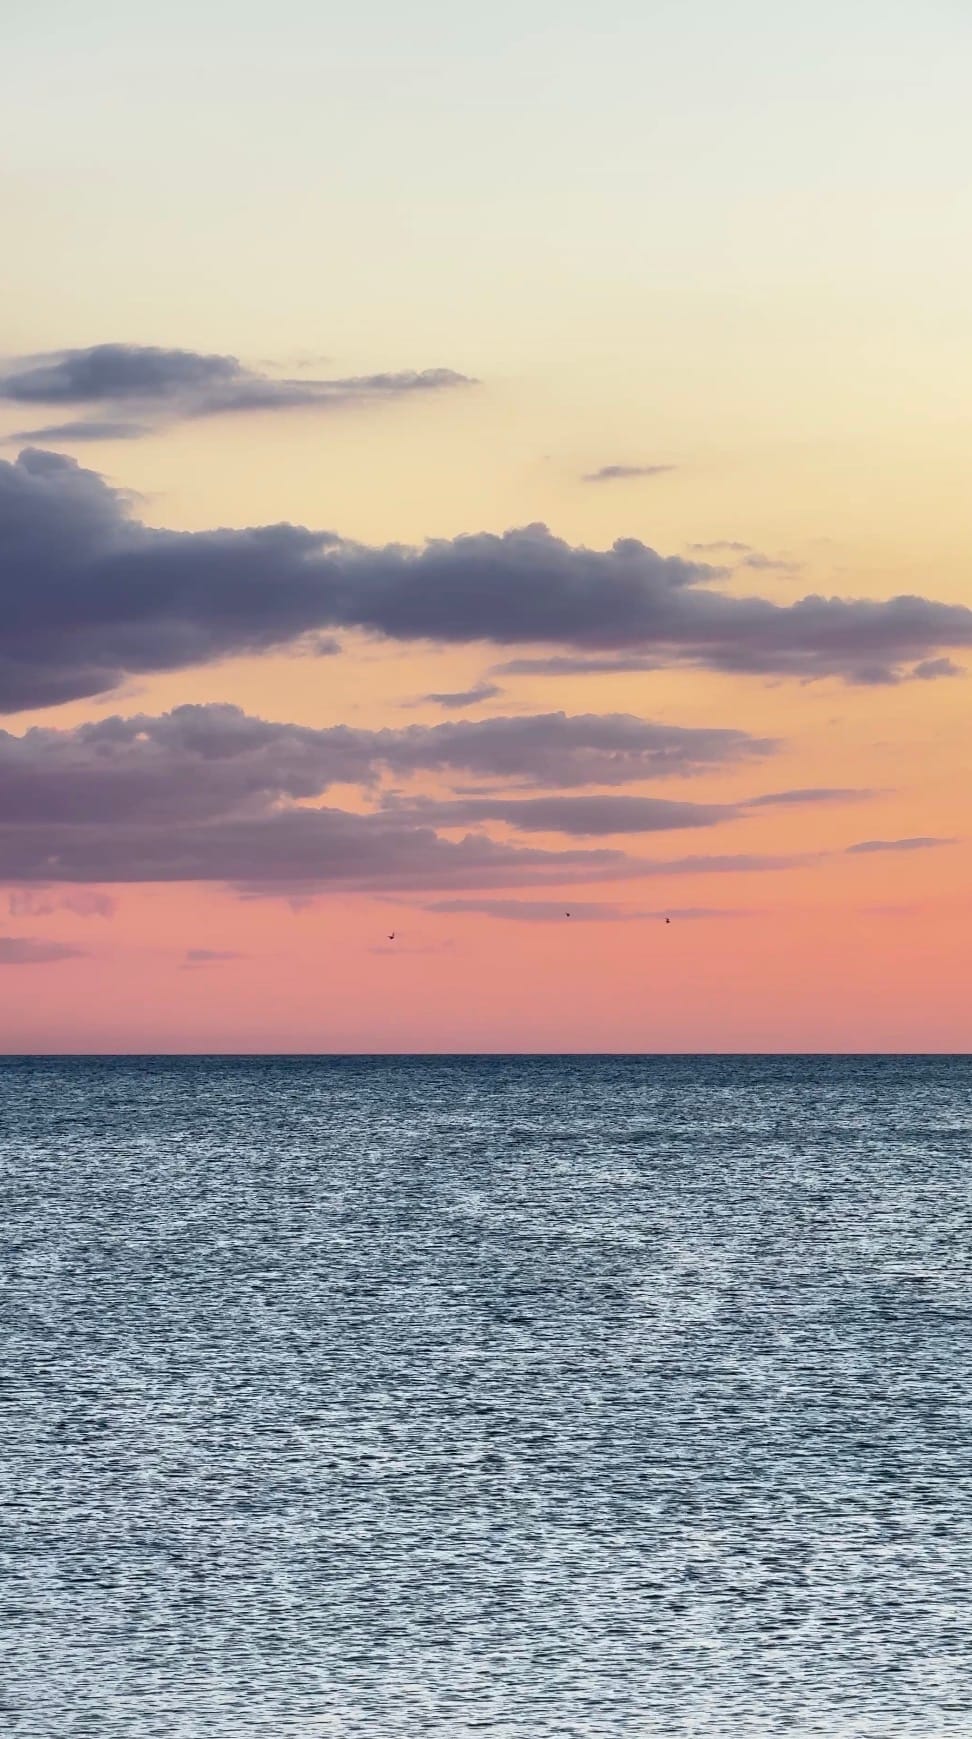
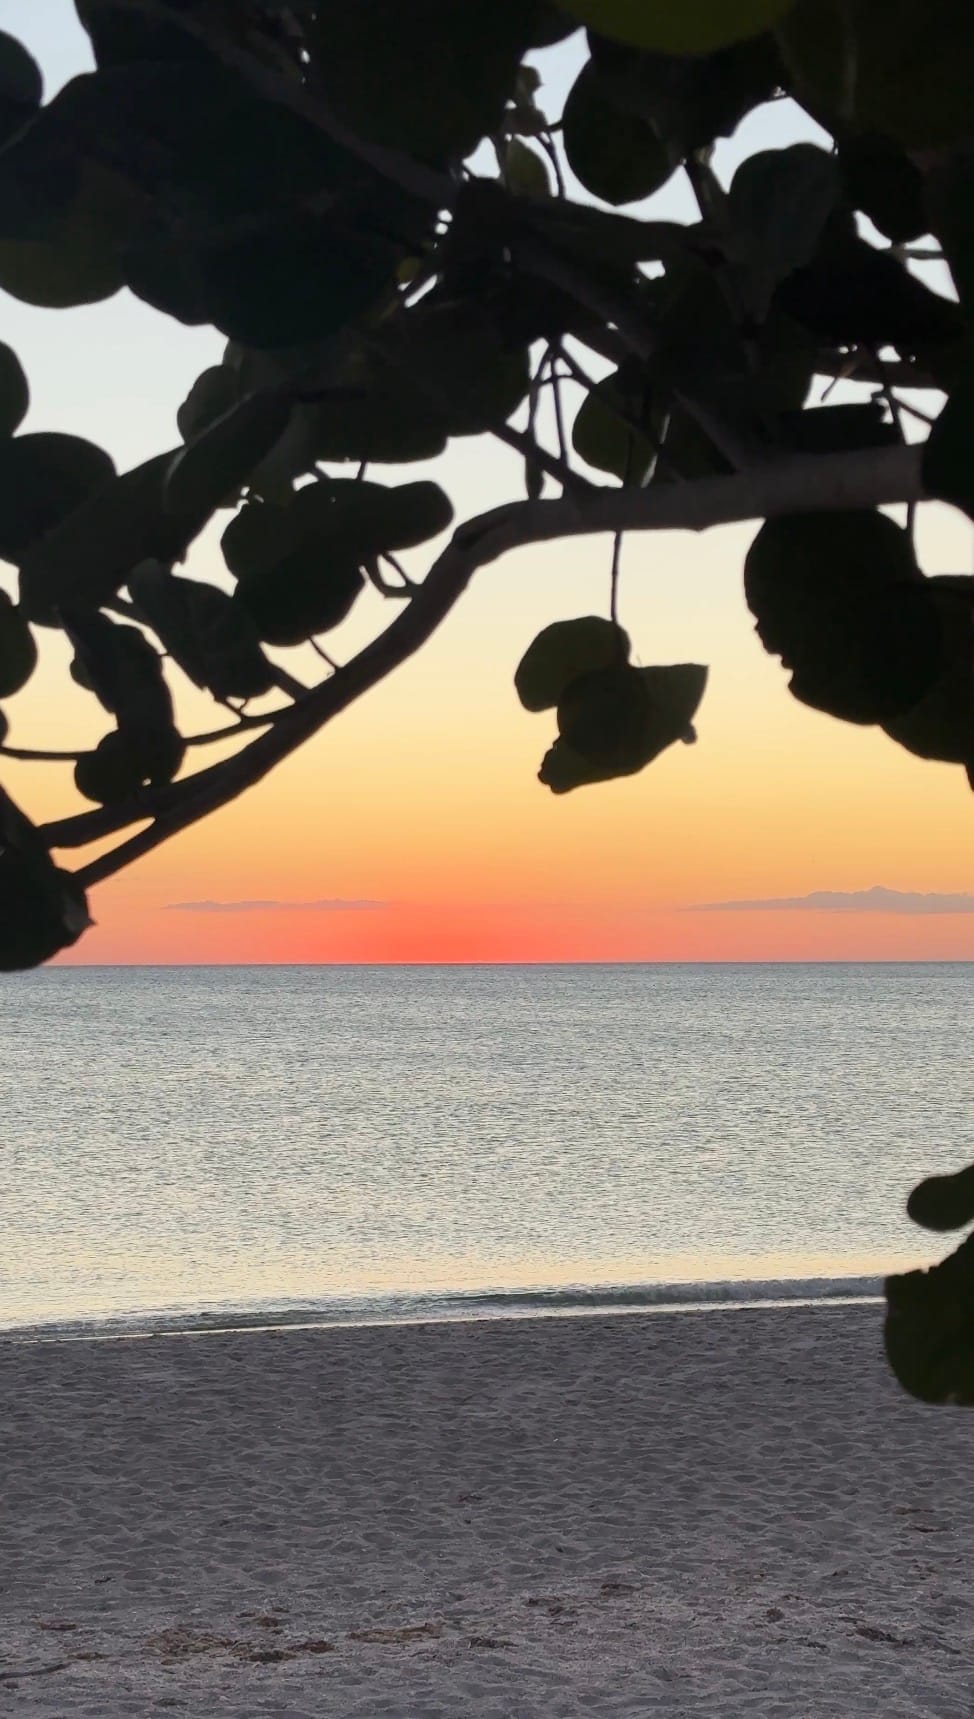
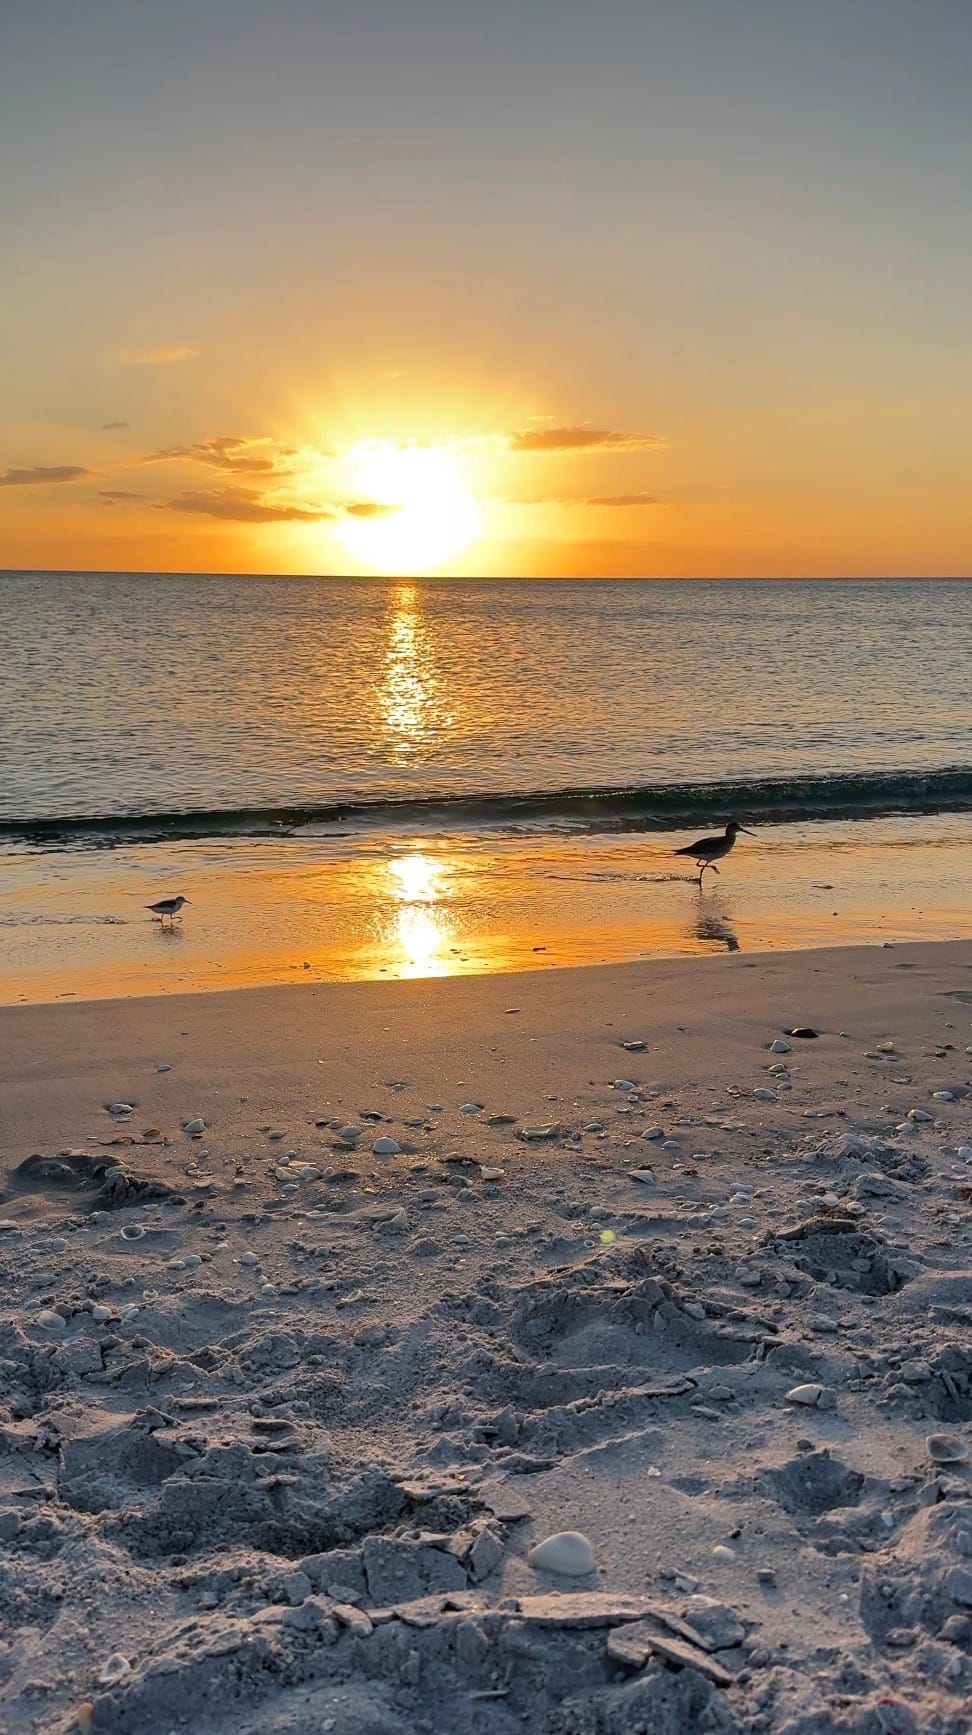
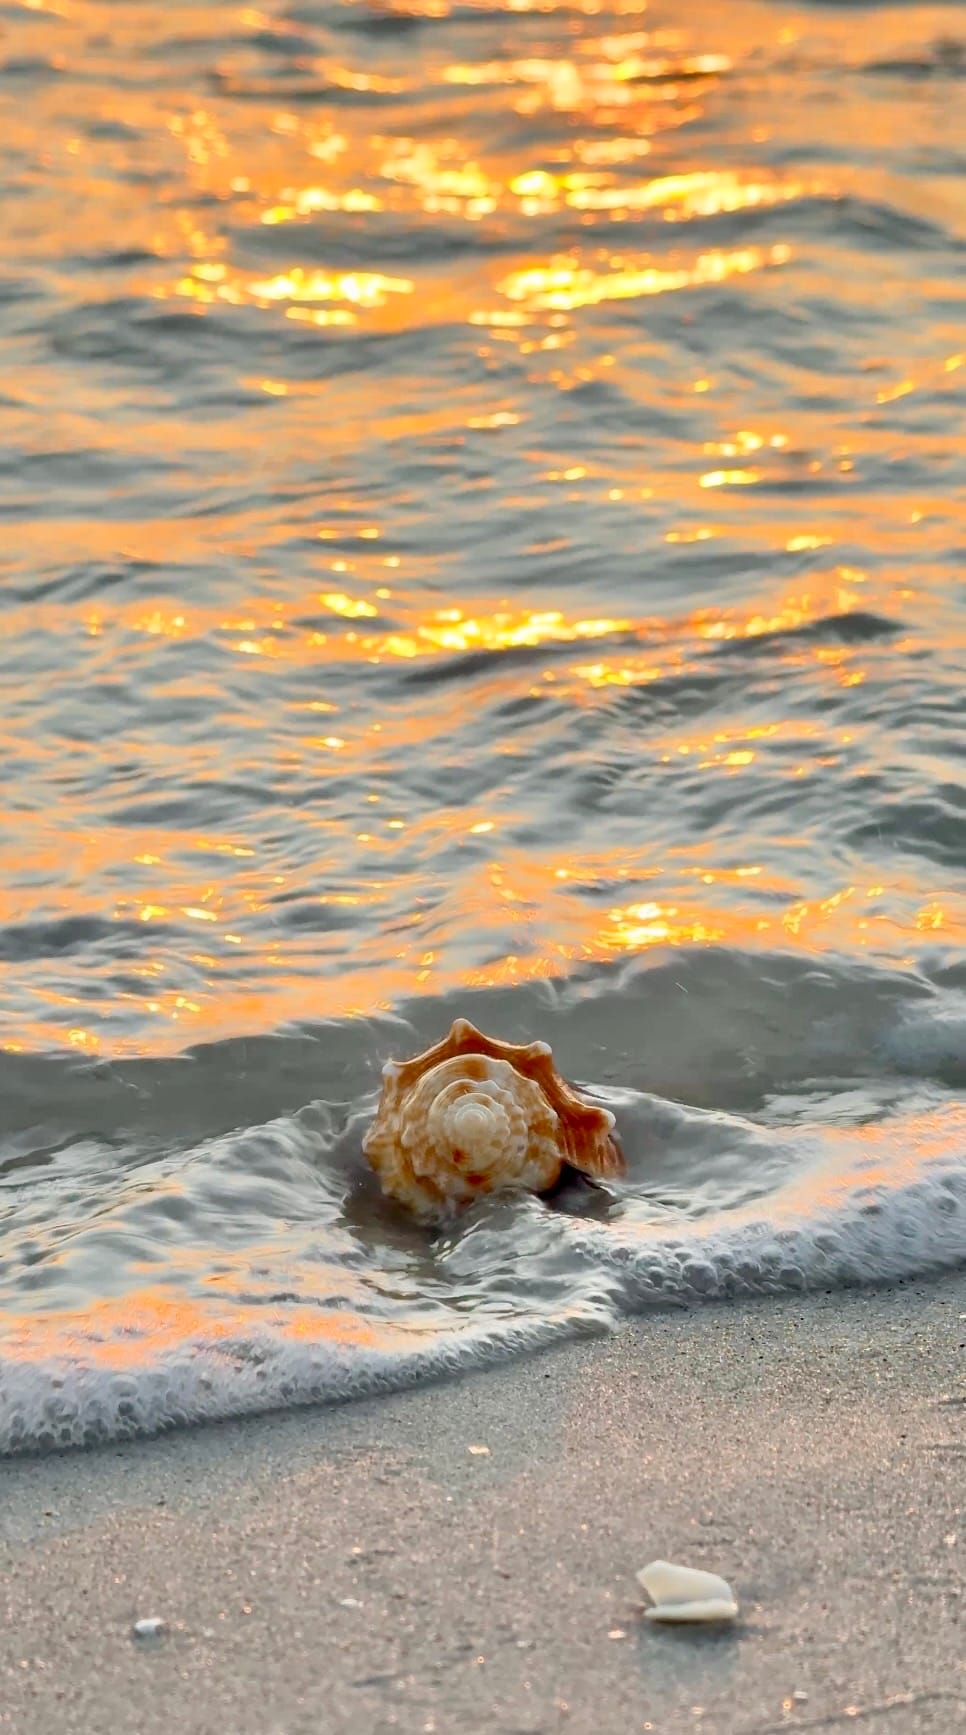
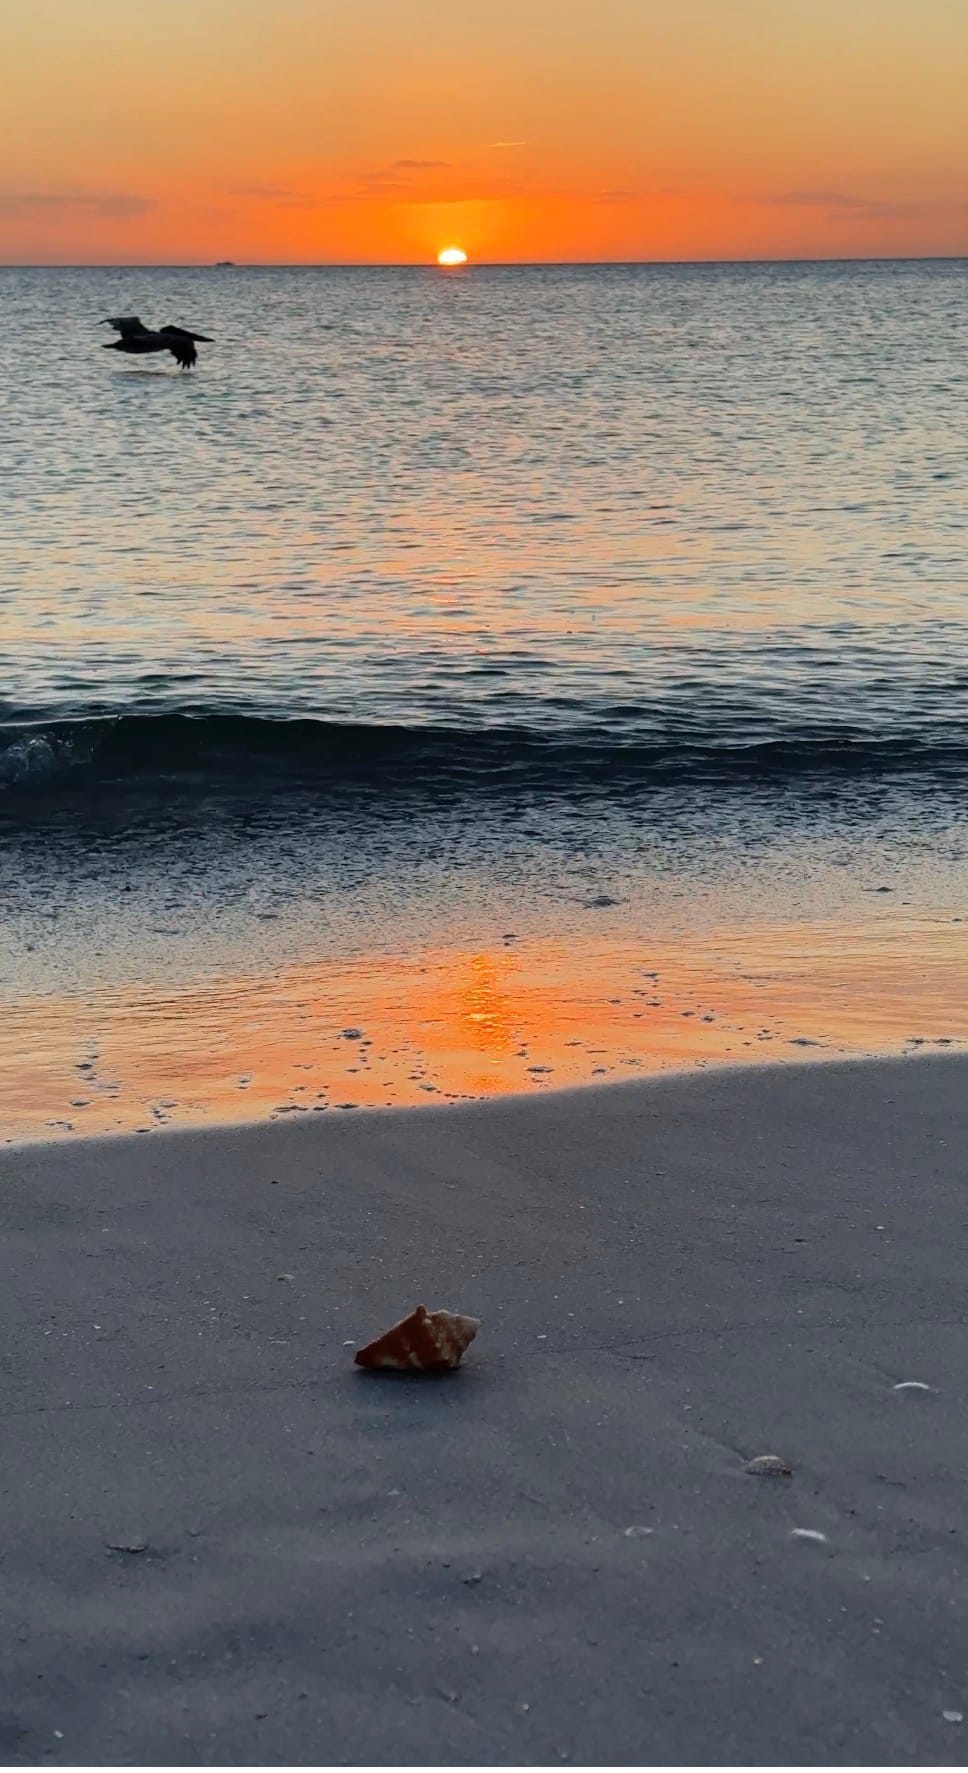
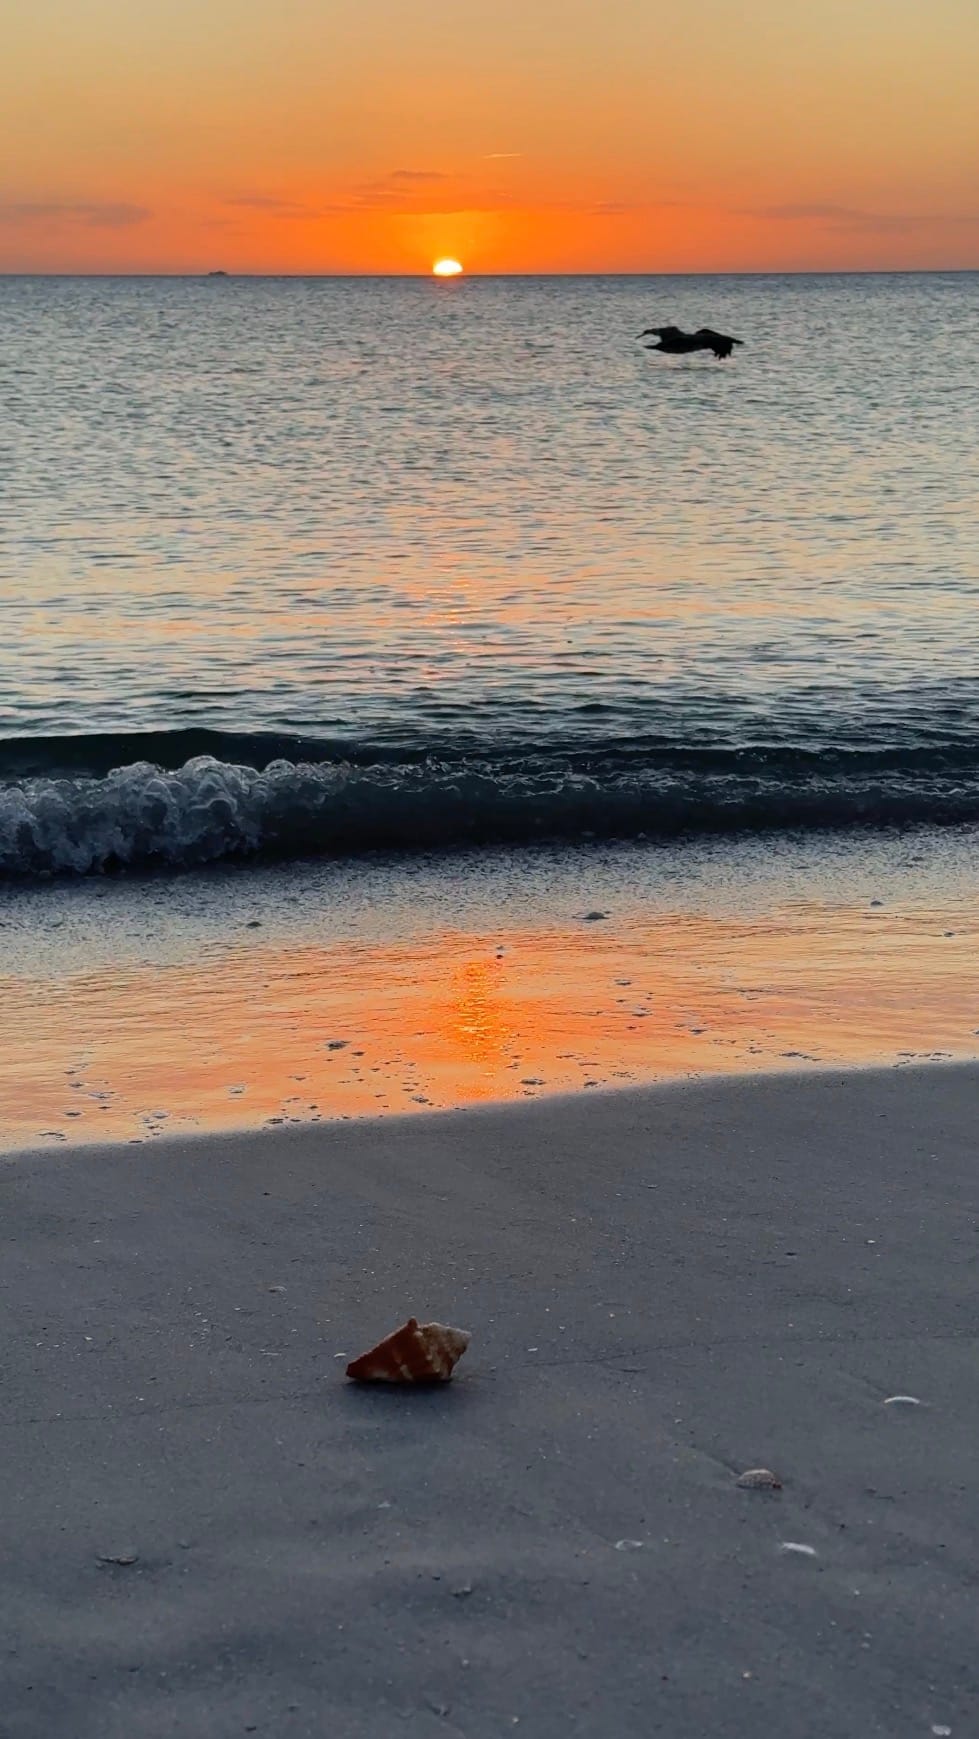
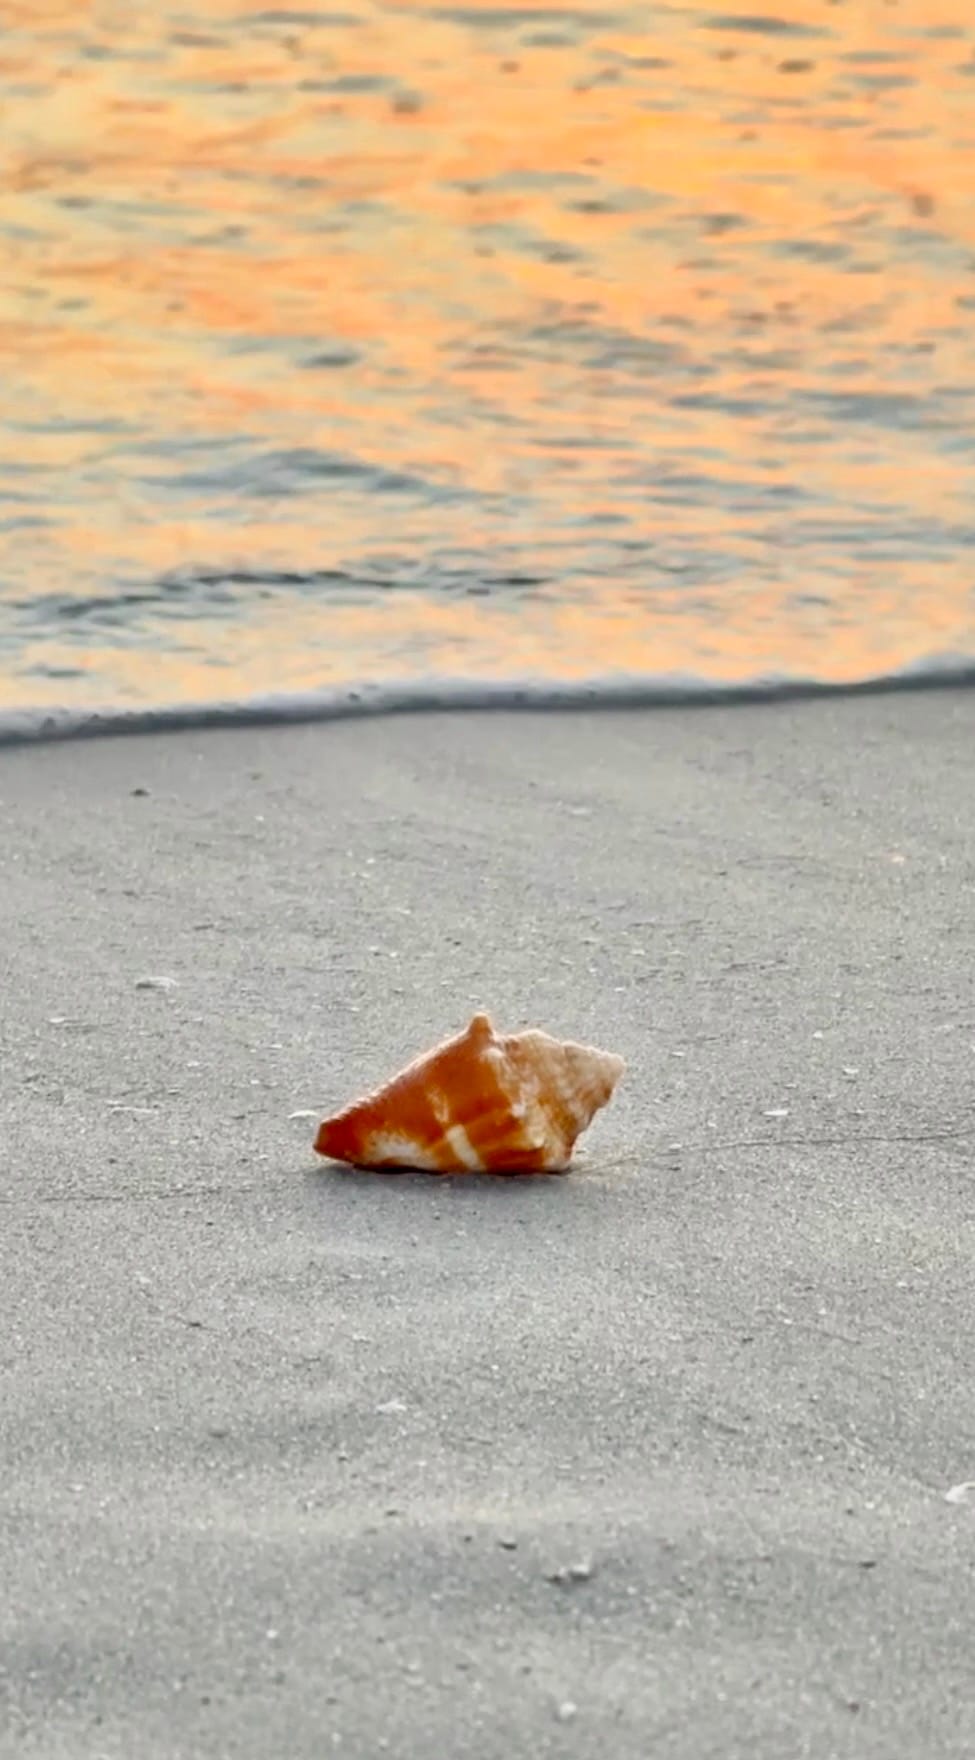
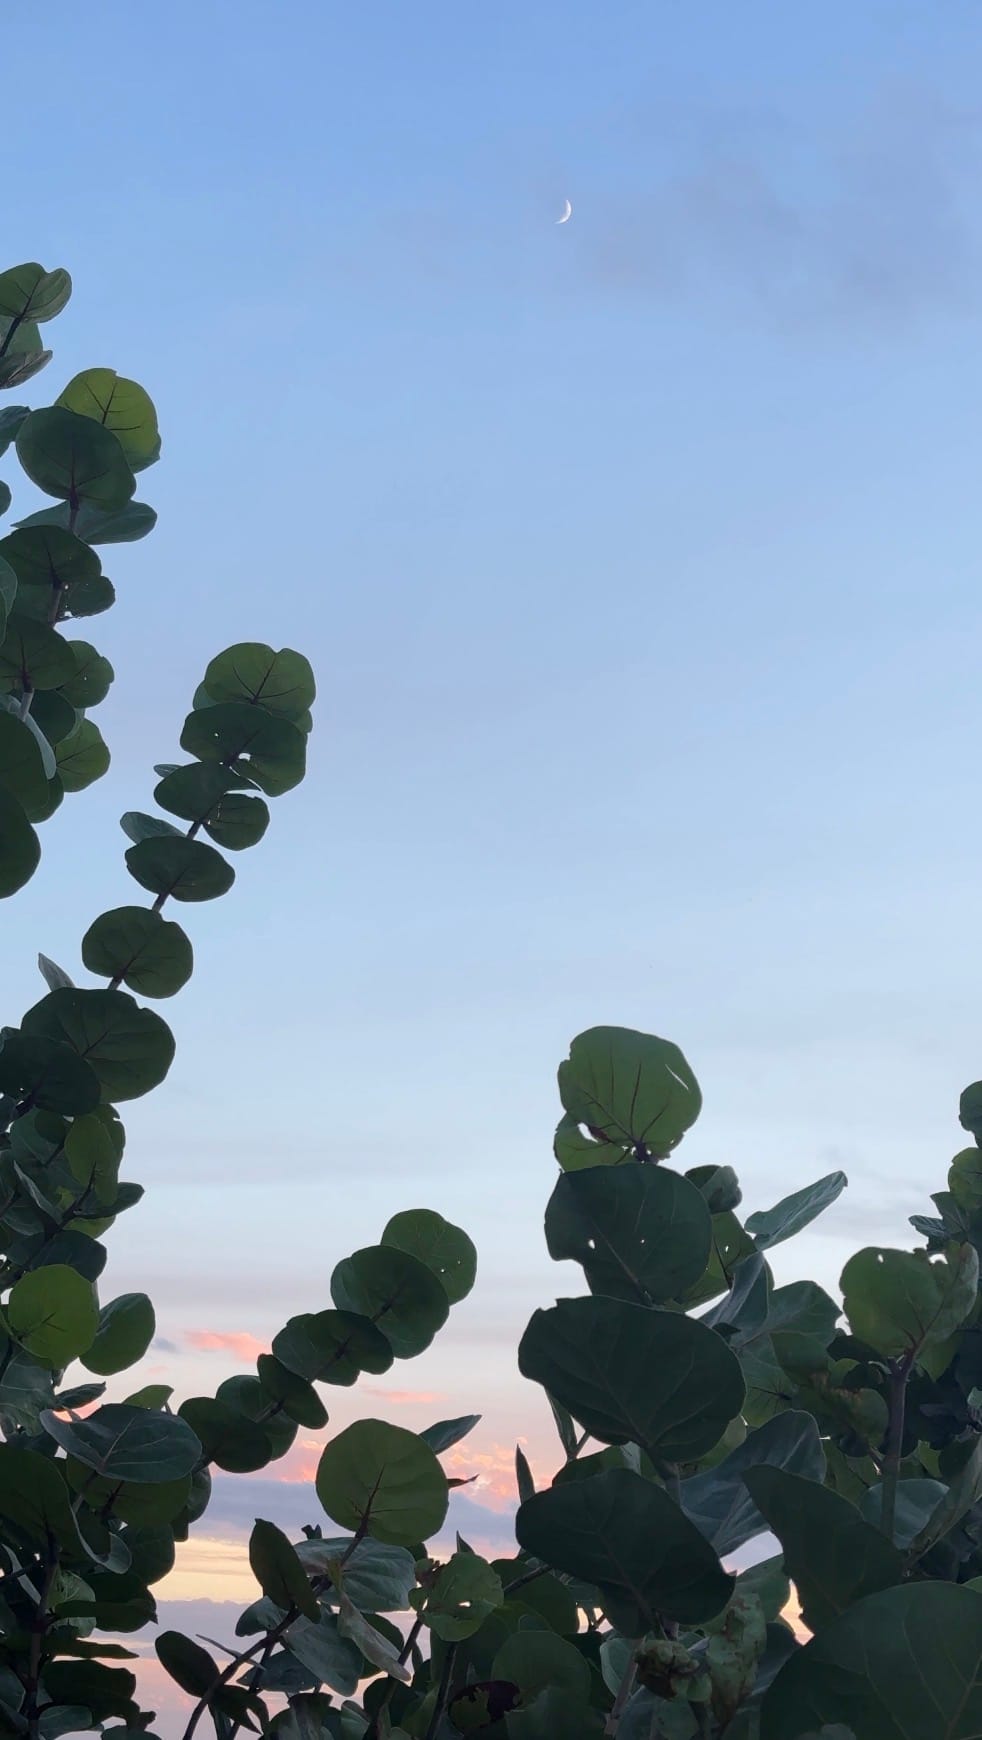
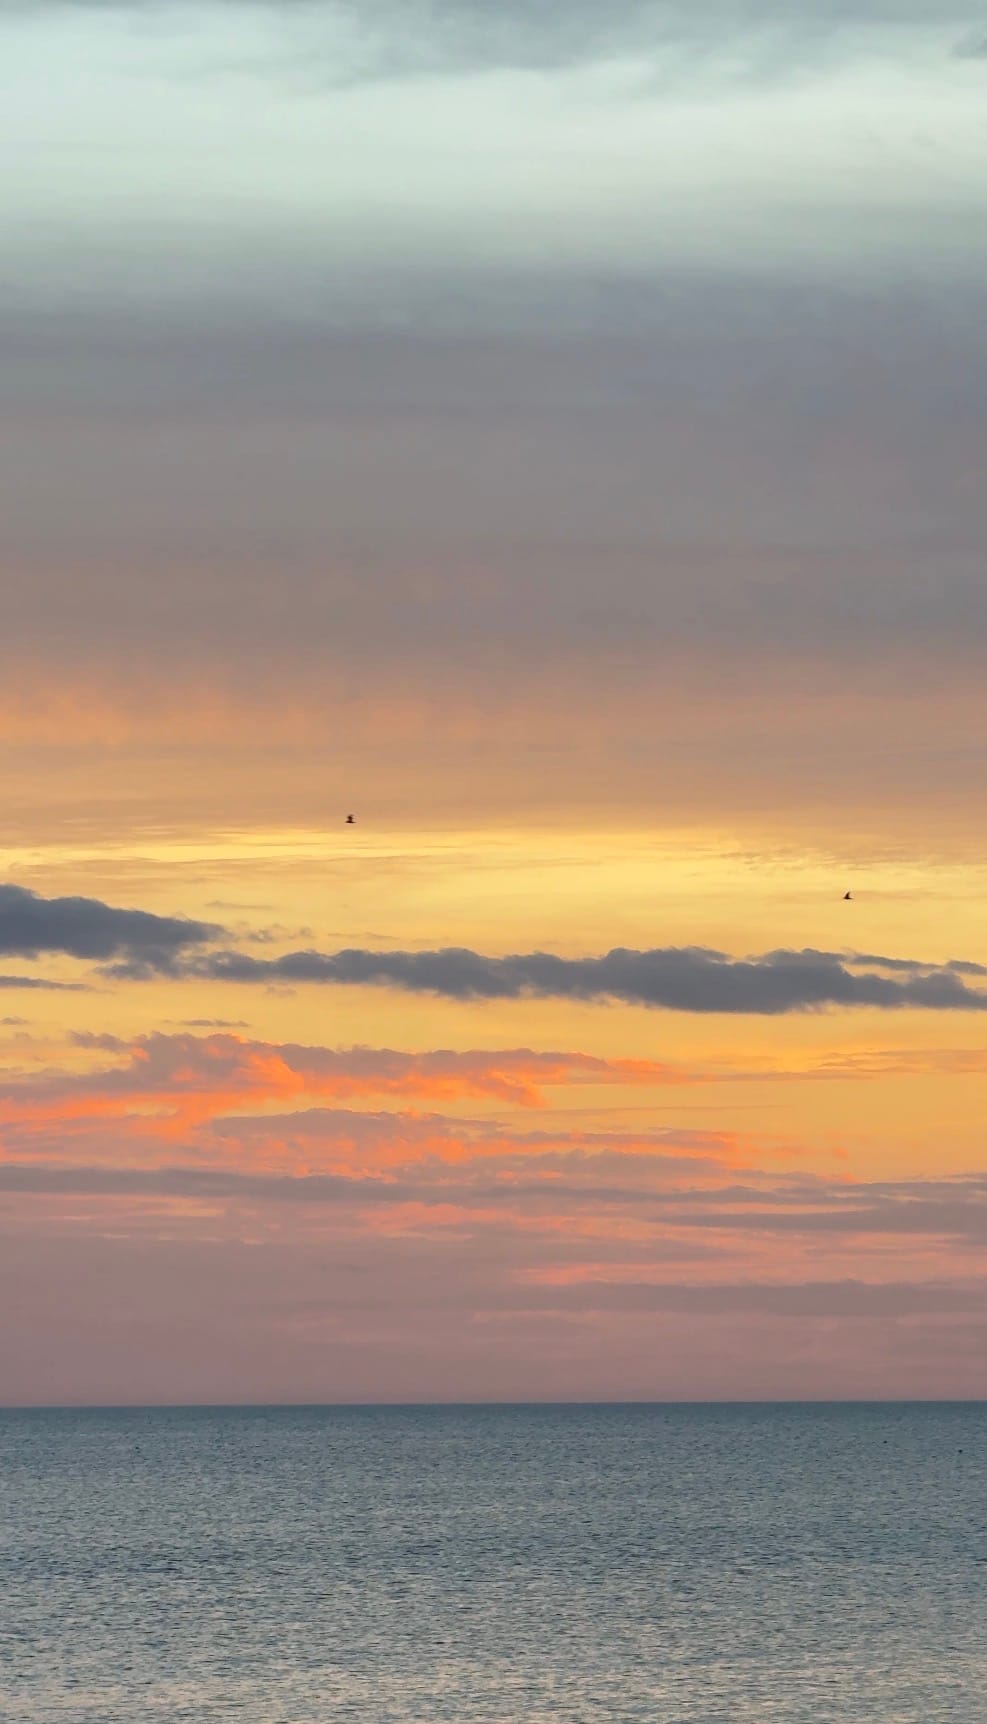
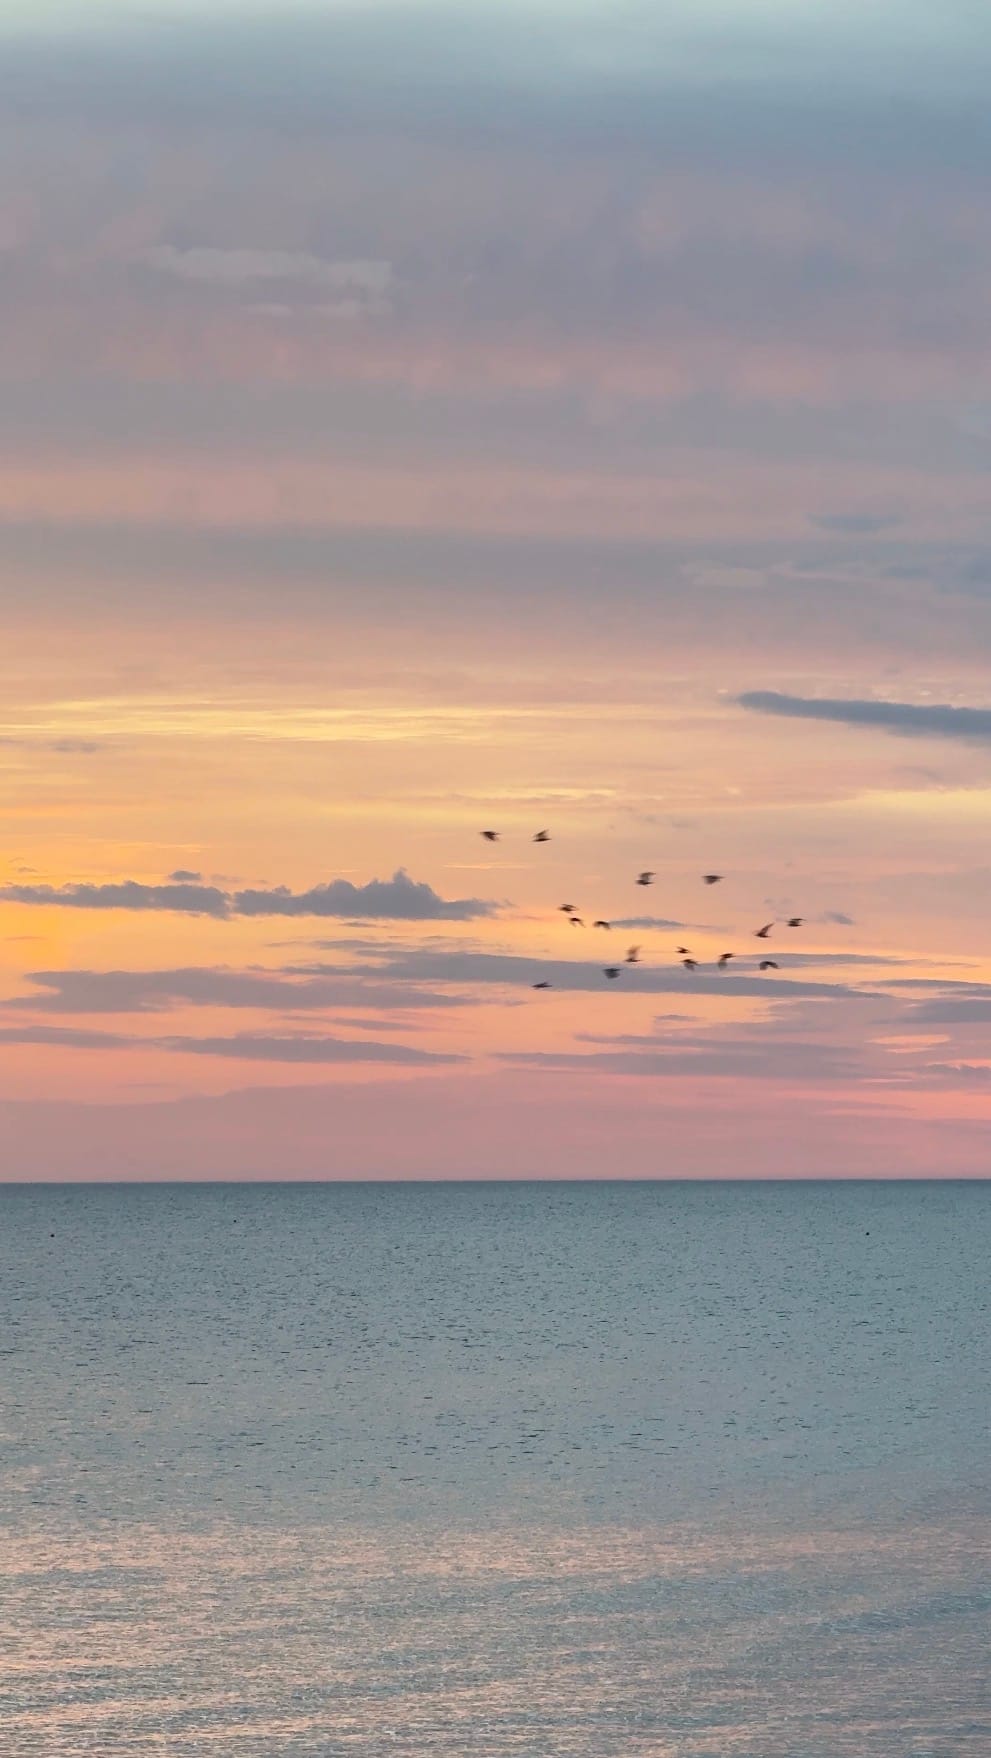
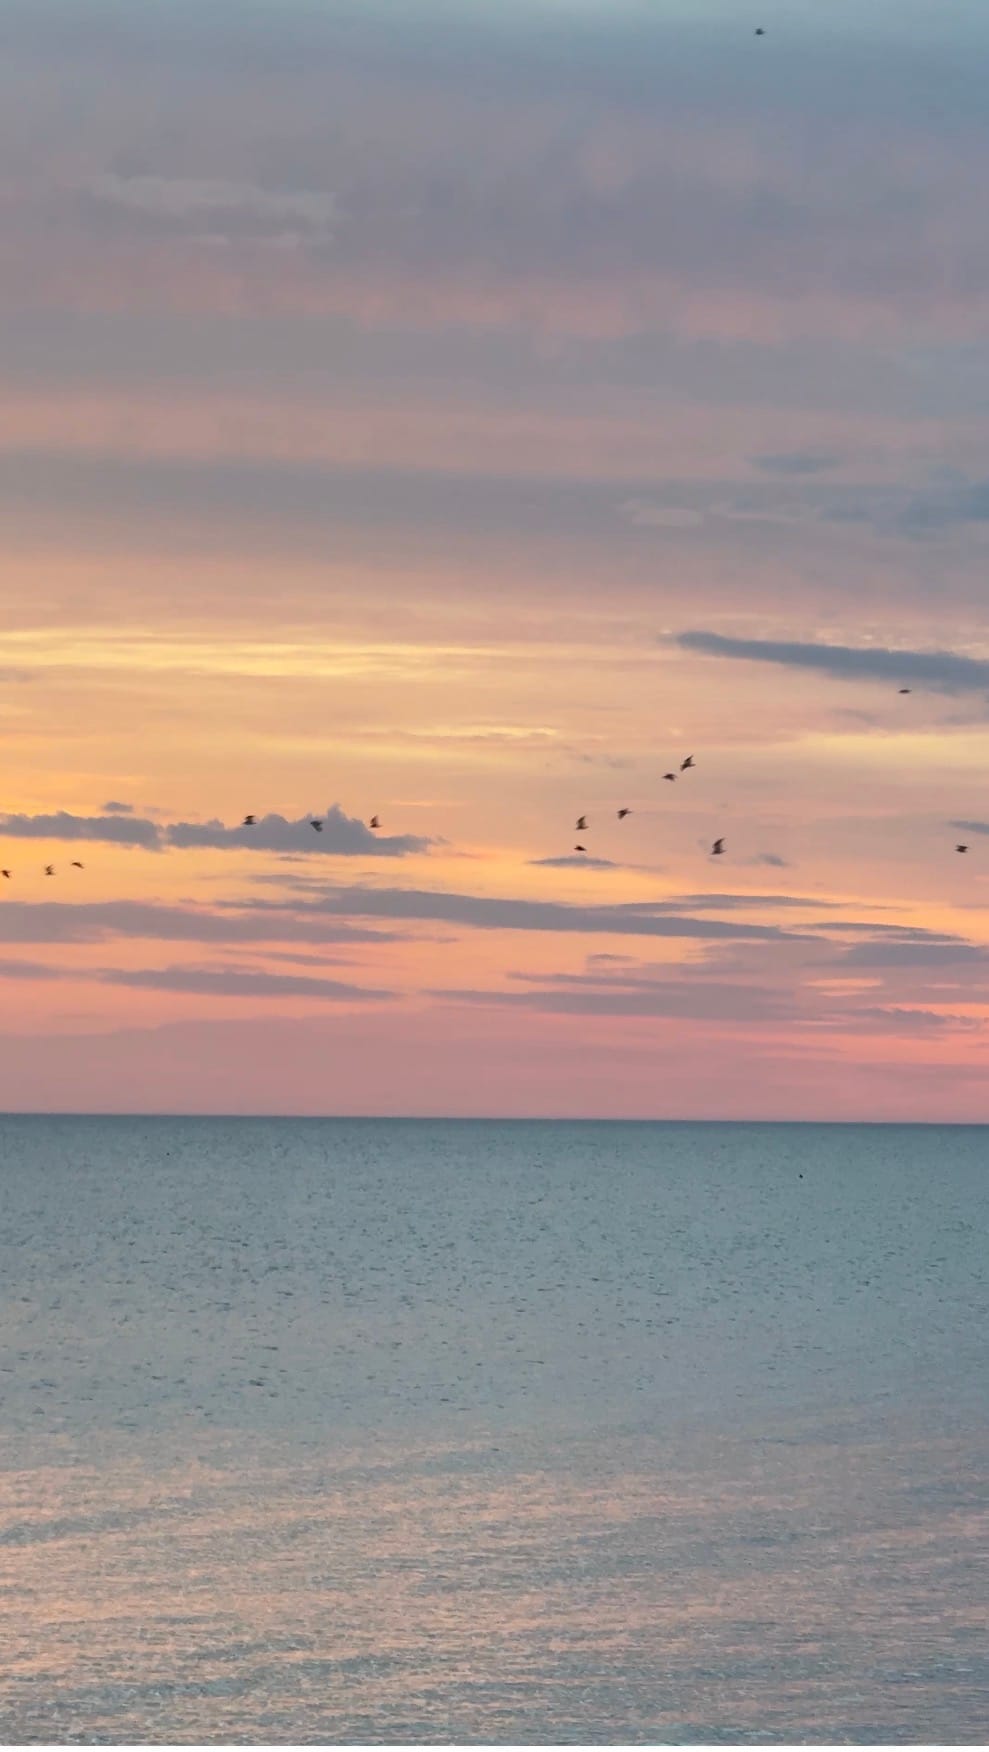
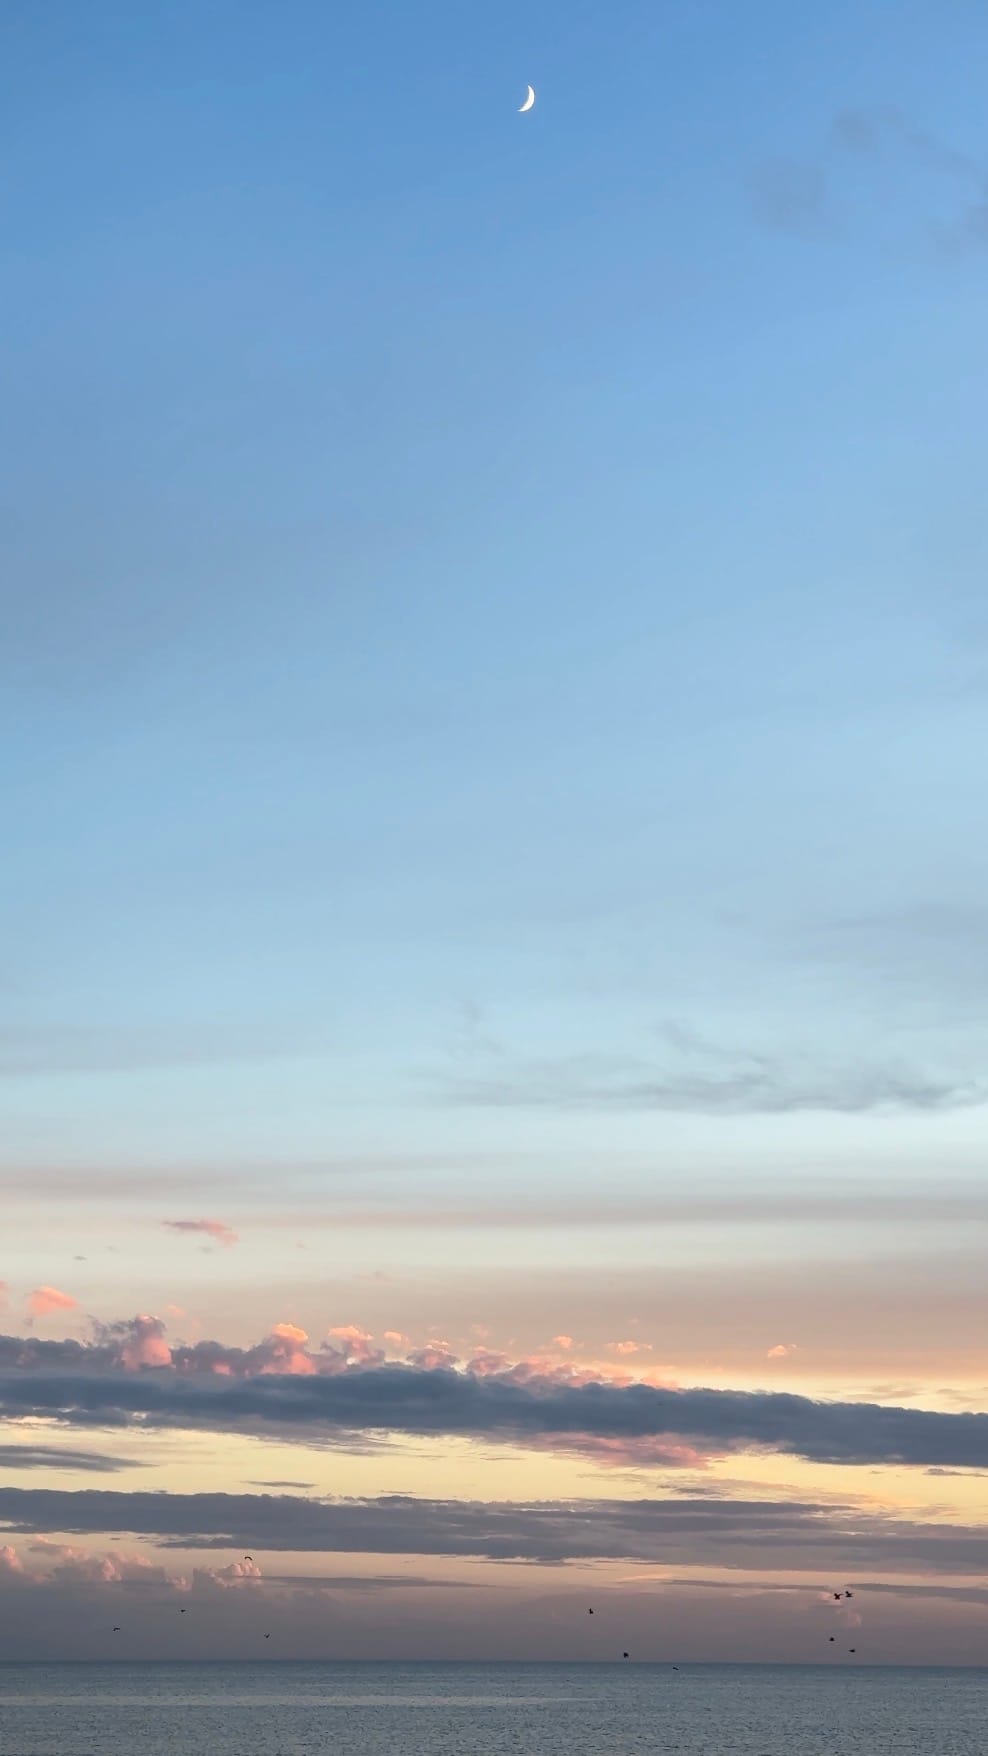
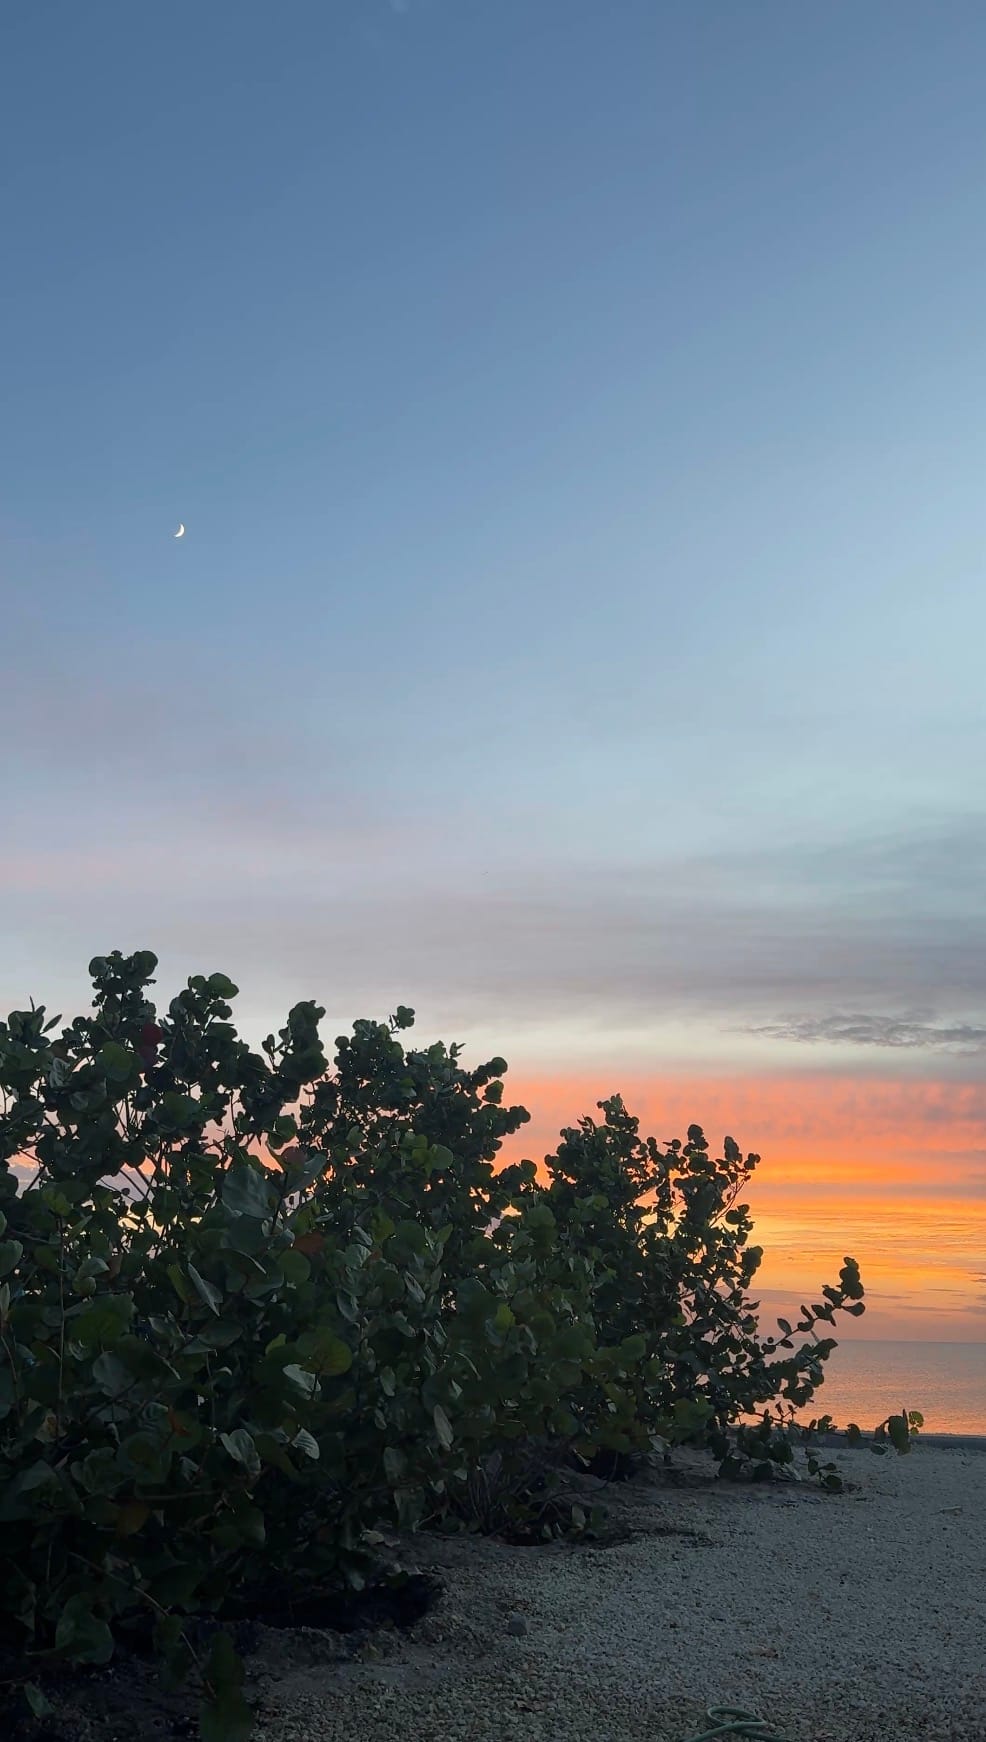
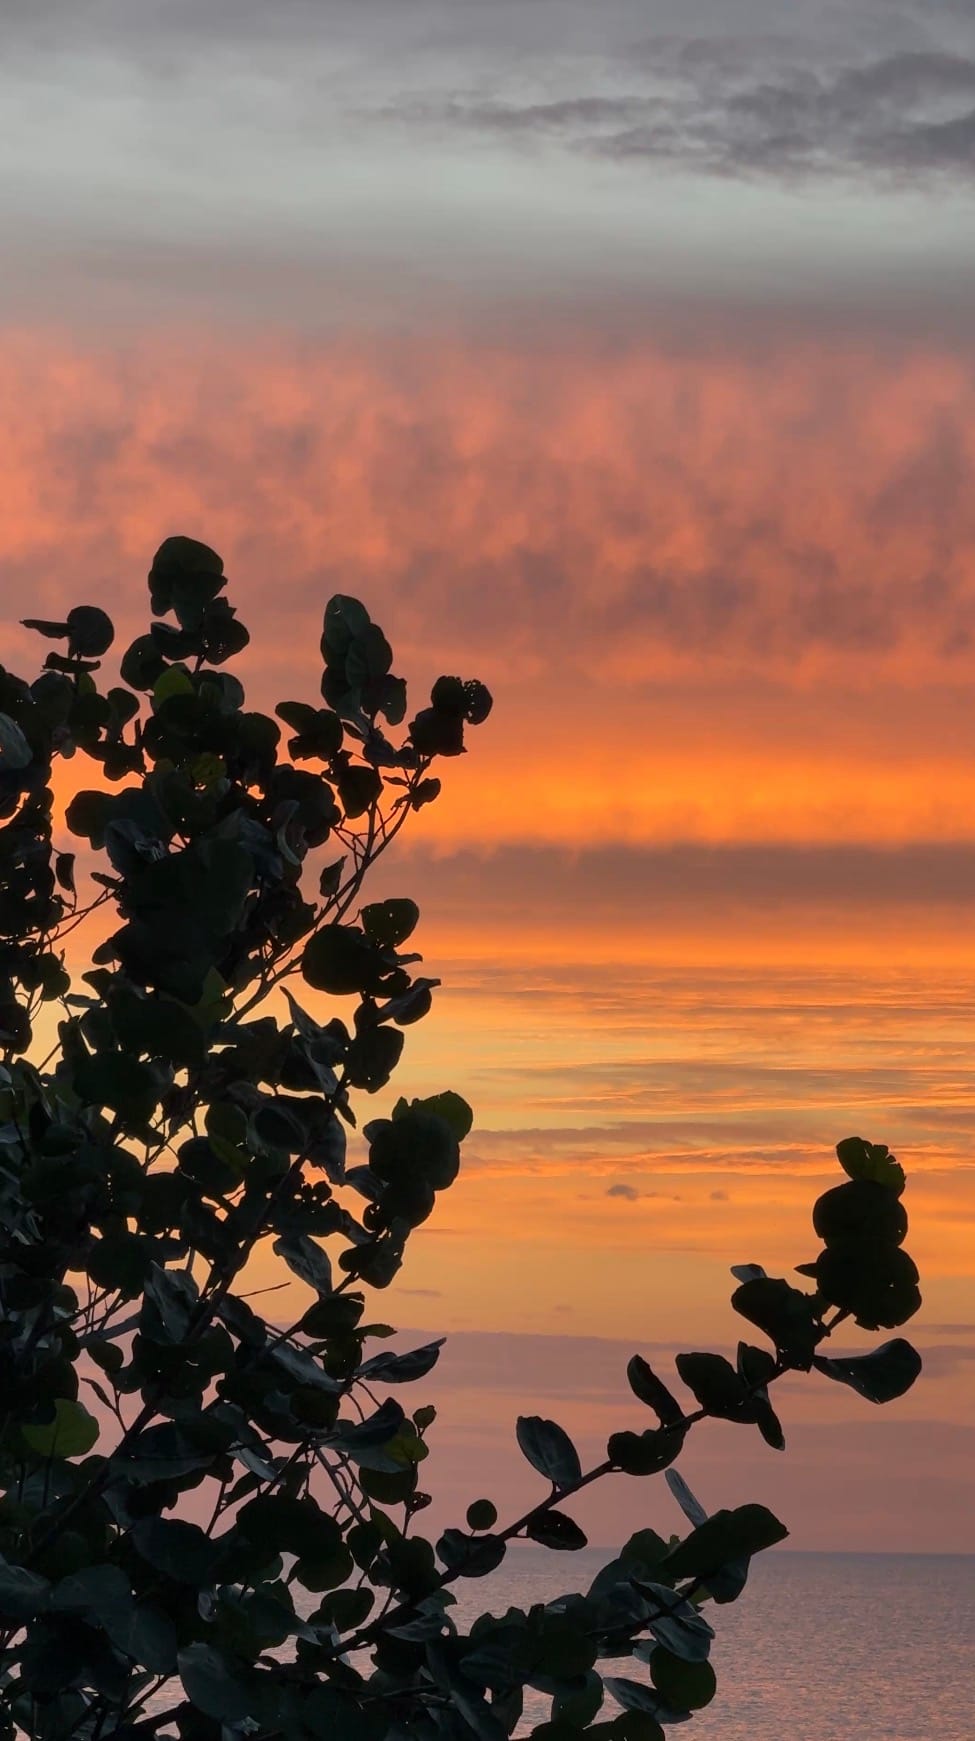
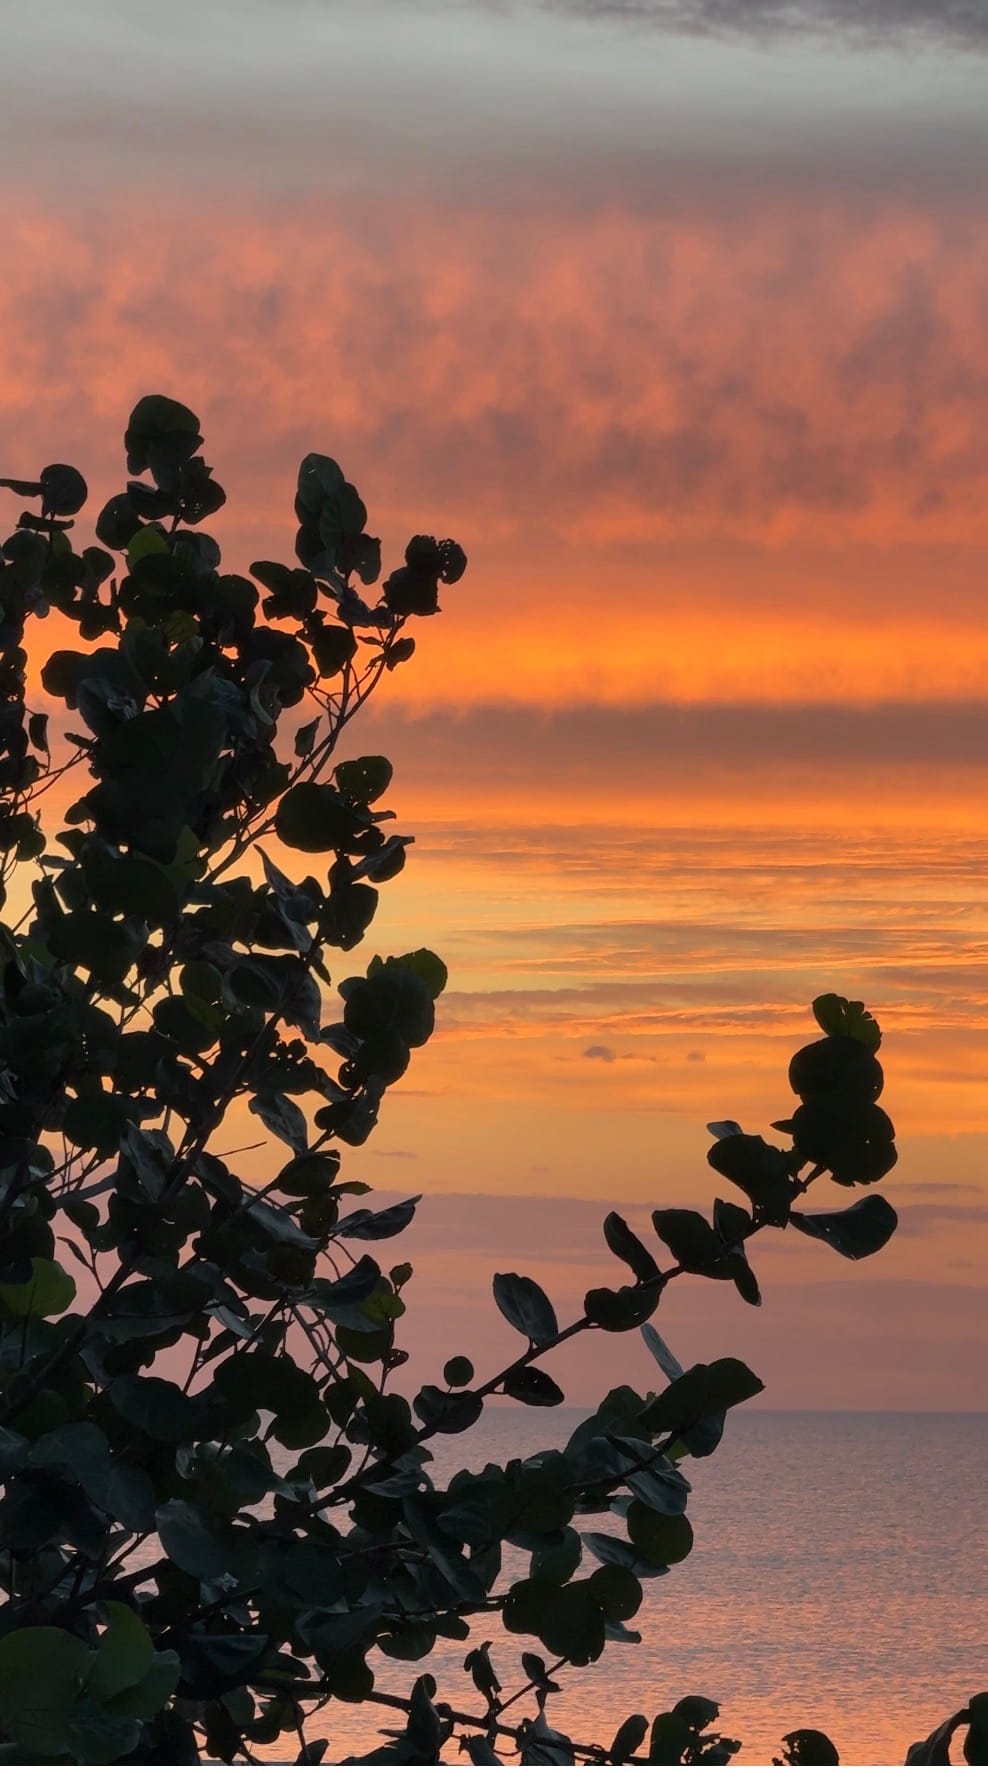
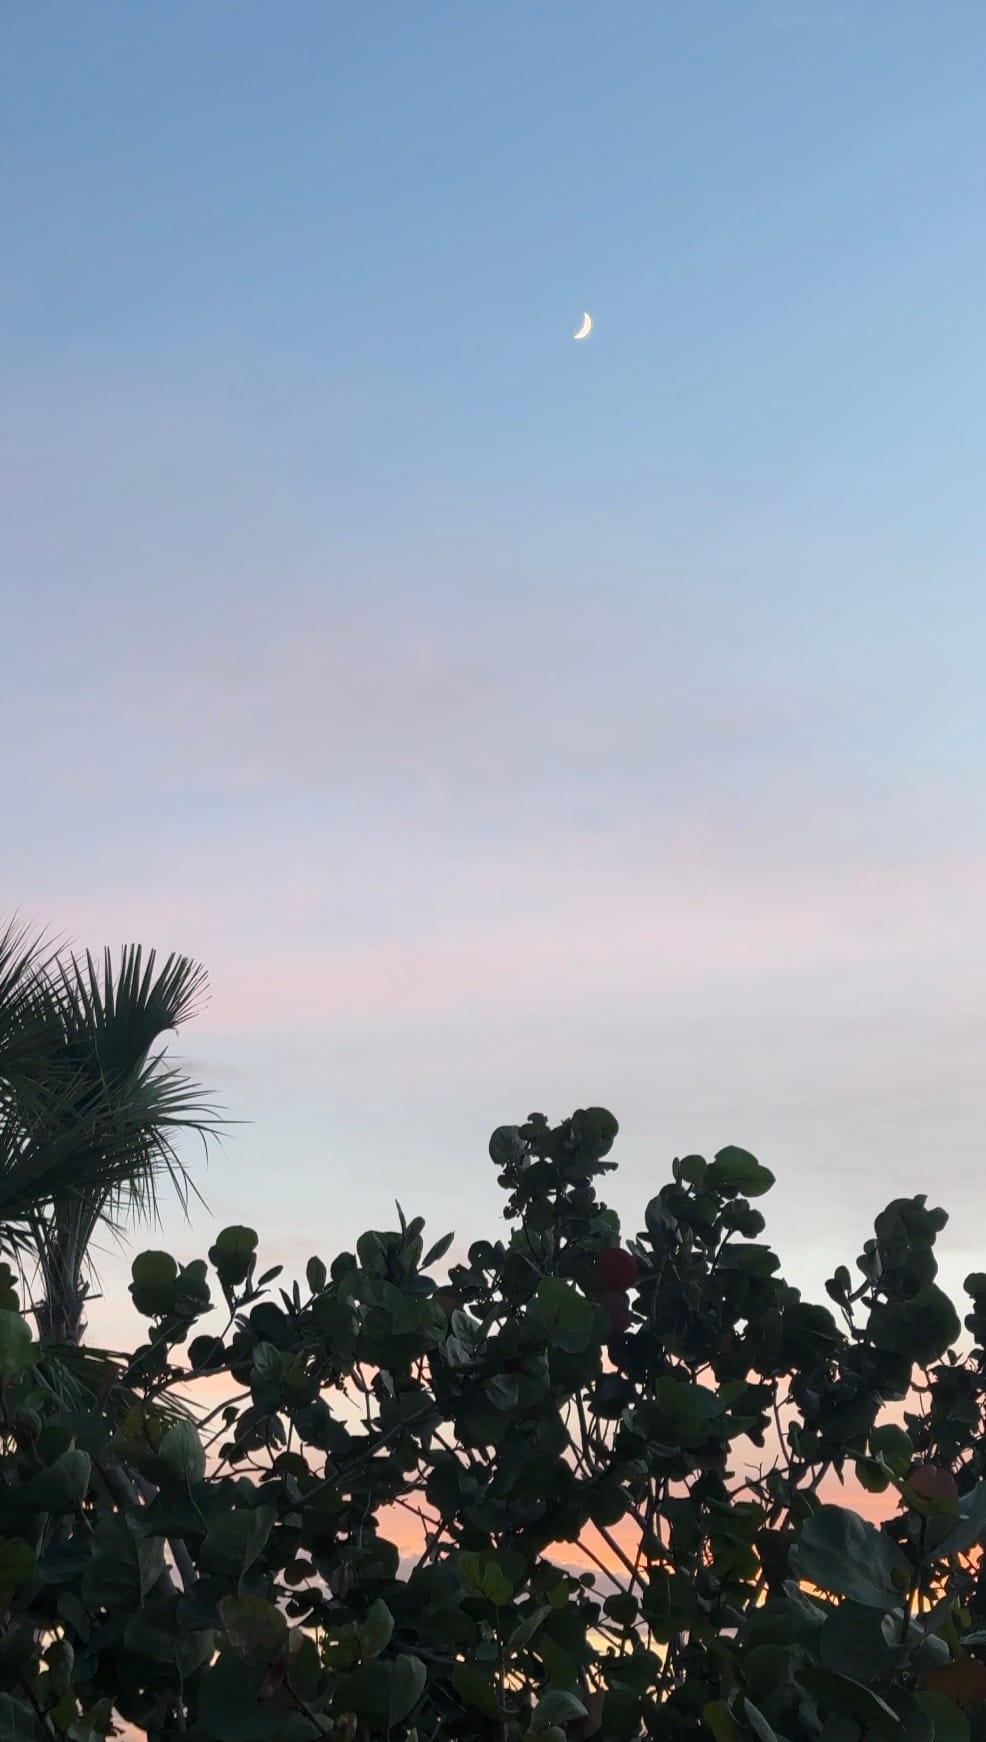
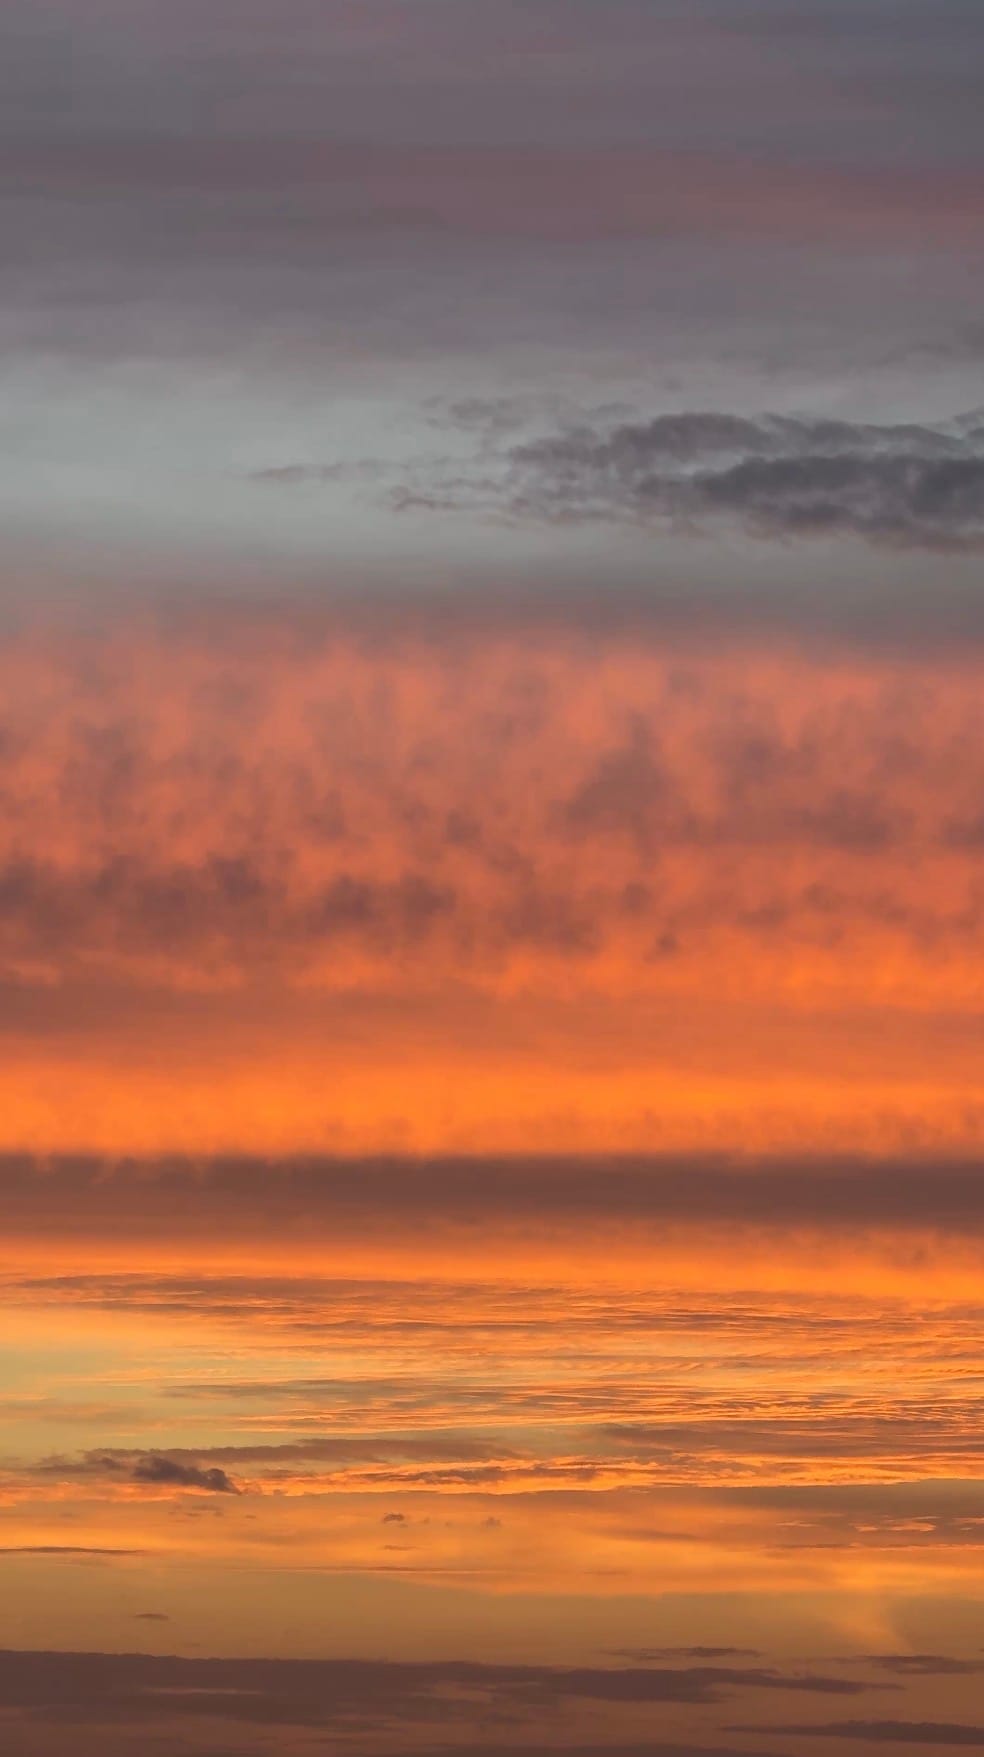
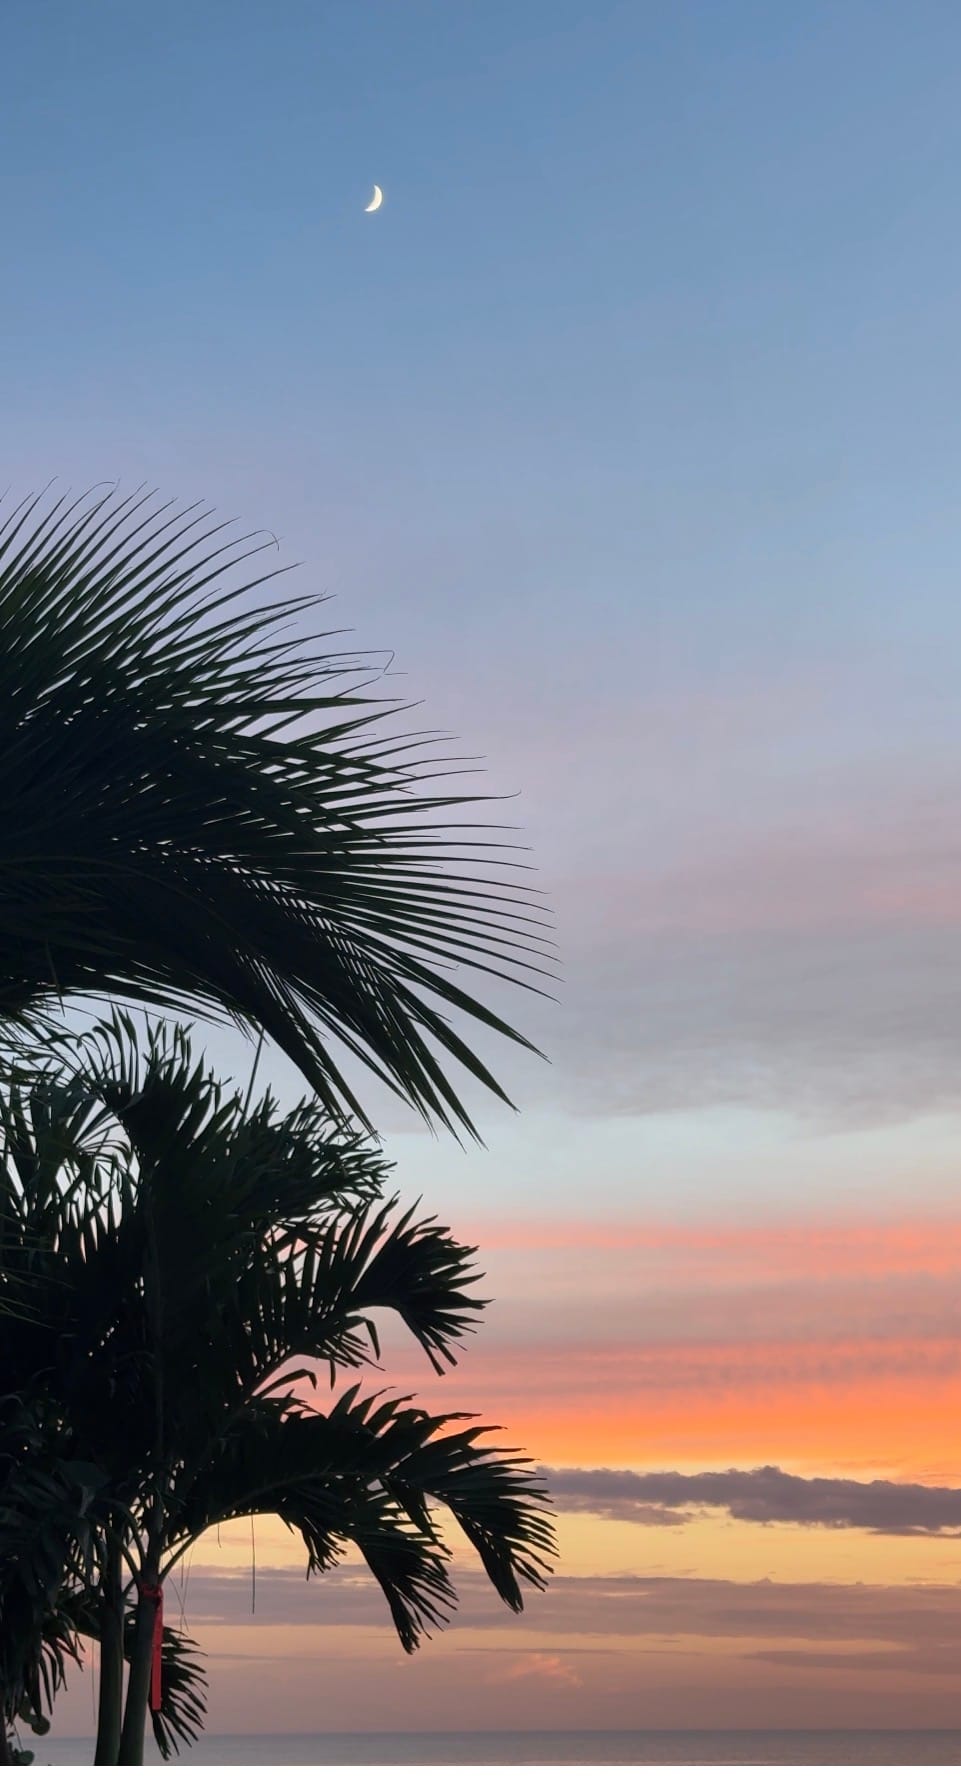
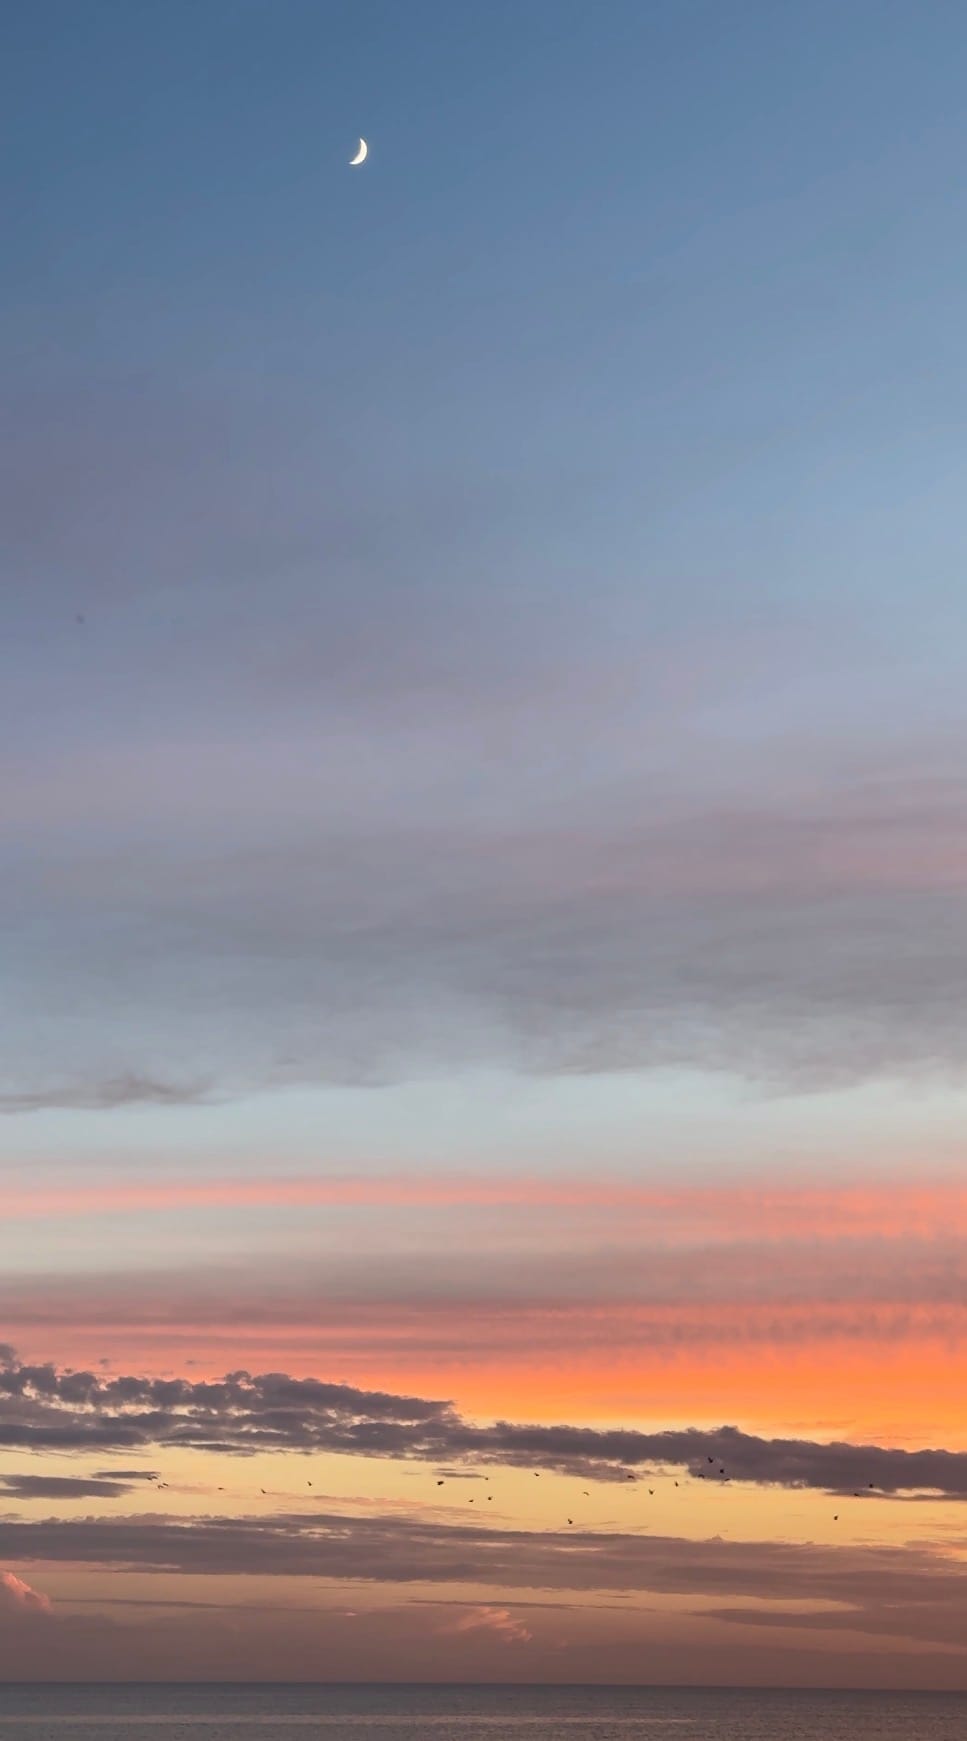
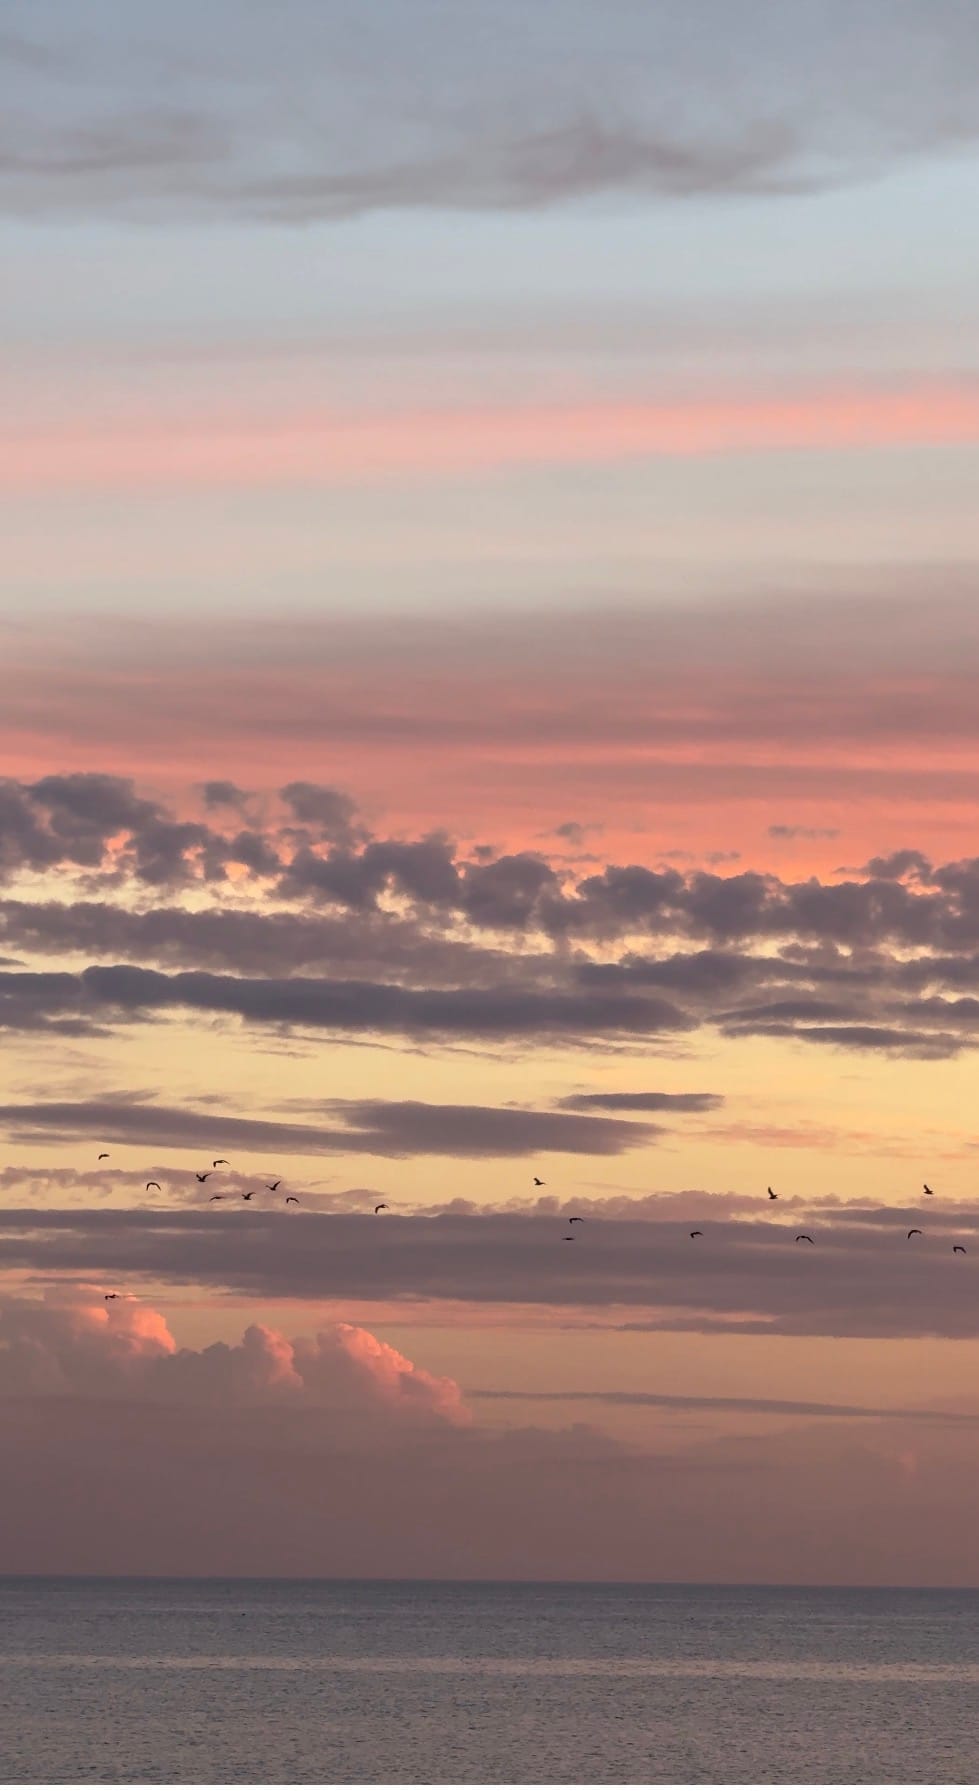
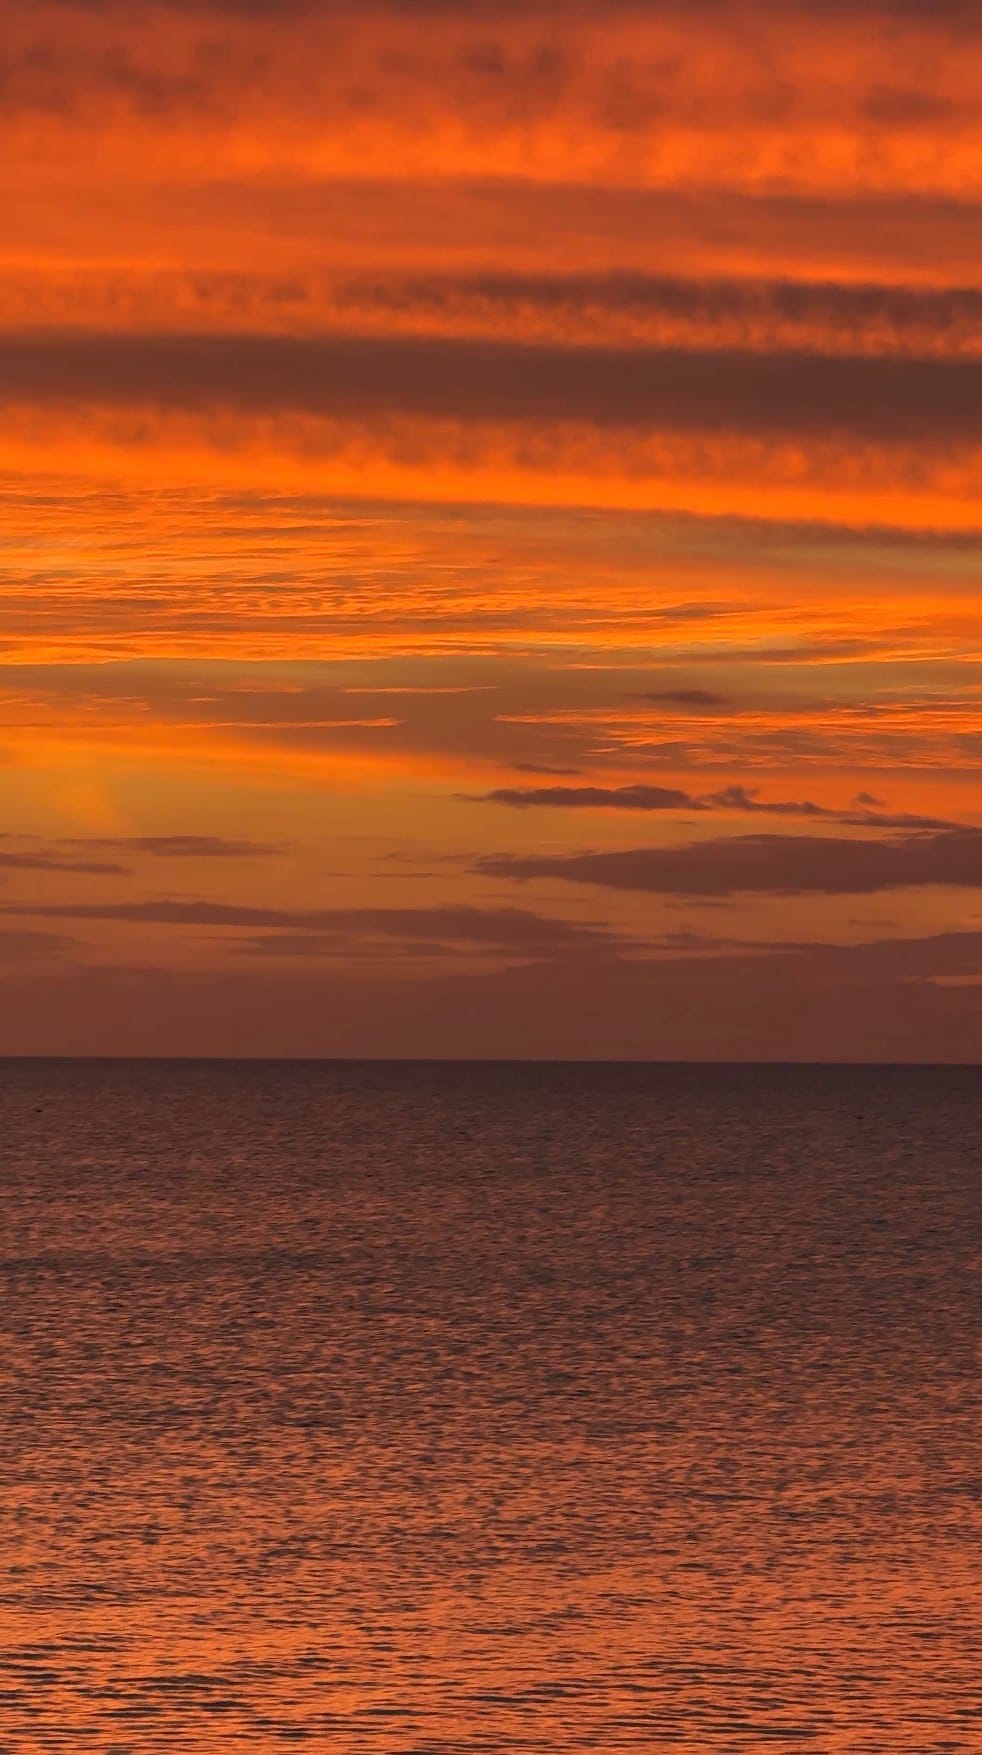
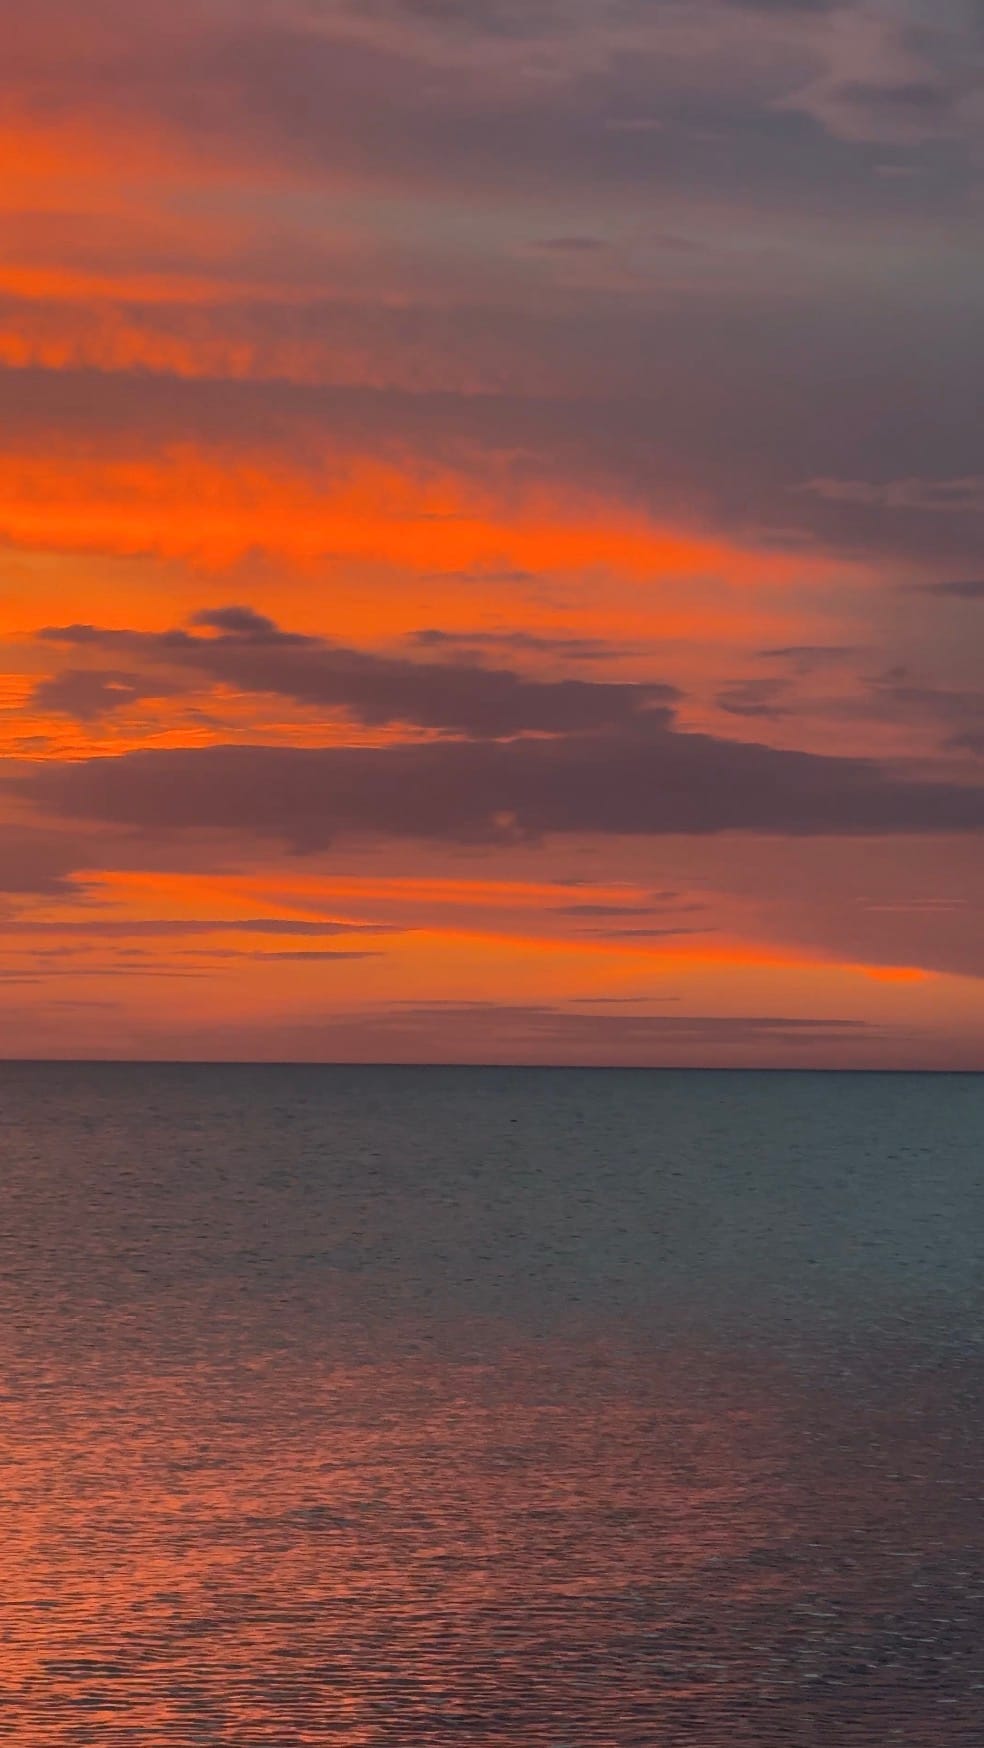
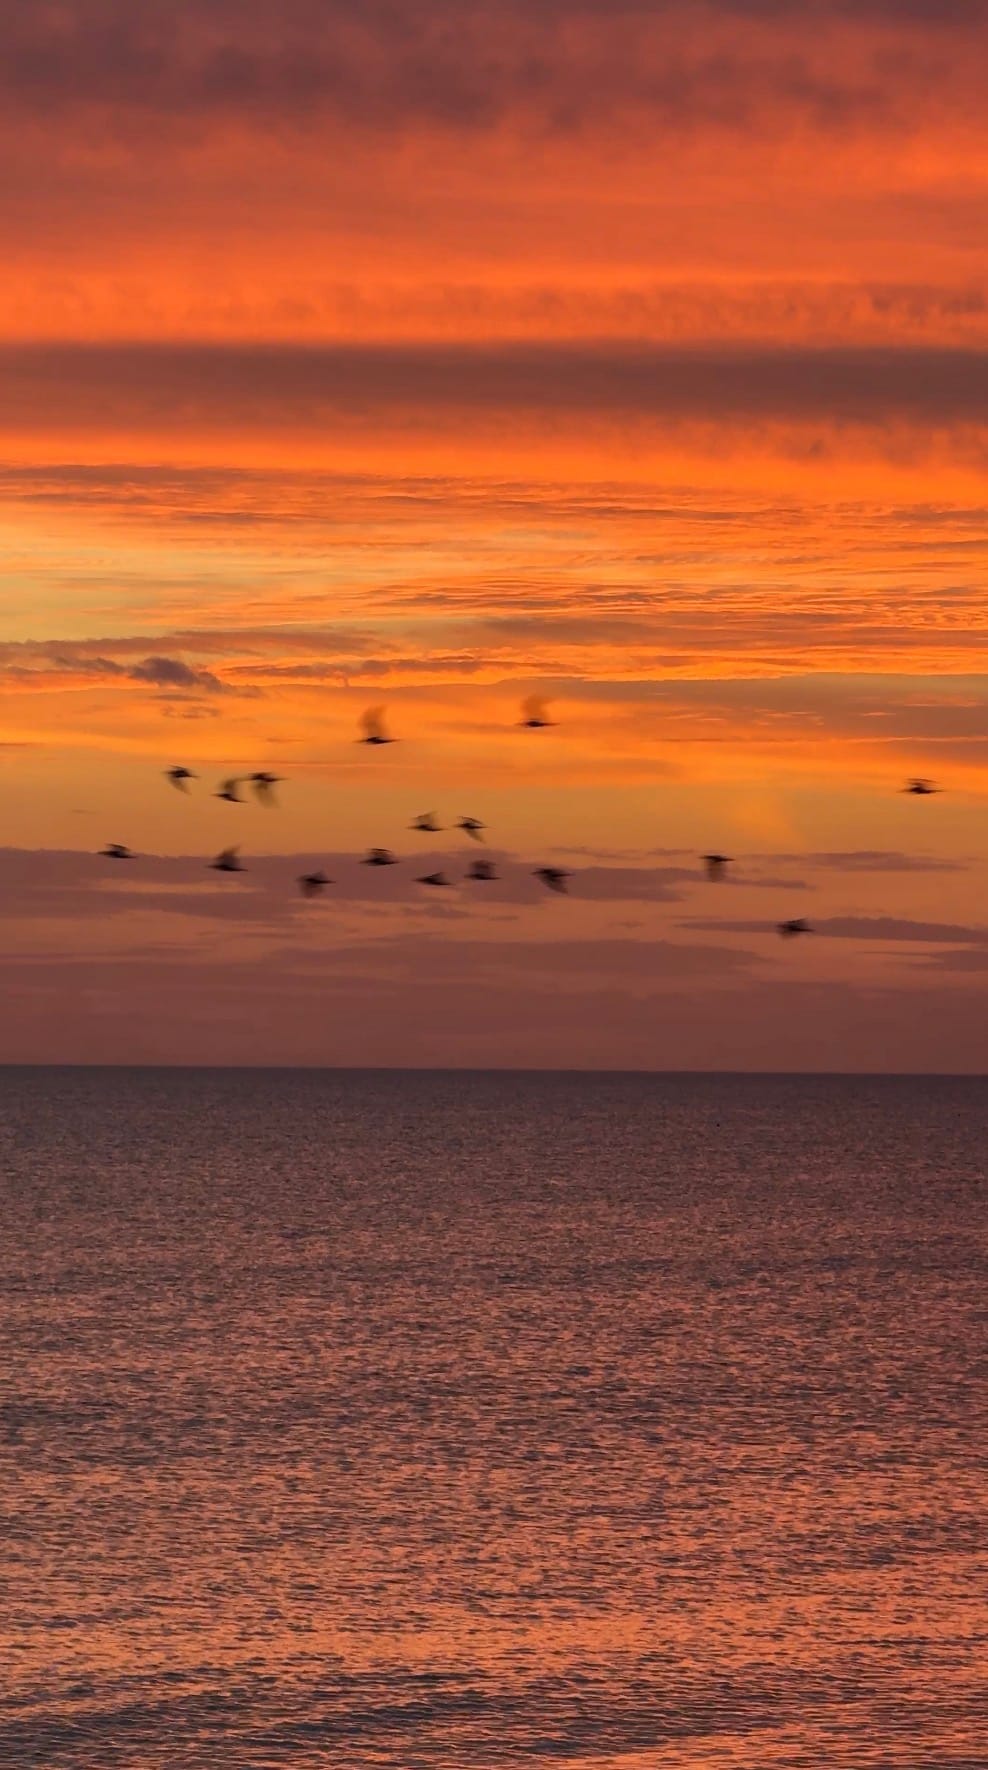
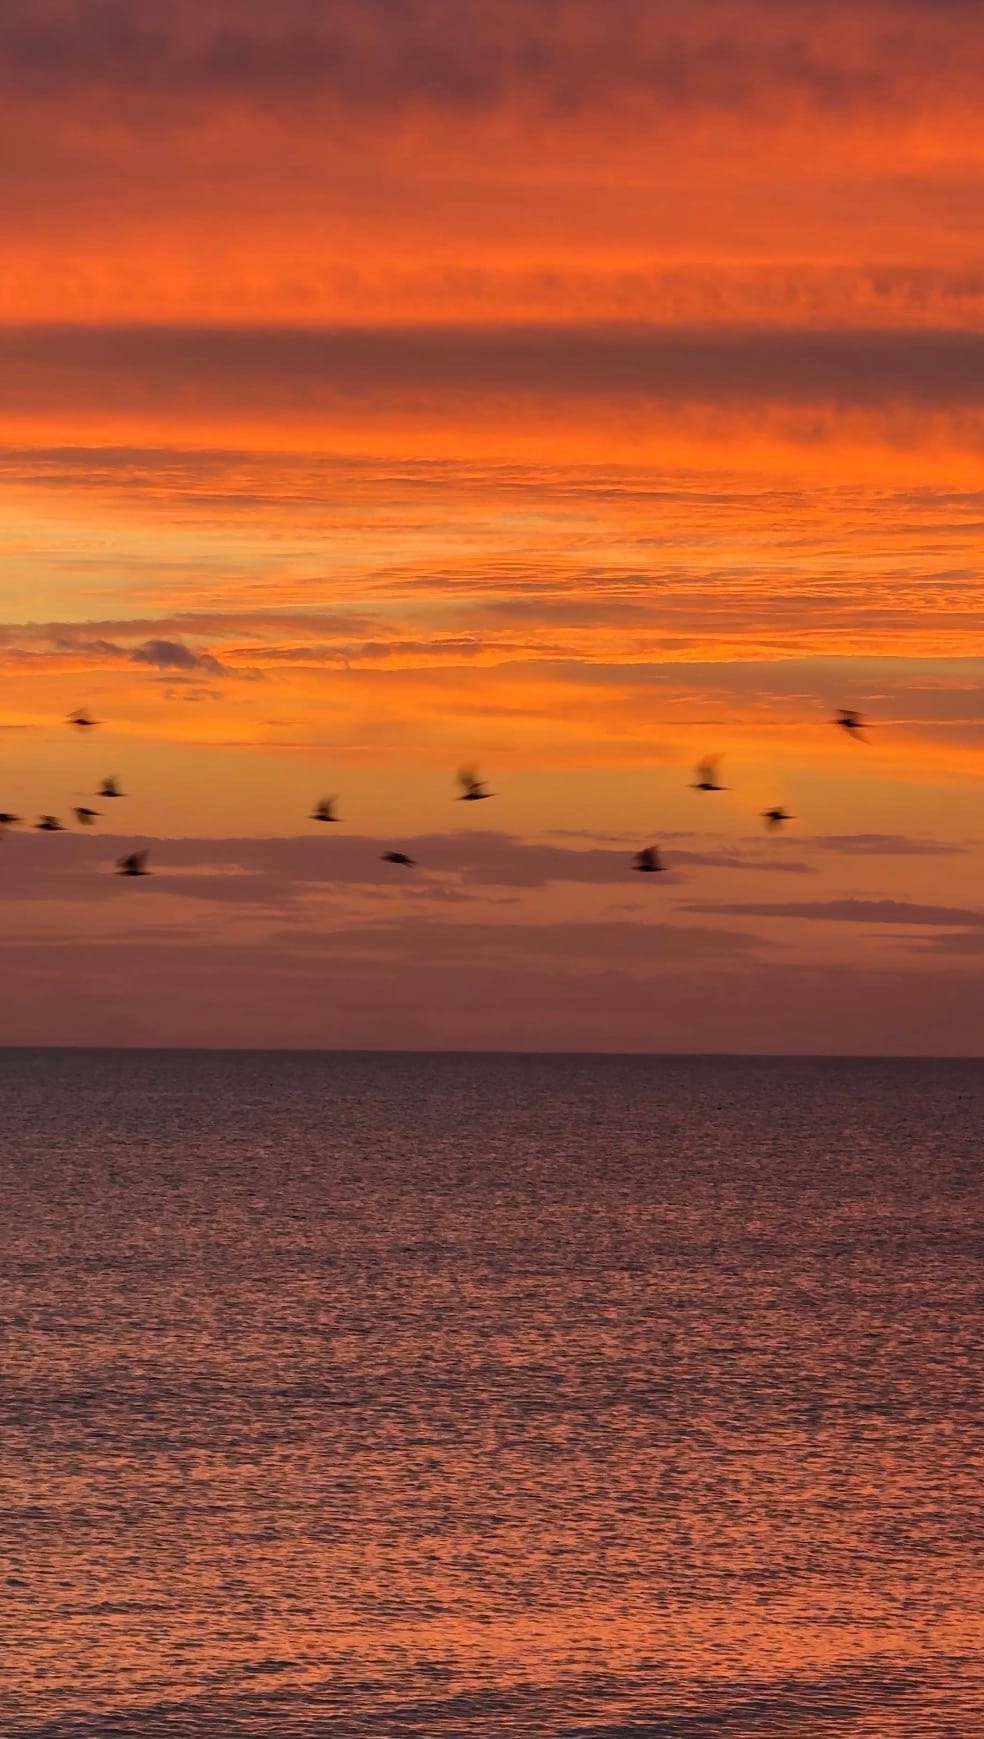
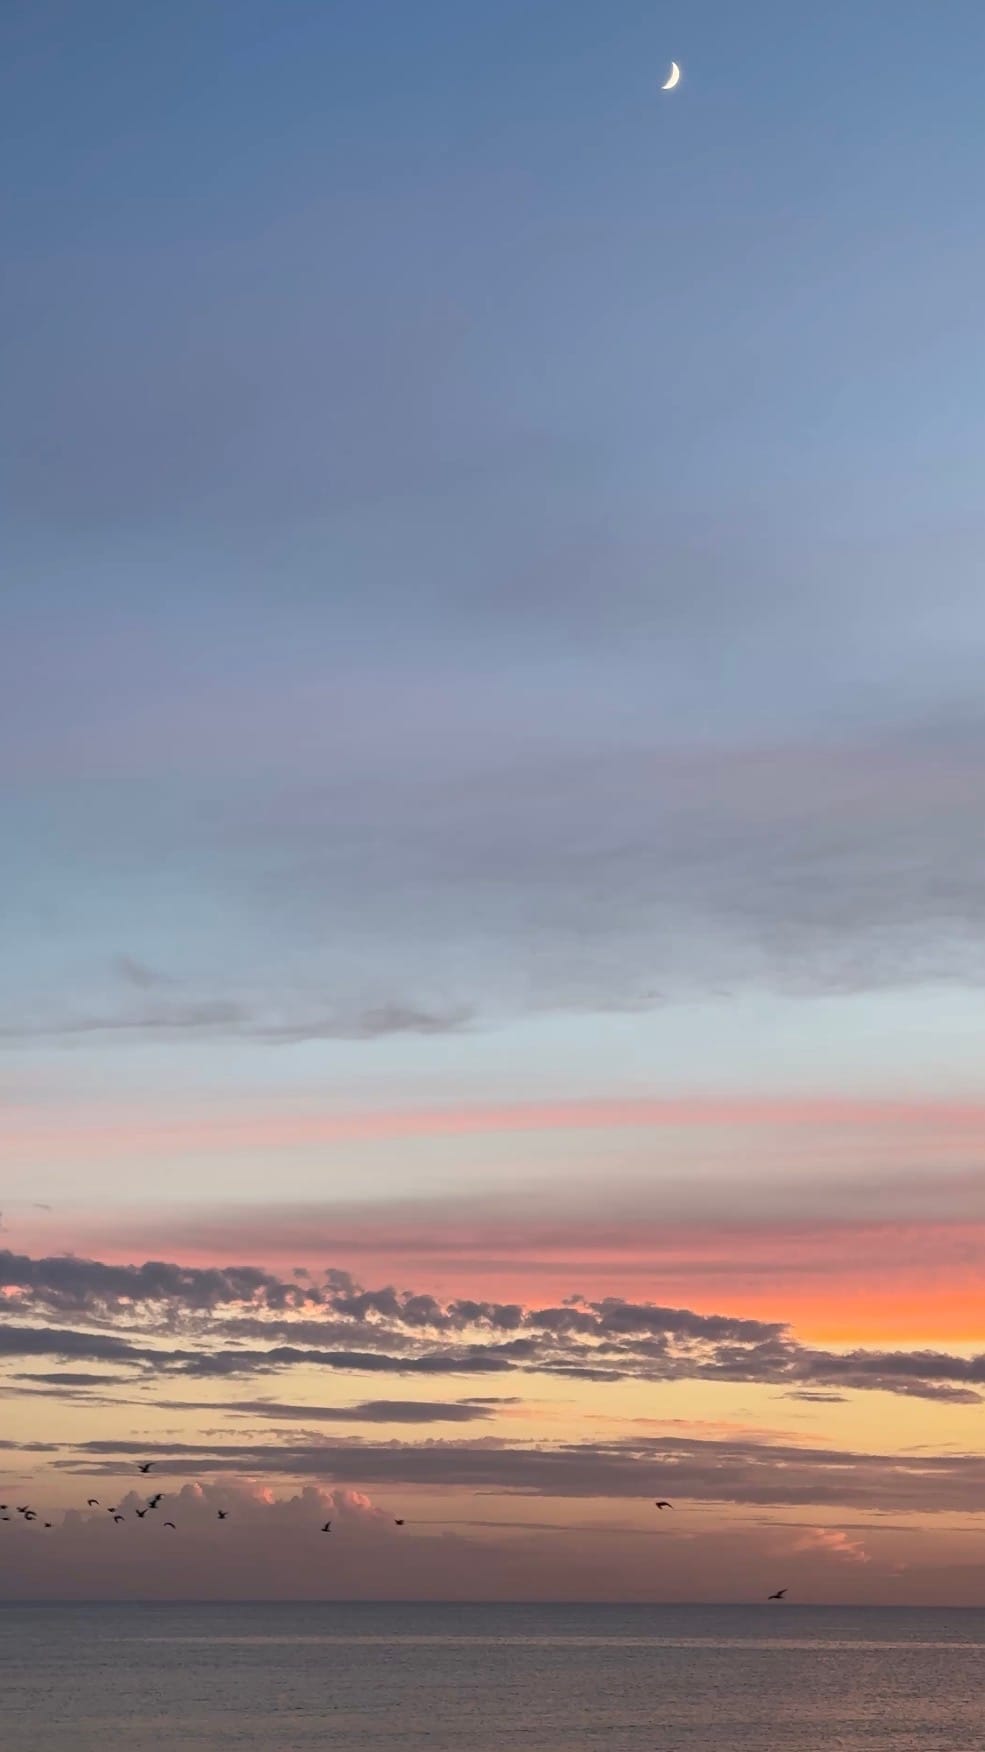
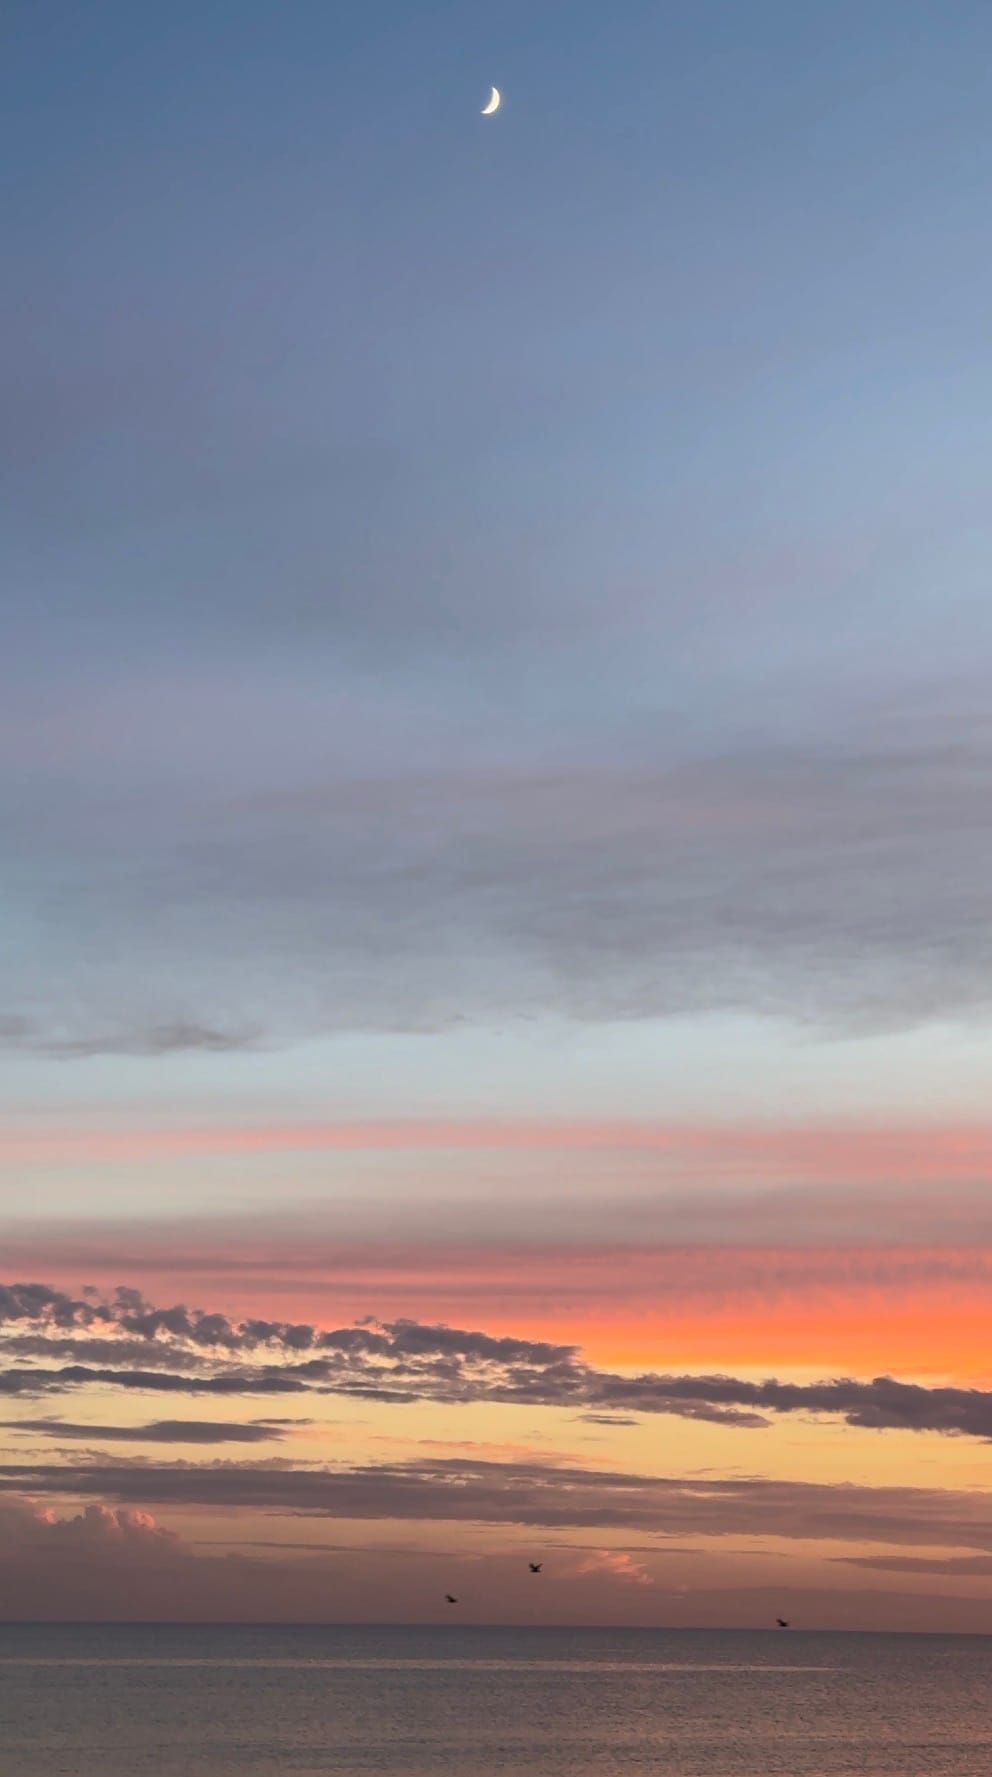
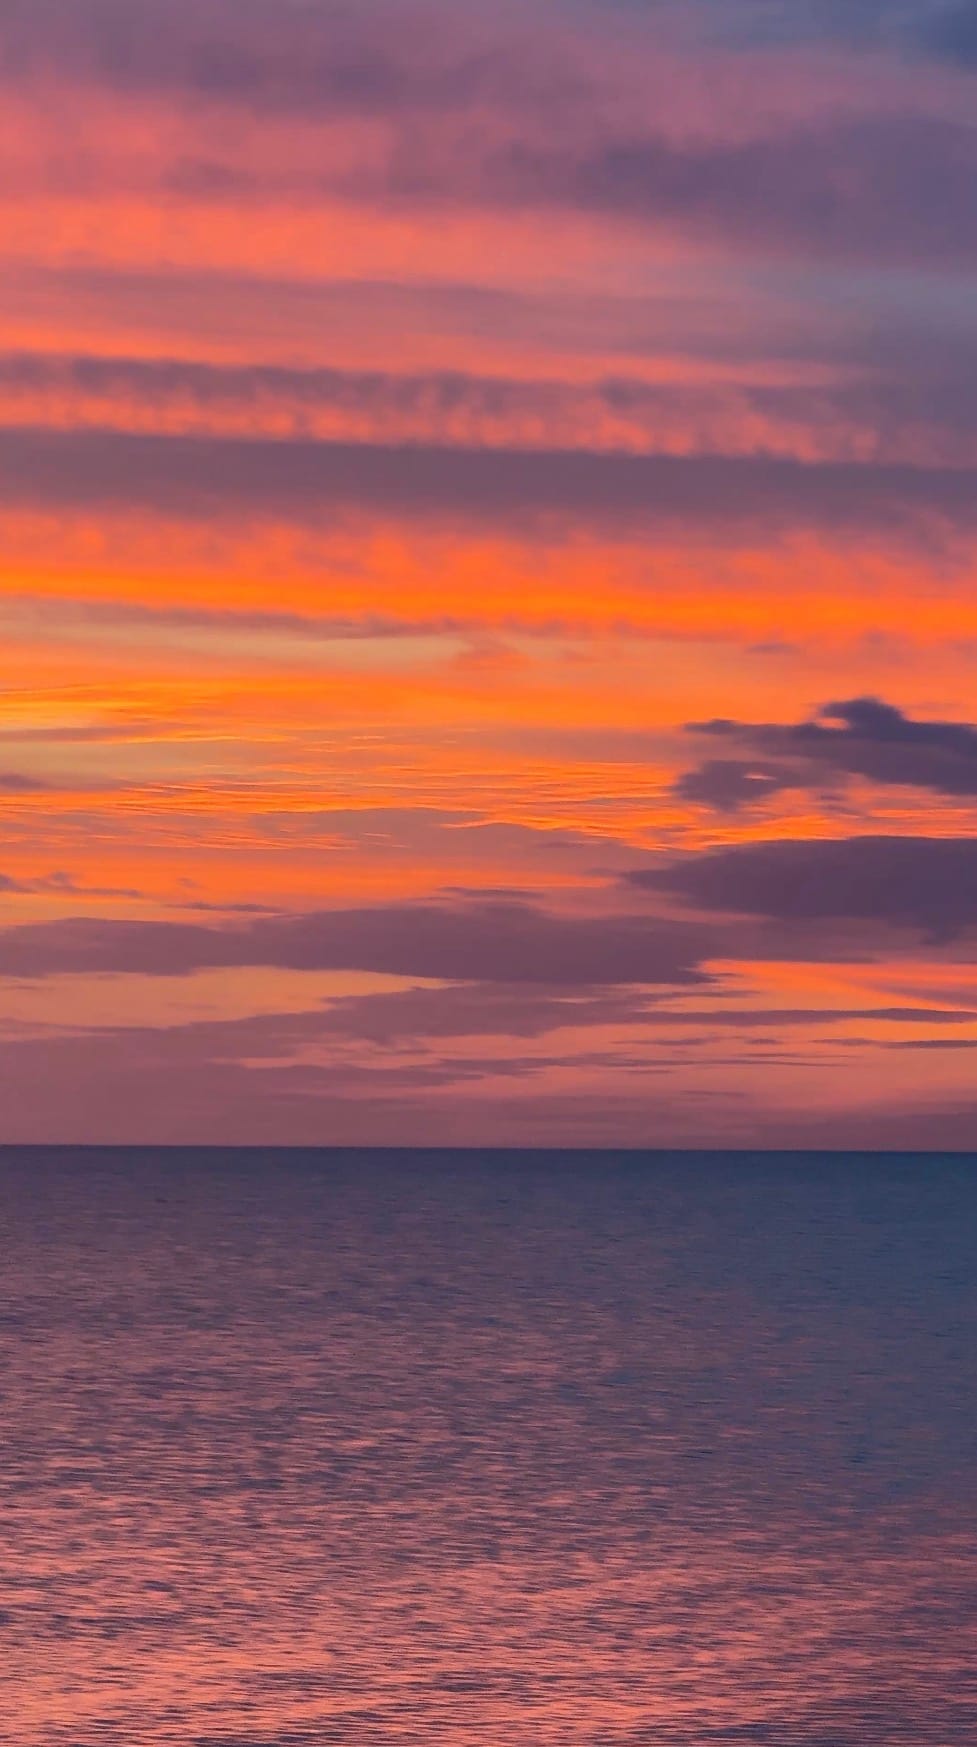
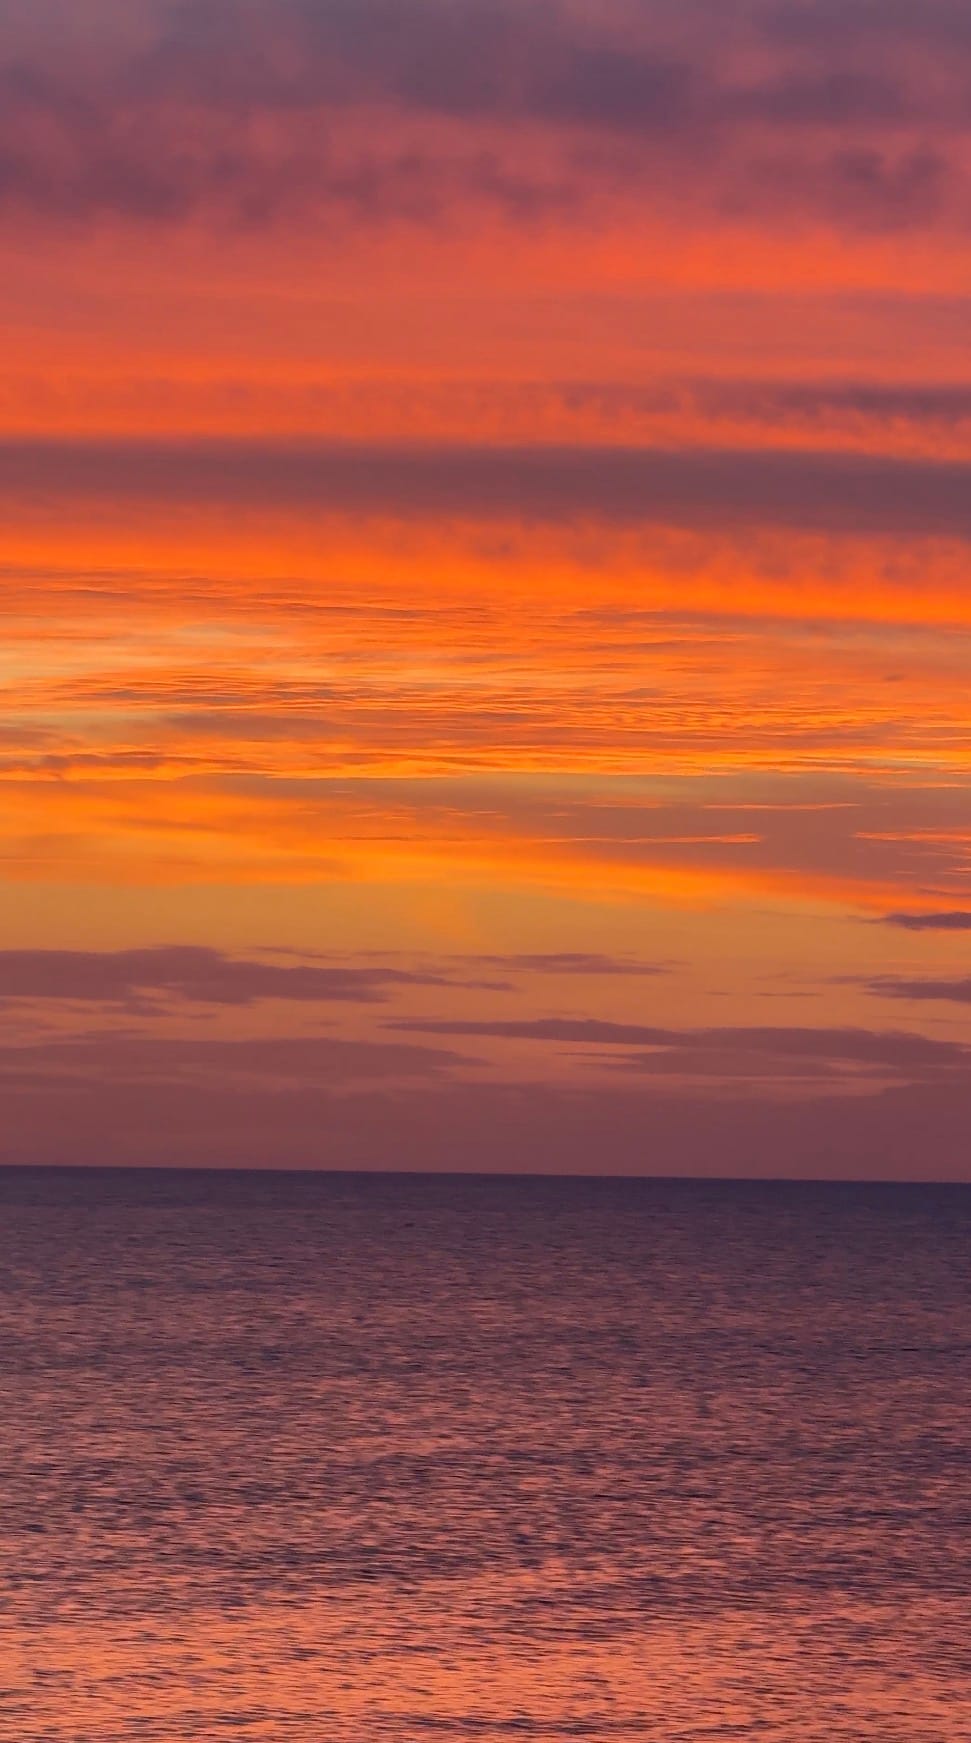
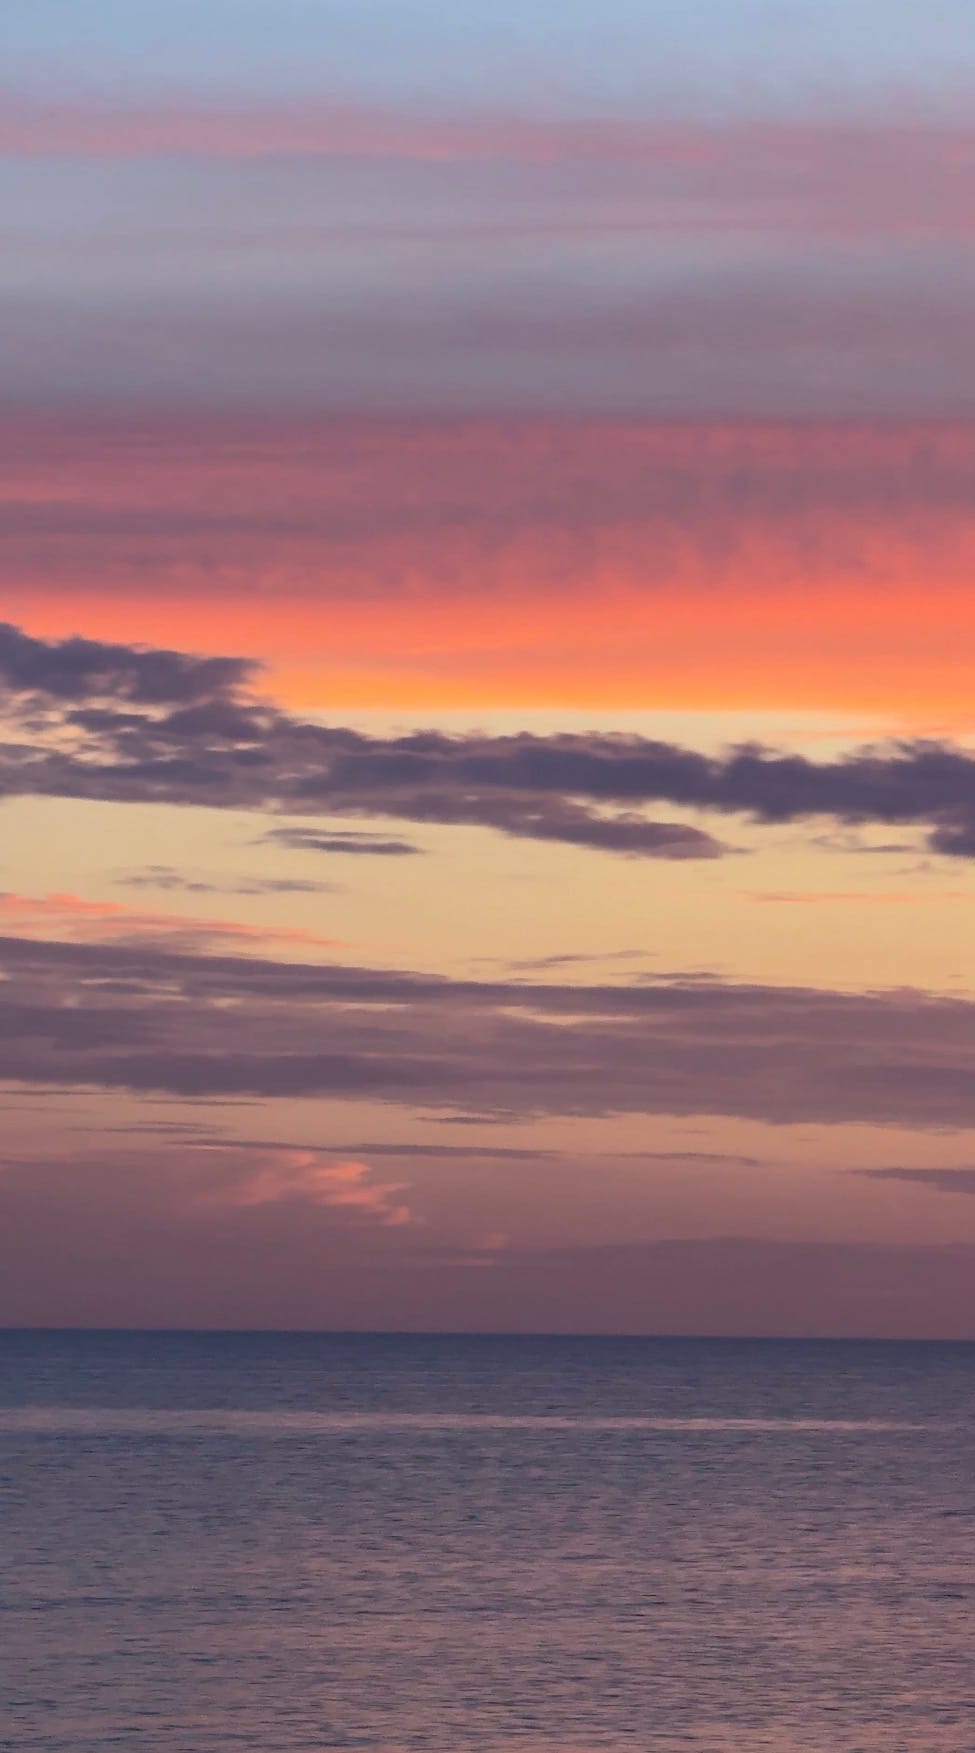
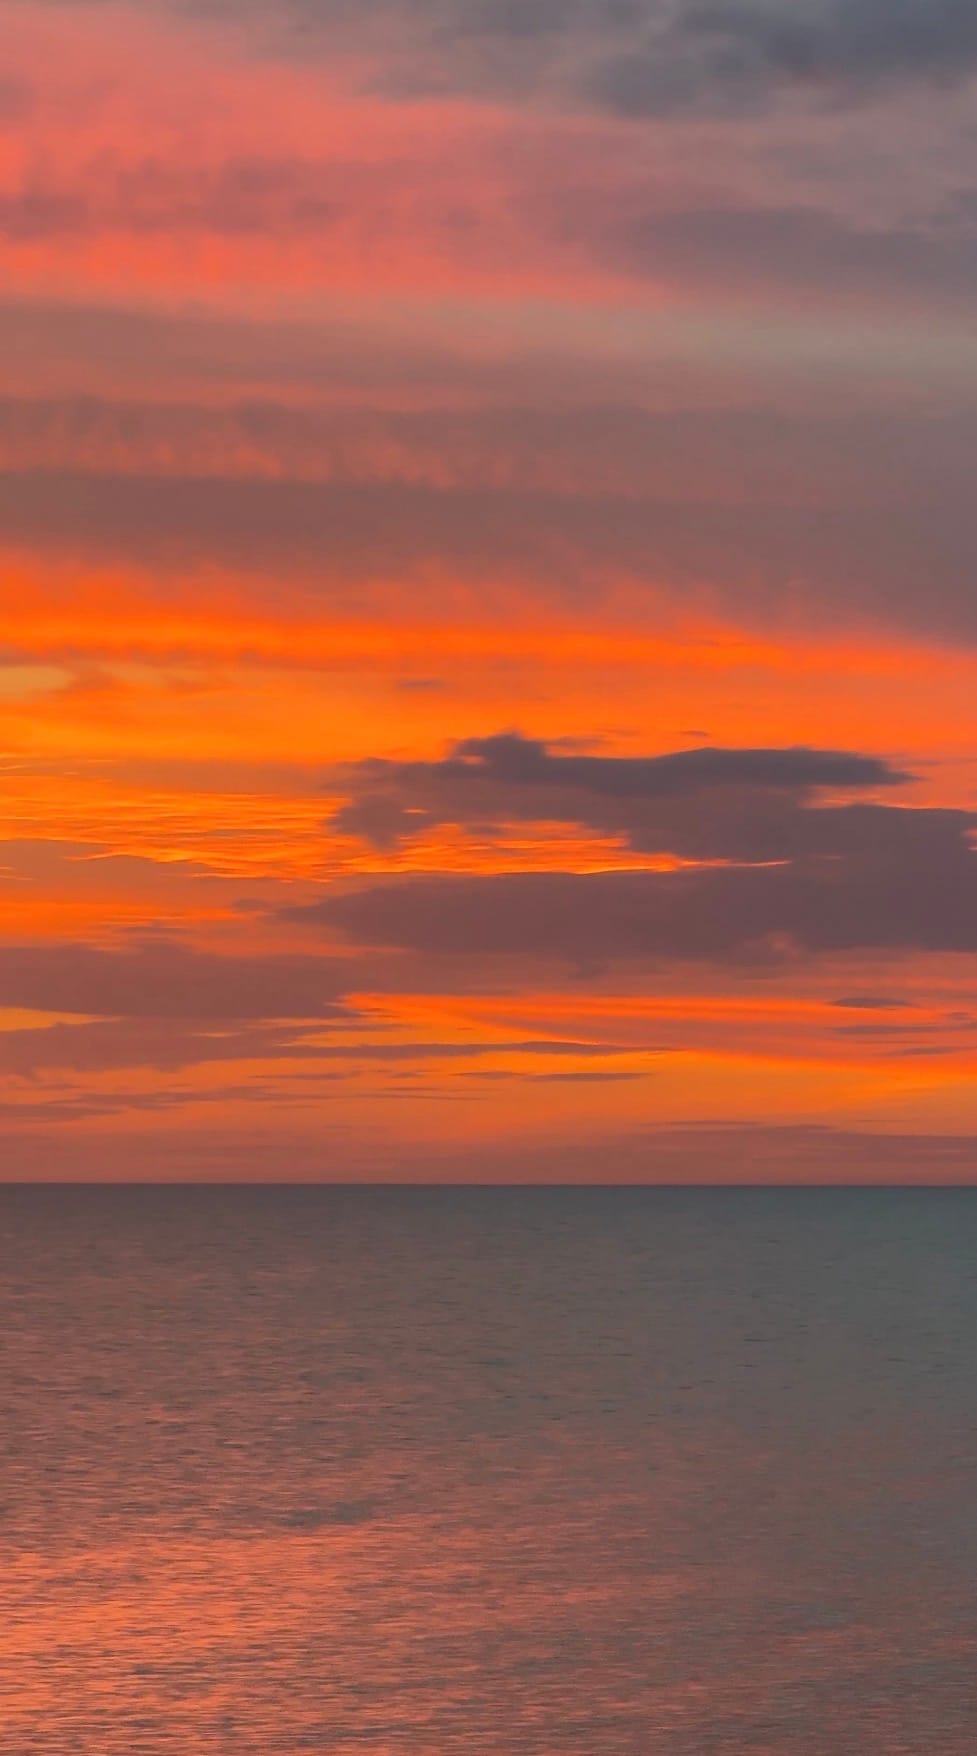
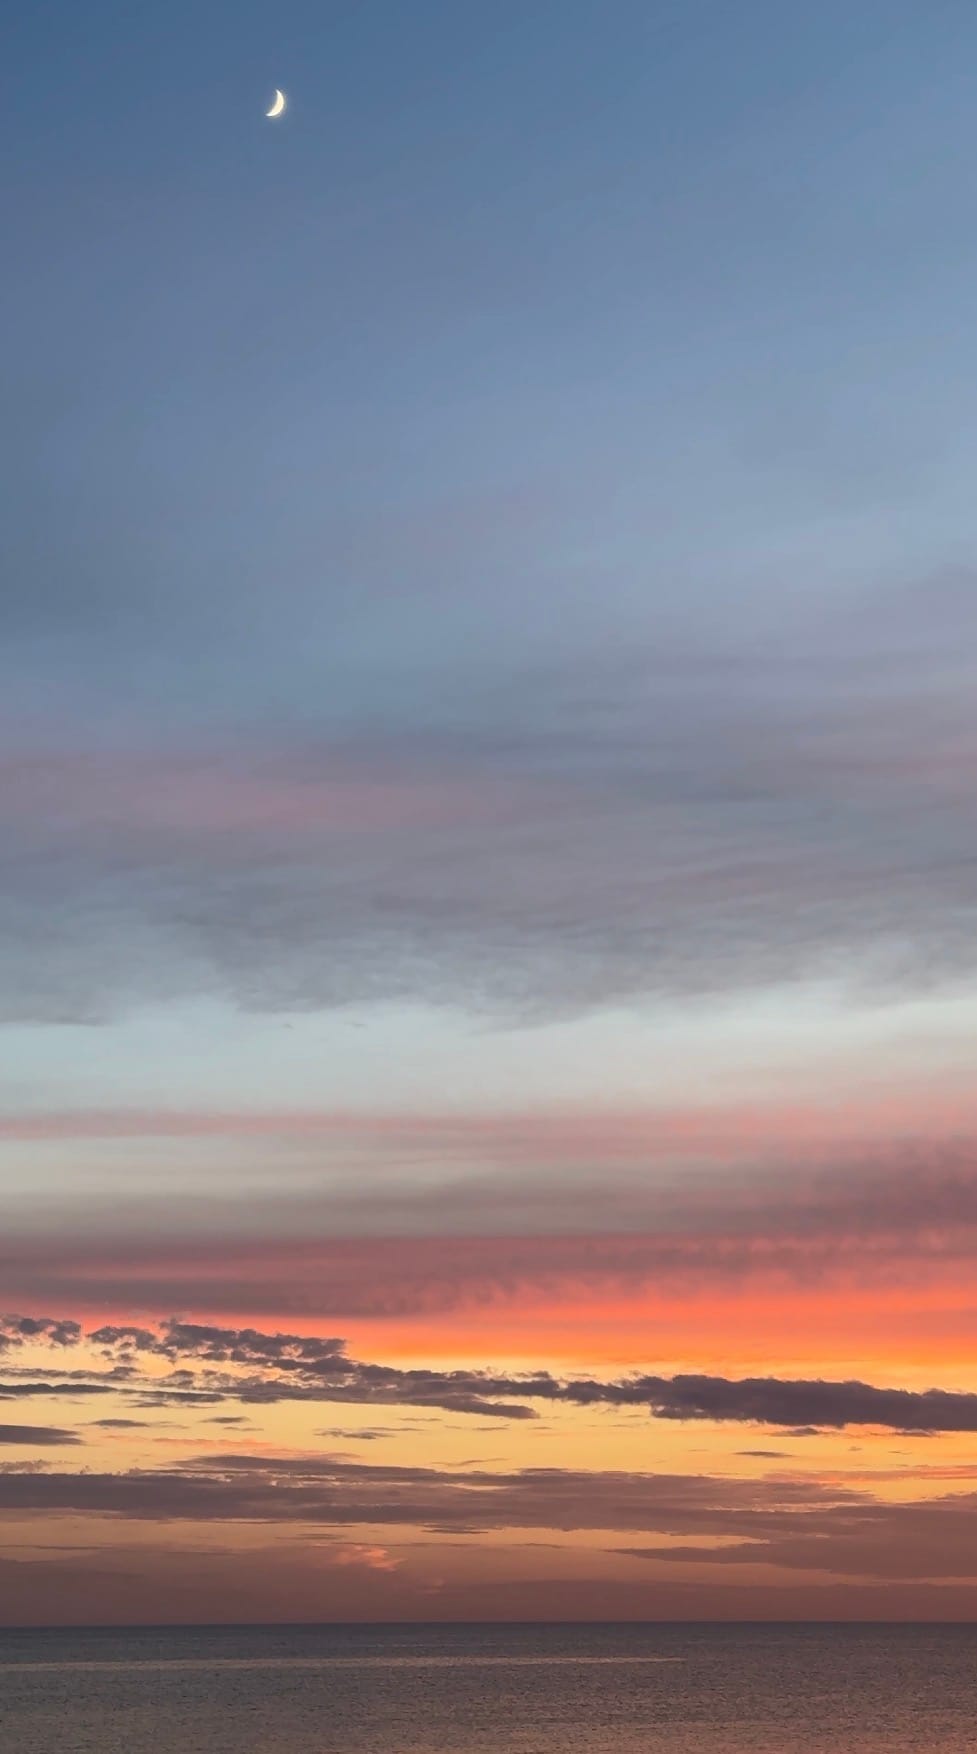
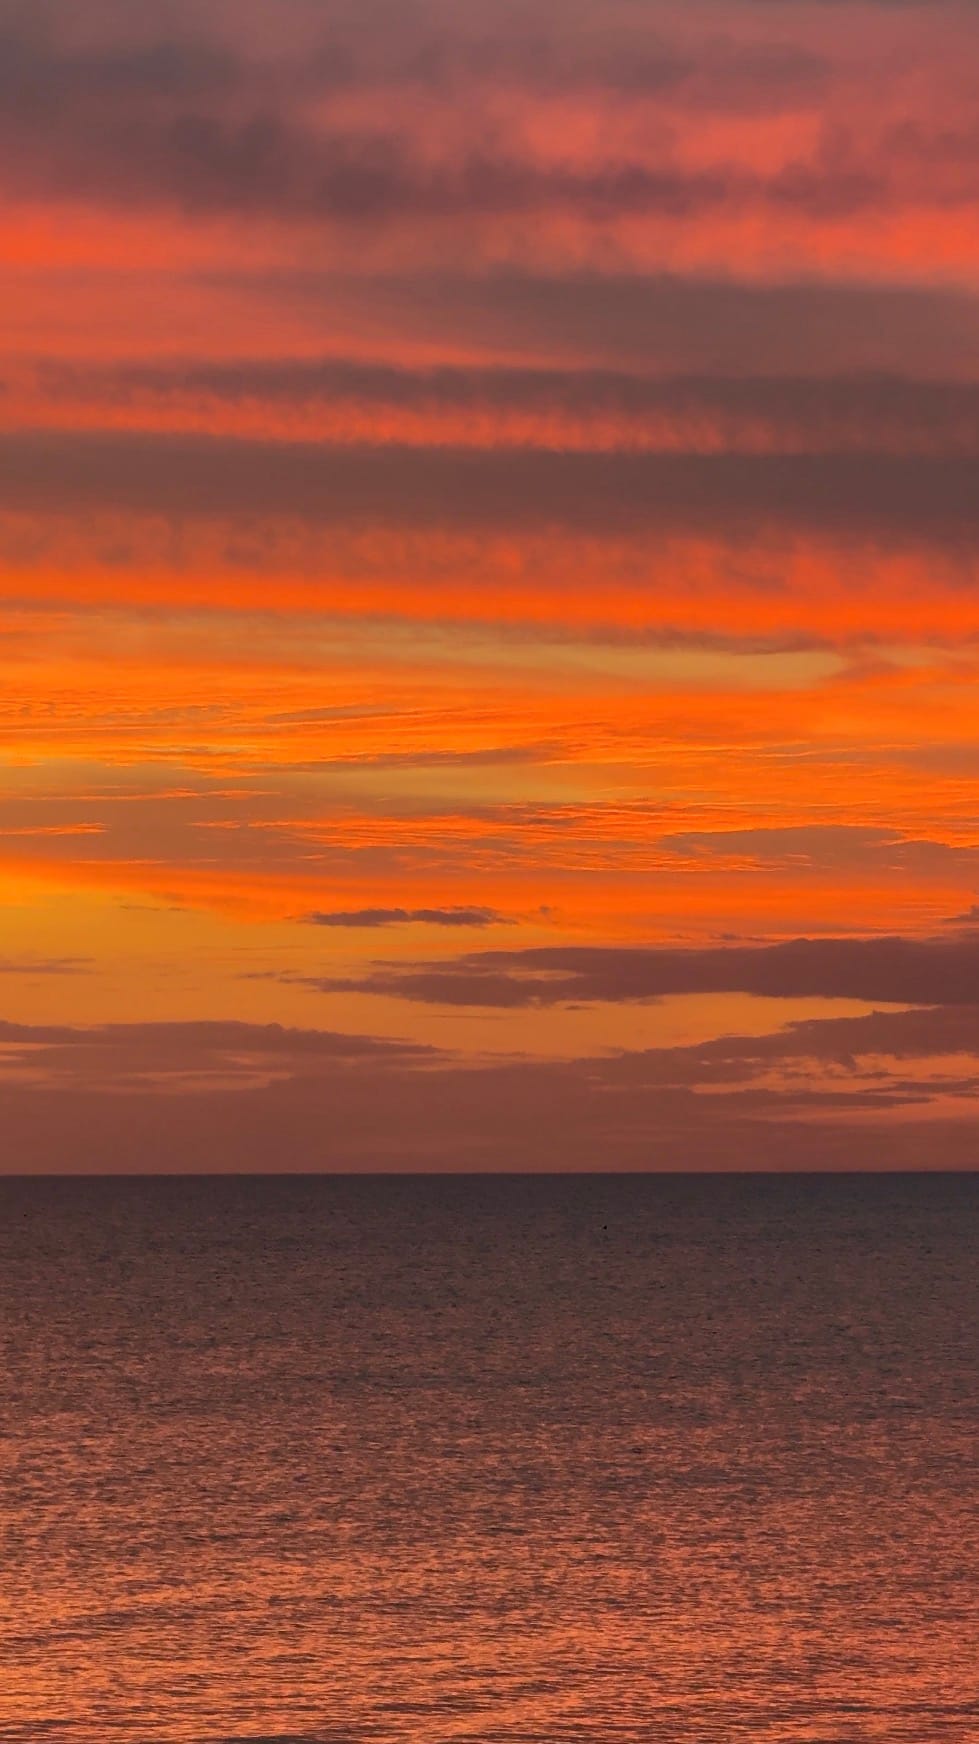
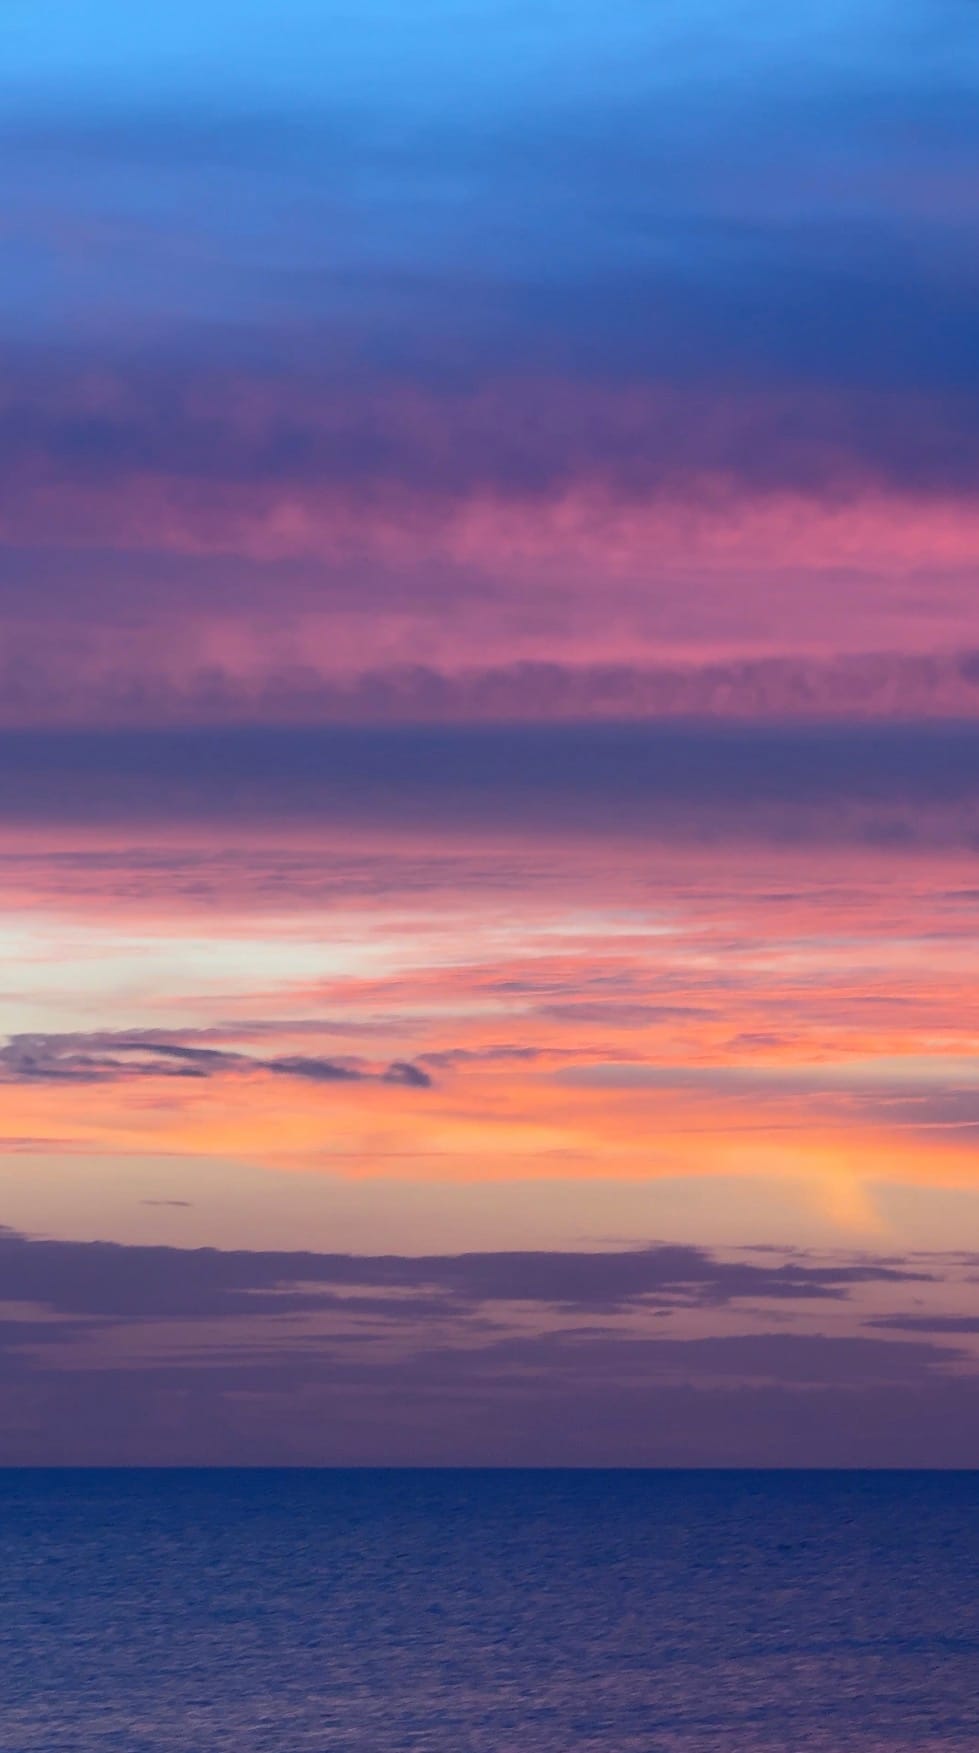
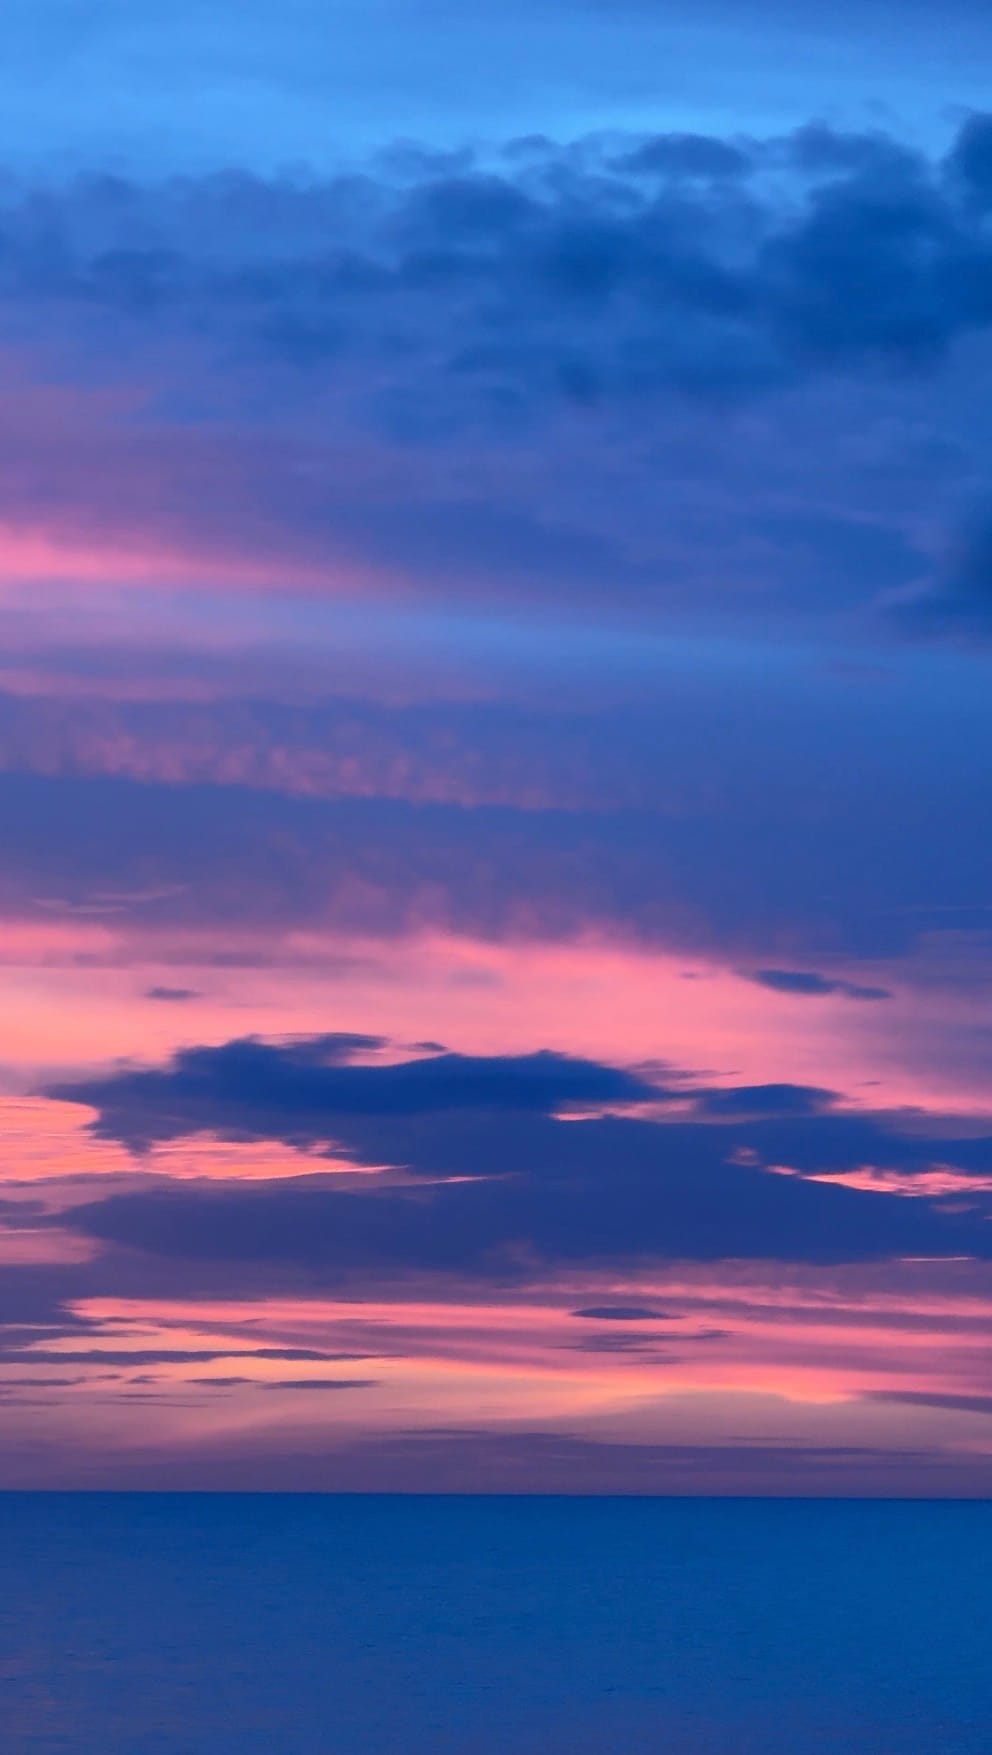
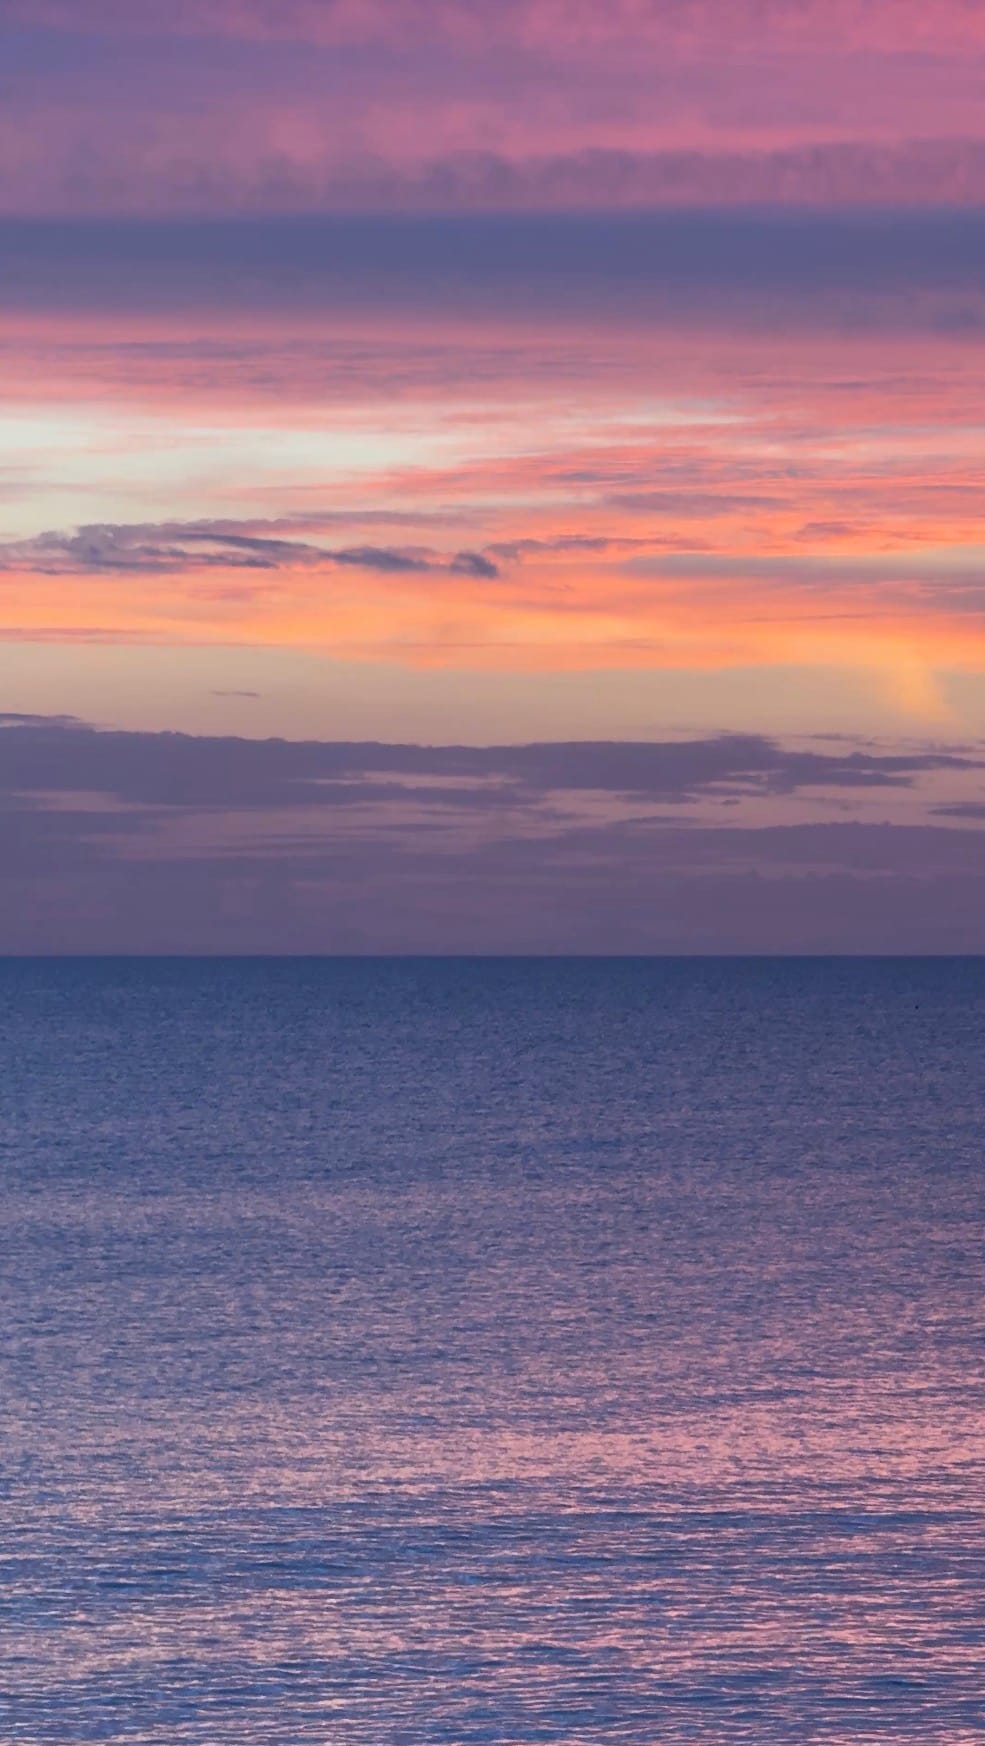
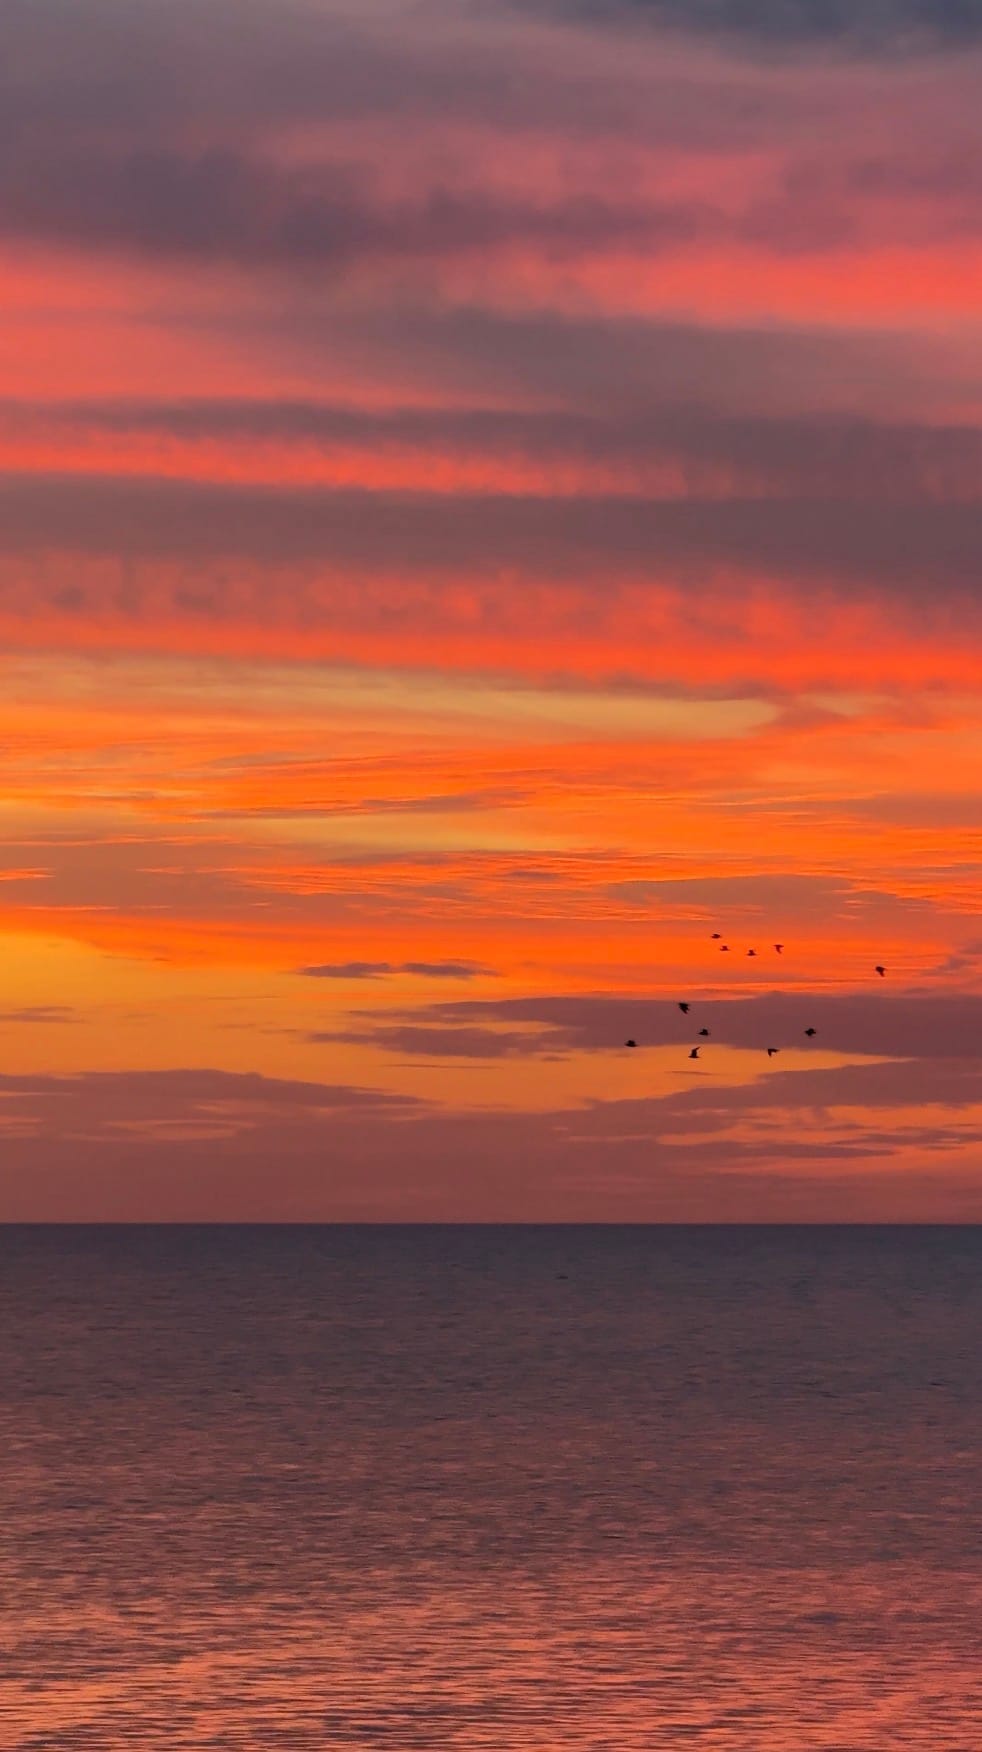
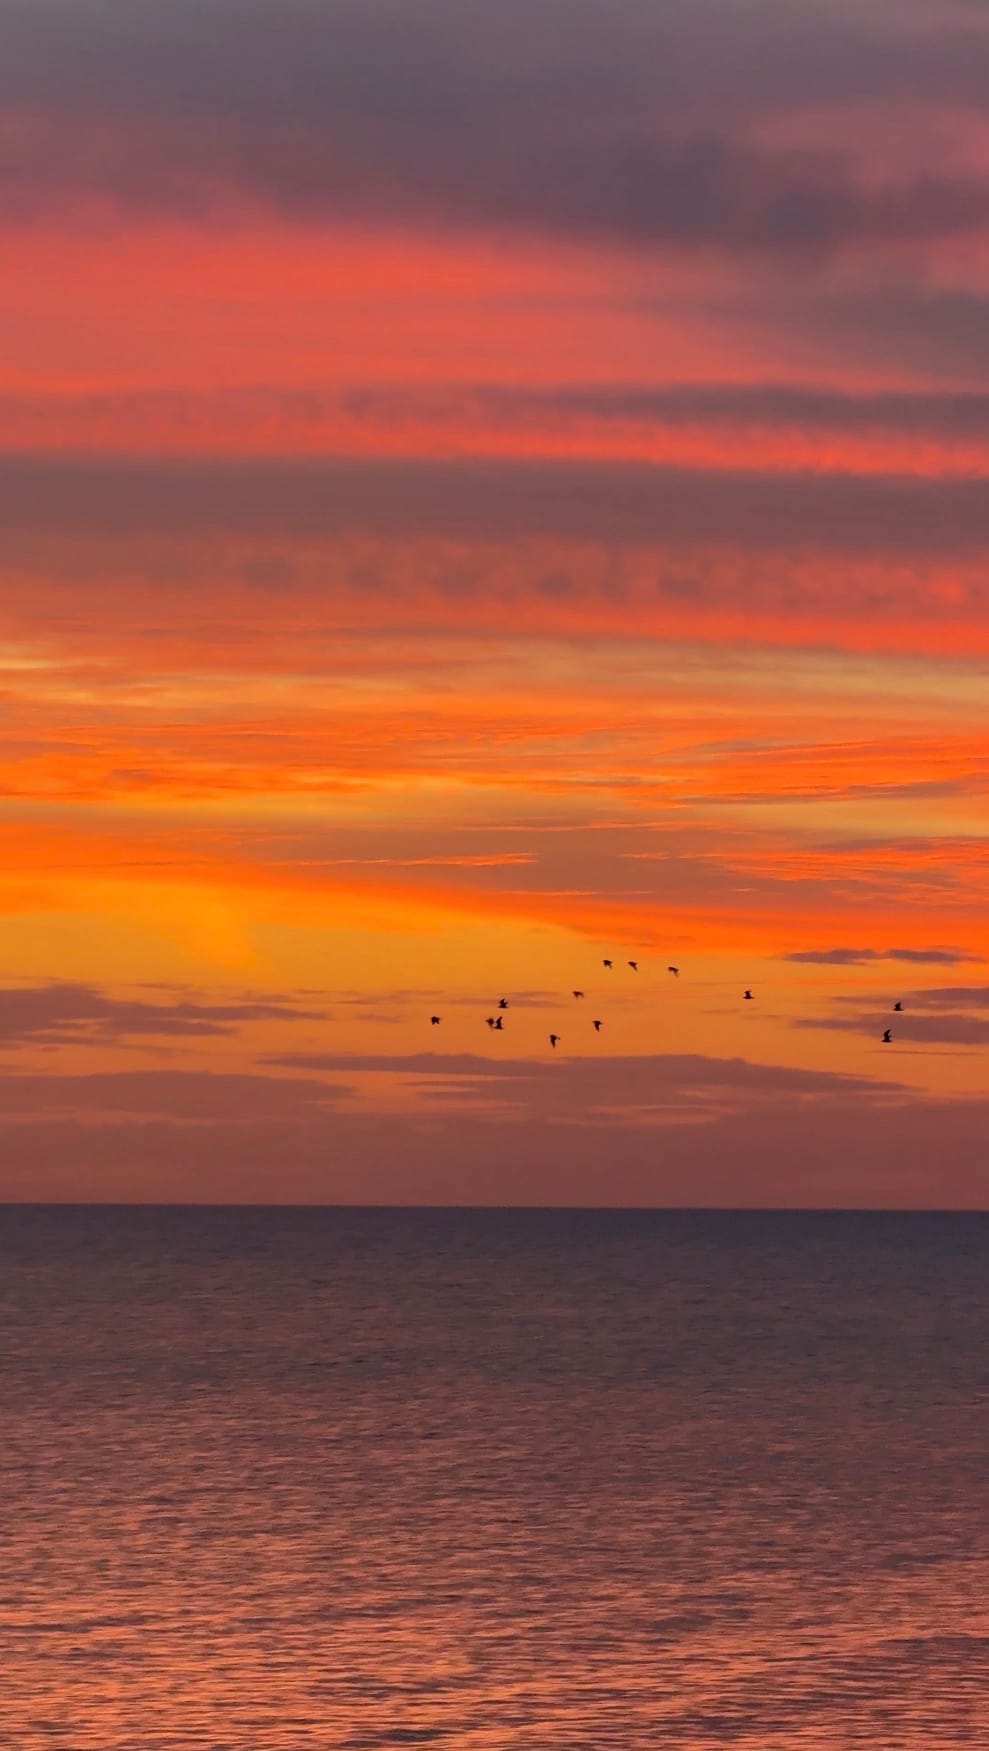
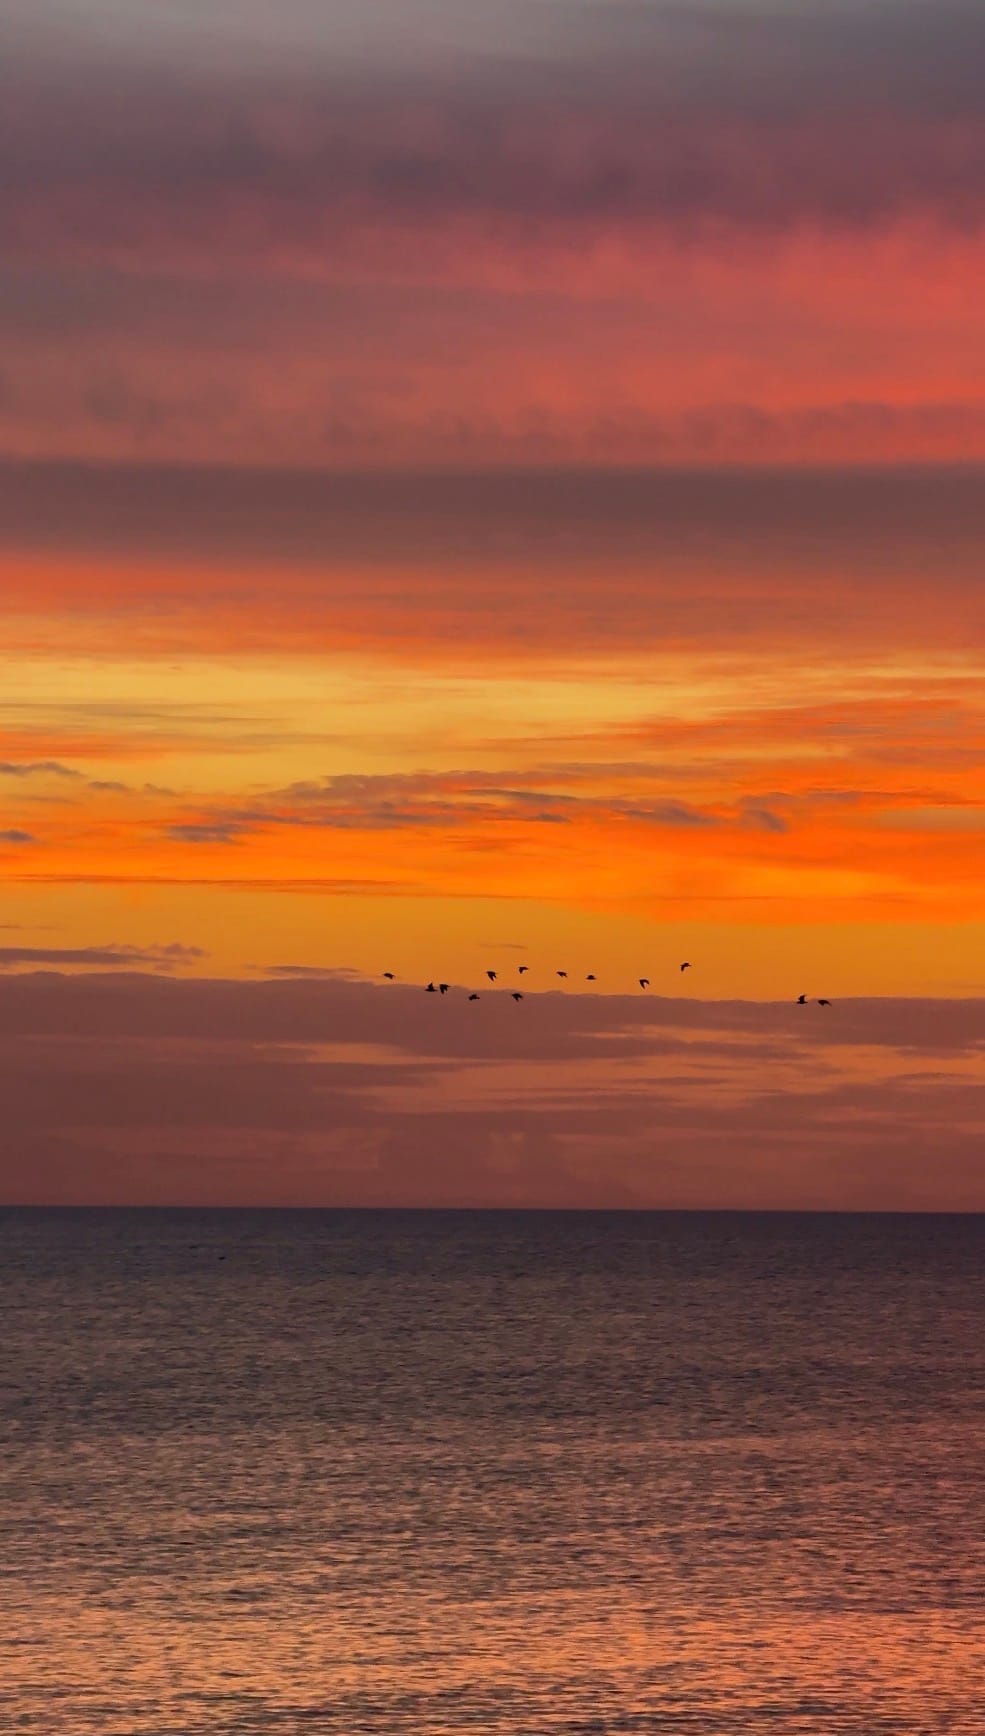
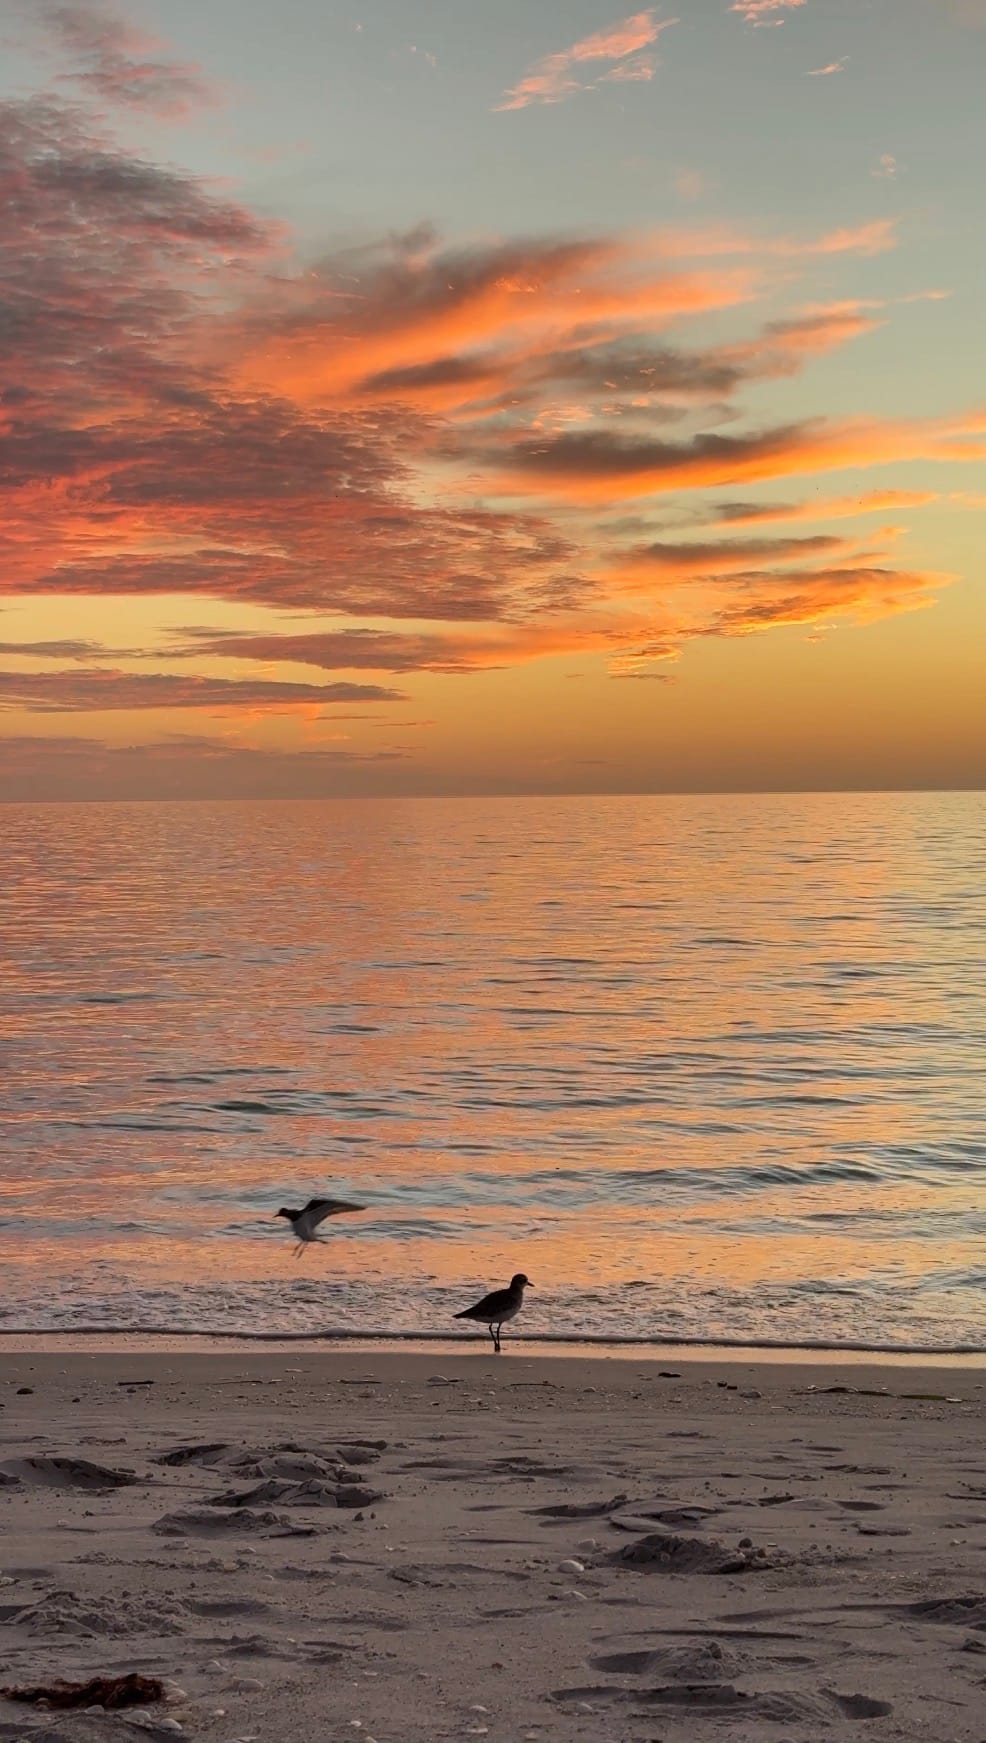
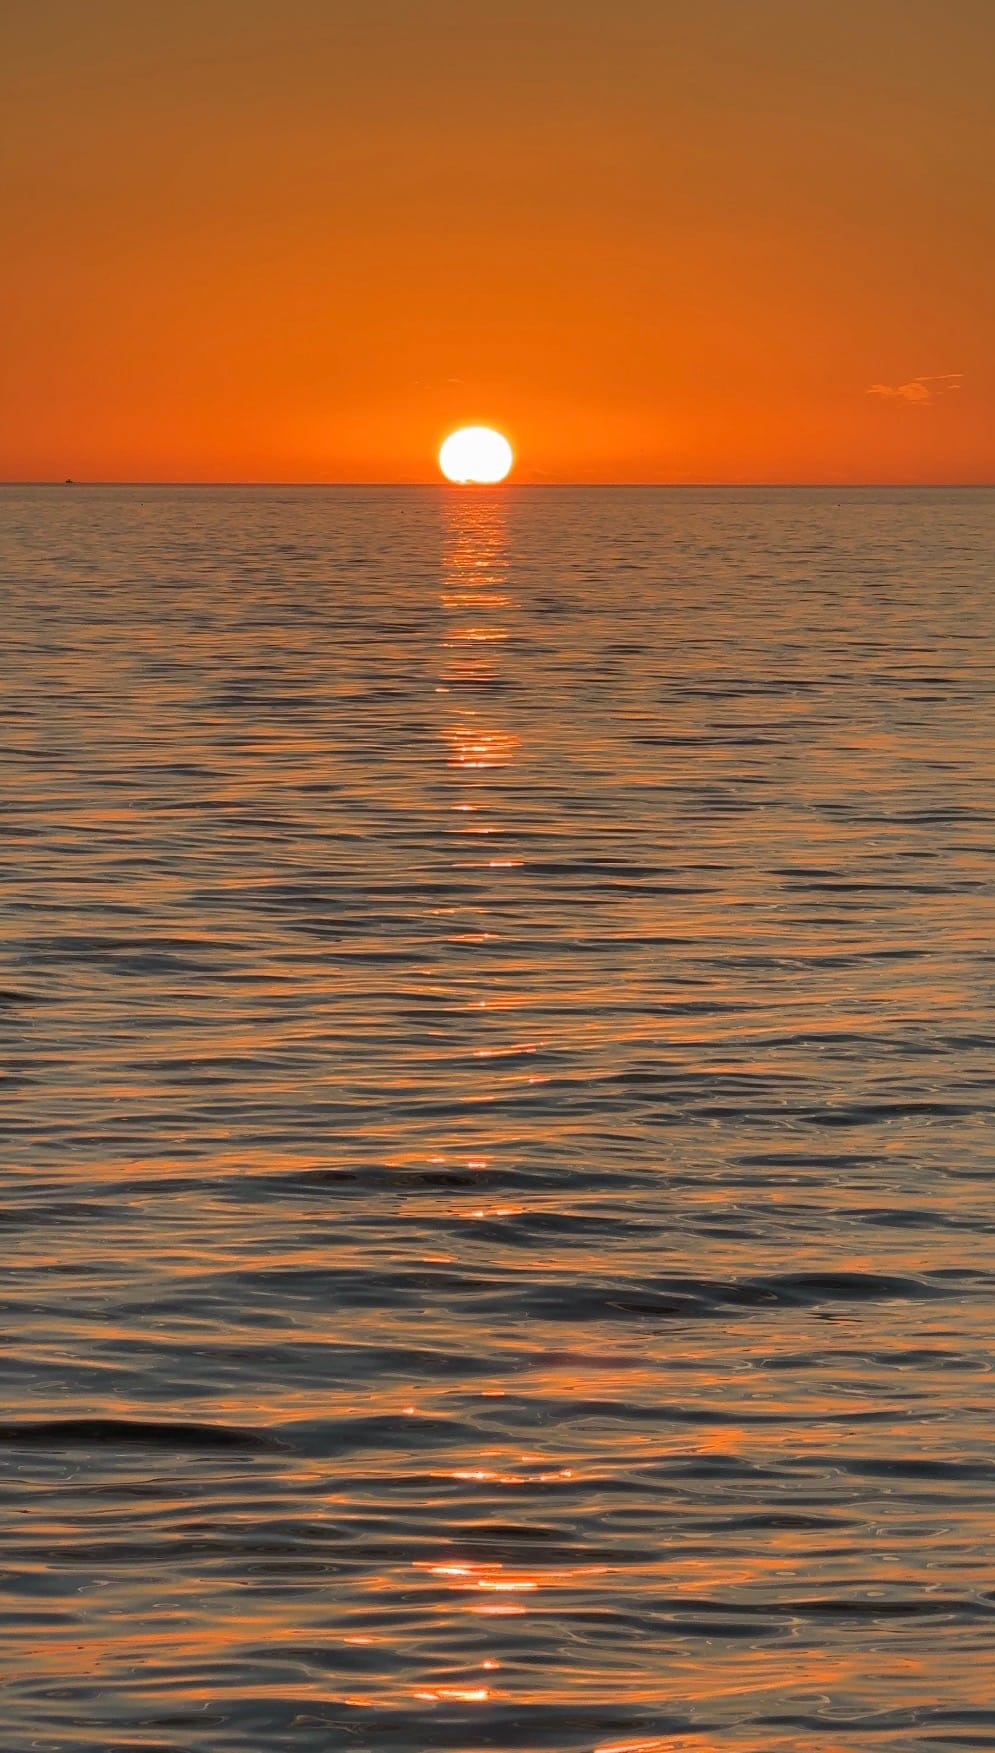
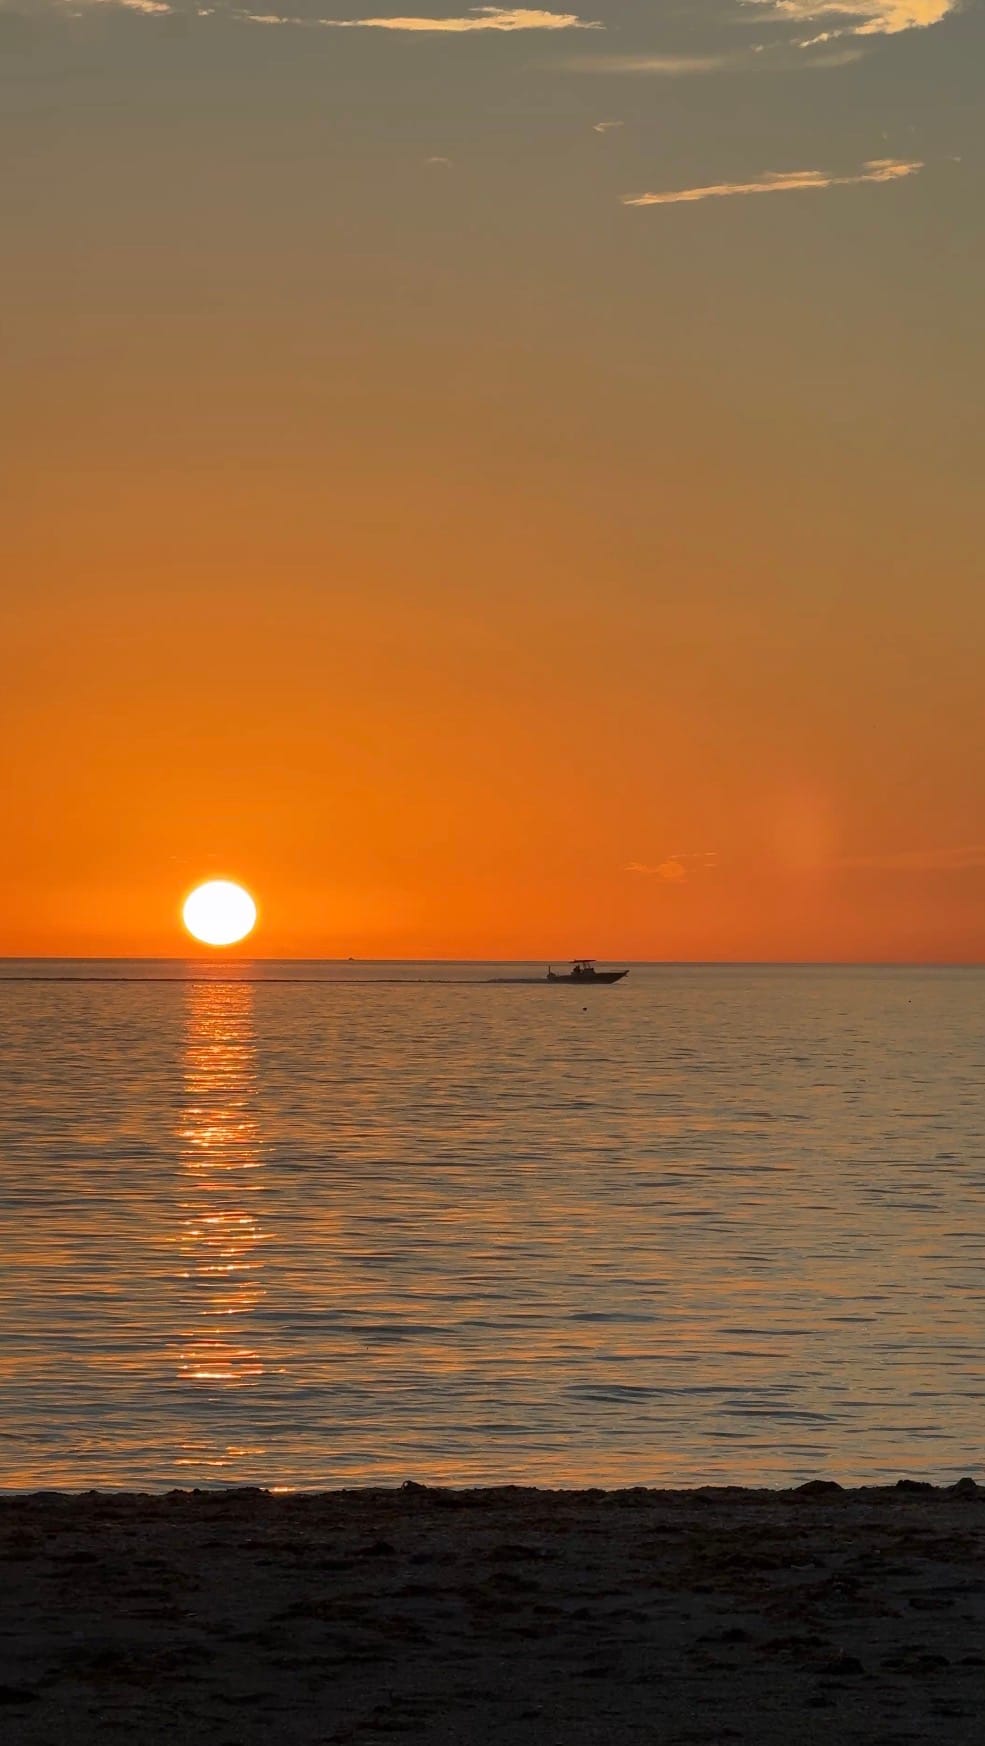
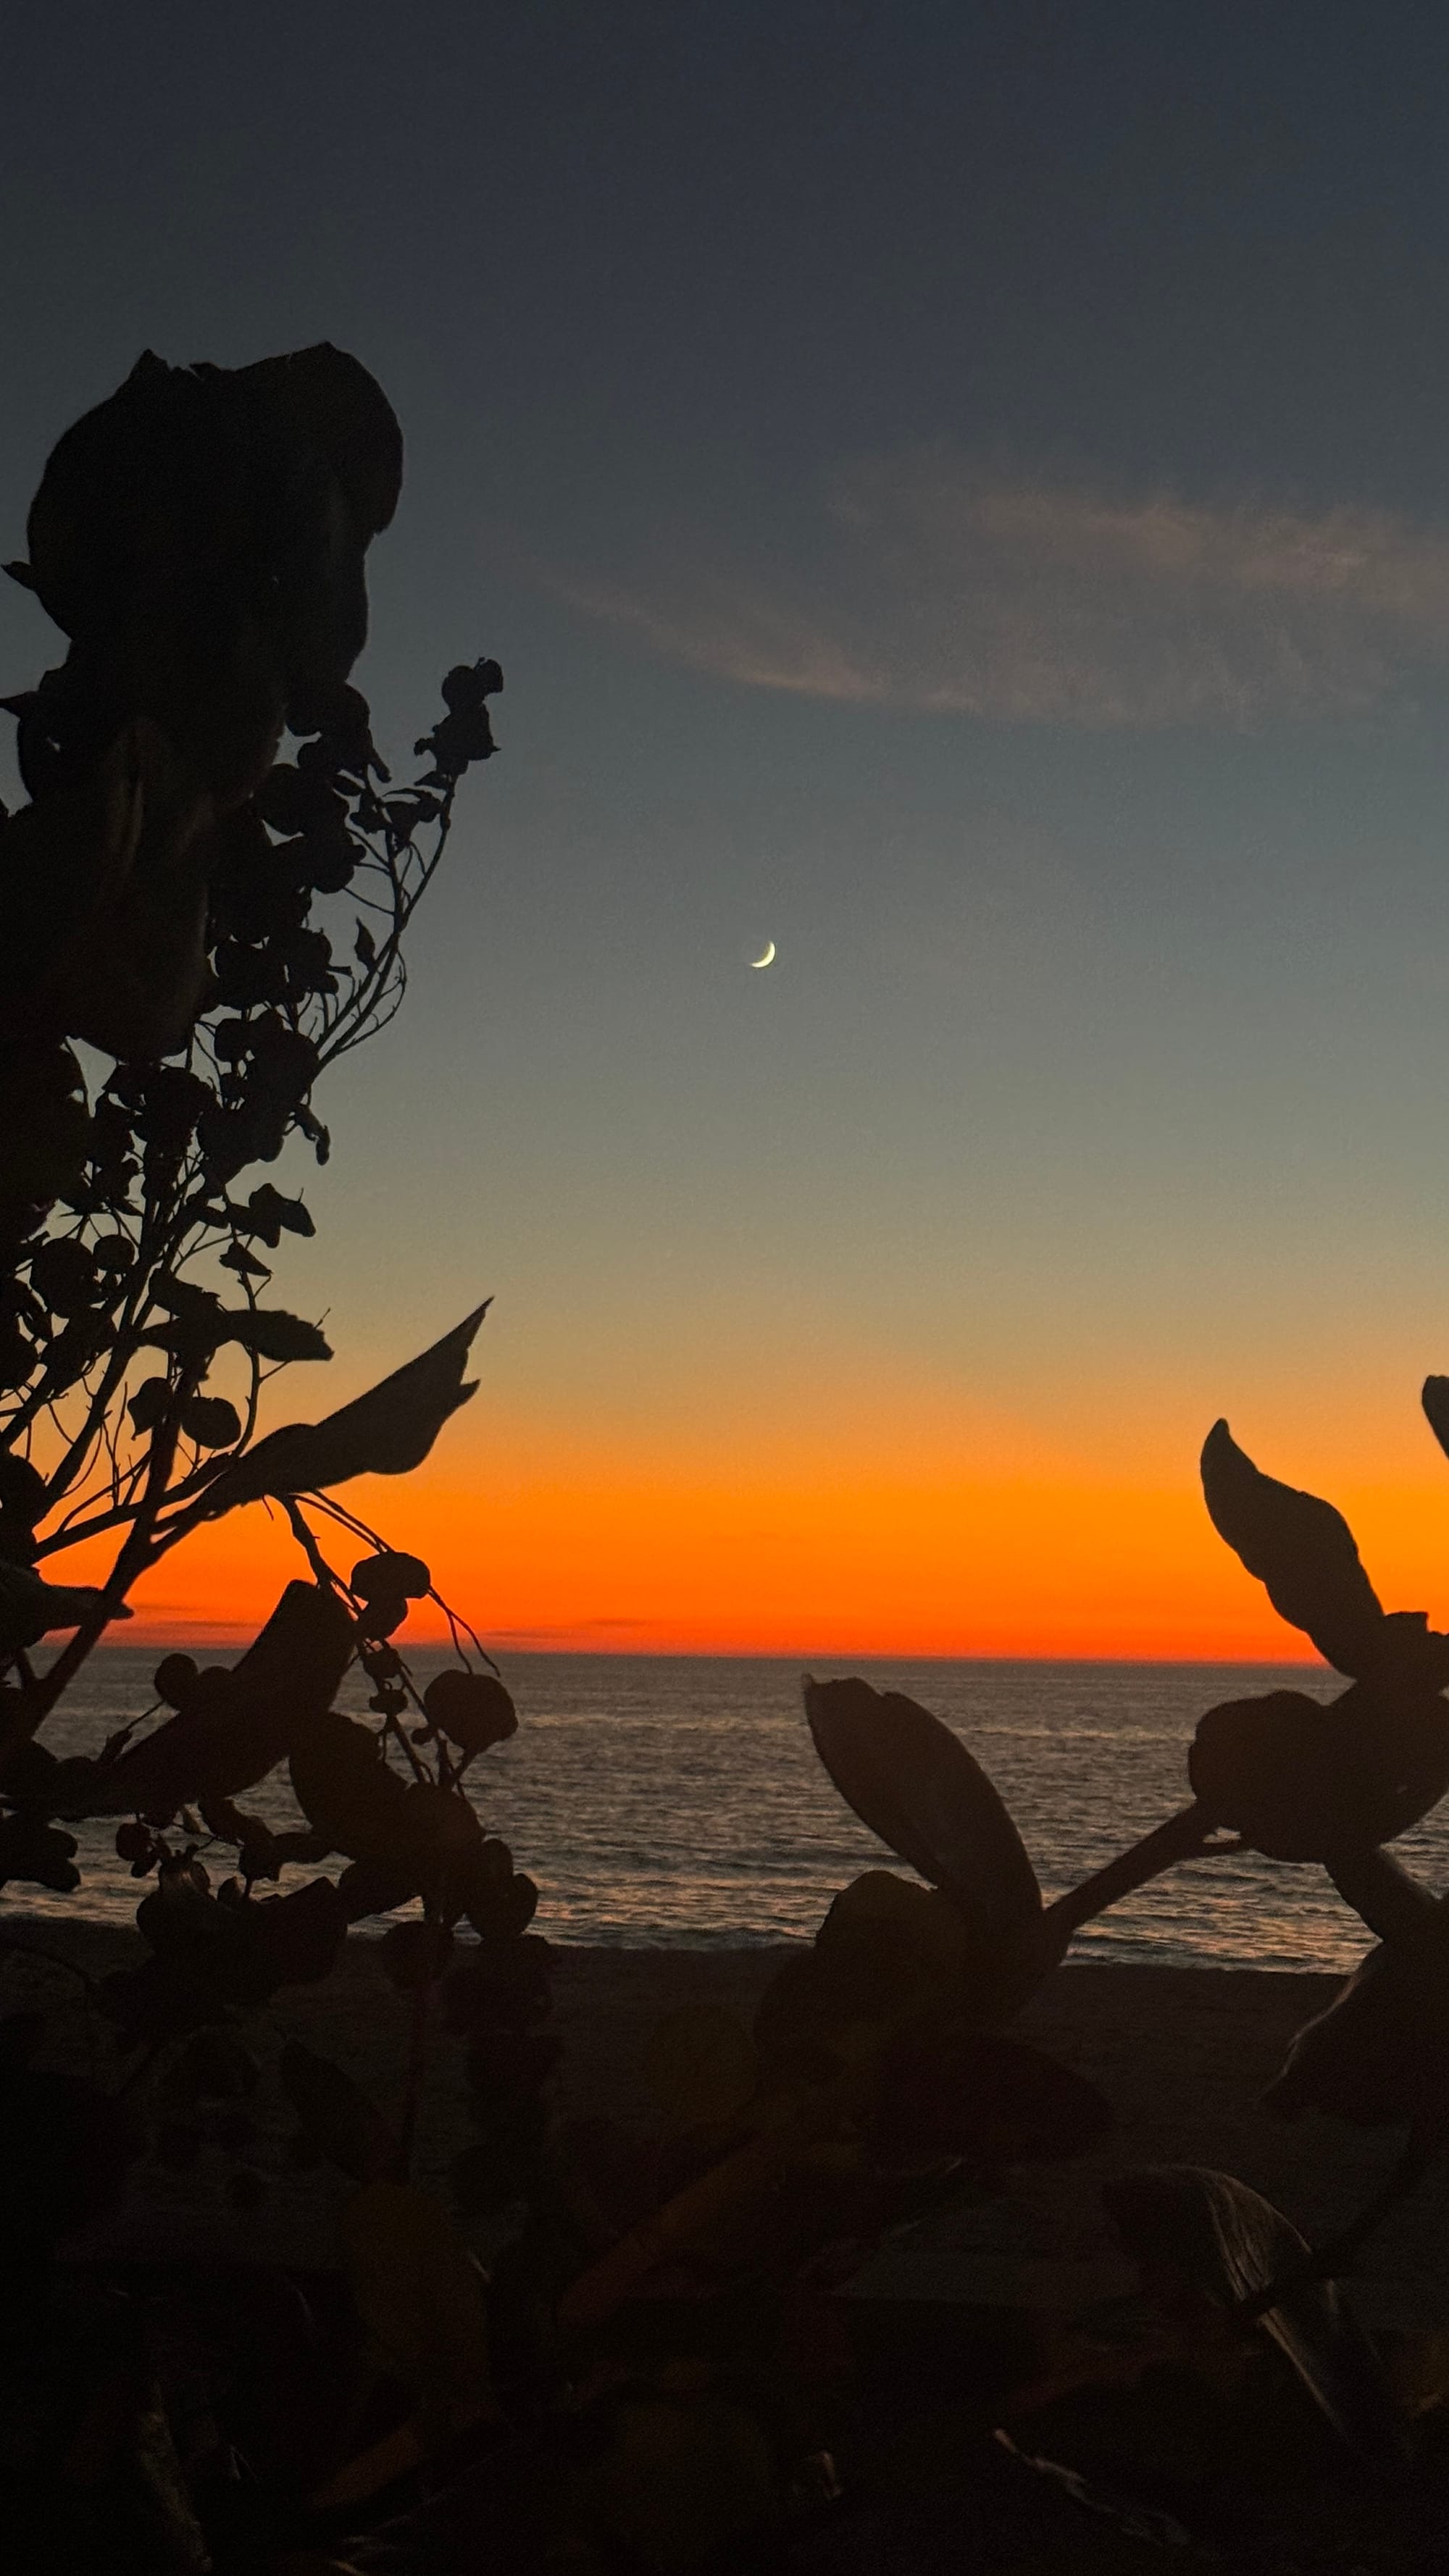
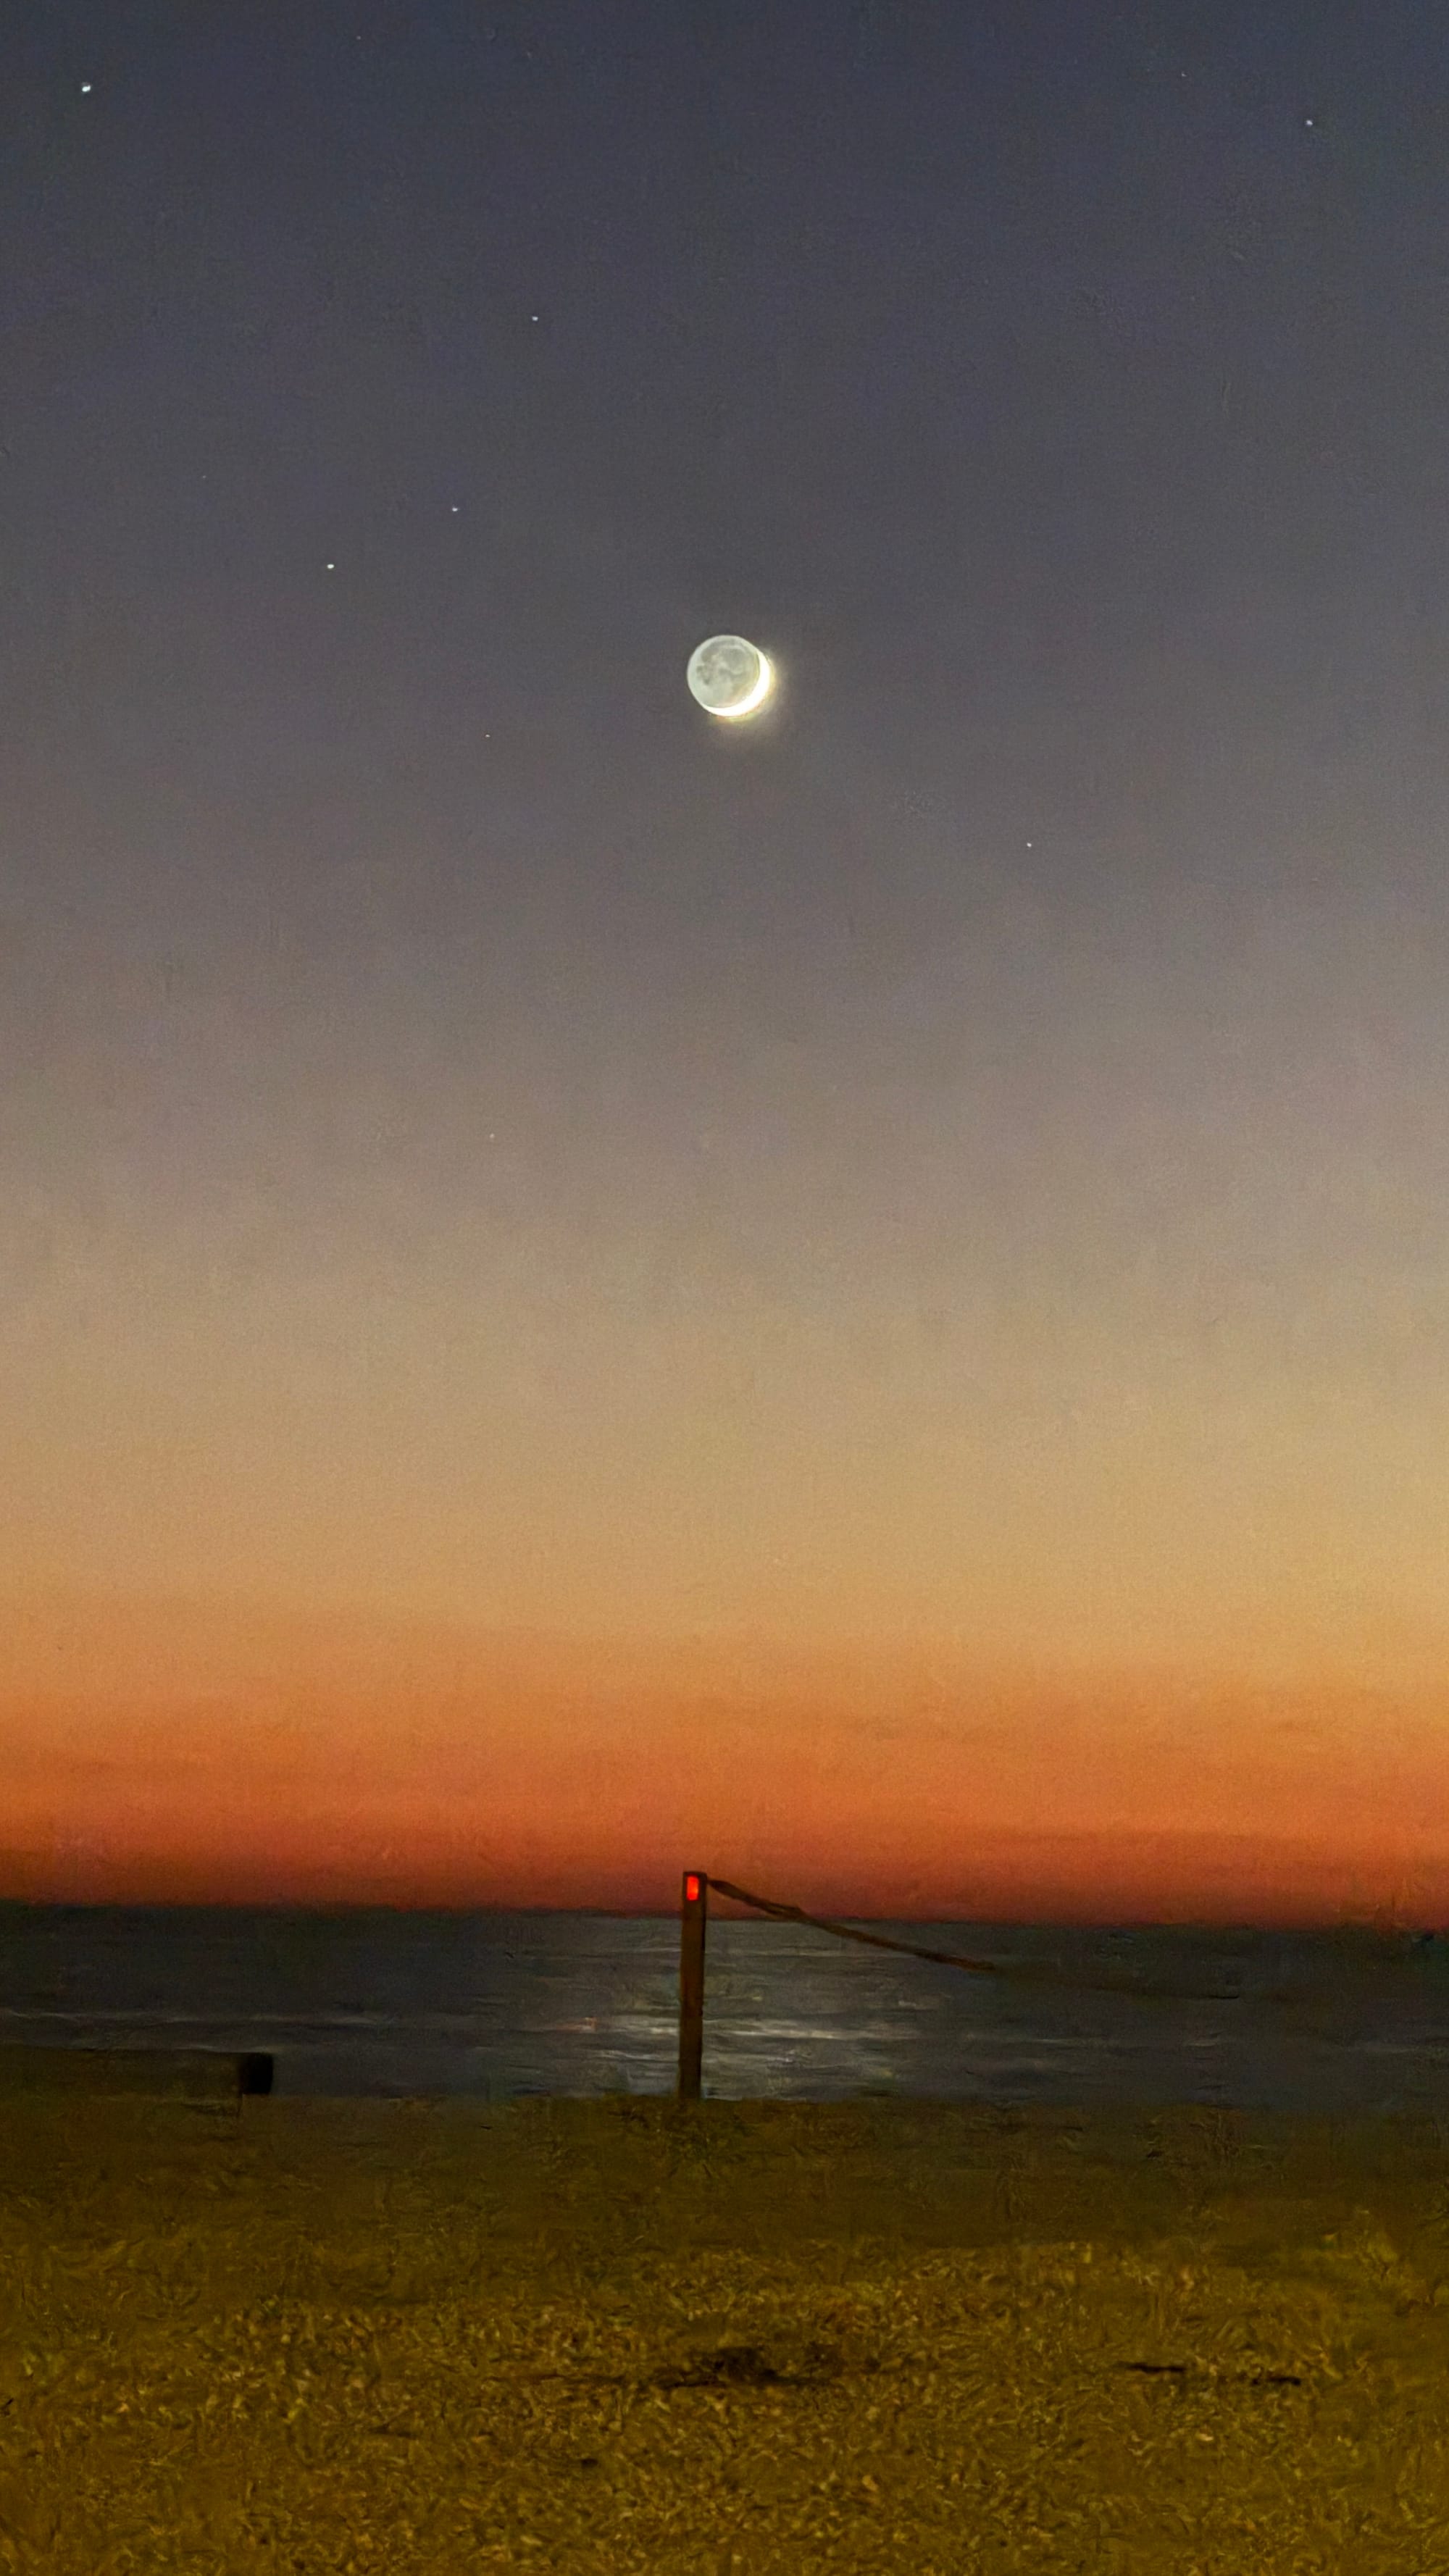
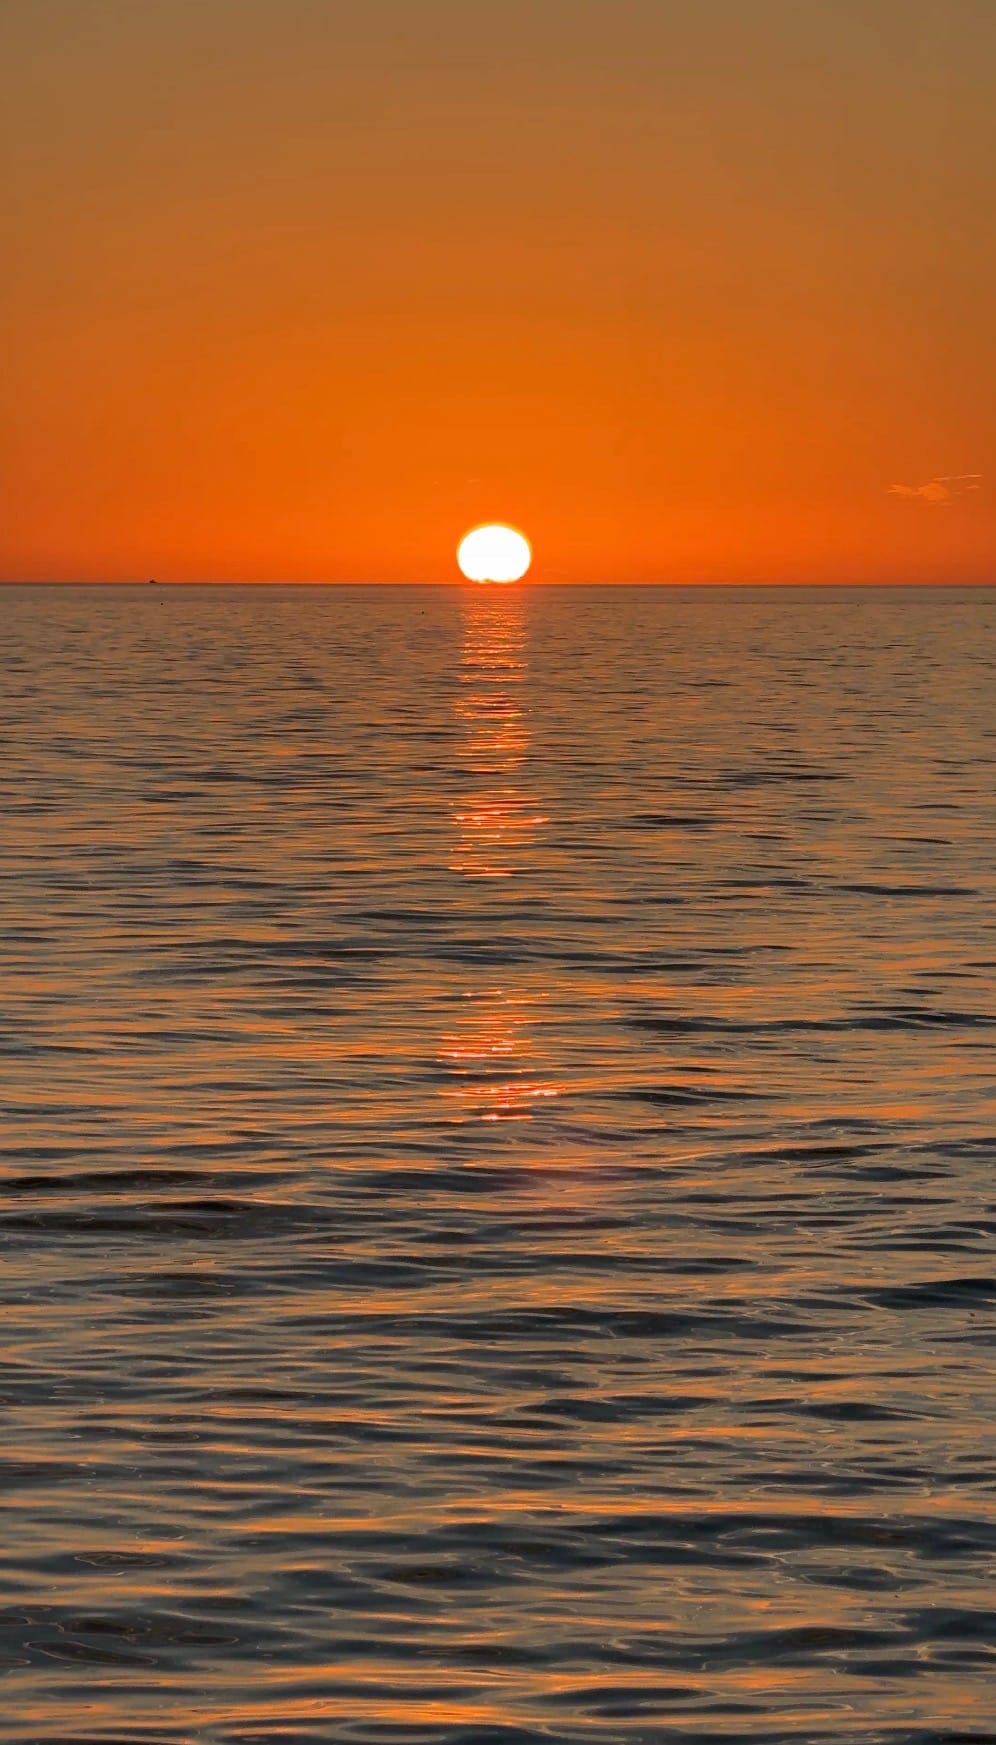
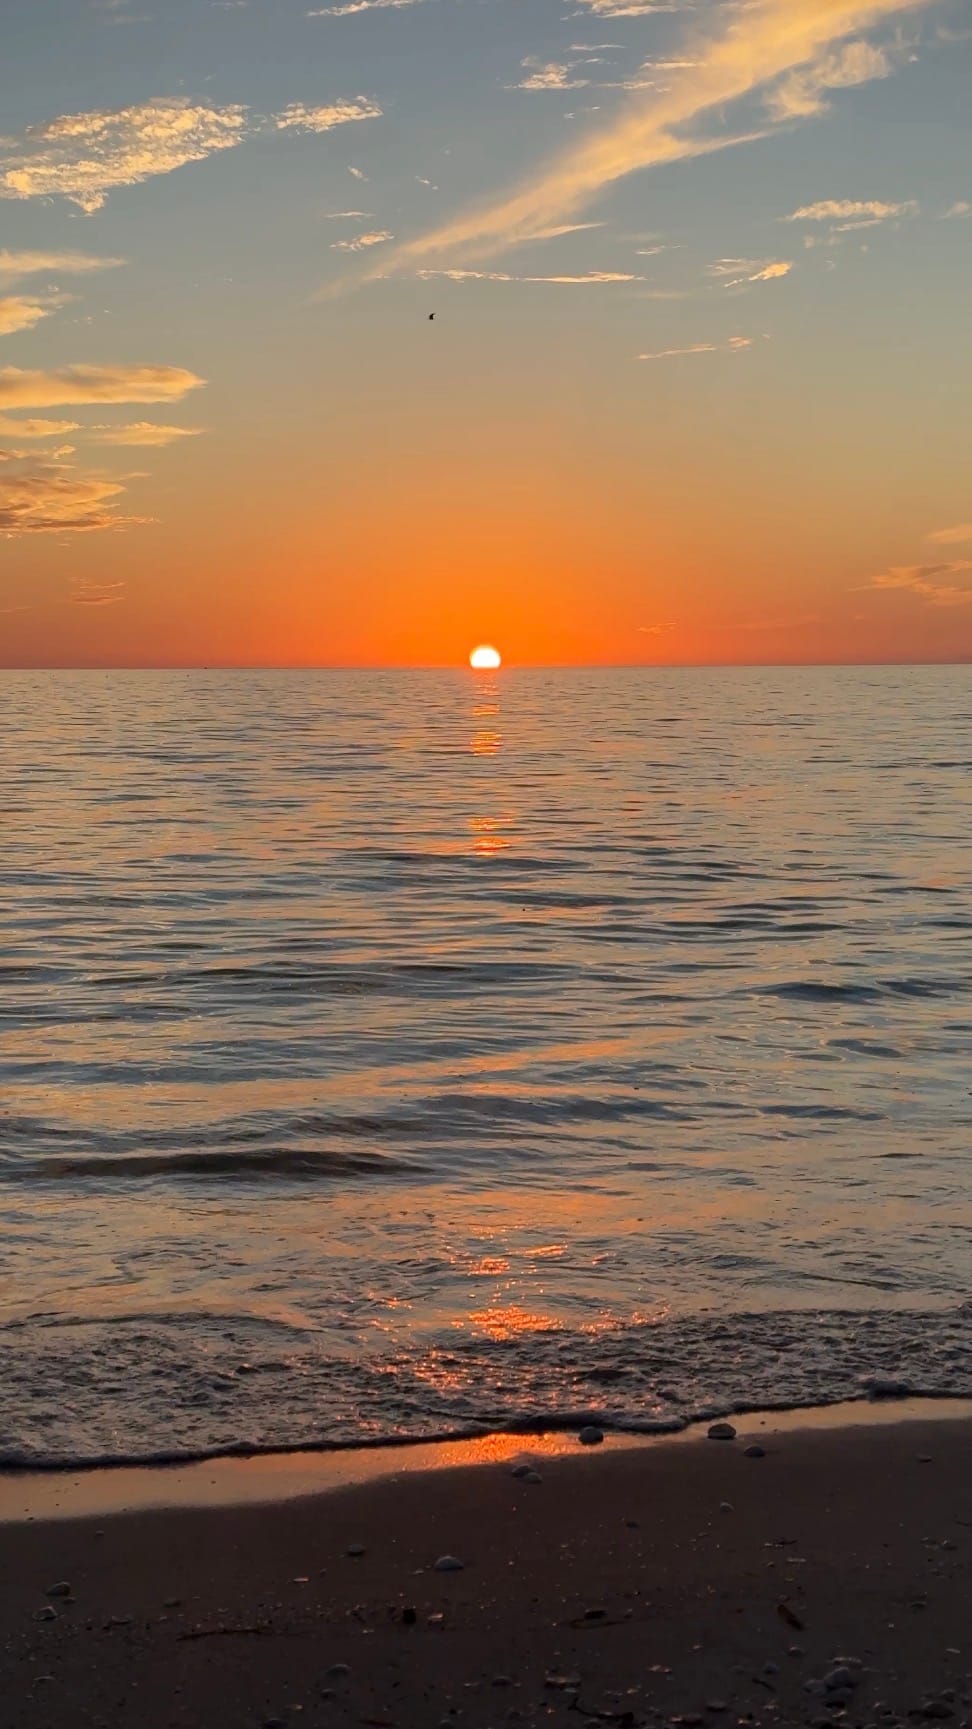
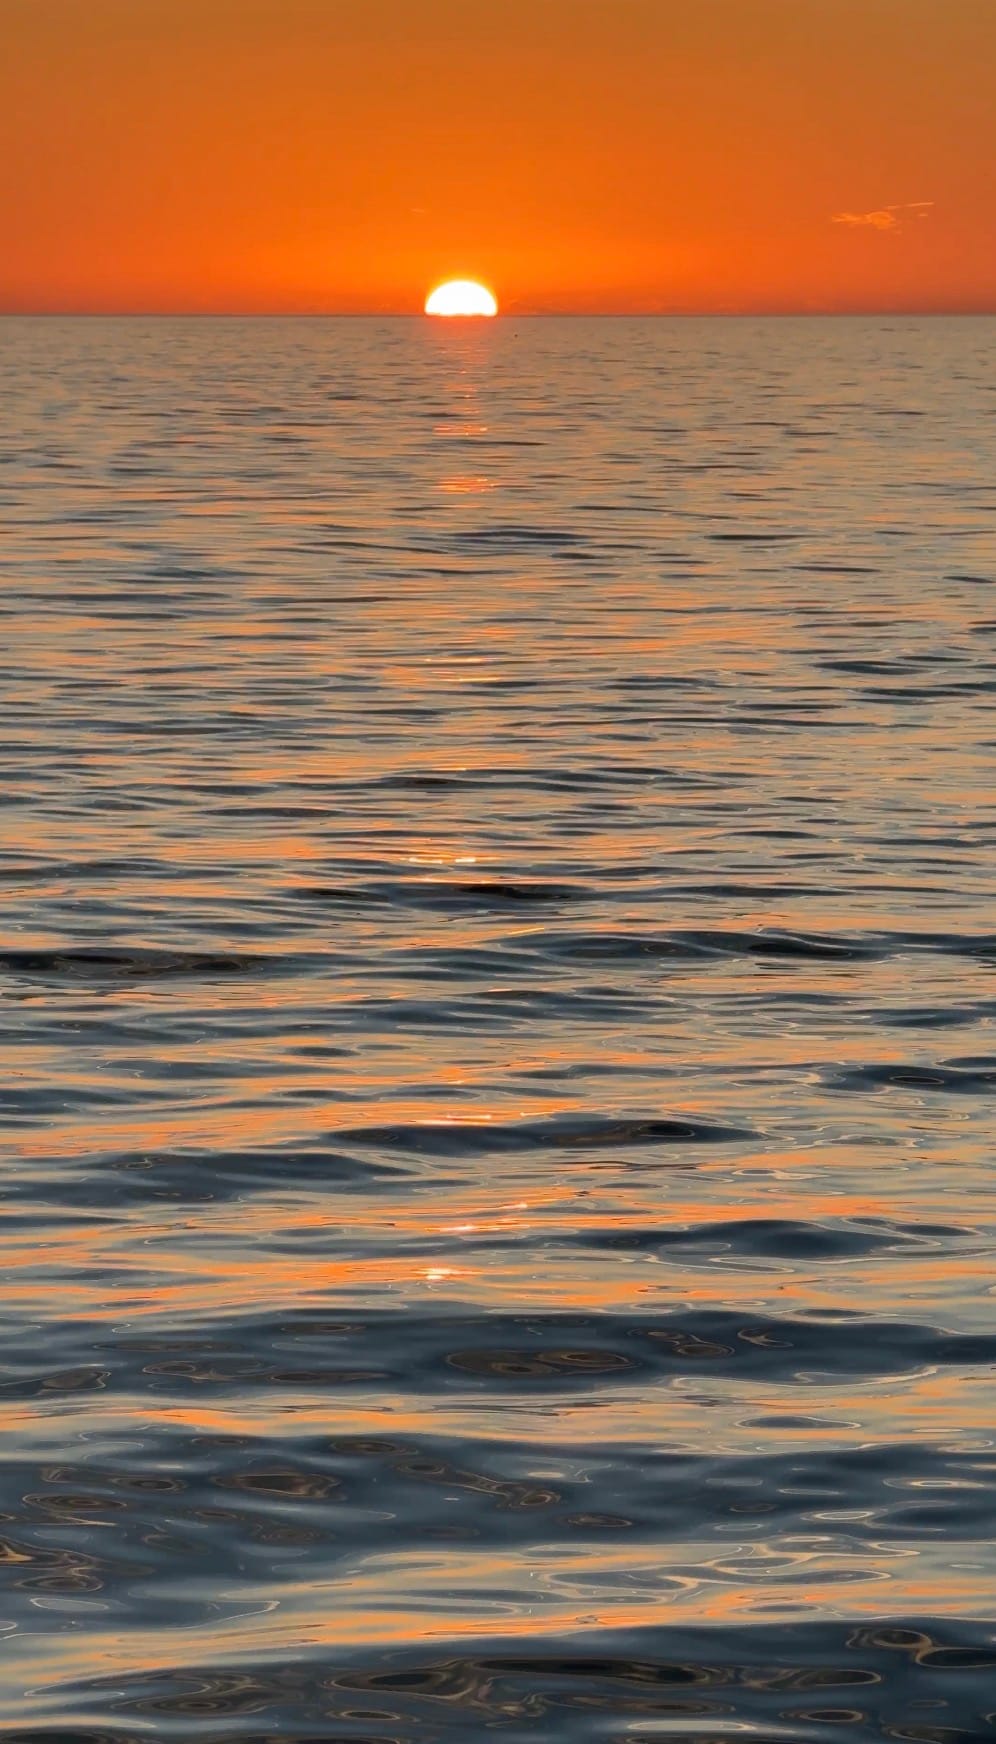
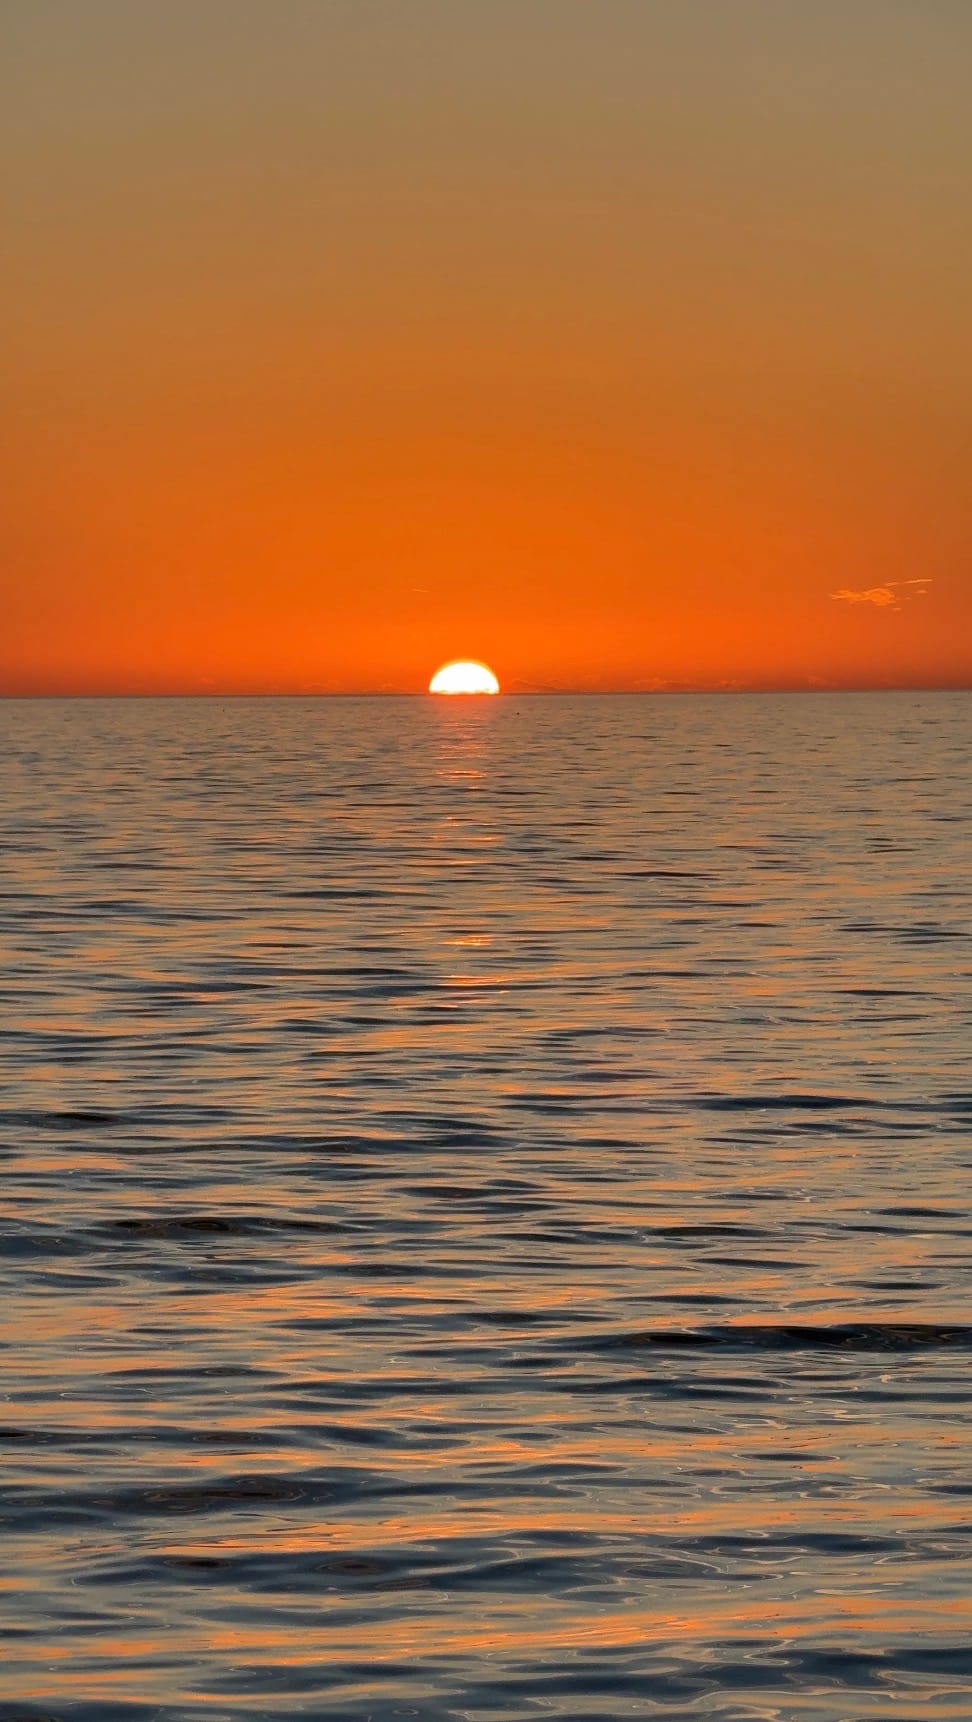
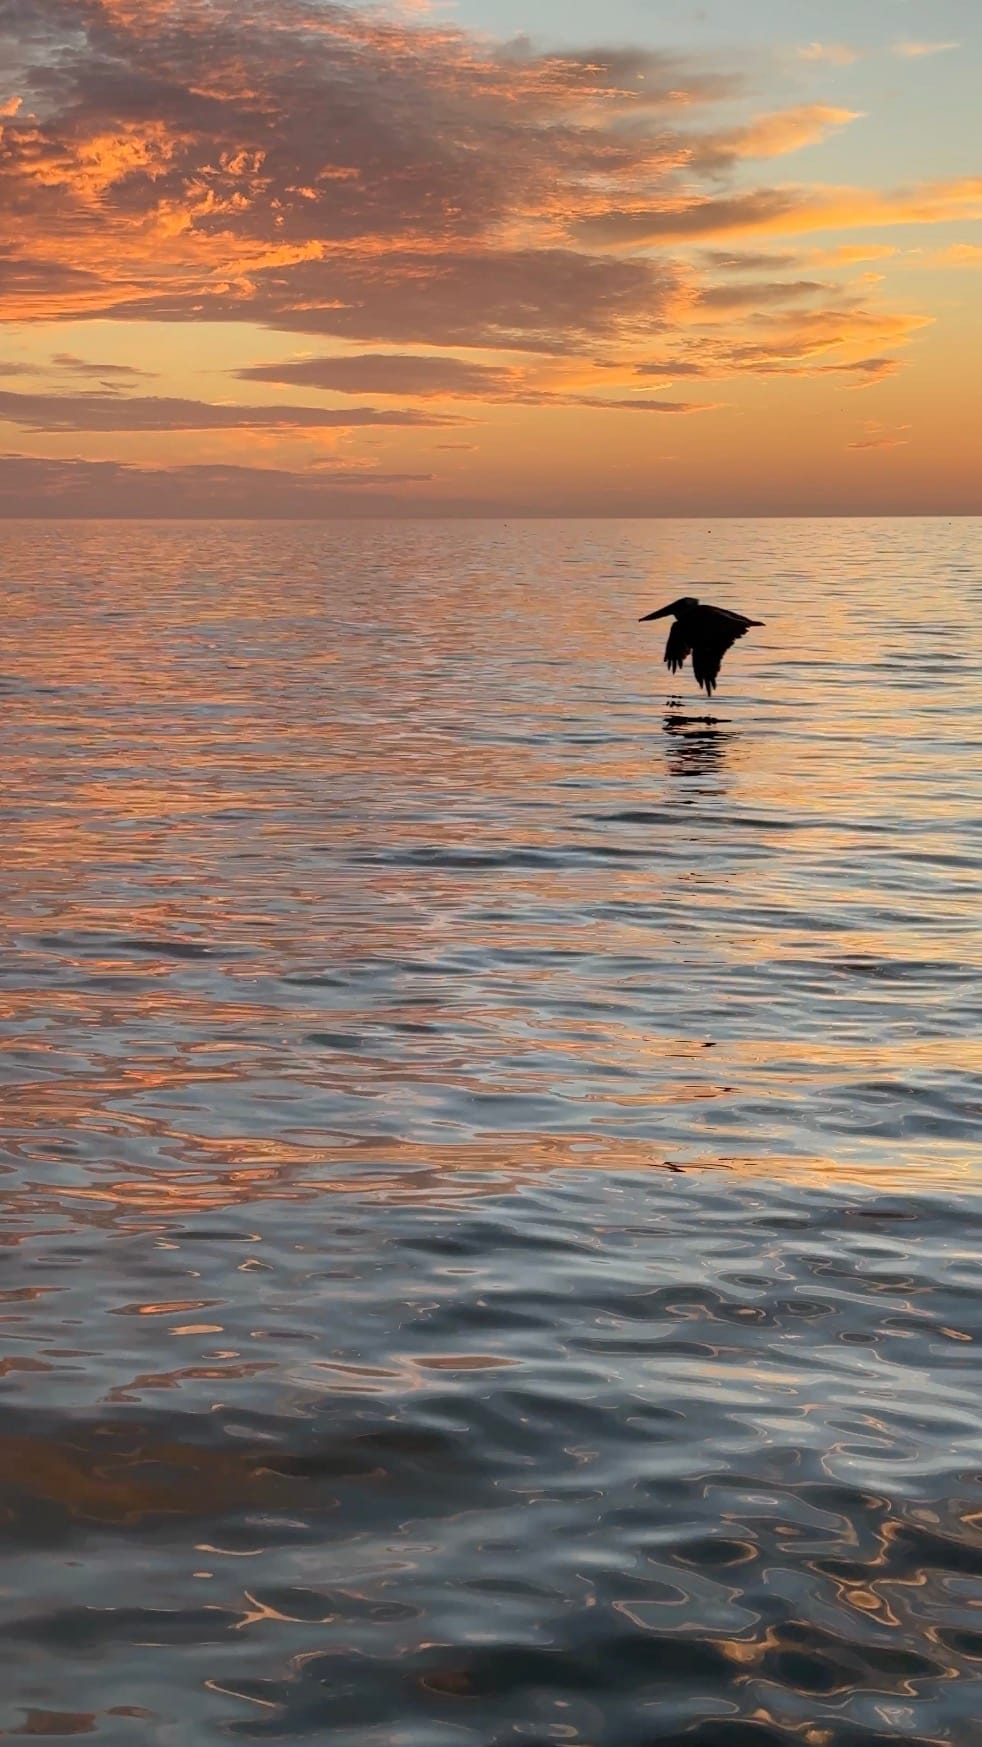
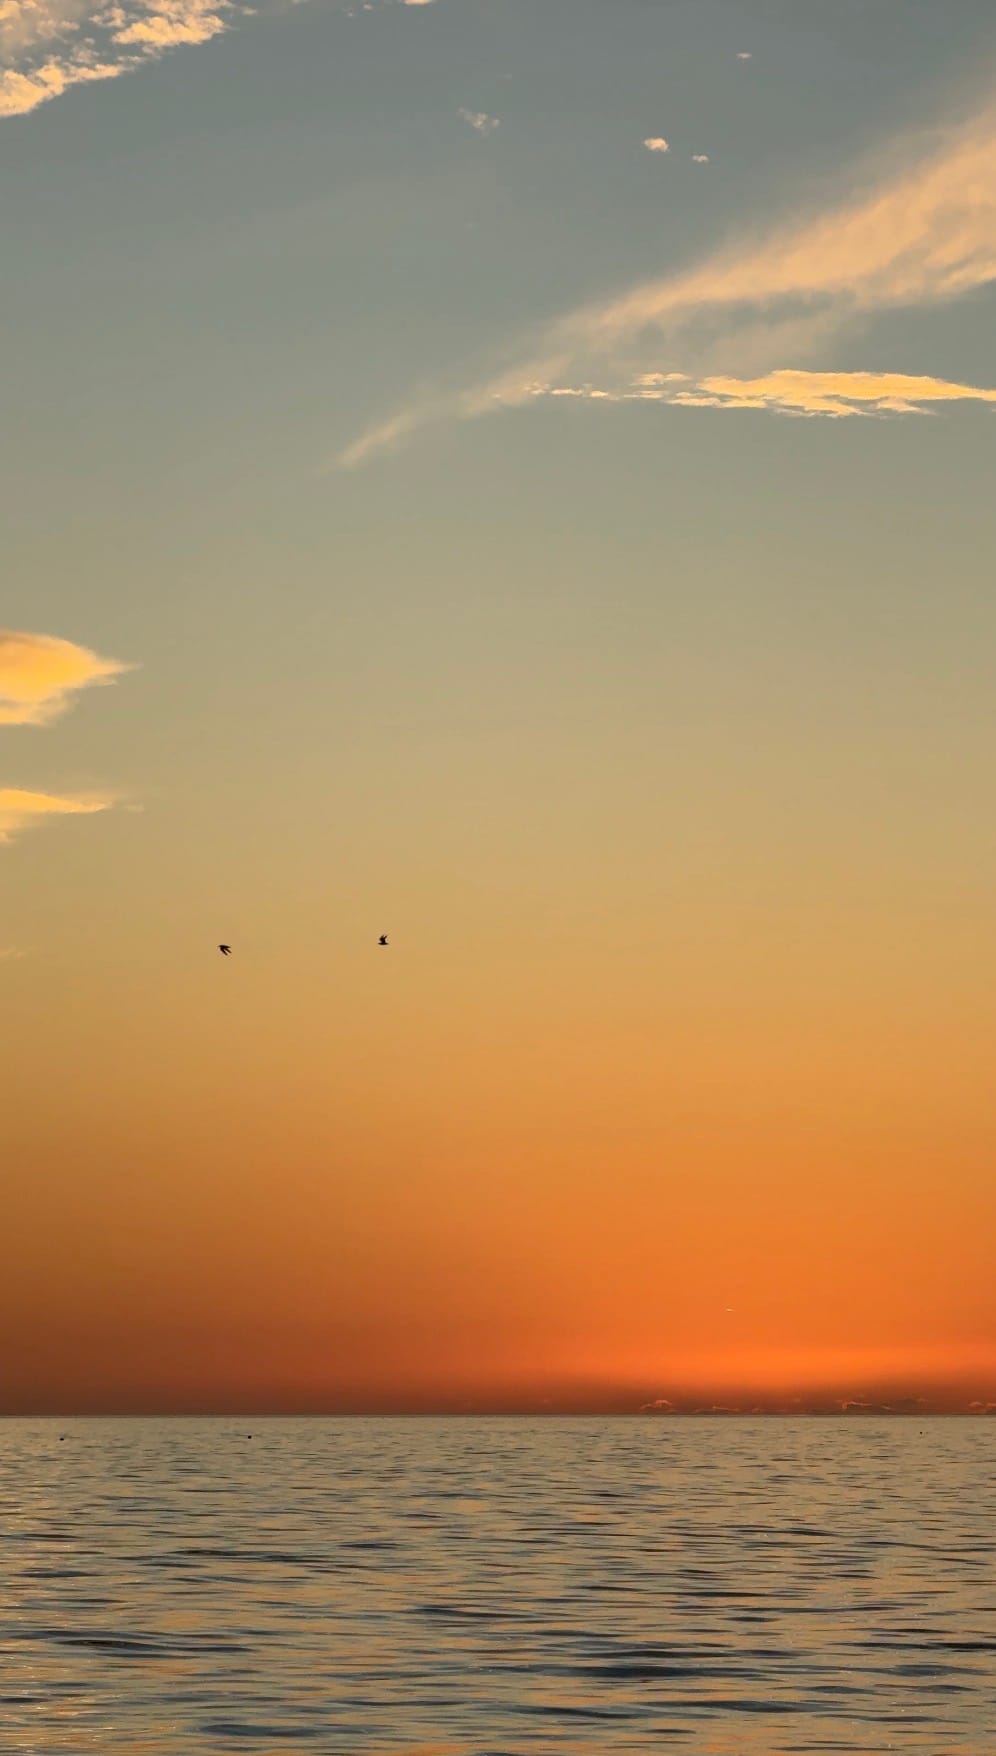
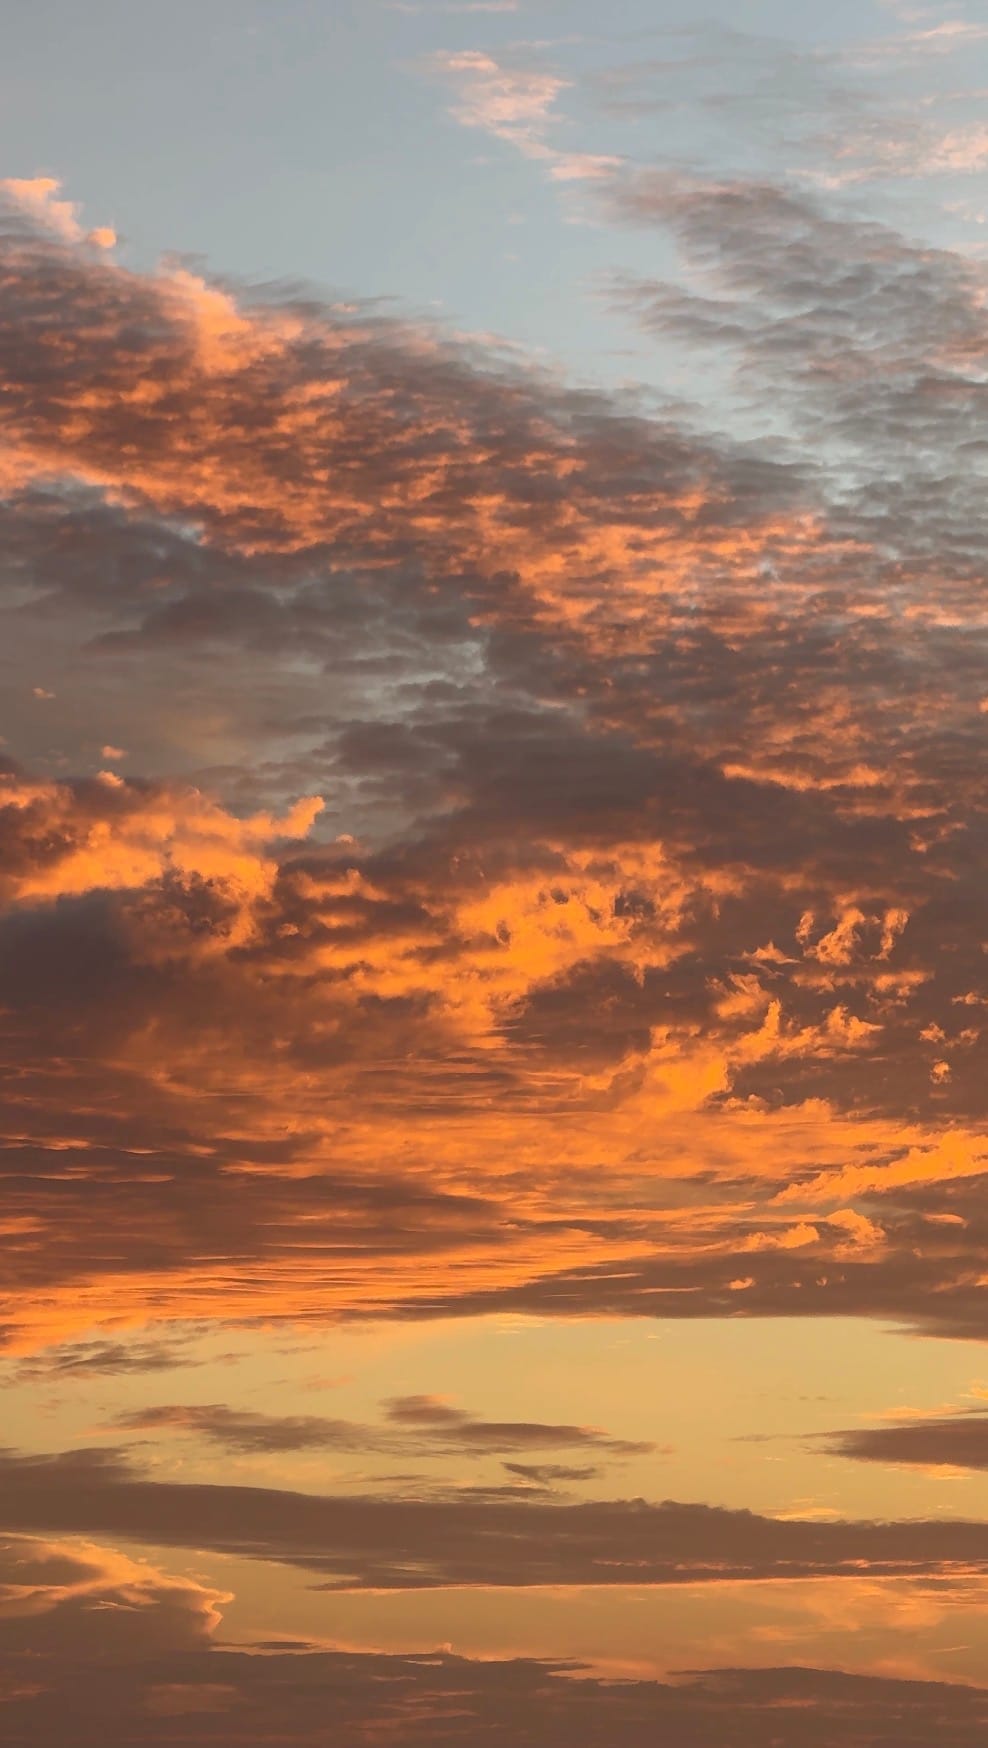
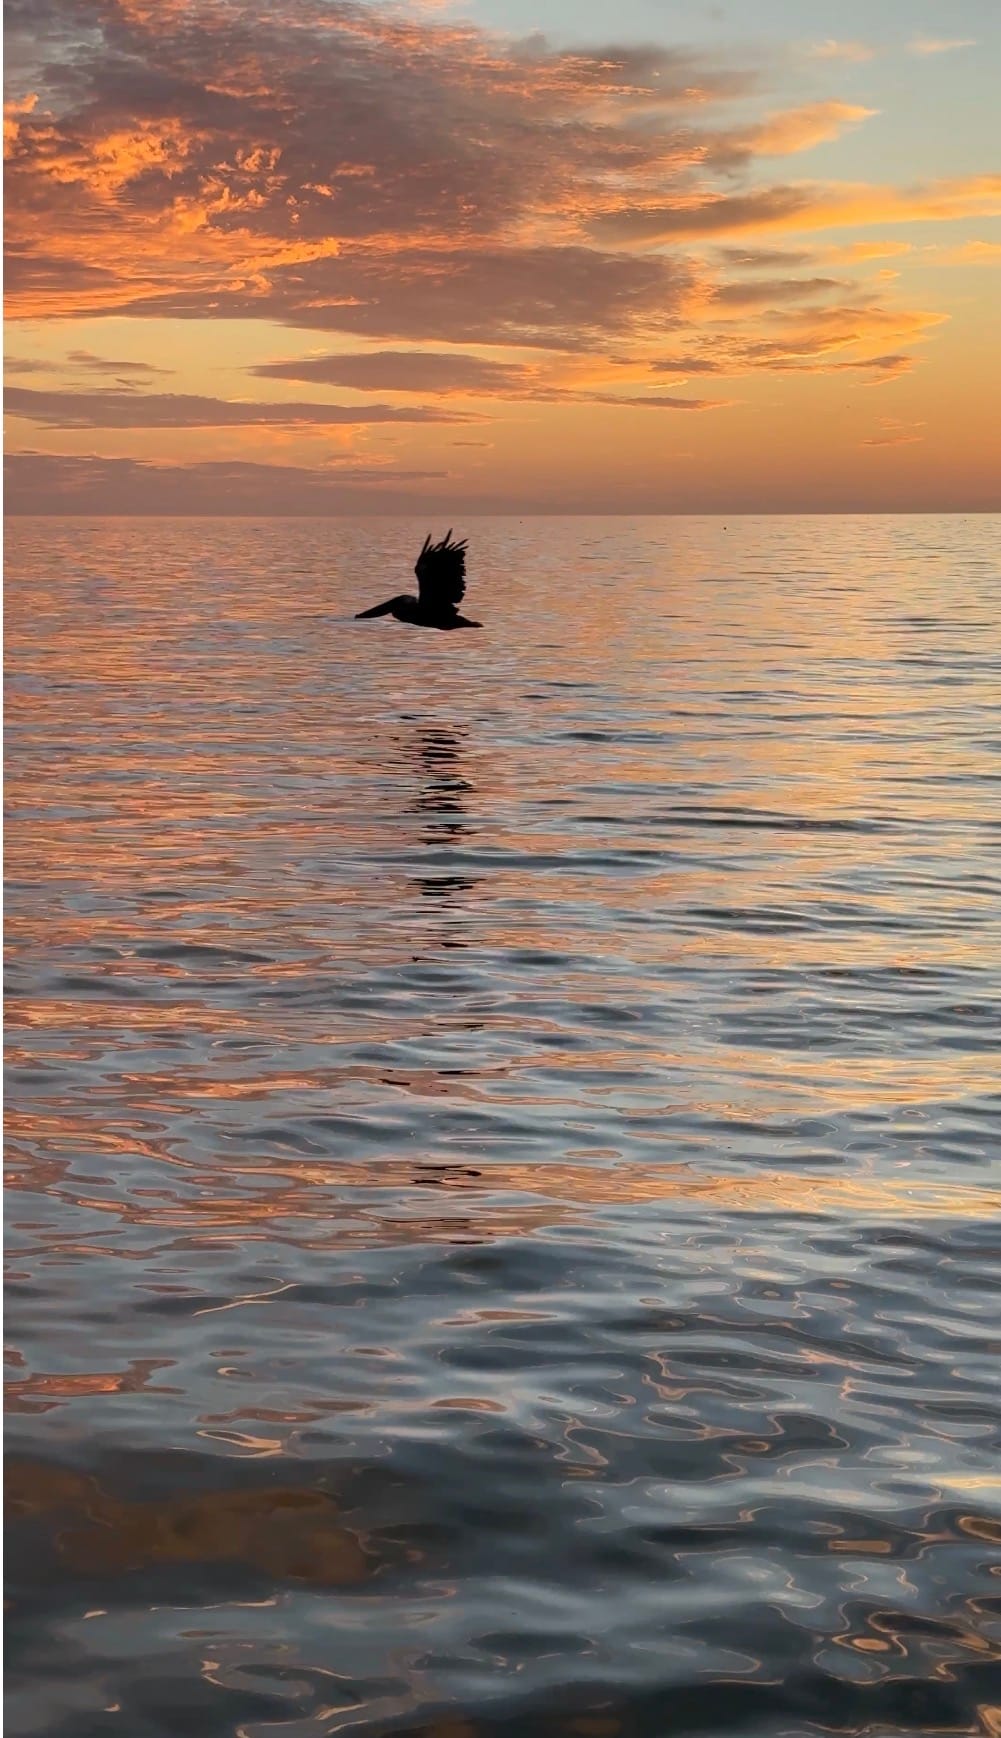
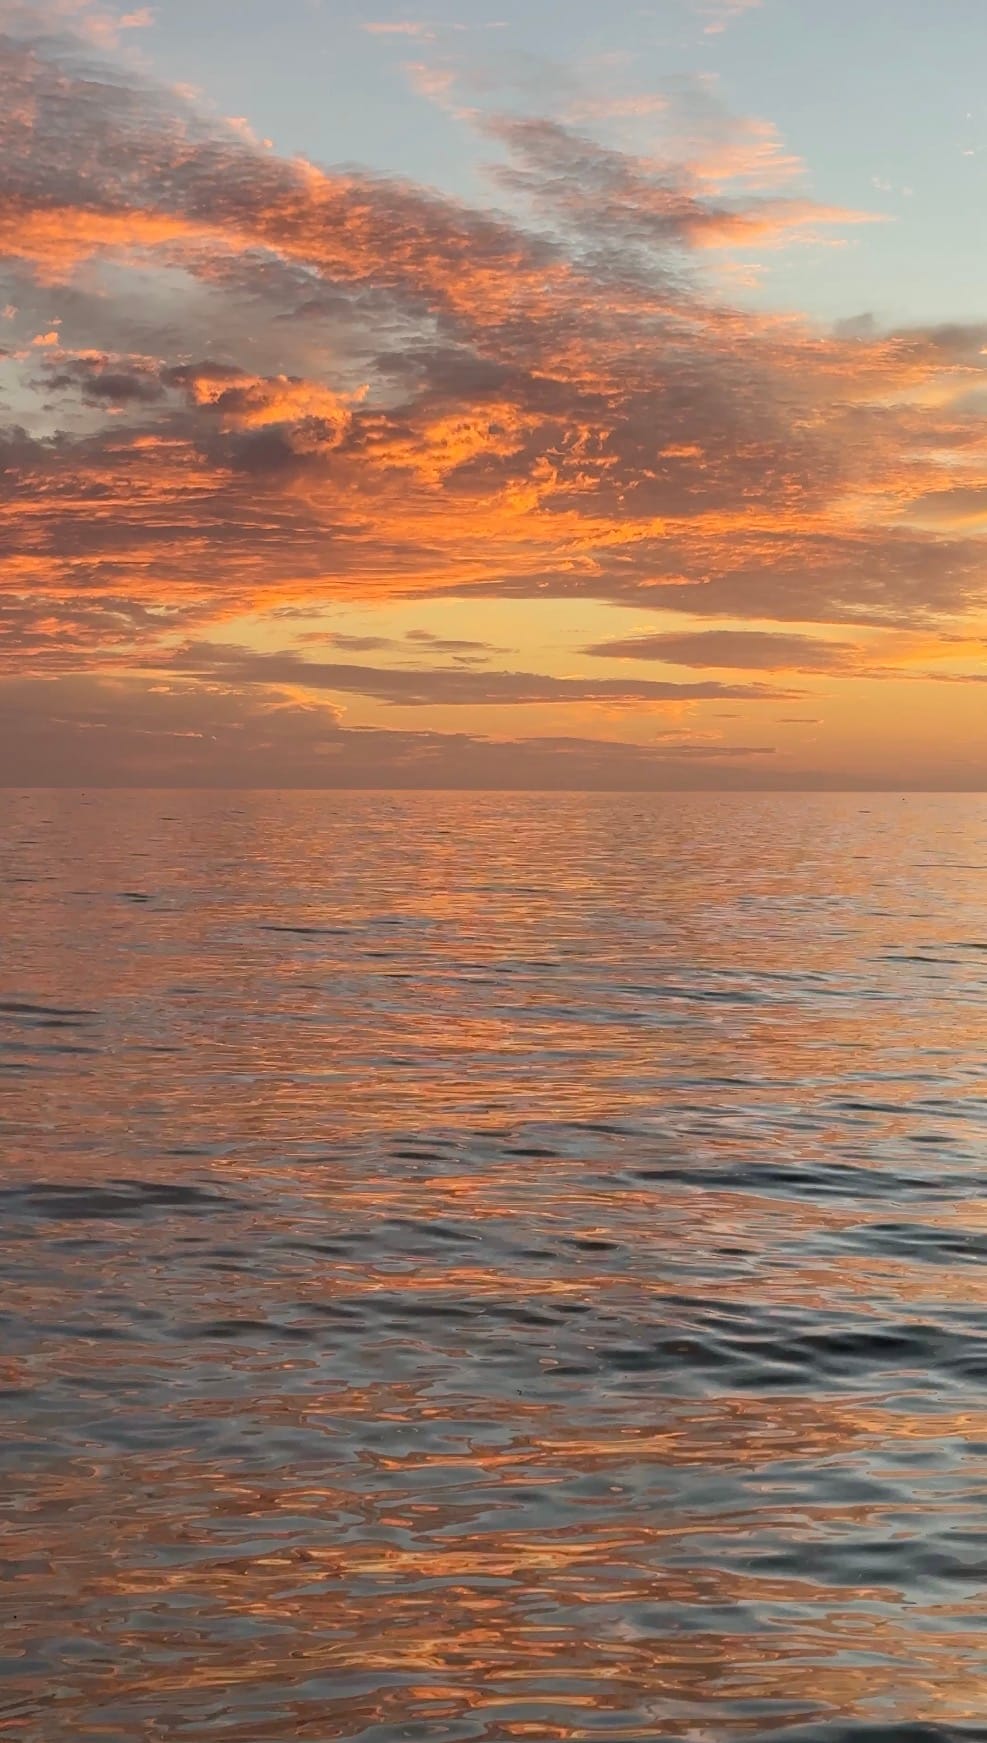
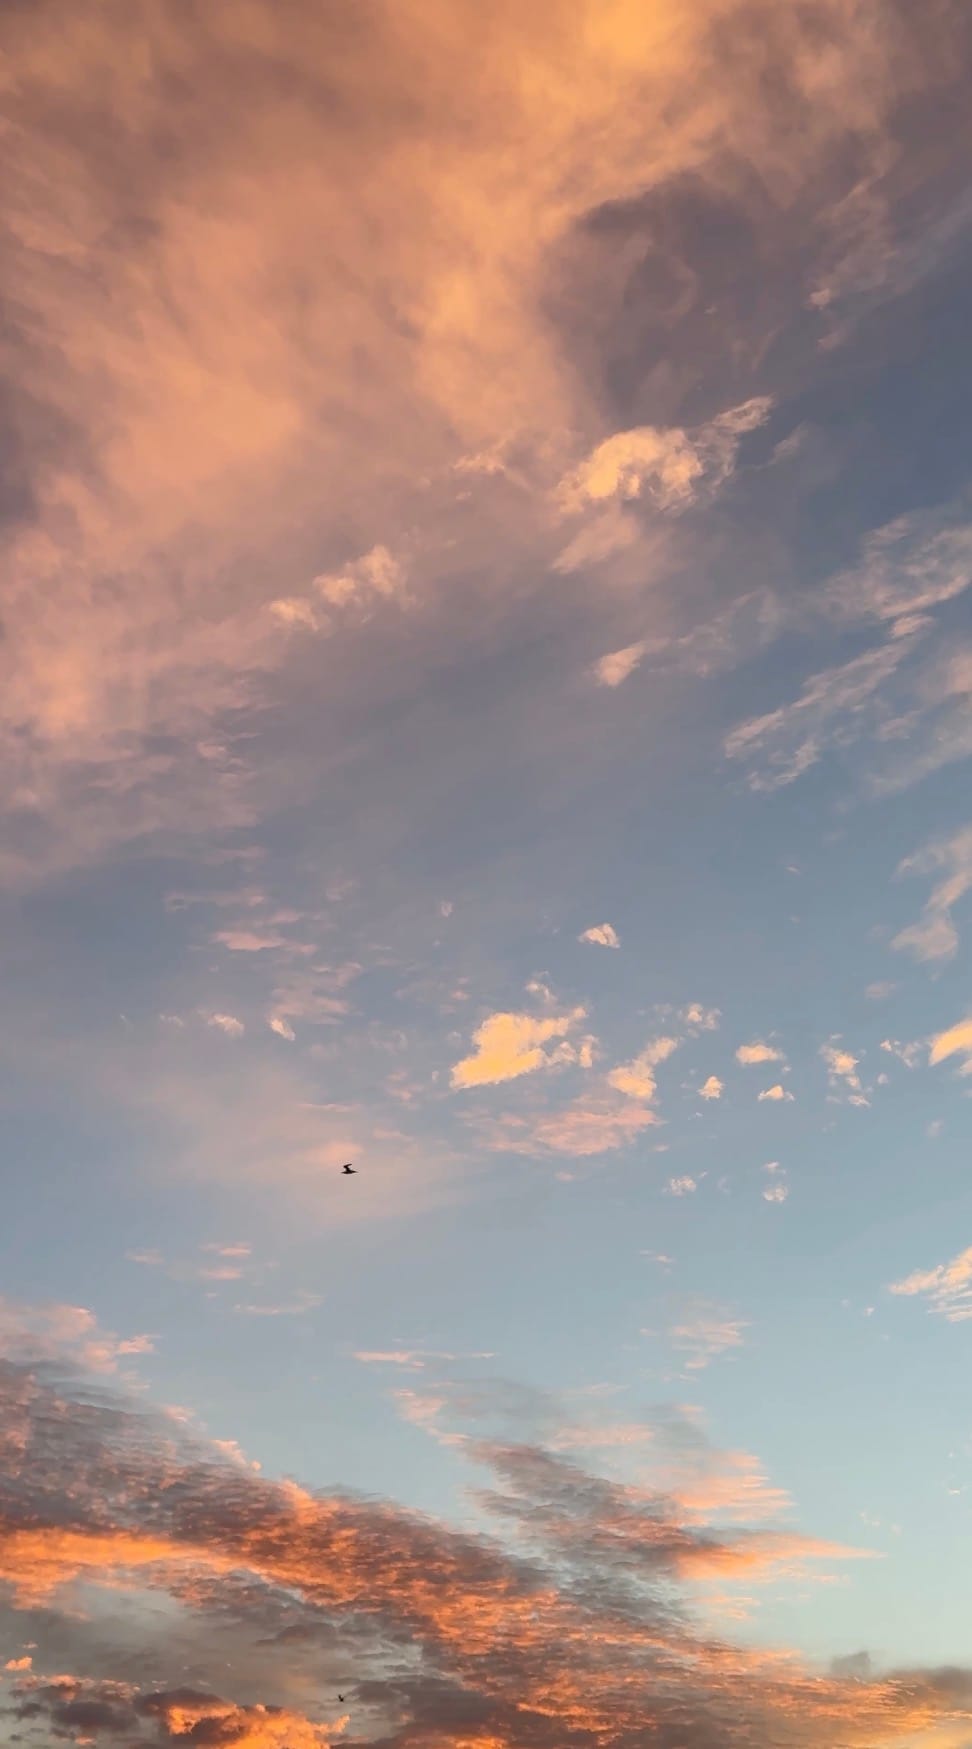
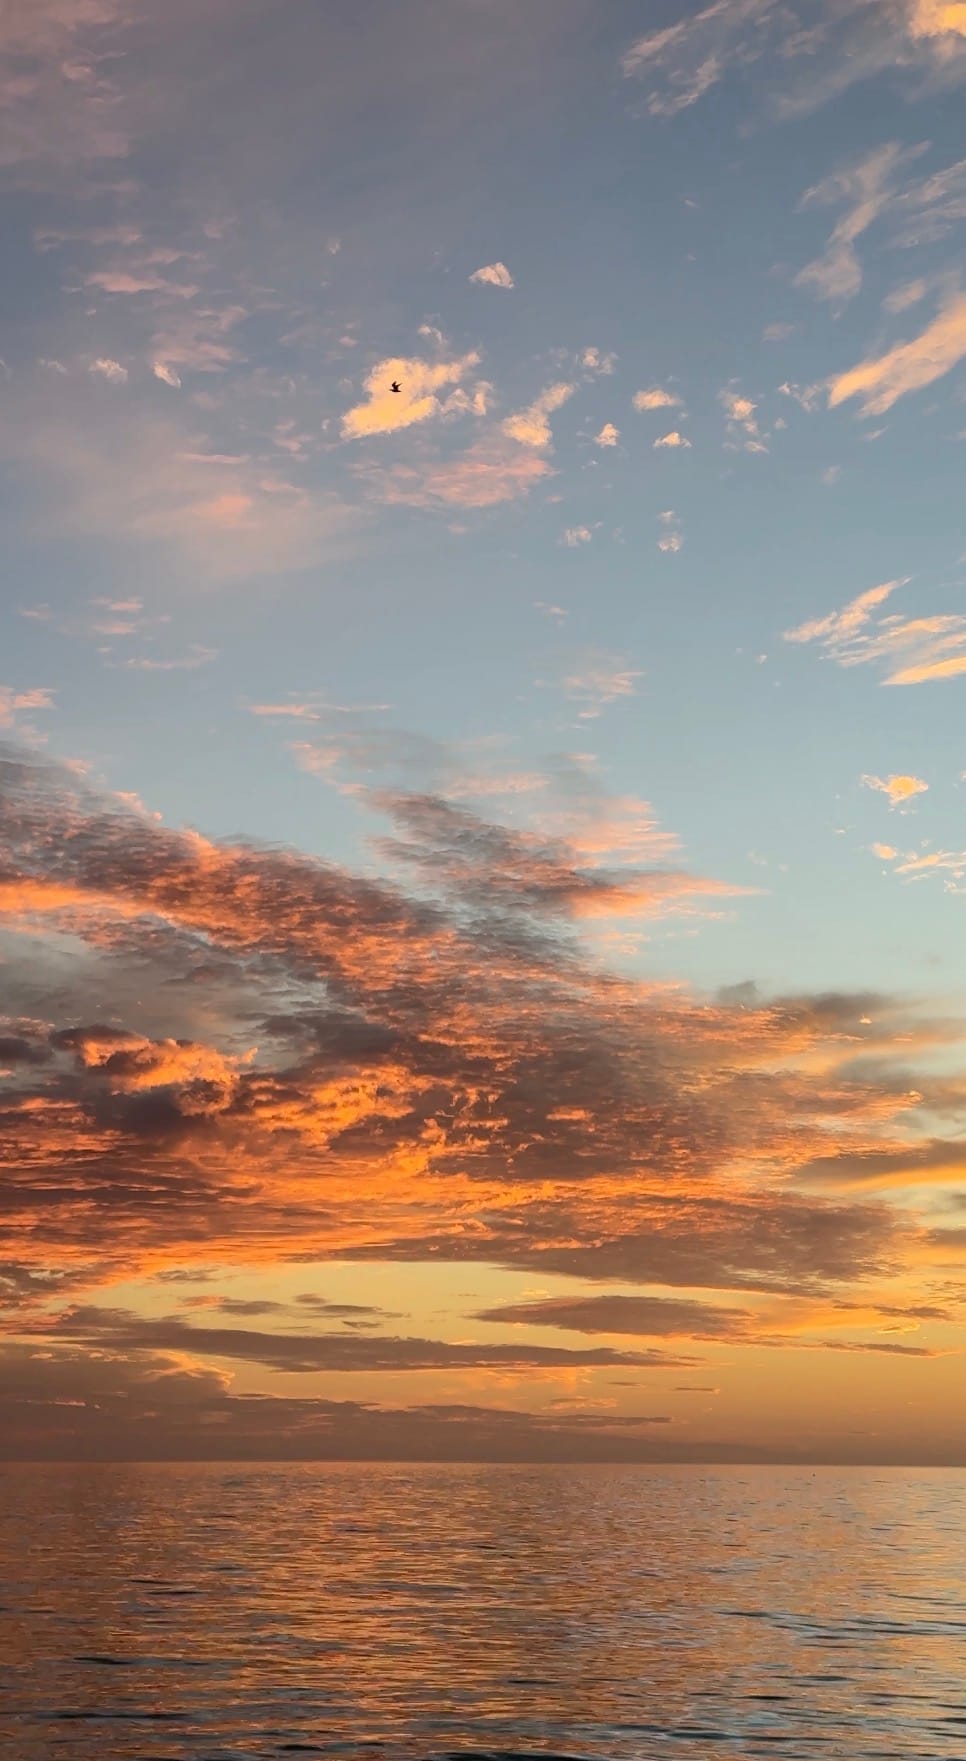
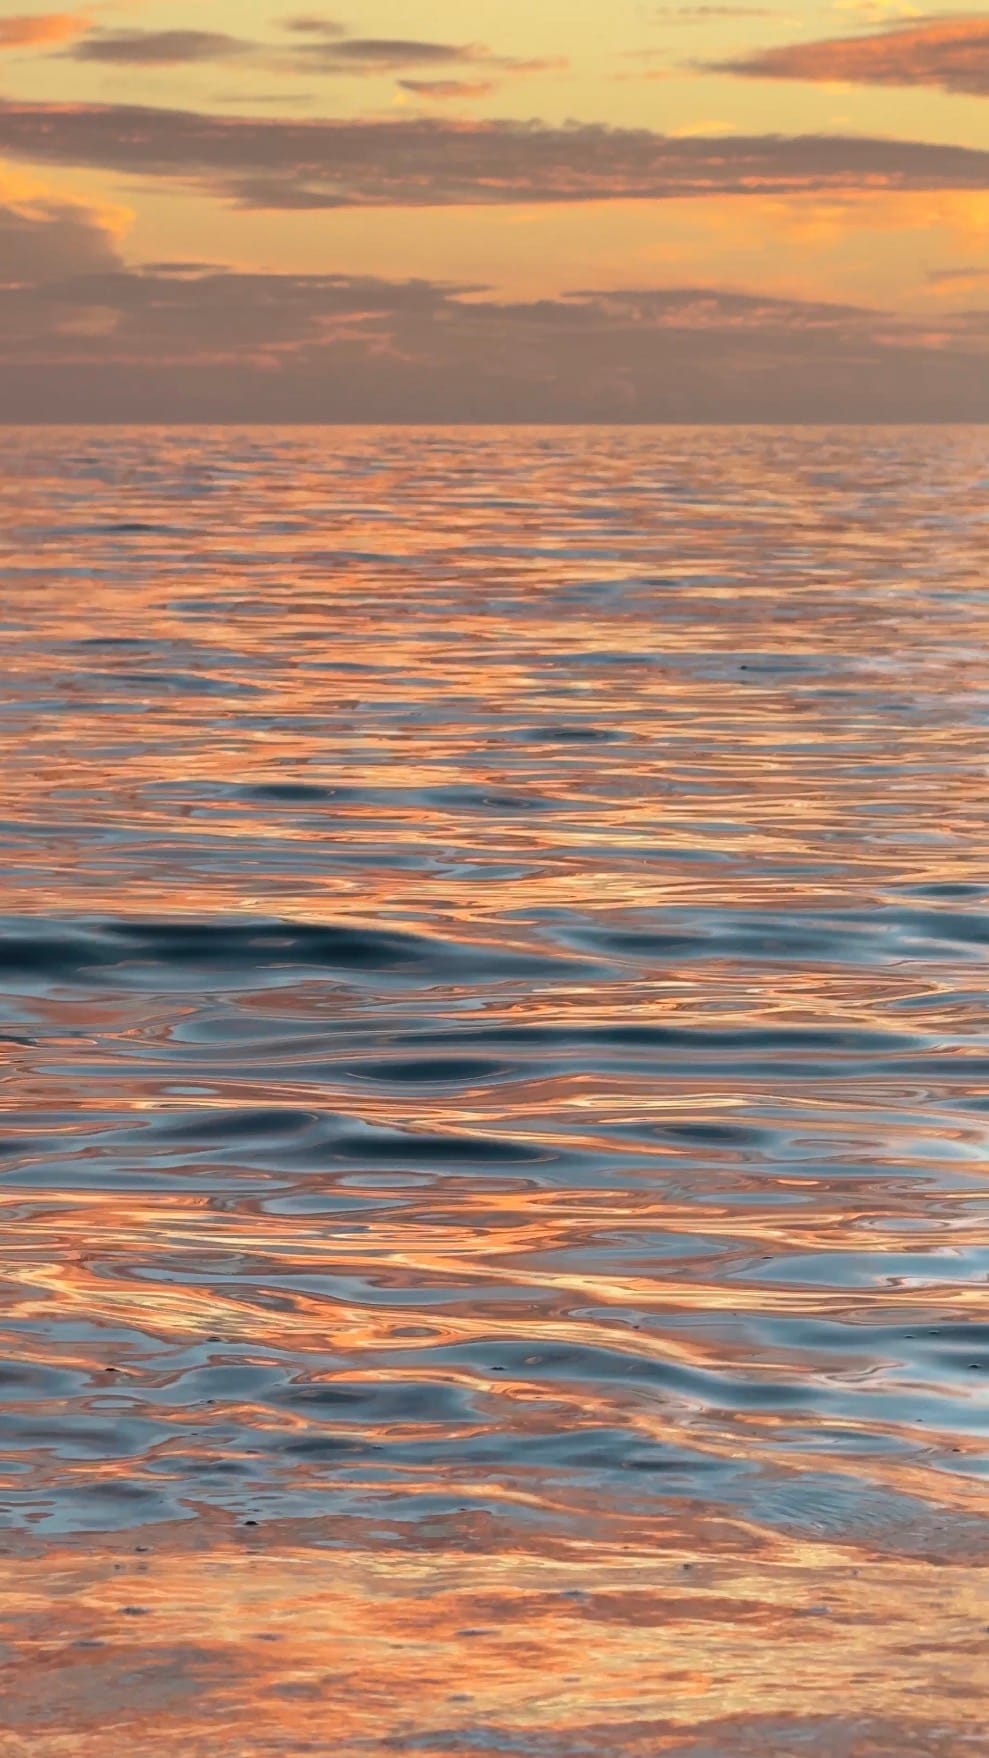
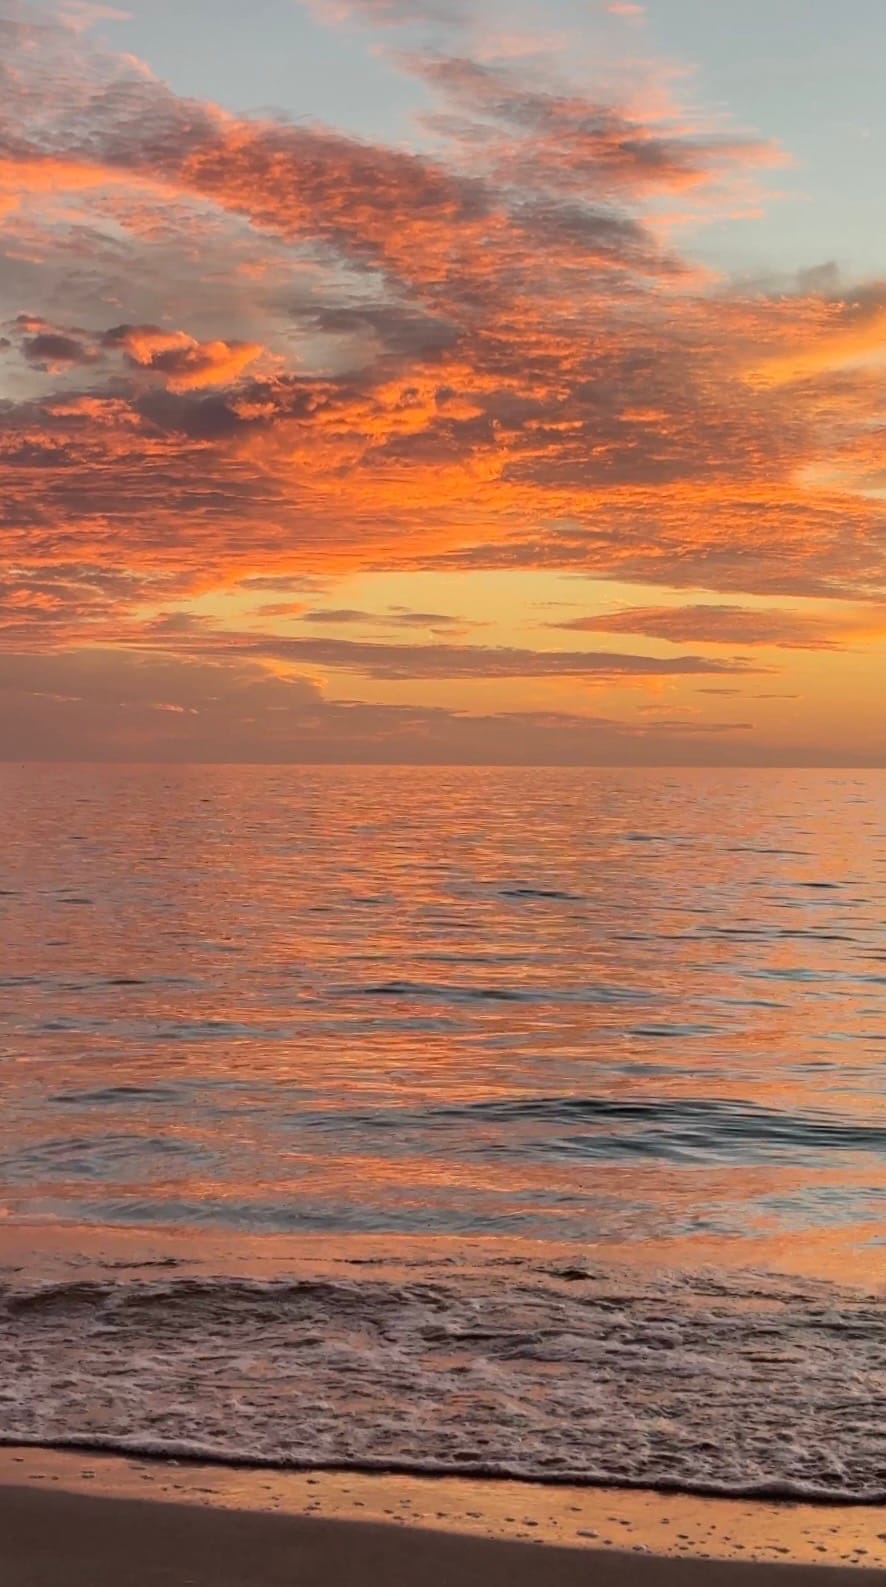
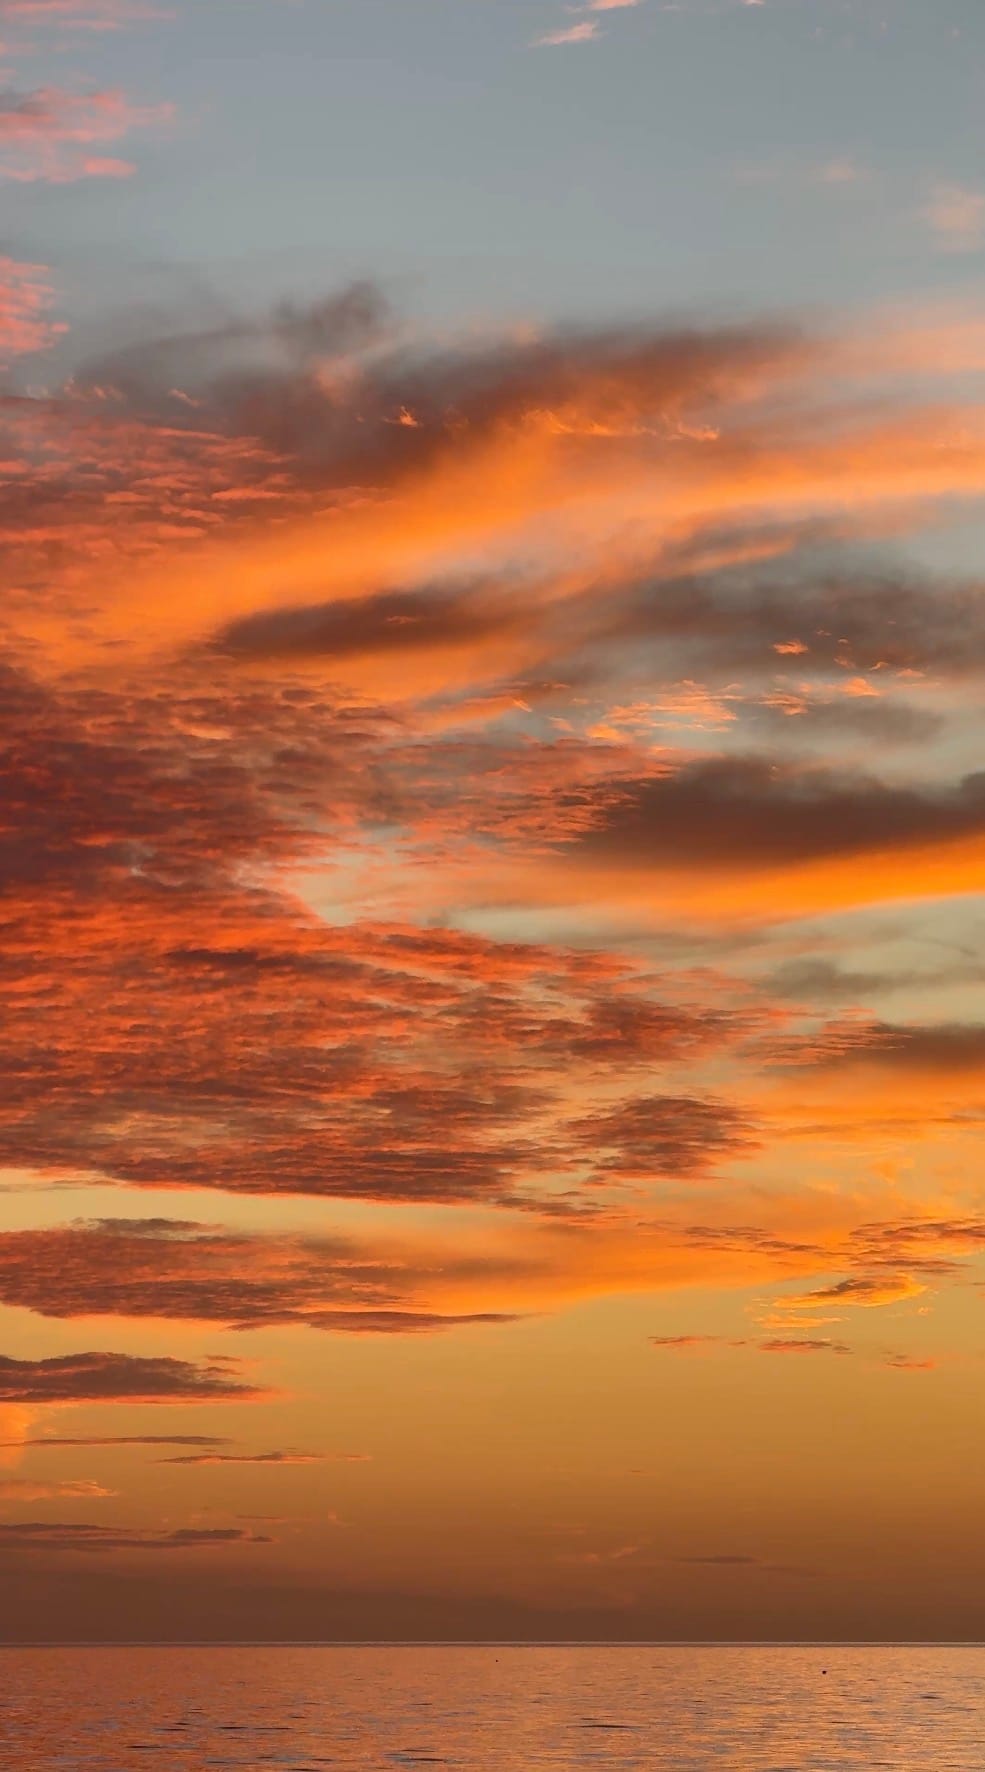
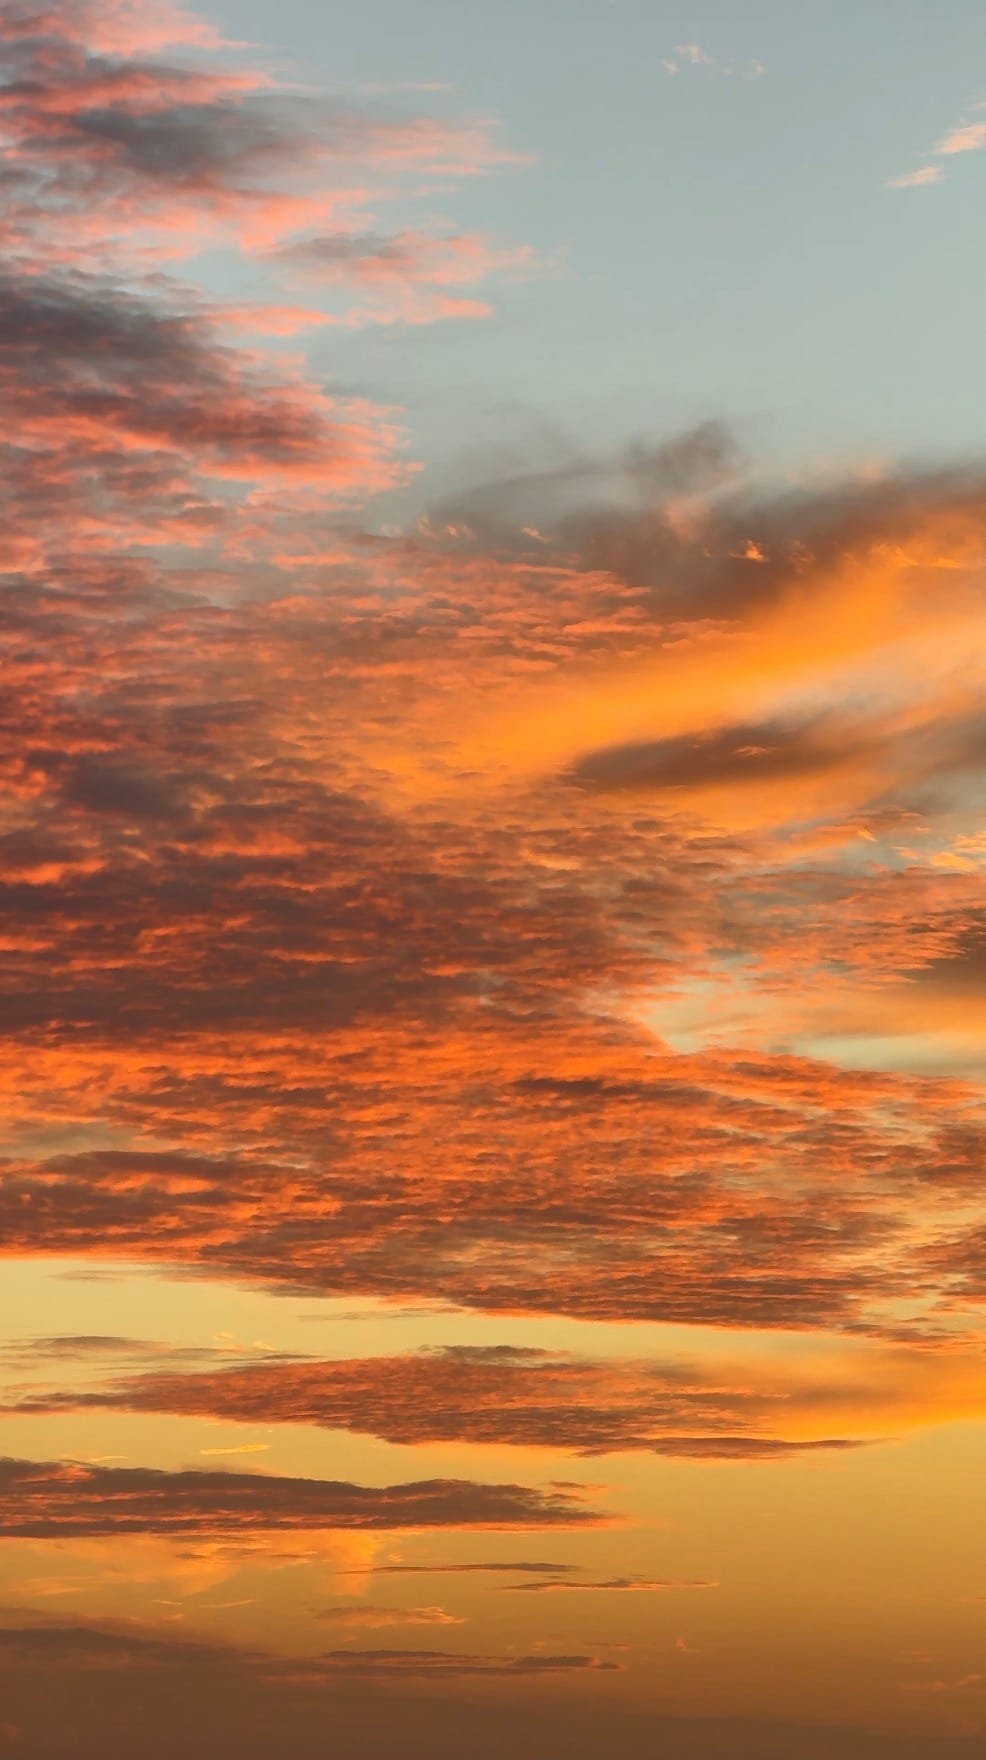
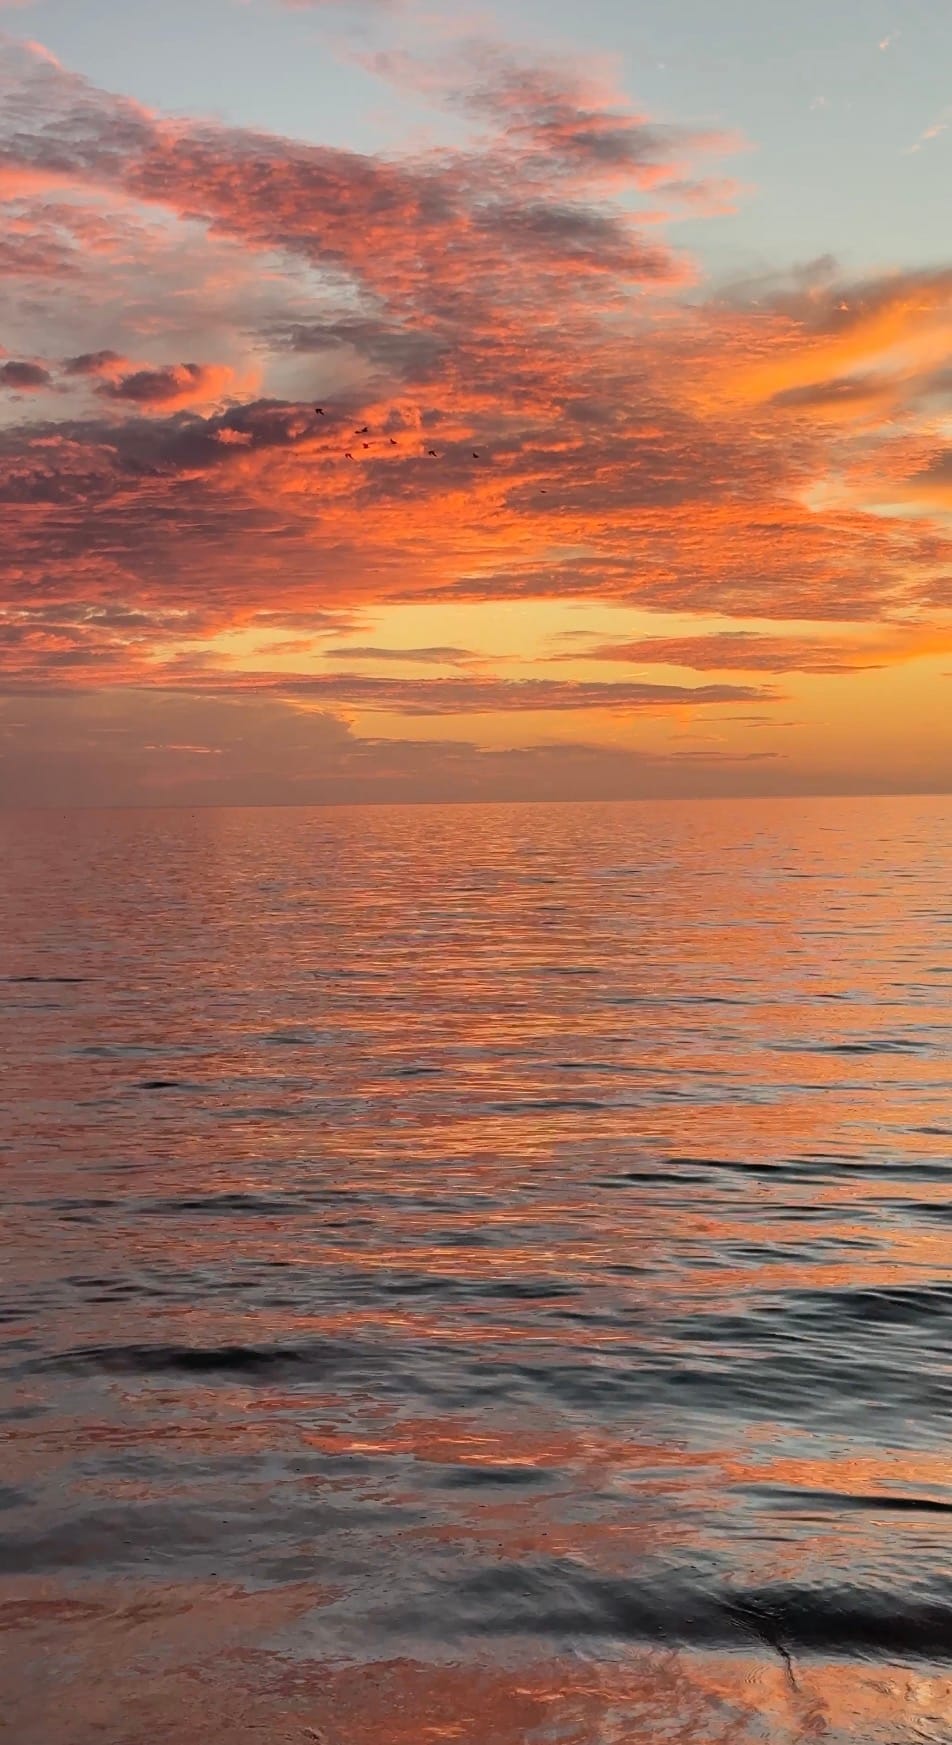
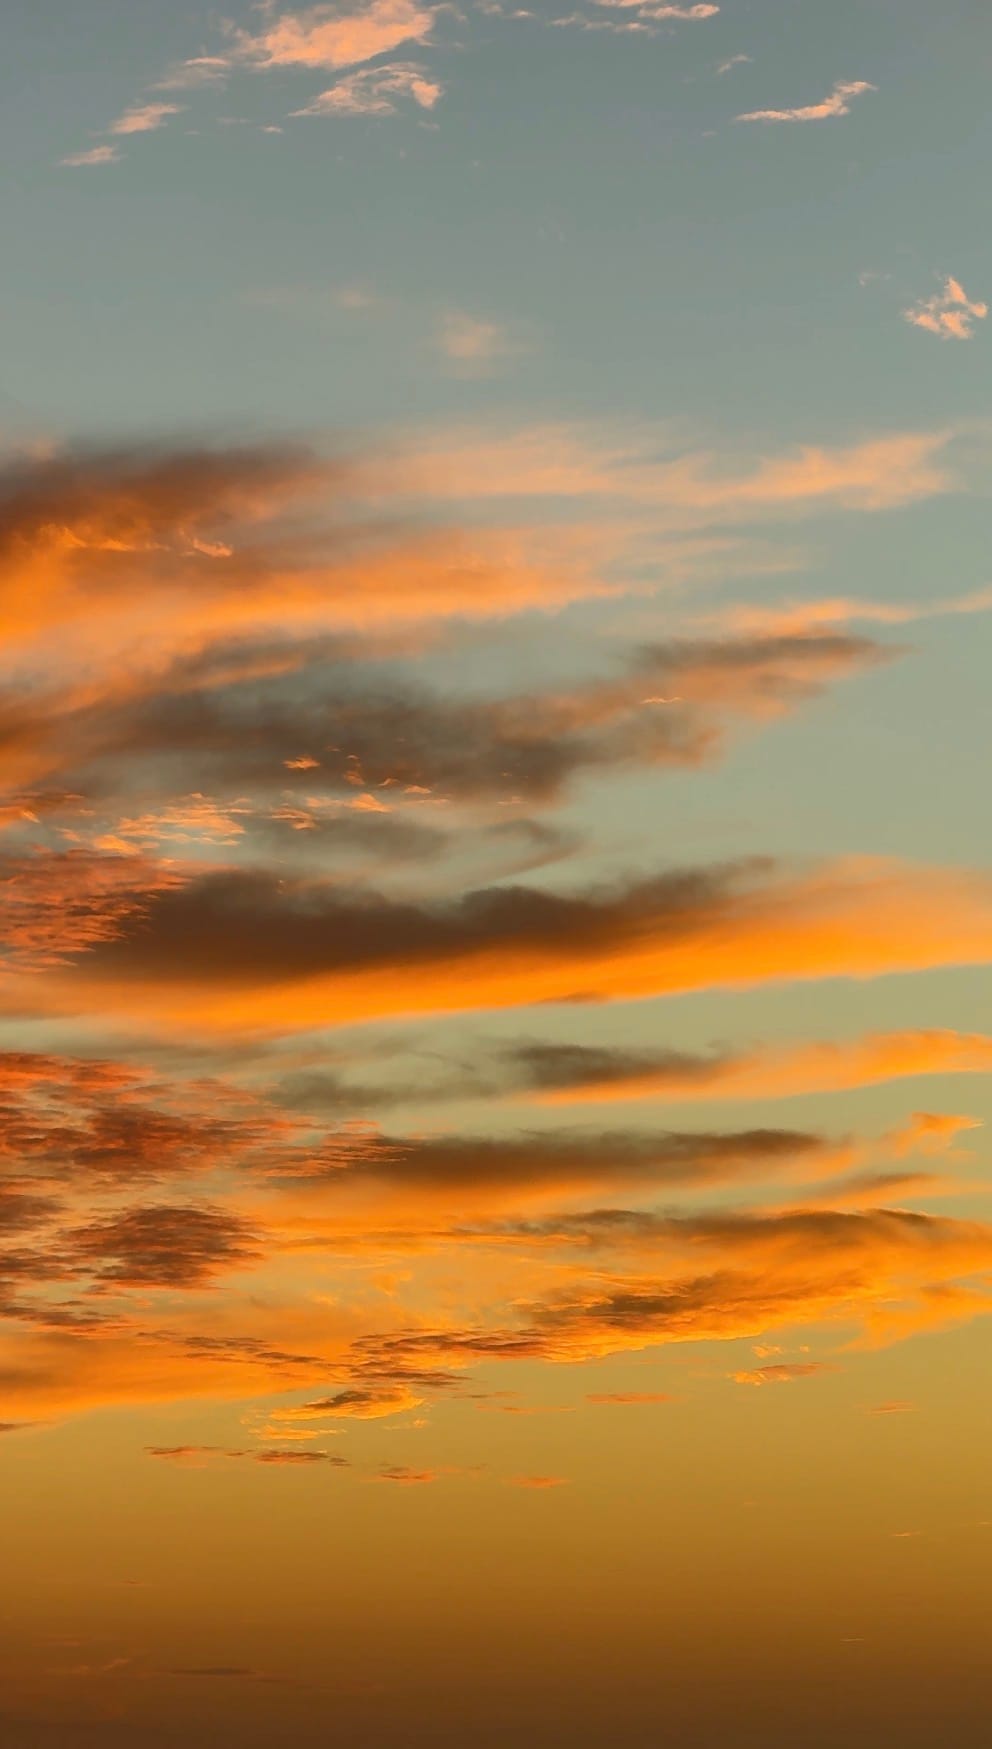
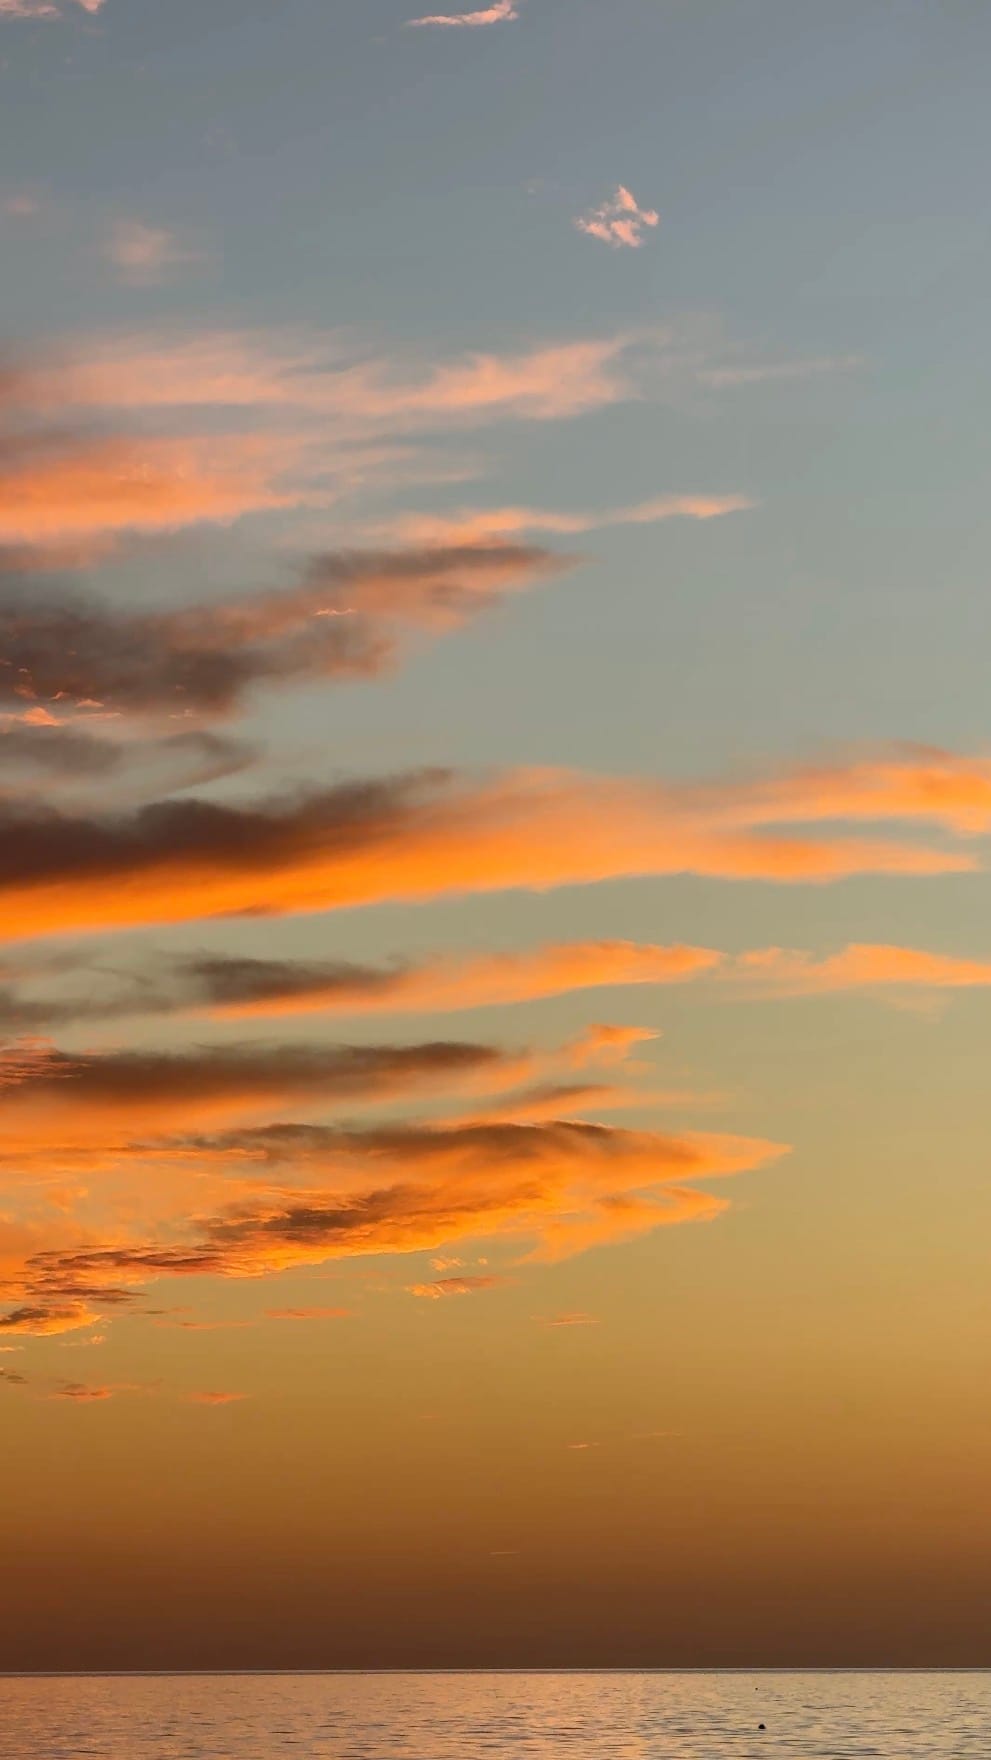
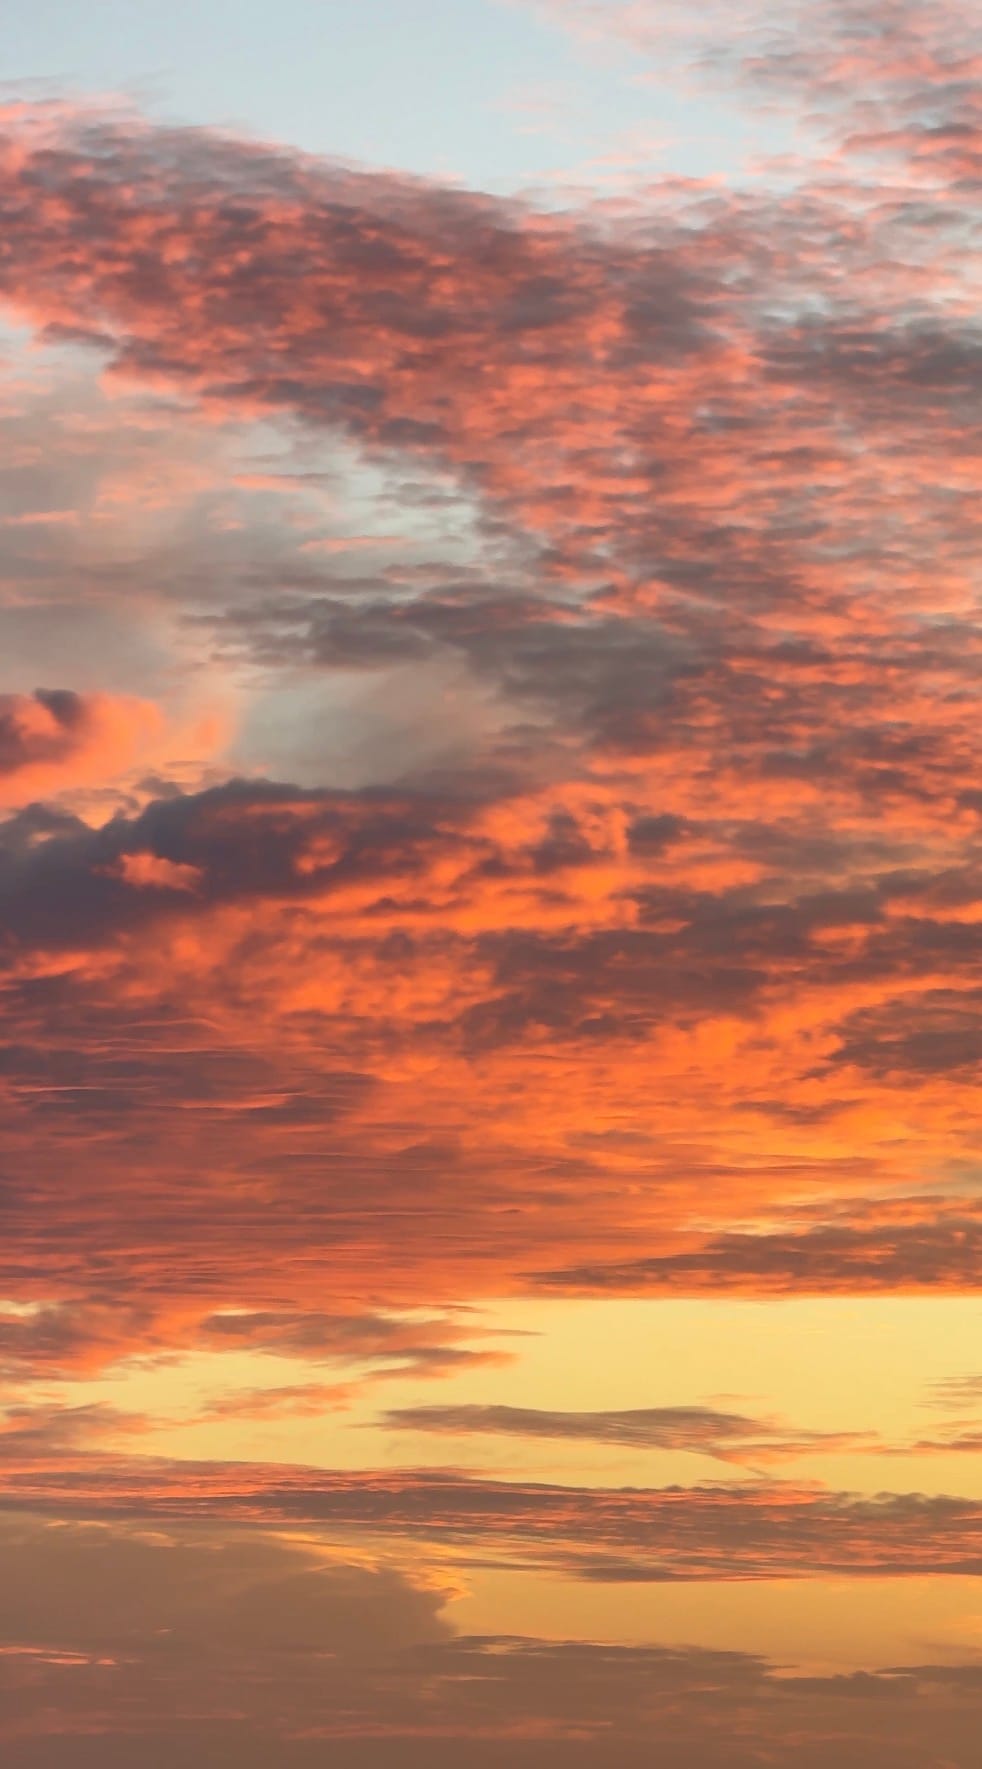
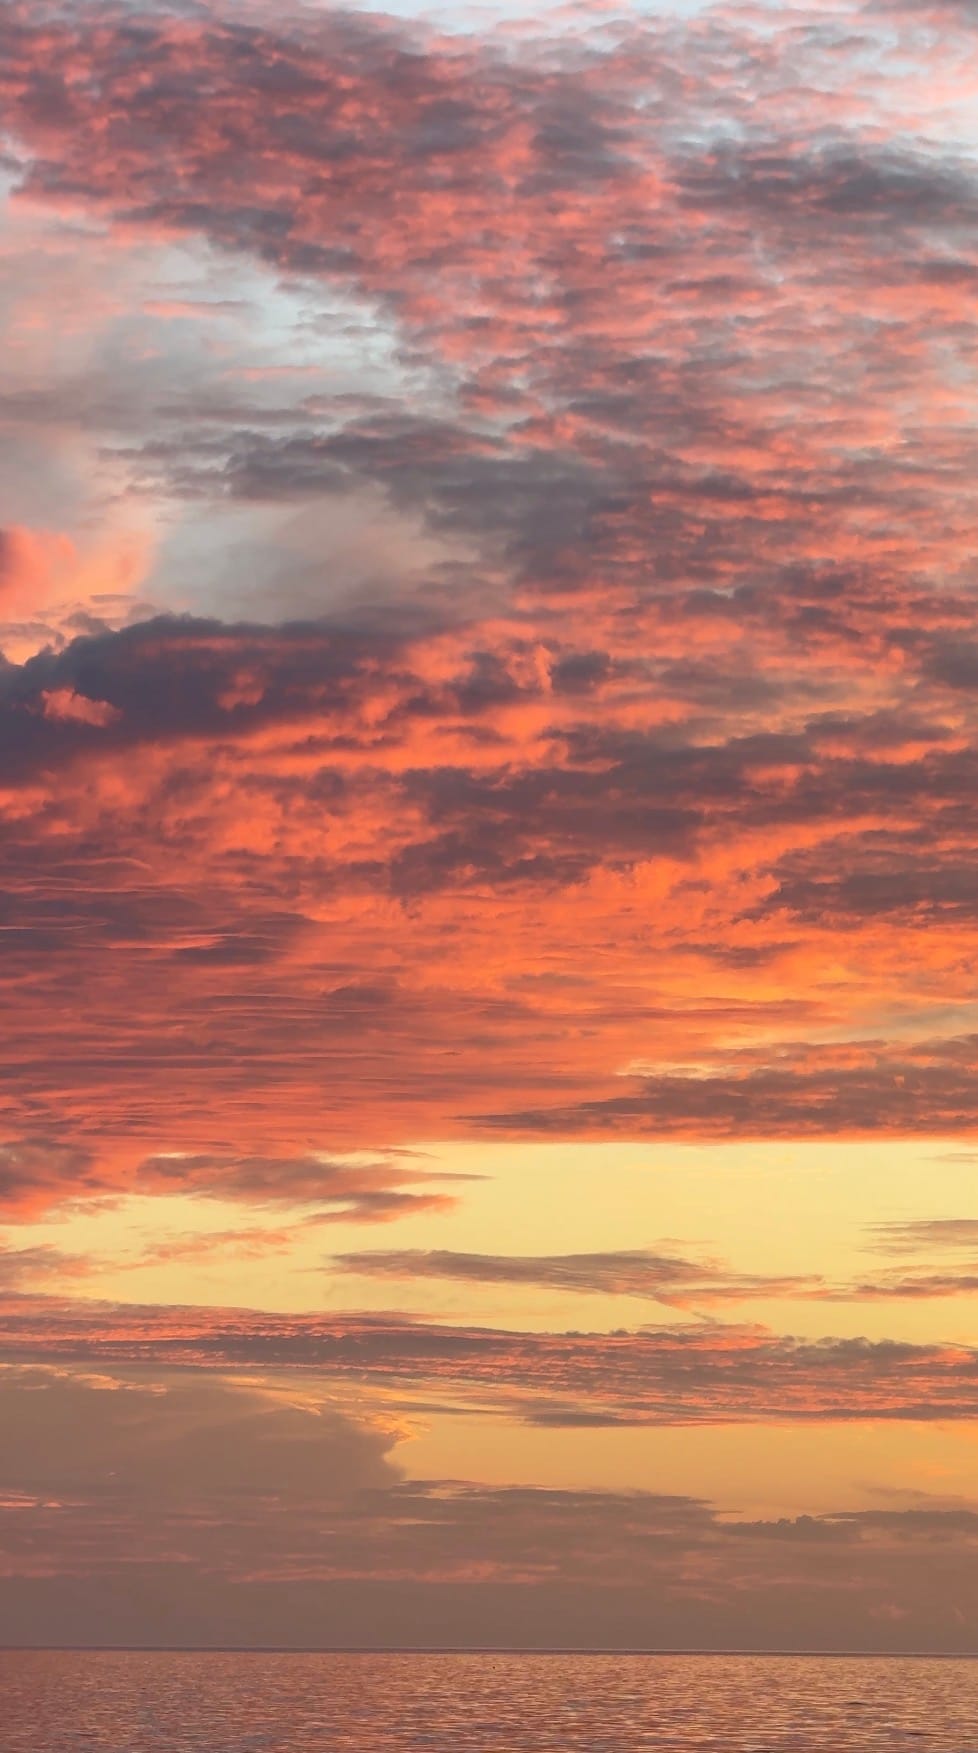
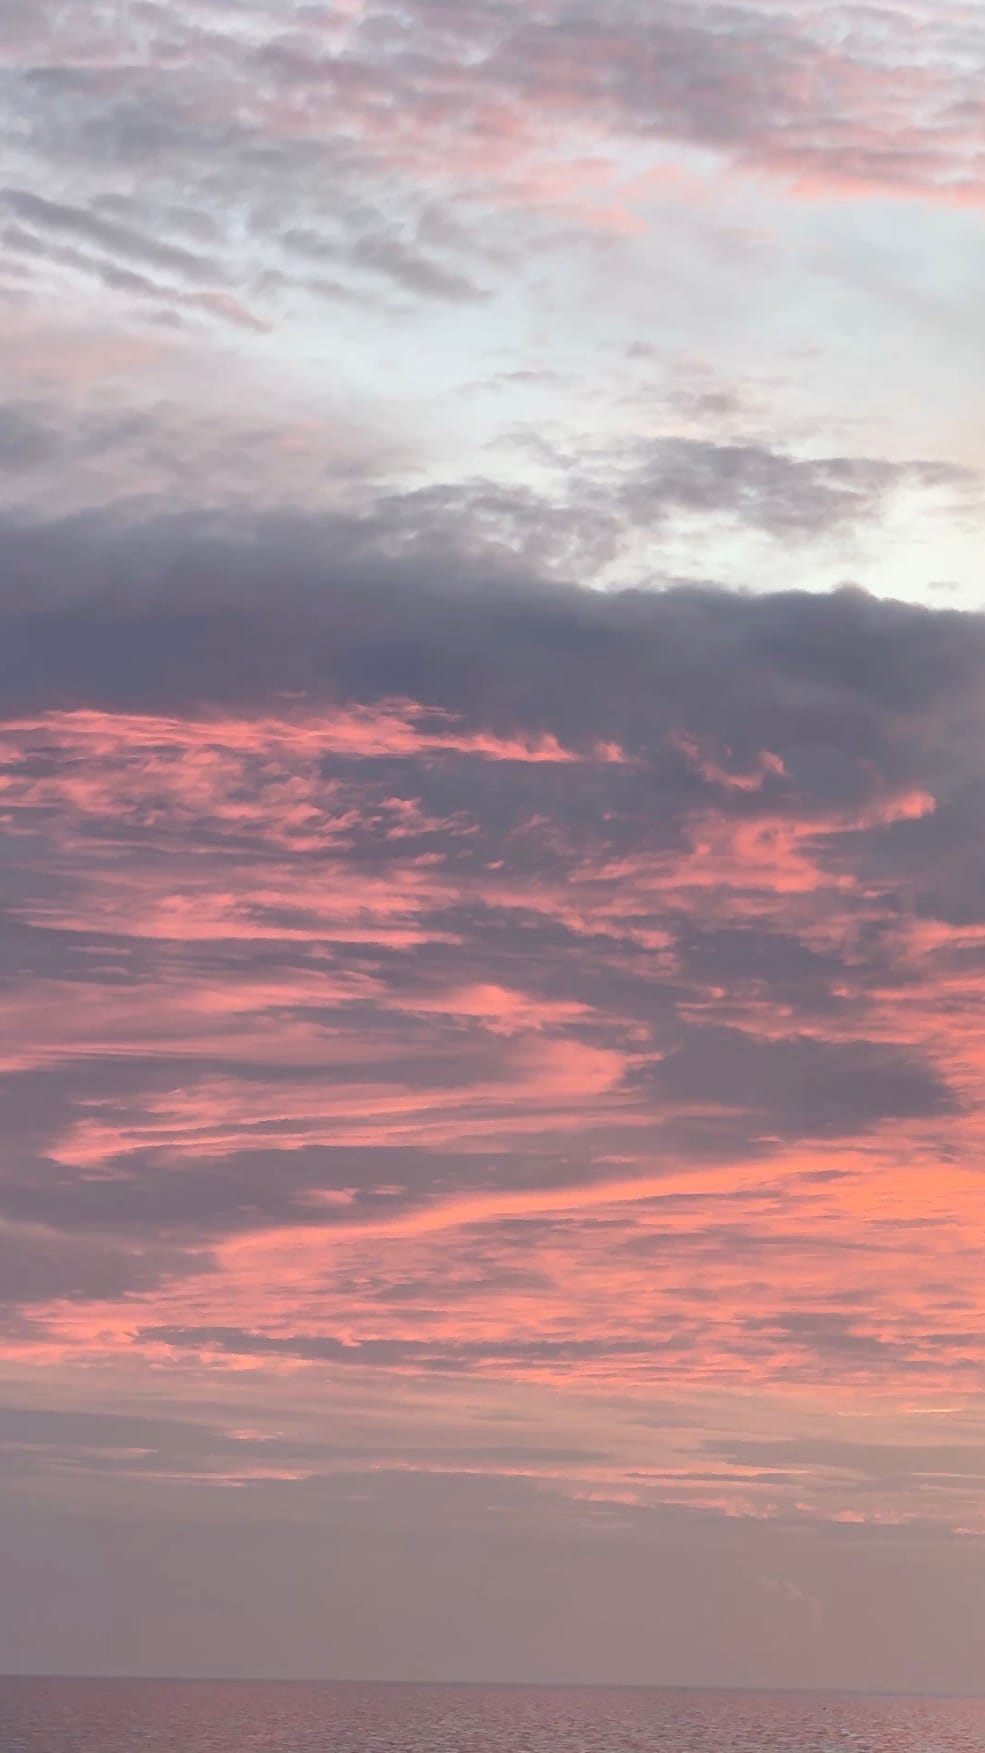
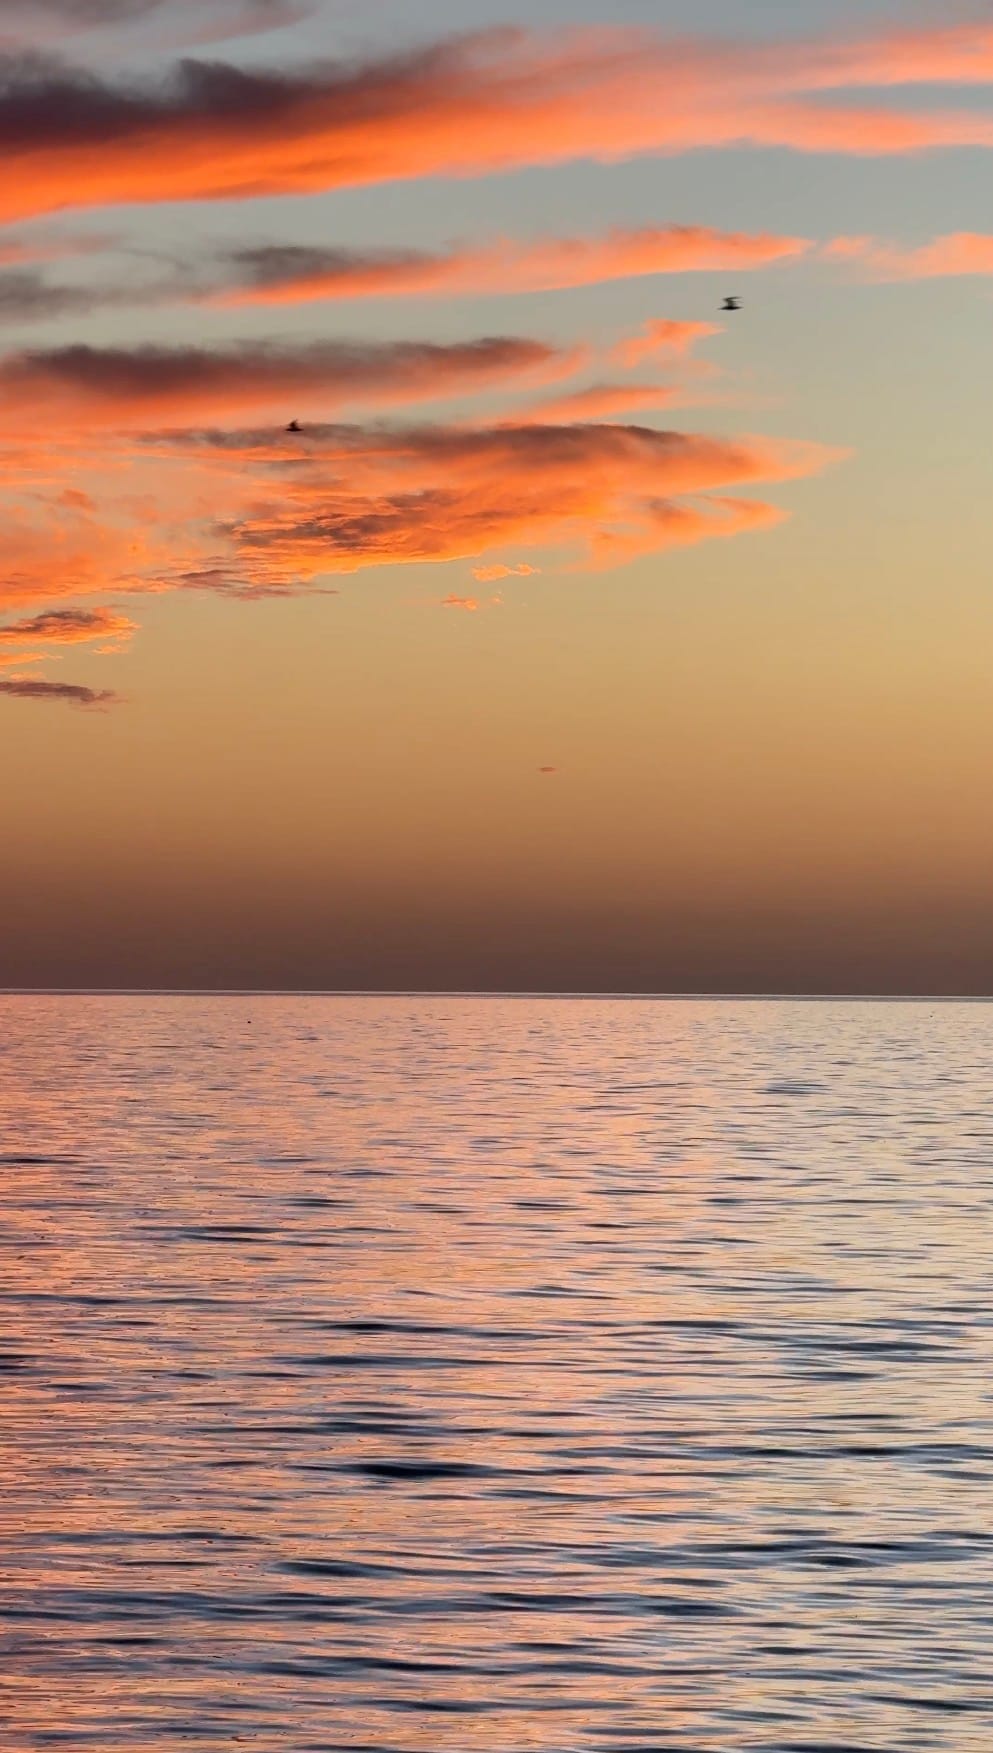
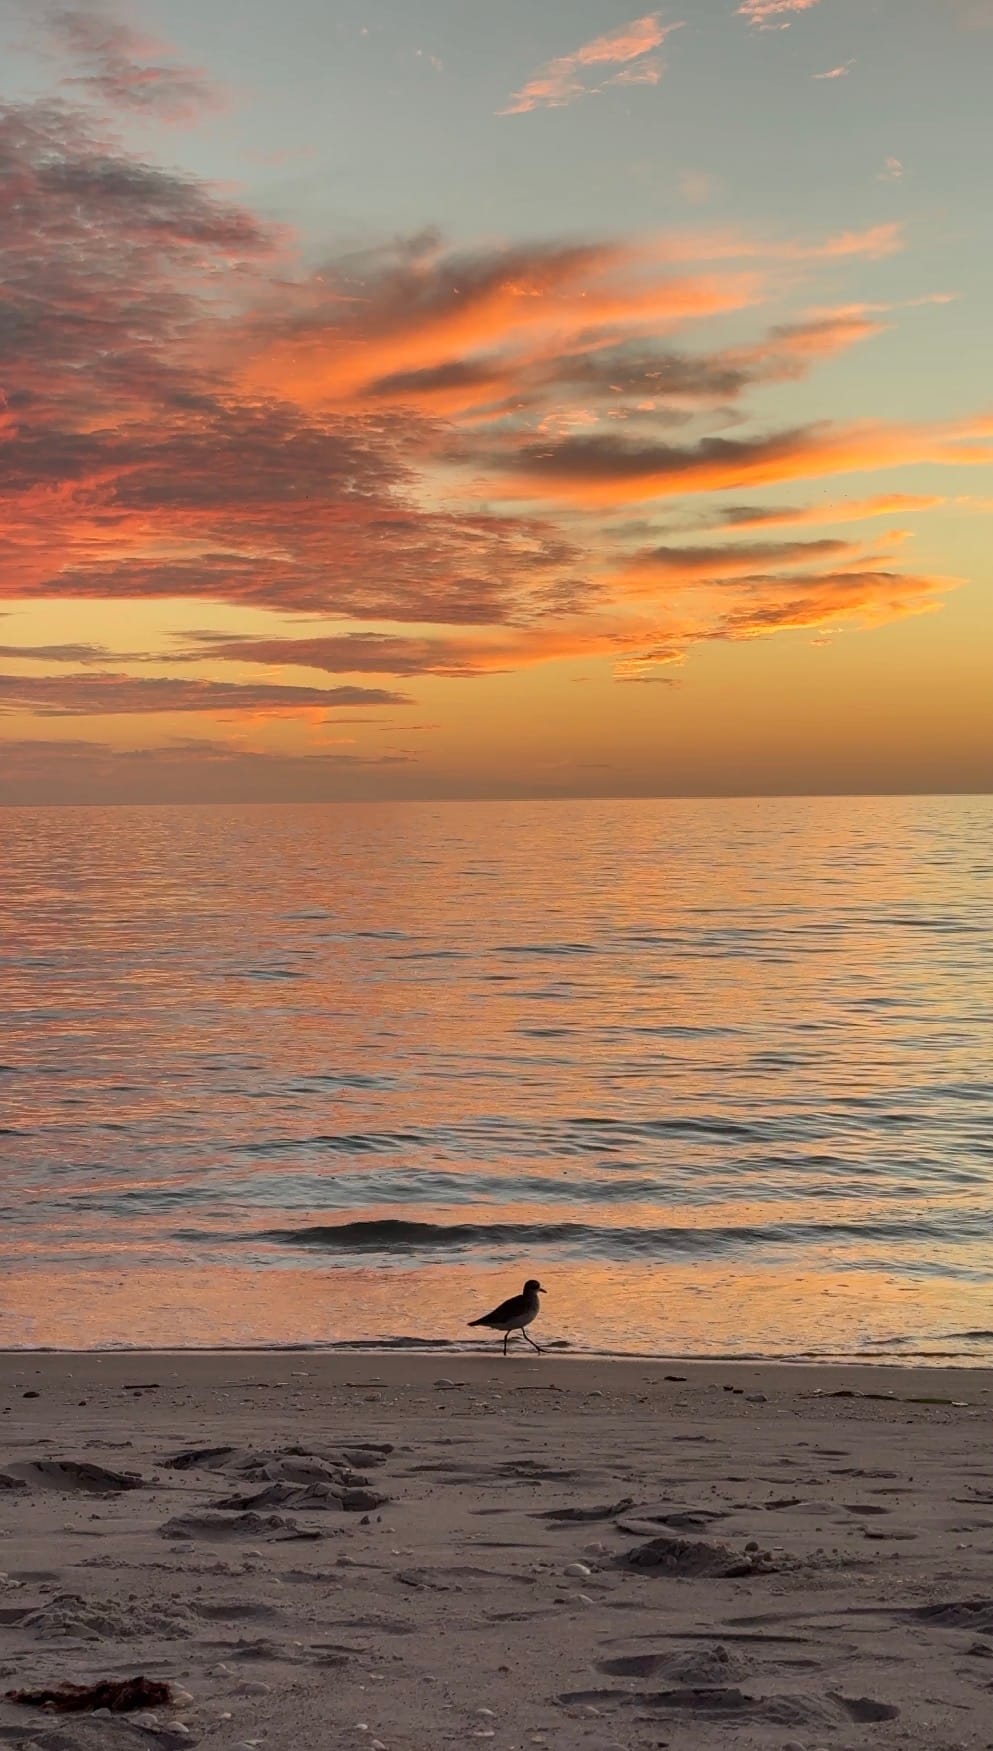
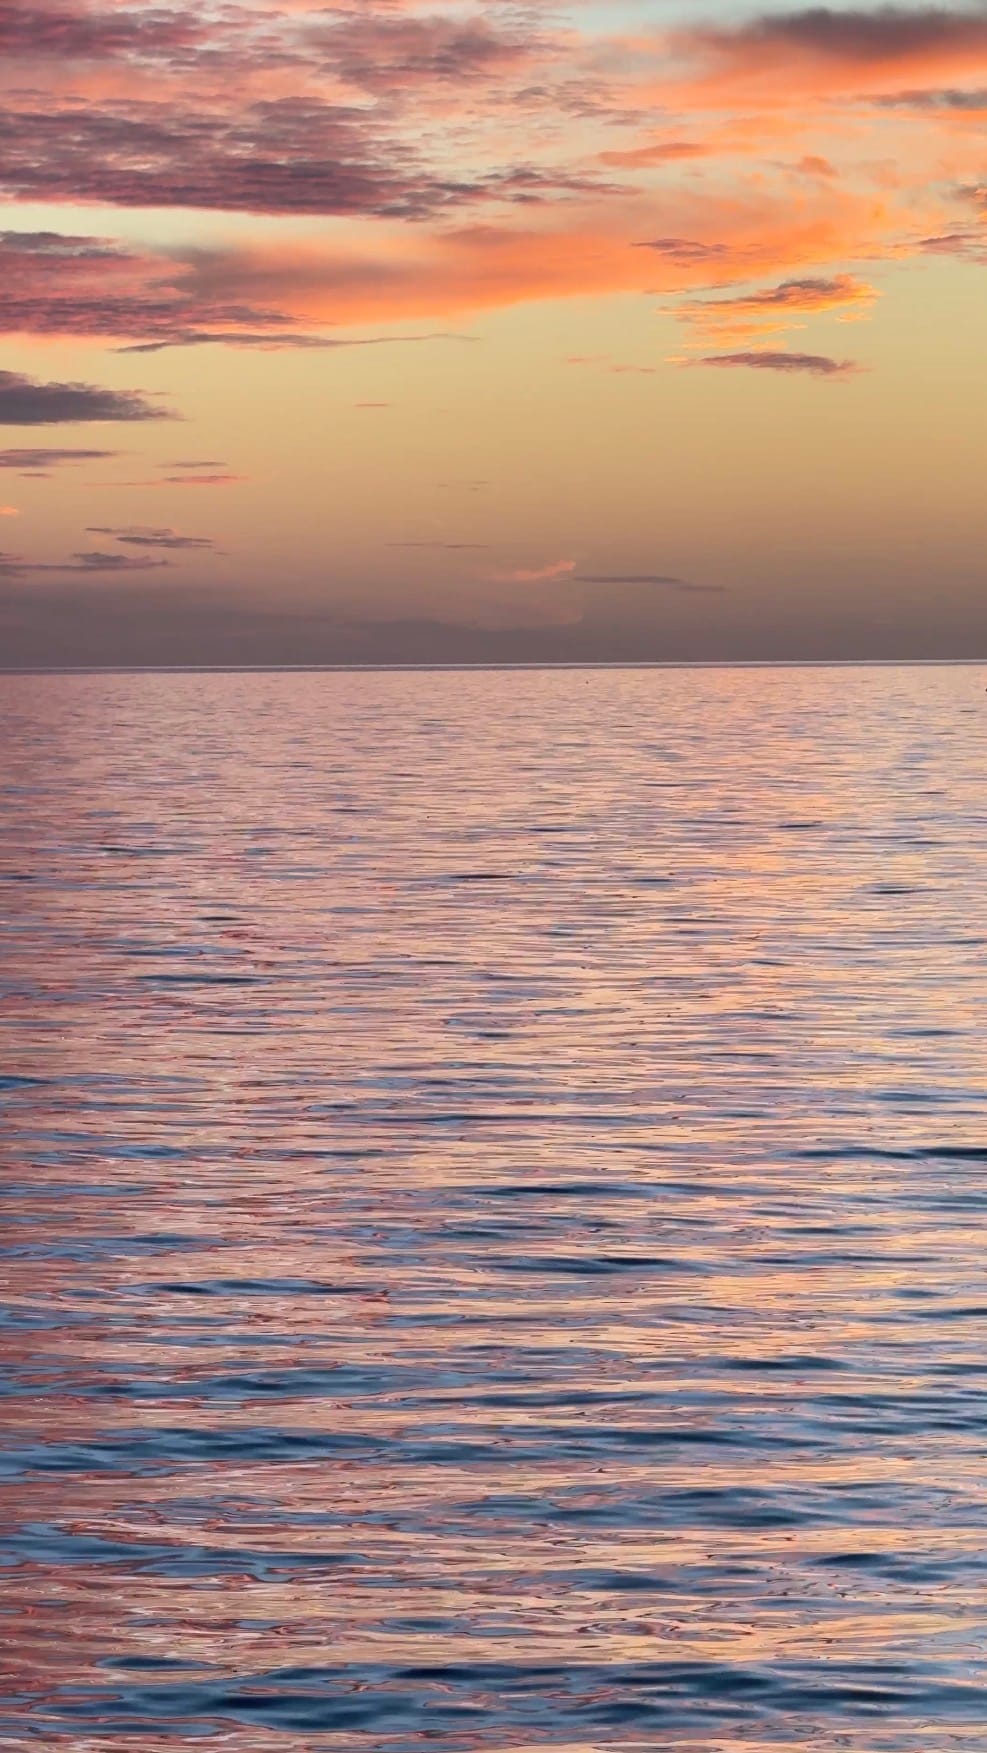
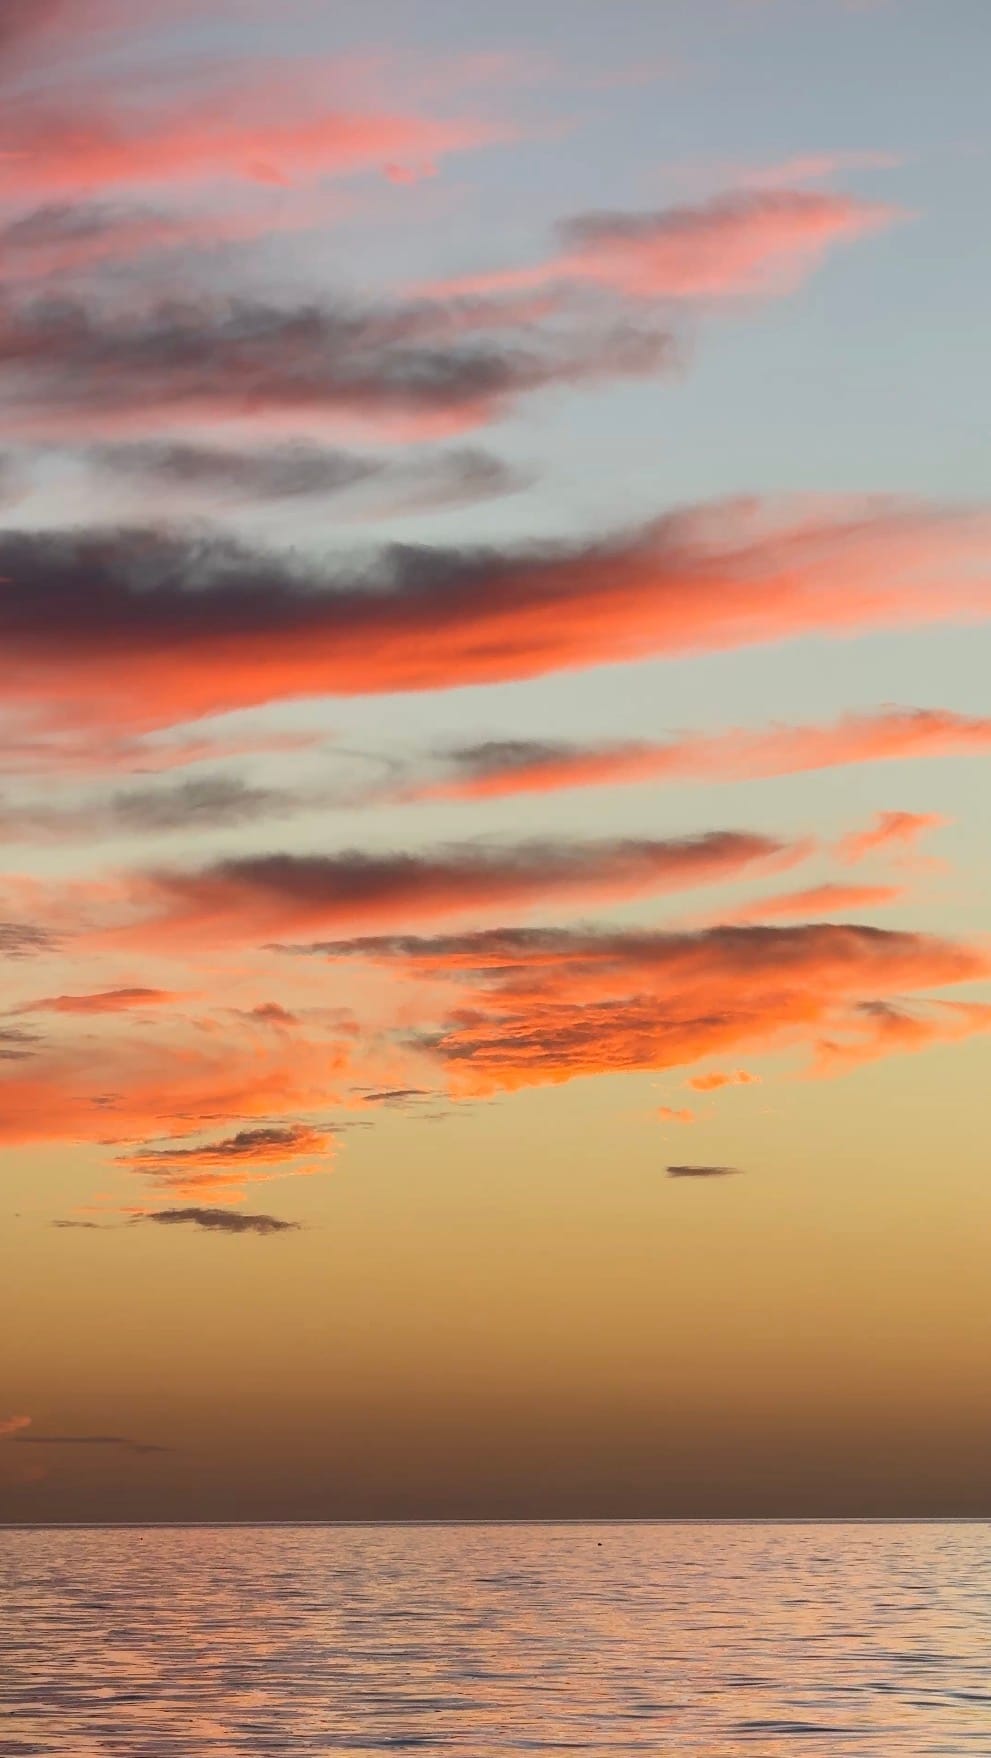
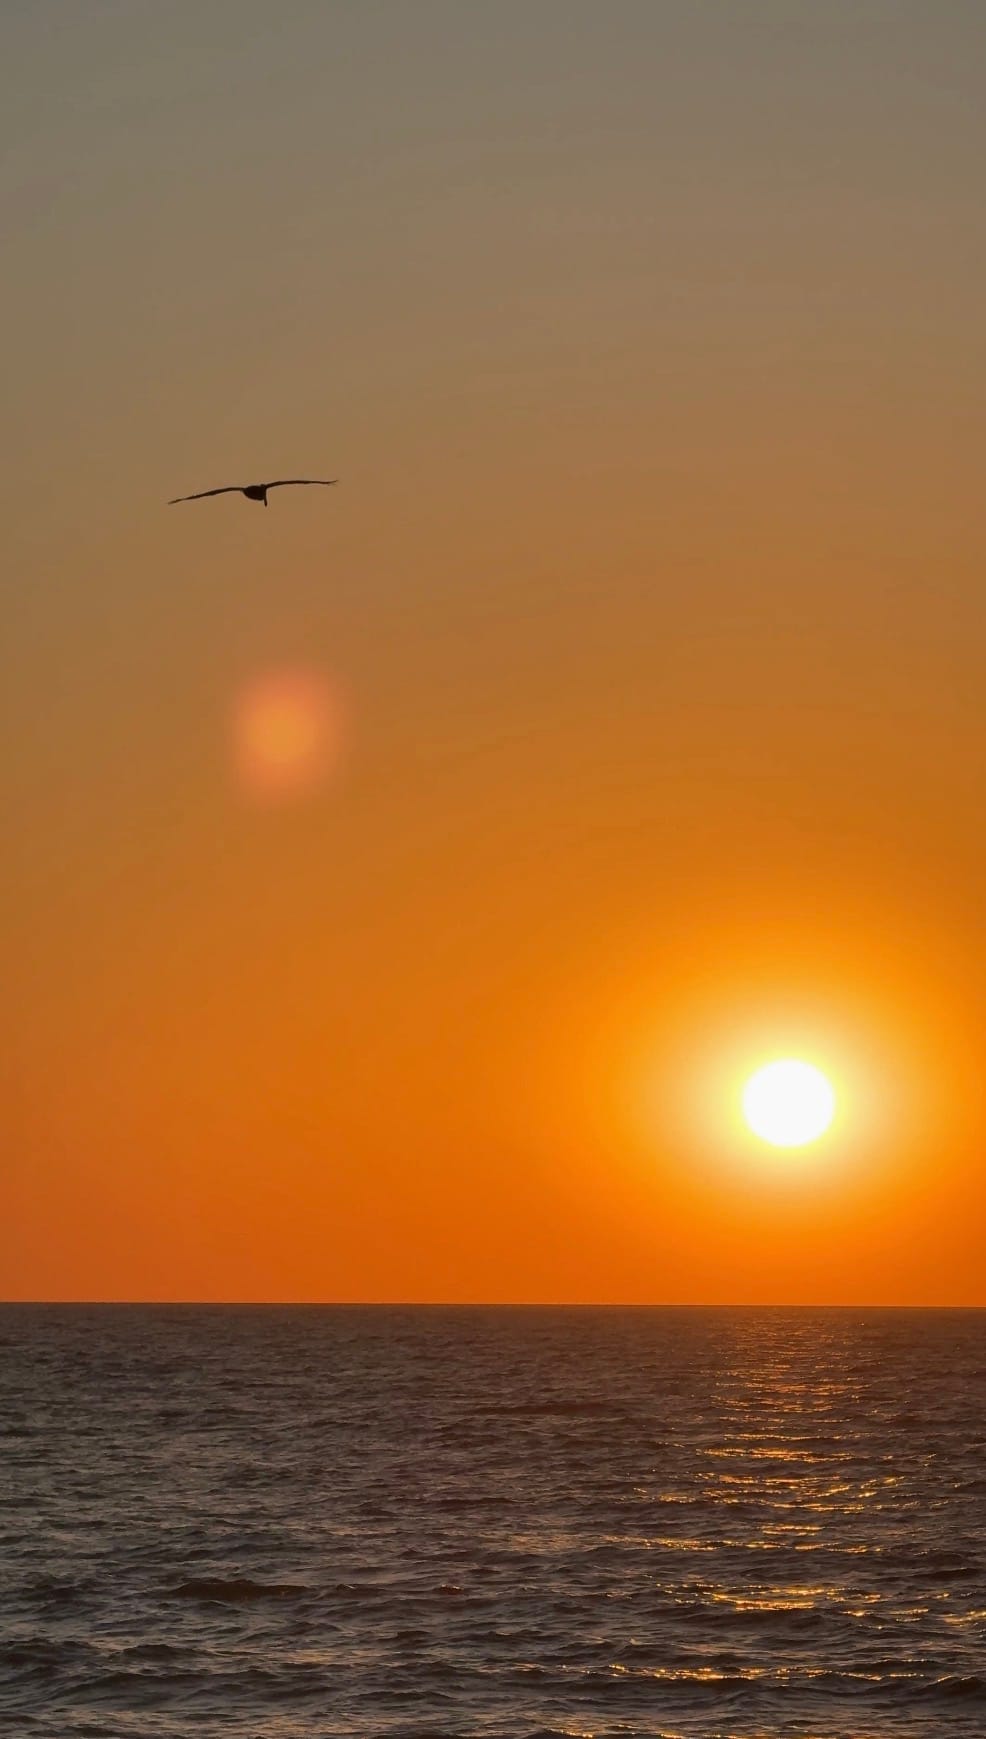
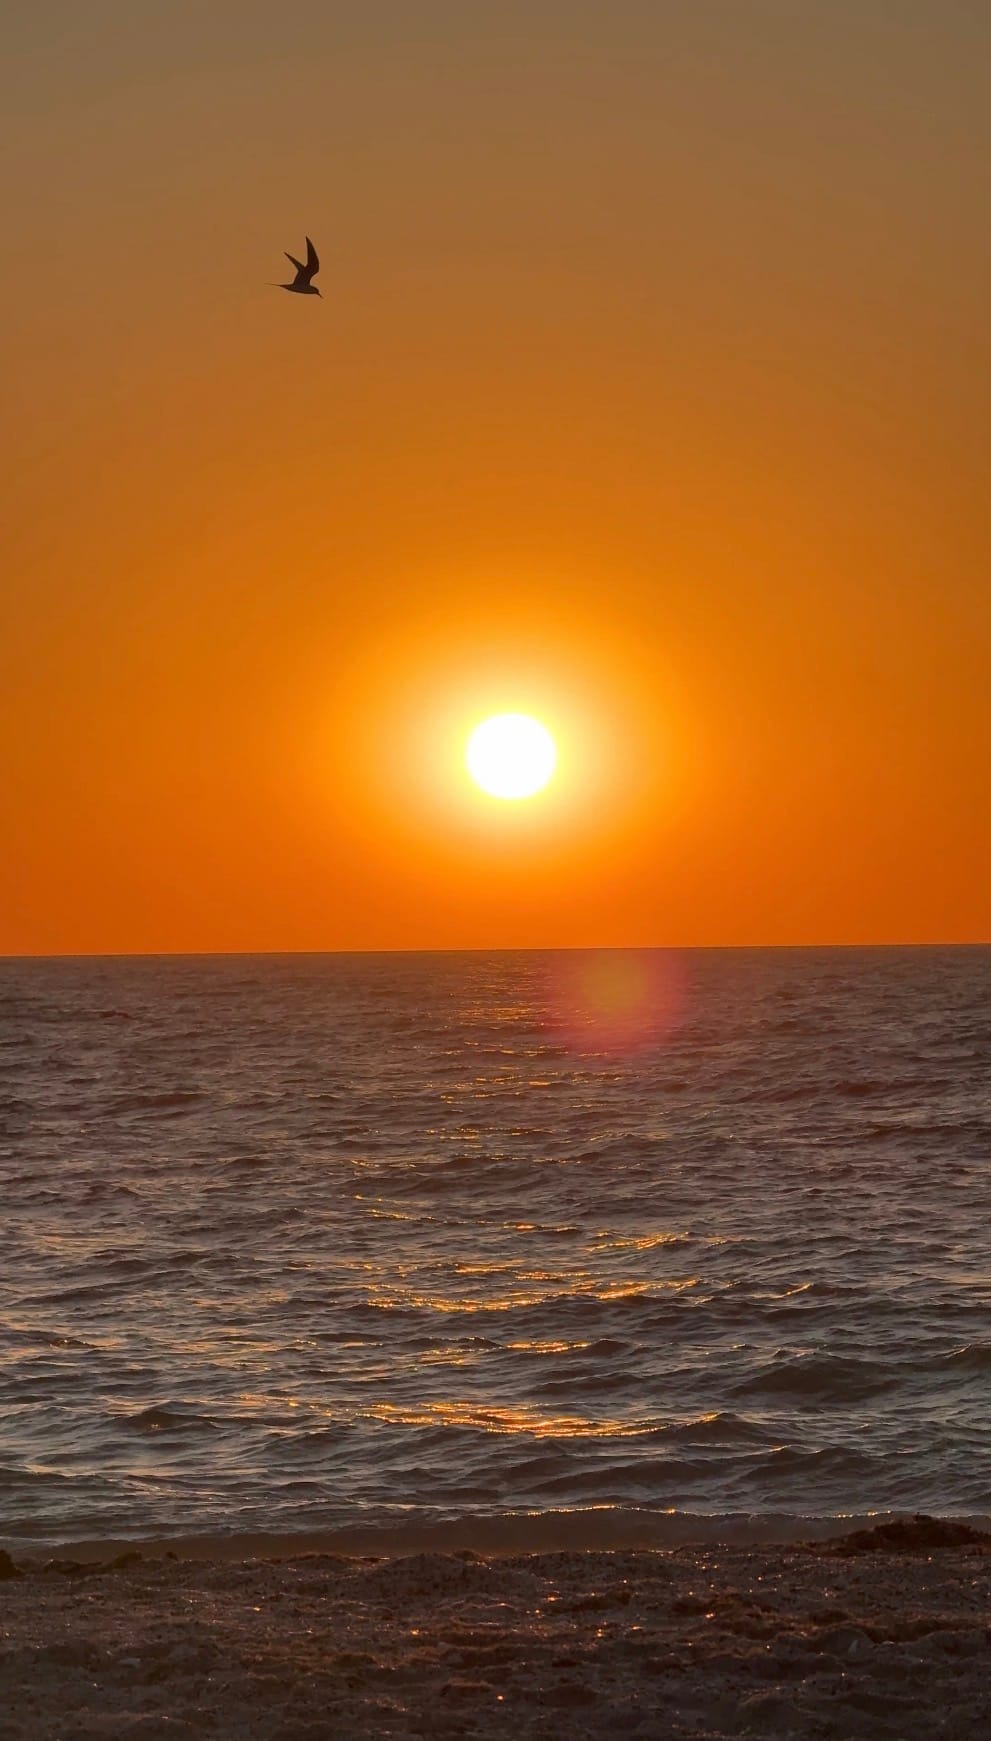
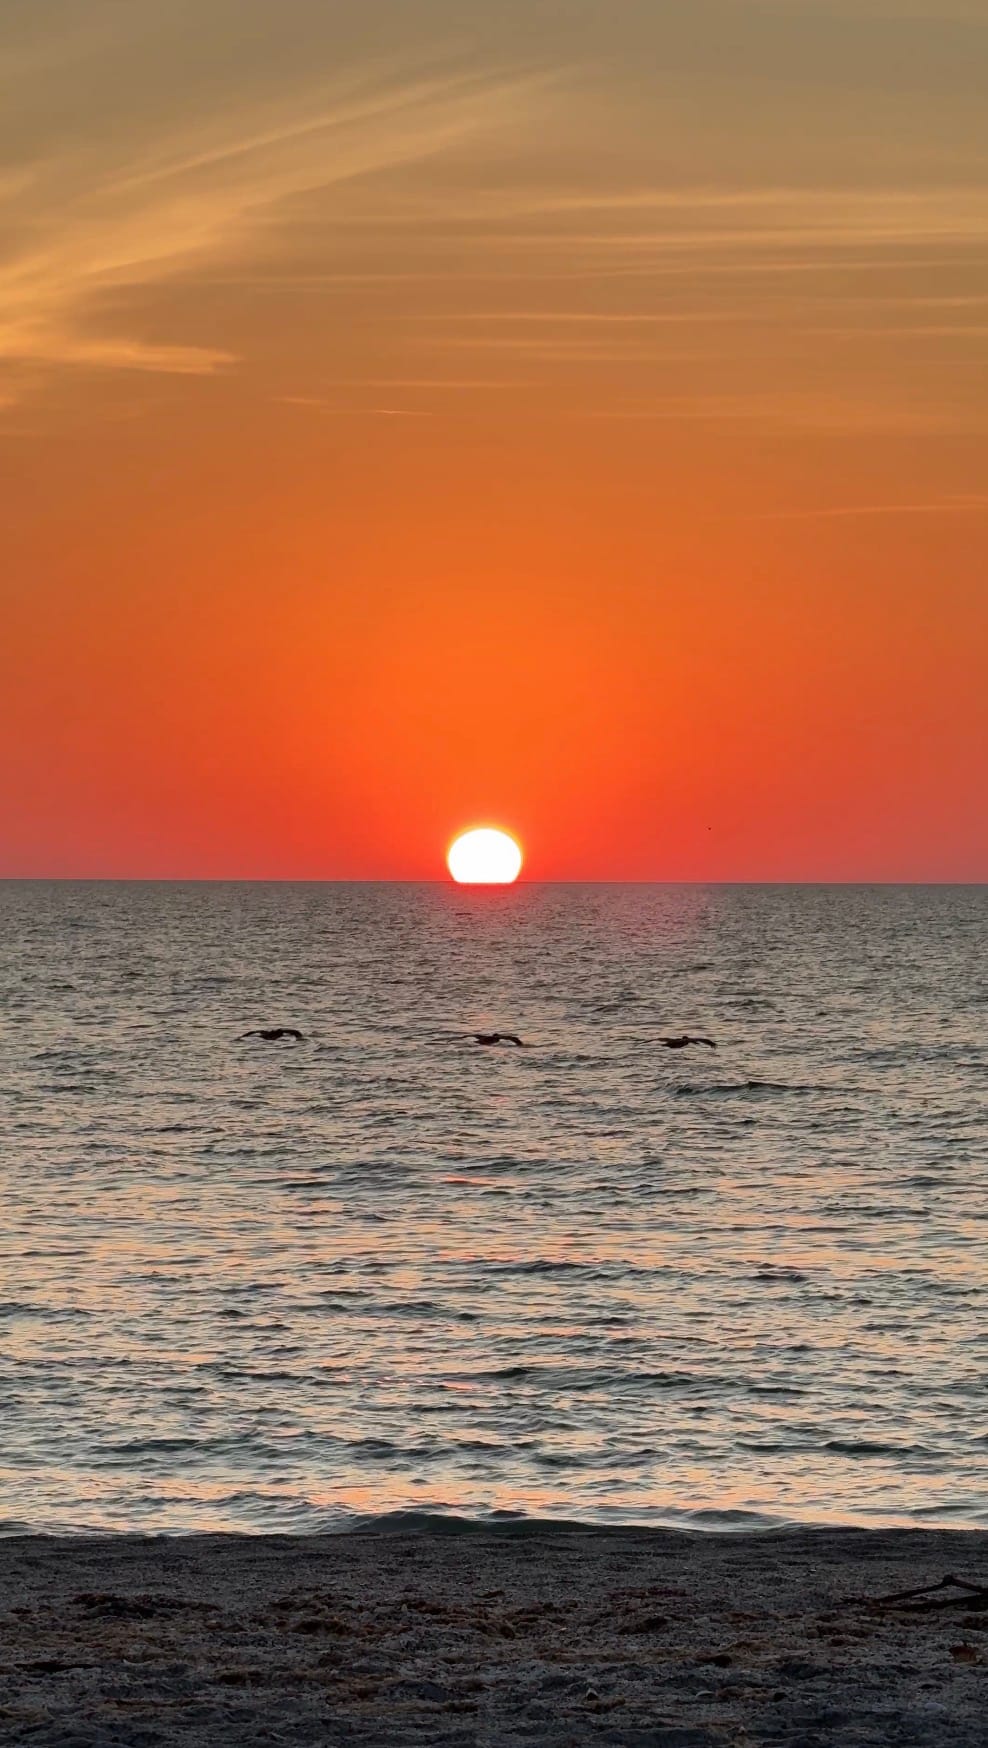
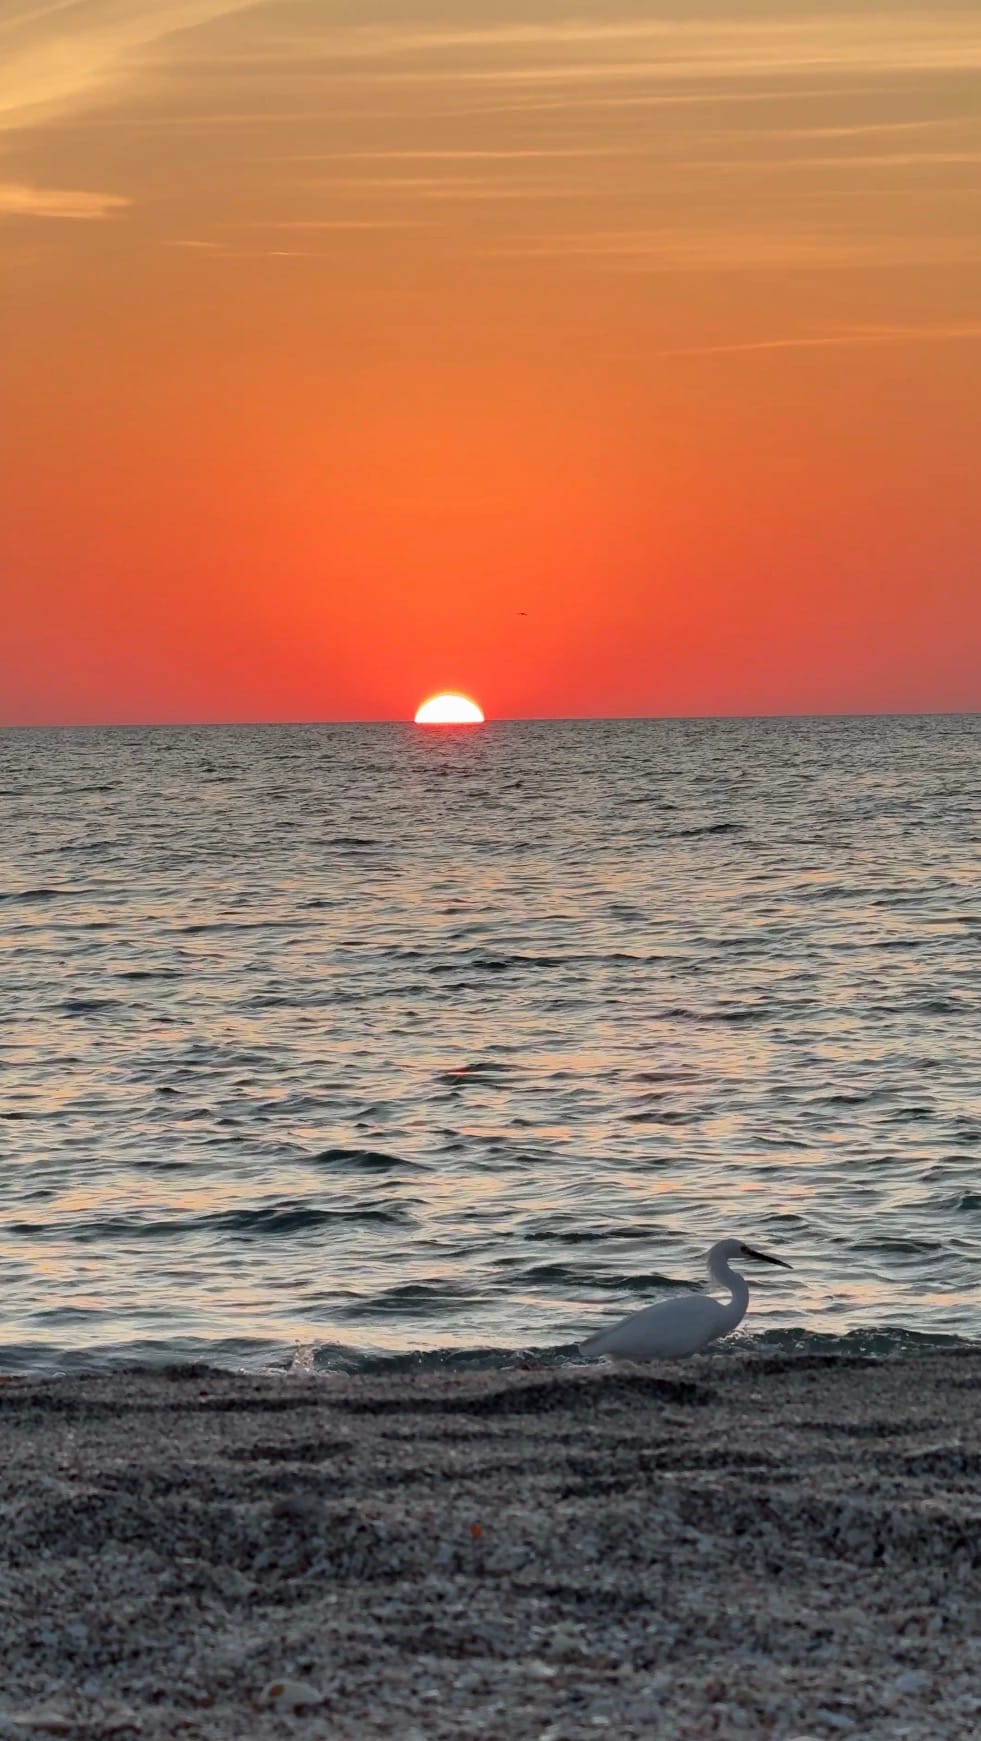
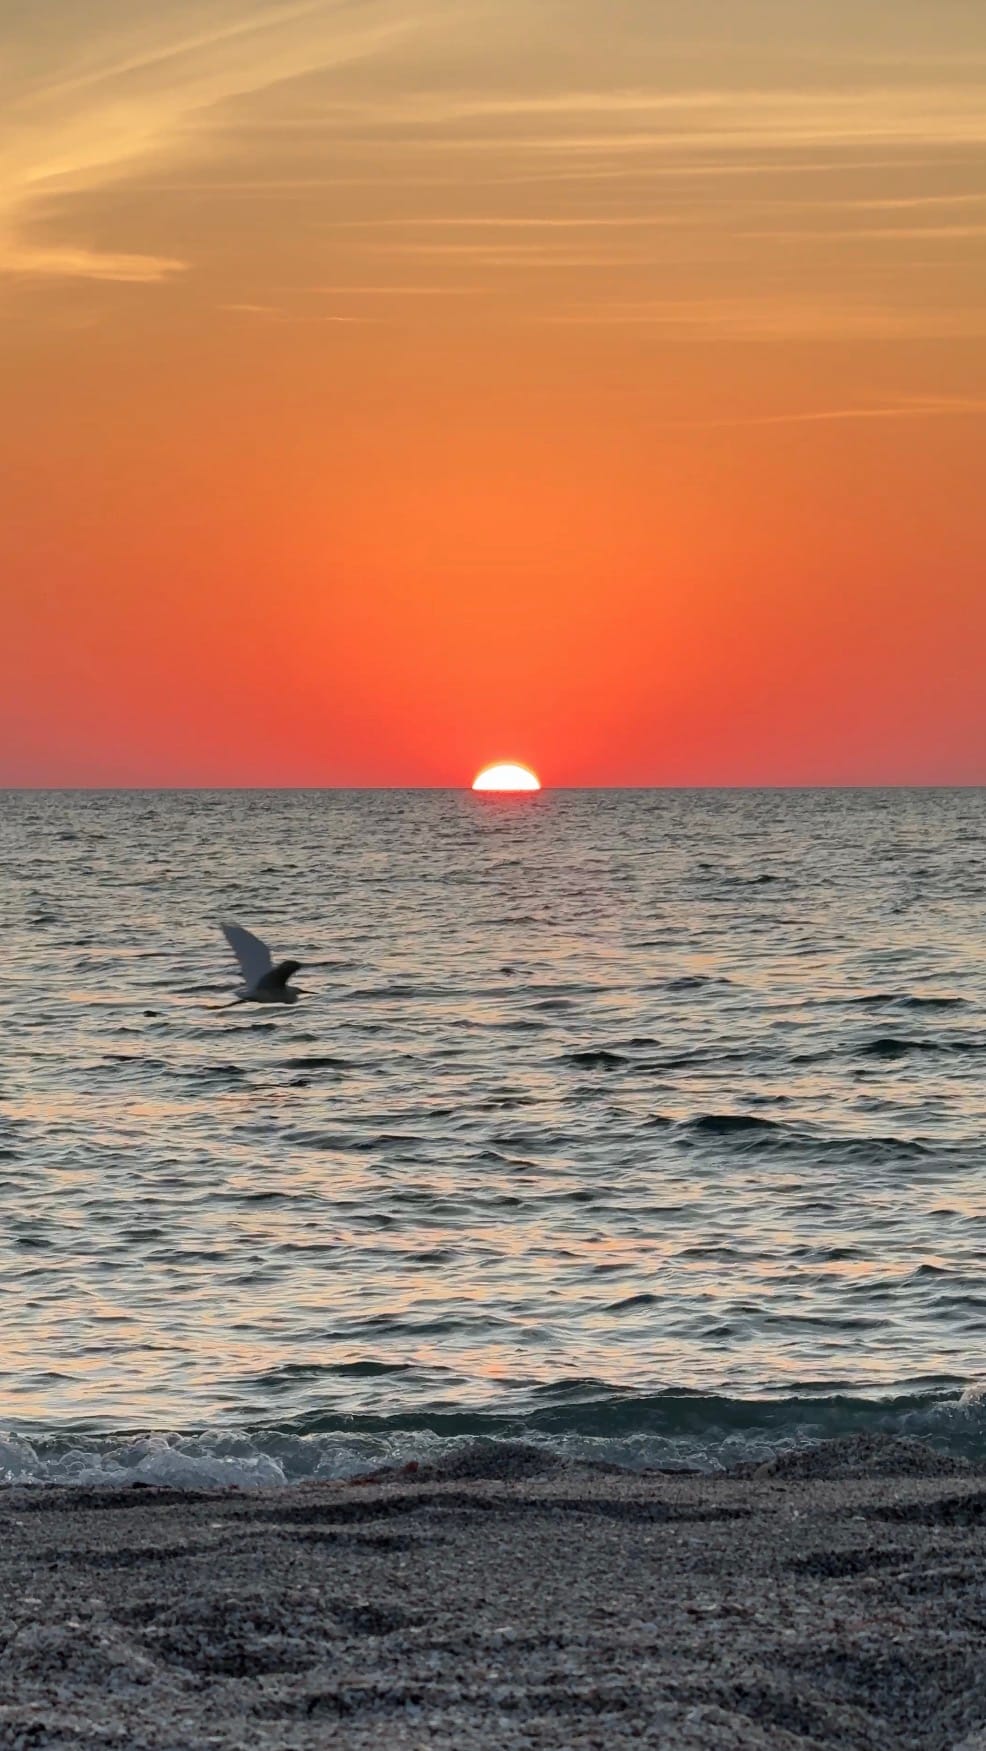
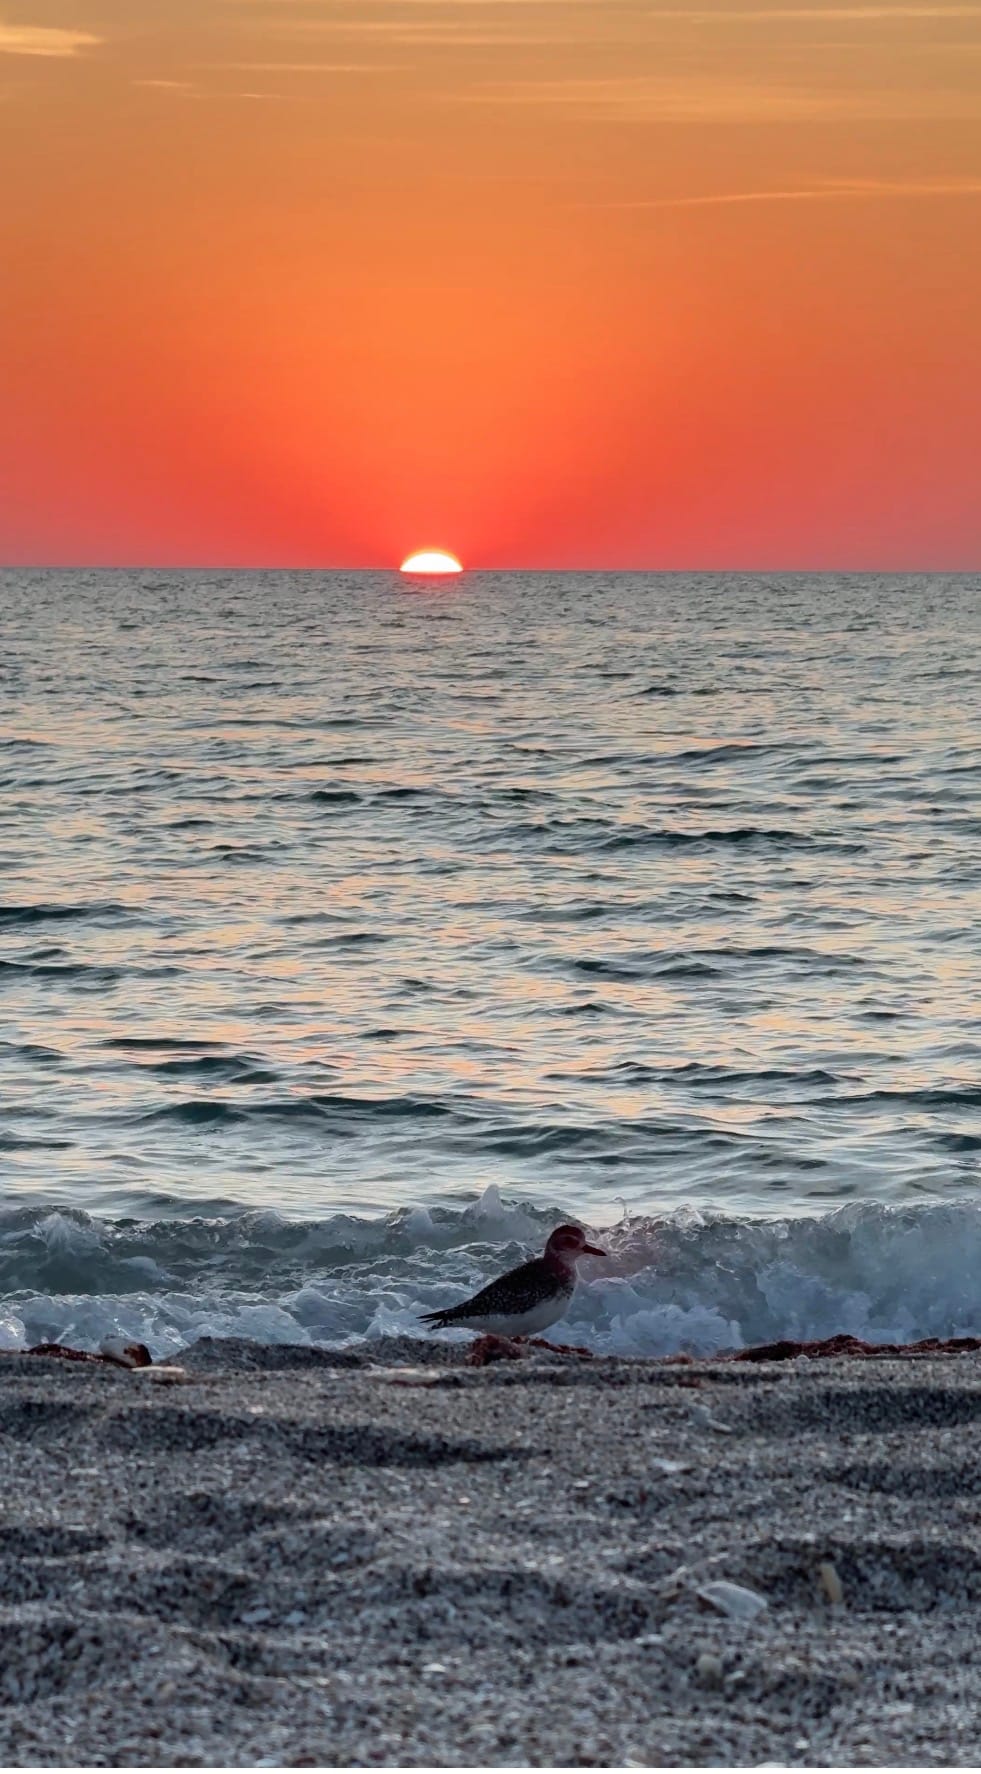
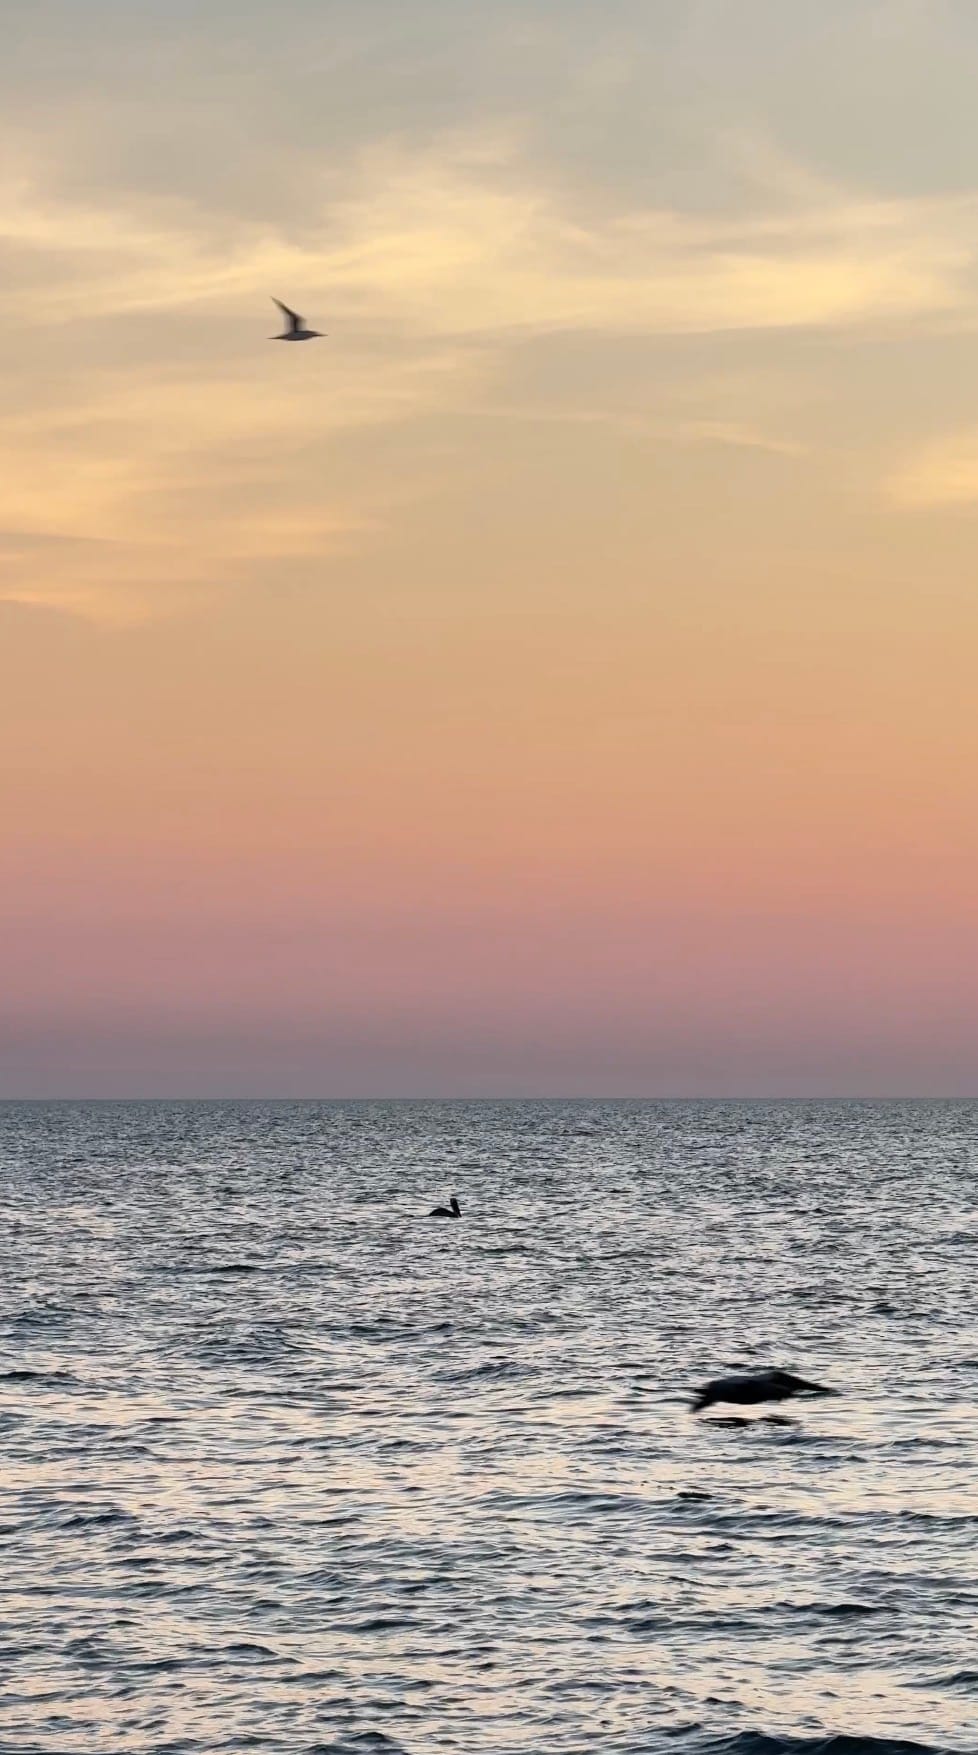
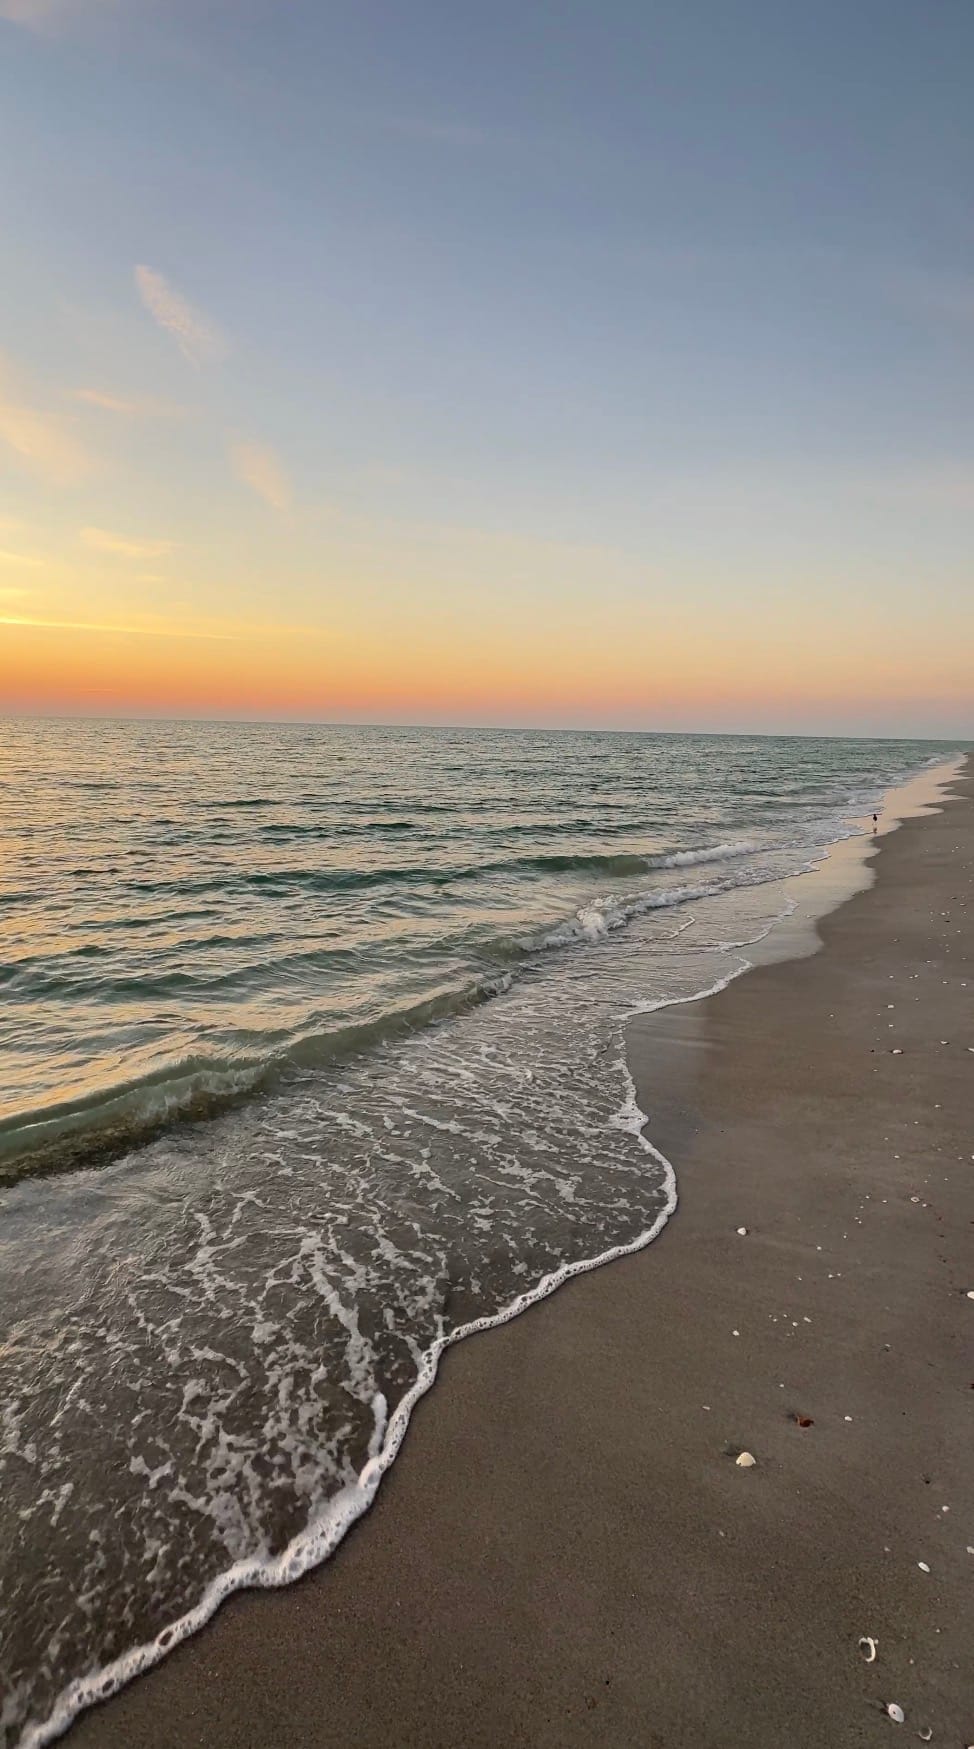
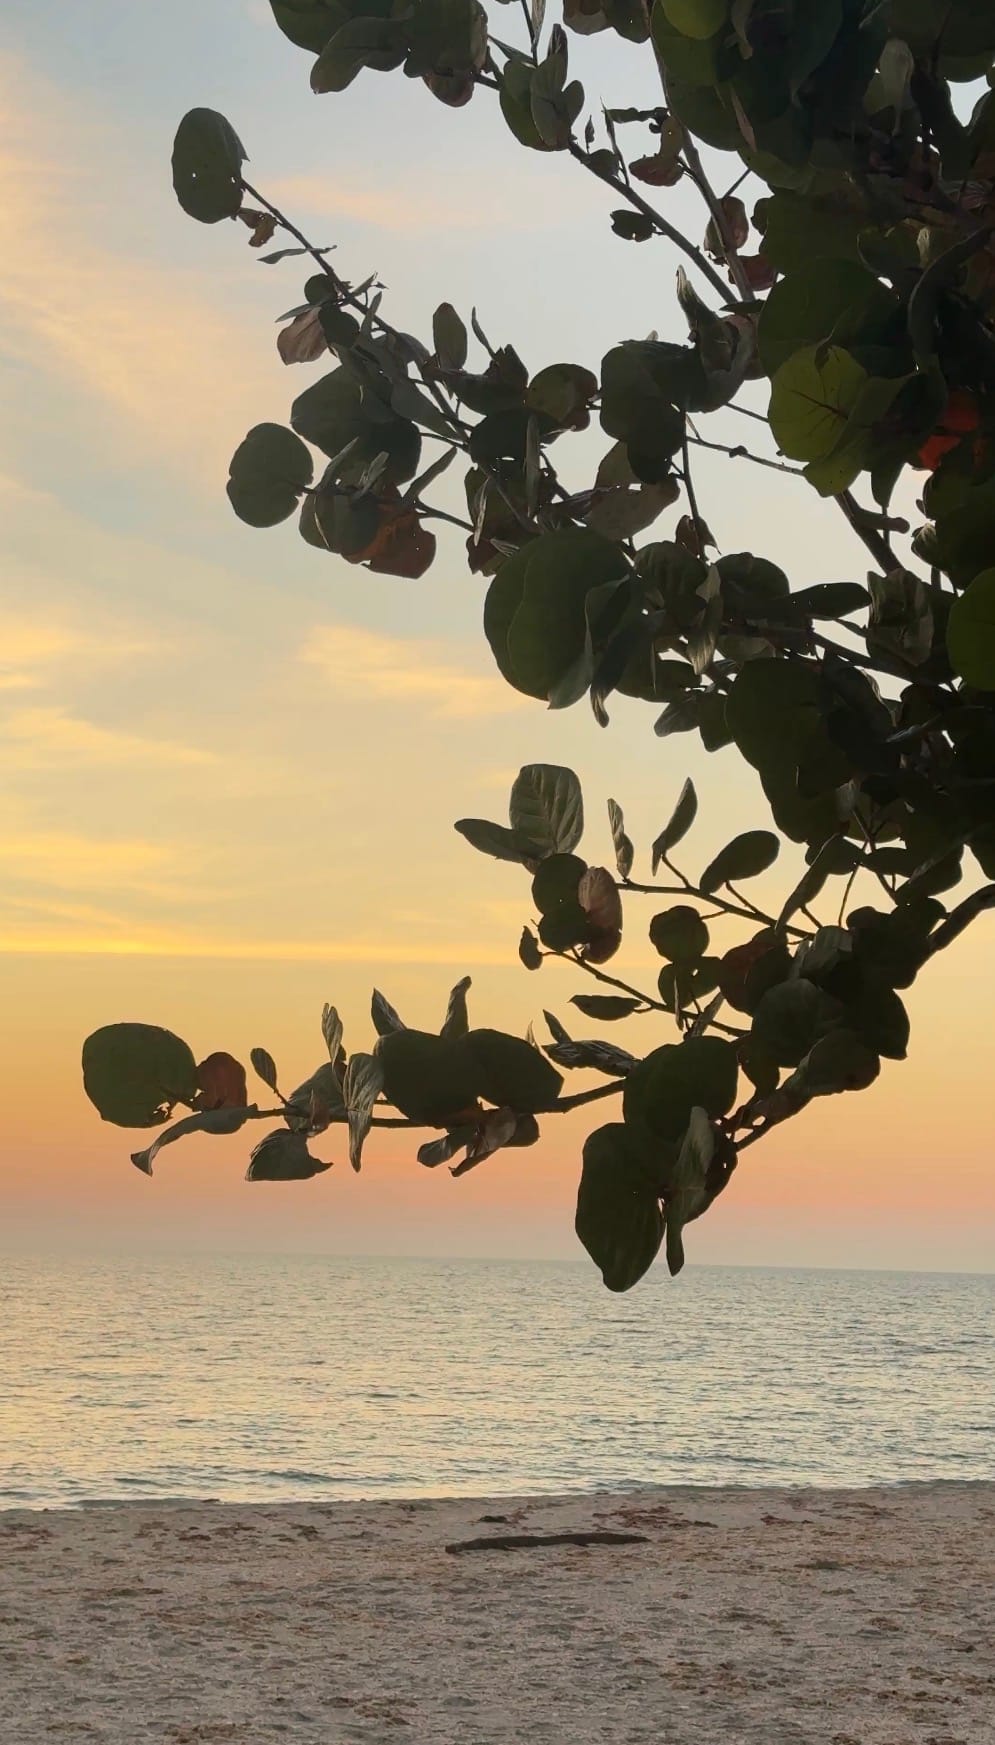
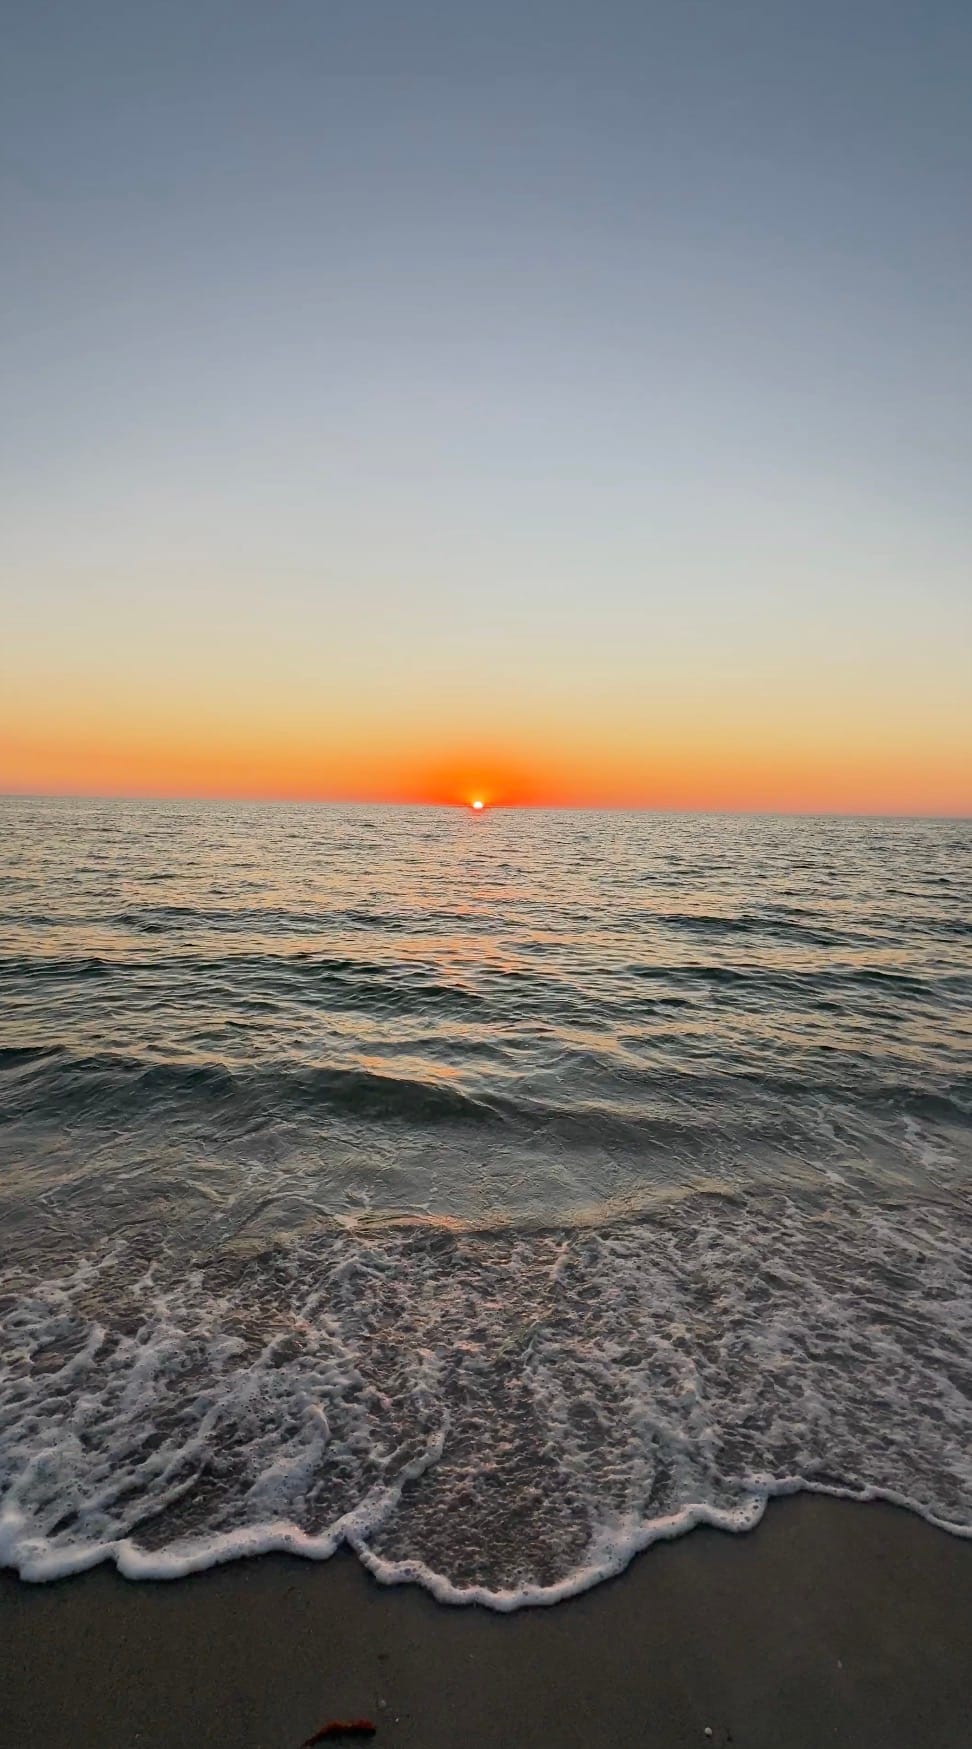
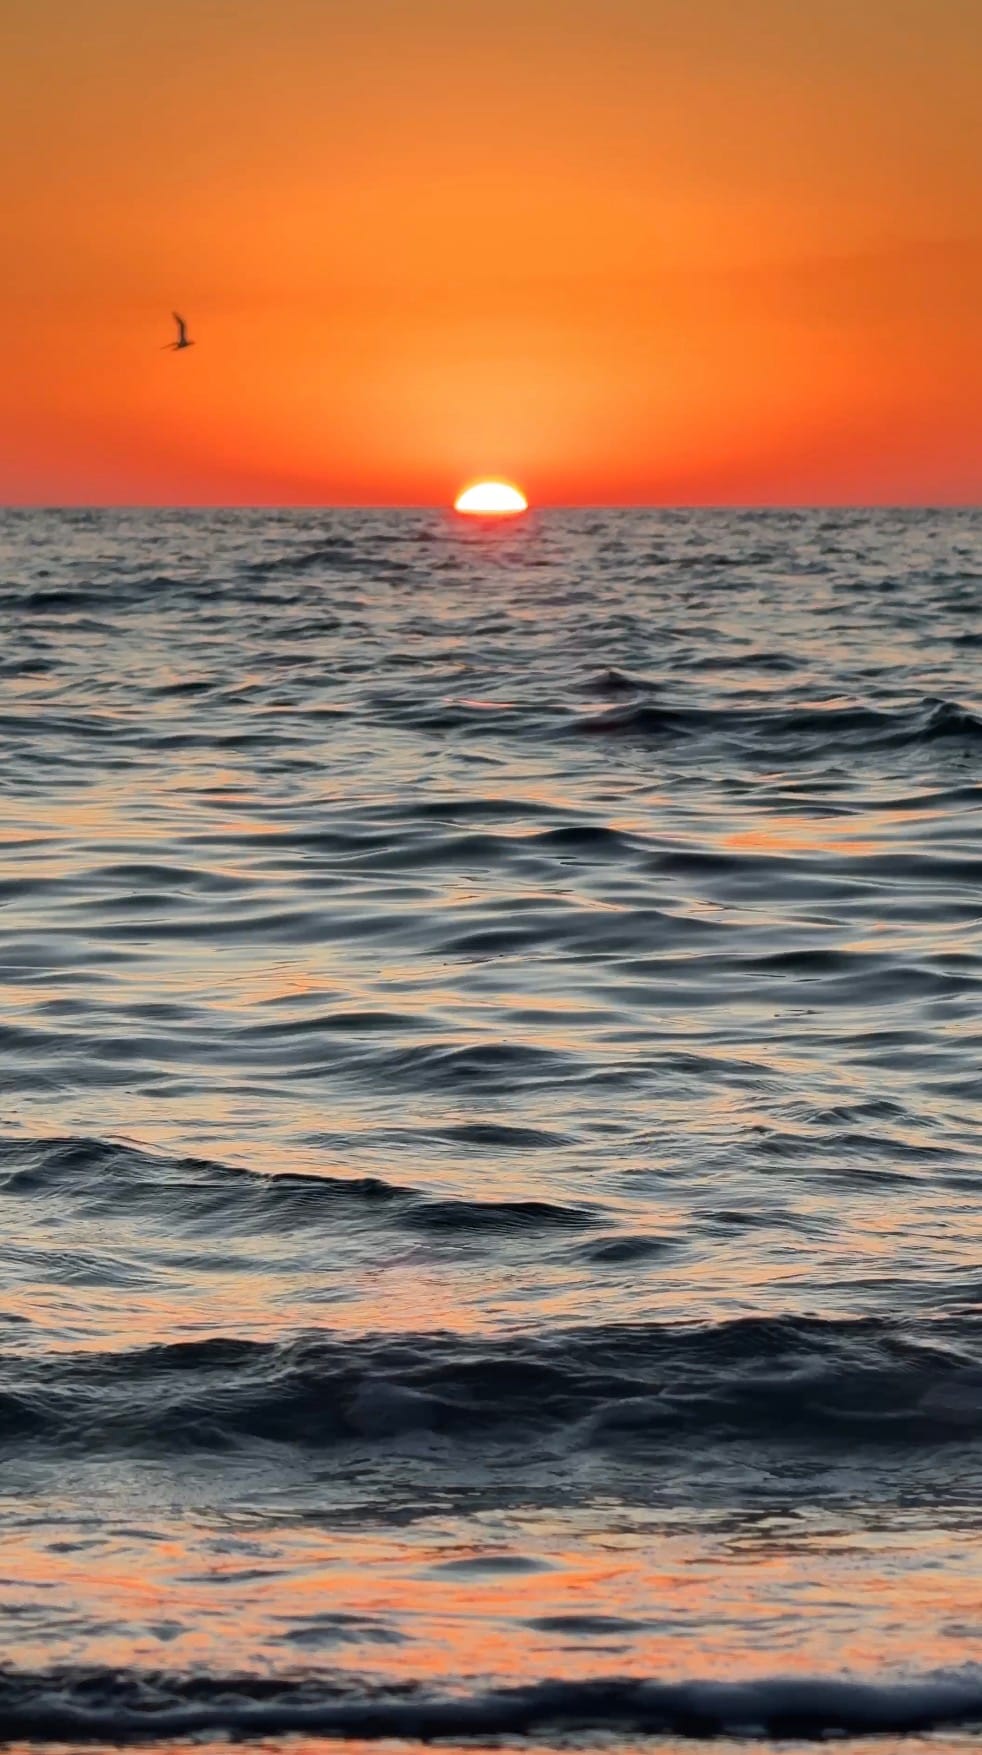
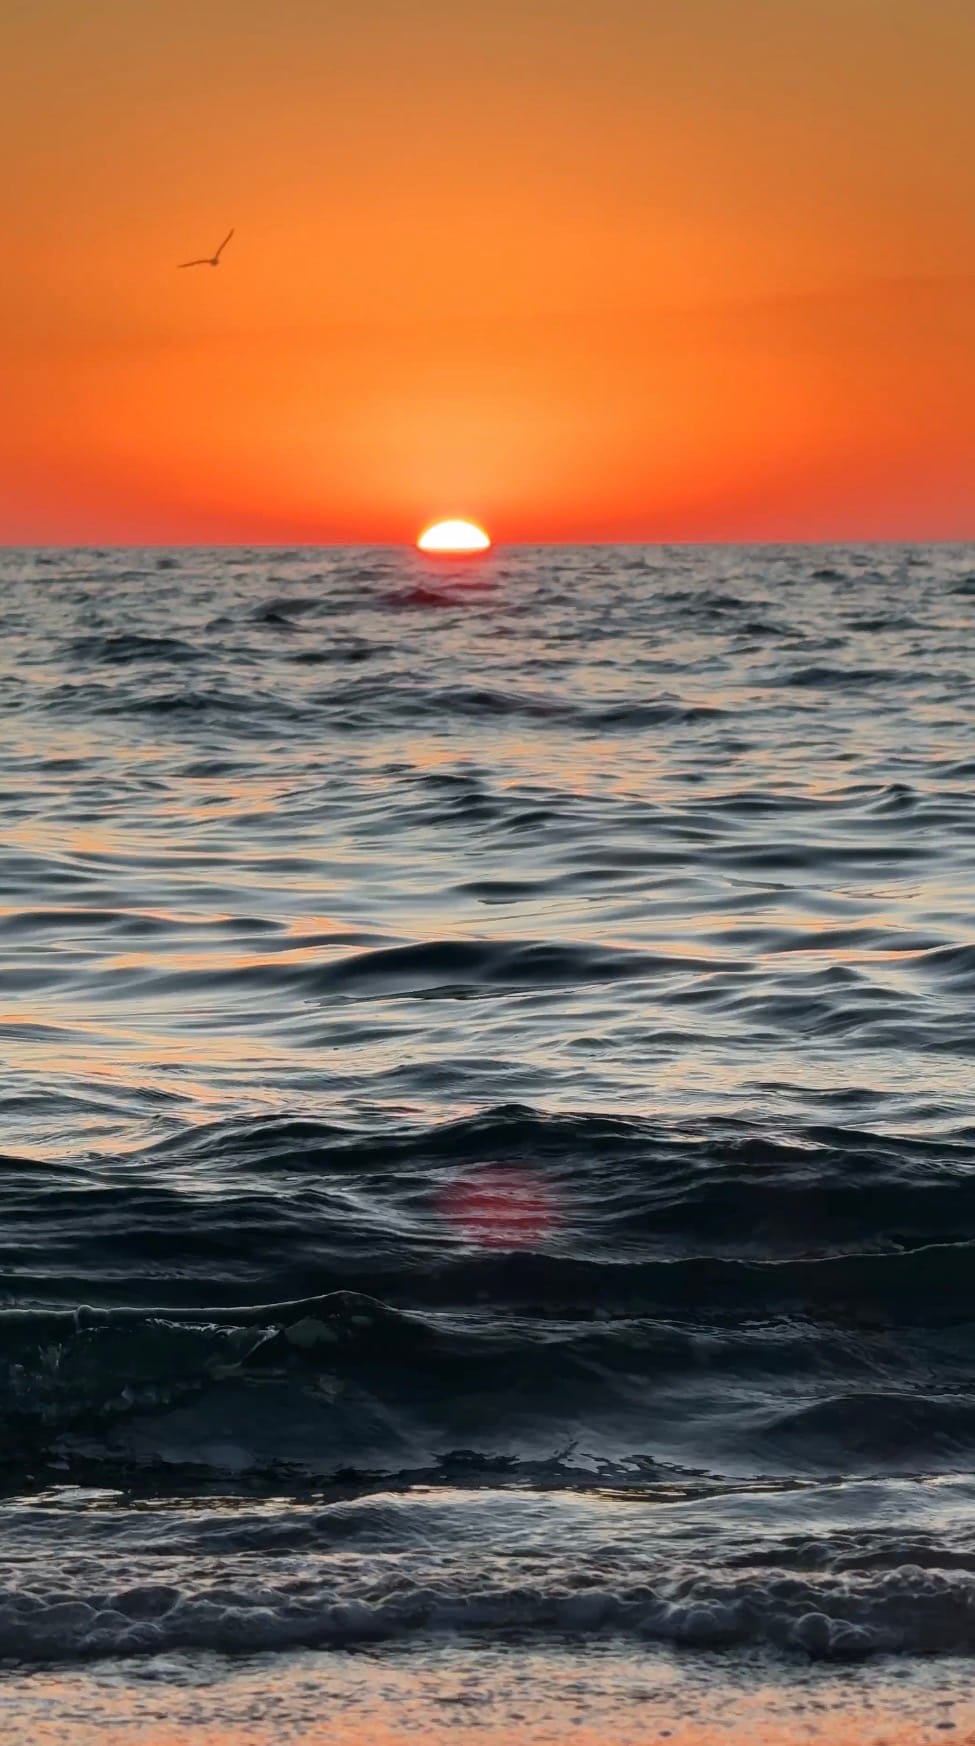
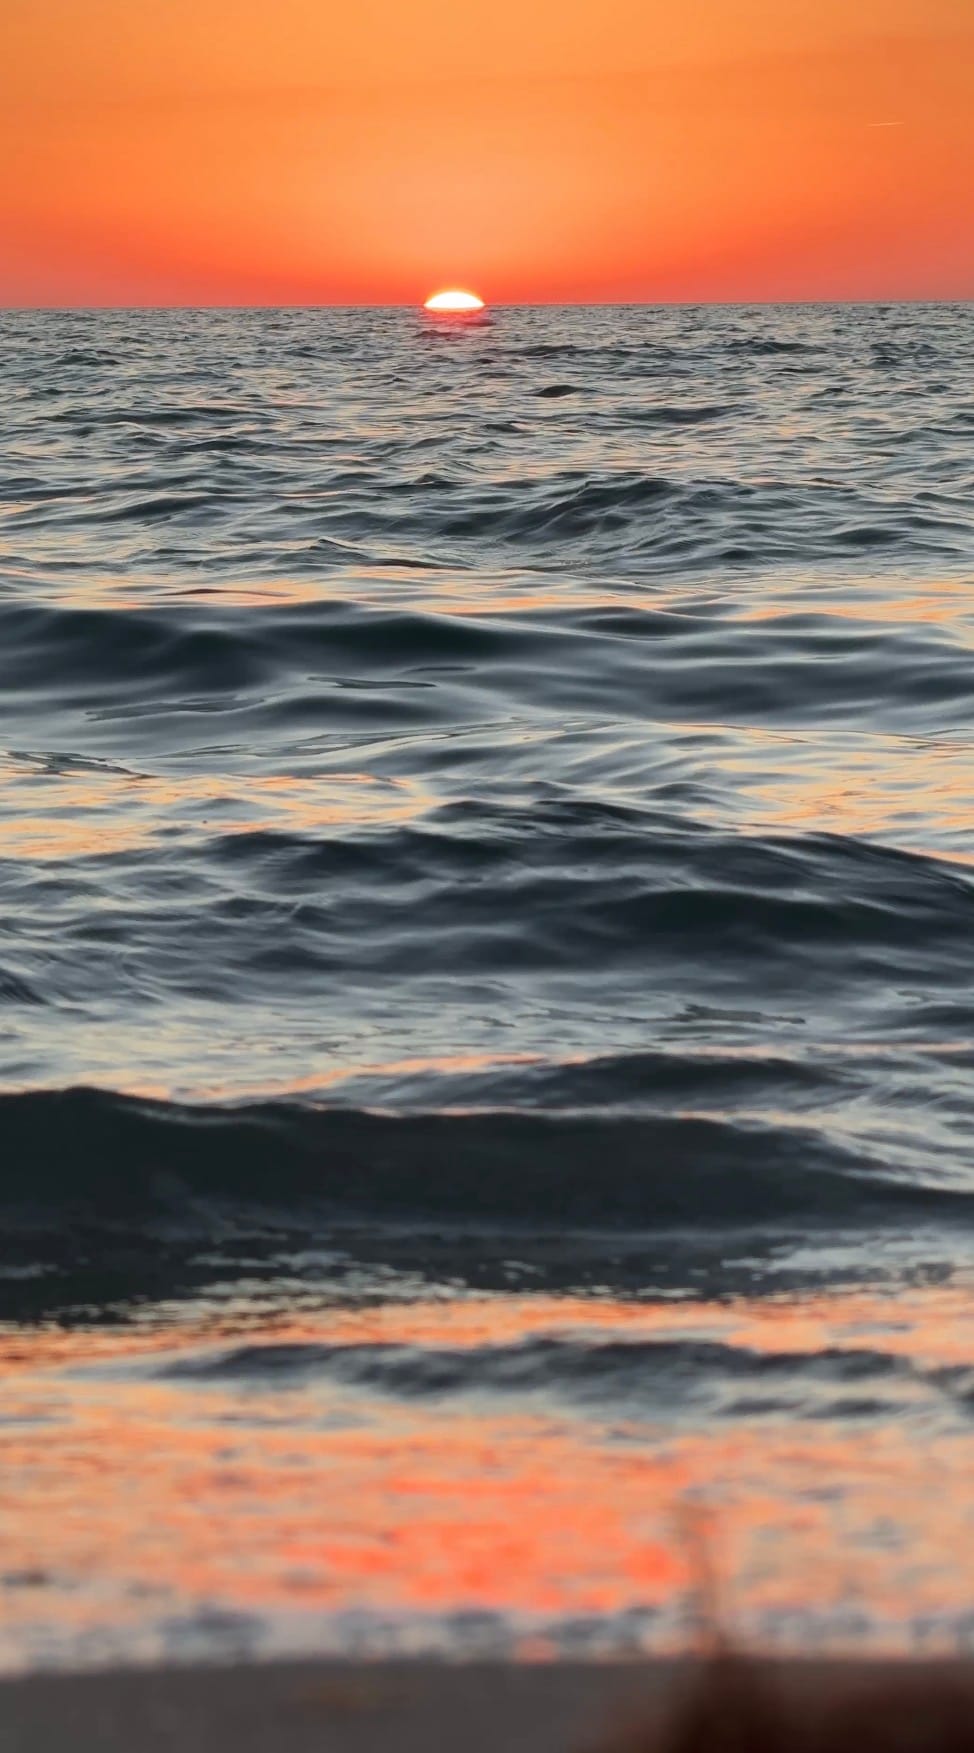
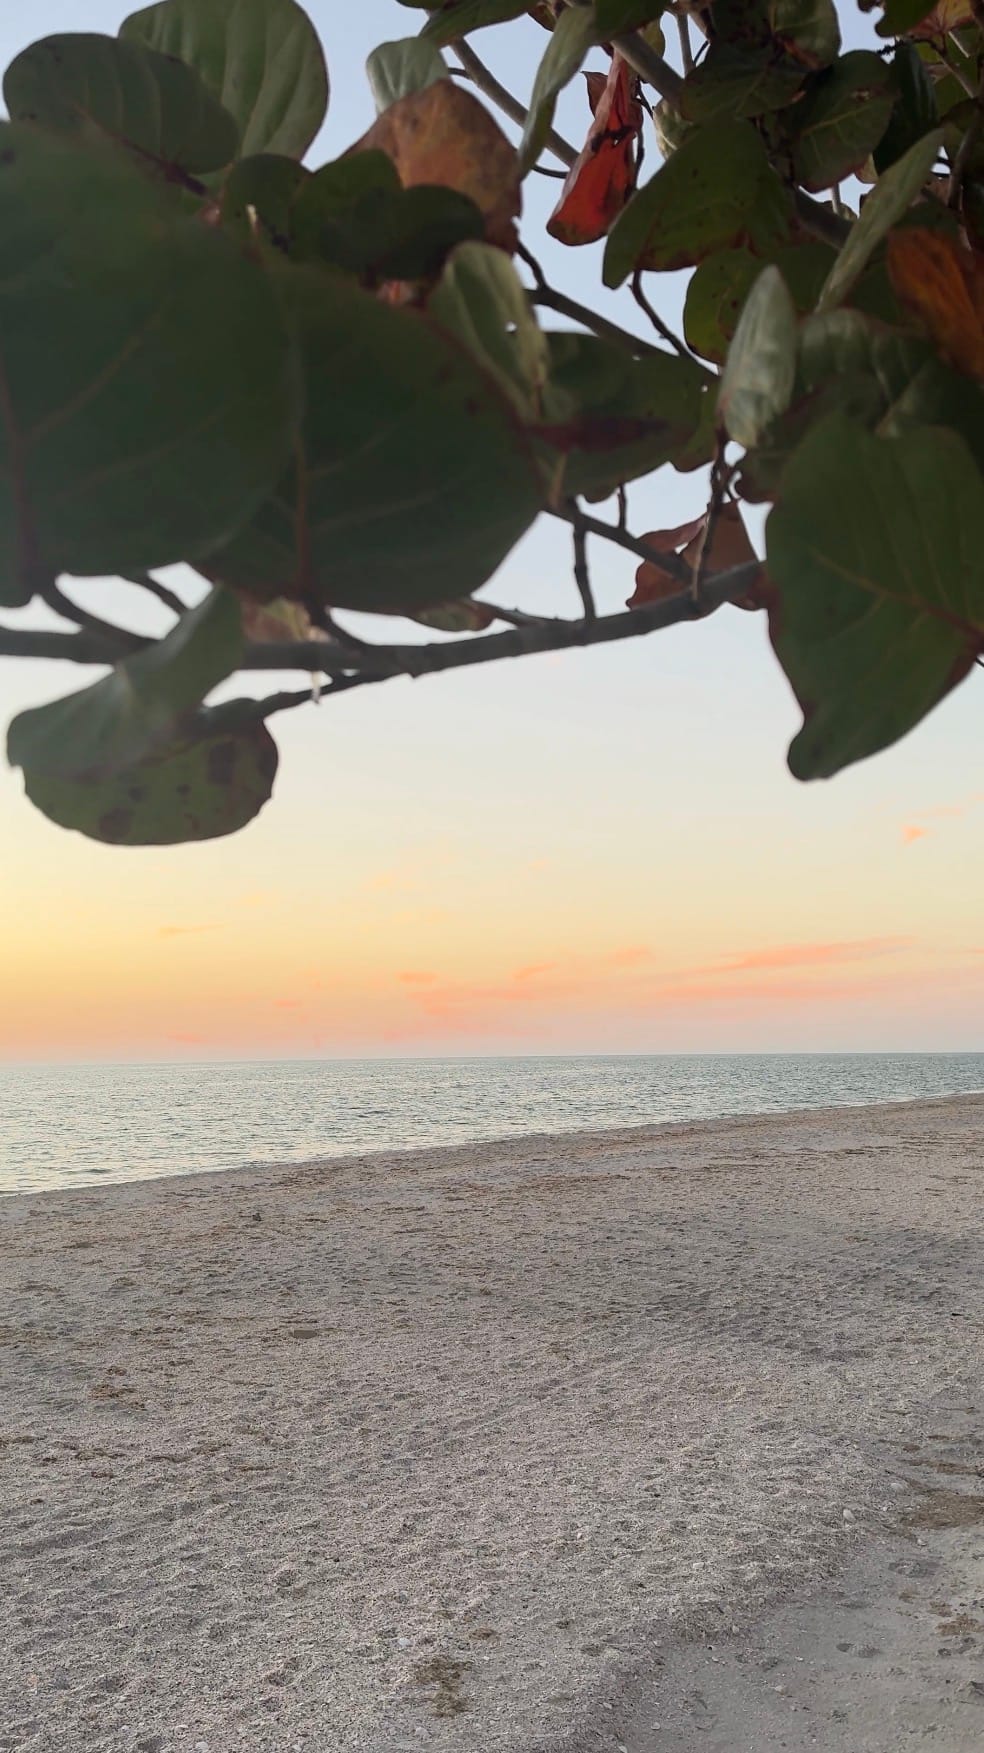
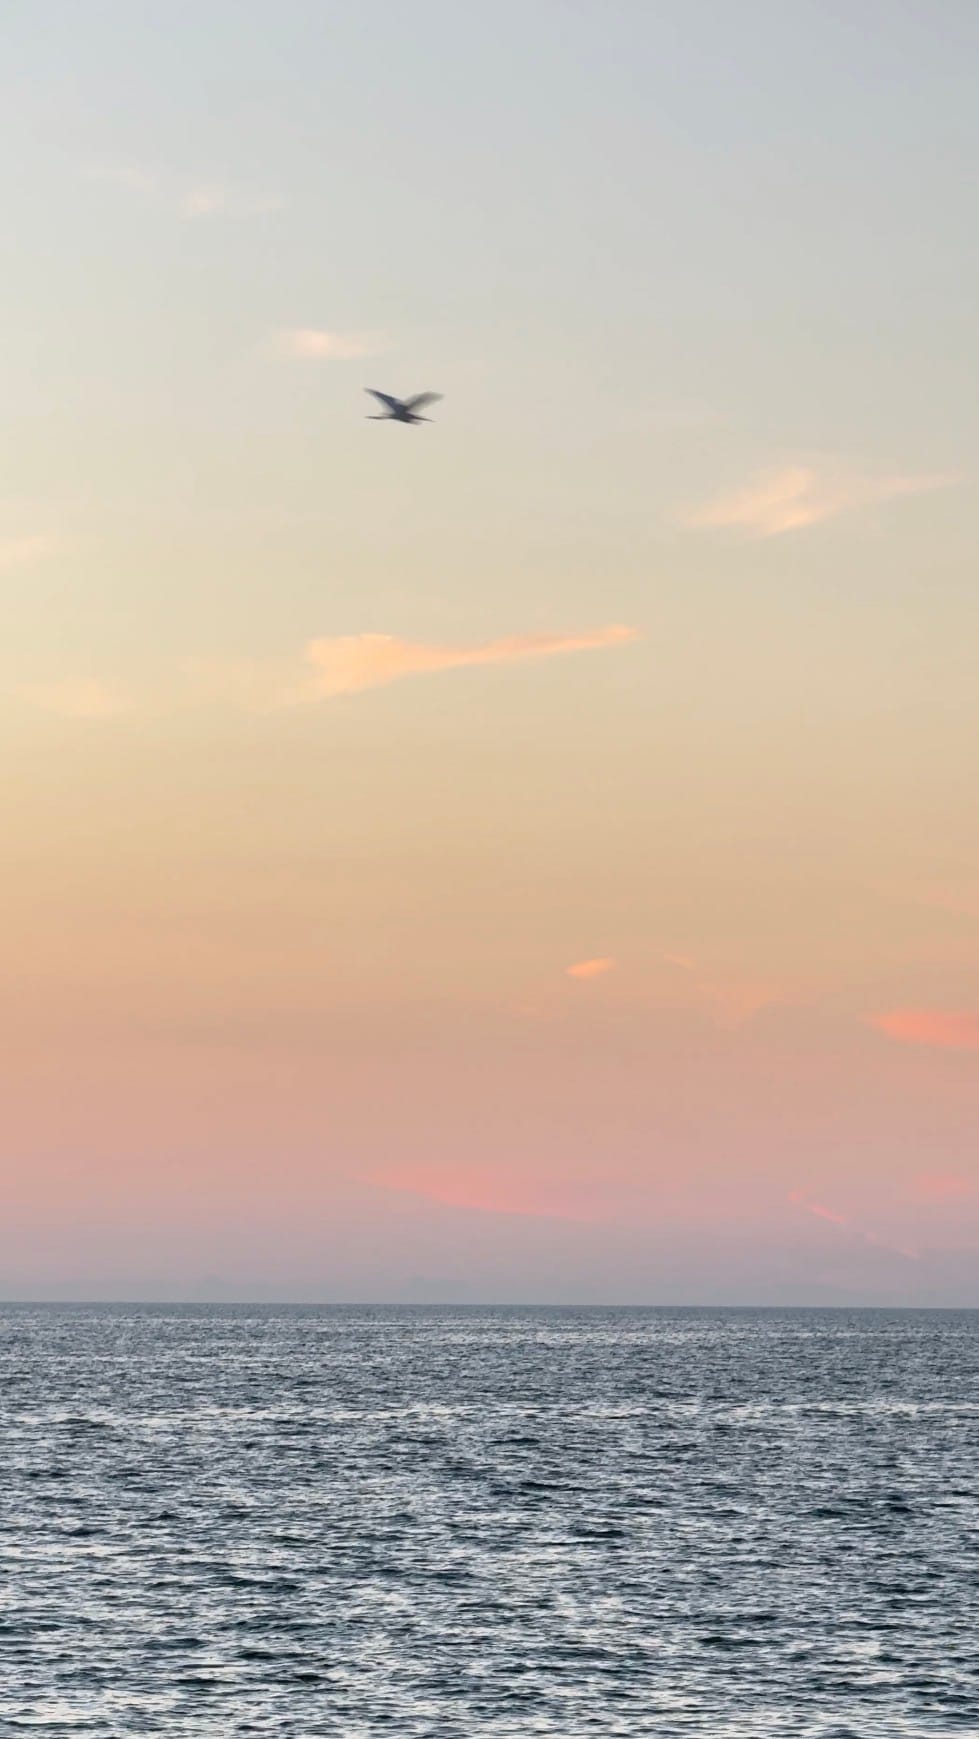
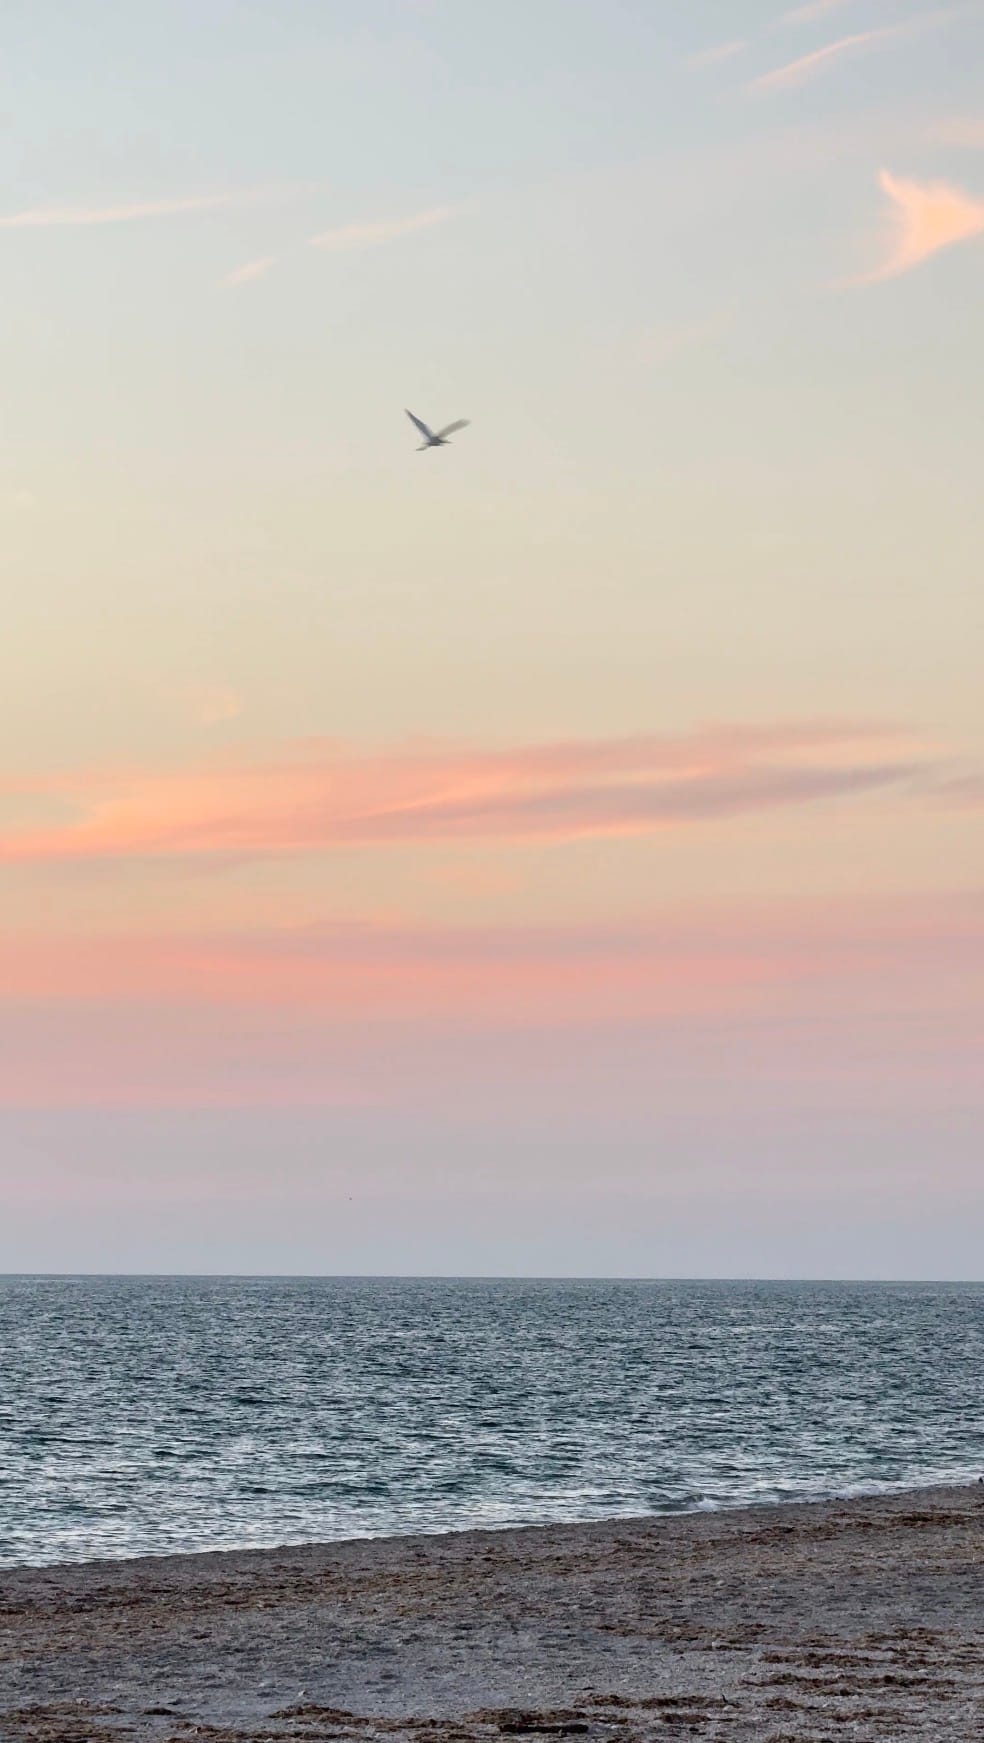
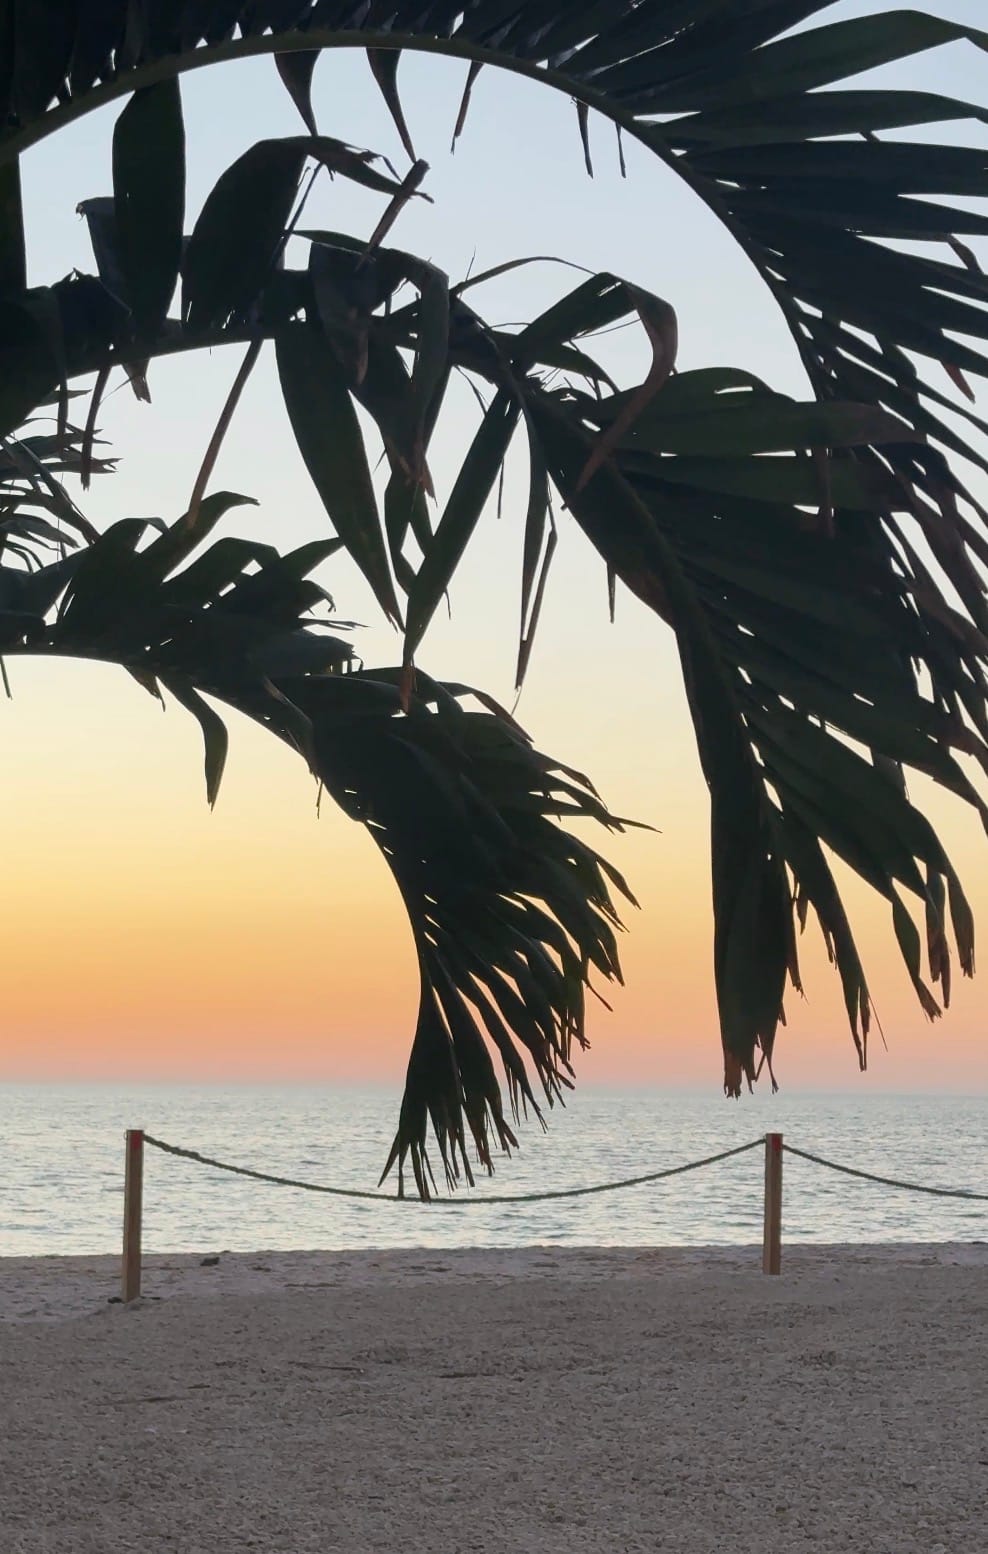
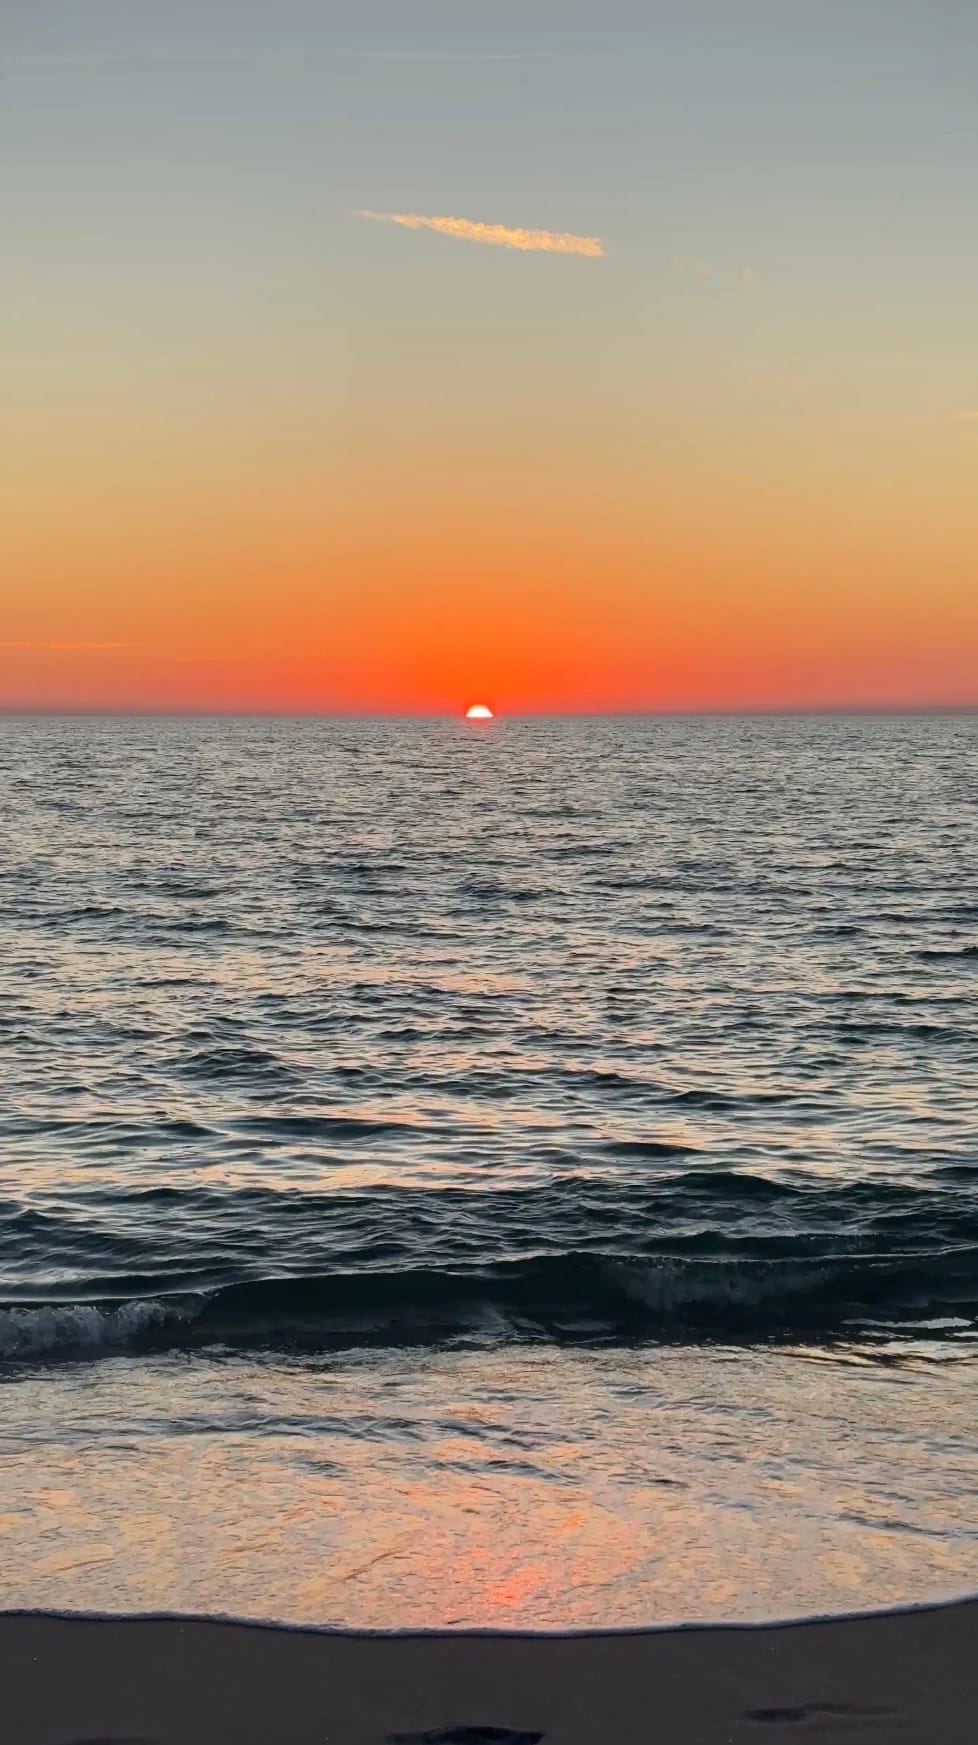
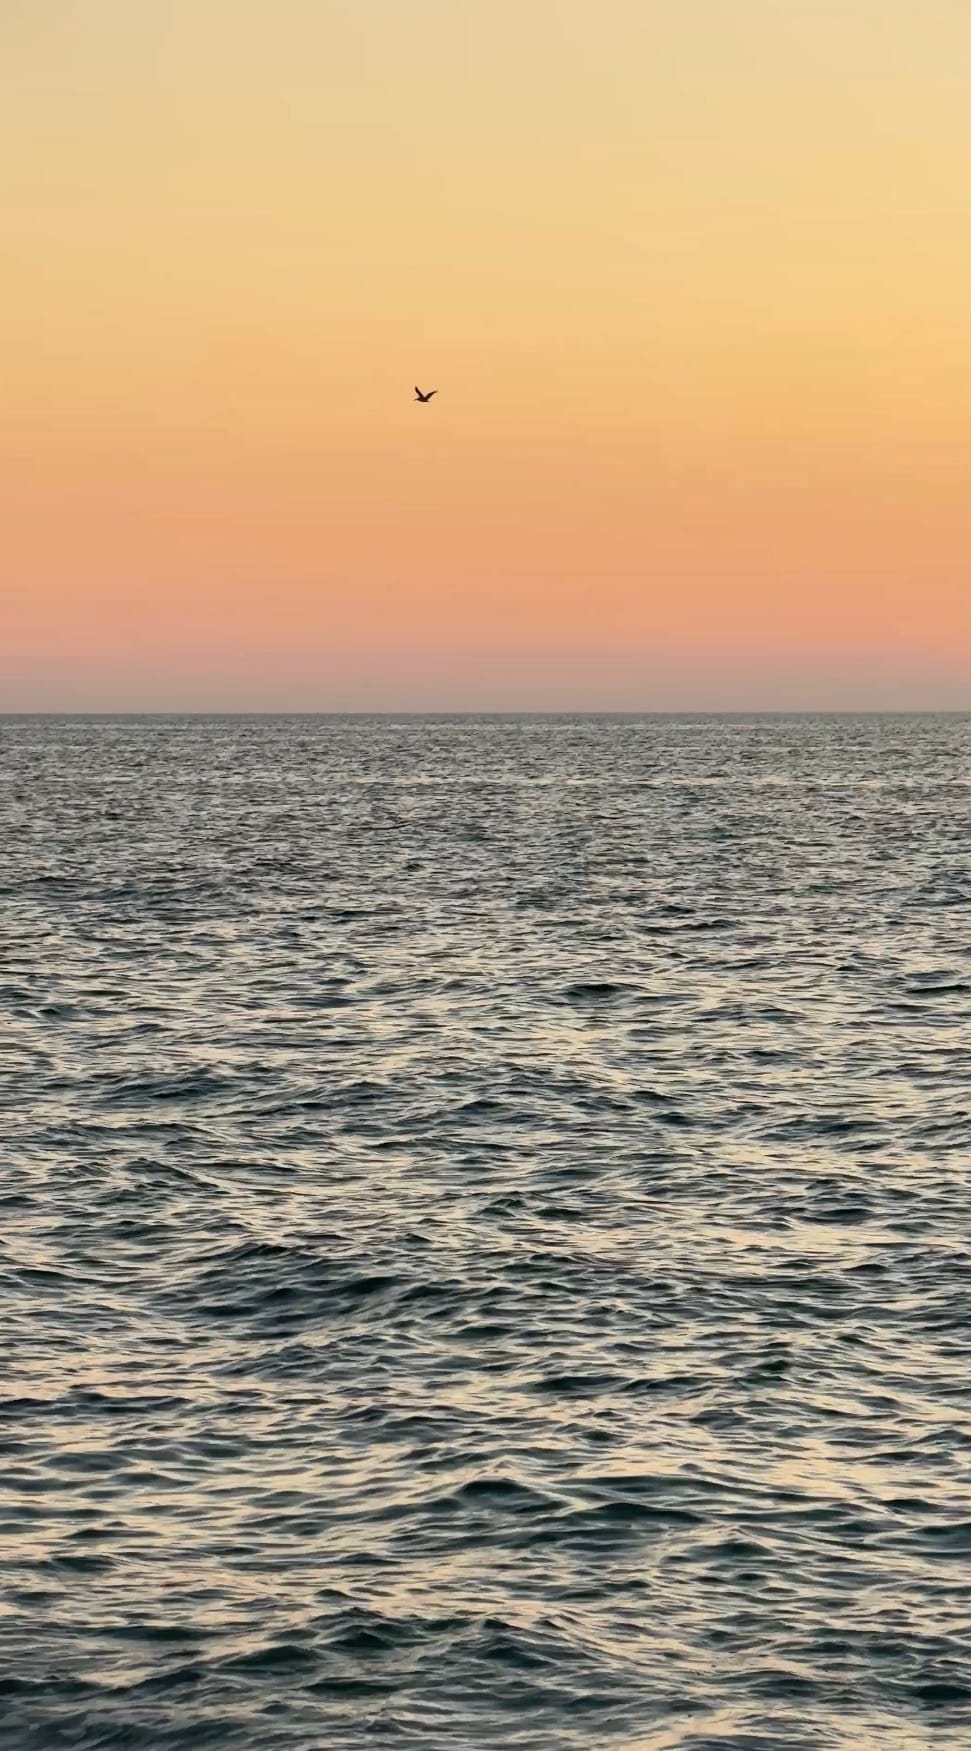
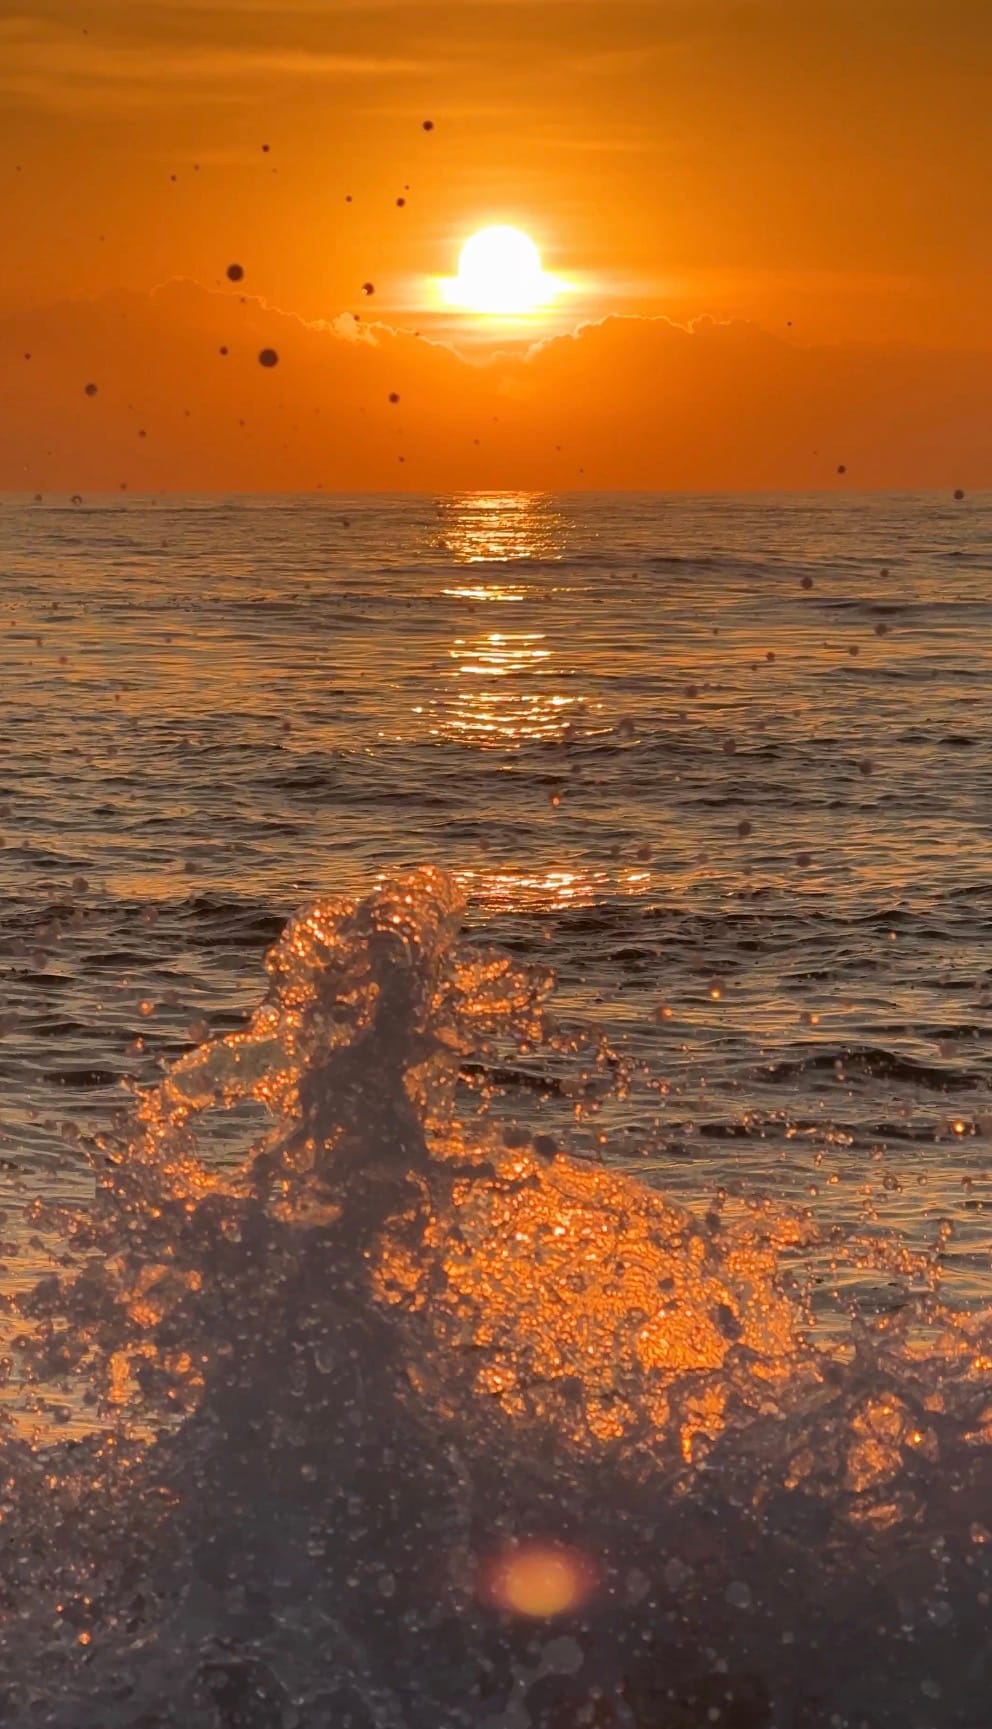
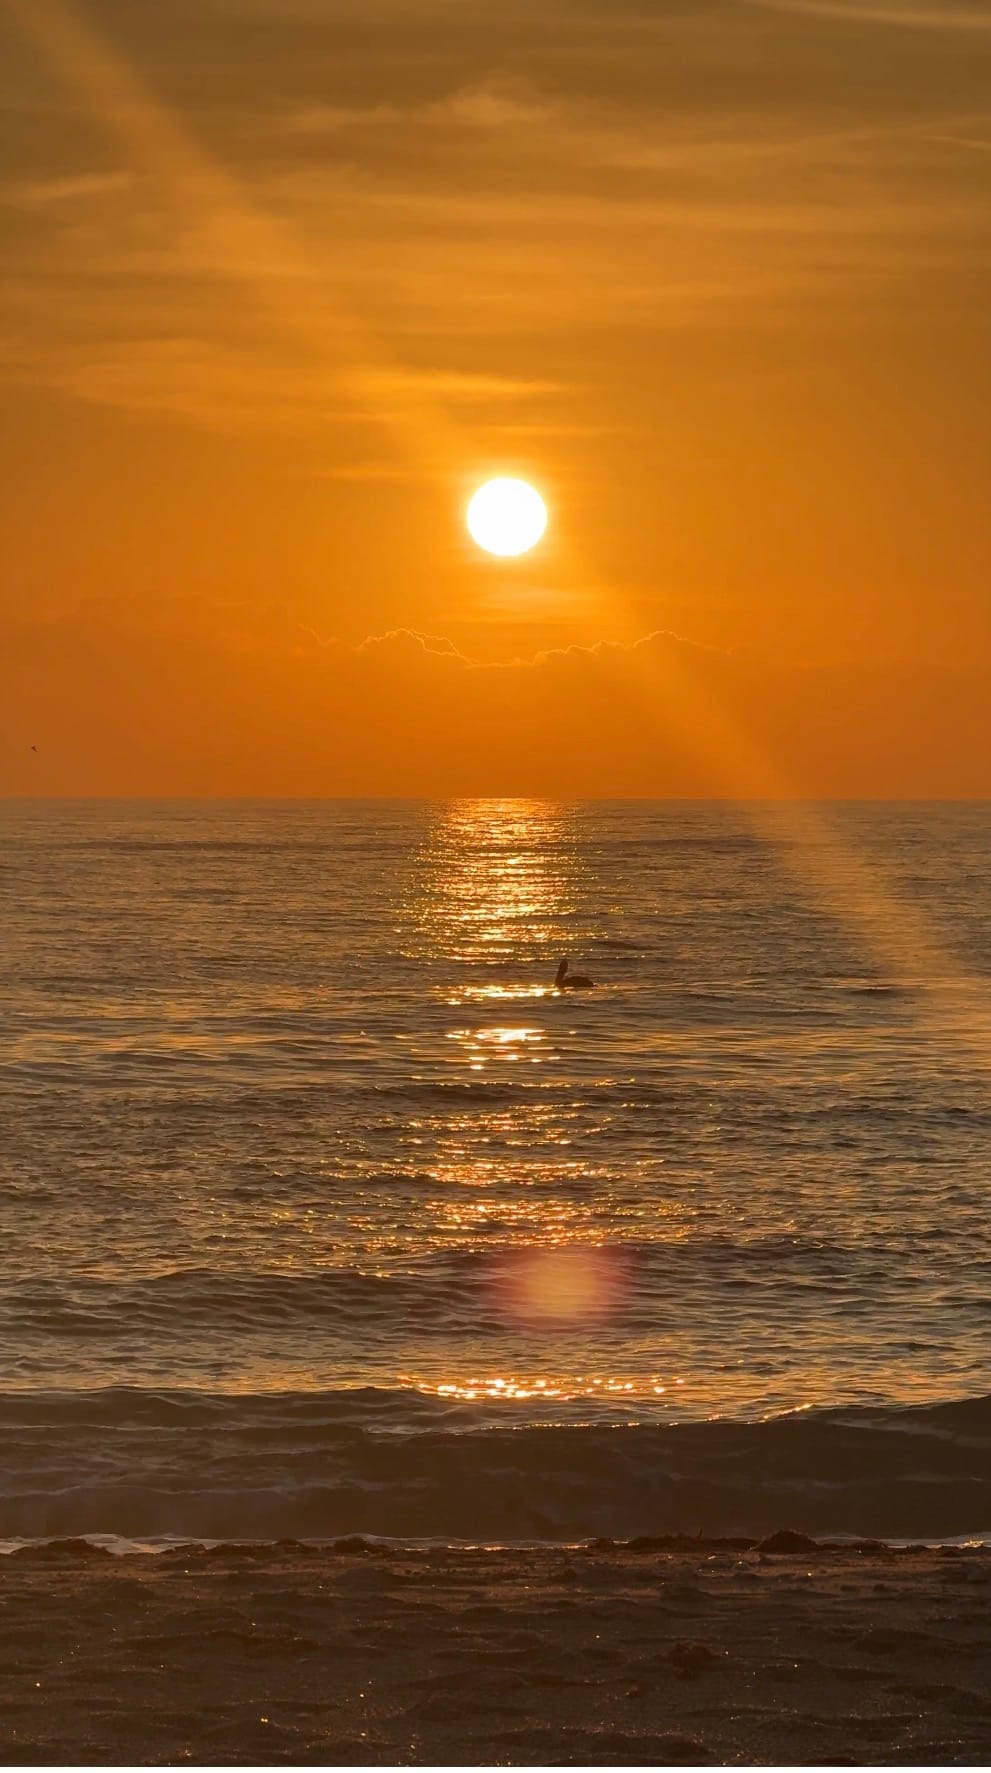
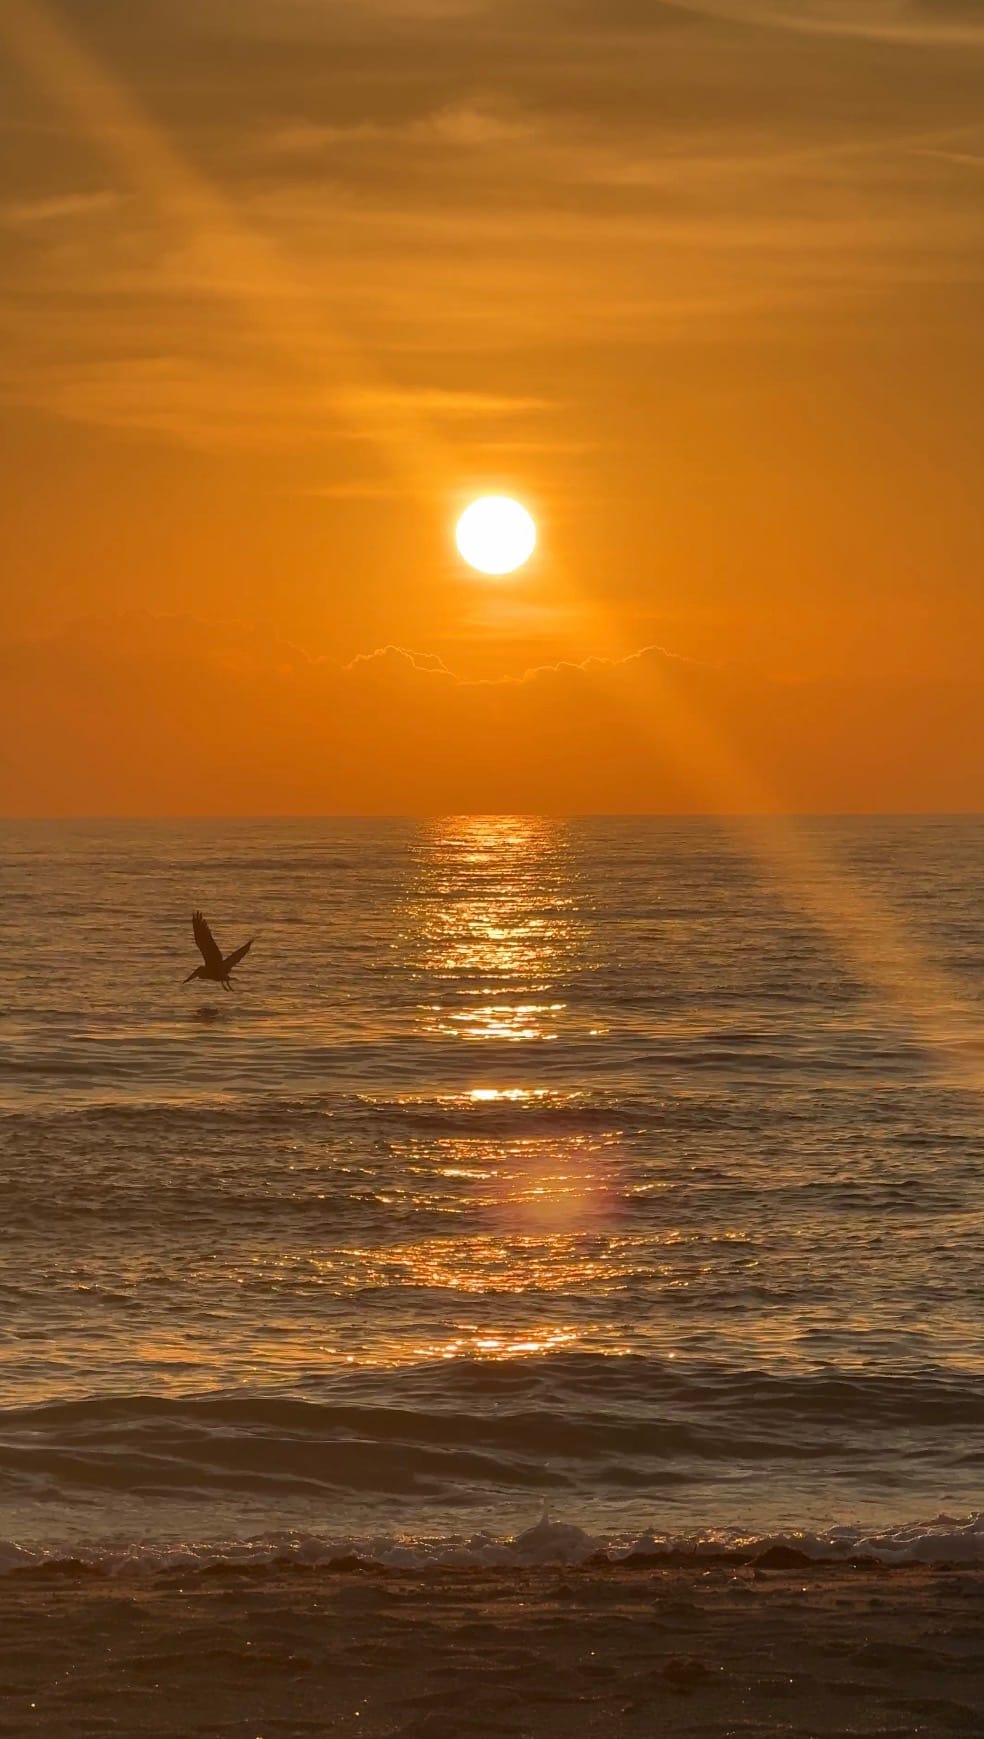
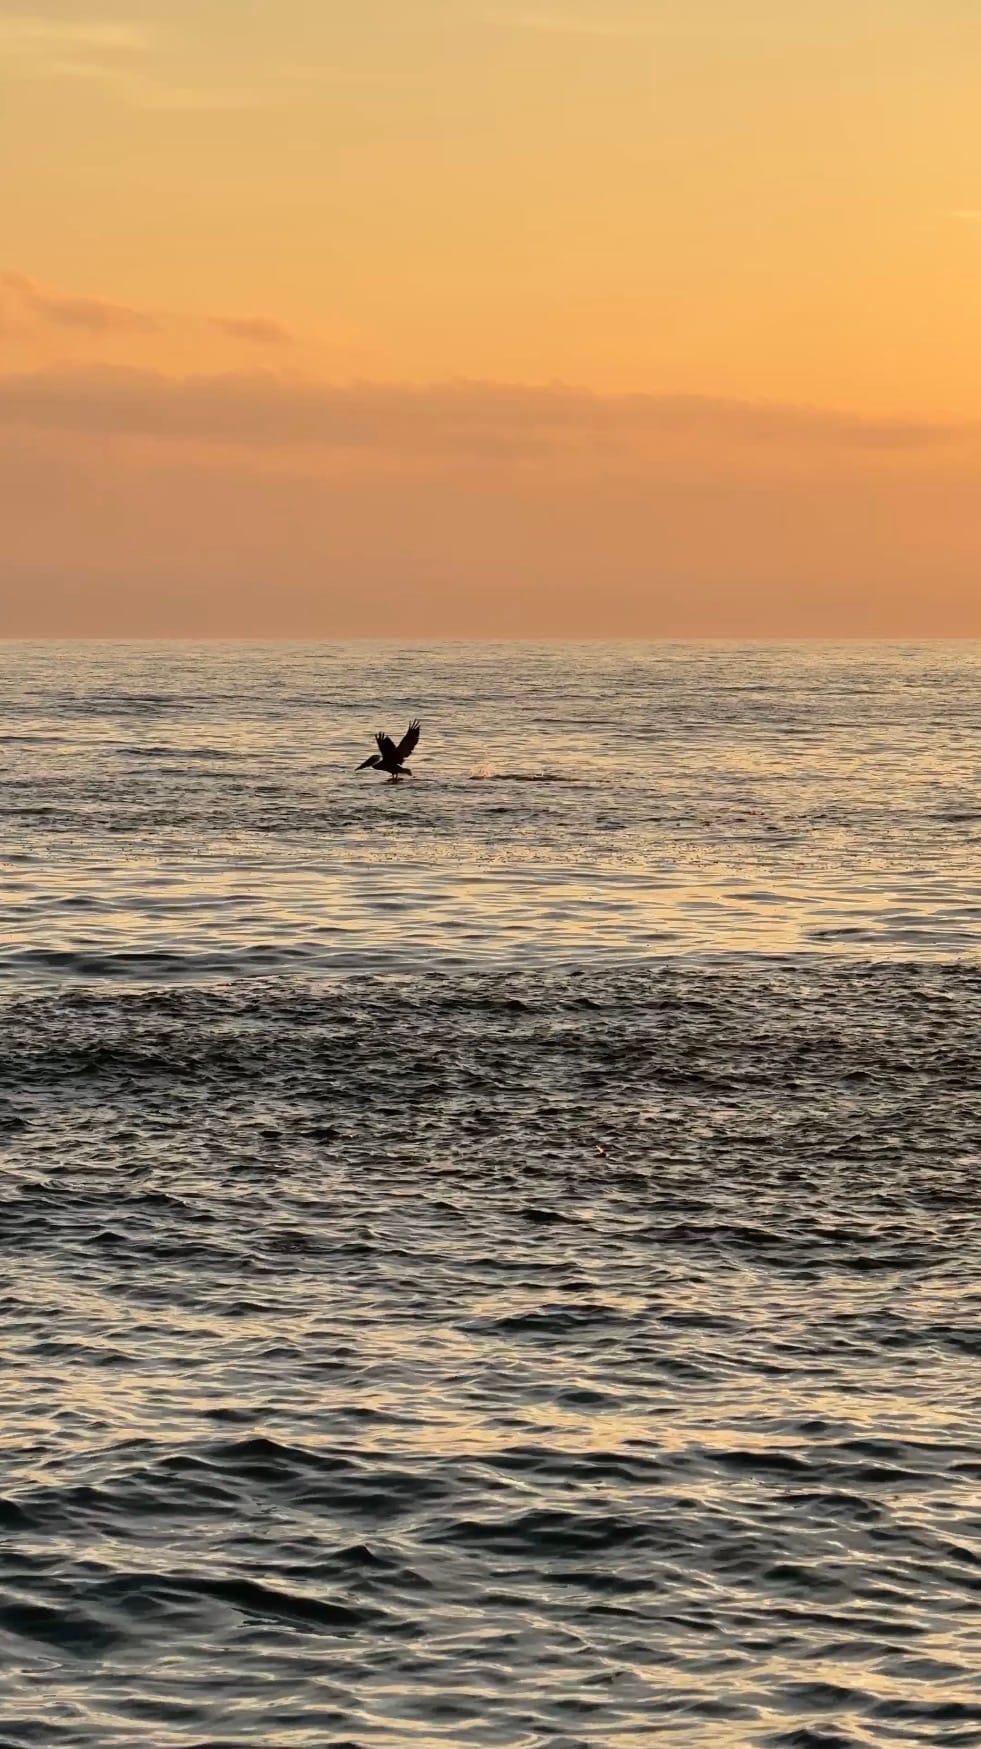
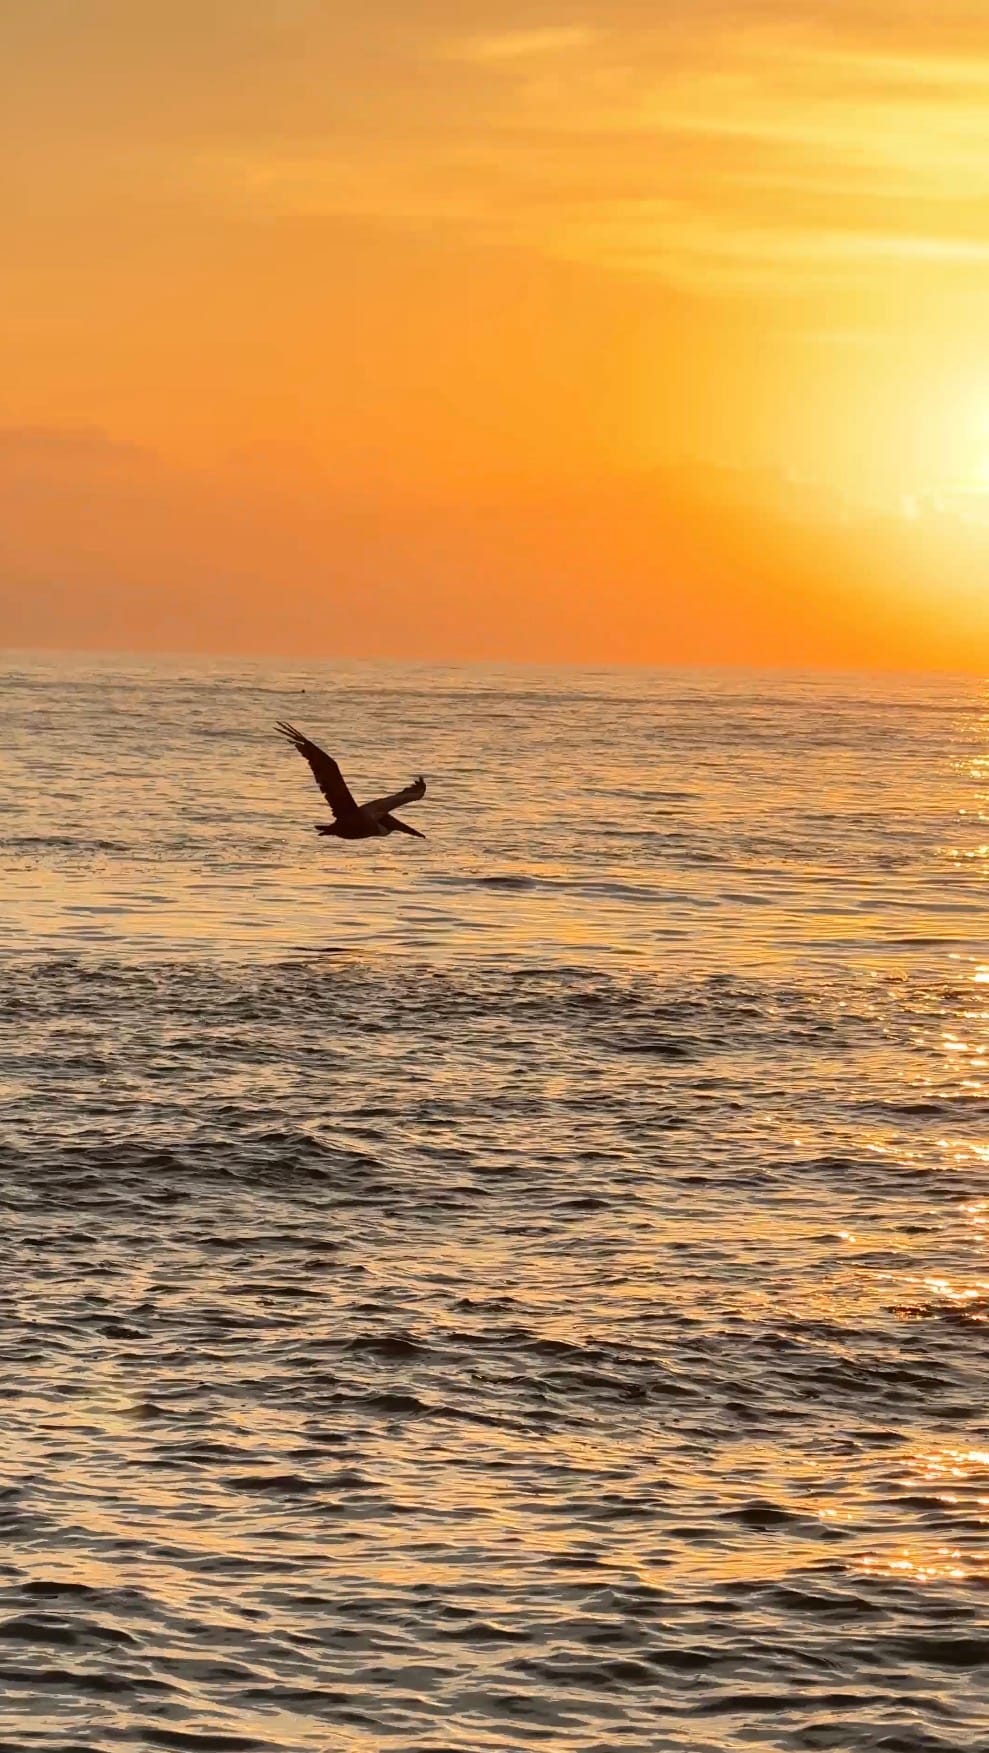
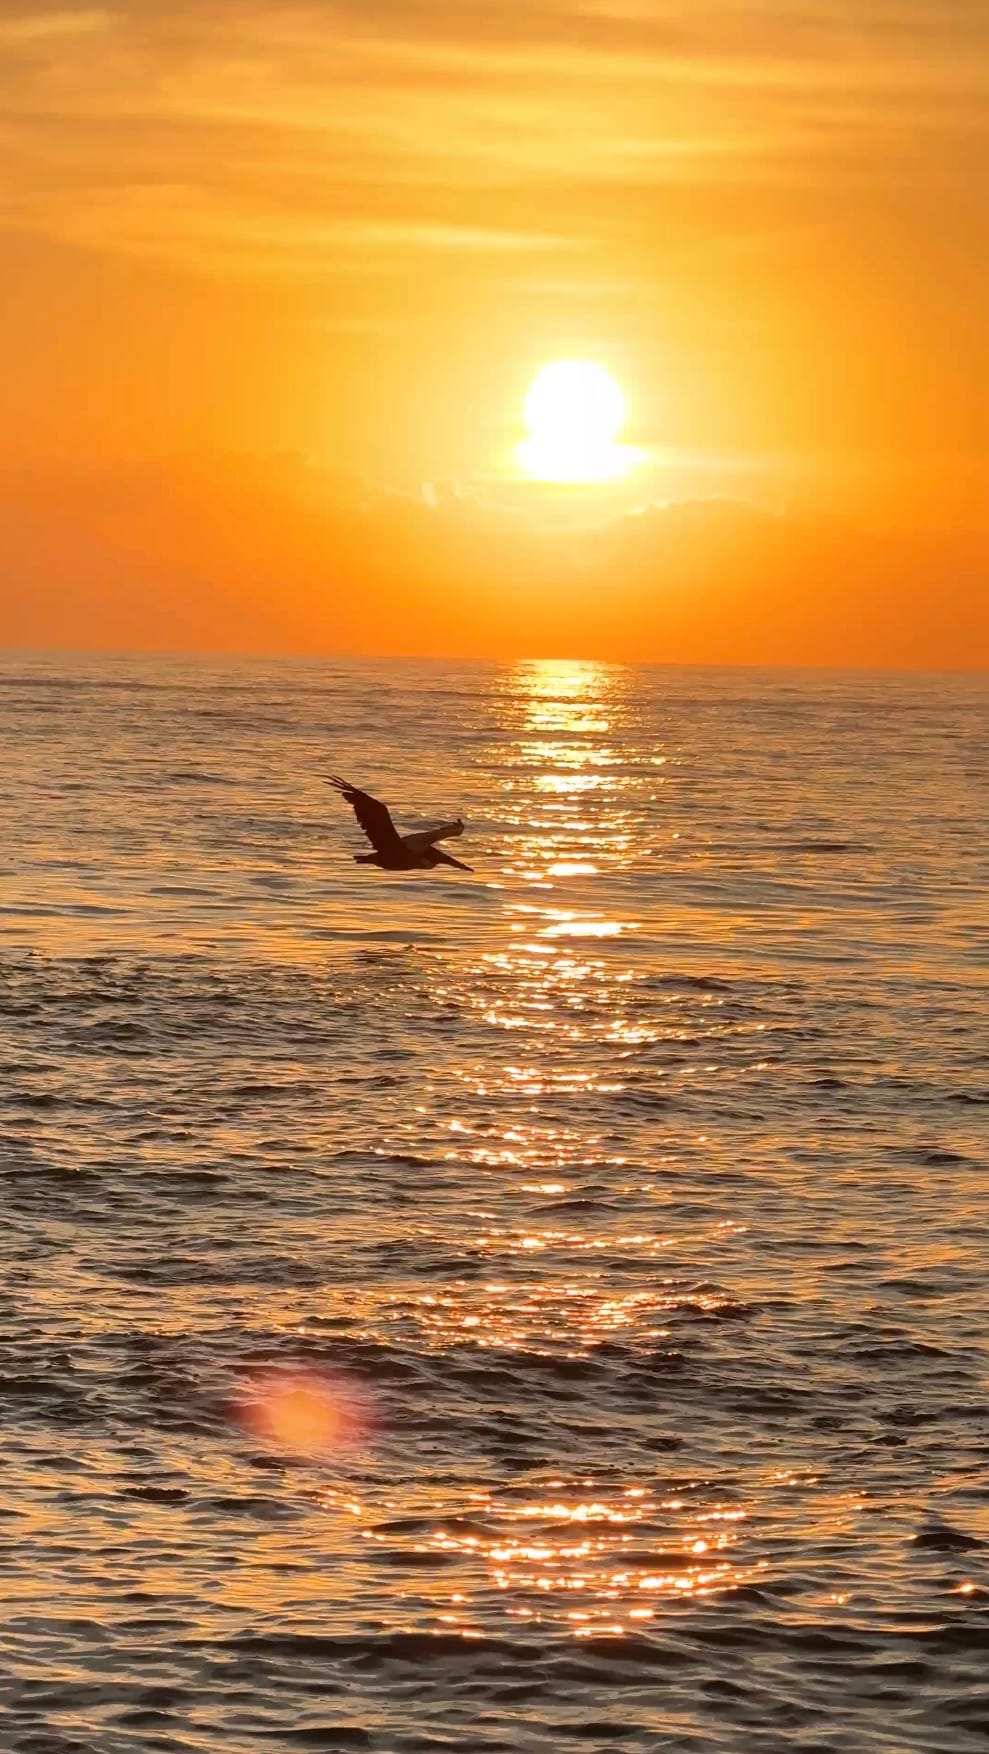
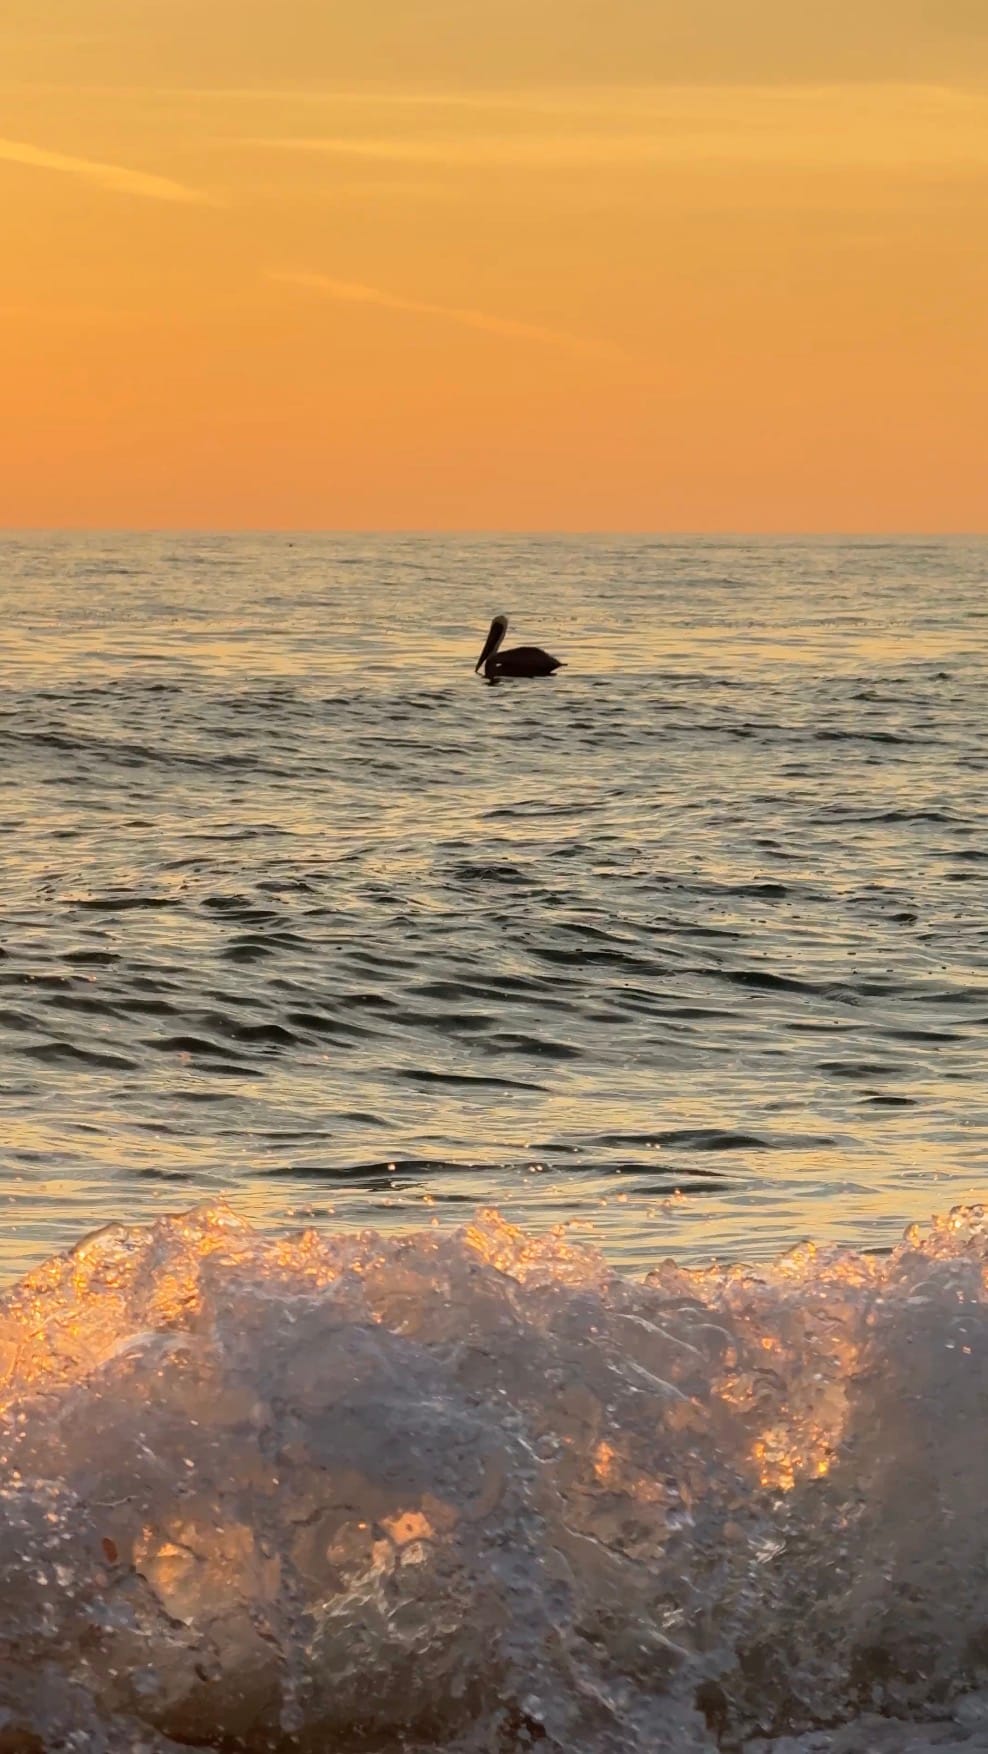
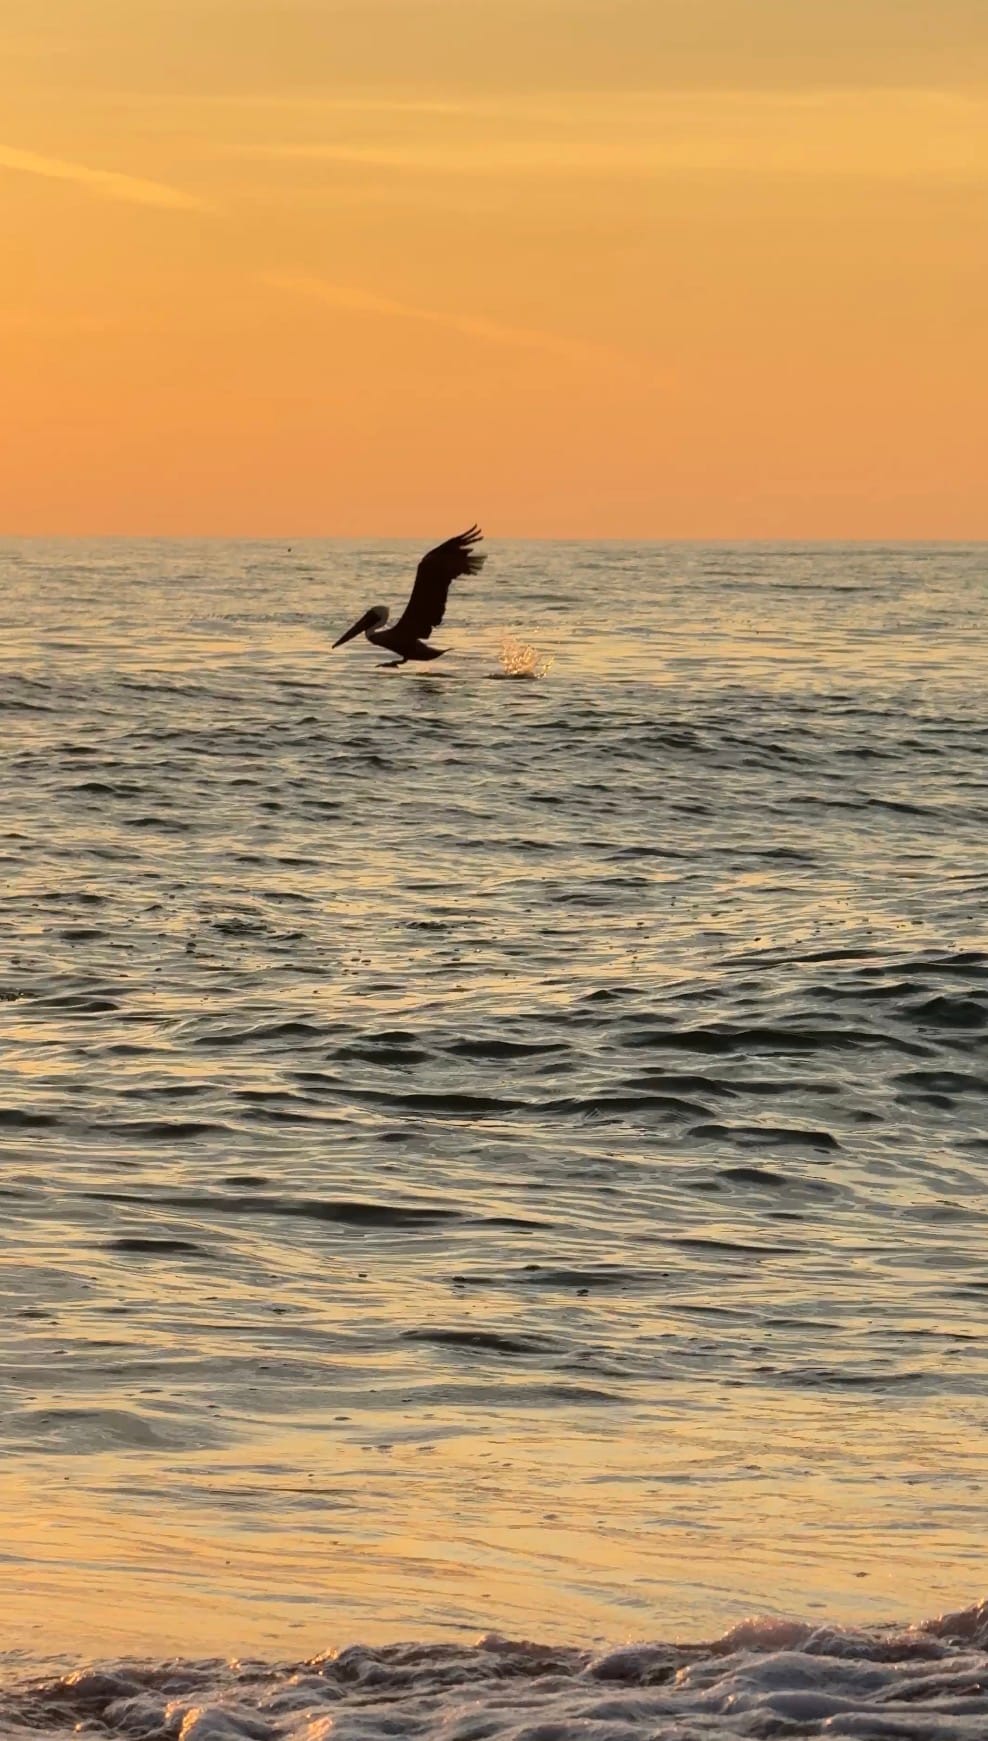
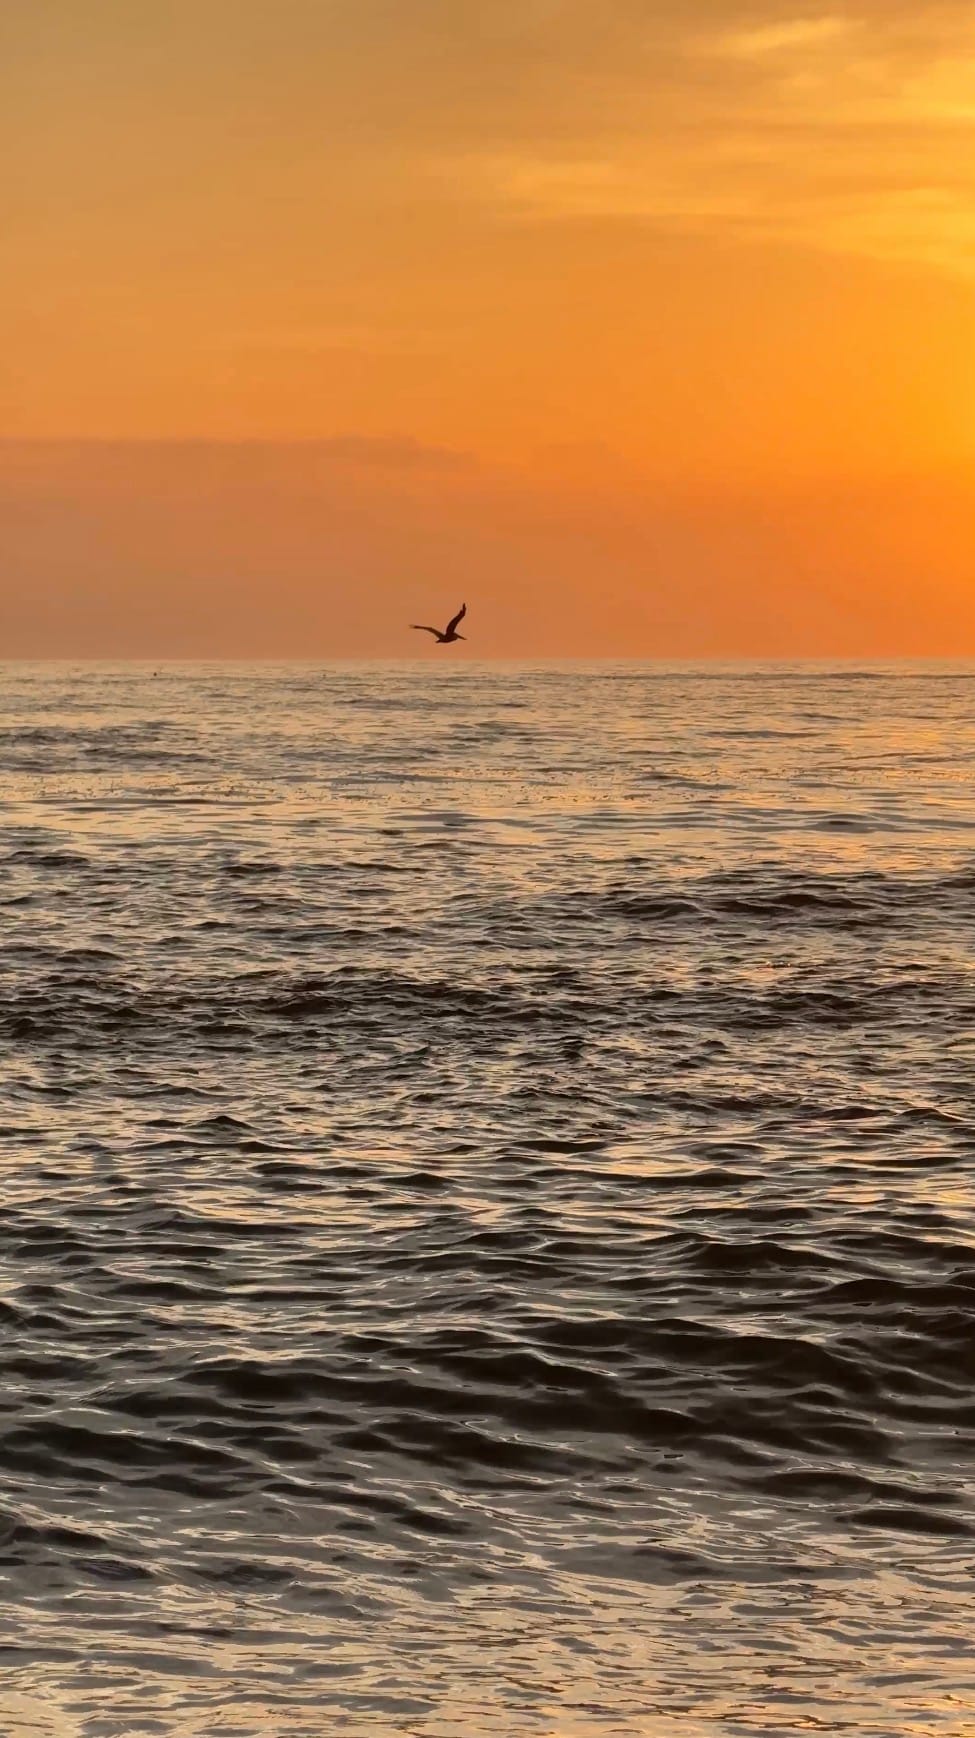
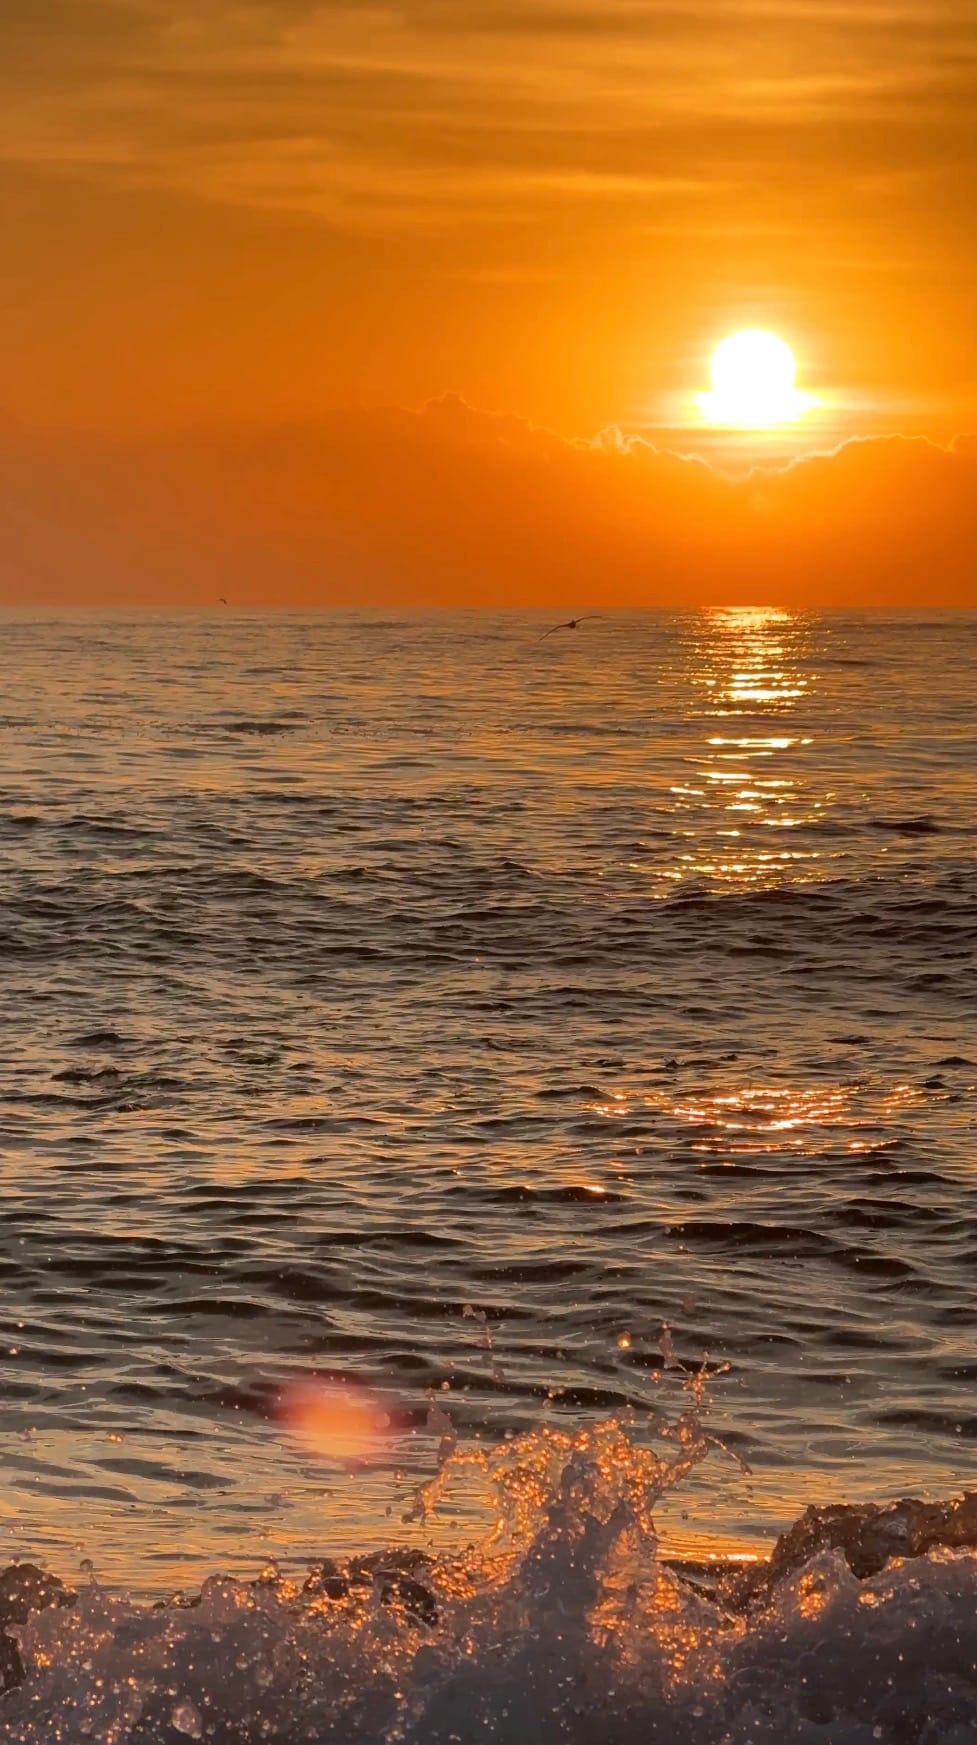
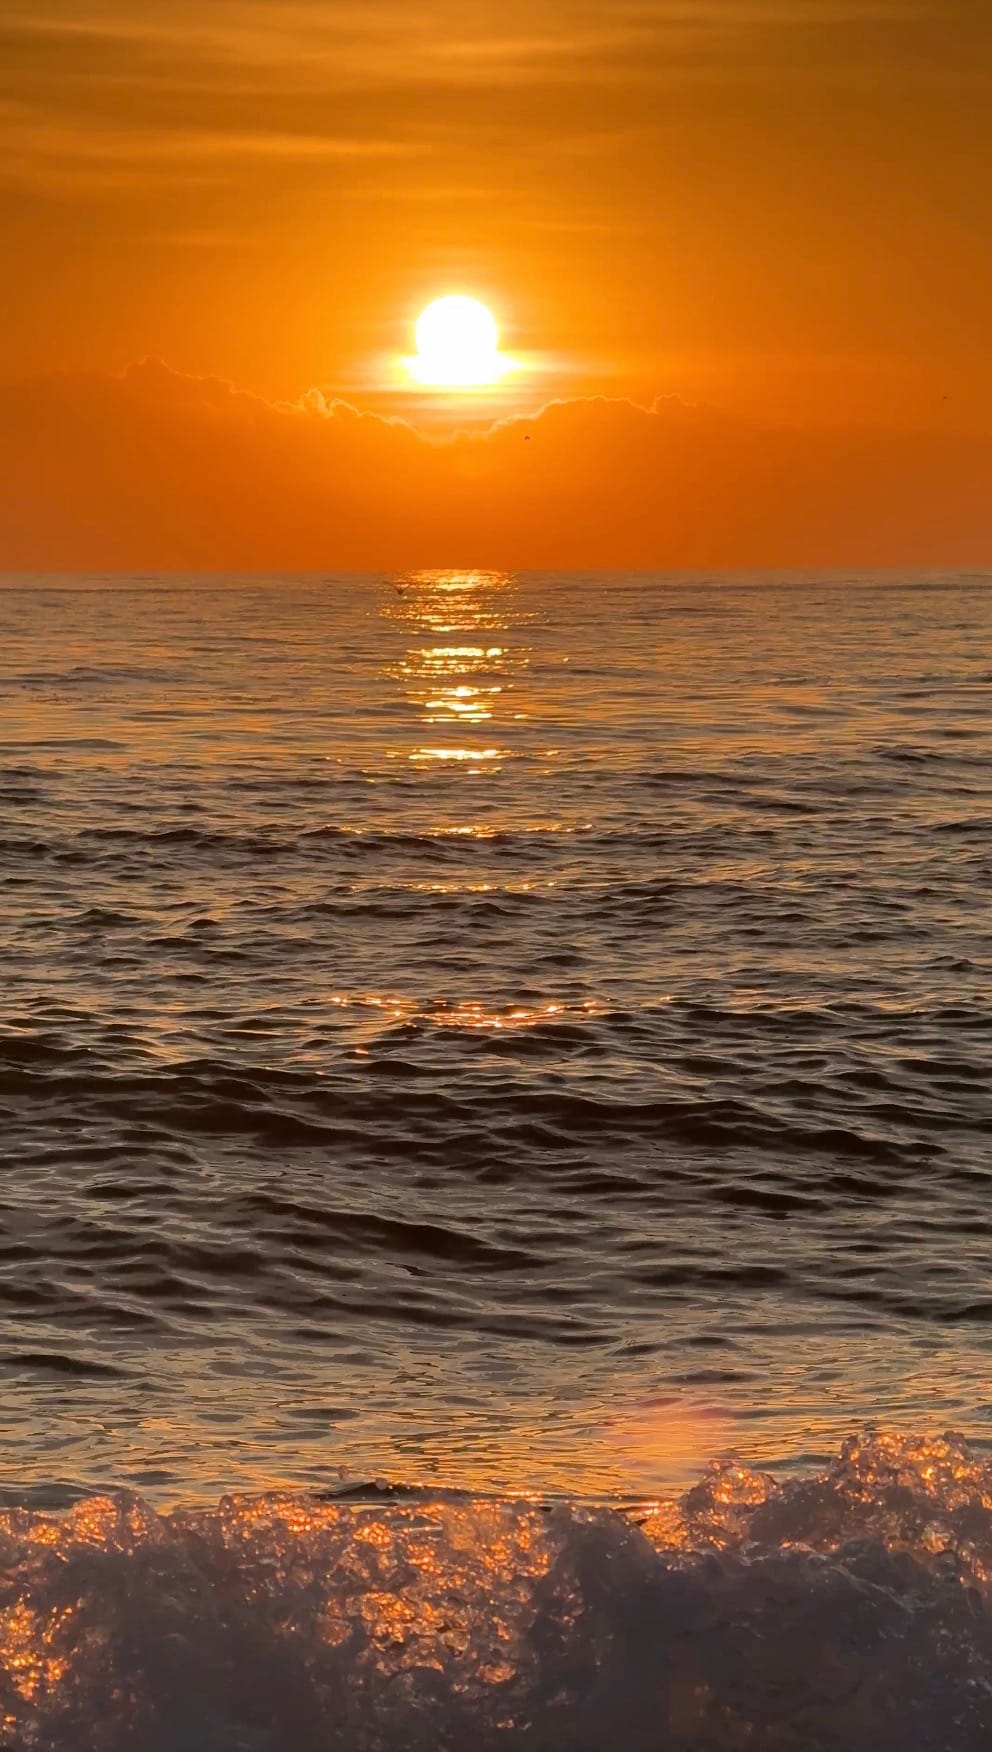
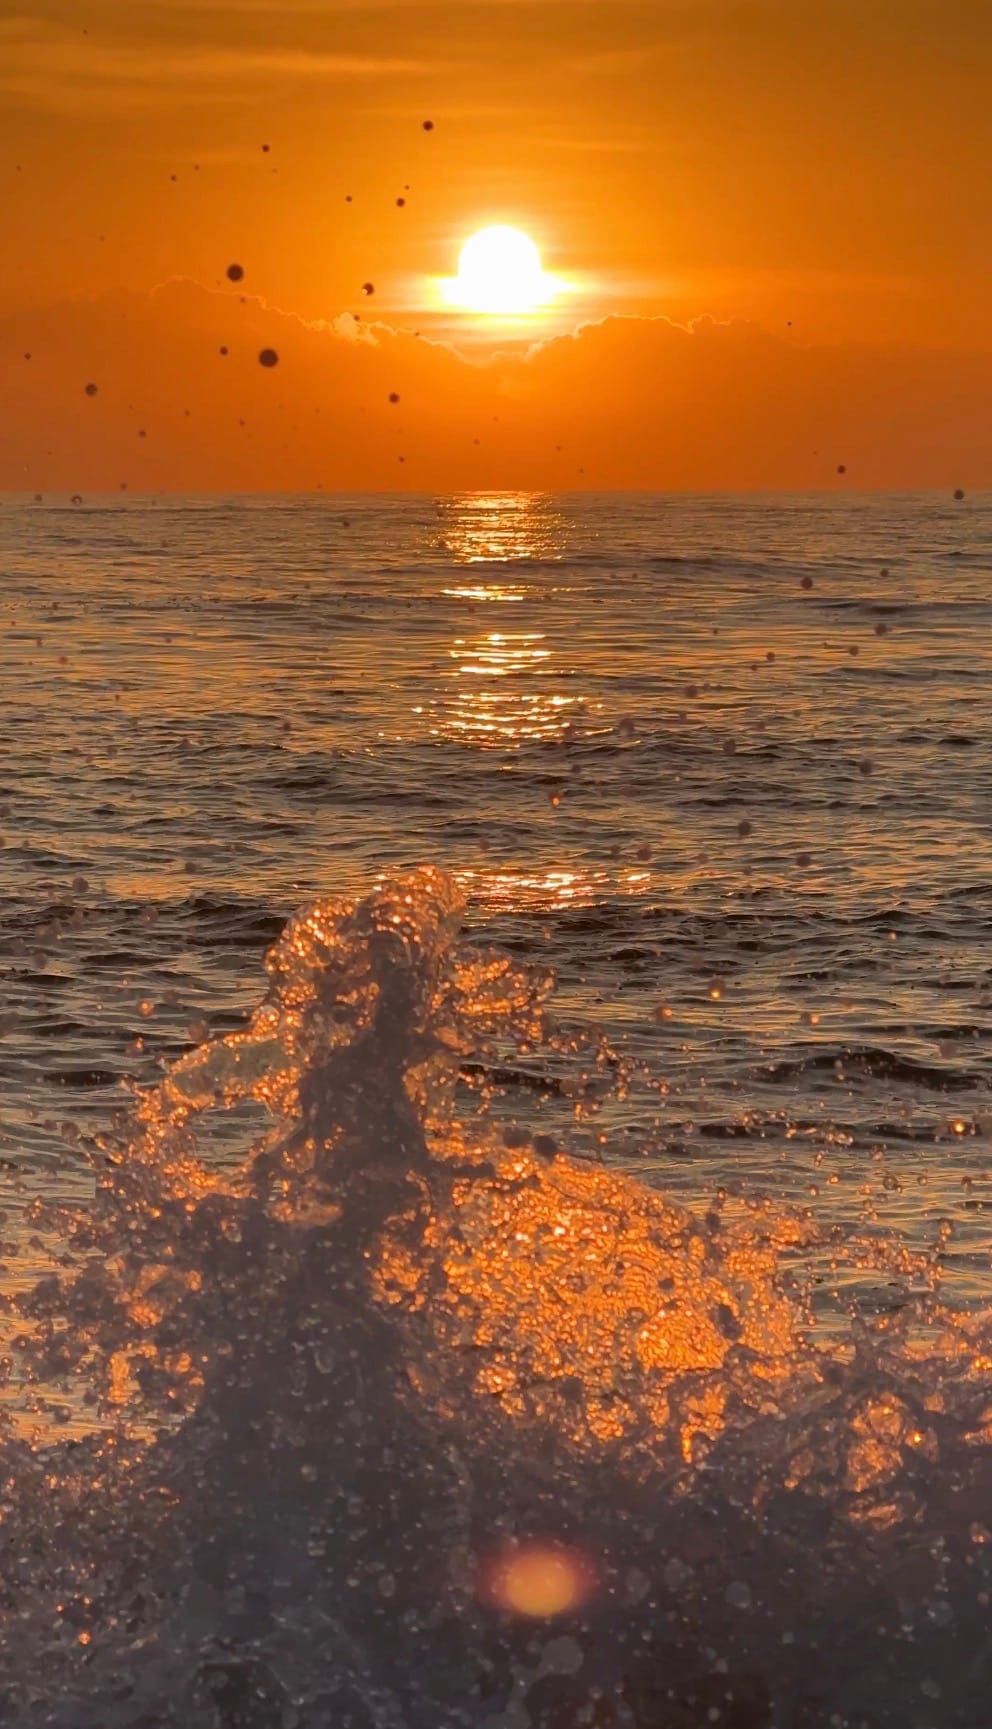
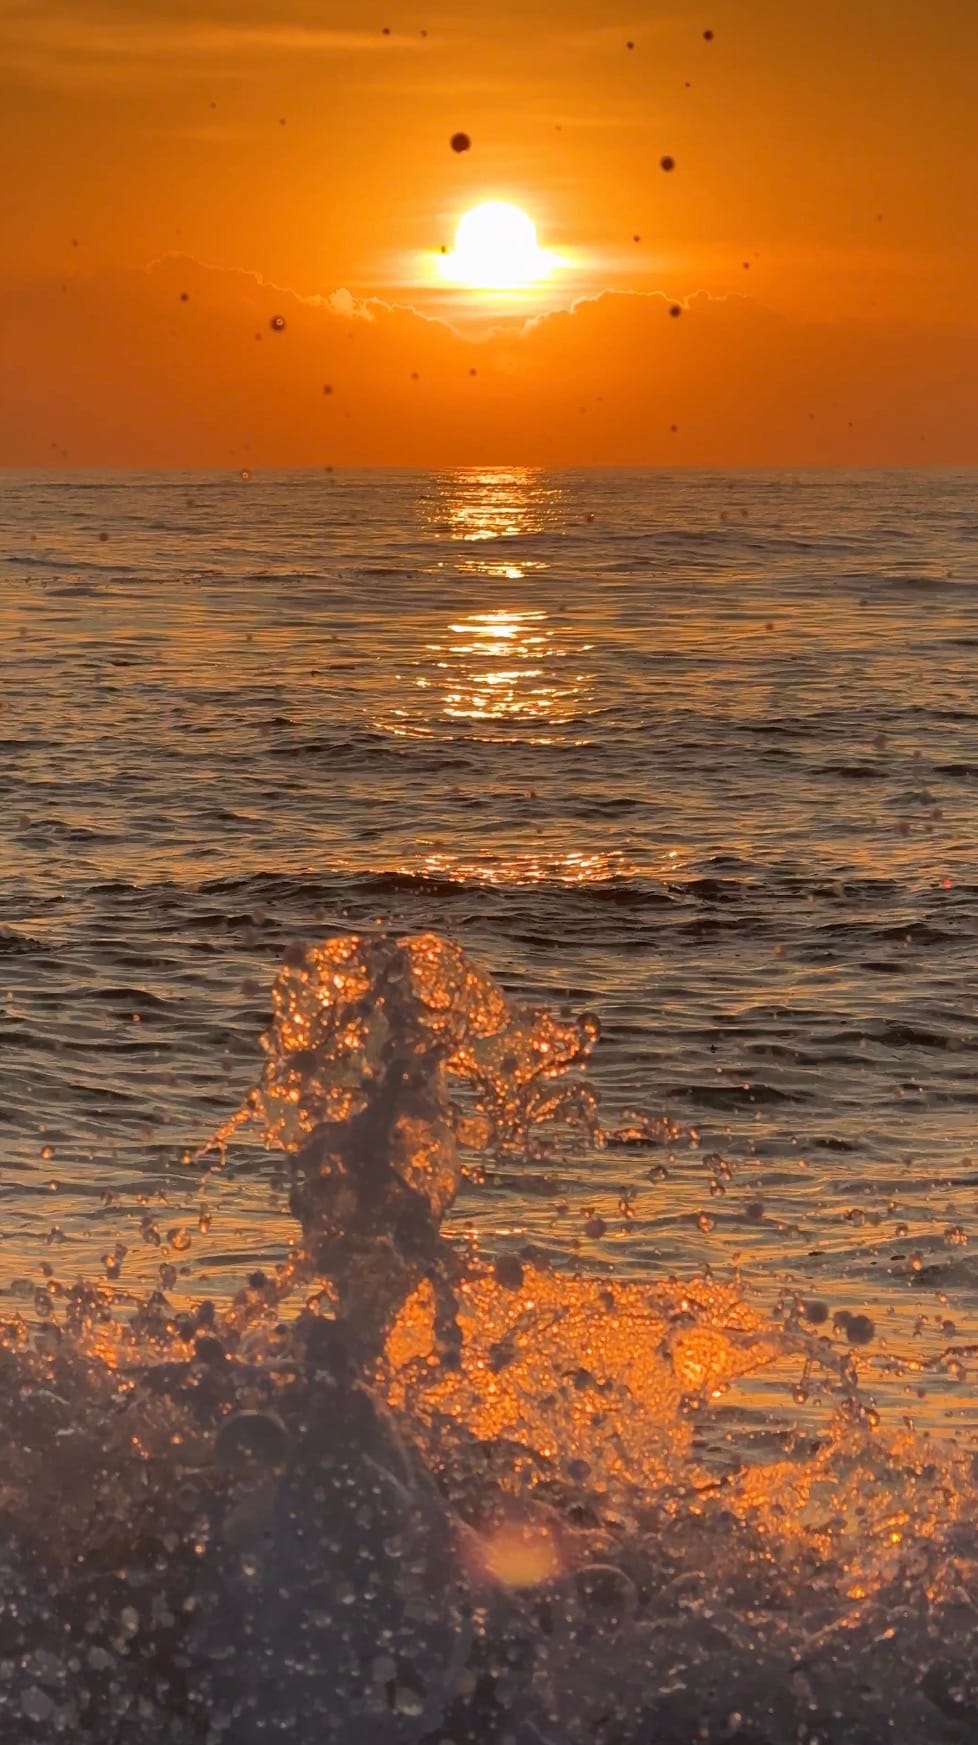
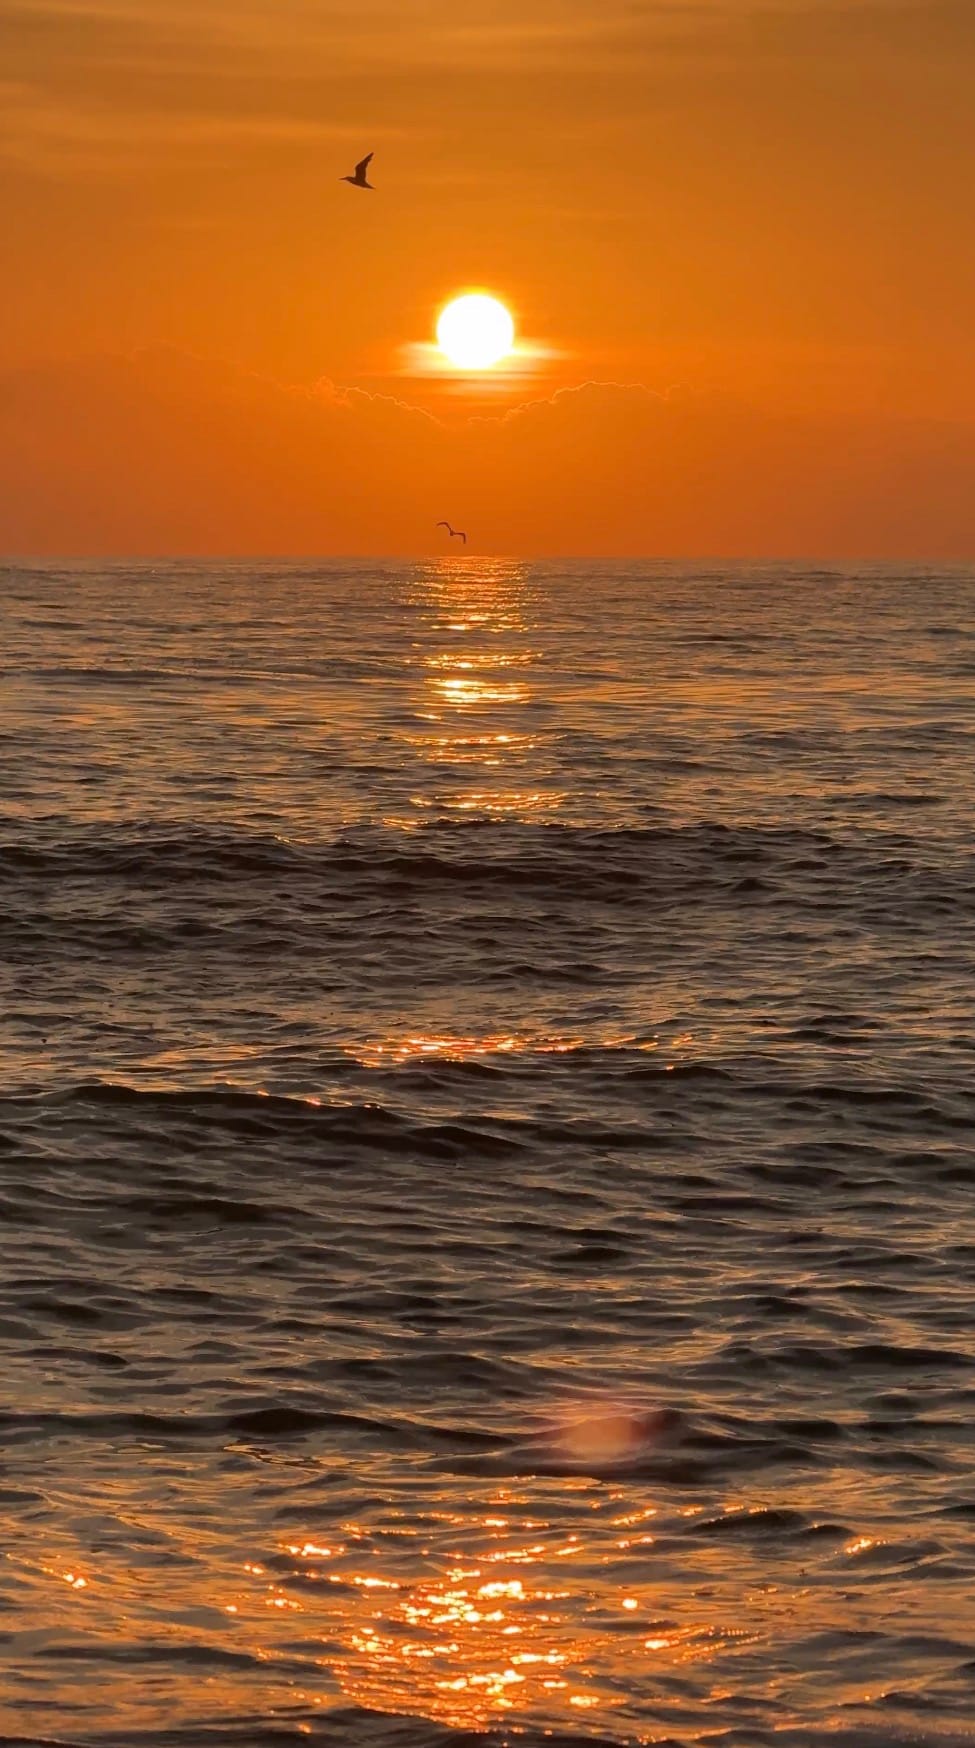
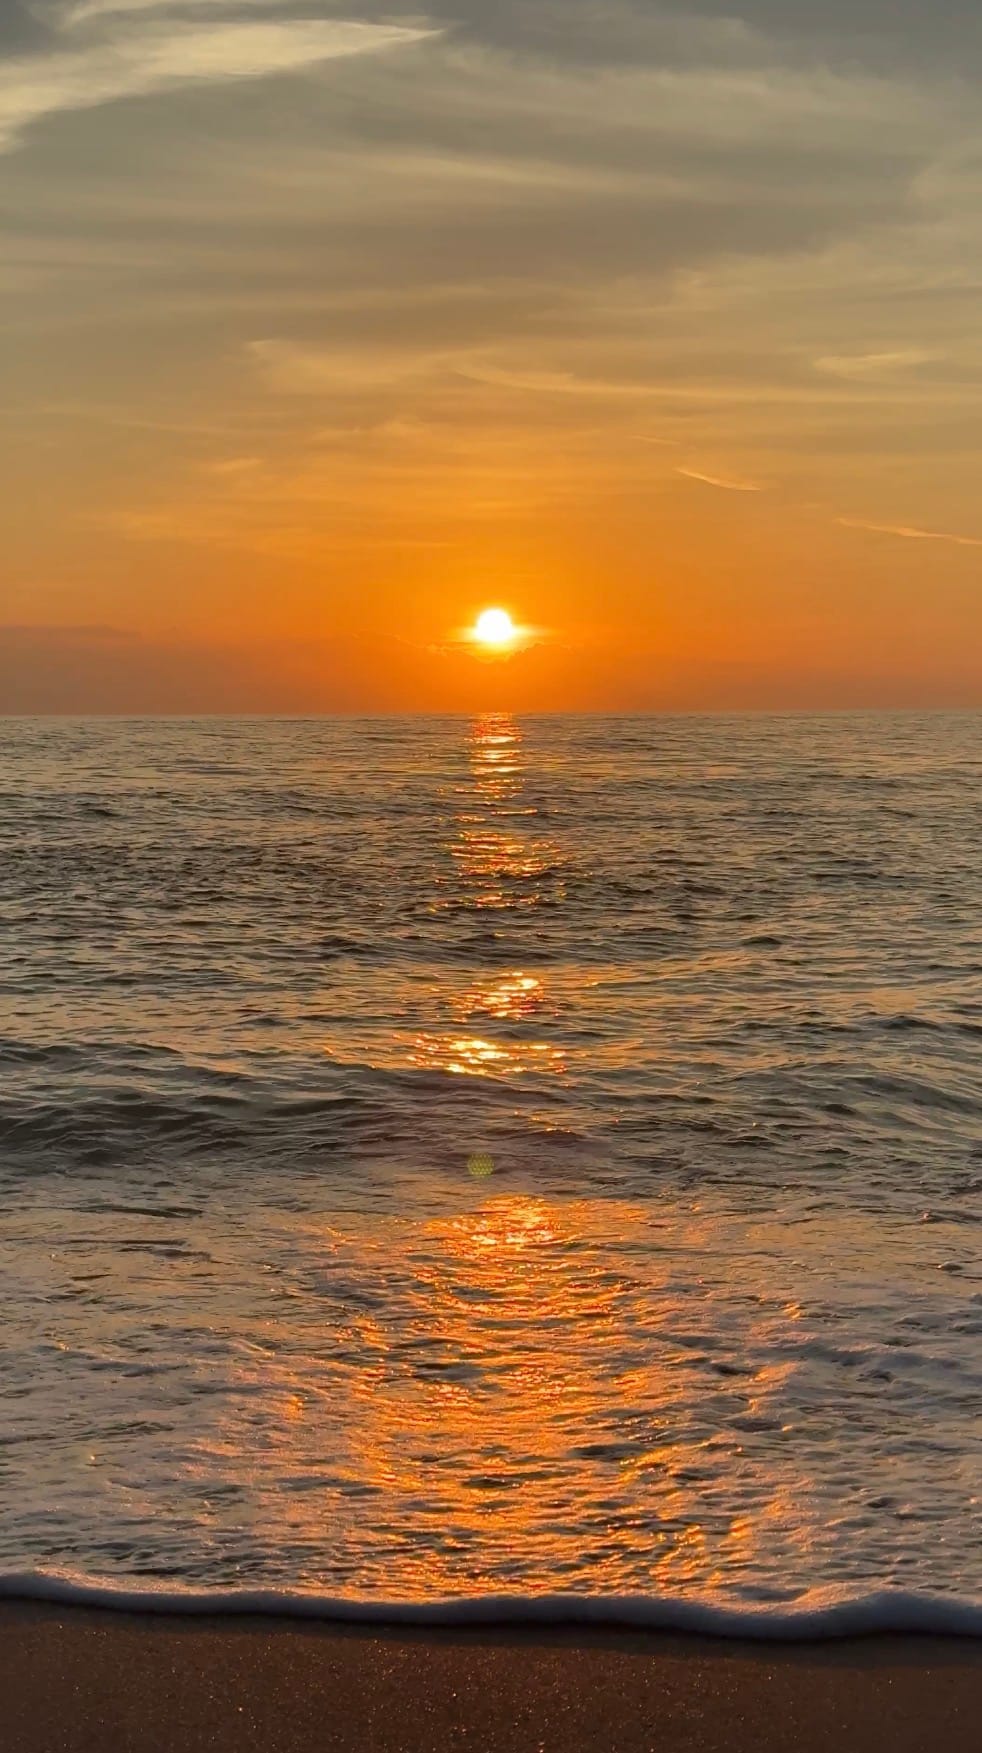
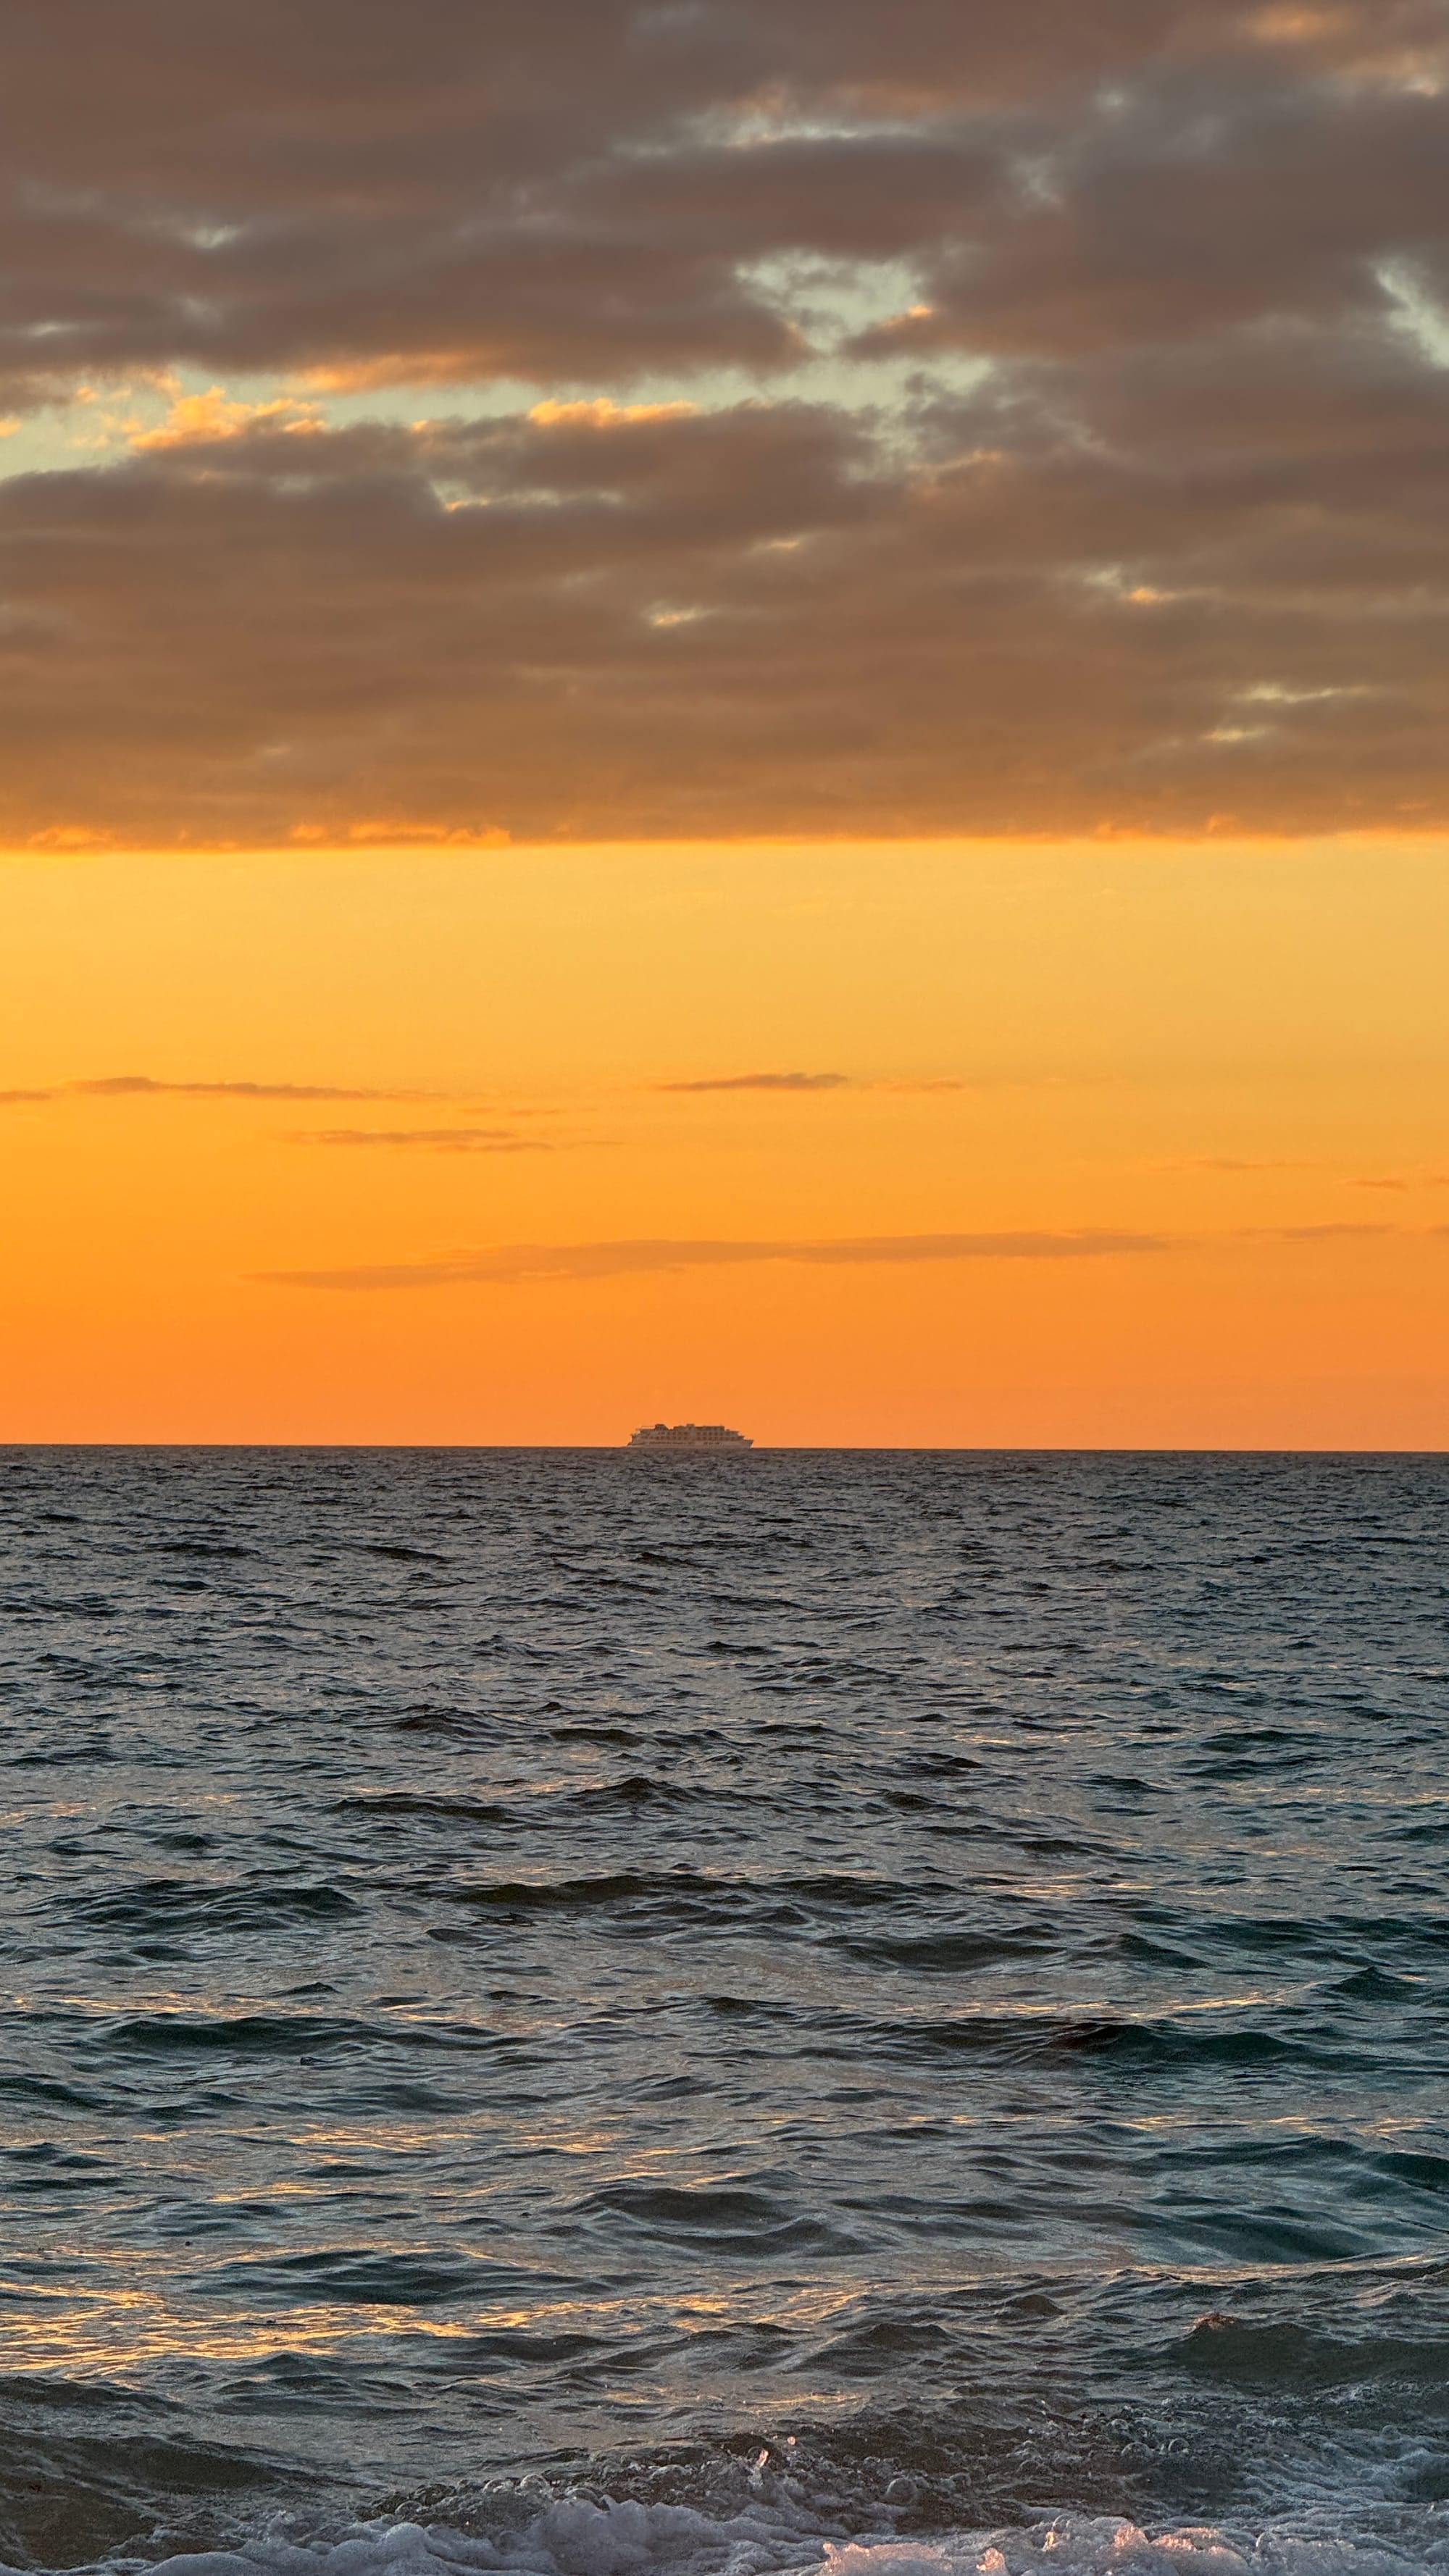
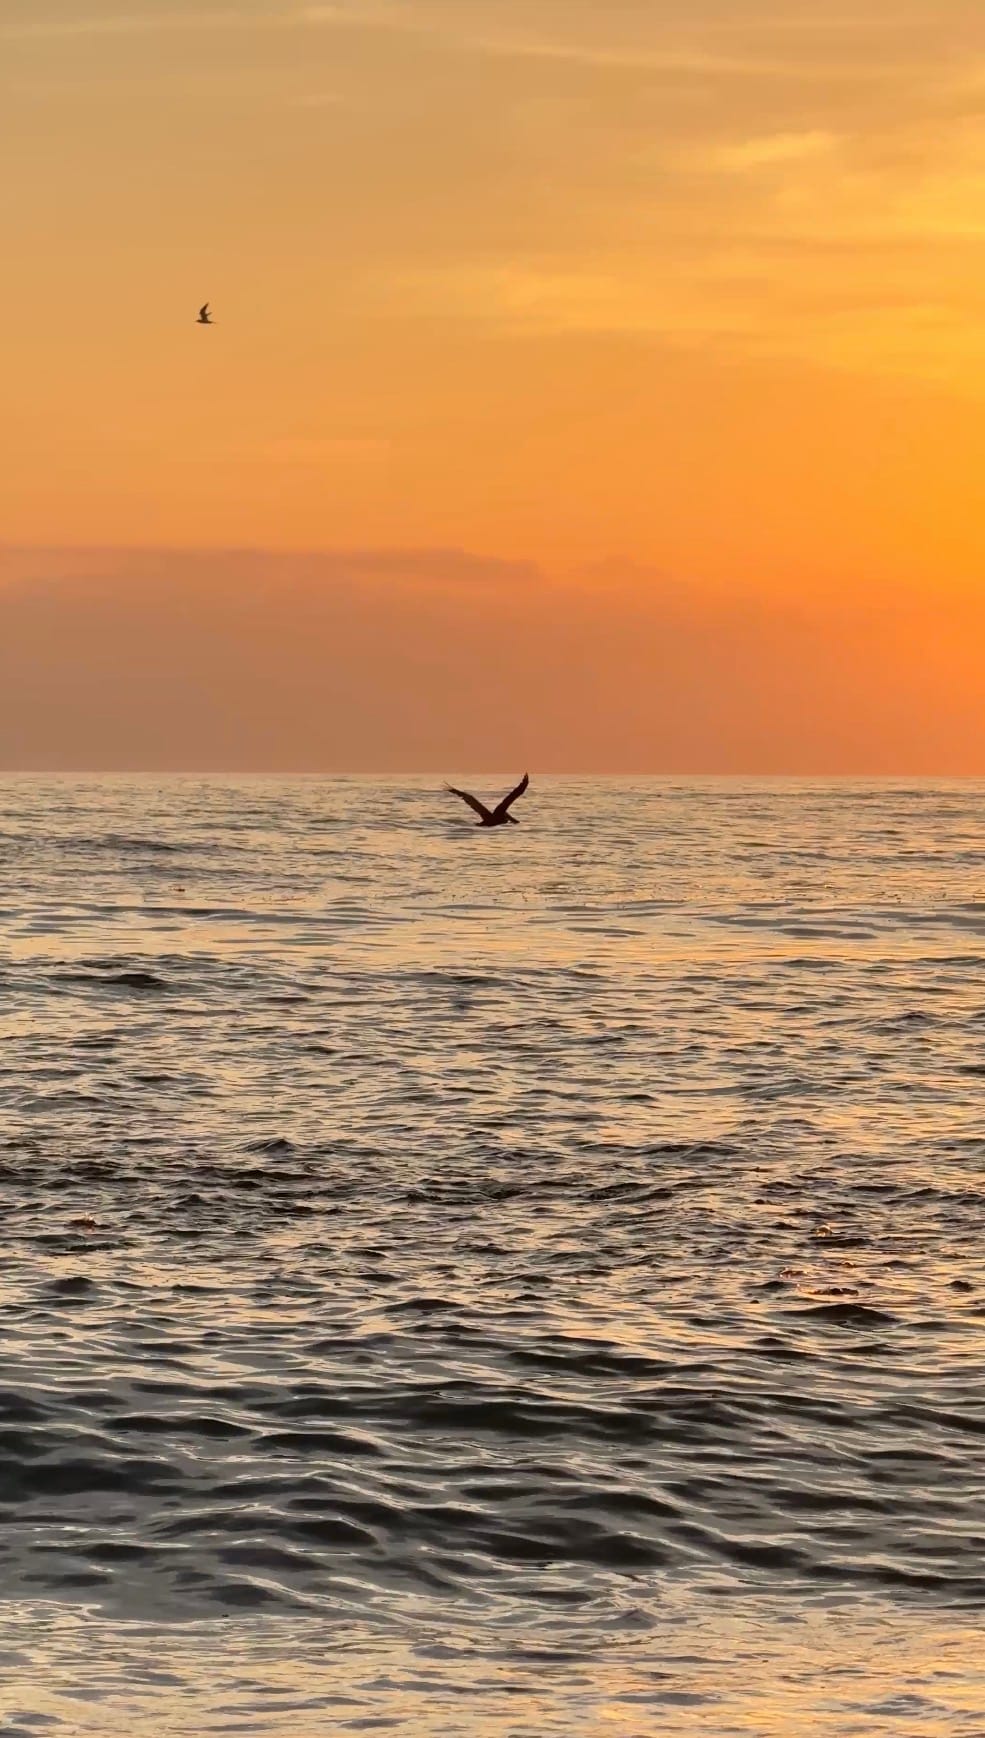
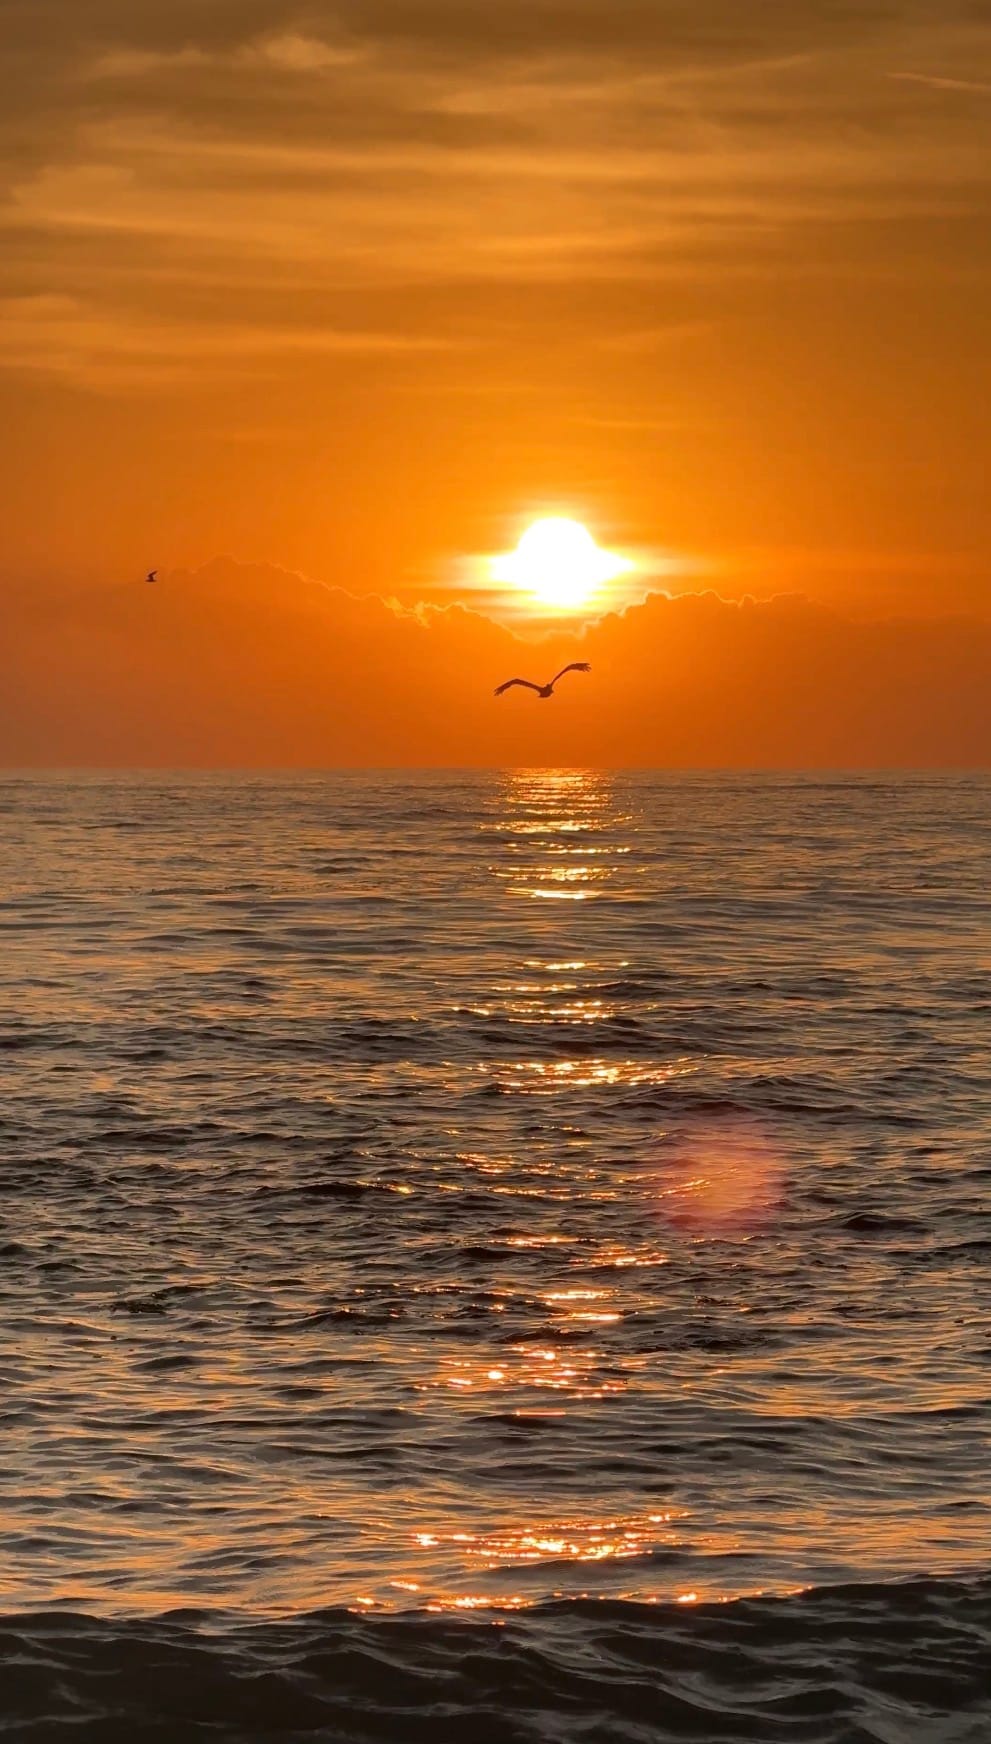
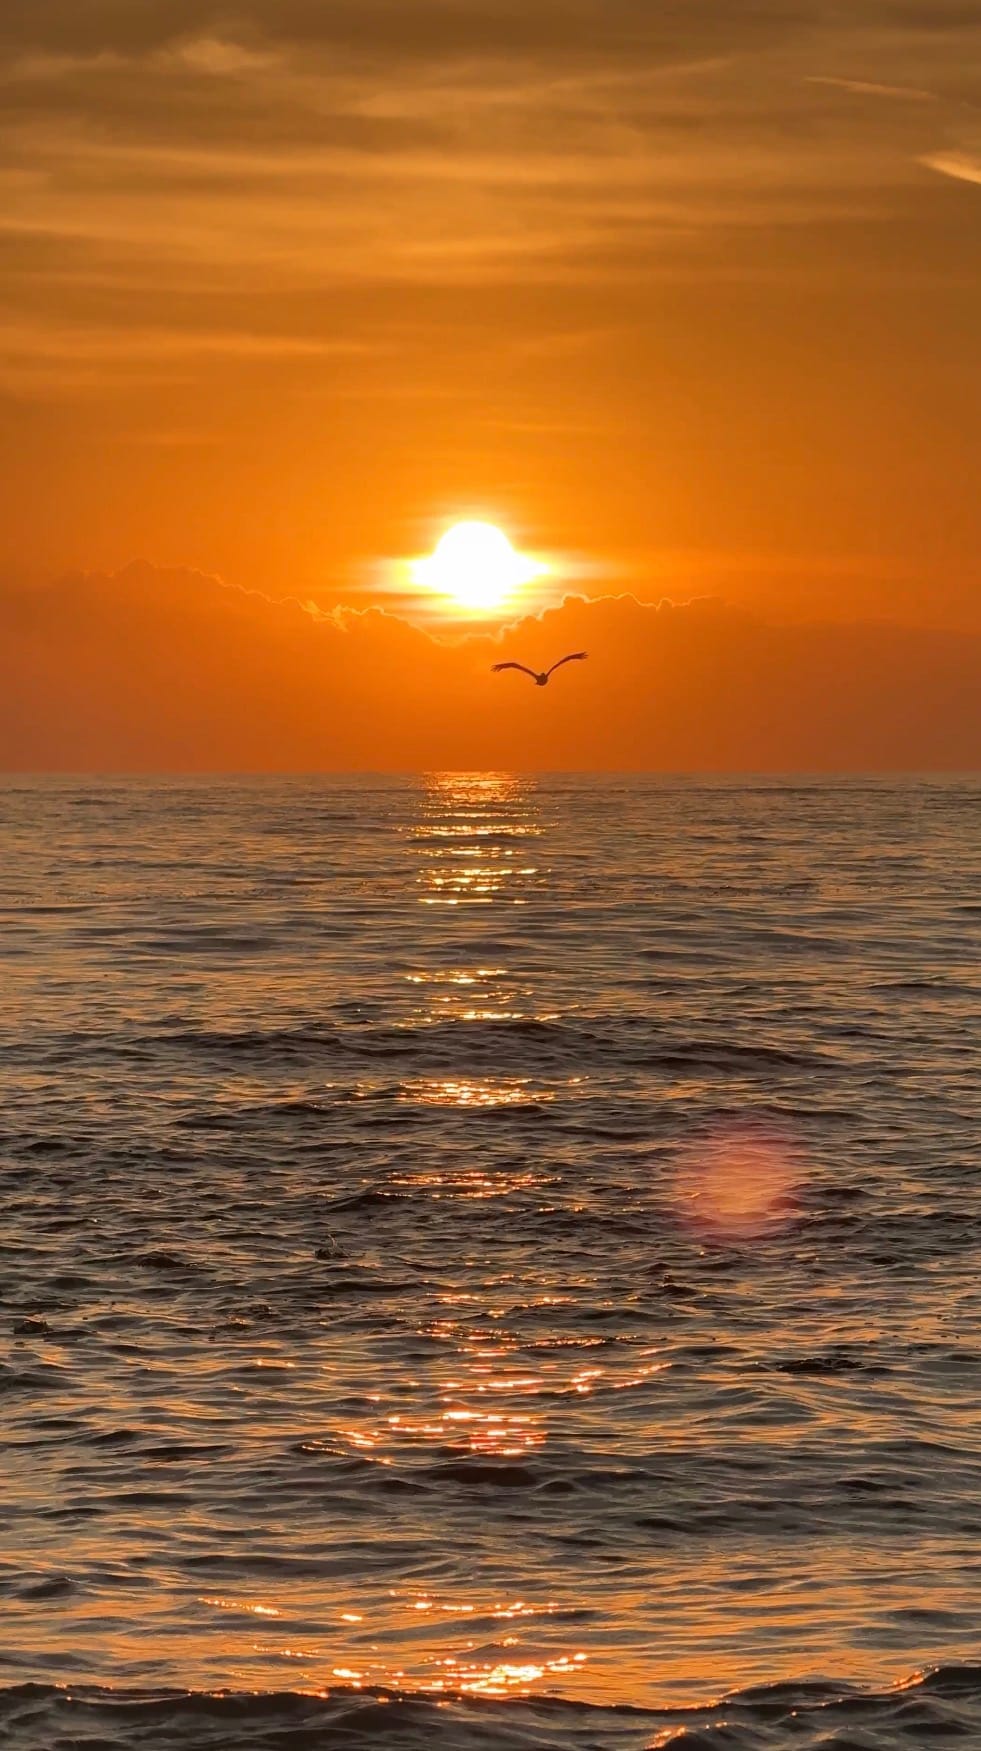
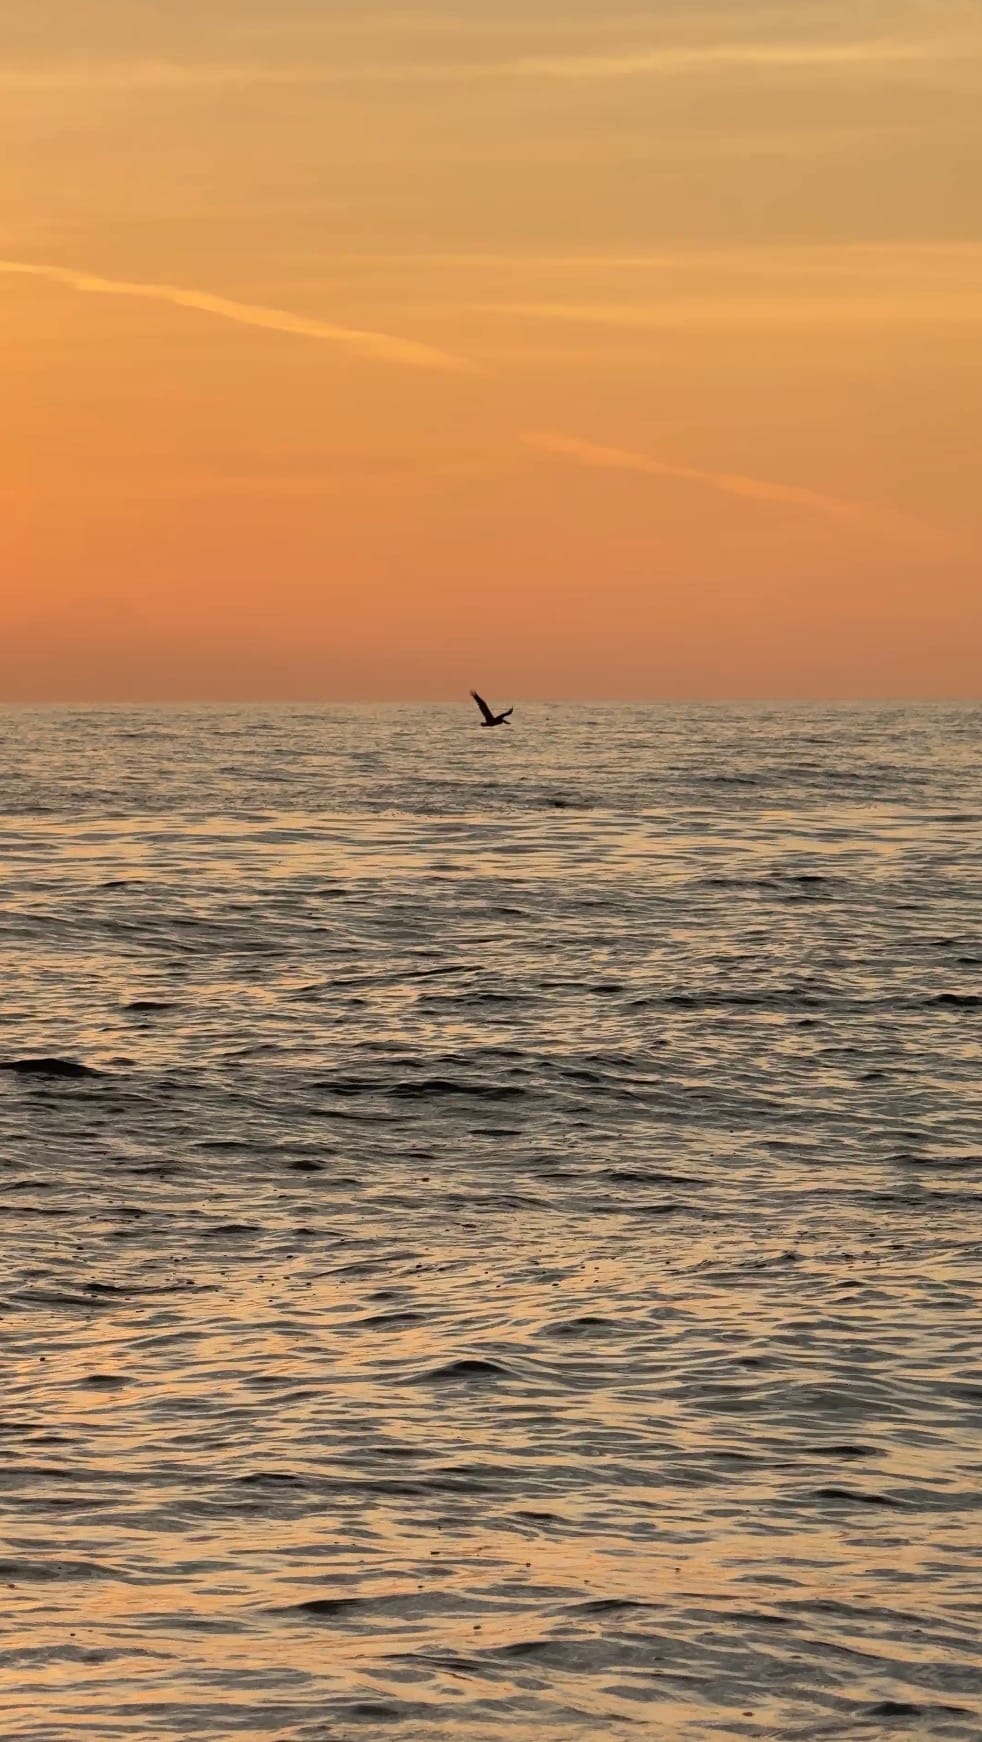
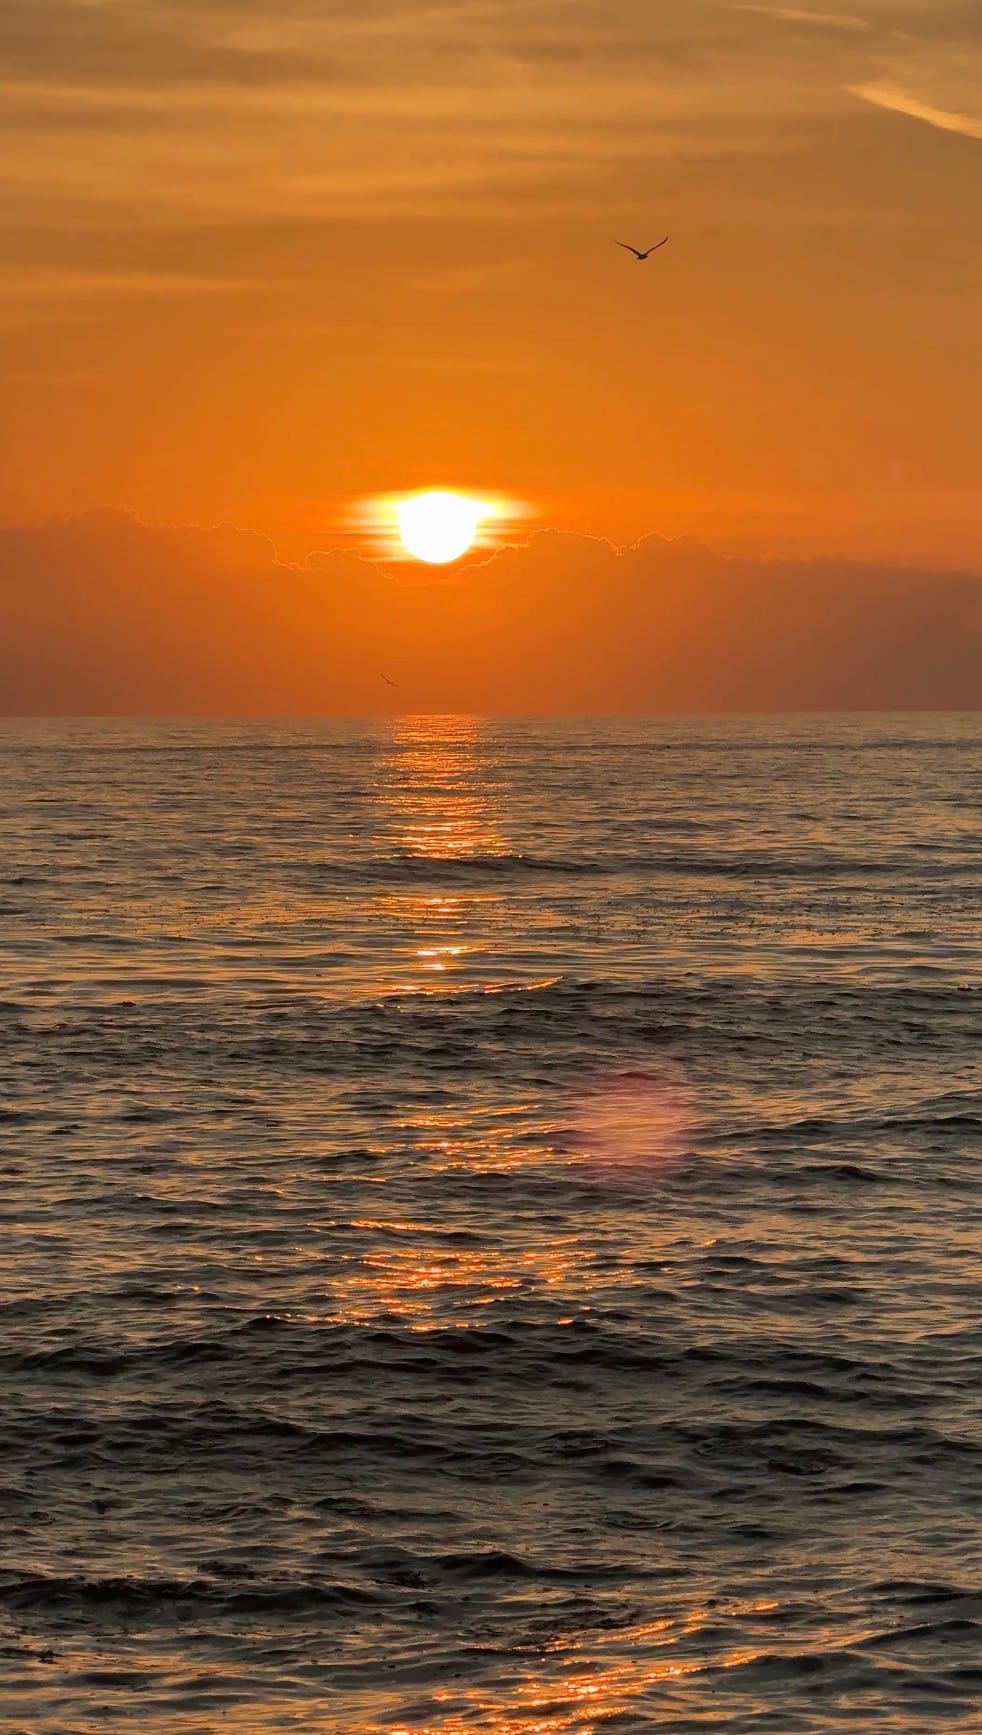
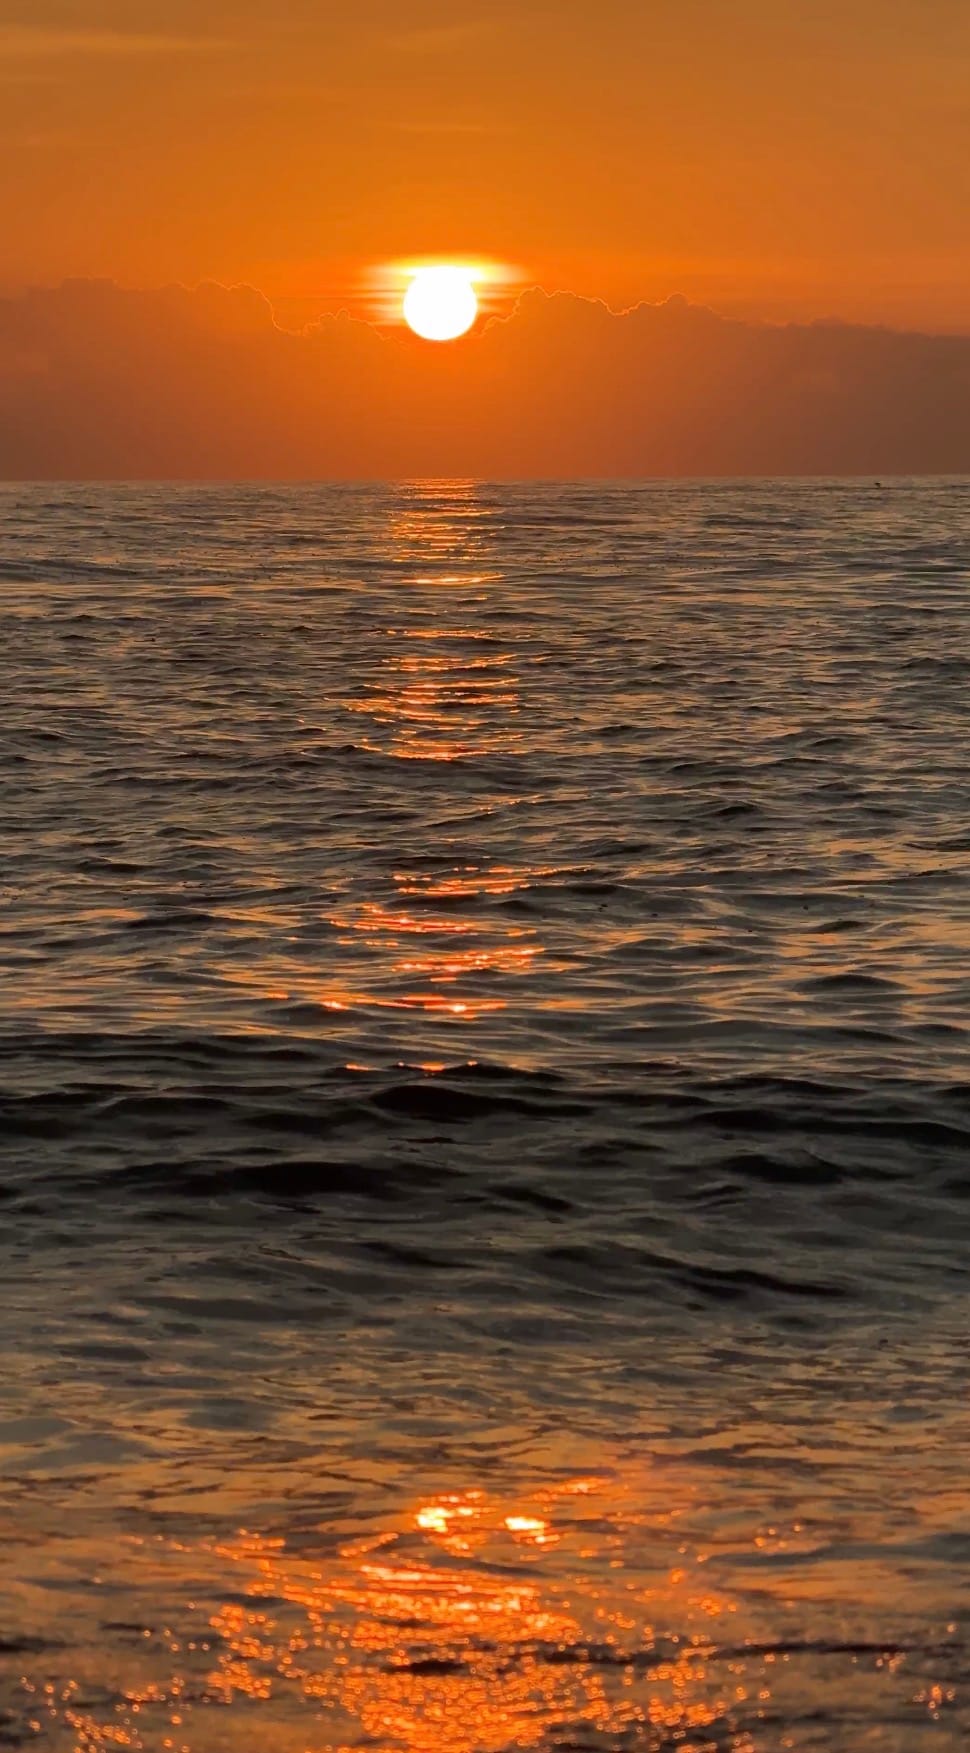
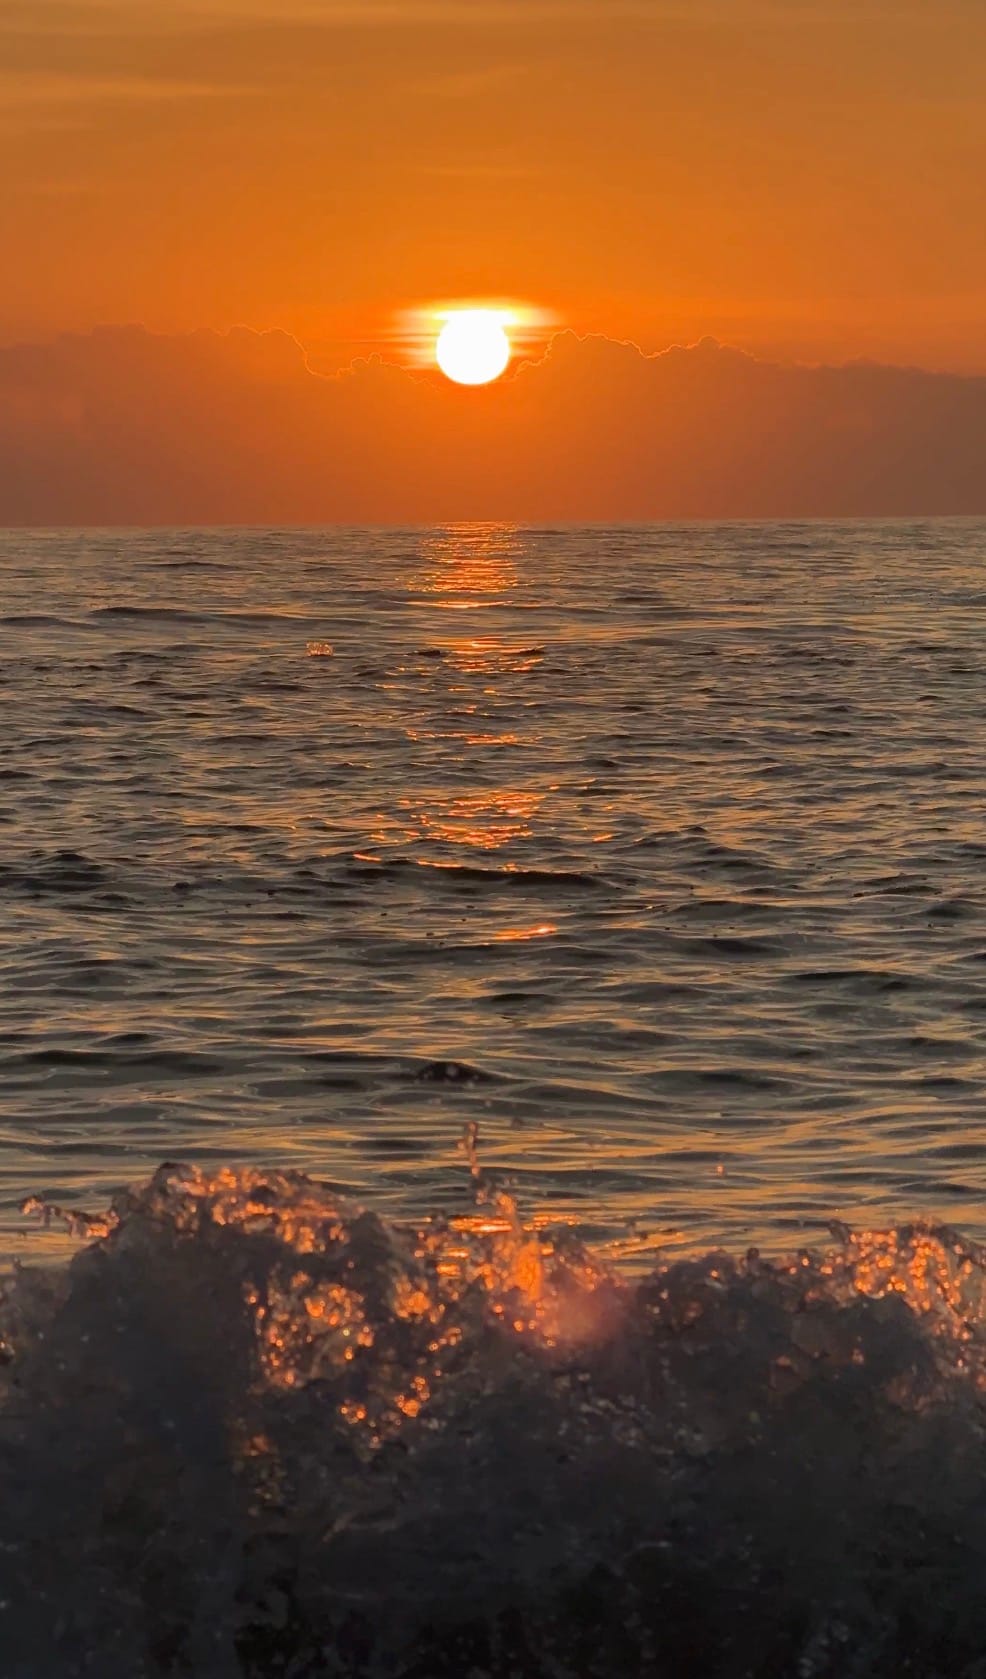
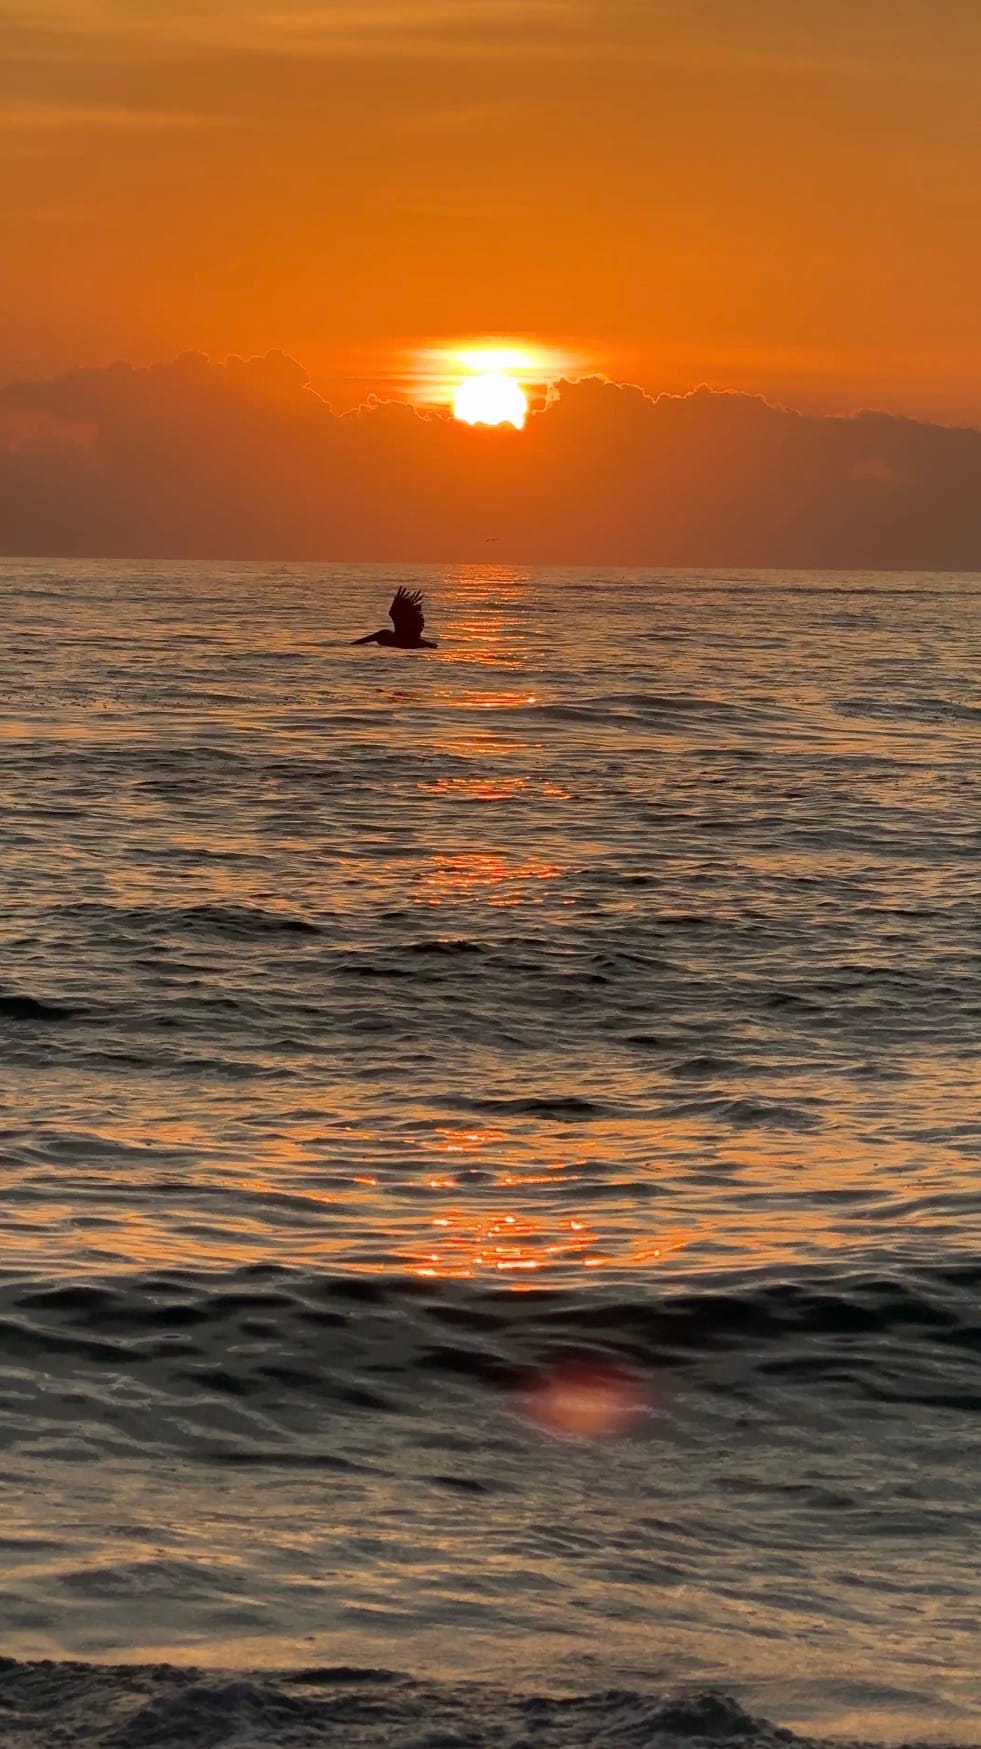
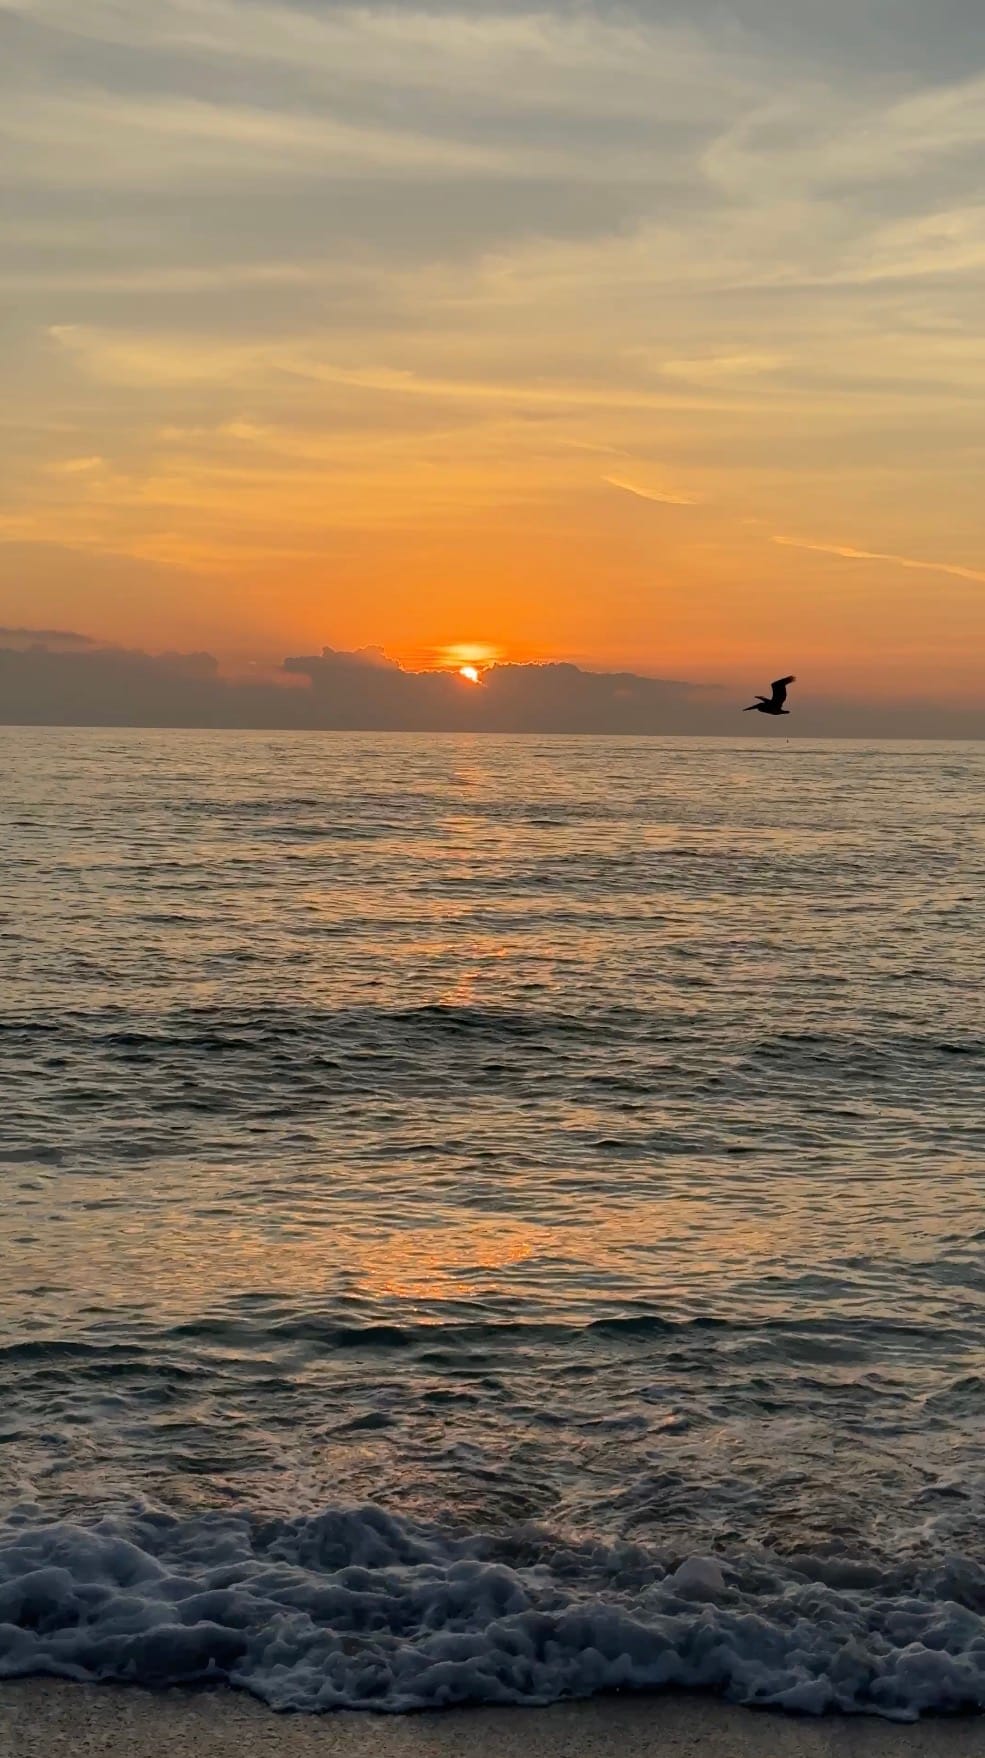
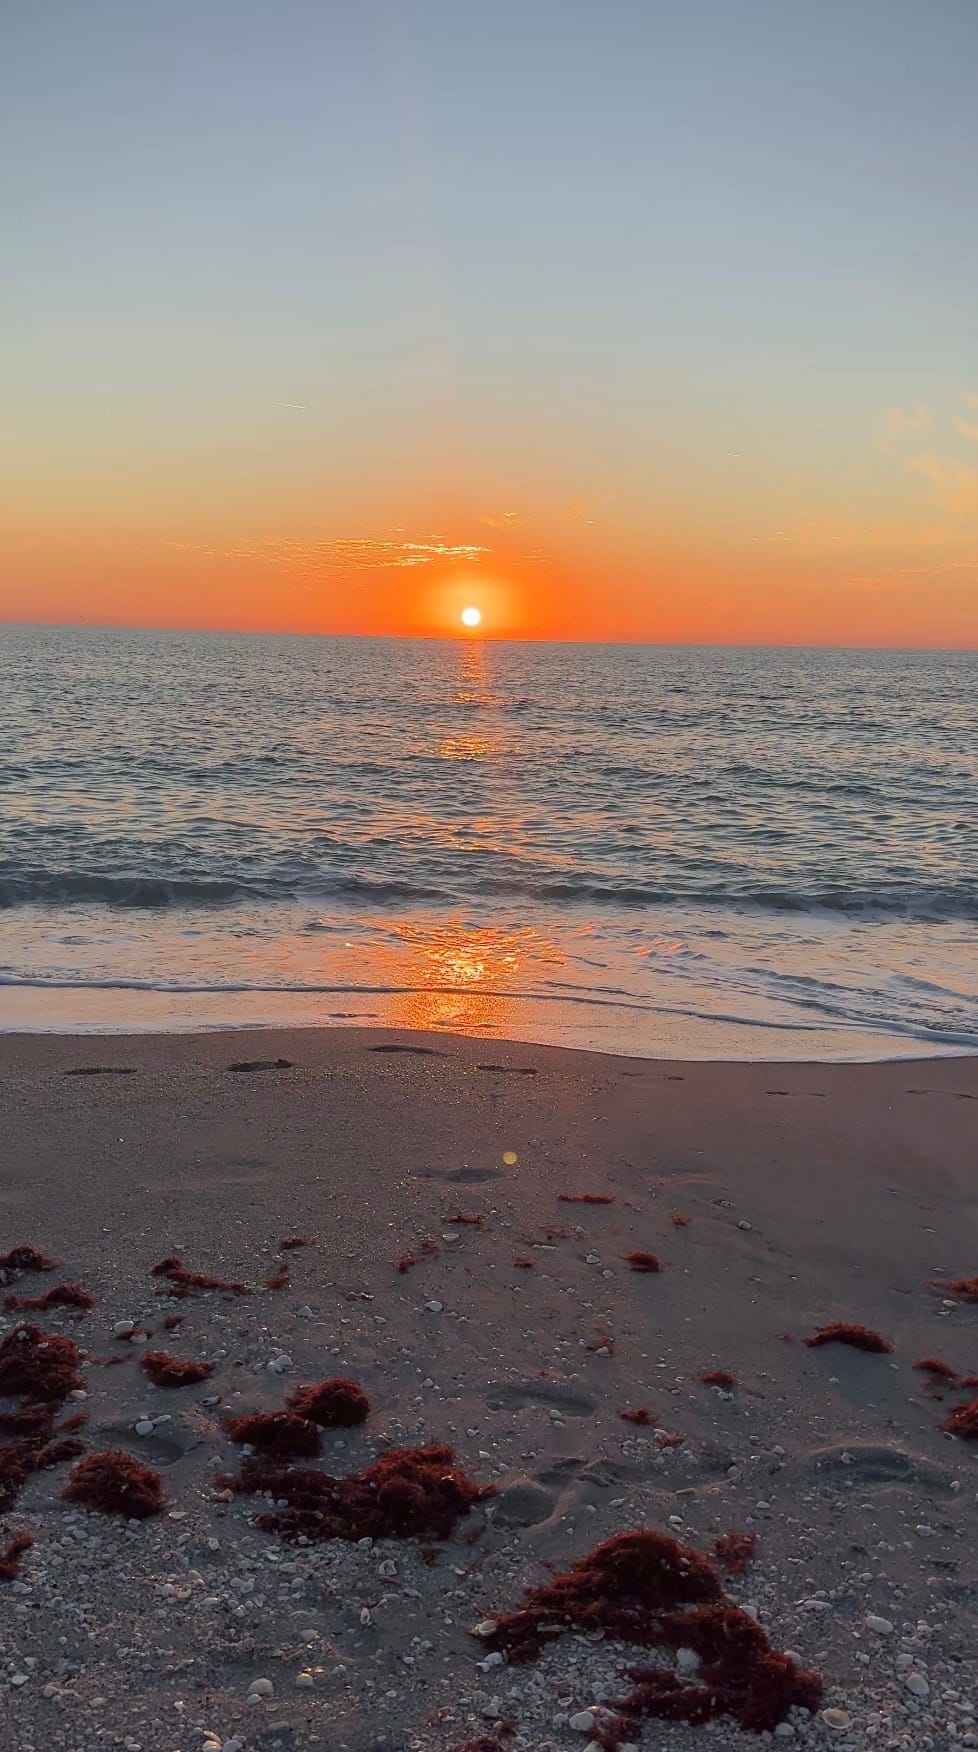
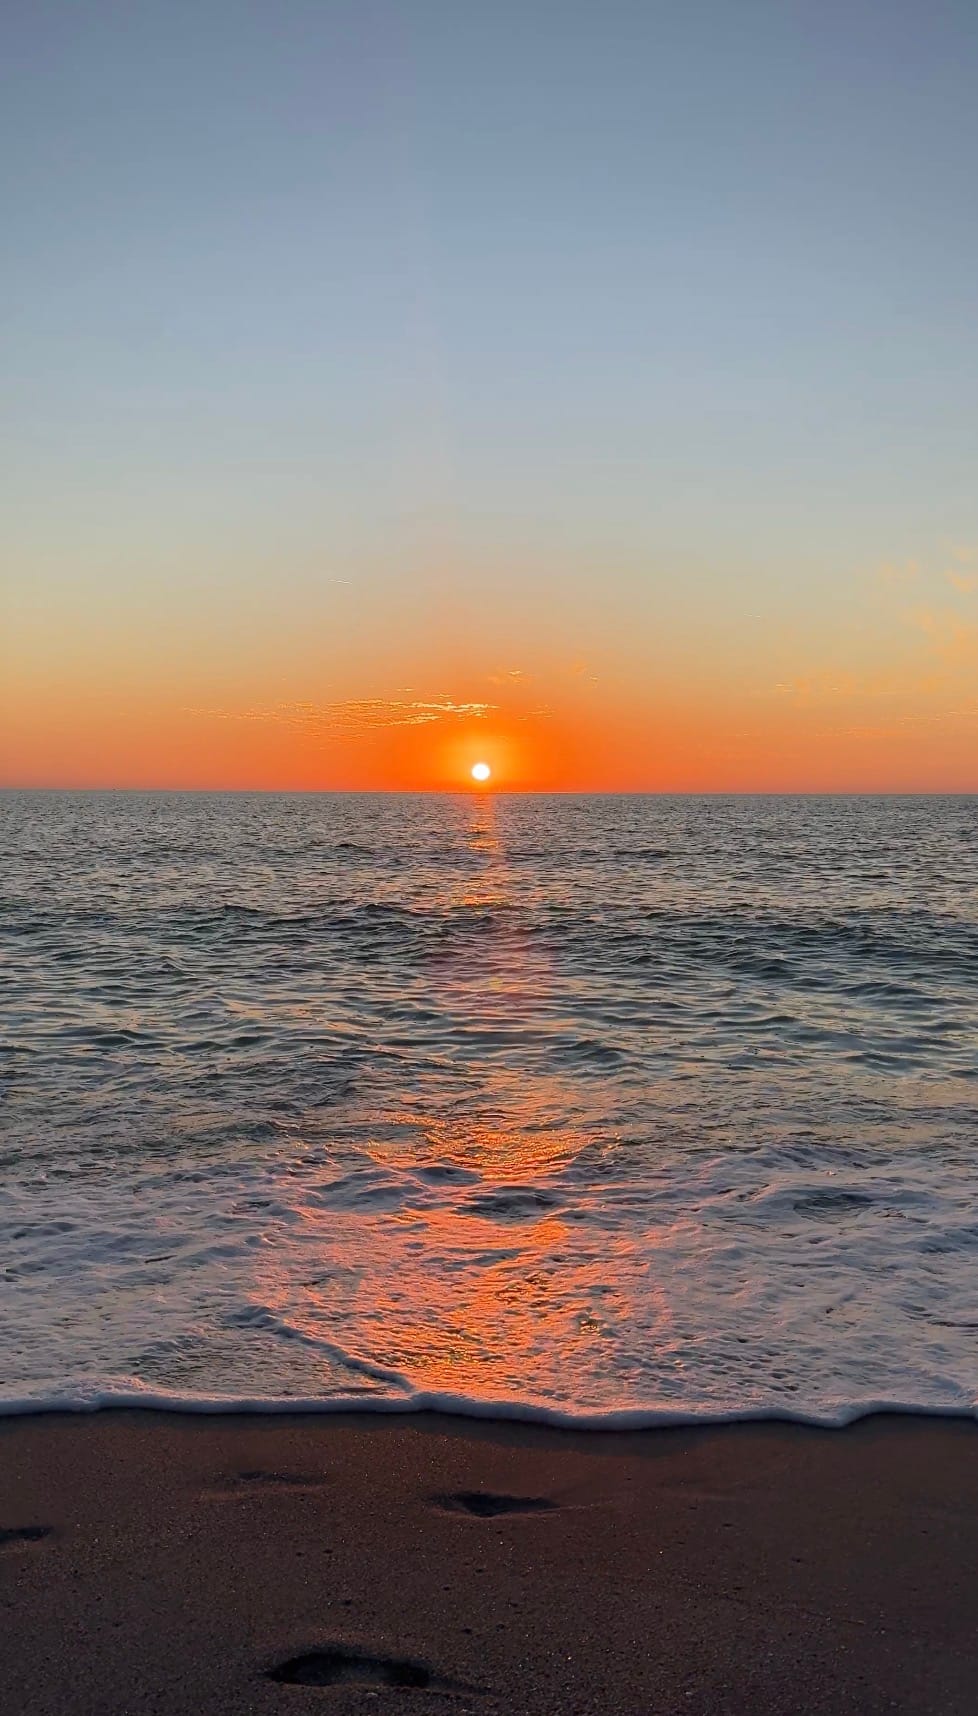
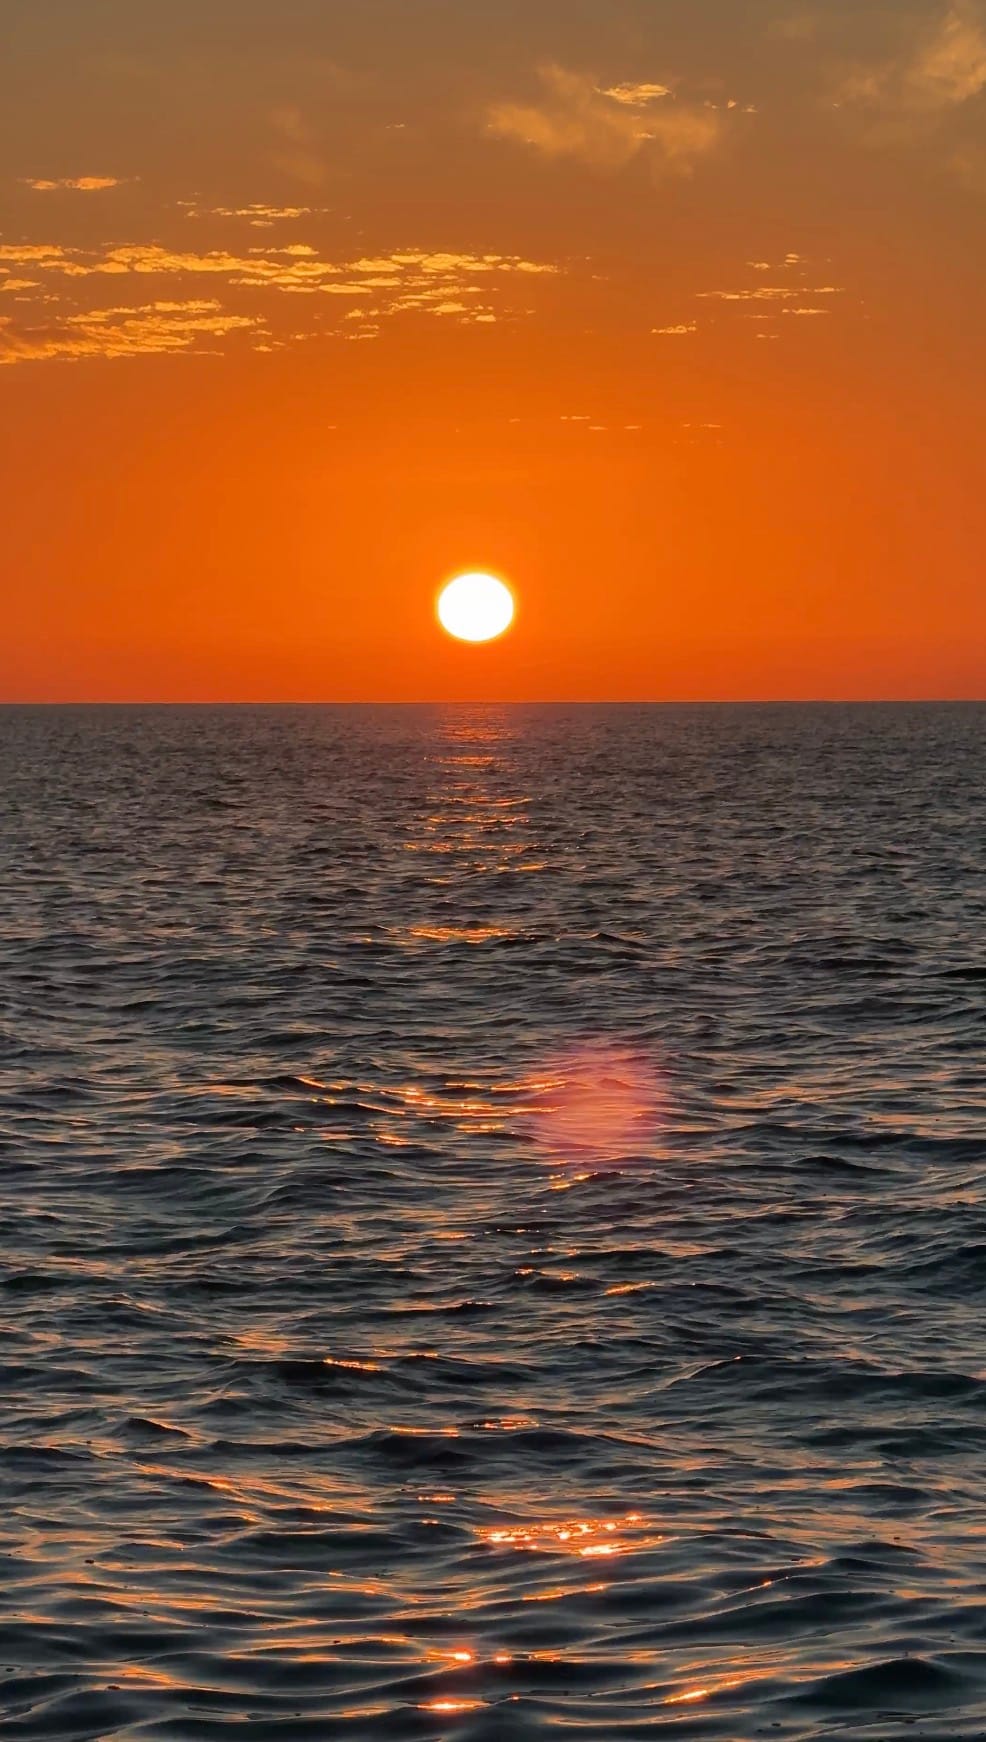
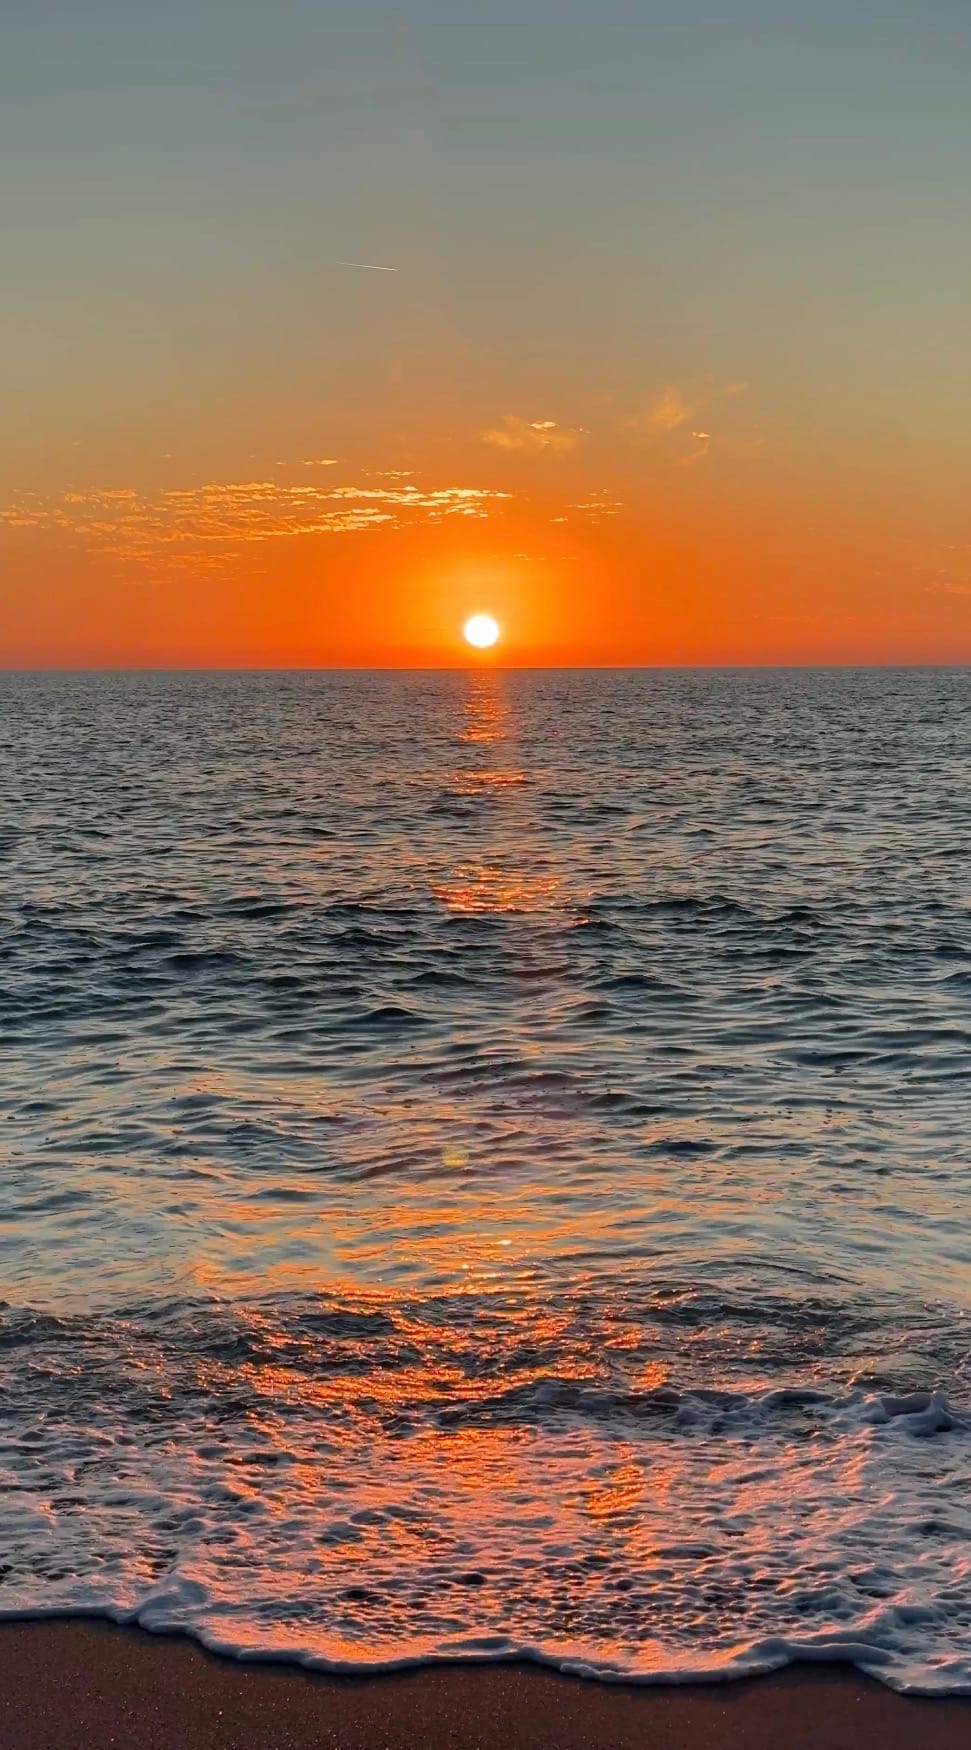
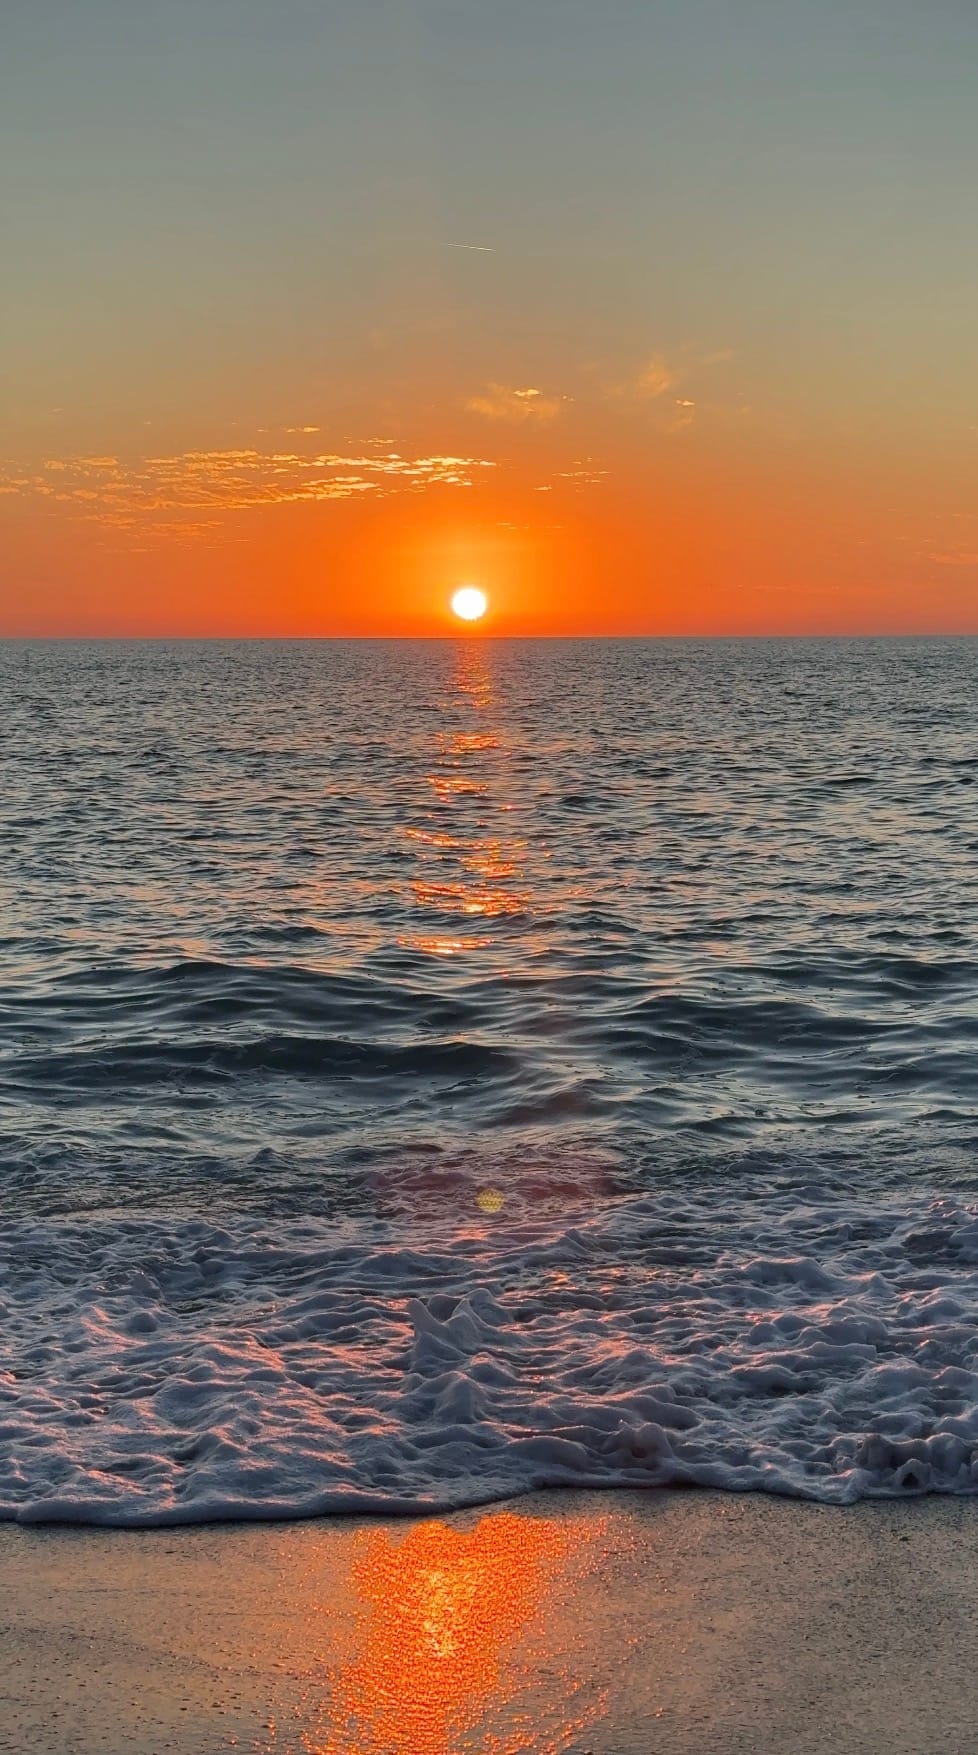
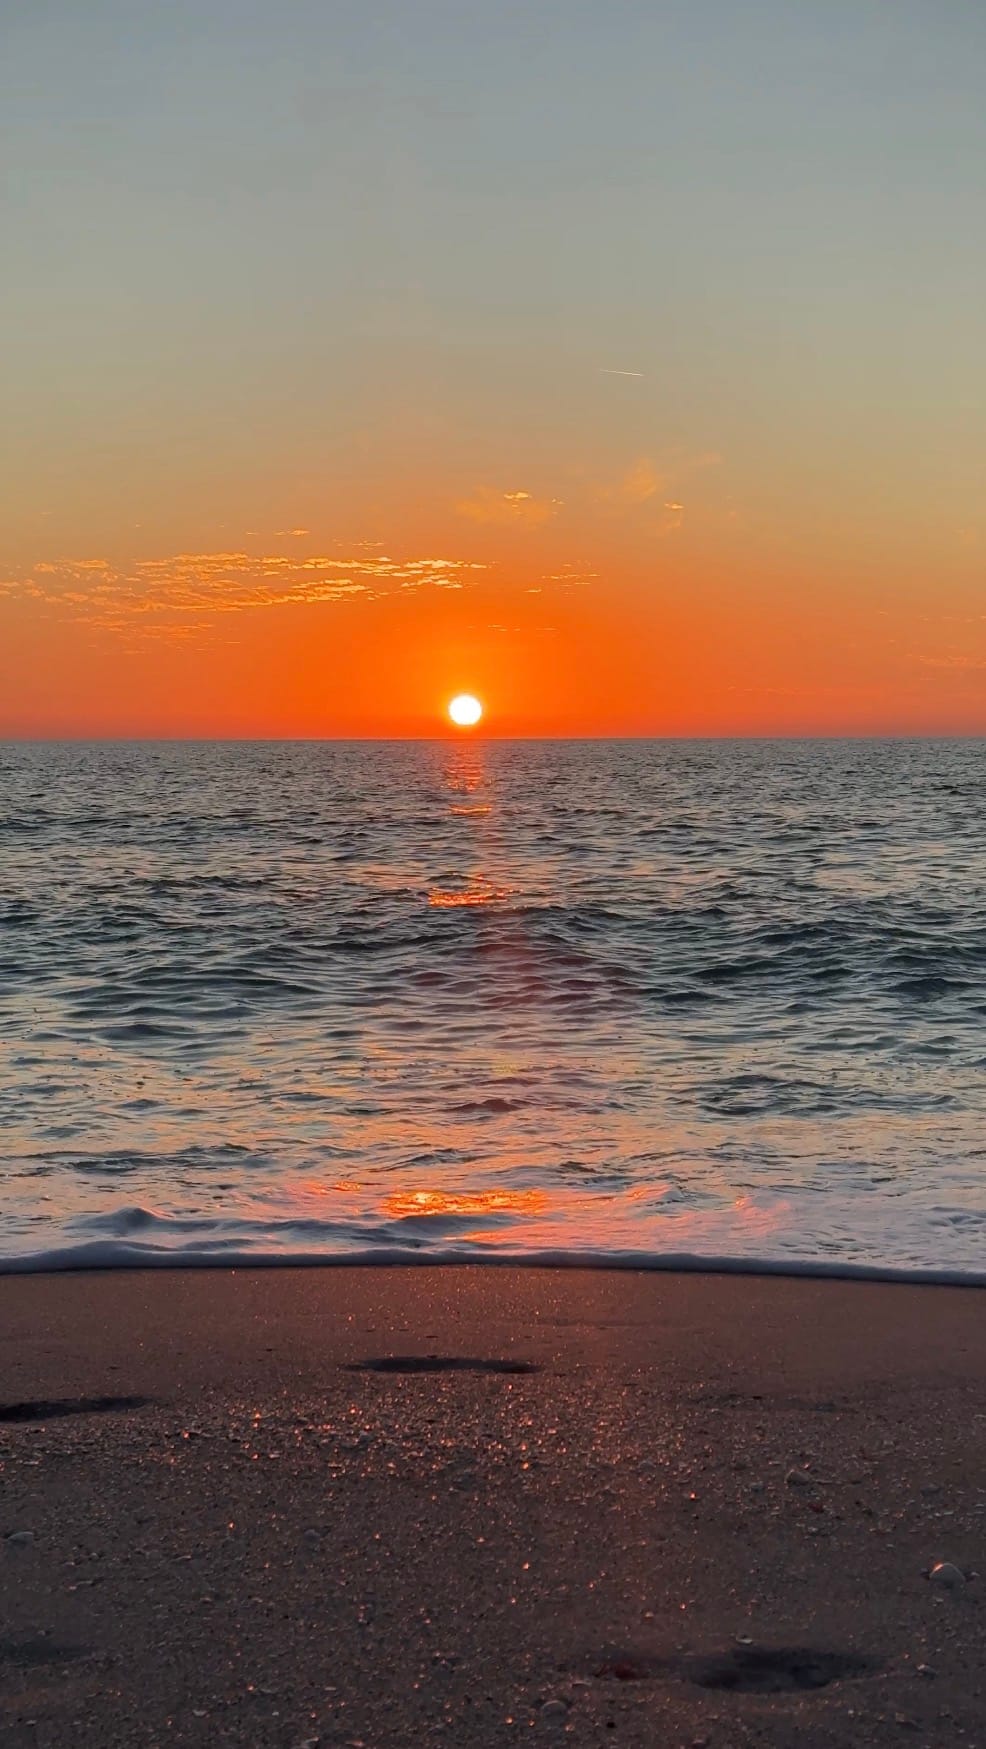
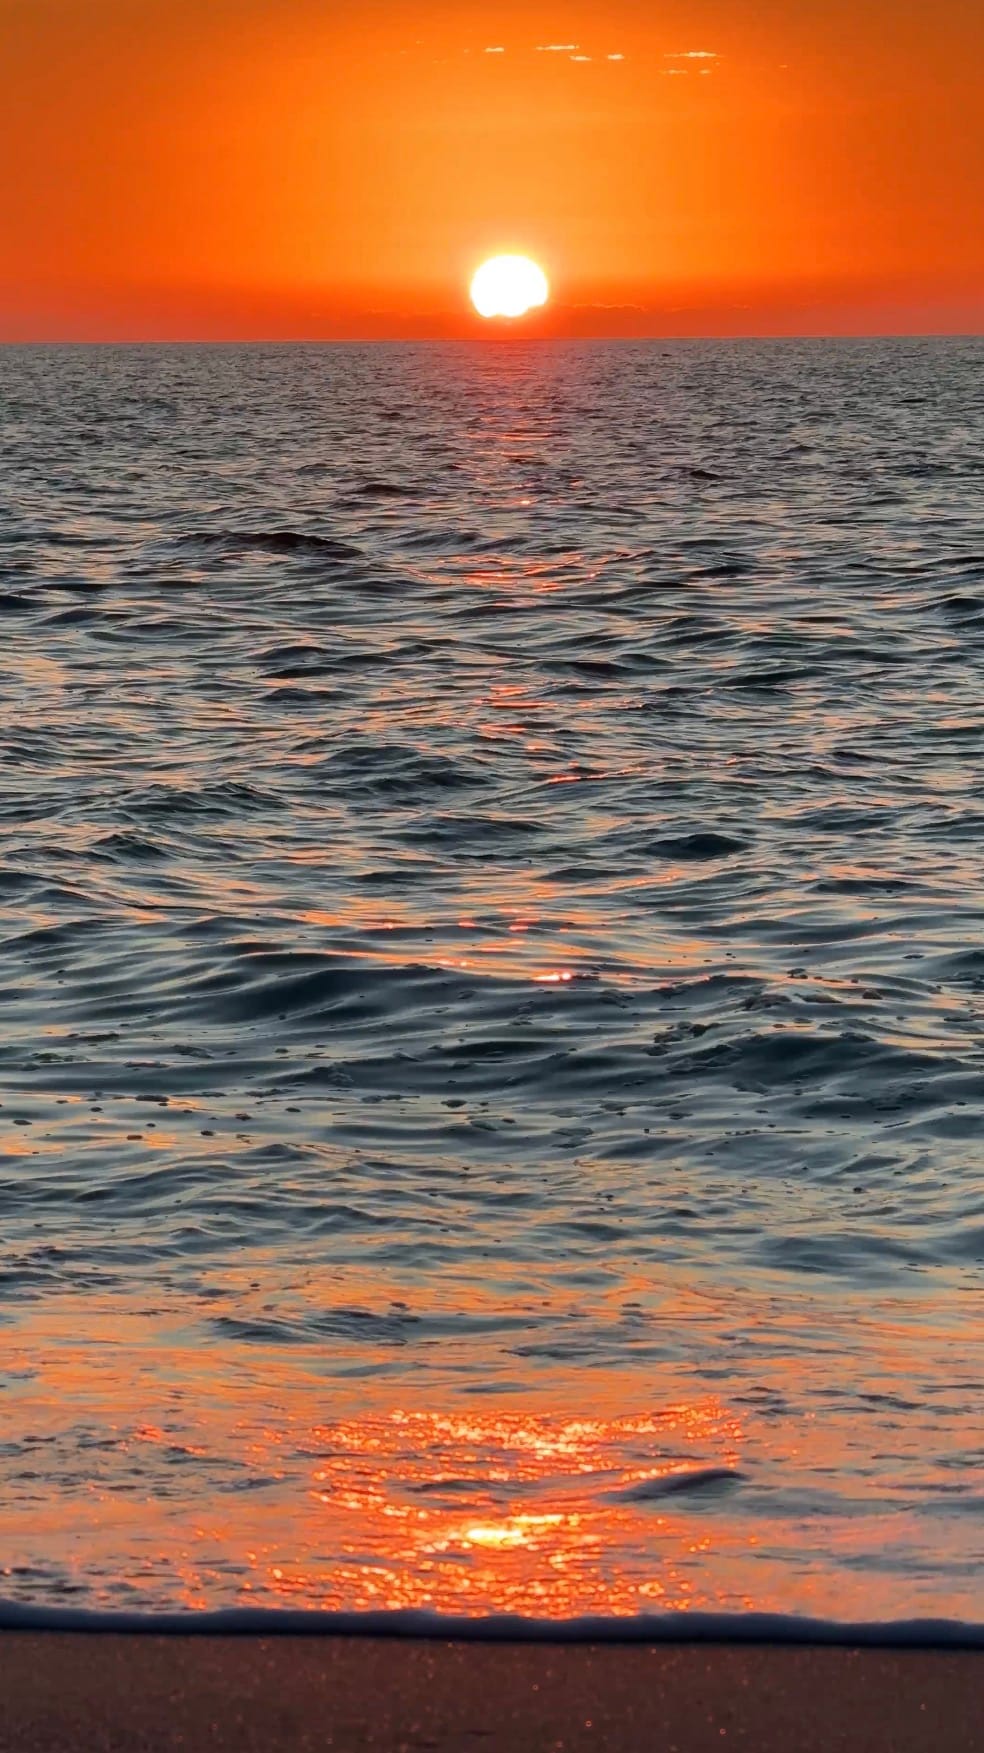
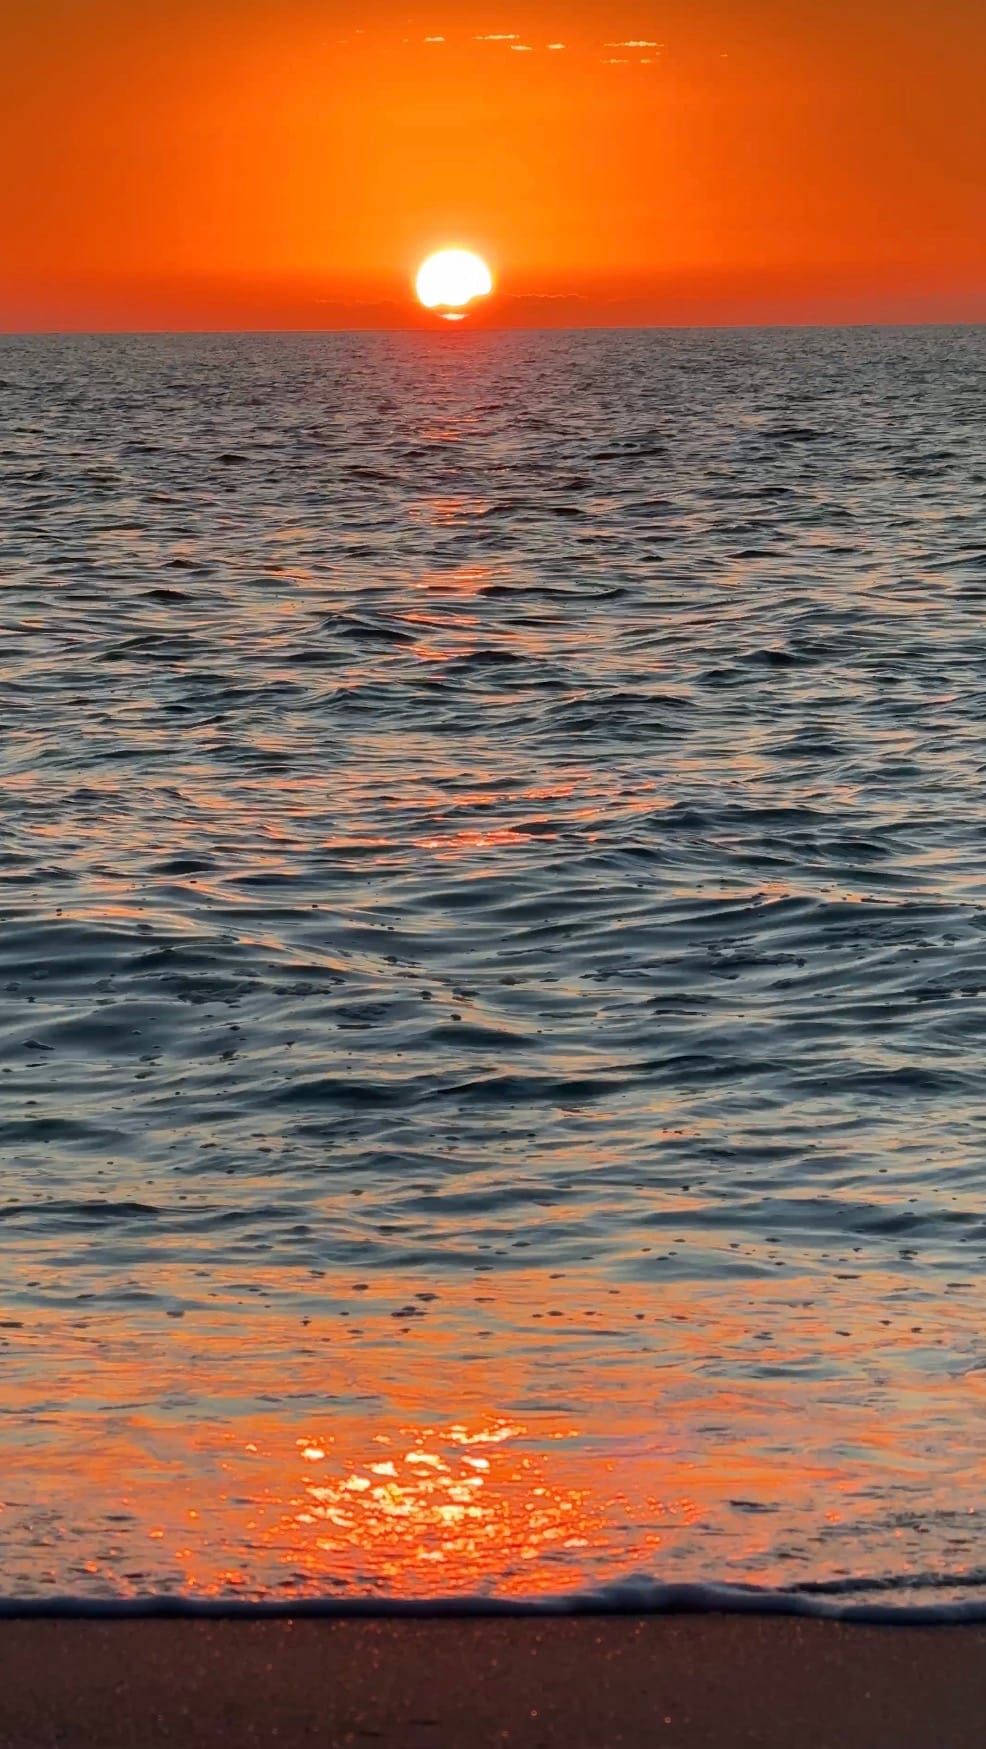
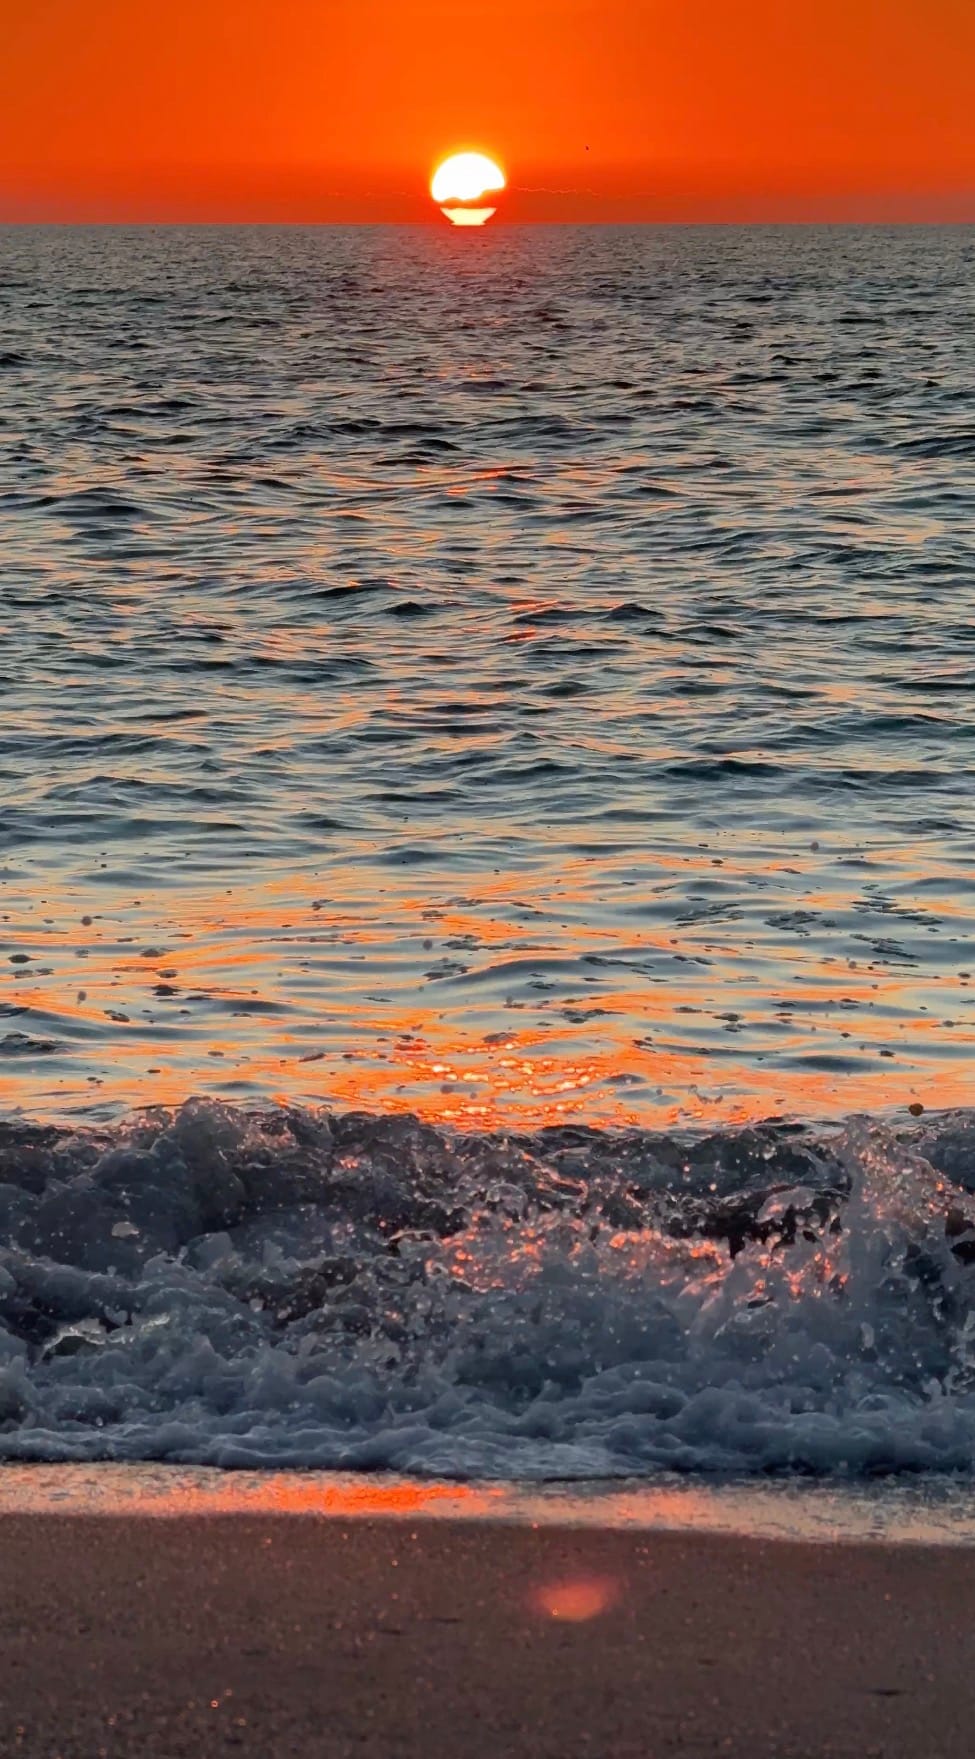
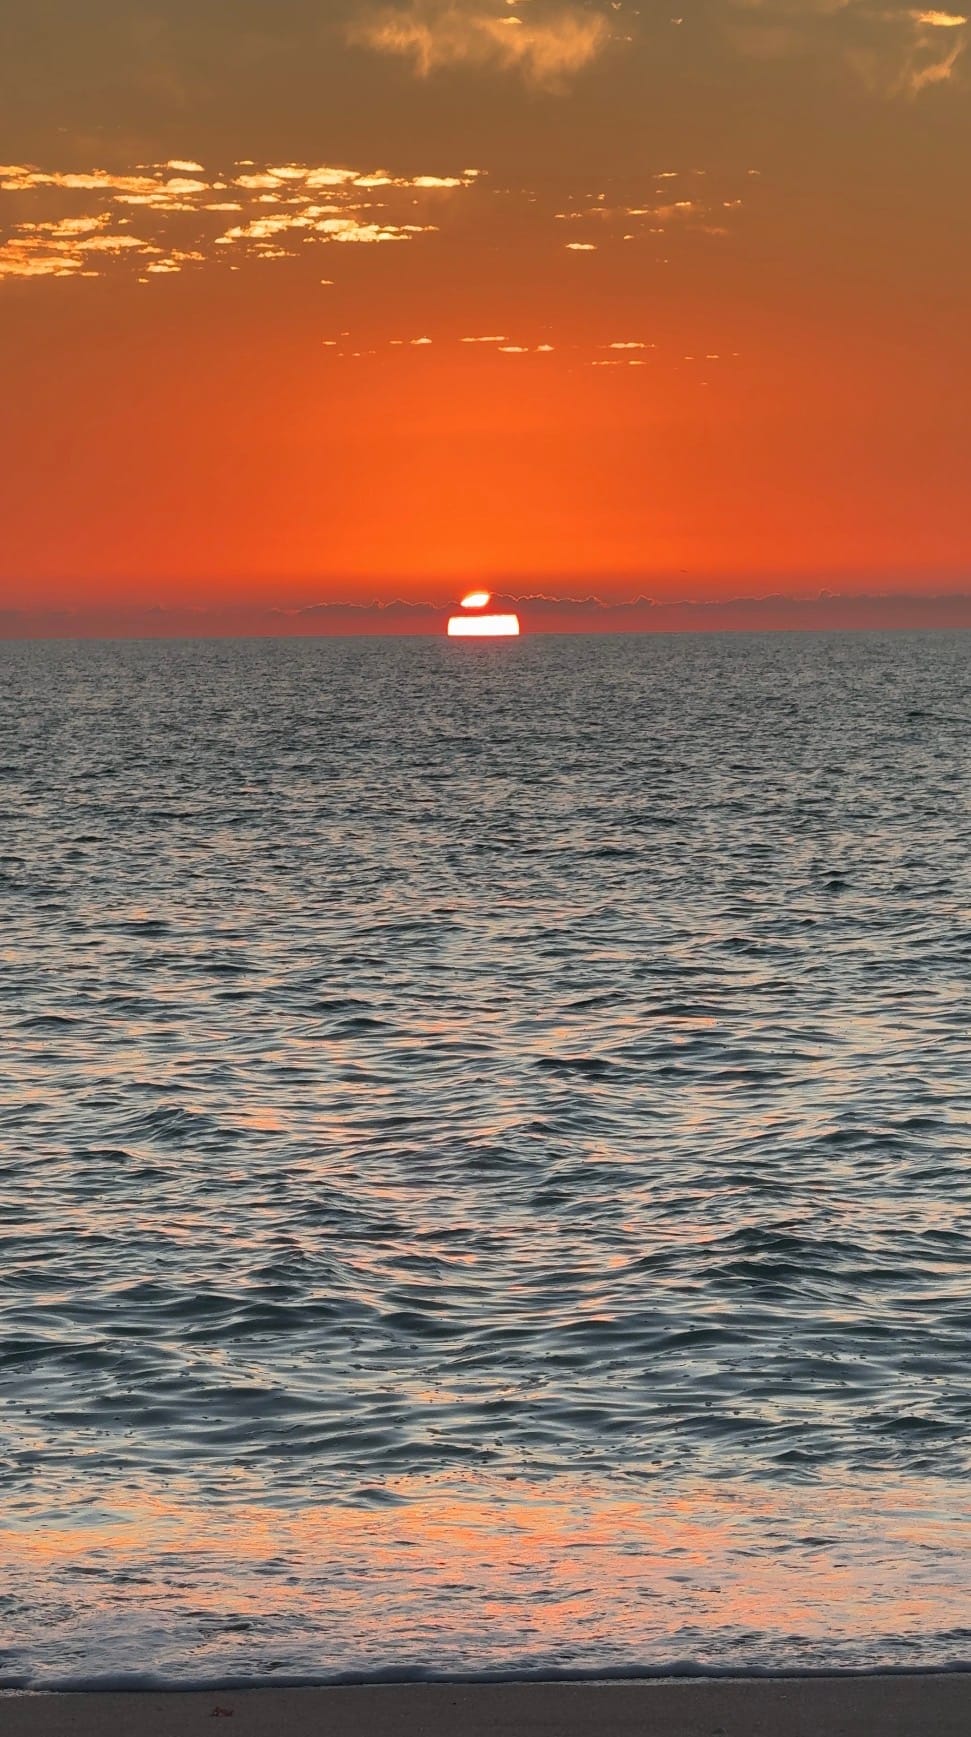
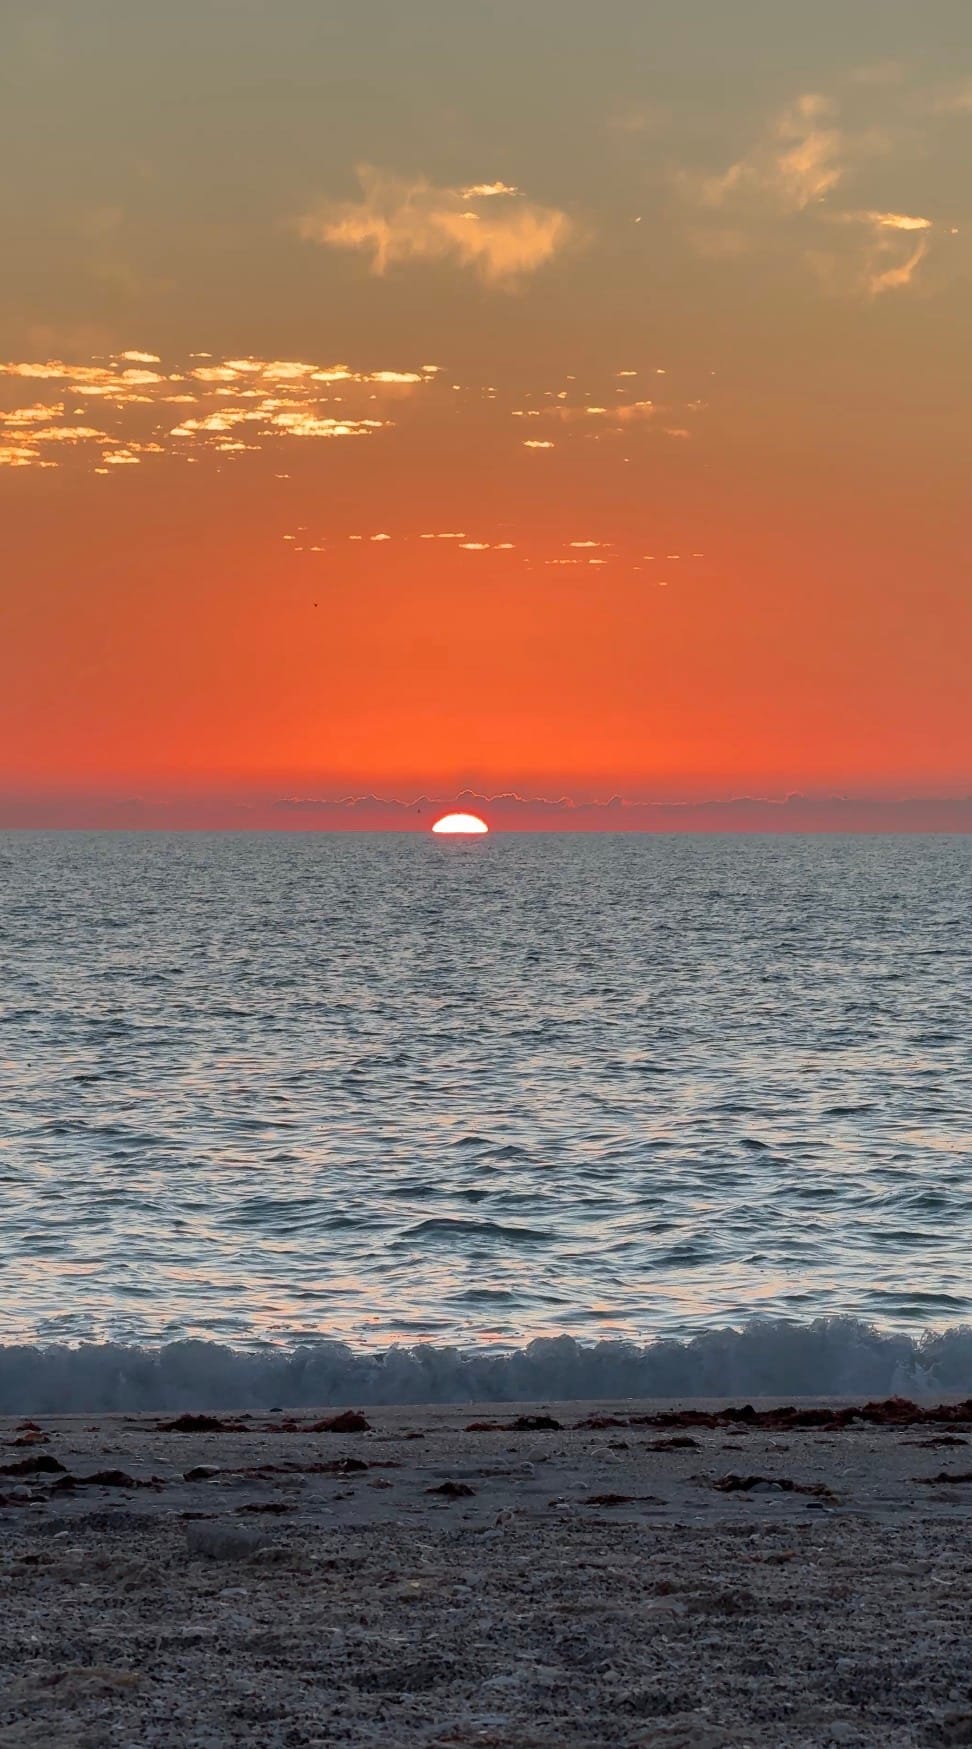
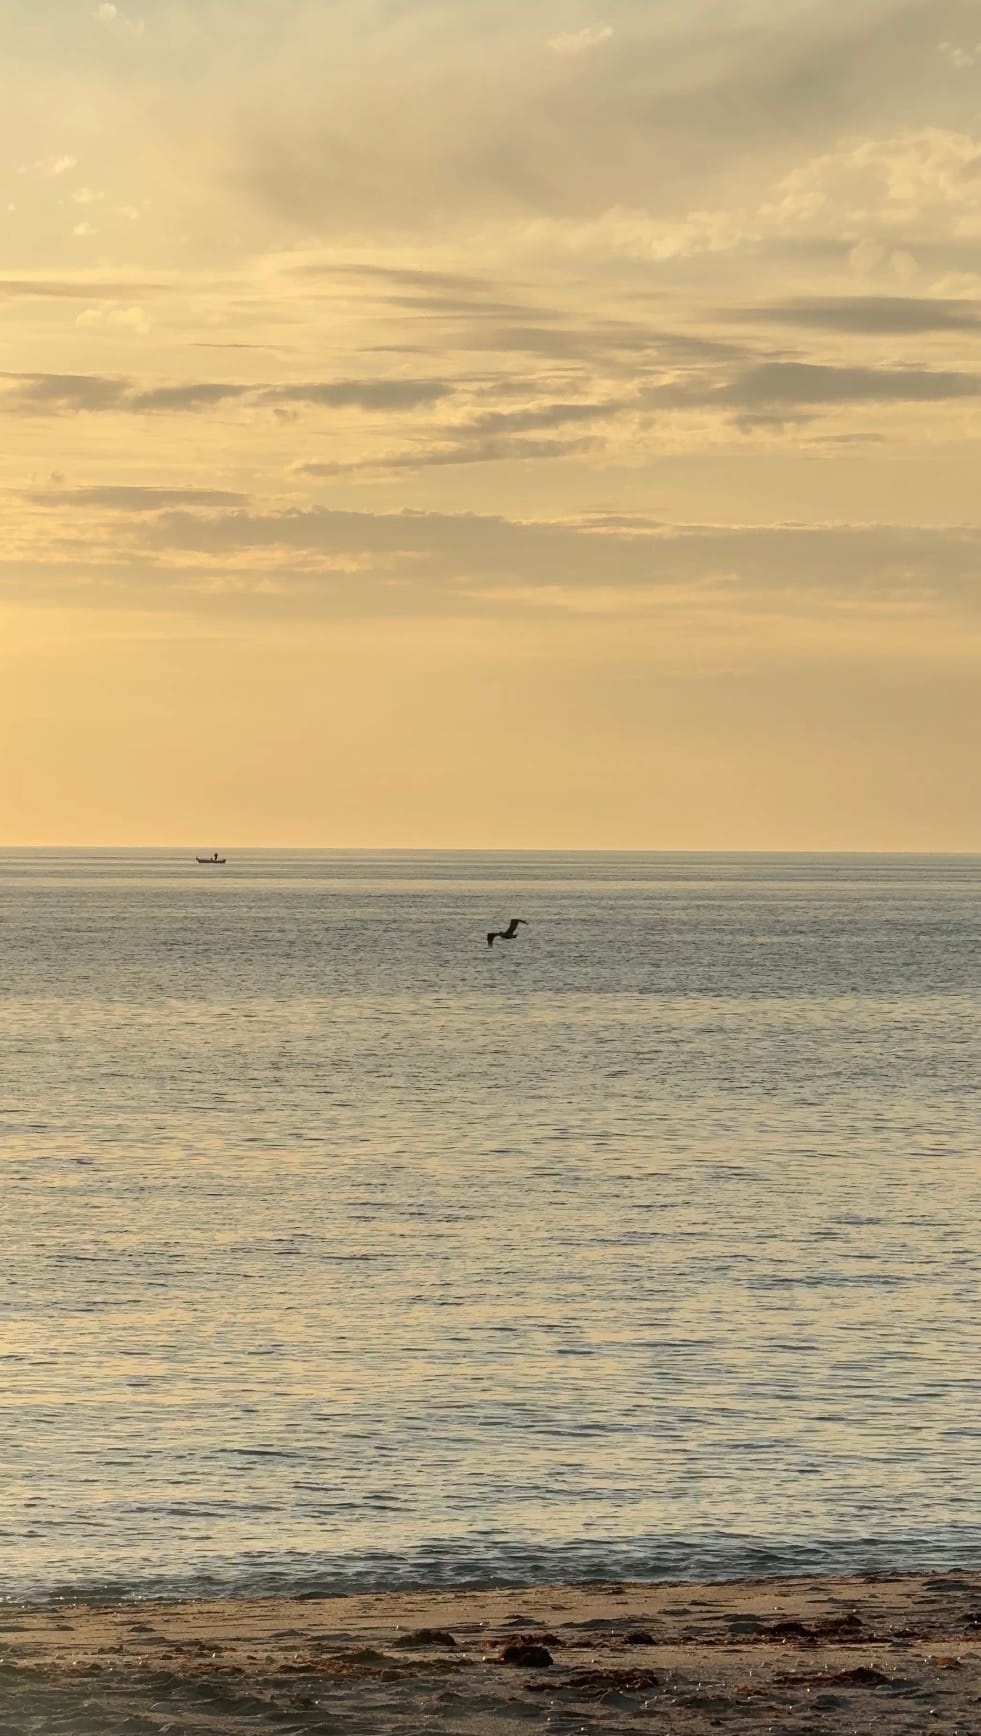
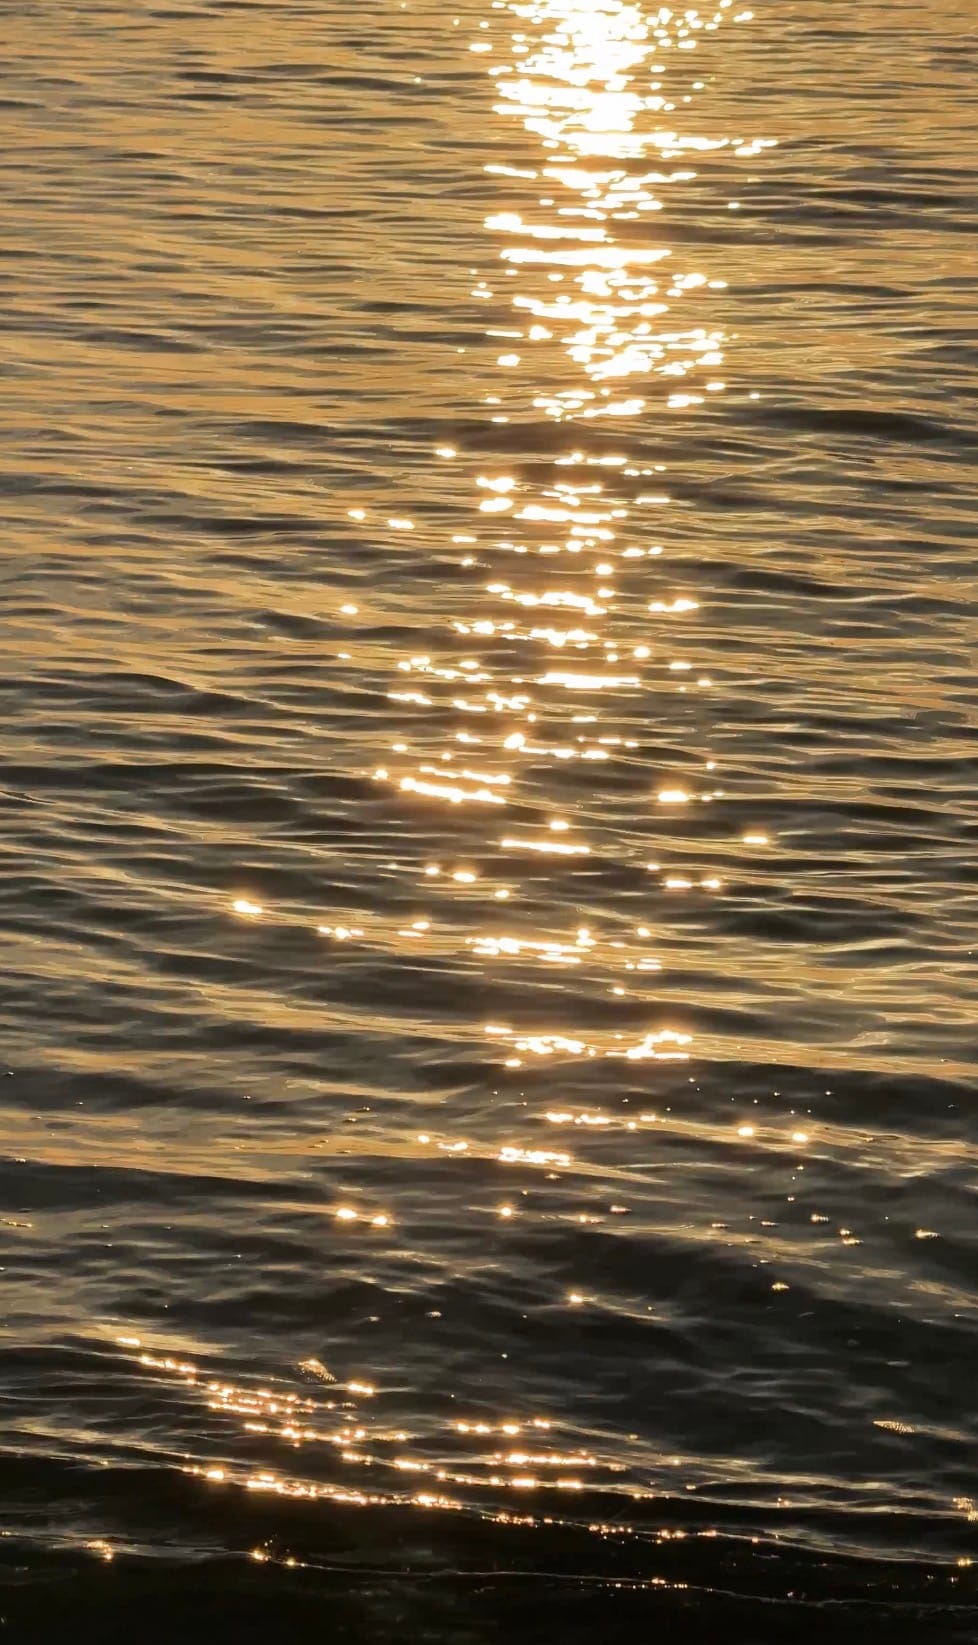
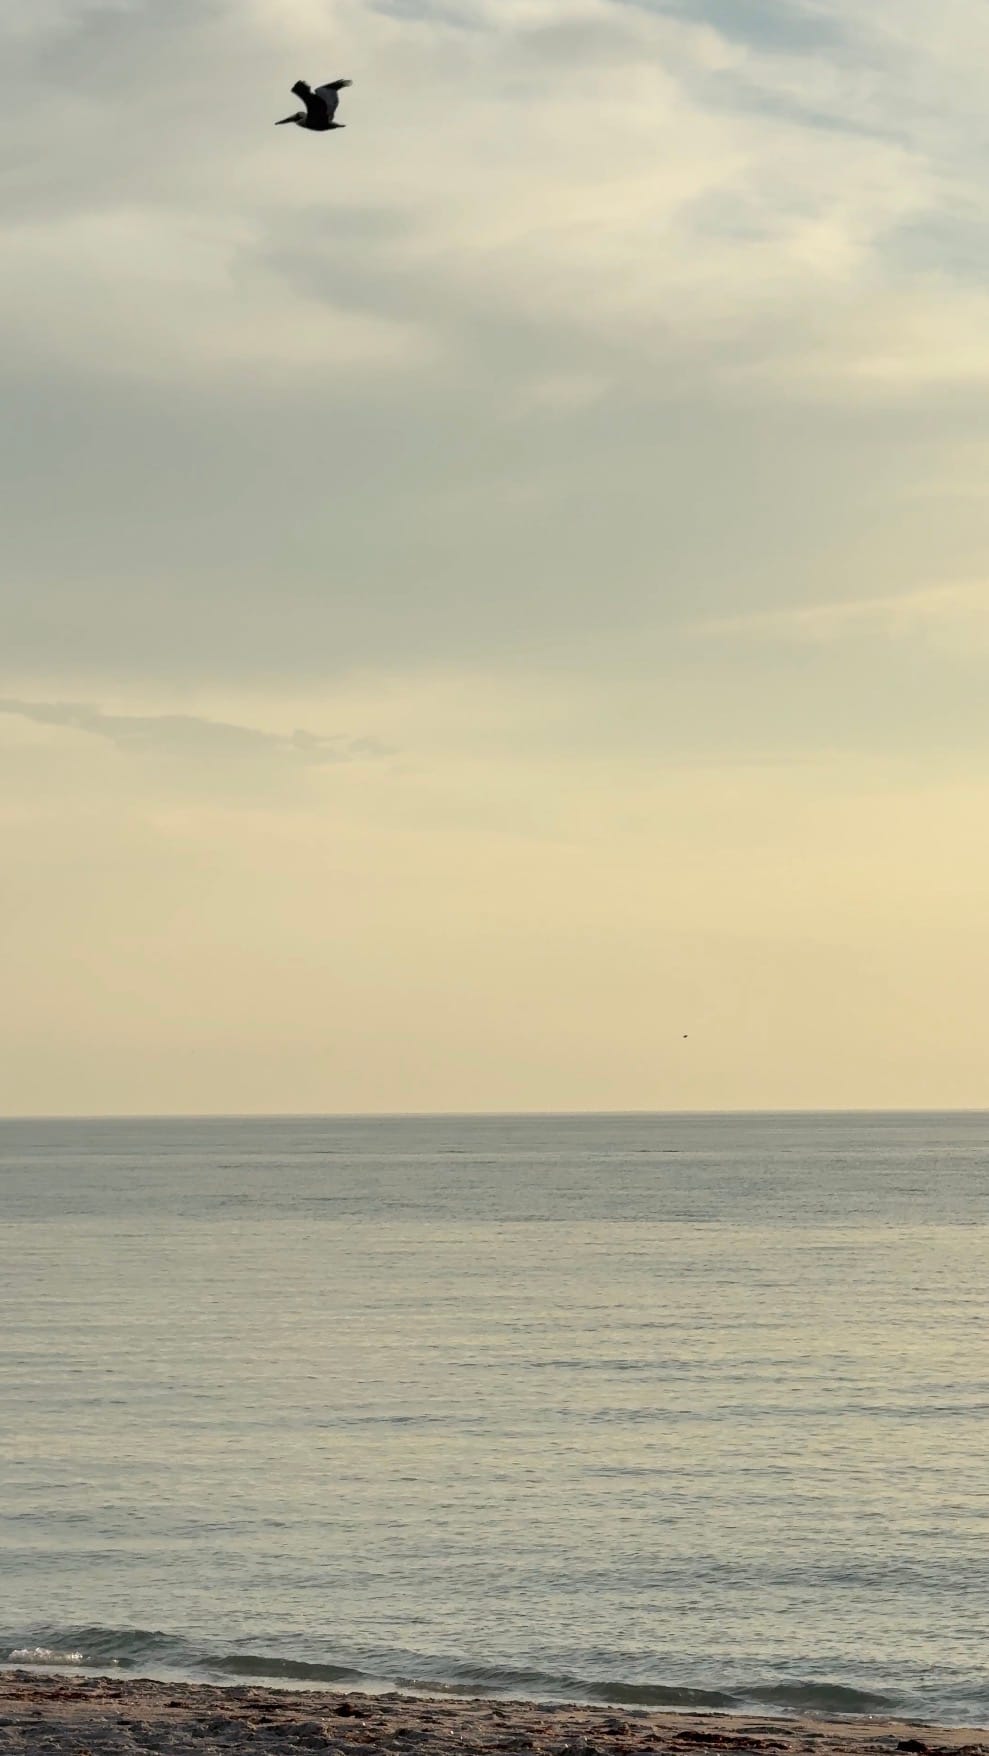
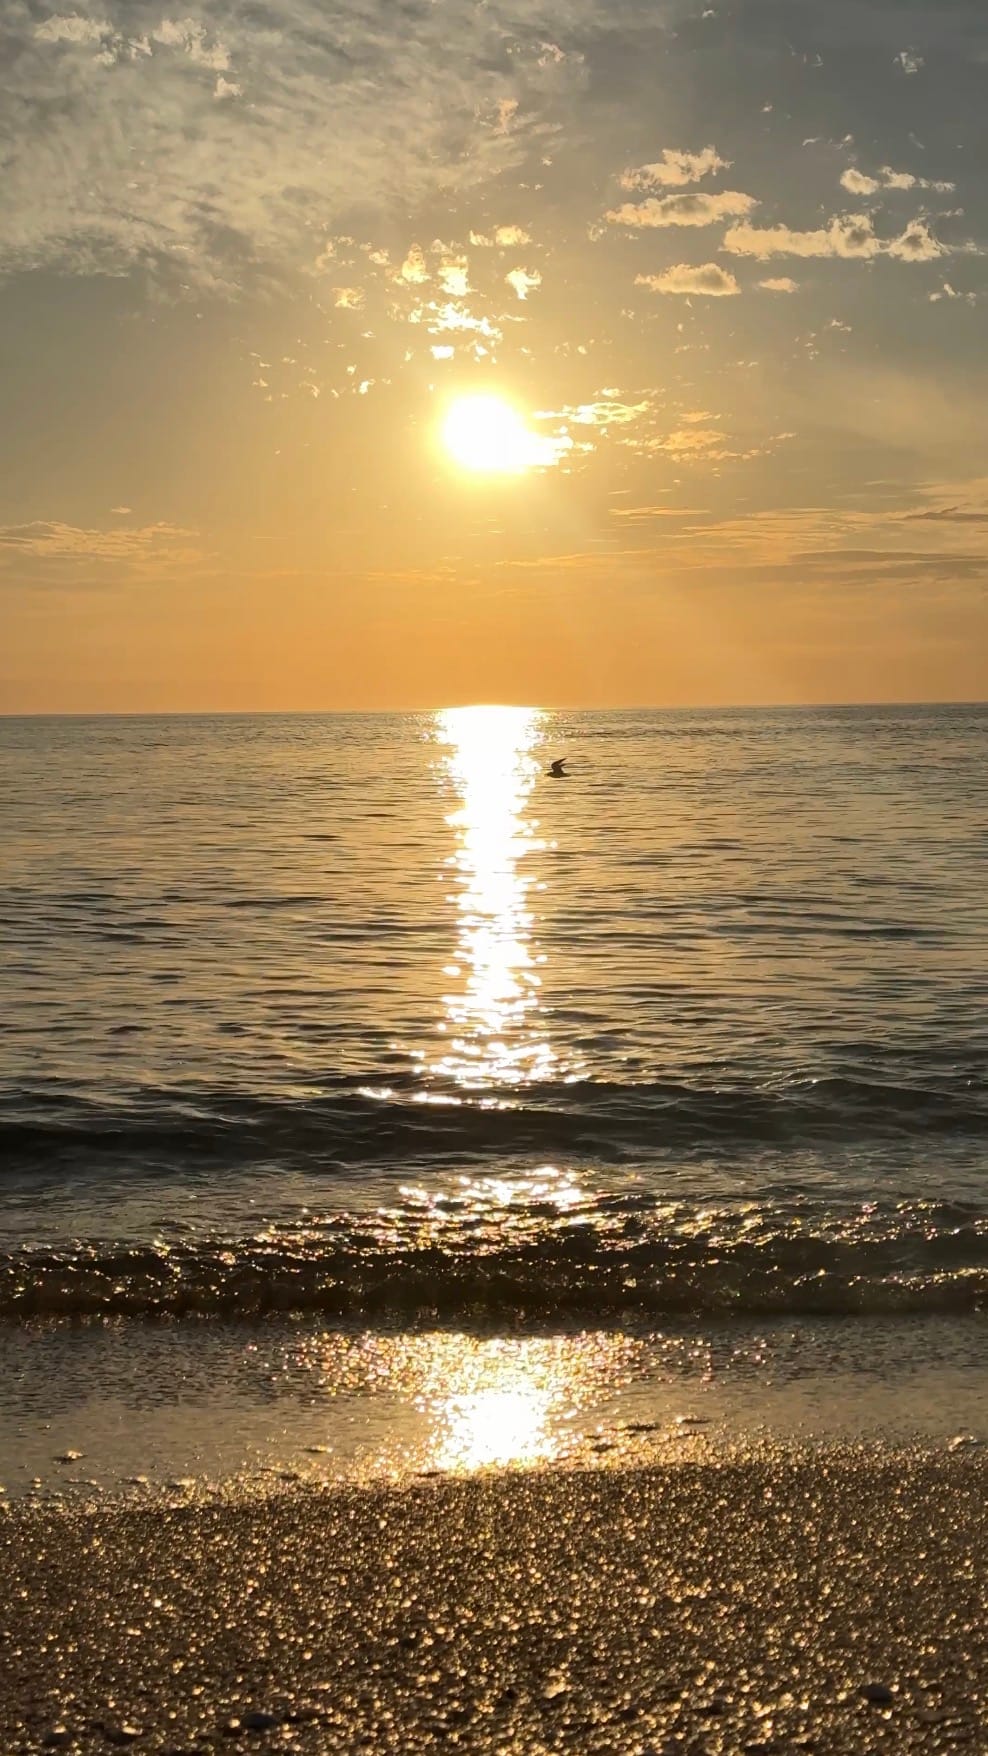
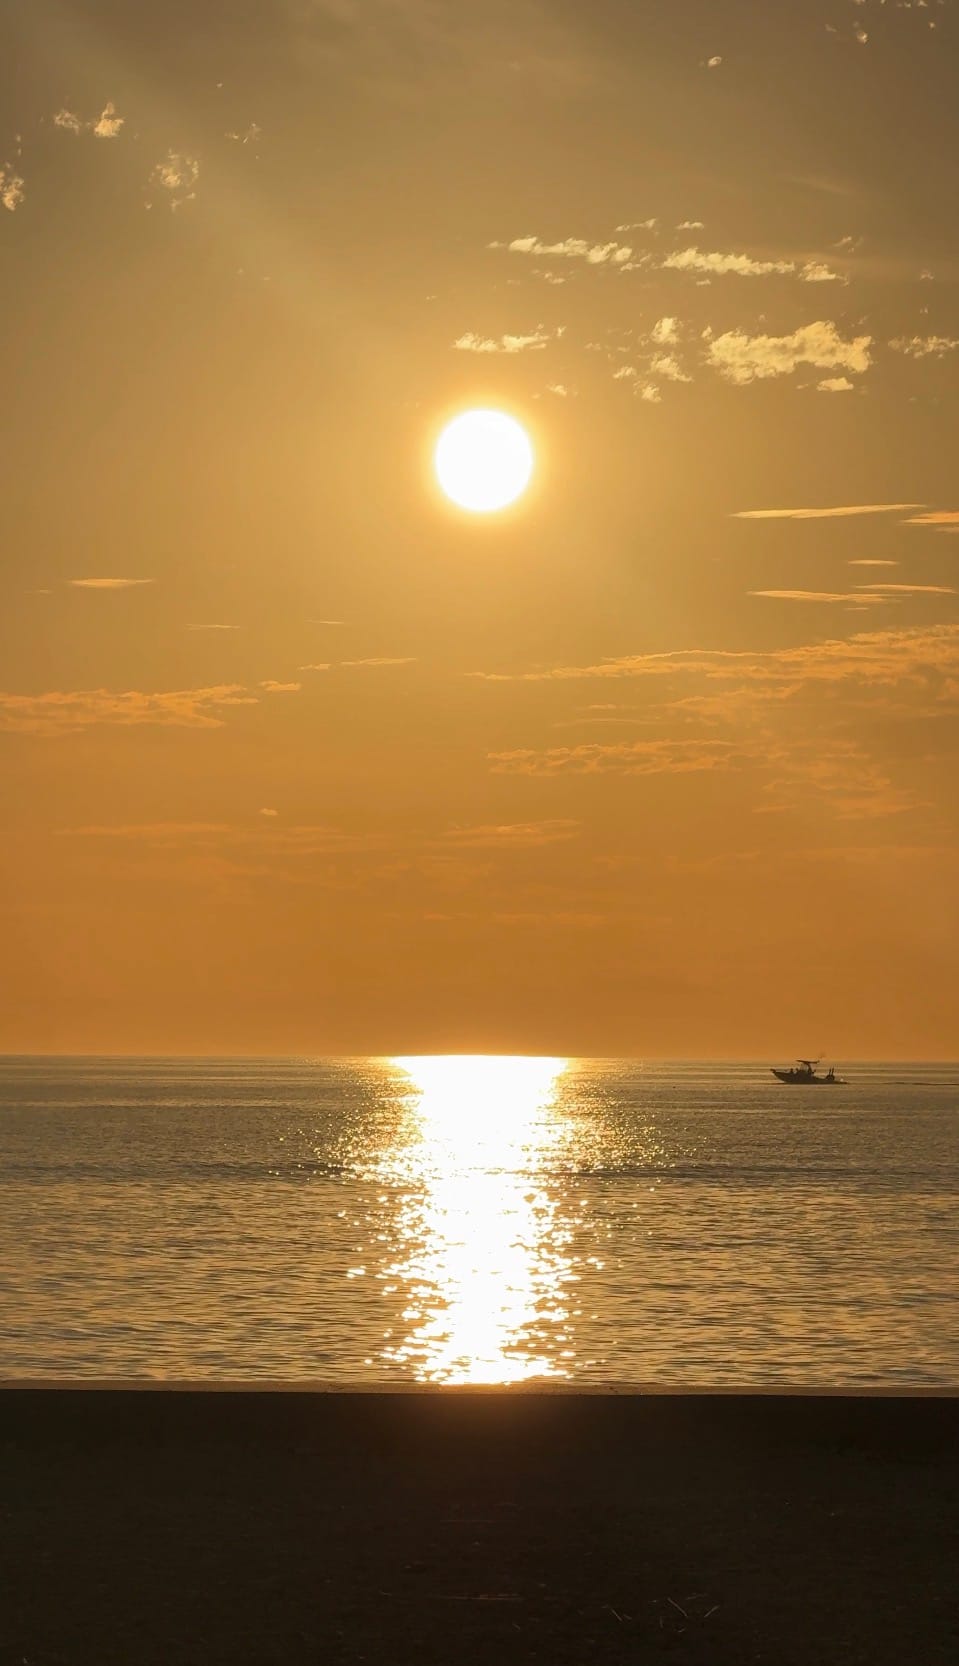
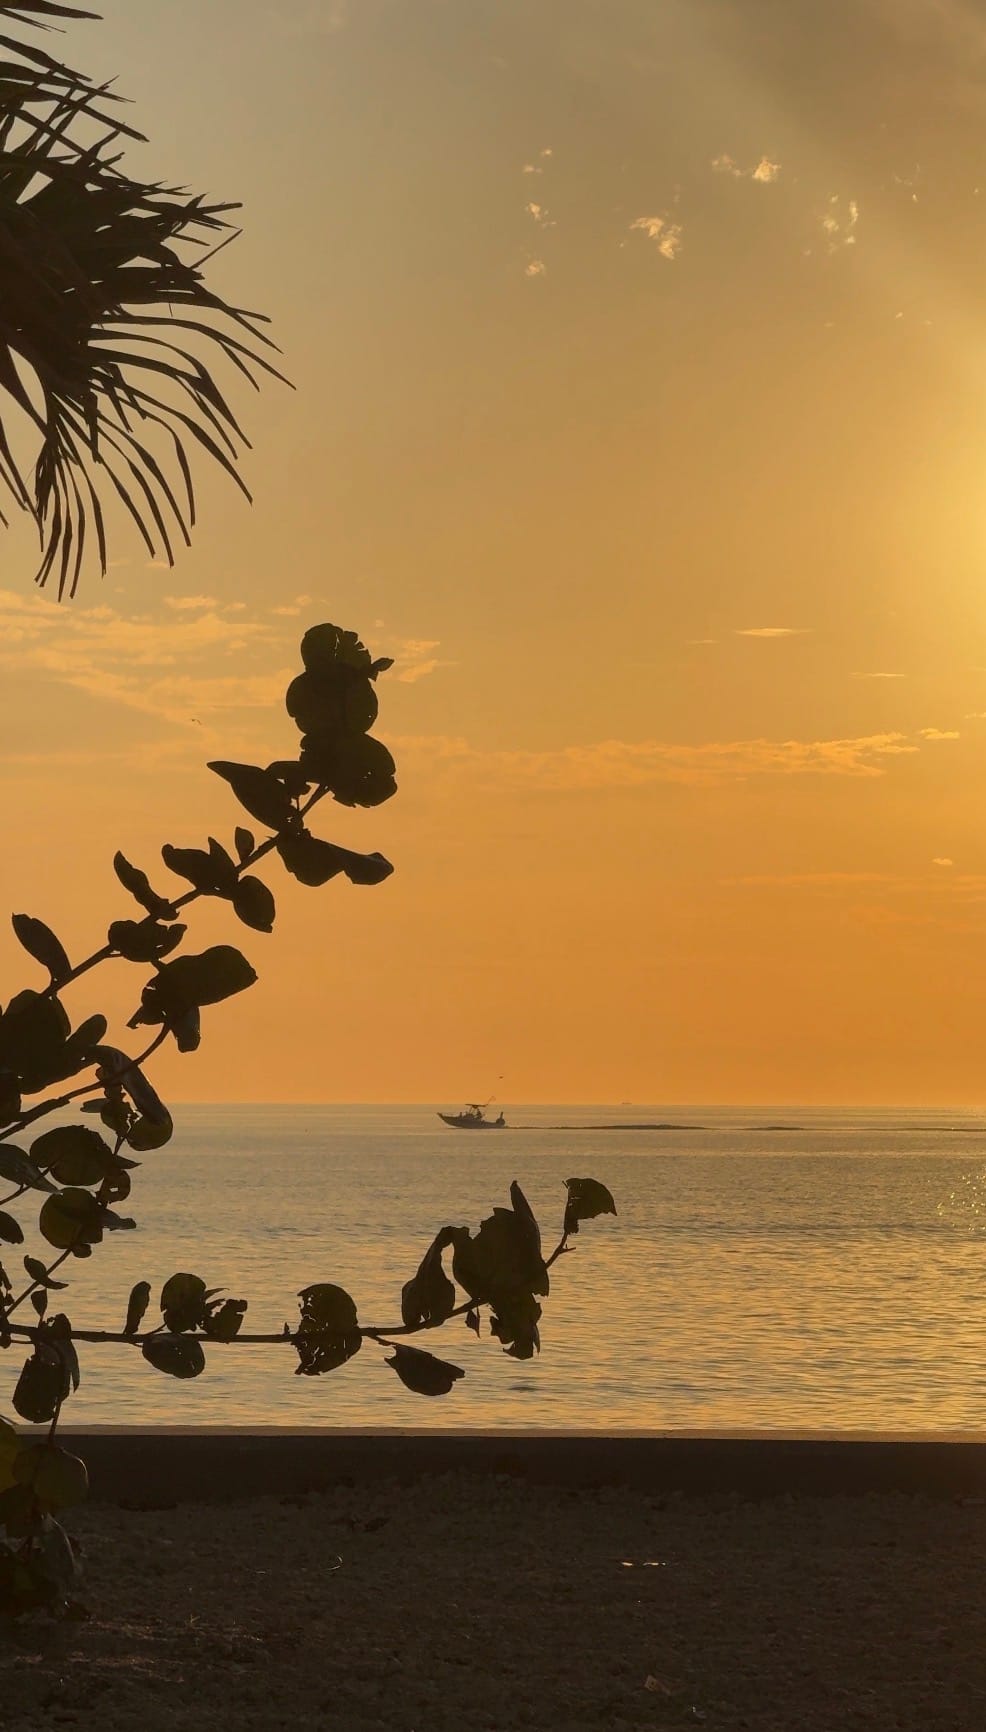
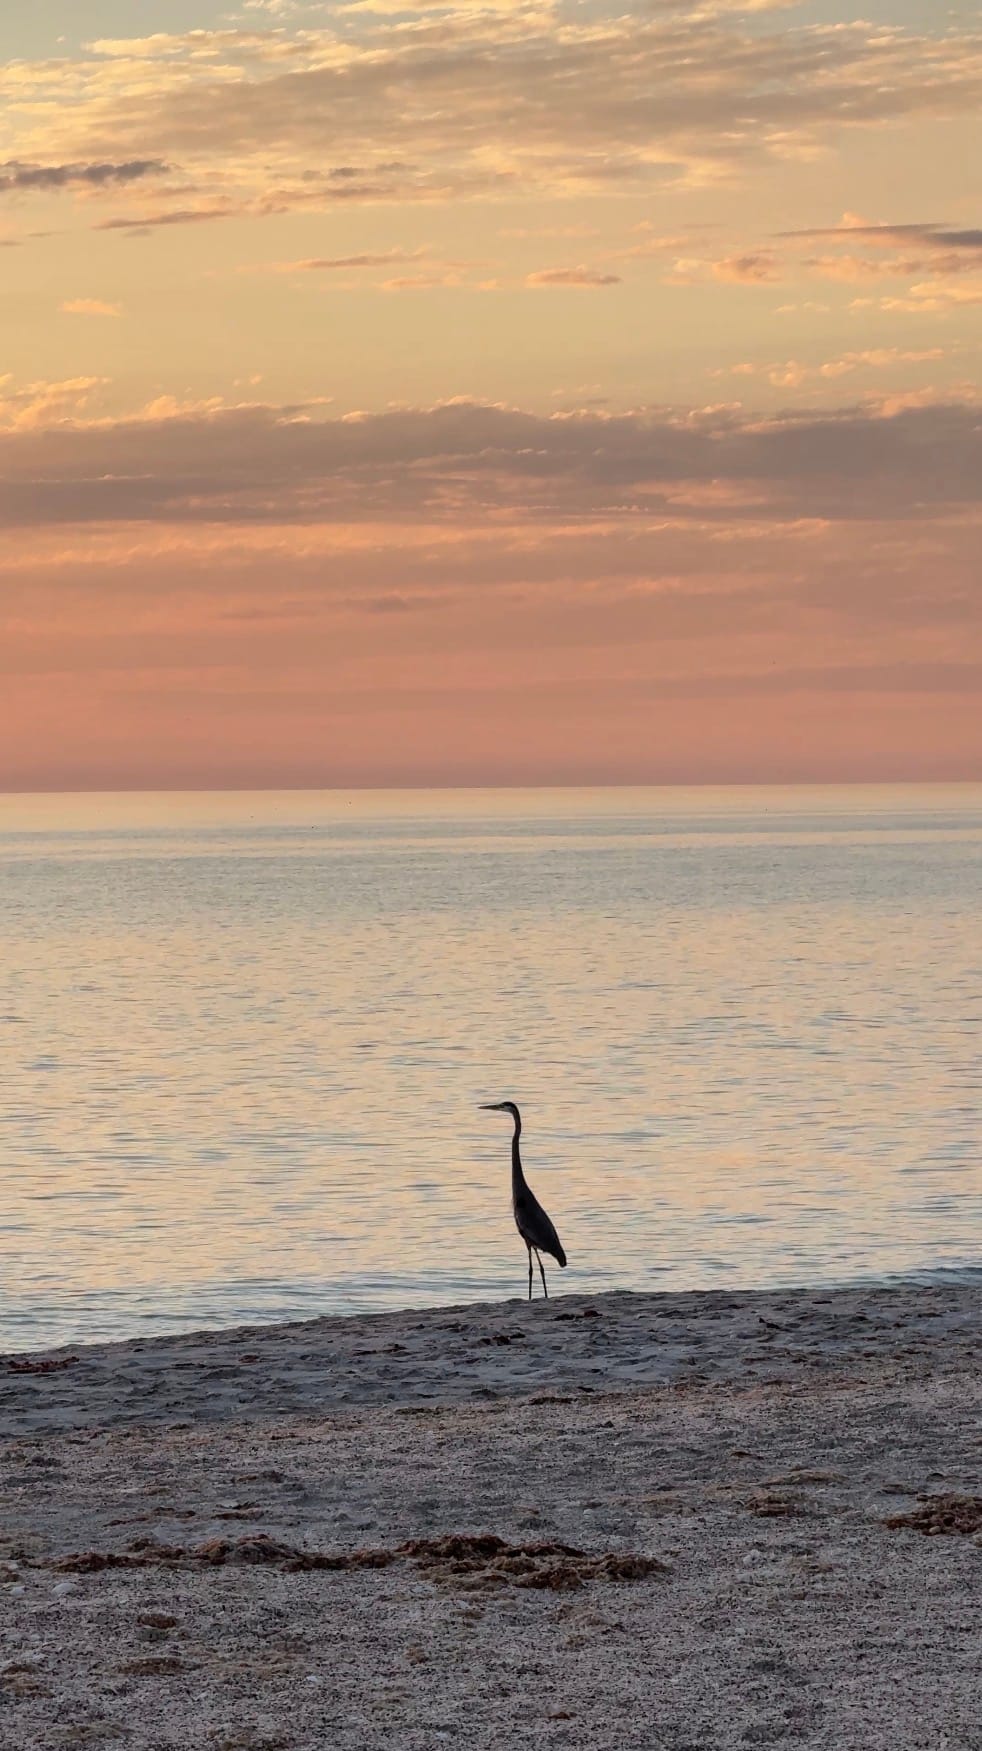
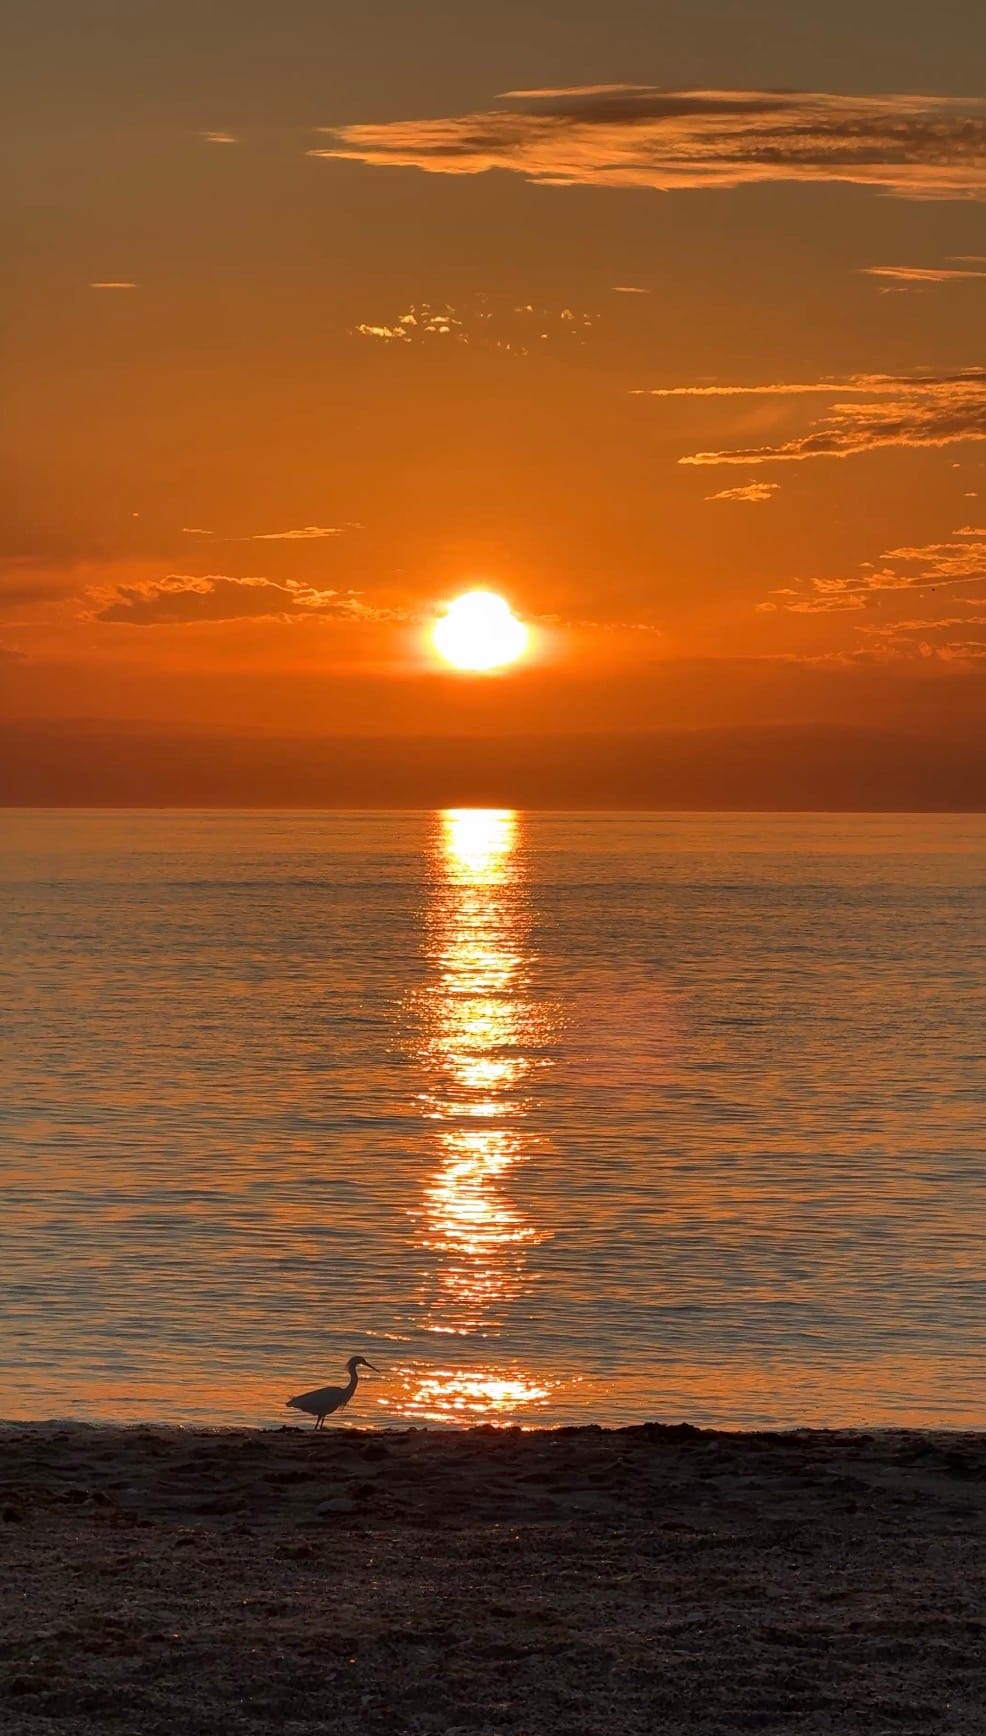
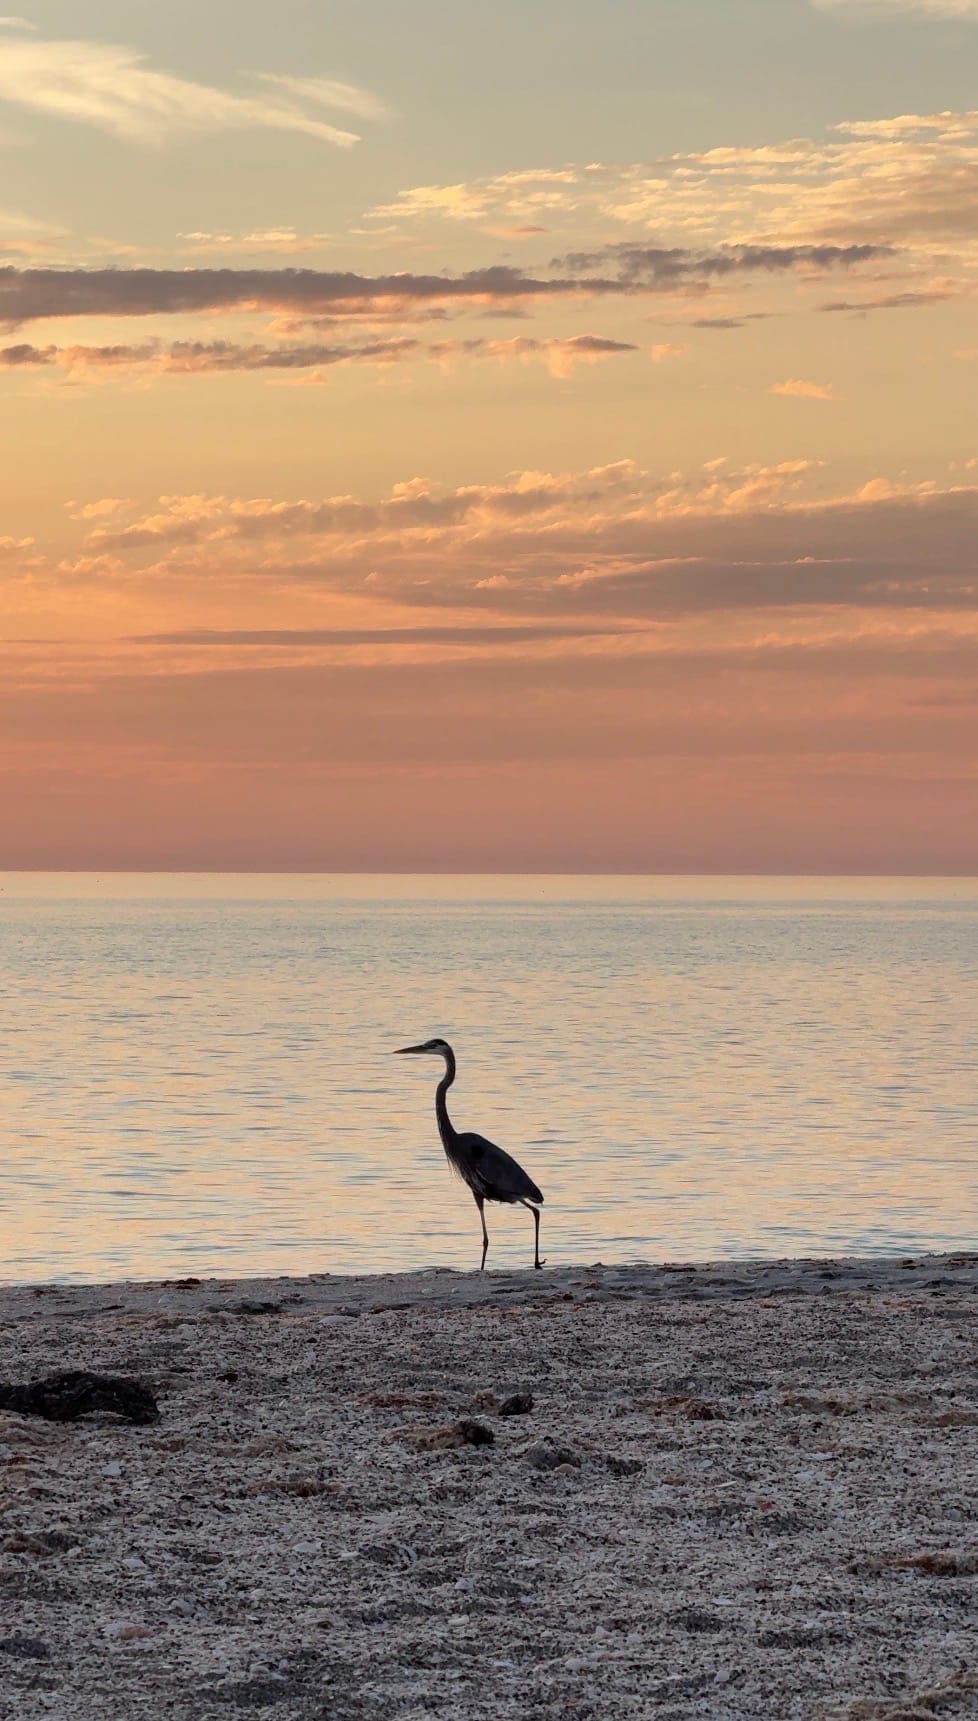
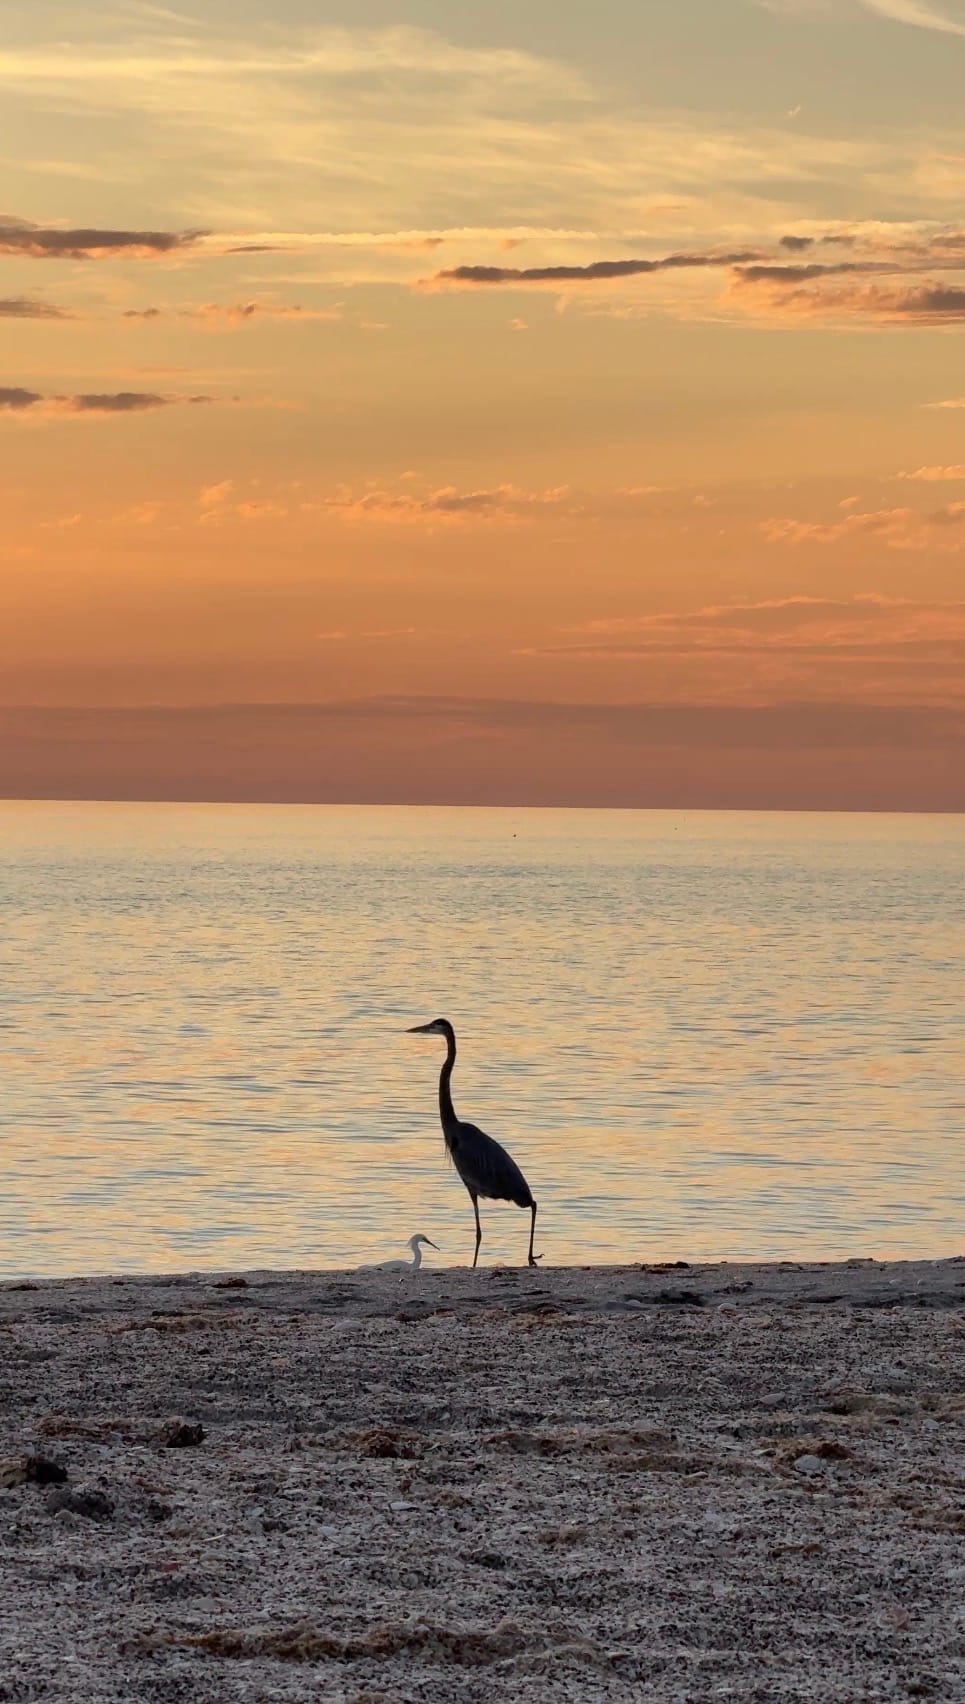
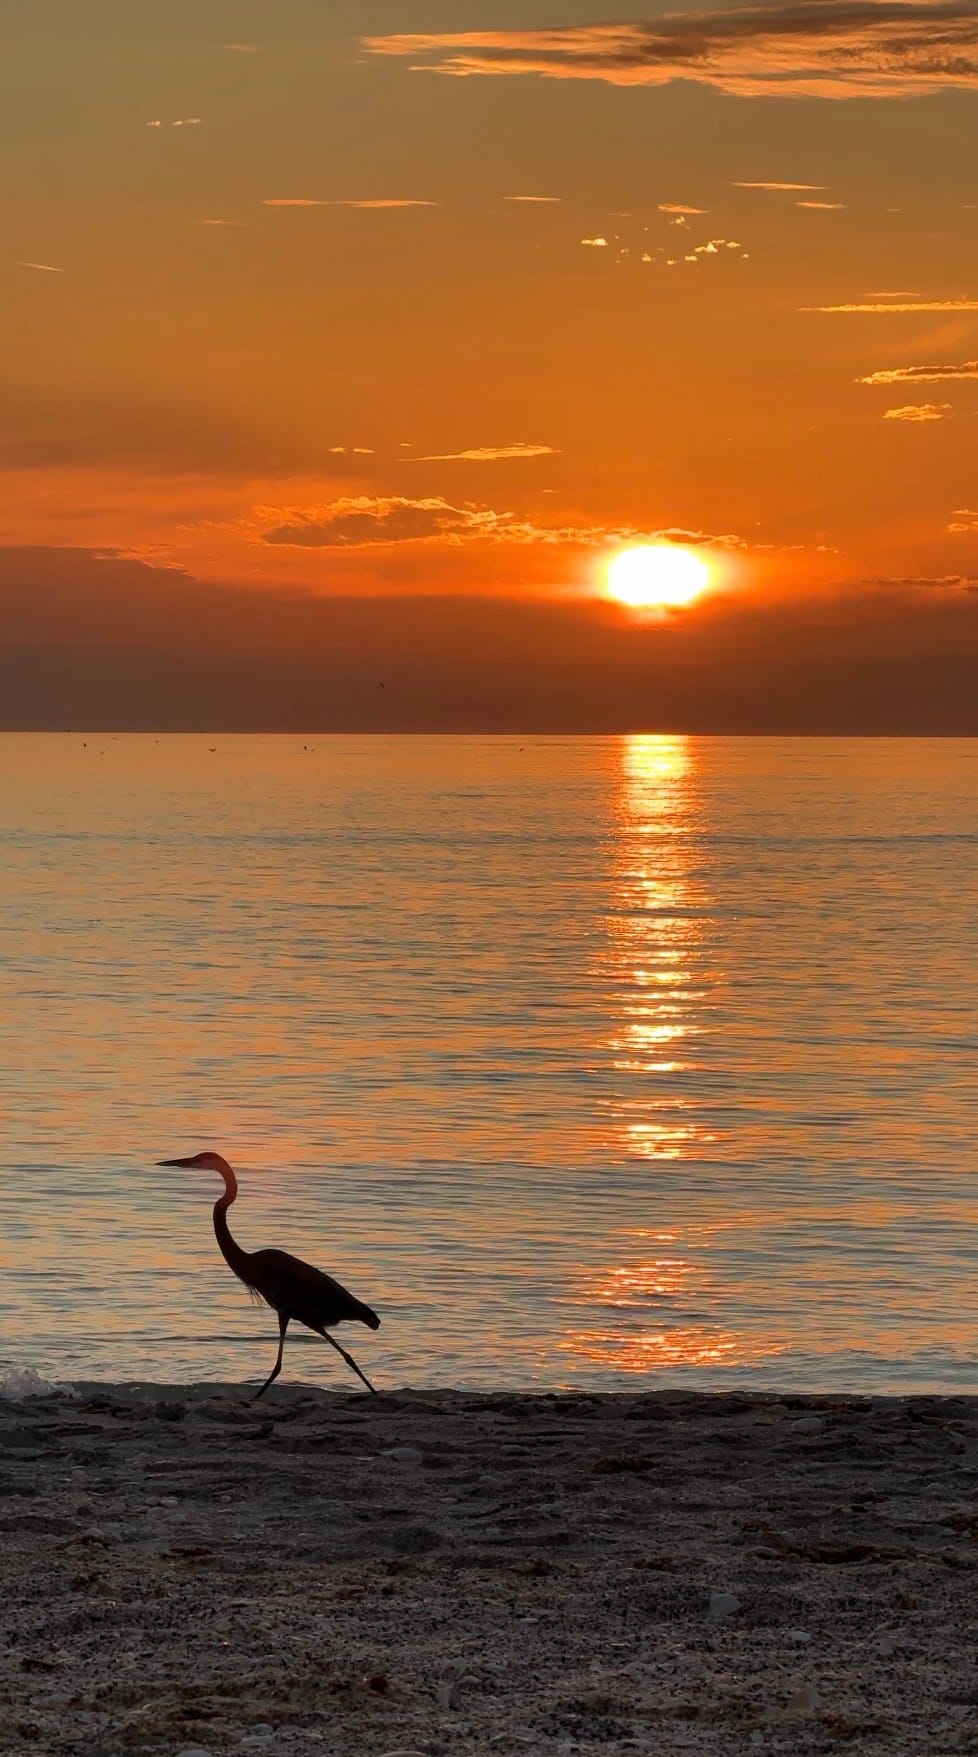
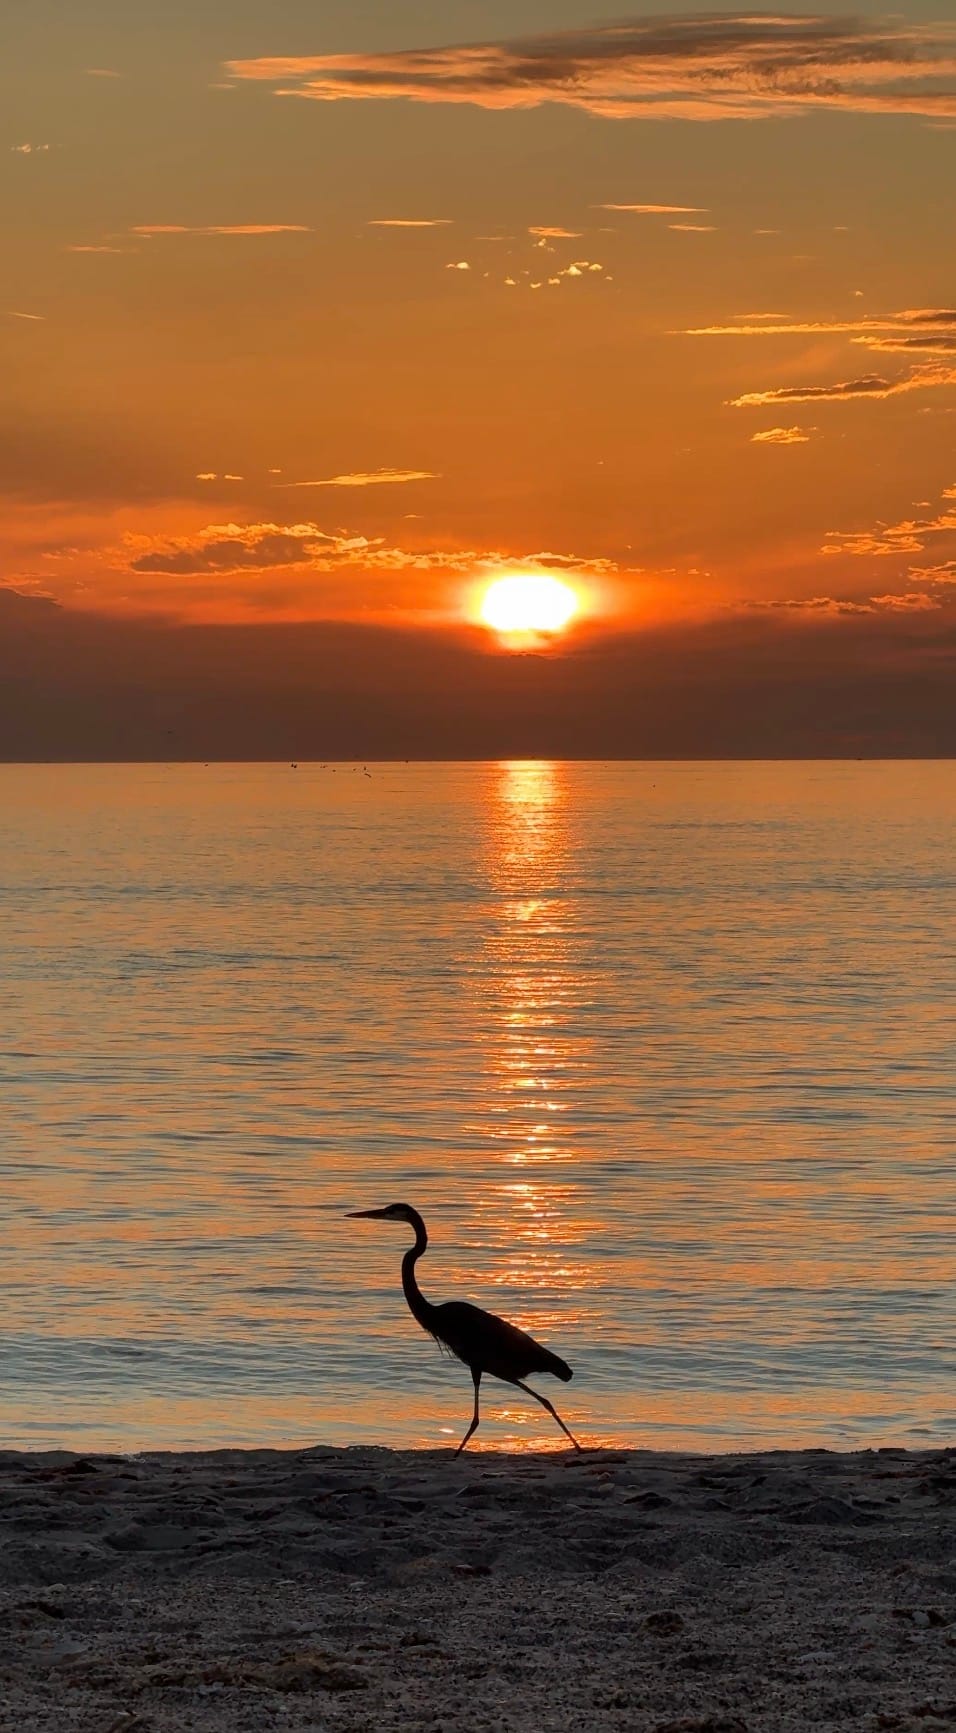
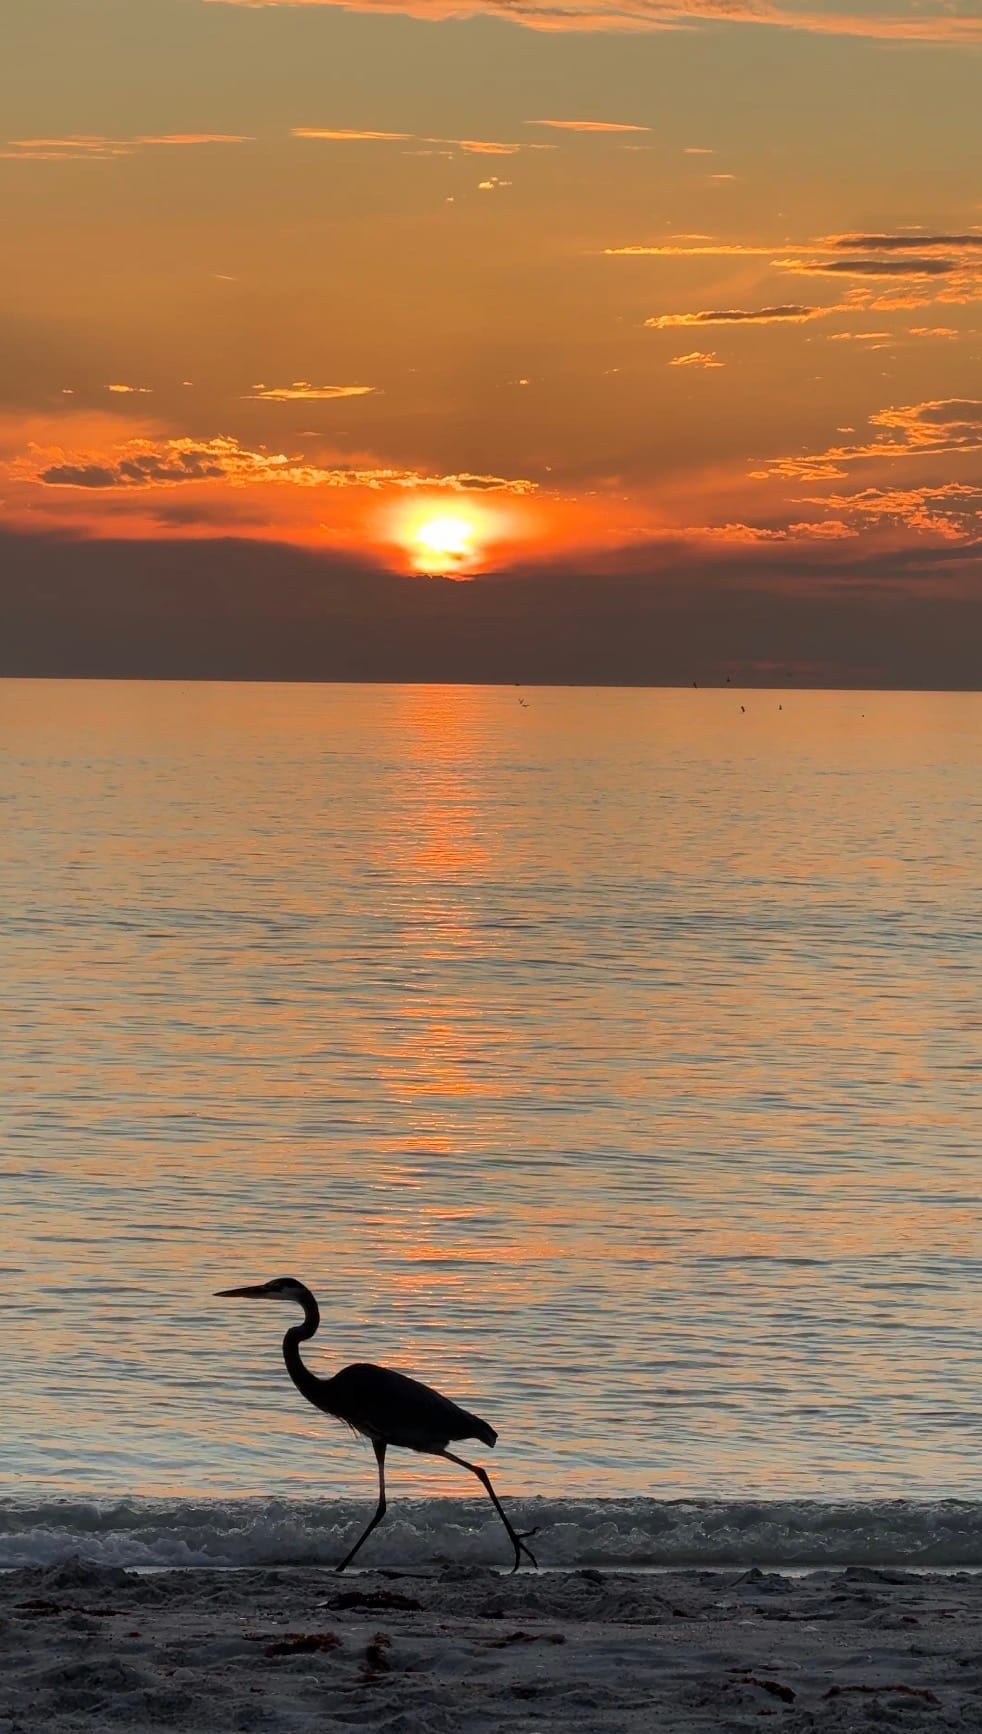
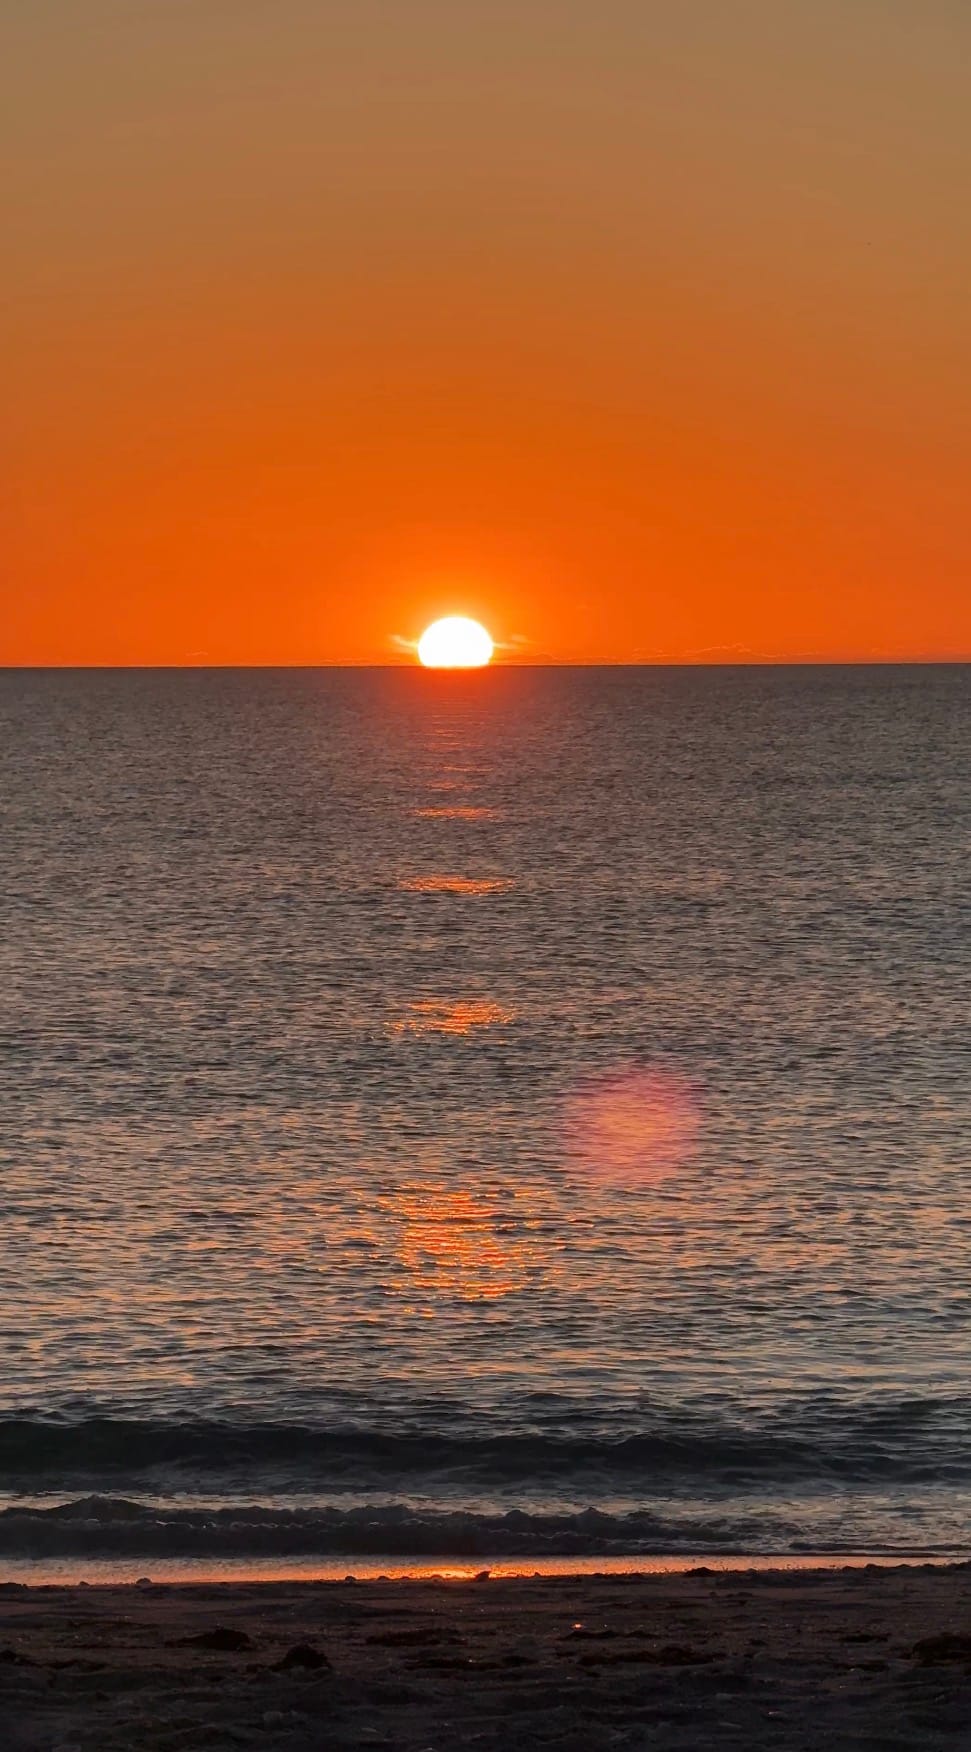
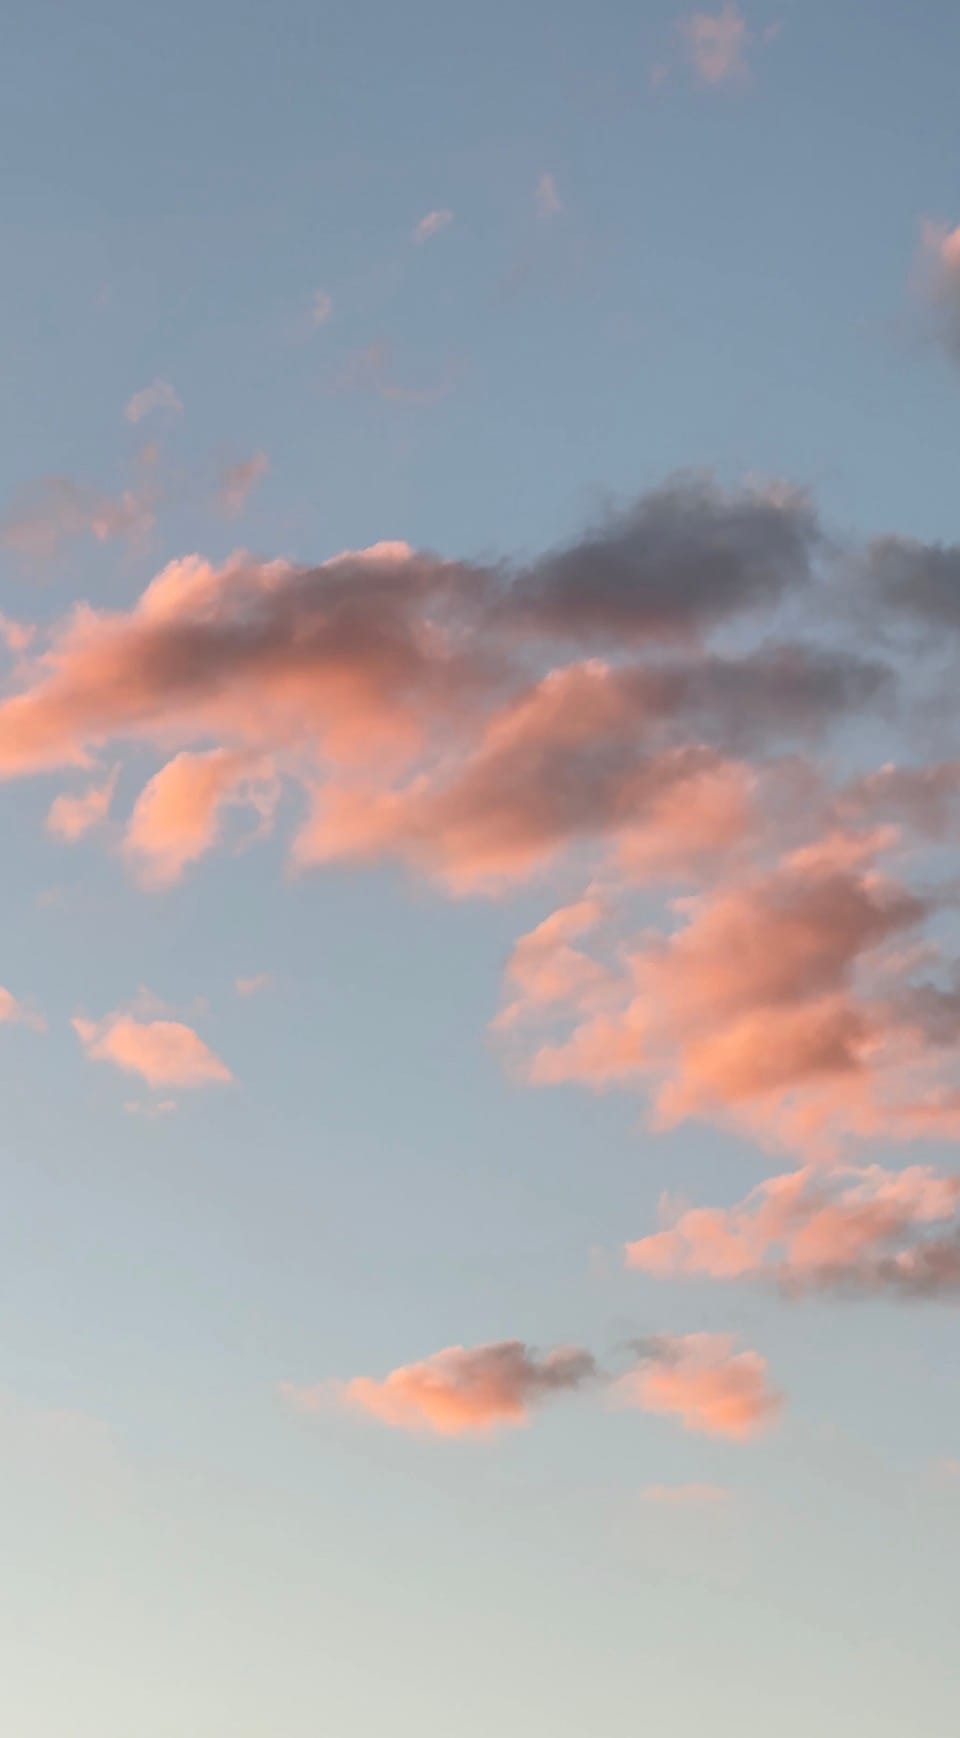
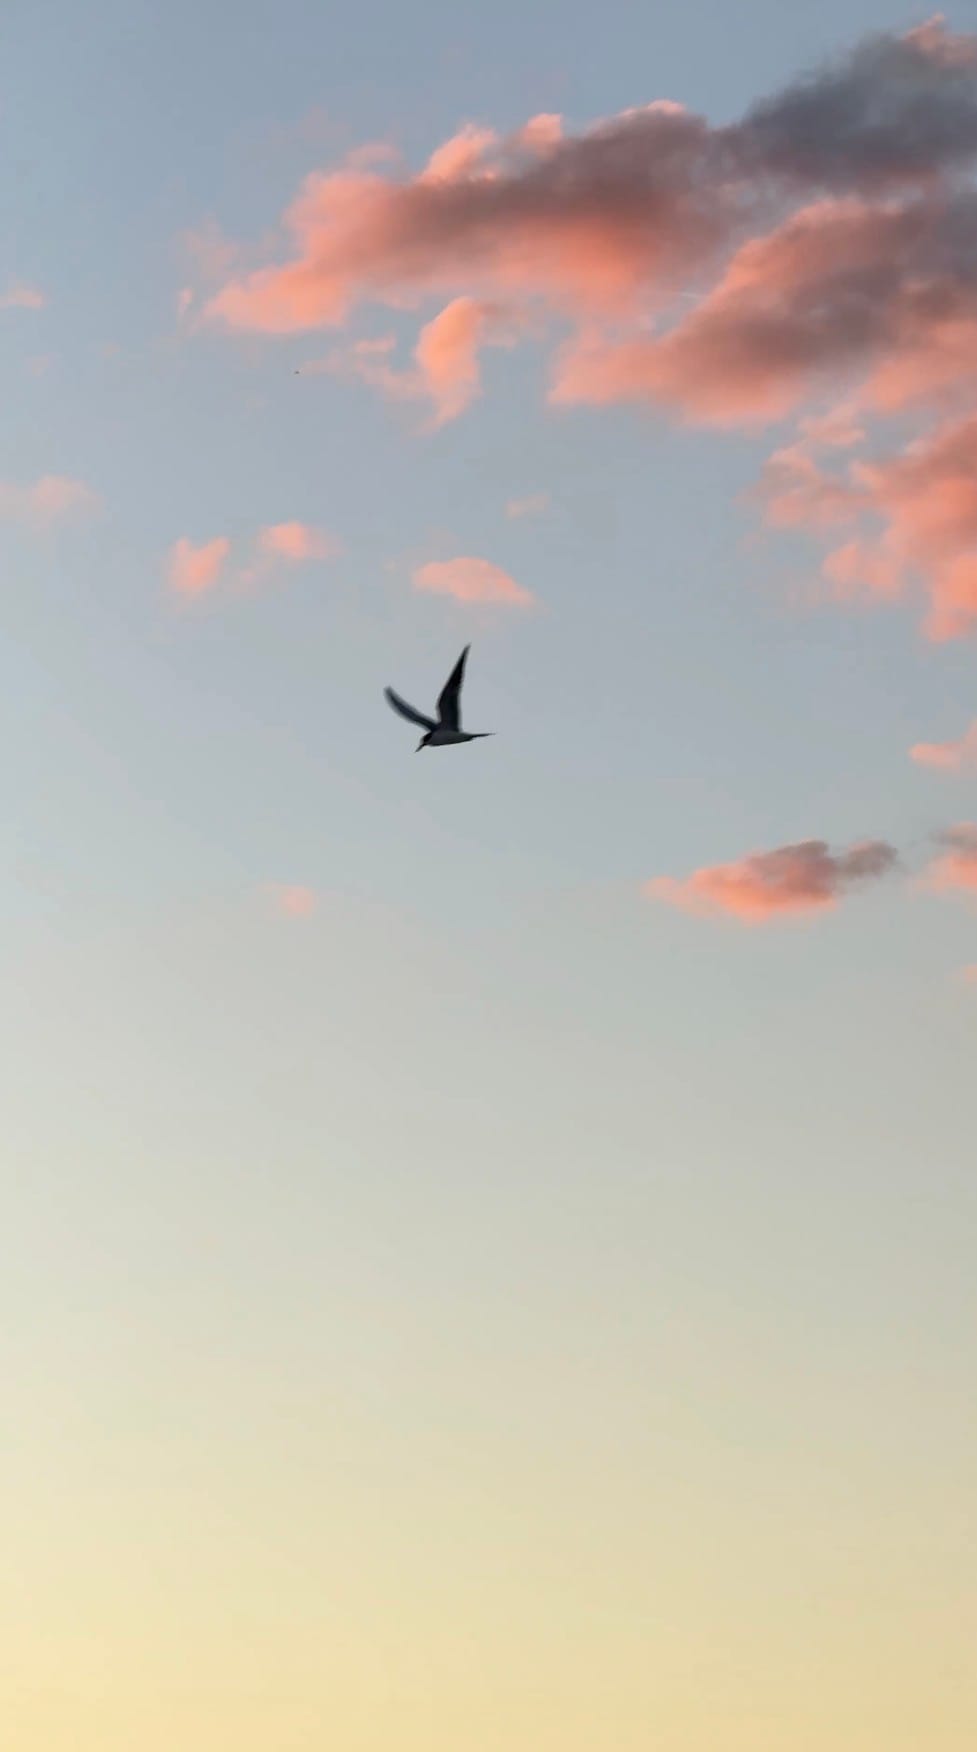
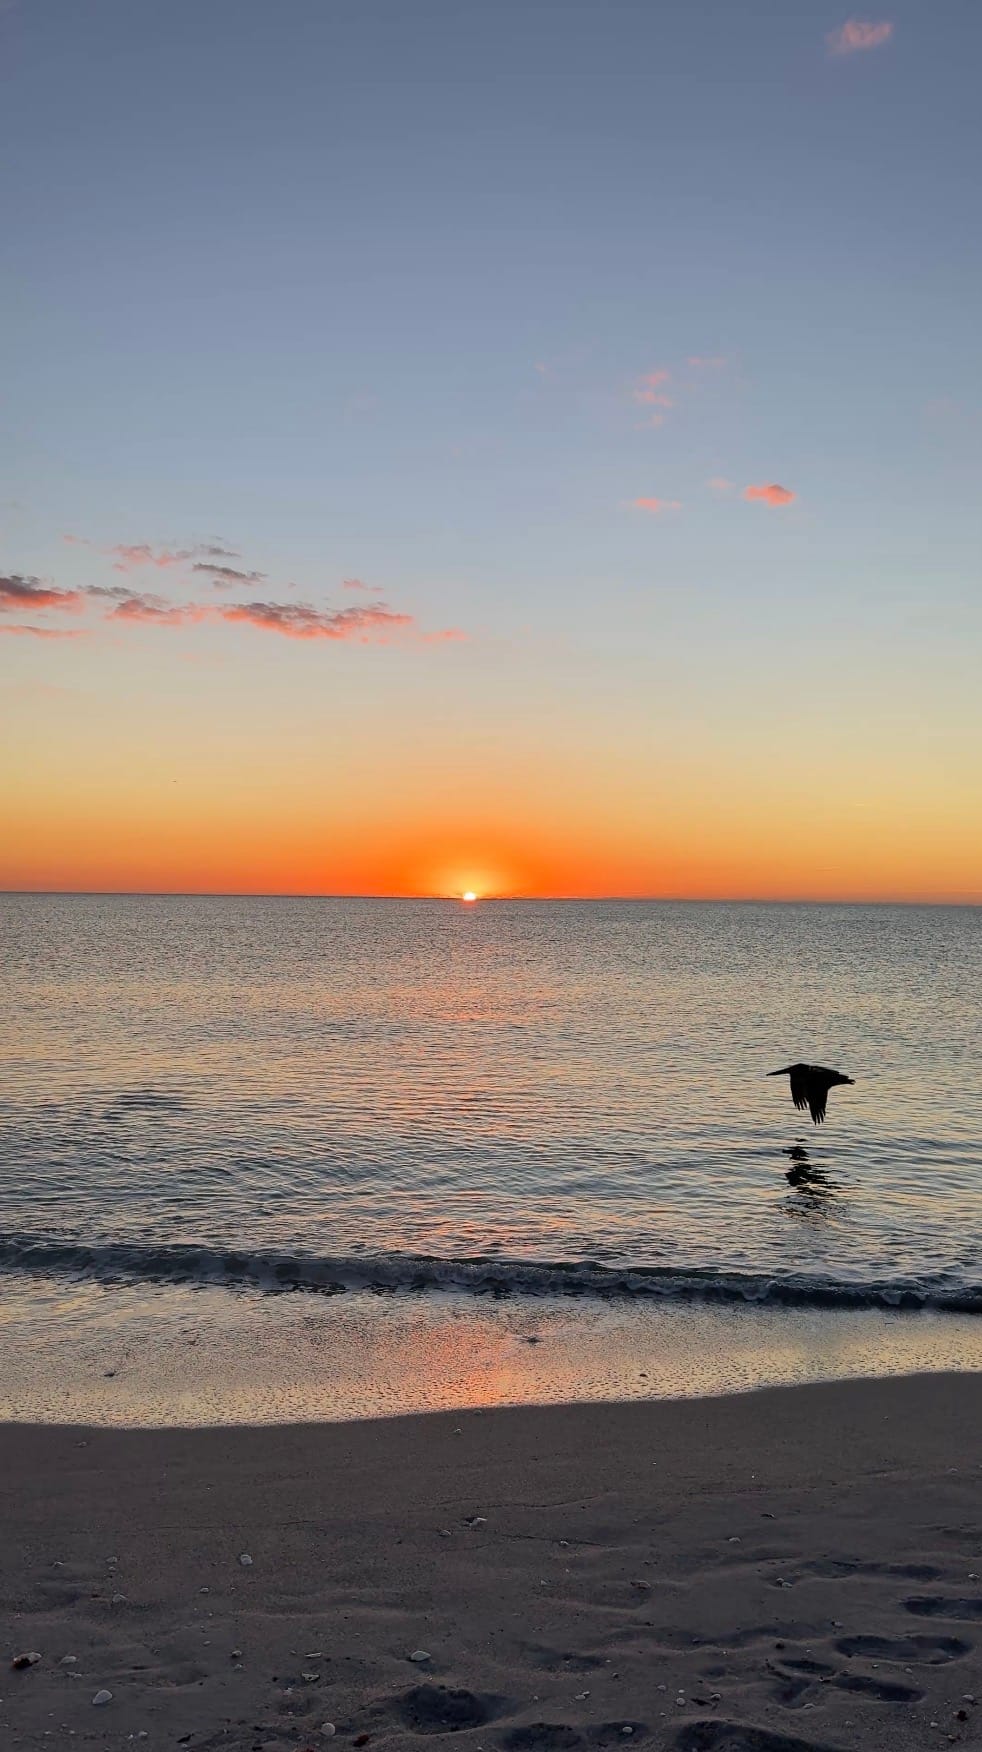
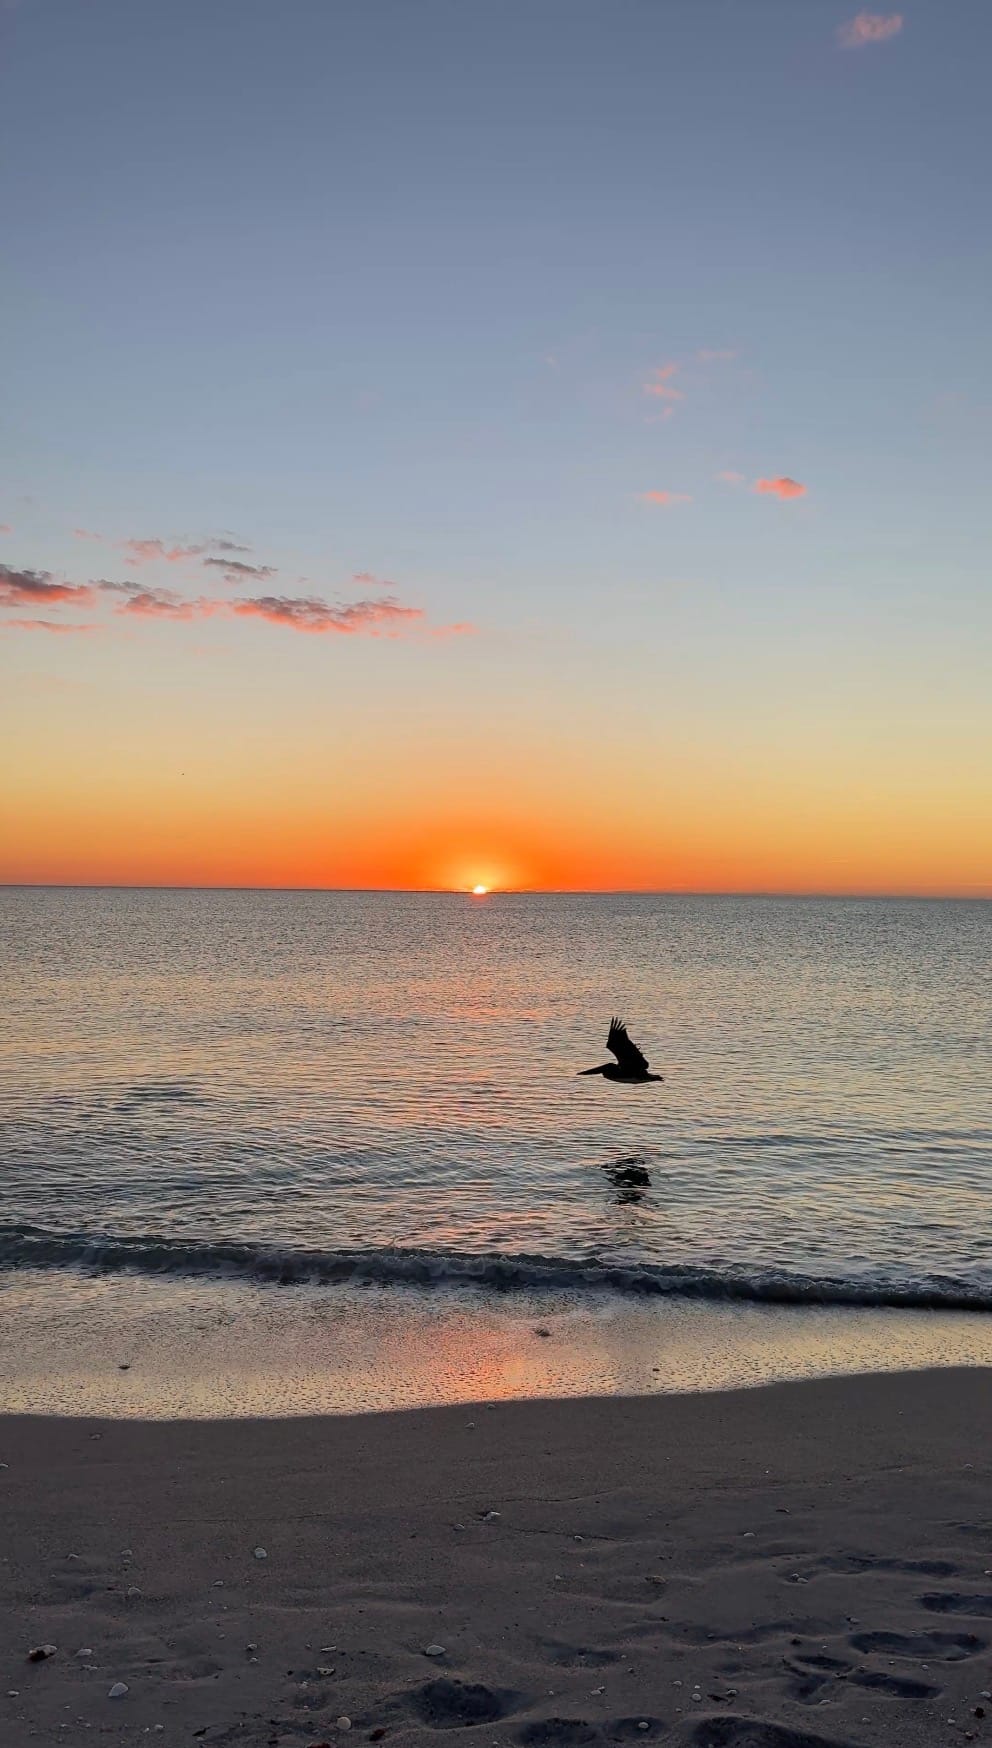
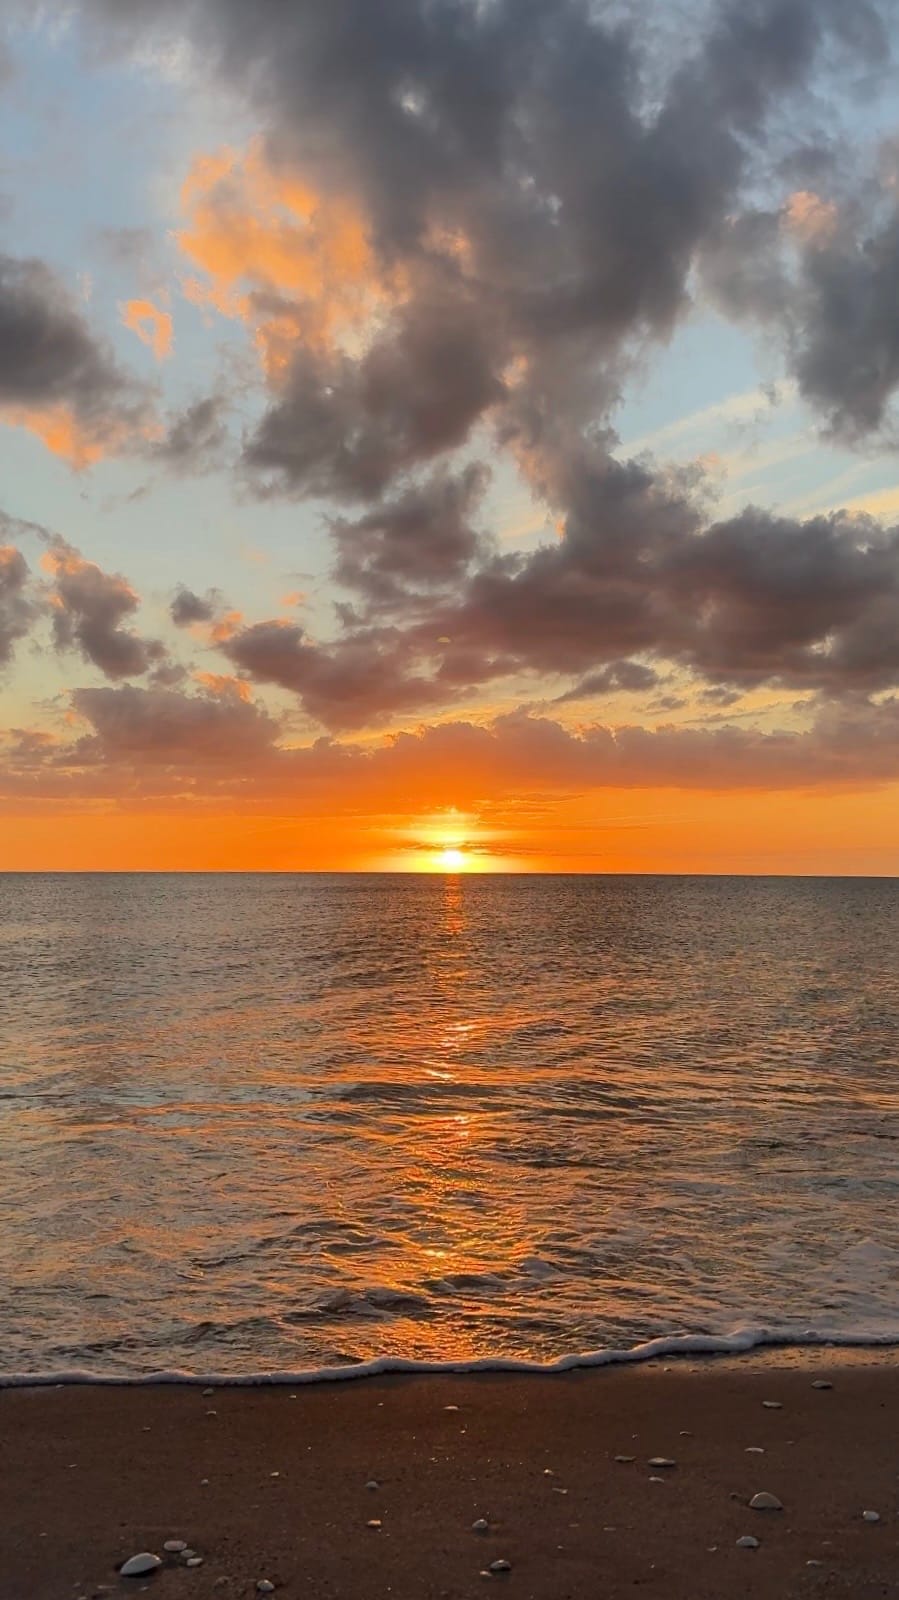
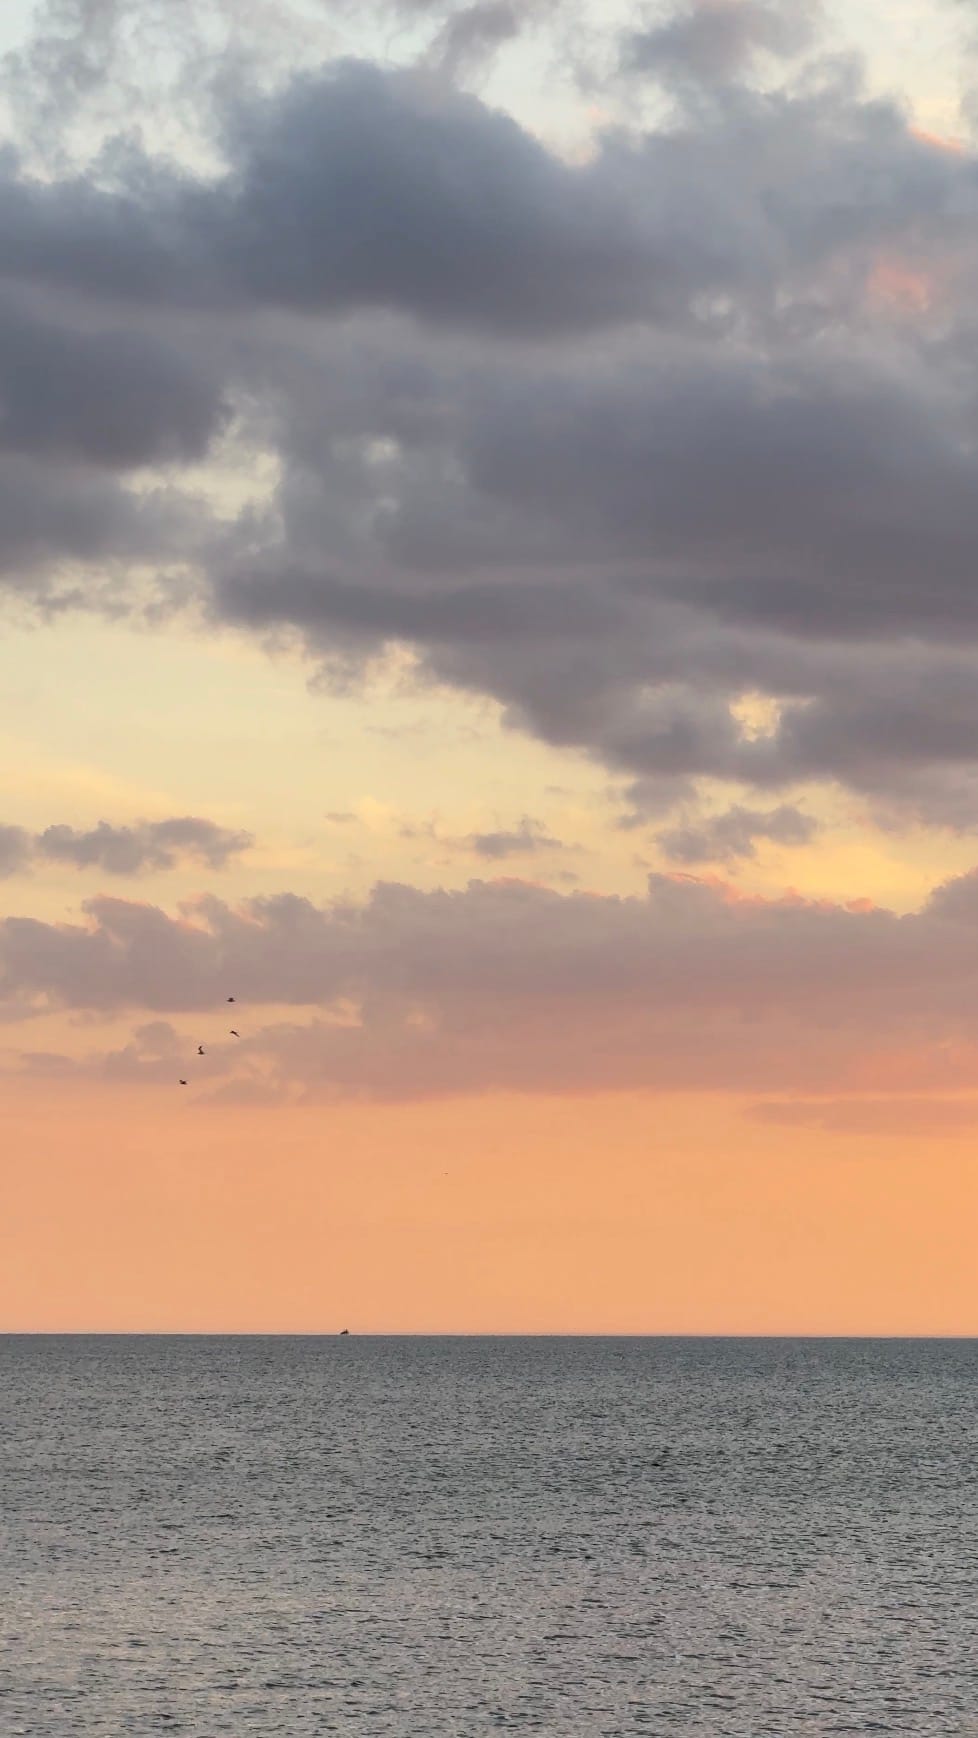
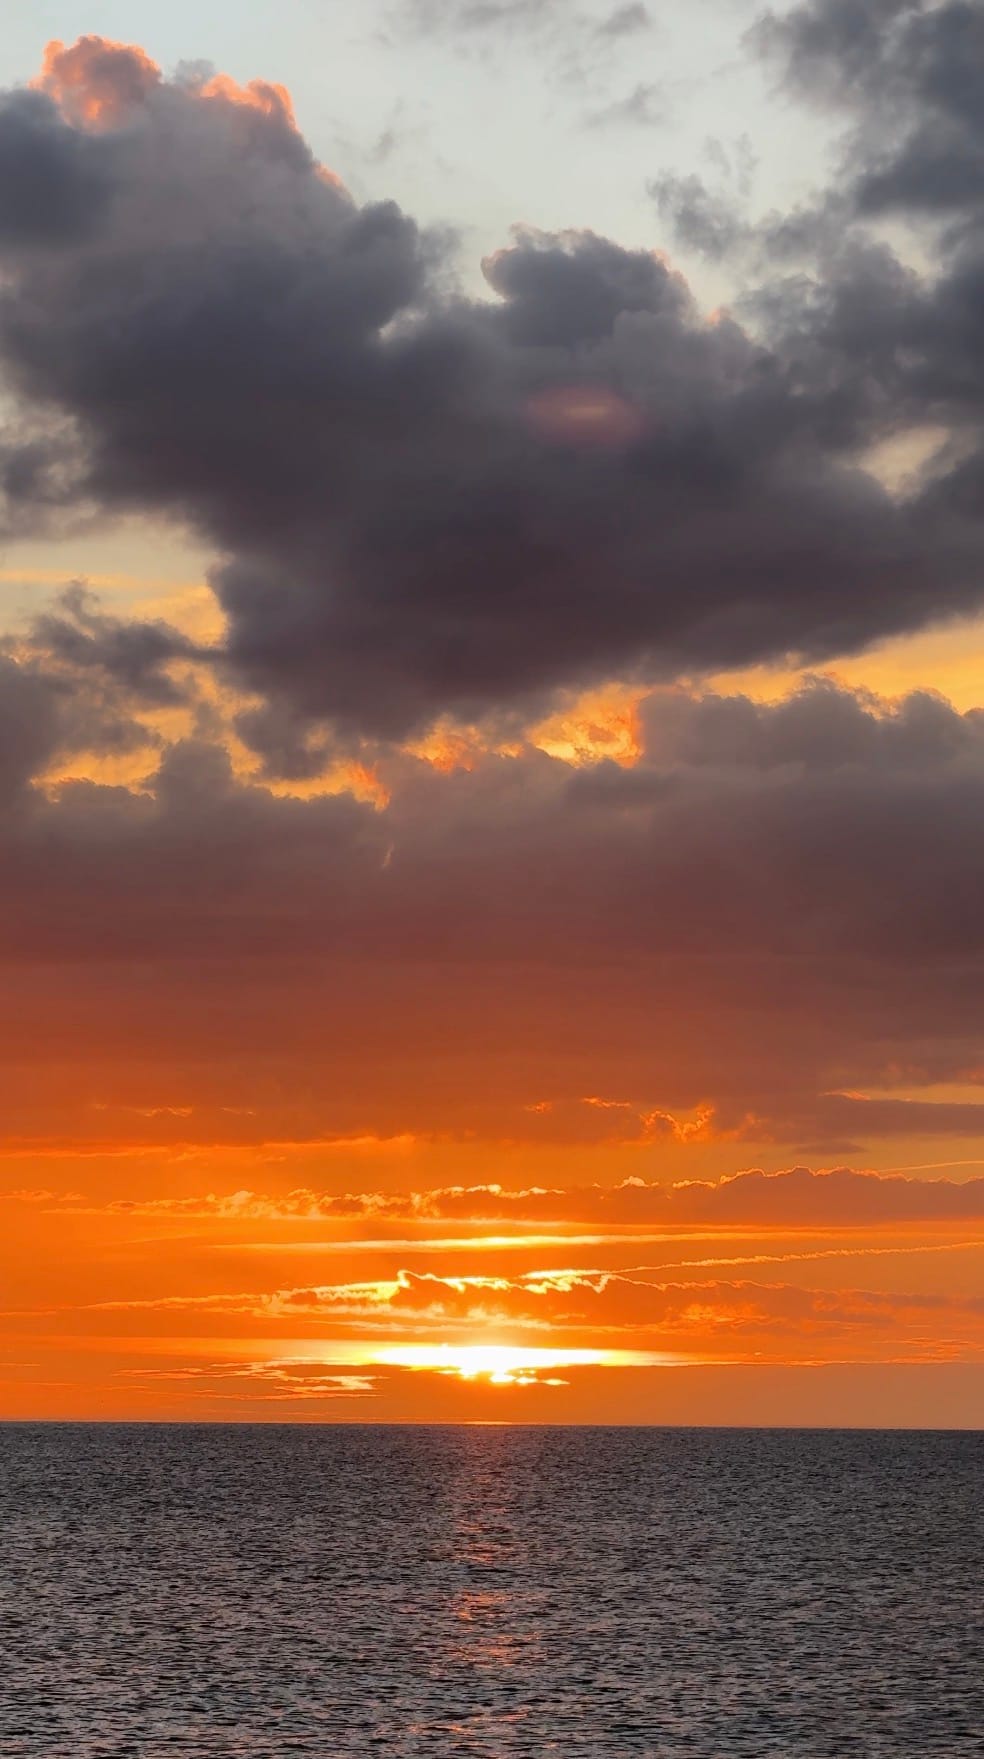
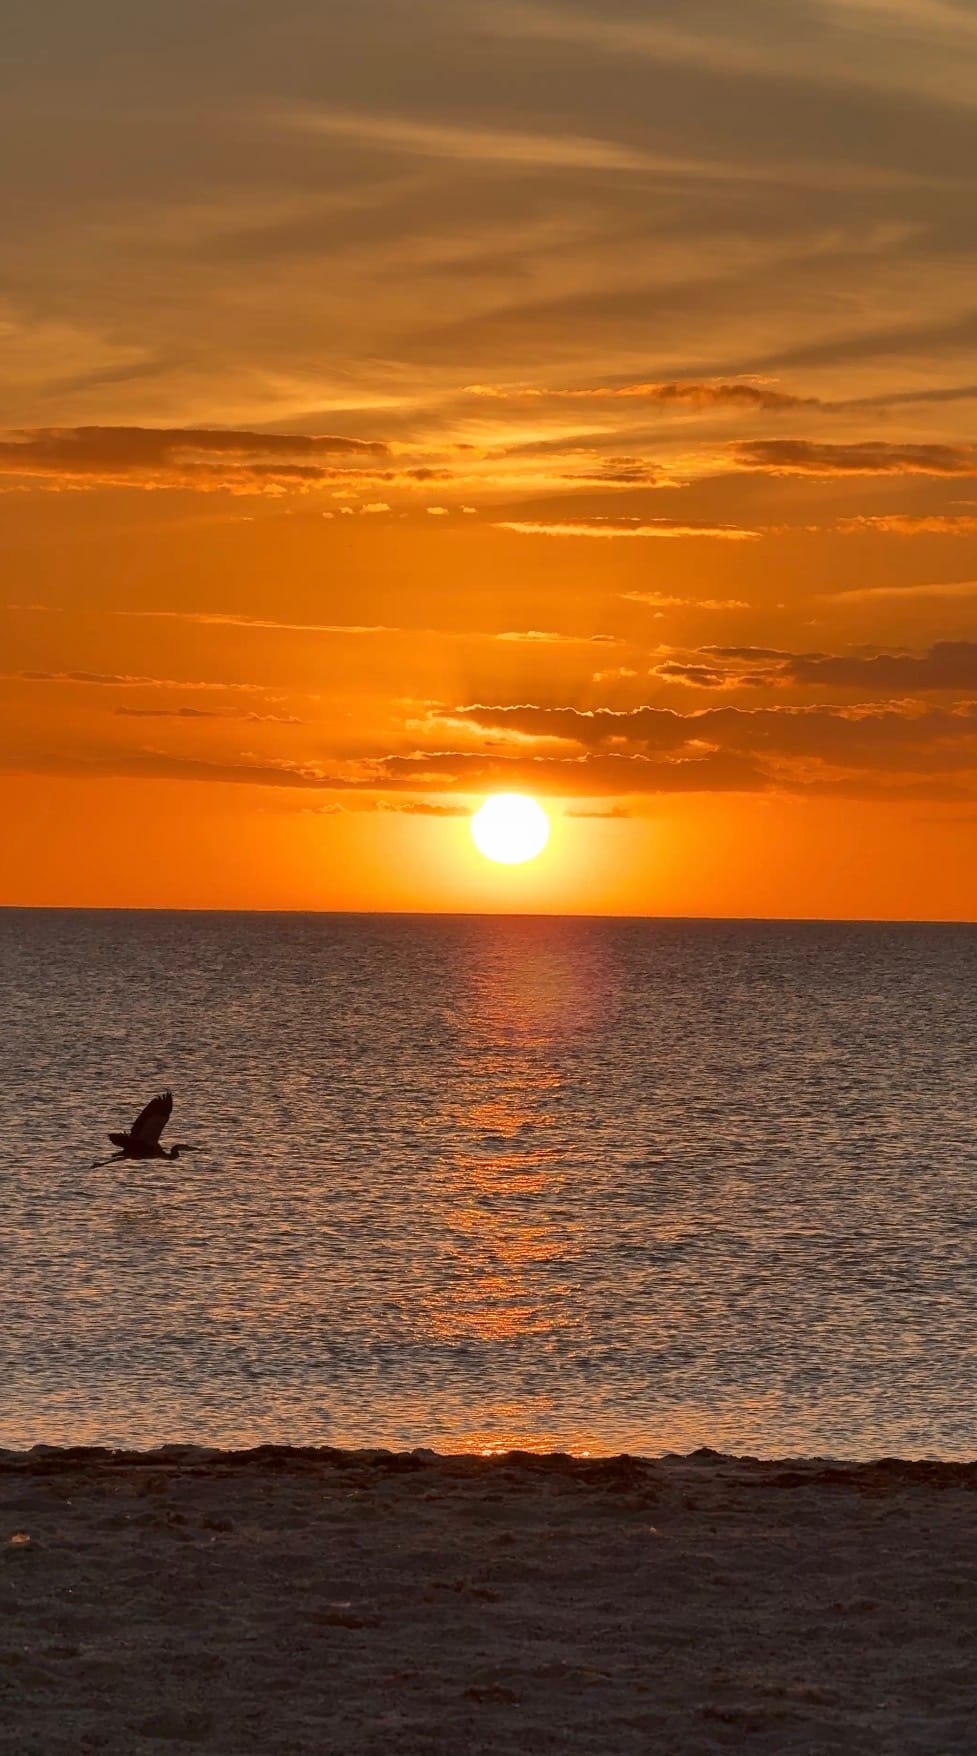
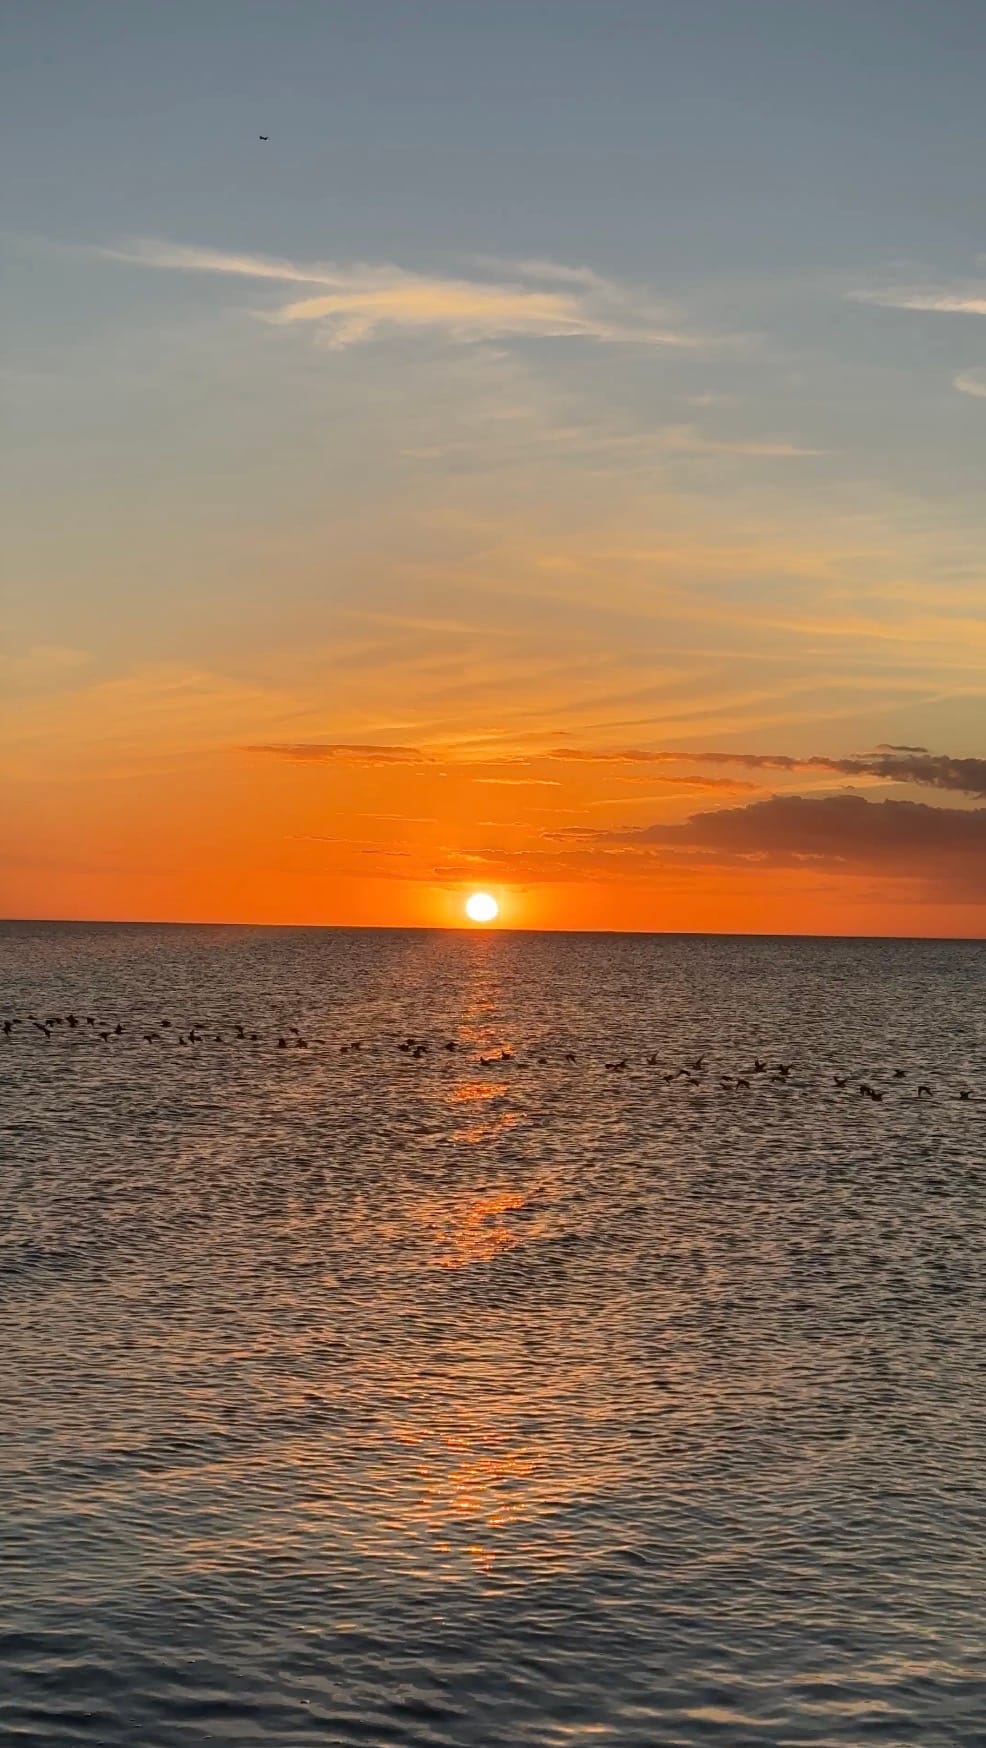
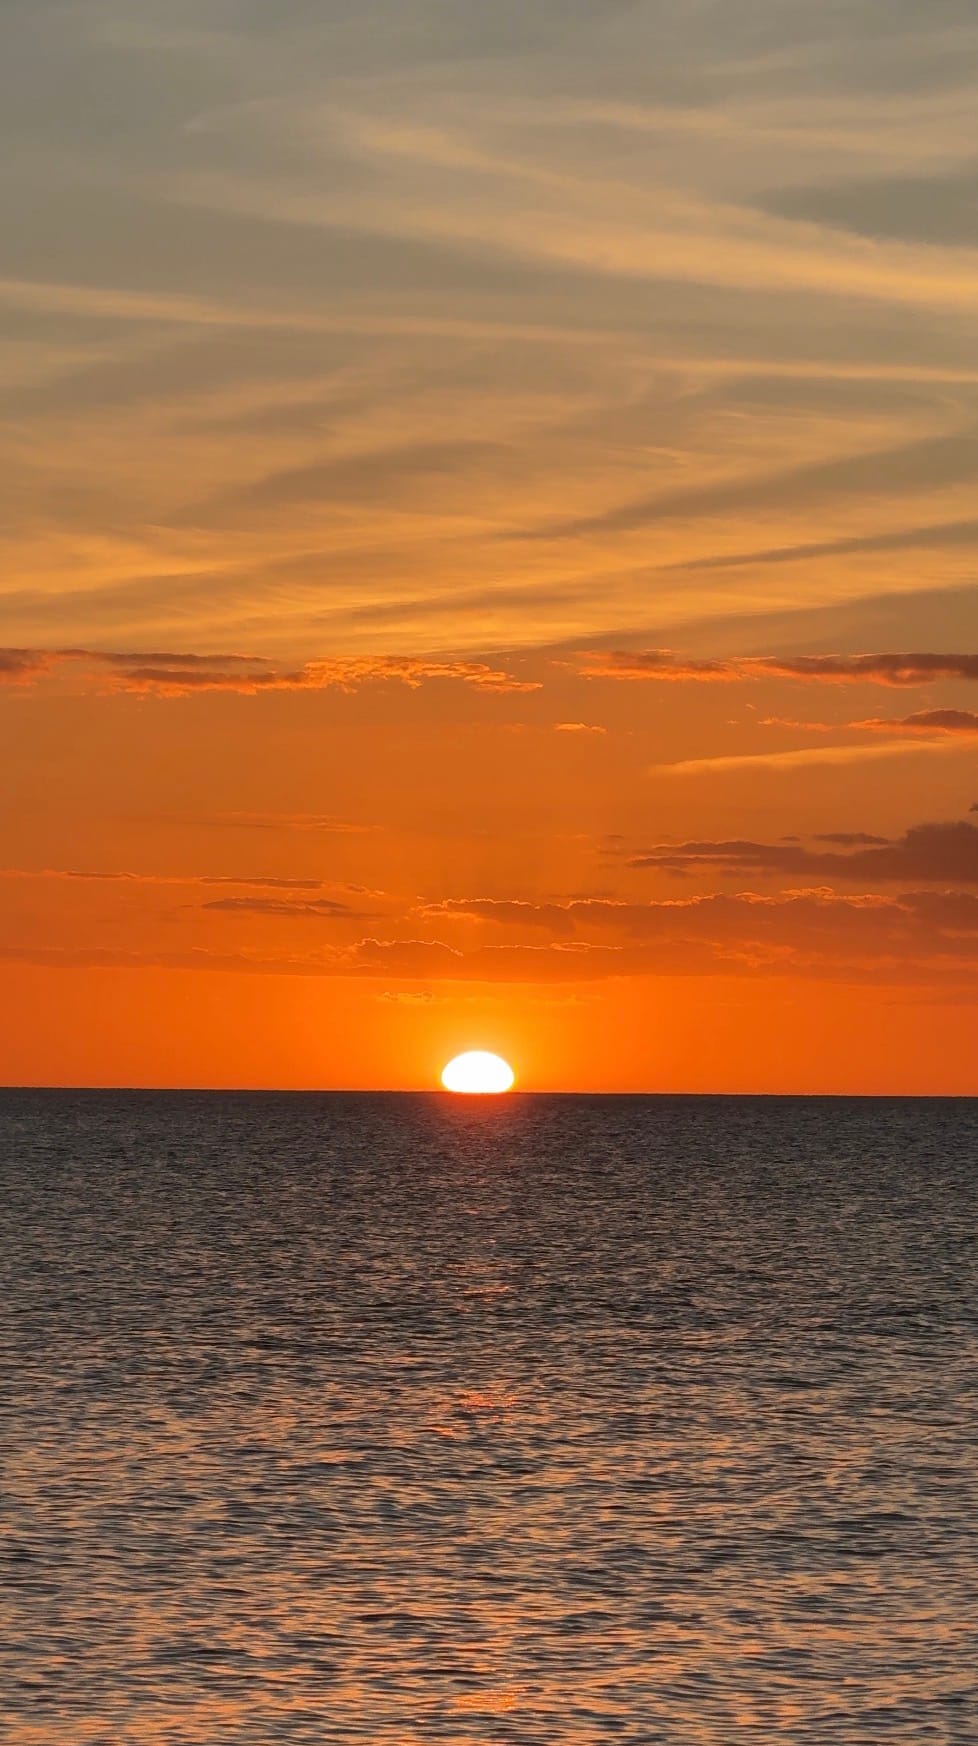
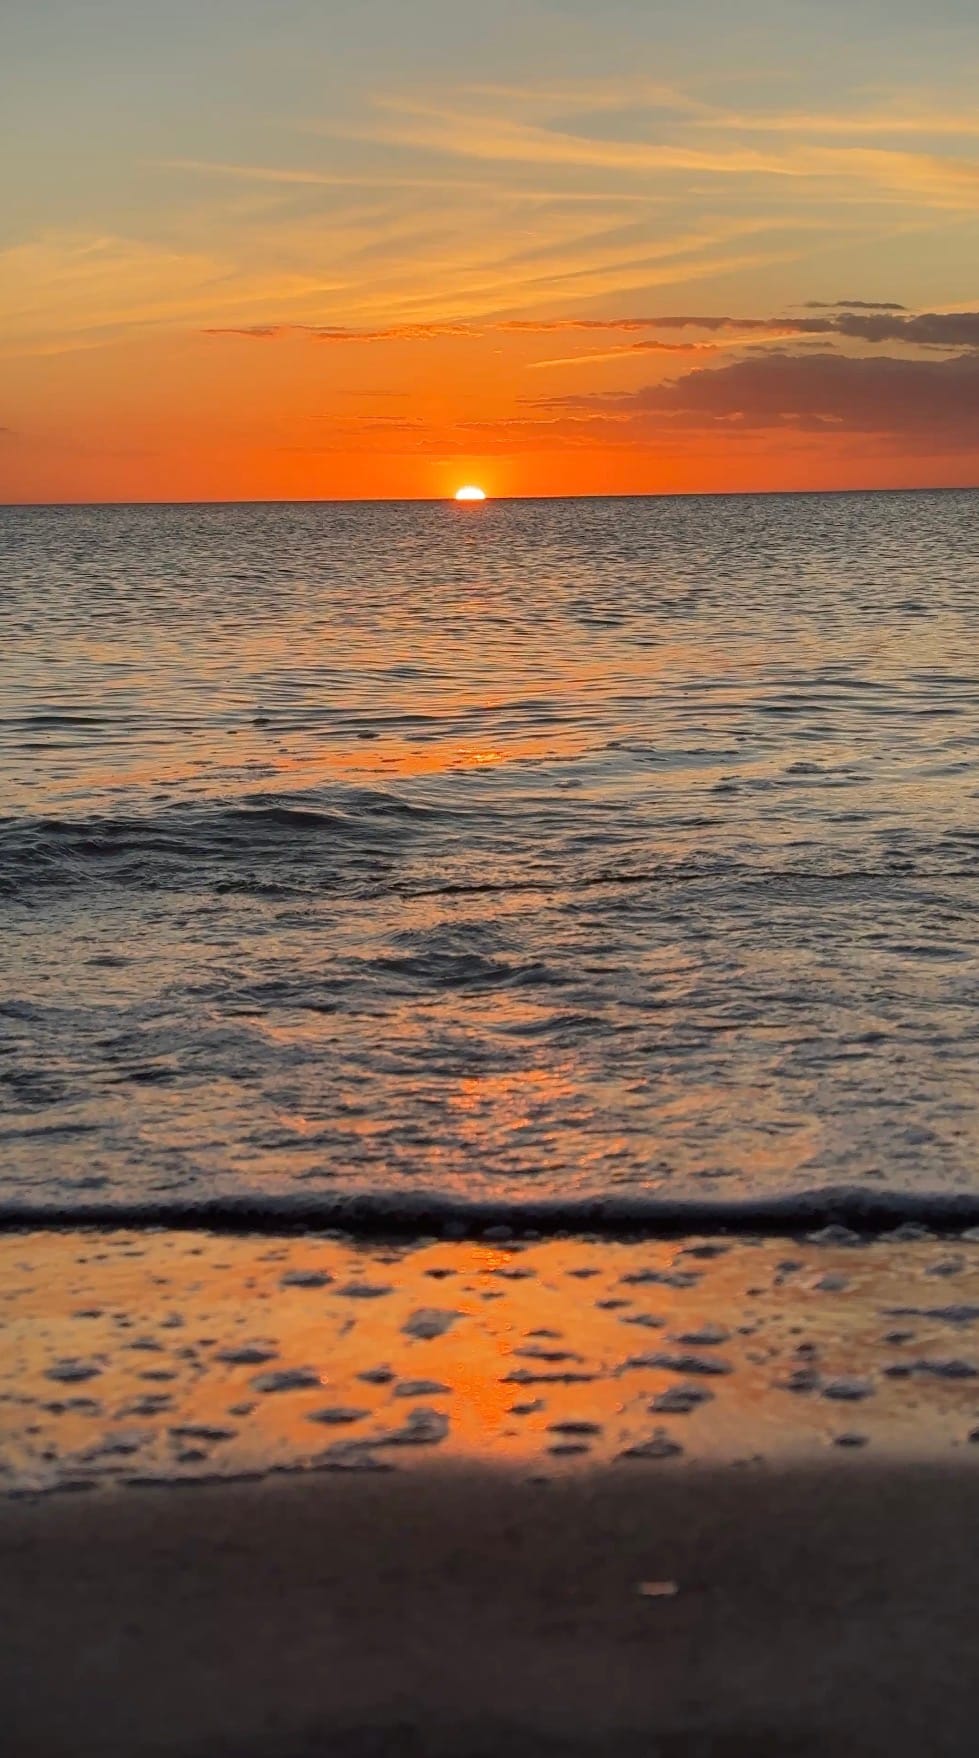
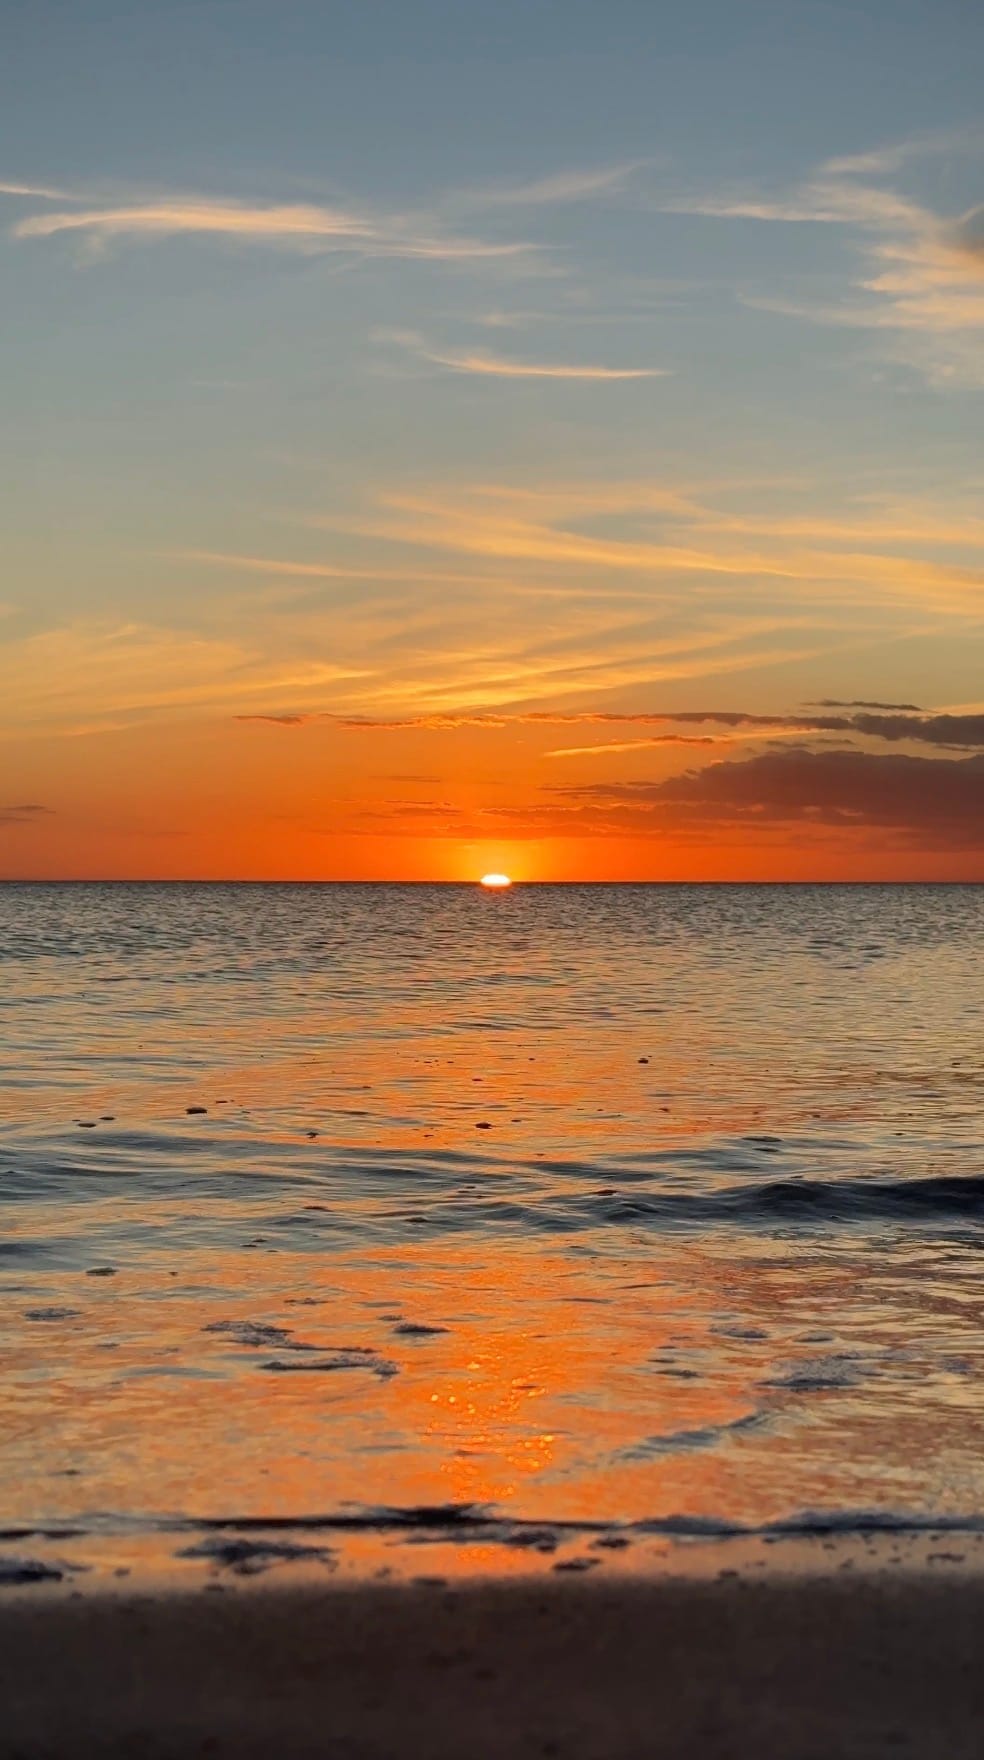
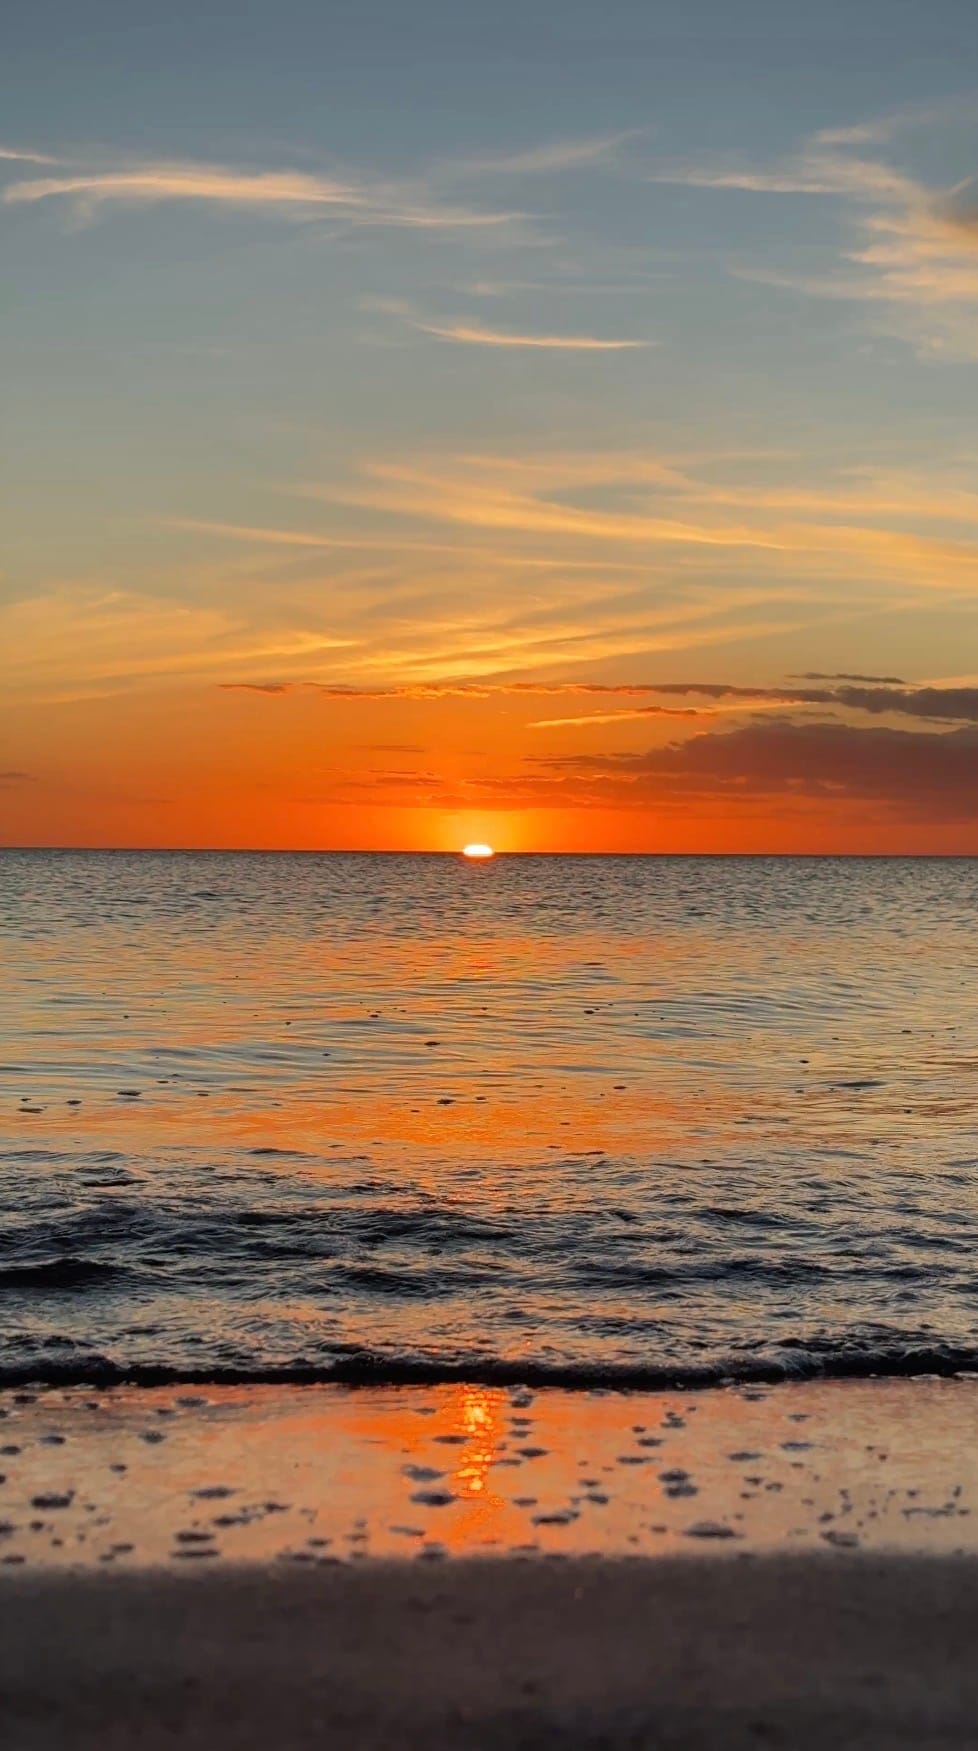
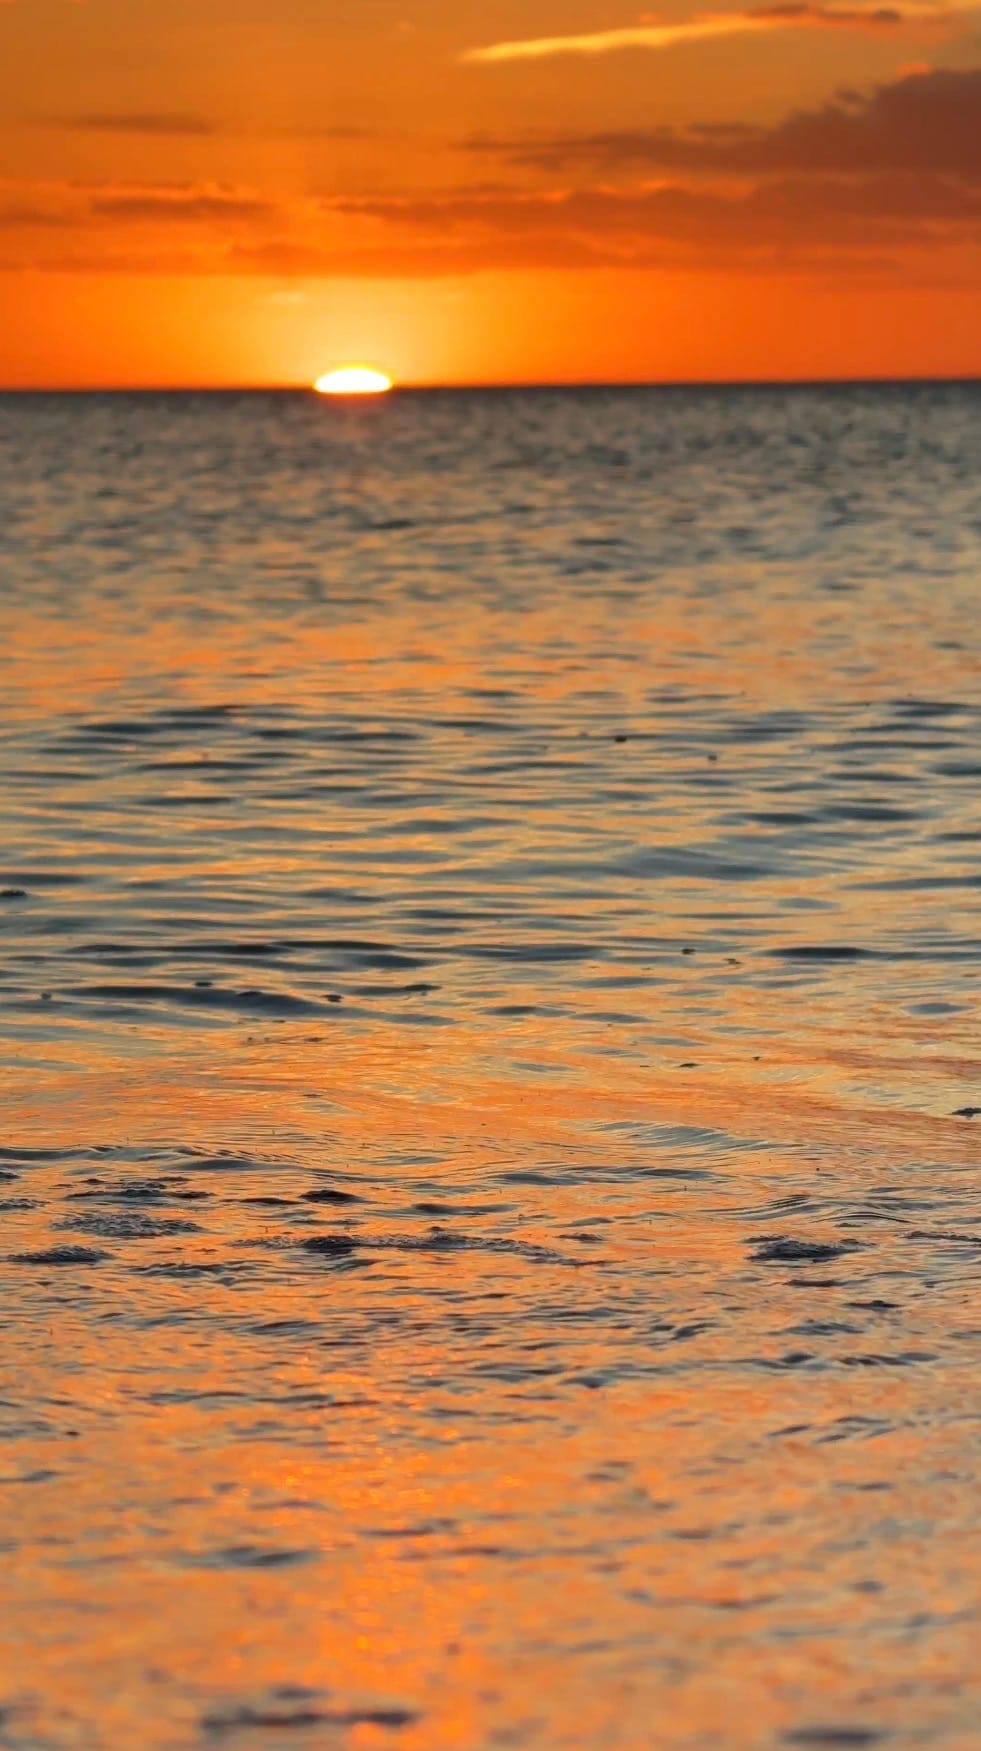
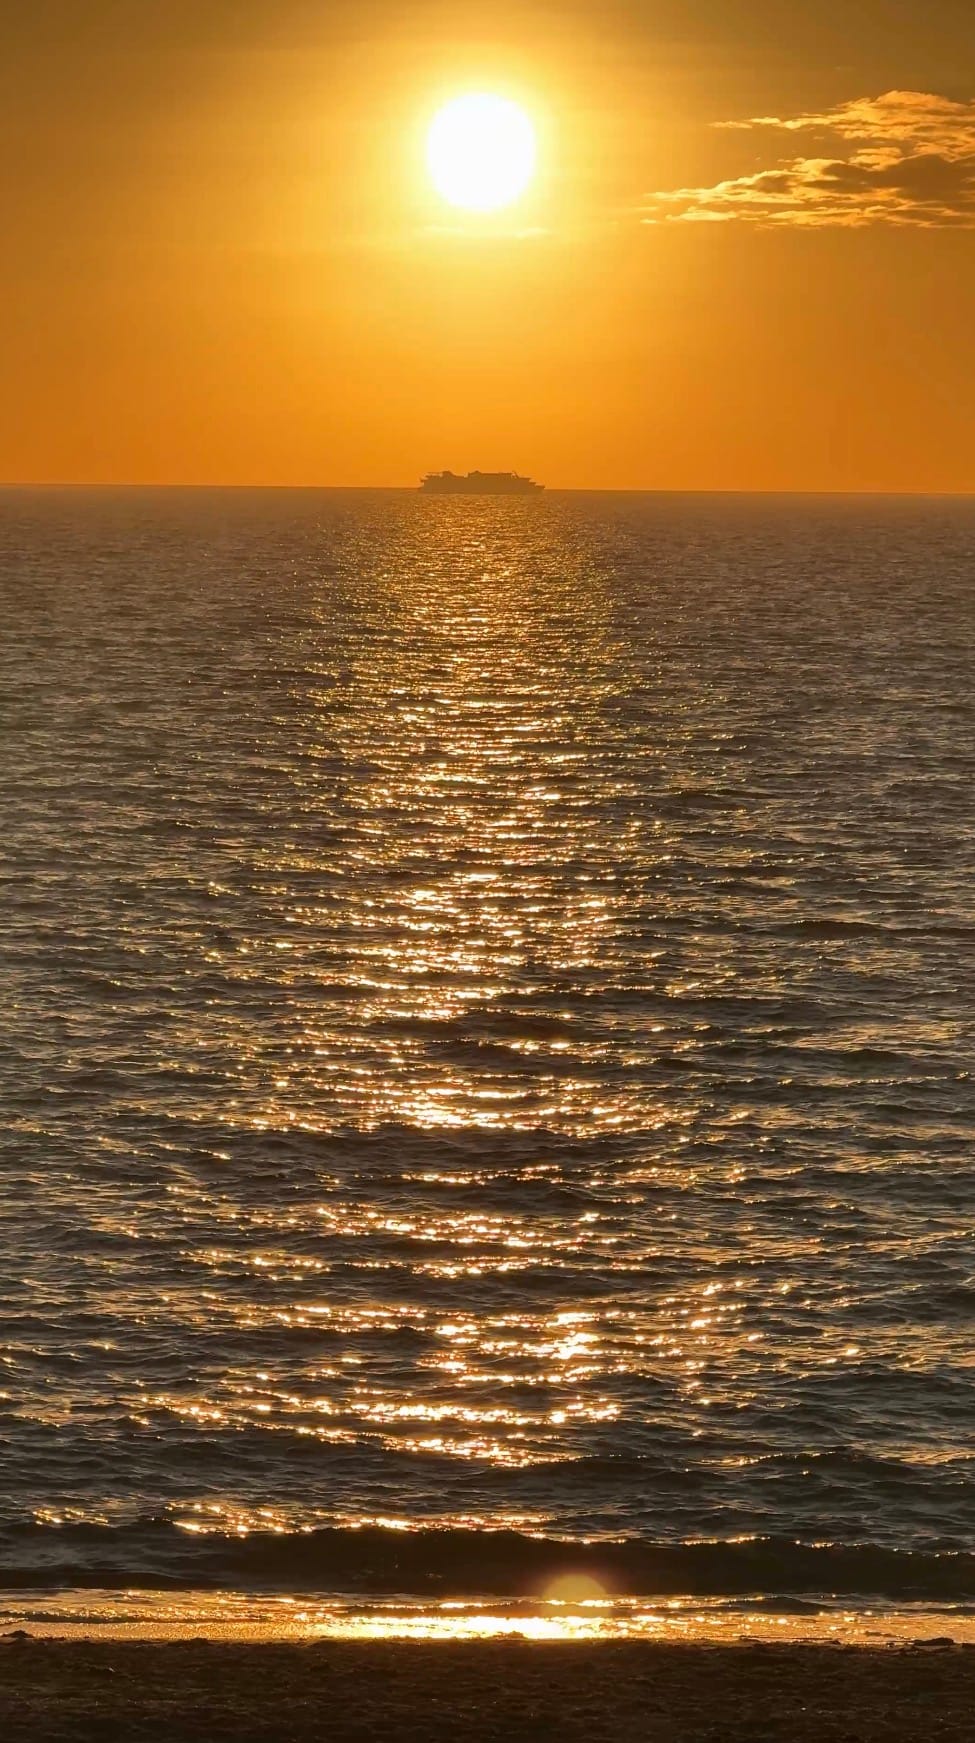
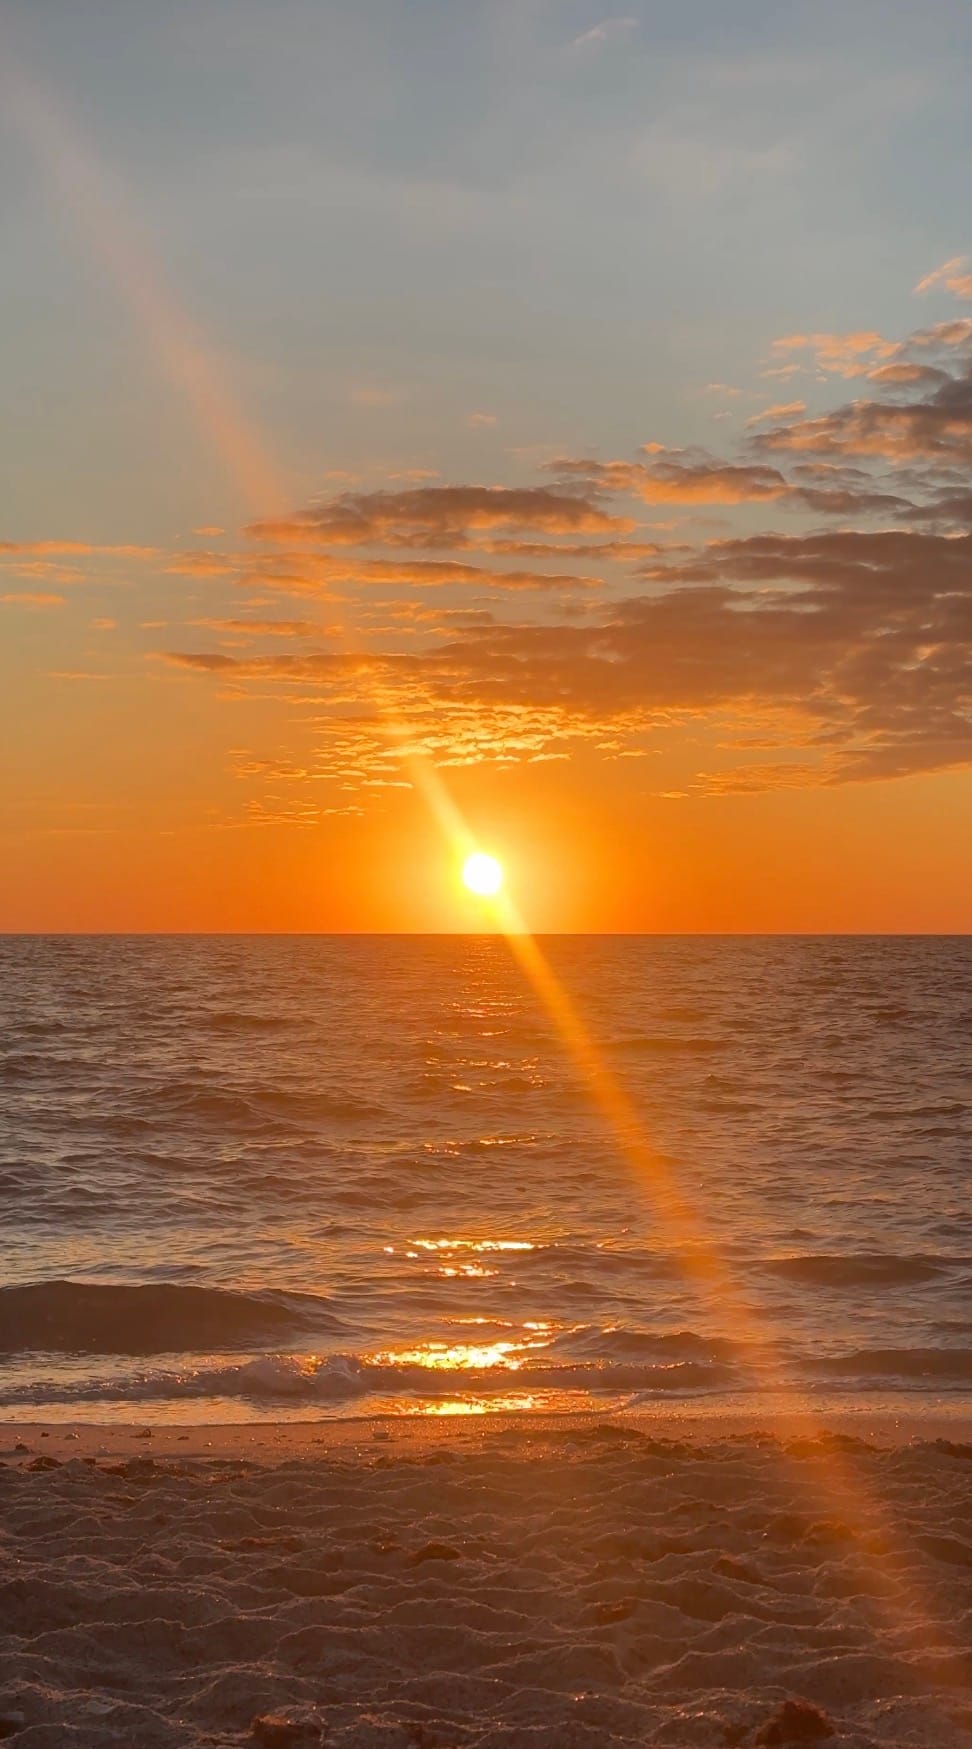
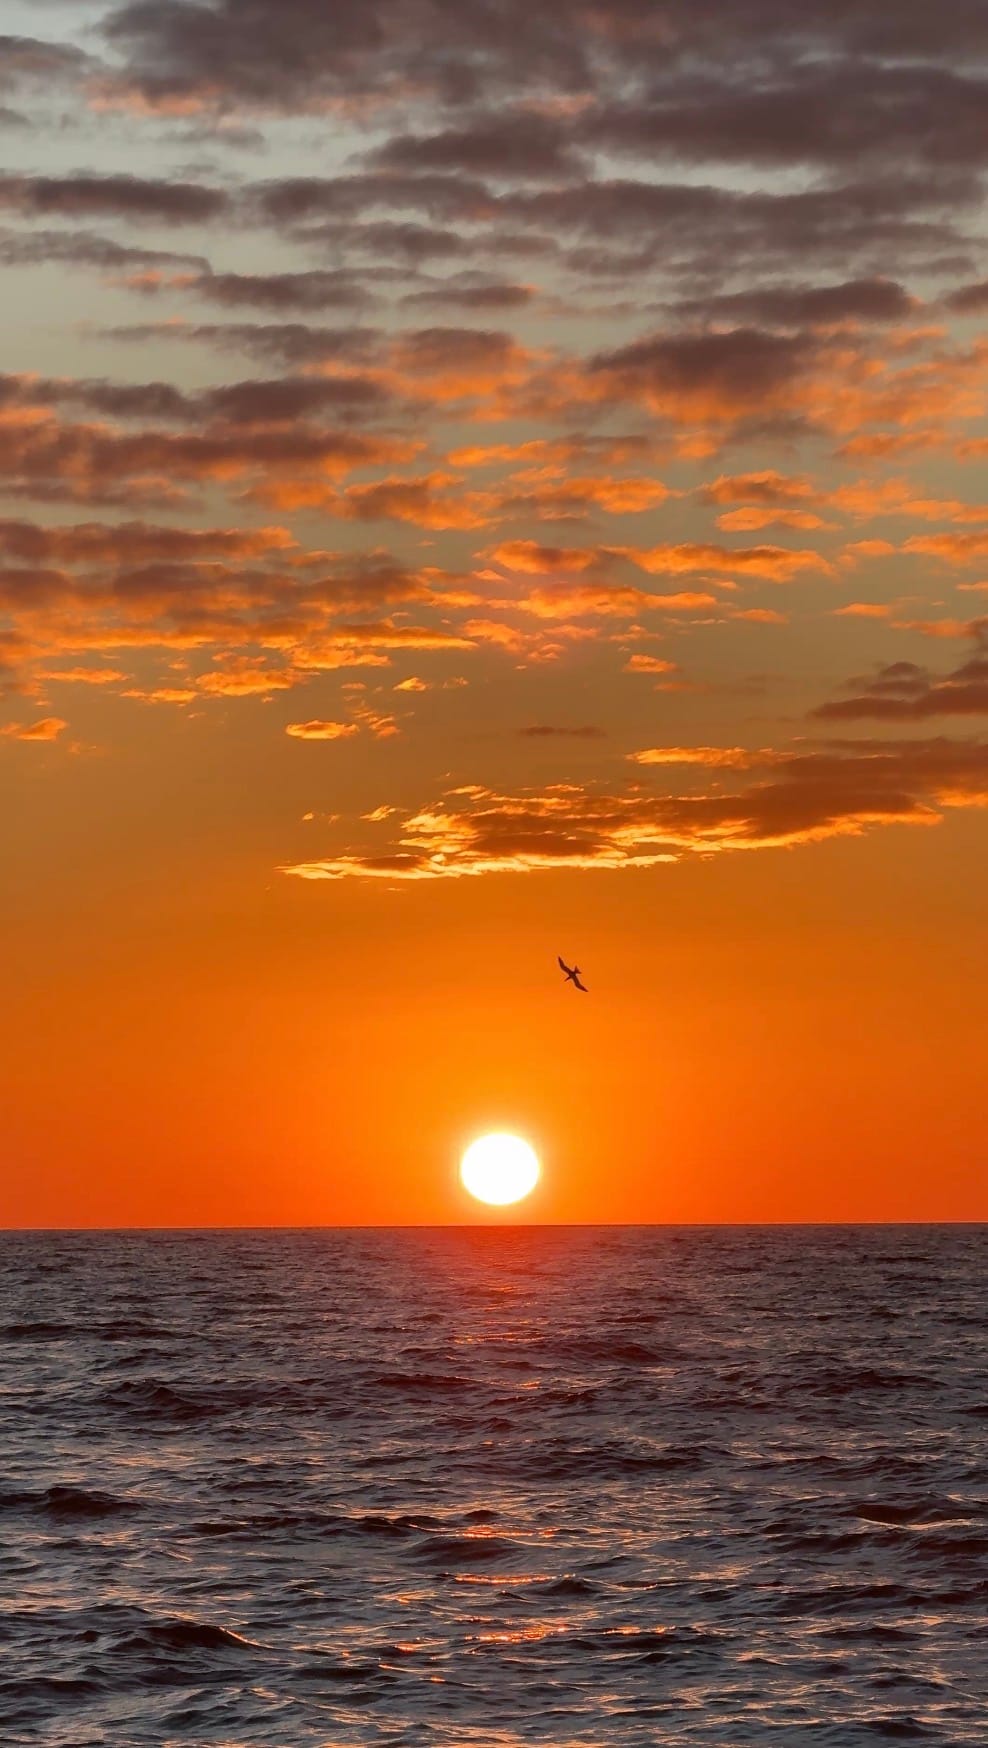
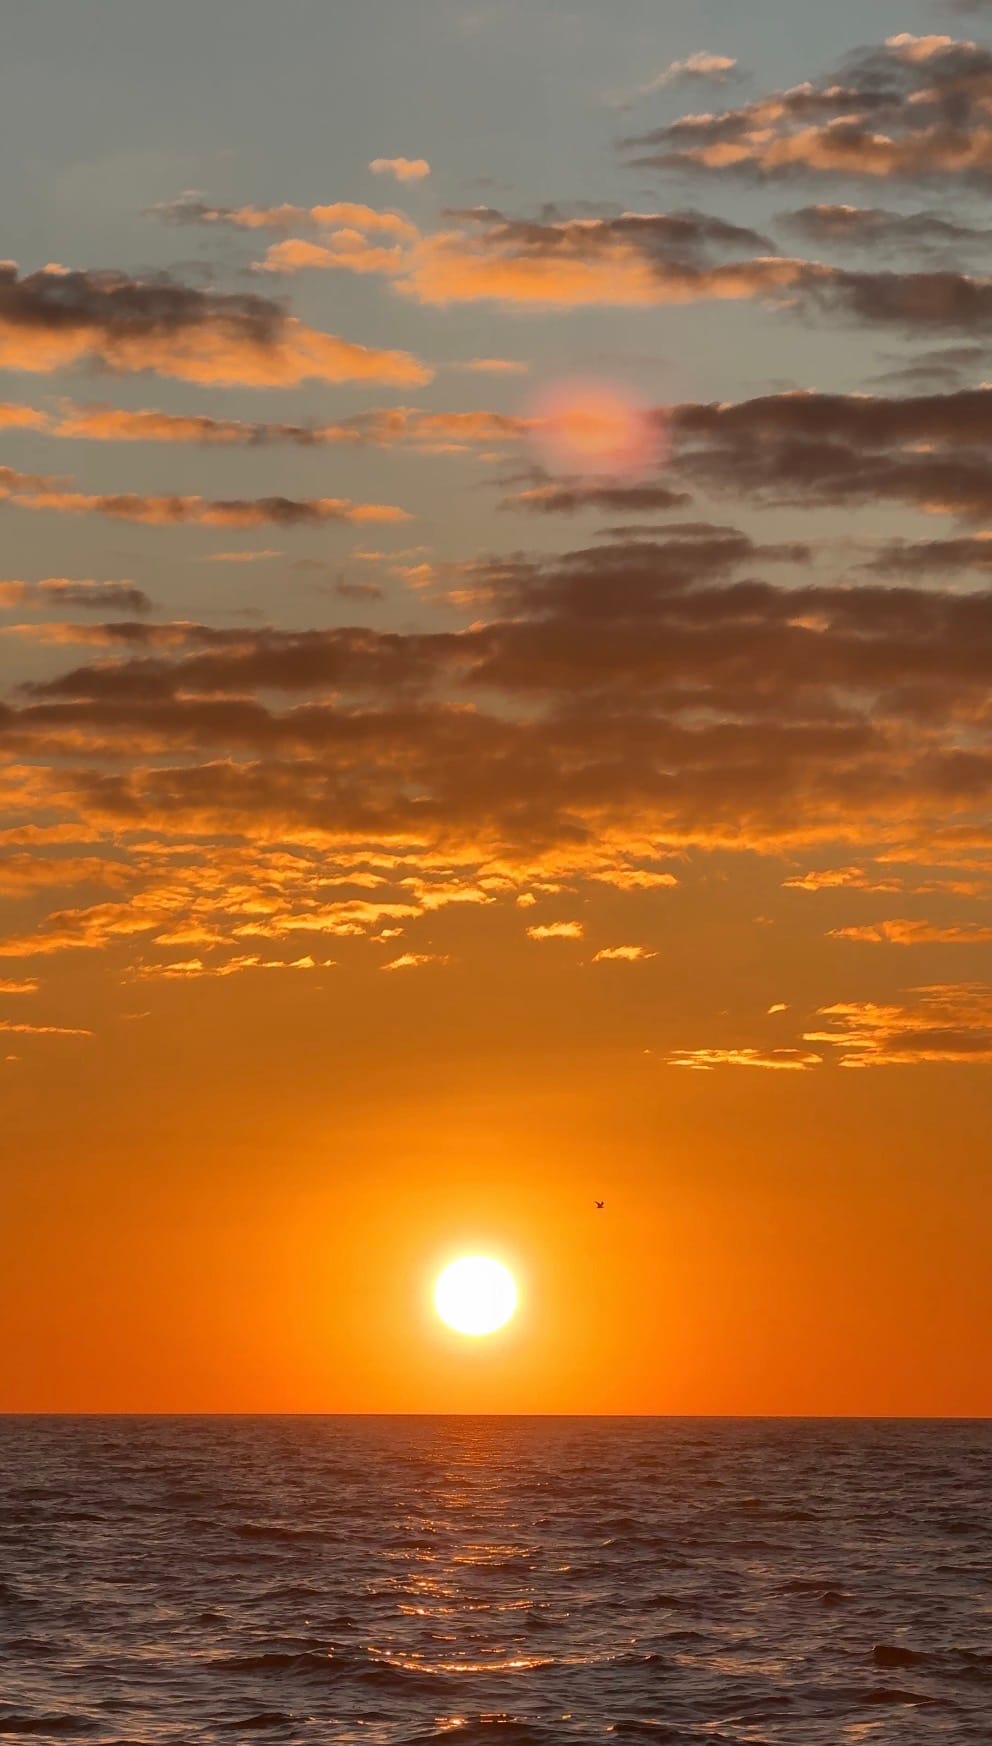
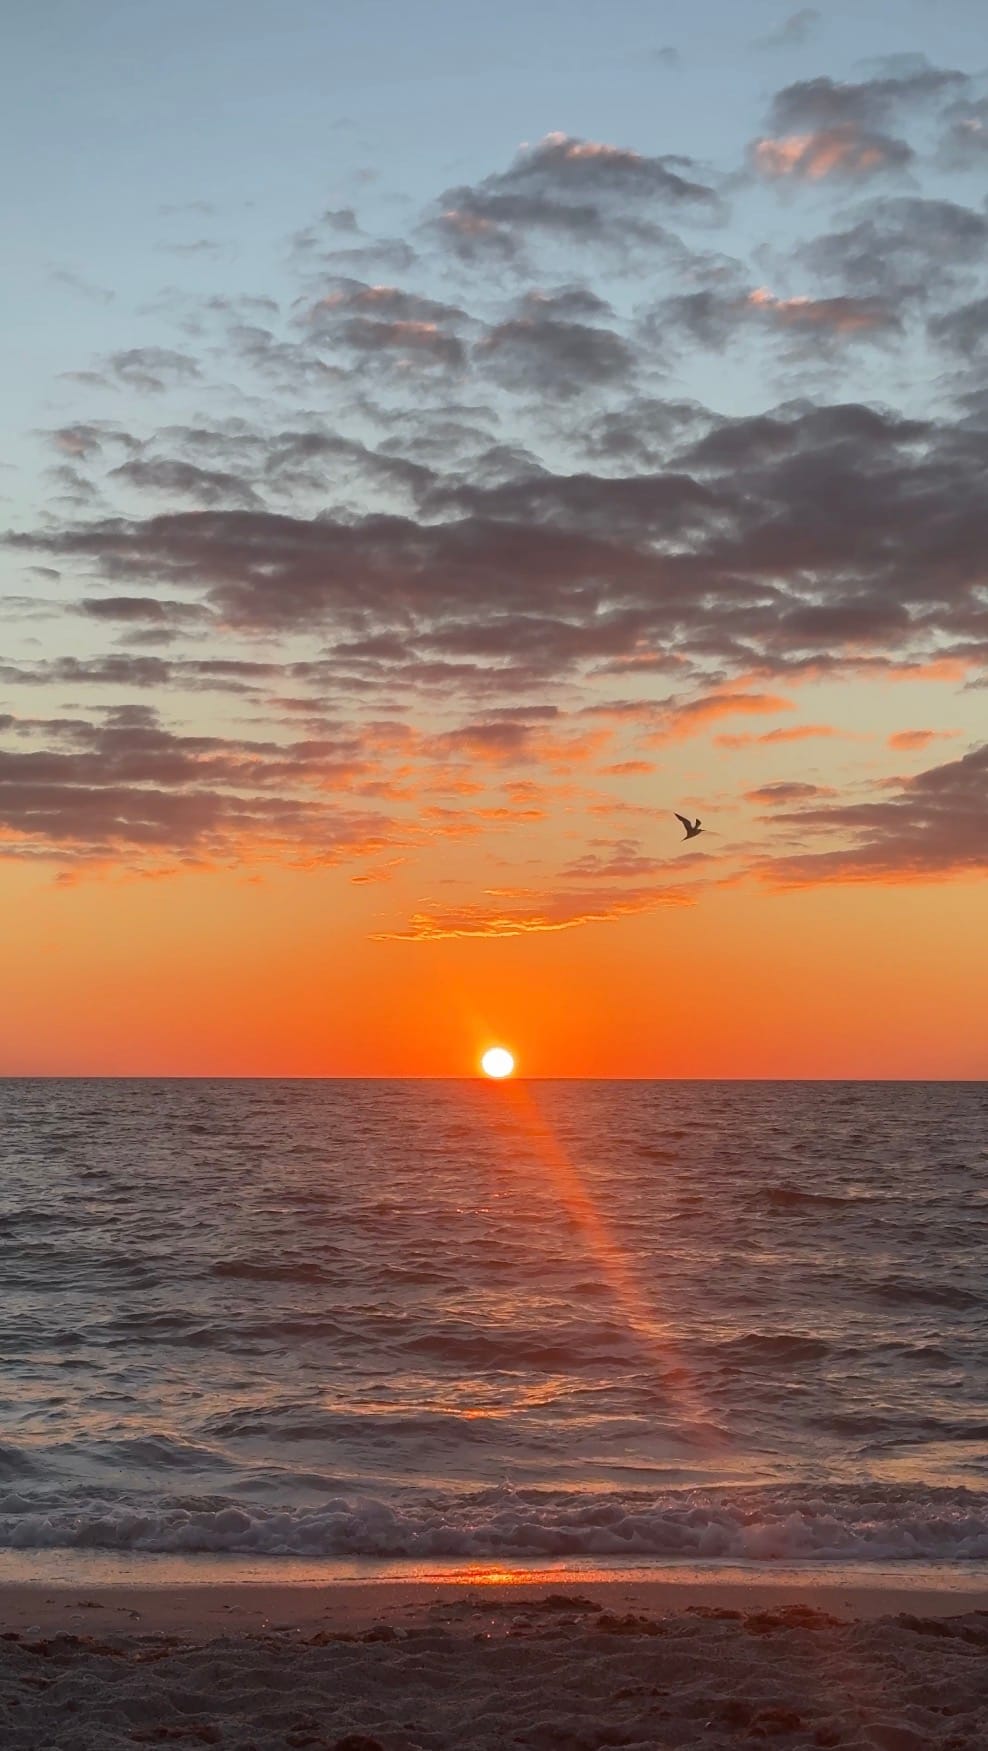
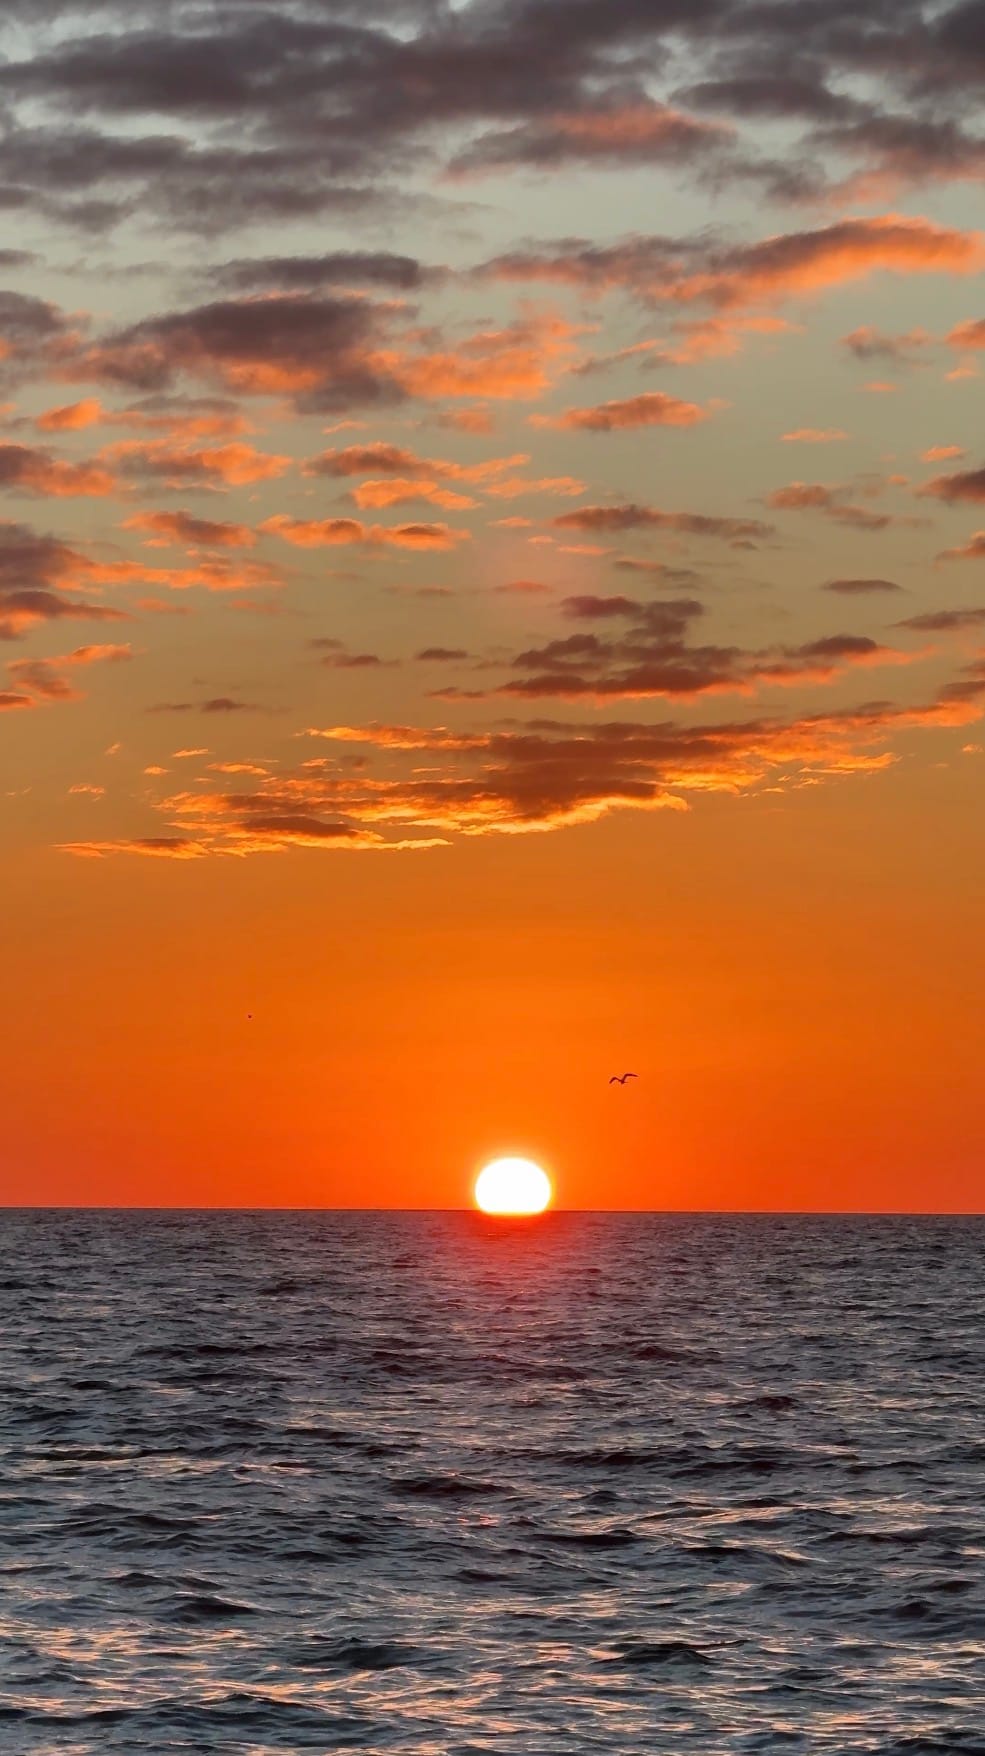
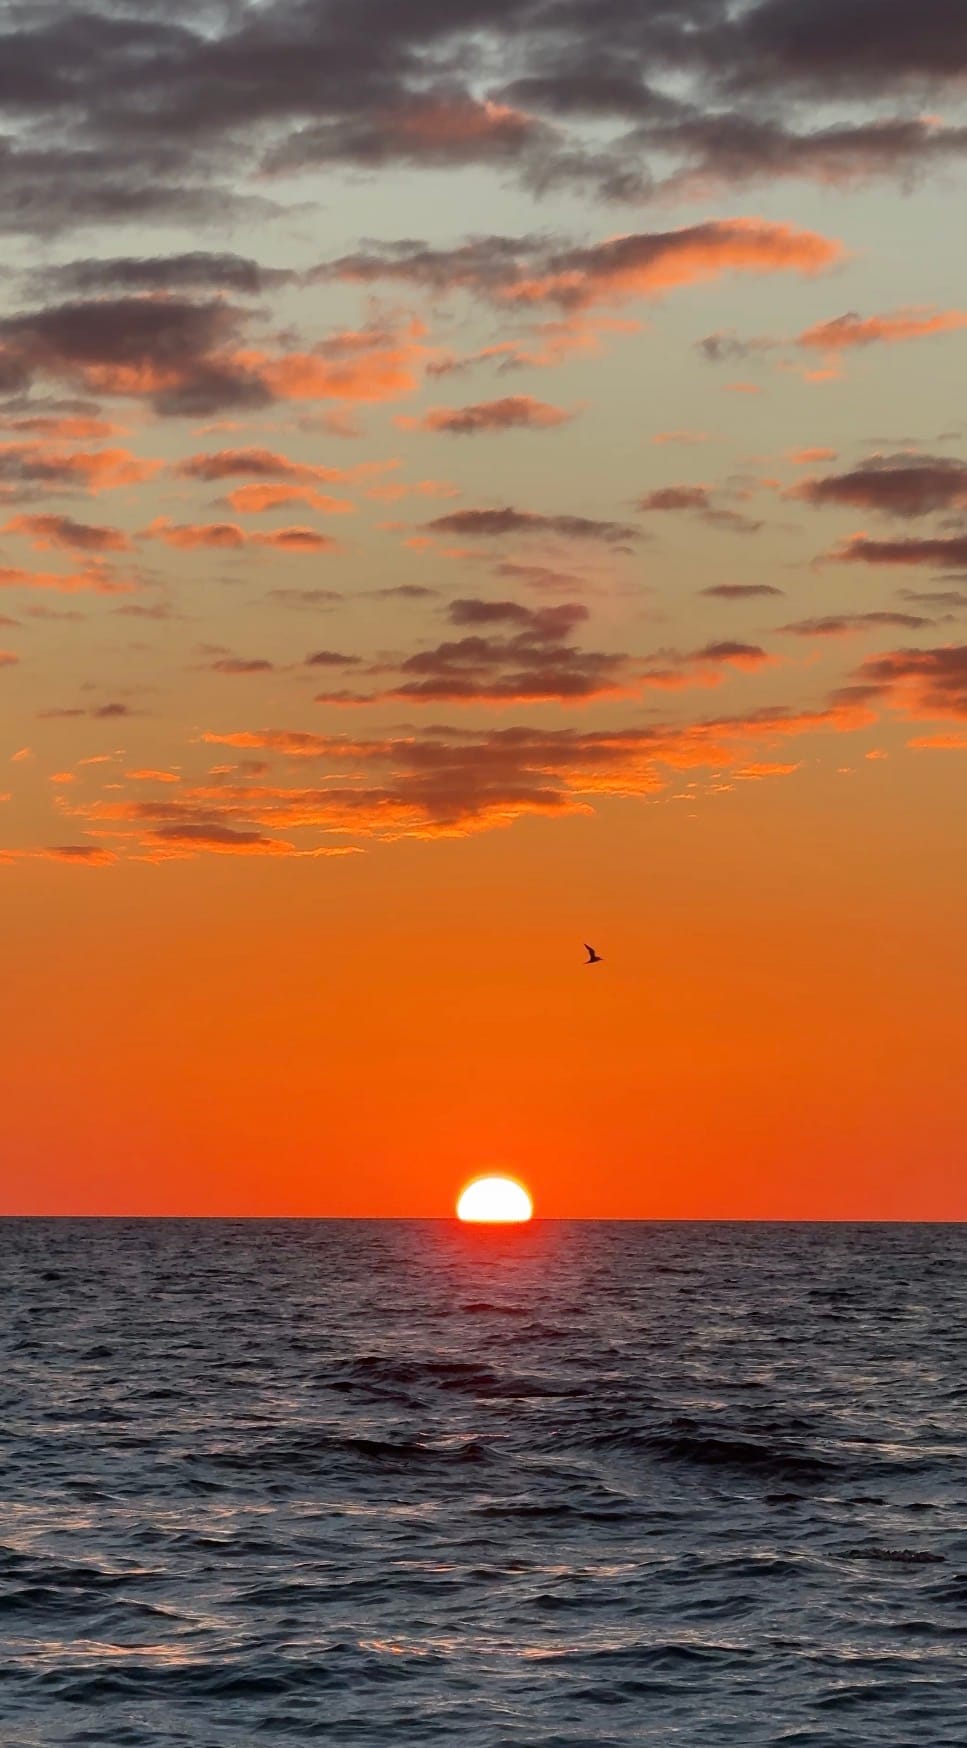
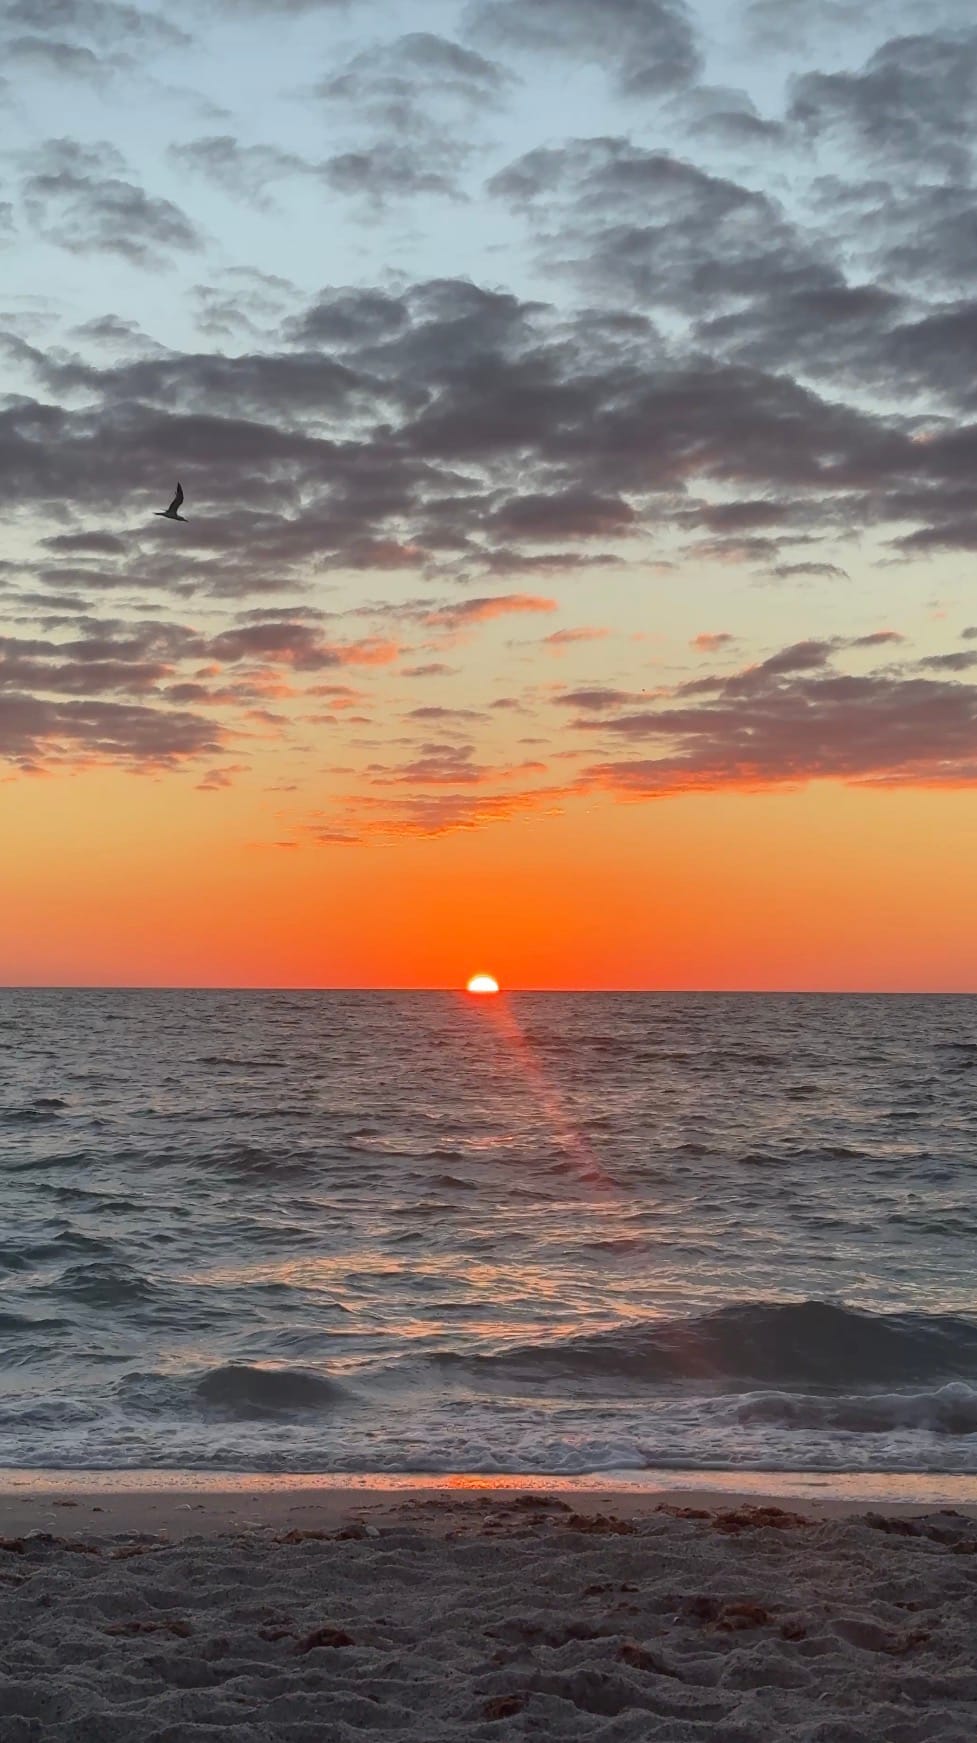
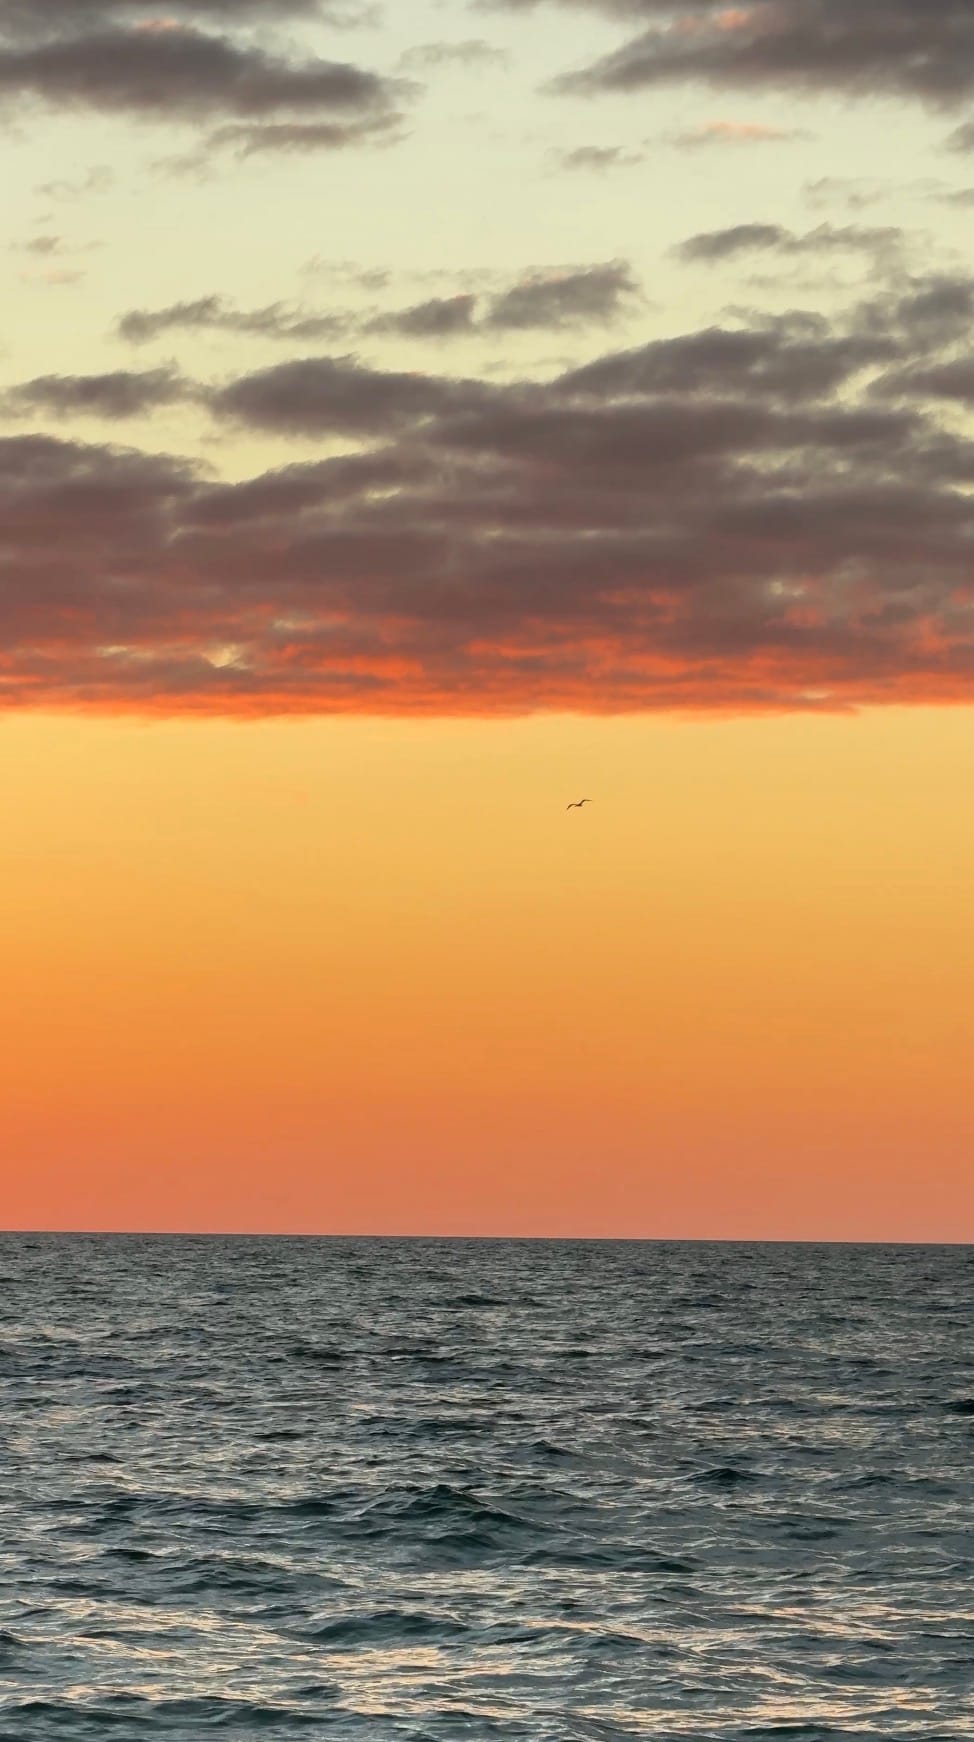
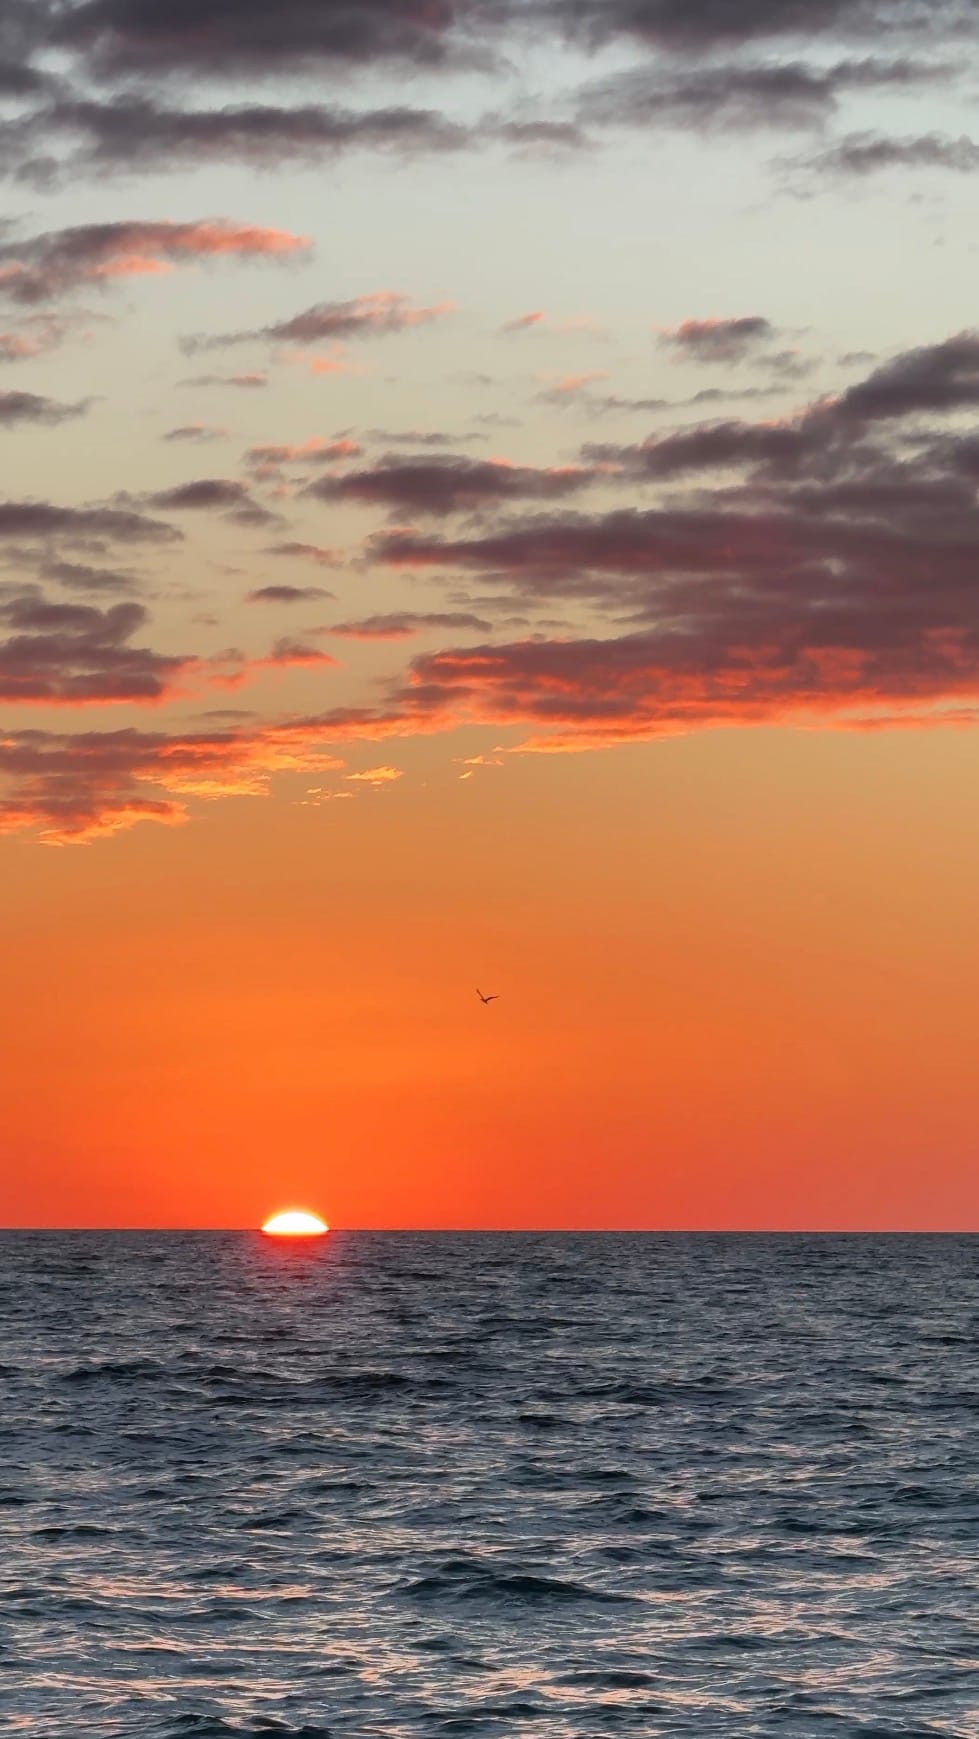
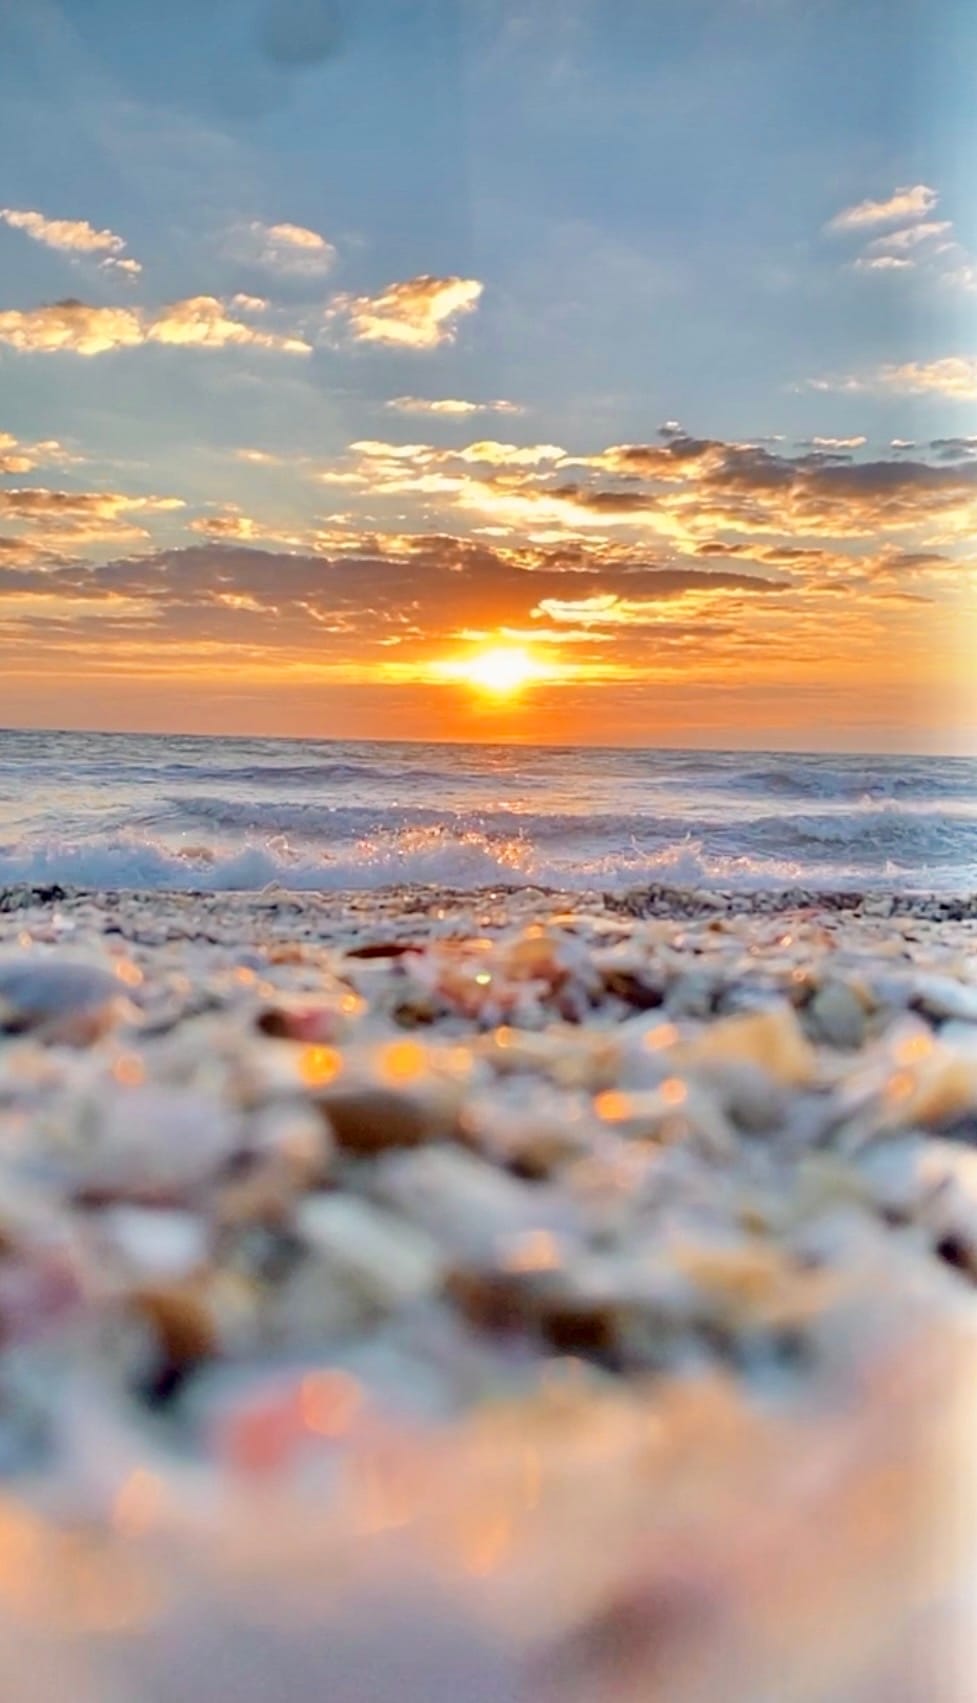
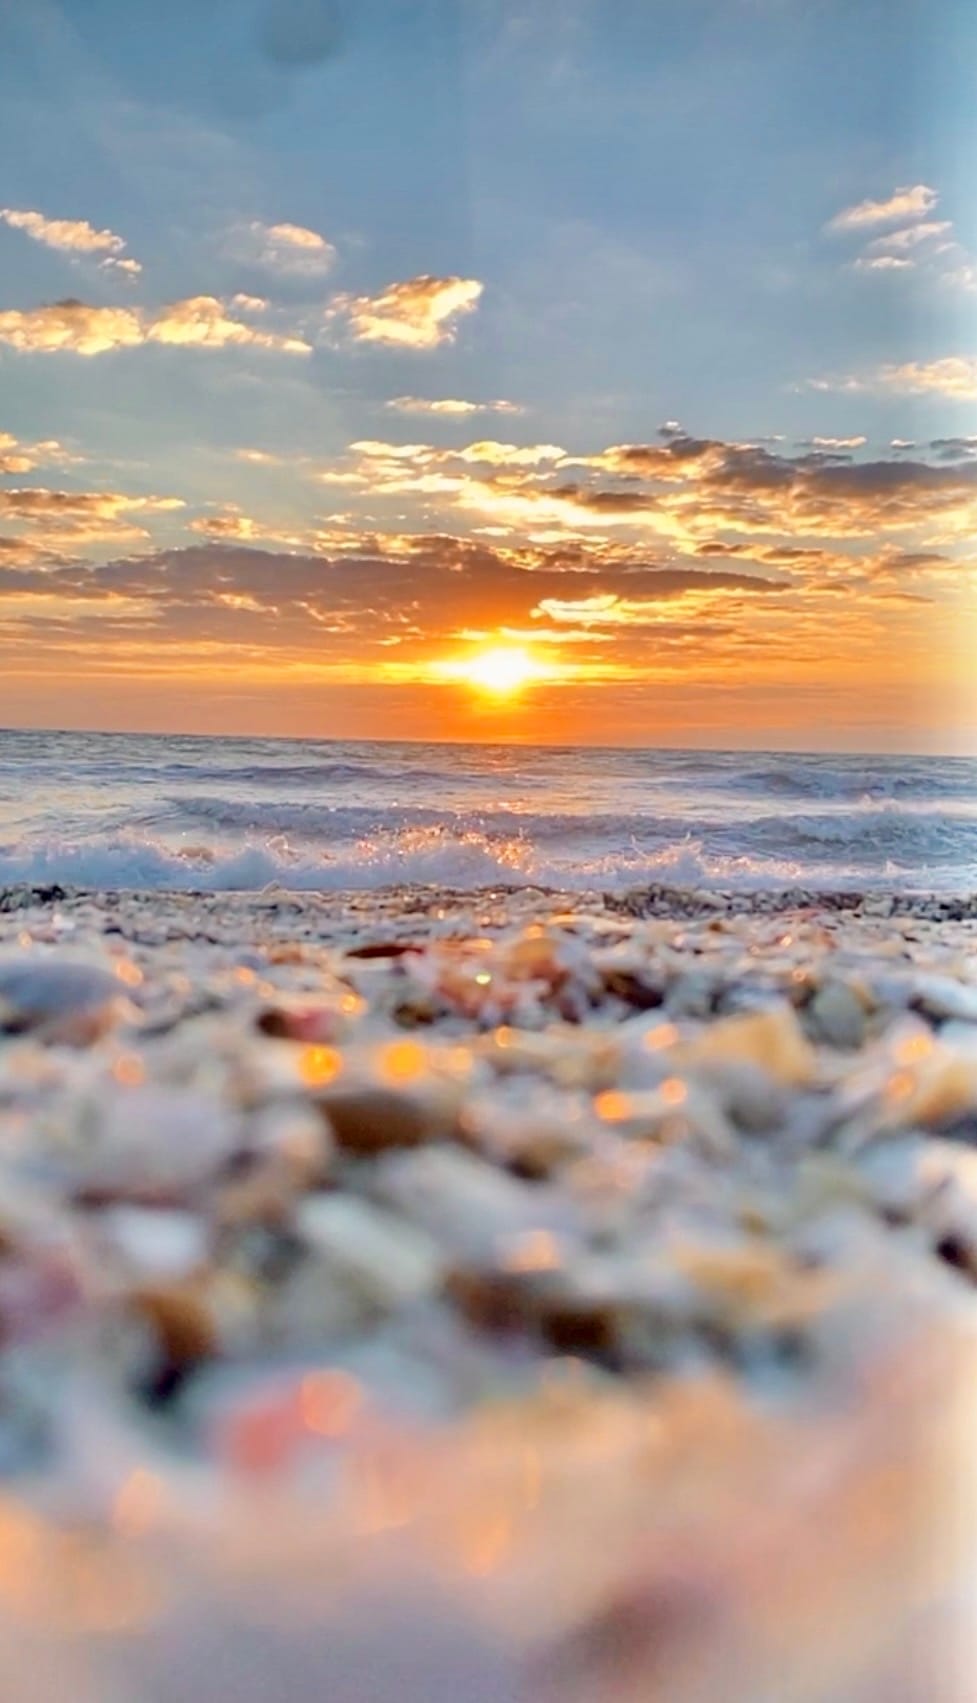
One of my absolute favorite things to do on Manasota Key is watch the sunset. Sometimes I look back at my photos and videos and can't help but think how lucky I am to have seen so many incredible ones. I love that each day is a mystery of what type of sunset you’re going to get. It seems like each year there is always one that is the perfect combo: a complete calm, a lake like Gulf, zero wind, a huge orange ball complimented by a clear orange yellow sky that sets slow, seabirds that speckle the sky, and maybe even a green flash. After storm sunsets are at the top of my list. I love when the entire sky transforms into deep saturated colors and the clouds are constantly evolving into new shades. If you’re lucky a rainbow appears.
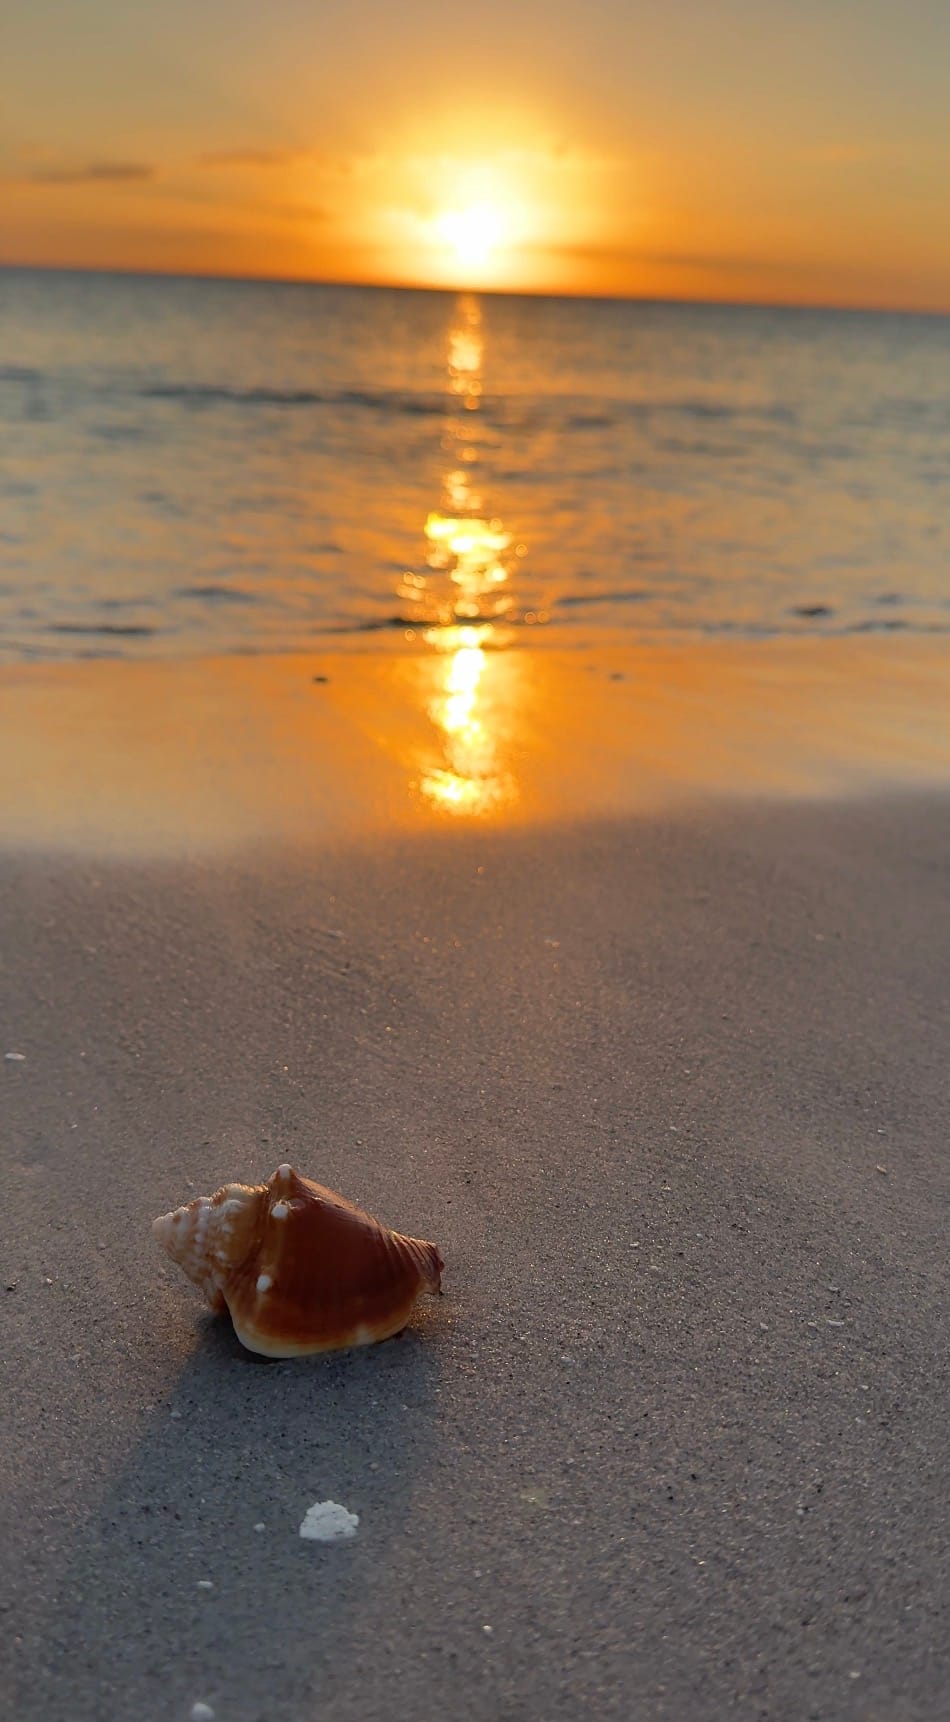
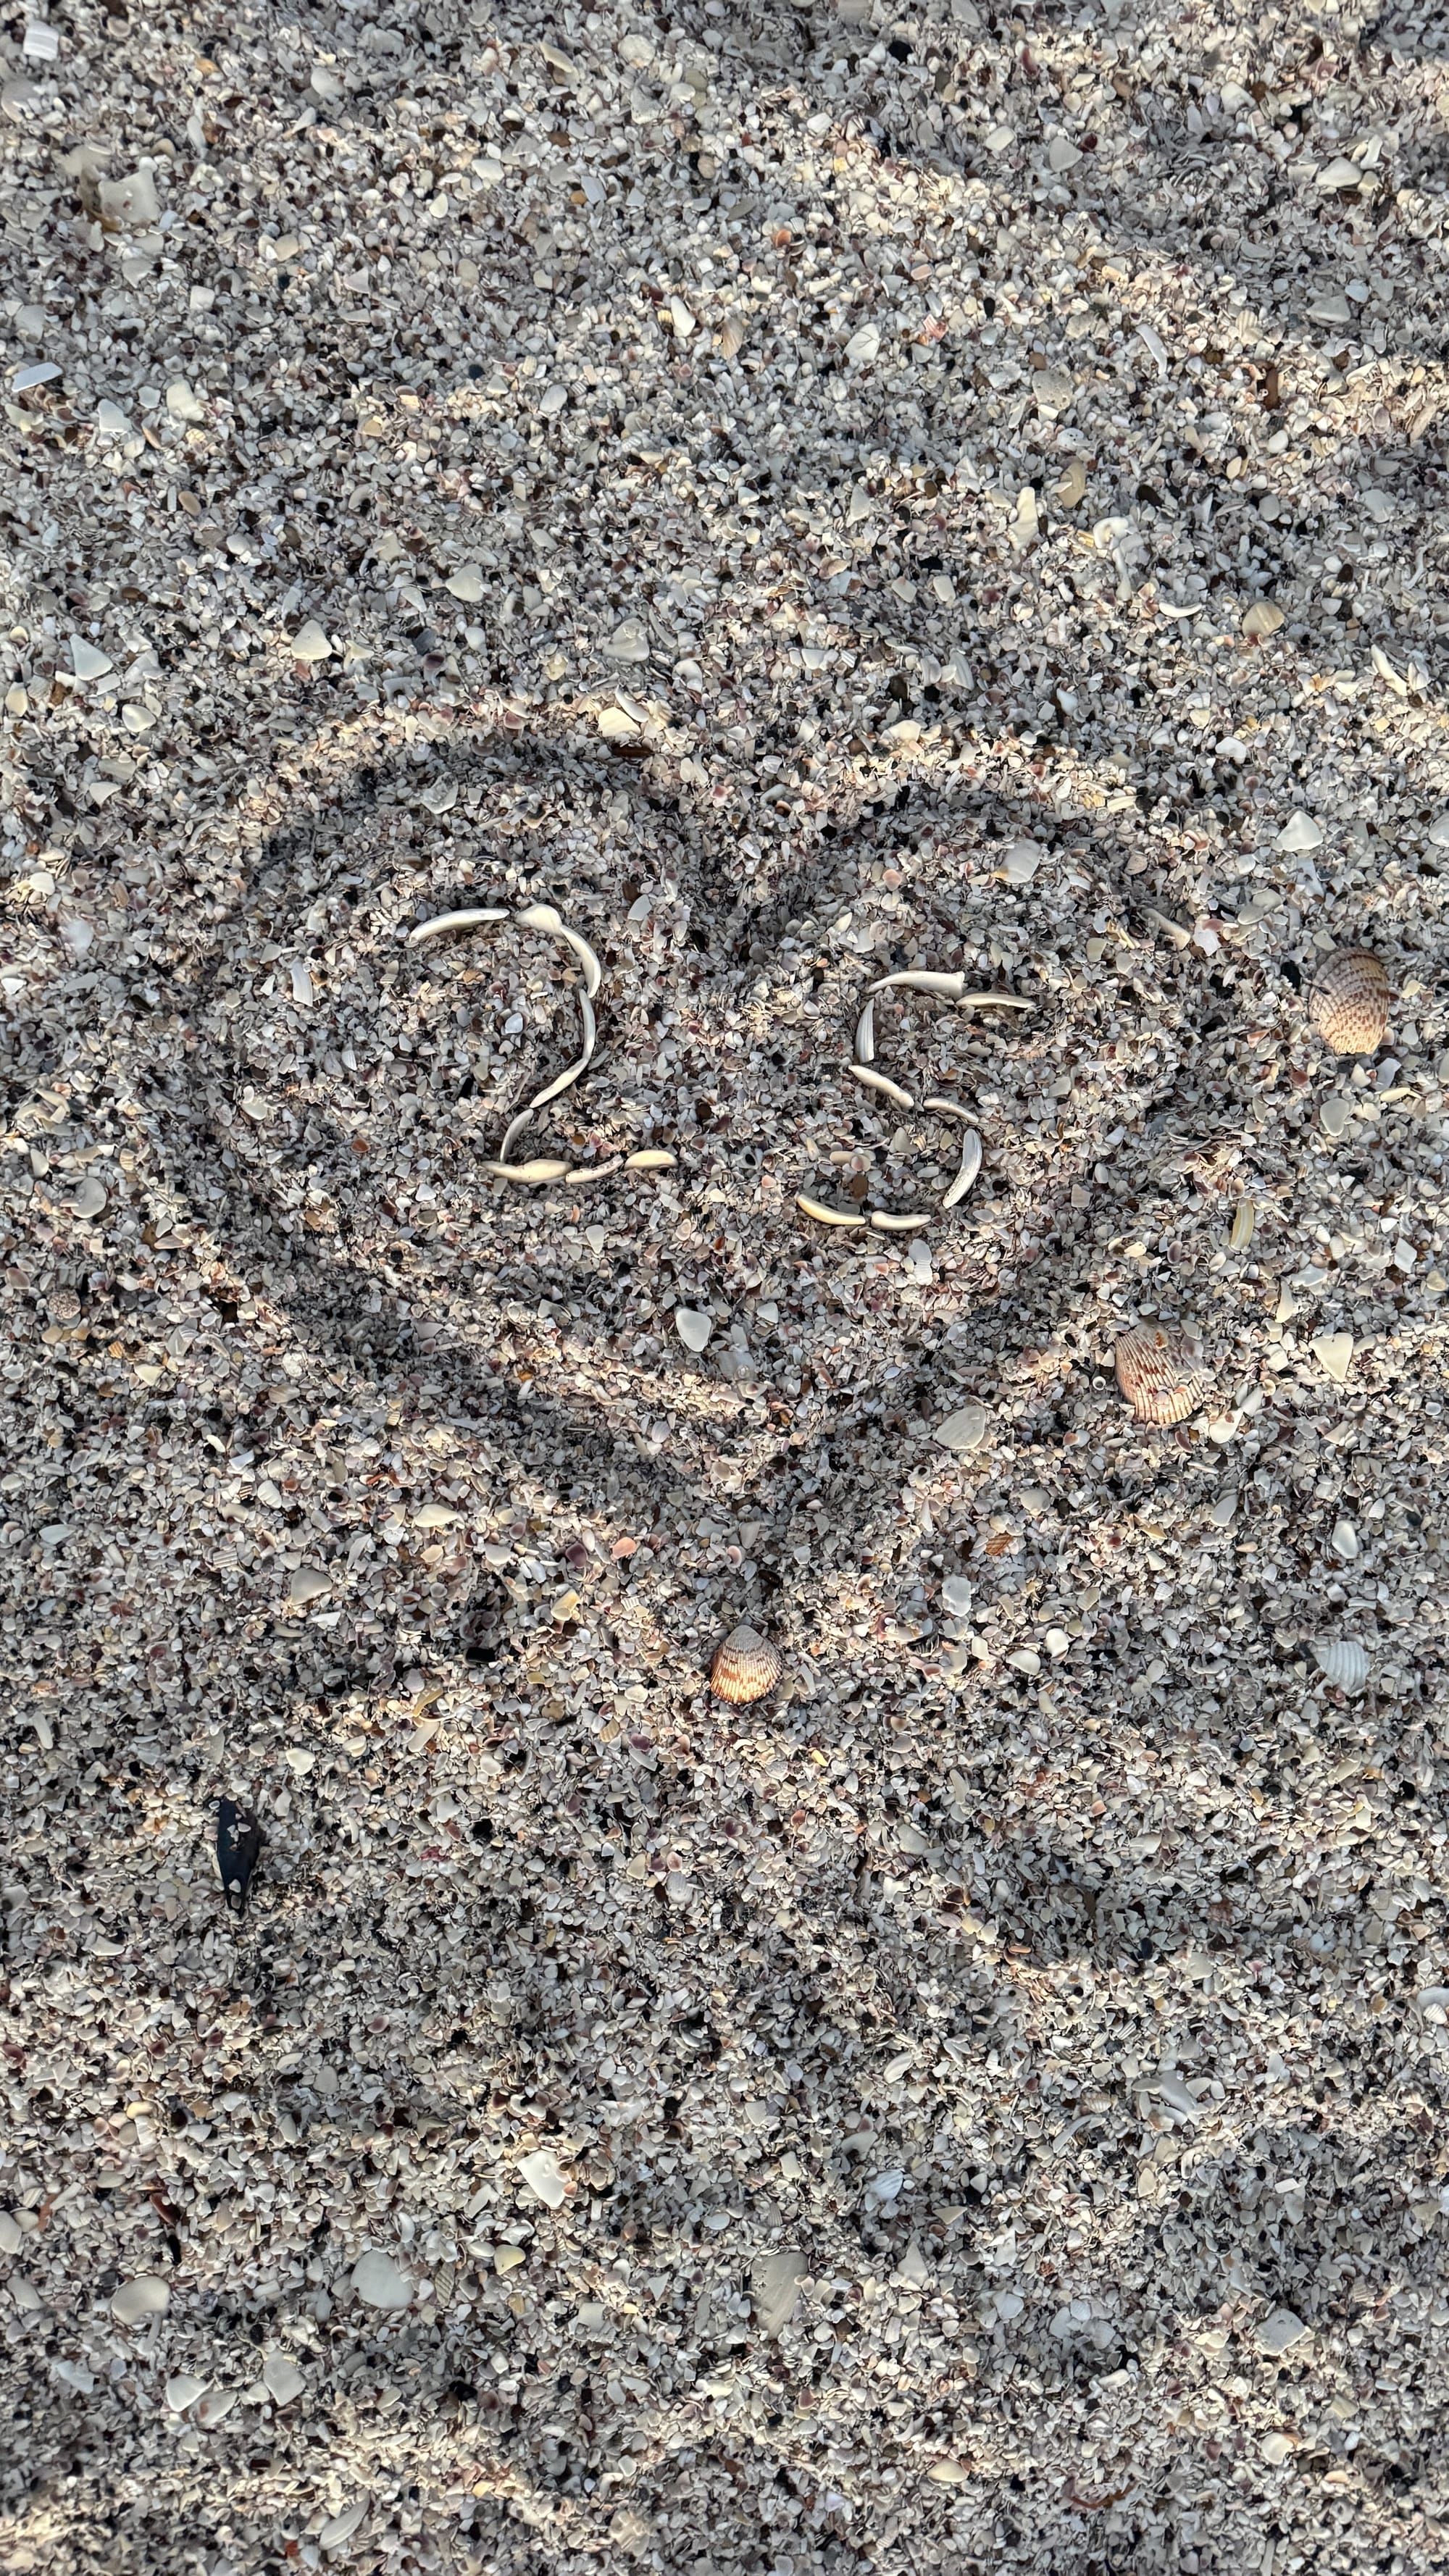
When I look back through my library, it makes me sad to think of them all locked away in my phone. I’ve shared a few on social but sometimes I forget and then it feels too late to post. So I figure this would be the perfect spot for them to shine. I went through 2025 and picked out all of my favorites. So here's a year on Manasota Key, watching the sunset and the beautiful after sun sky in 2025. Hope they bring a little sunshine to your screen.
I organized these sunsets by month. Just click on a month and tap to view all the sunsets in that month.
February 2025
April 2025
July 2025
August 2025
September 2025
October 2025
November 2025
December 2025
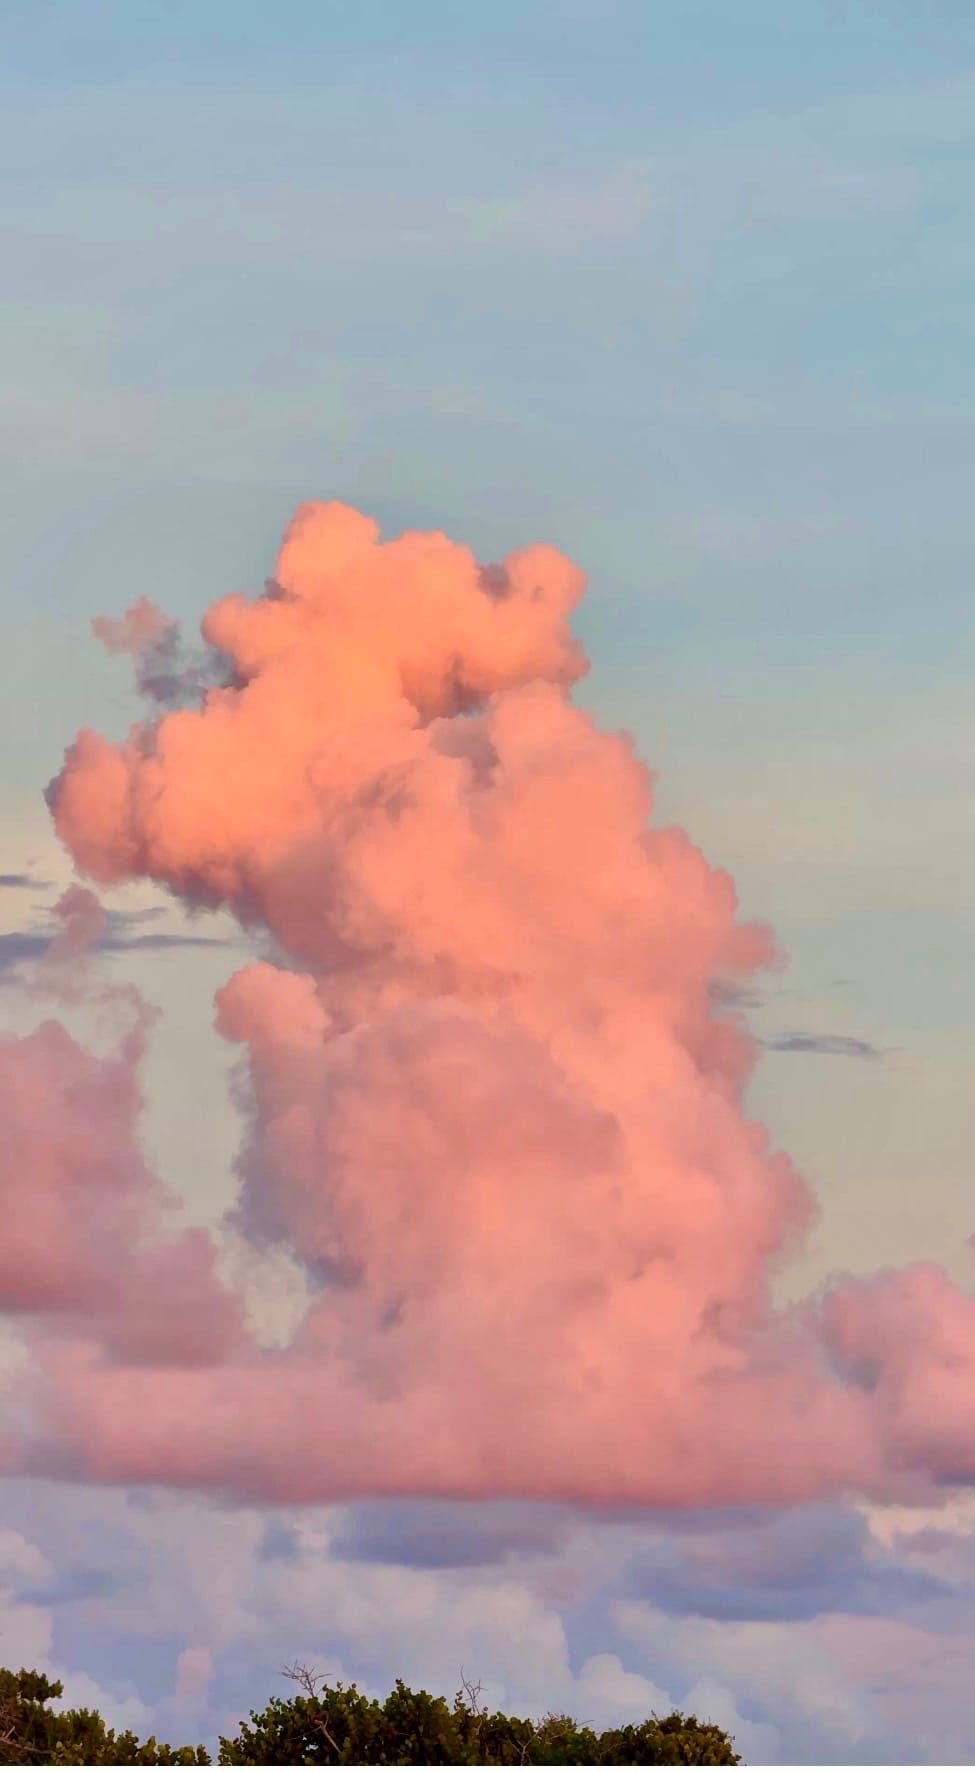
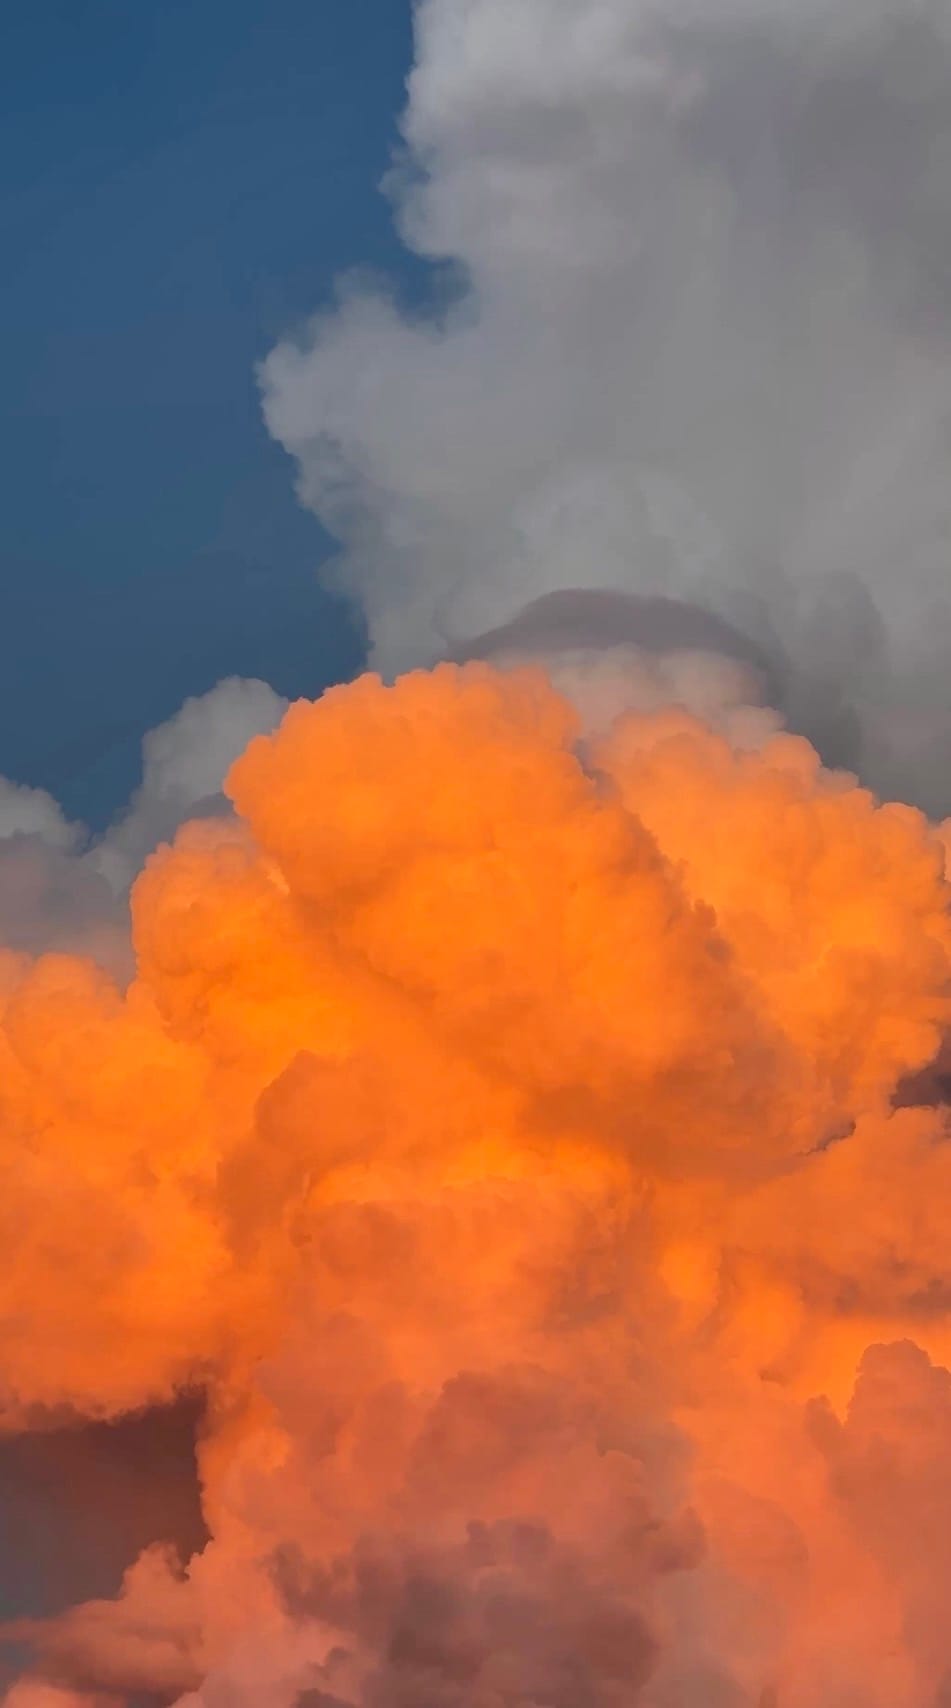
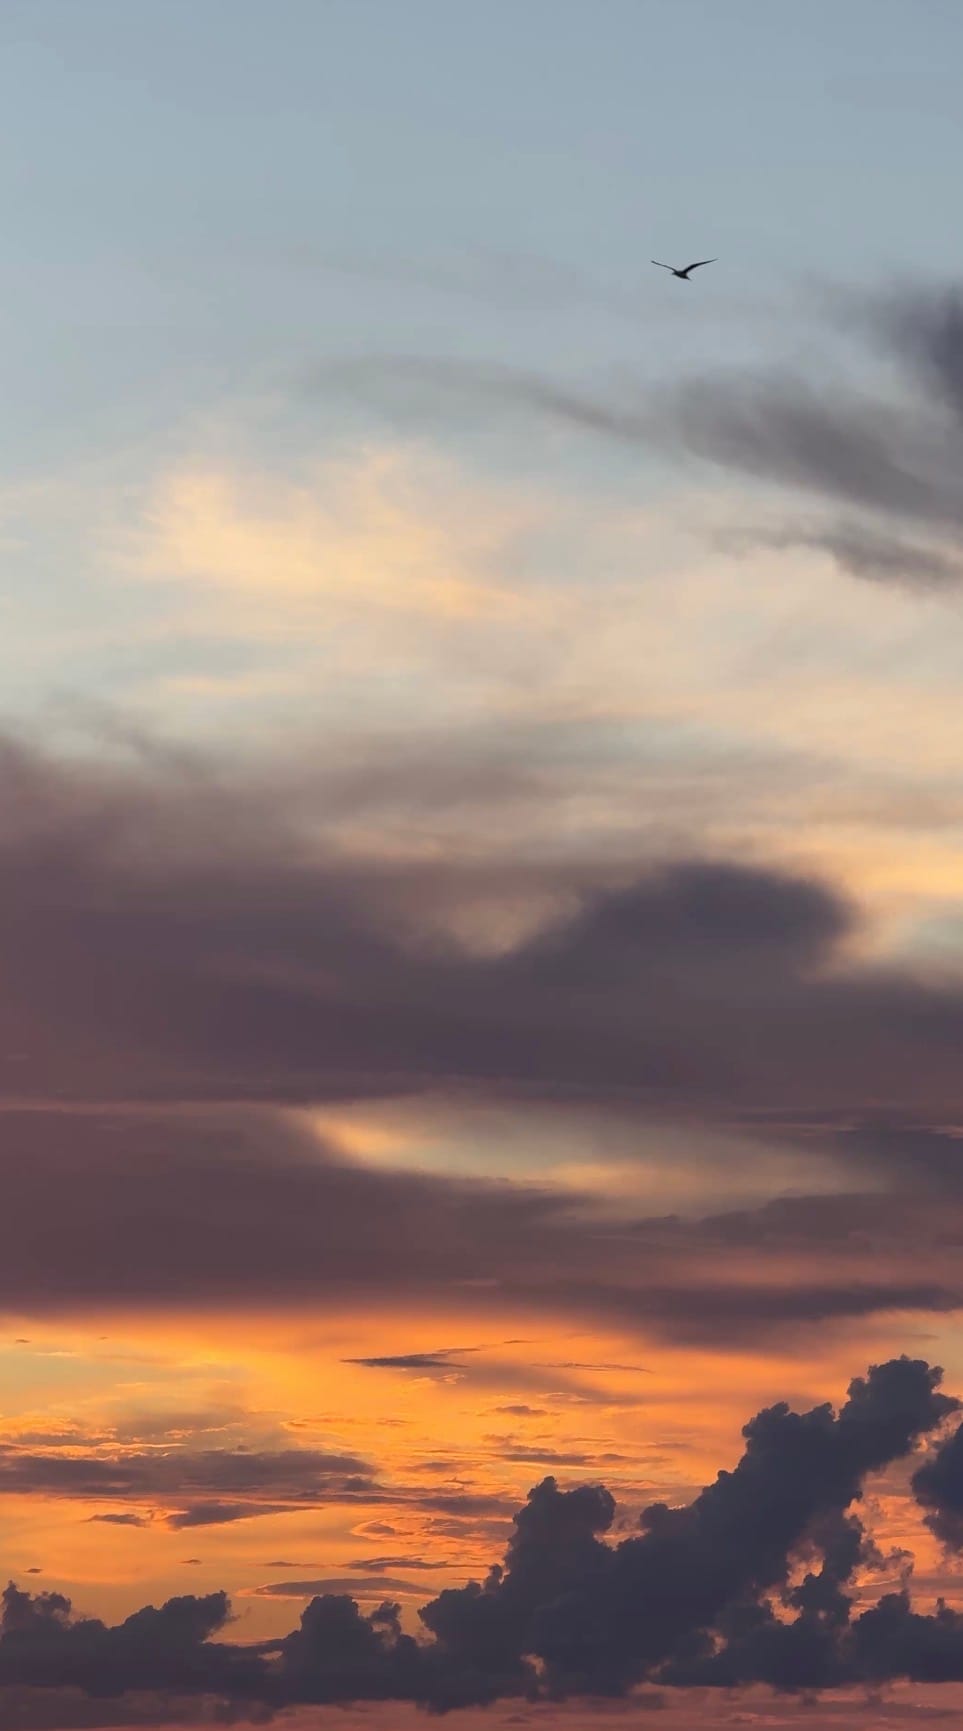
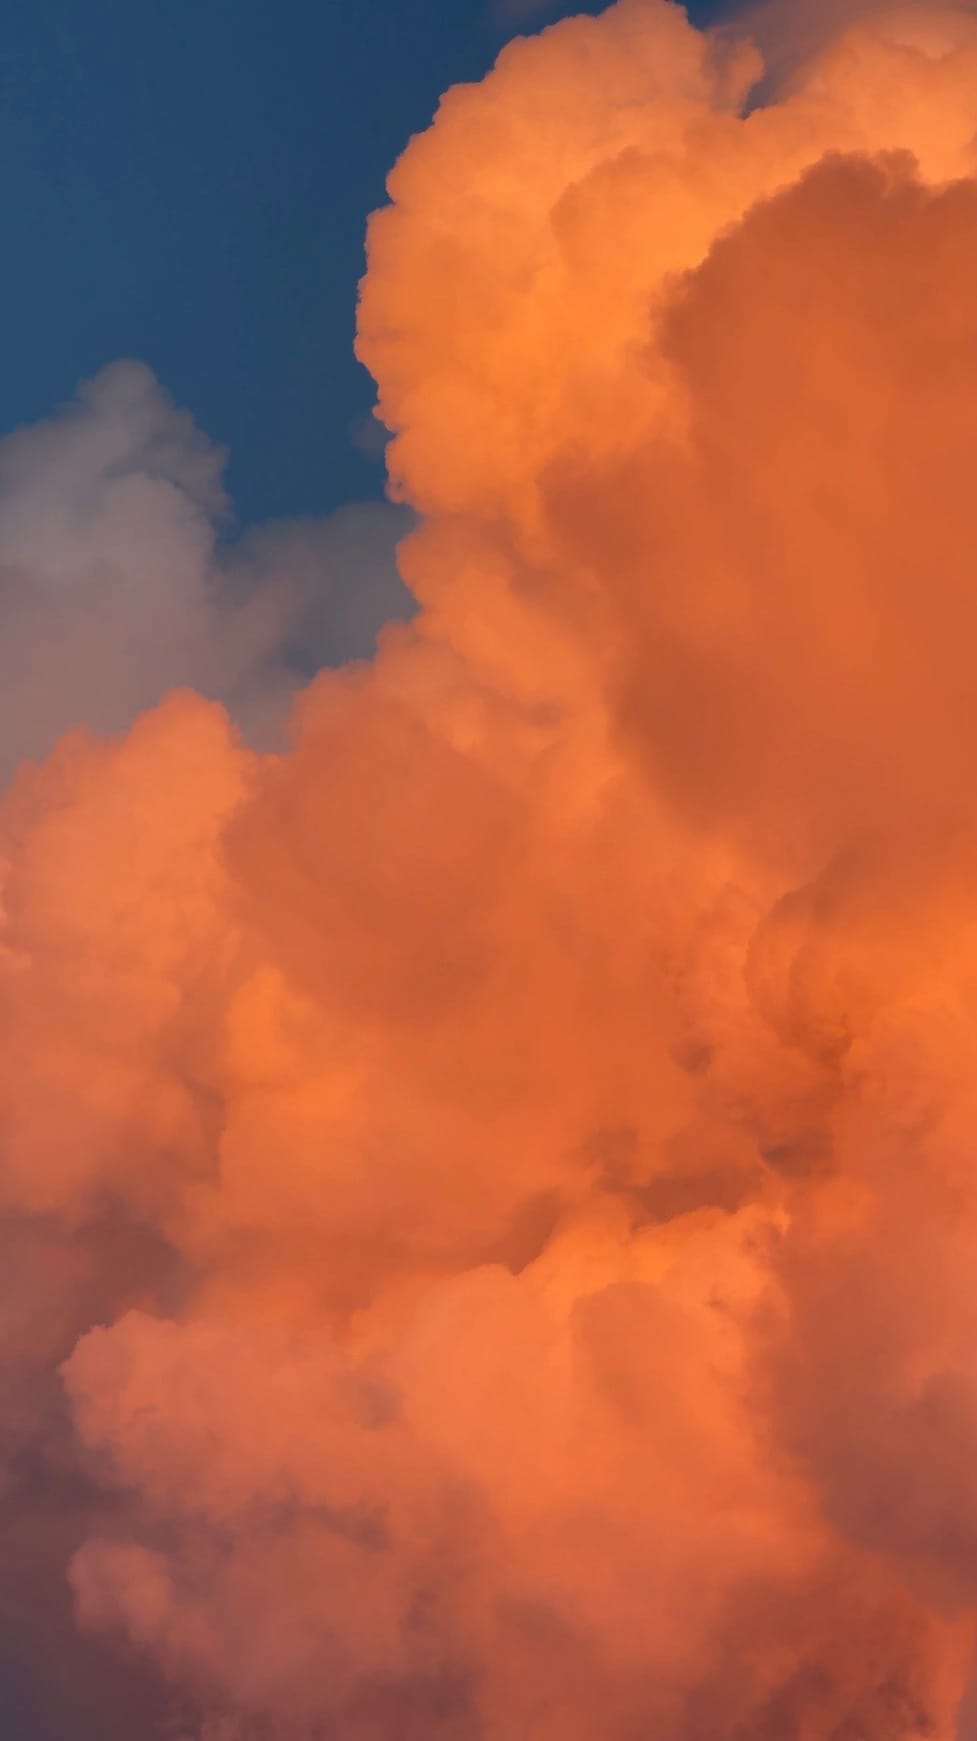
My favorite sunset months on Manasota Key are definitely August - October. I love the stormy months. I love the clouds in August, they are like giant color filled cotton balls just floating along. After going through all my photos, I'm starting to realize, that birds play a big role in my favorite photos, I feel like they give each setting sun a little extra something. Stay tuned for my 2026 sunsets, I will try to post on New Year's Day!
The Story of The Small Town Studio
I have always had a love for small towns. There is something so exciting about them and I grew up in one. I love road trips where you stop town to town exploring the unique small businesses that keep the town alive.
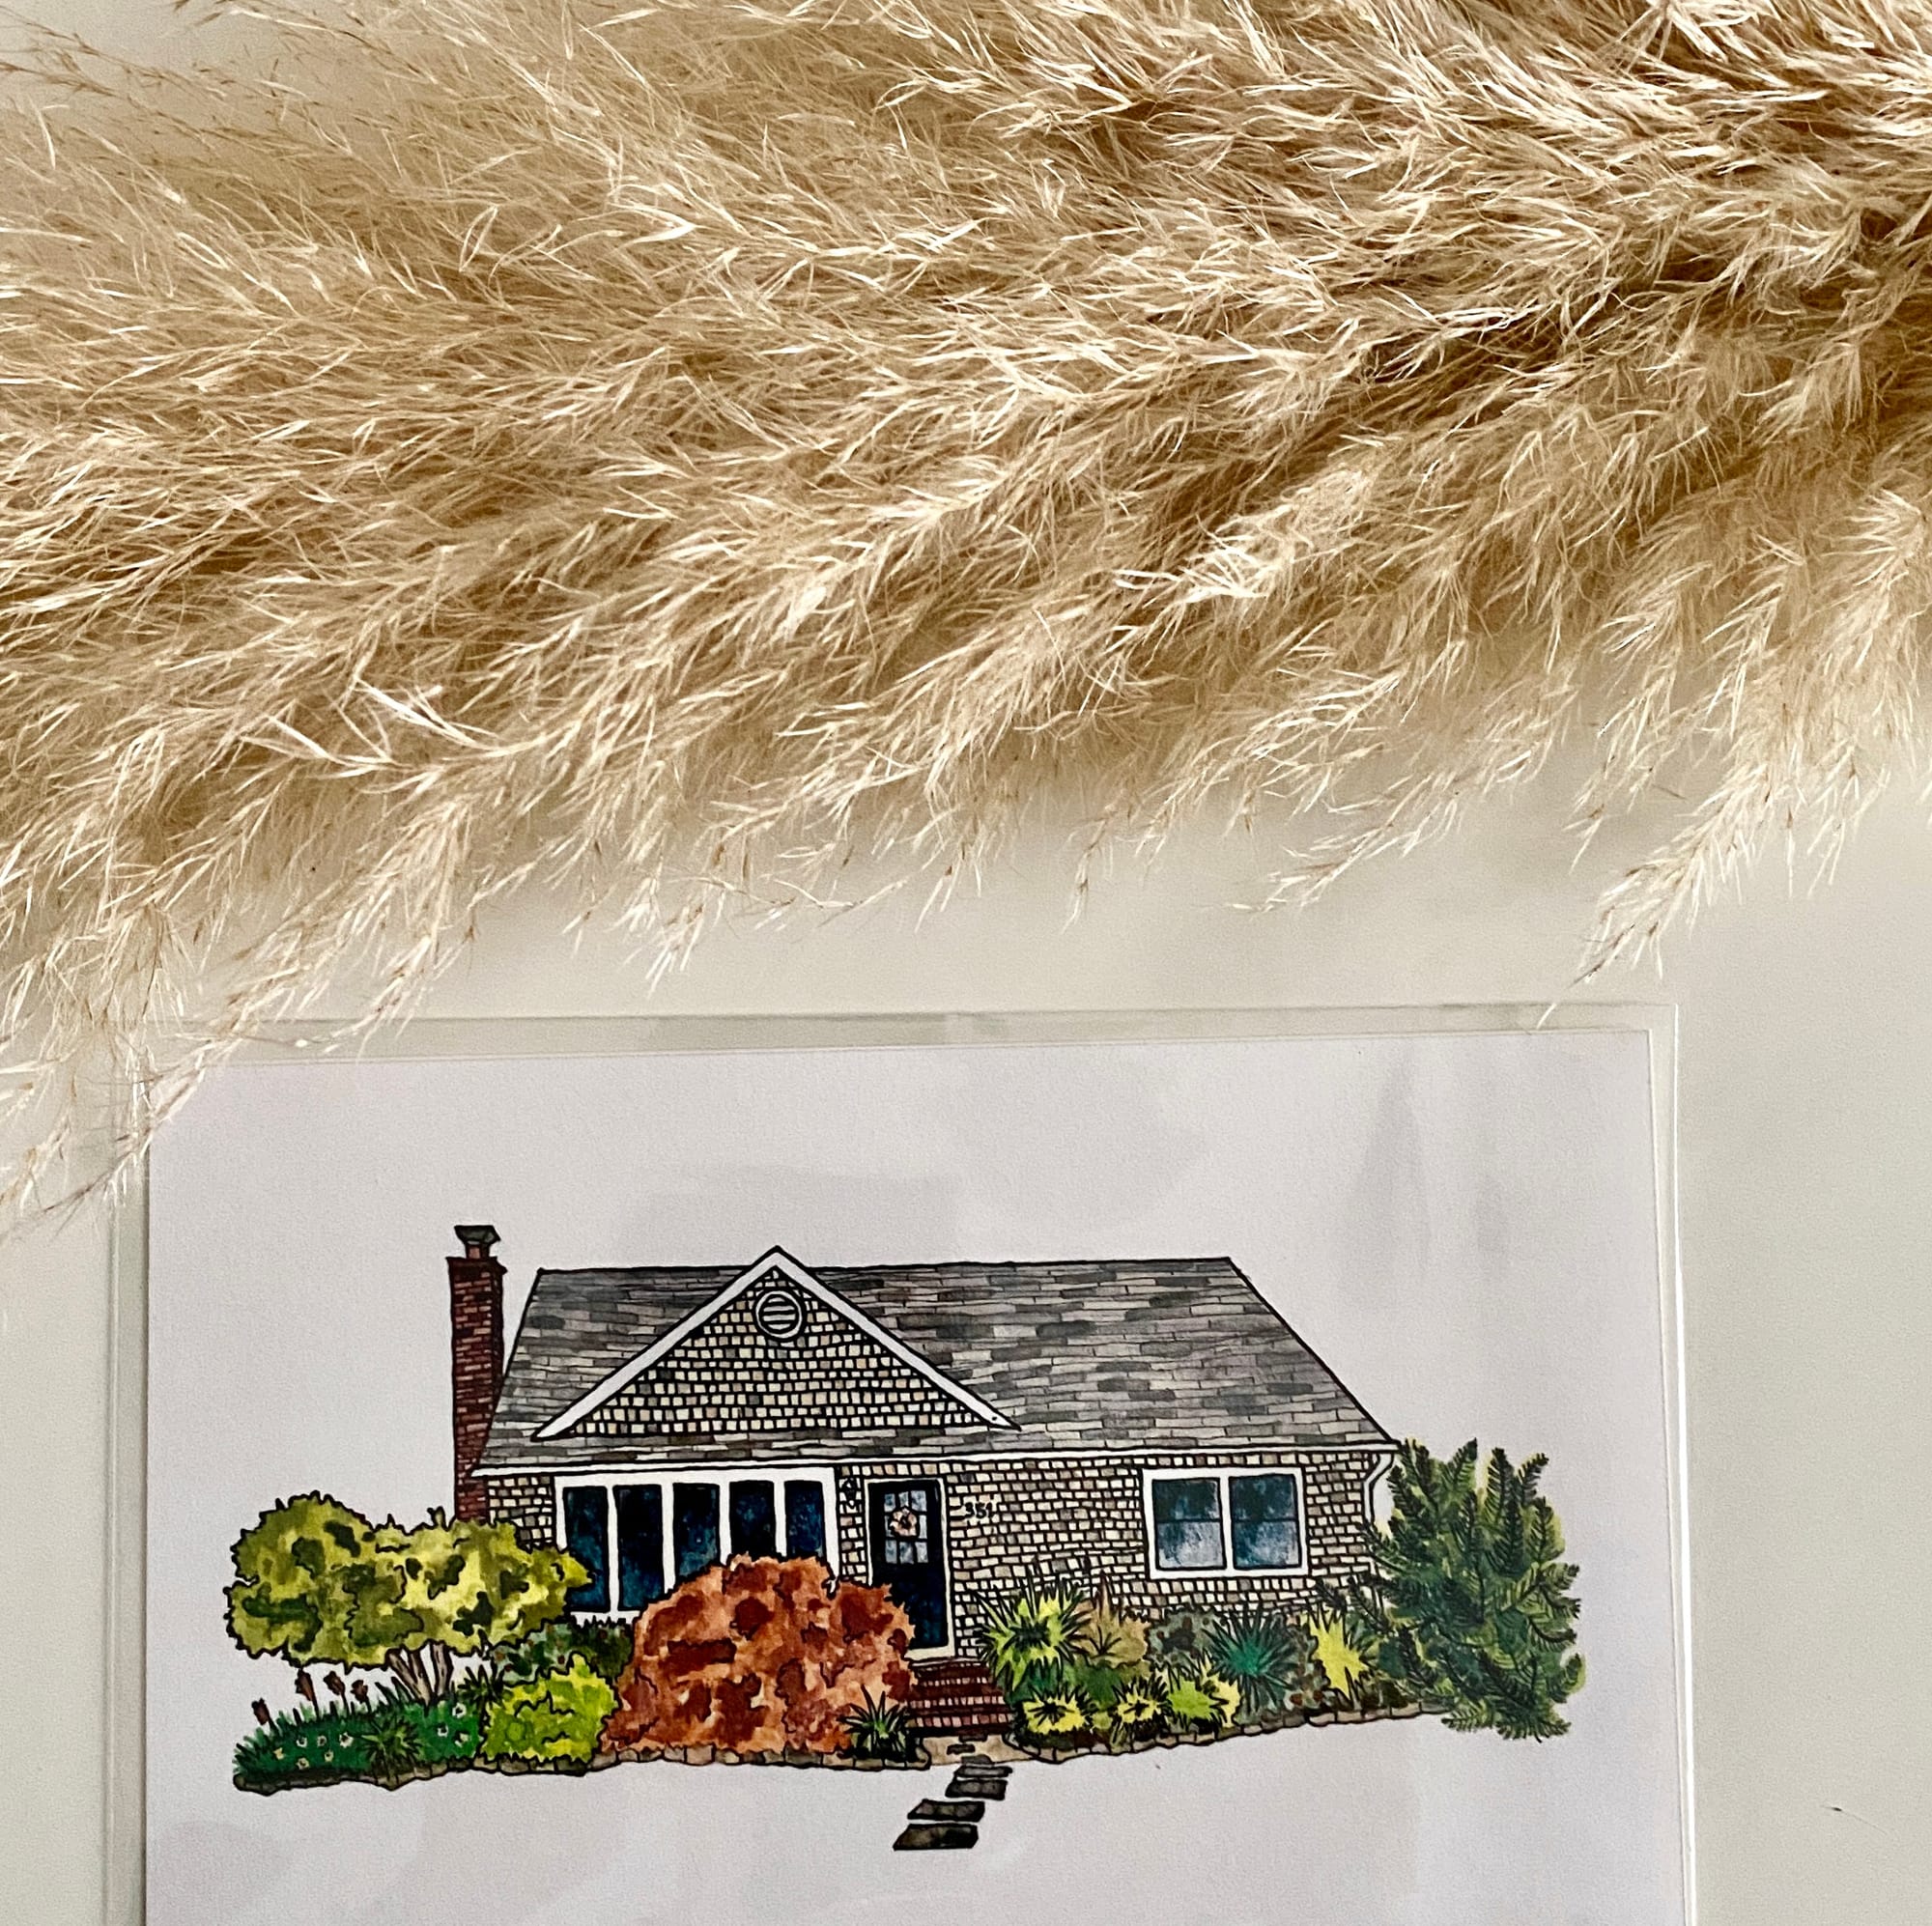
I wanted to capture everything that I loved about a small town and turn it into something tangible, a keepsake, souvenir, a little memory you can revisit.
In October of 2020, I started water coloring.
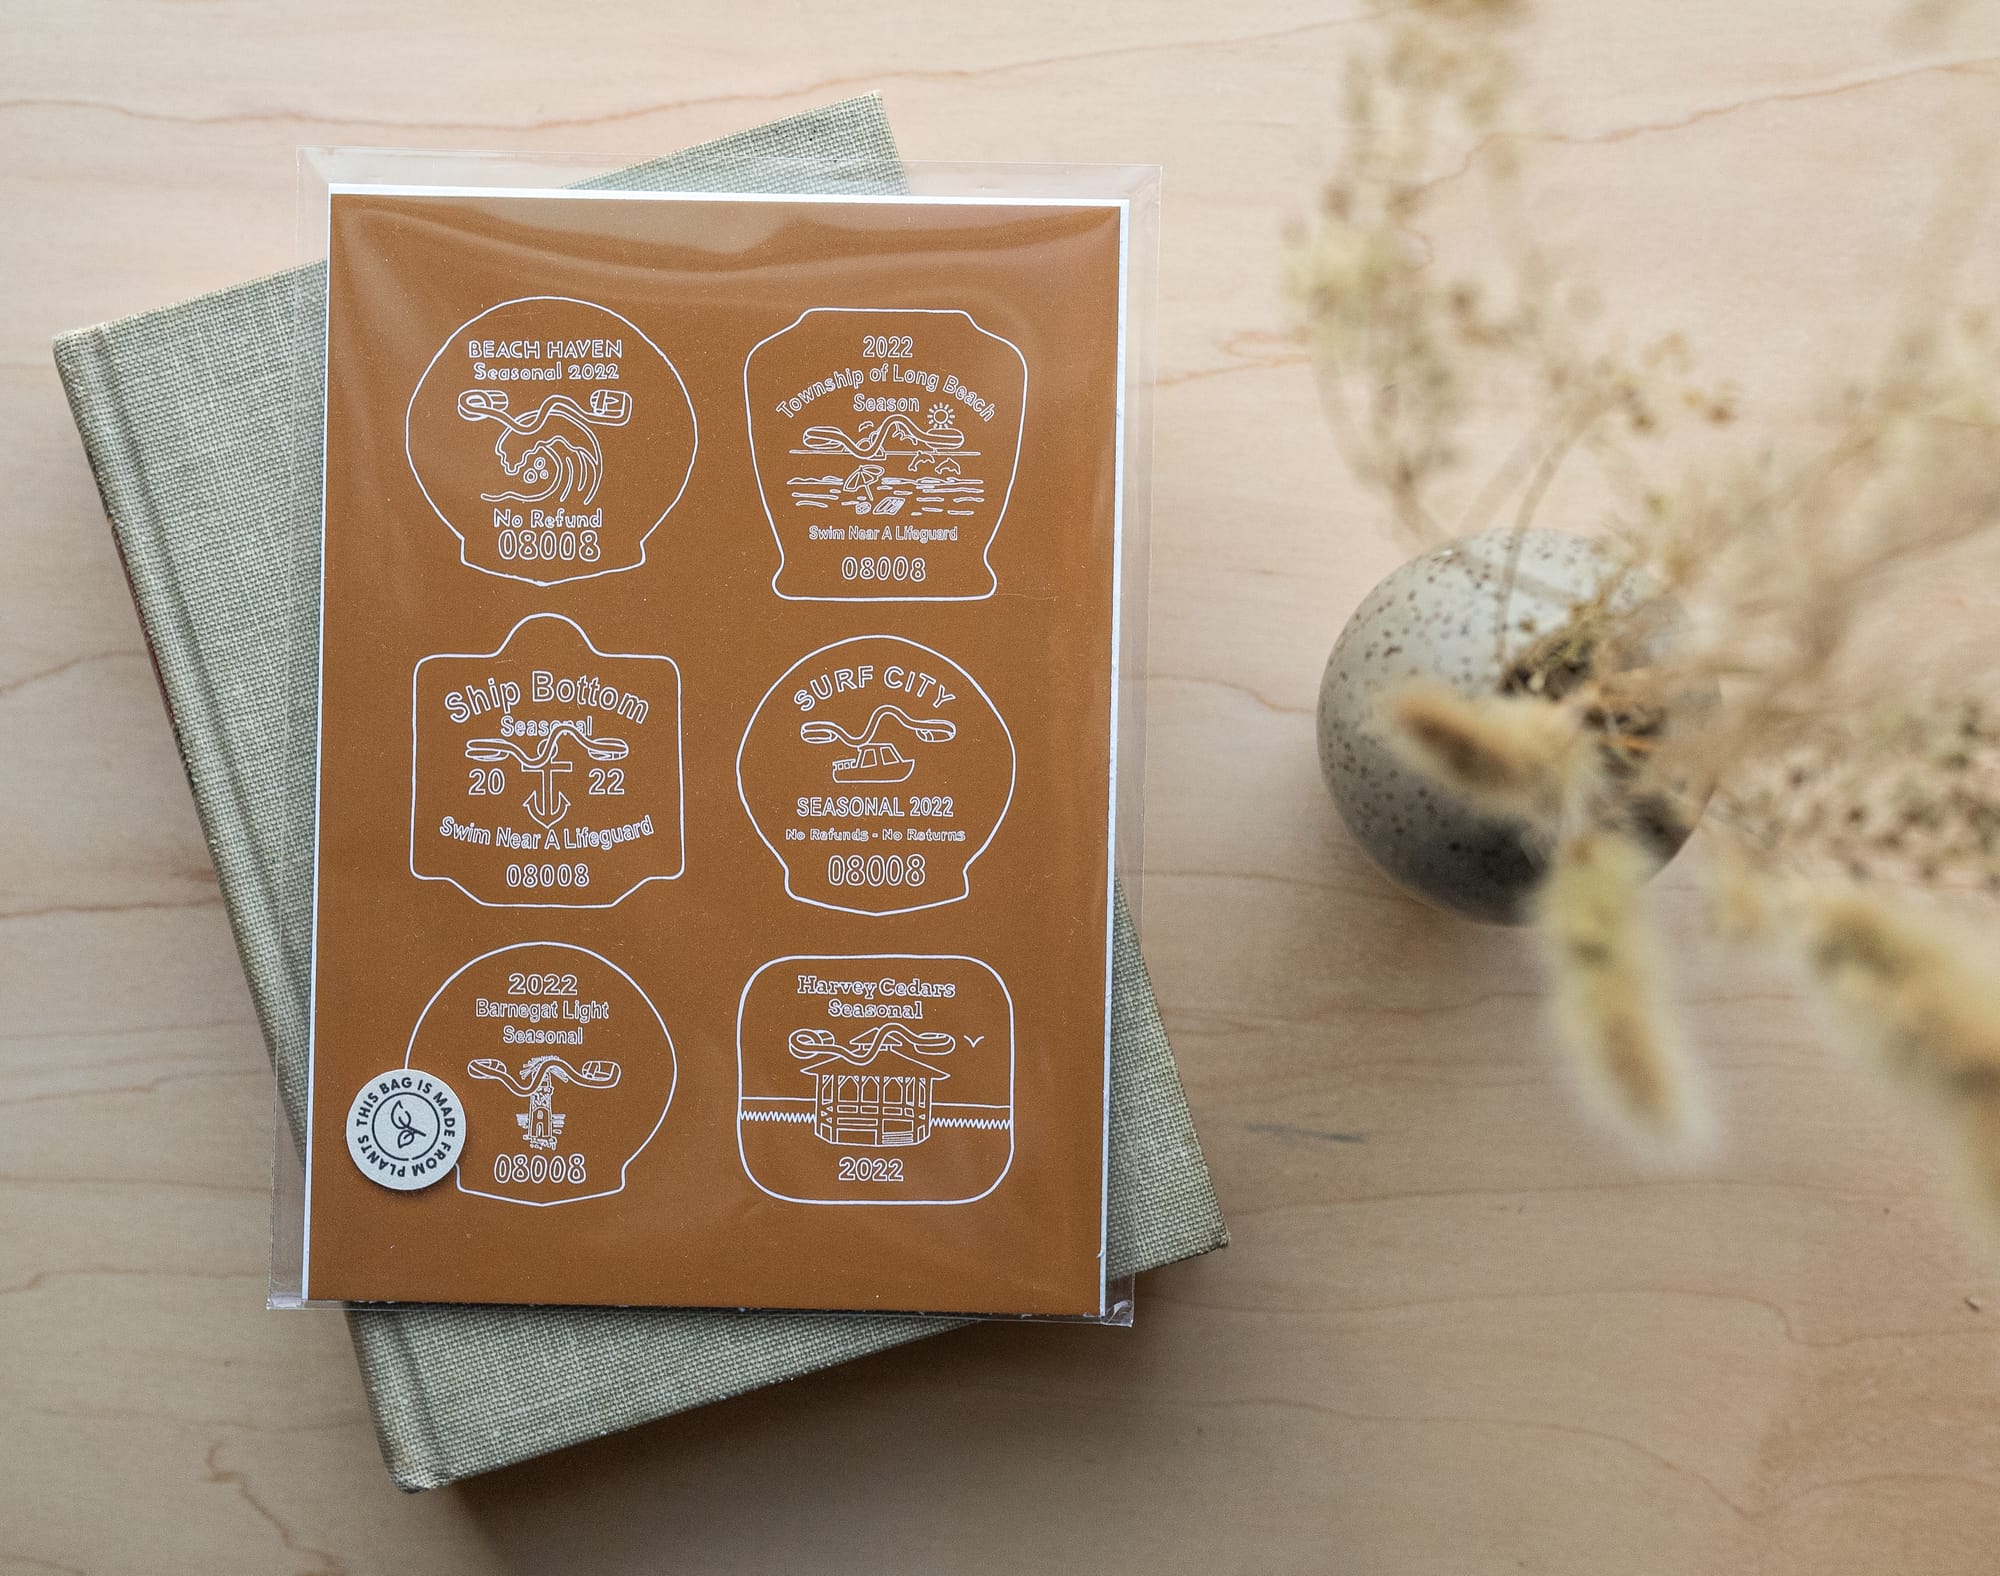
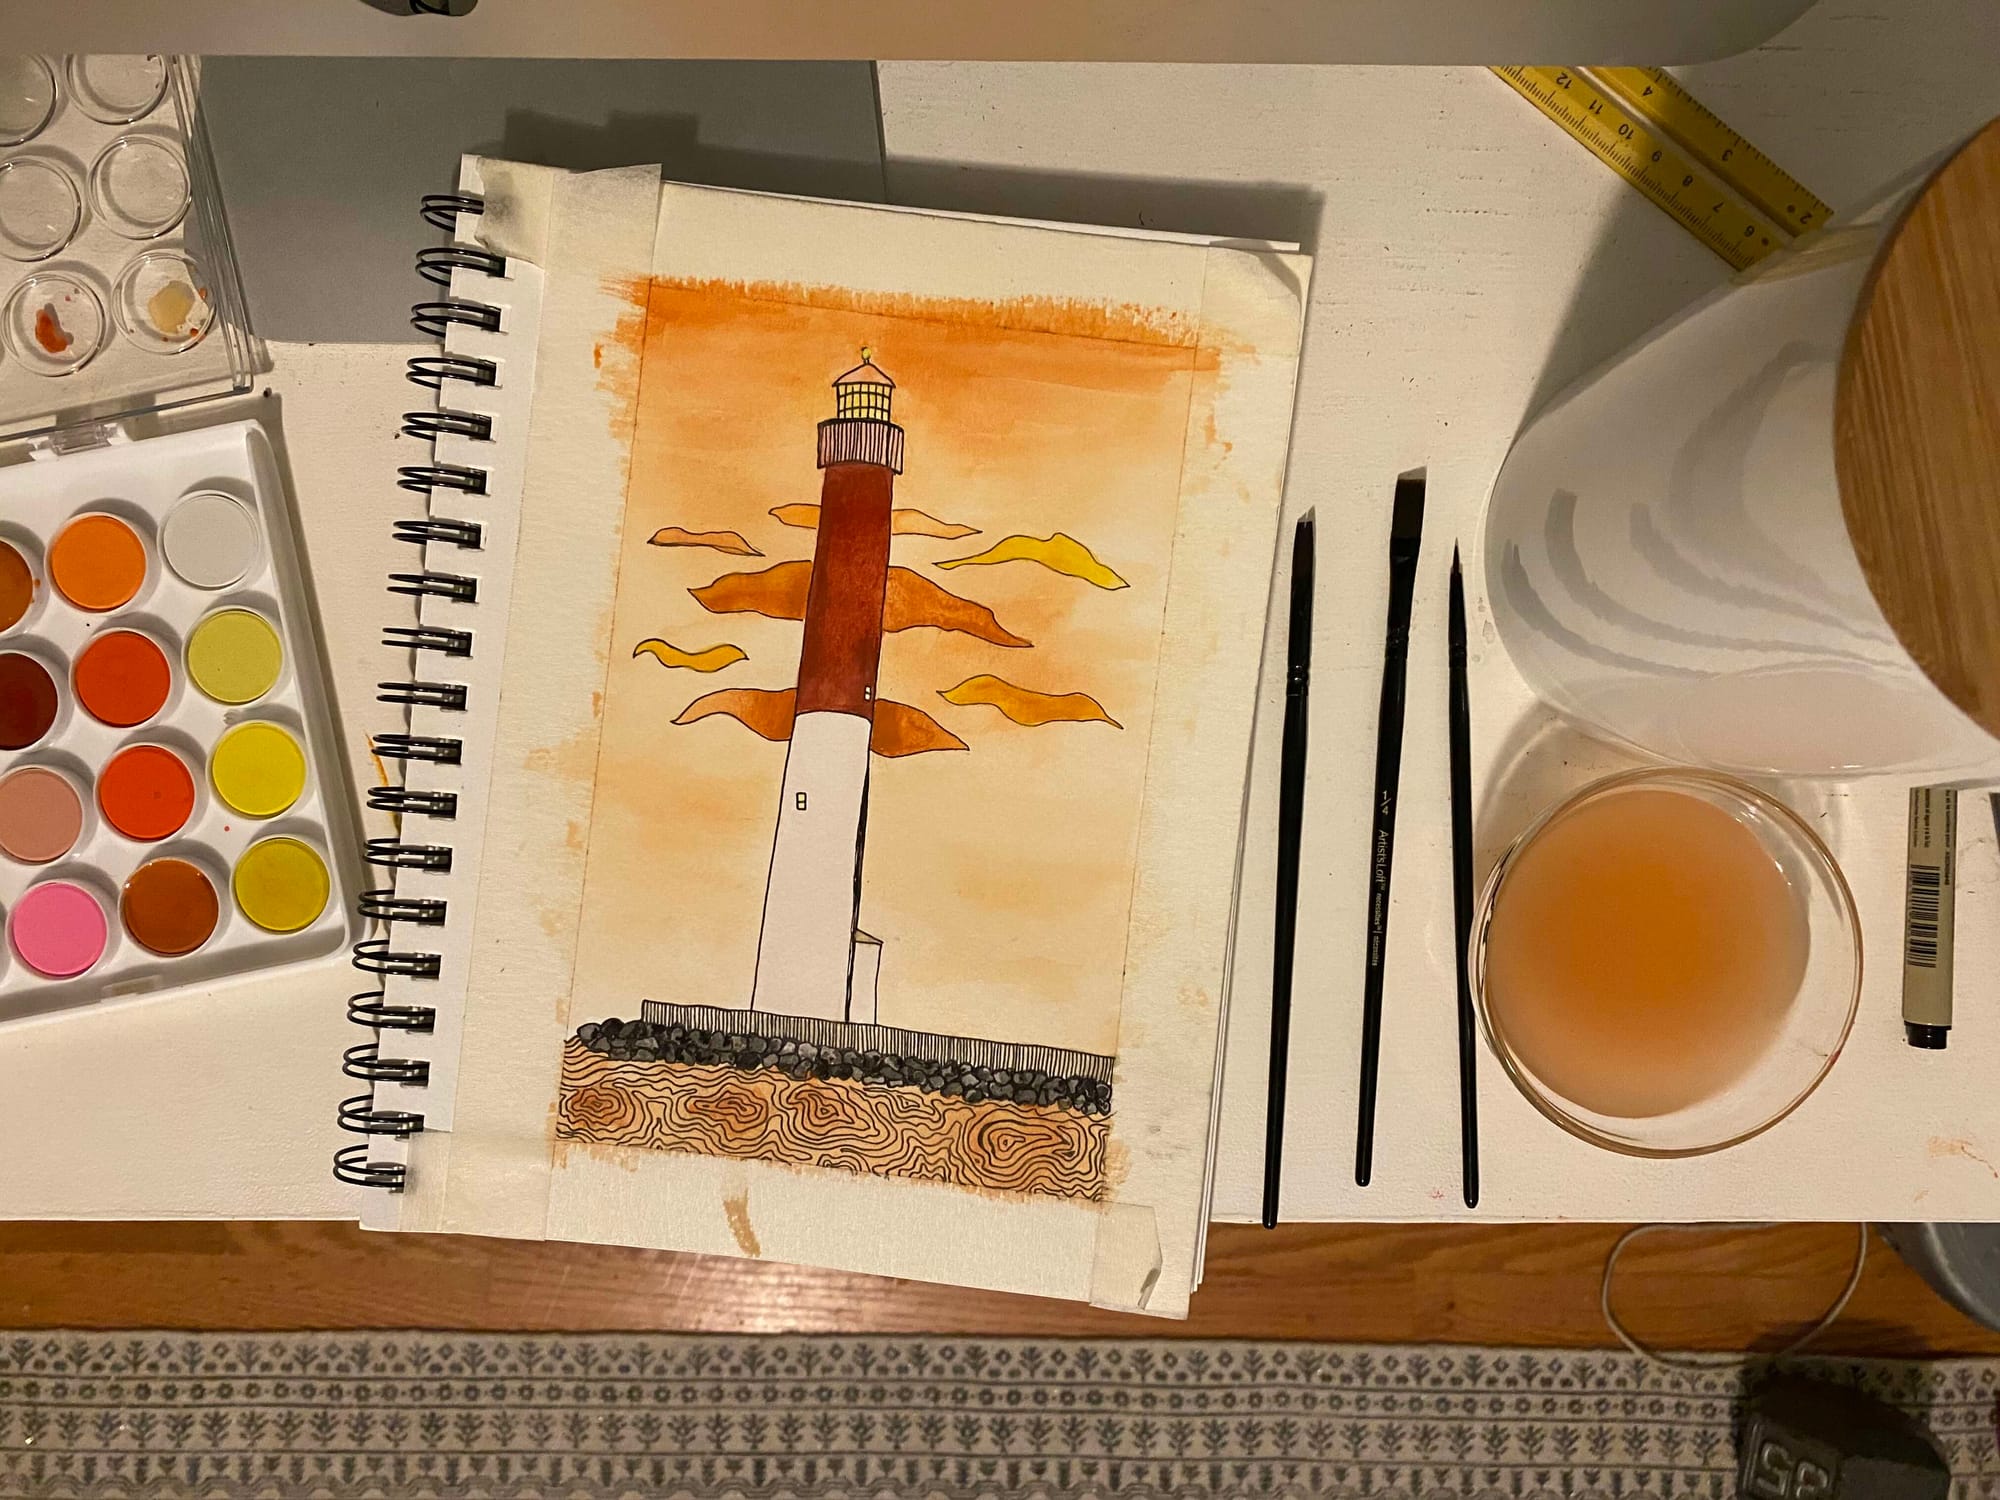
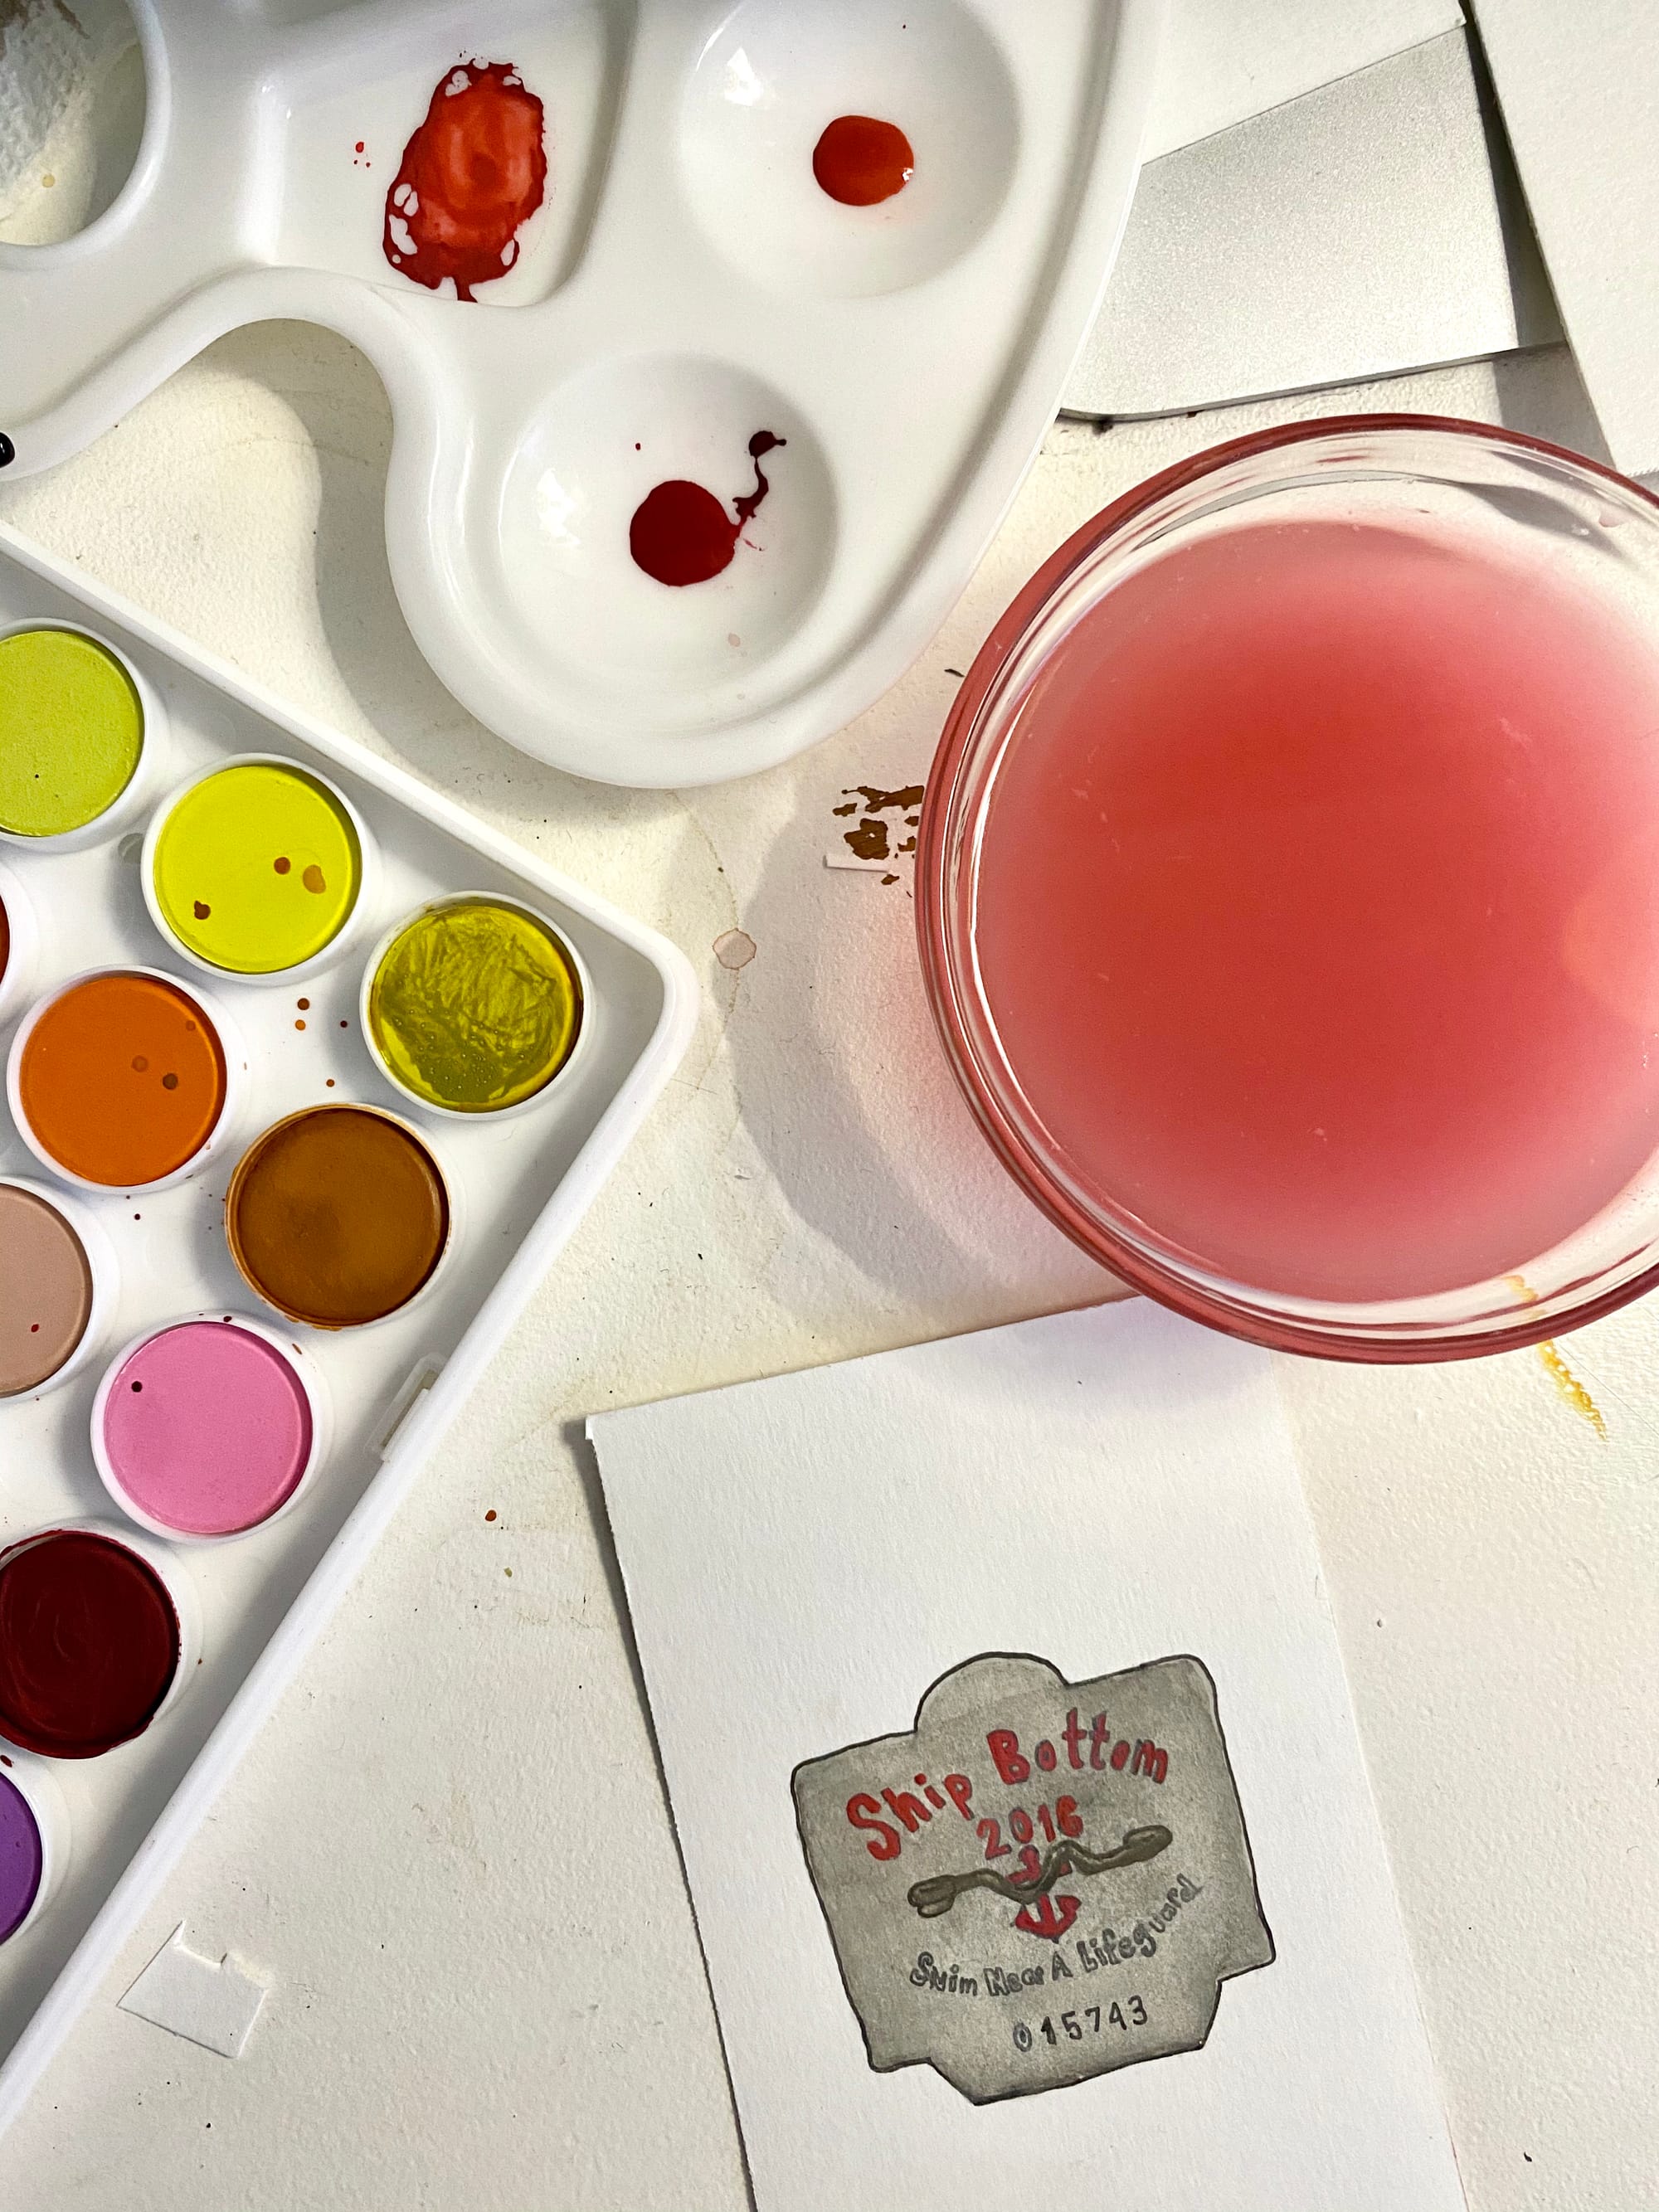
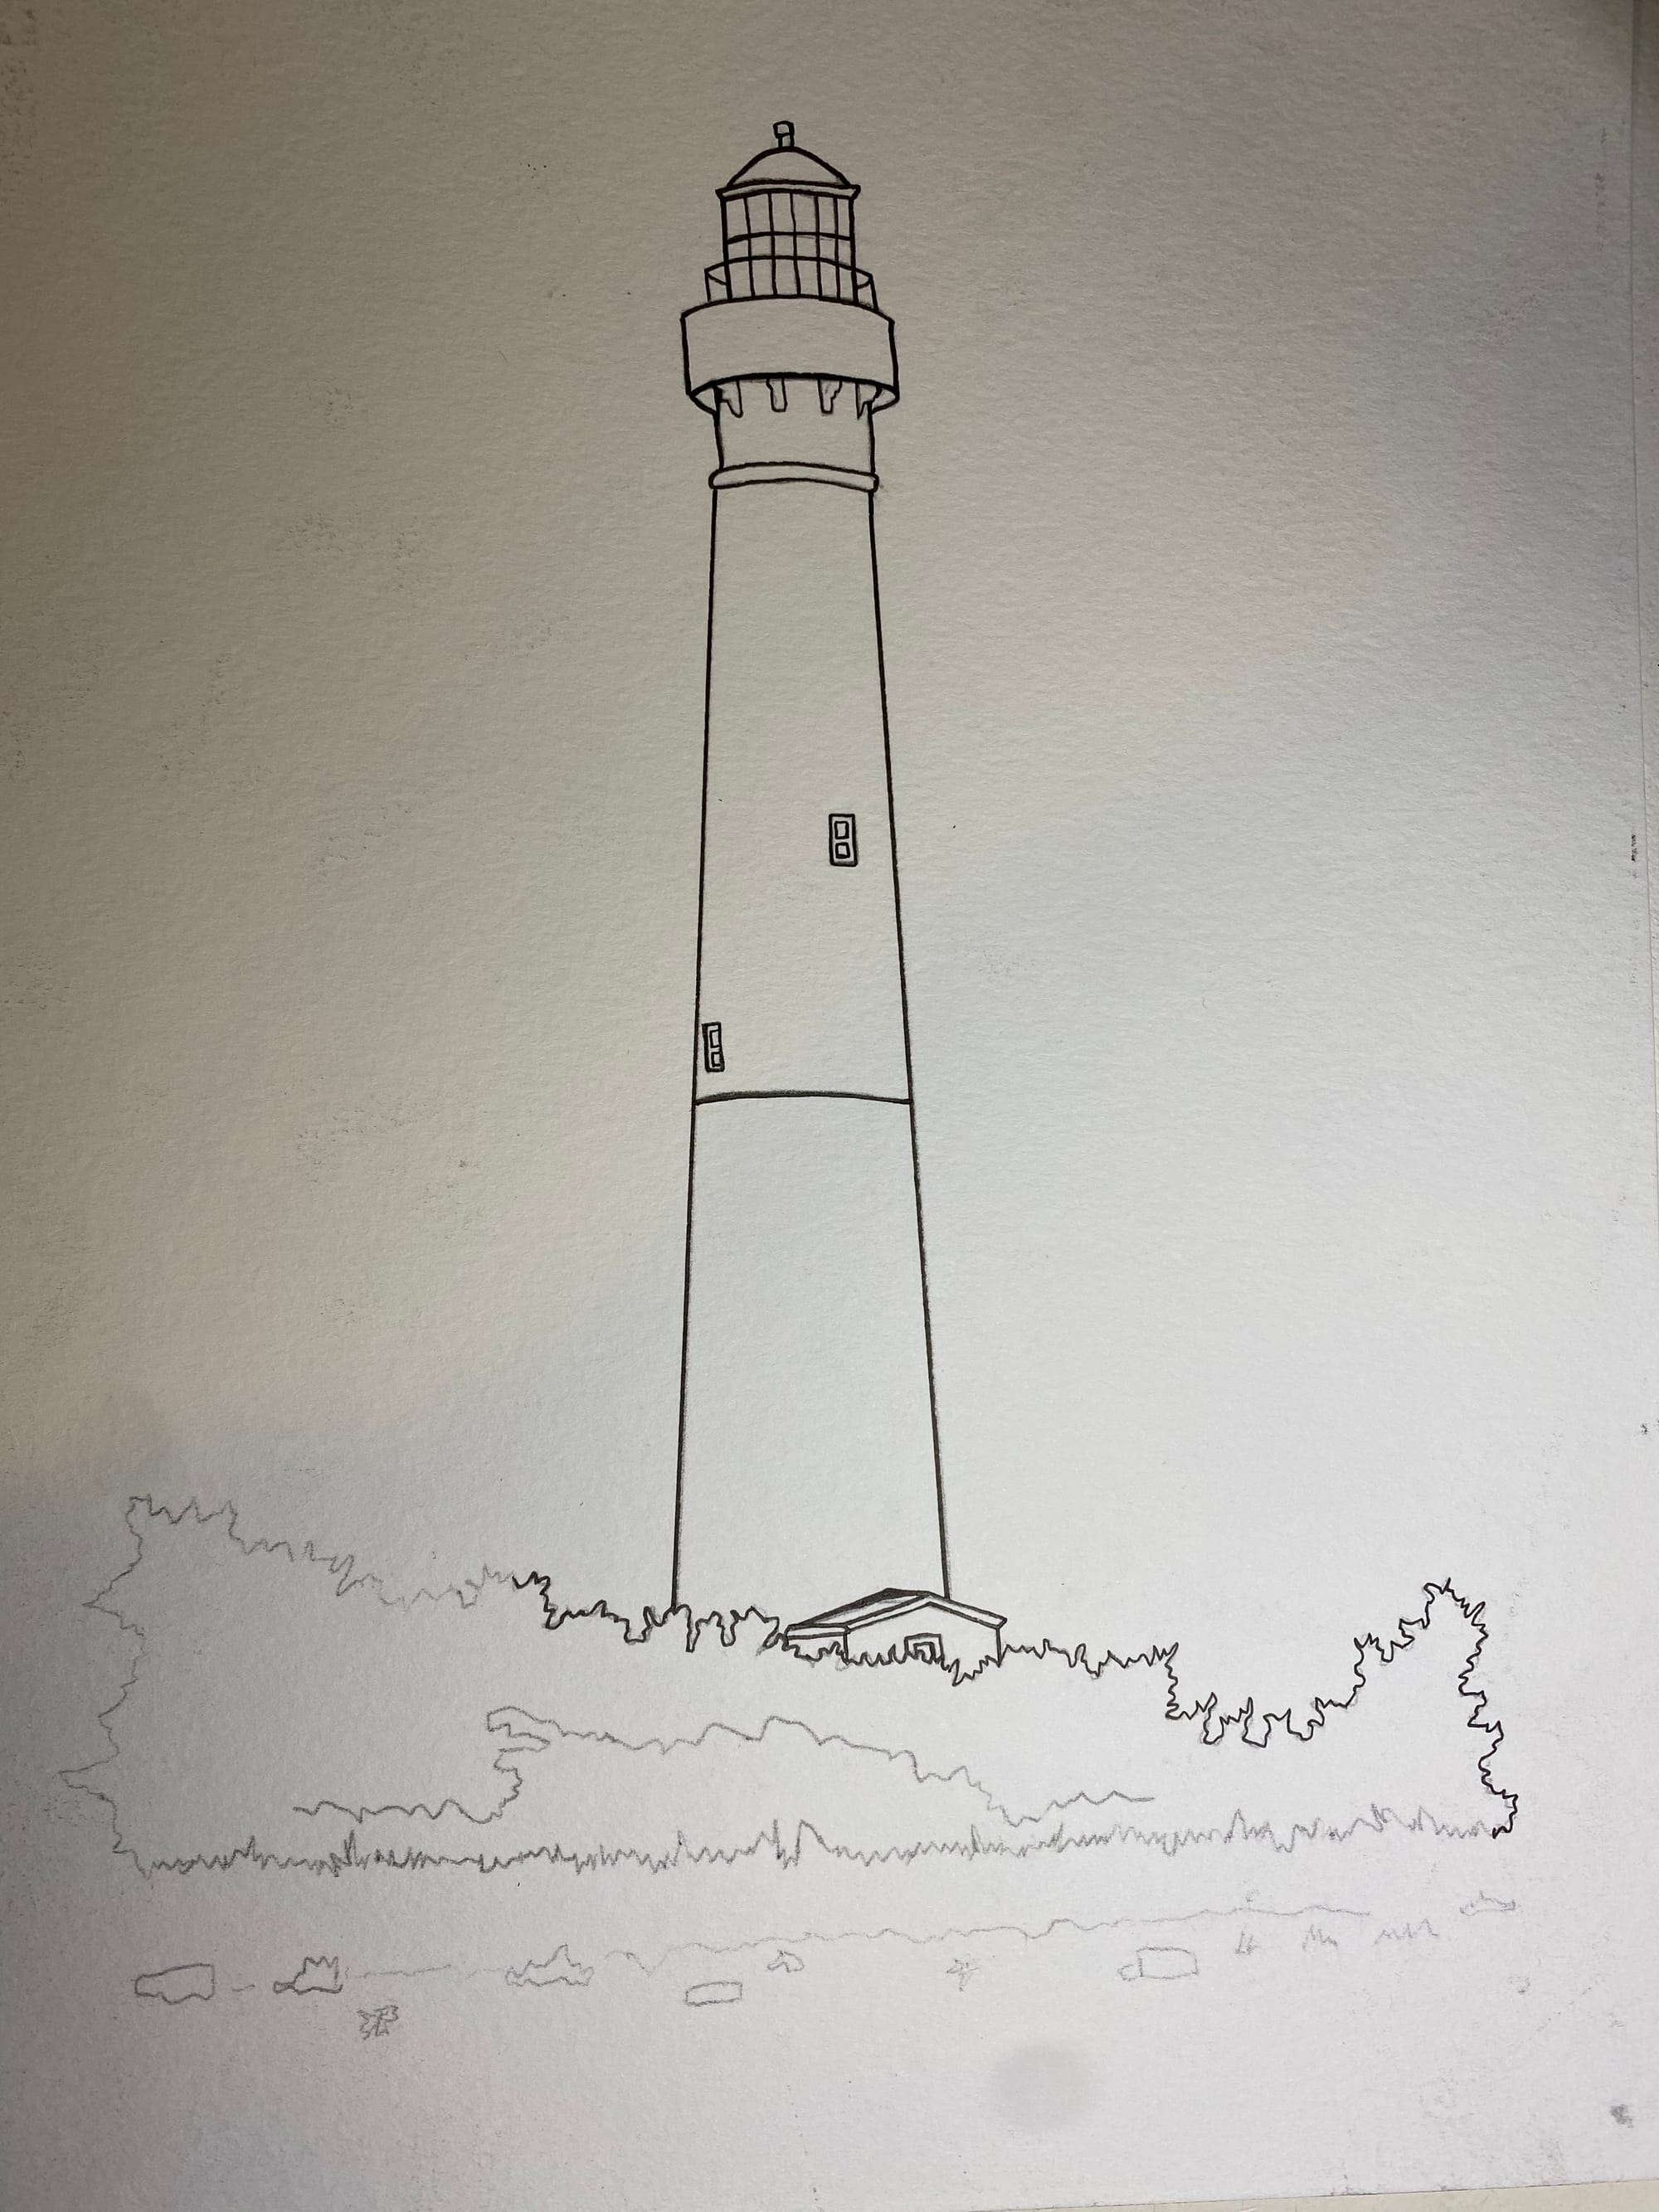
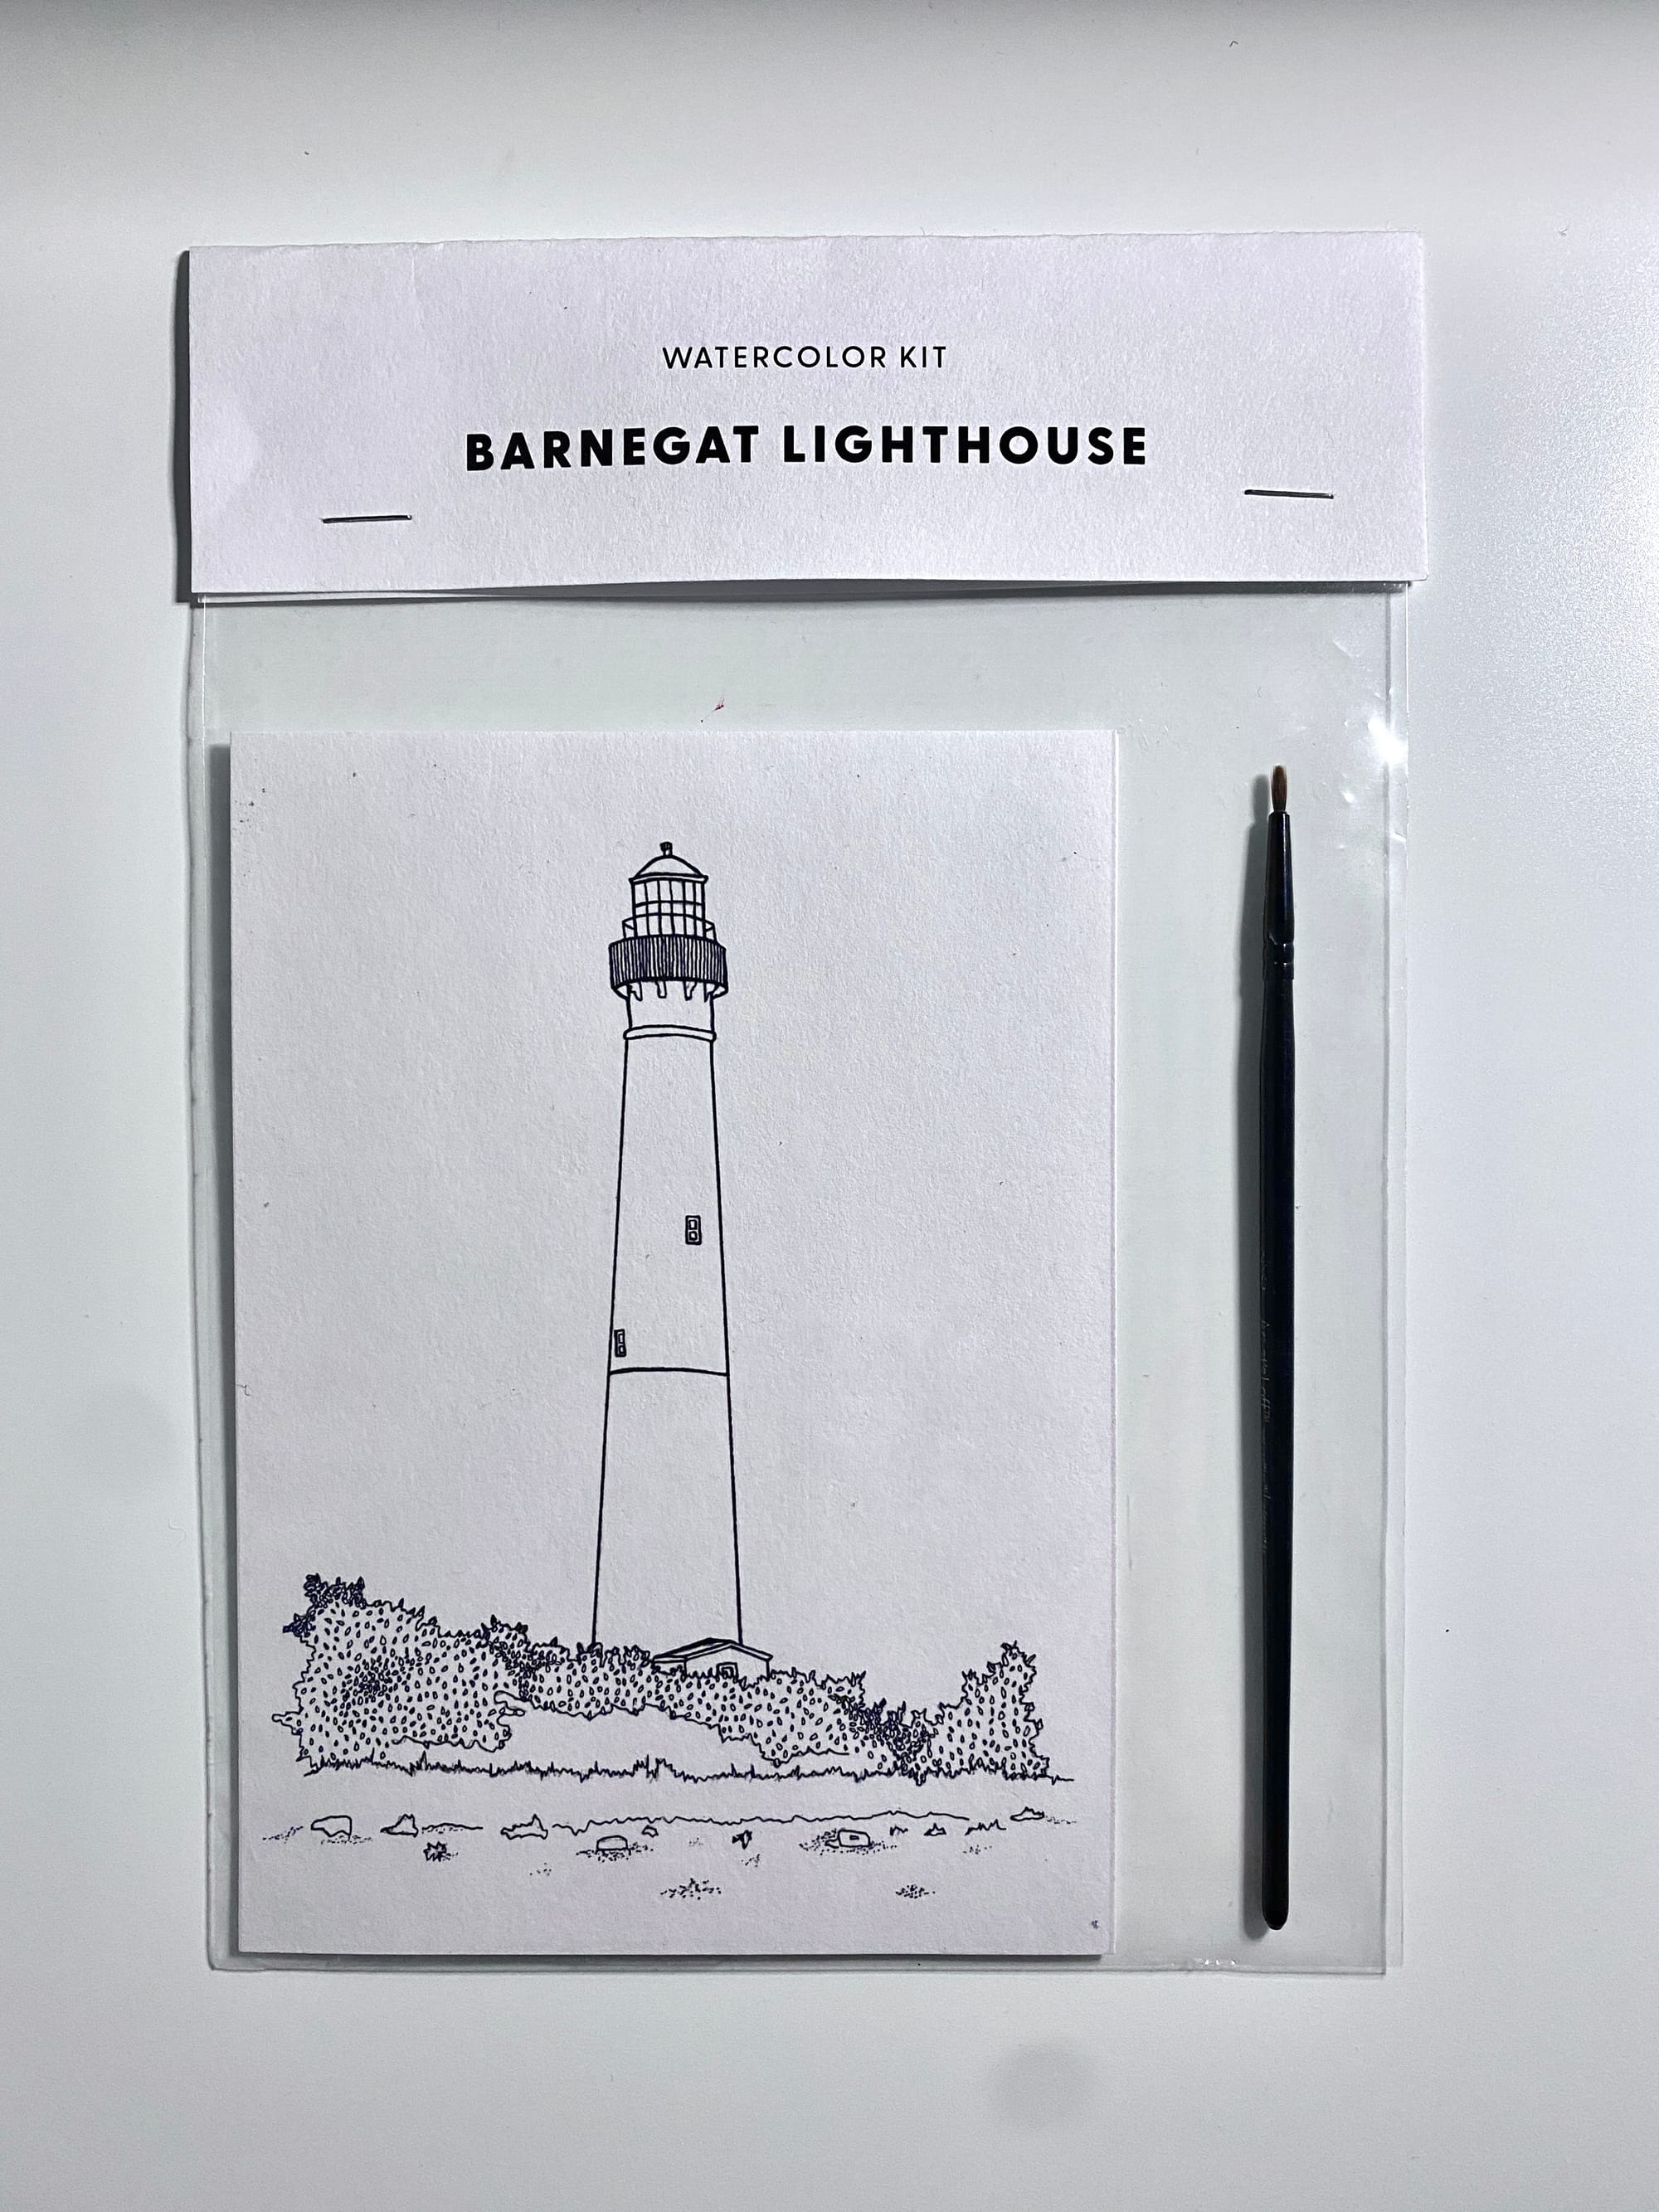
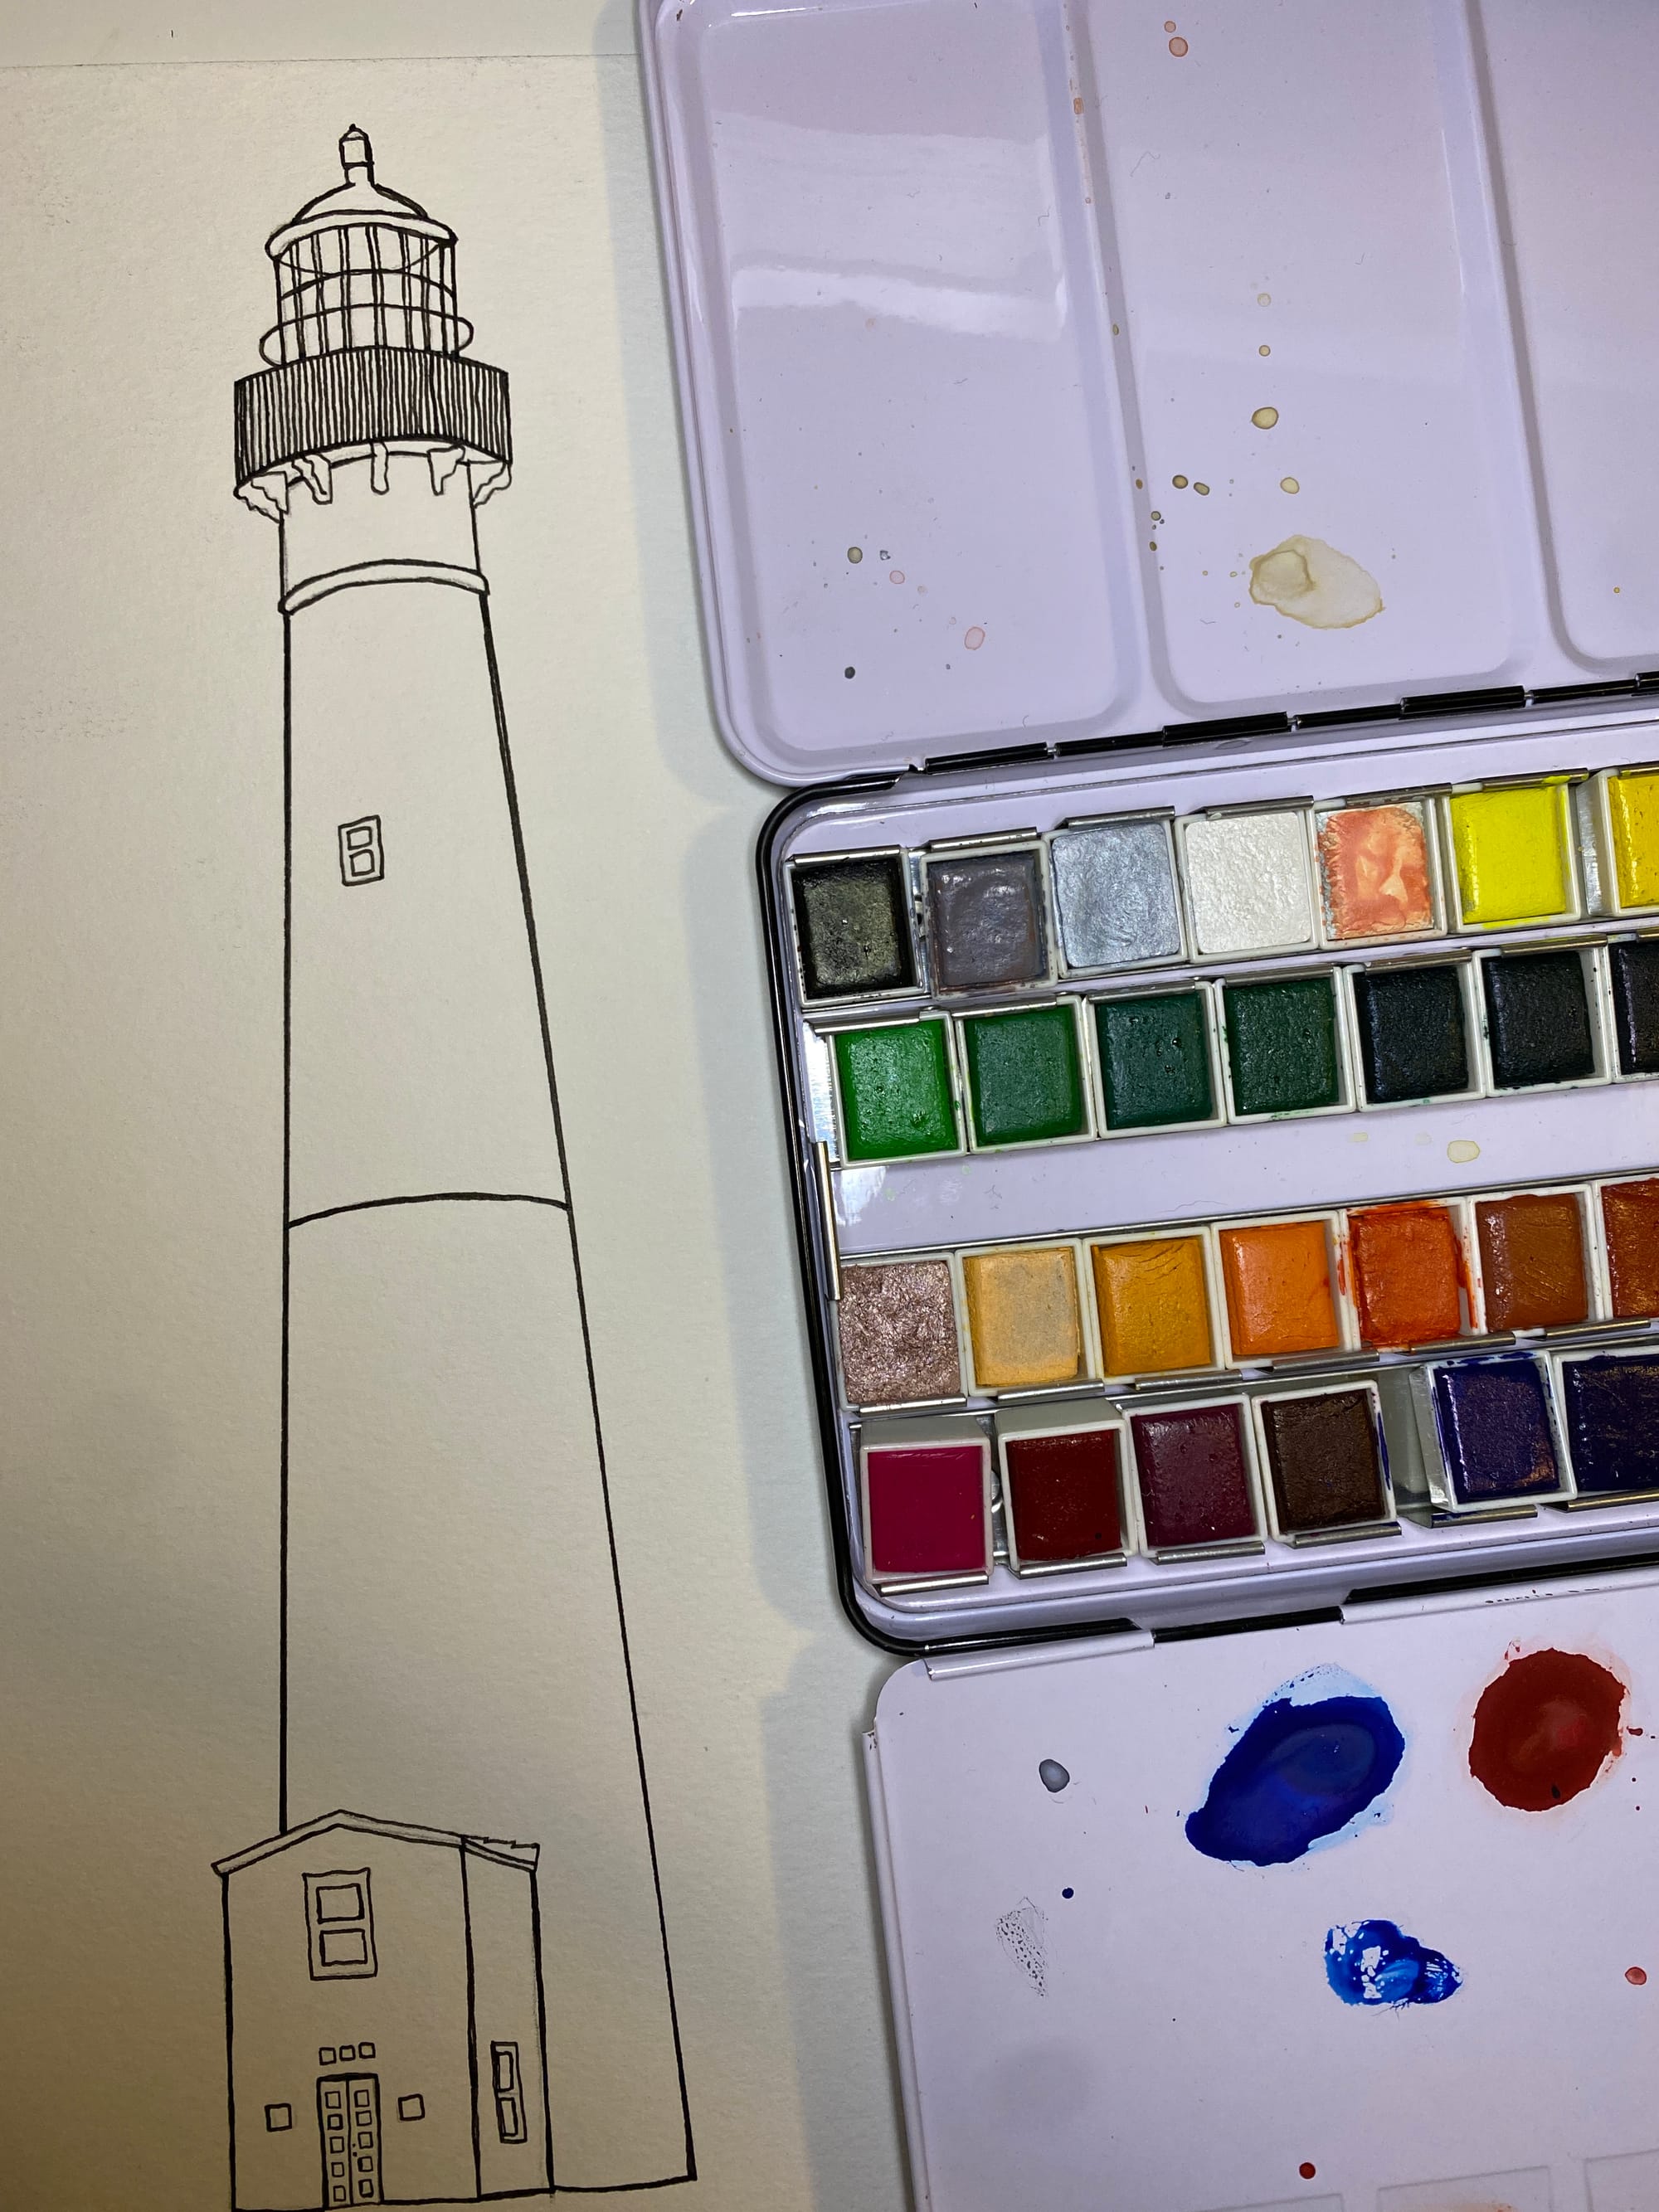
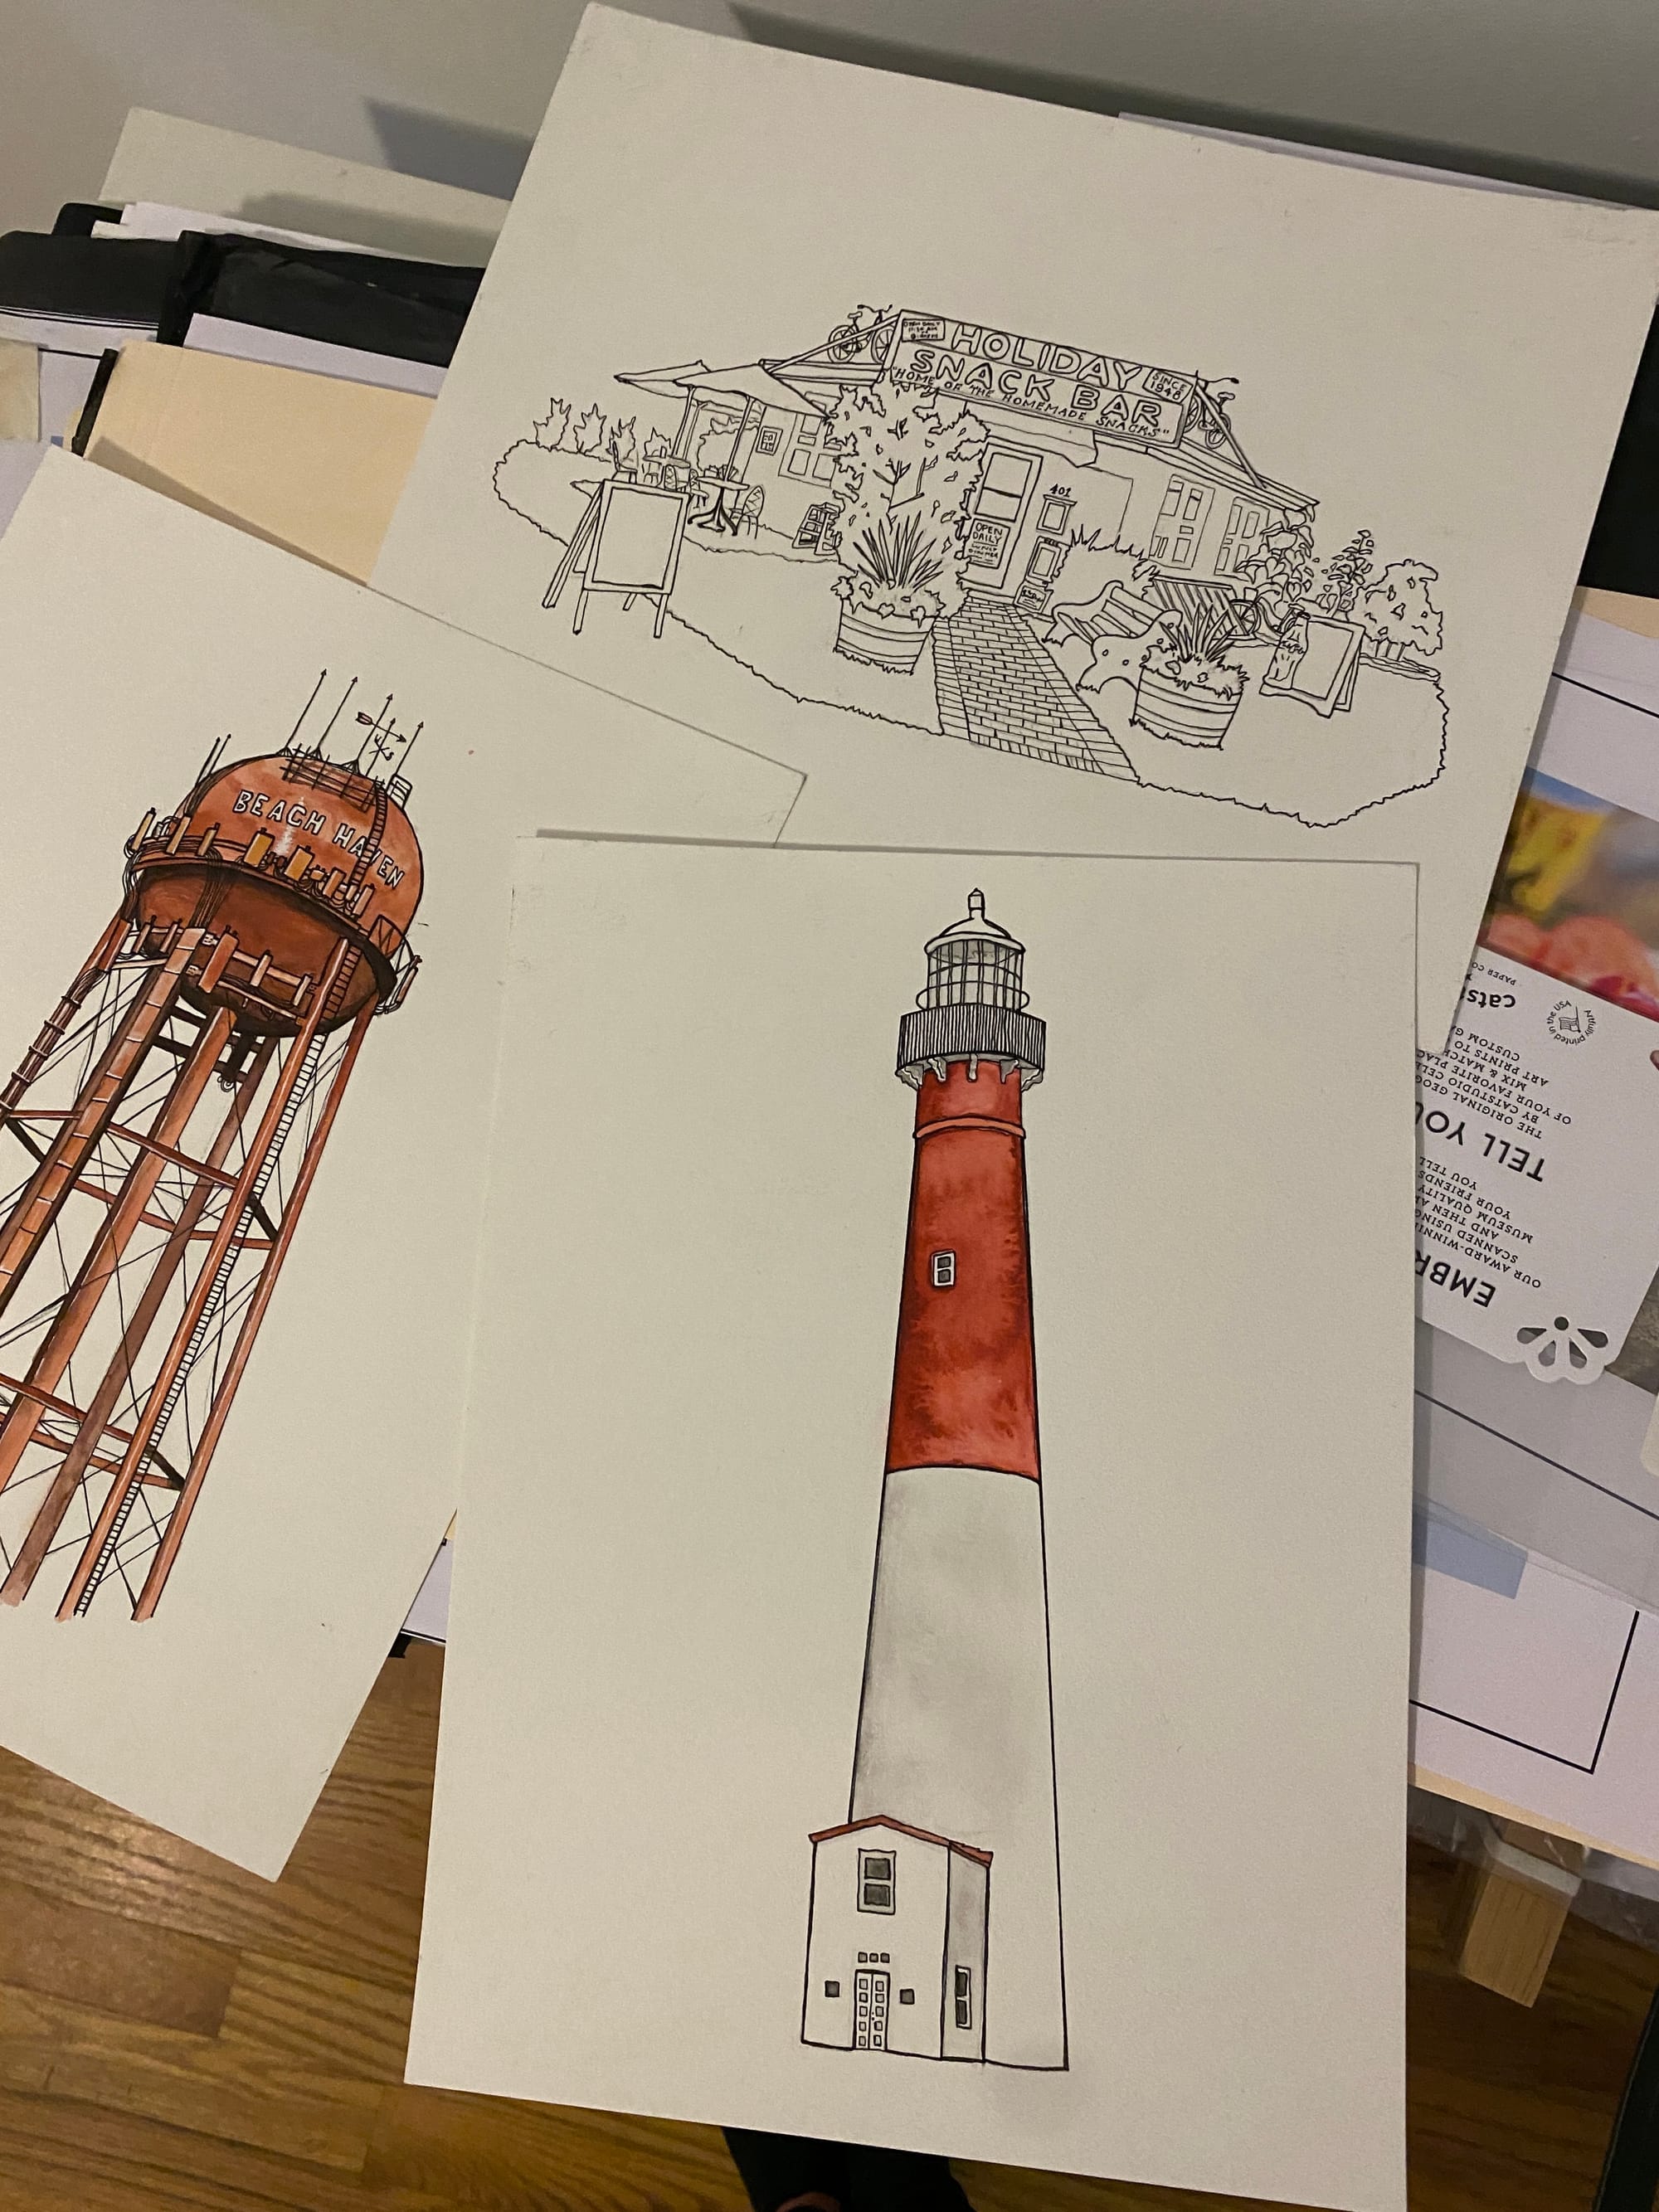
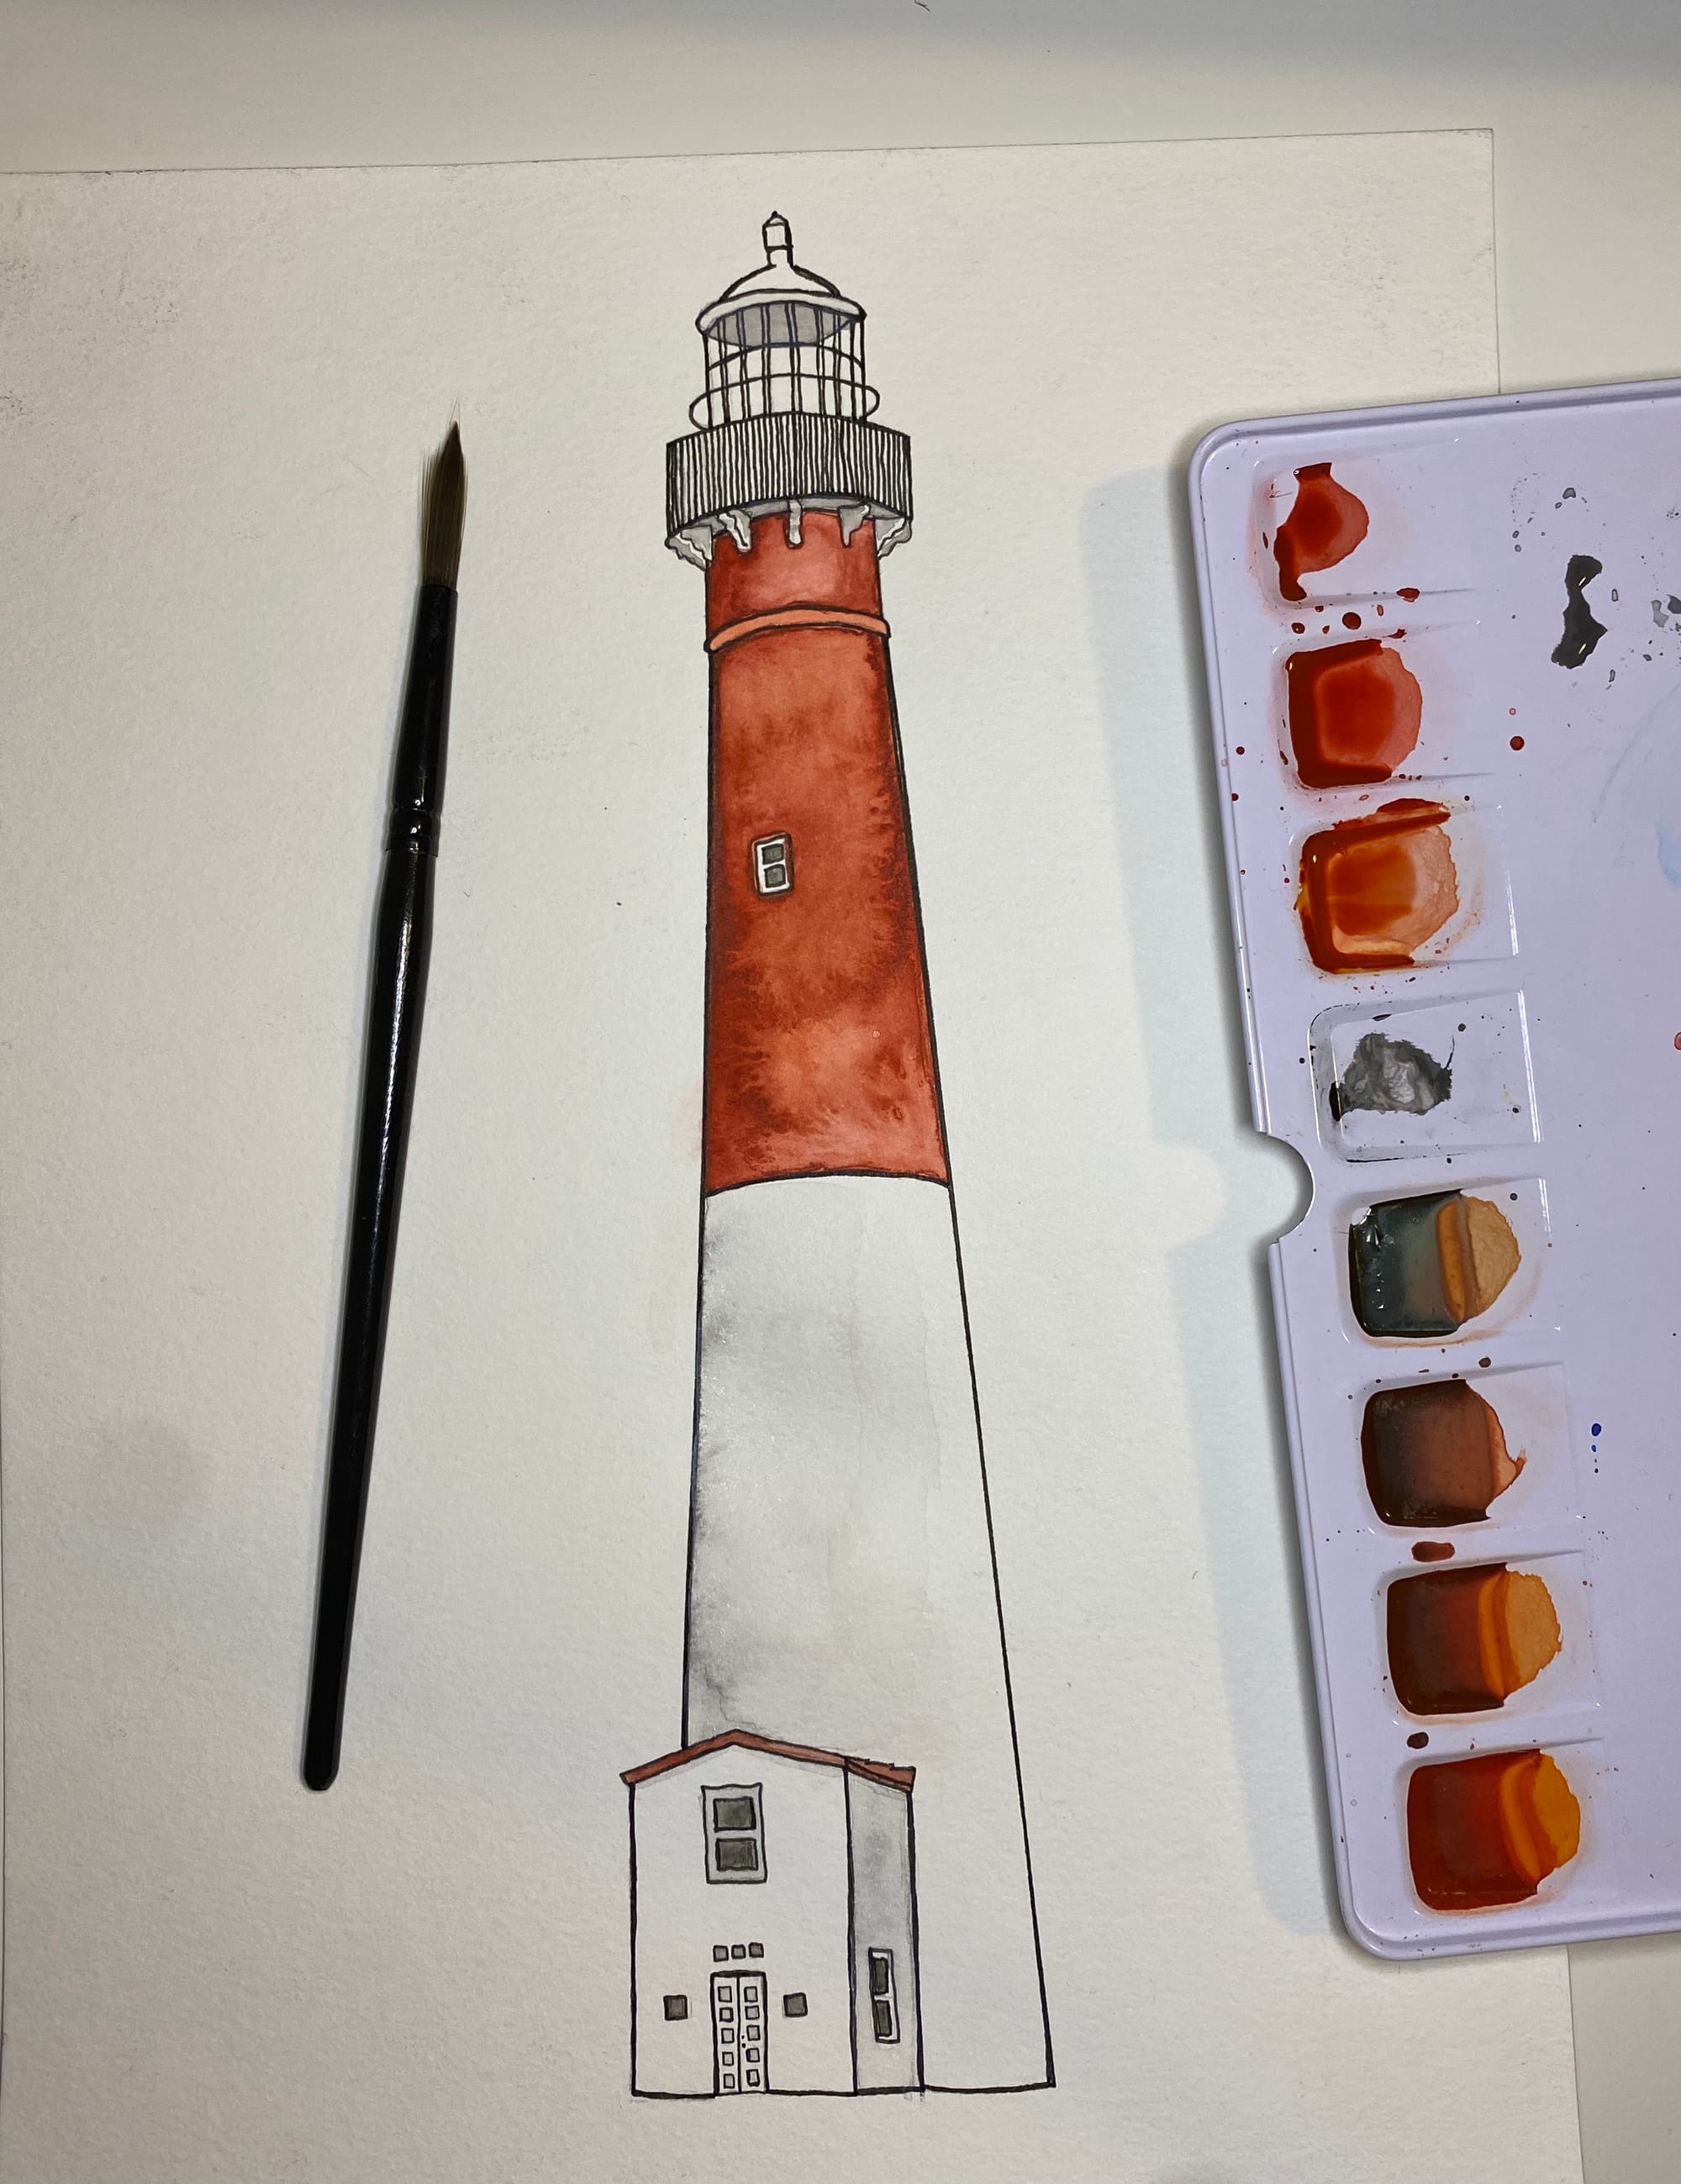
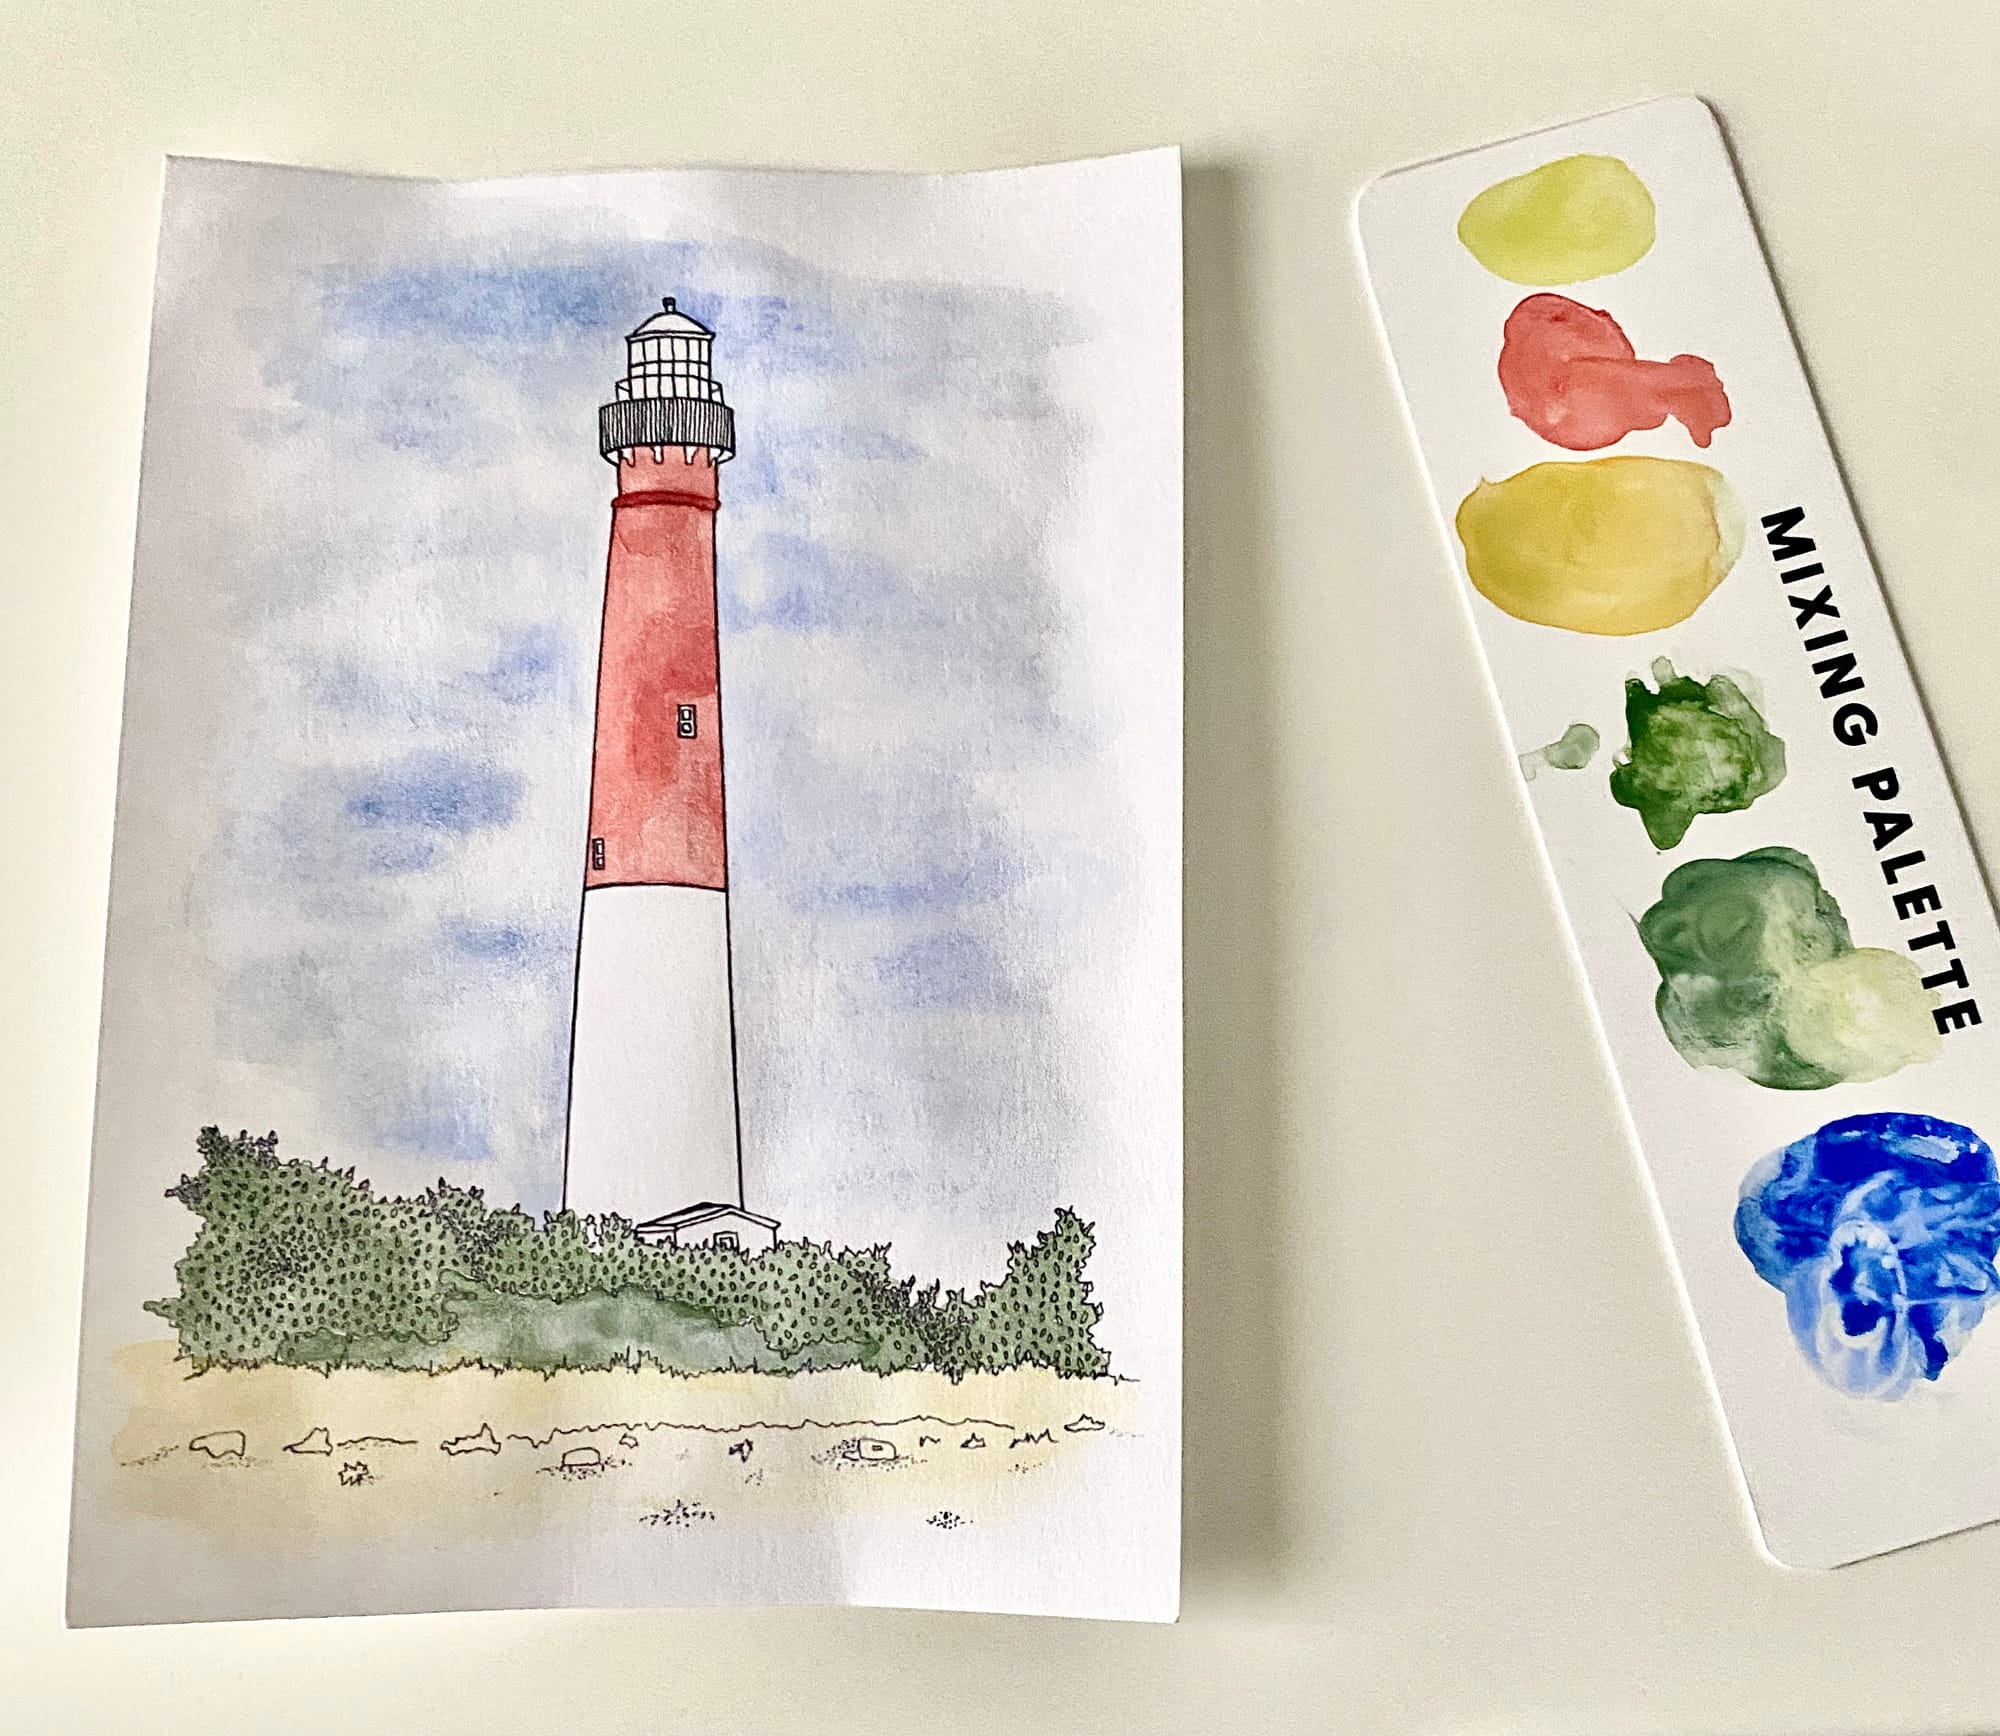
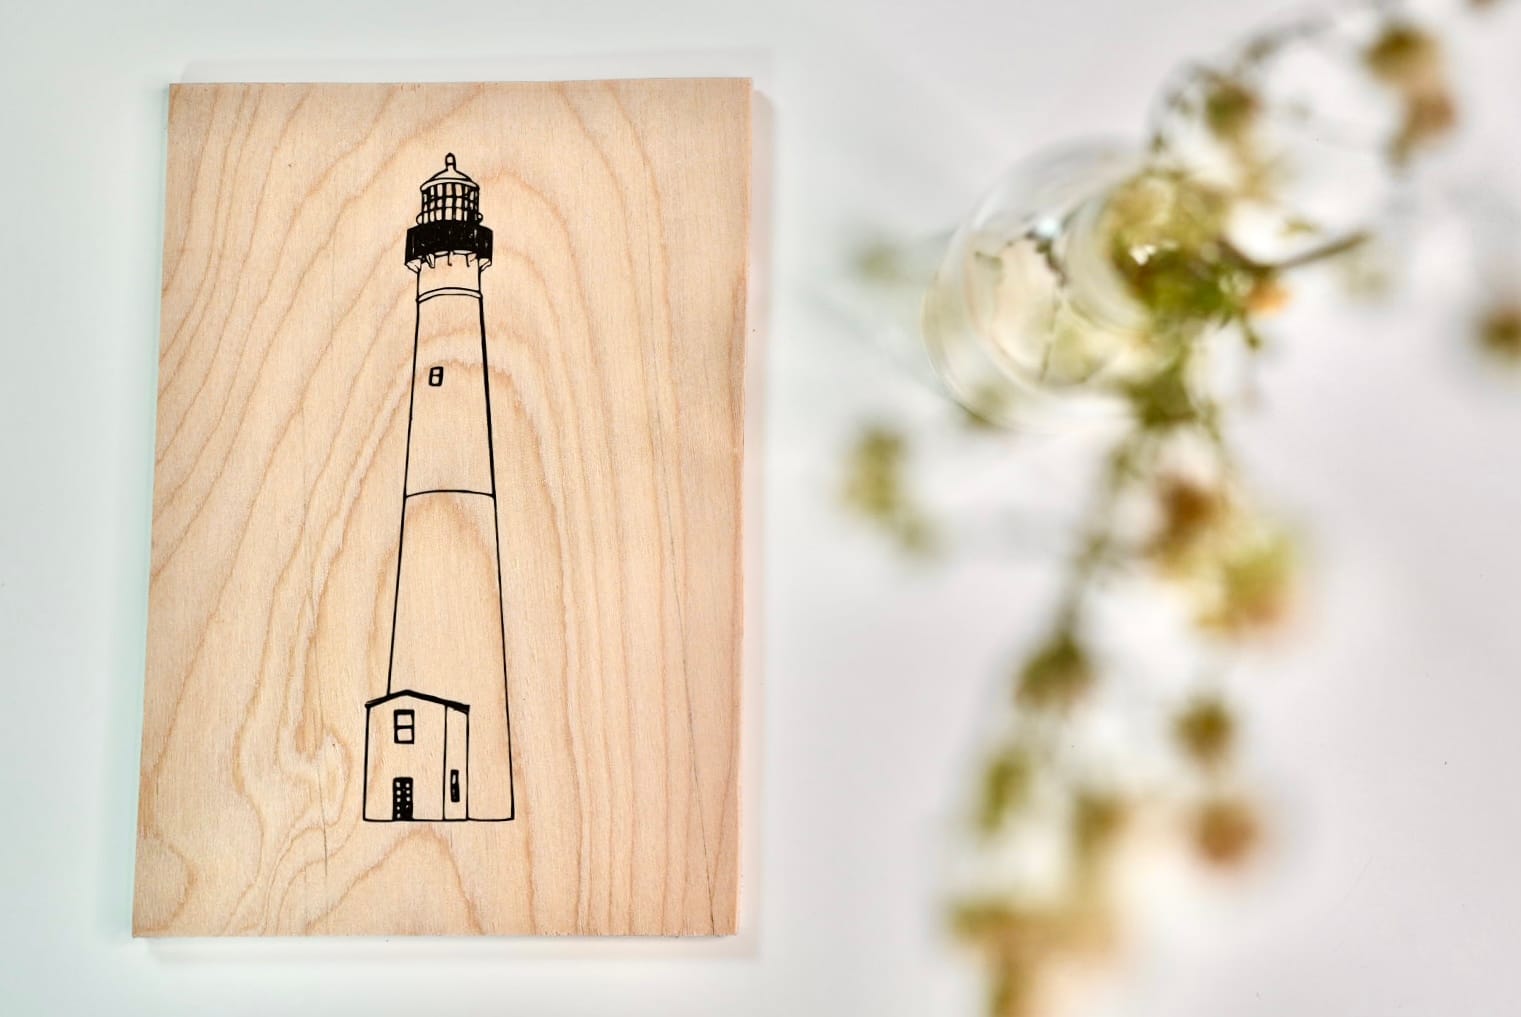
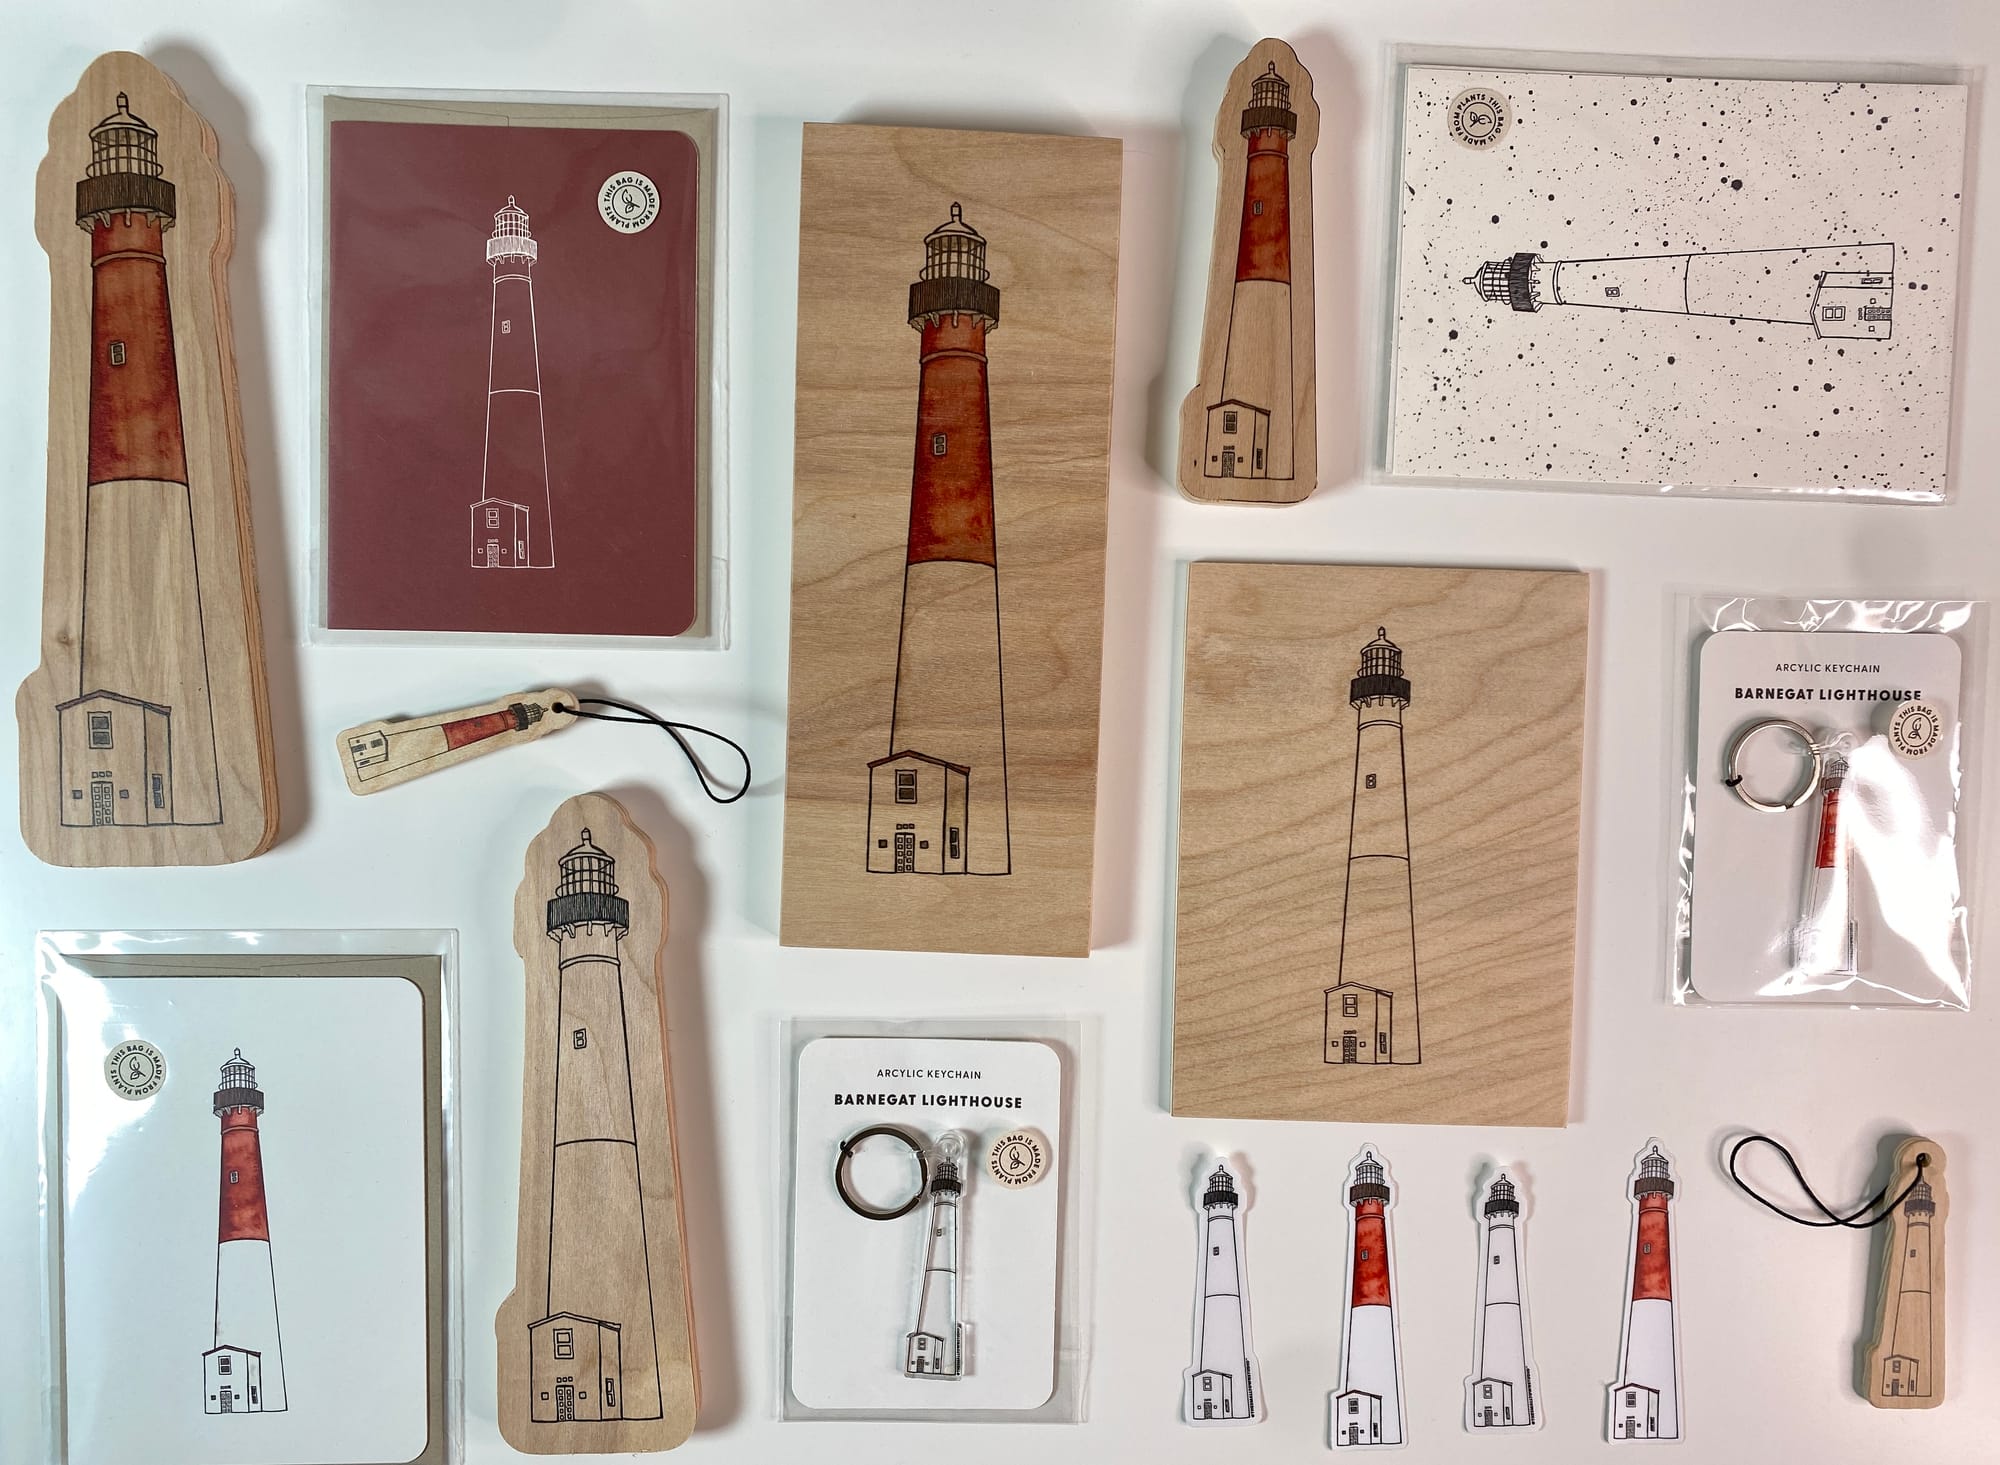
My very first watercolor and ink was the Barnegat Lighthouse then I painted a Ship Bottom Beach Badge. And they were rough.
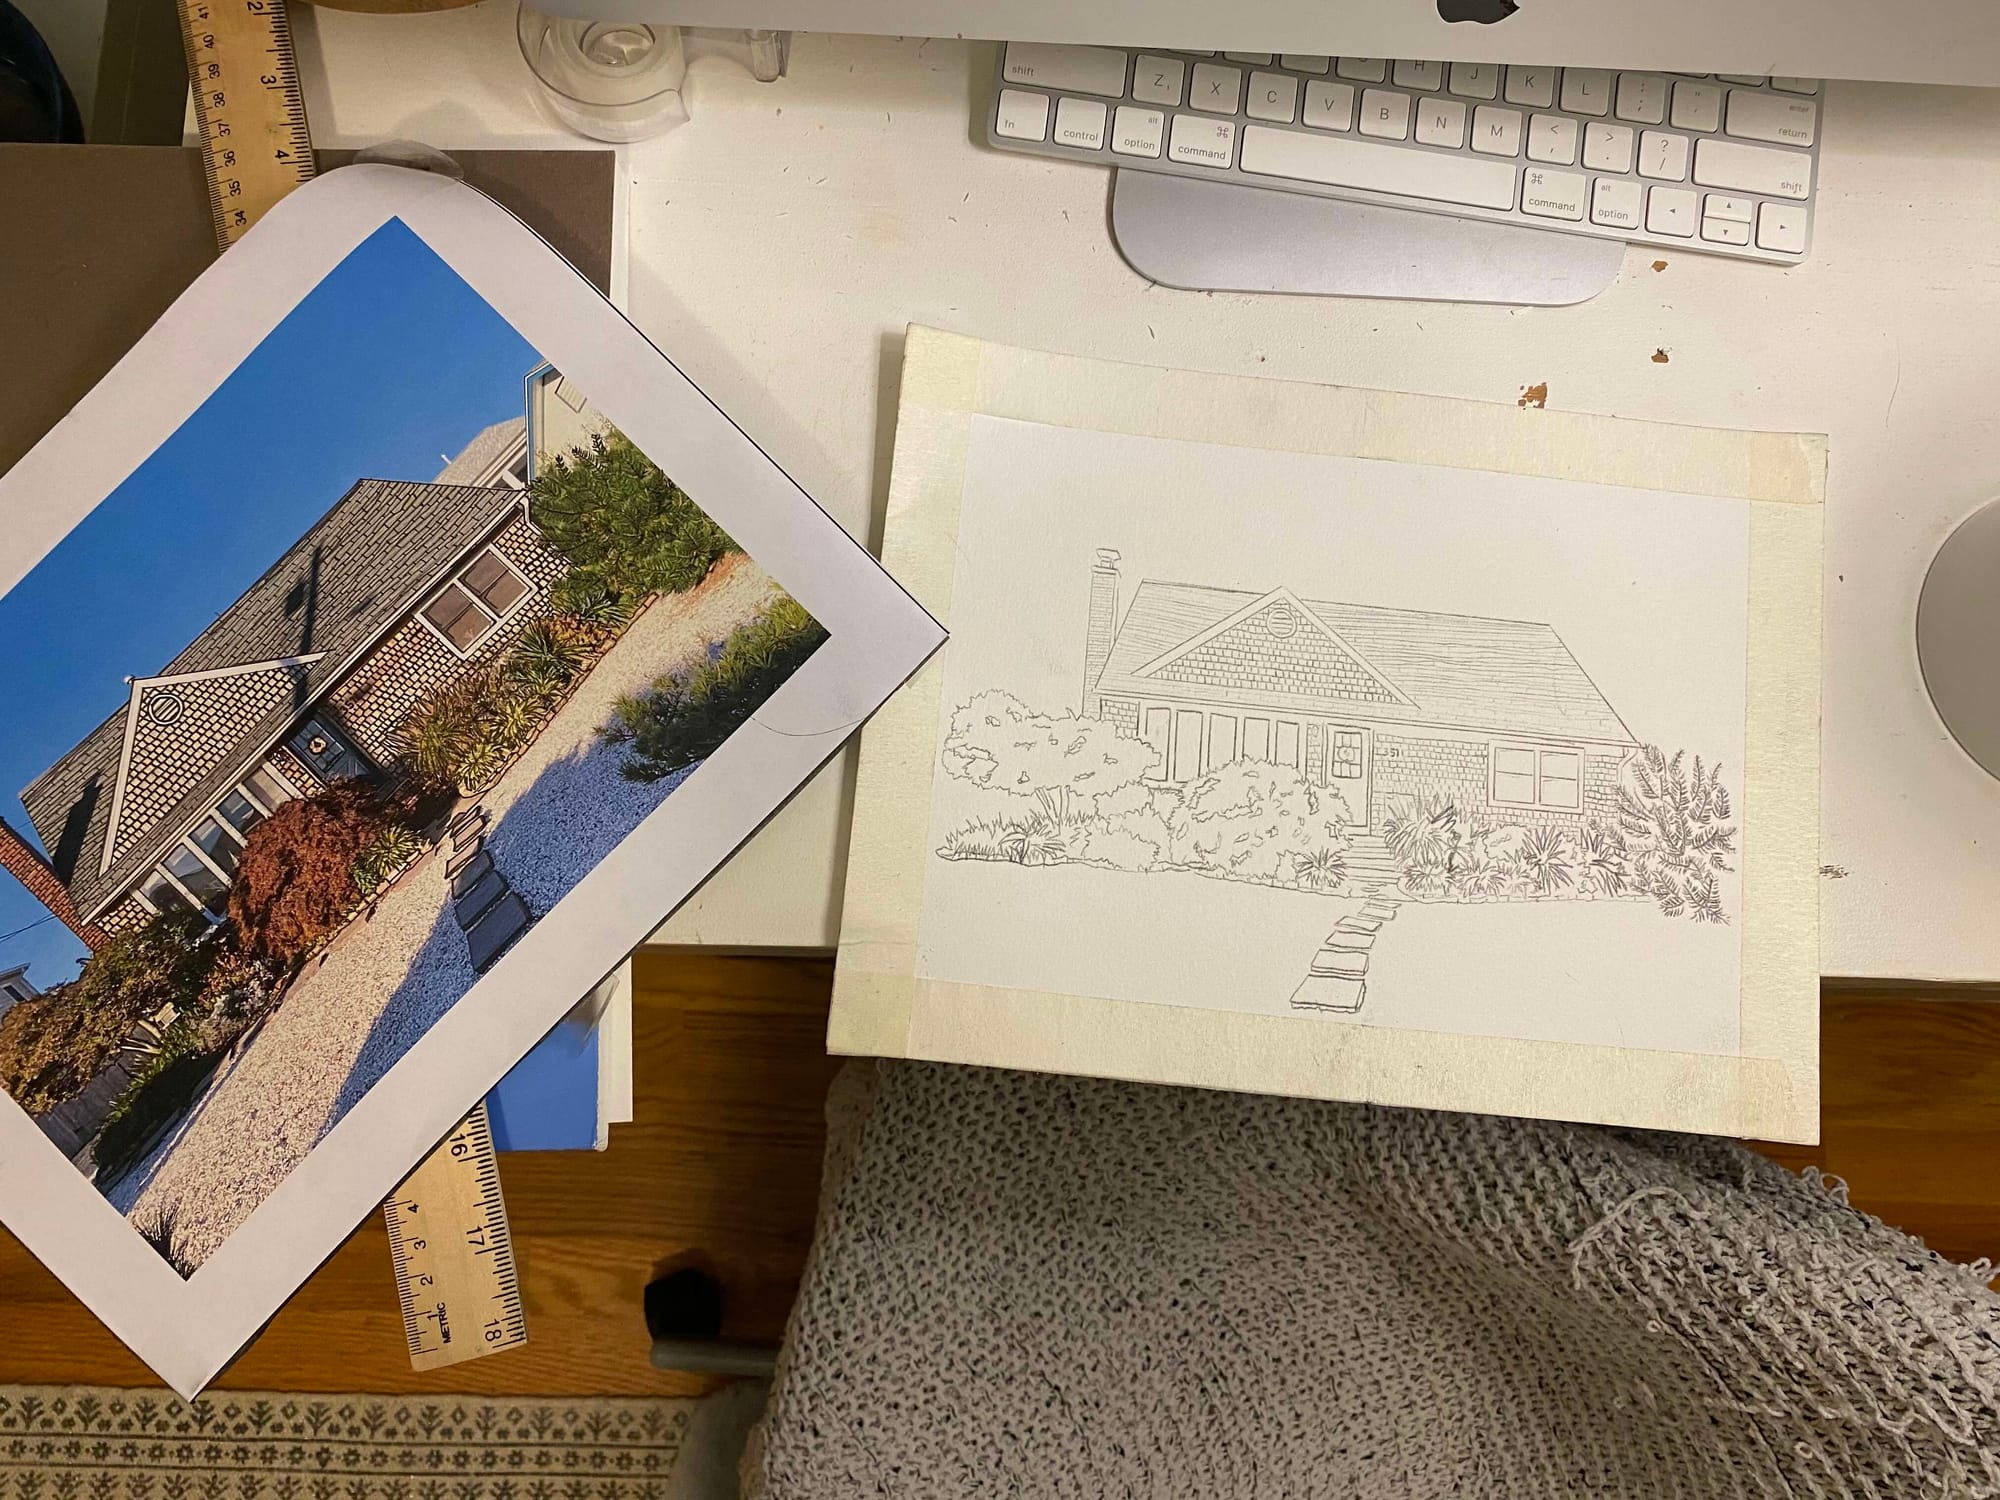
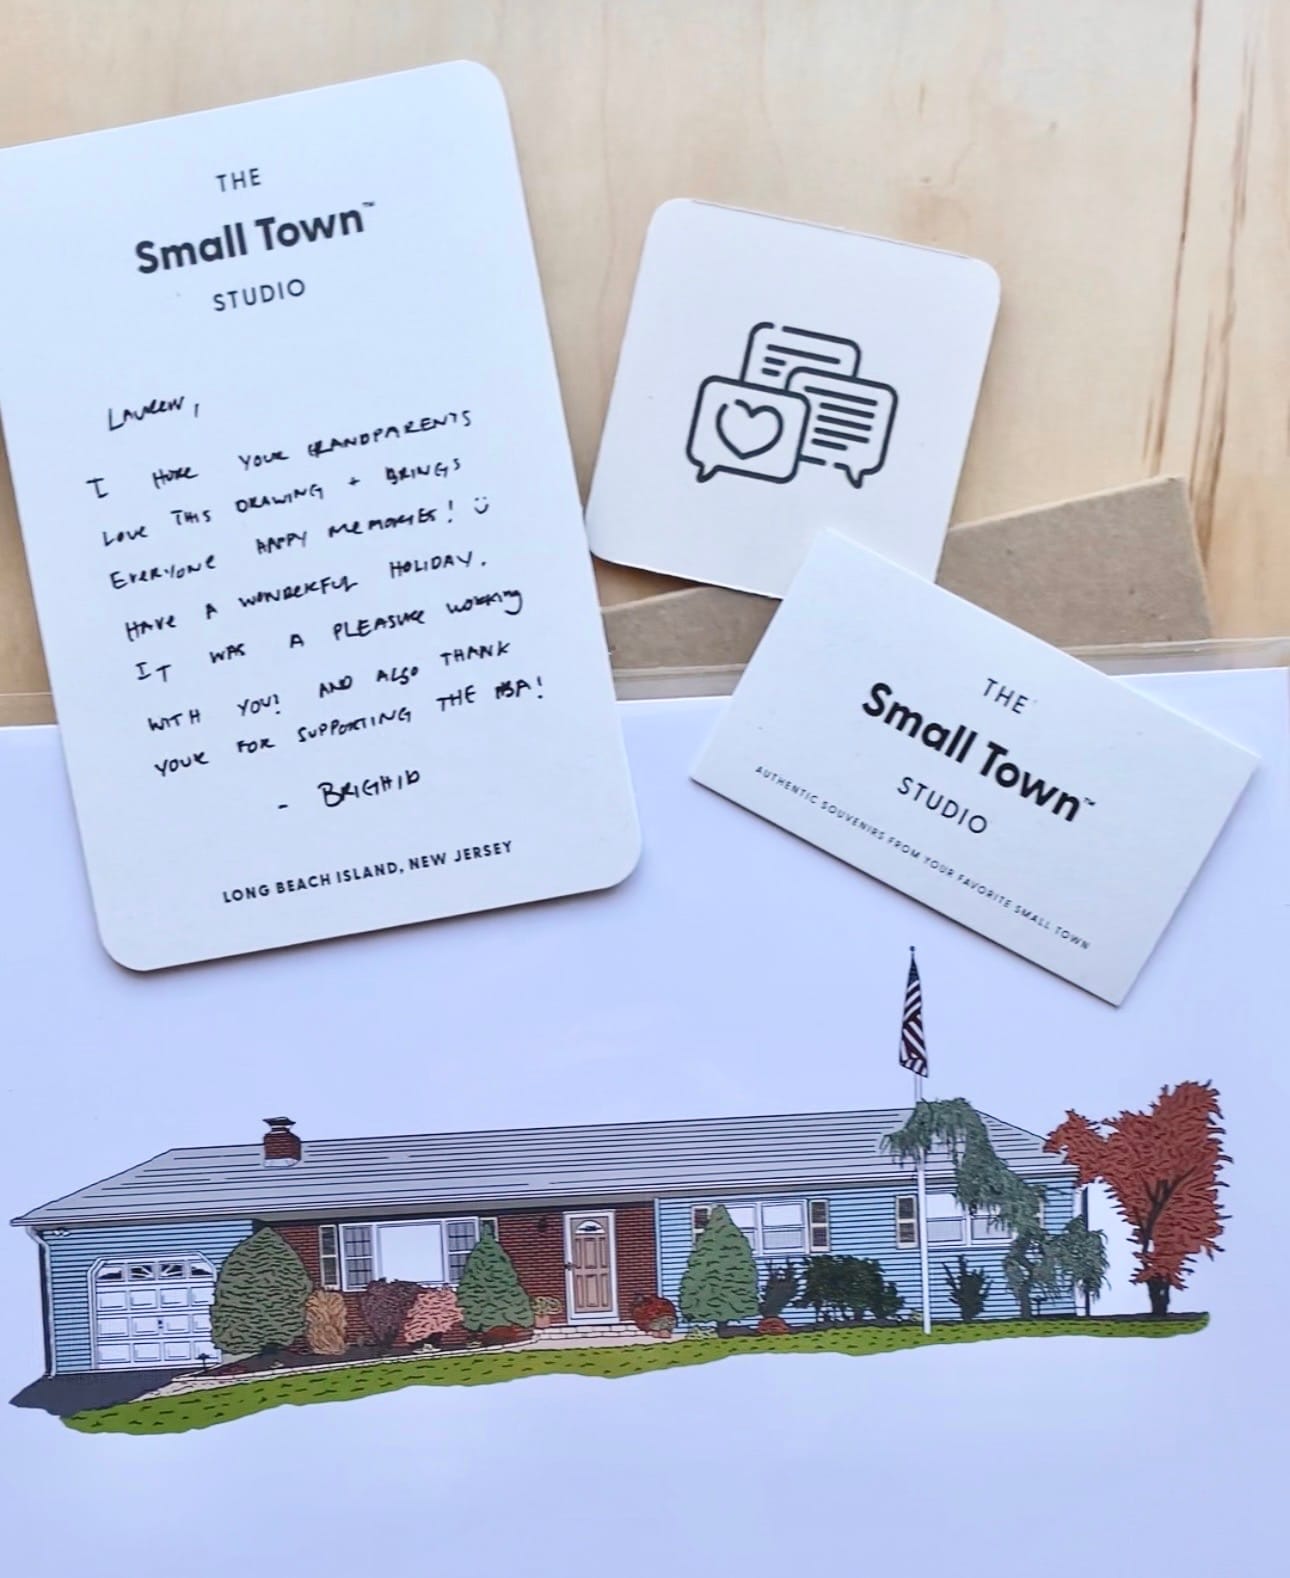
I started experimenting with different techniques and I drew my sister’s 1969 LBI classic cape.
At this time I knew I wanted to paint small town LBI landmarks. I was always inspired by local artists who captured these places like Kathleen Englesen, her work is incredible. I got a new set of professional watercolors and started learning more each day.
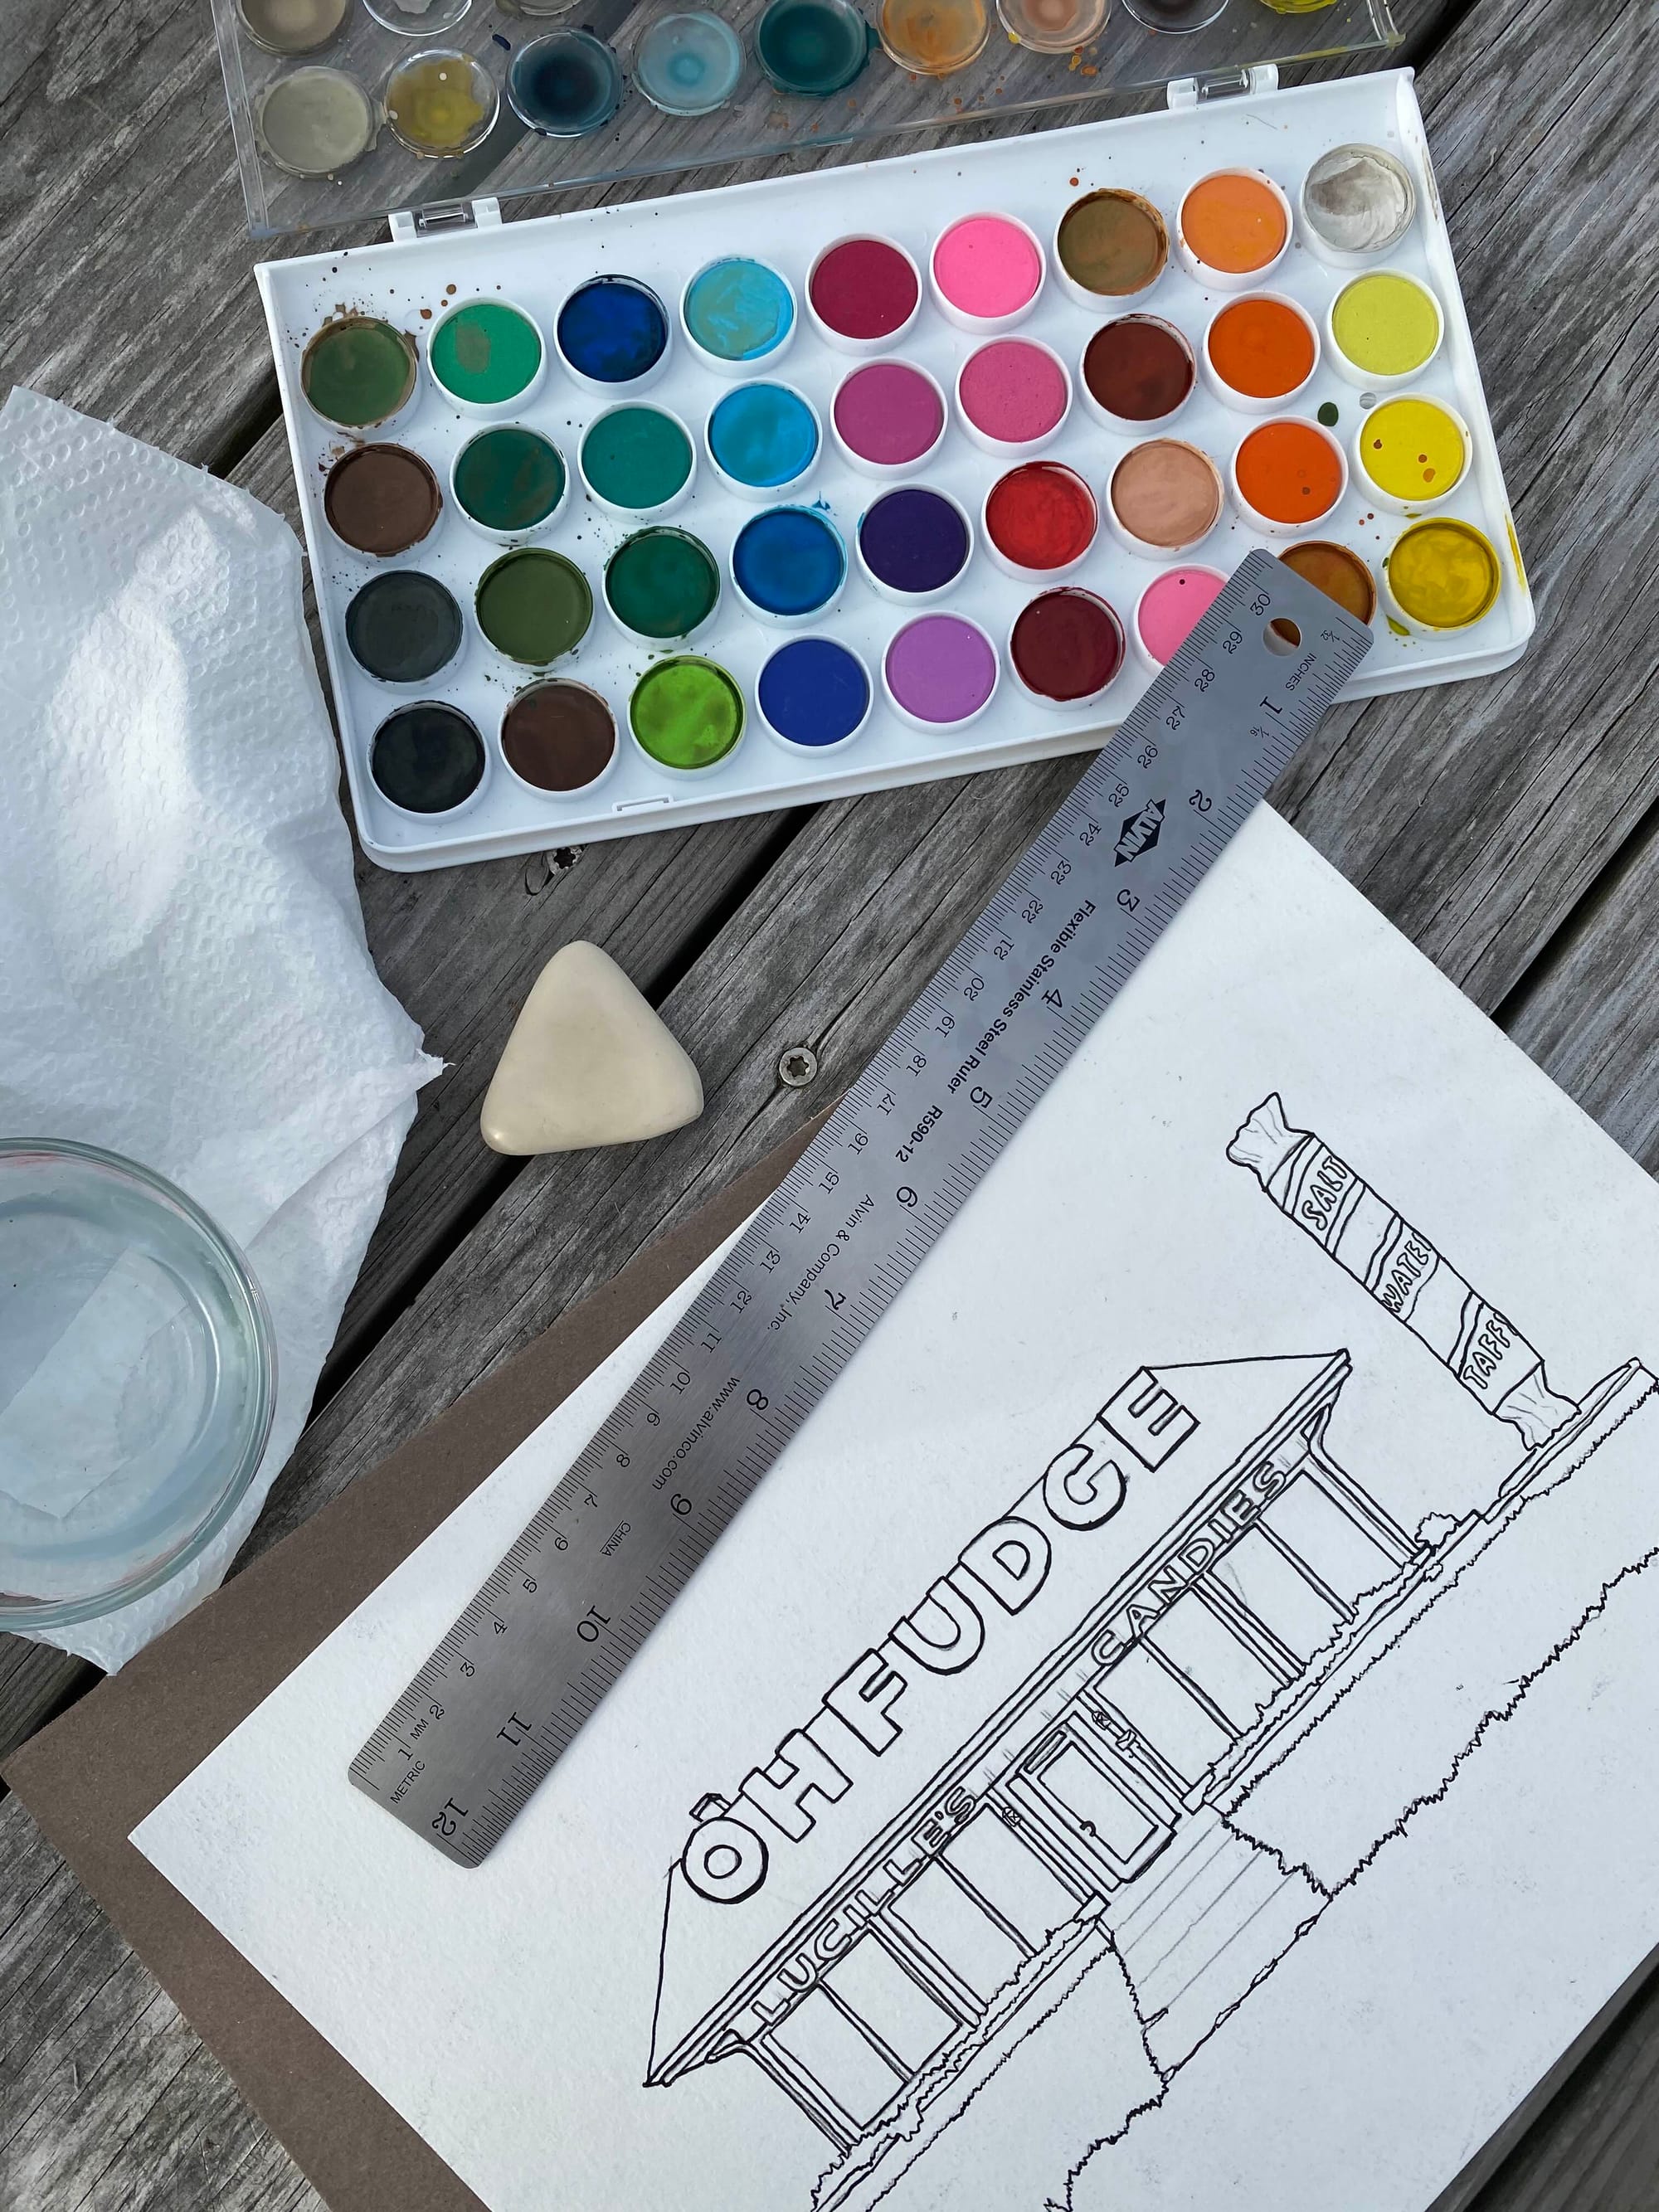
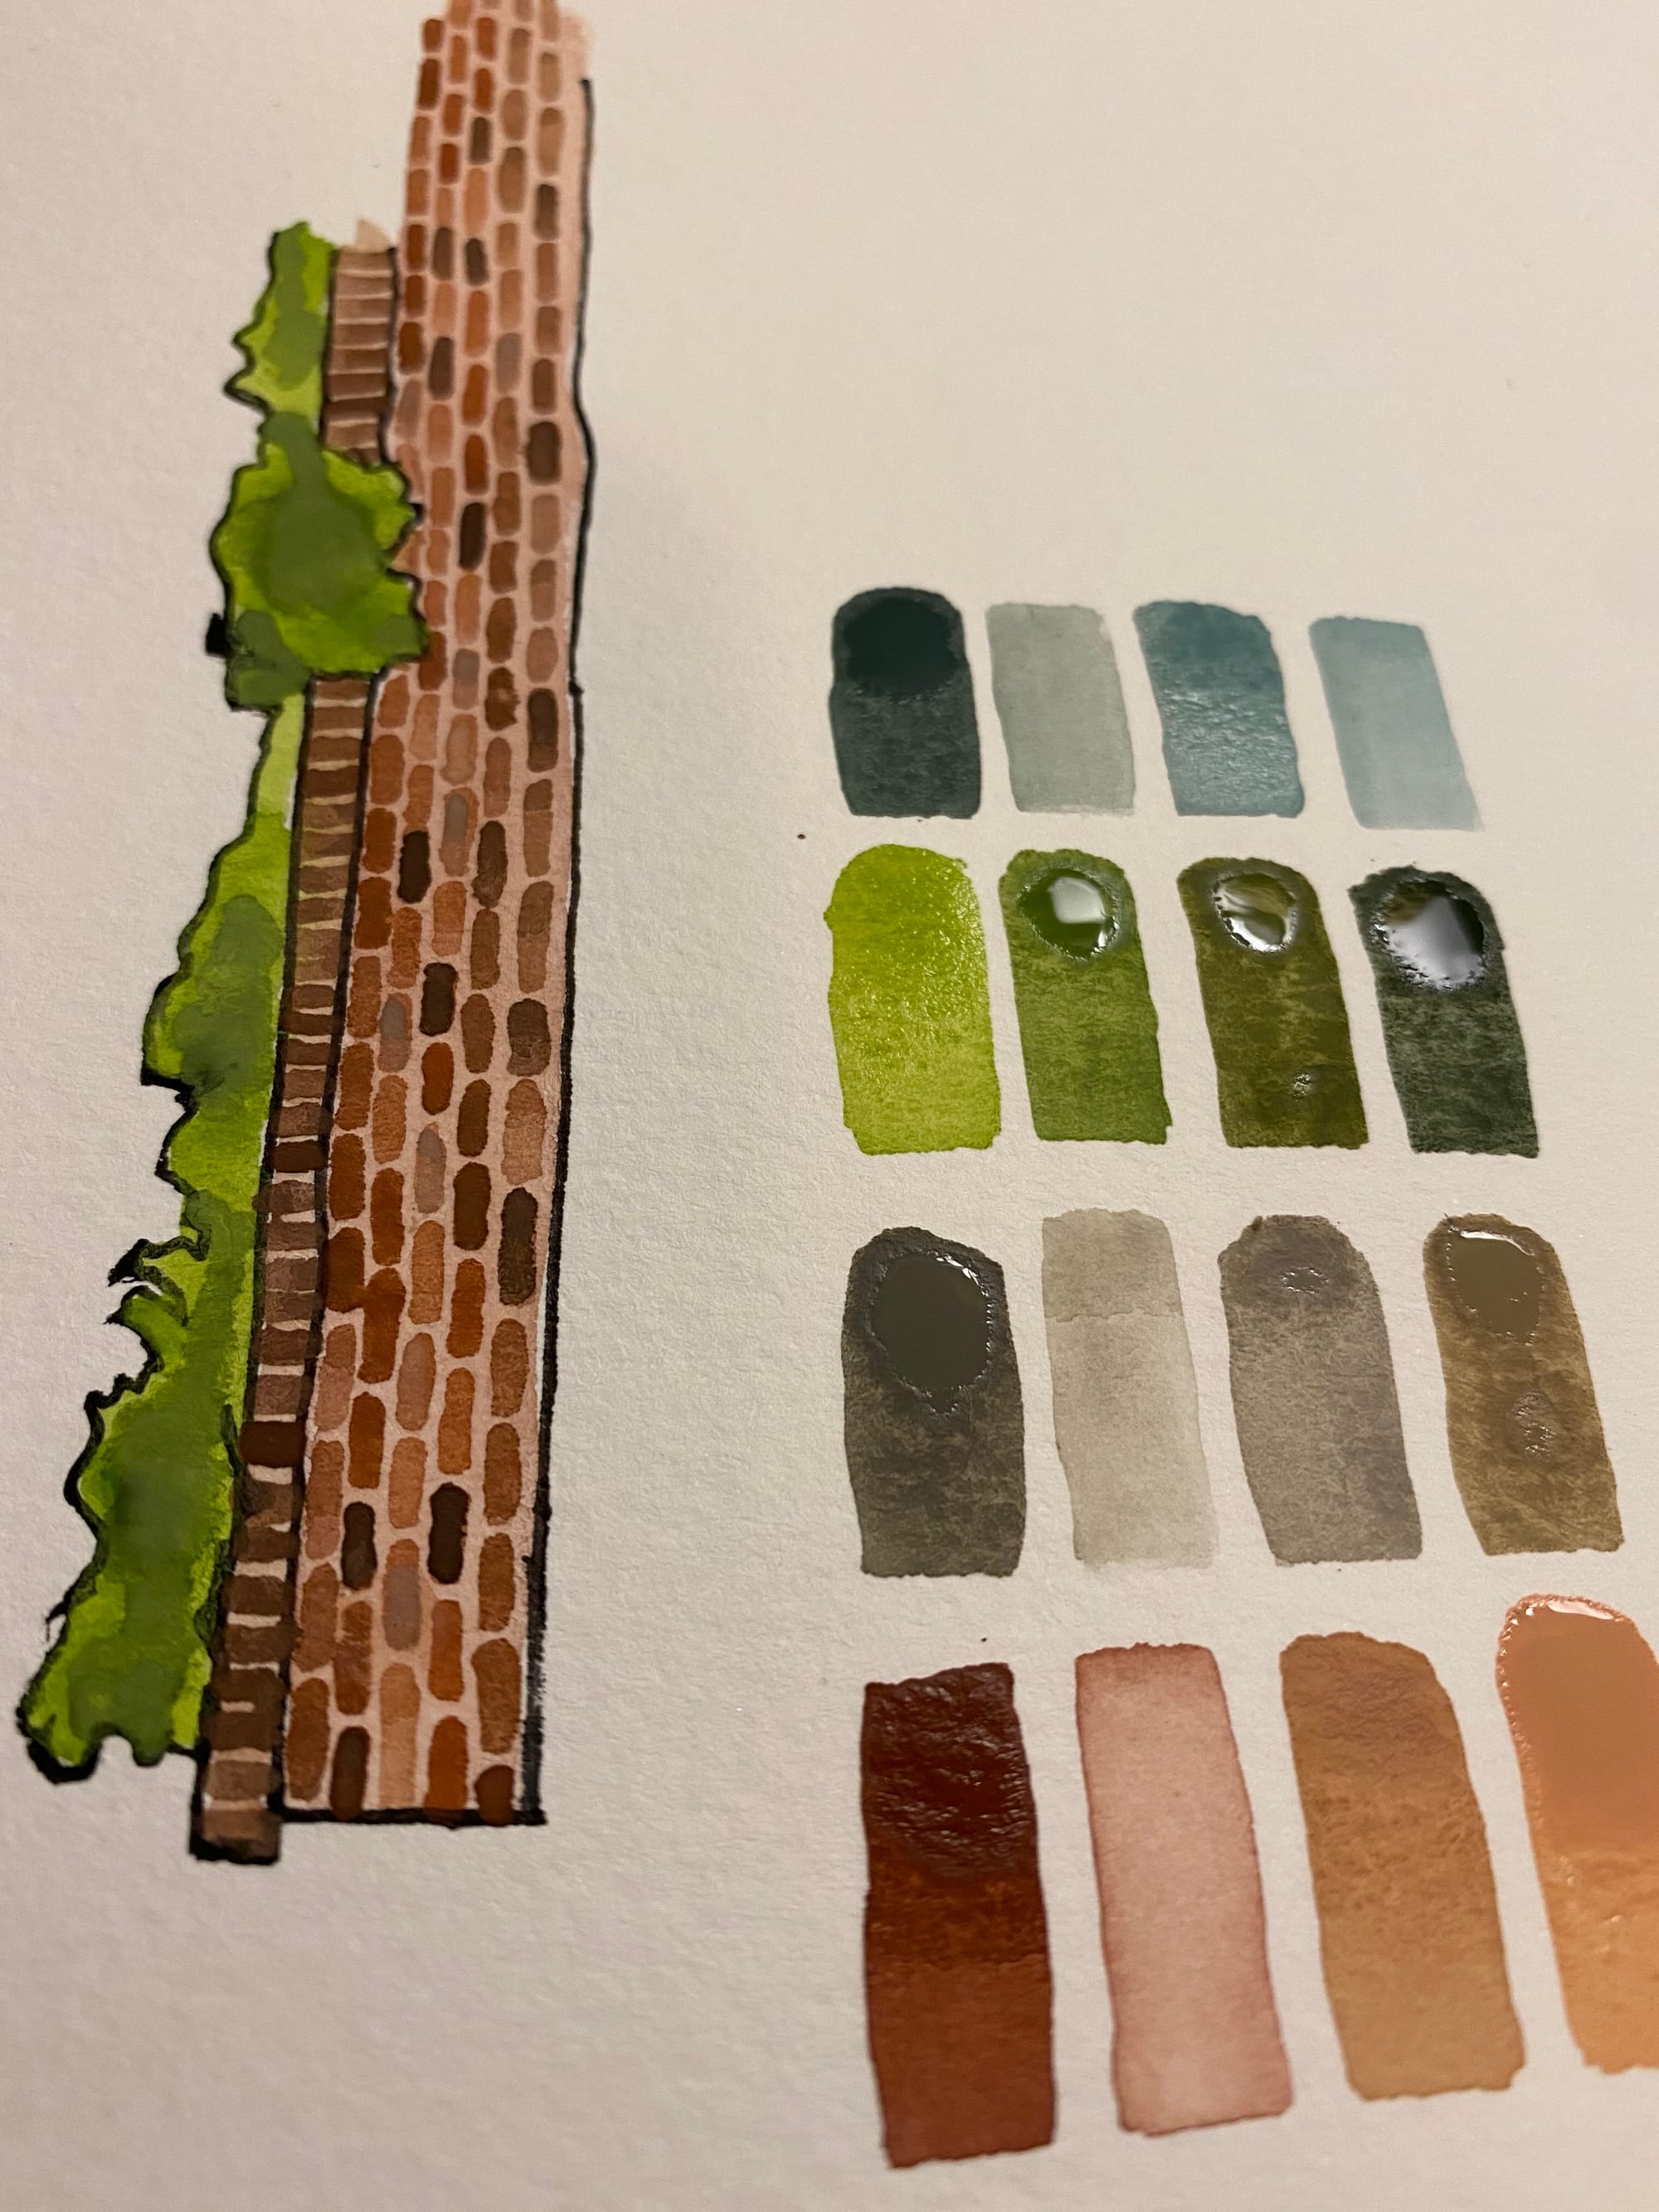
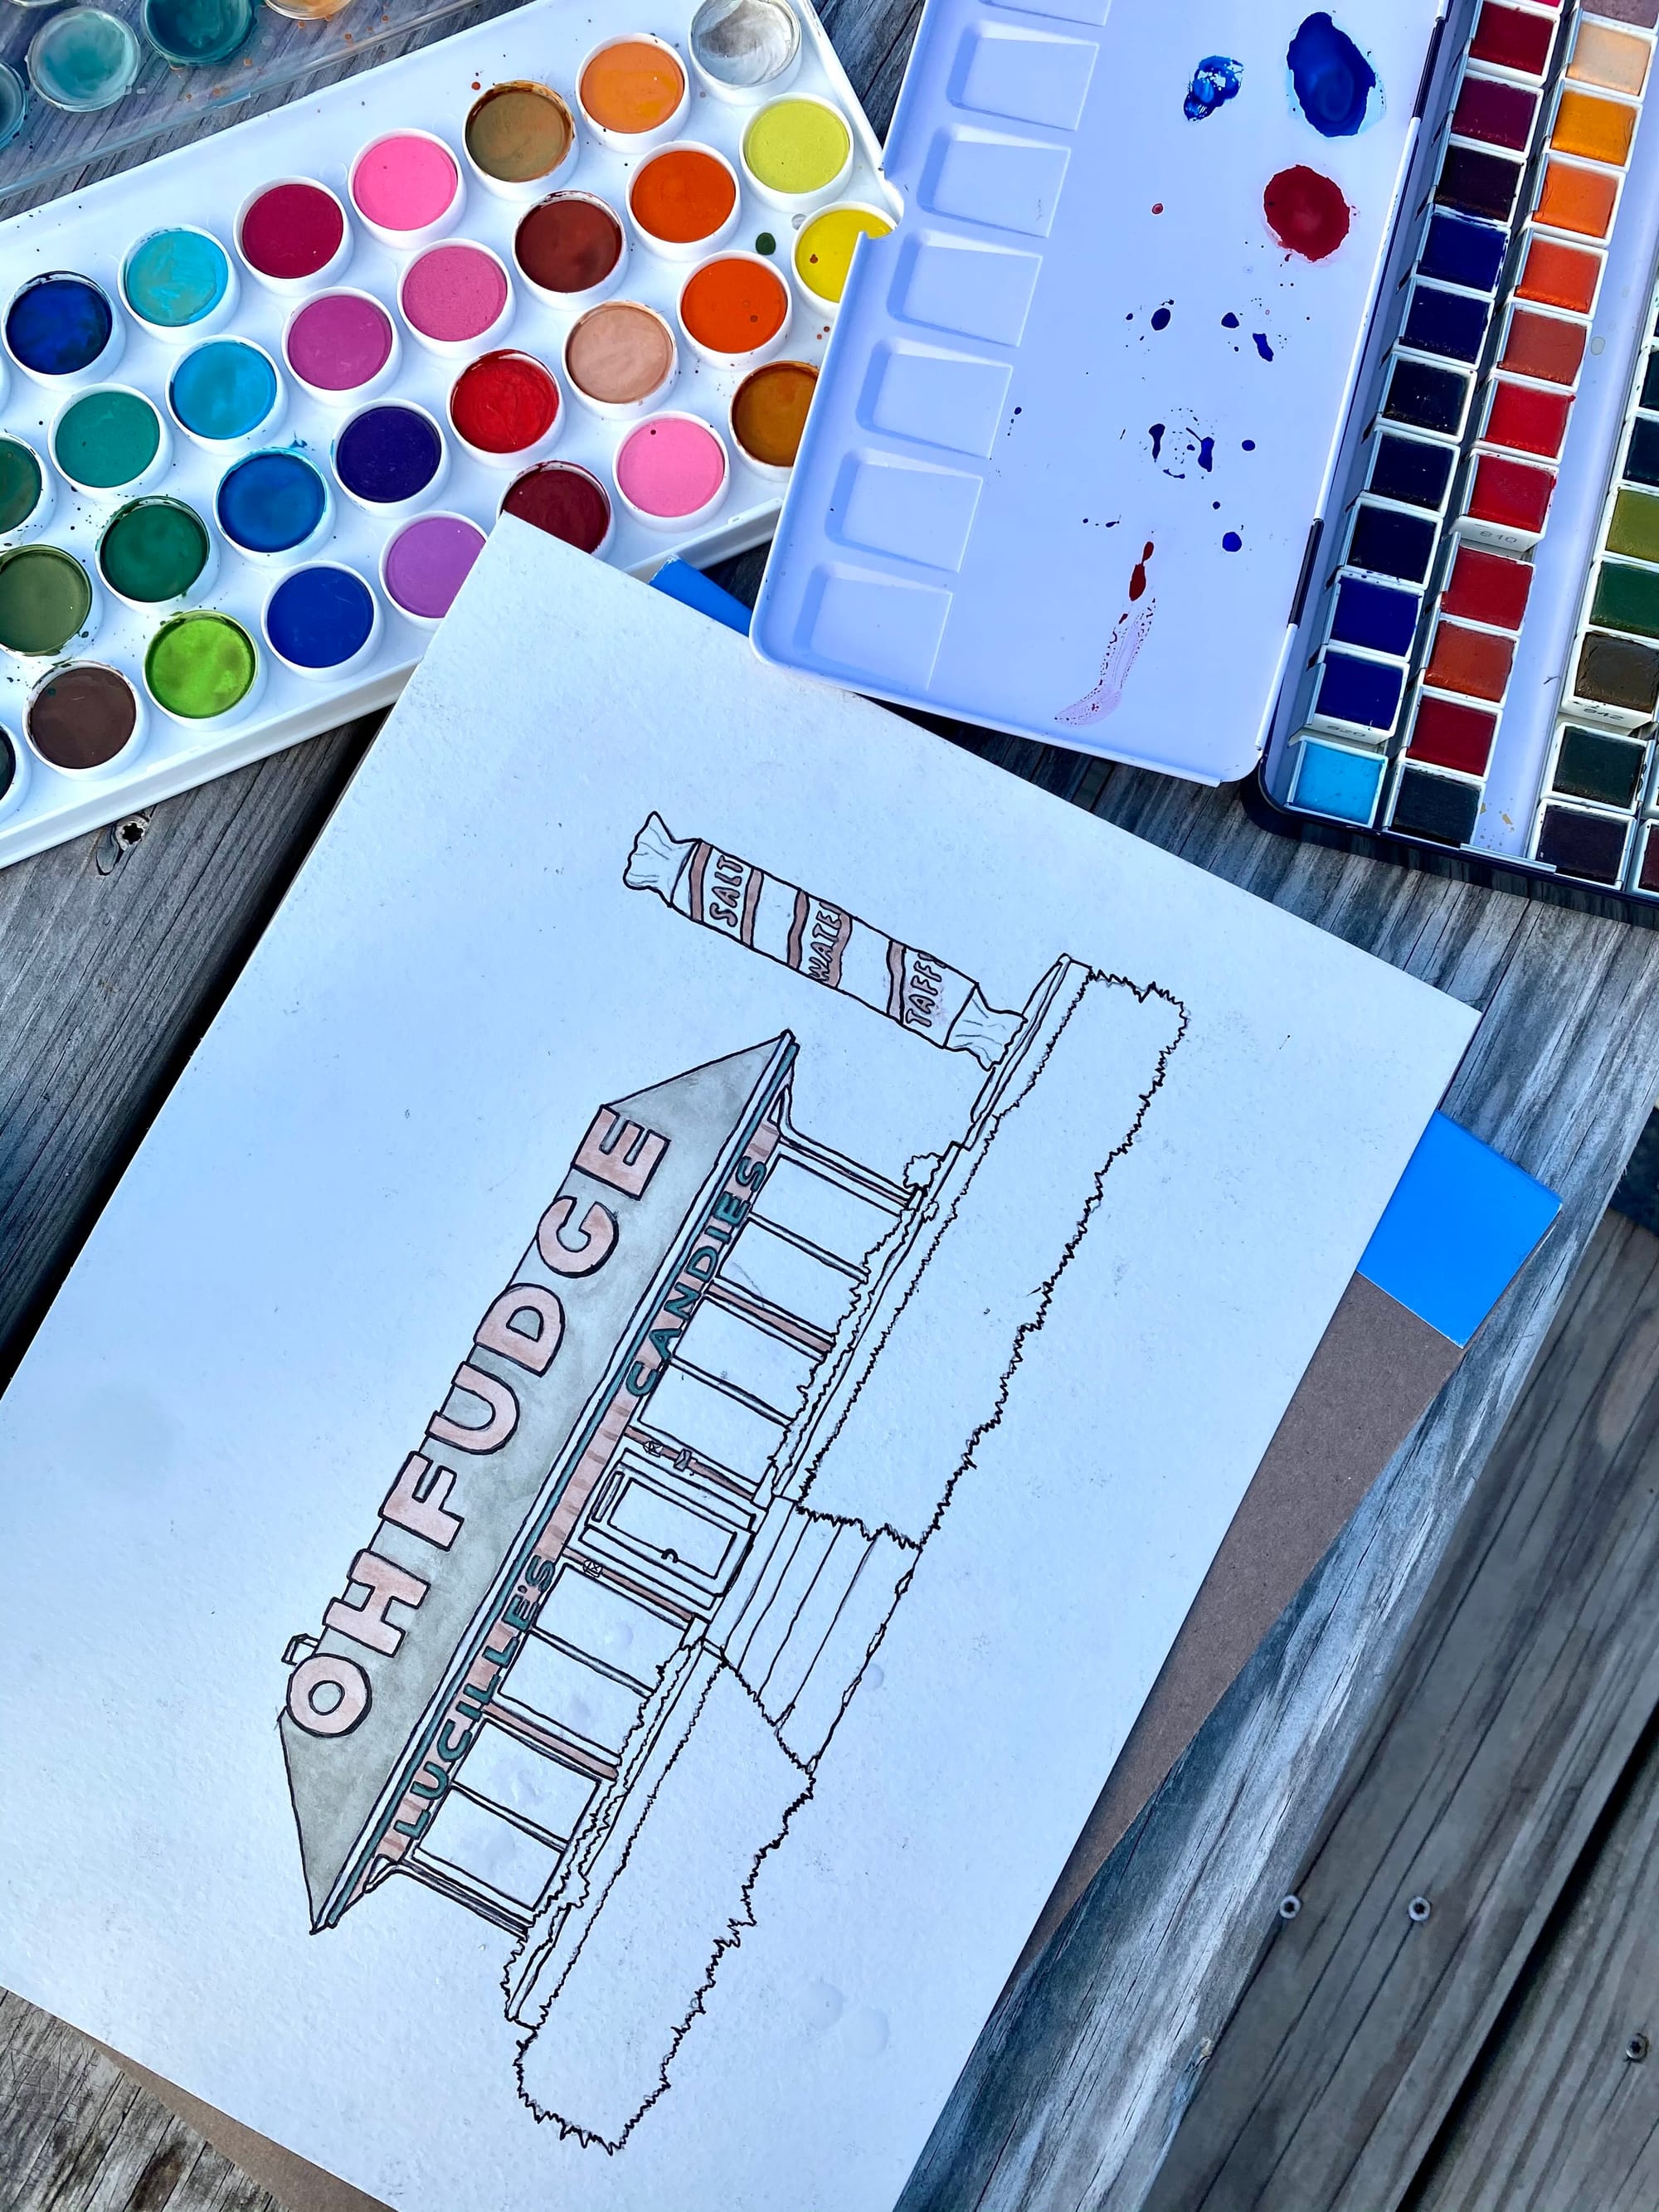
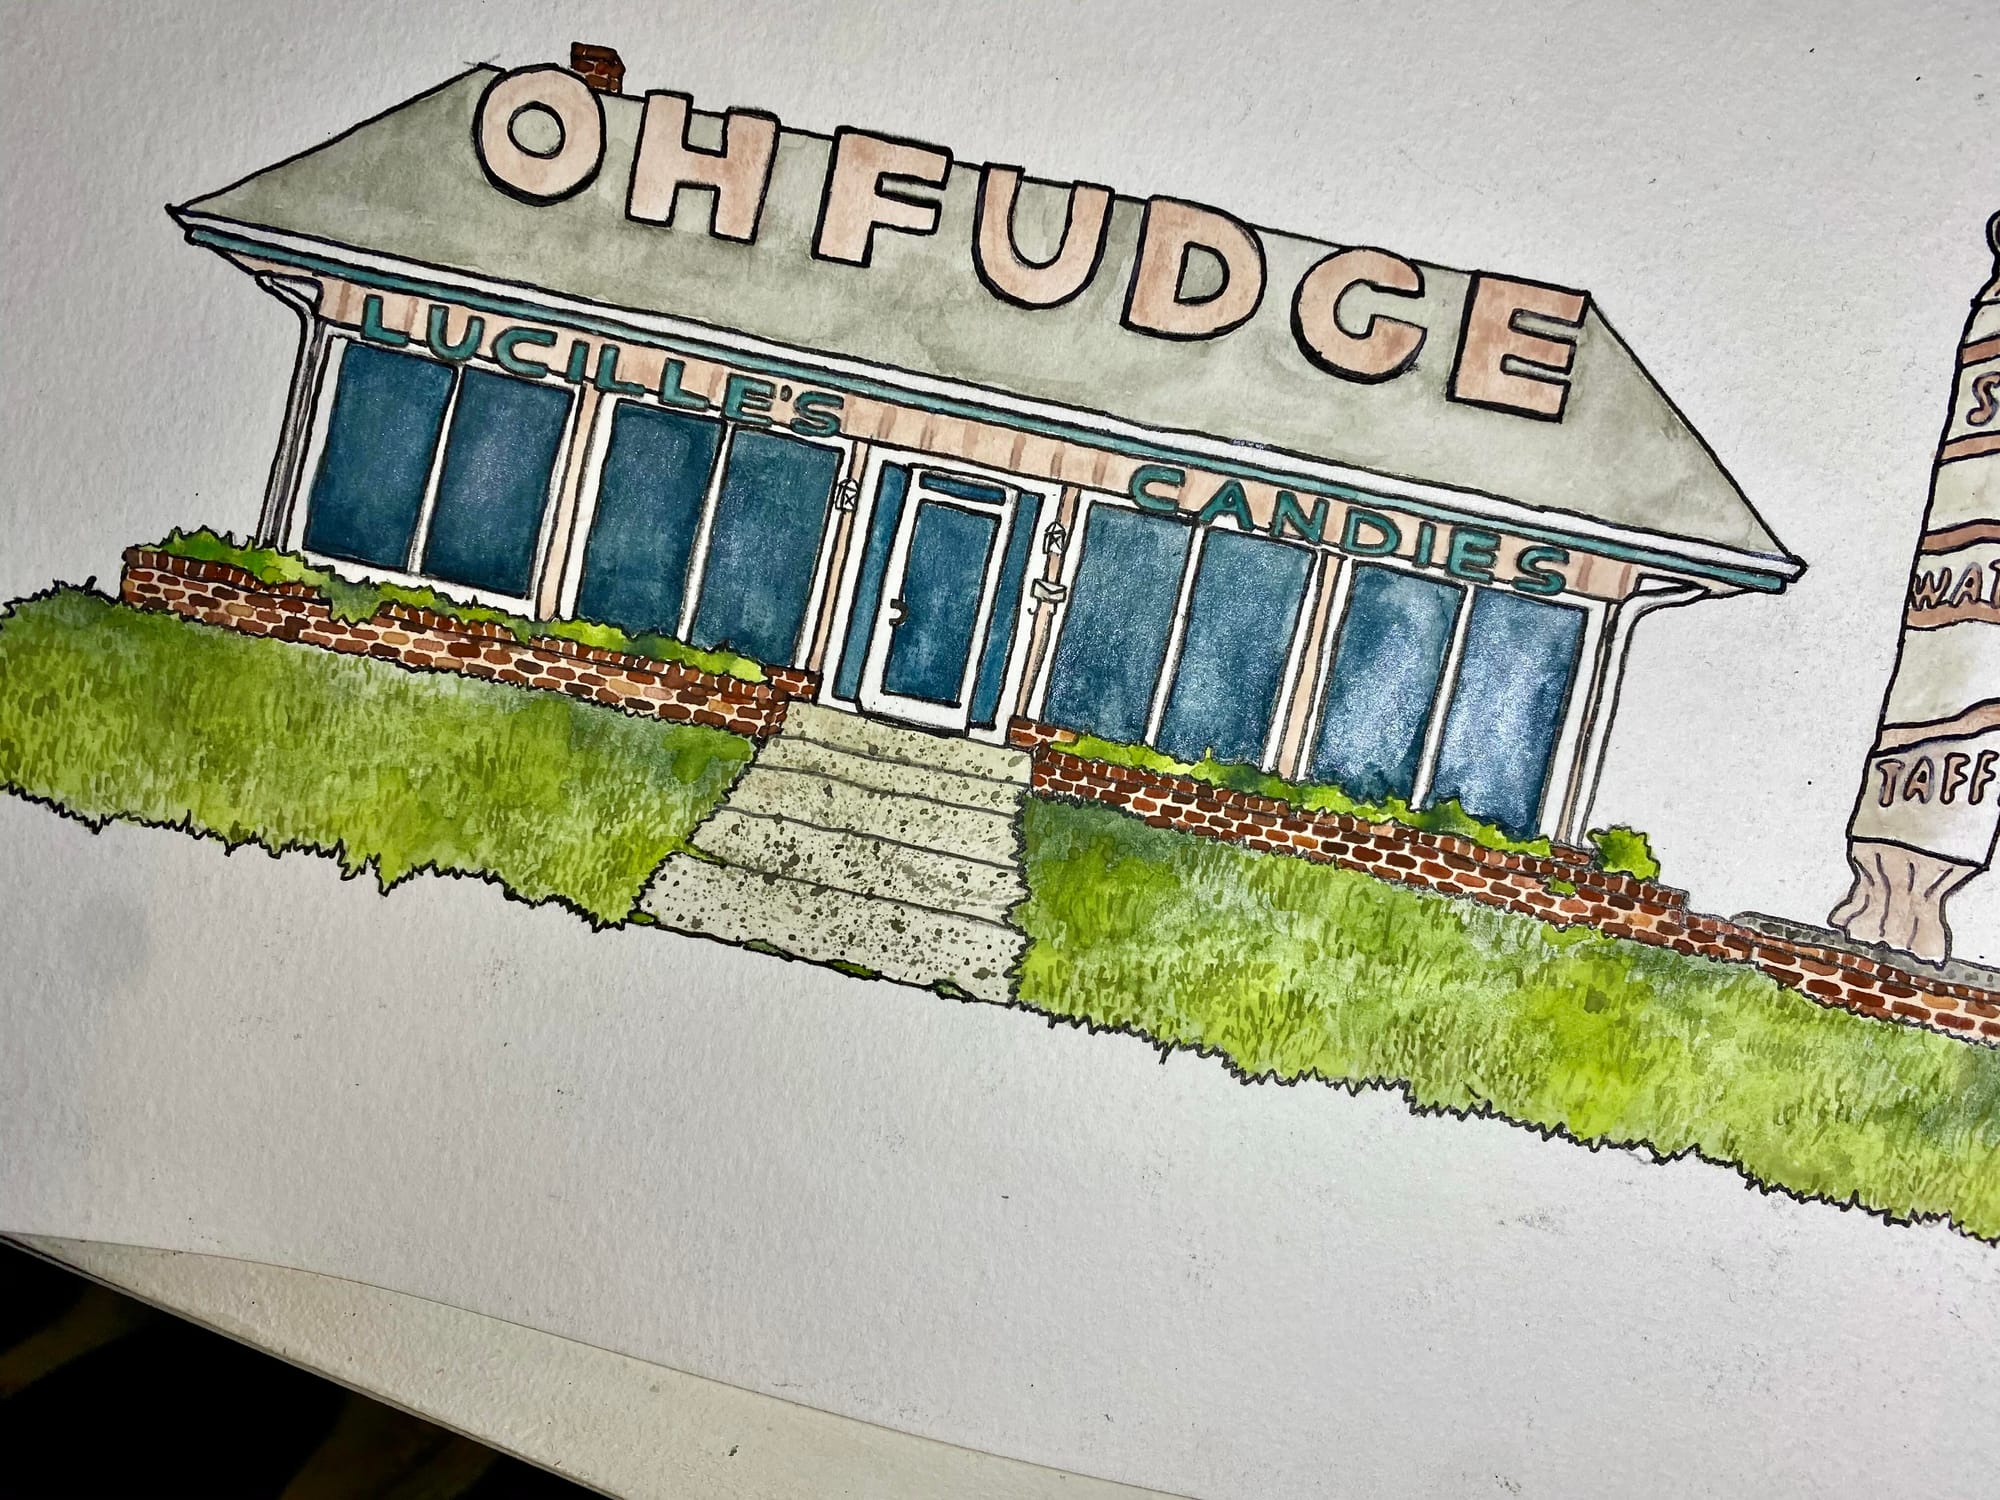
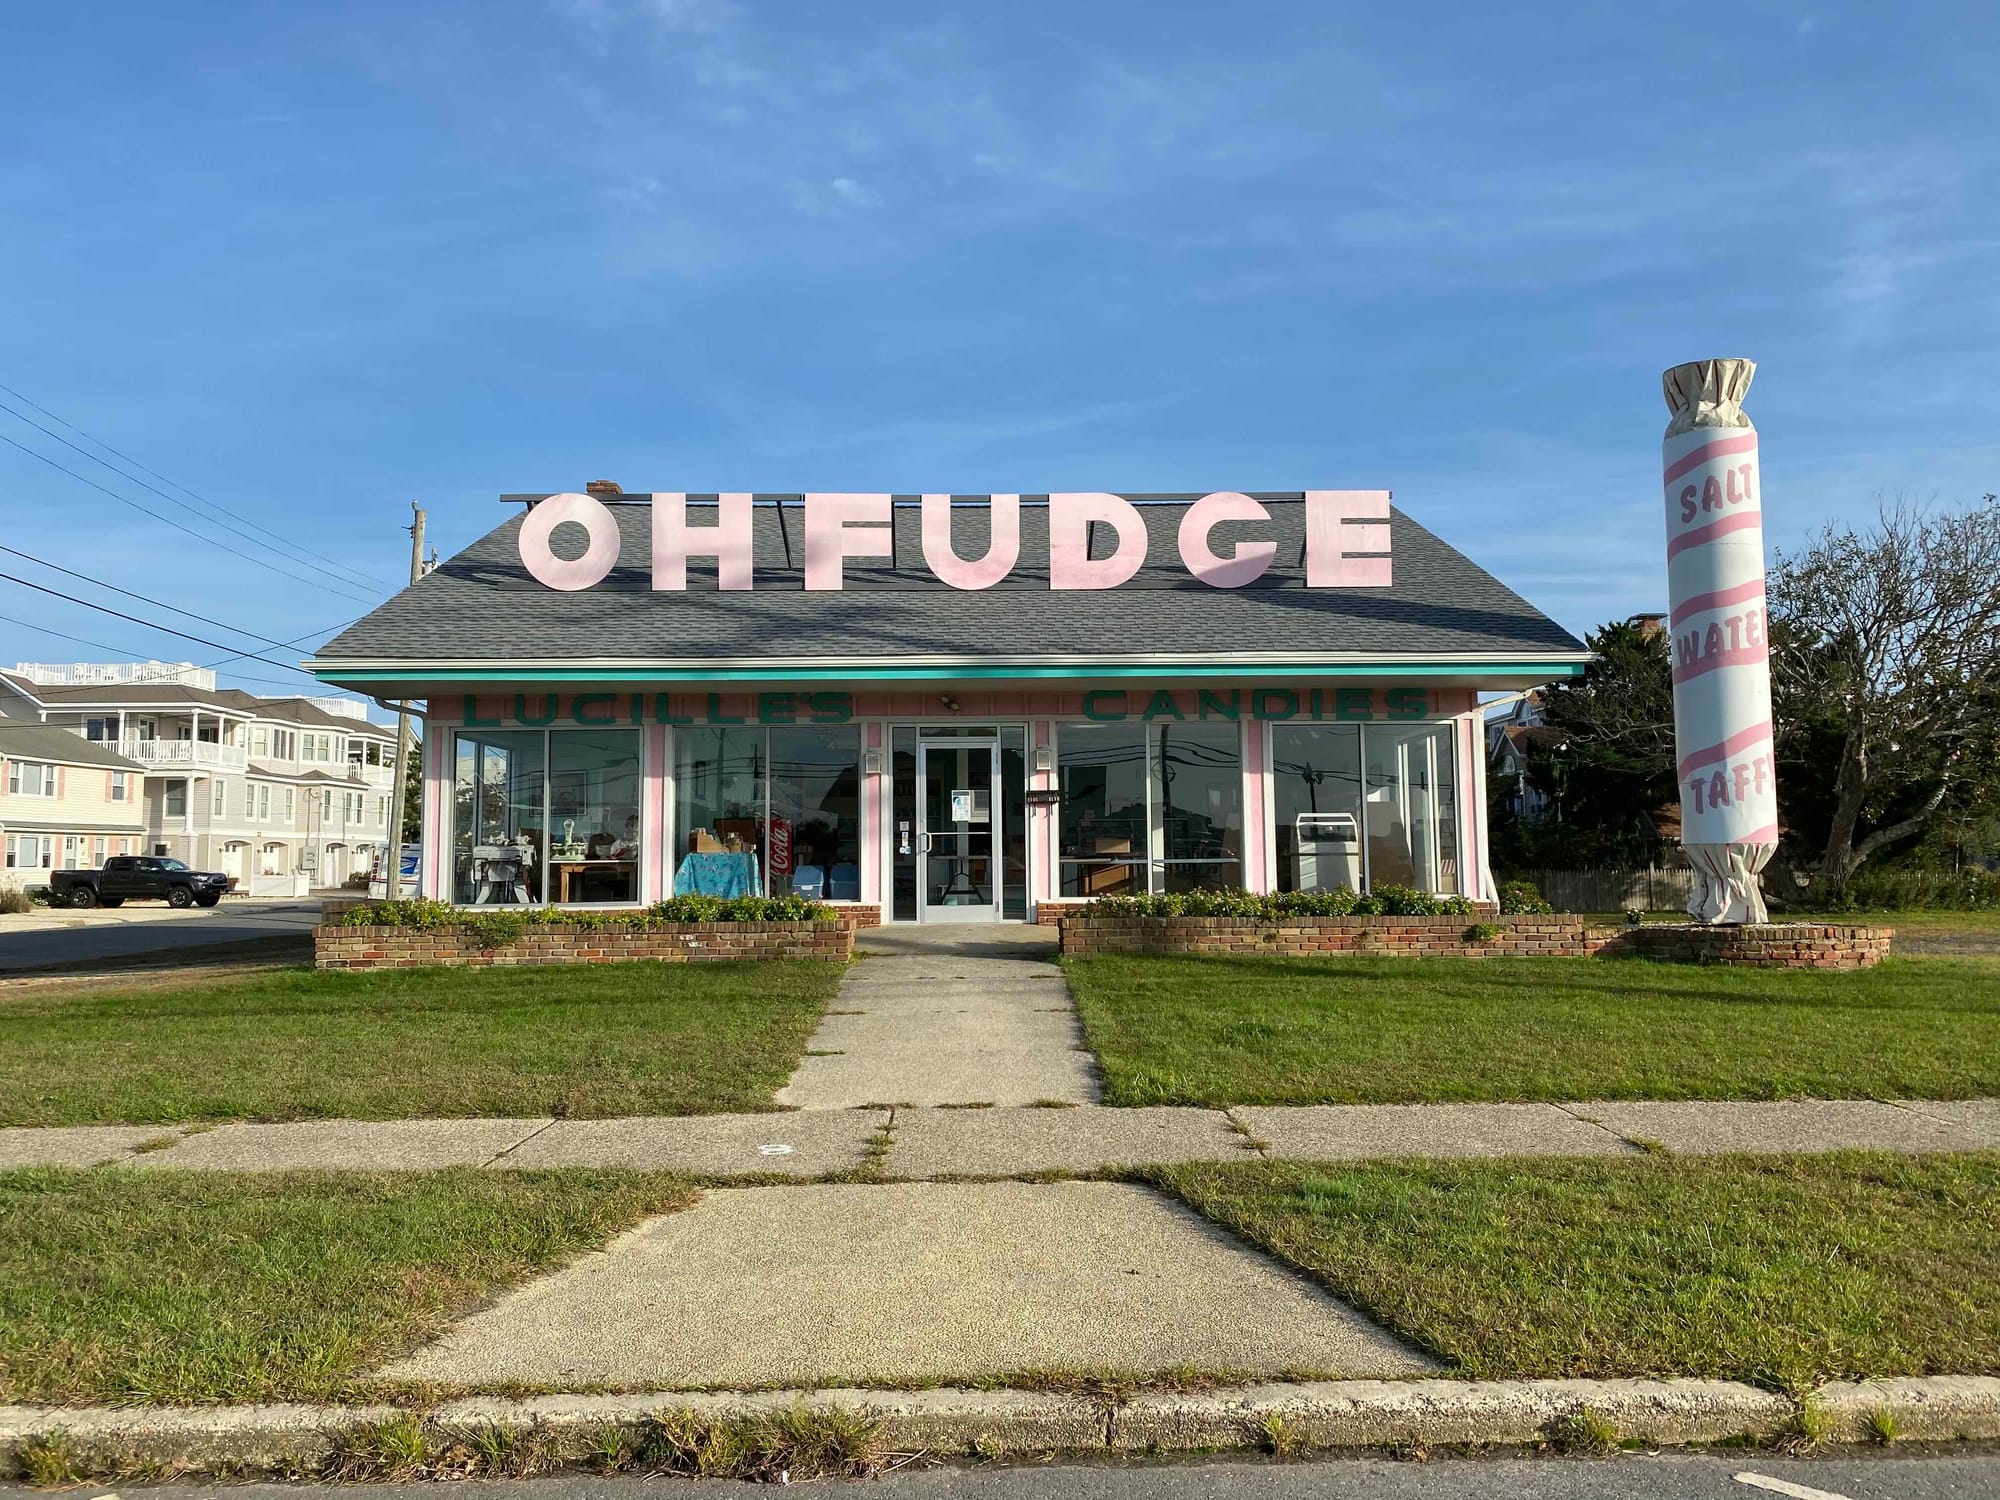
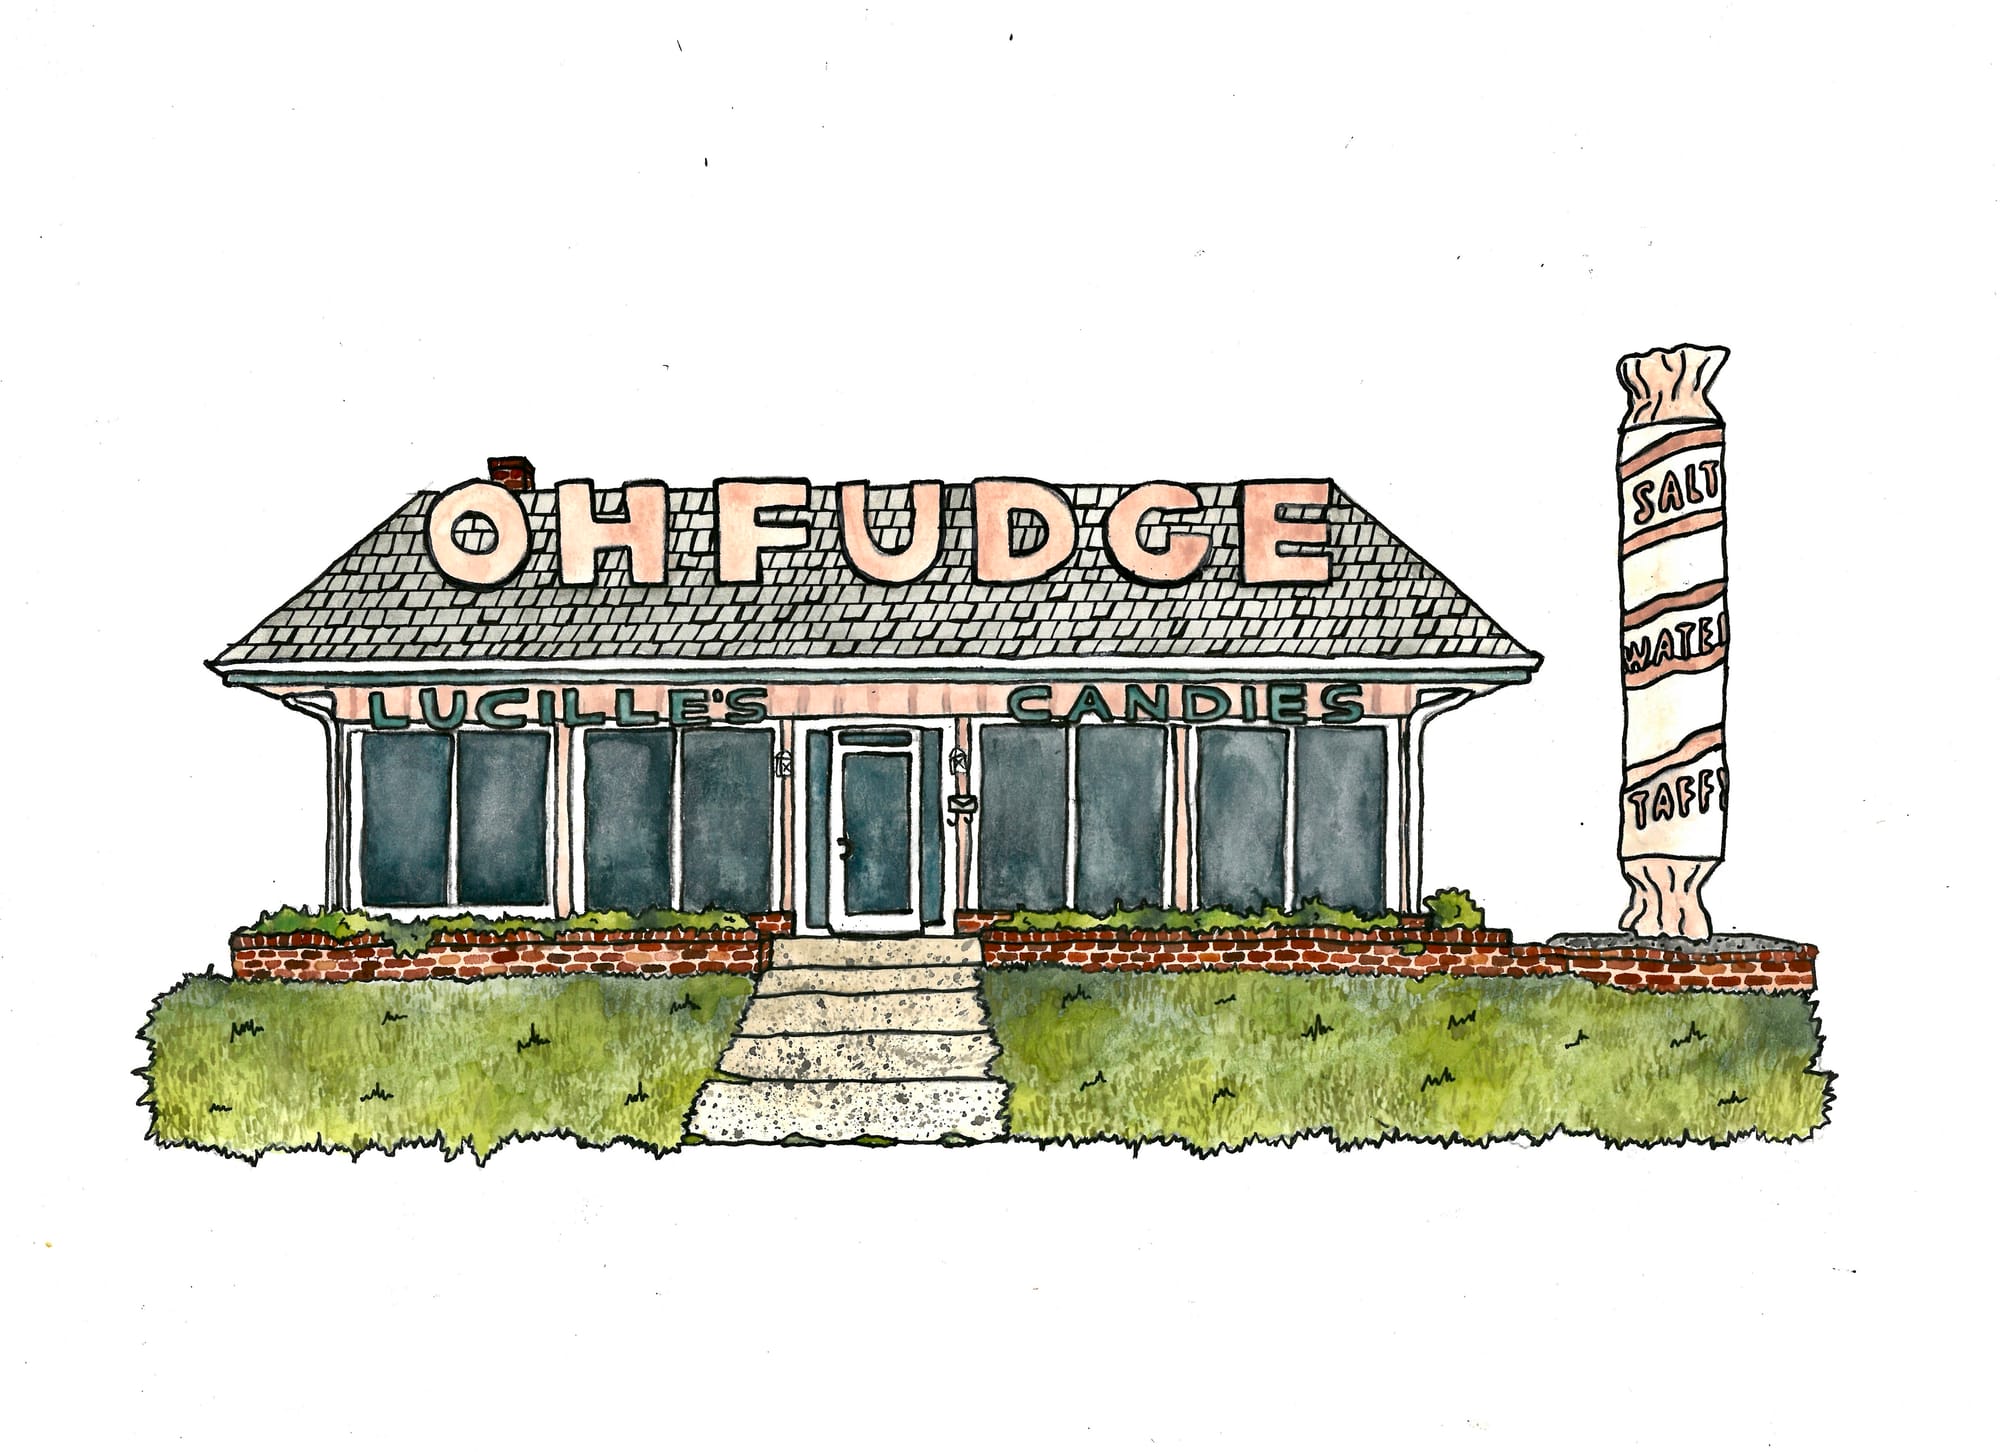
My very first LBI drawing was Lucille’s Oh Fudge Building. I loved the giant salt water taffy statue, it is just so iconic on the island as you pass by you can’t help but look at it. I remember when I finished this painting, scanned it in and posted it on Instagram. I was actually shocked that people were liking it. I was just starting out so I wasn't expecting a lot of support. But that's what's so great about small towns, they give back a ton of love.
December 2020:
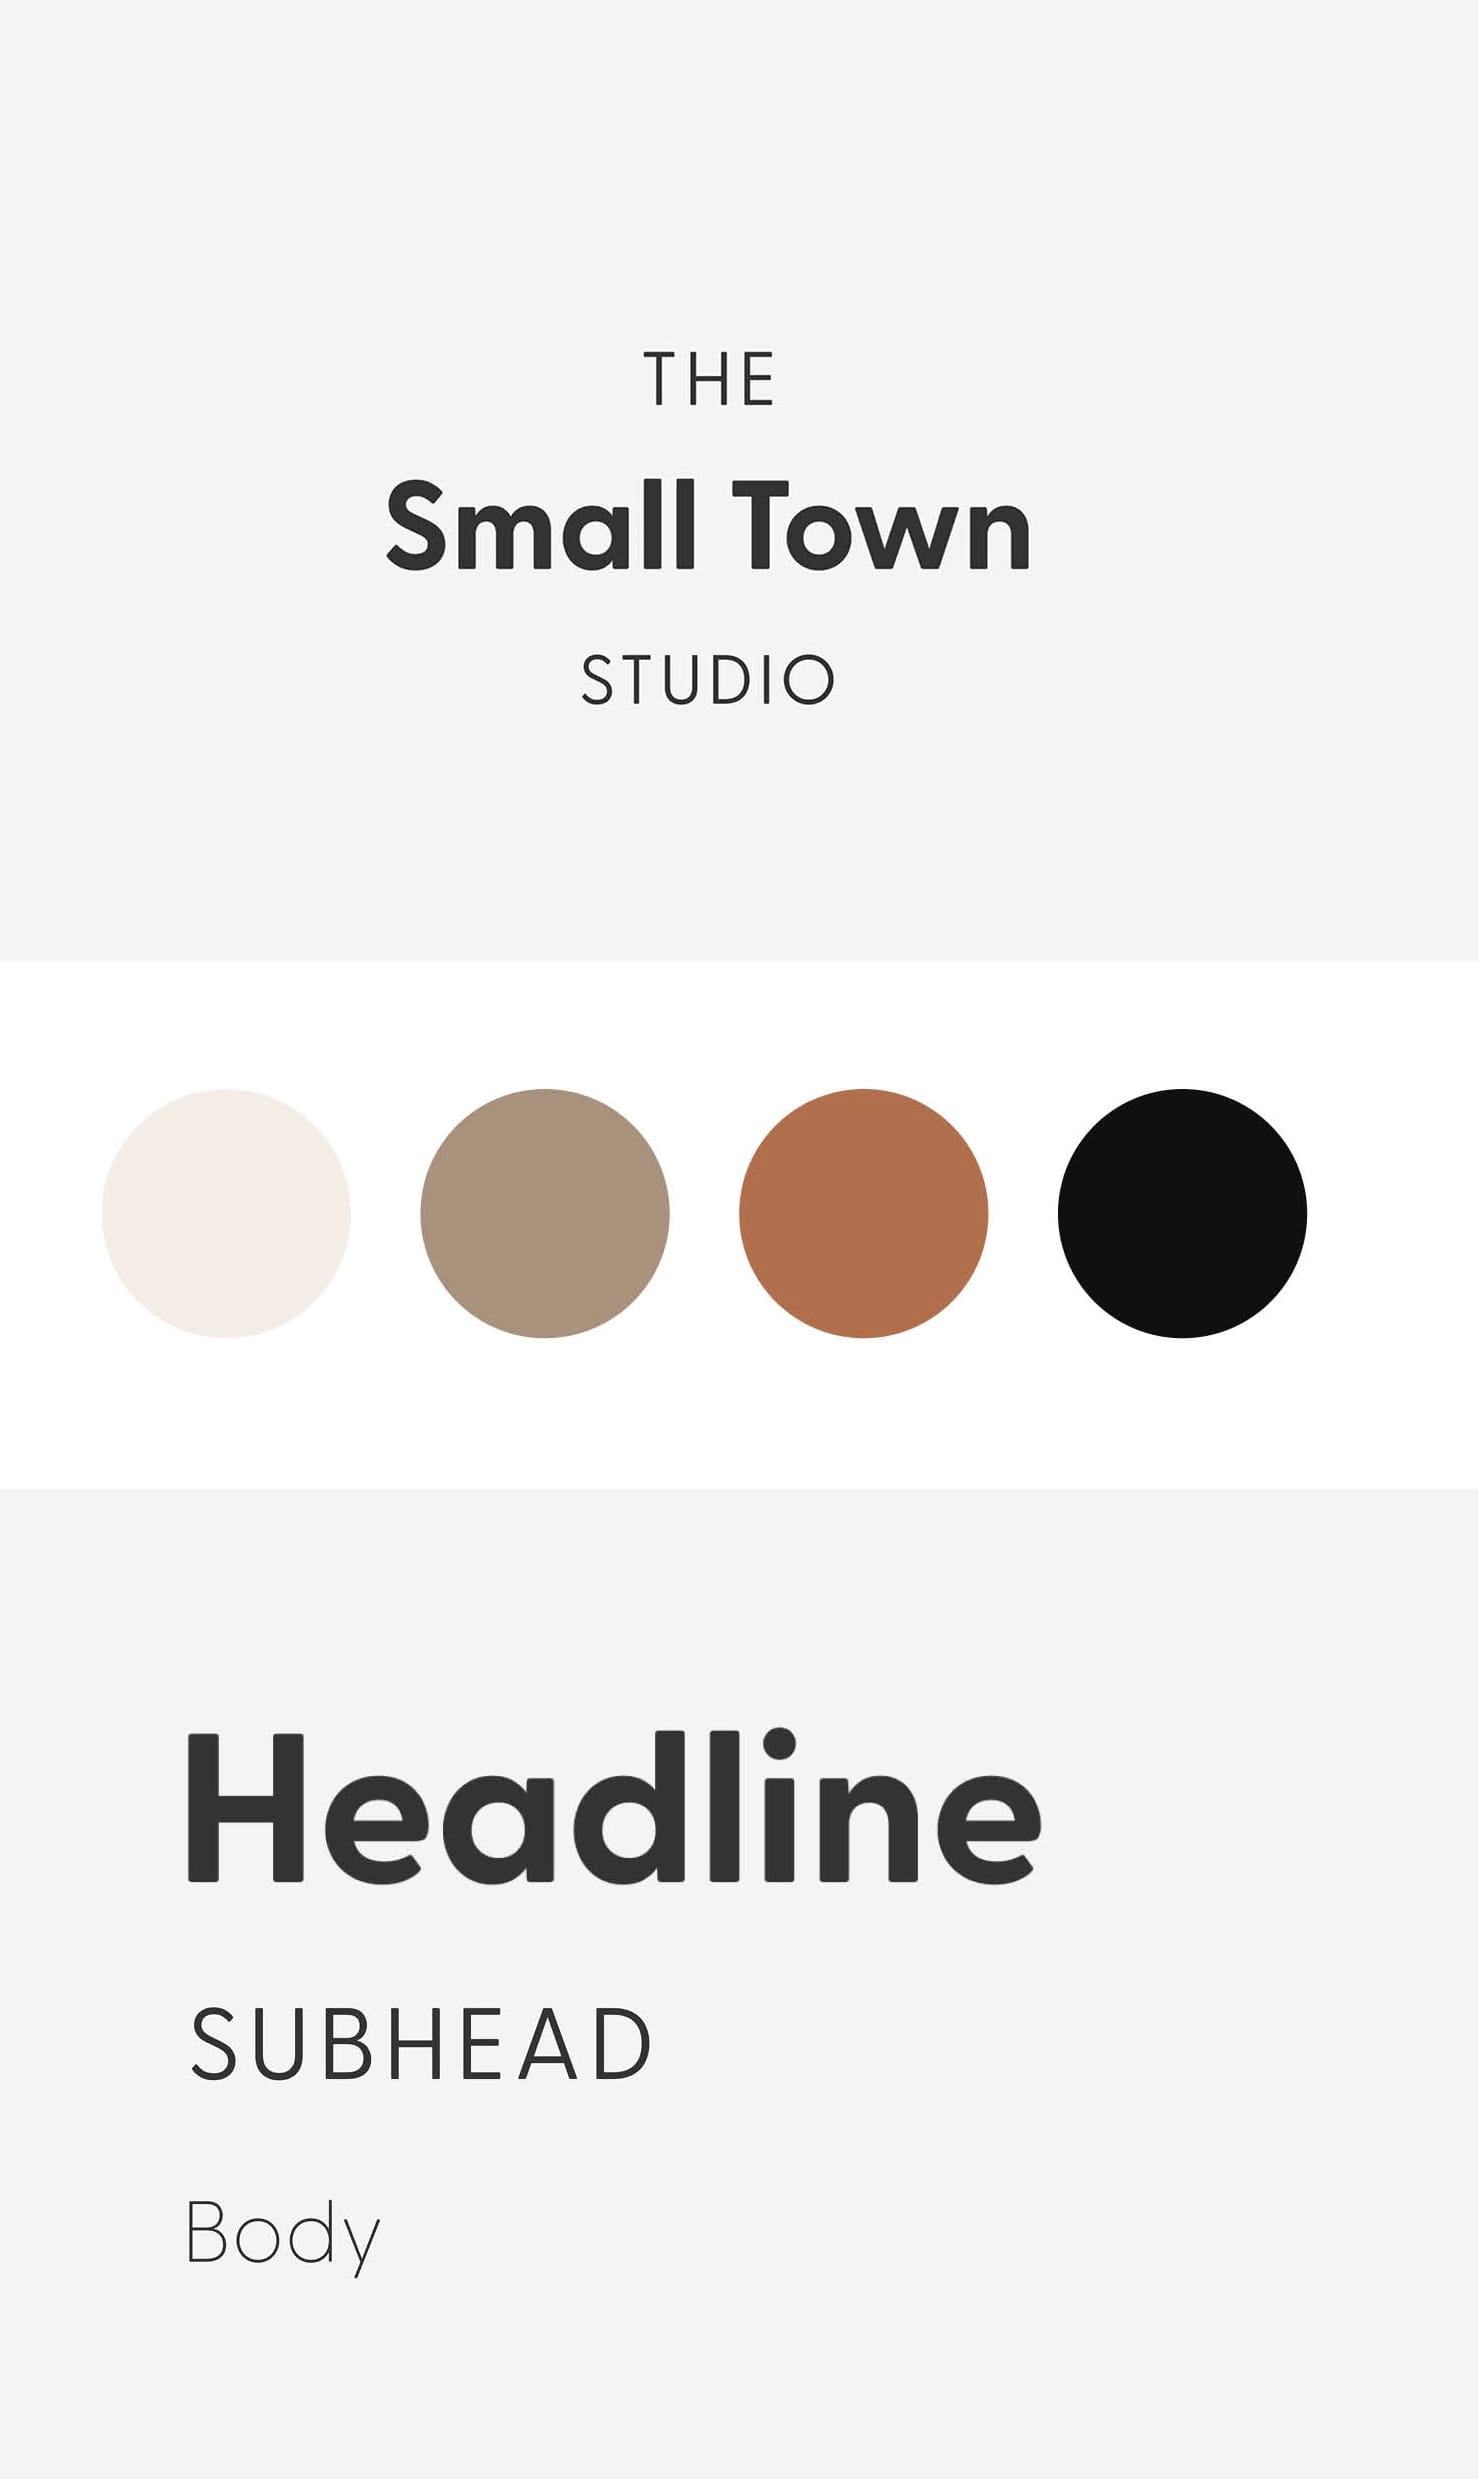
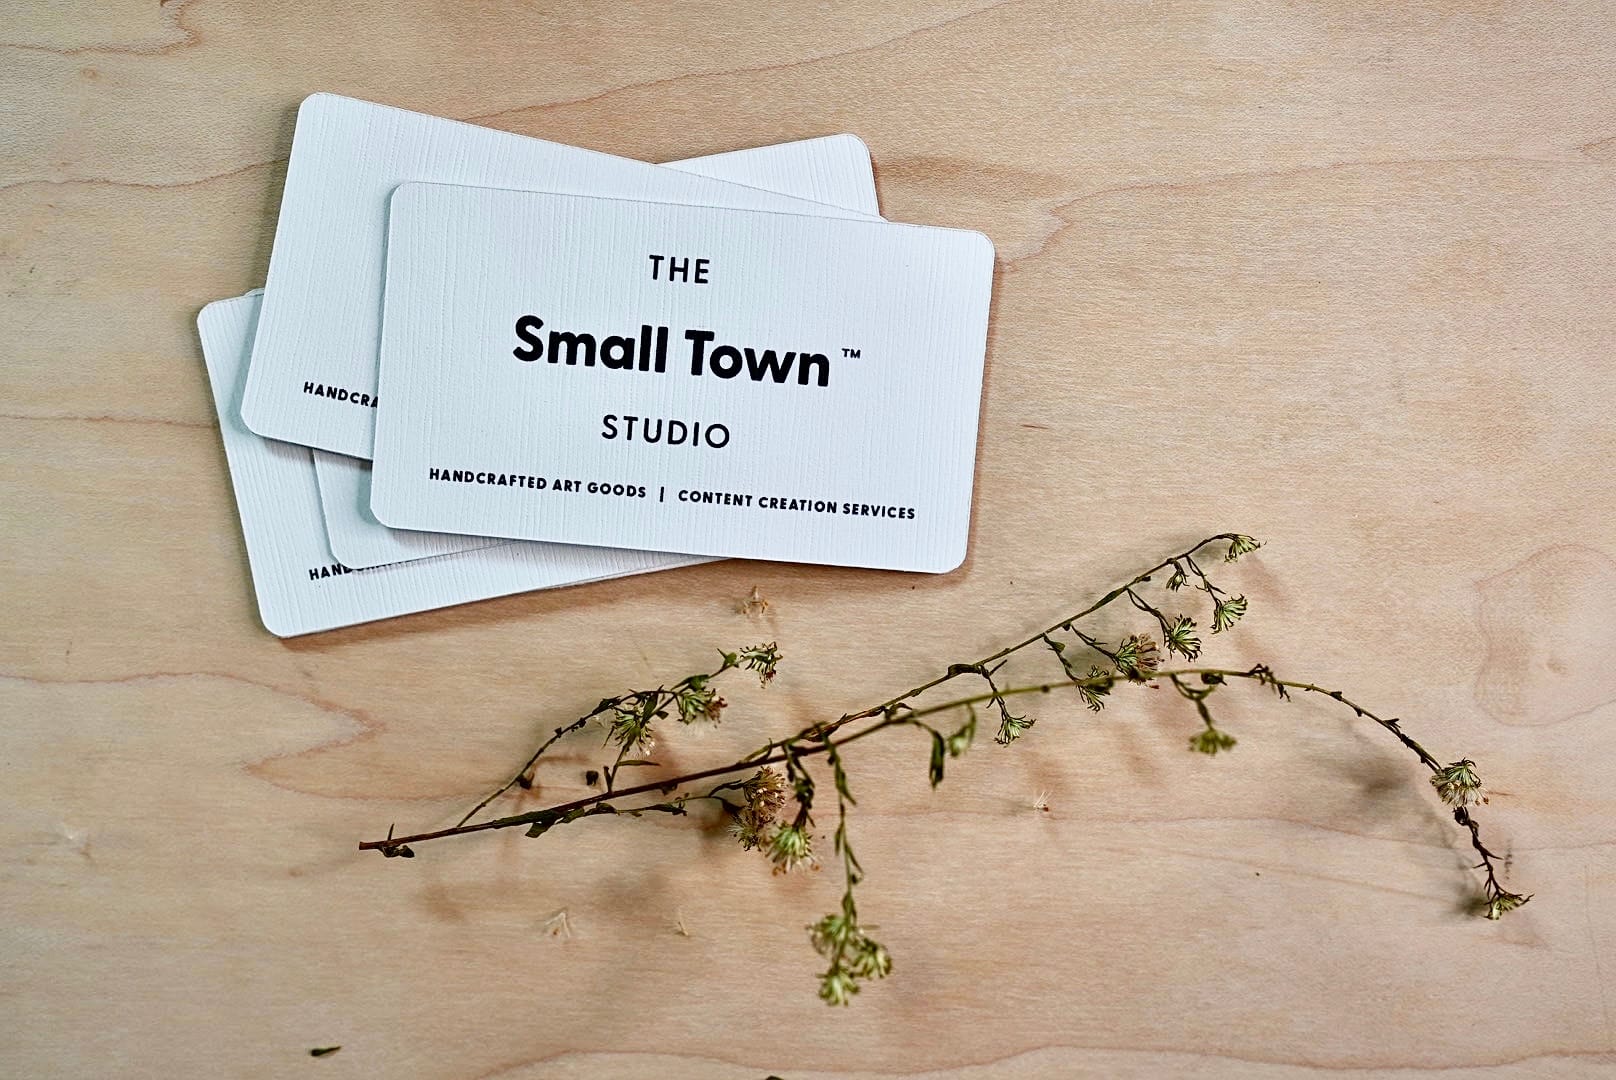
I started designing my logo, I was torn between shop or studio. I’m glad I ultimately chose “studio” because I do a lot more than just sell products now.
I was drawing all winter. It was a cold winter in New Jersey and the cozier I got, the more inspiration came to me. When you are stuck inside during a harsh North East winter, the creativity really starts to come out.
January 2021:
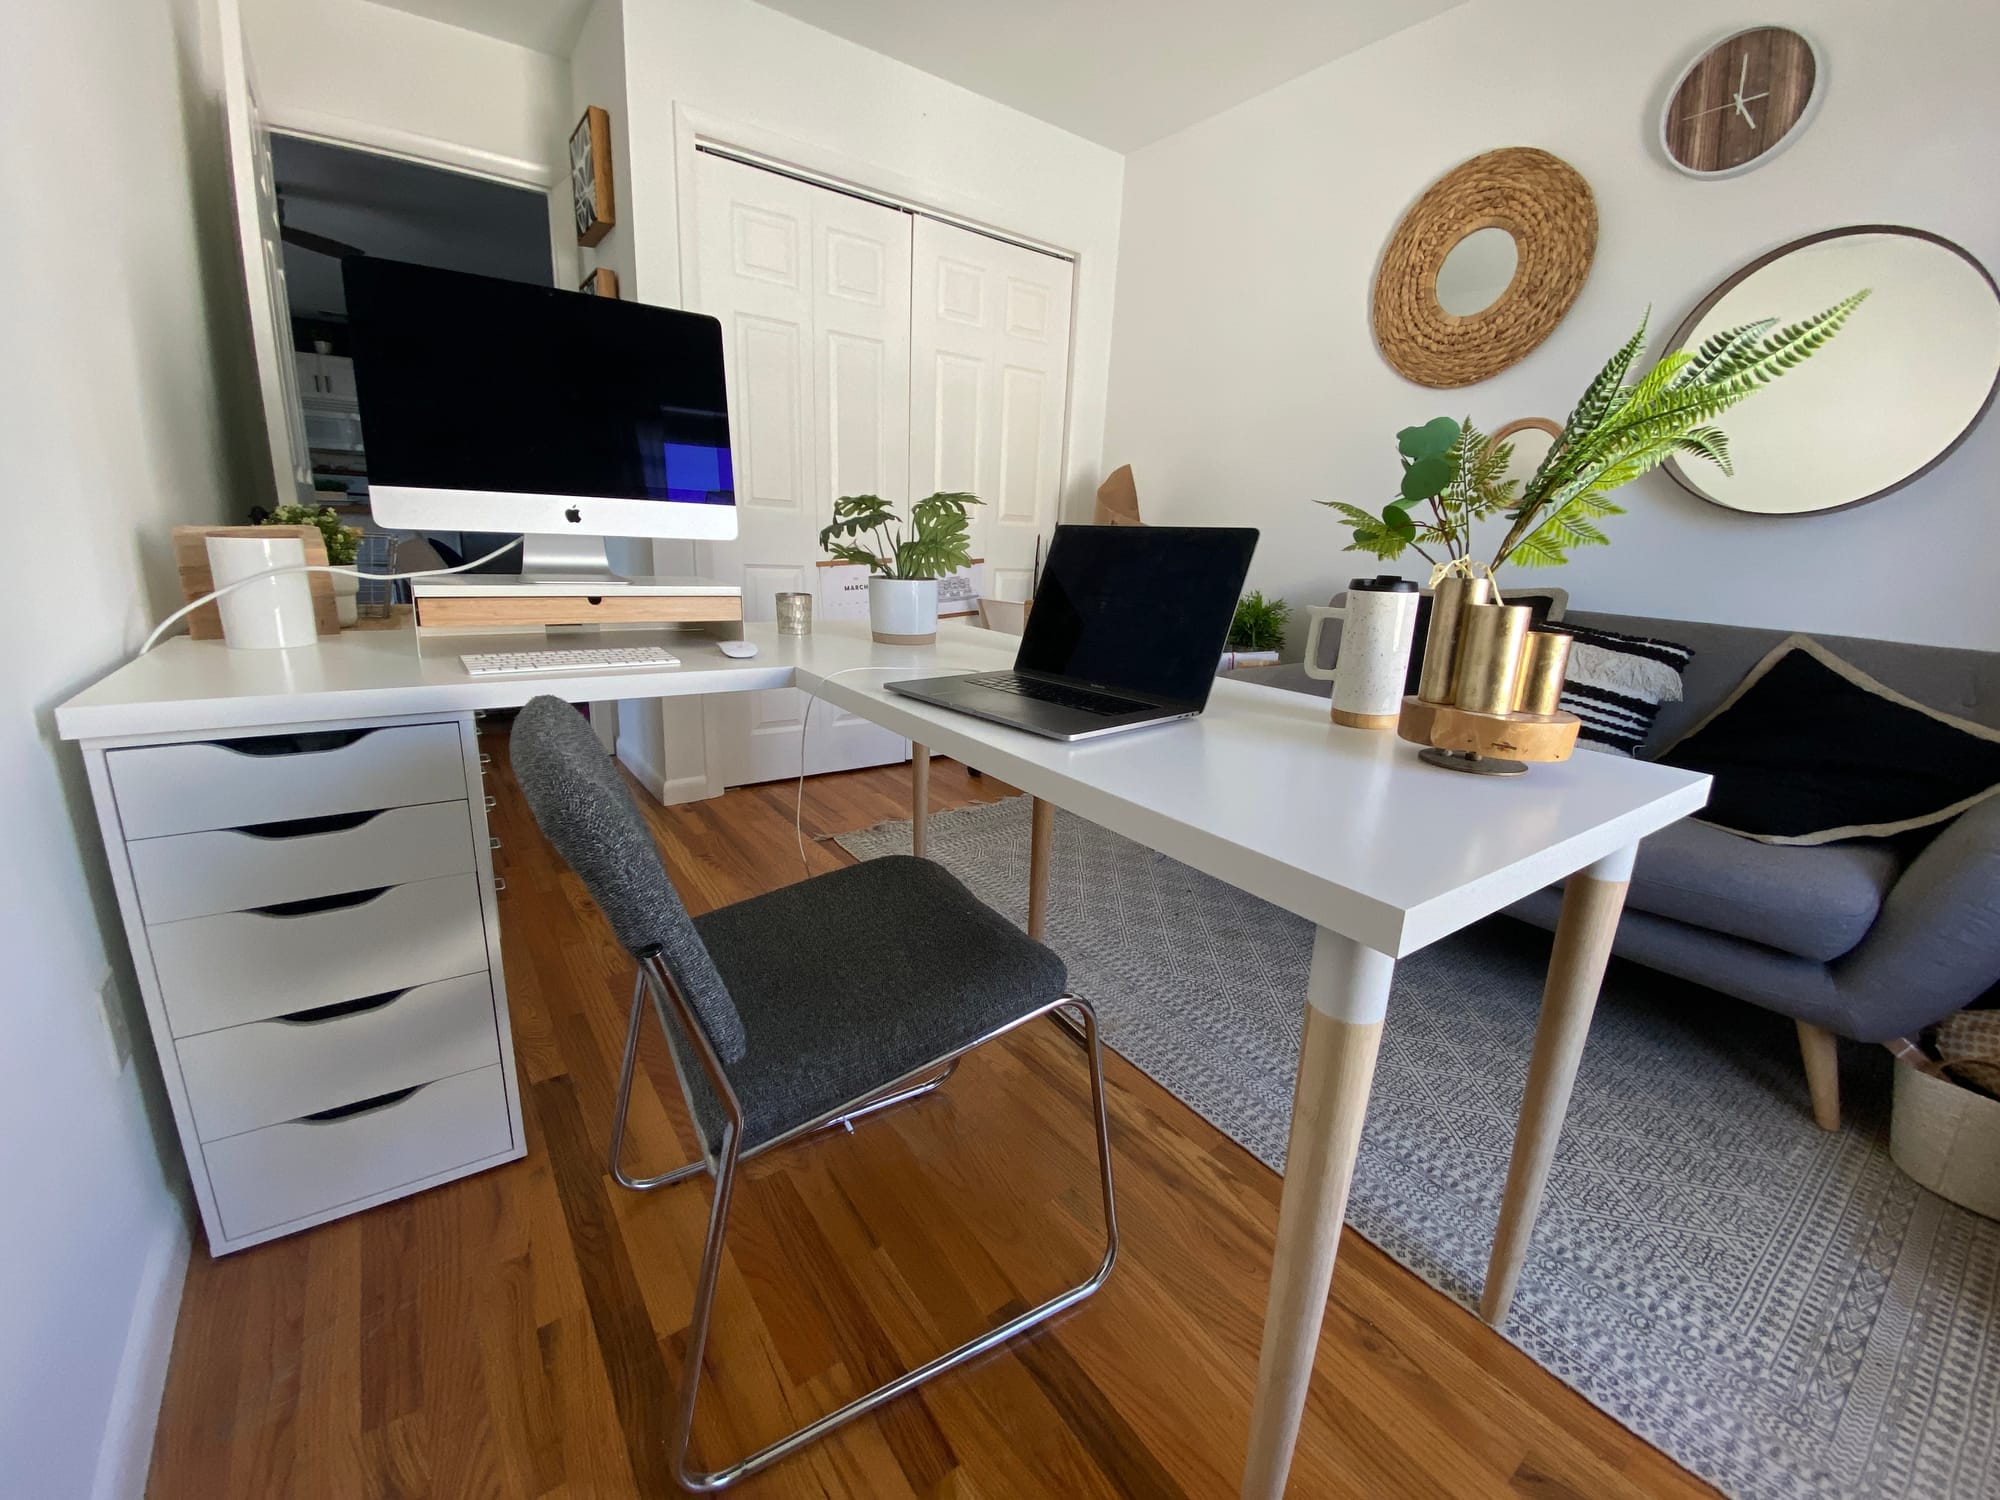
In the new year, I started designing my studio in our apartment on the island.
February 2021:
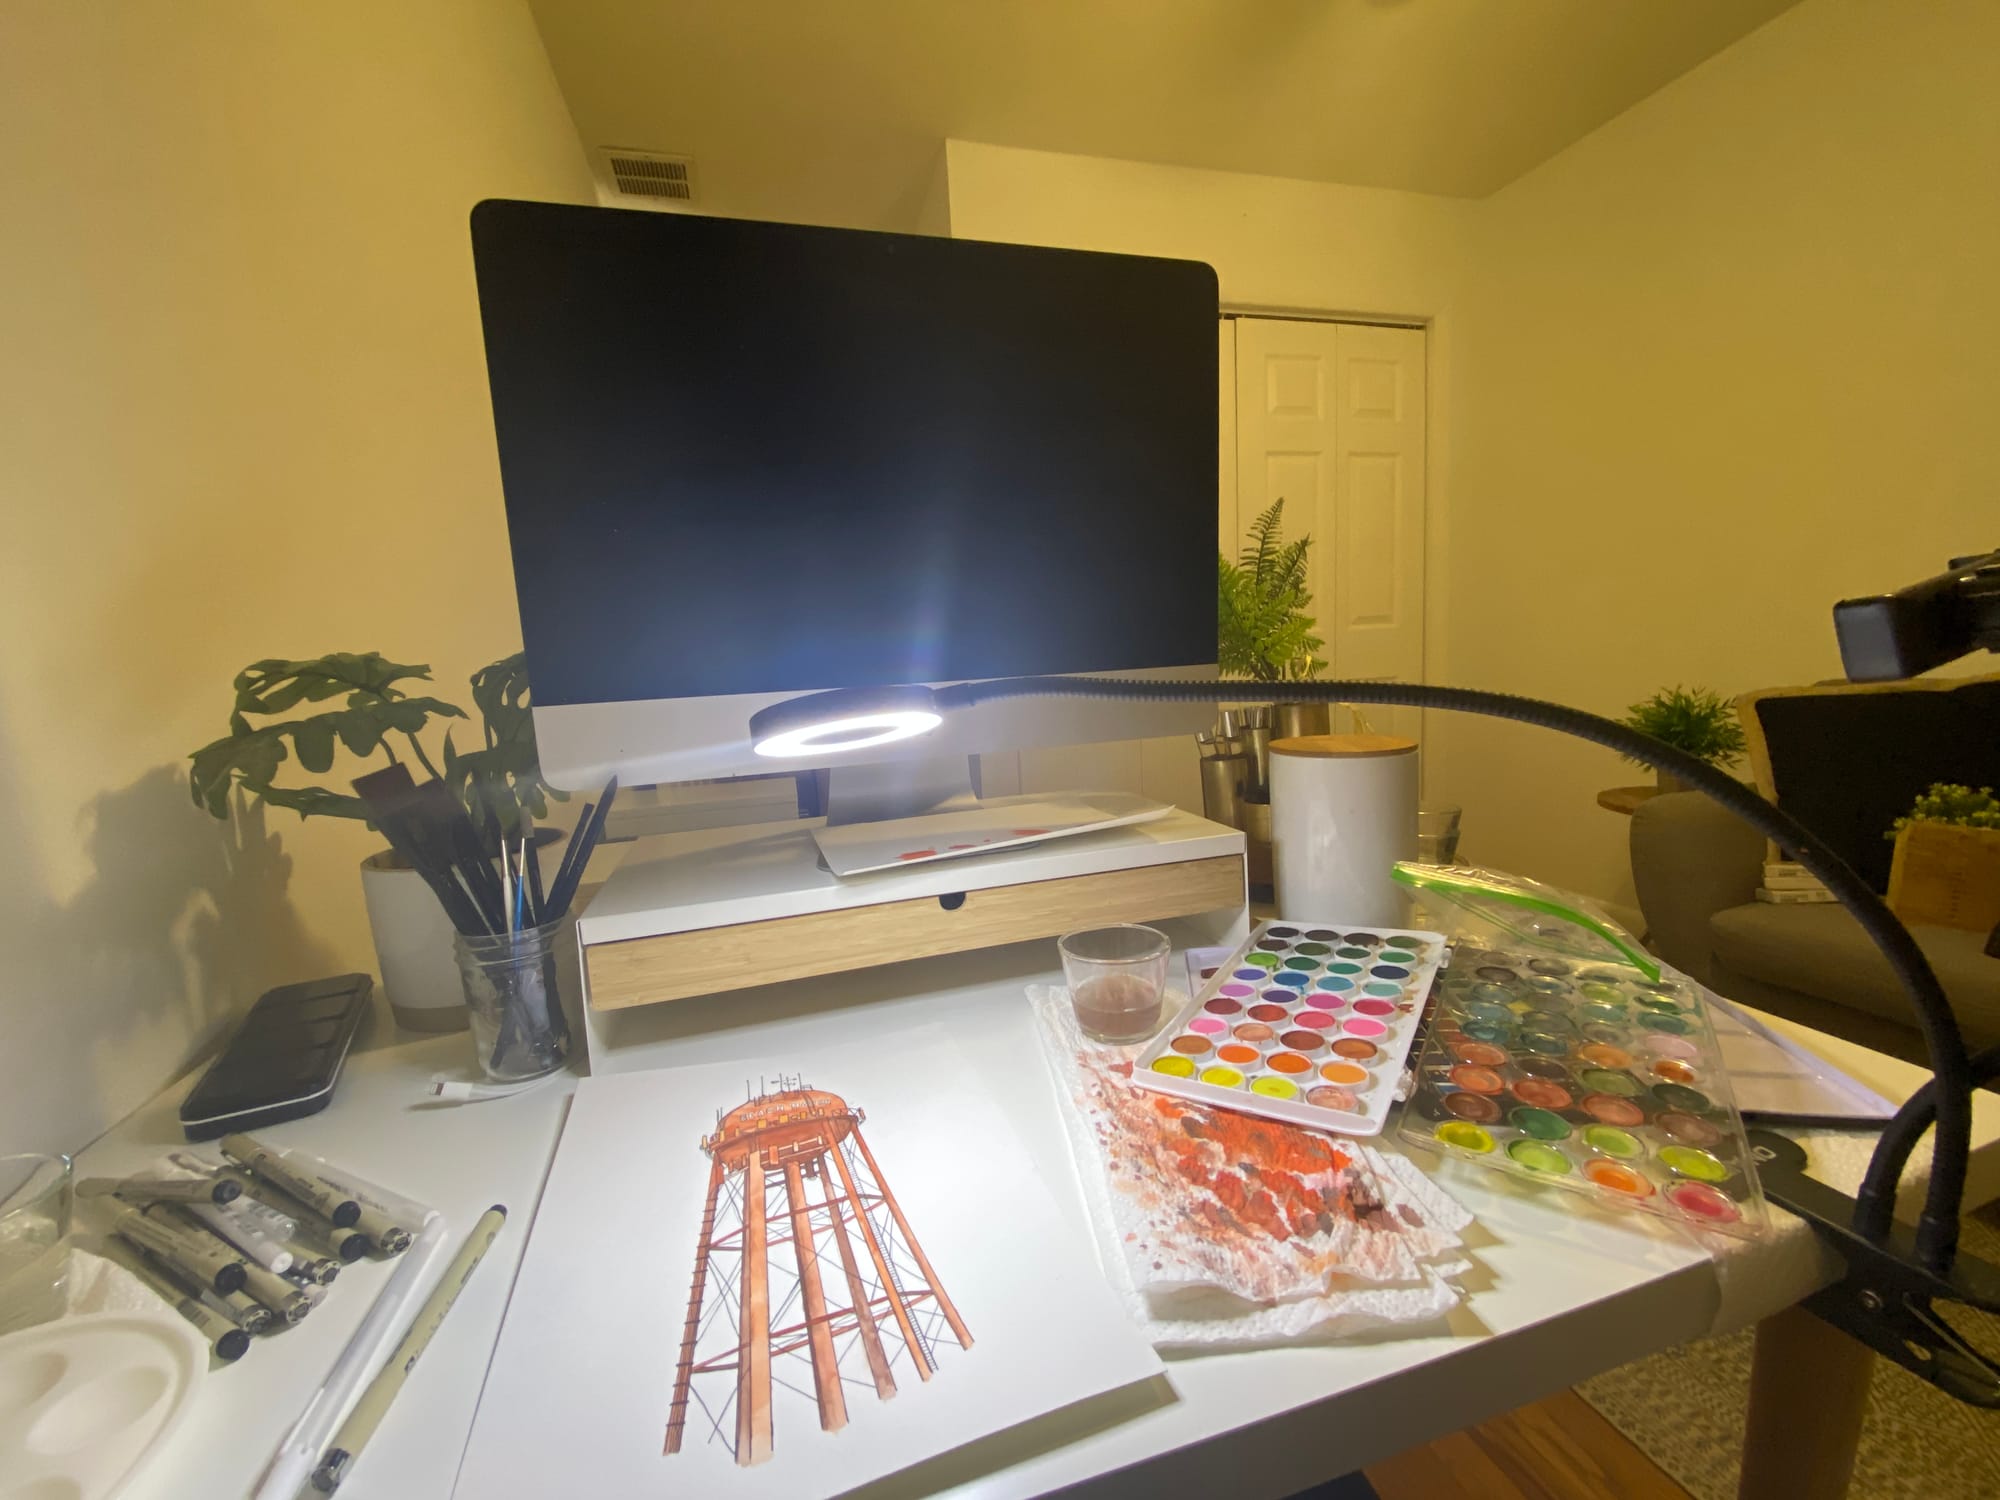
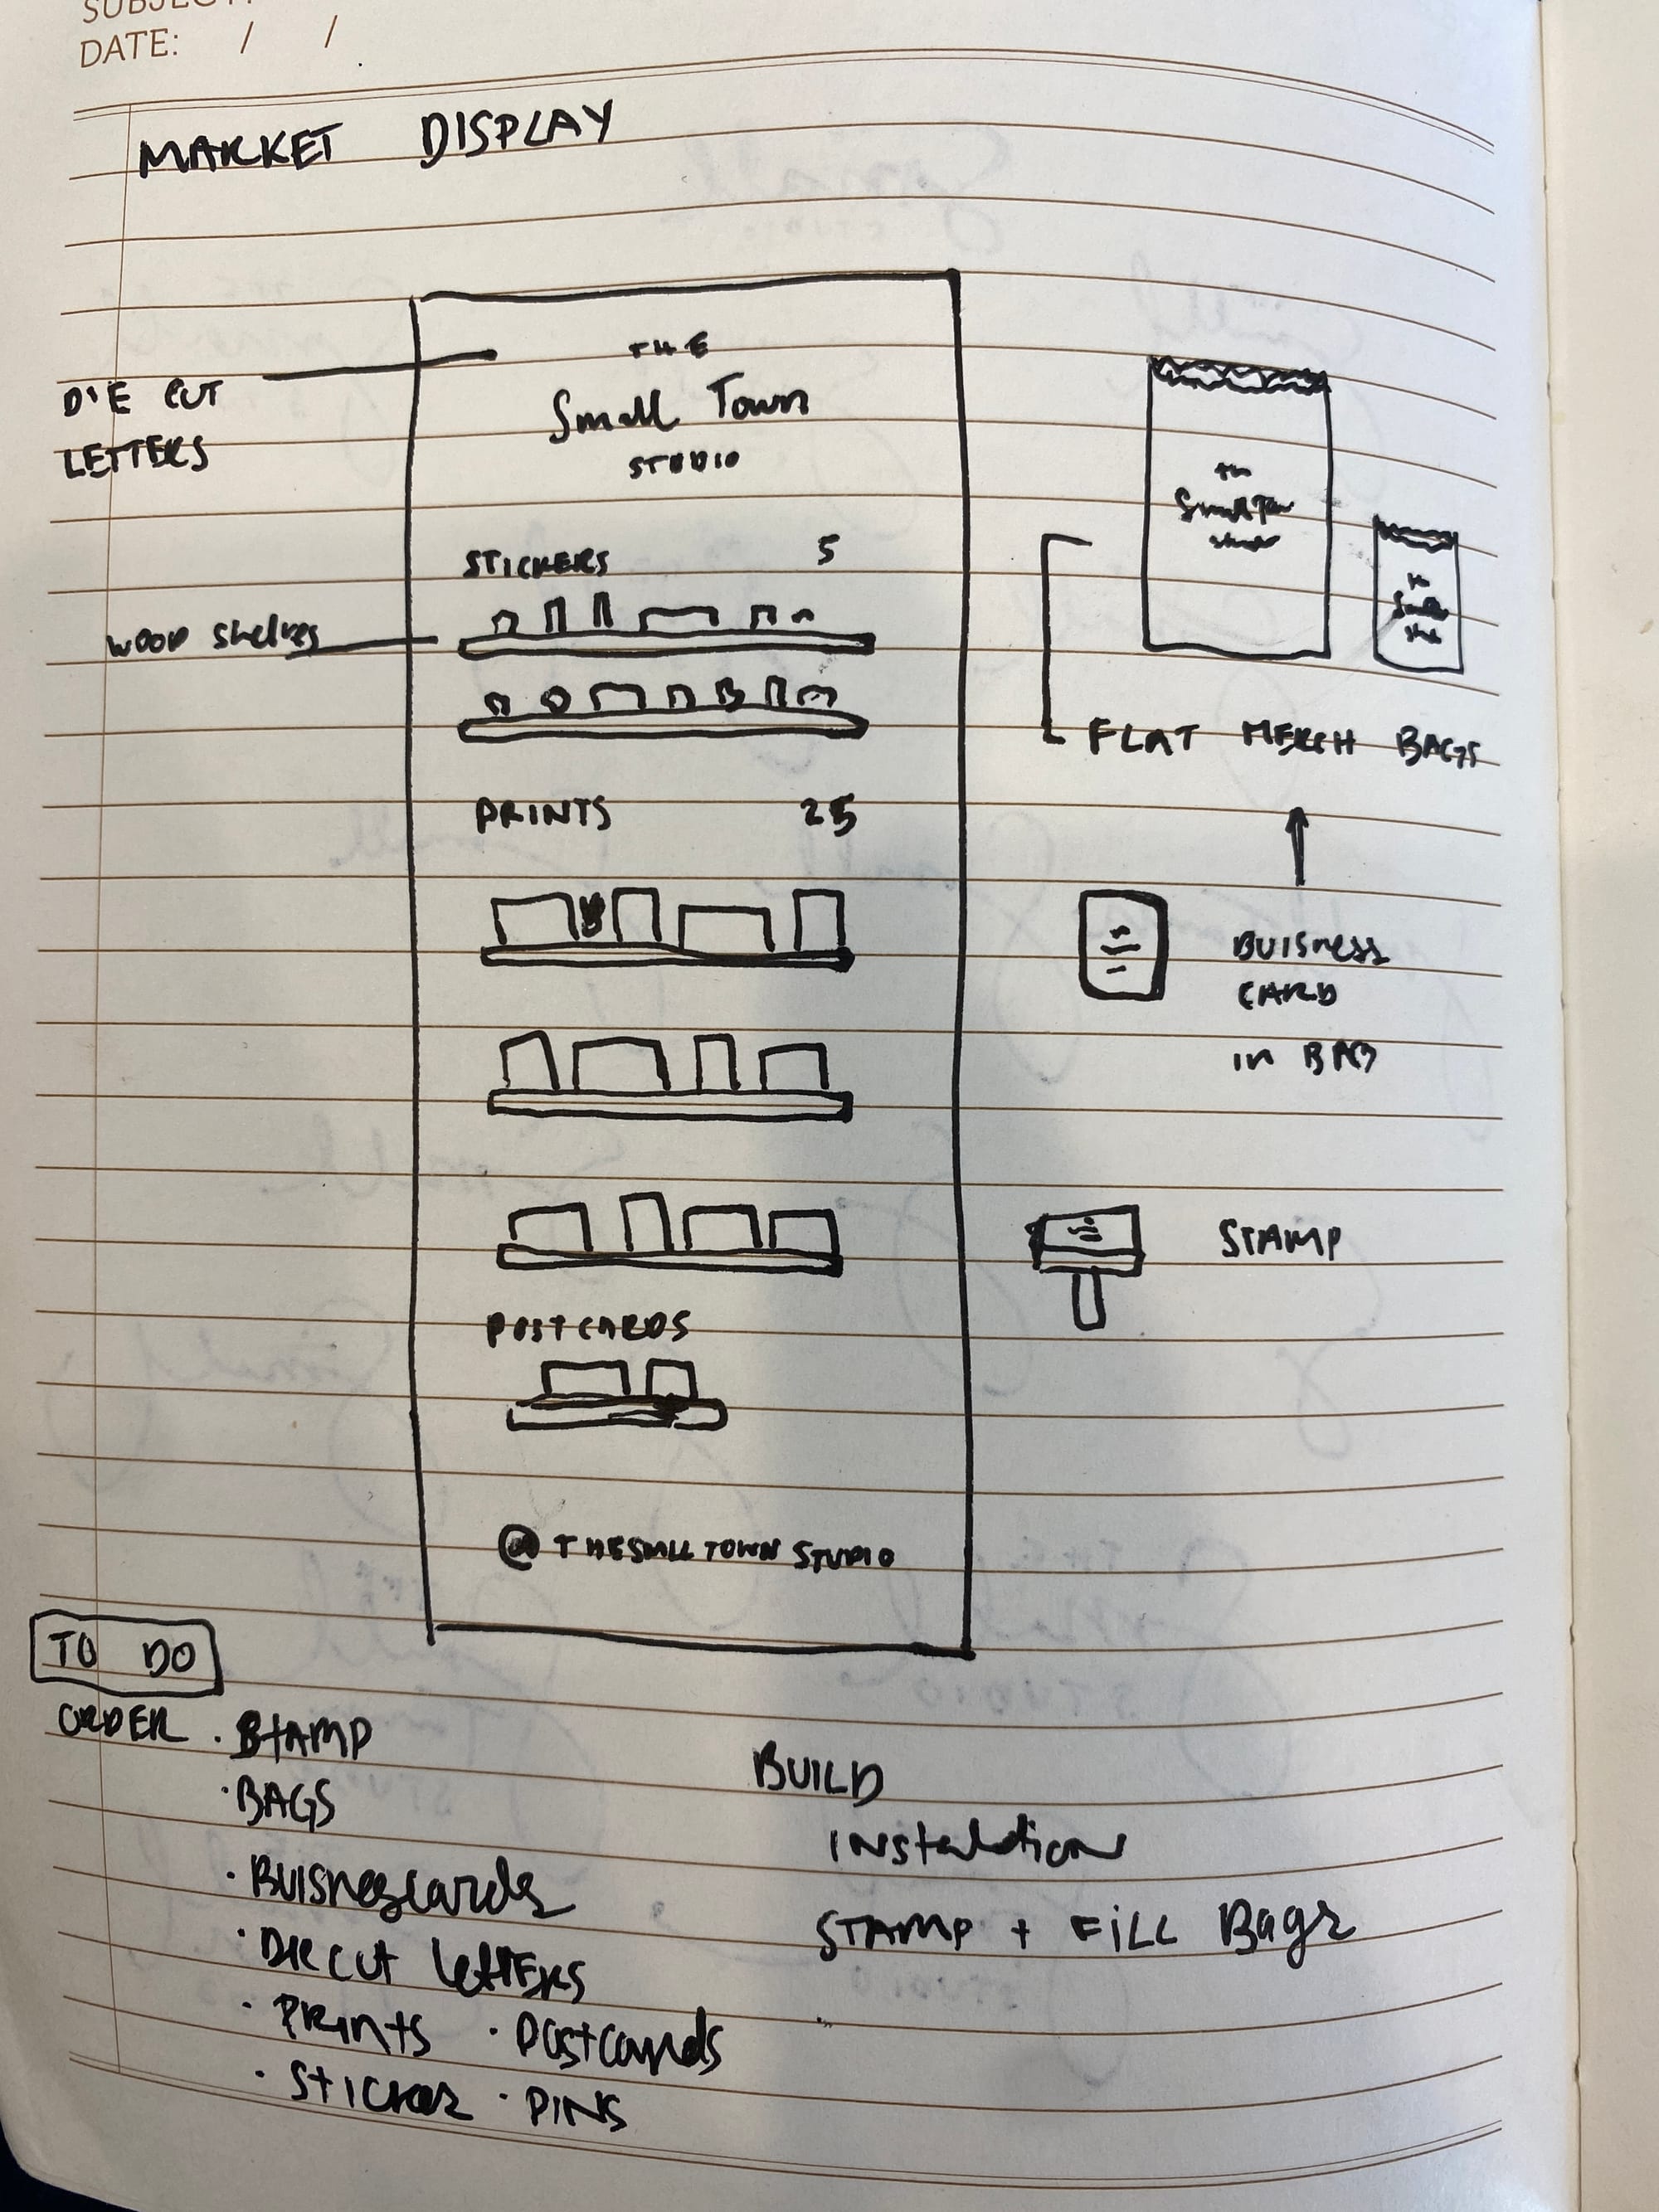
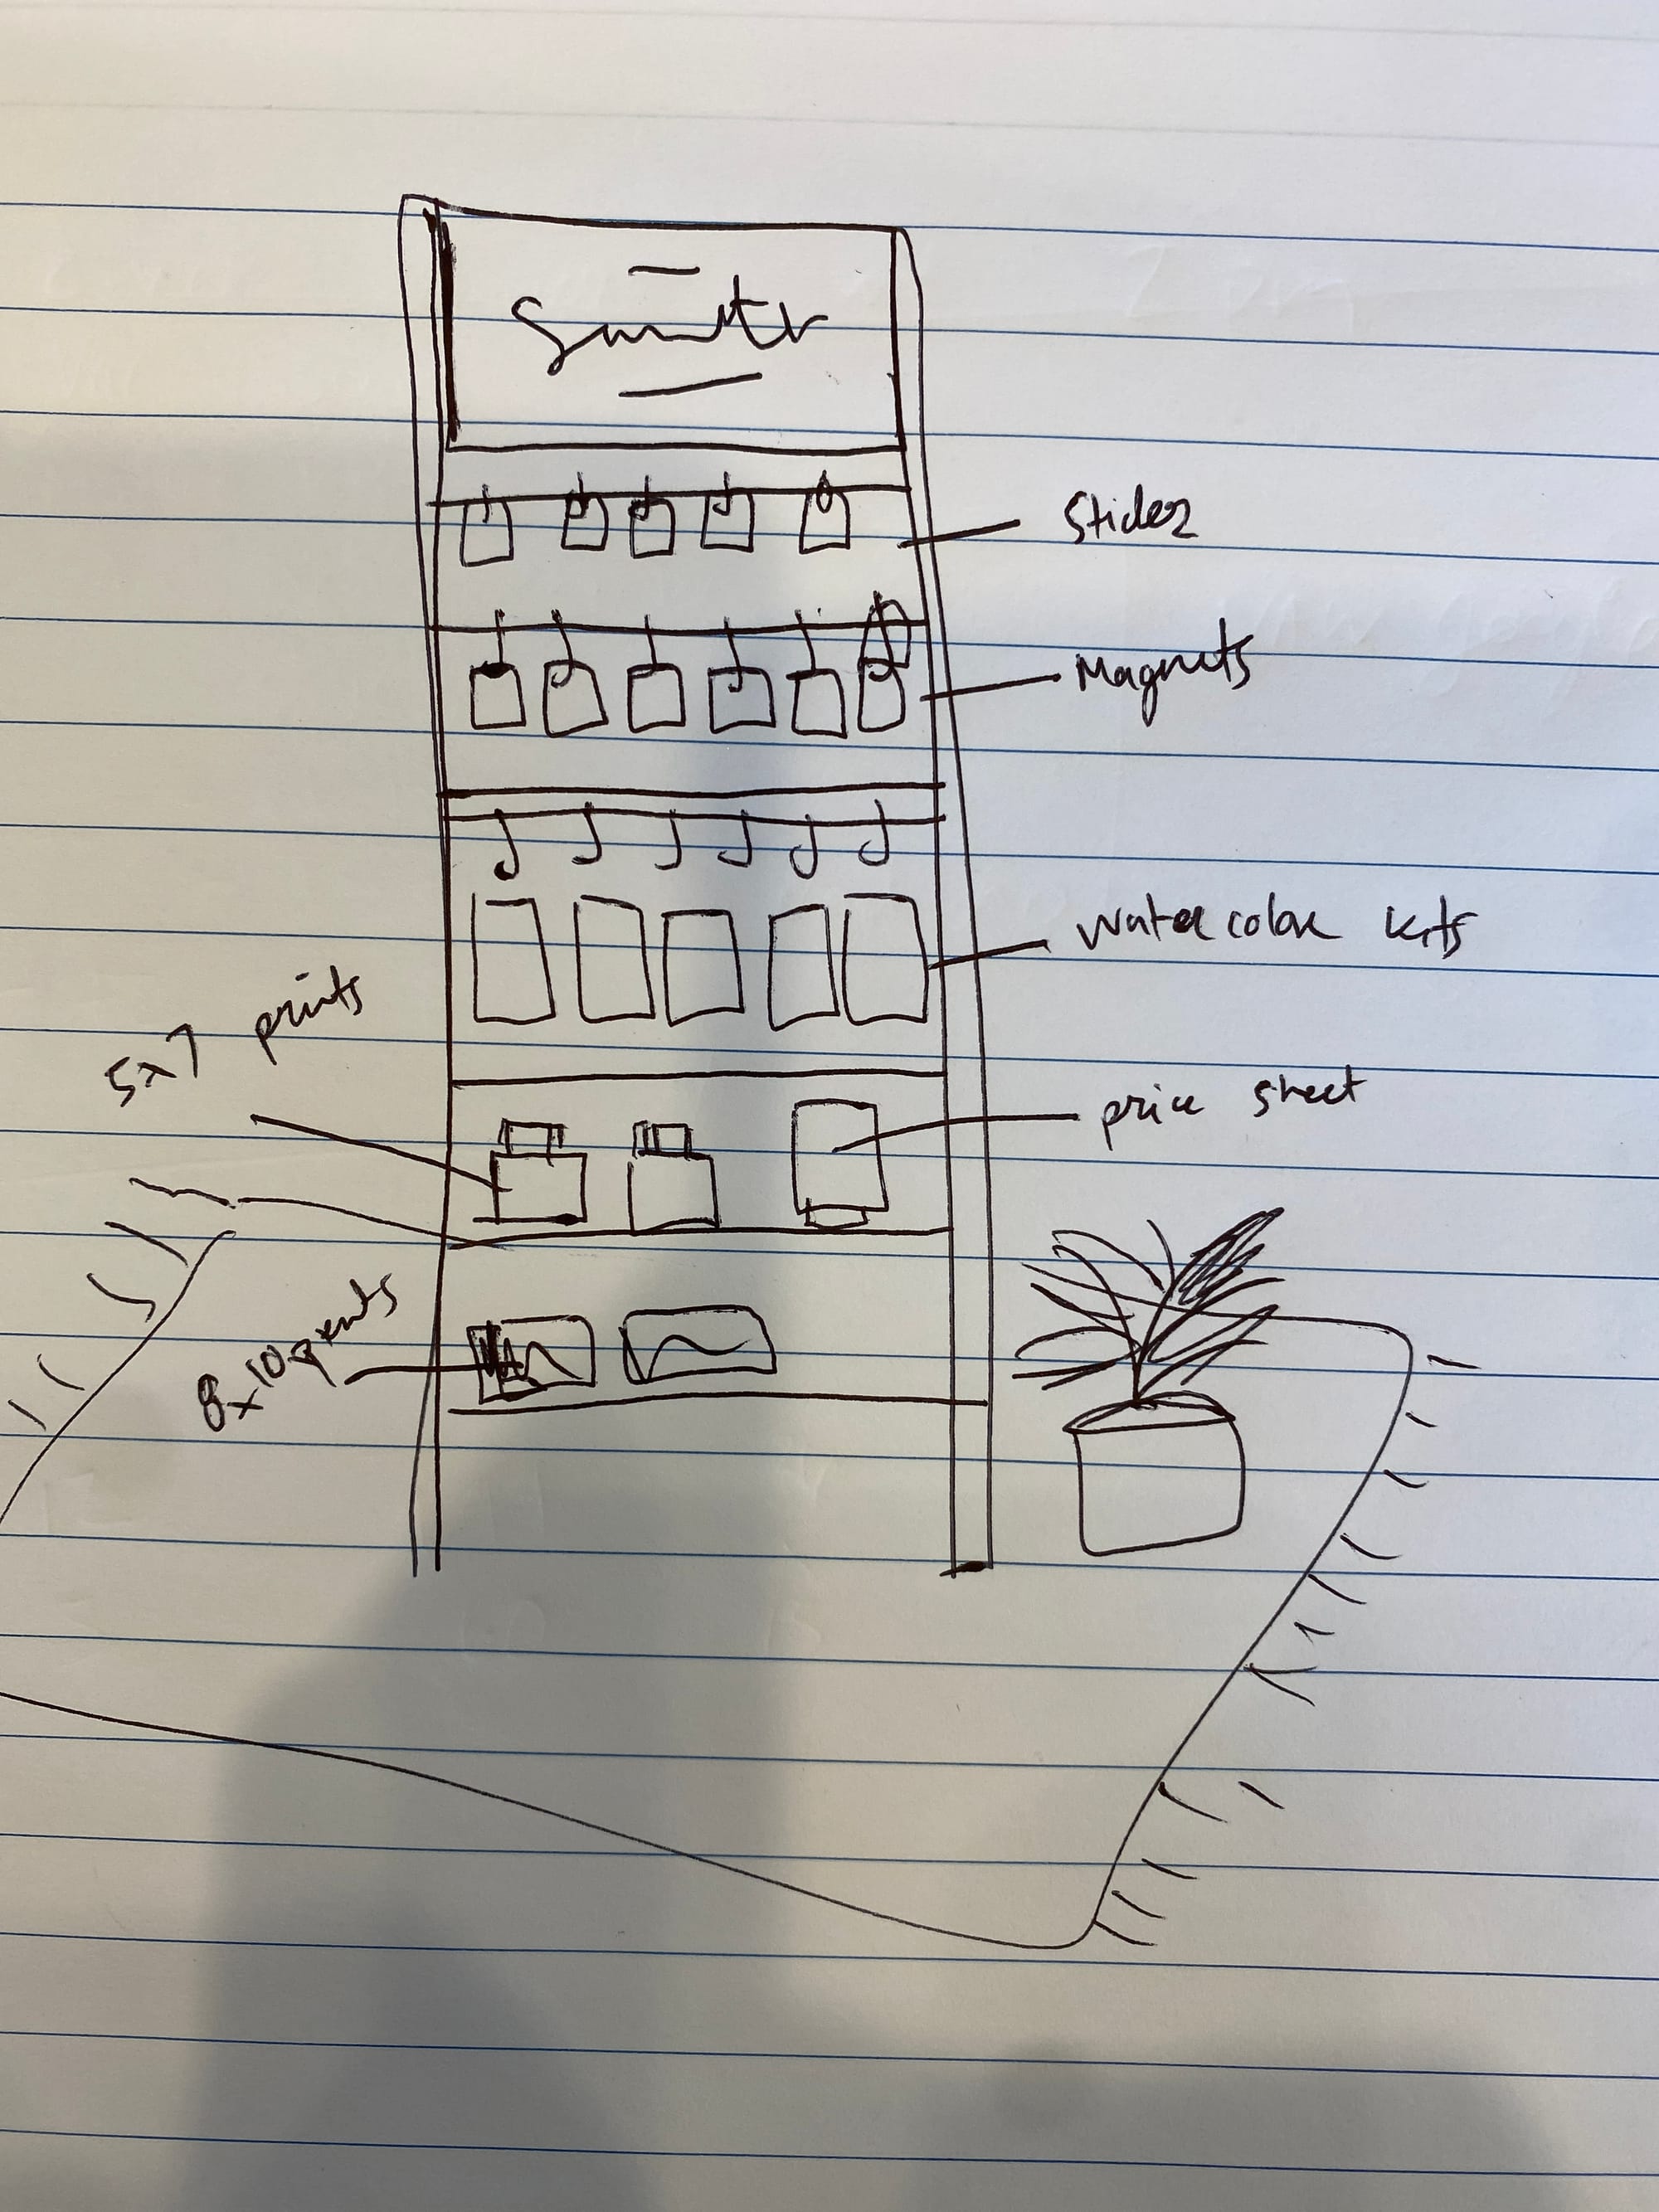
I continued to paint, finalized my logo, started planning social media, and sketched up some ideas for market display for future pop ups.
The Watercolor Kit
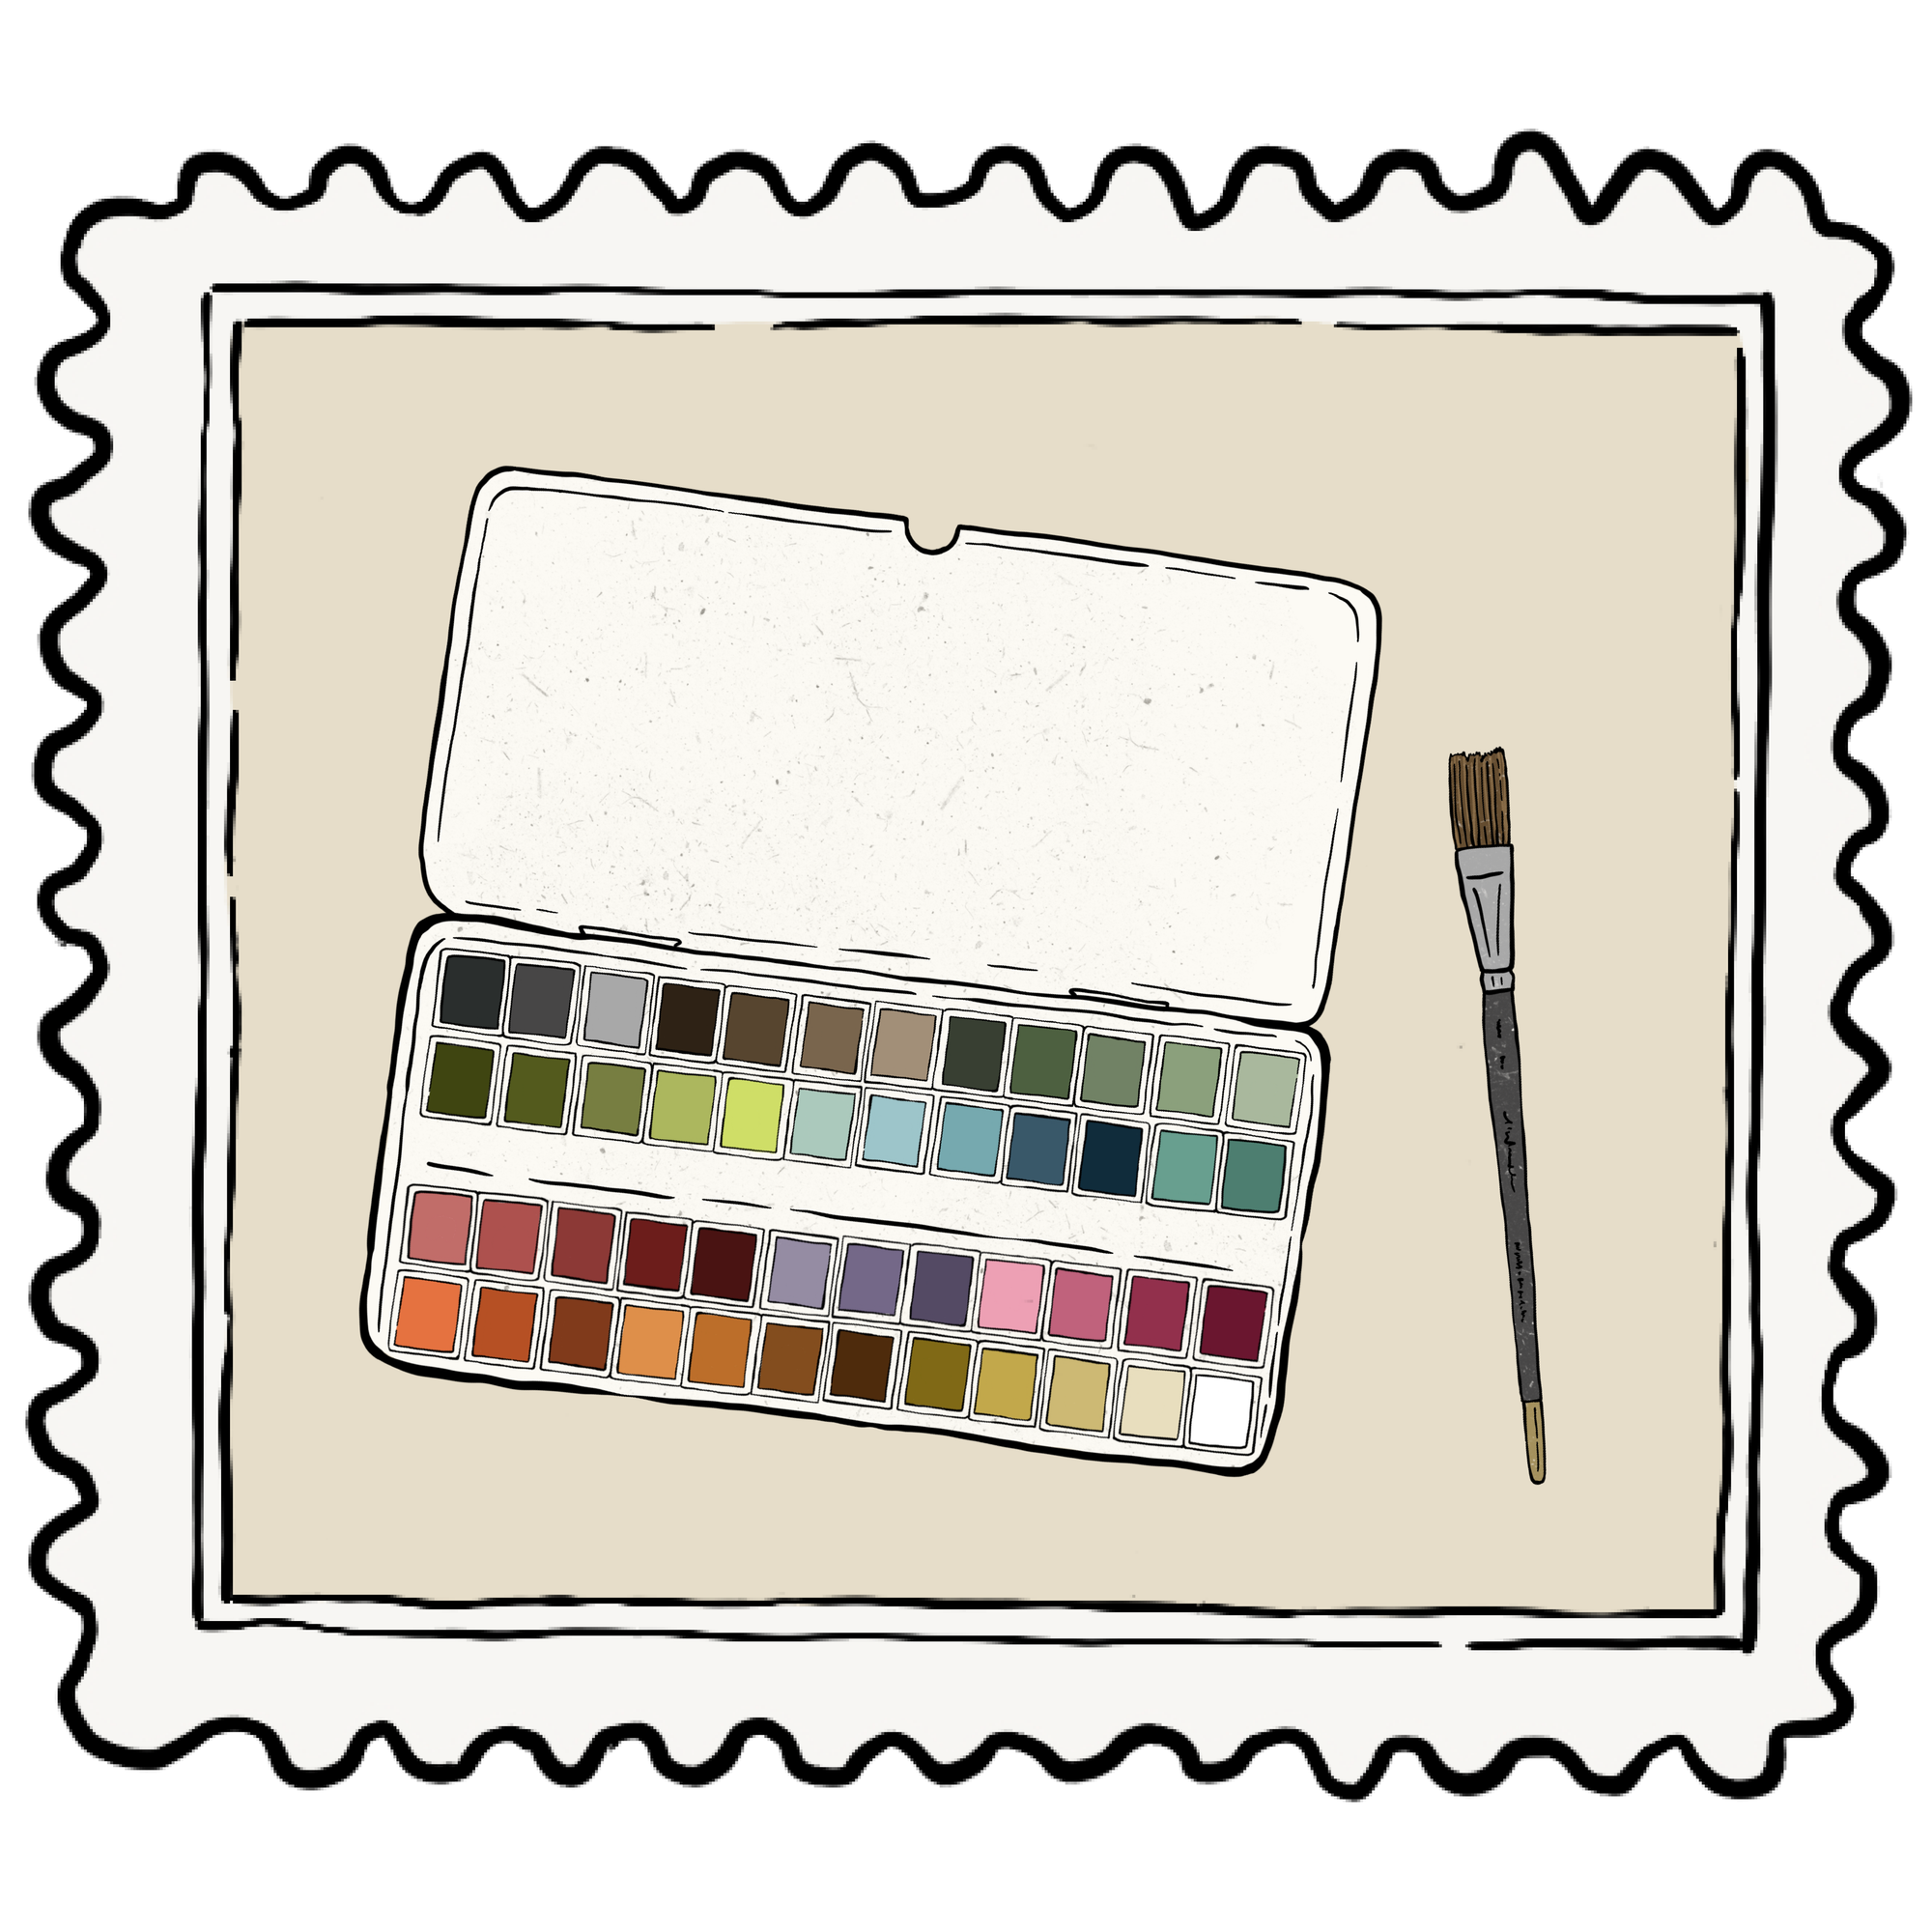
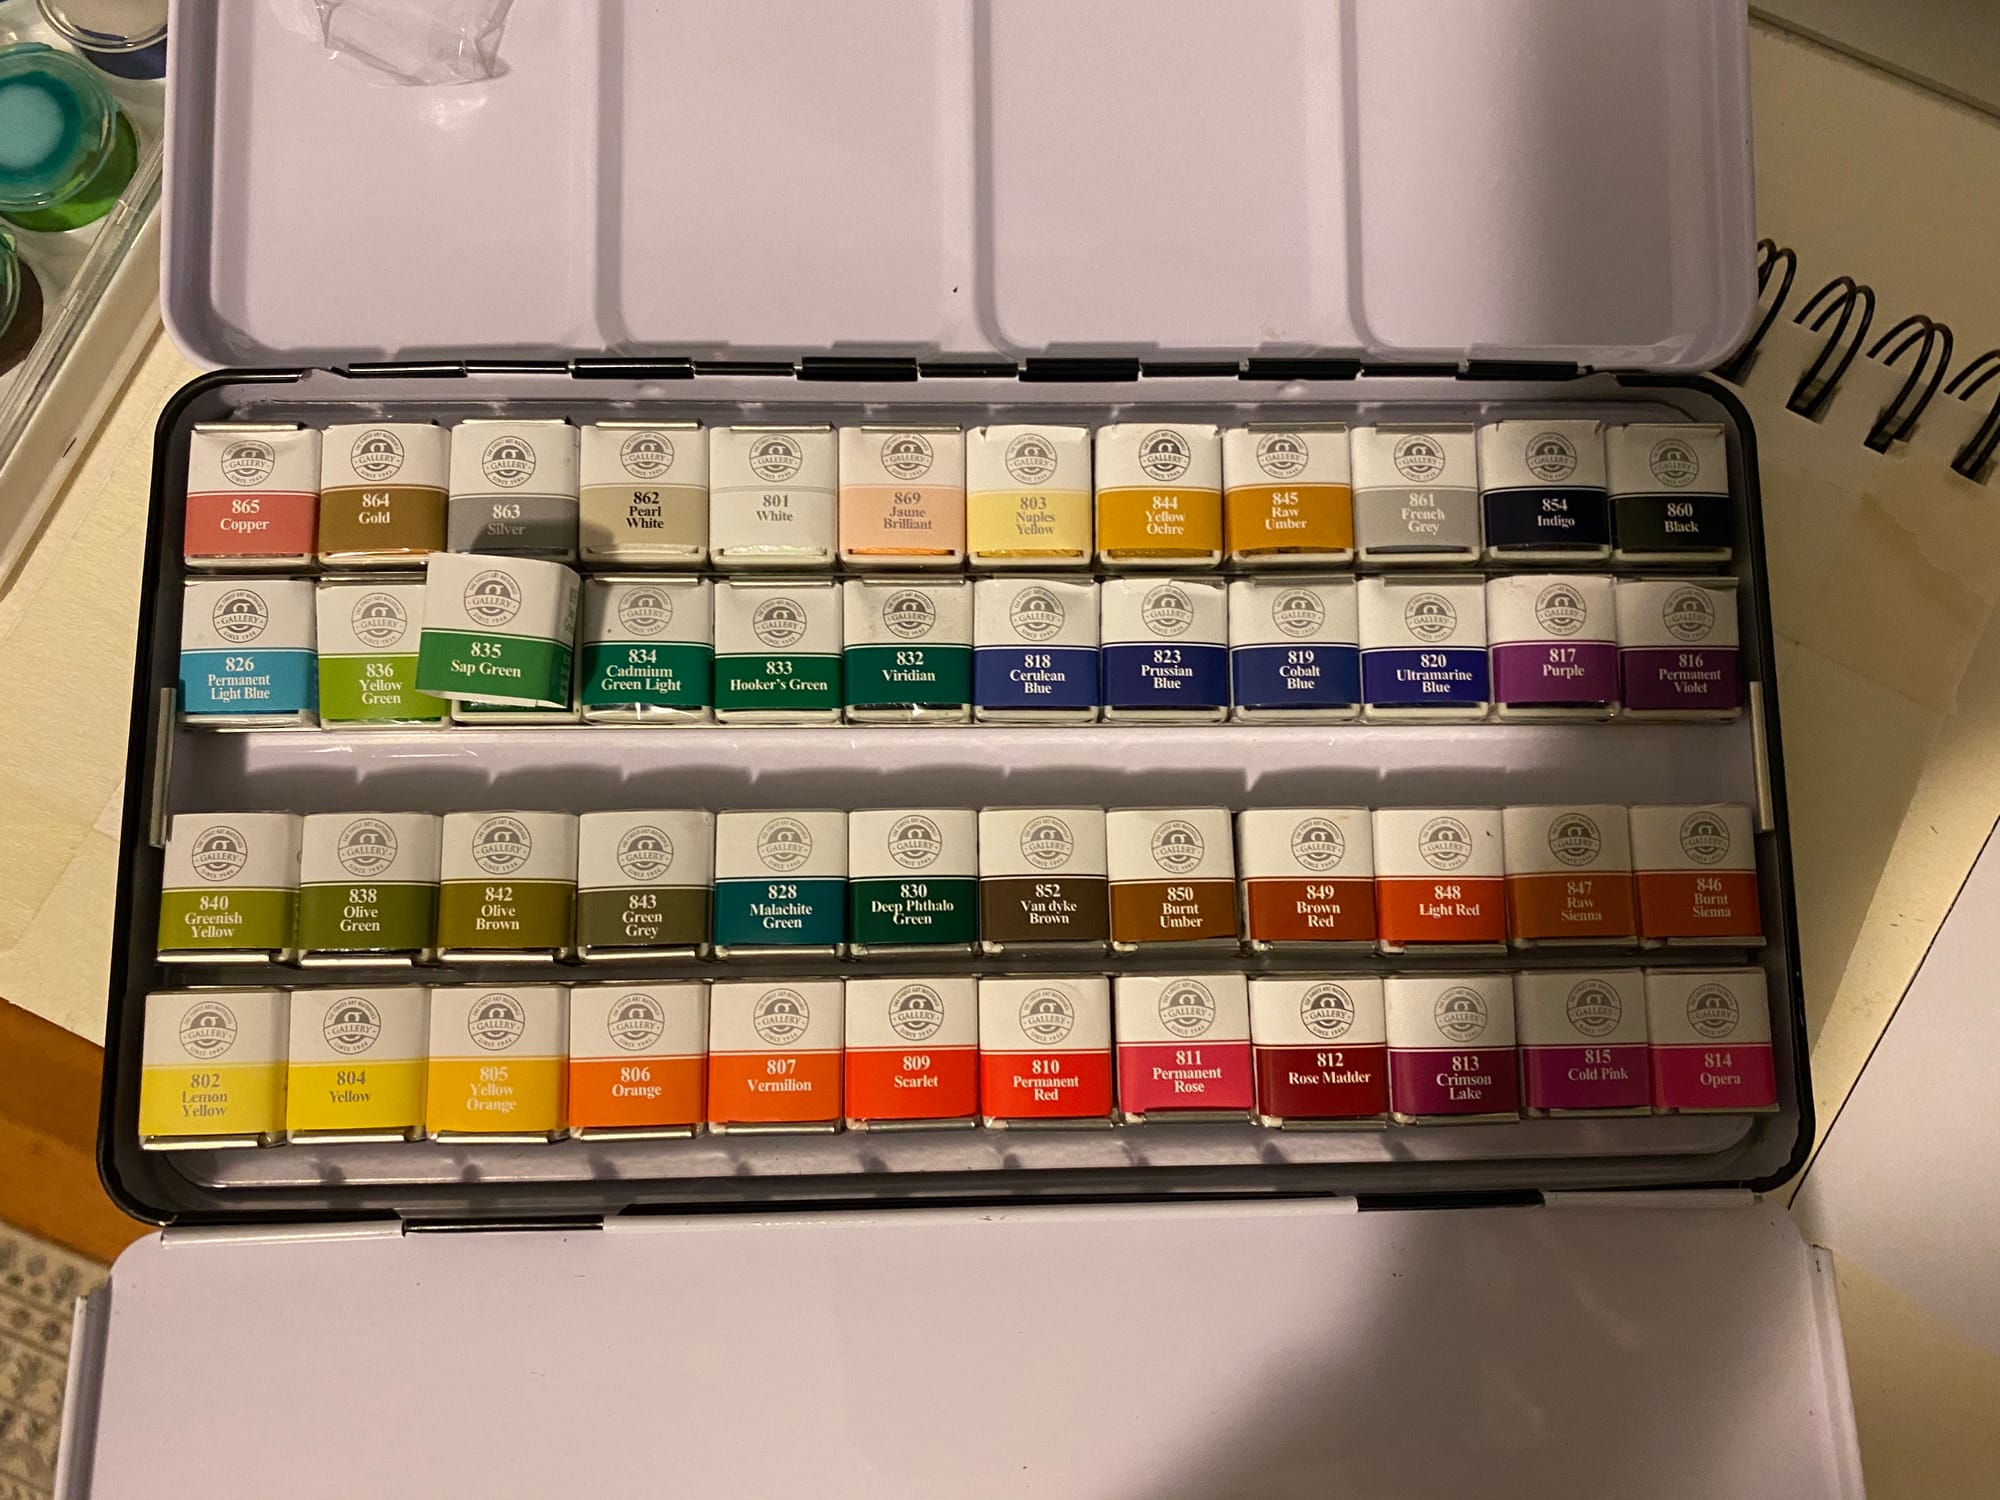
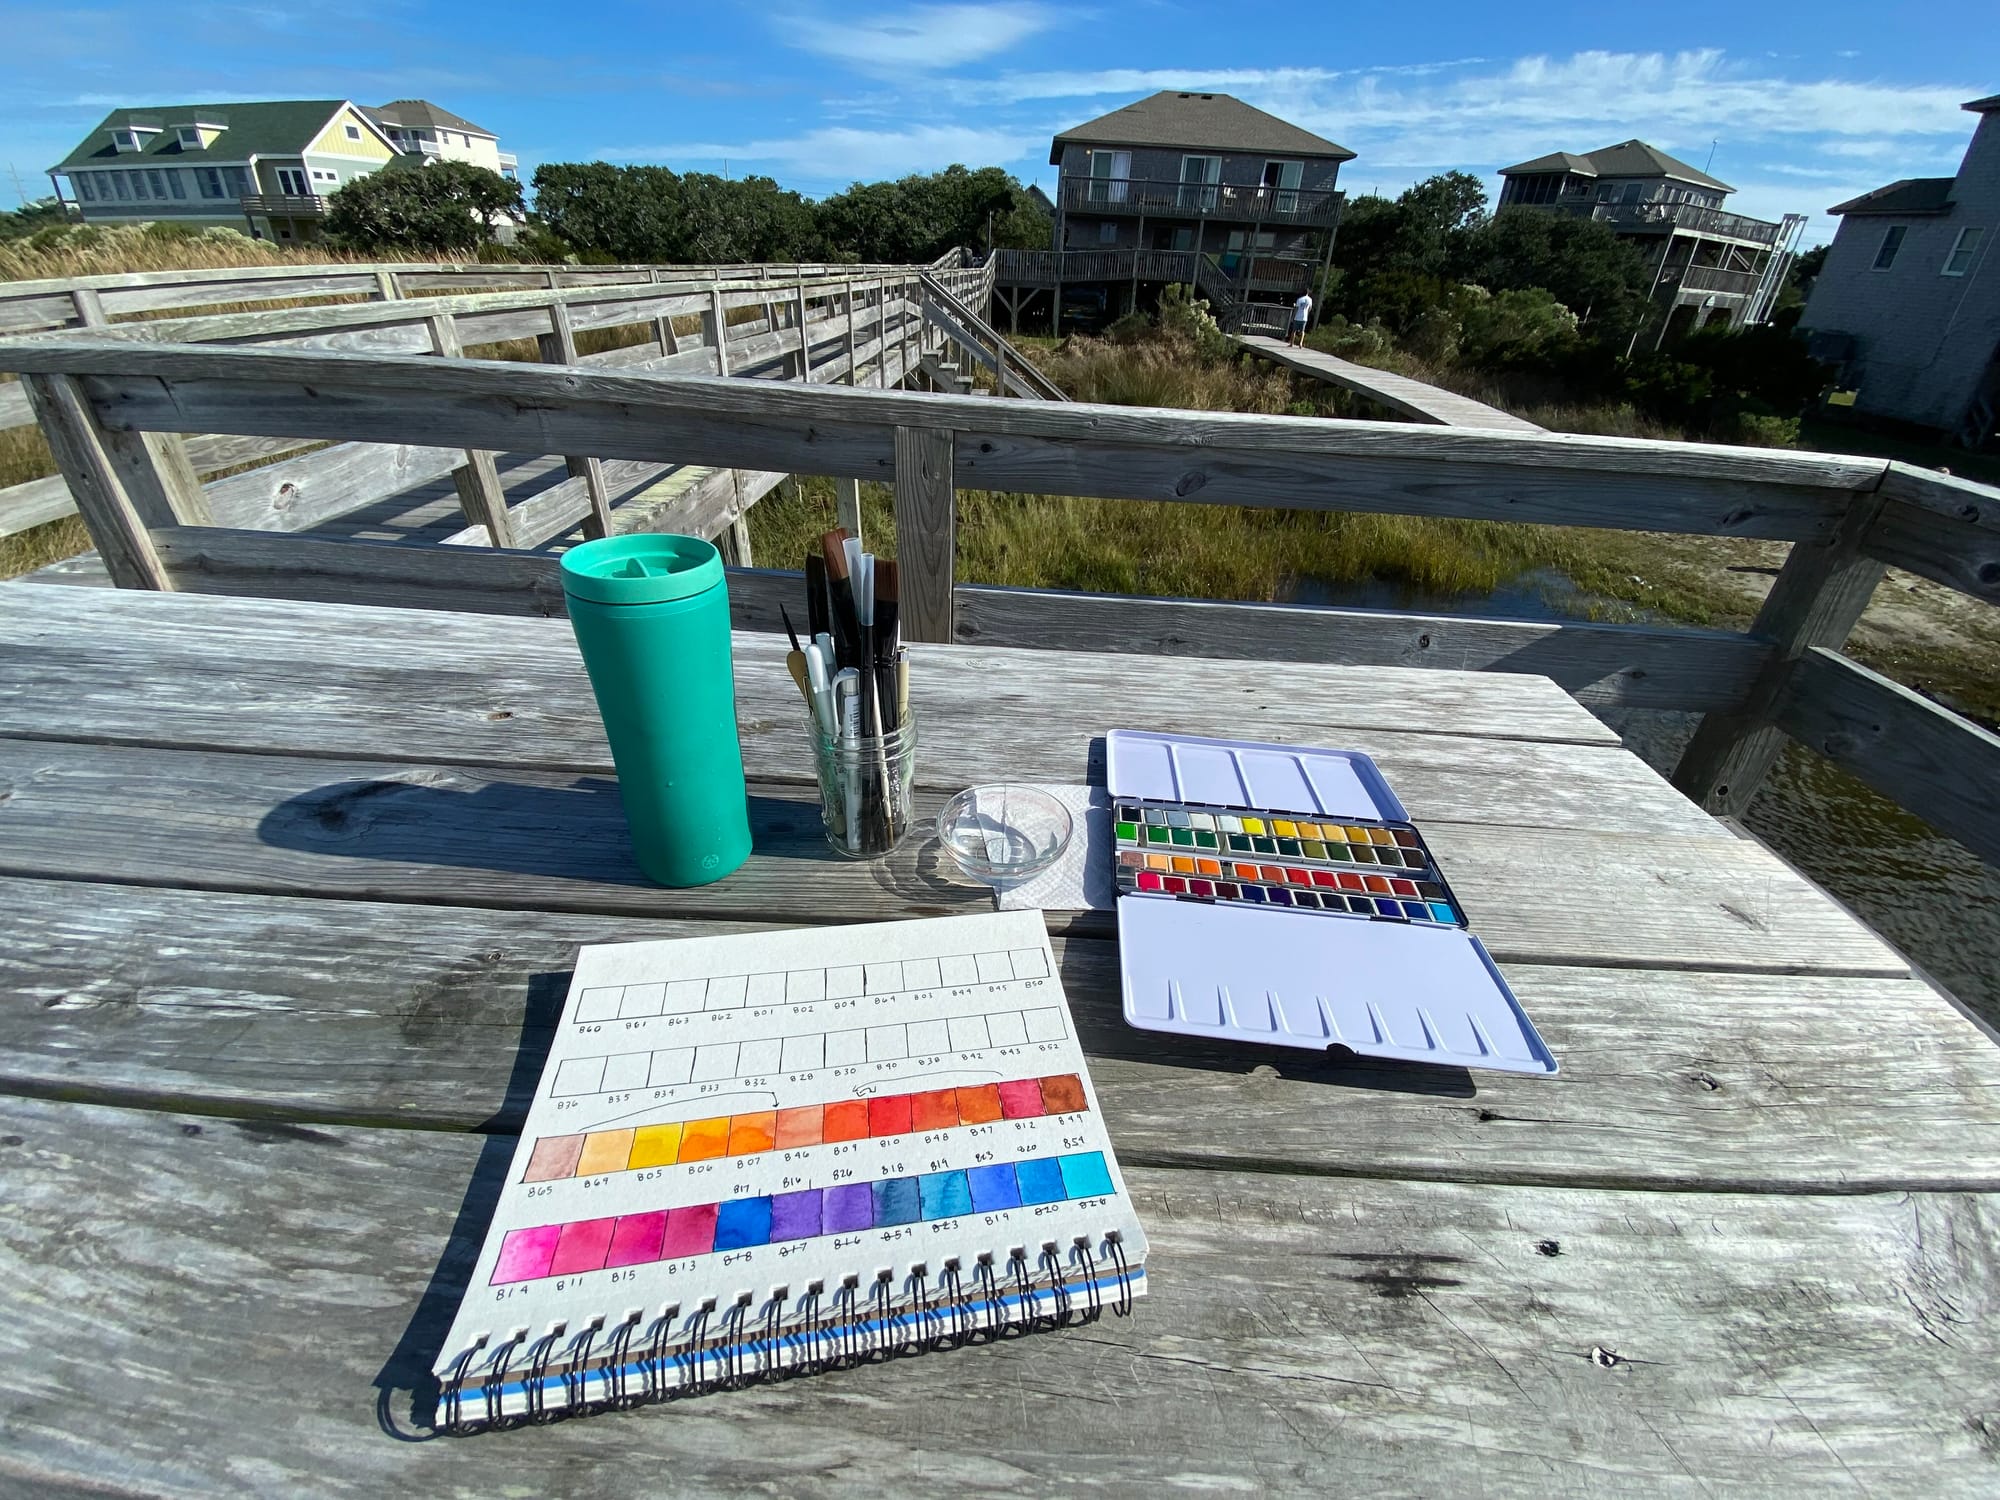
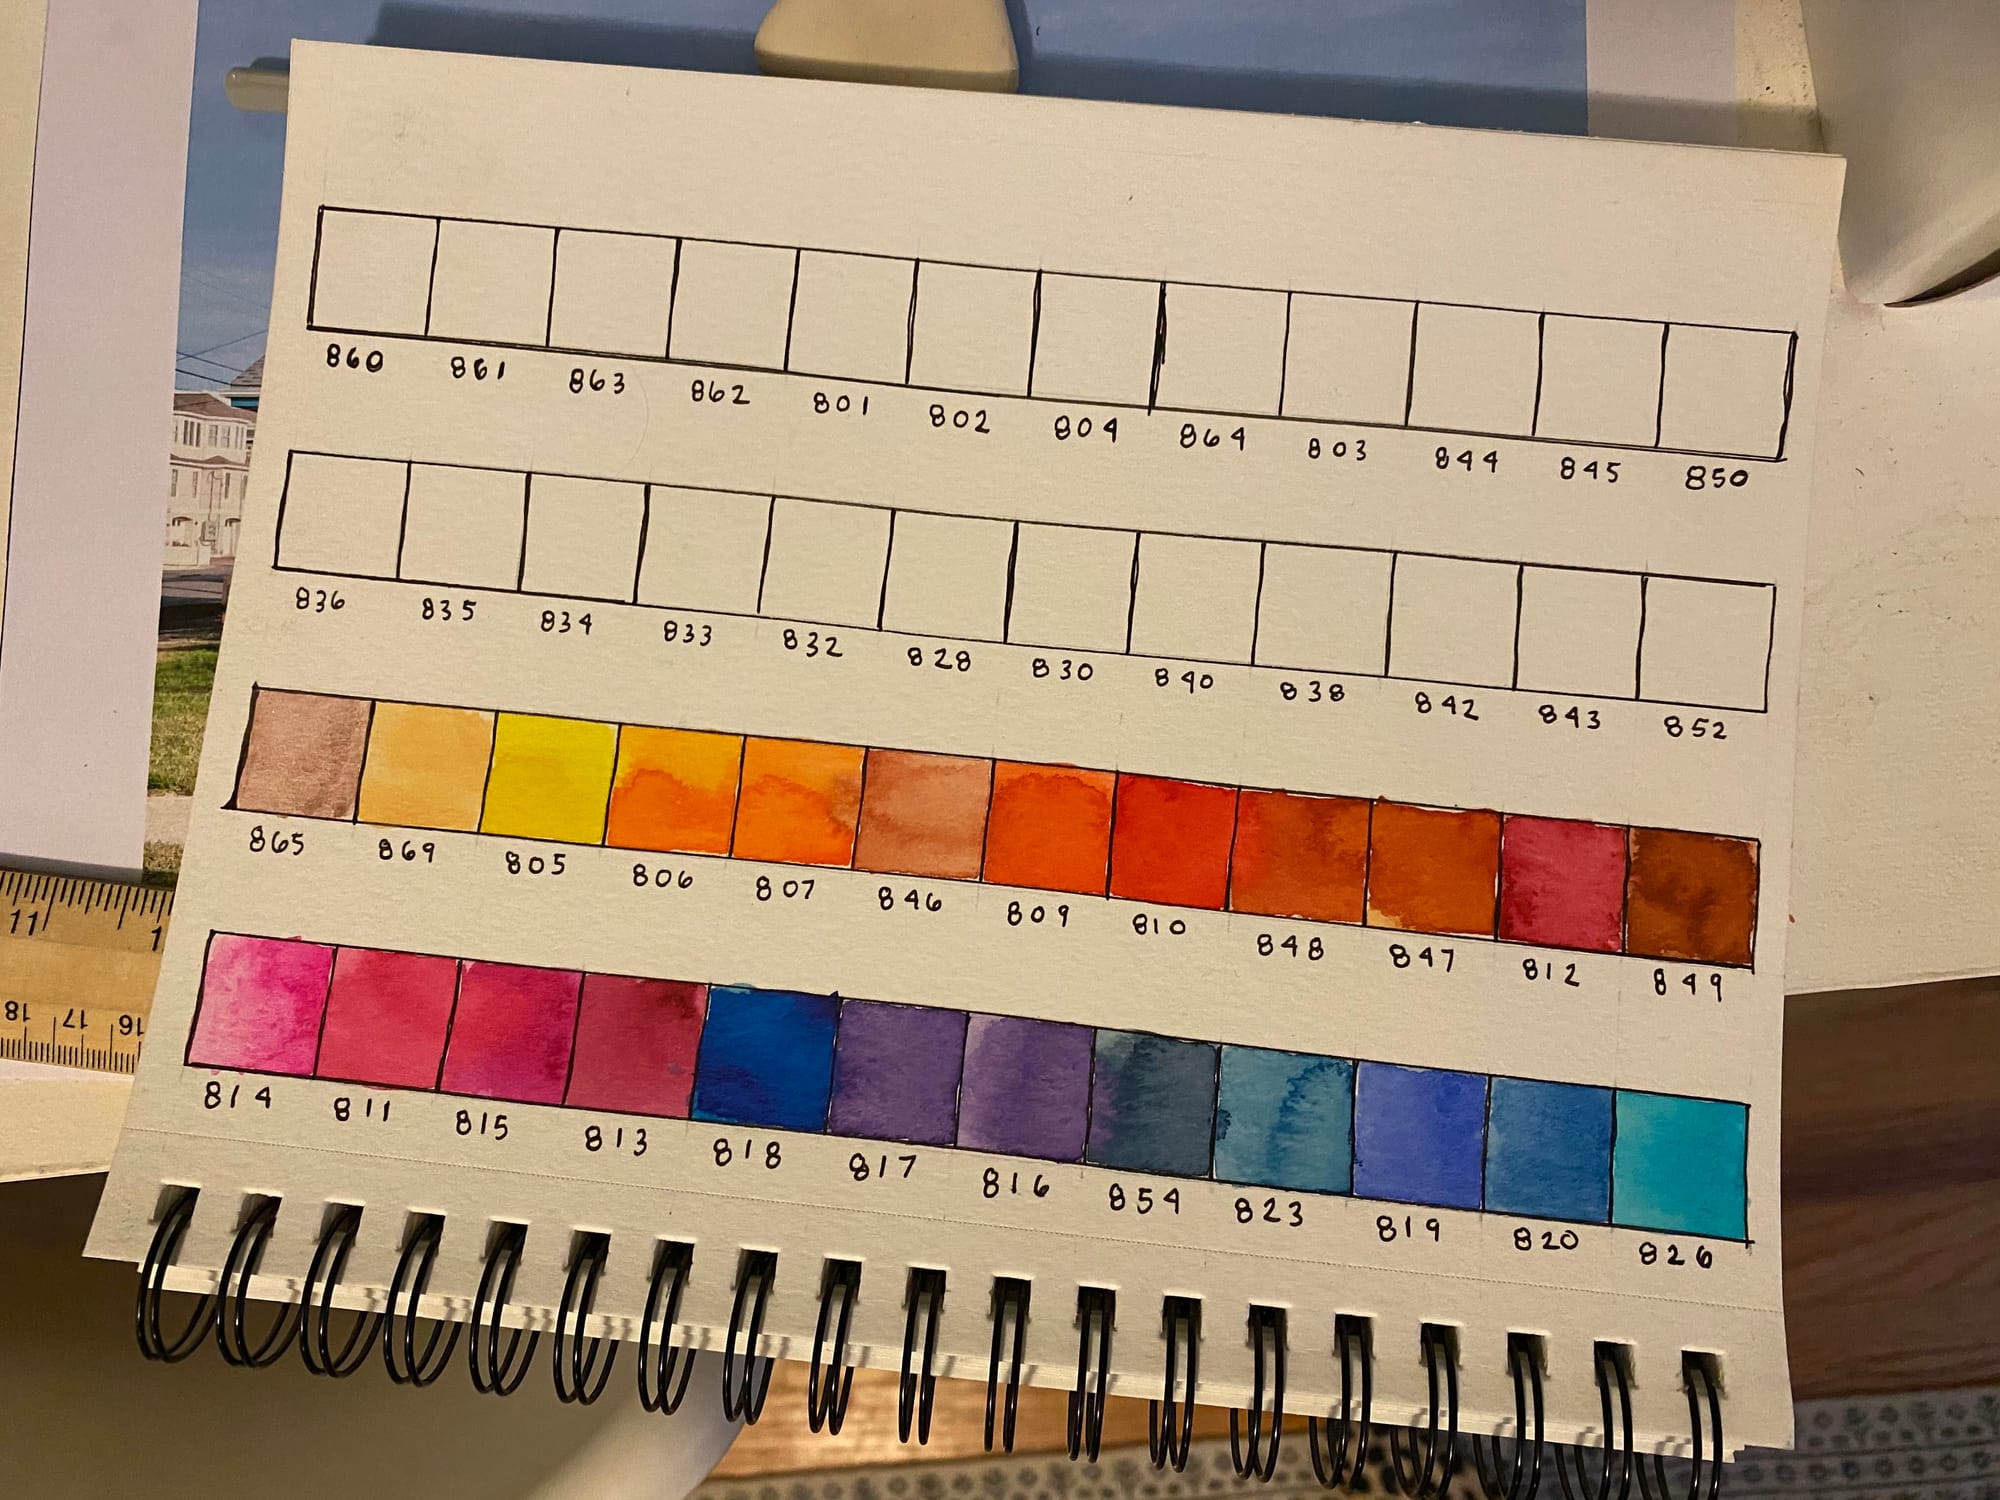
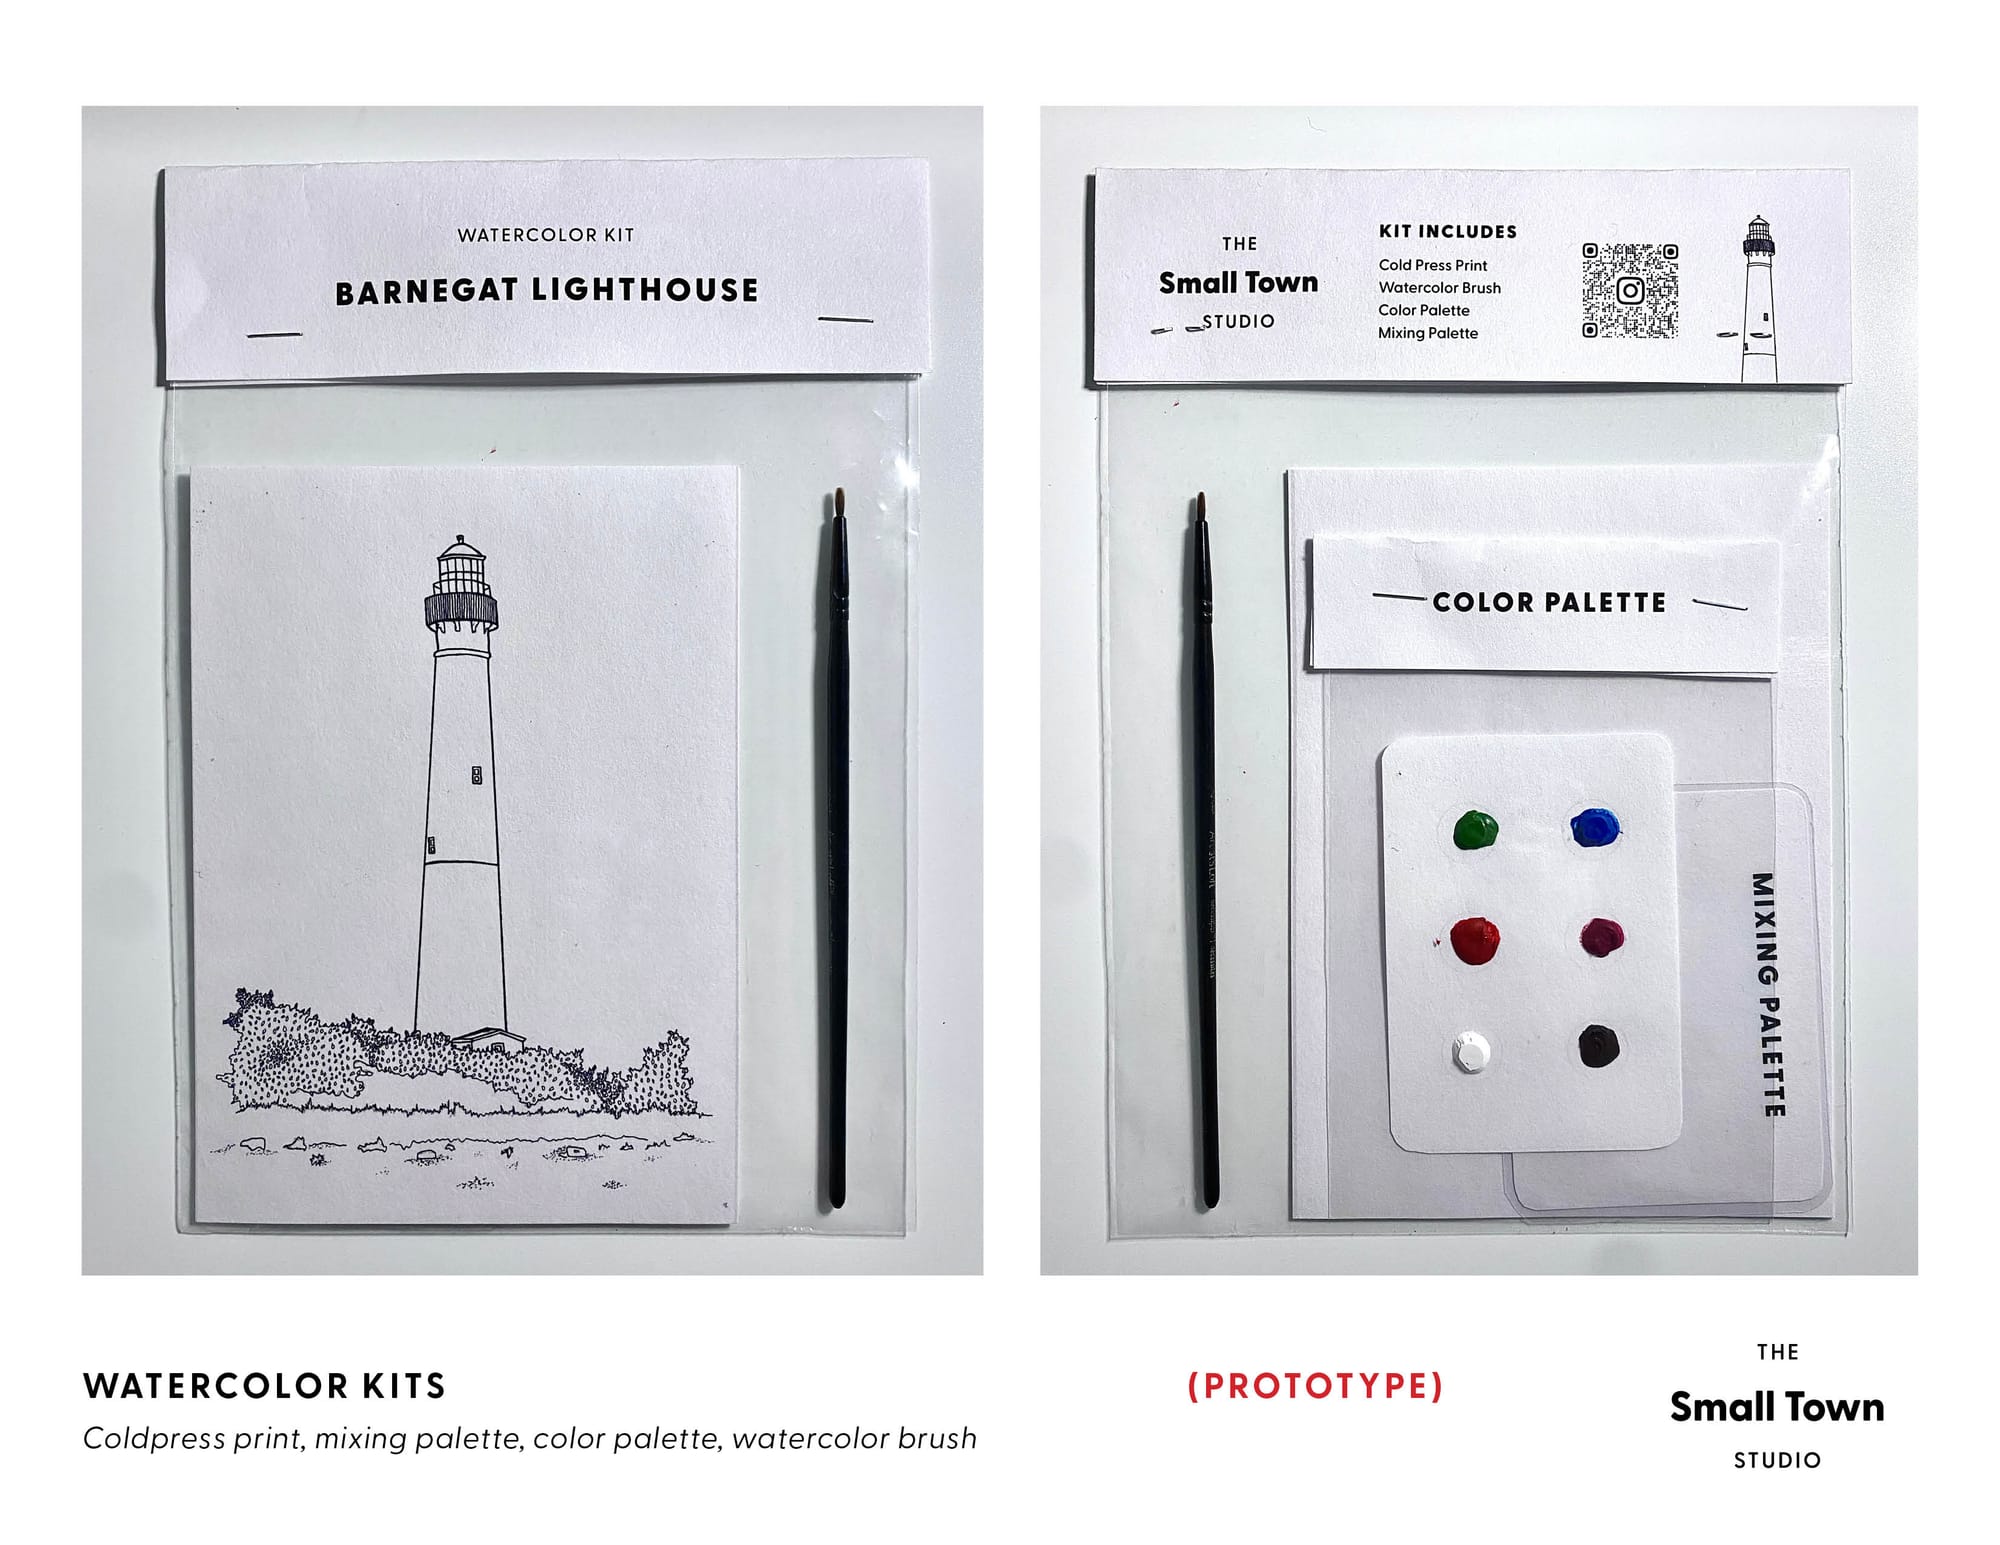
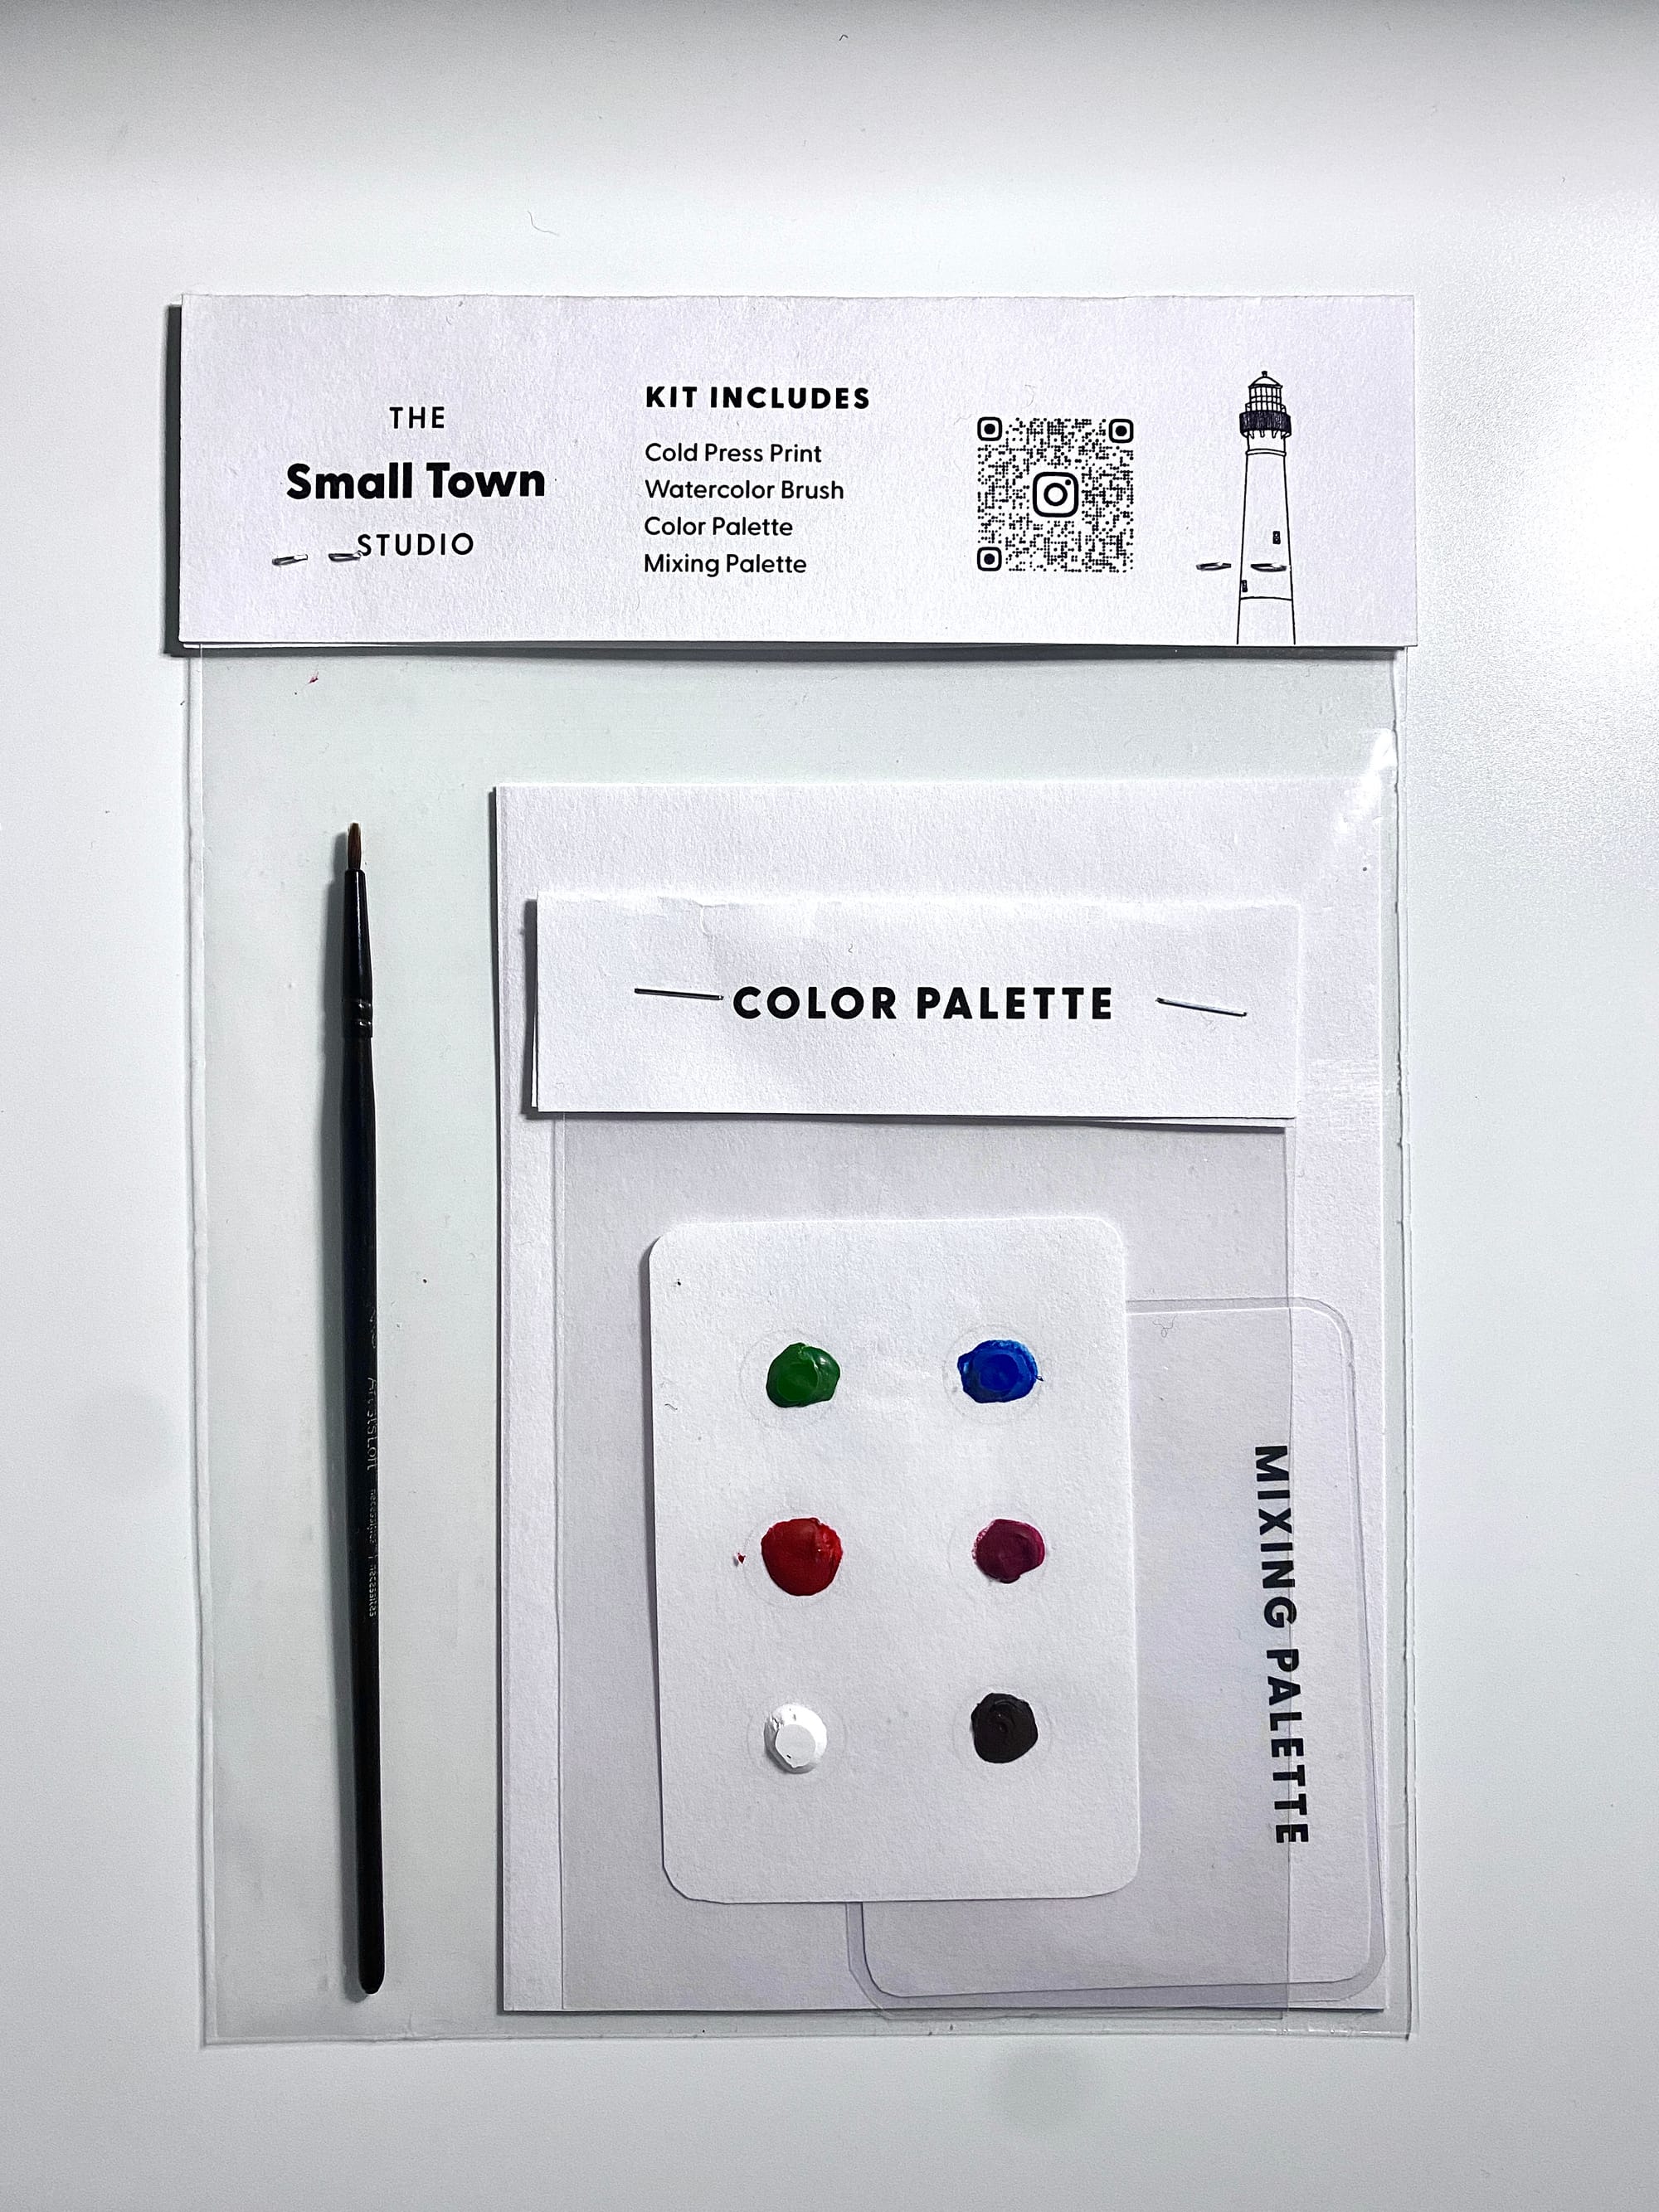
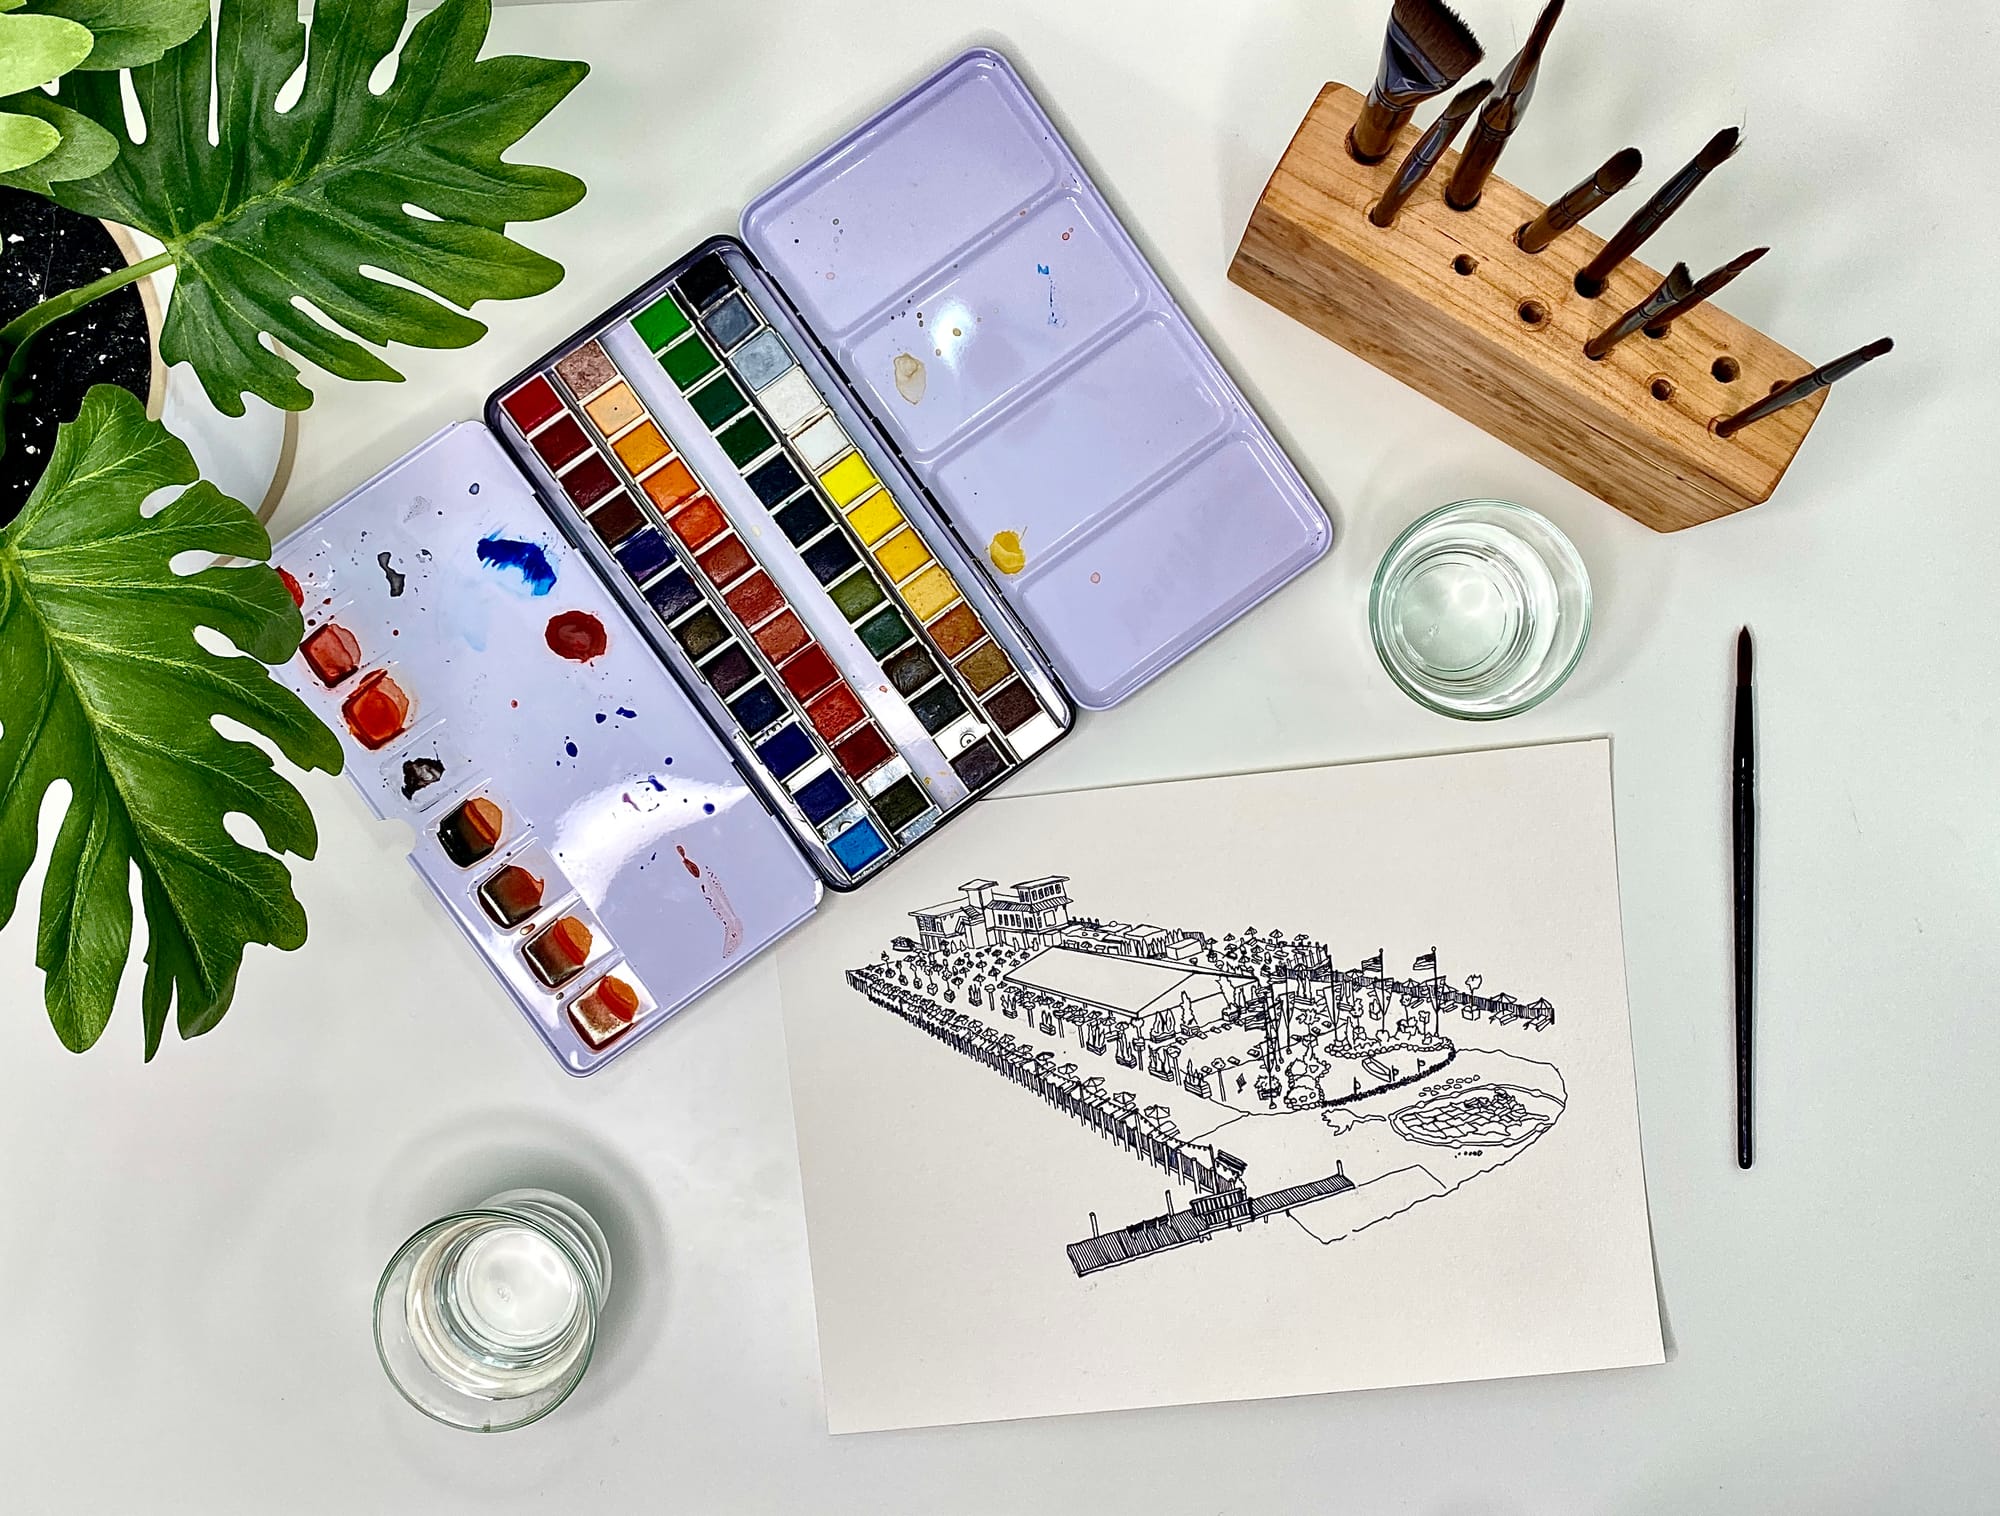
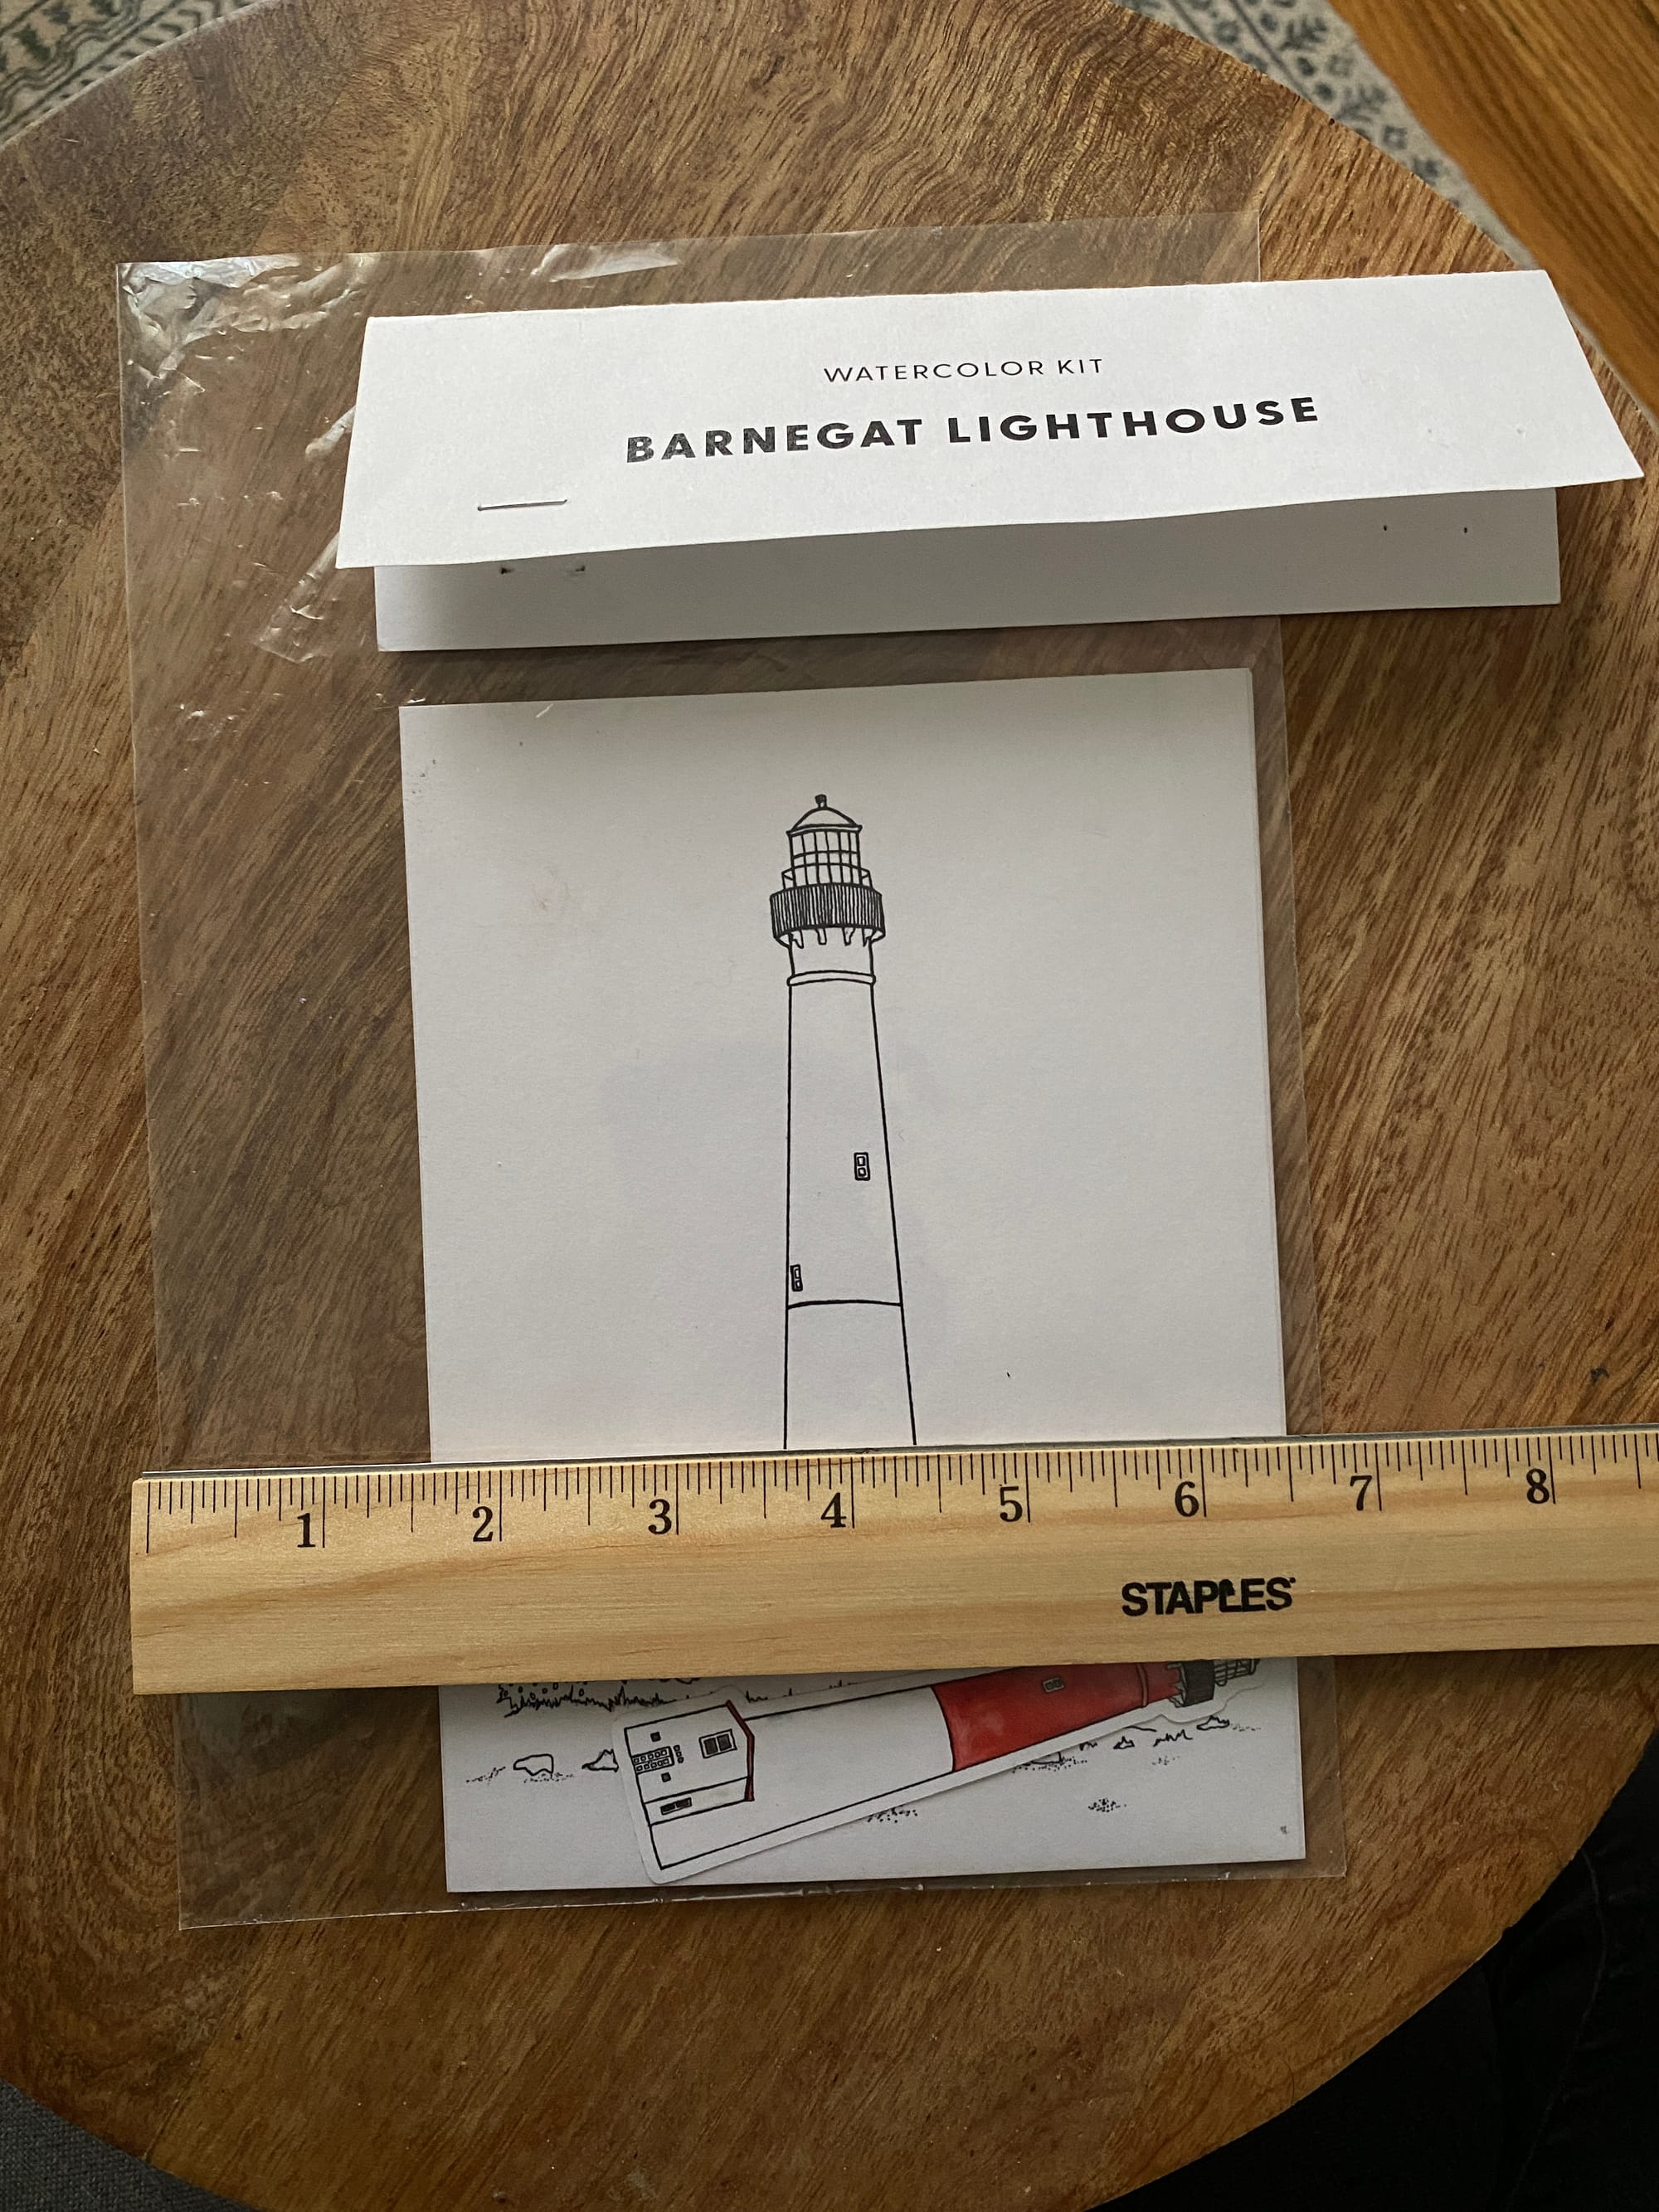
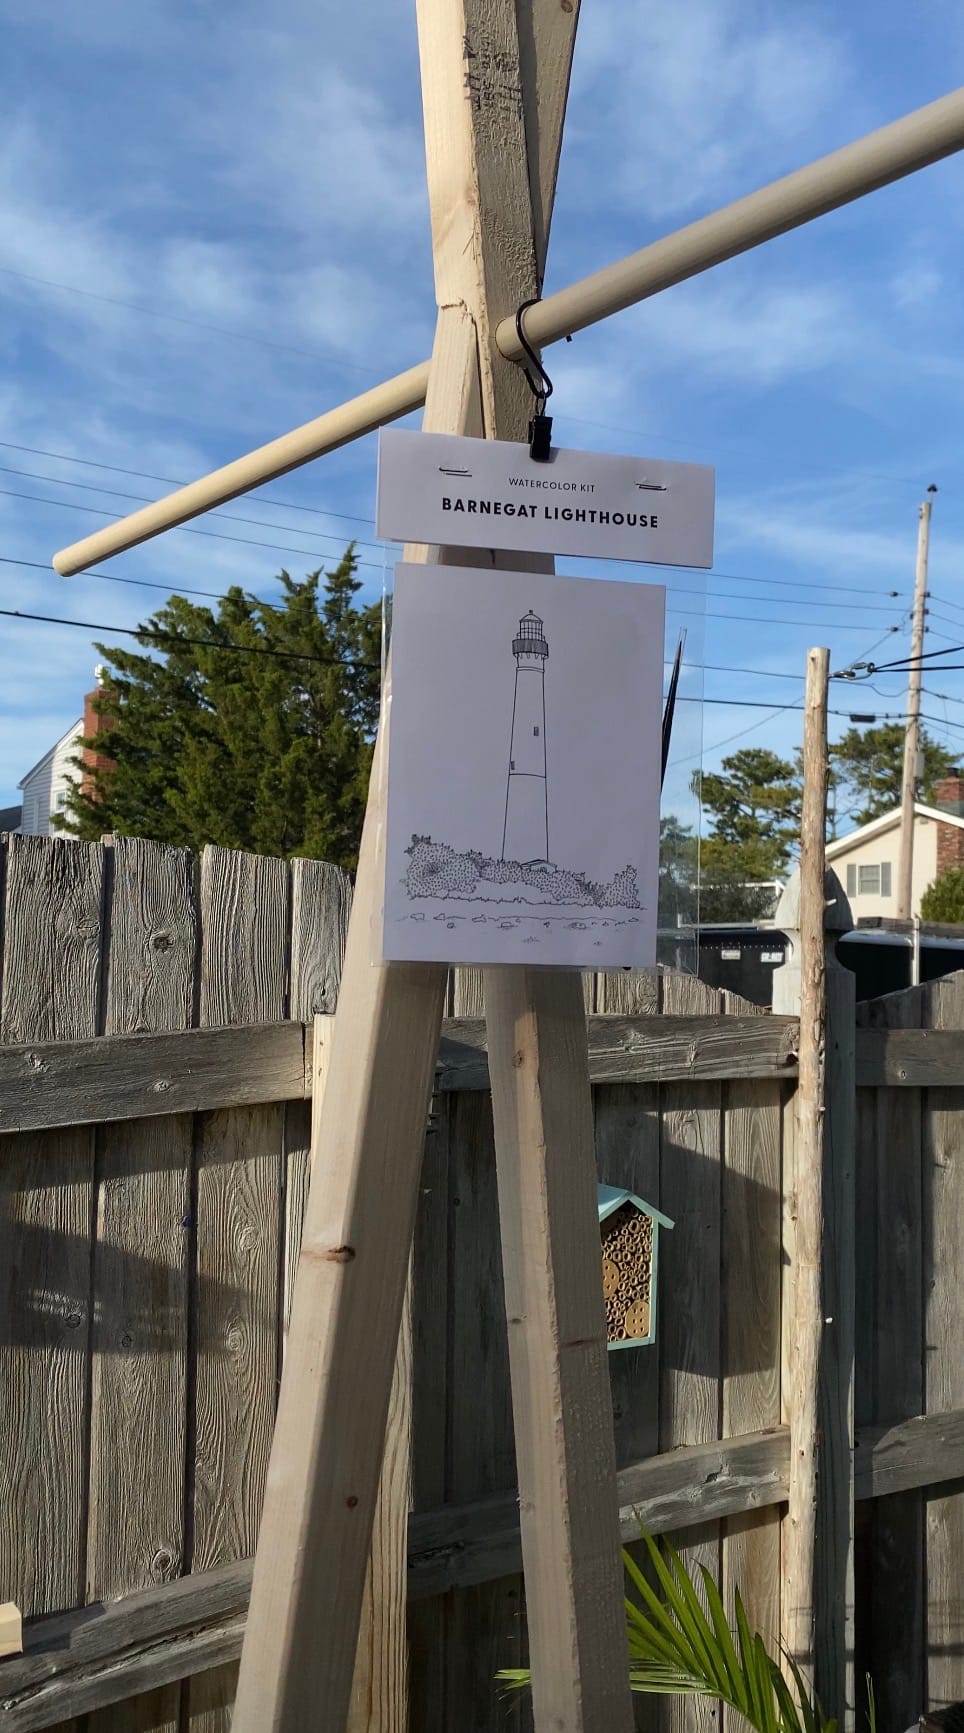
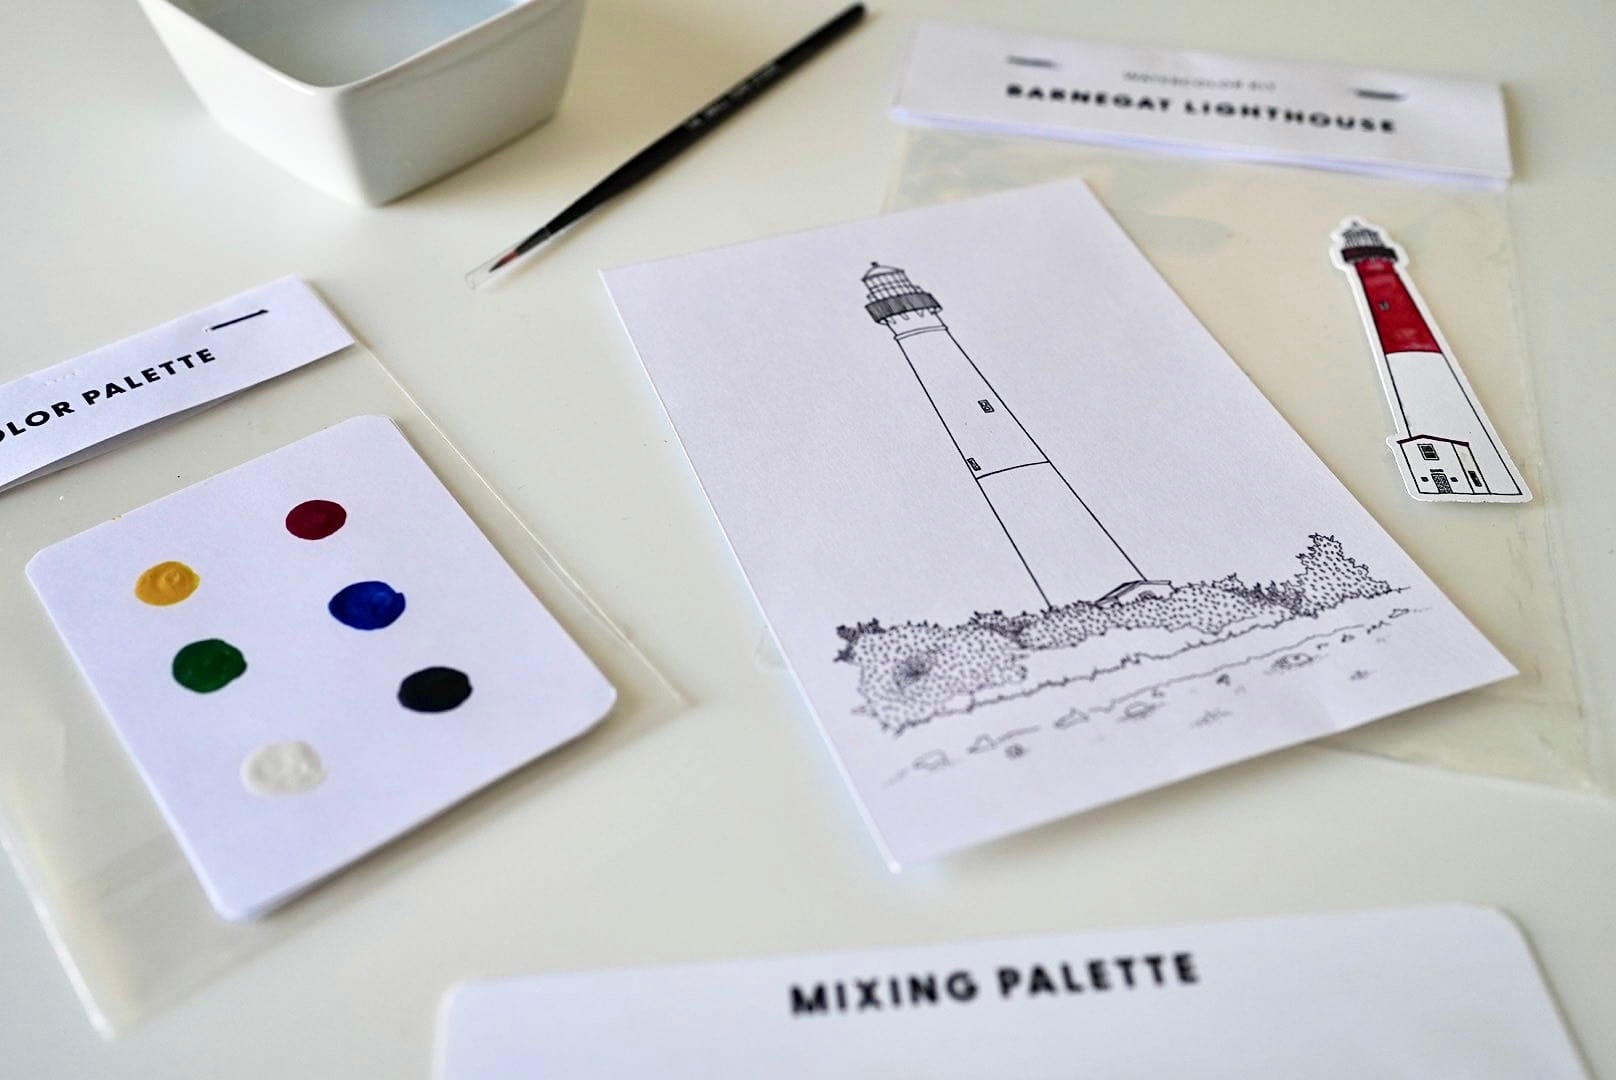
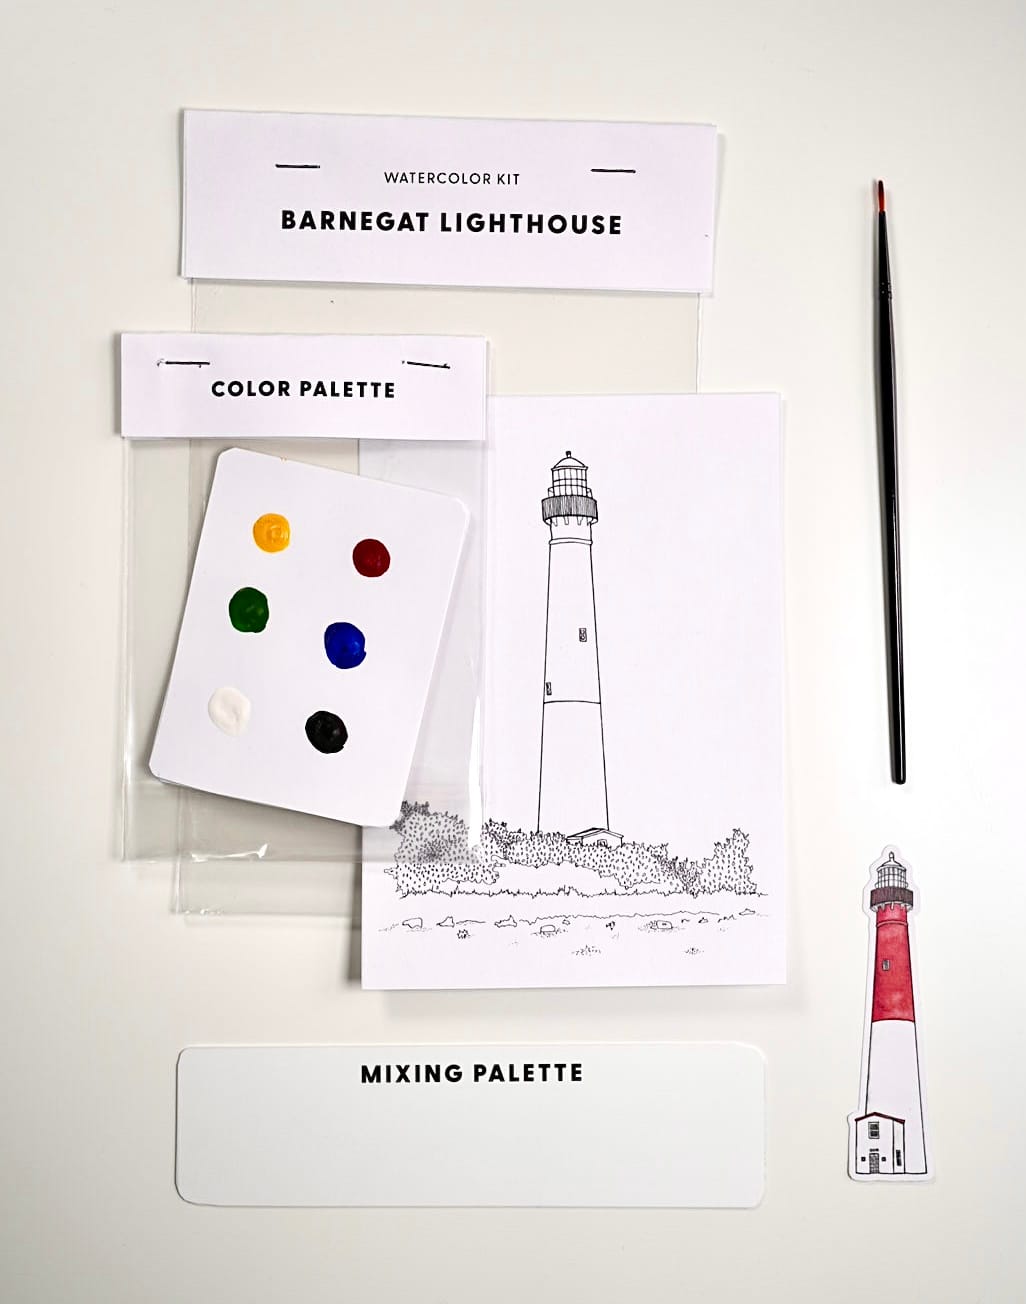
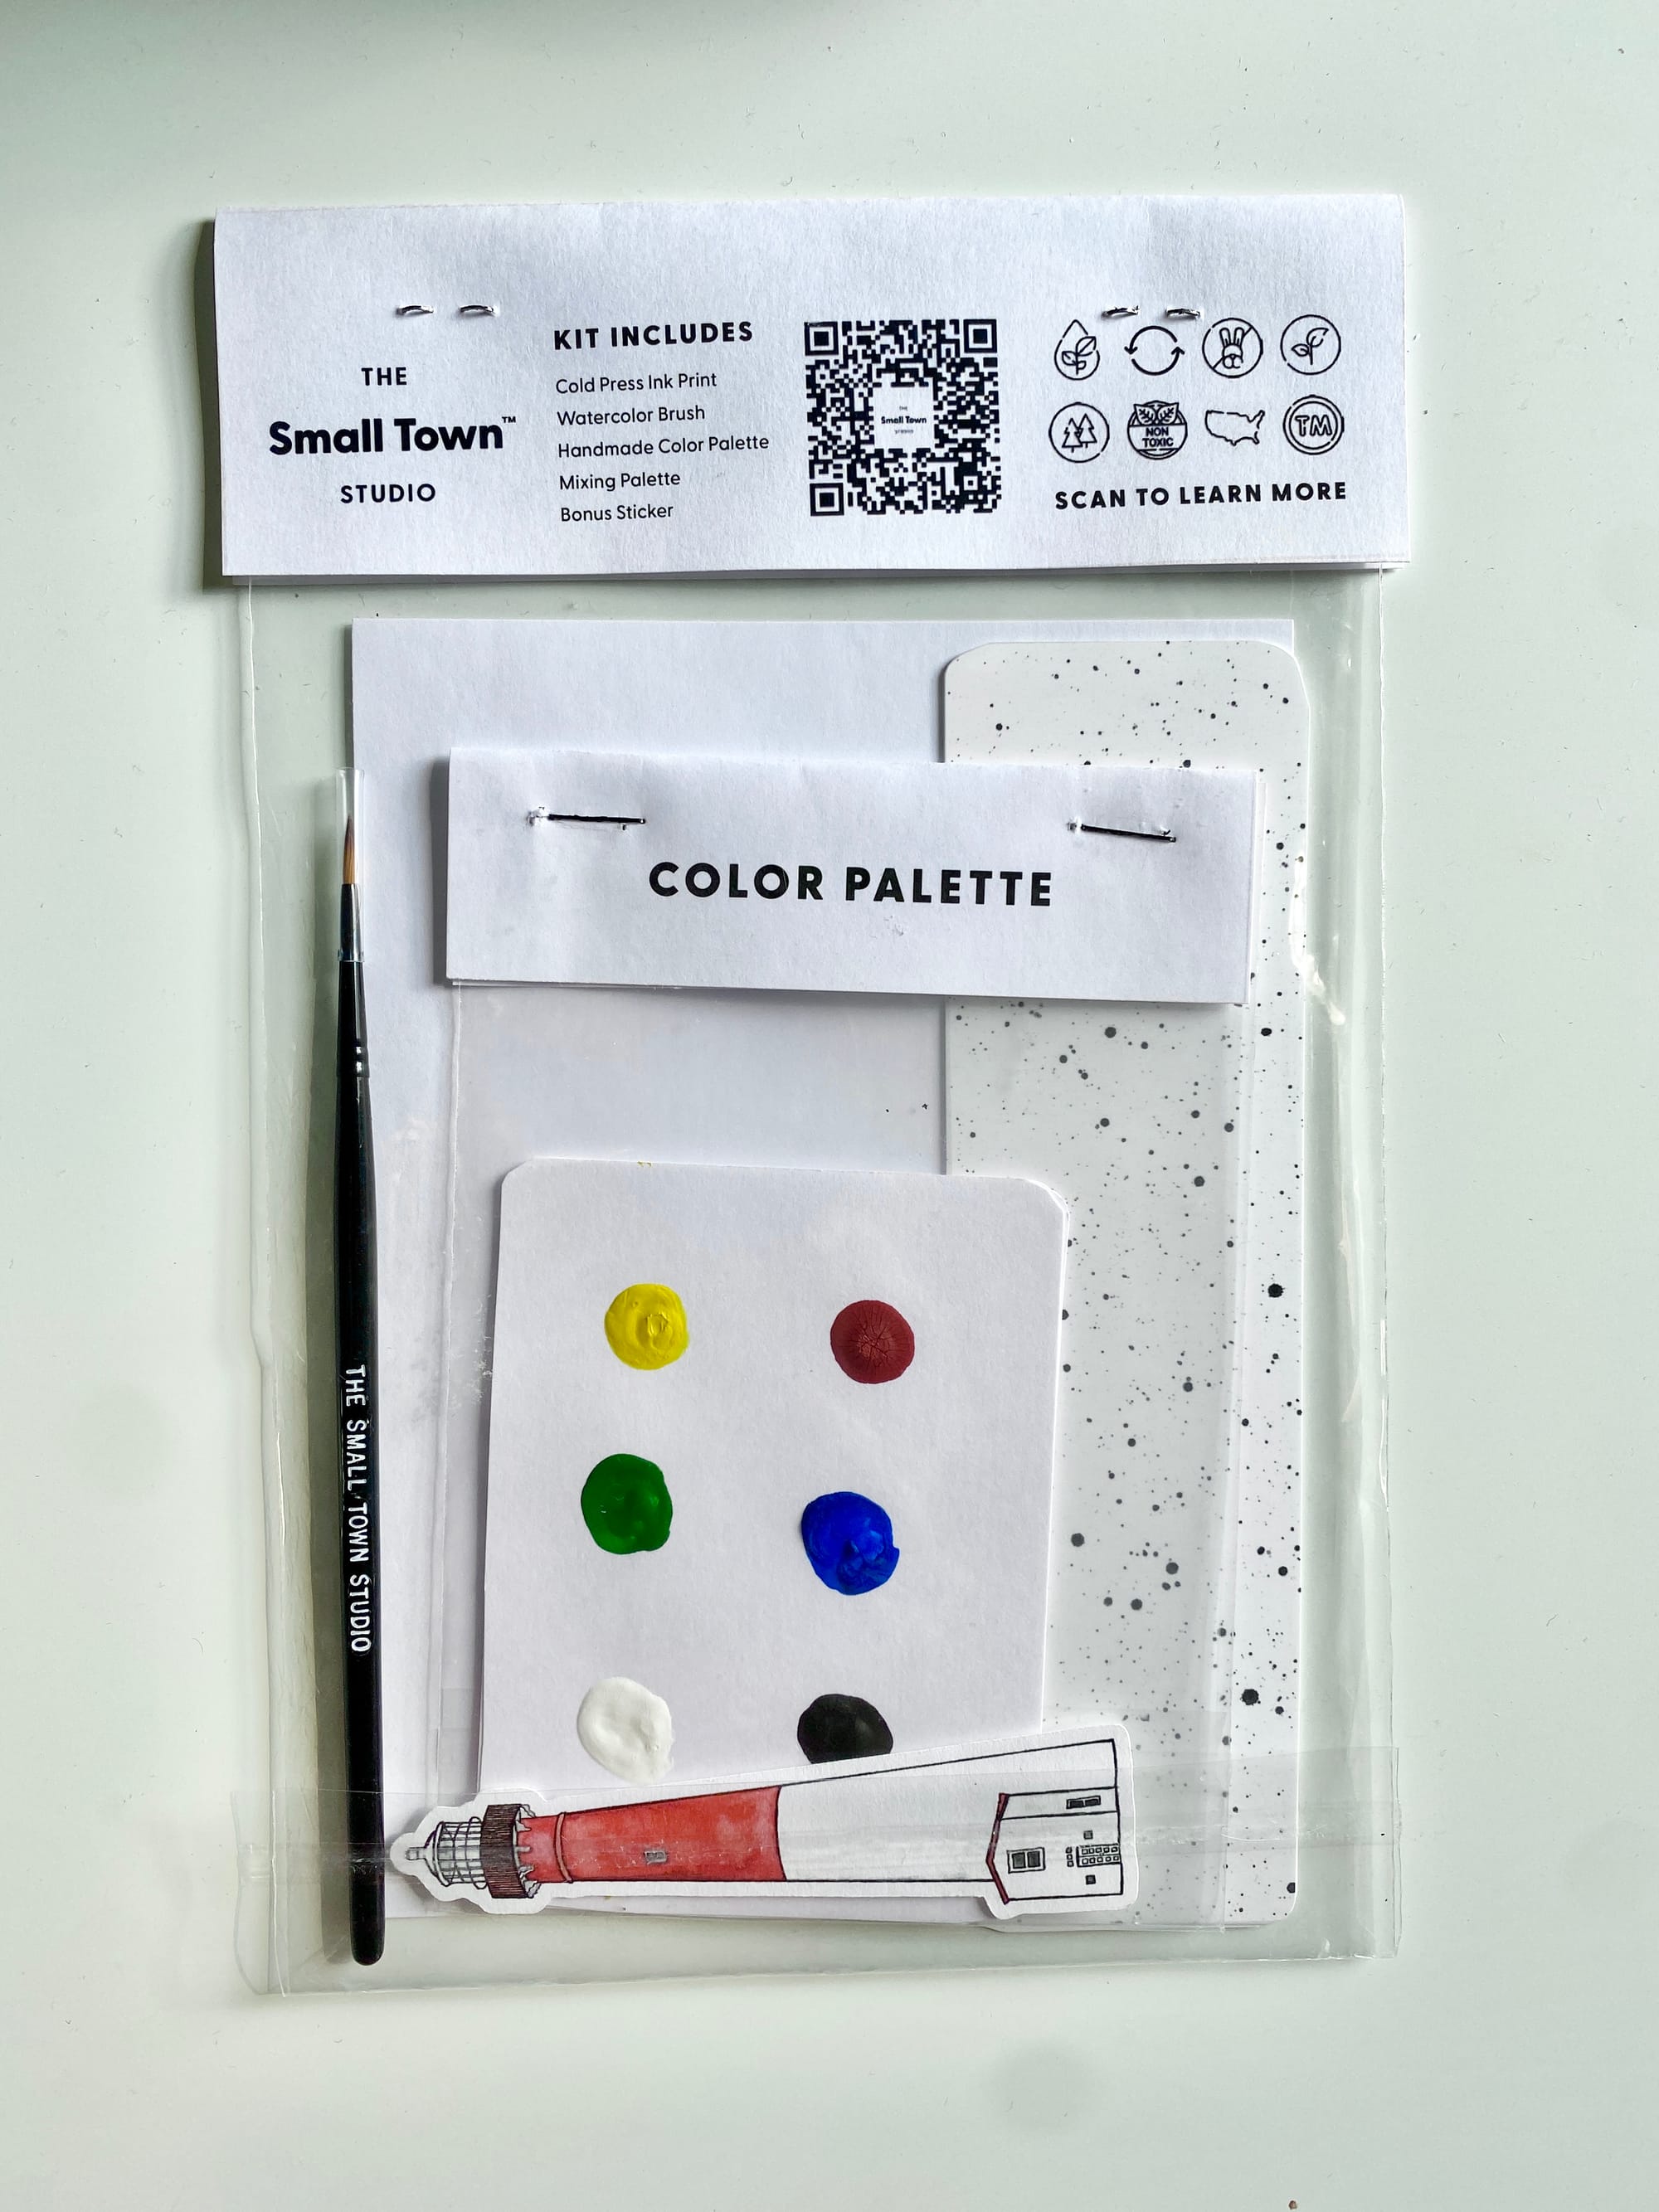
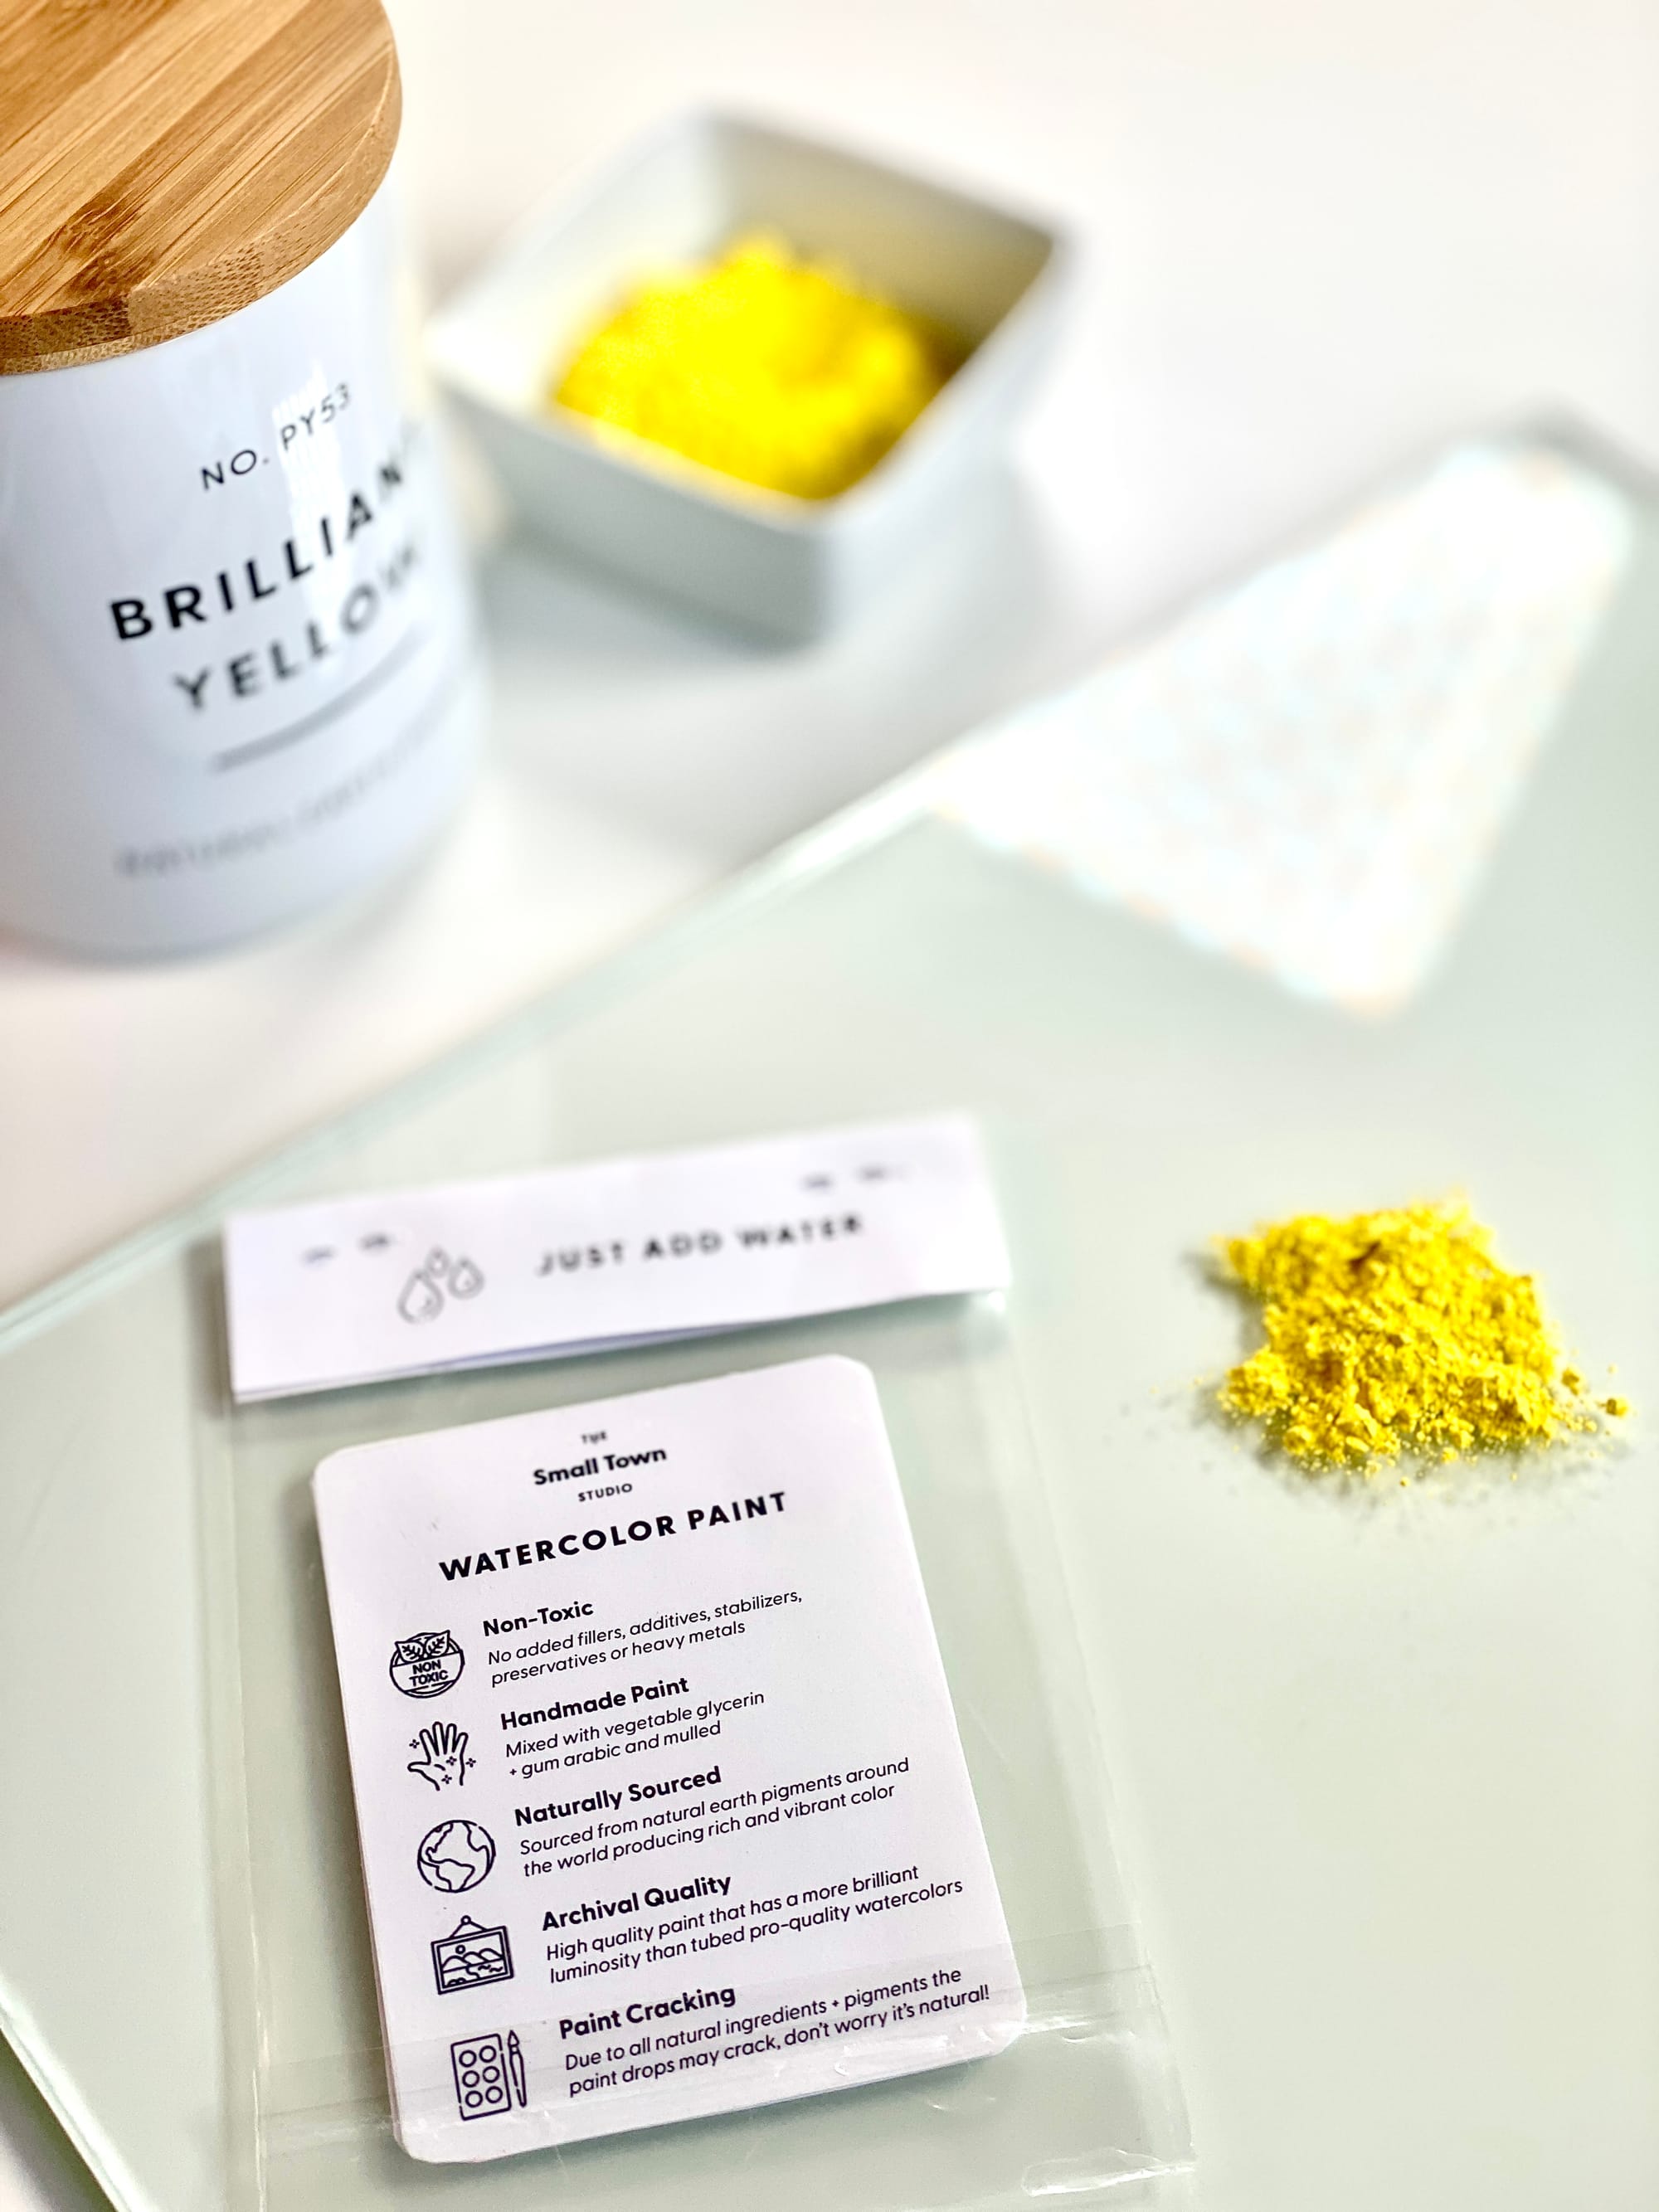
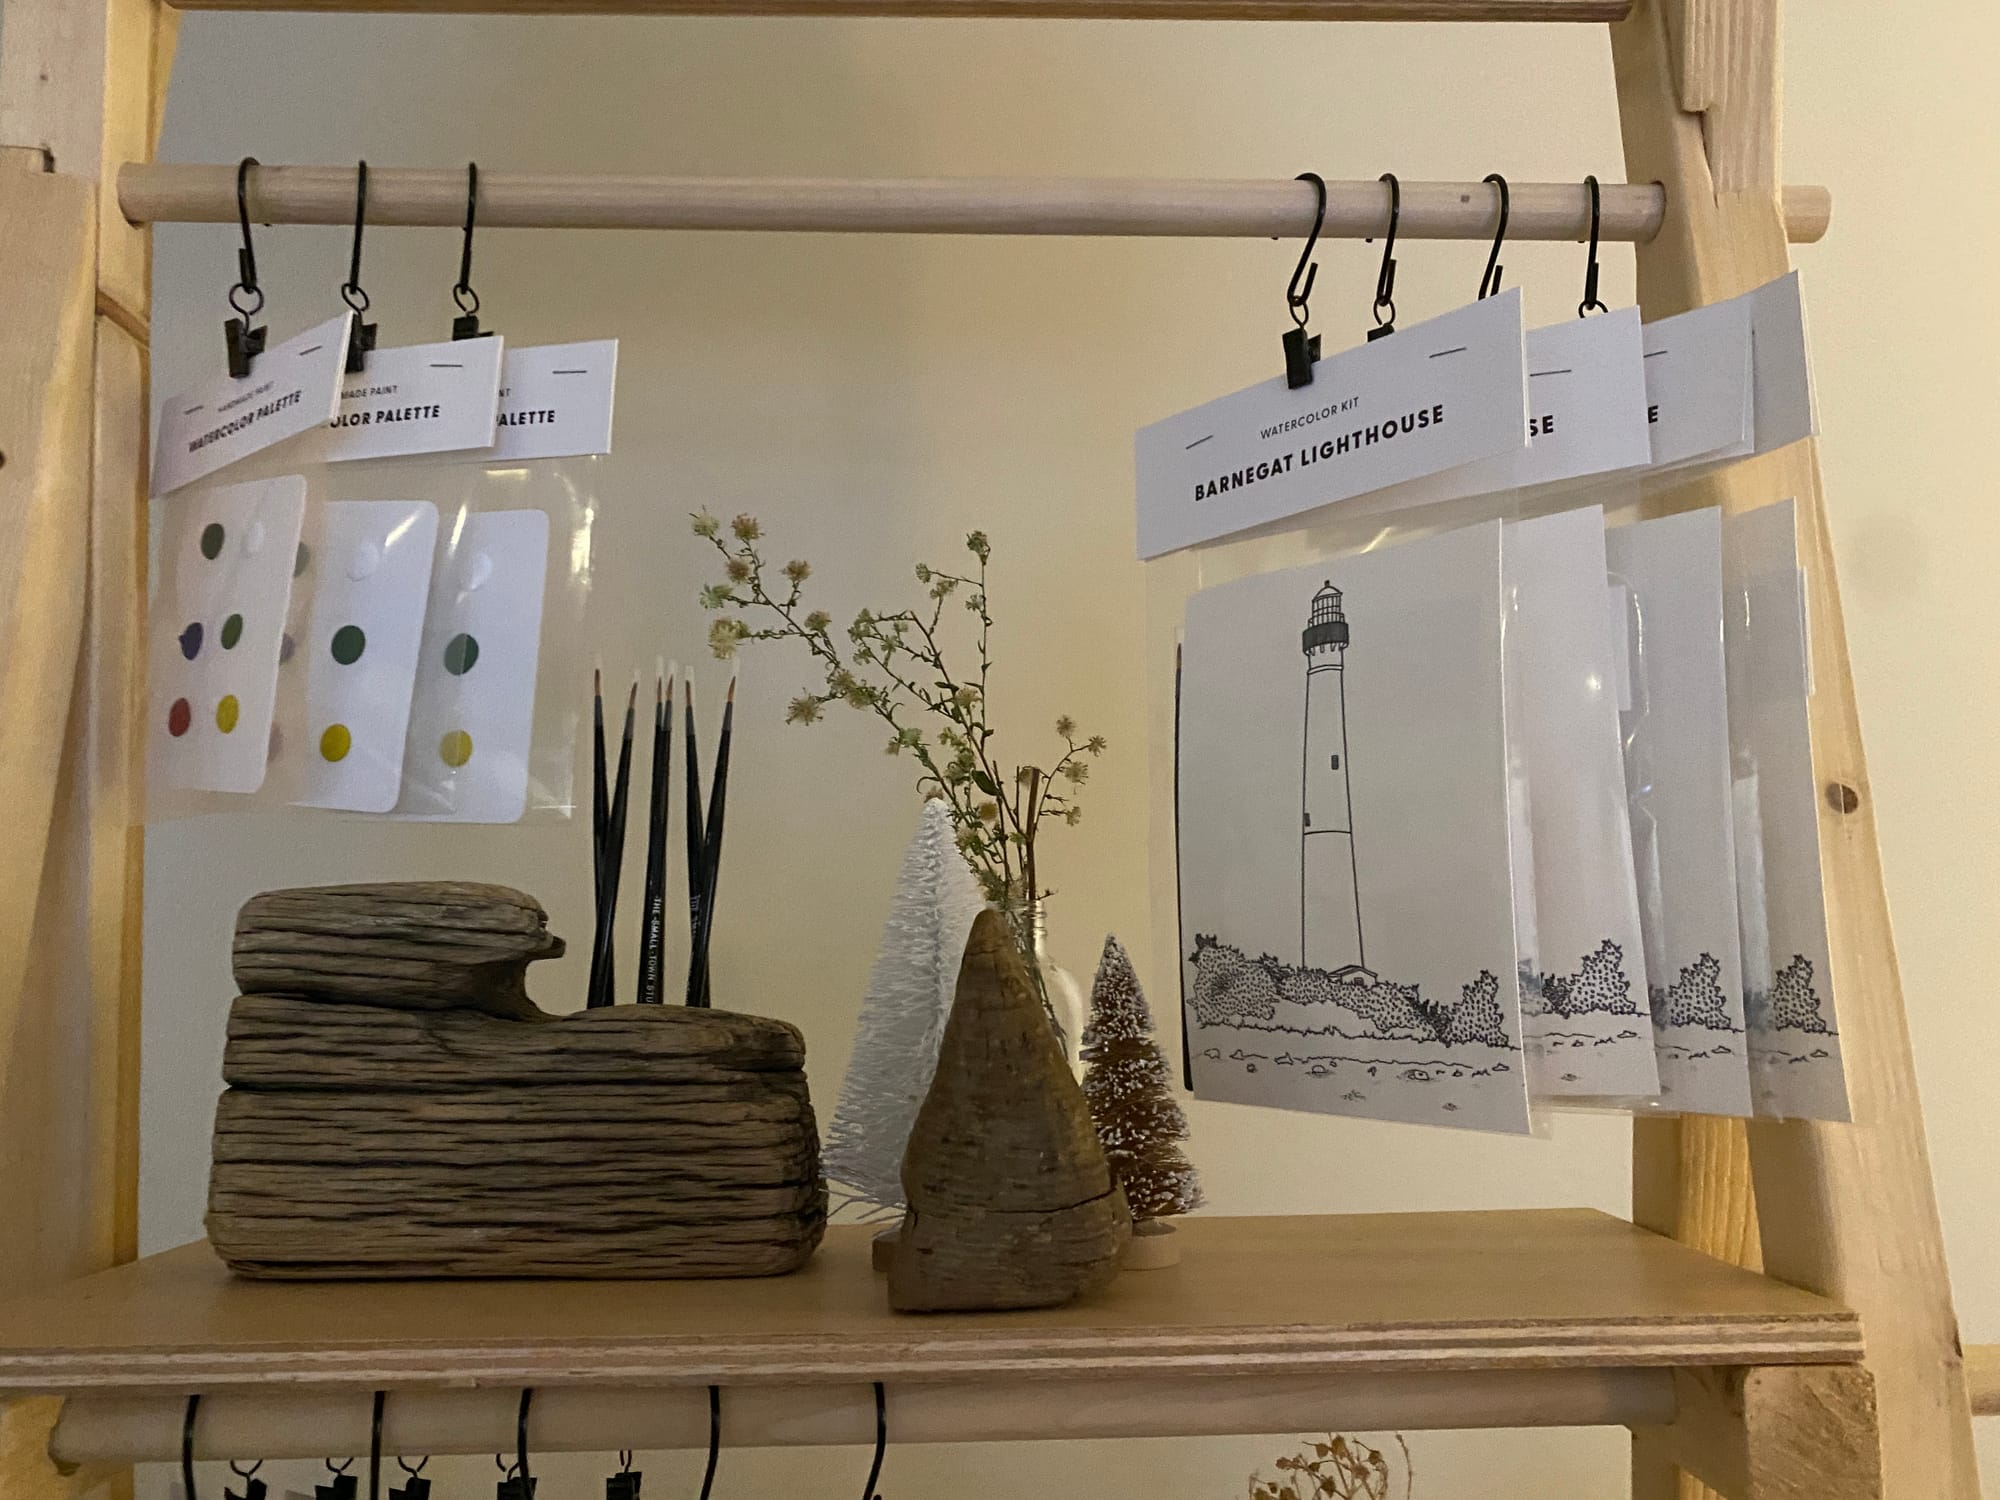
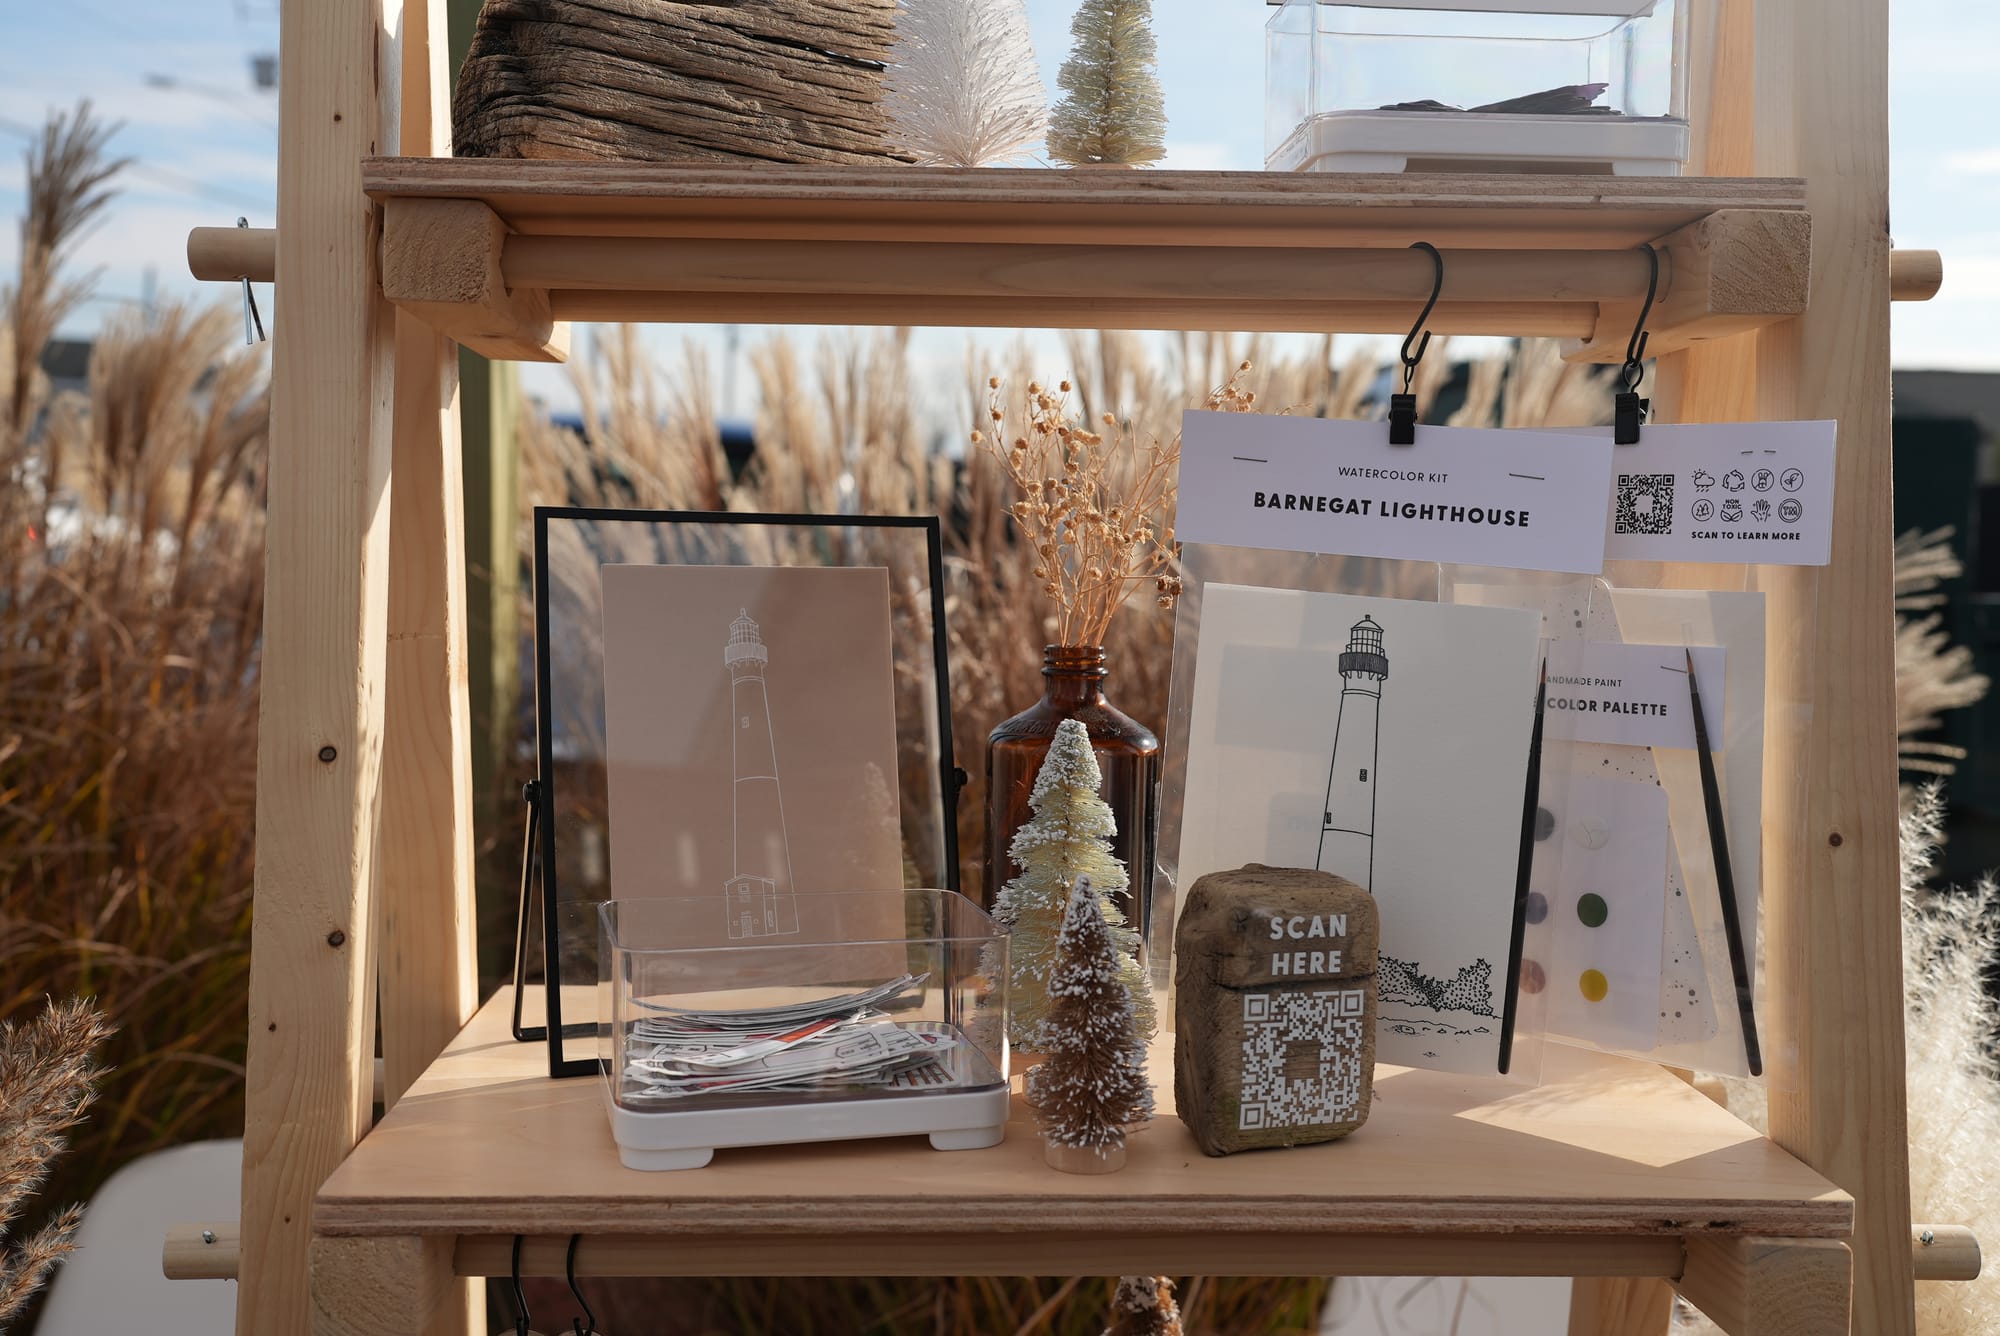
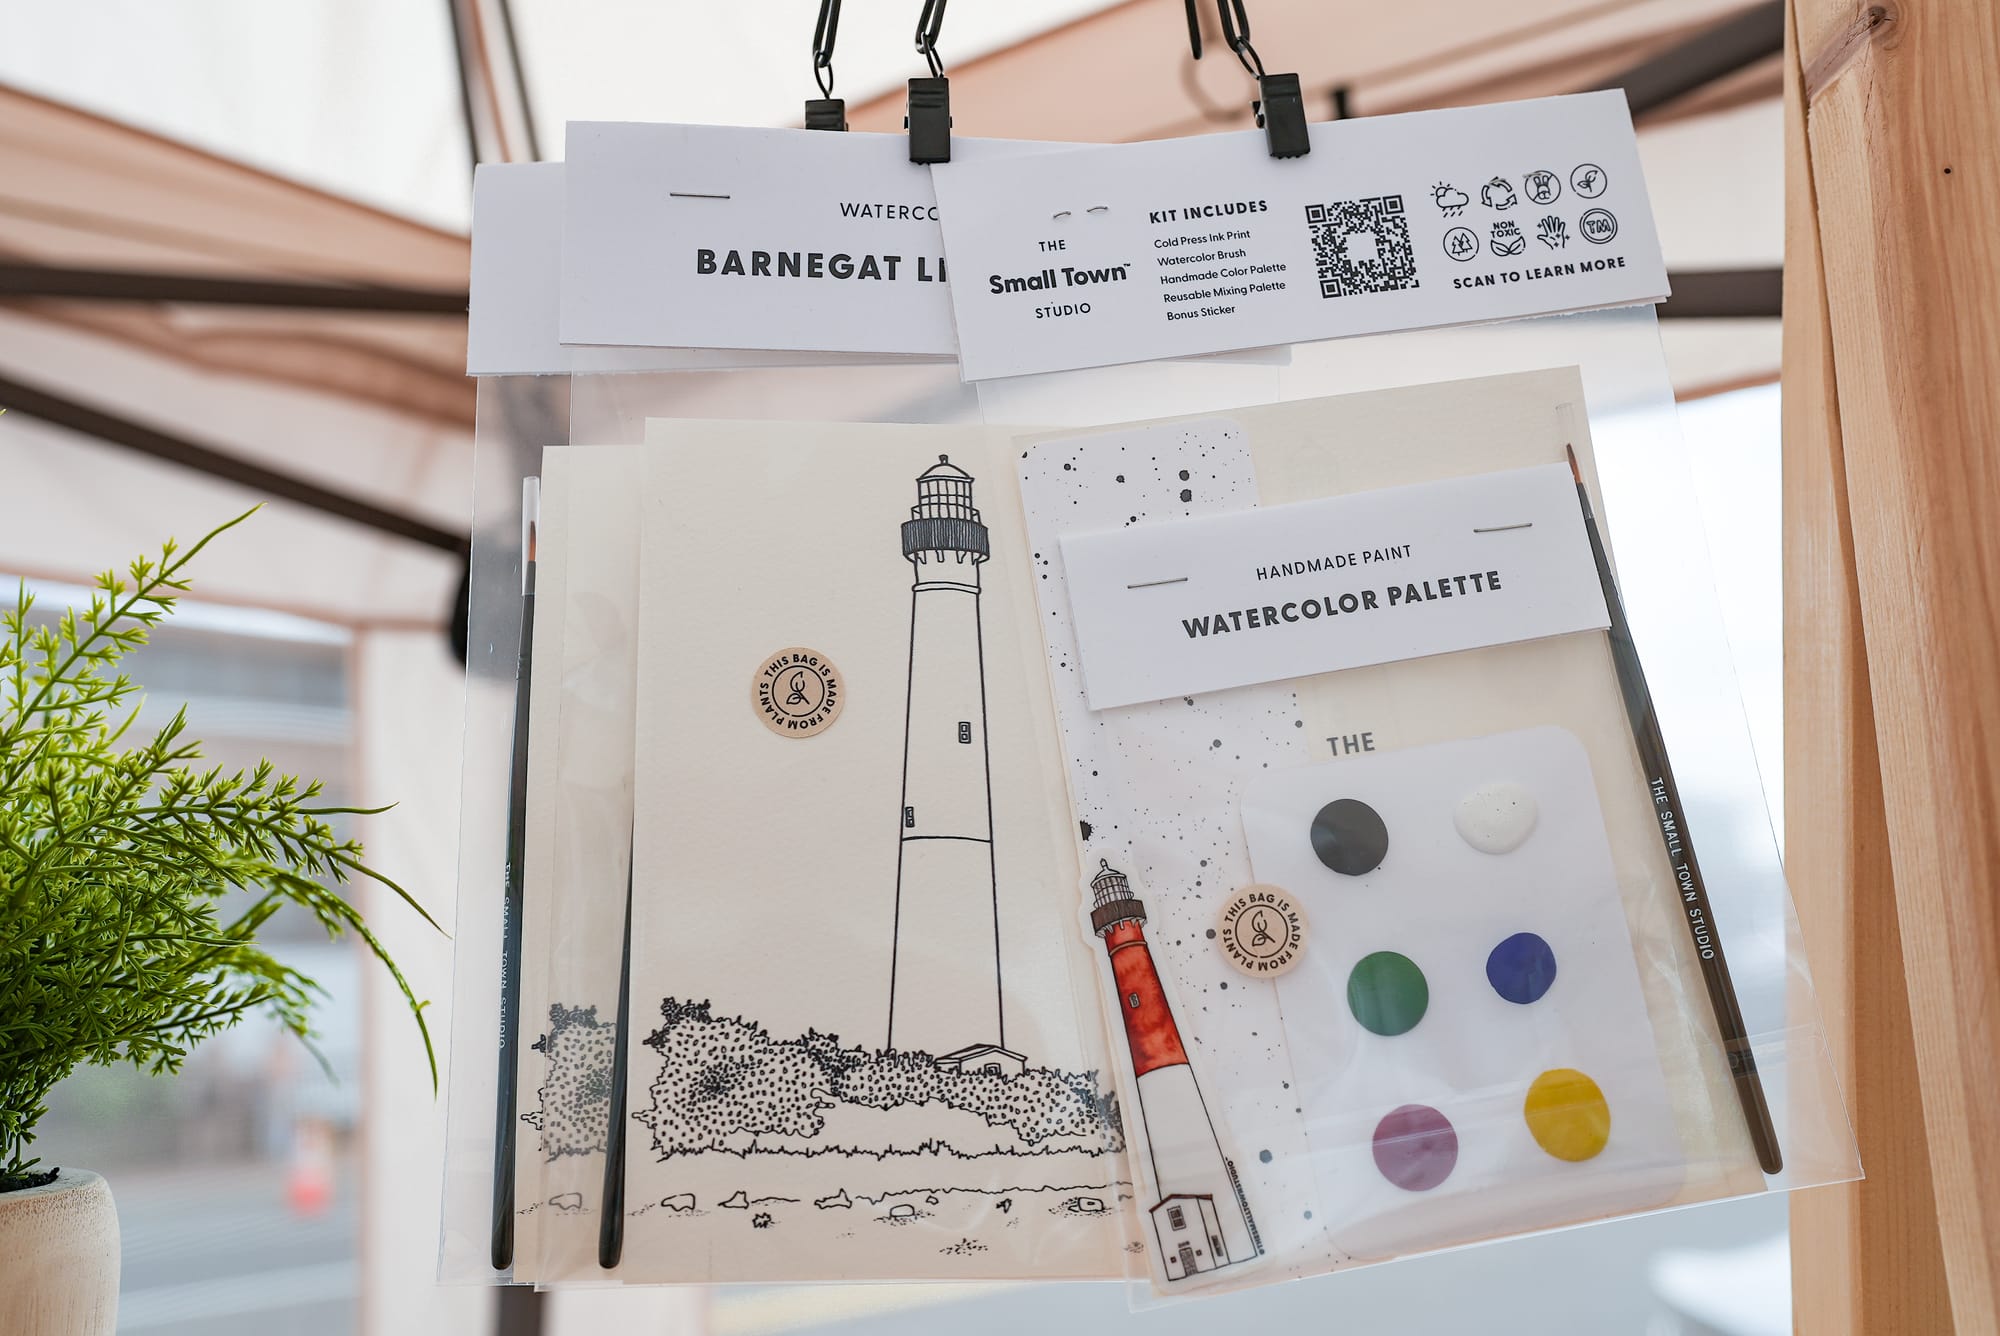
Now this was something I was so excited about. I designed a prototype for one of my favorite products, The Small Town Studio Watercolor Kit. I really felt like I was onto something. I designed all the labels and came up with the designs for the packaging.
March 2021:
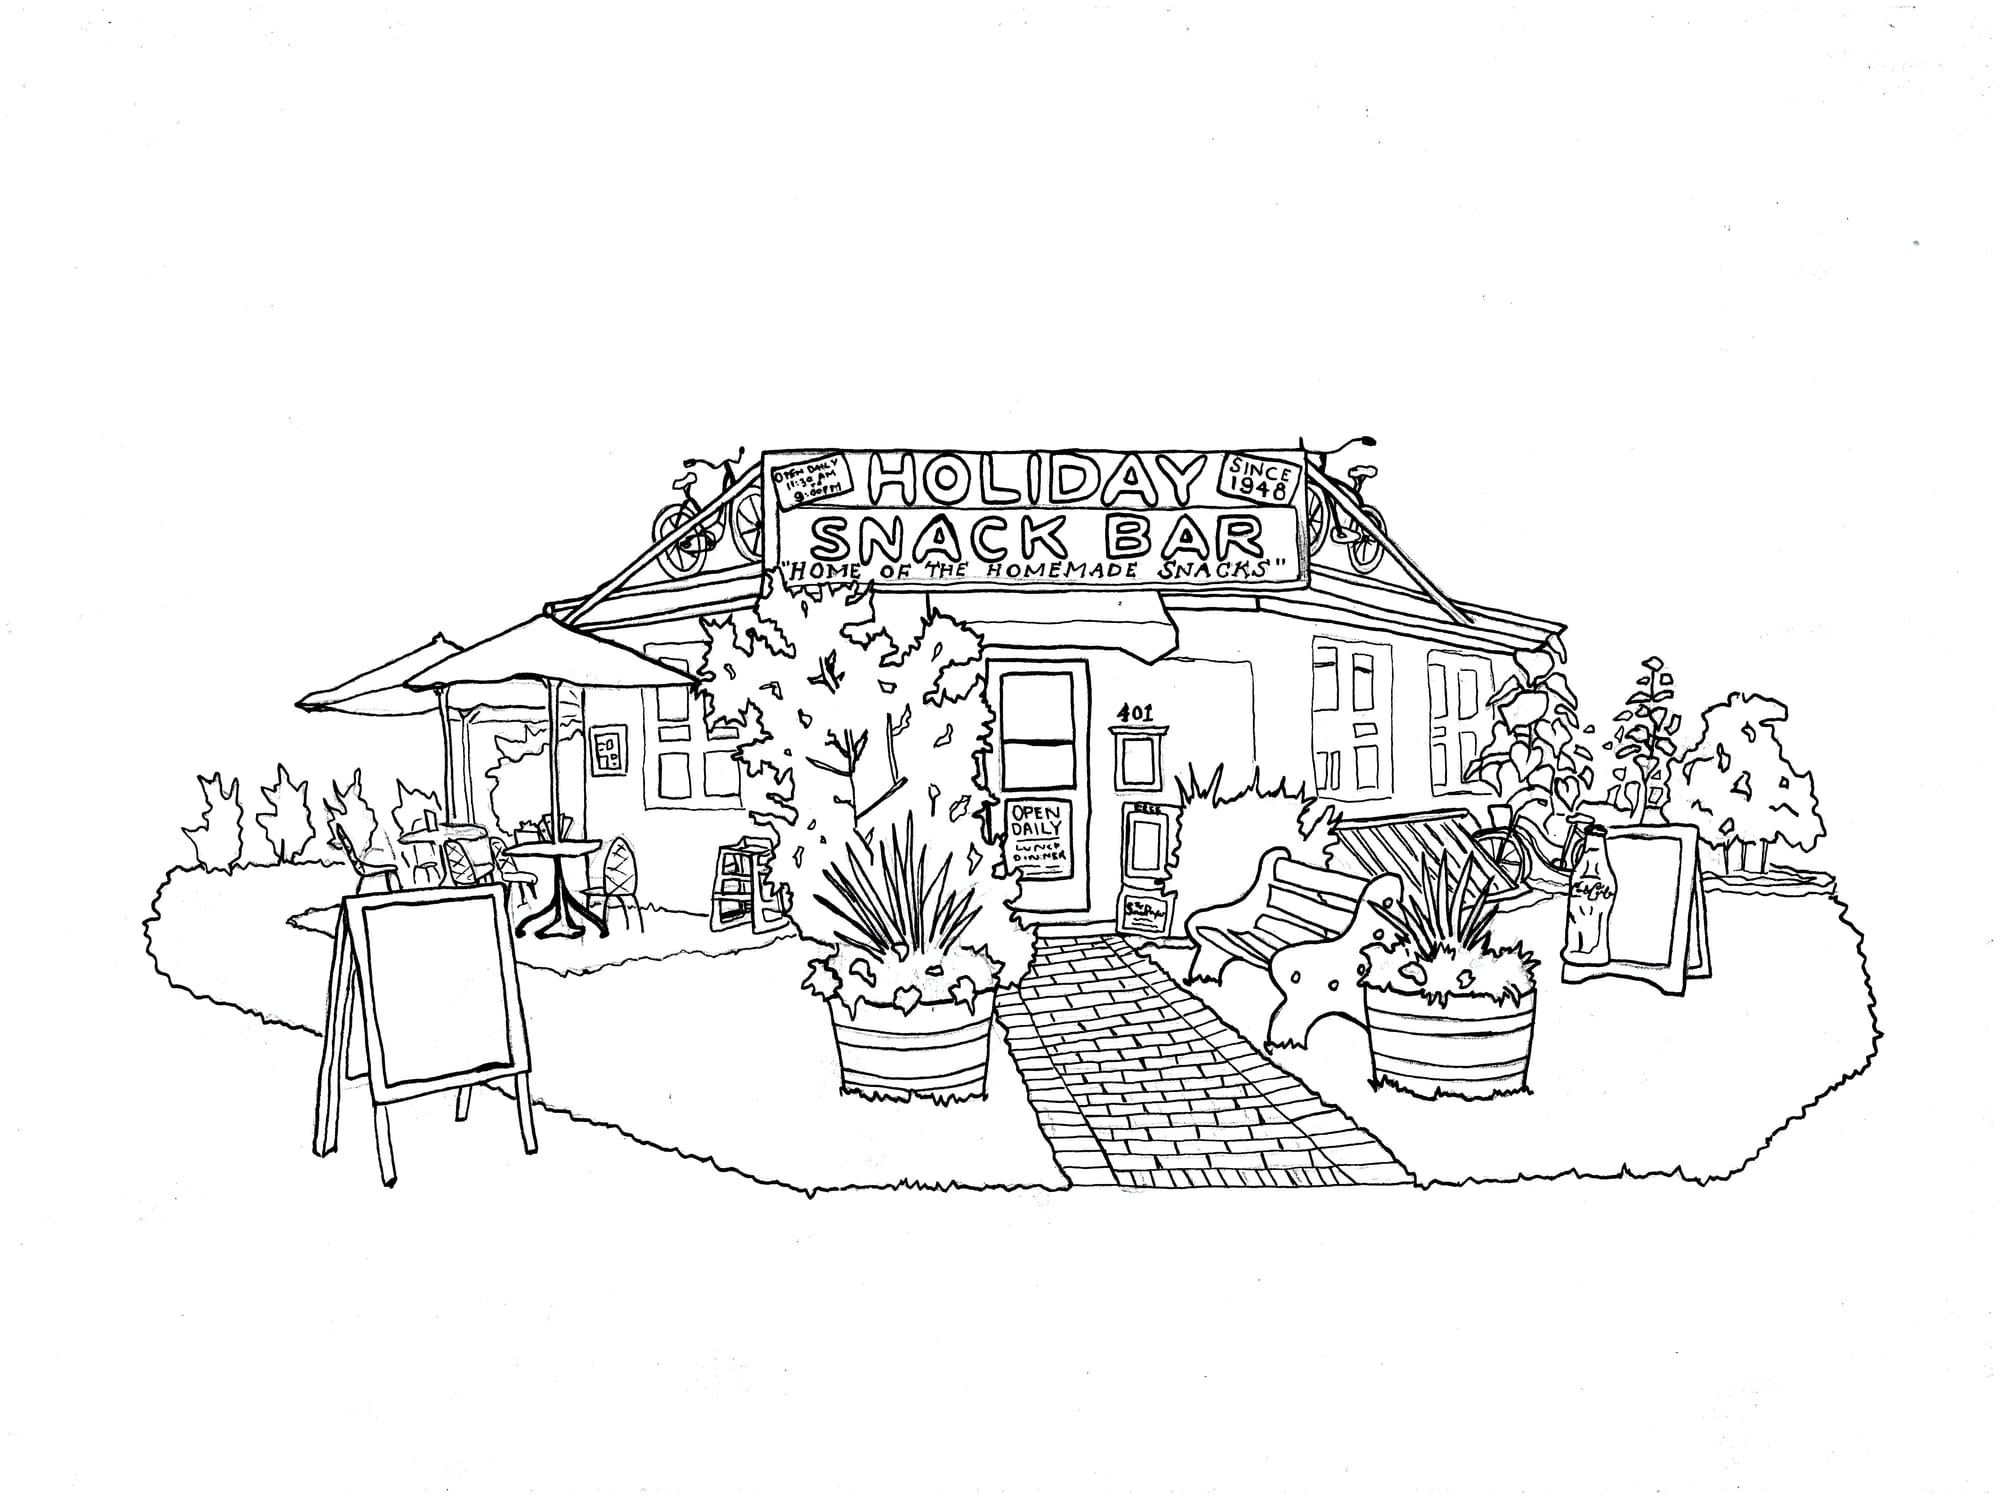
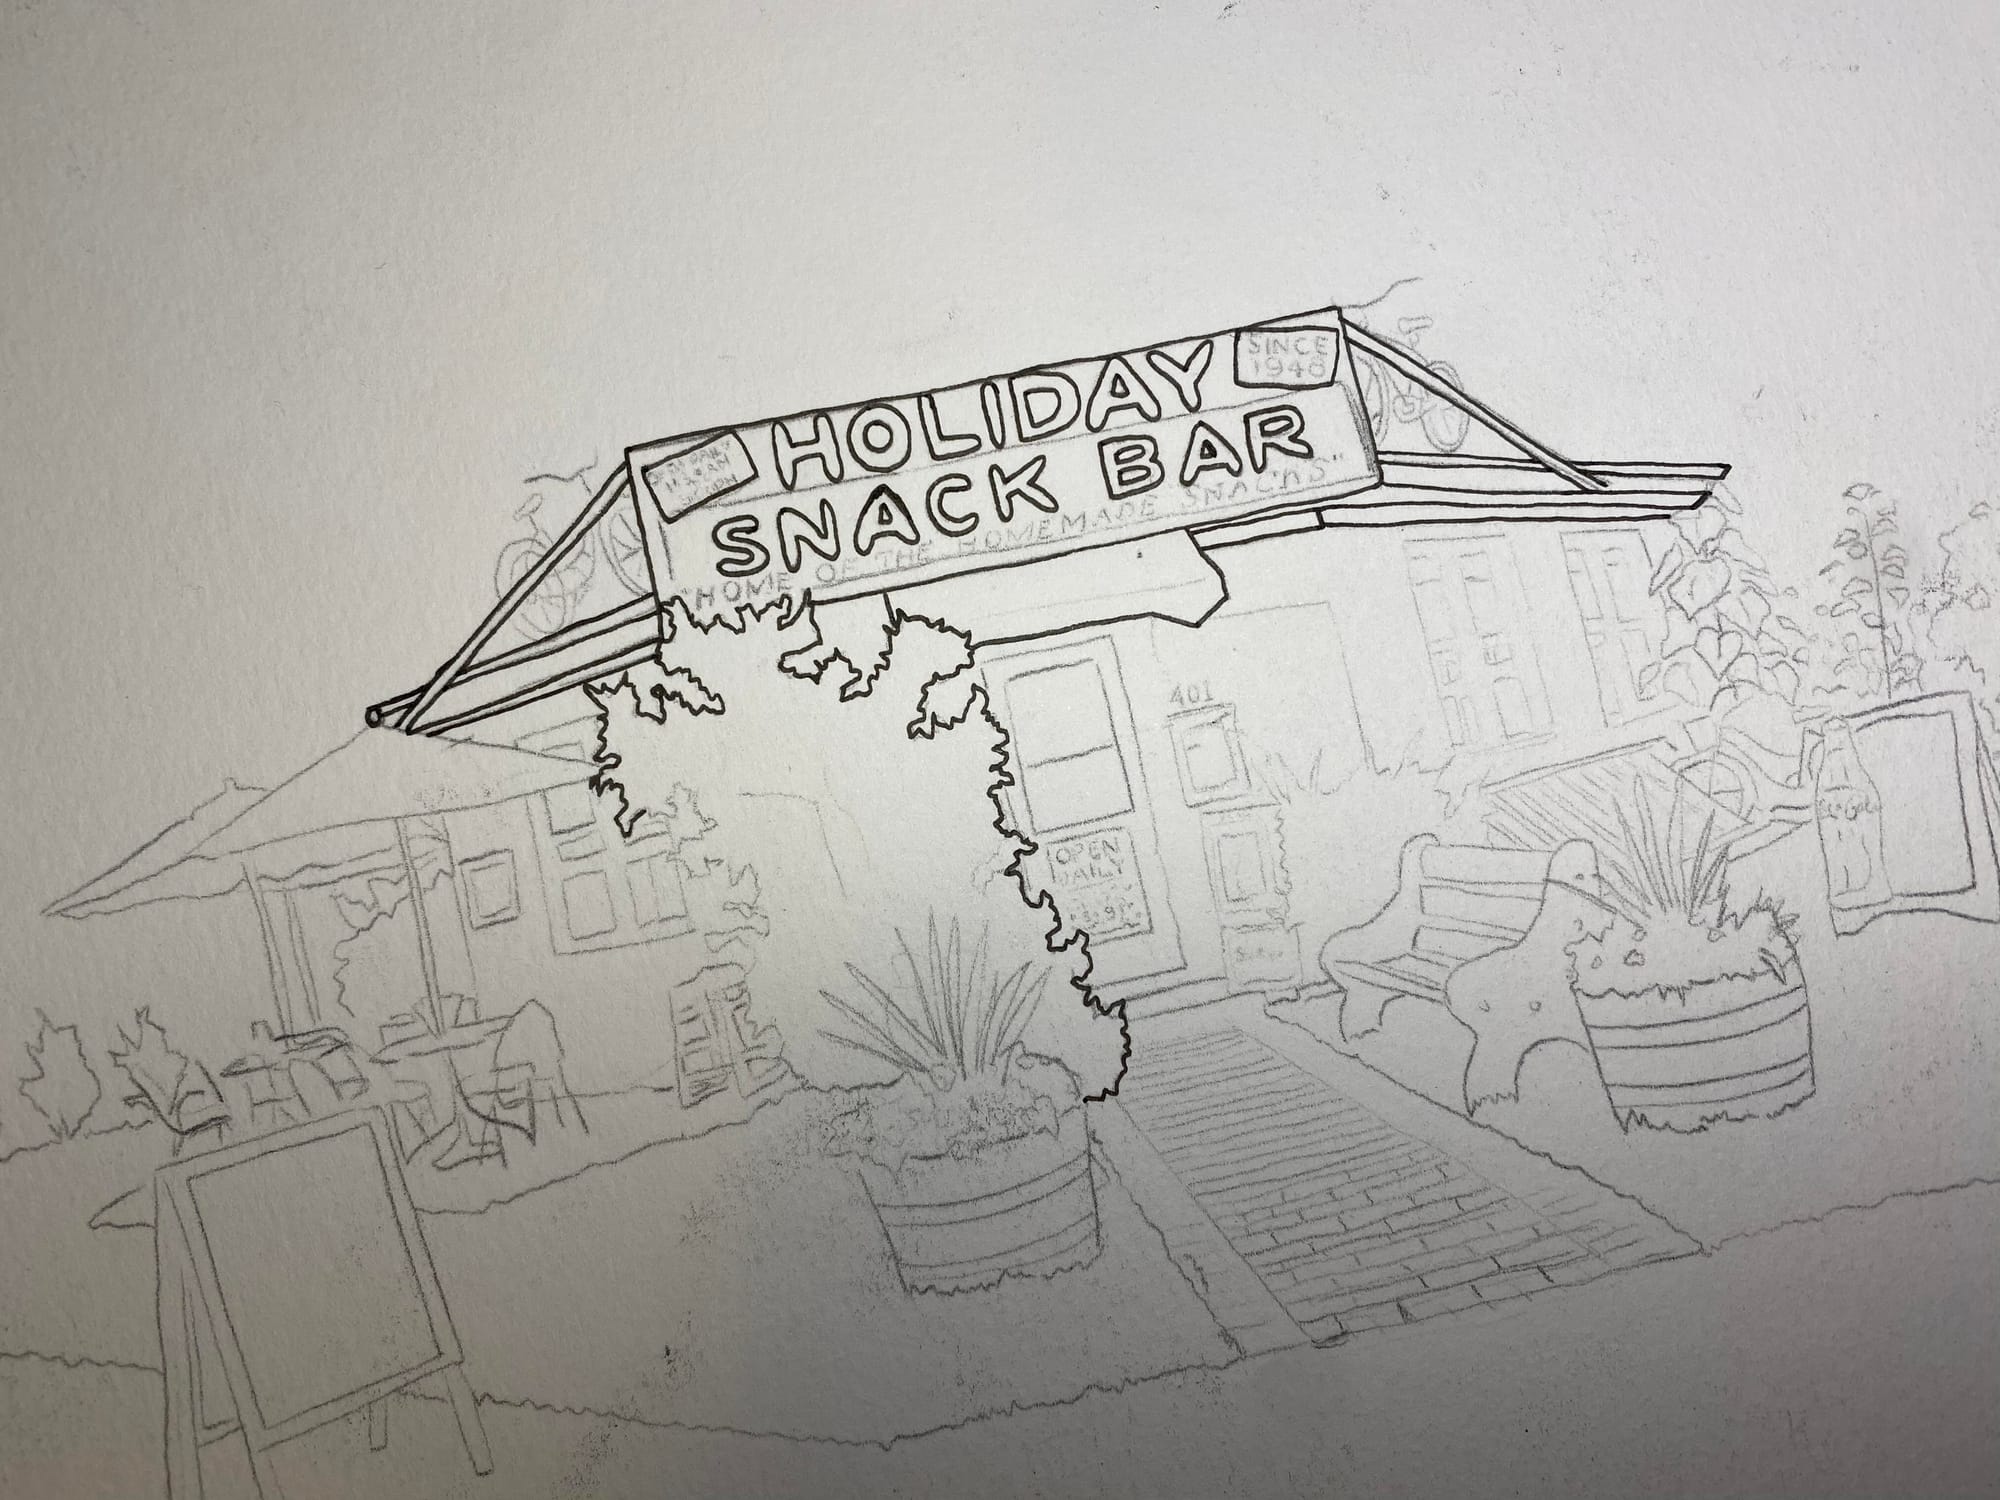
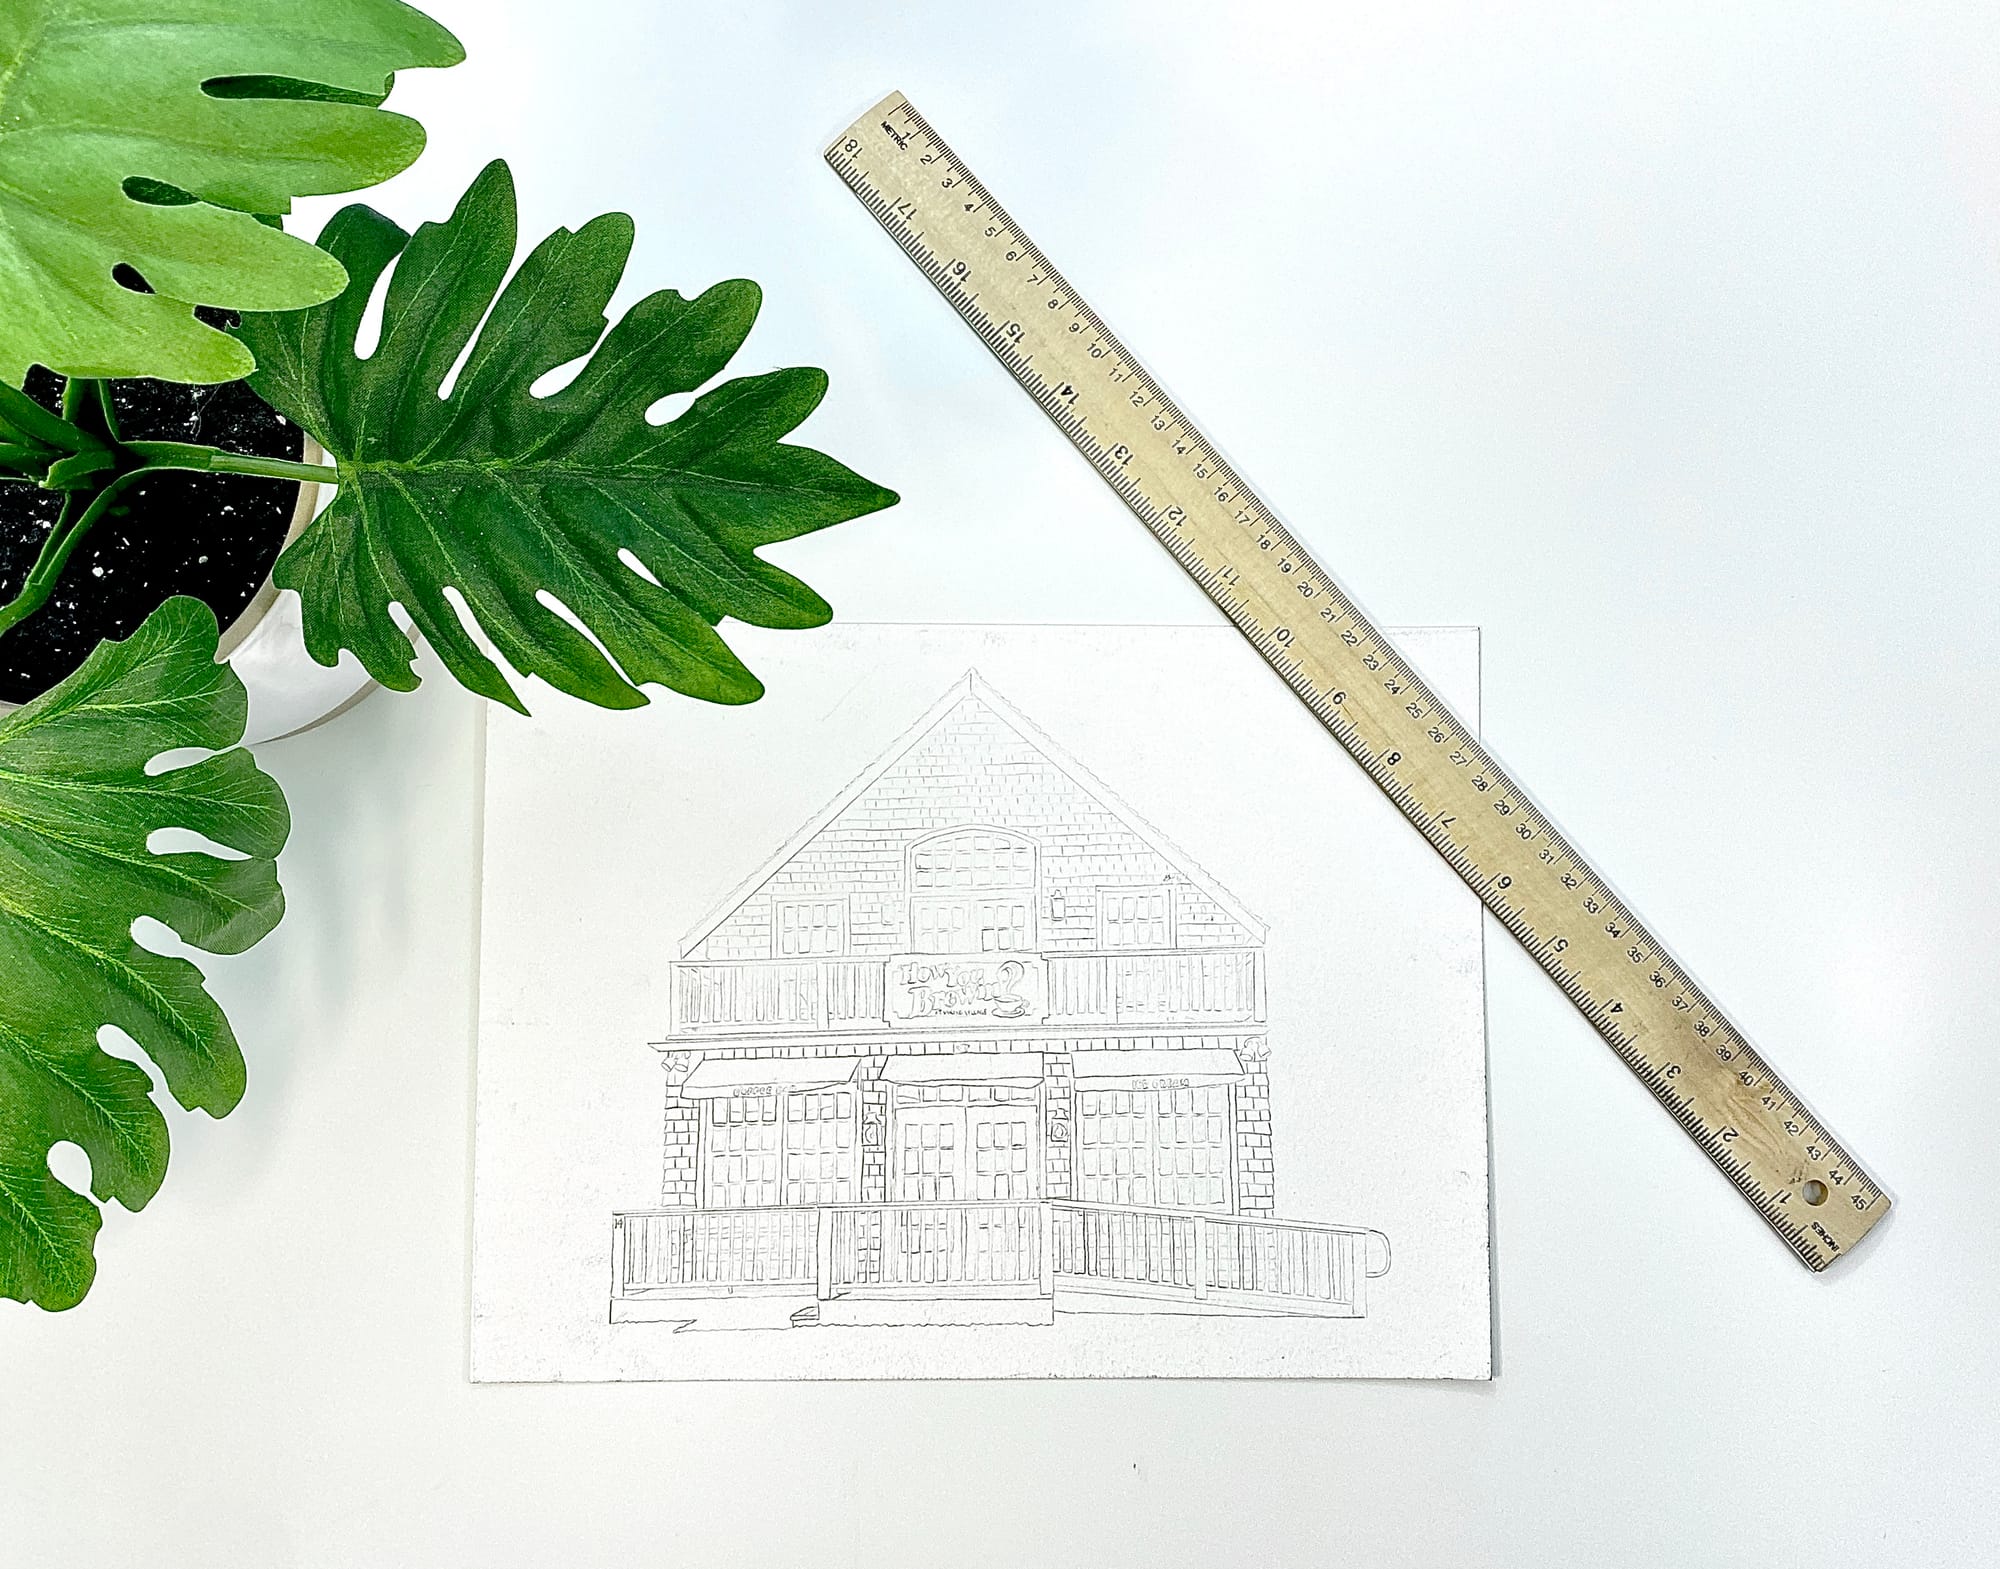
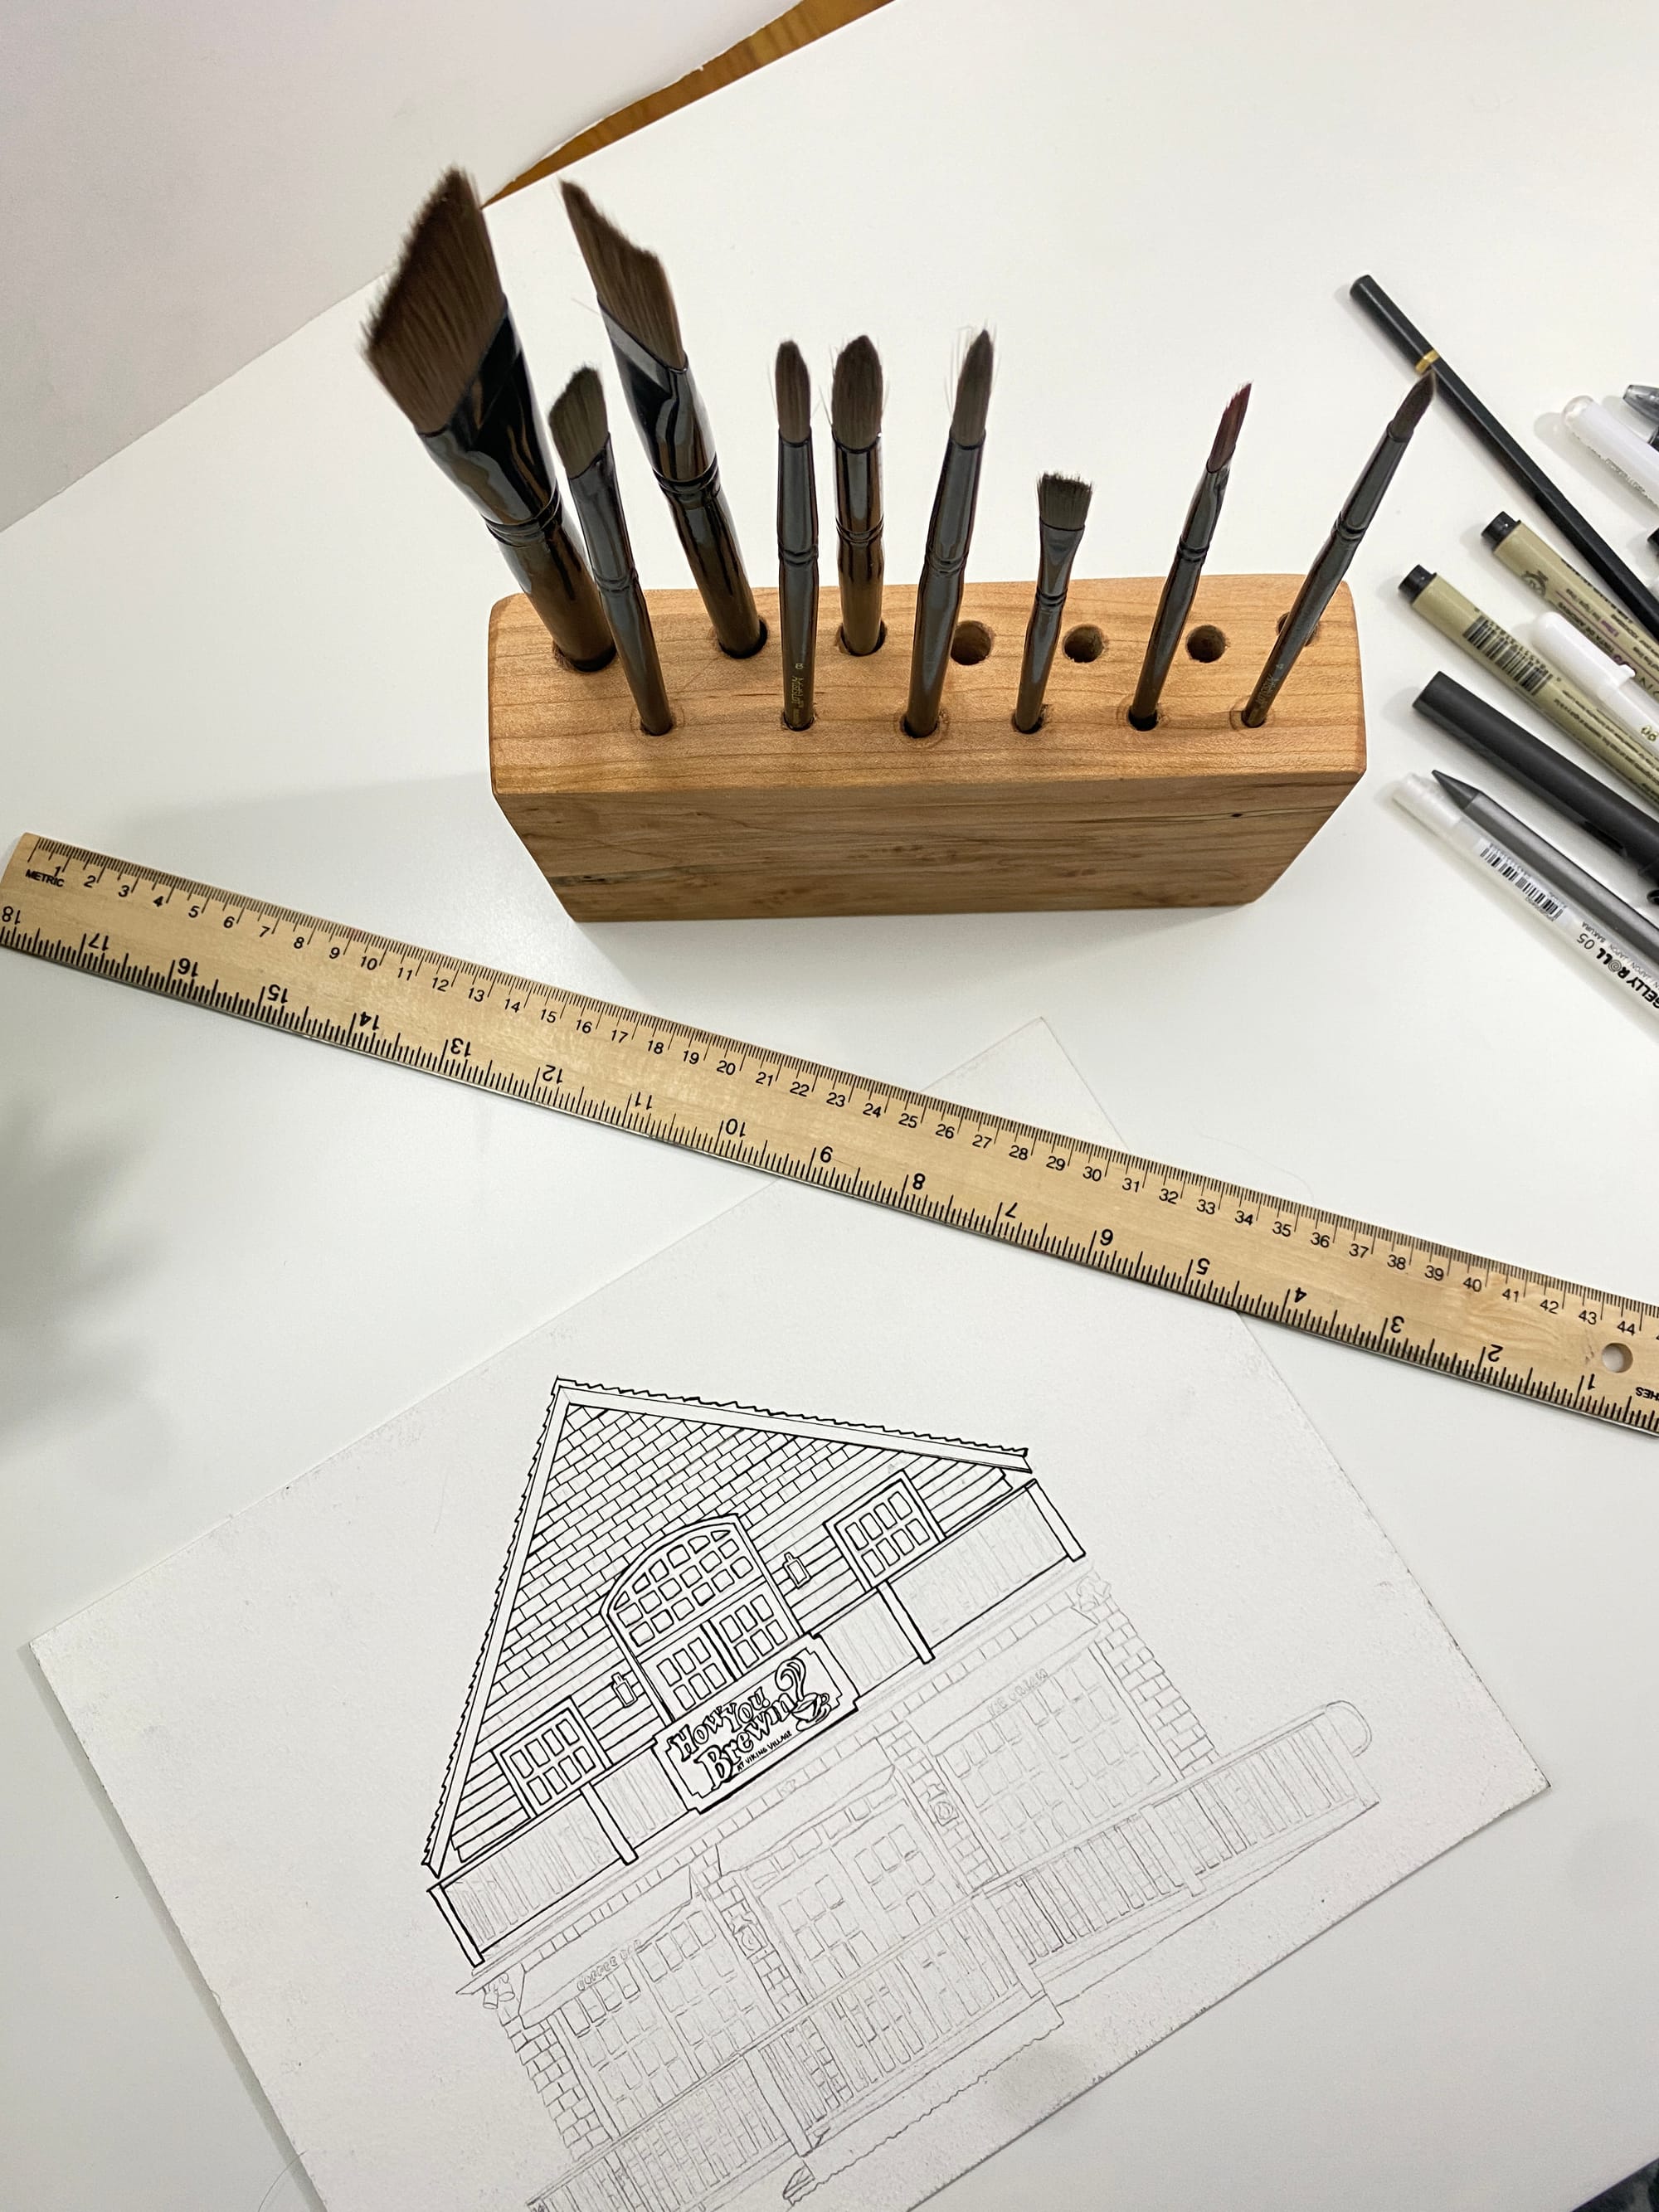
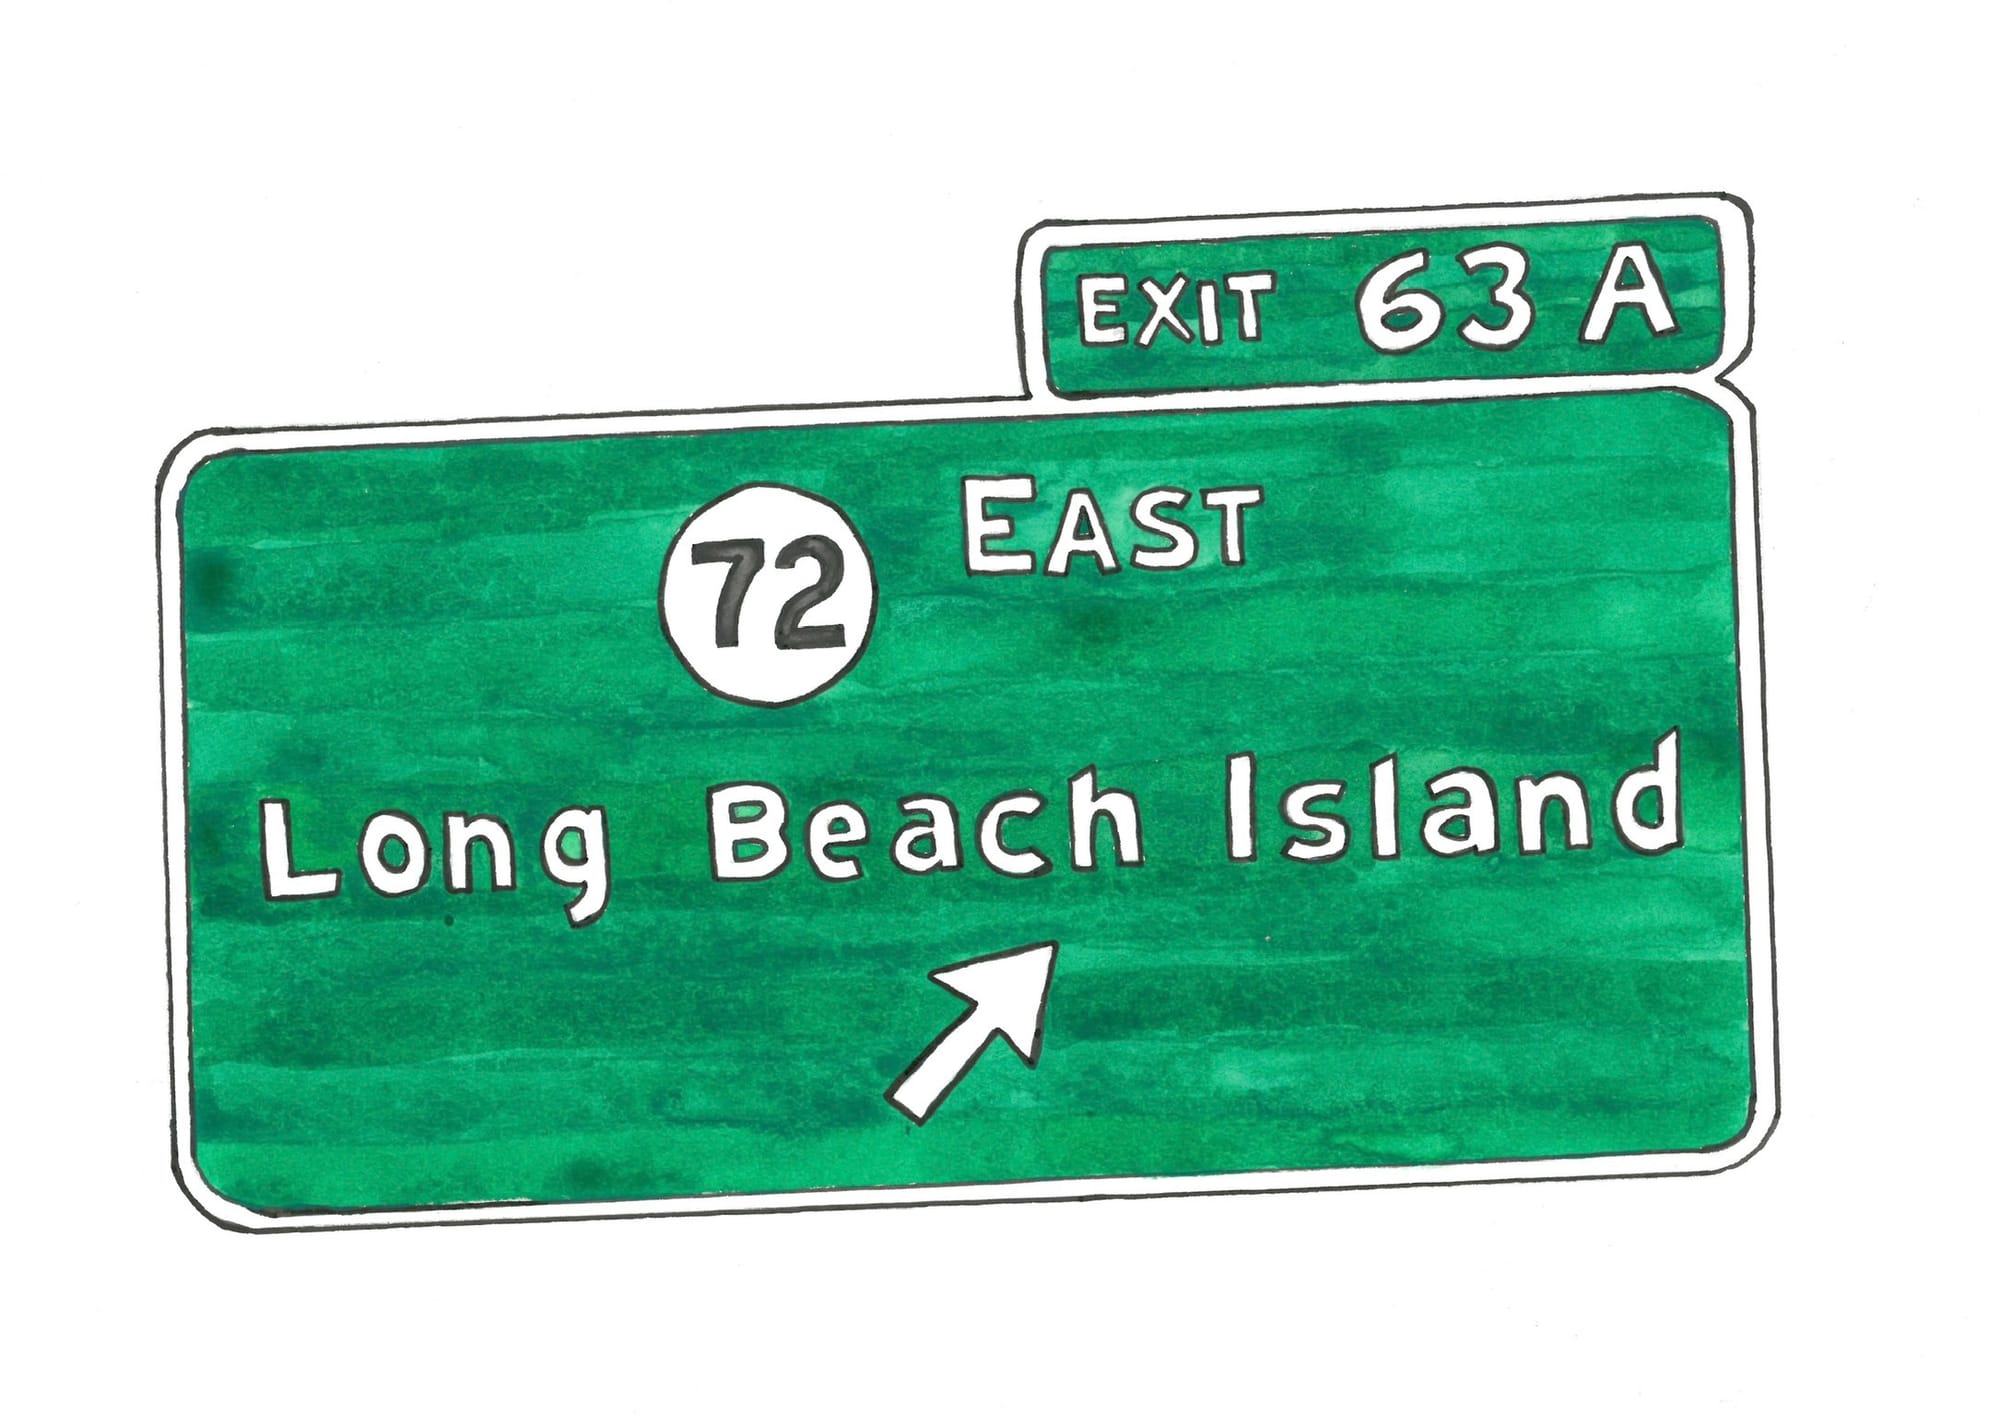
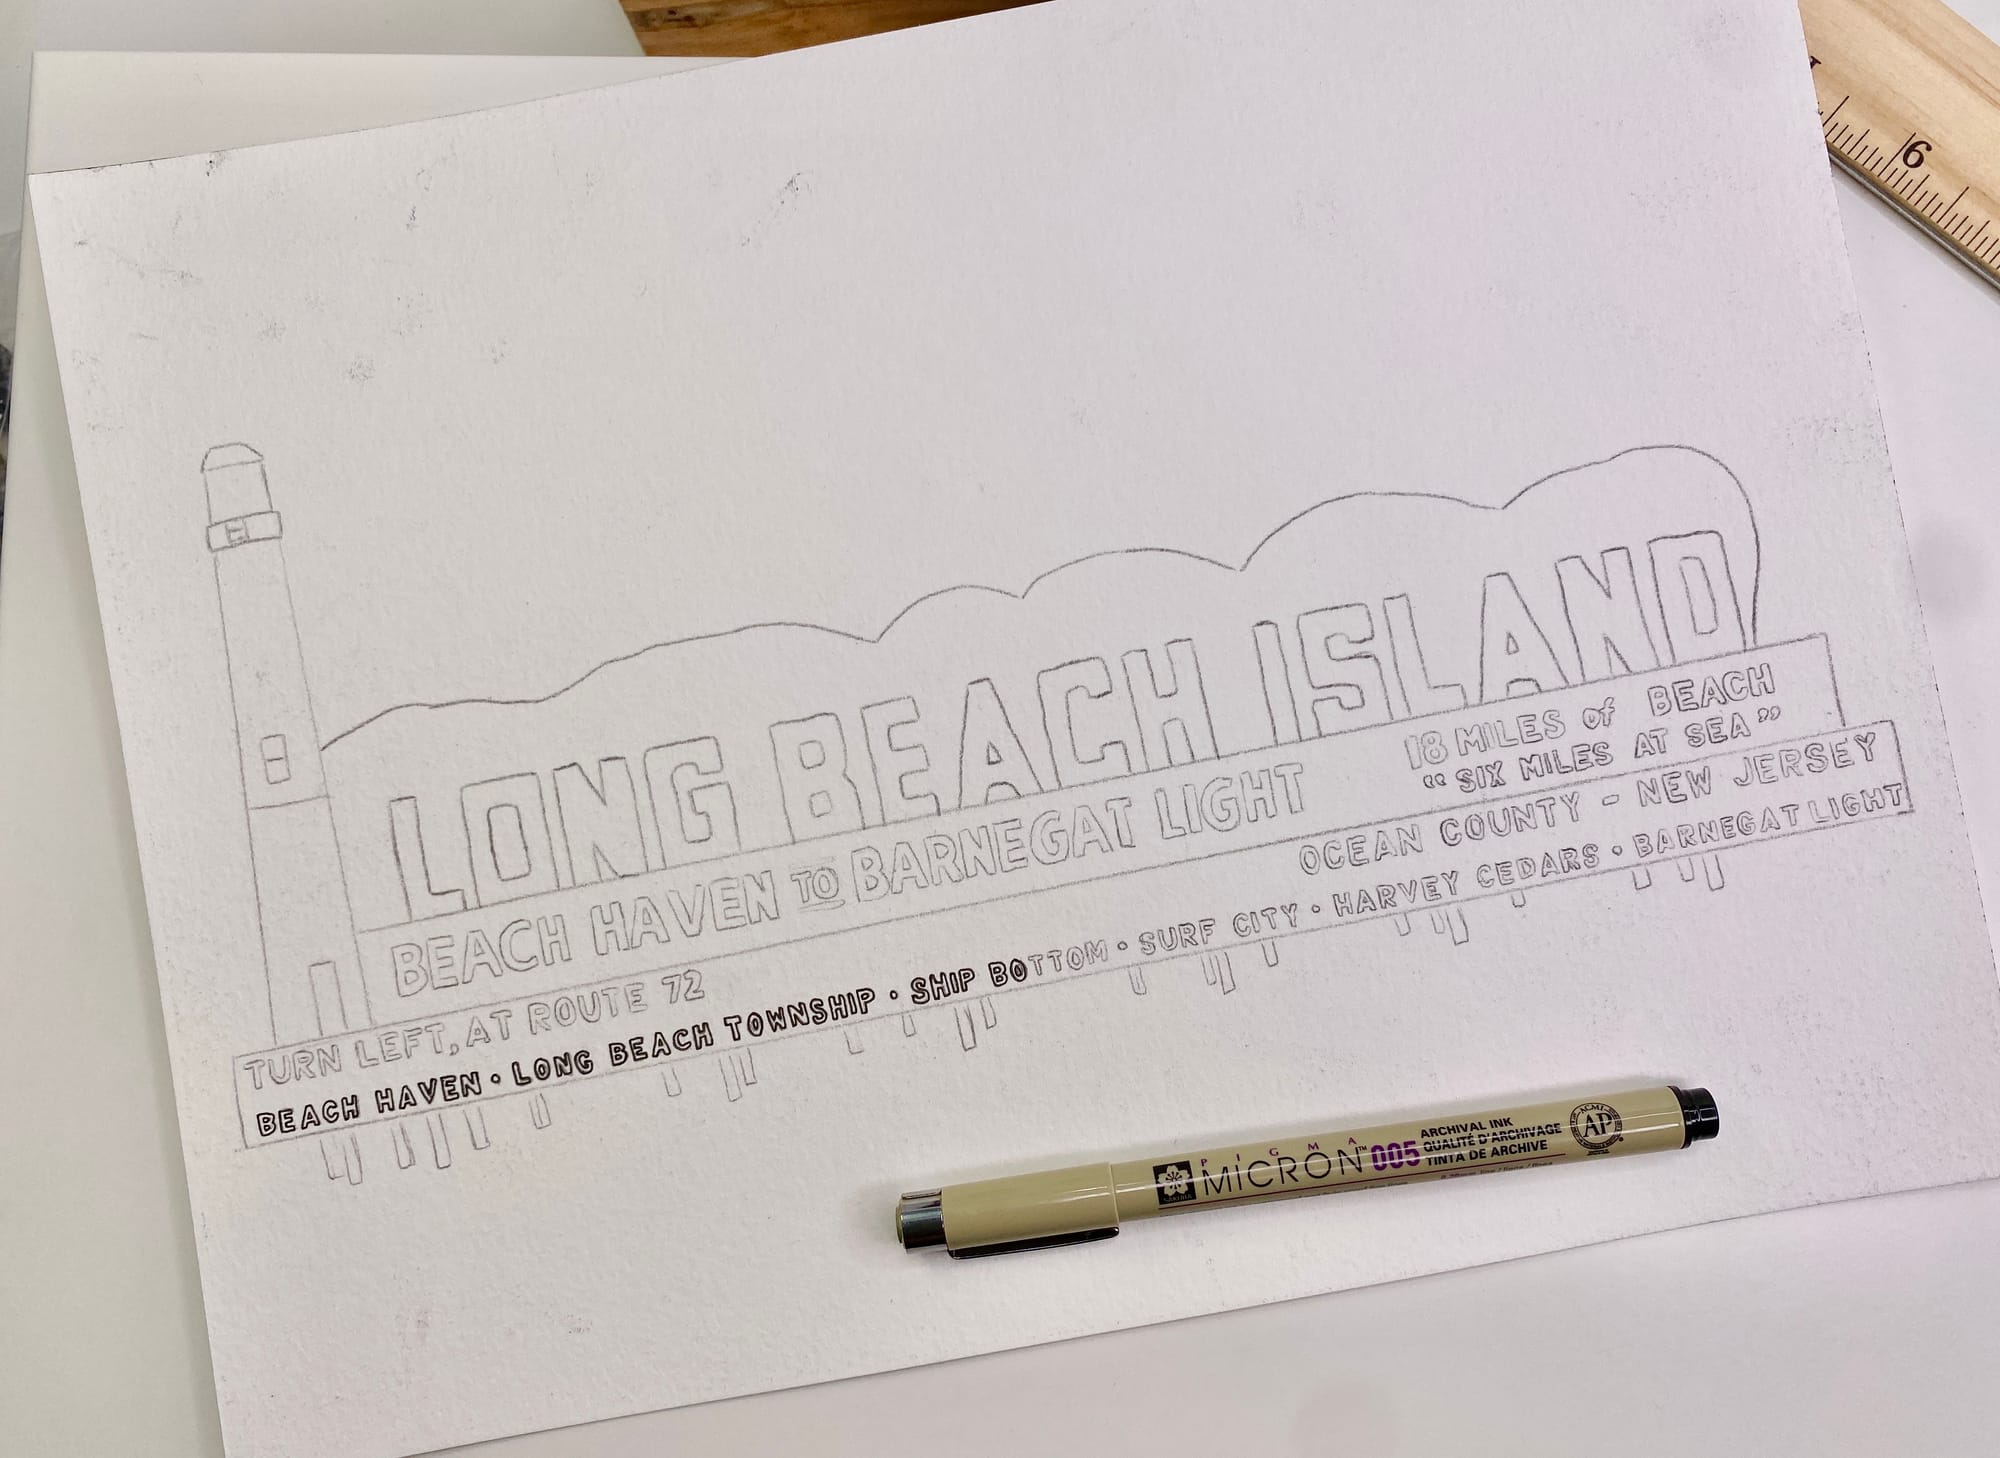
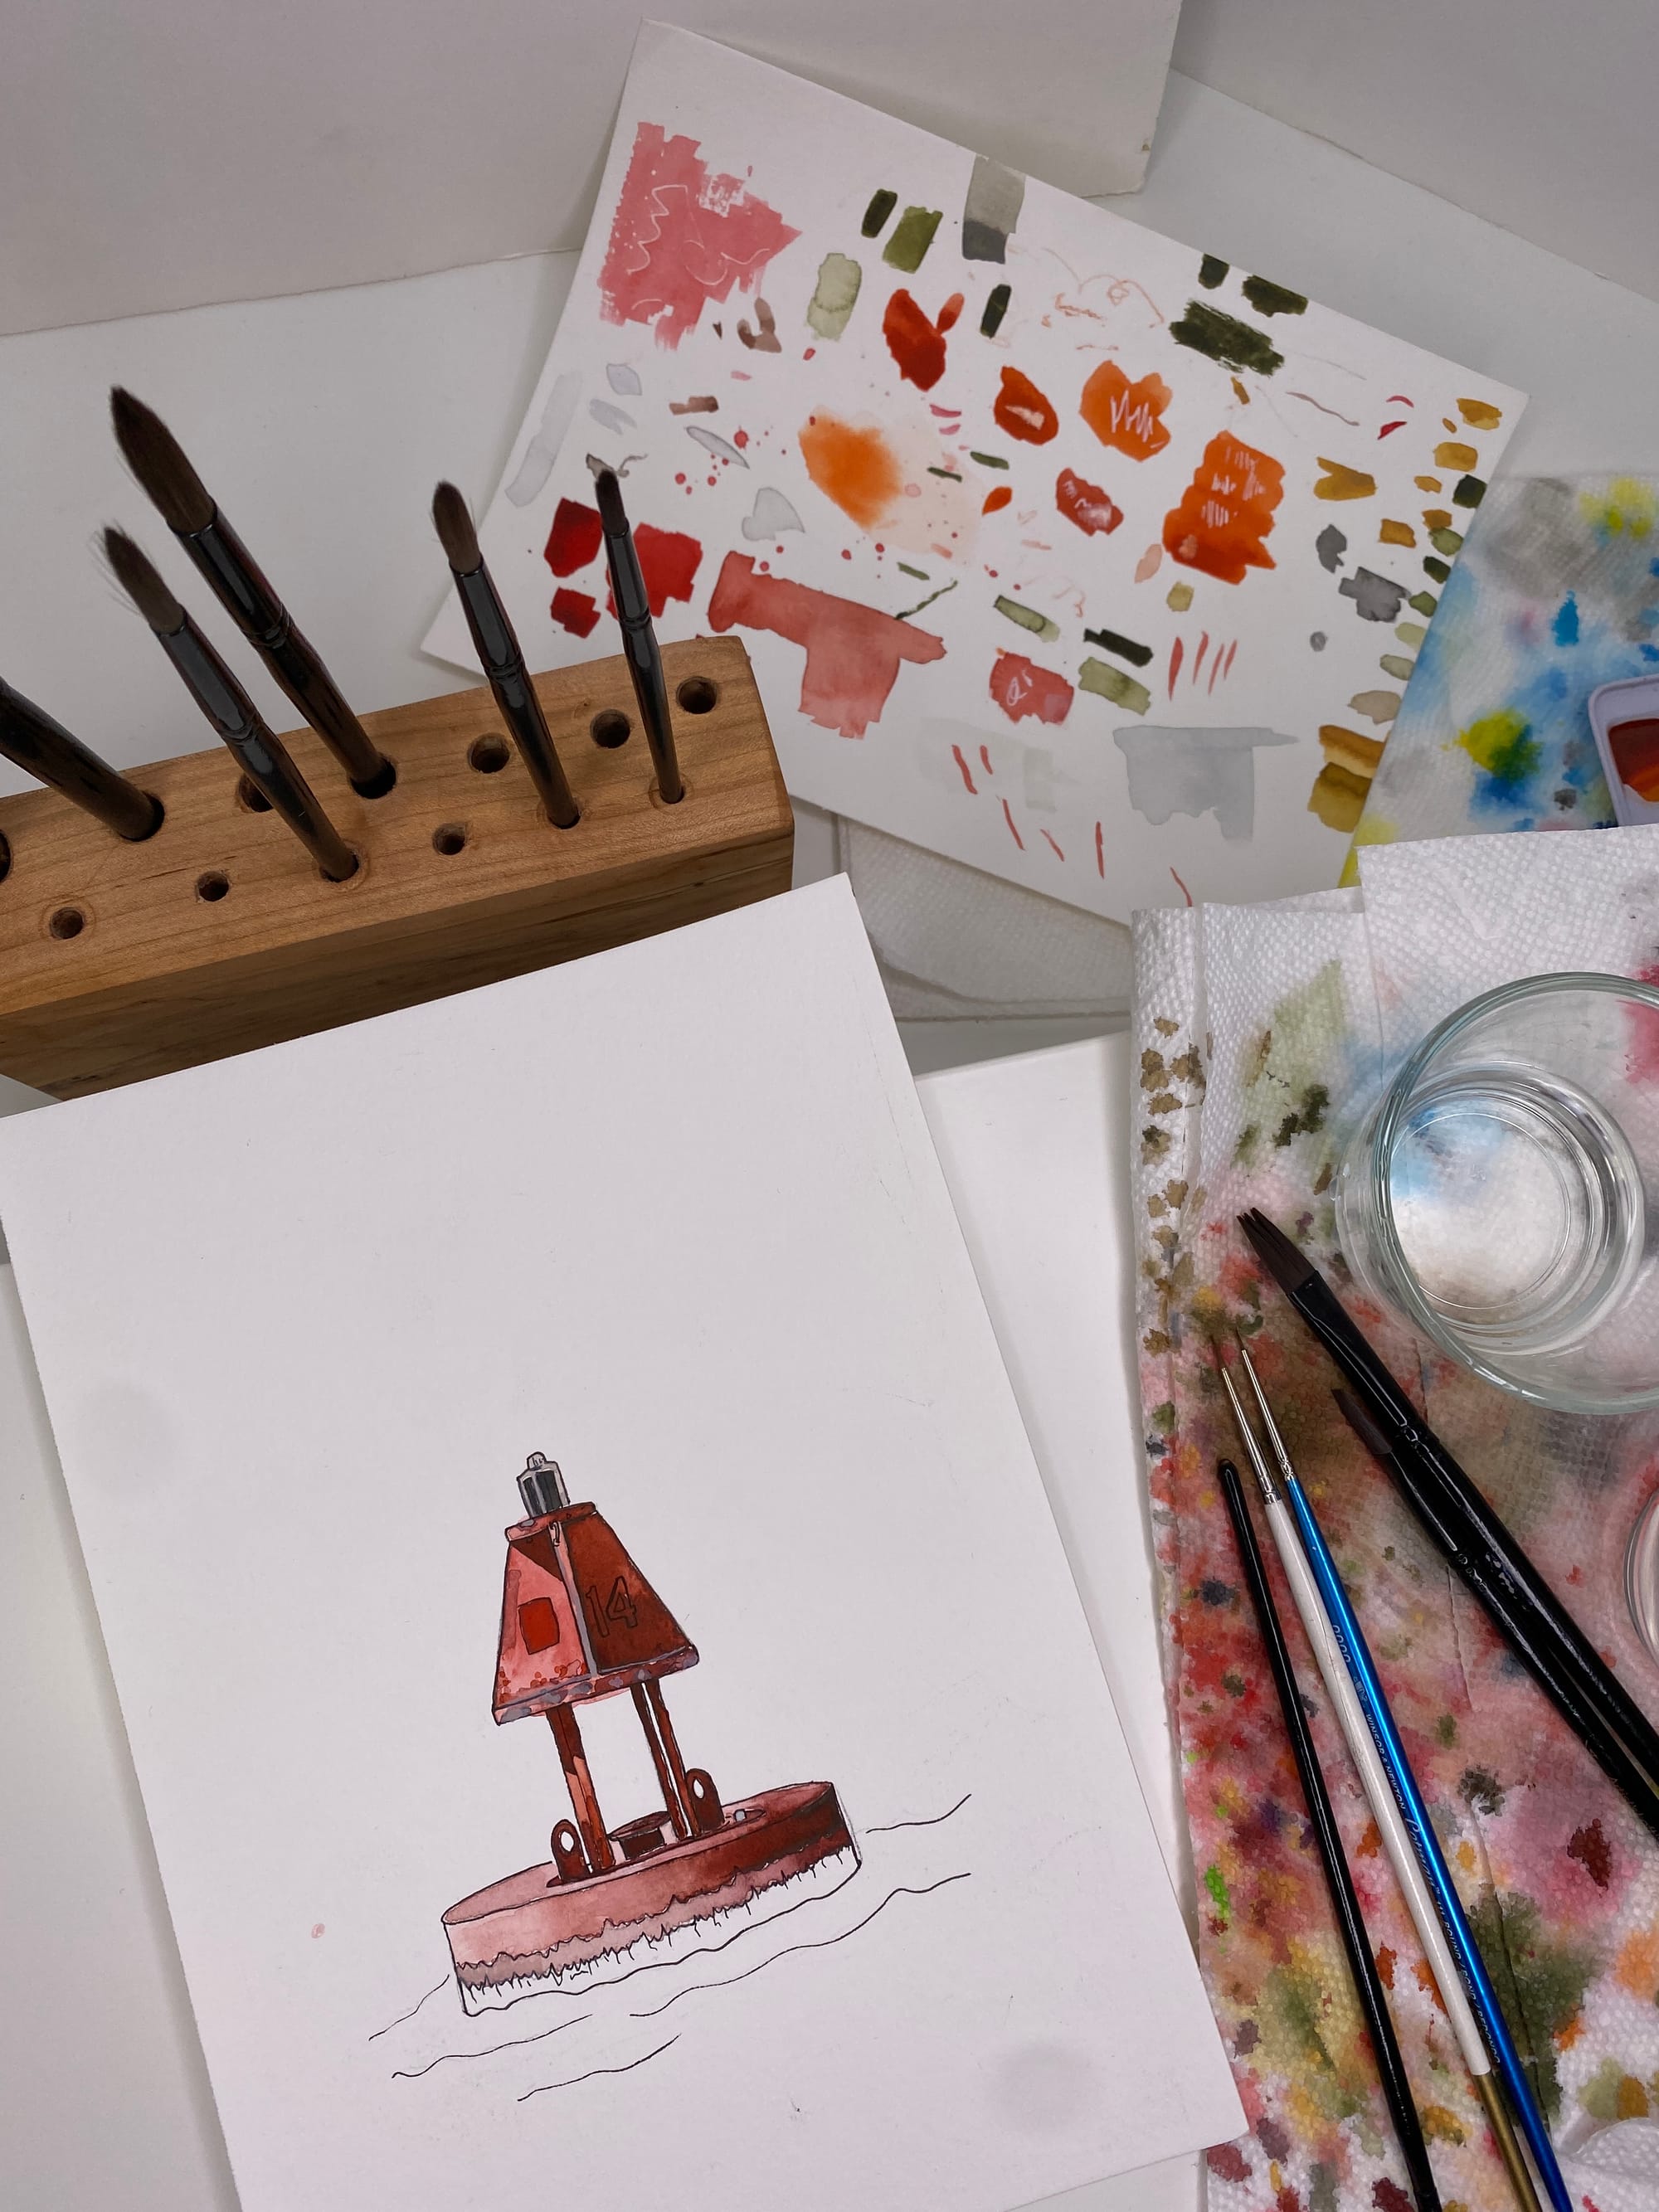
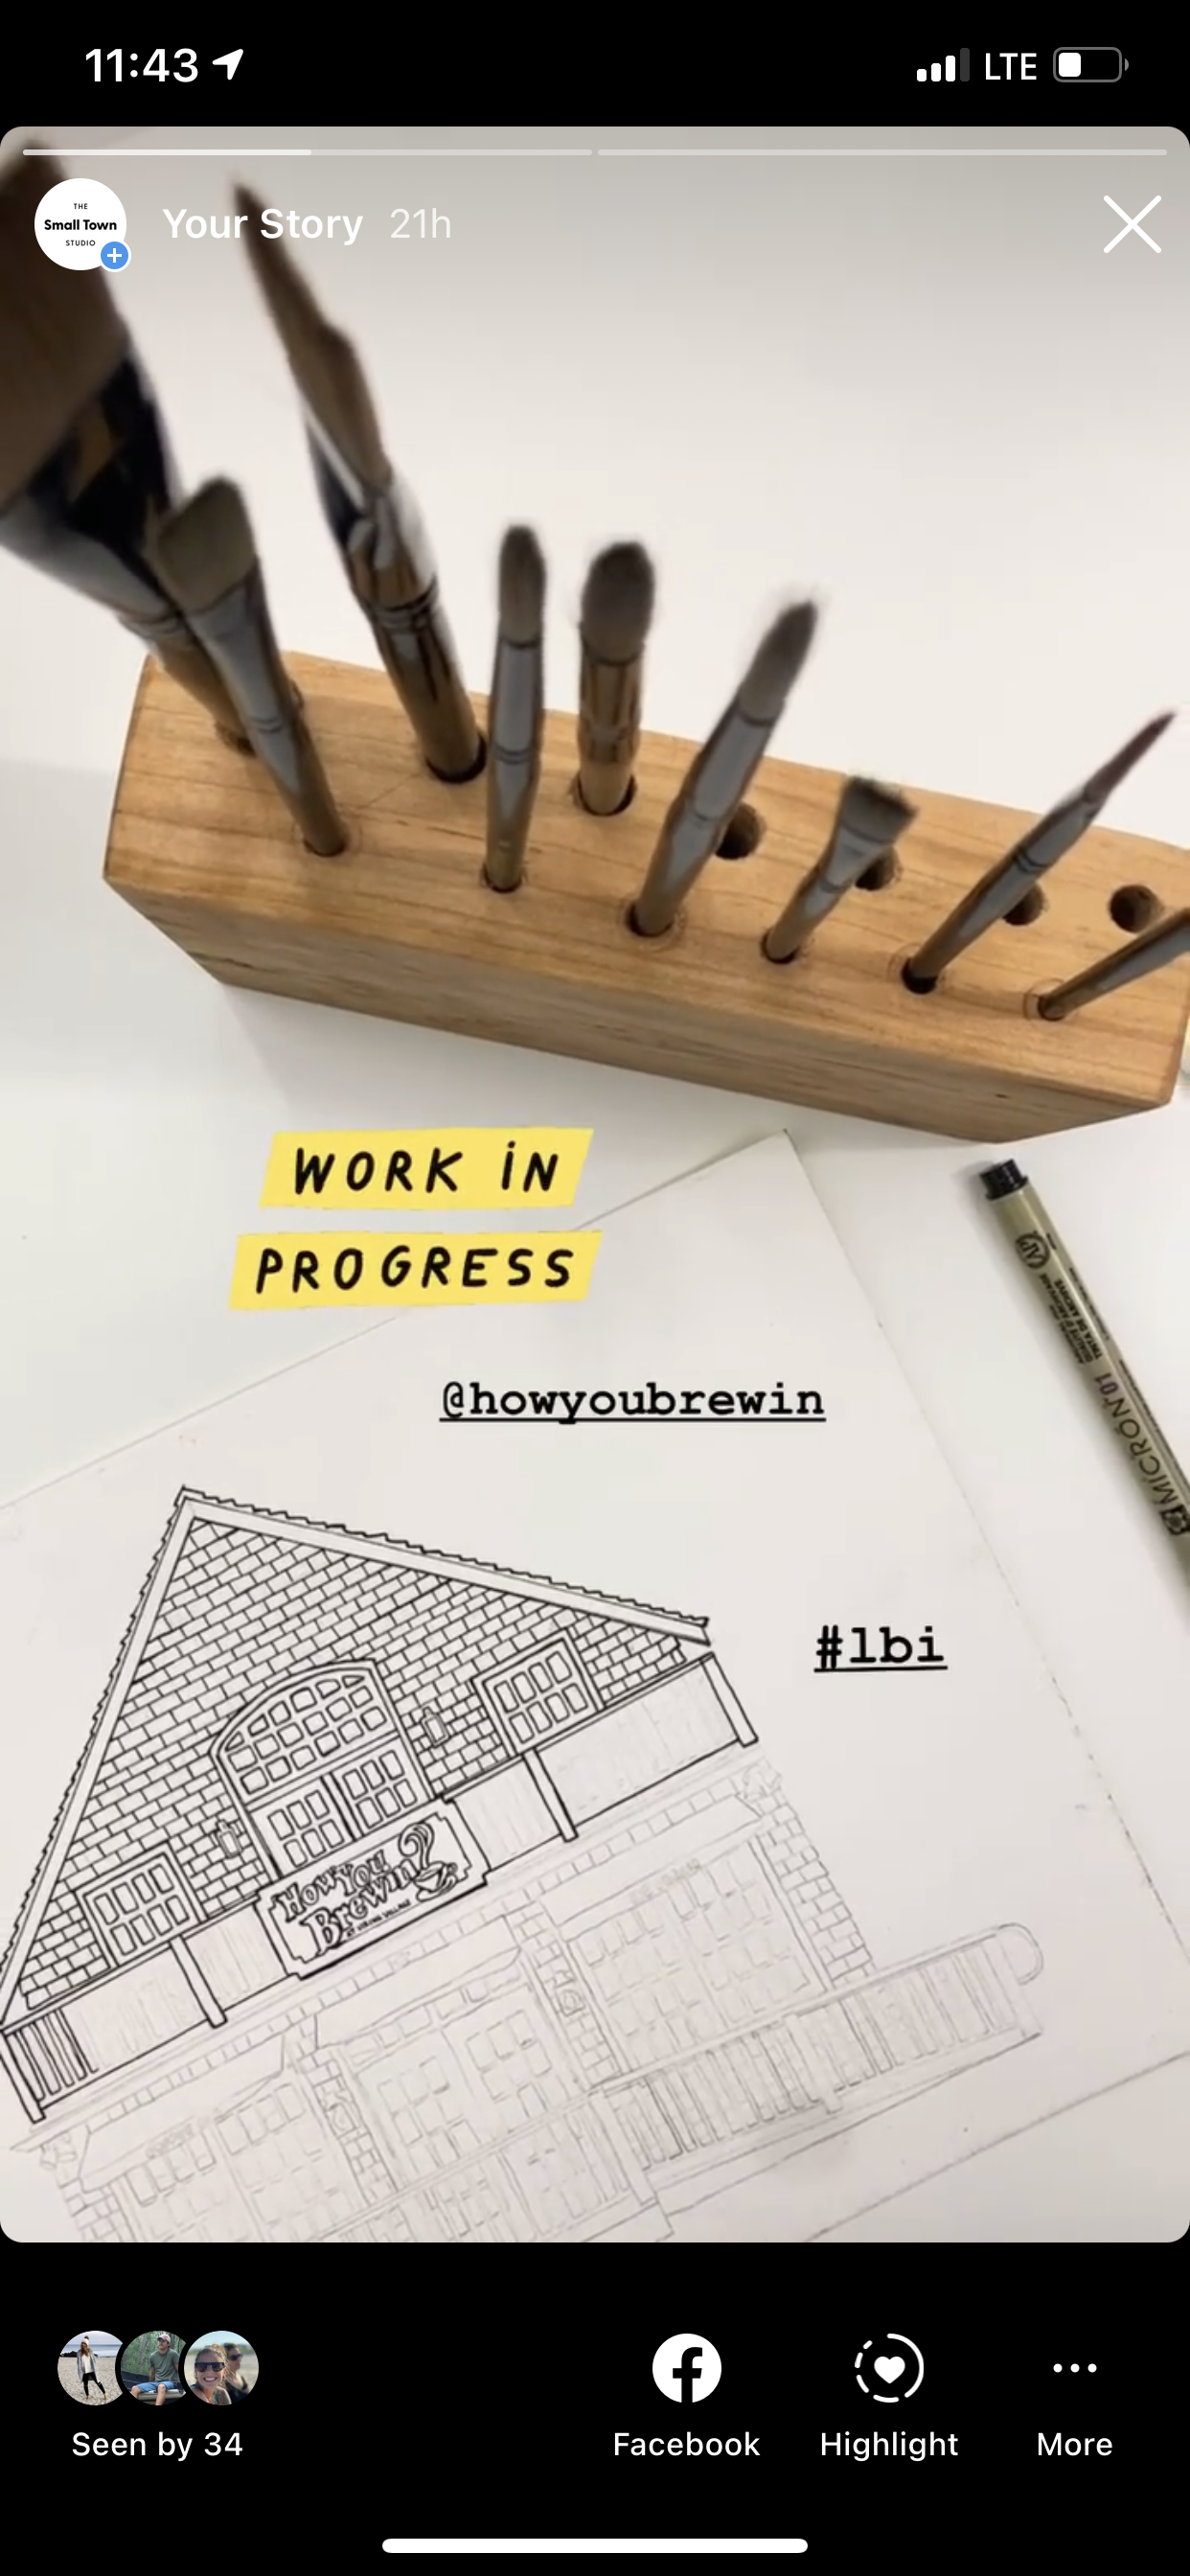
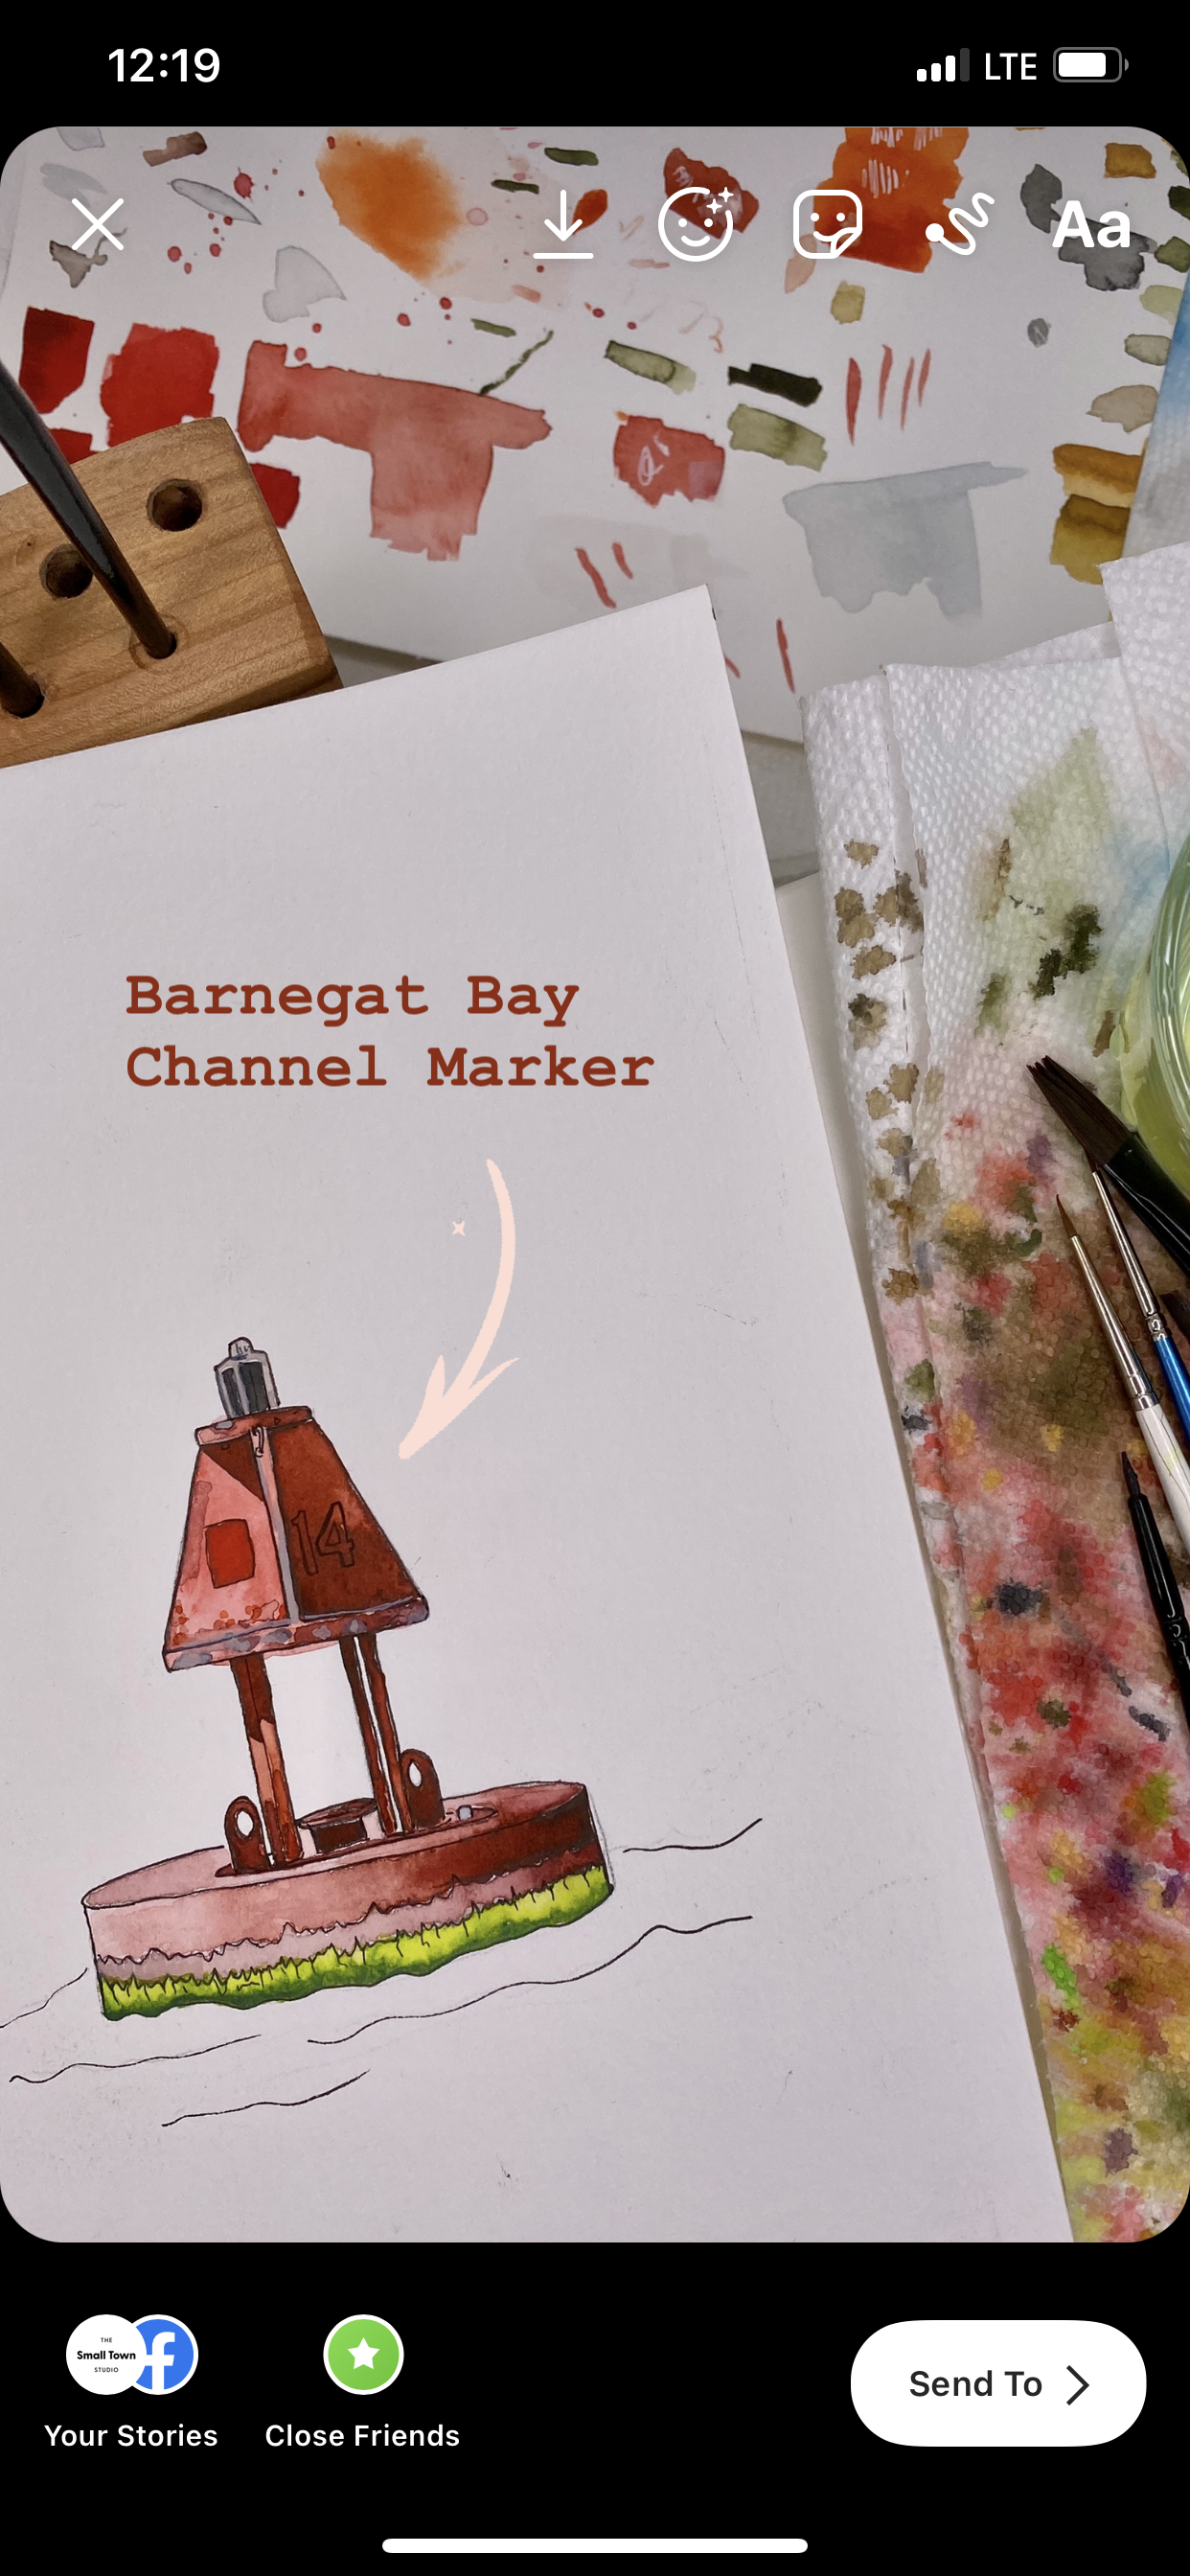
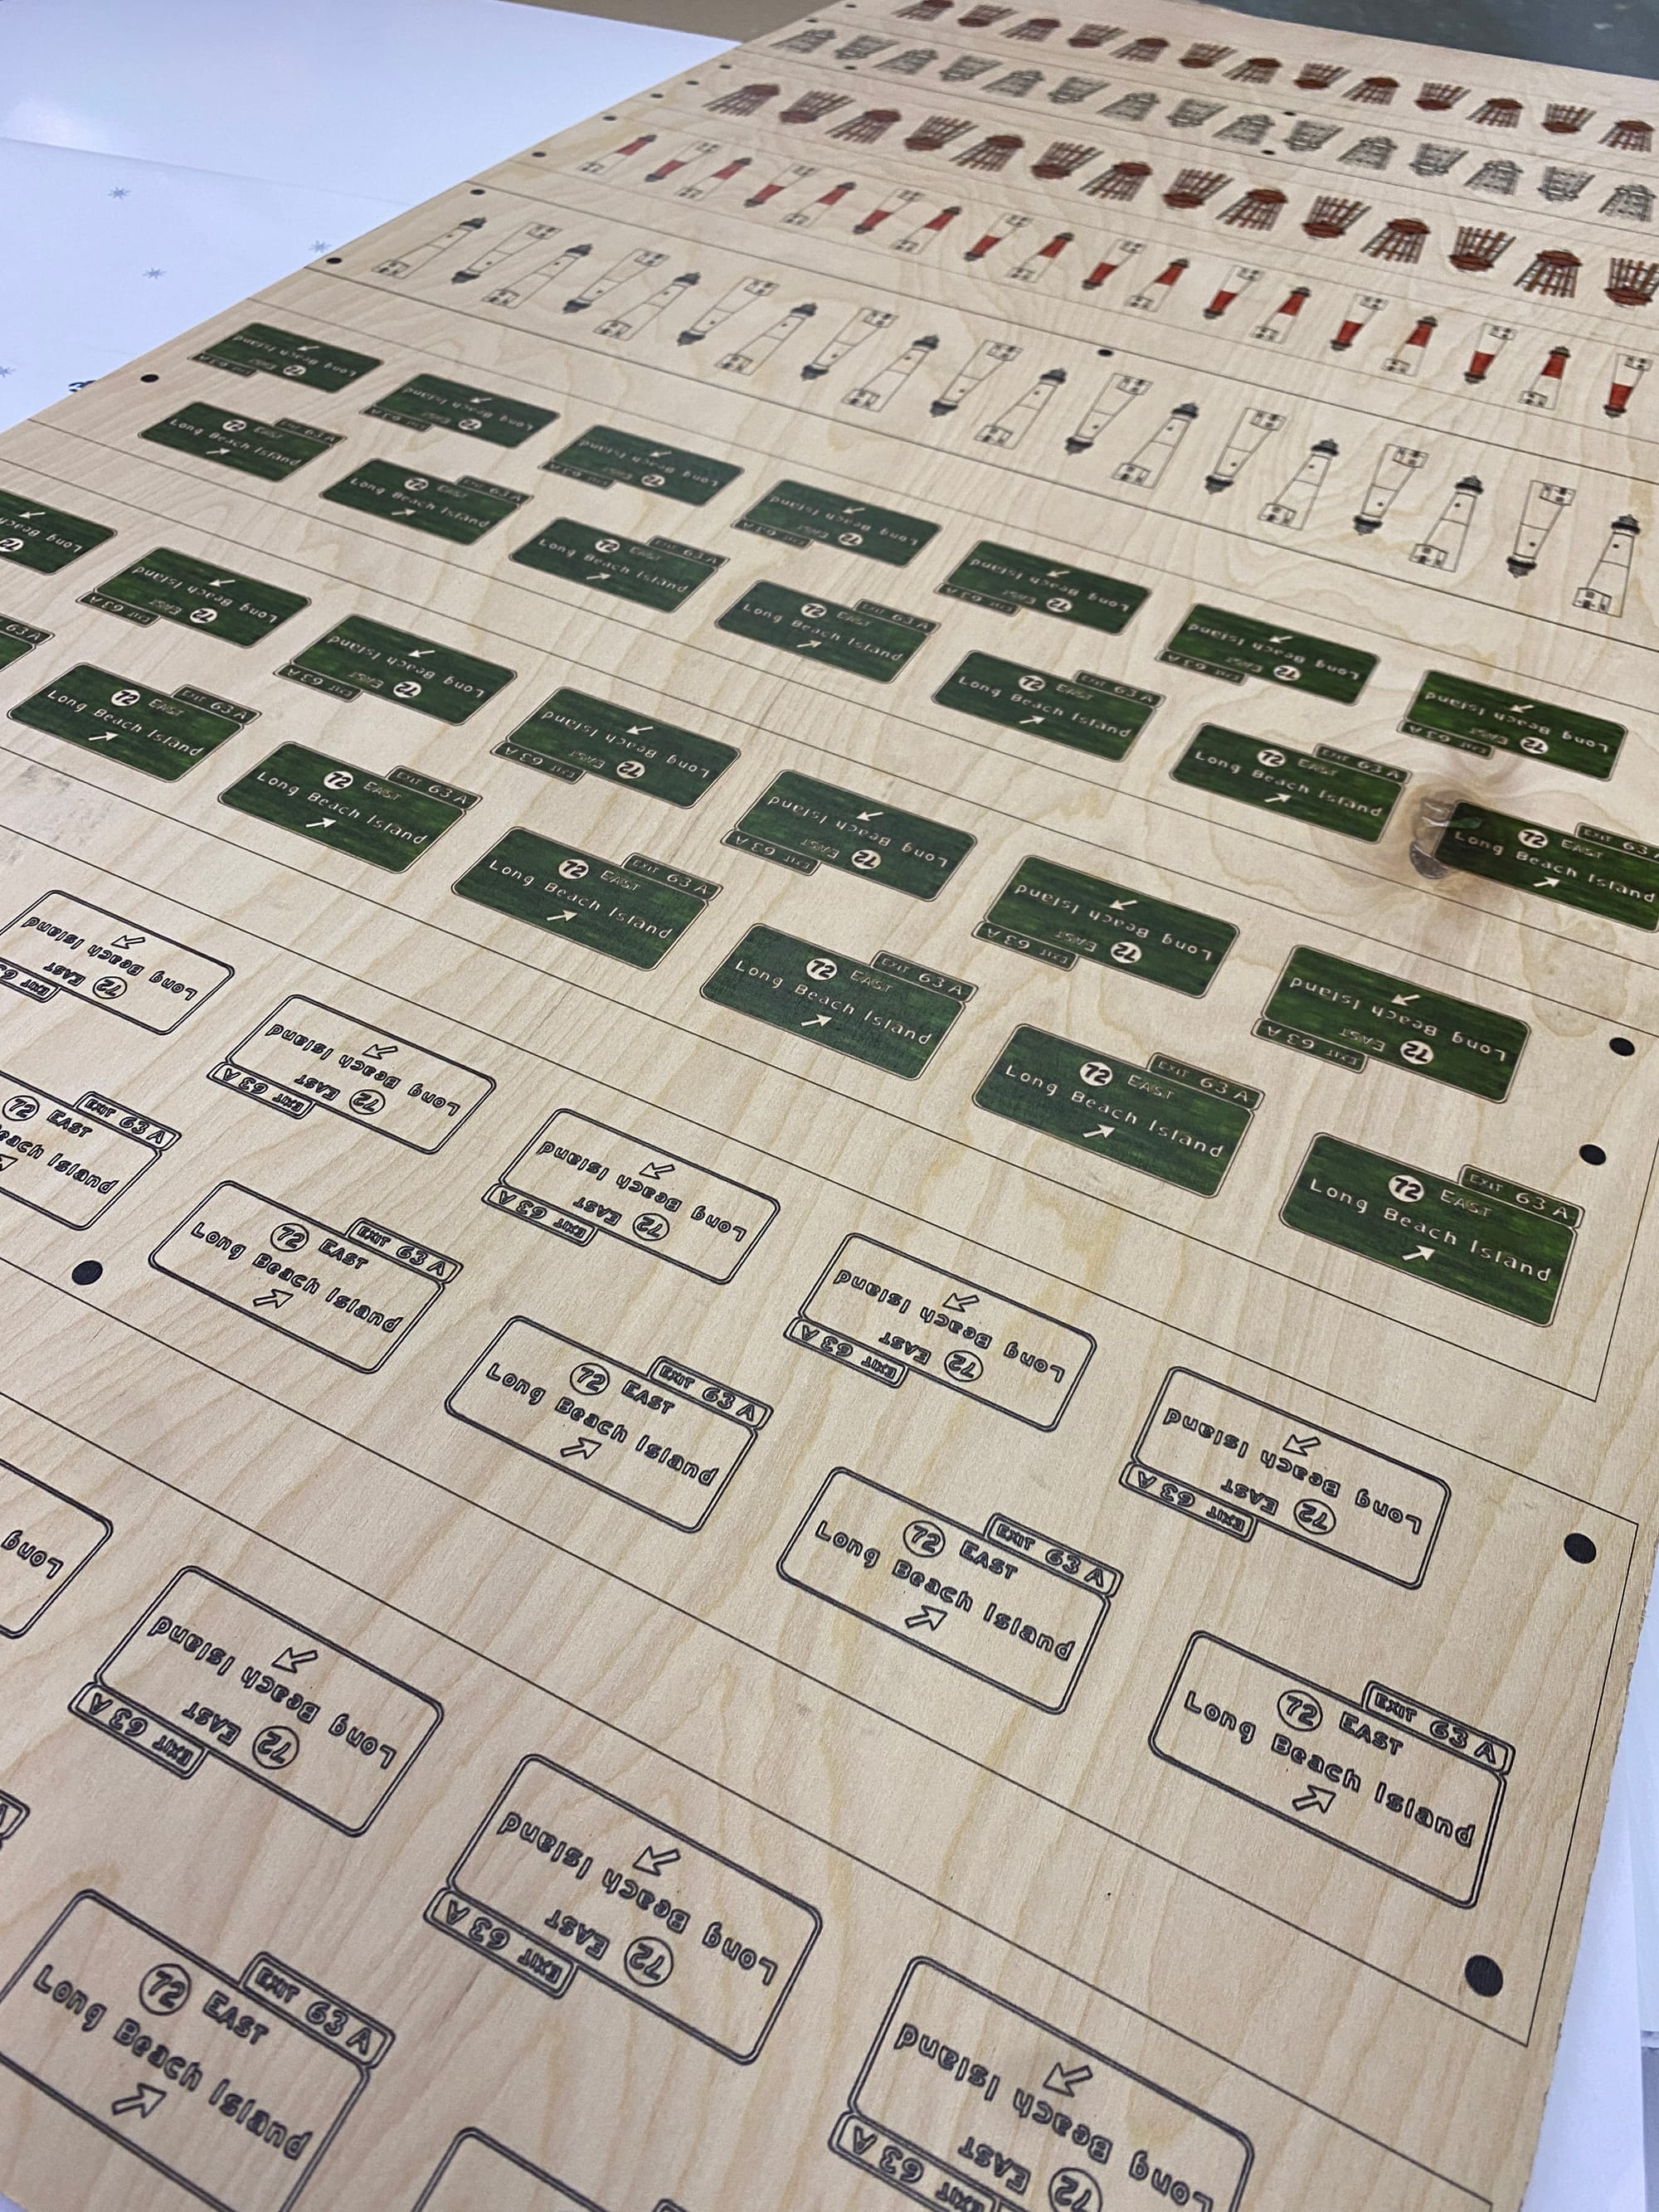
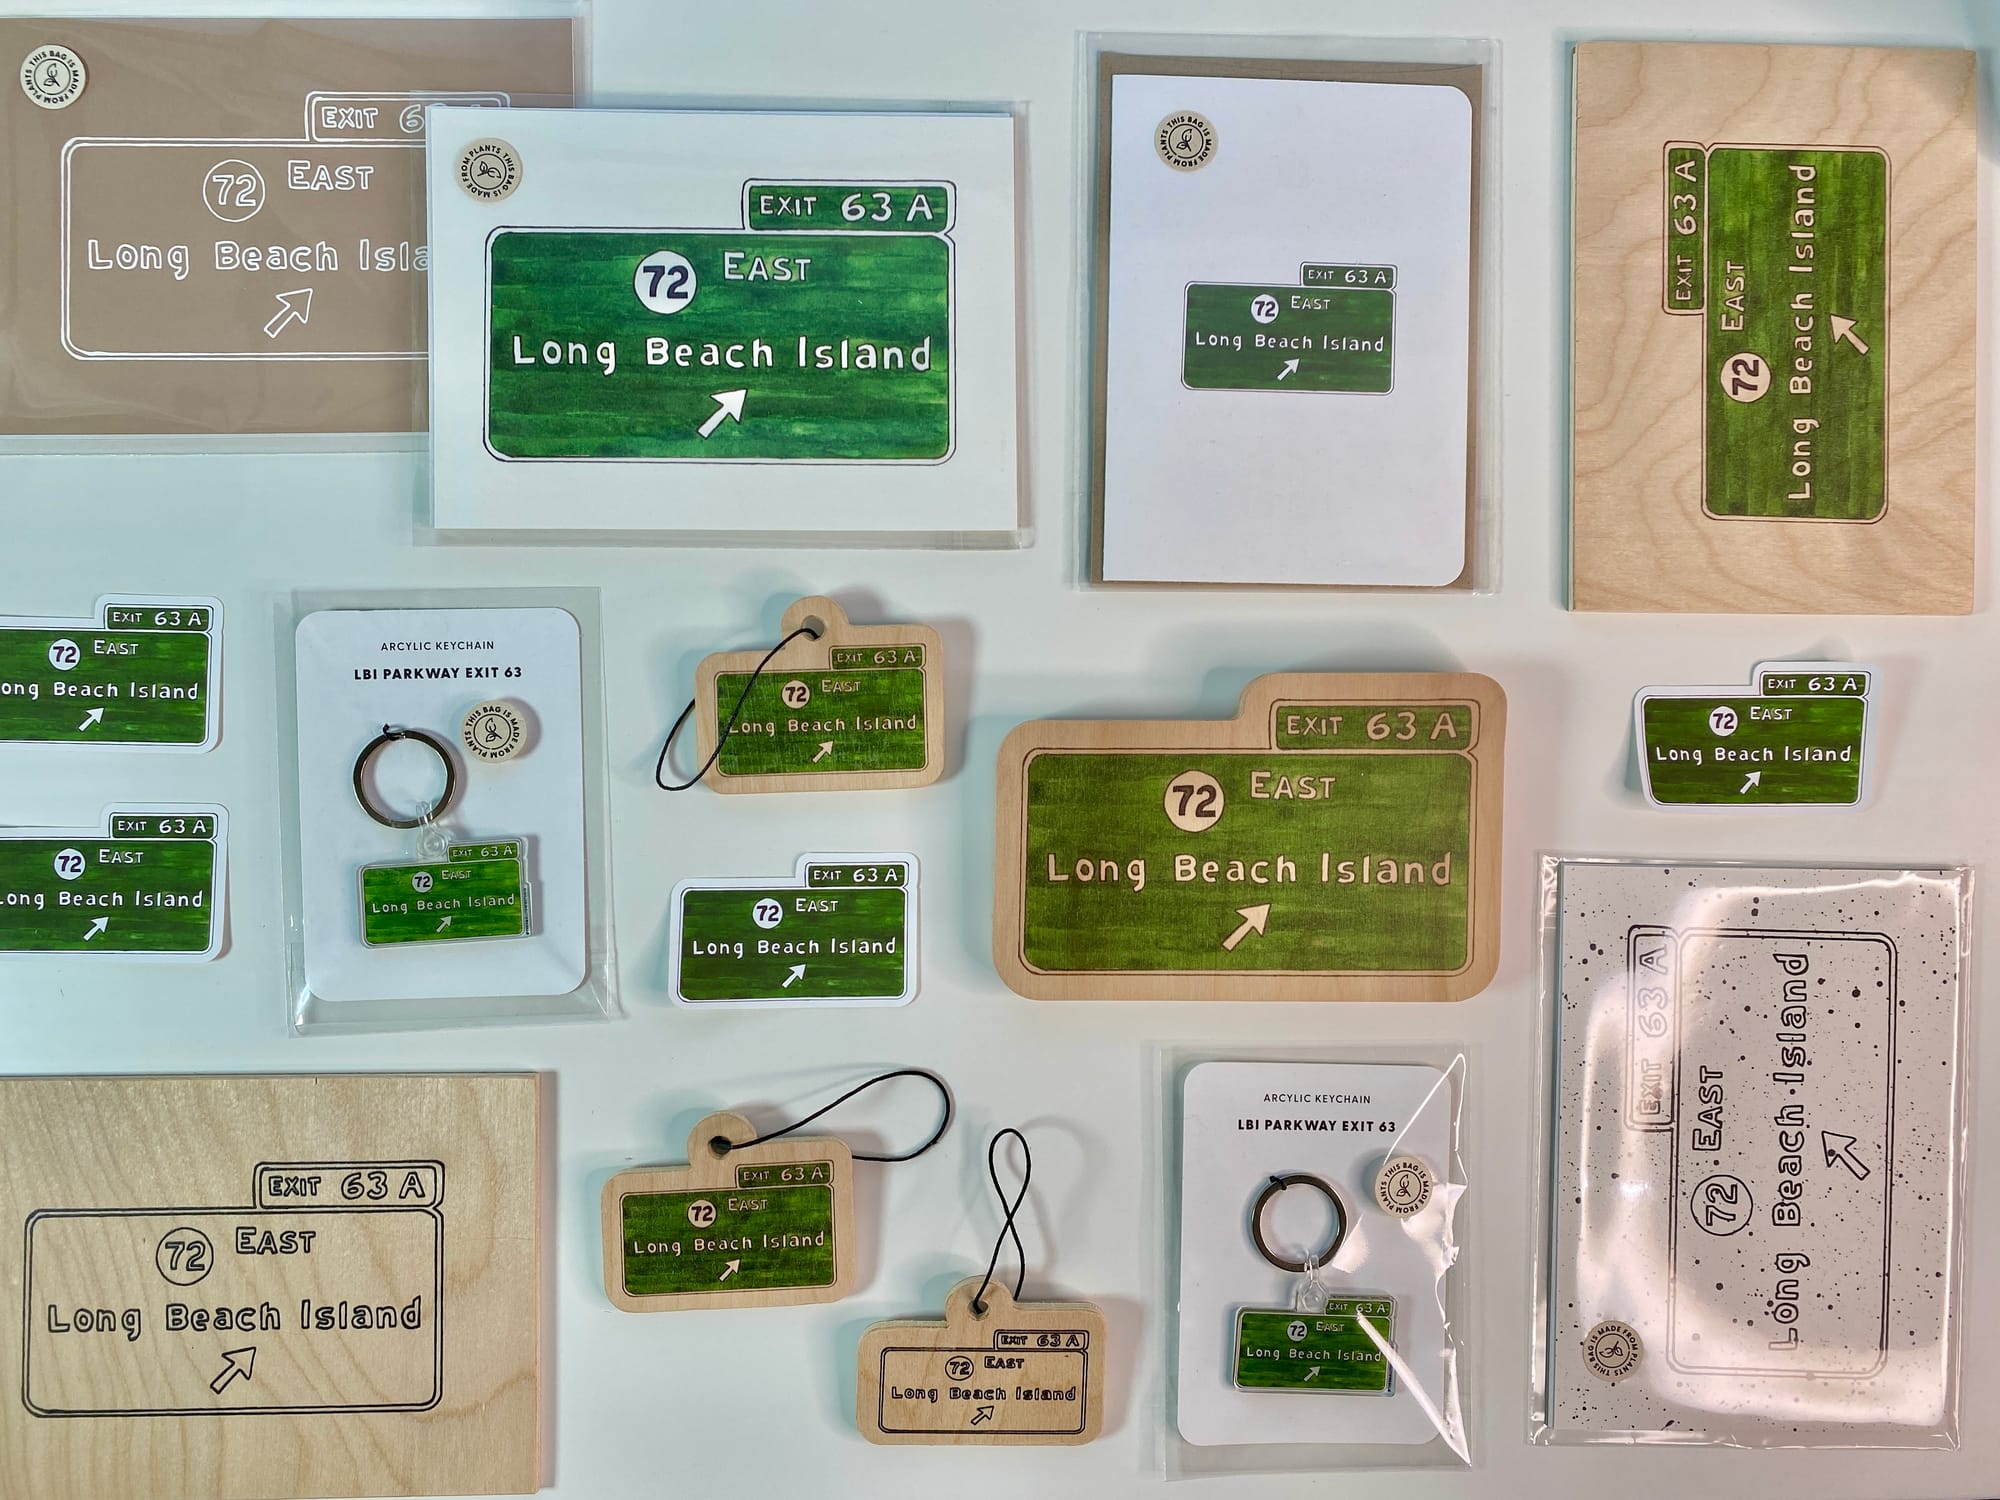
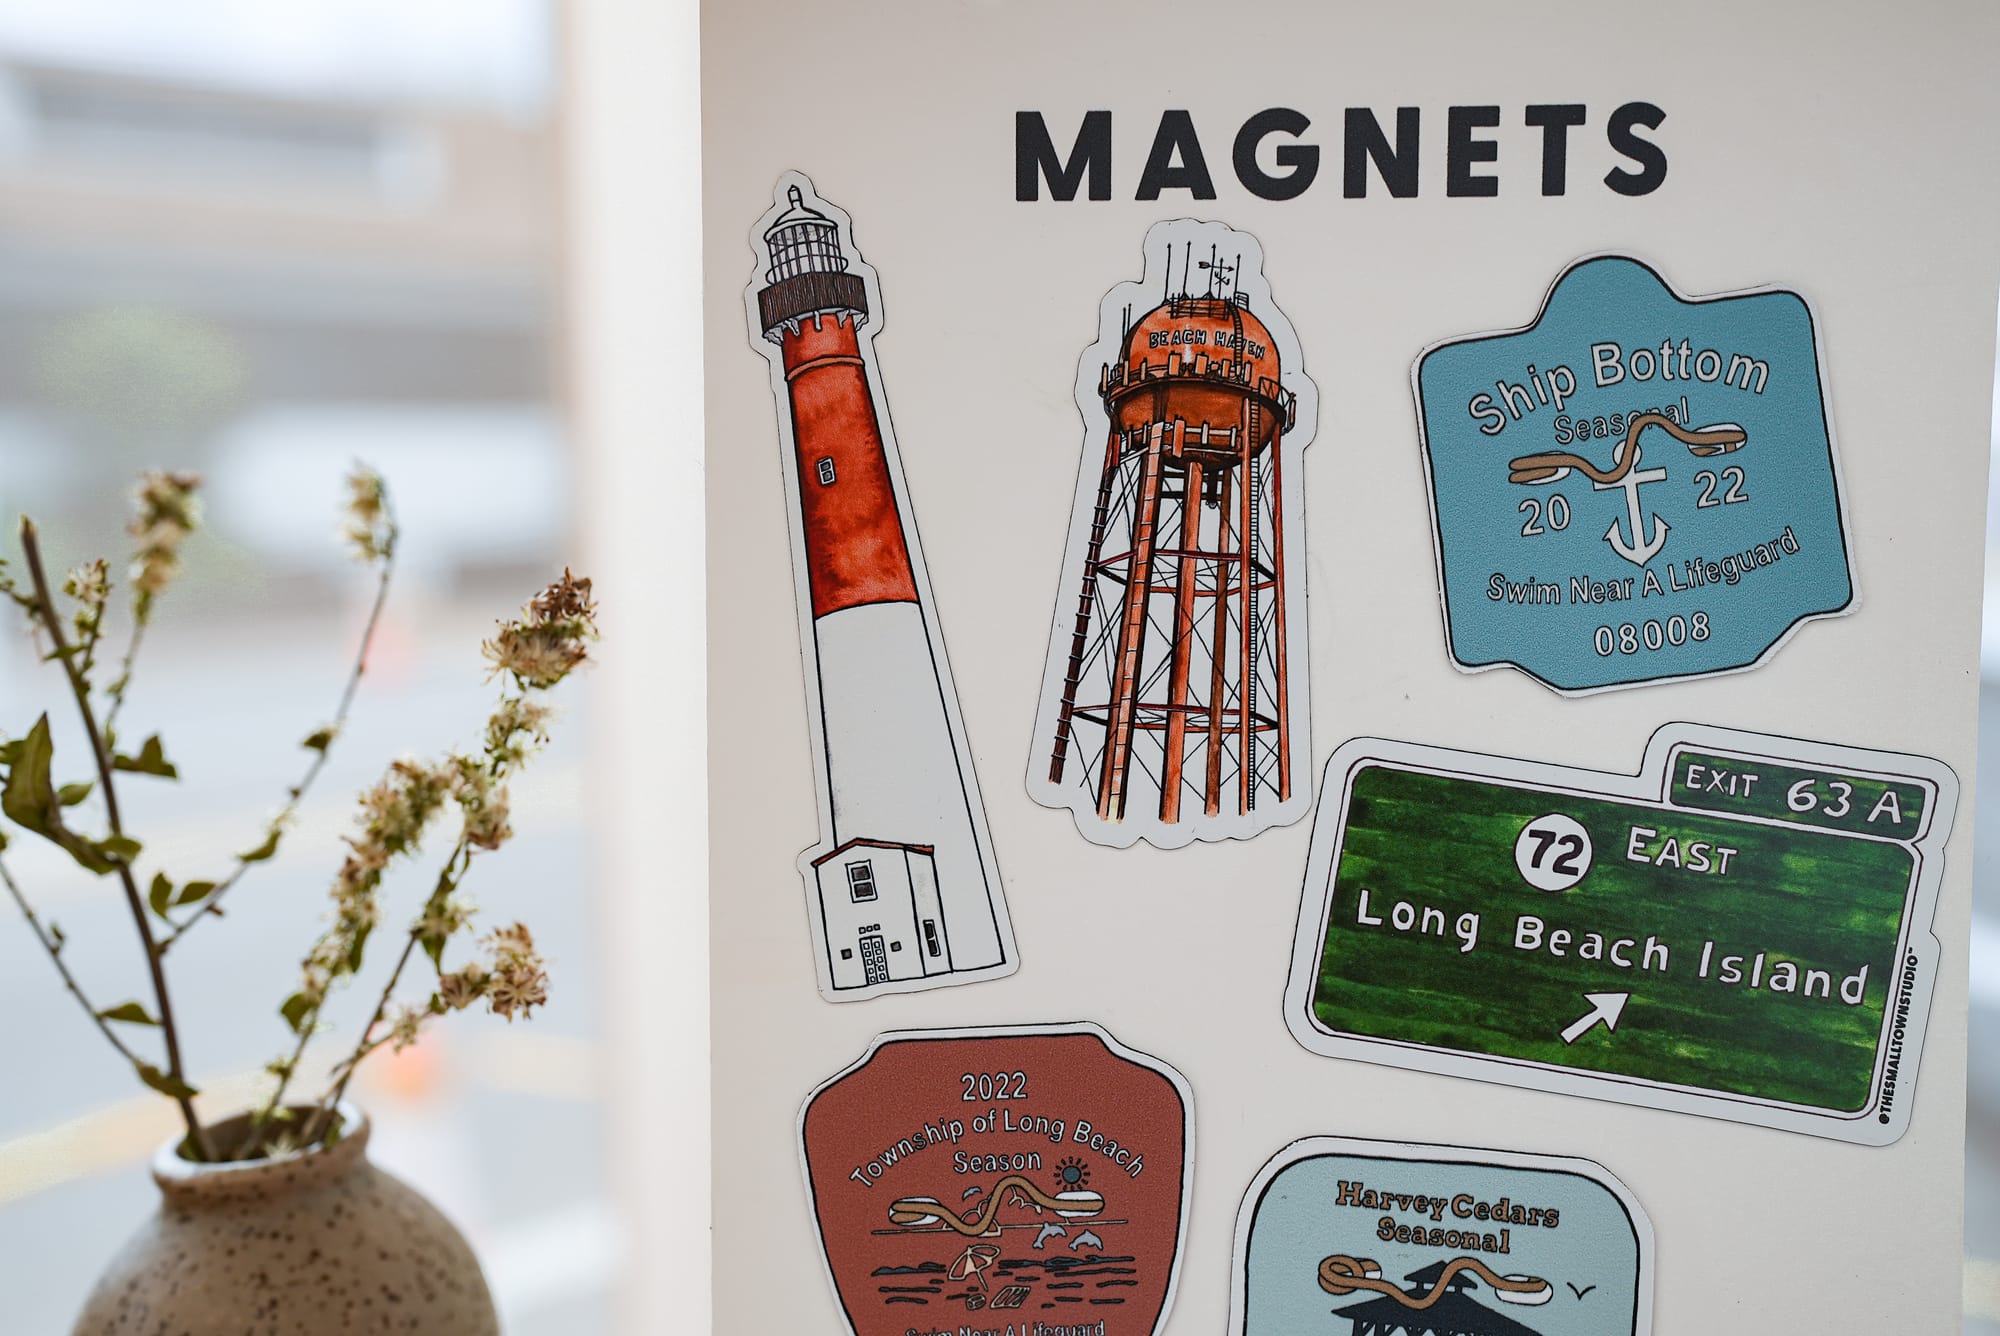
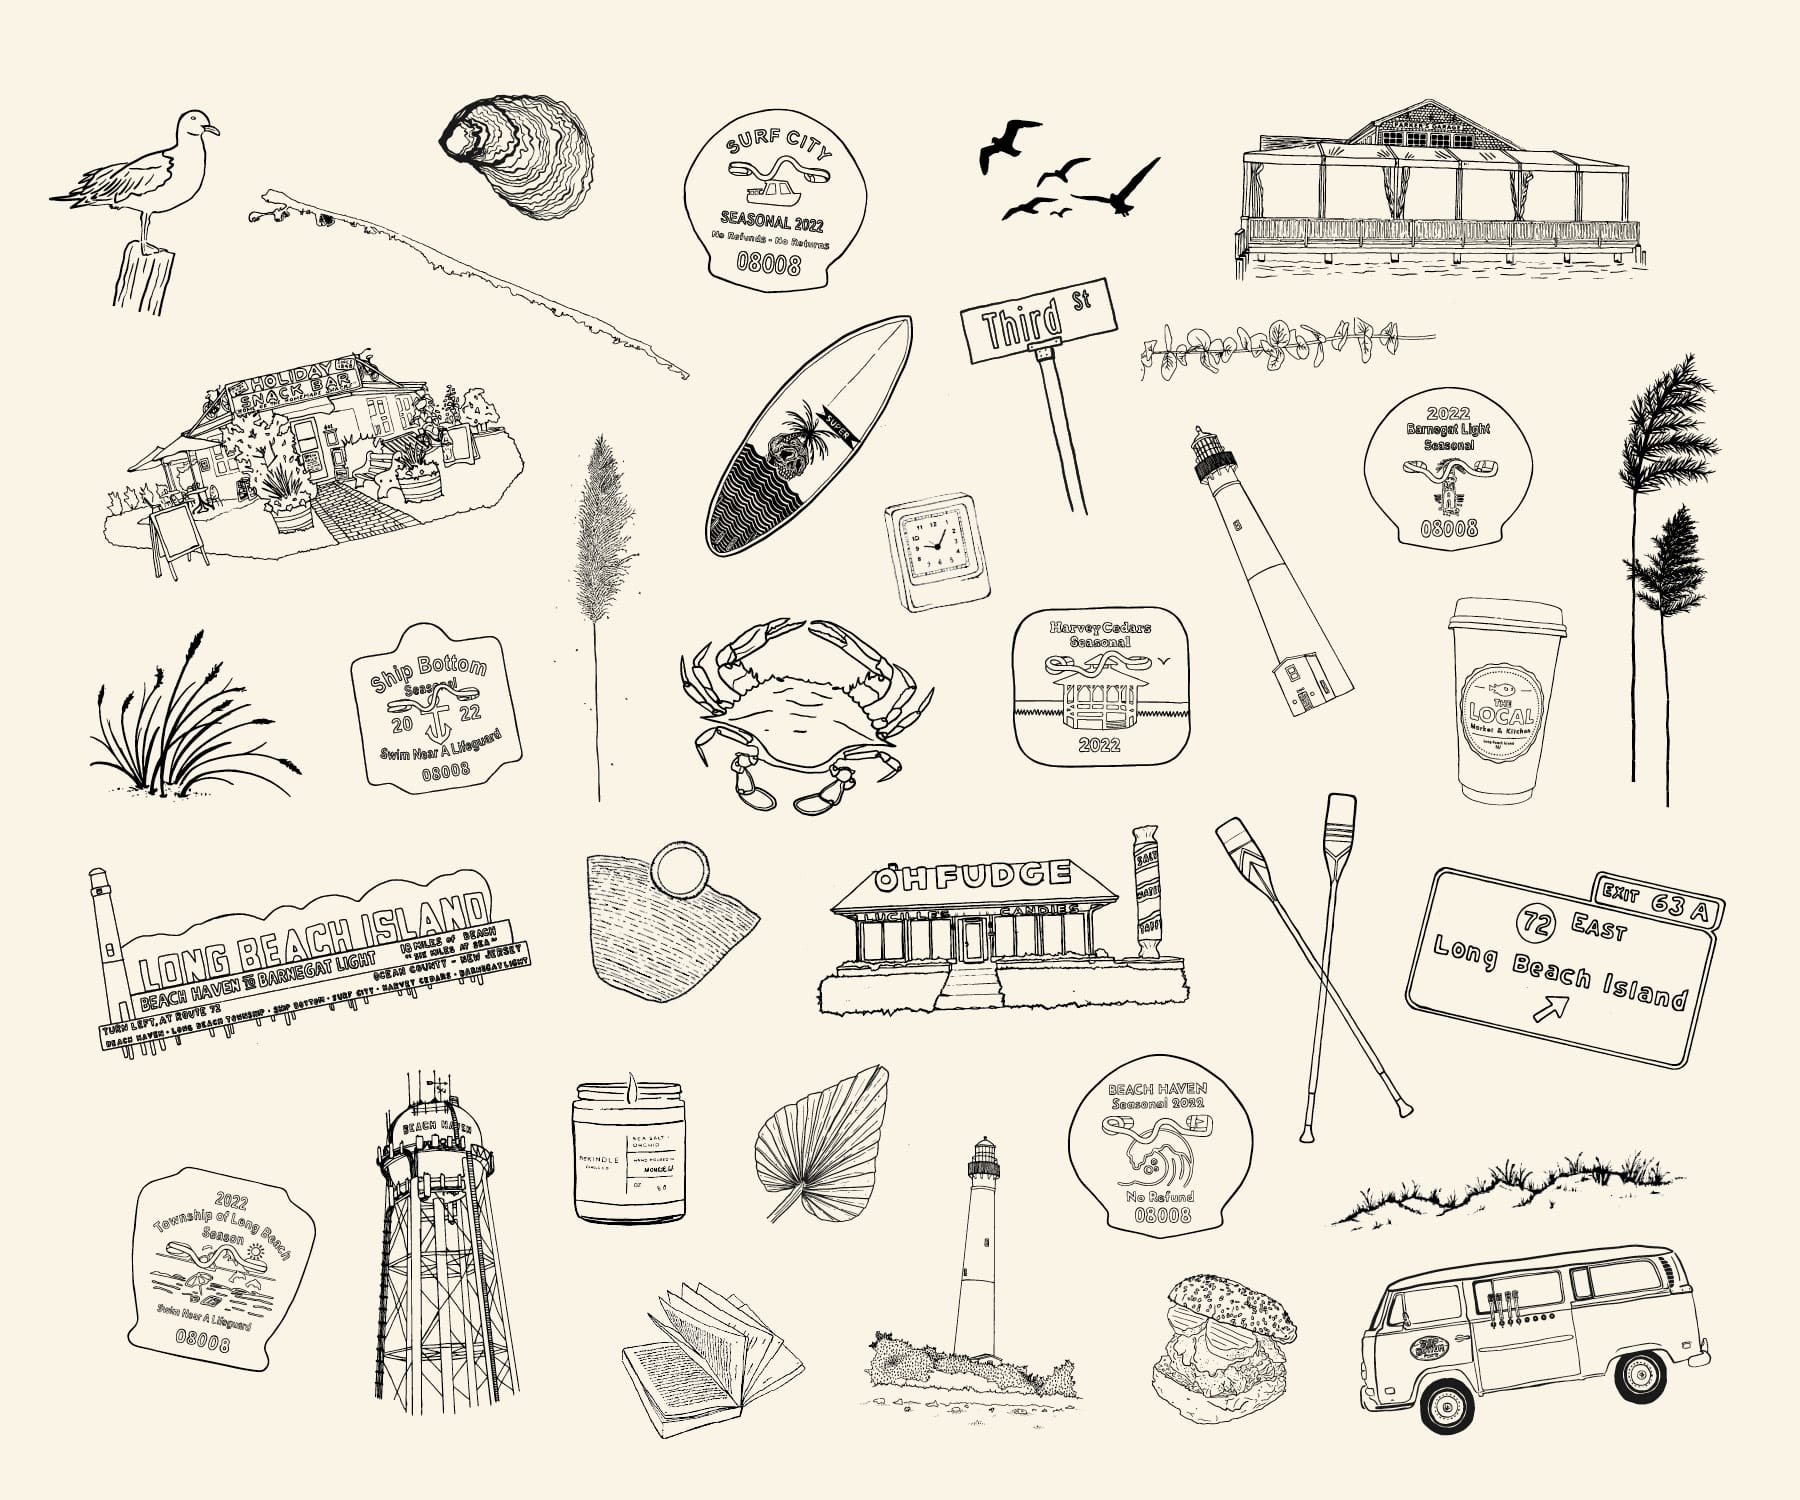
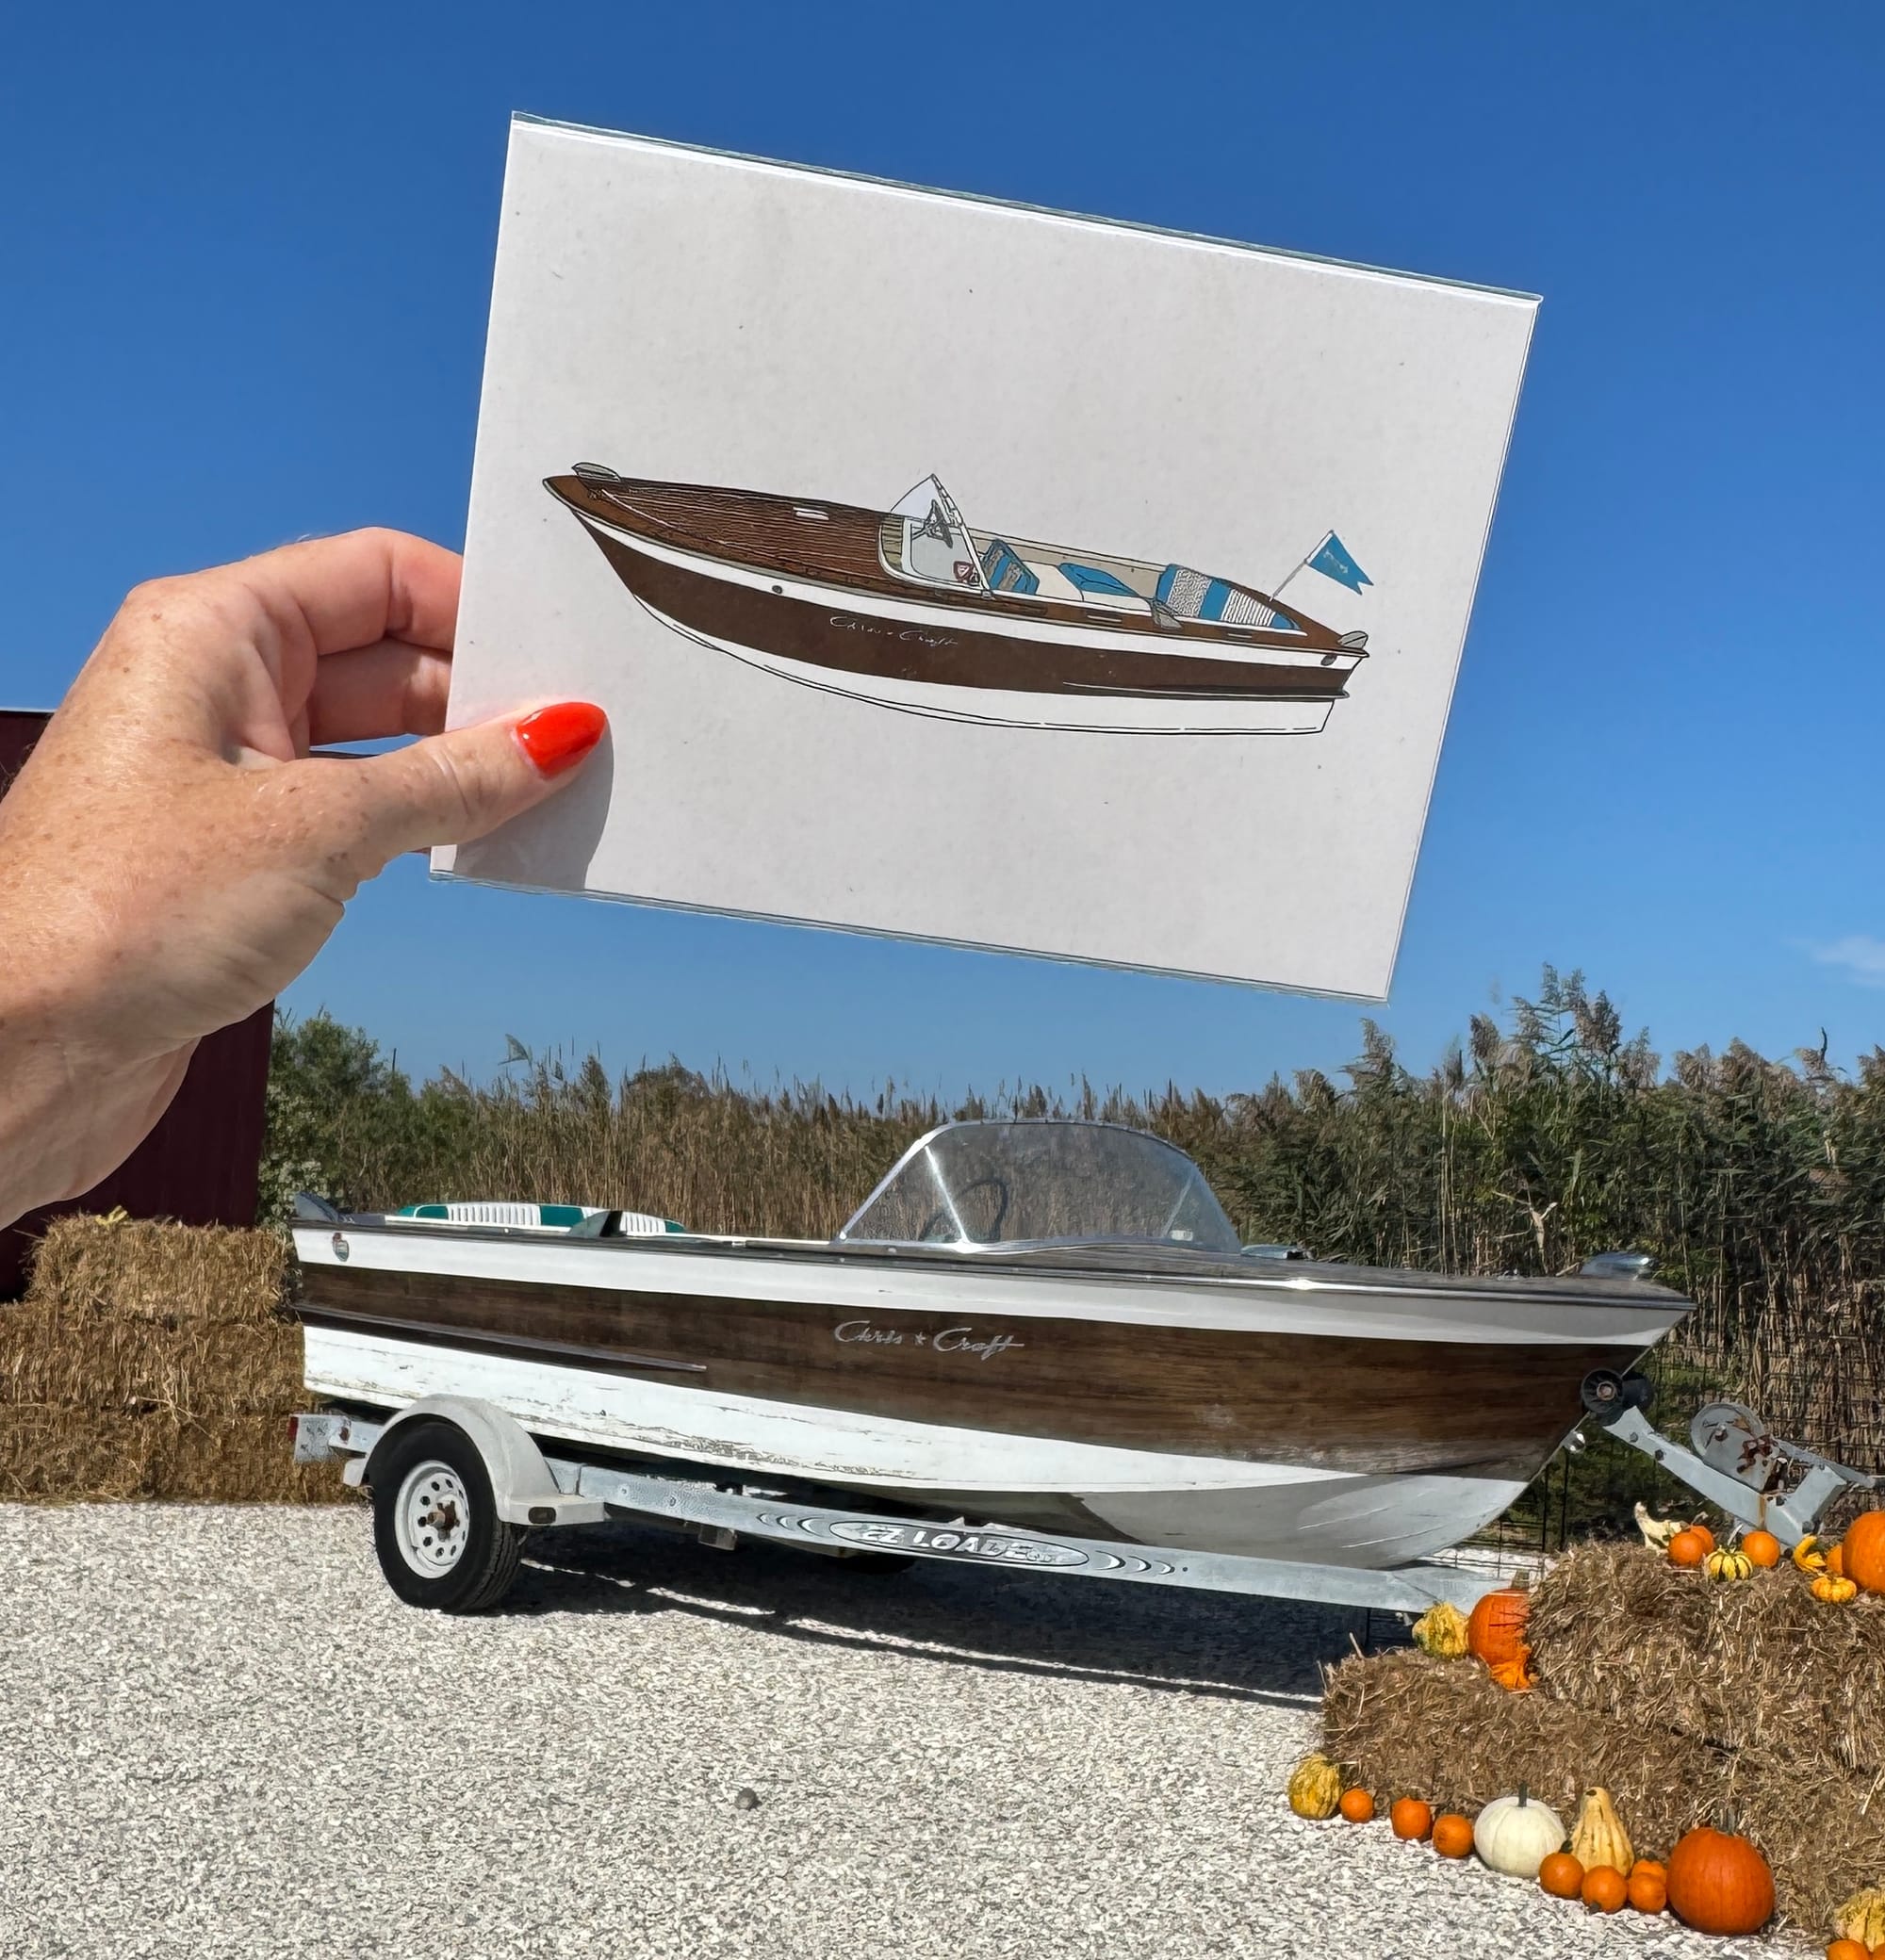
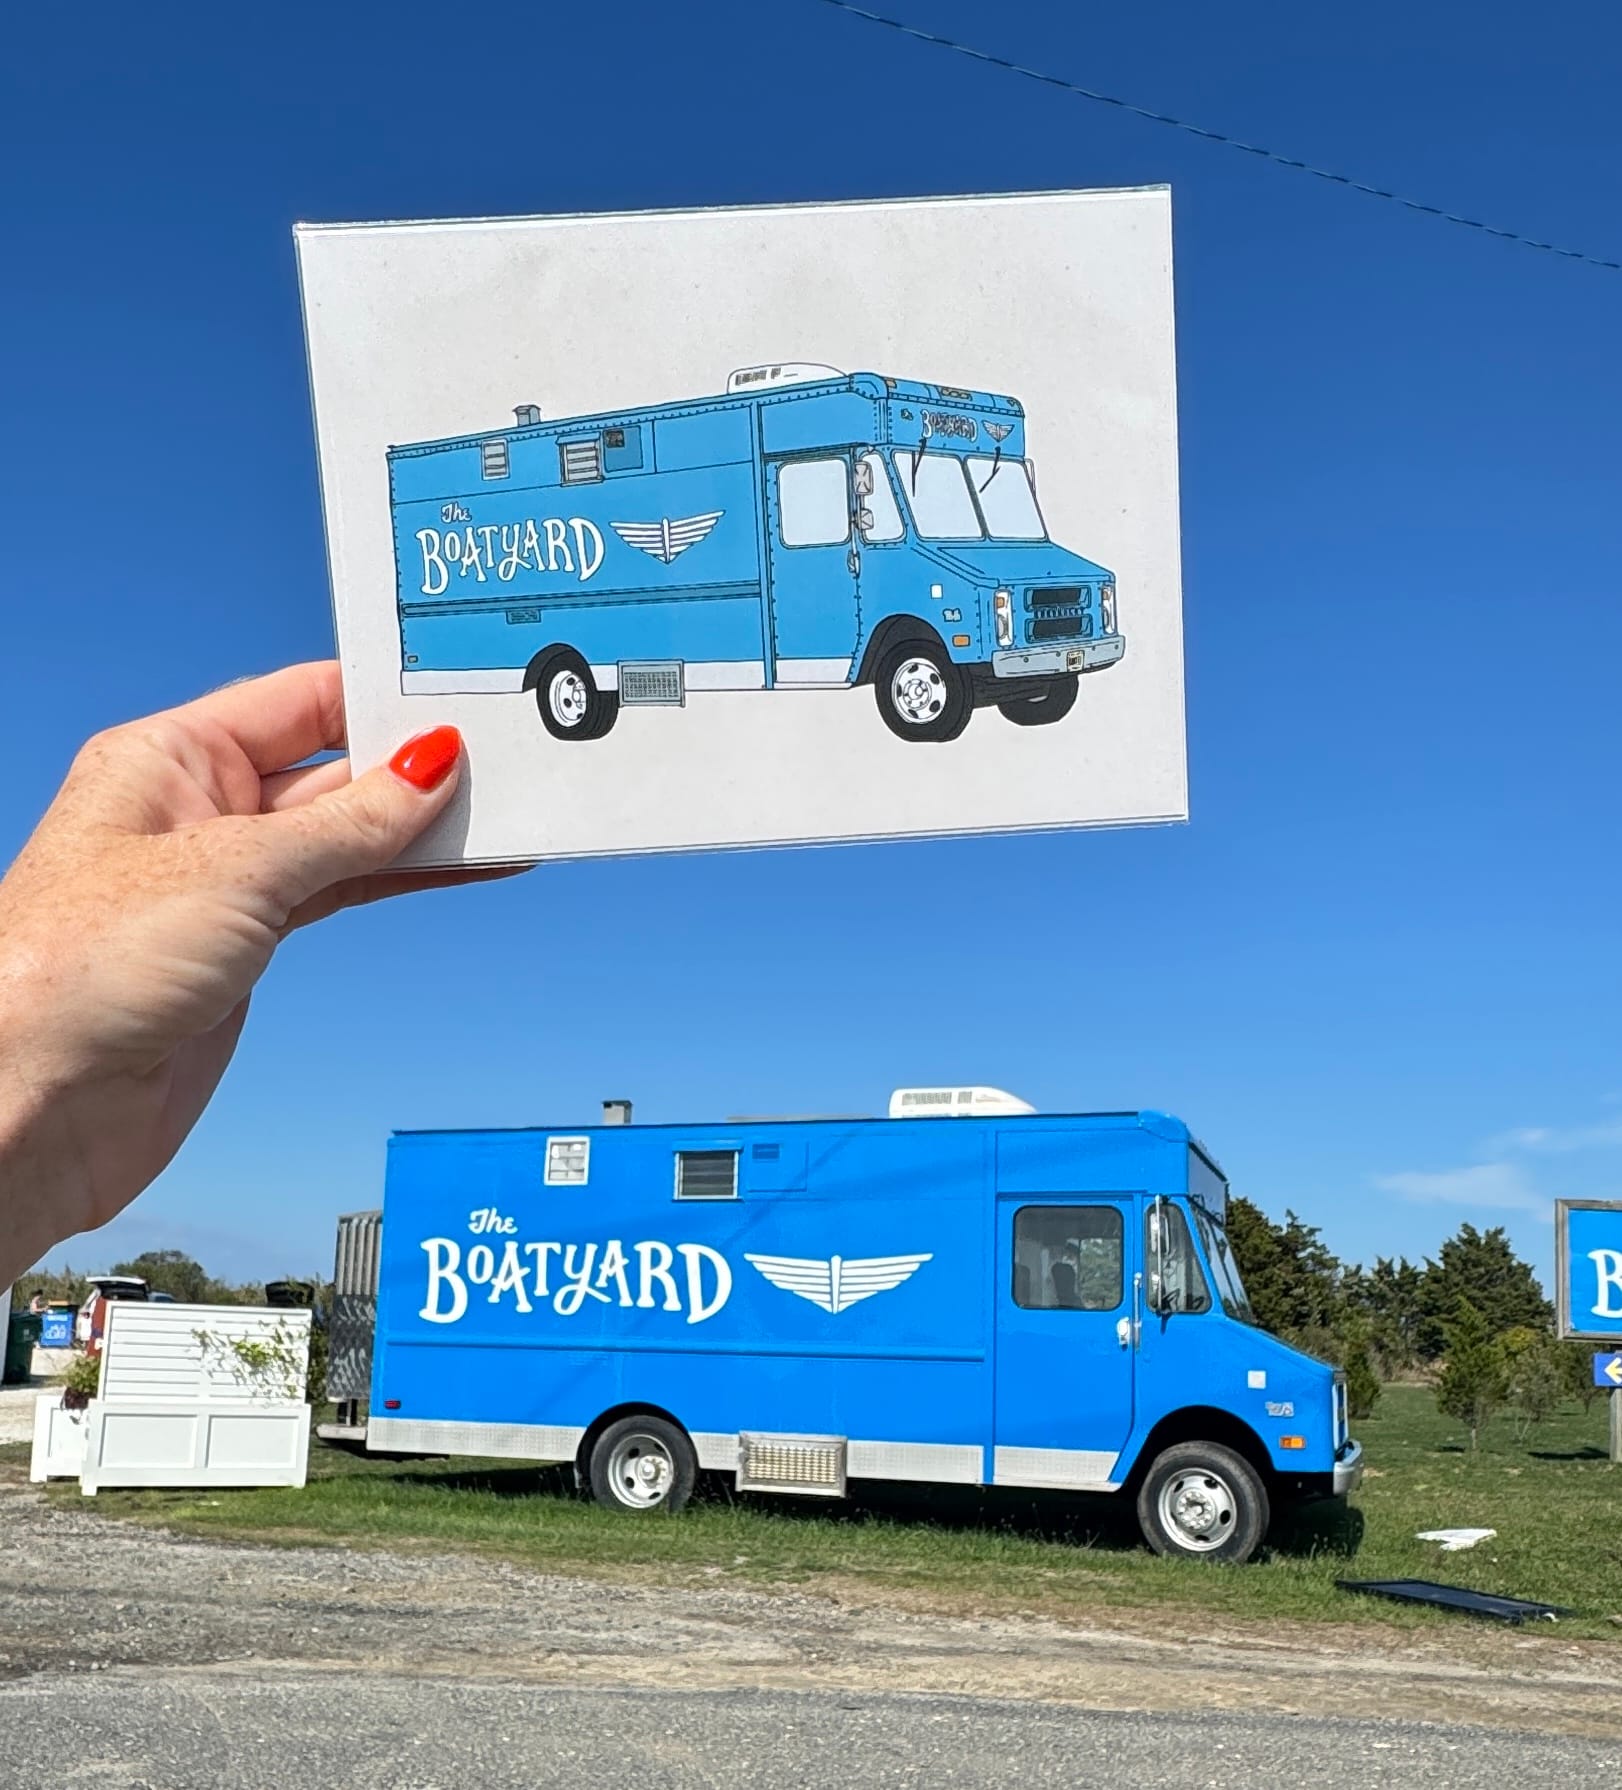
In March, I drew and painted a new Barnegat Lighthouse, the classic LBI Exit 63 GSP sign, Barnegat Bay channel marker, the LBI billboard, How You Brewin, The Boatyard, Holiday Snack Bar and staples from The Local.
I was drawing so much, I actually got a ganglion cyst in my wrist, which was totally gross but the product of nonstop working due to pure excitement.
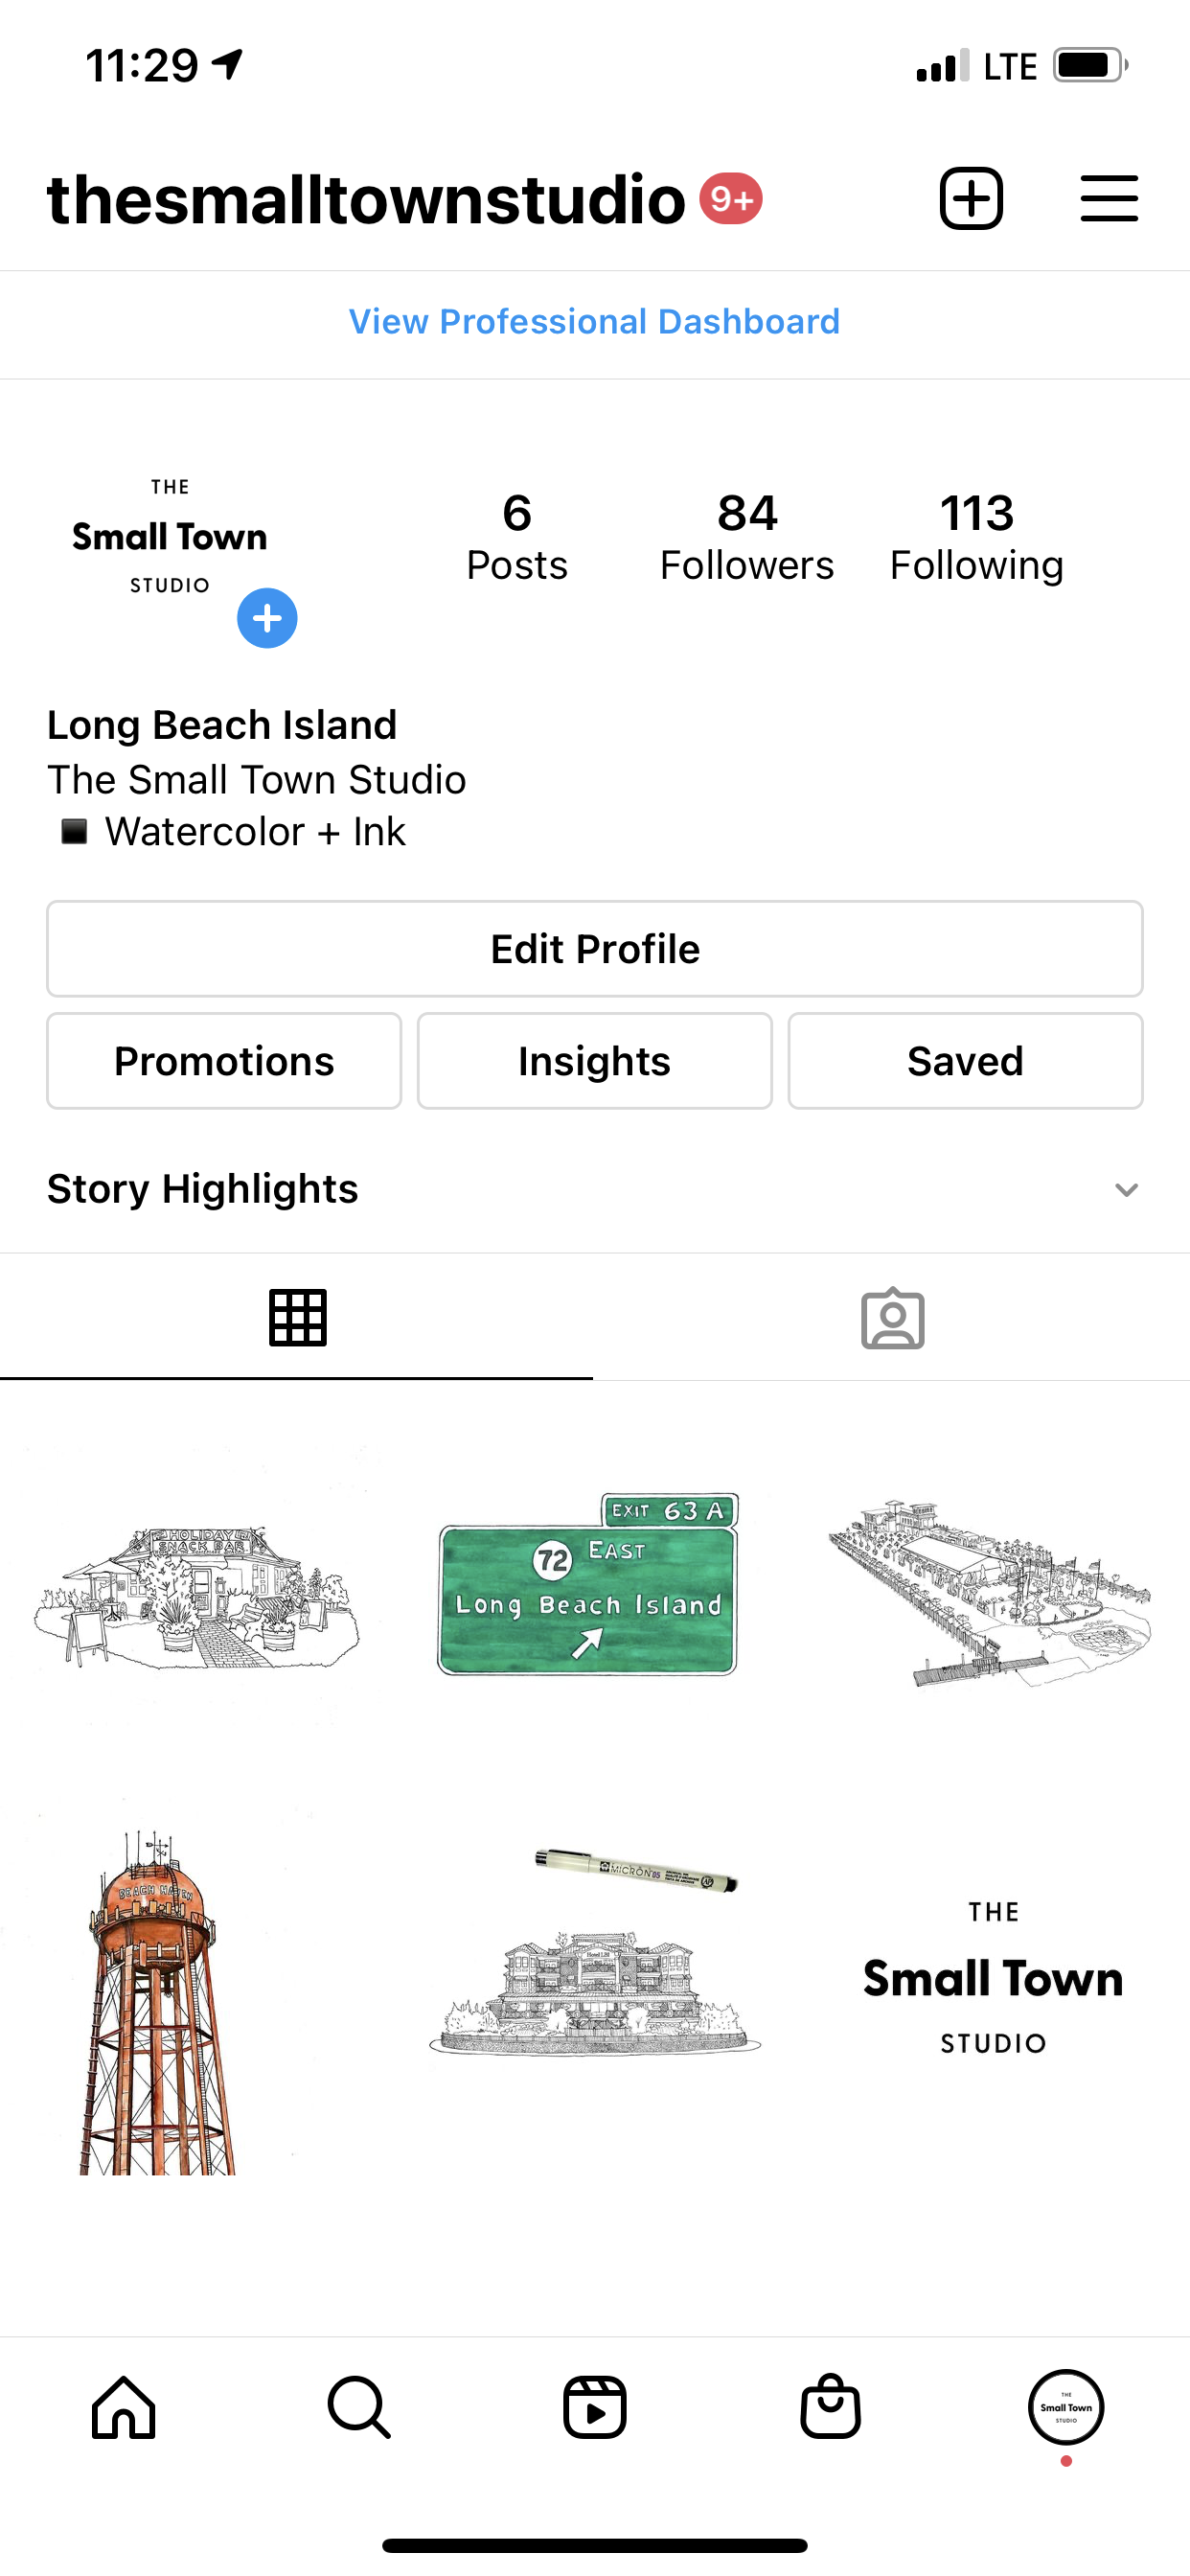
Then onto social media. I created my social accounts and started posting.
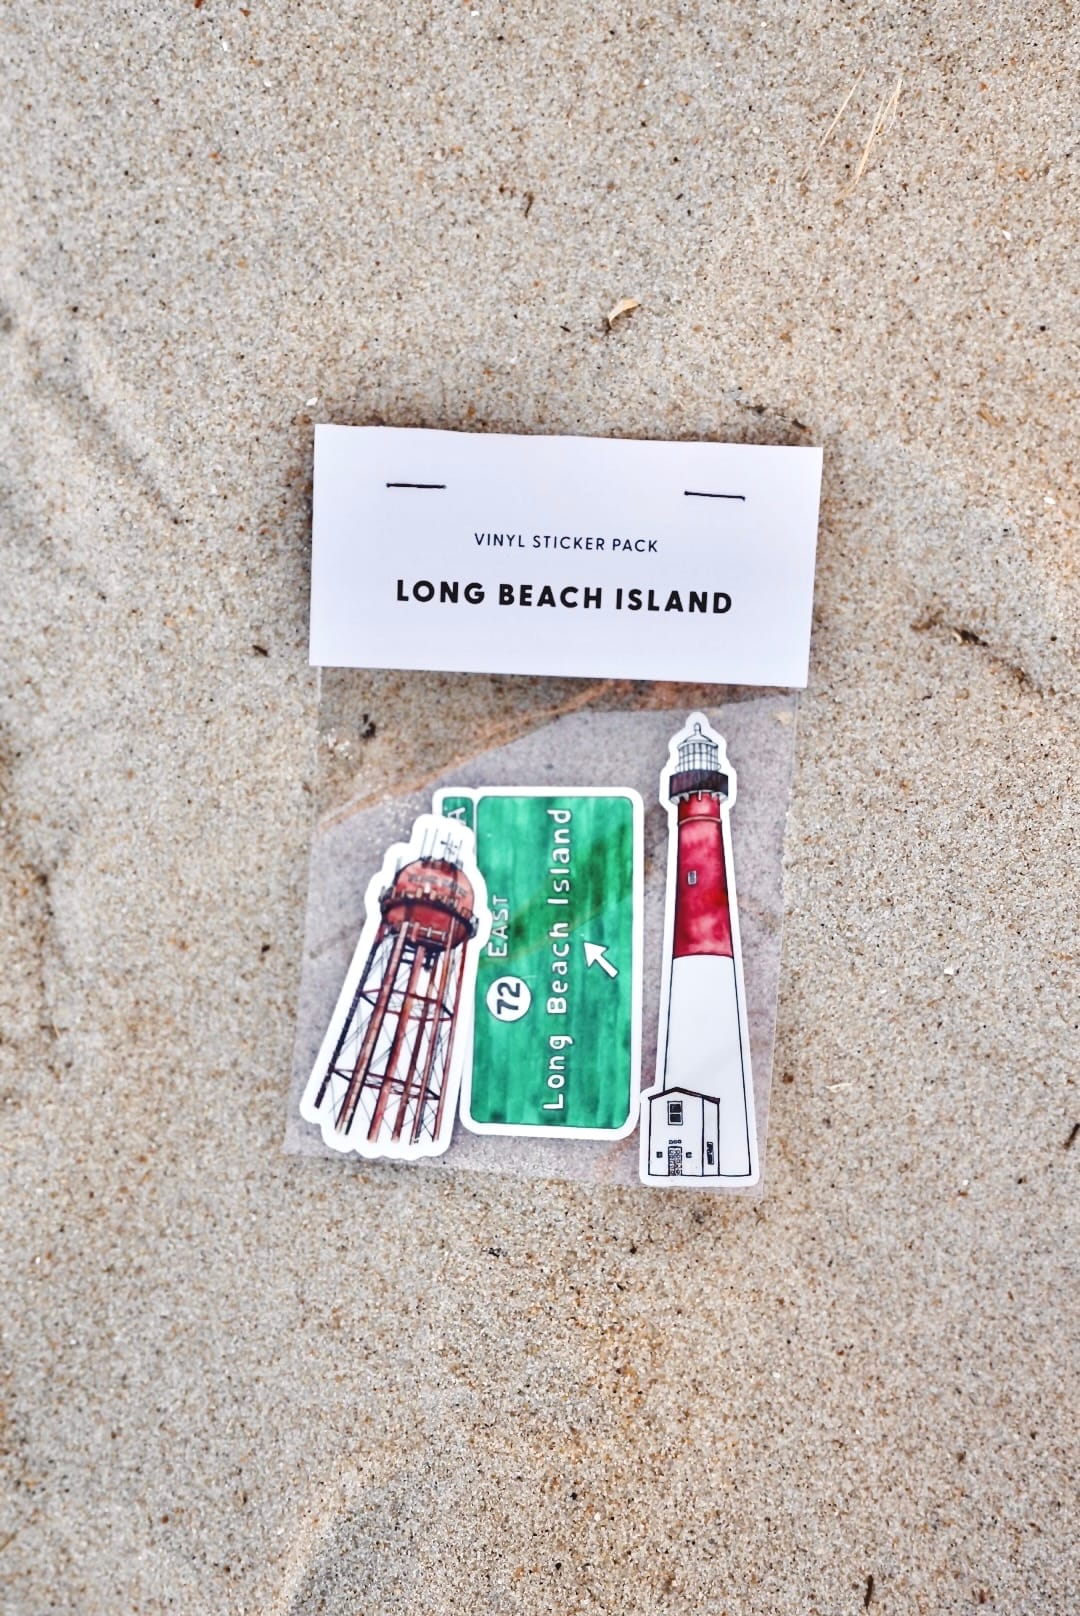
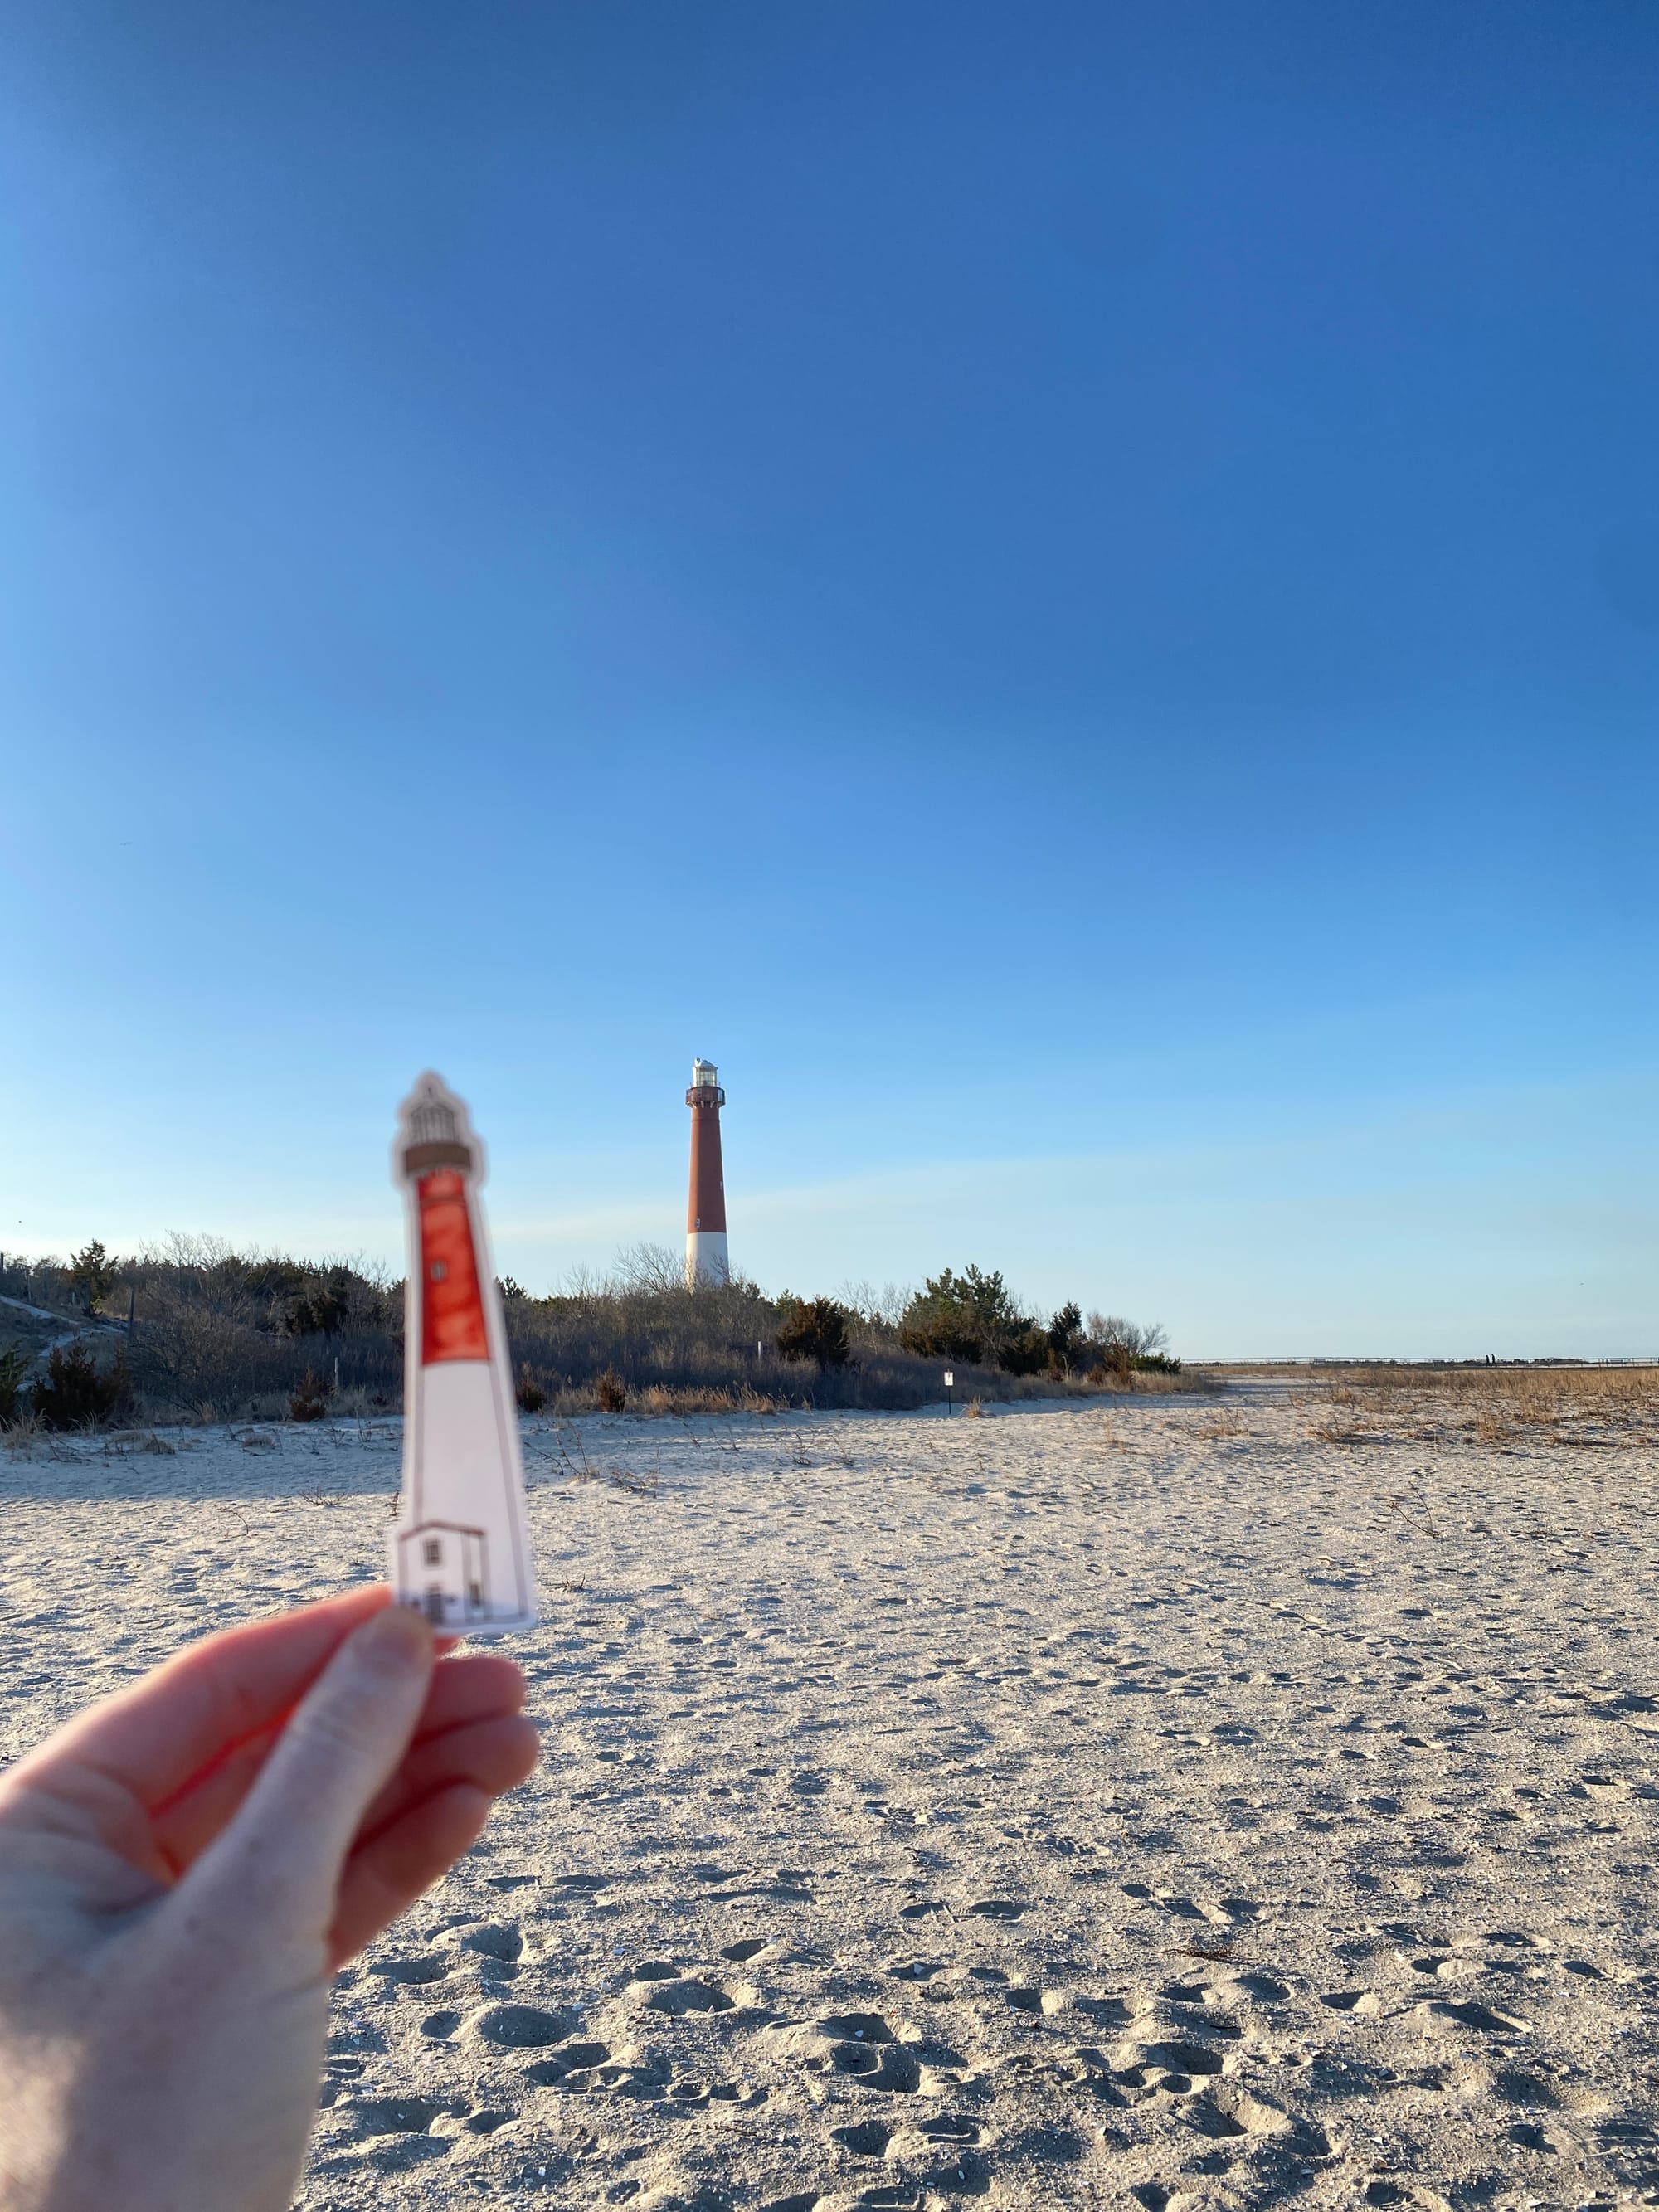
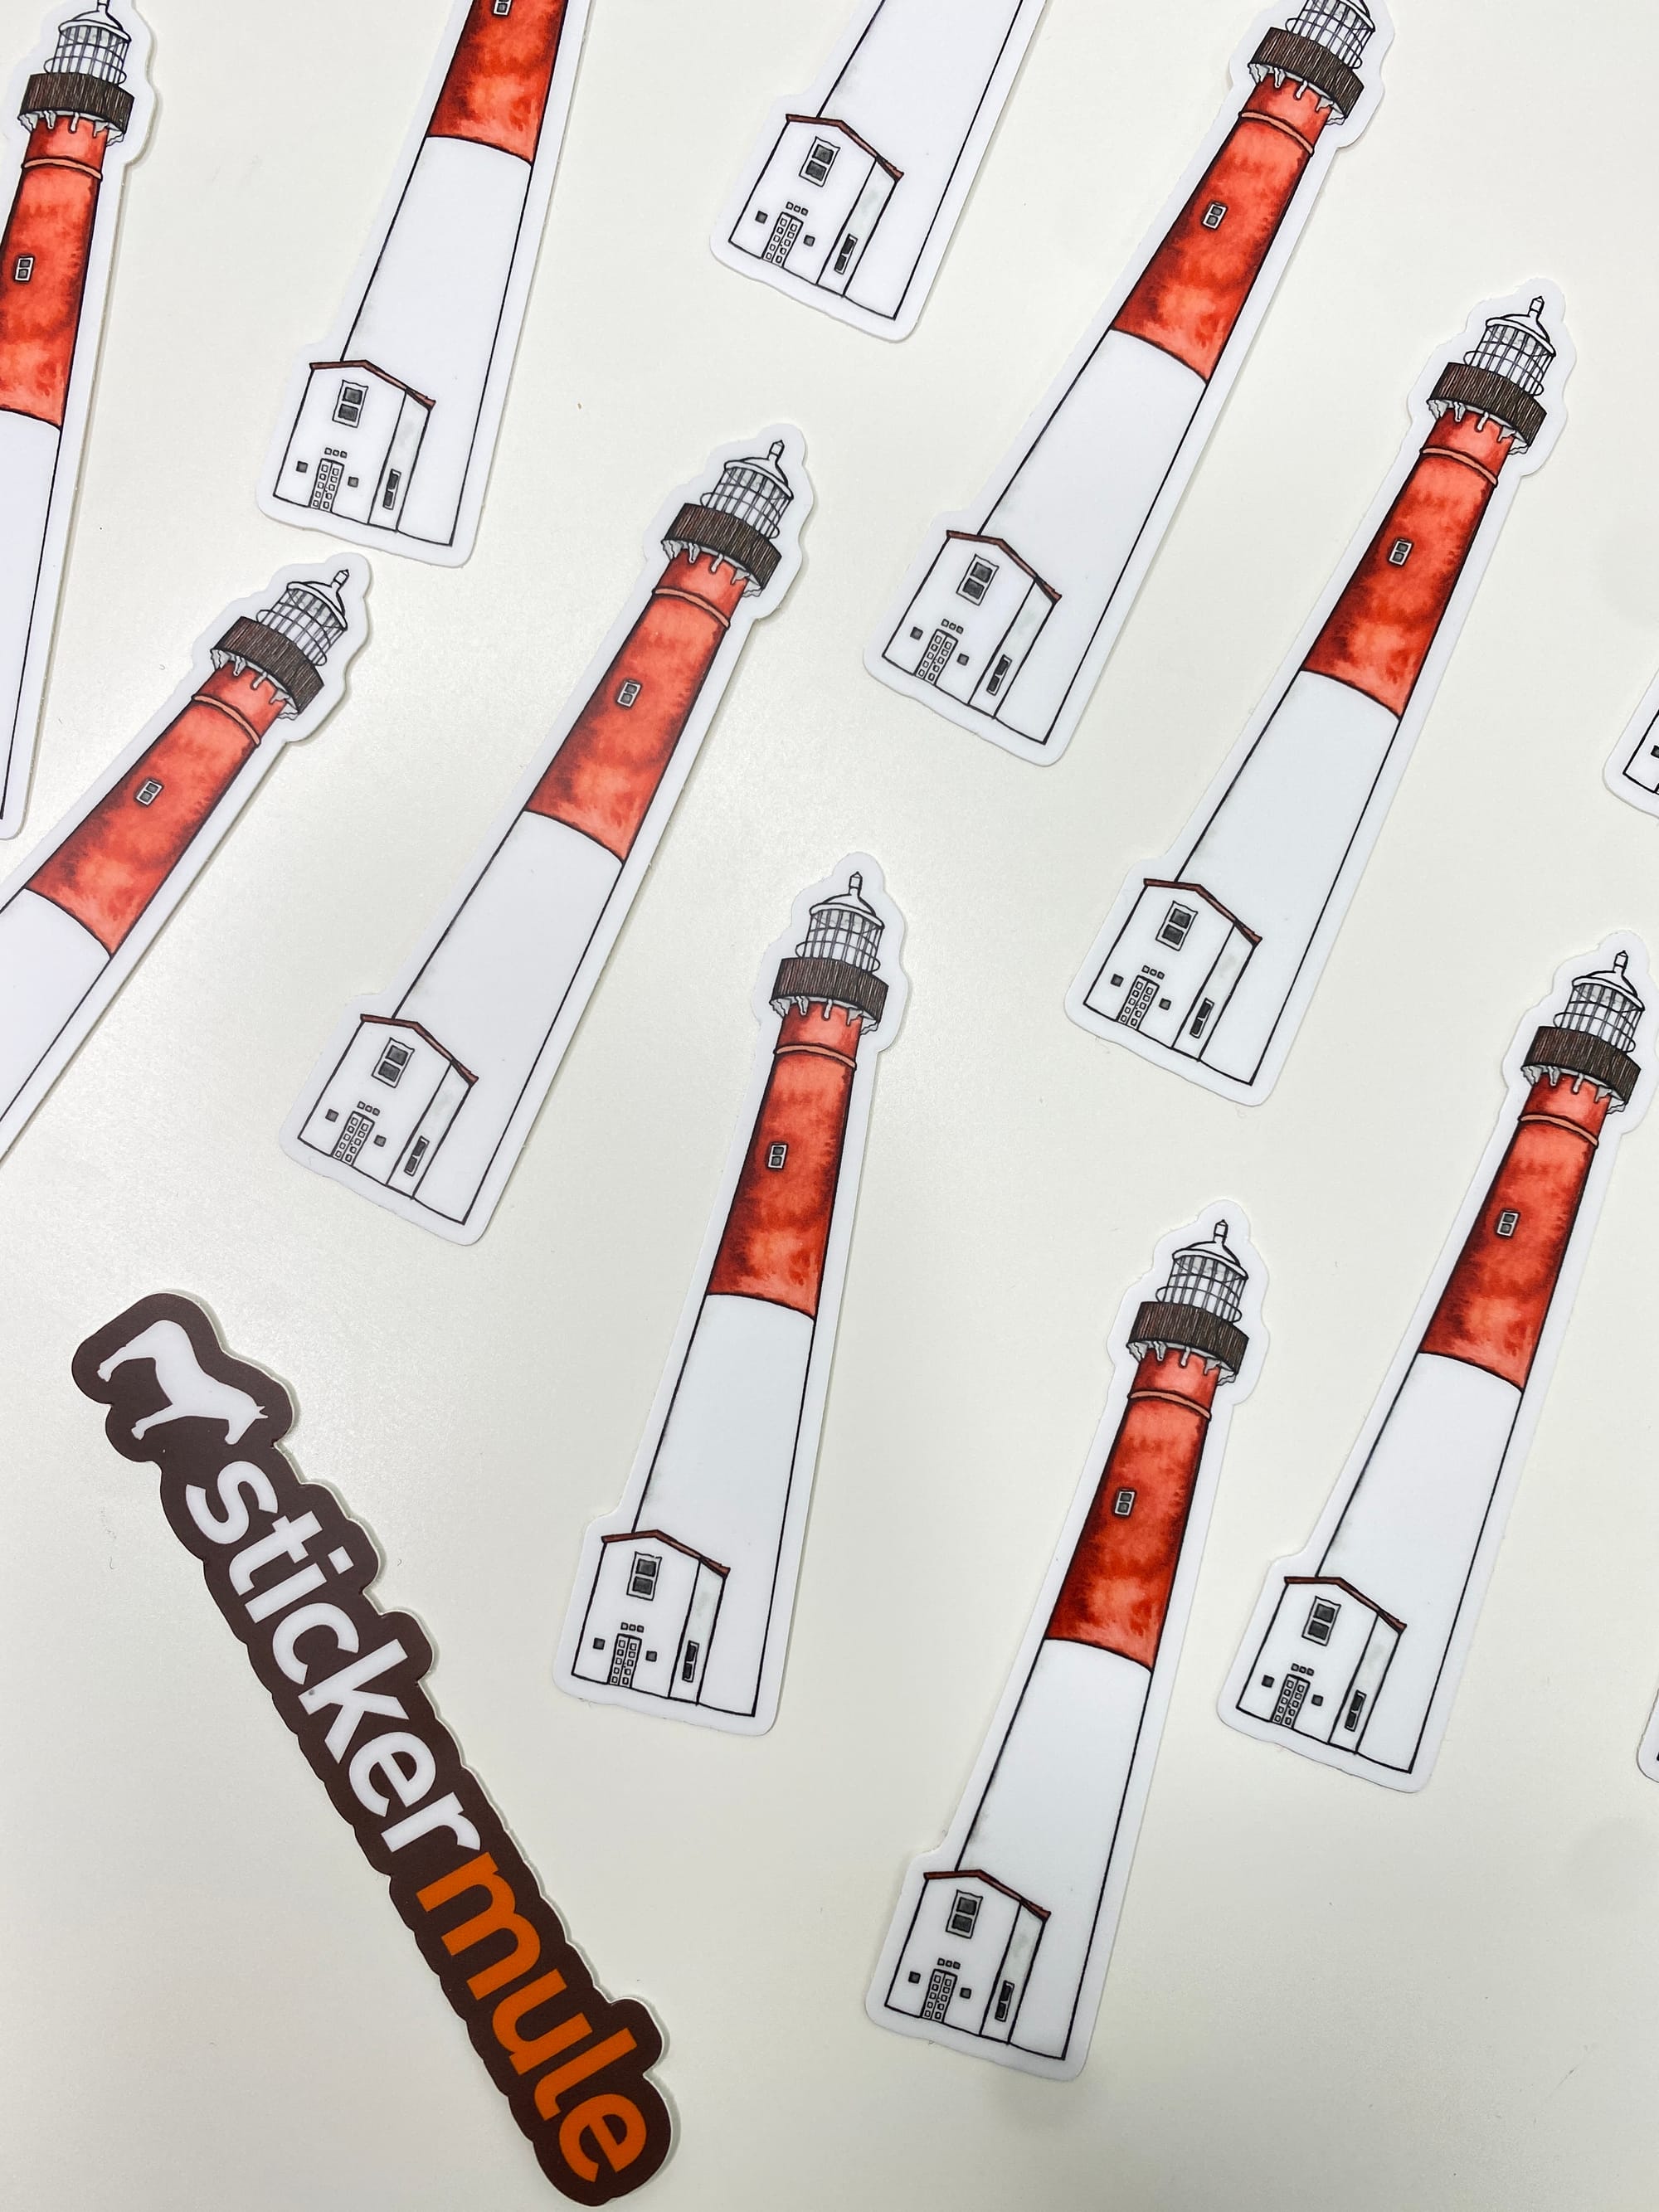
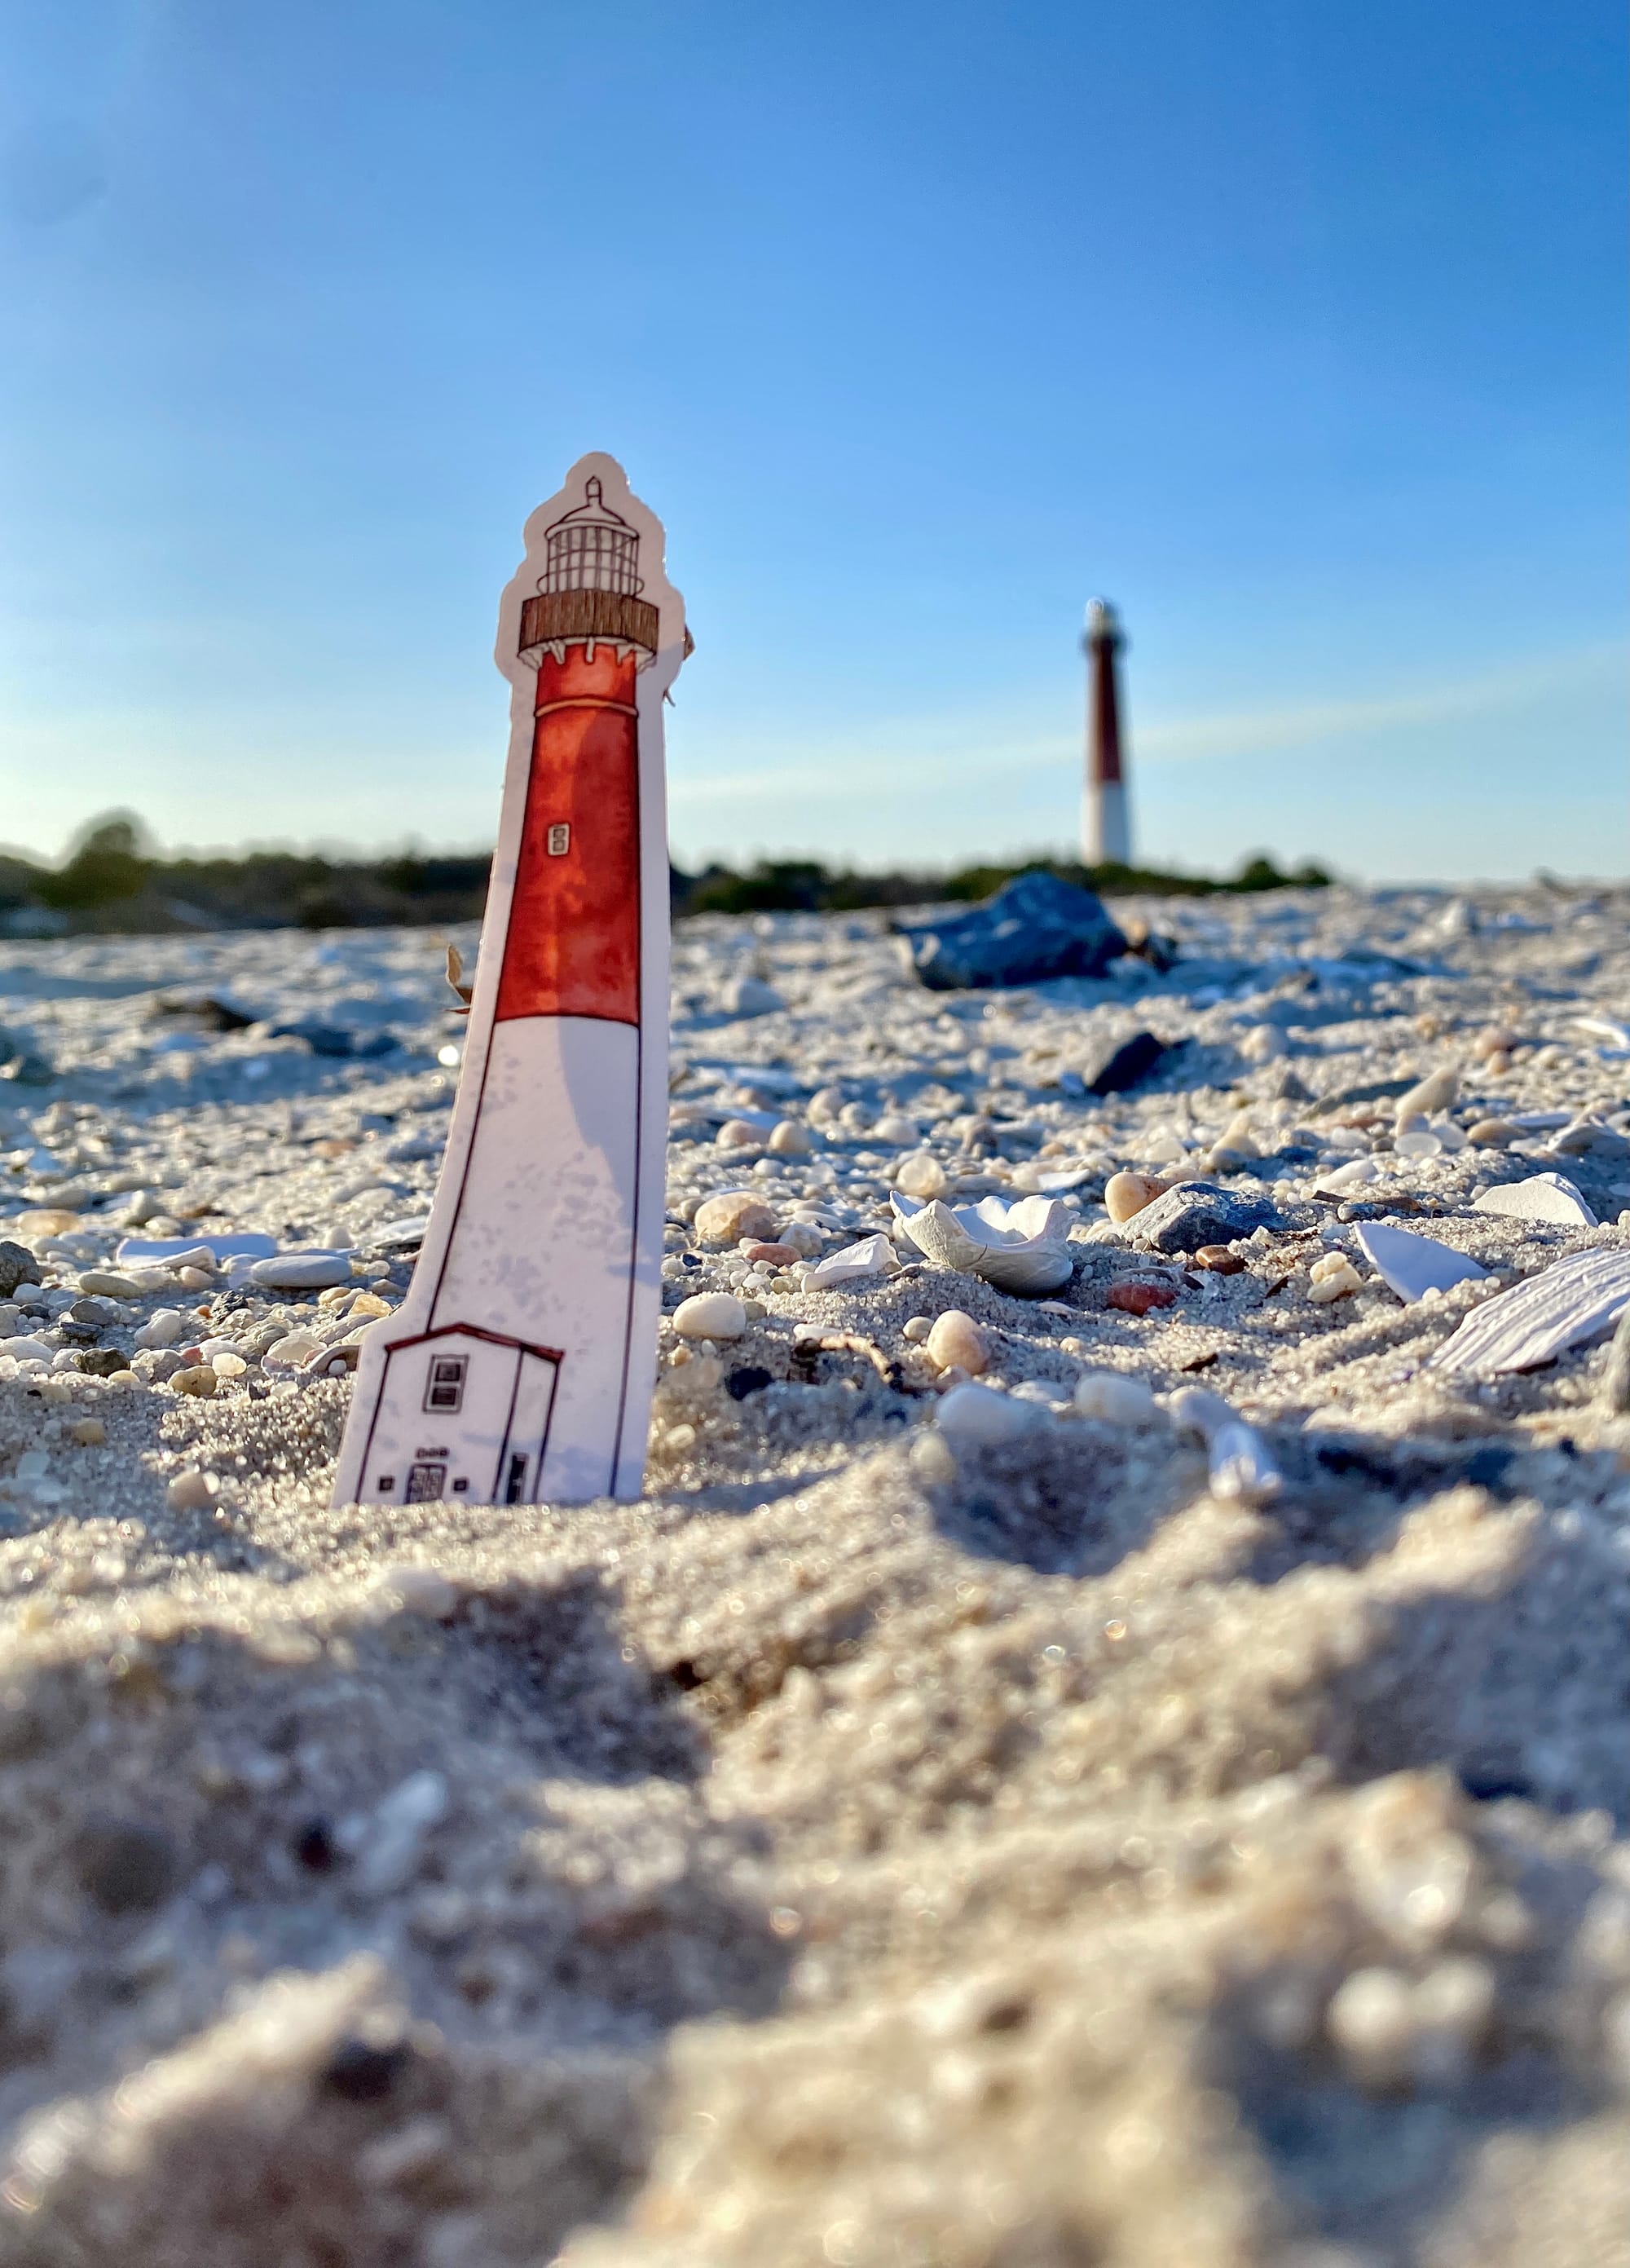
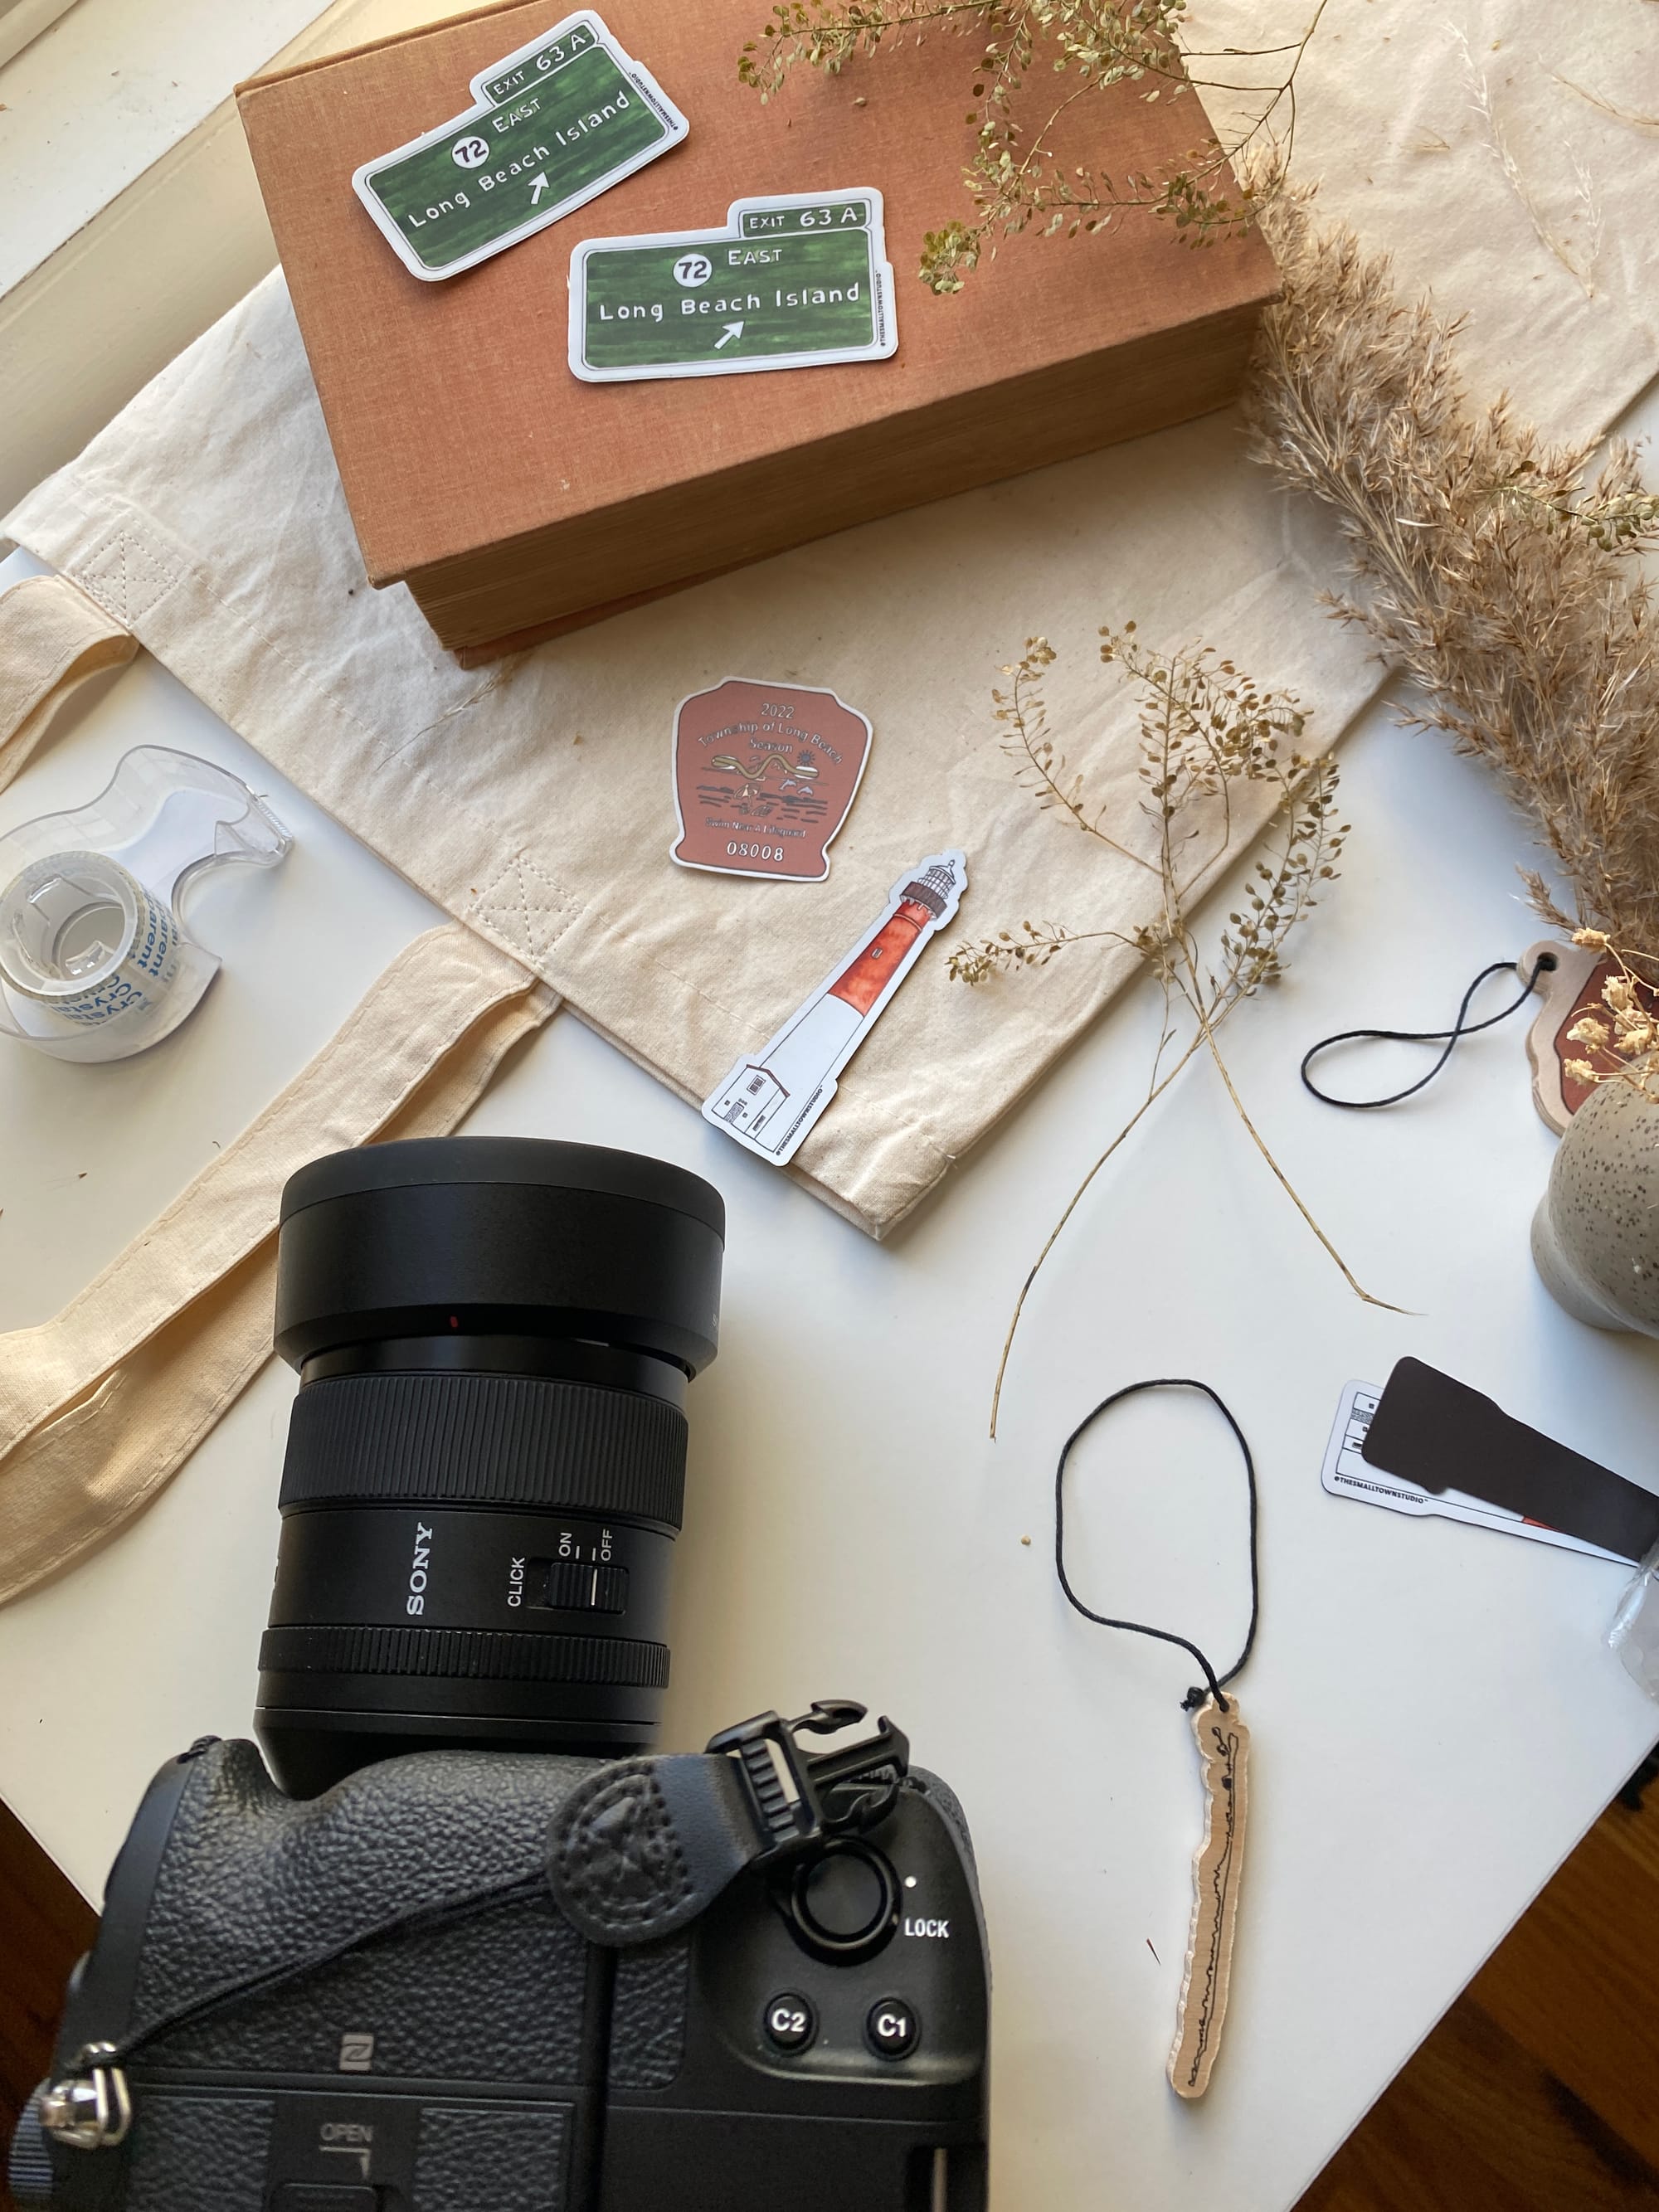
At this point I was looking into product samples so I could print my art and turn them into souvenirs. I ordered my first sticker samples through Sticker Mule on 3/5/21. And when they arrived I couldn't wait to get photos of them at the actual Barnegat Lighthouse.
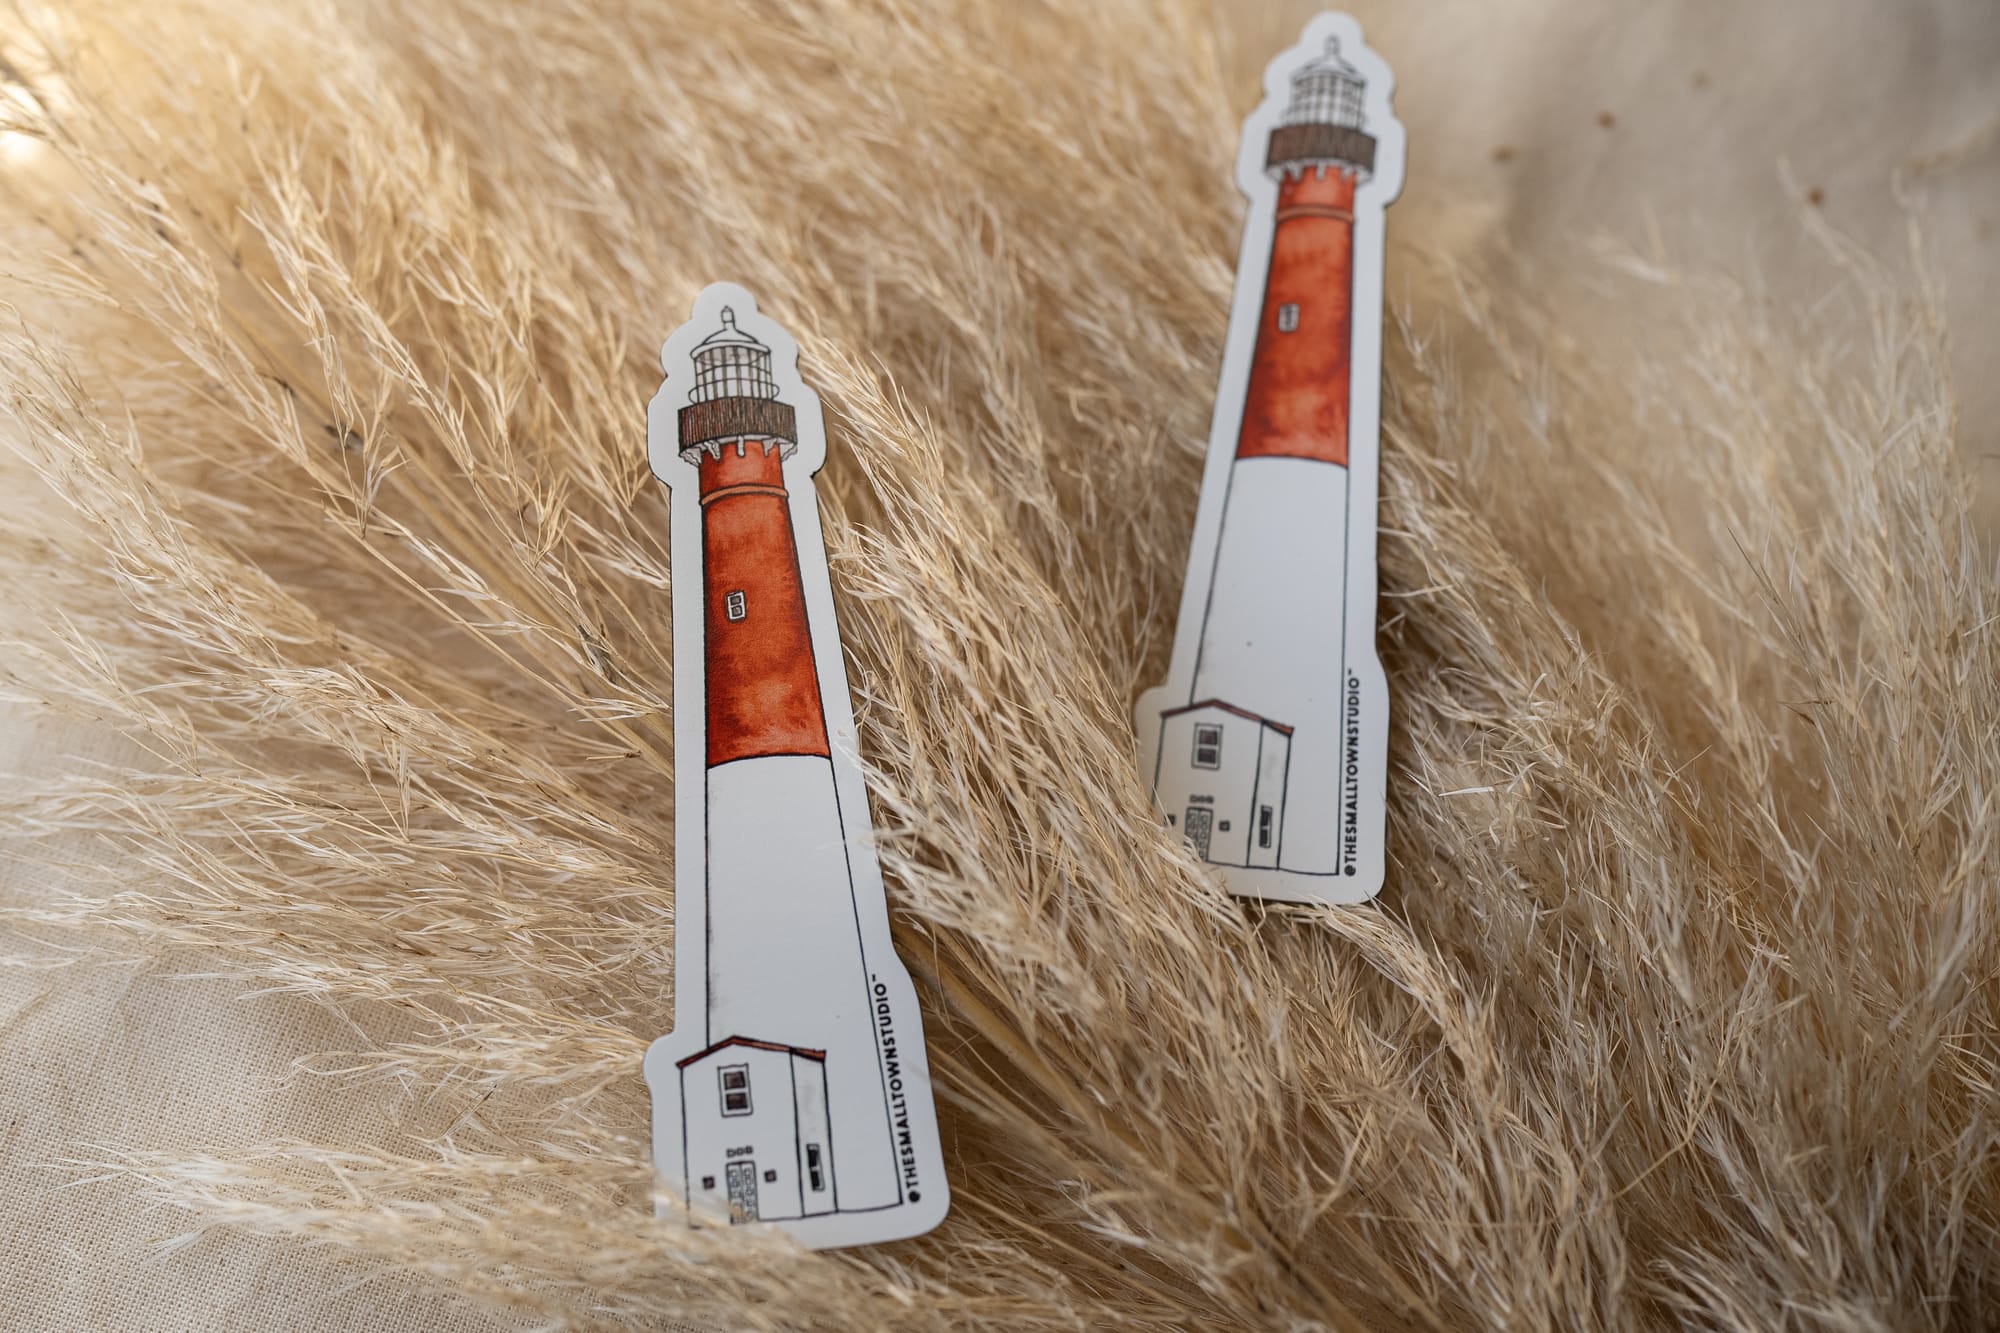
My first sticker samples of Ol' Barney
I also formed my LLC which sounds very boring but it was one of the most exciting things I’ve ever done. Everything was starting to feel very official.
April 2021:
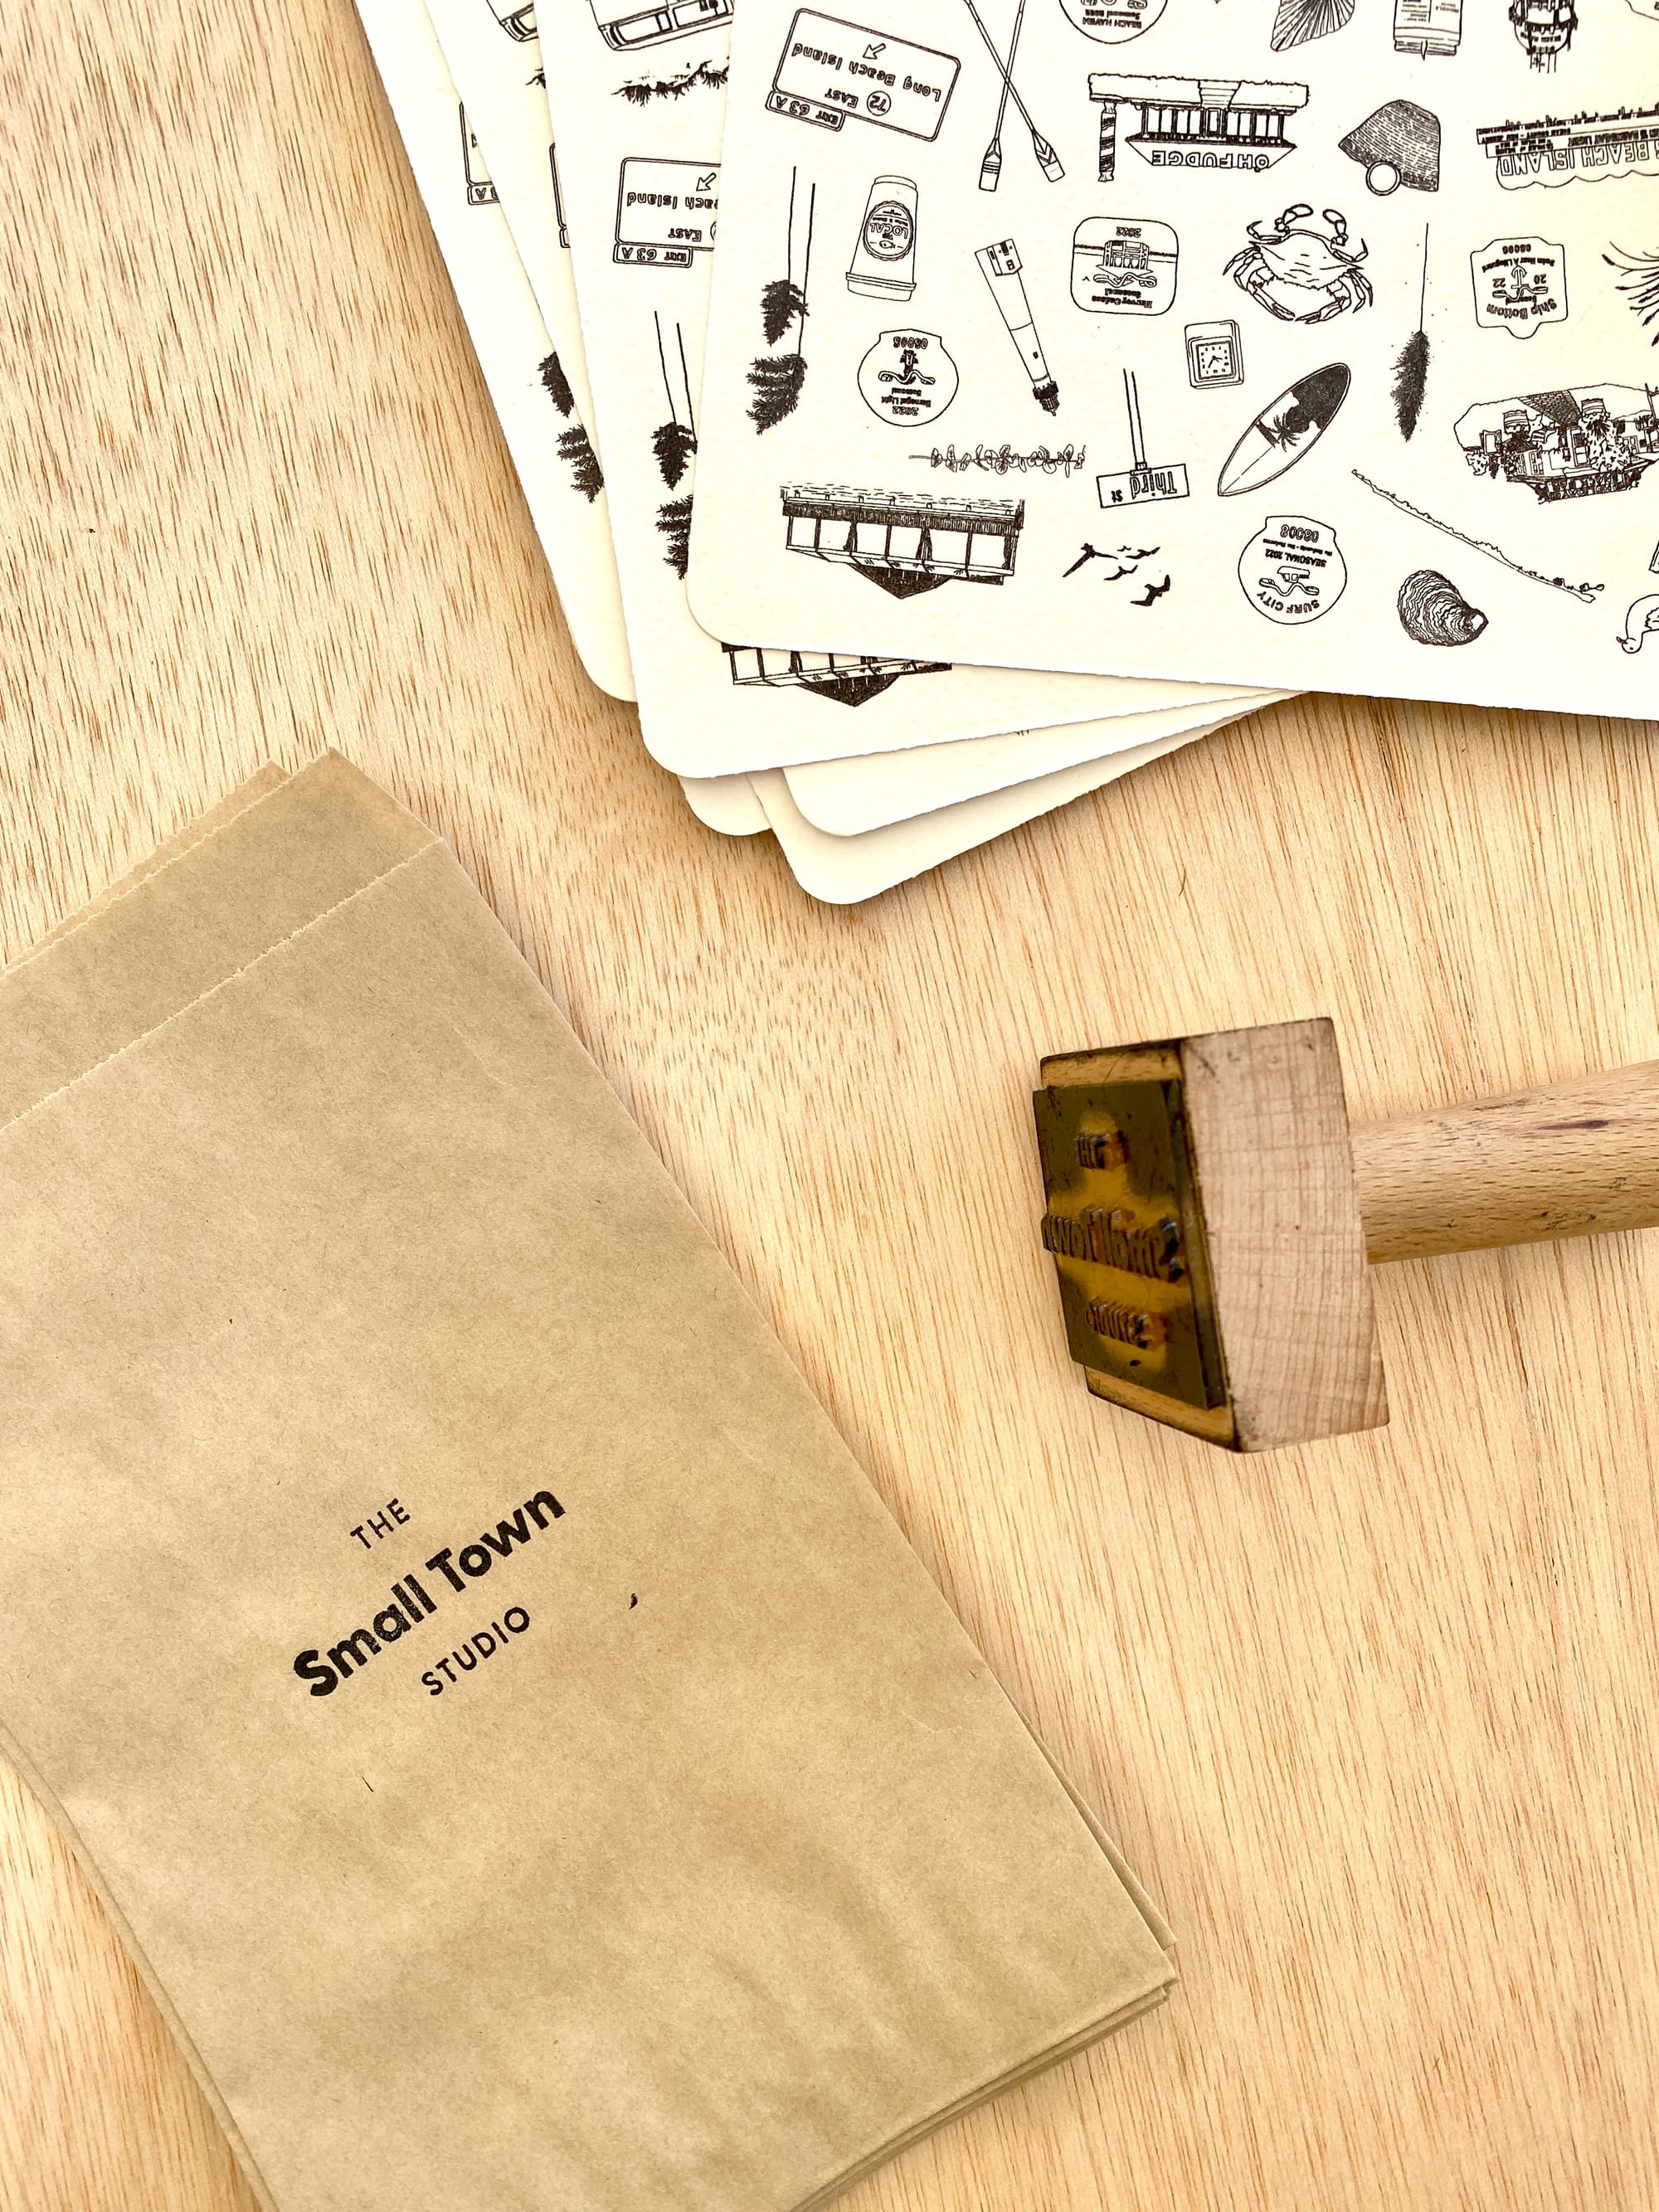
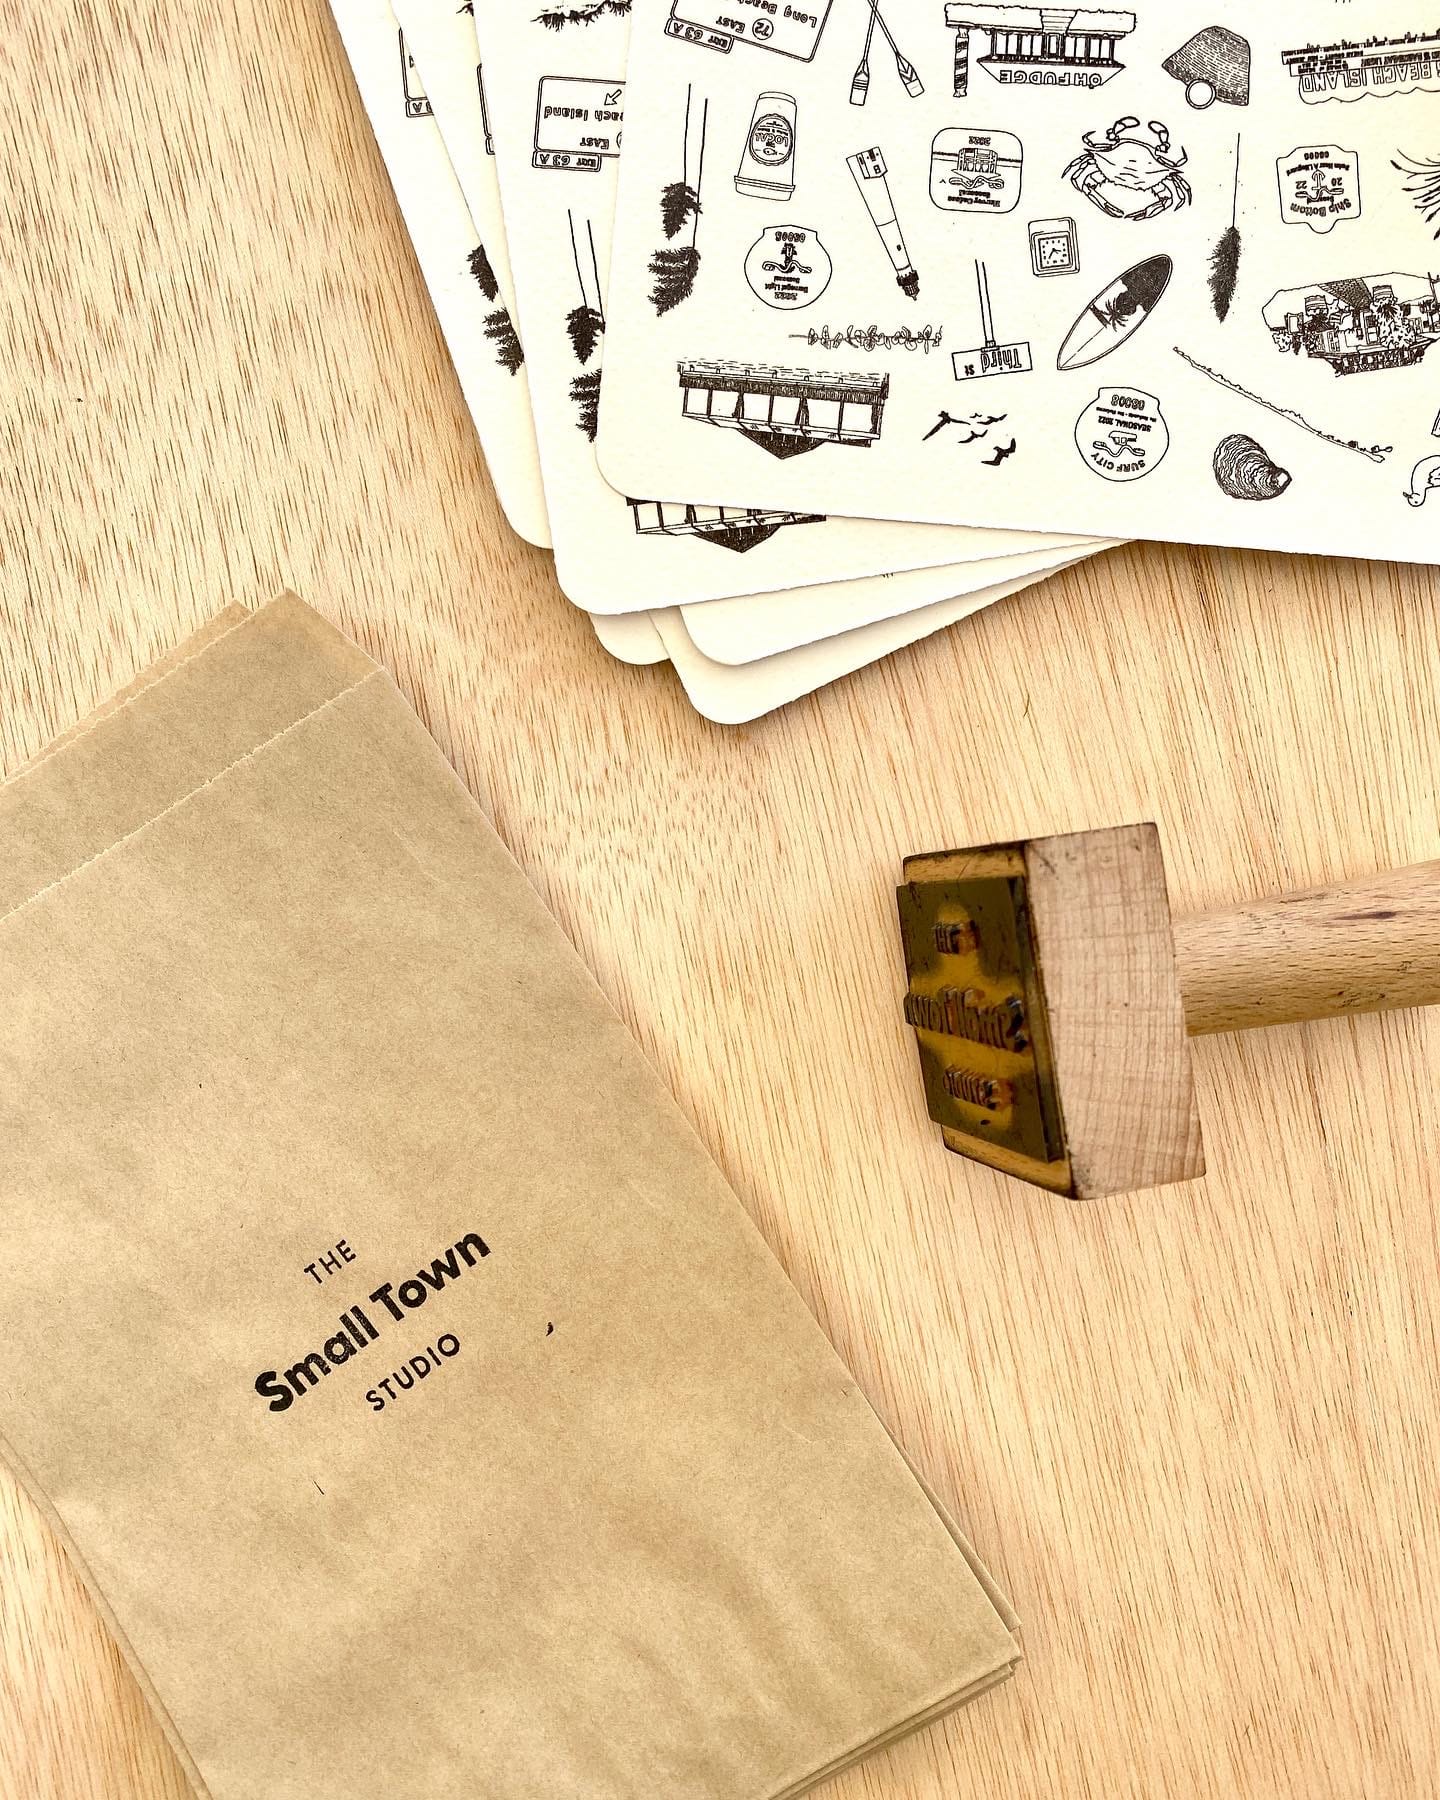
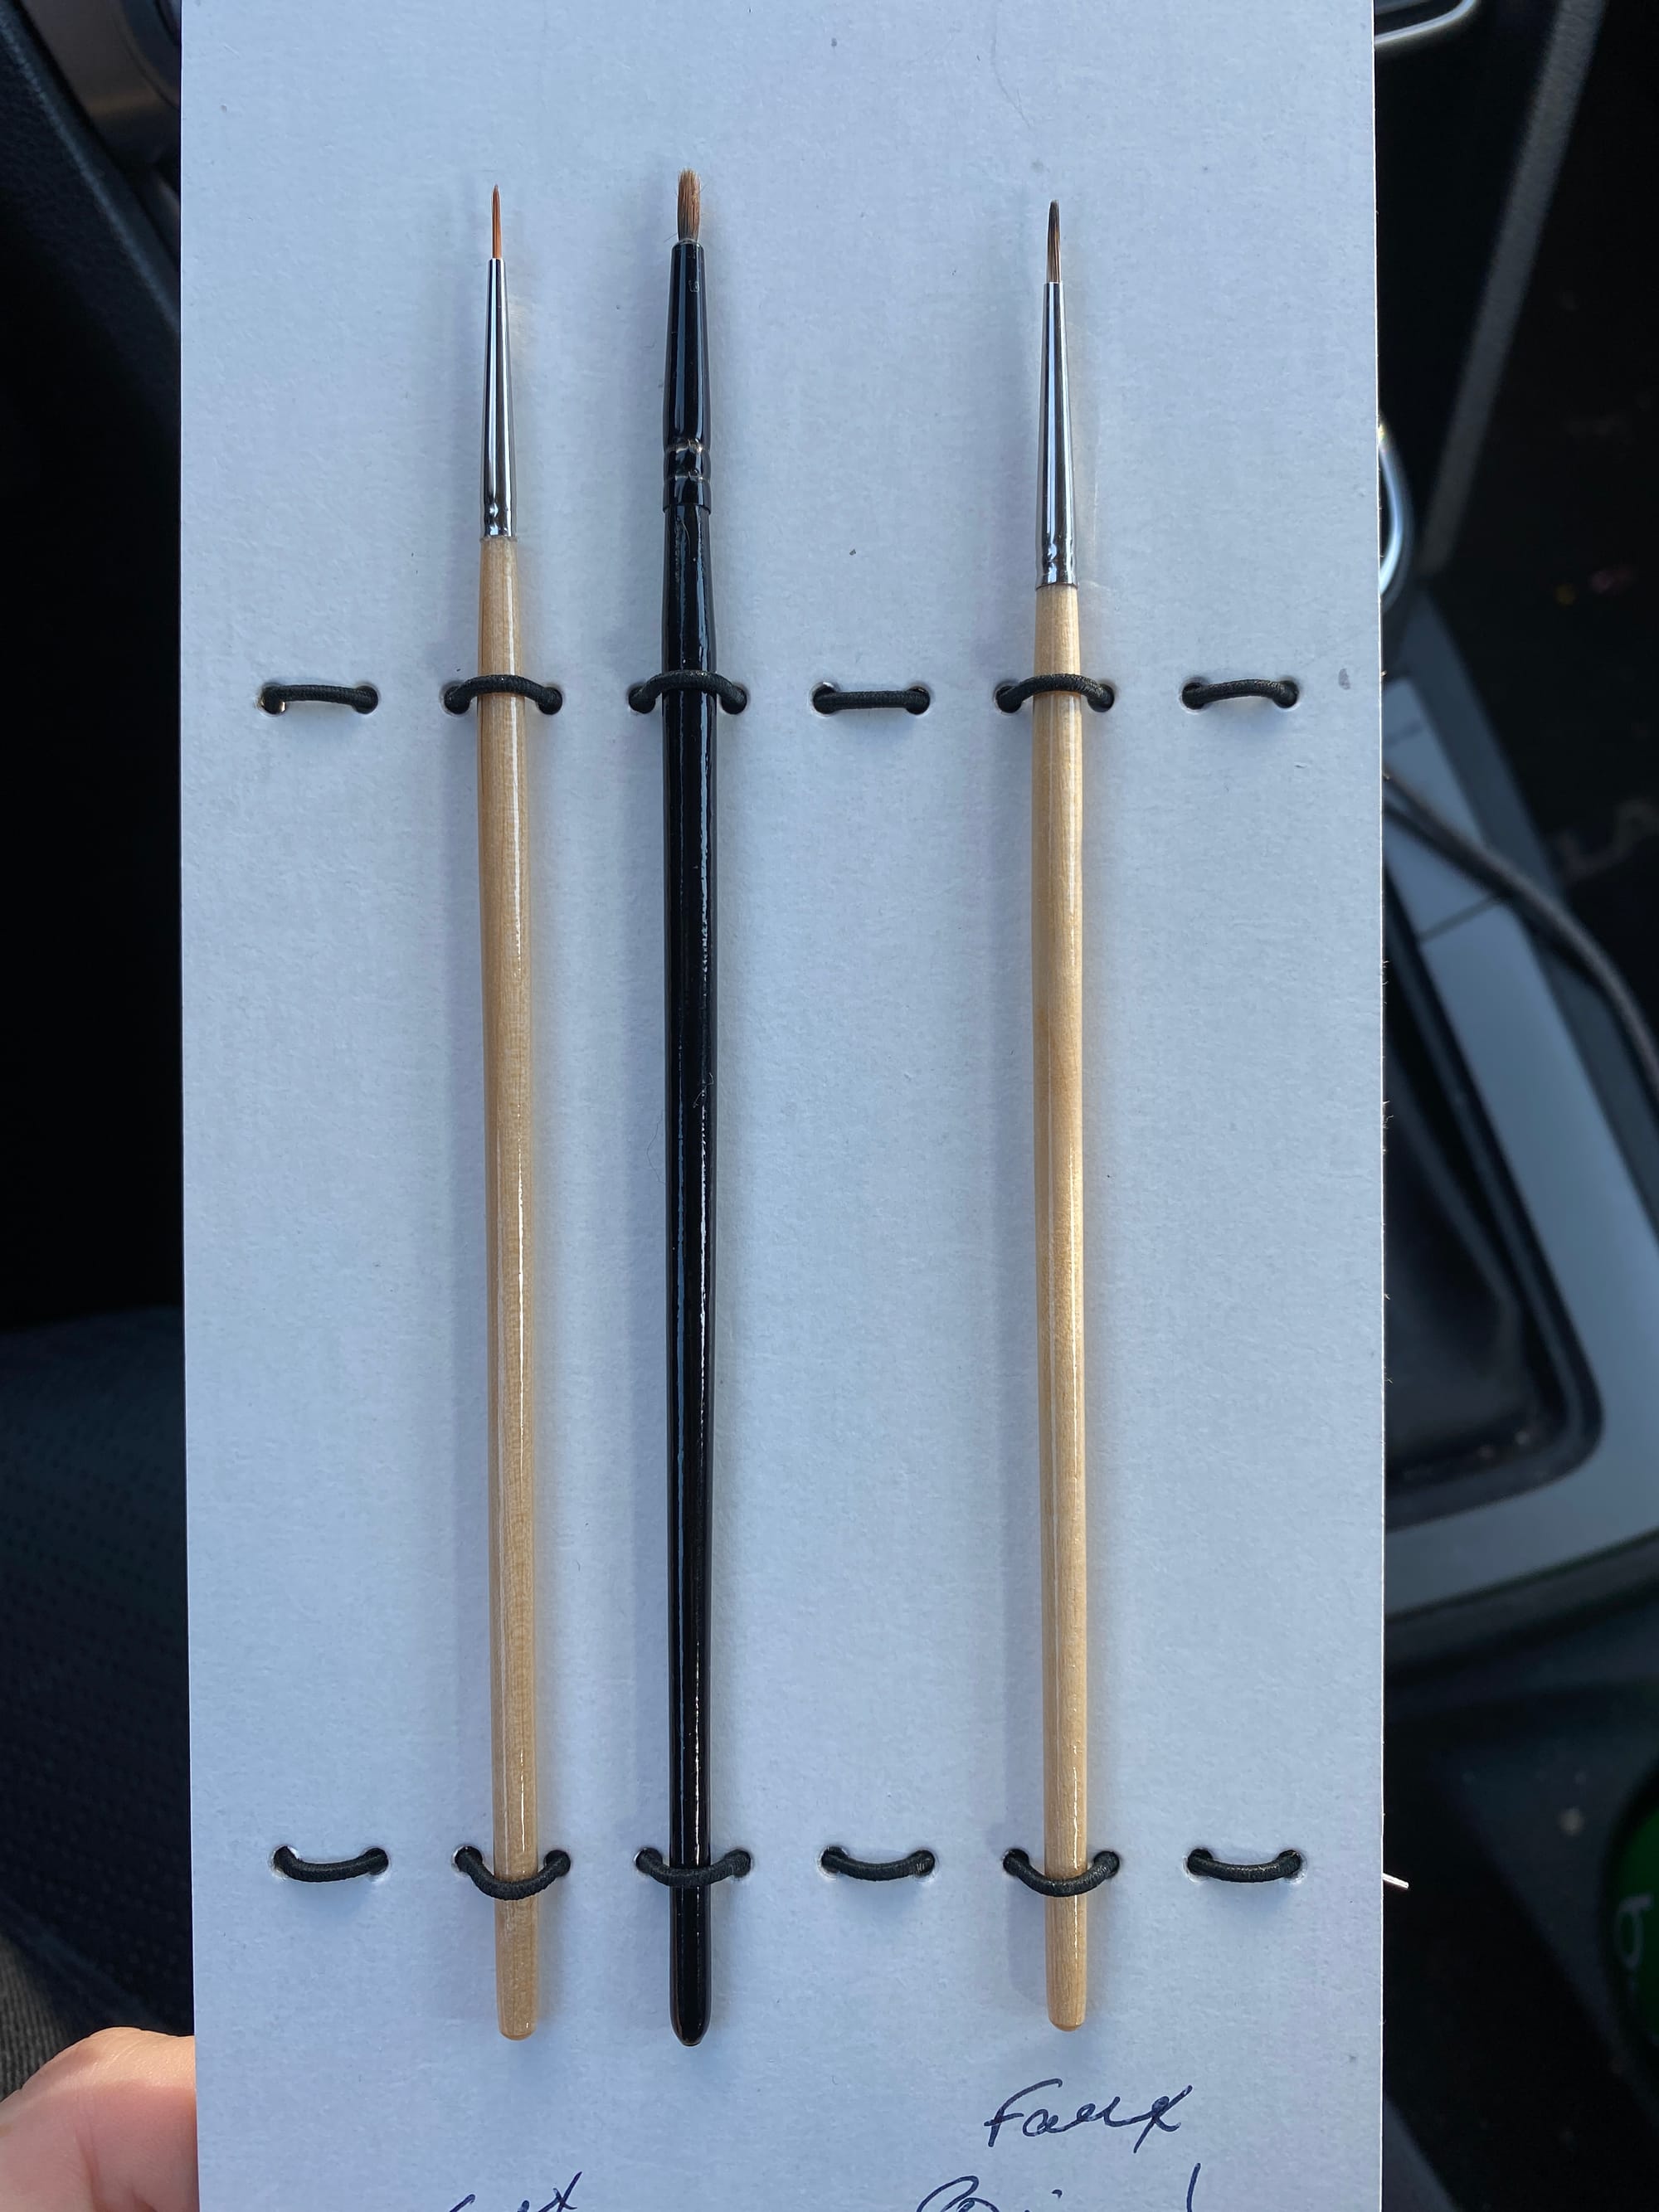
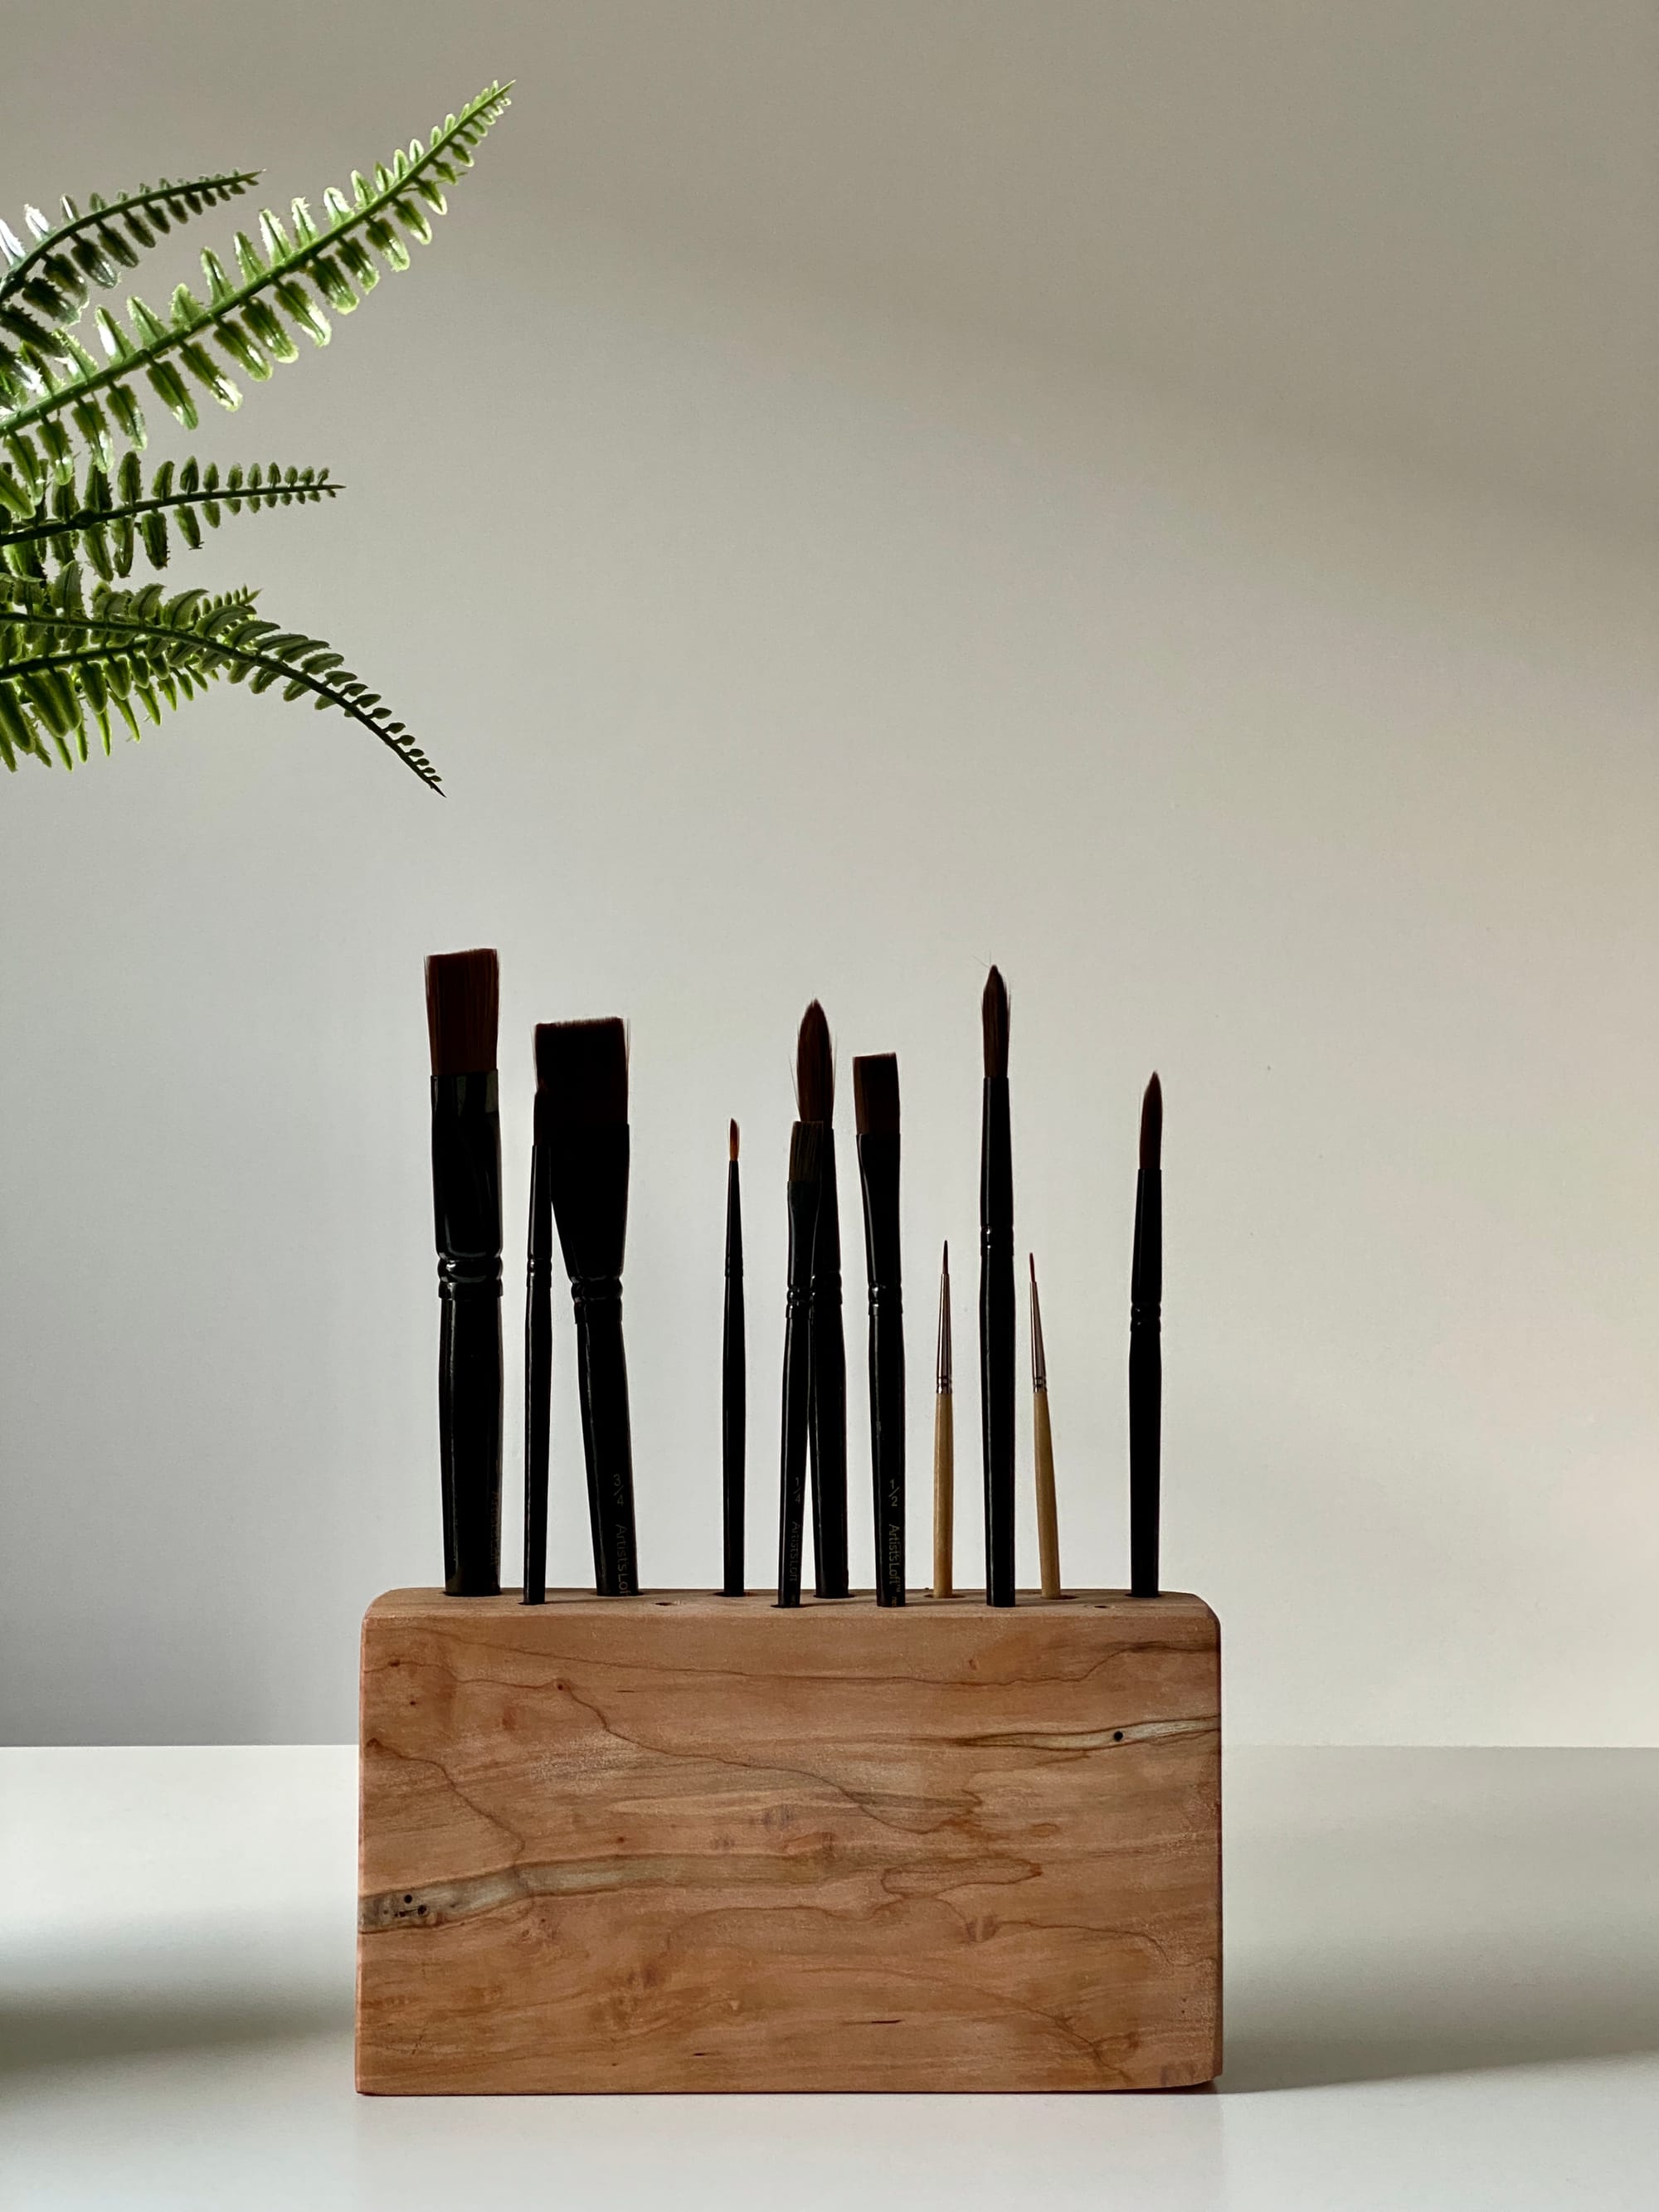
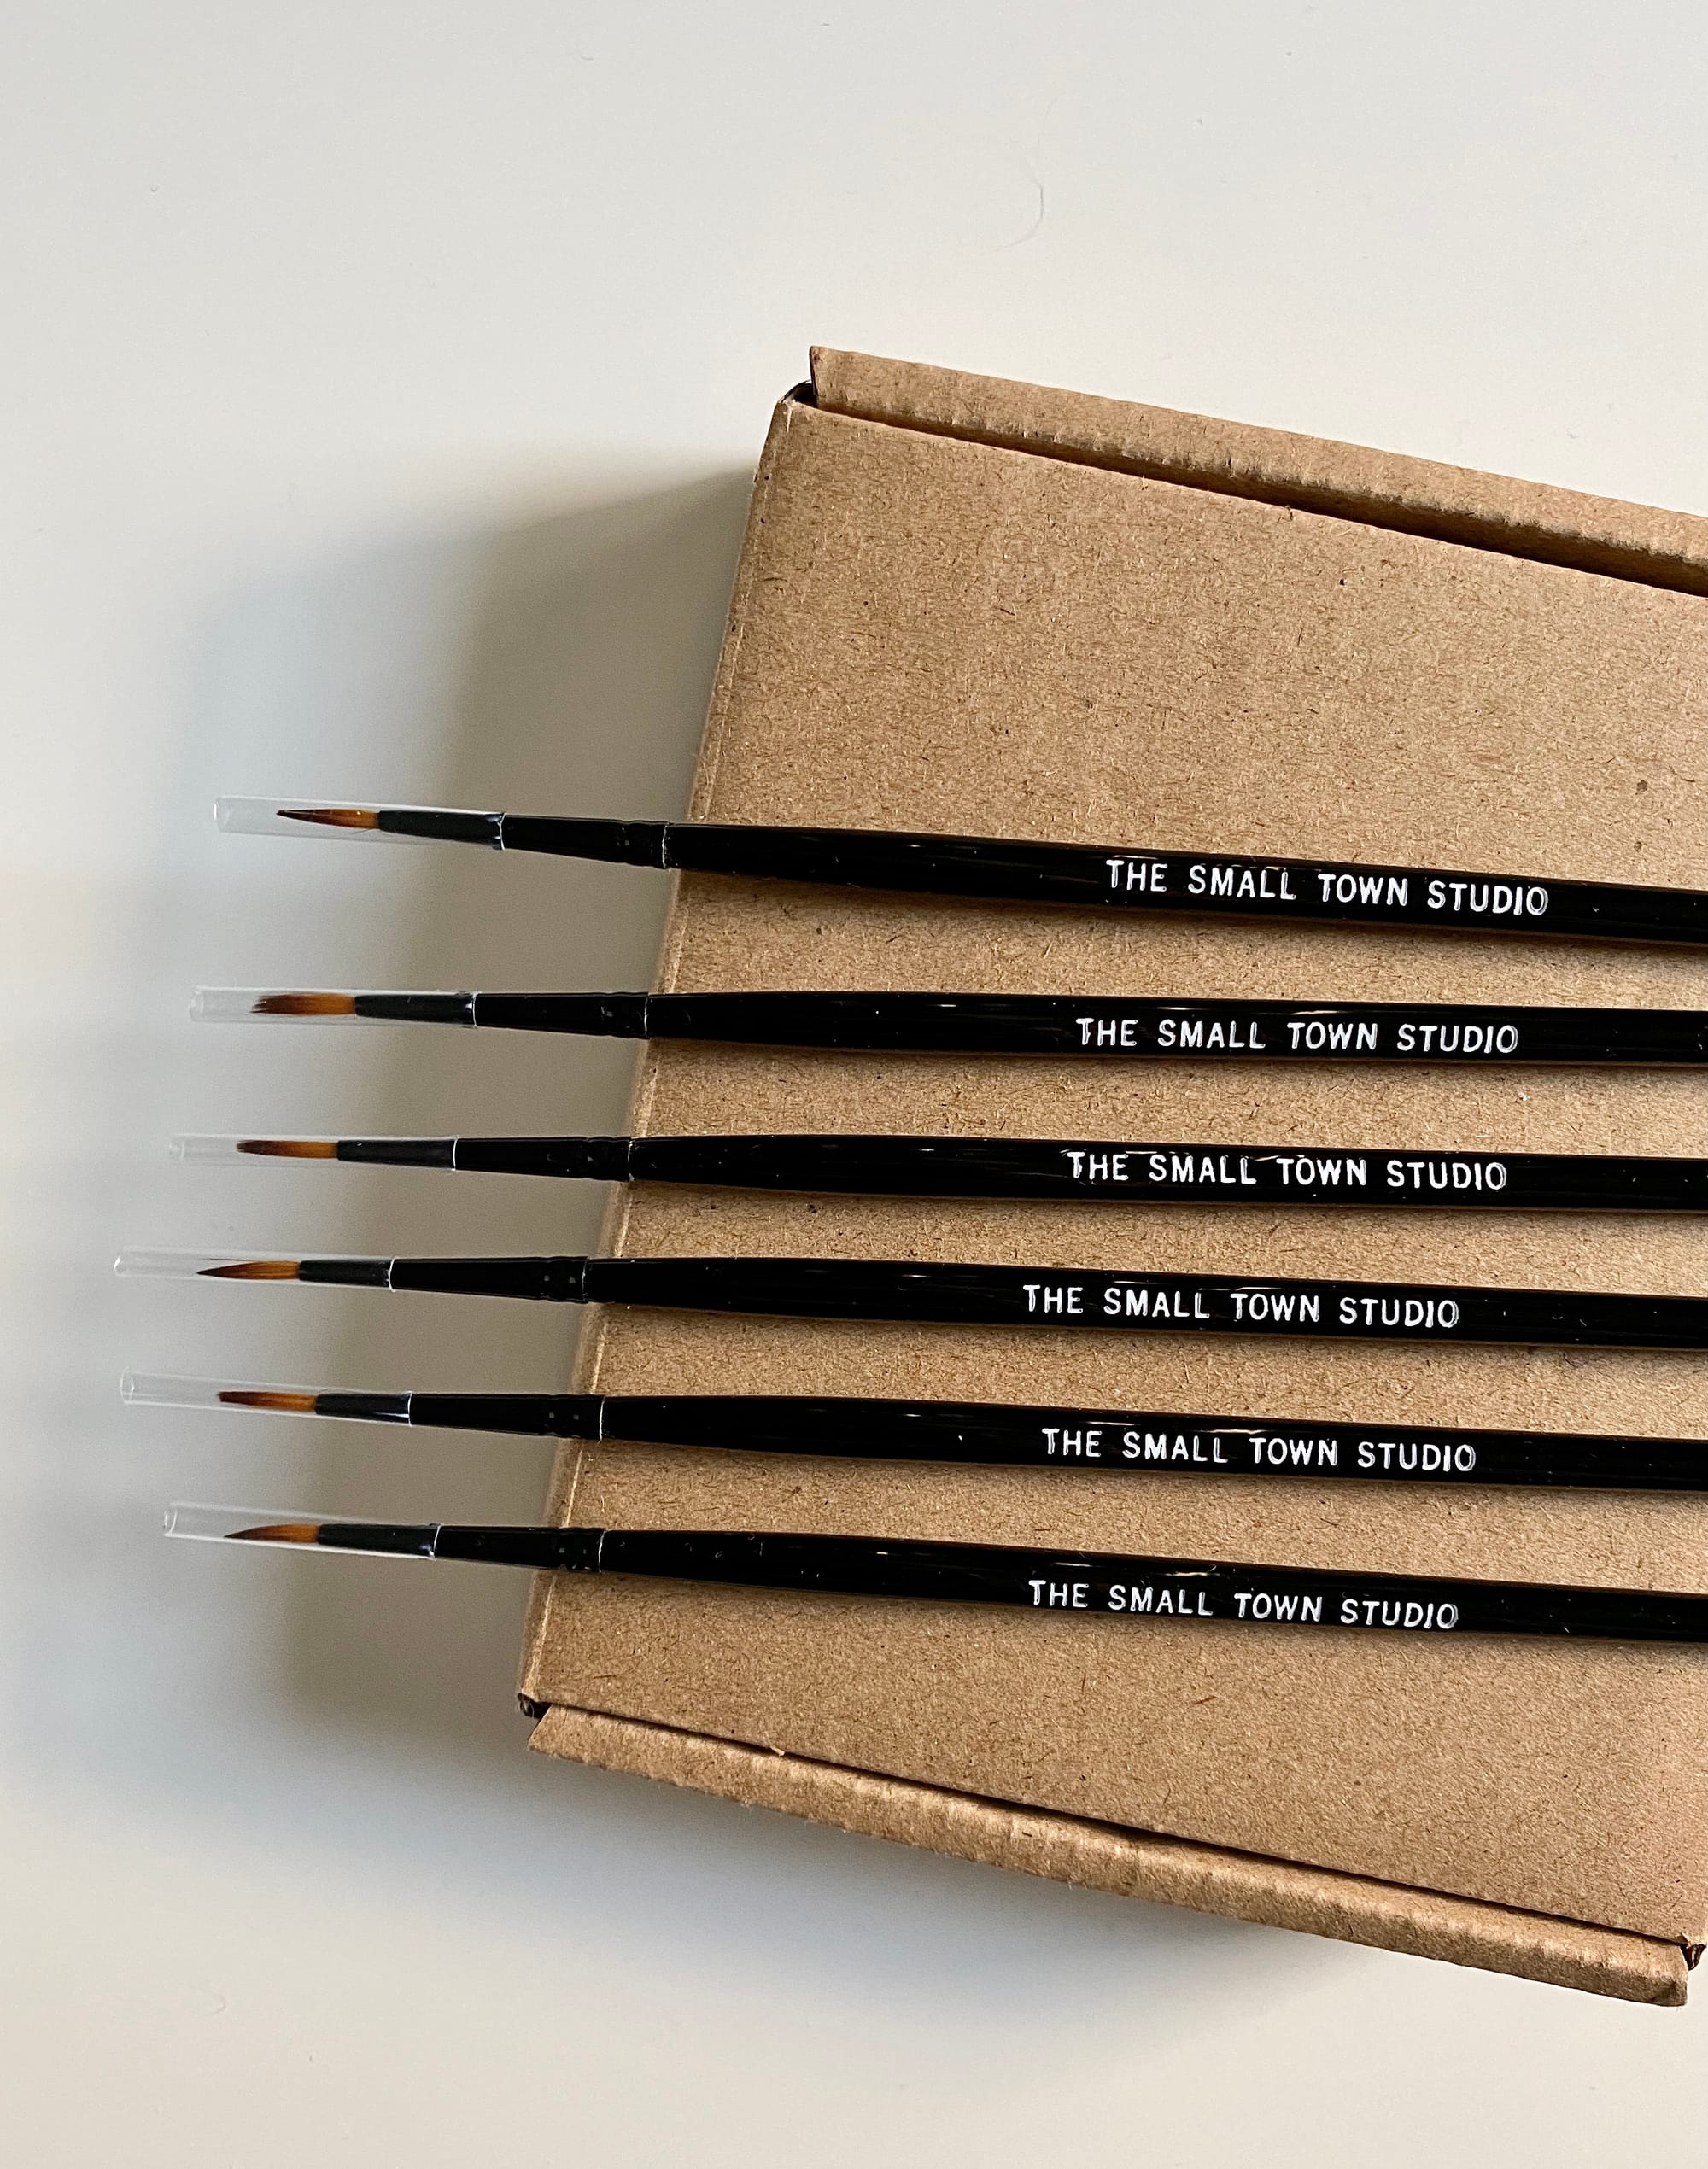
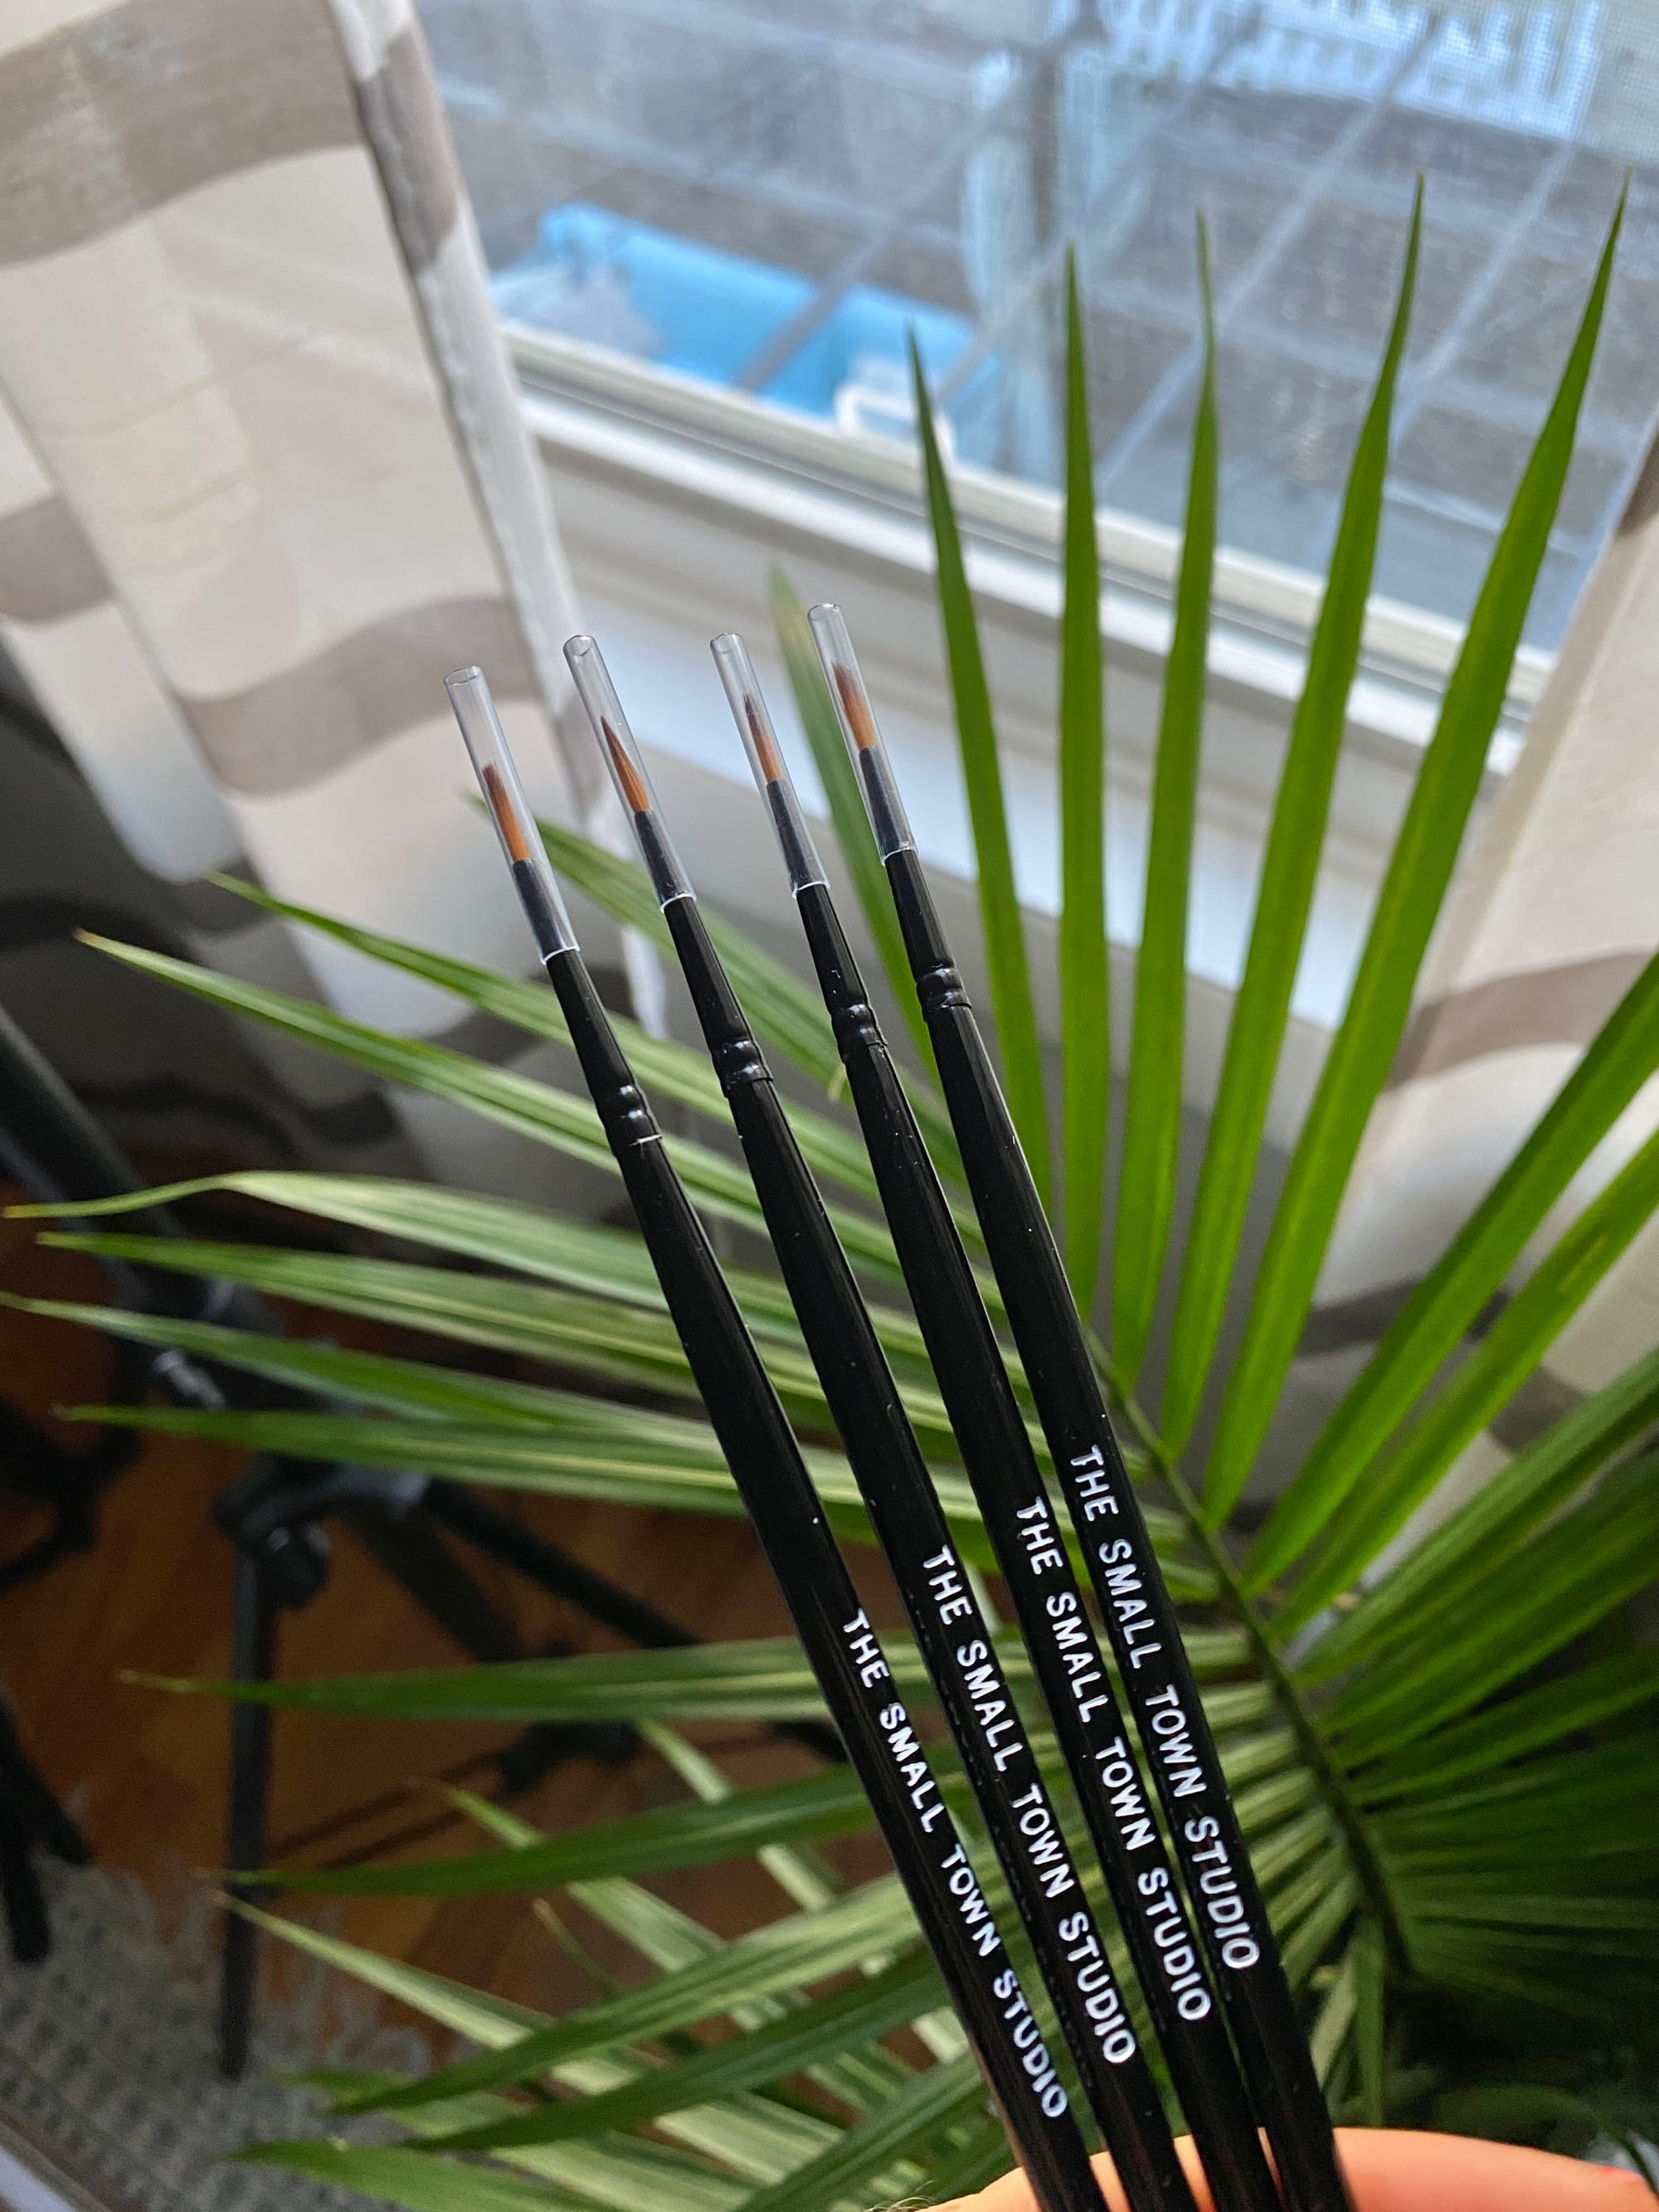
I sourced and sampled pieces for my watercolor kits. I had to find the perfect watercolor paintbrush and I really wanted to add The Small Town Studio stamped into the brush.
We continued to setup my studio little by little and it was becoming the perfect place to work.
I also officially trademarked my business, The Small Town Studio™. I opened a business bank account. I wanted to do everything the right way and all these official tasks felt like incredible milestones along the way.
May 2021:
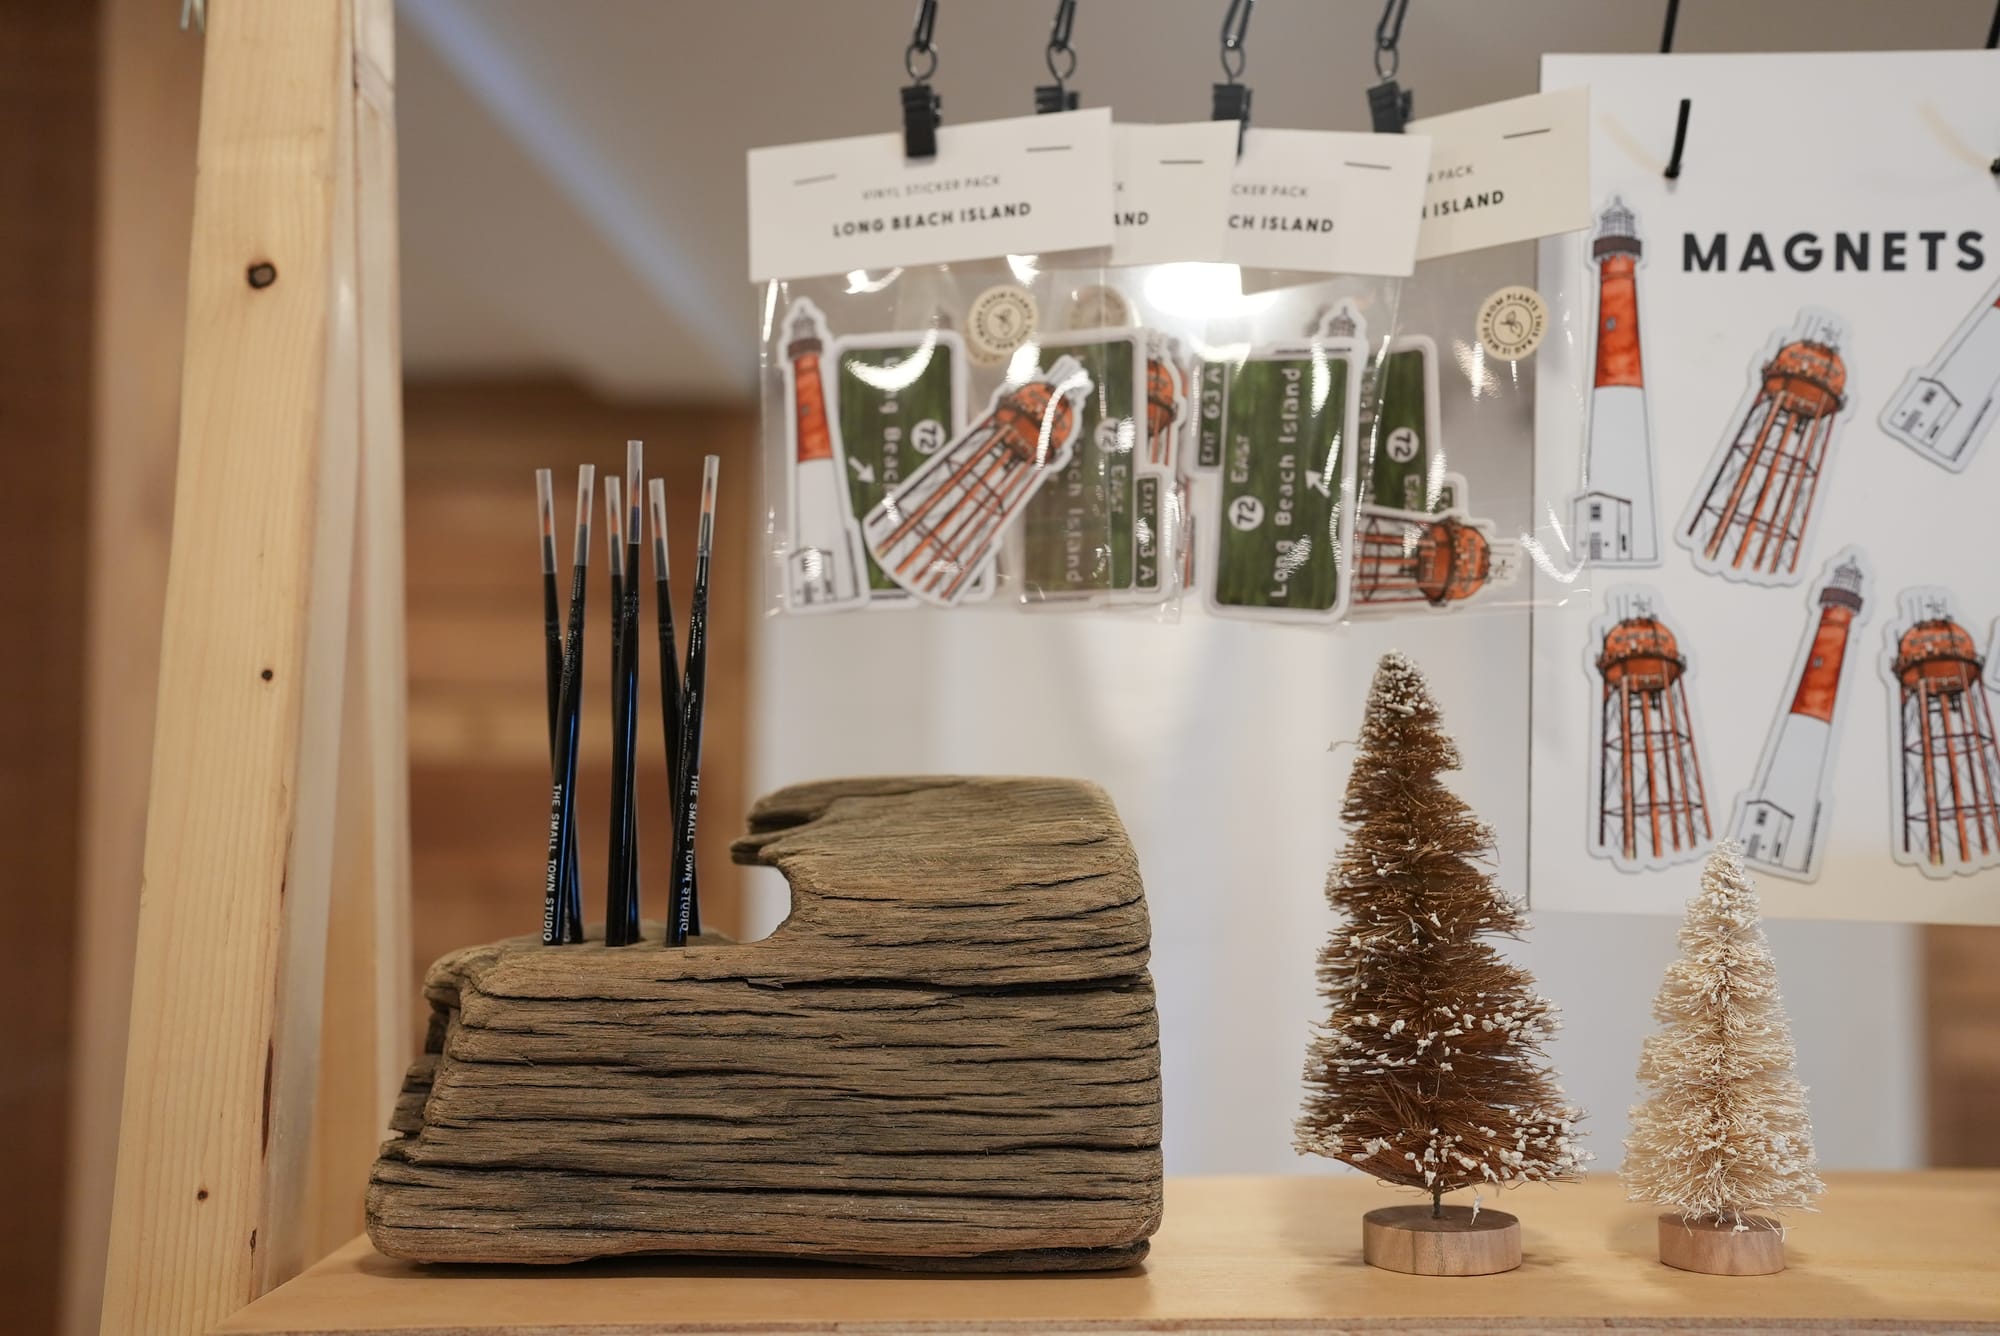
My custom stamped paintbrushes arrived and I absolutely loved them. I always loved pencils that had this, a mark that wouldn’t eventually rub off, something that lasted. And these brushes were made from FSC certified wood materials.
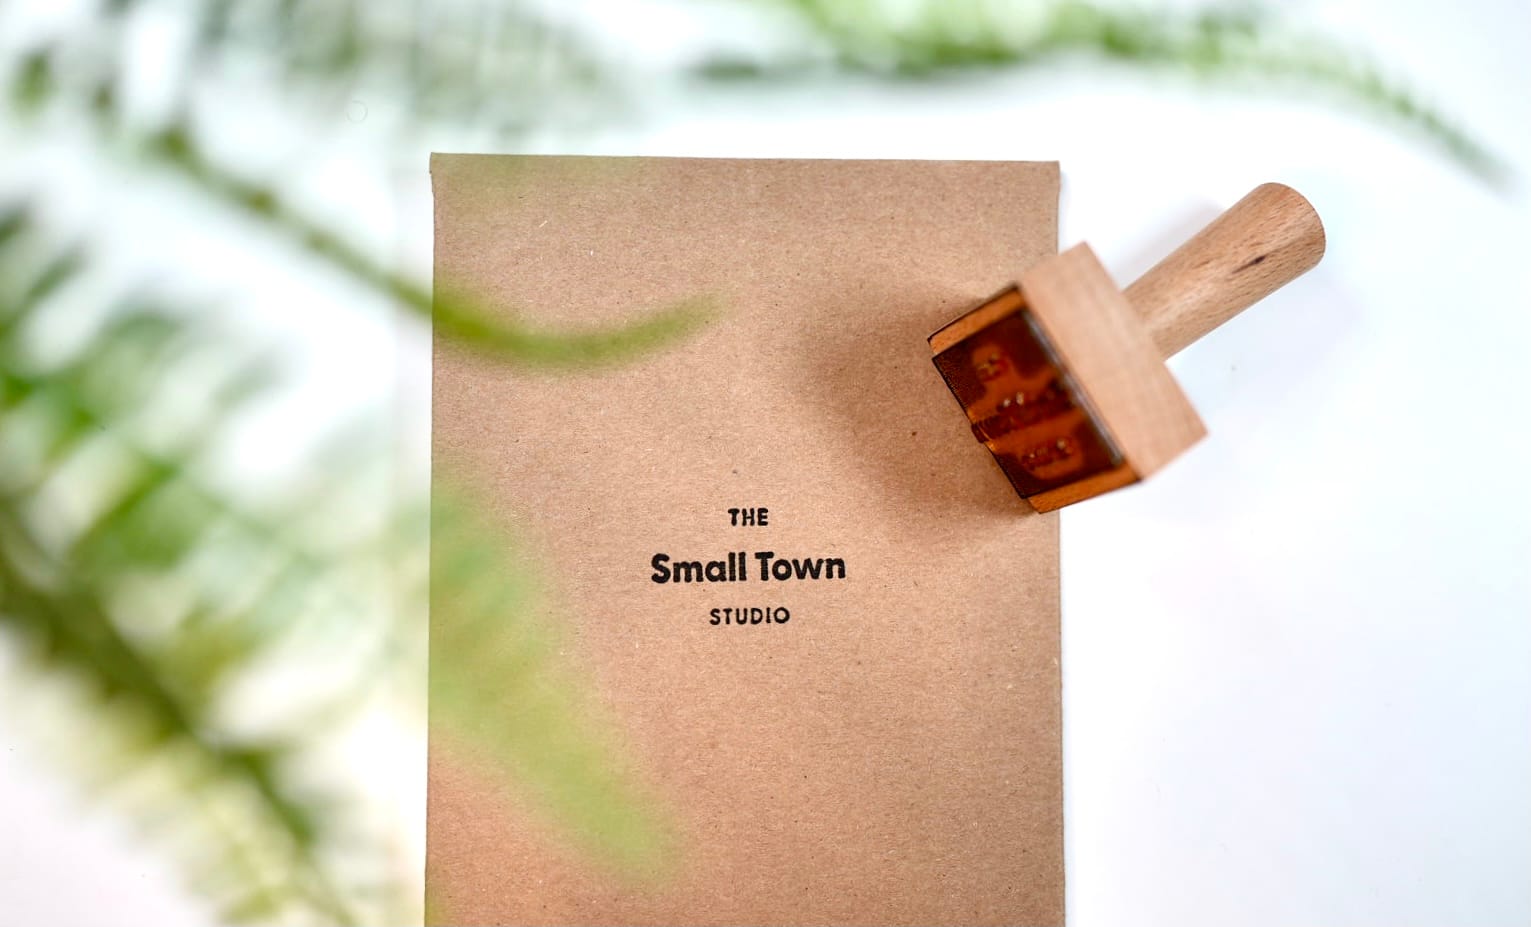
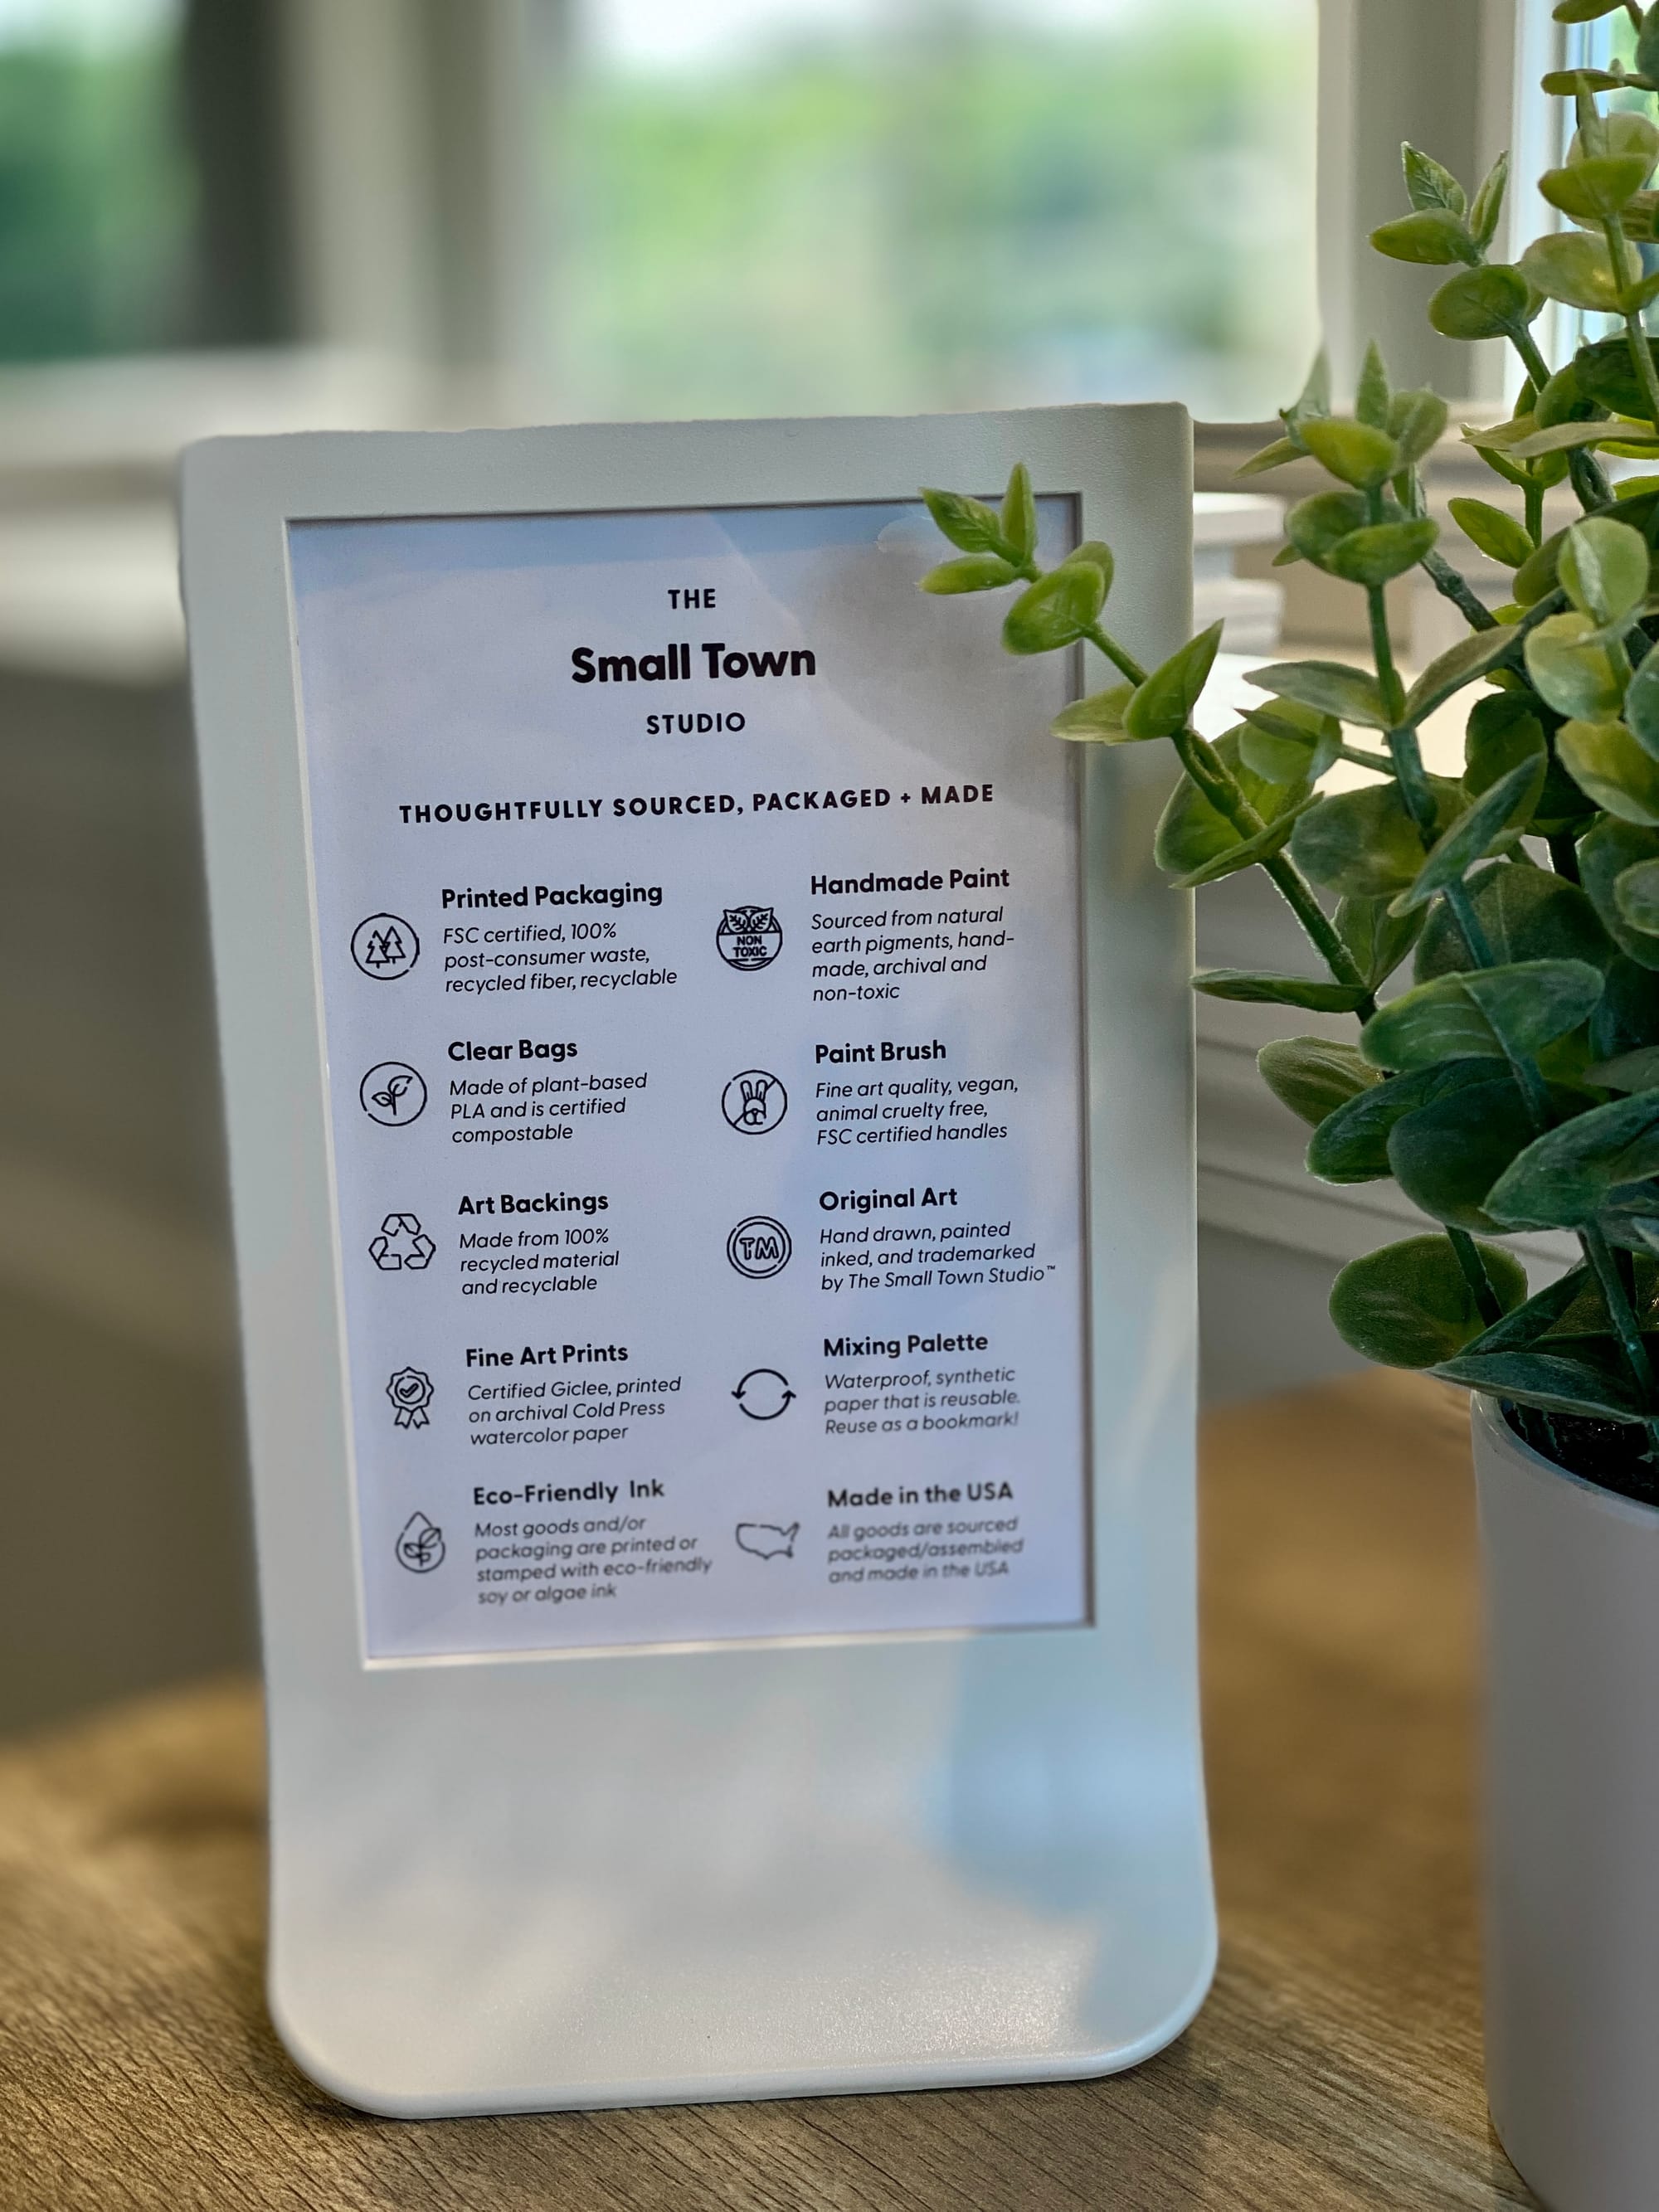
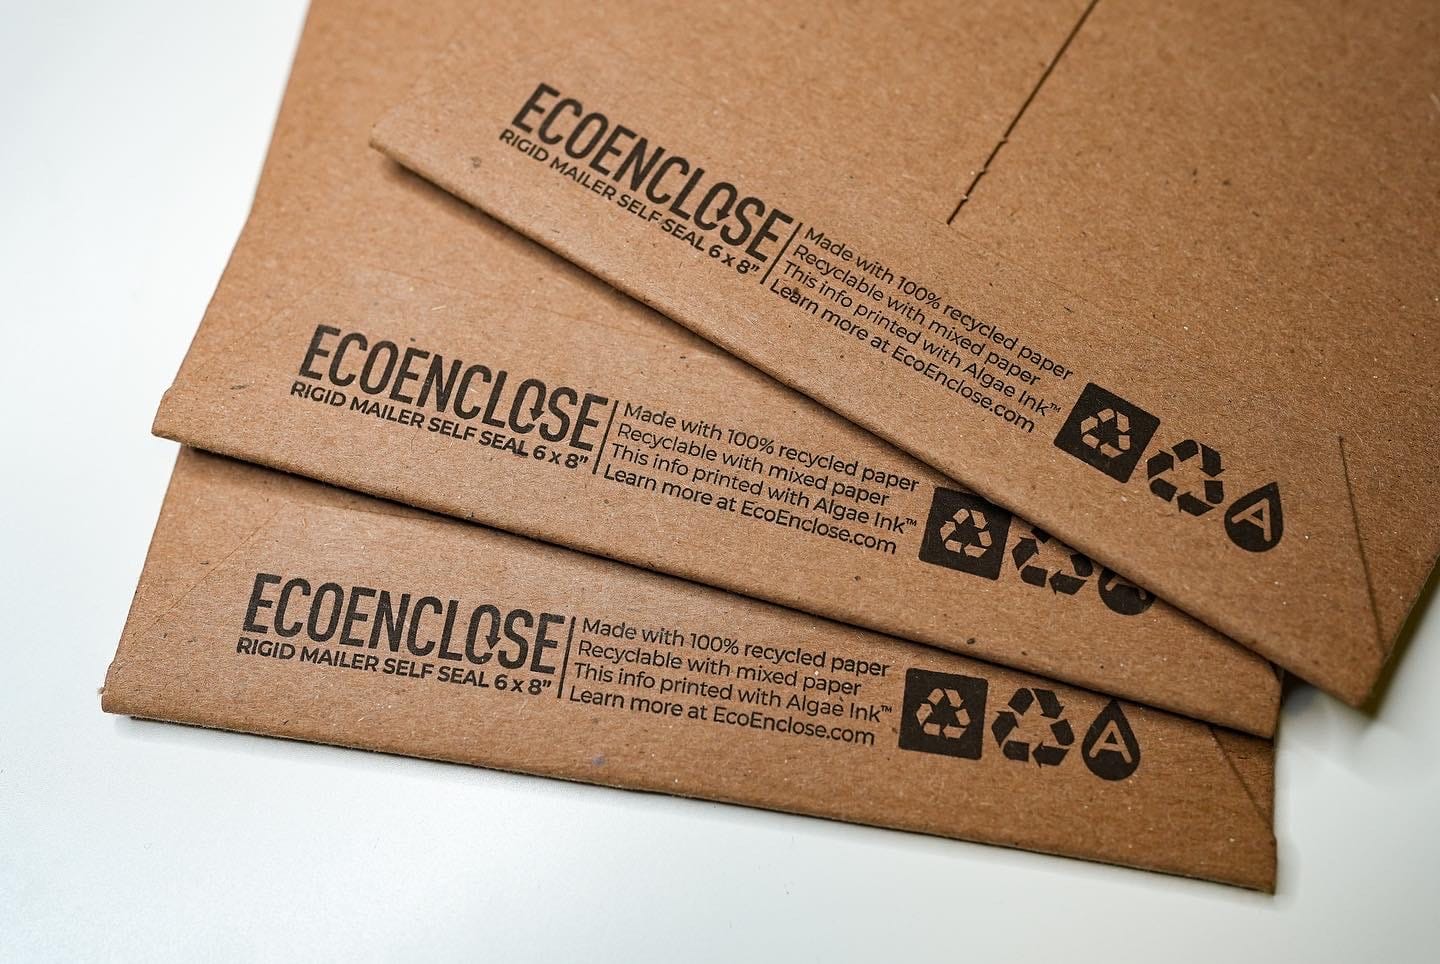
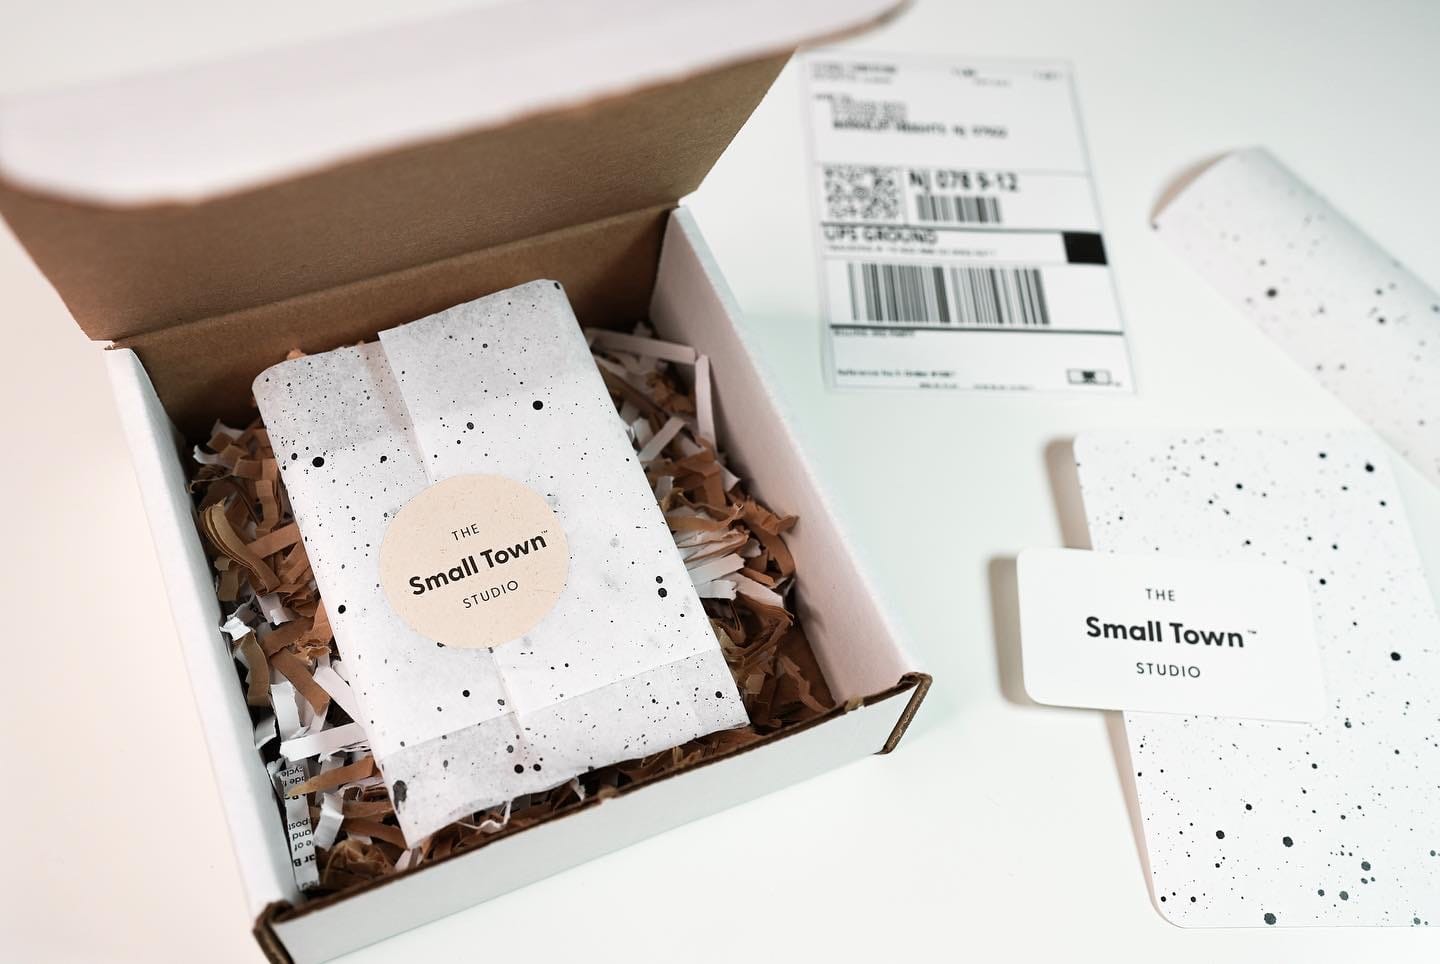
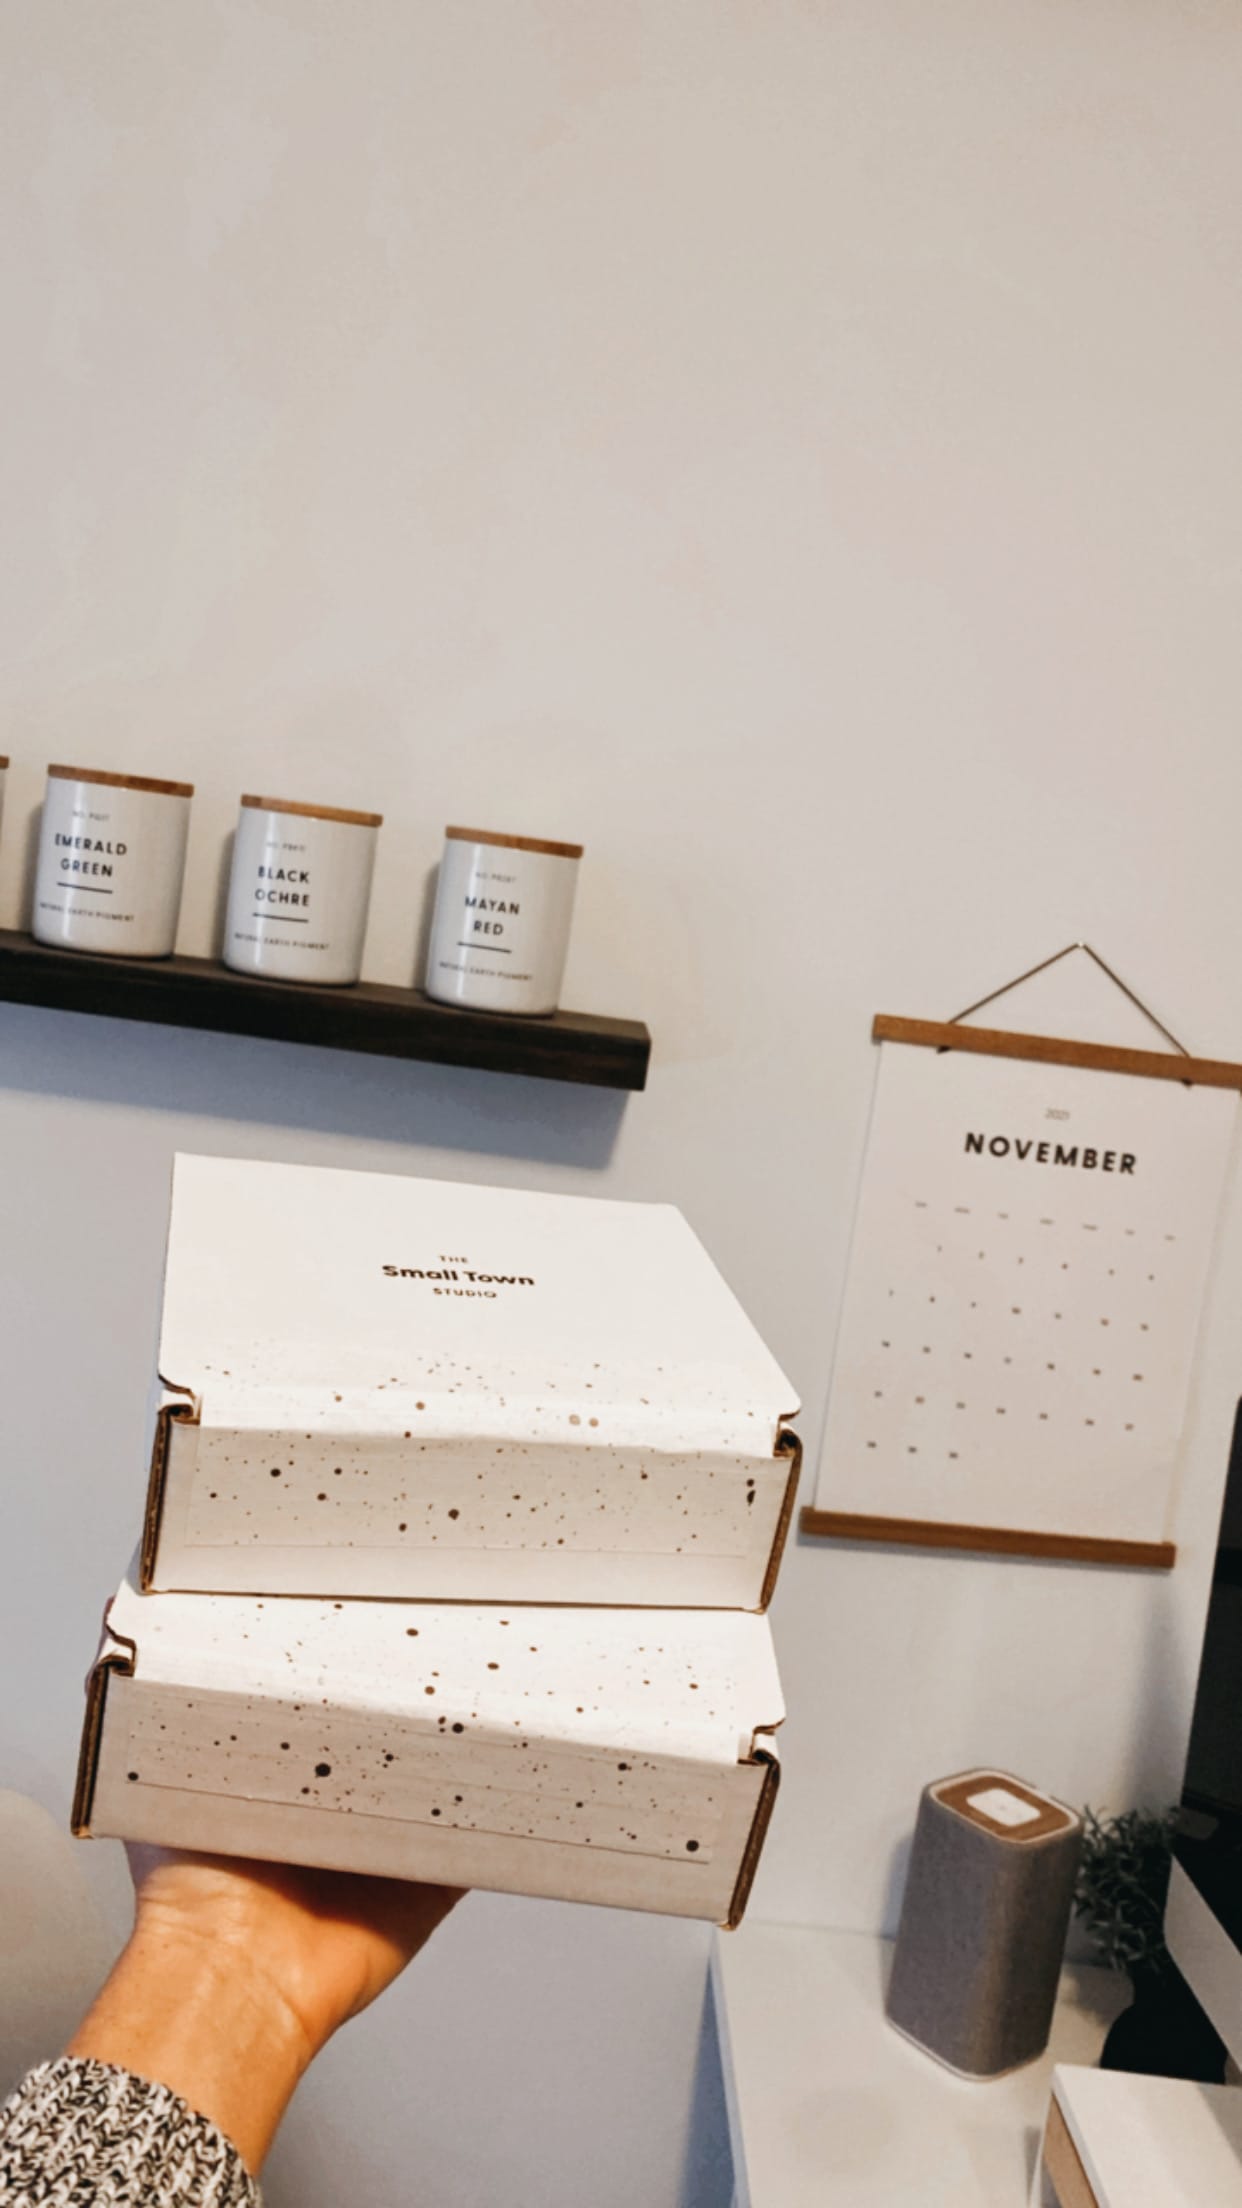
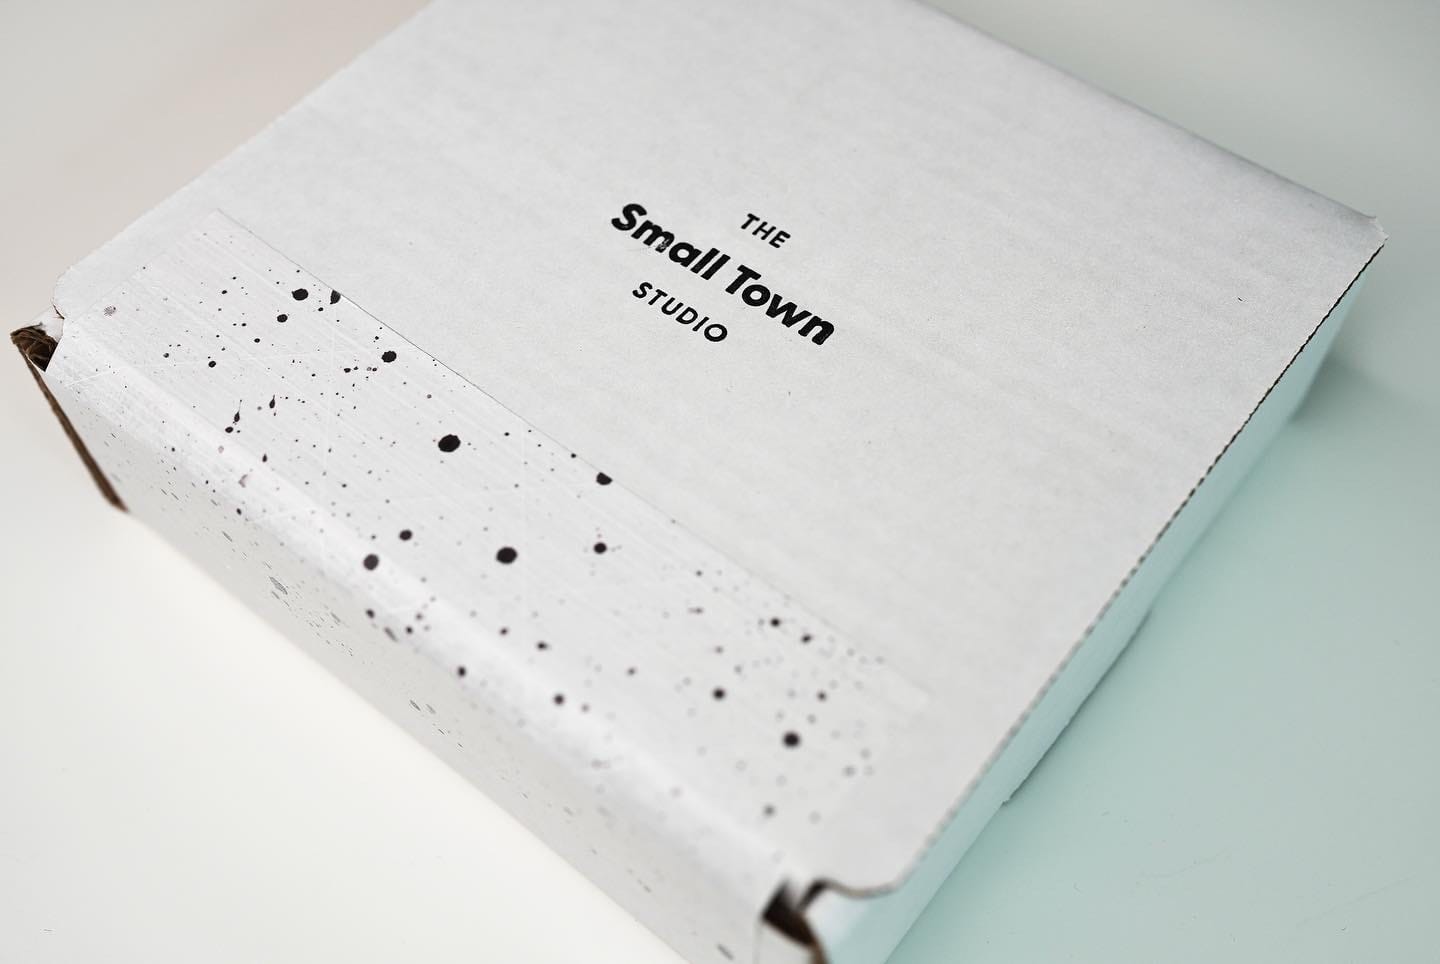
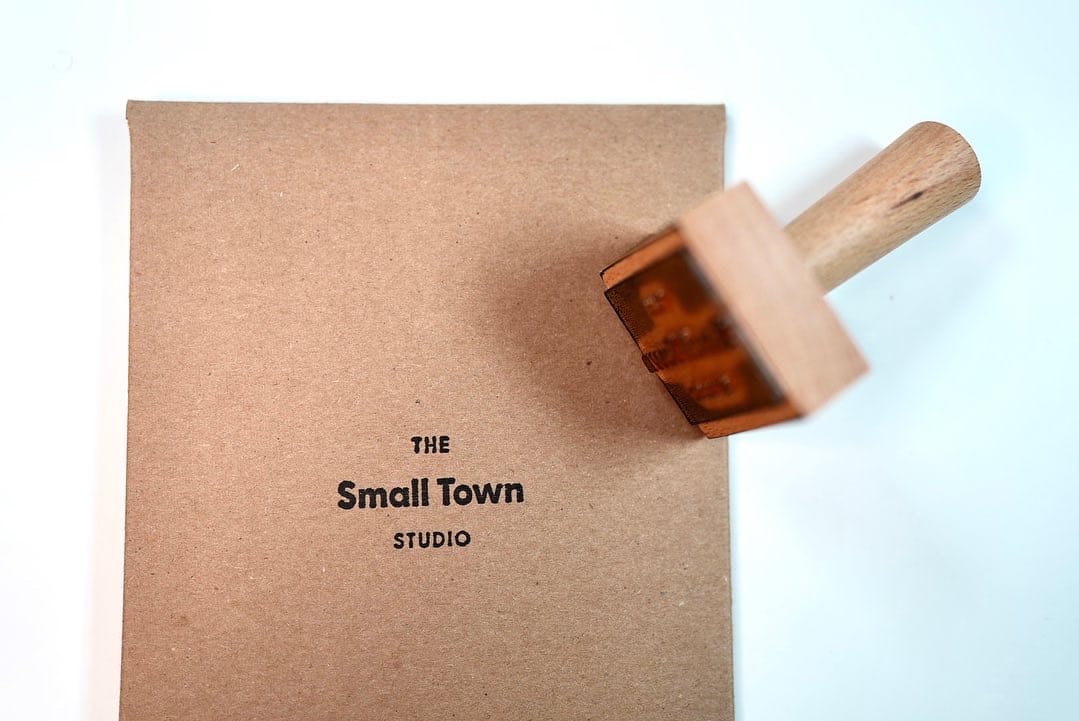
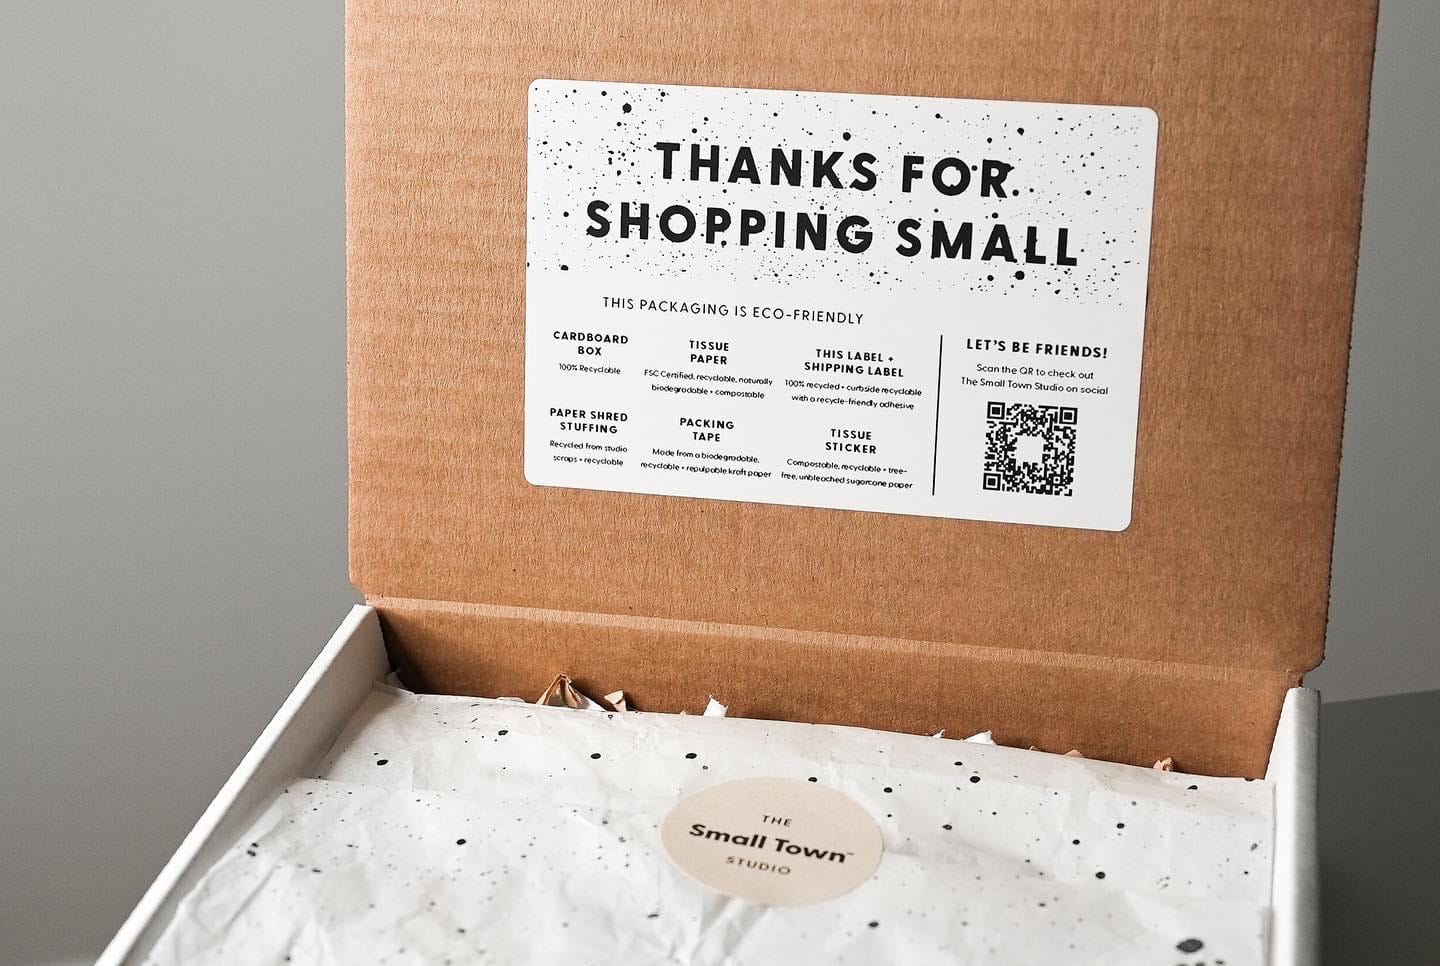
I started researching and sourcing eco-friendly brands for the packaging. I was using EcoEnclose mailers, Noissue stamp and tissue paper, Clear Bags plant-based bags, and environmentally-friendly paper by Neenah/LCI Paper.
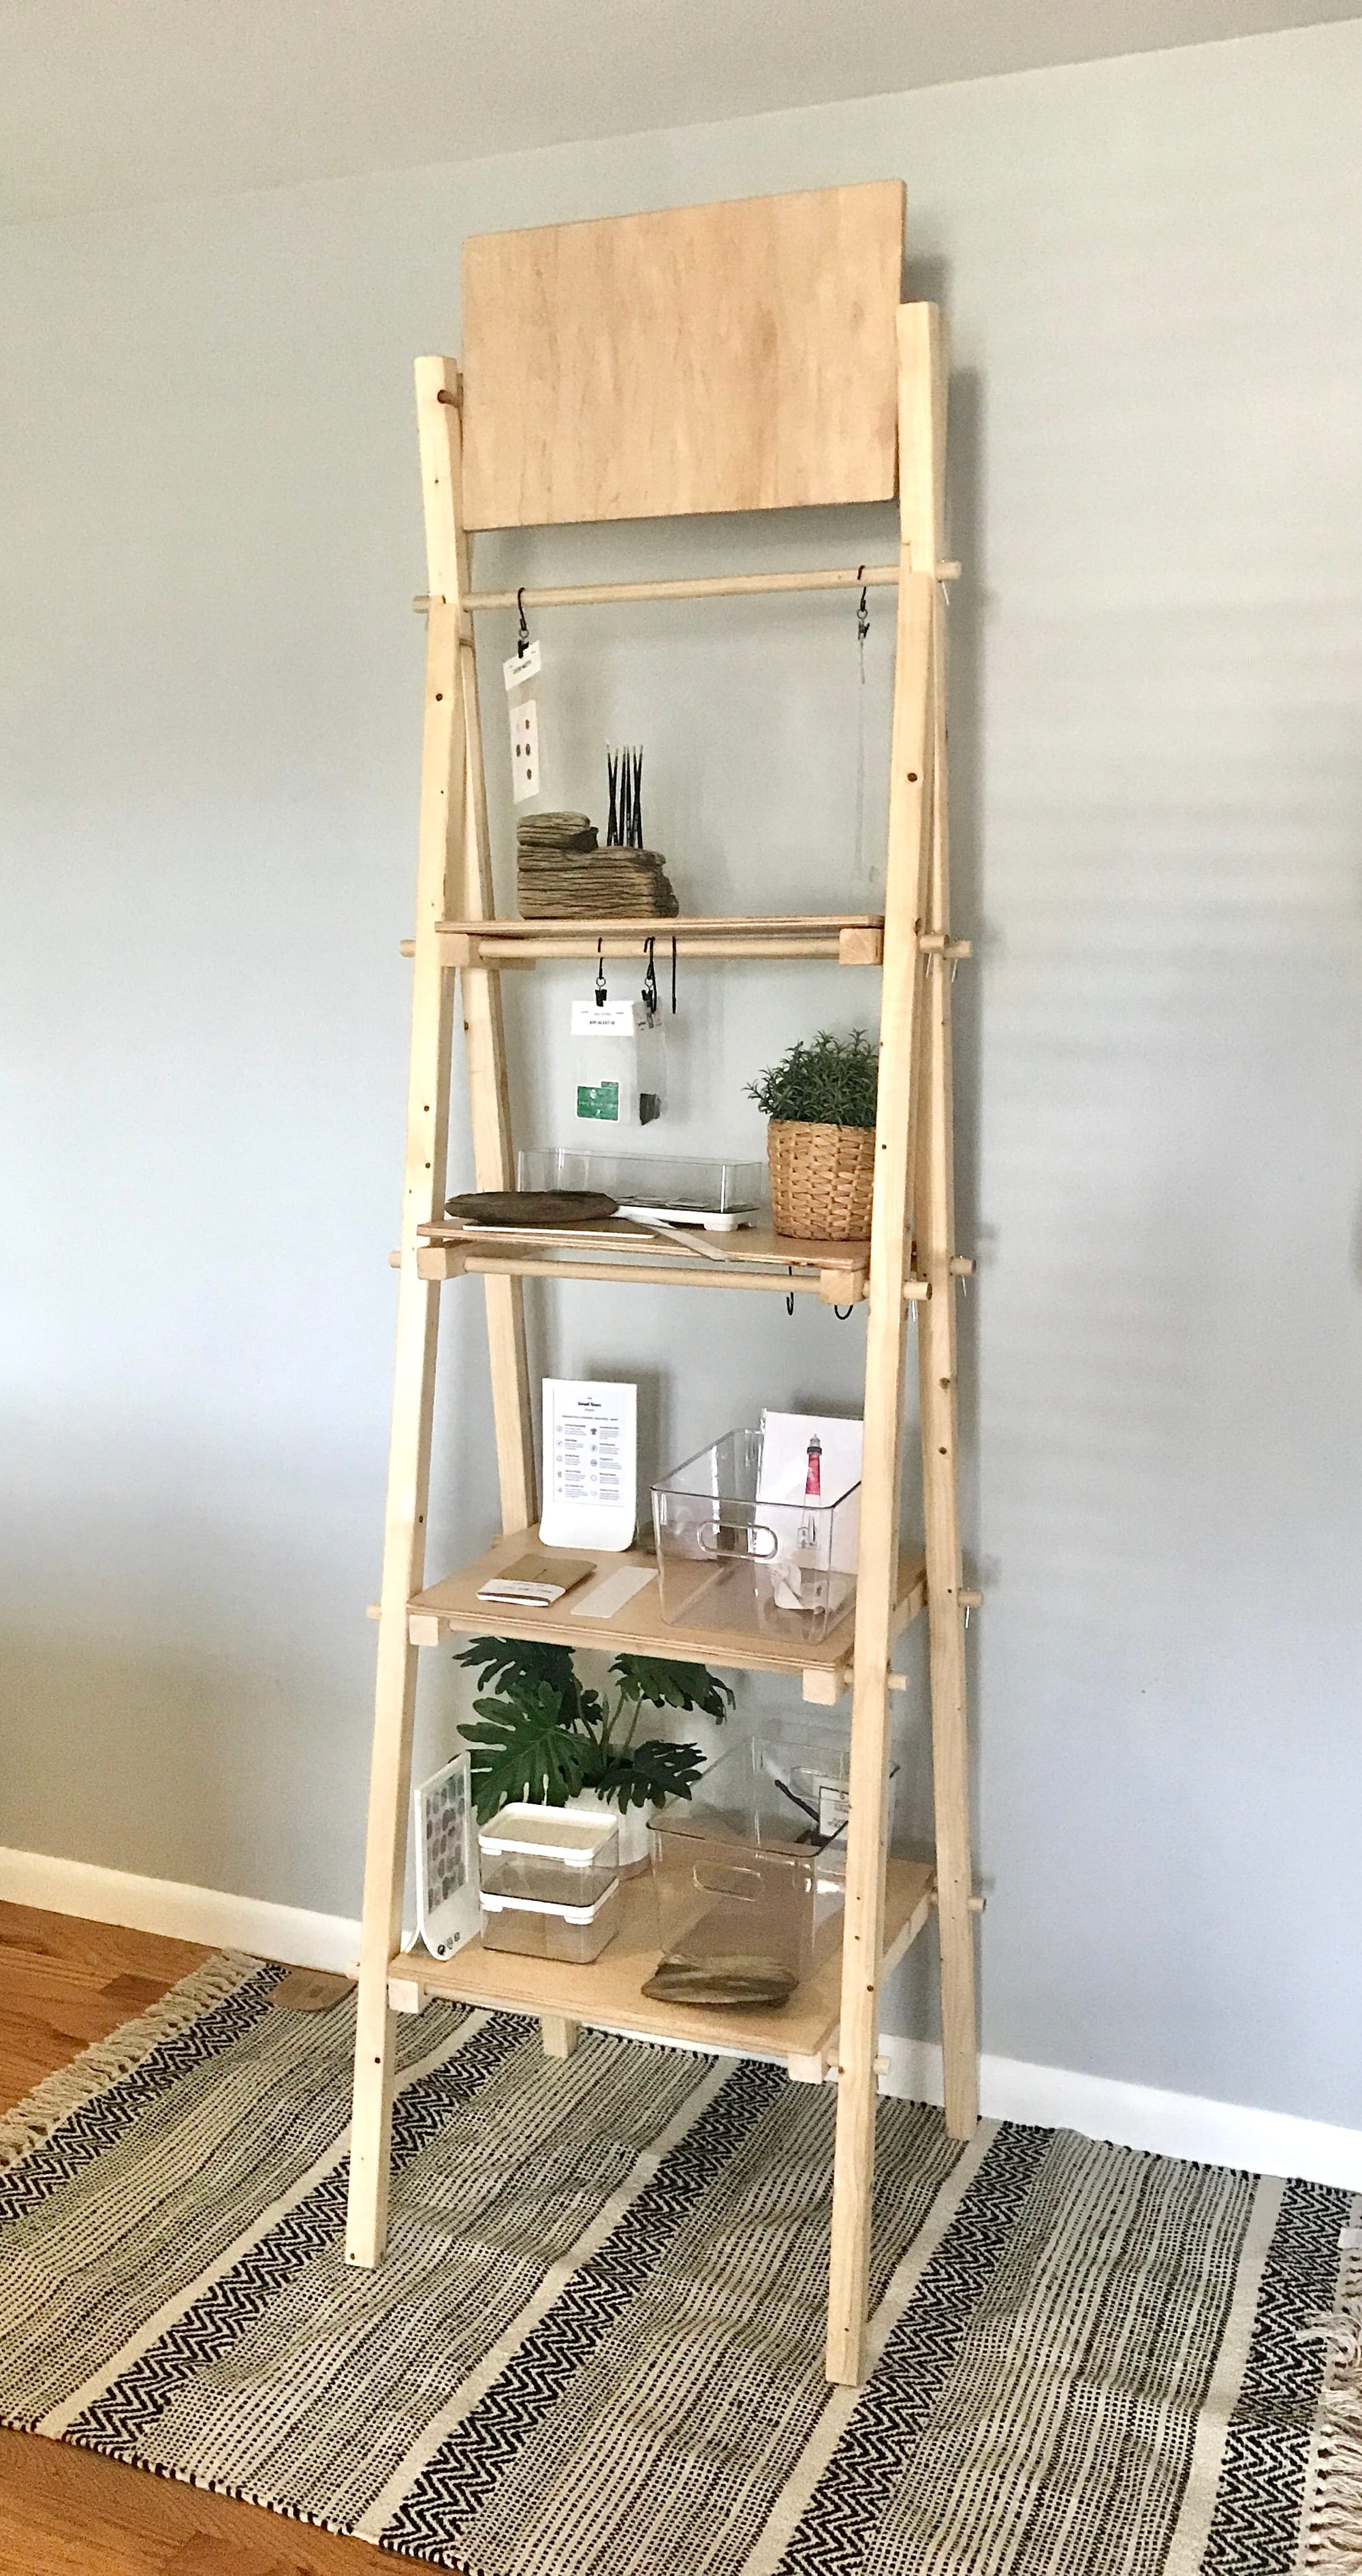
My studio was coming together and I was finalizing details on how to display my products.
June 2021
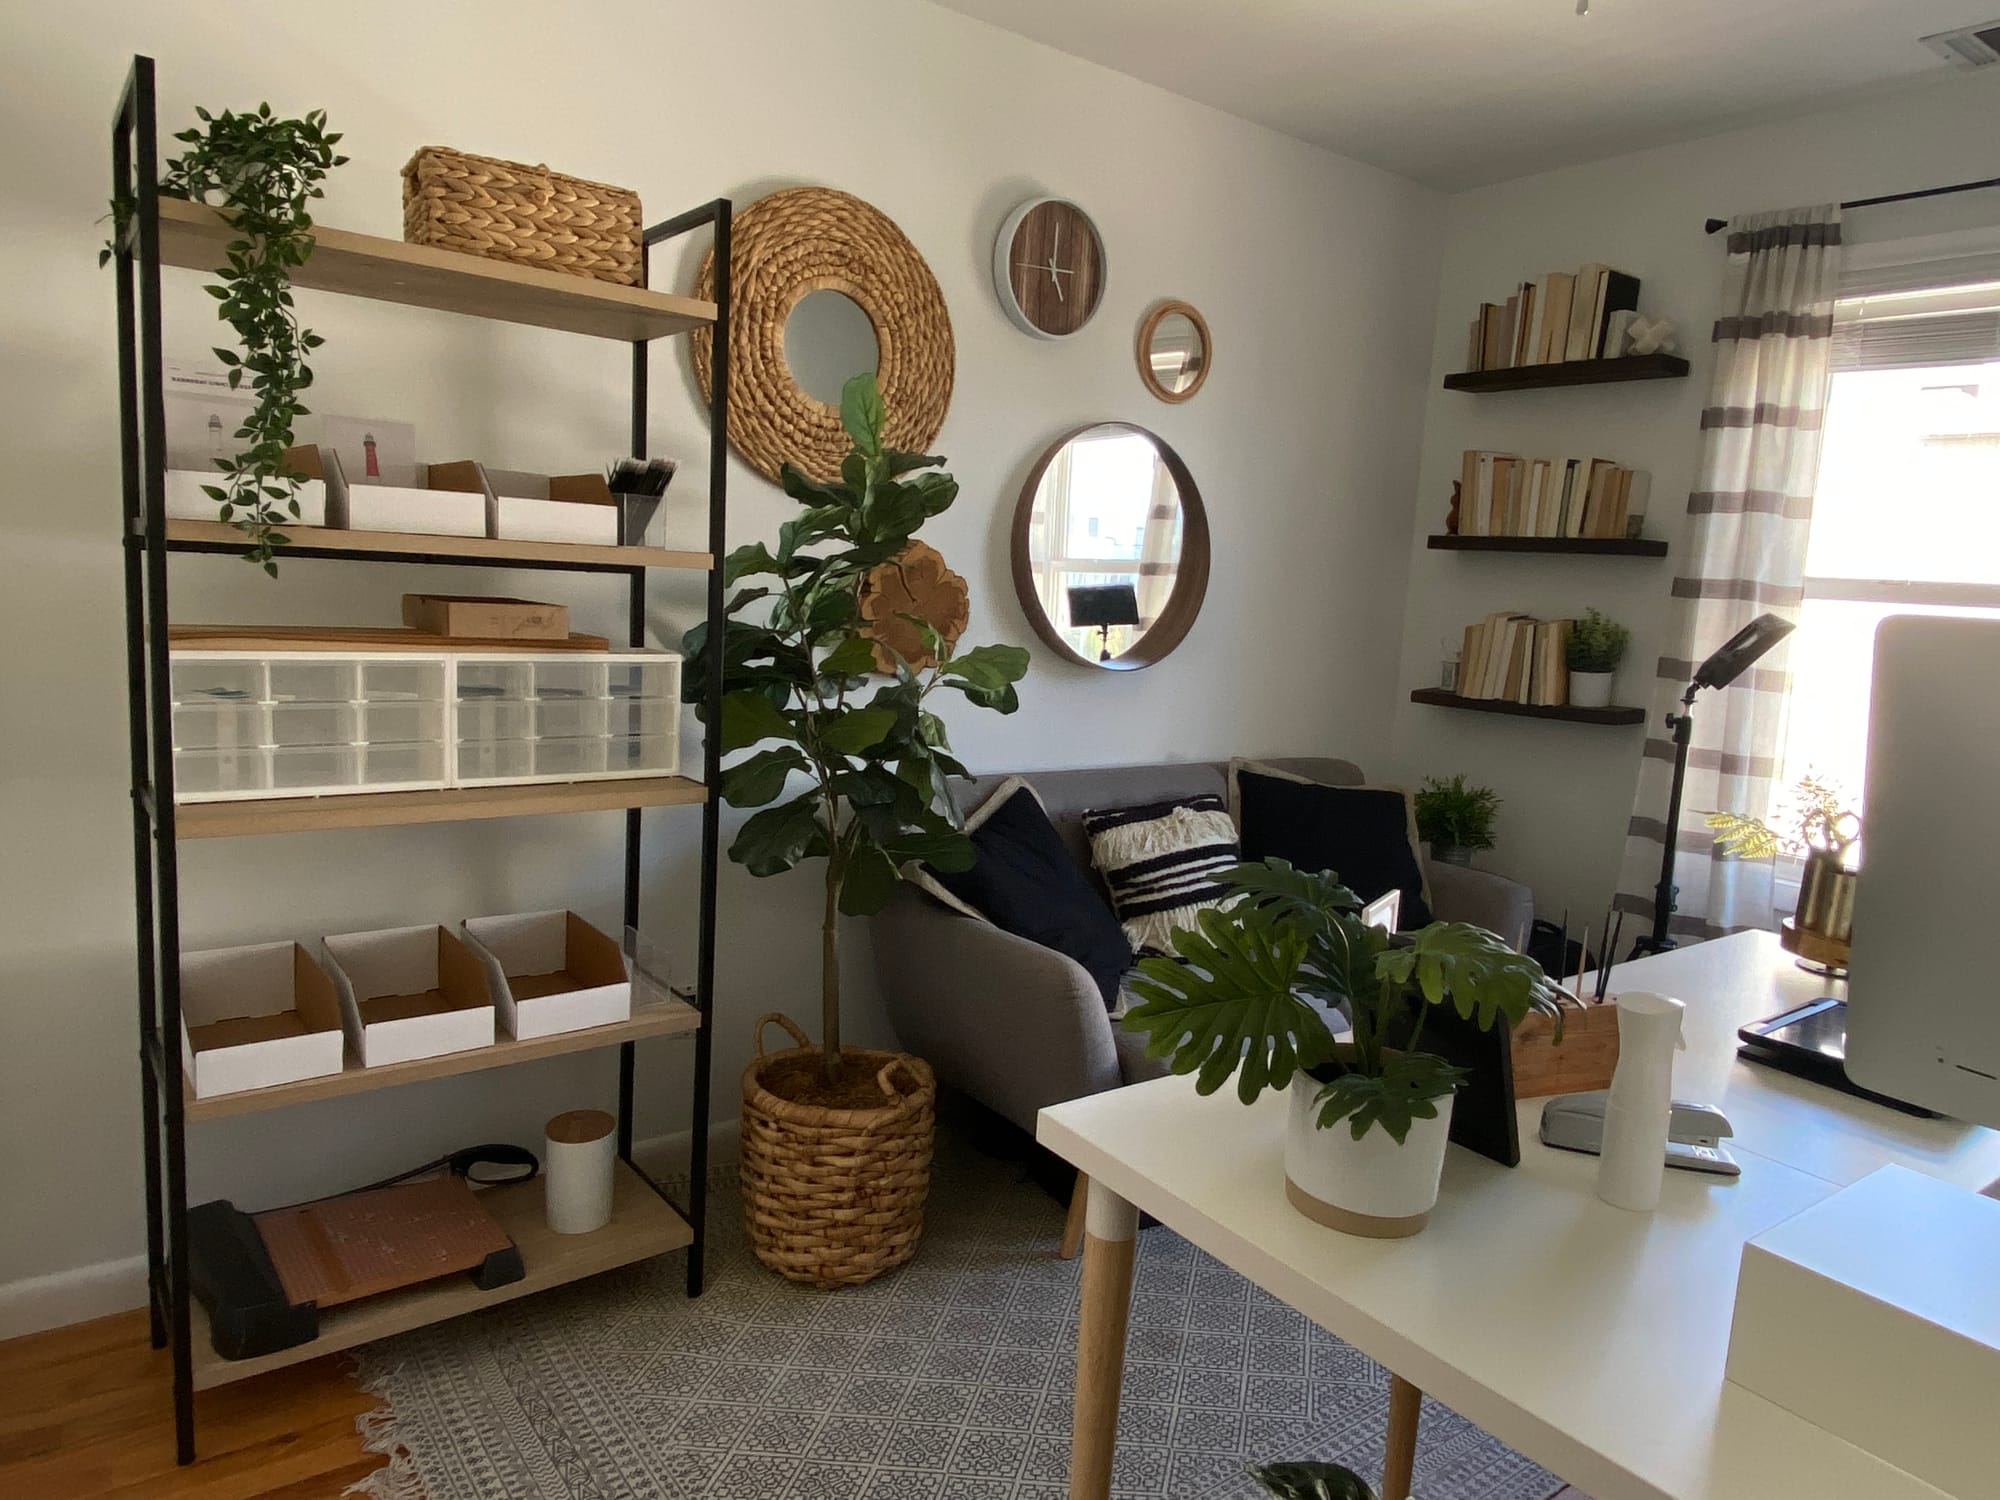
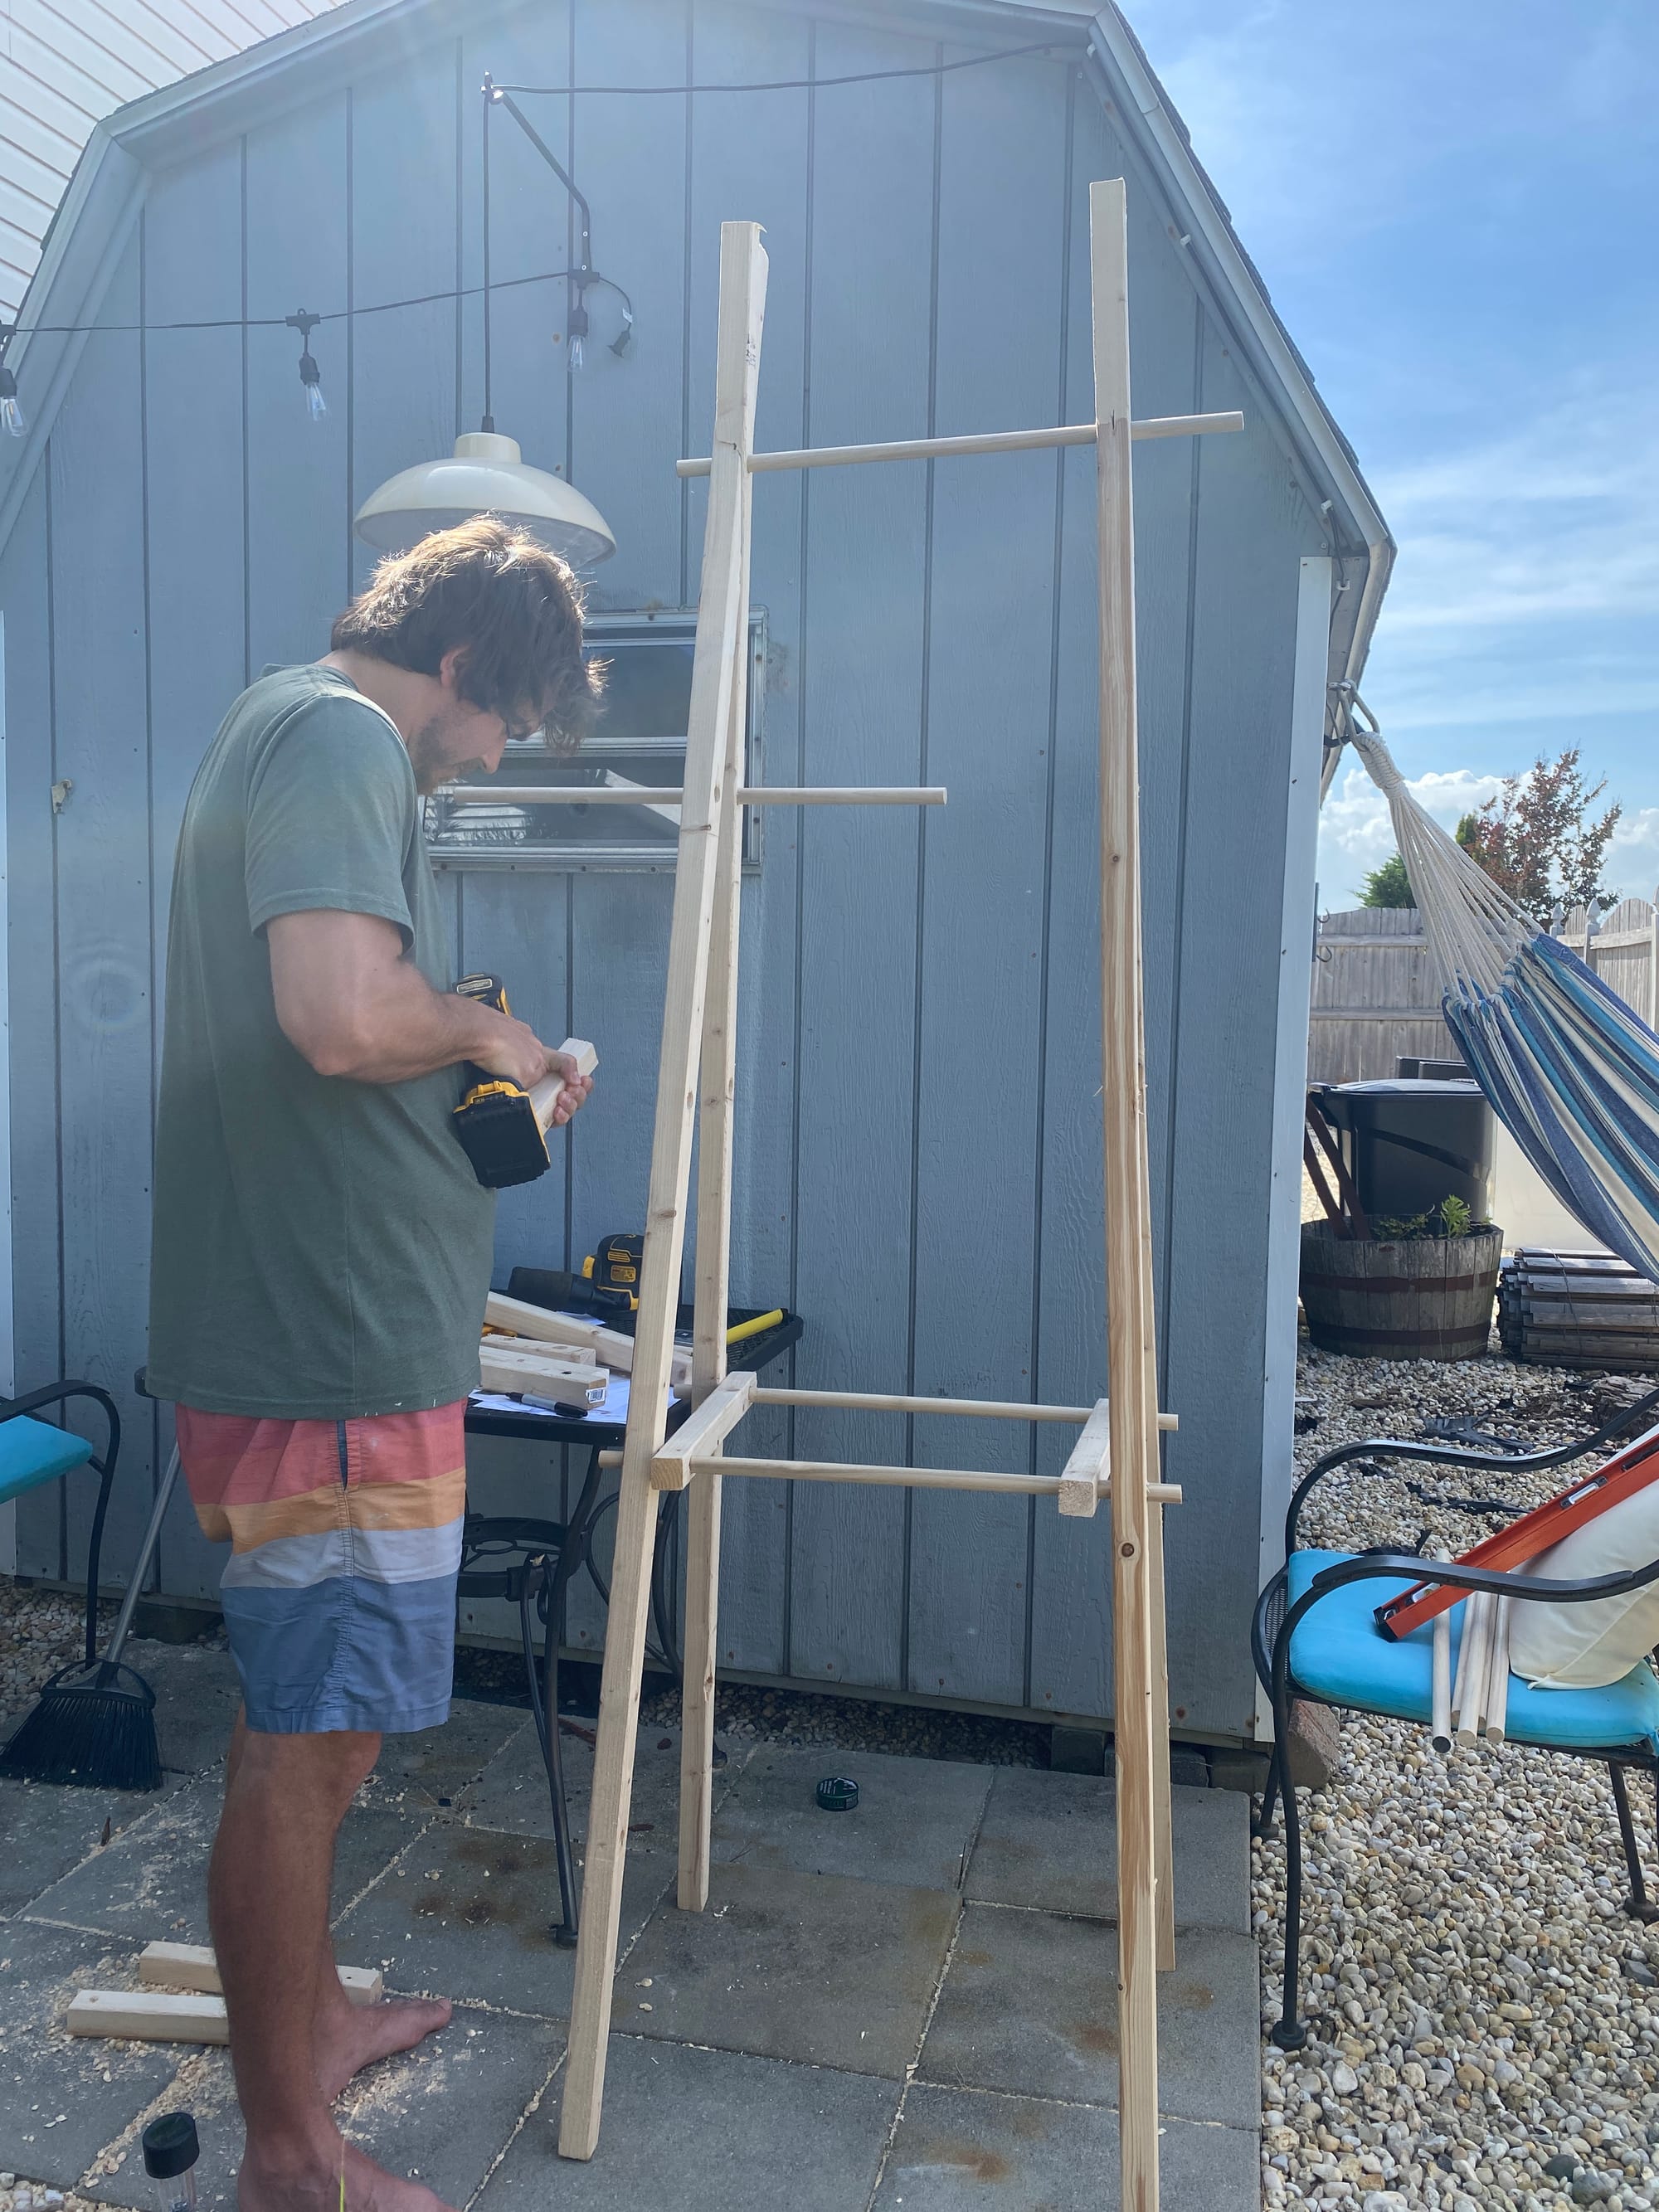
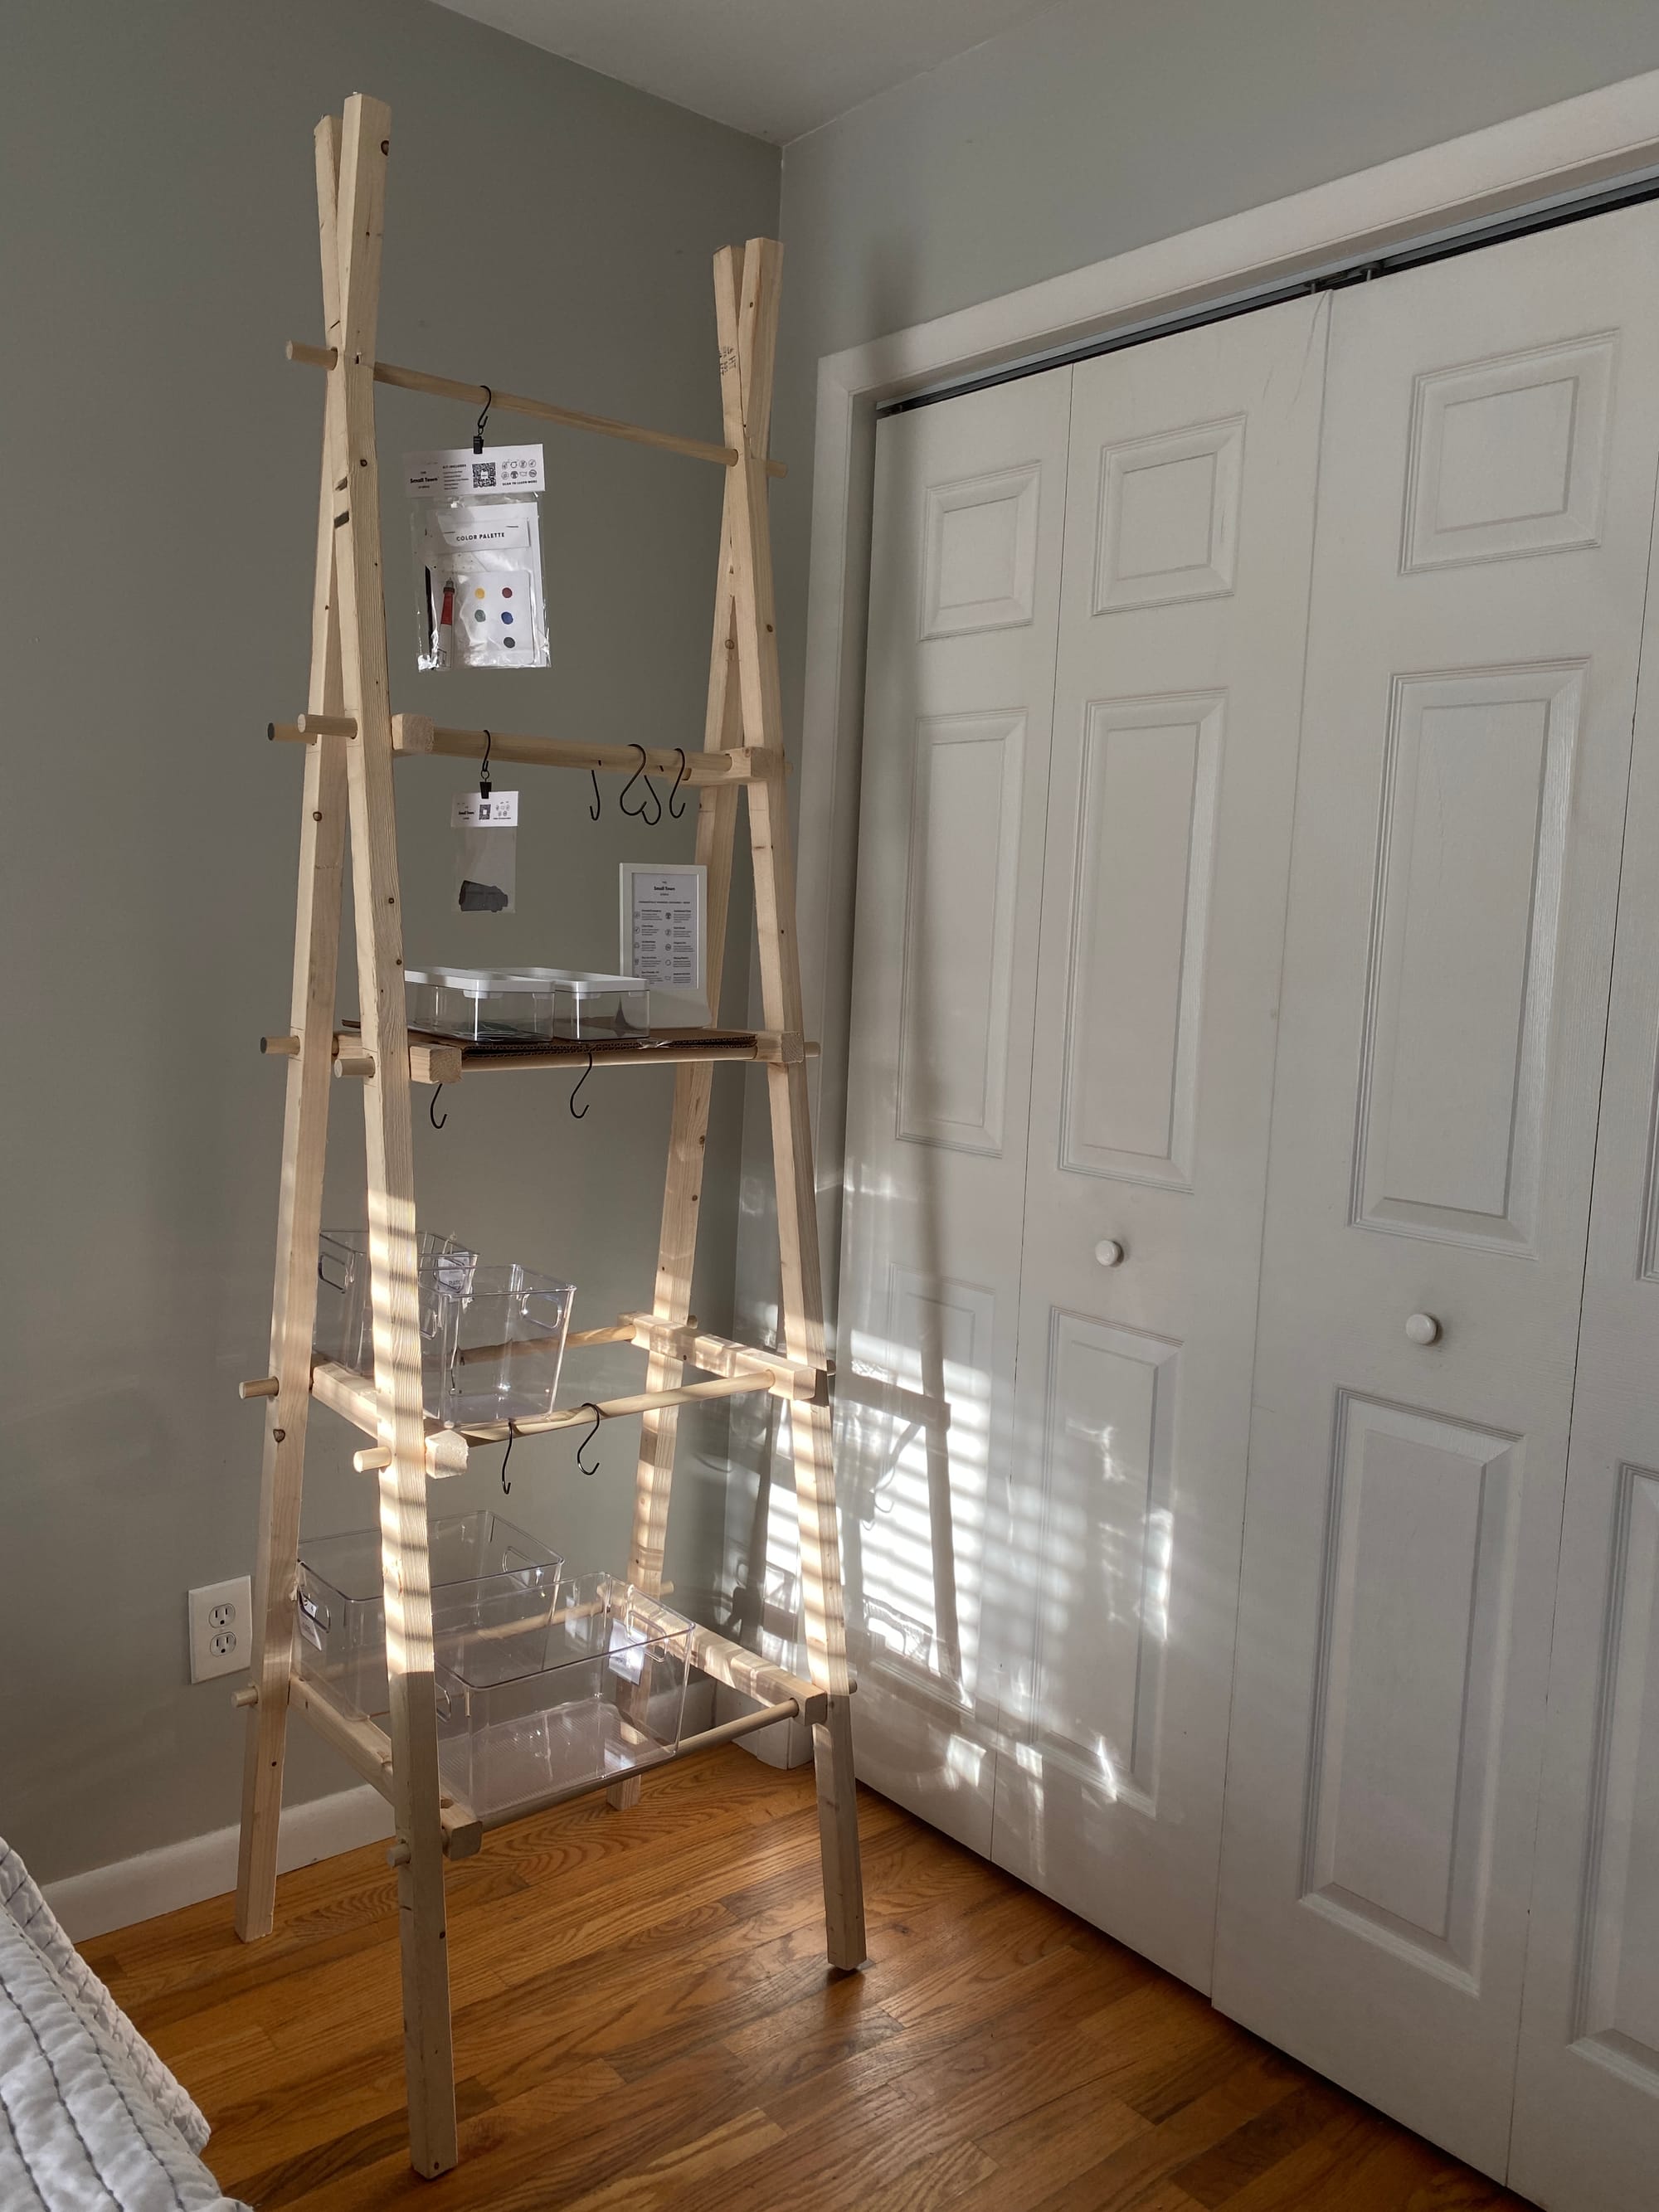
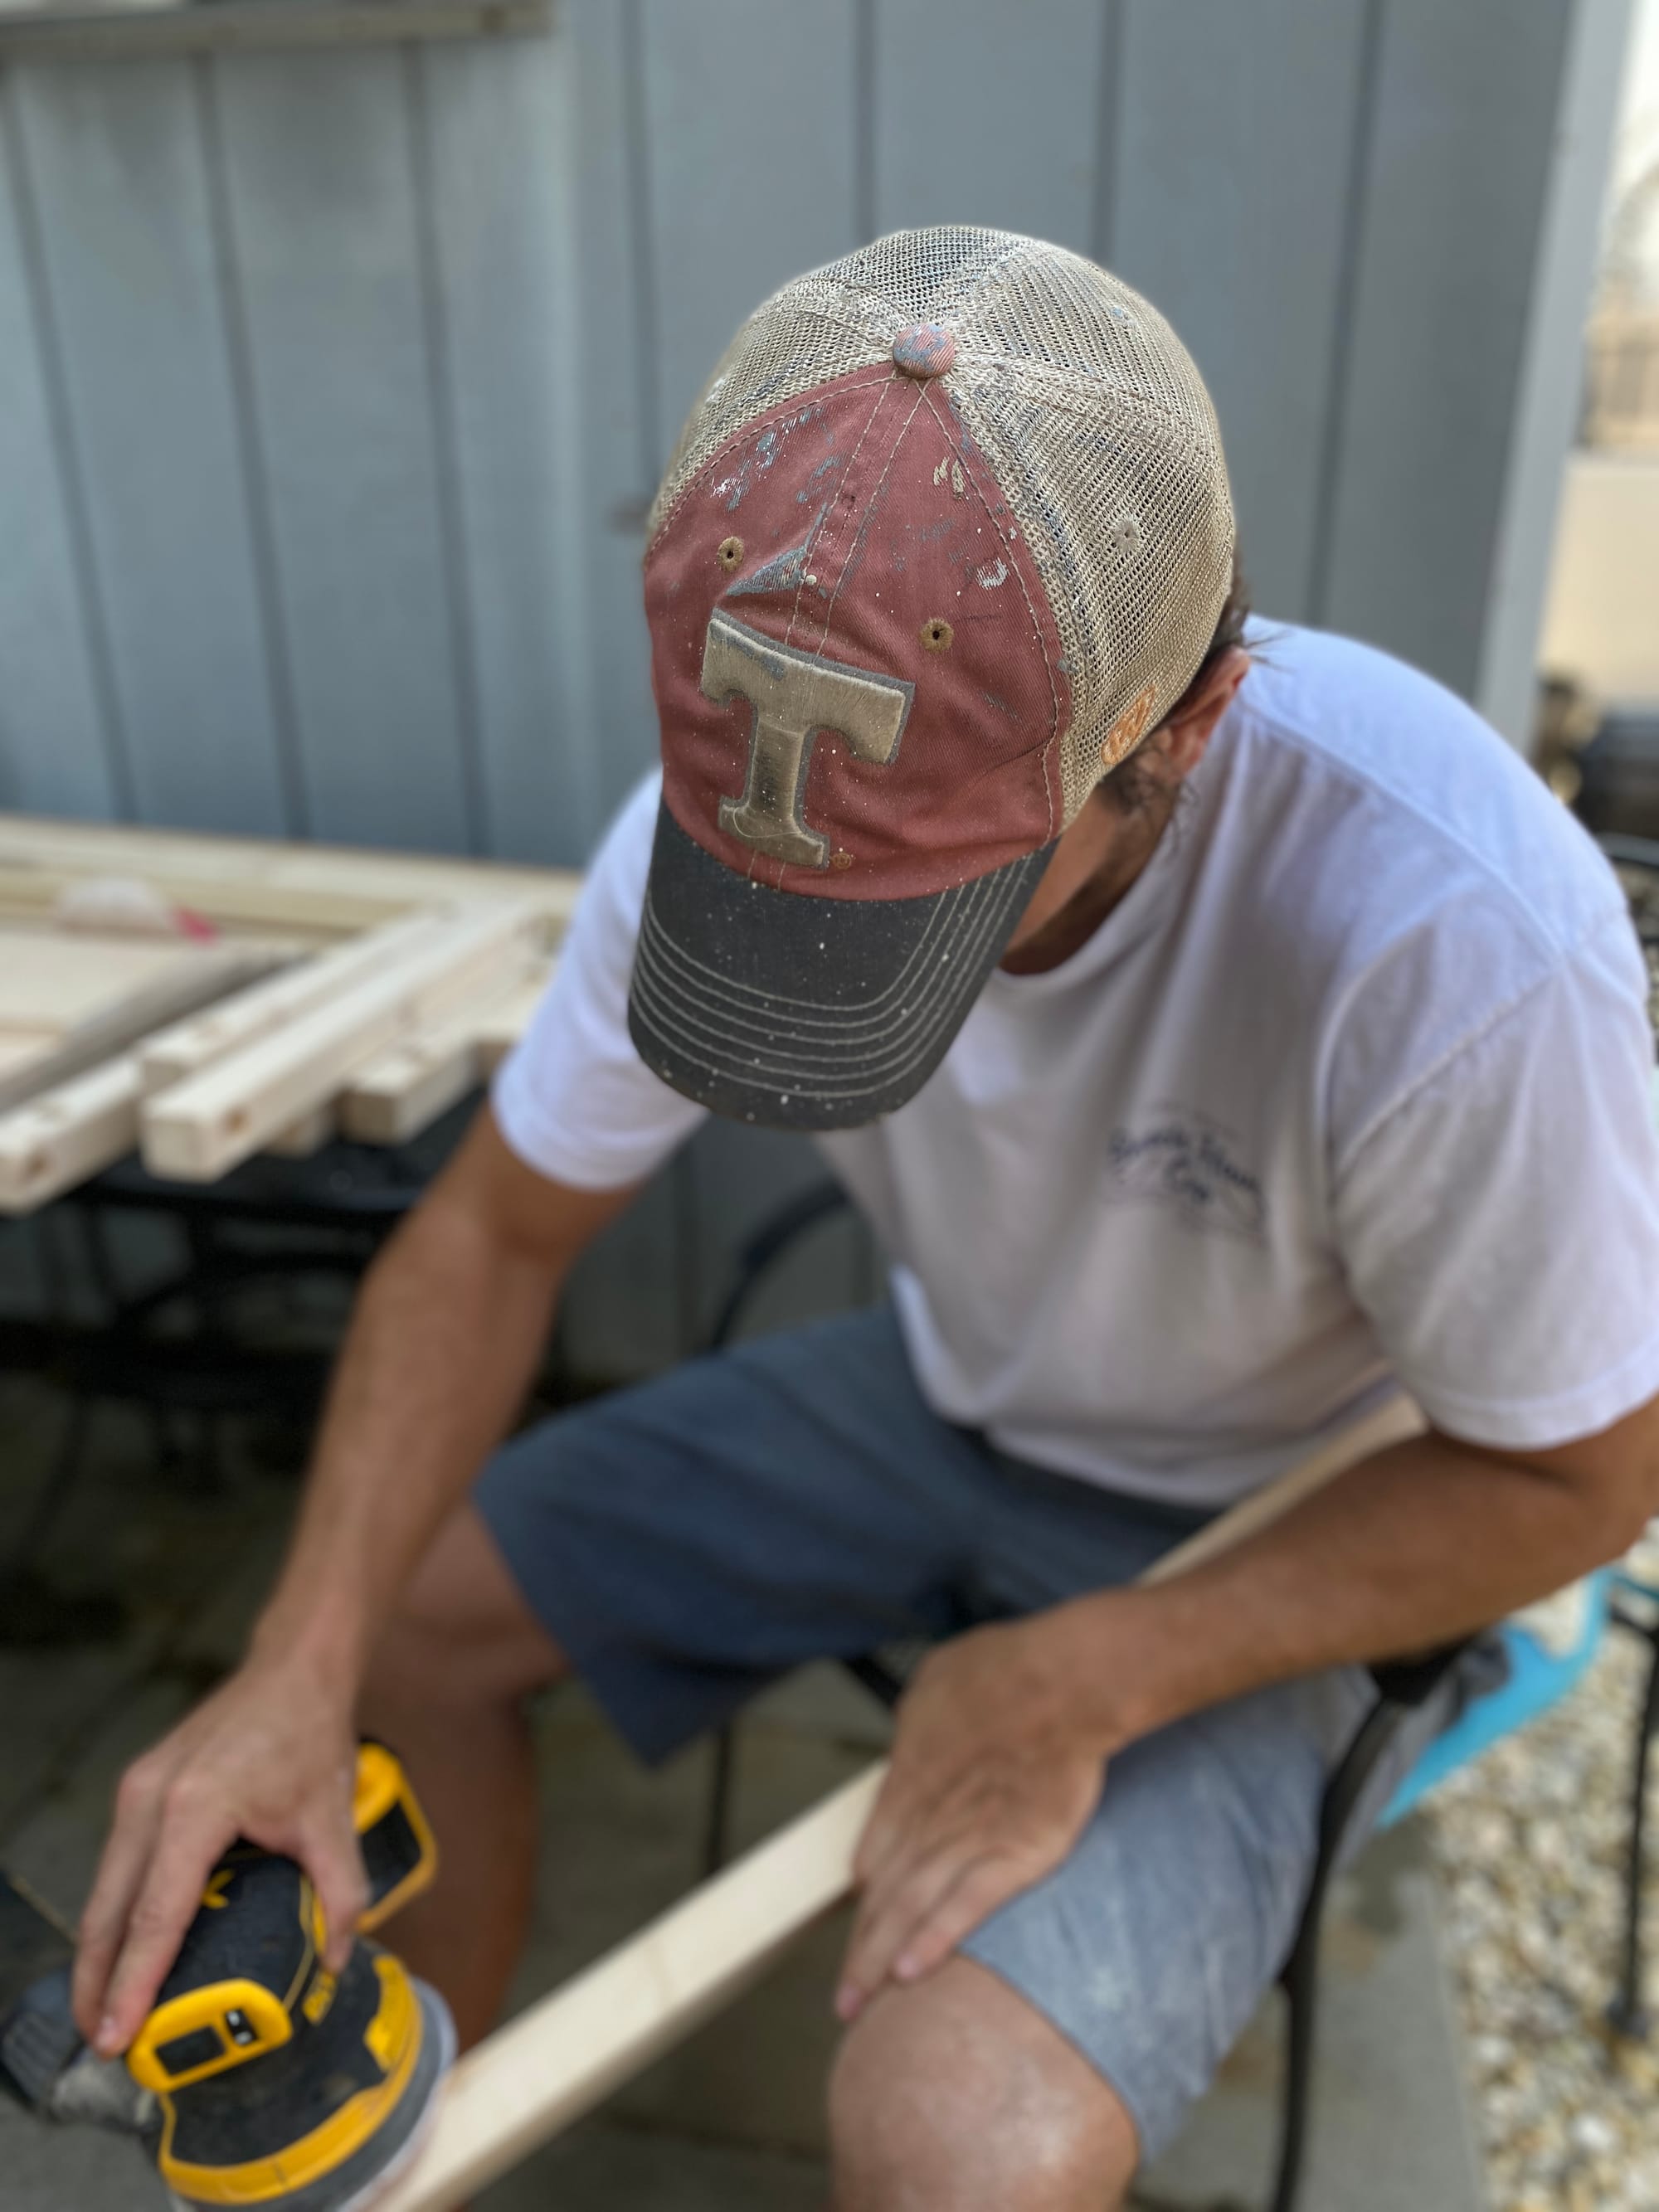
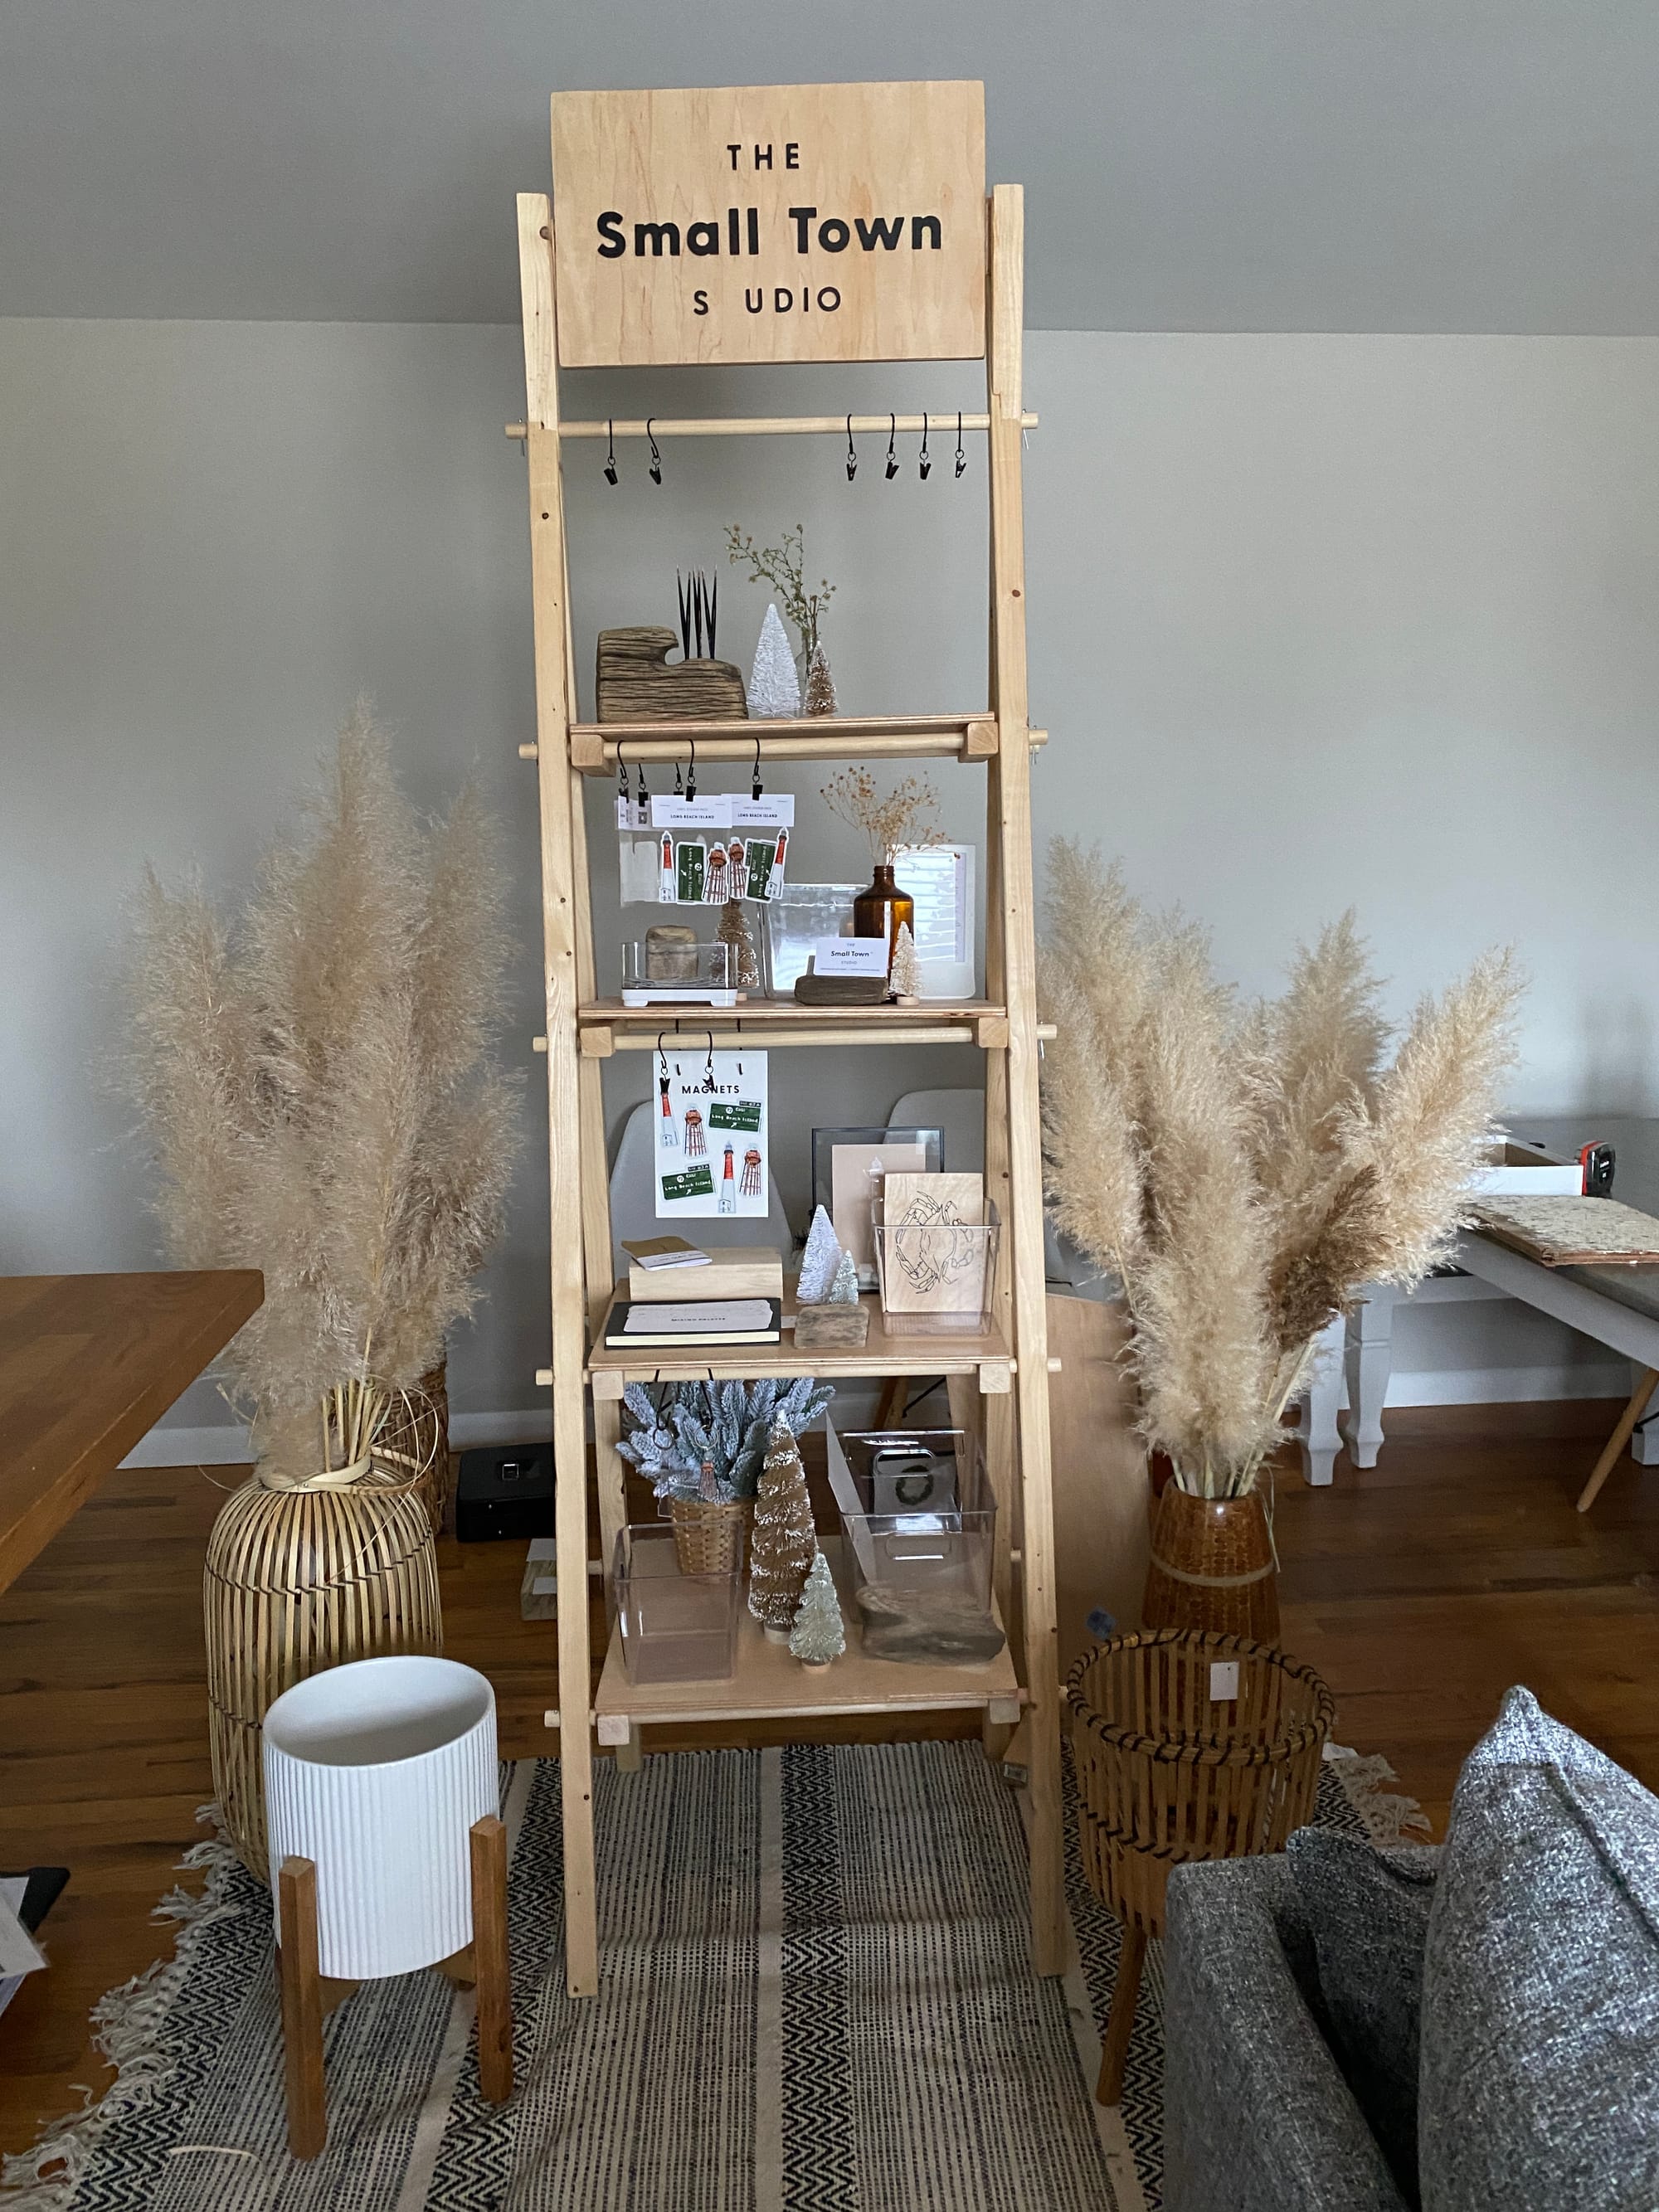
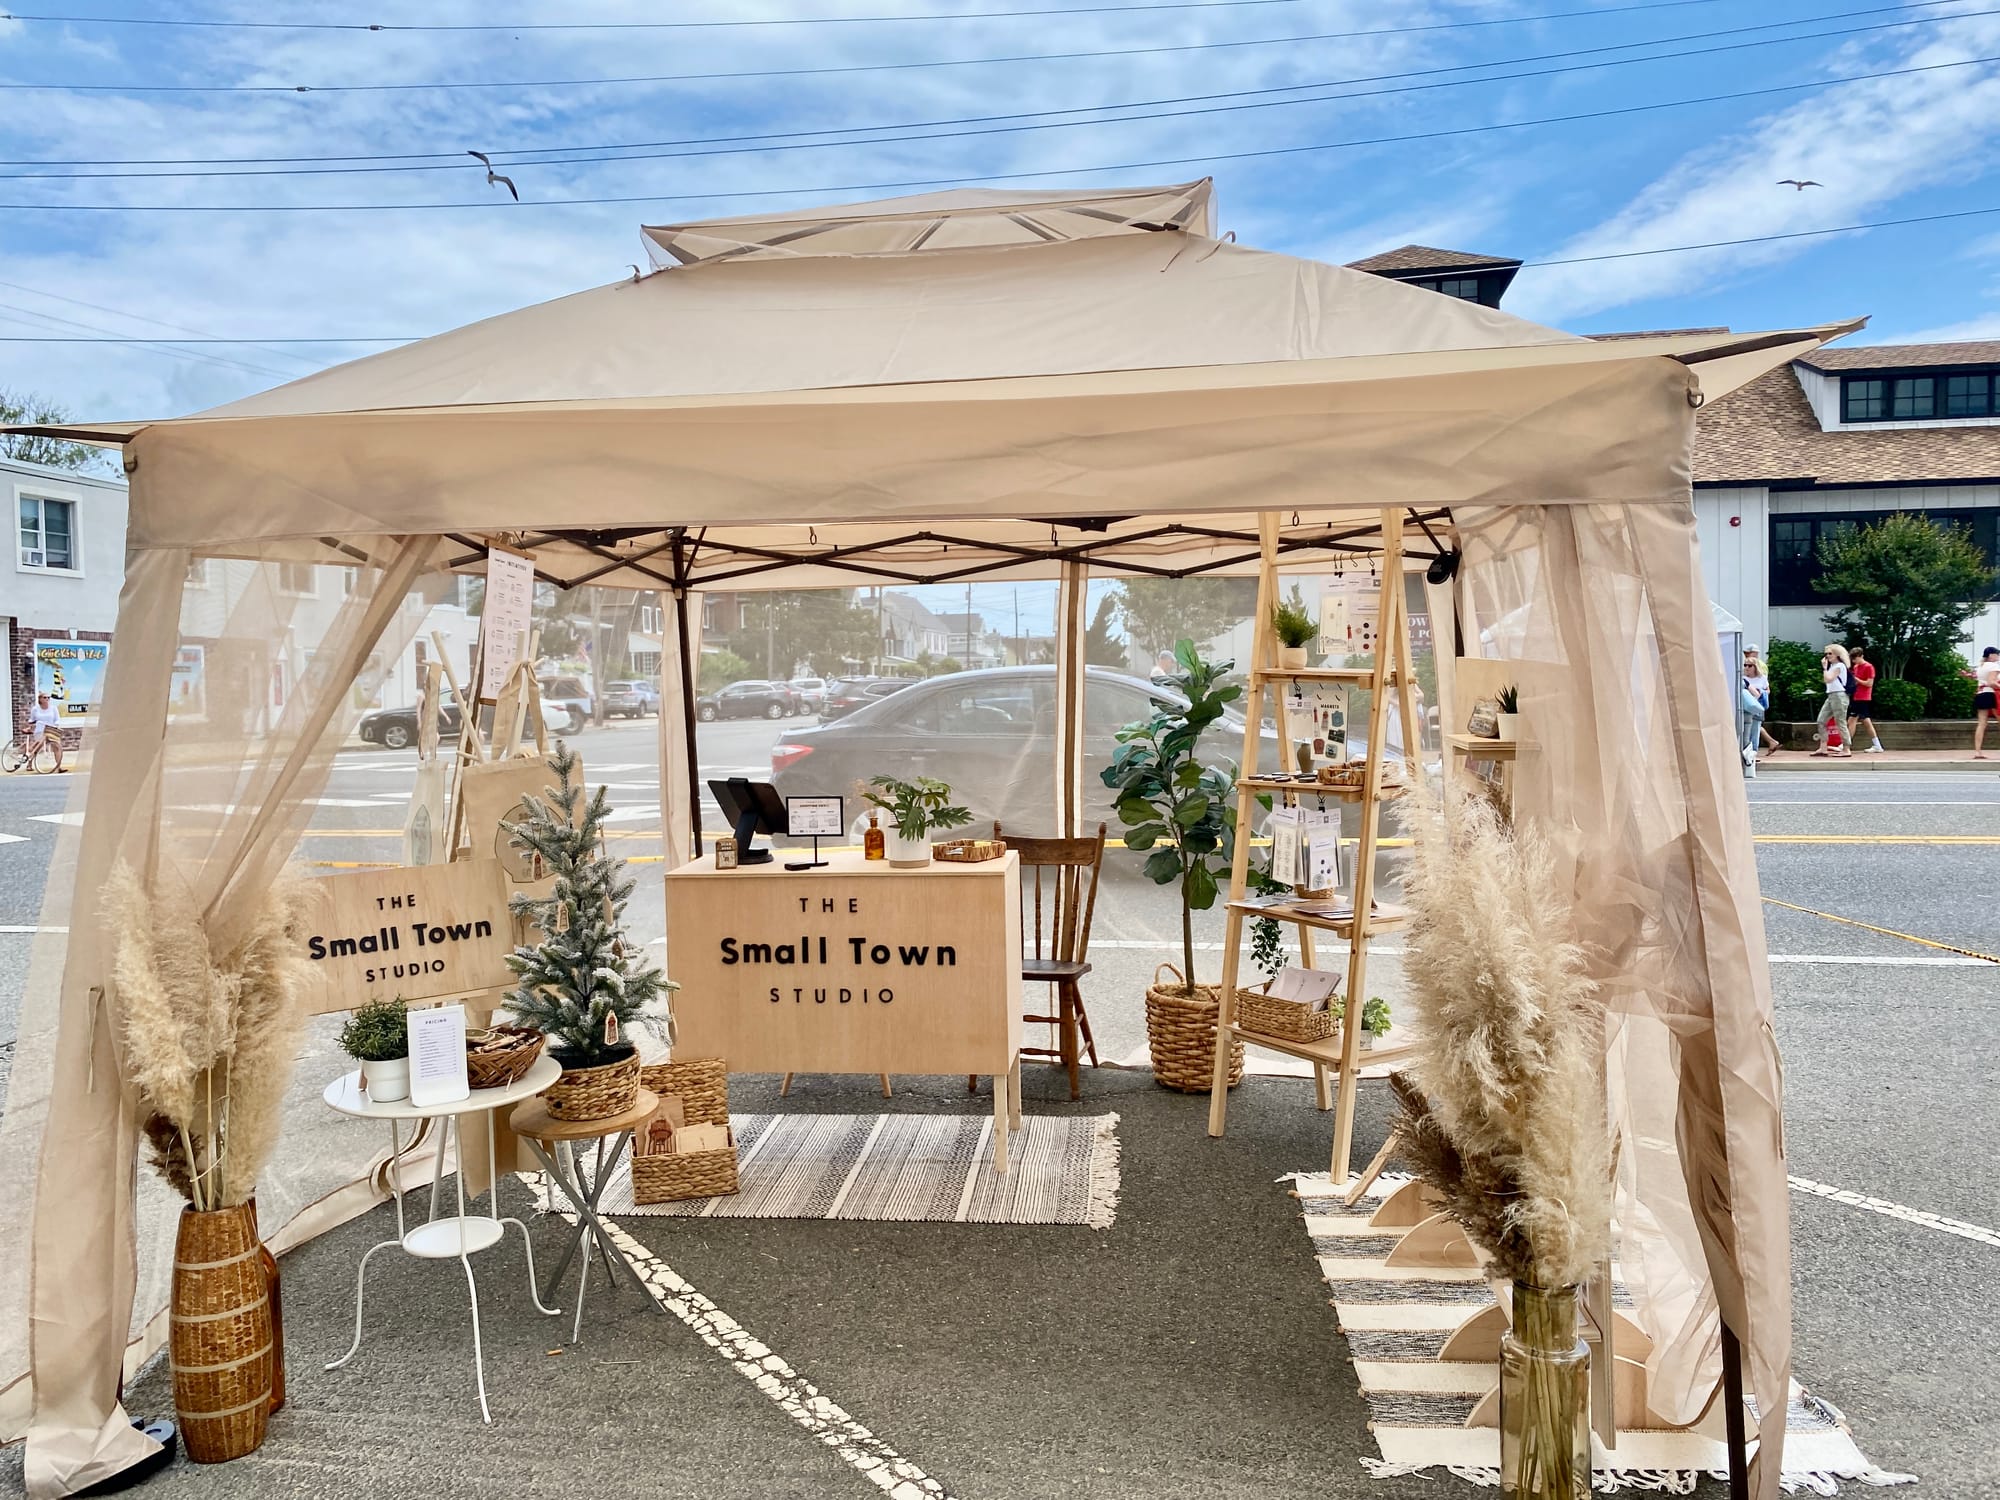
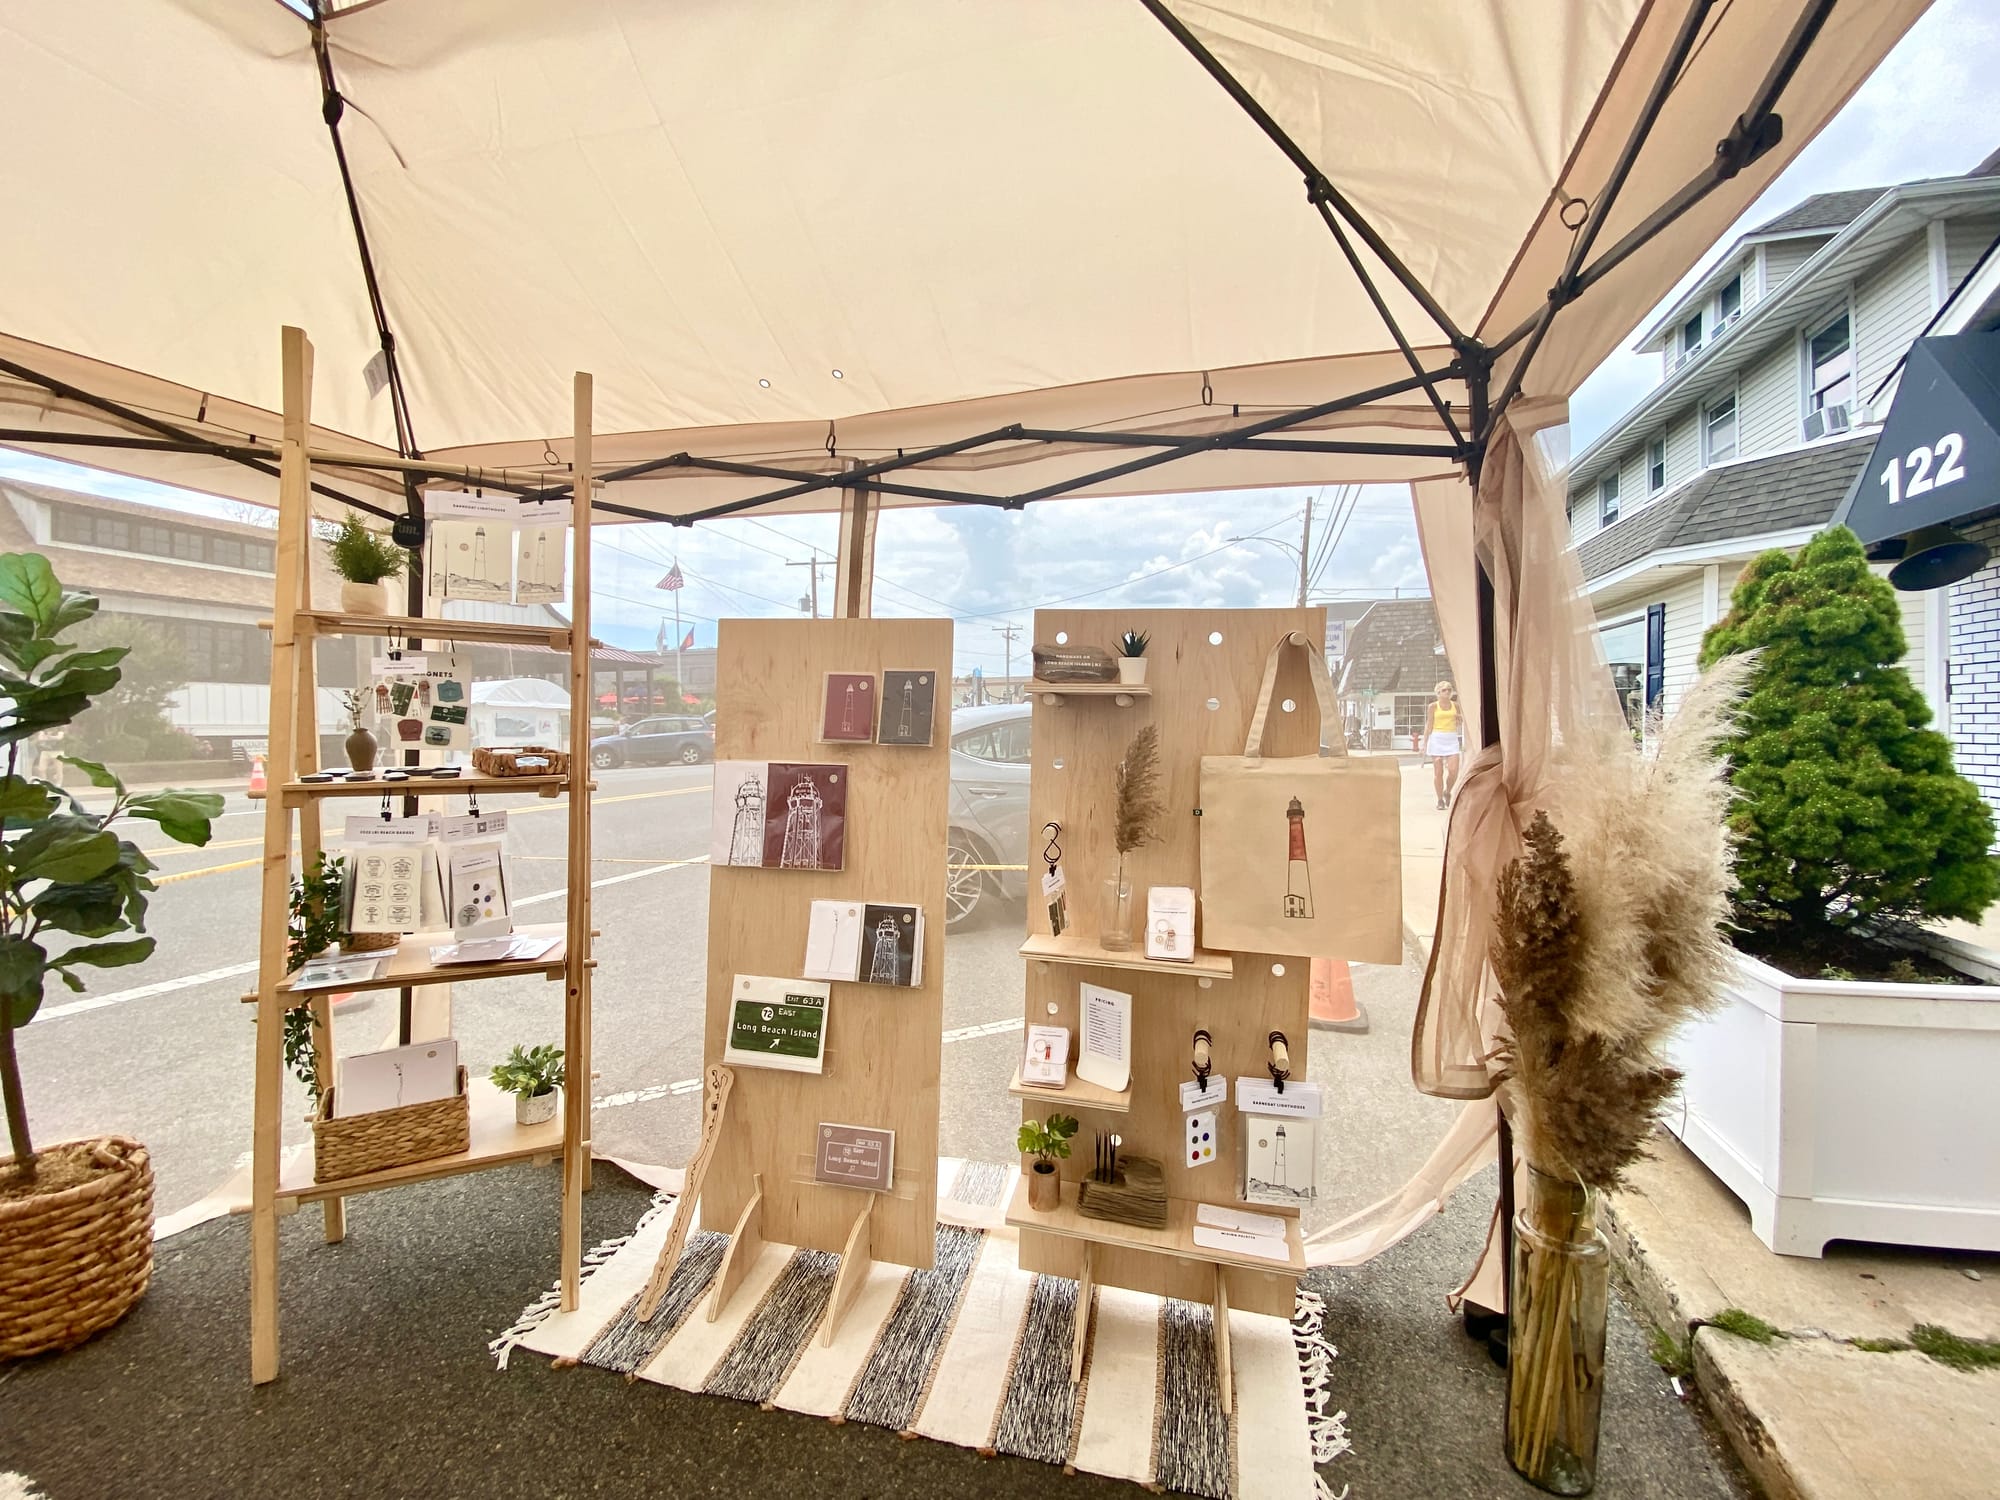
My boyfriend started building my display and I was figuring out how to display my watercolor kits.
The final prototype of the Watercolor Kit and packaging was finally coming together.
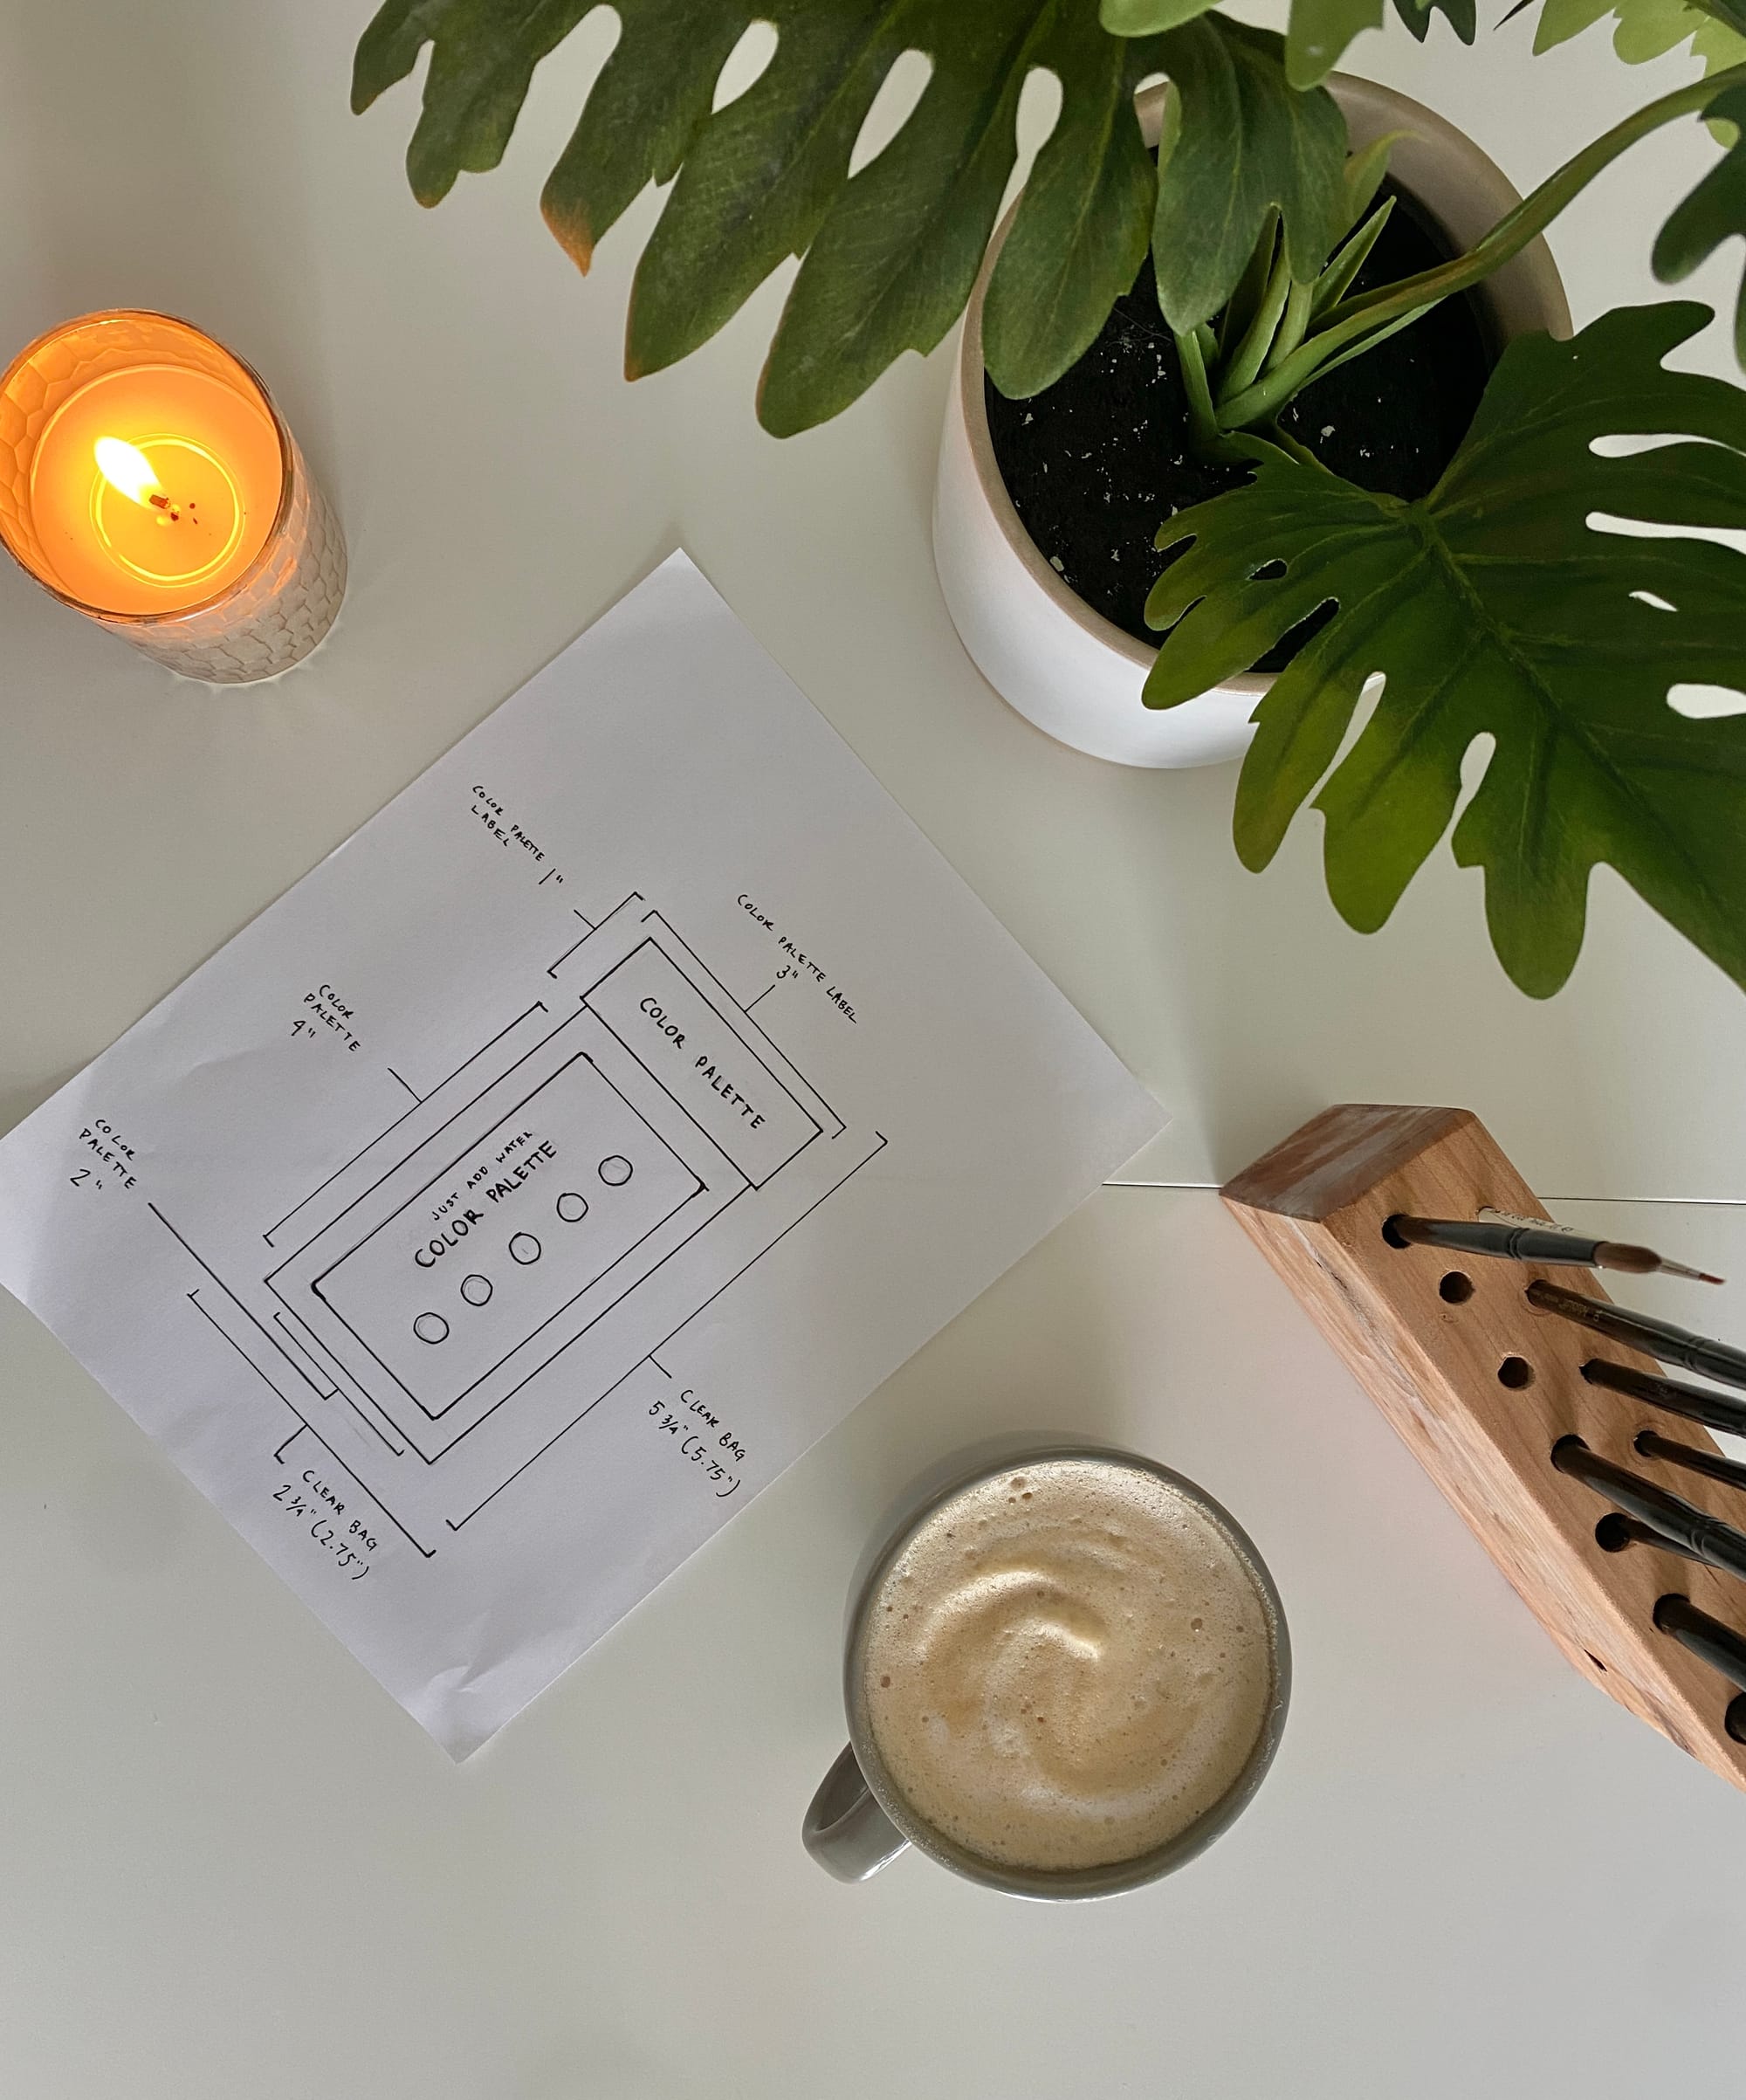
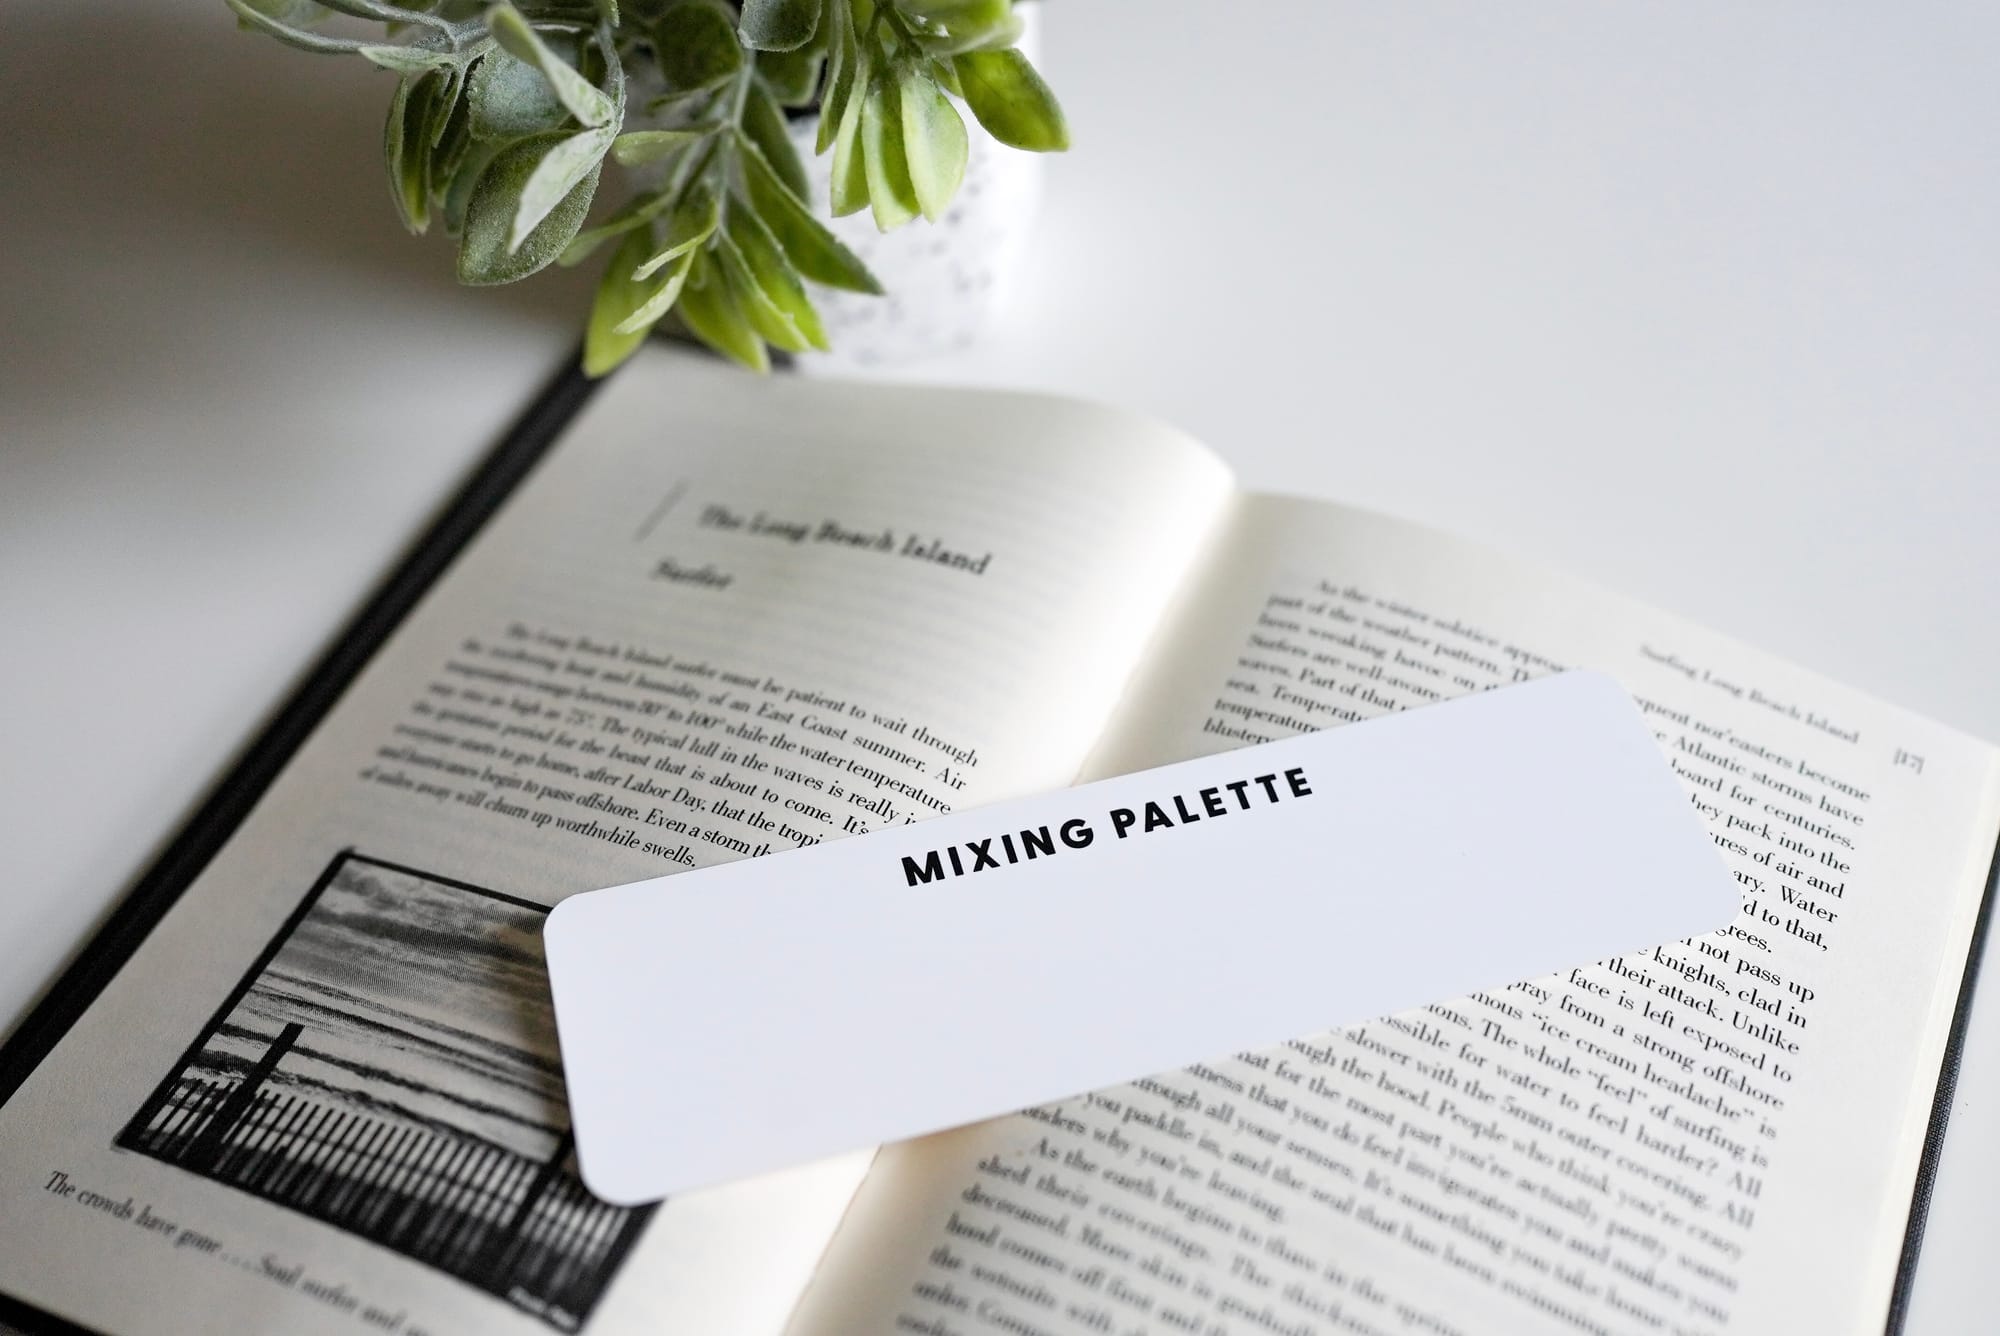
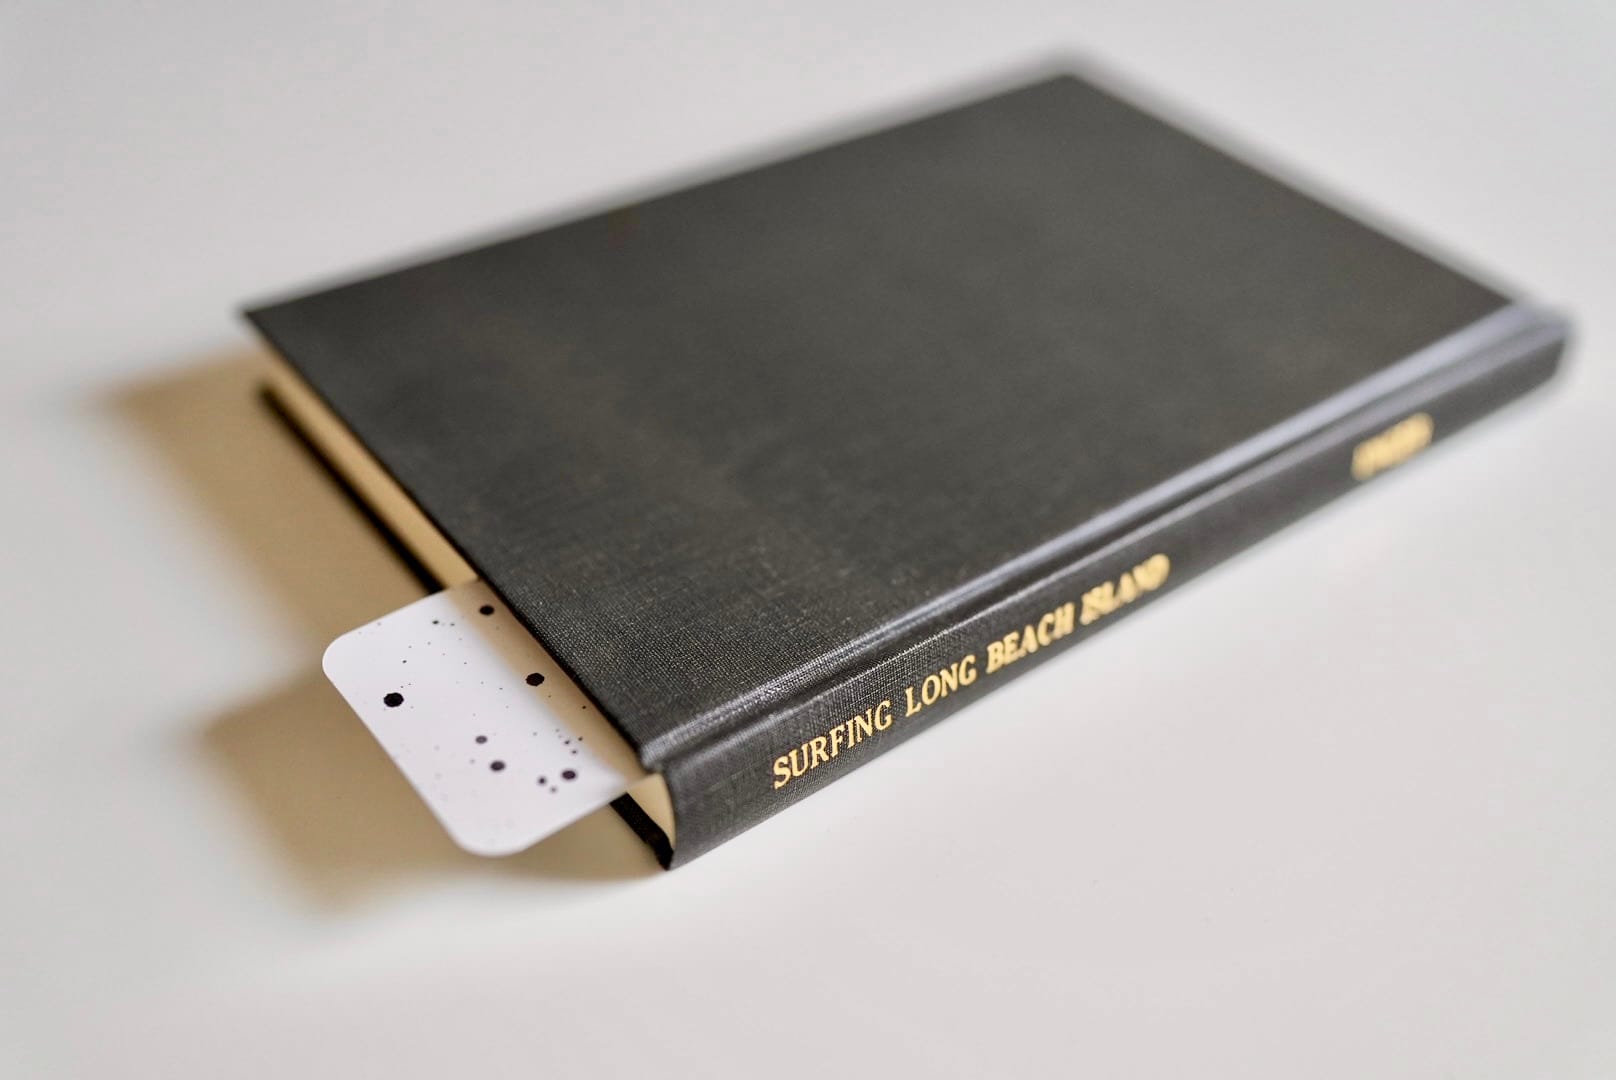
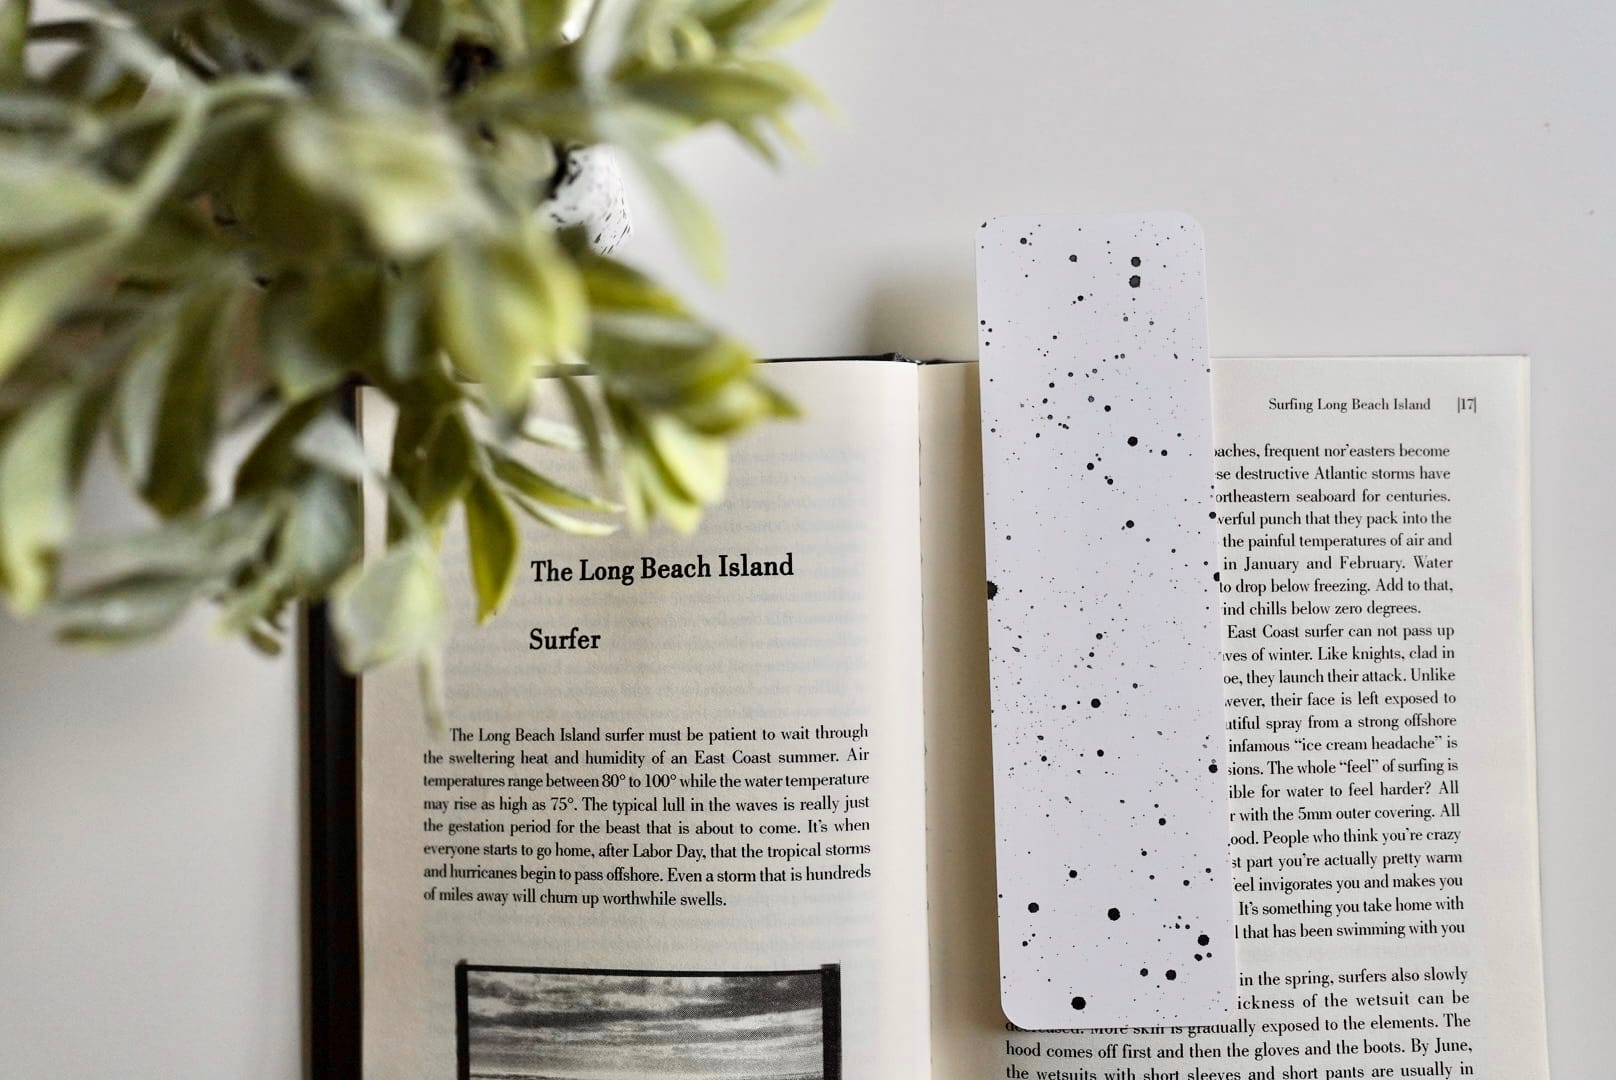
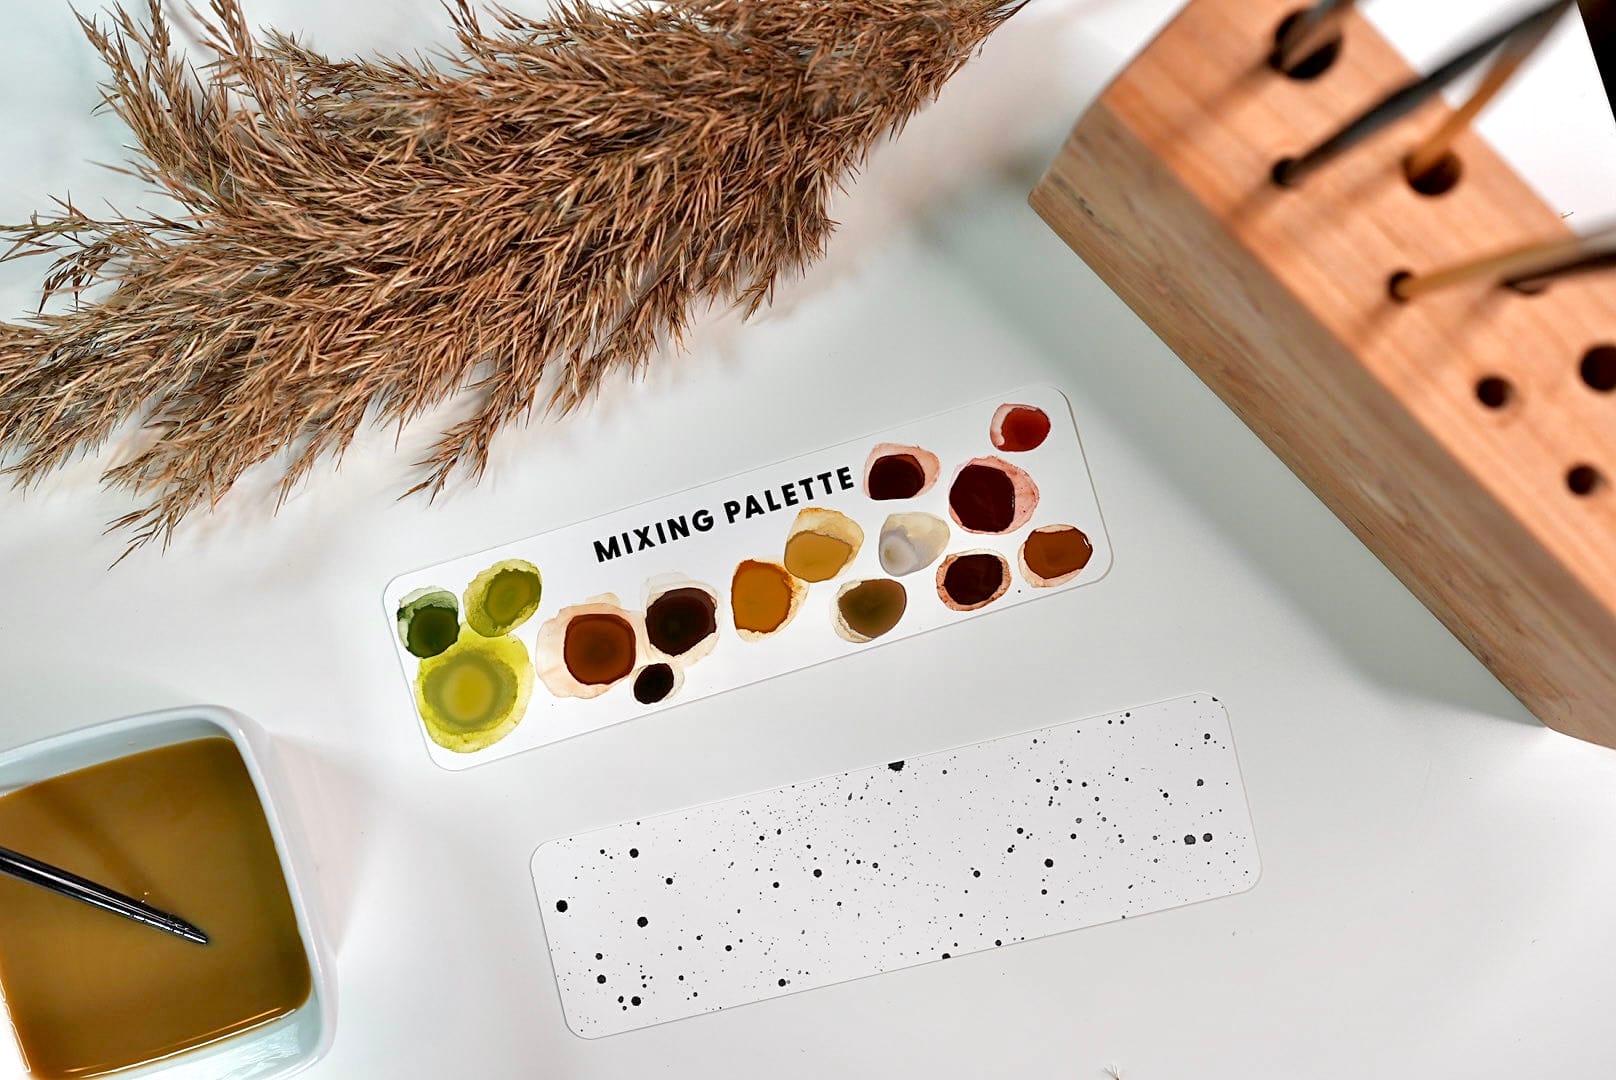
When I was creating these initial watercolor kits, I used as many eco-friendly products when sourcing packaging and products. Finding a waterproof mixing palette was difficult so I designed in the shape of a book mark and printed them at a local printer. I wanted to create something that could be used again and again.
July - September 2021
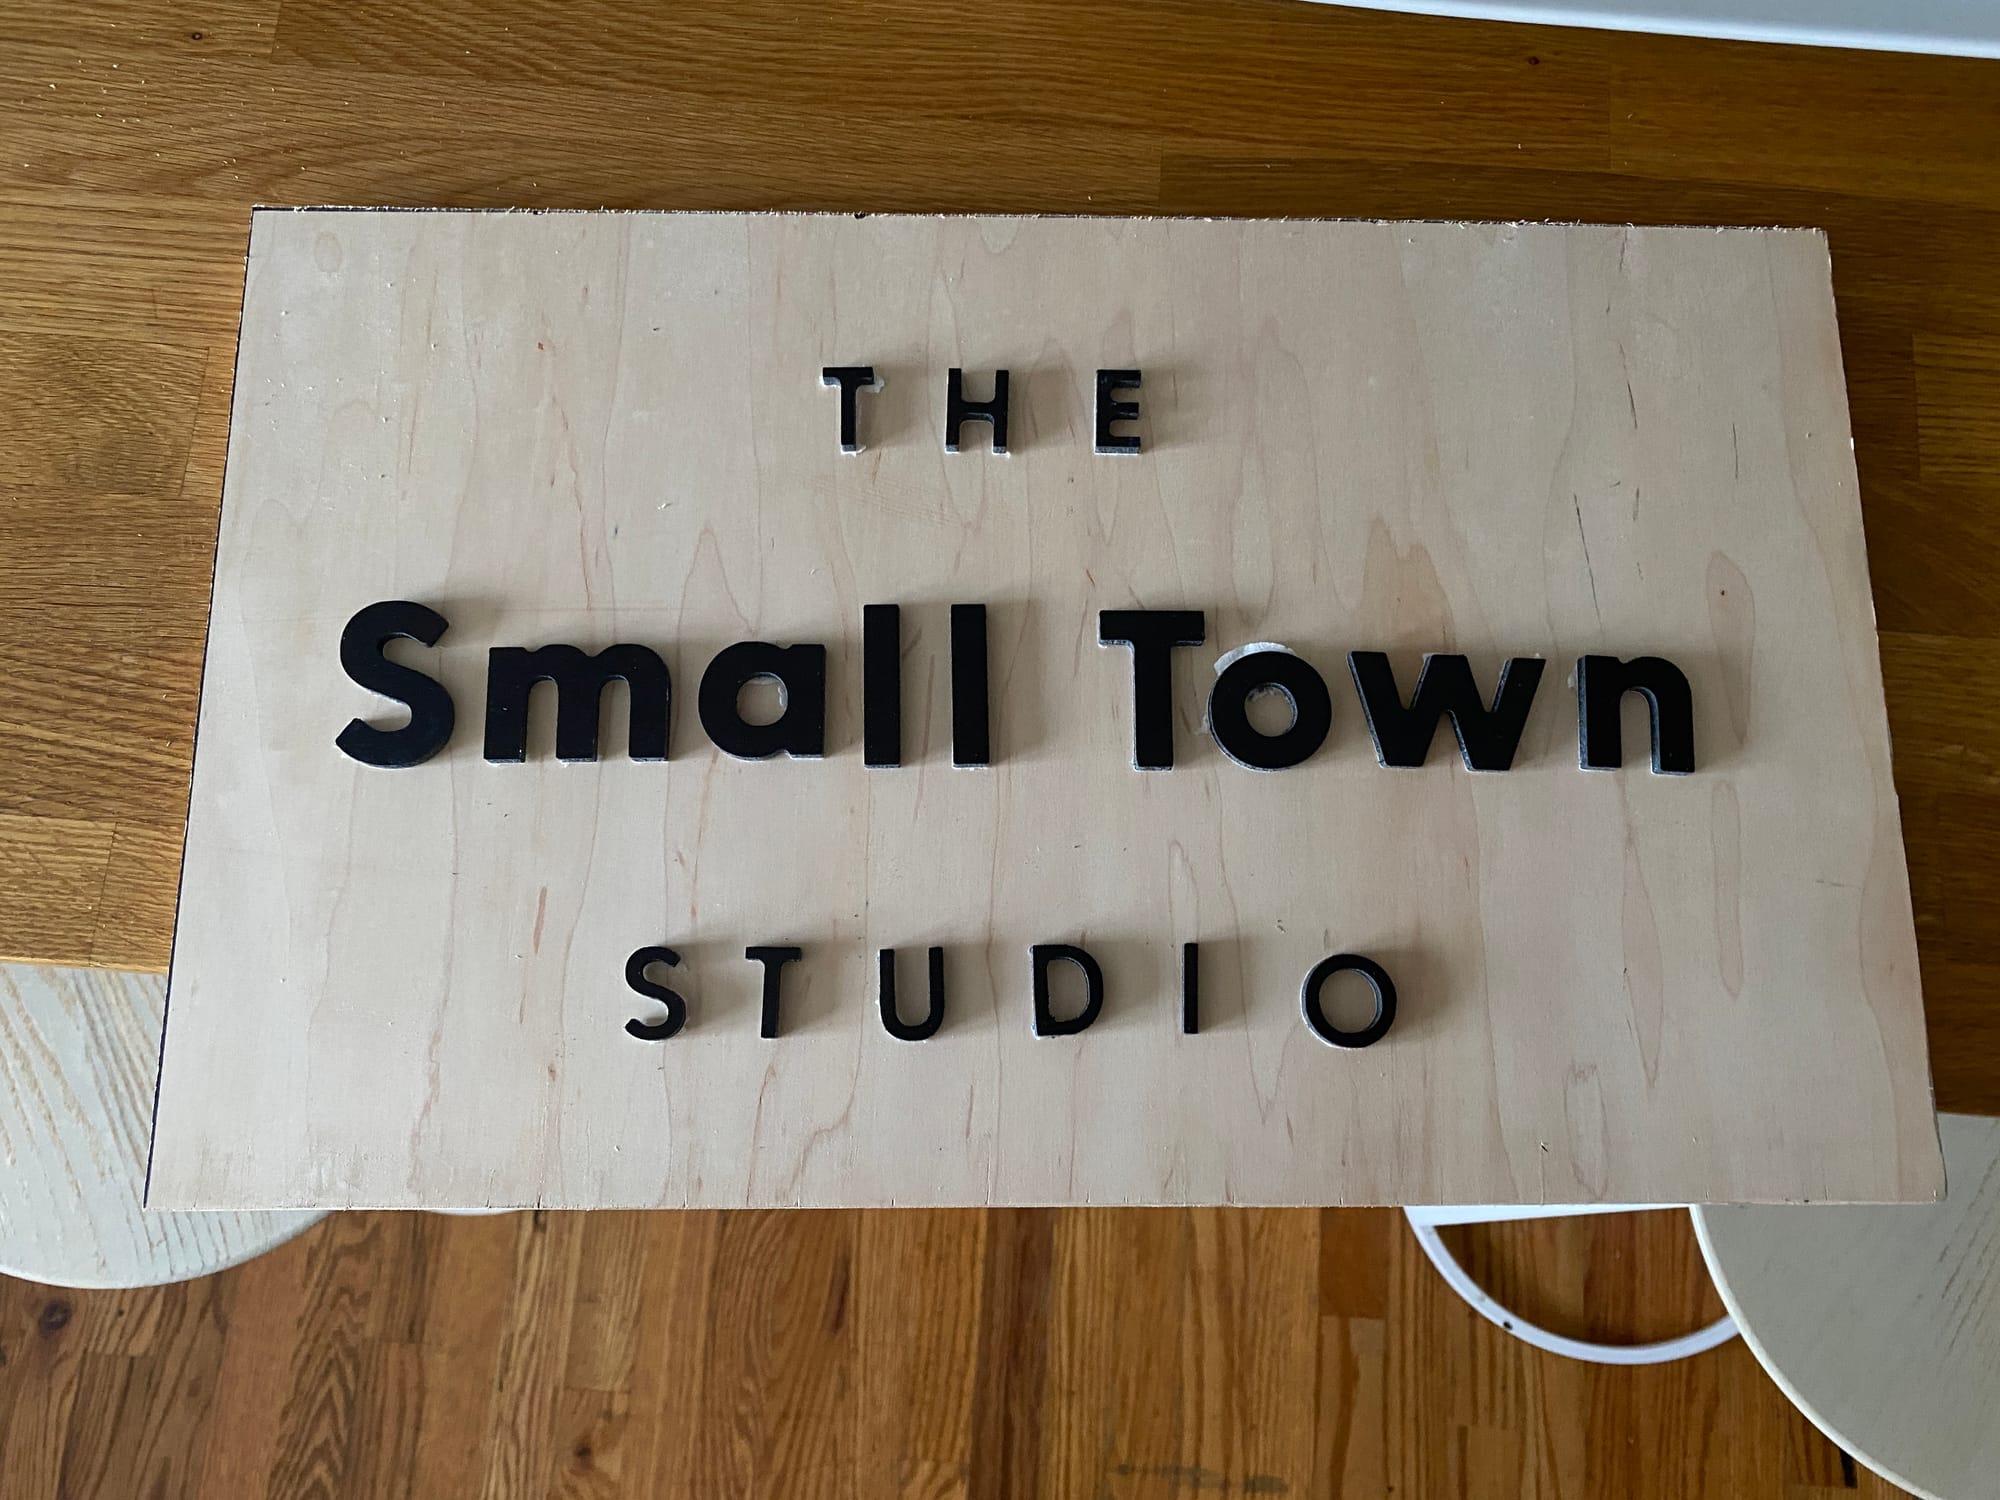
The letters for my logo for my sign were printed and I got some decor for the display.
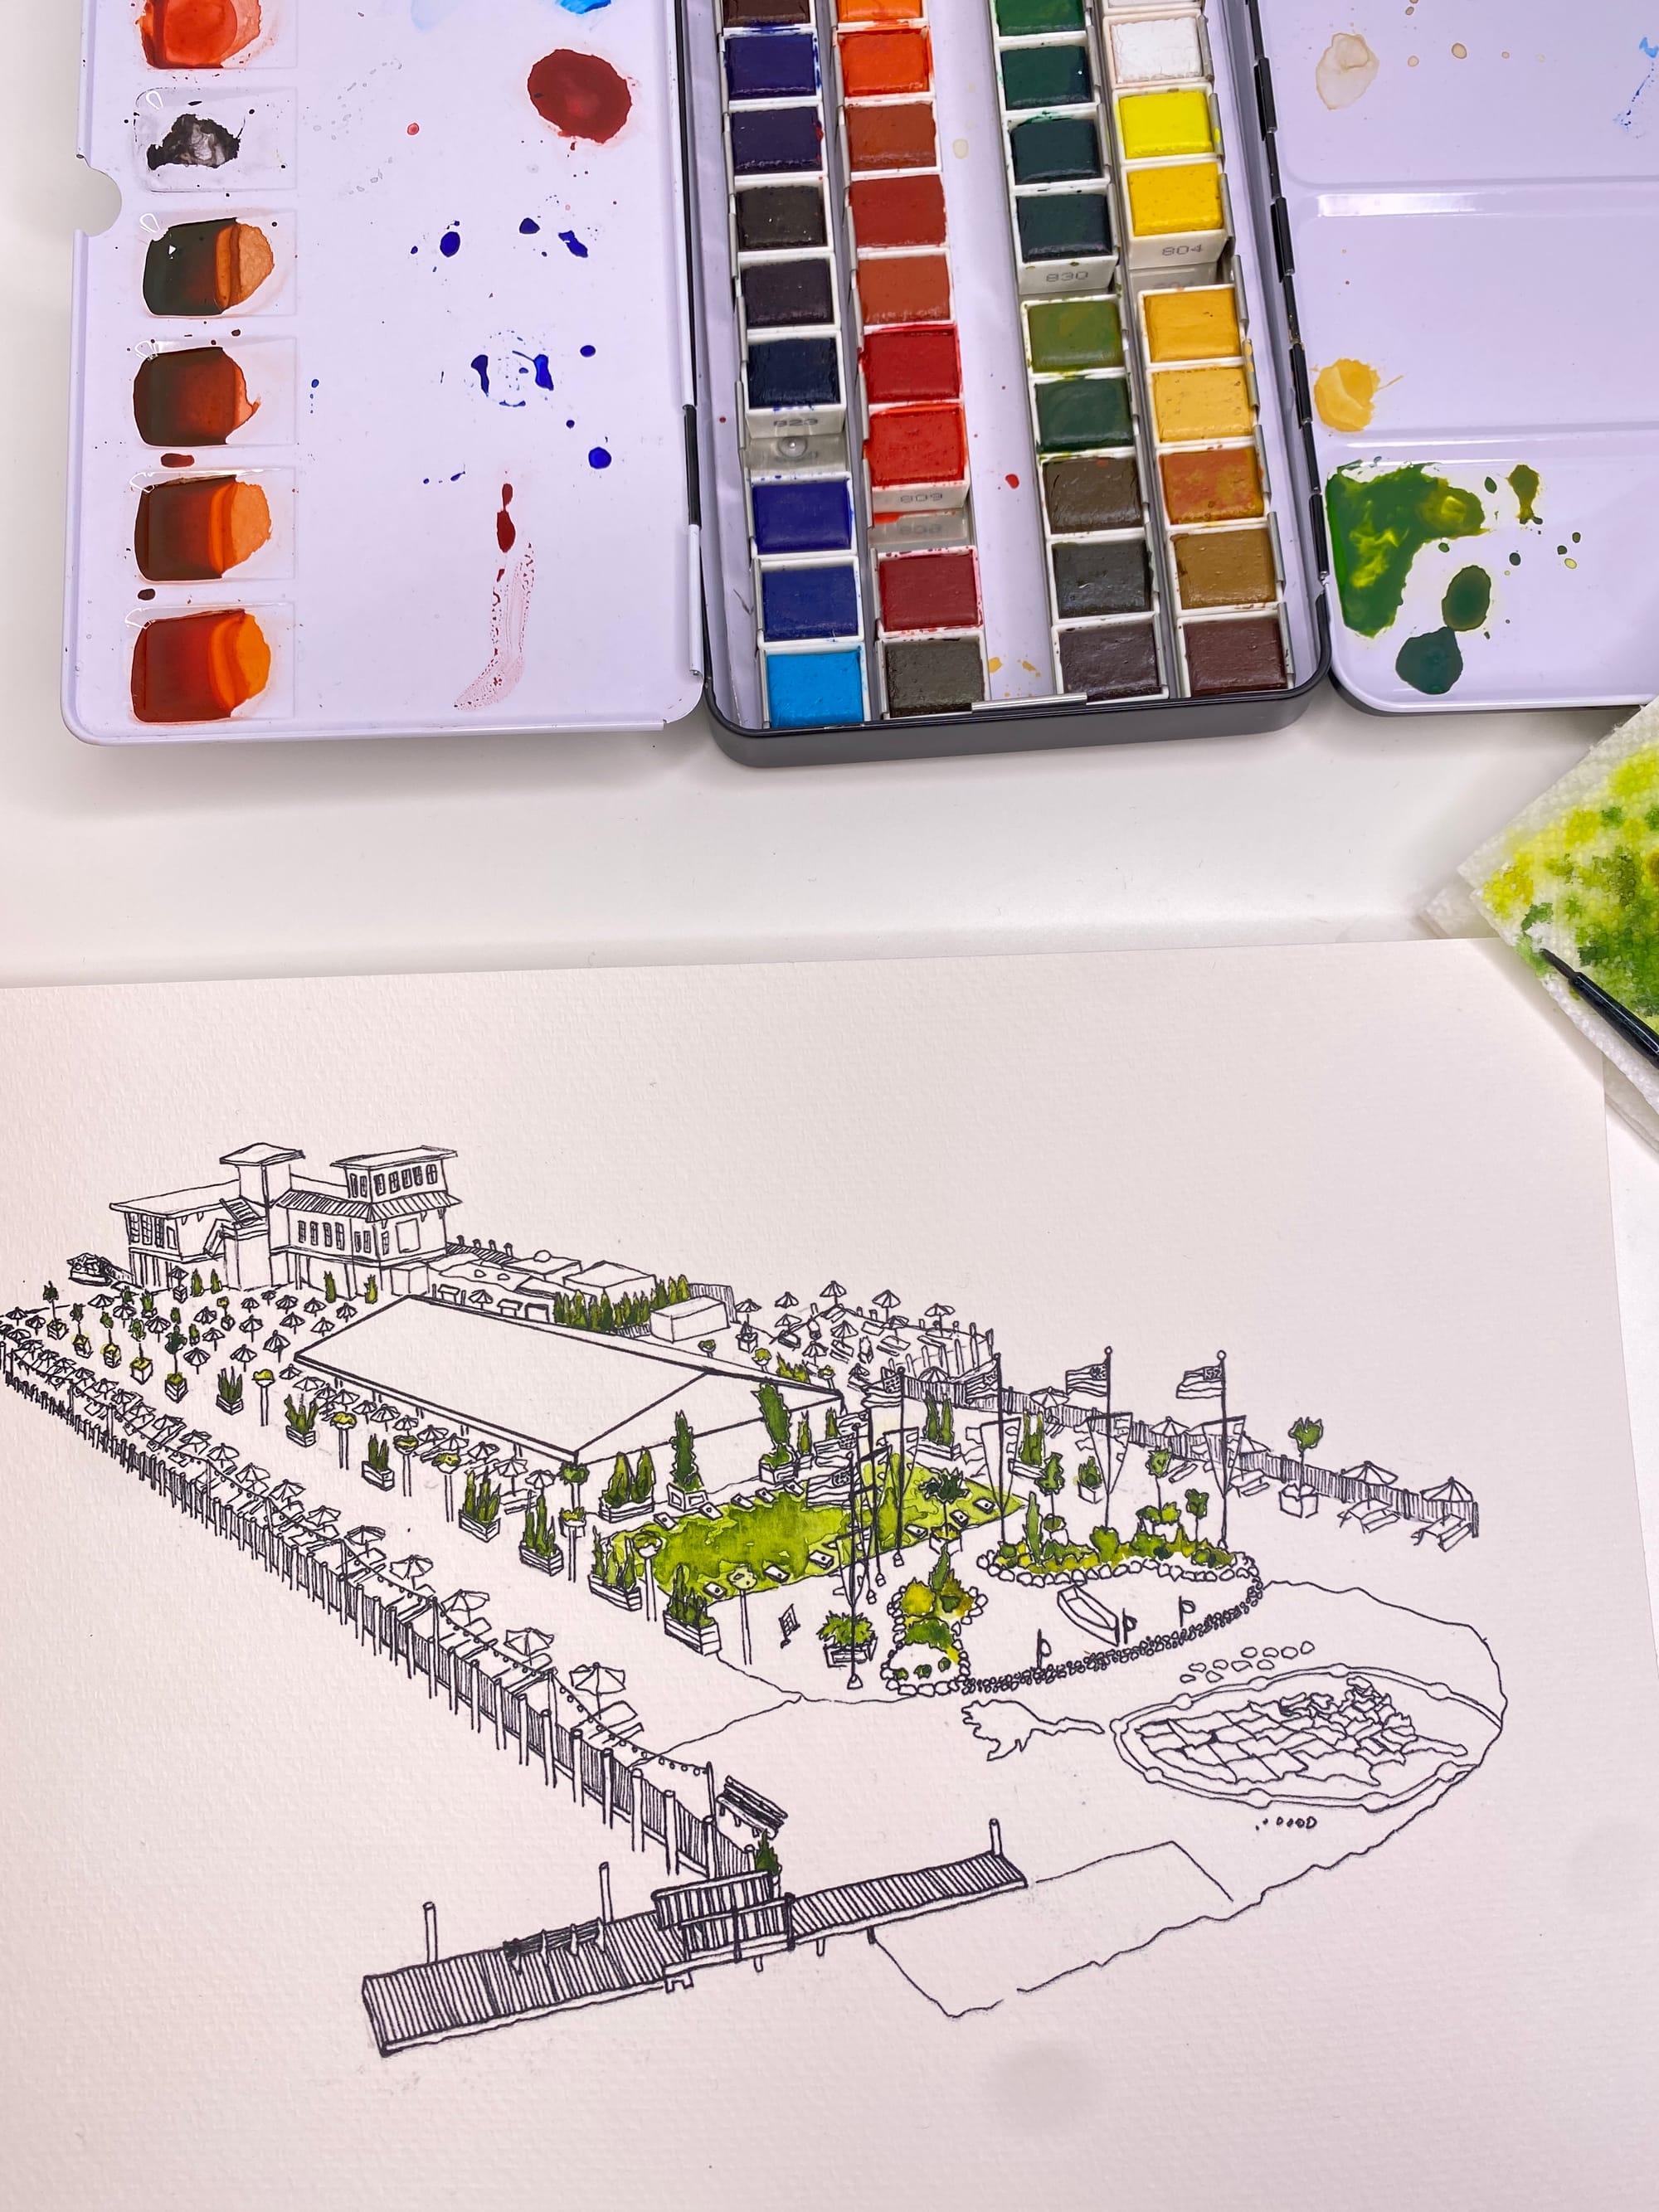
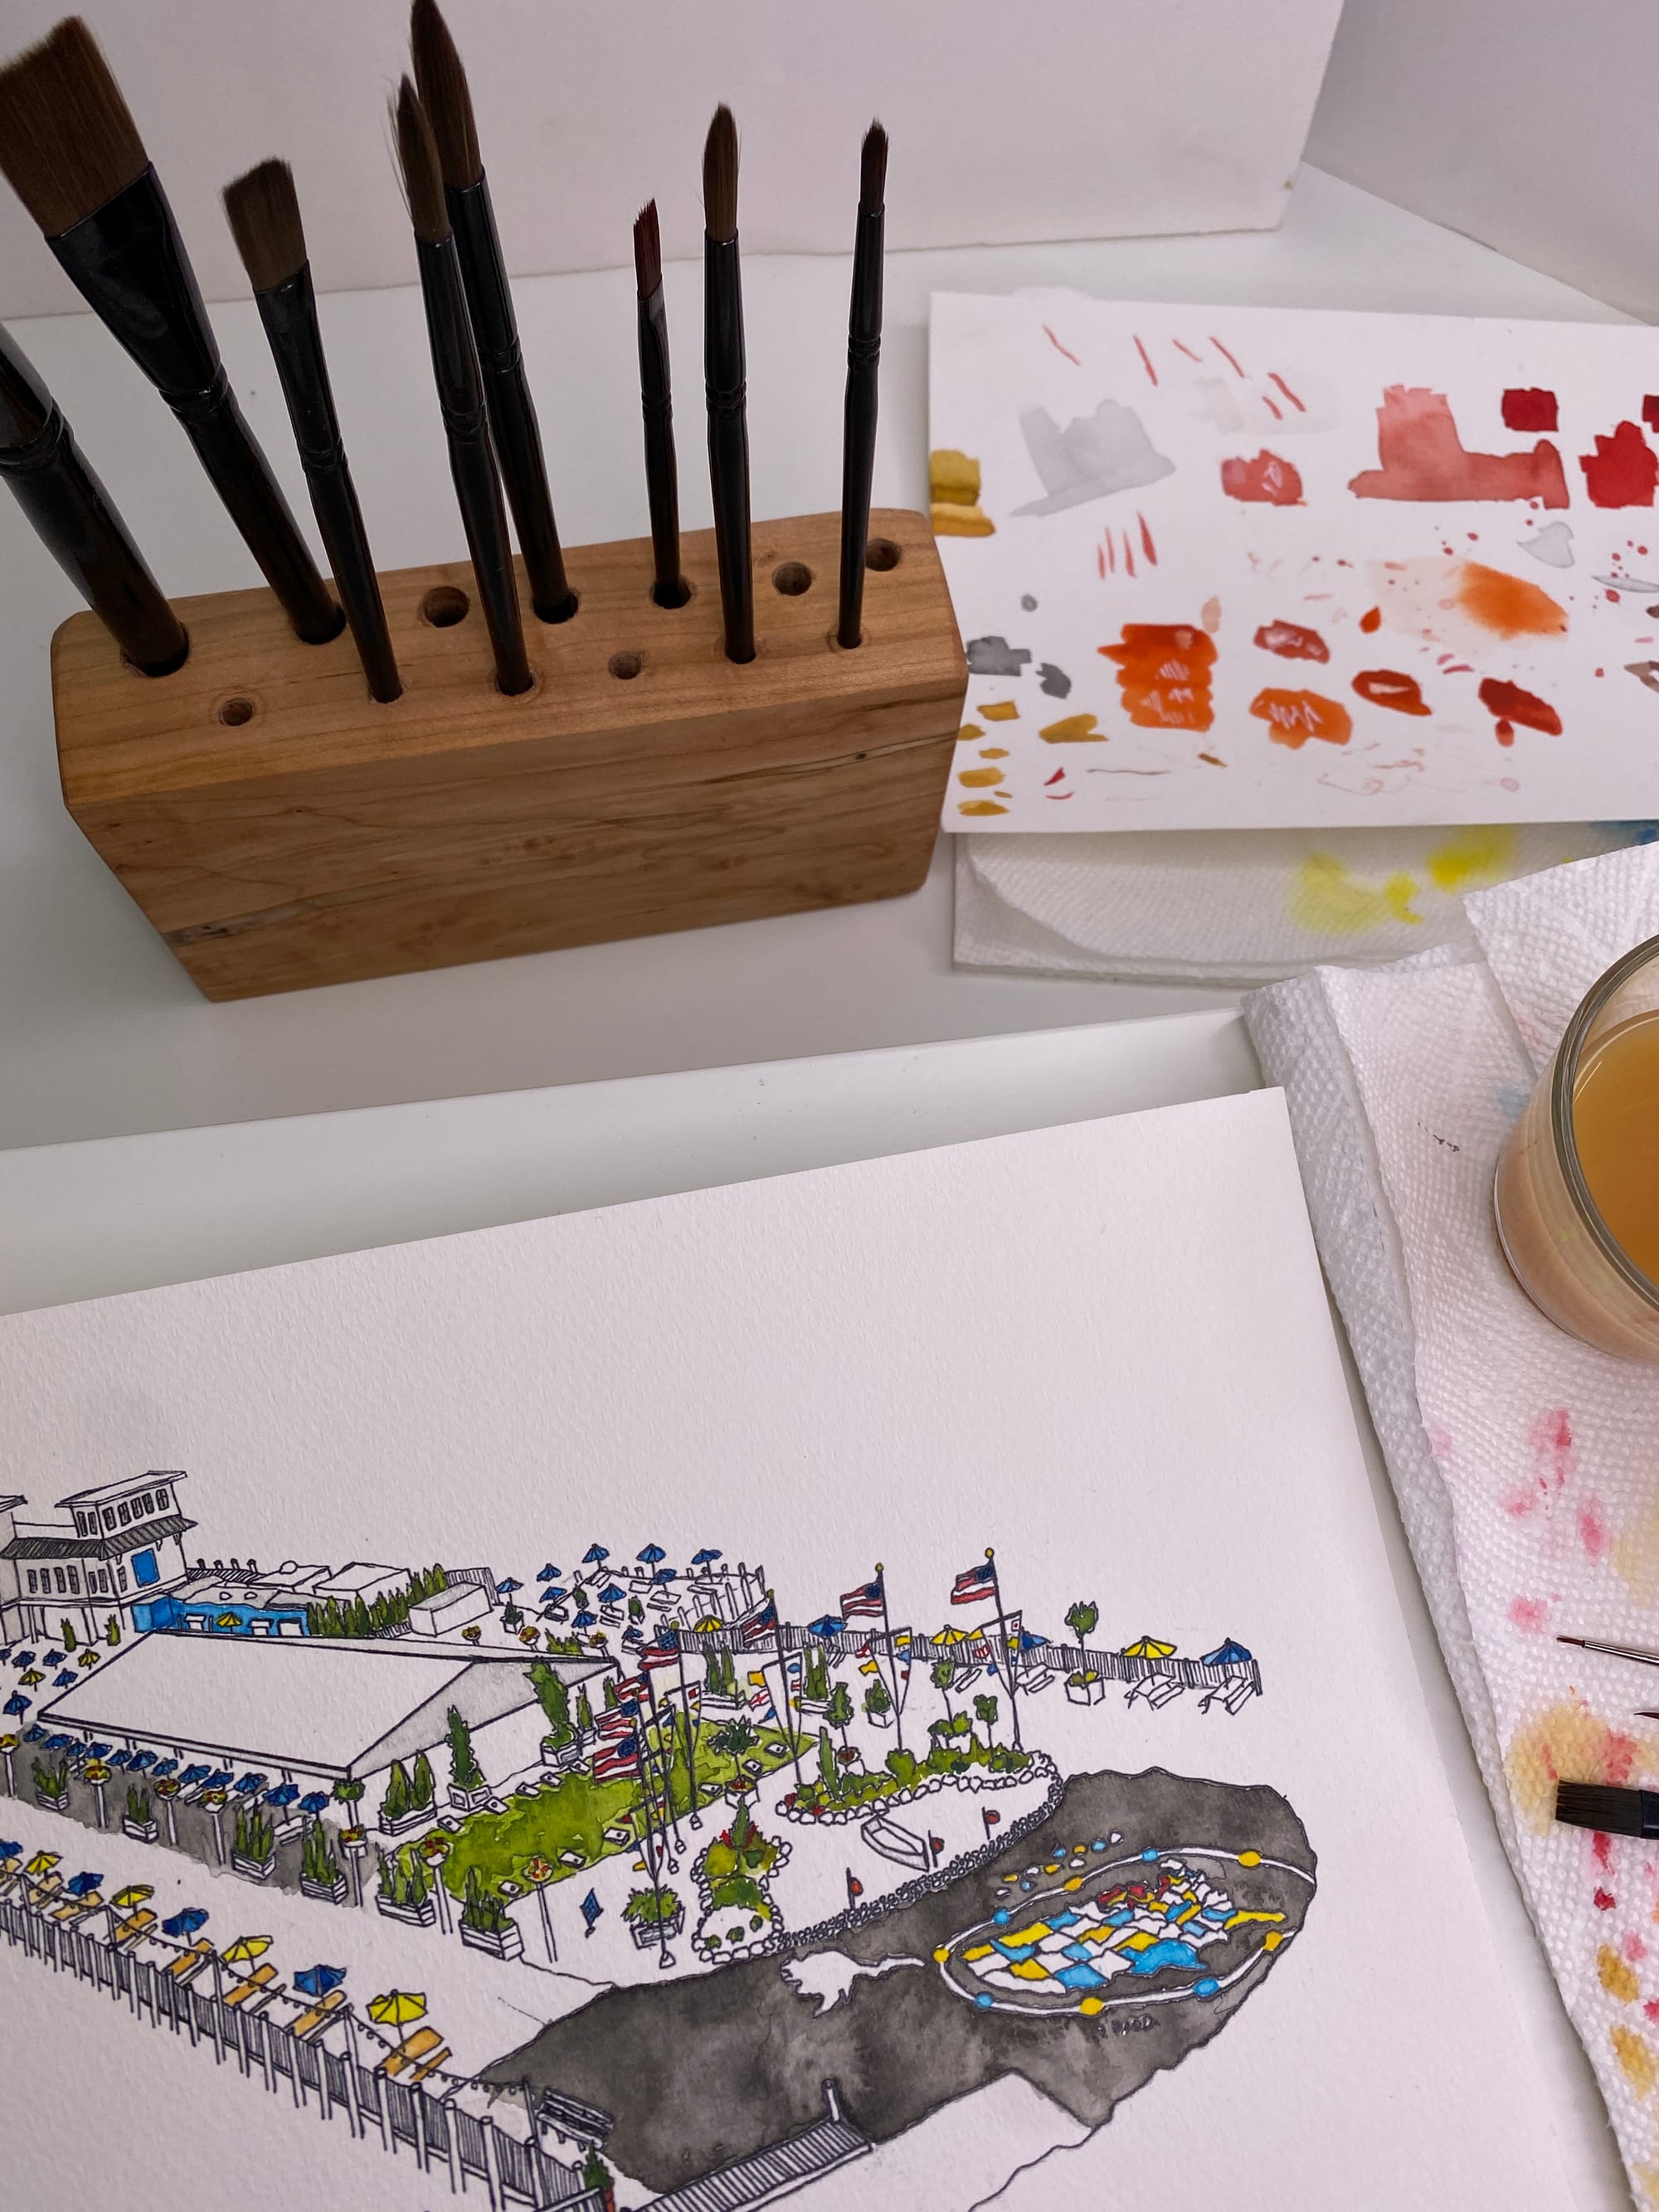
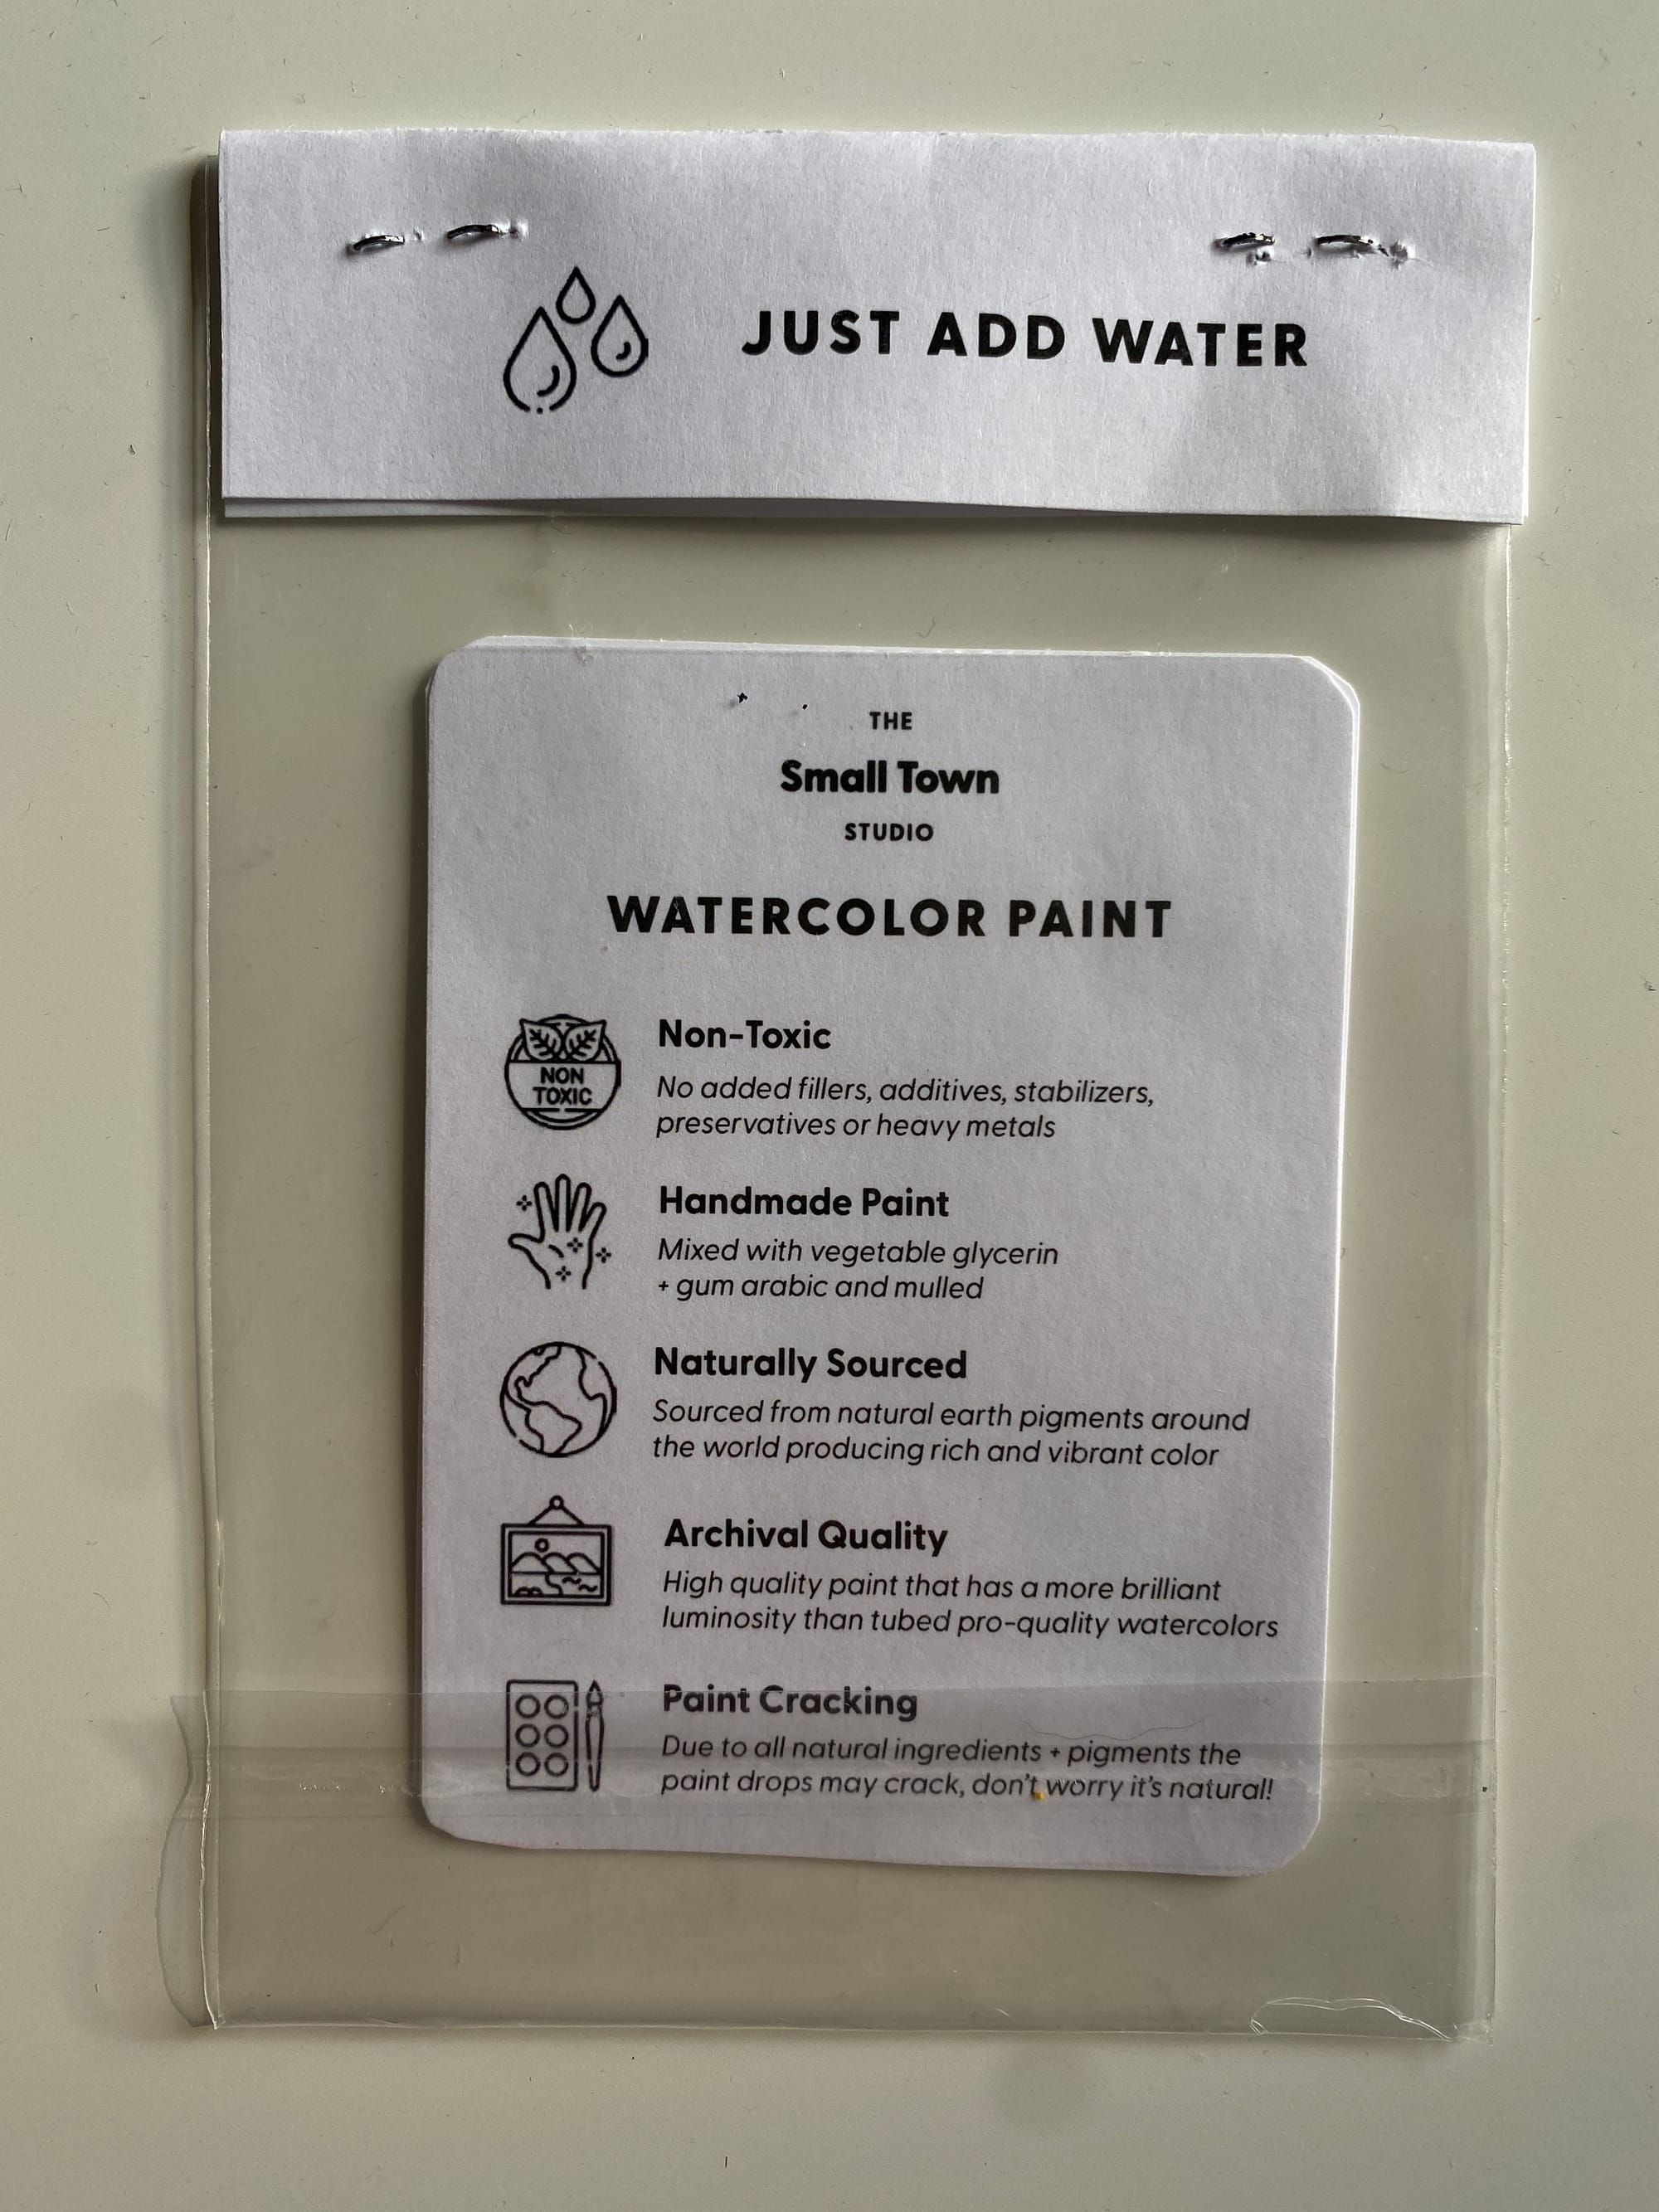
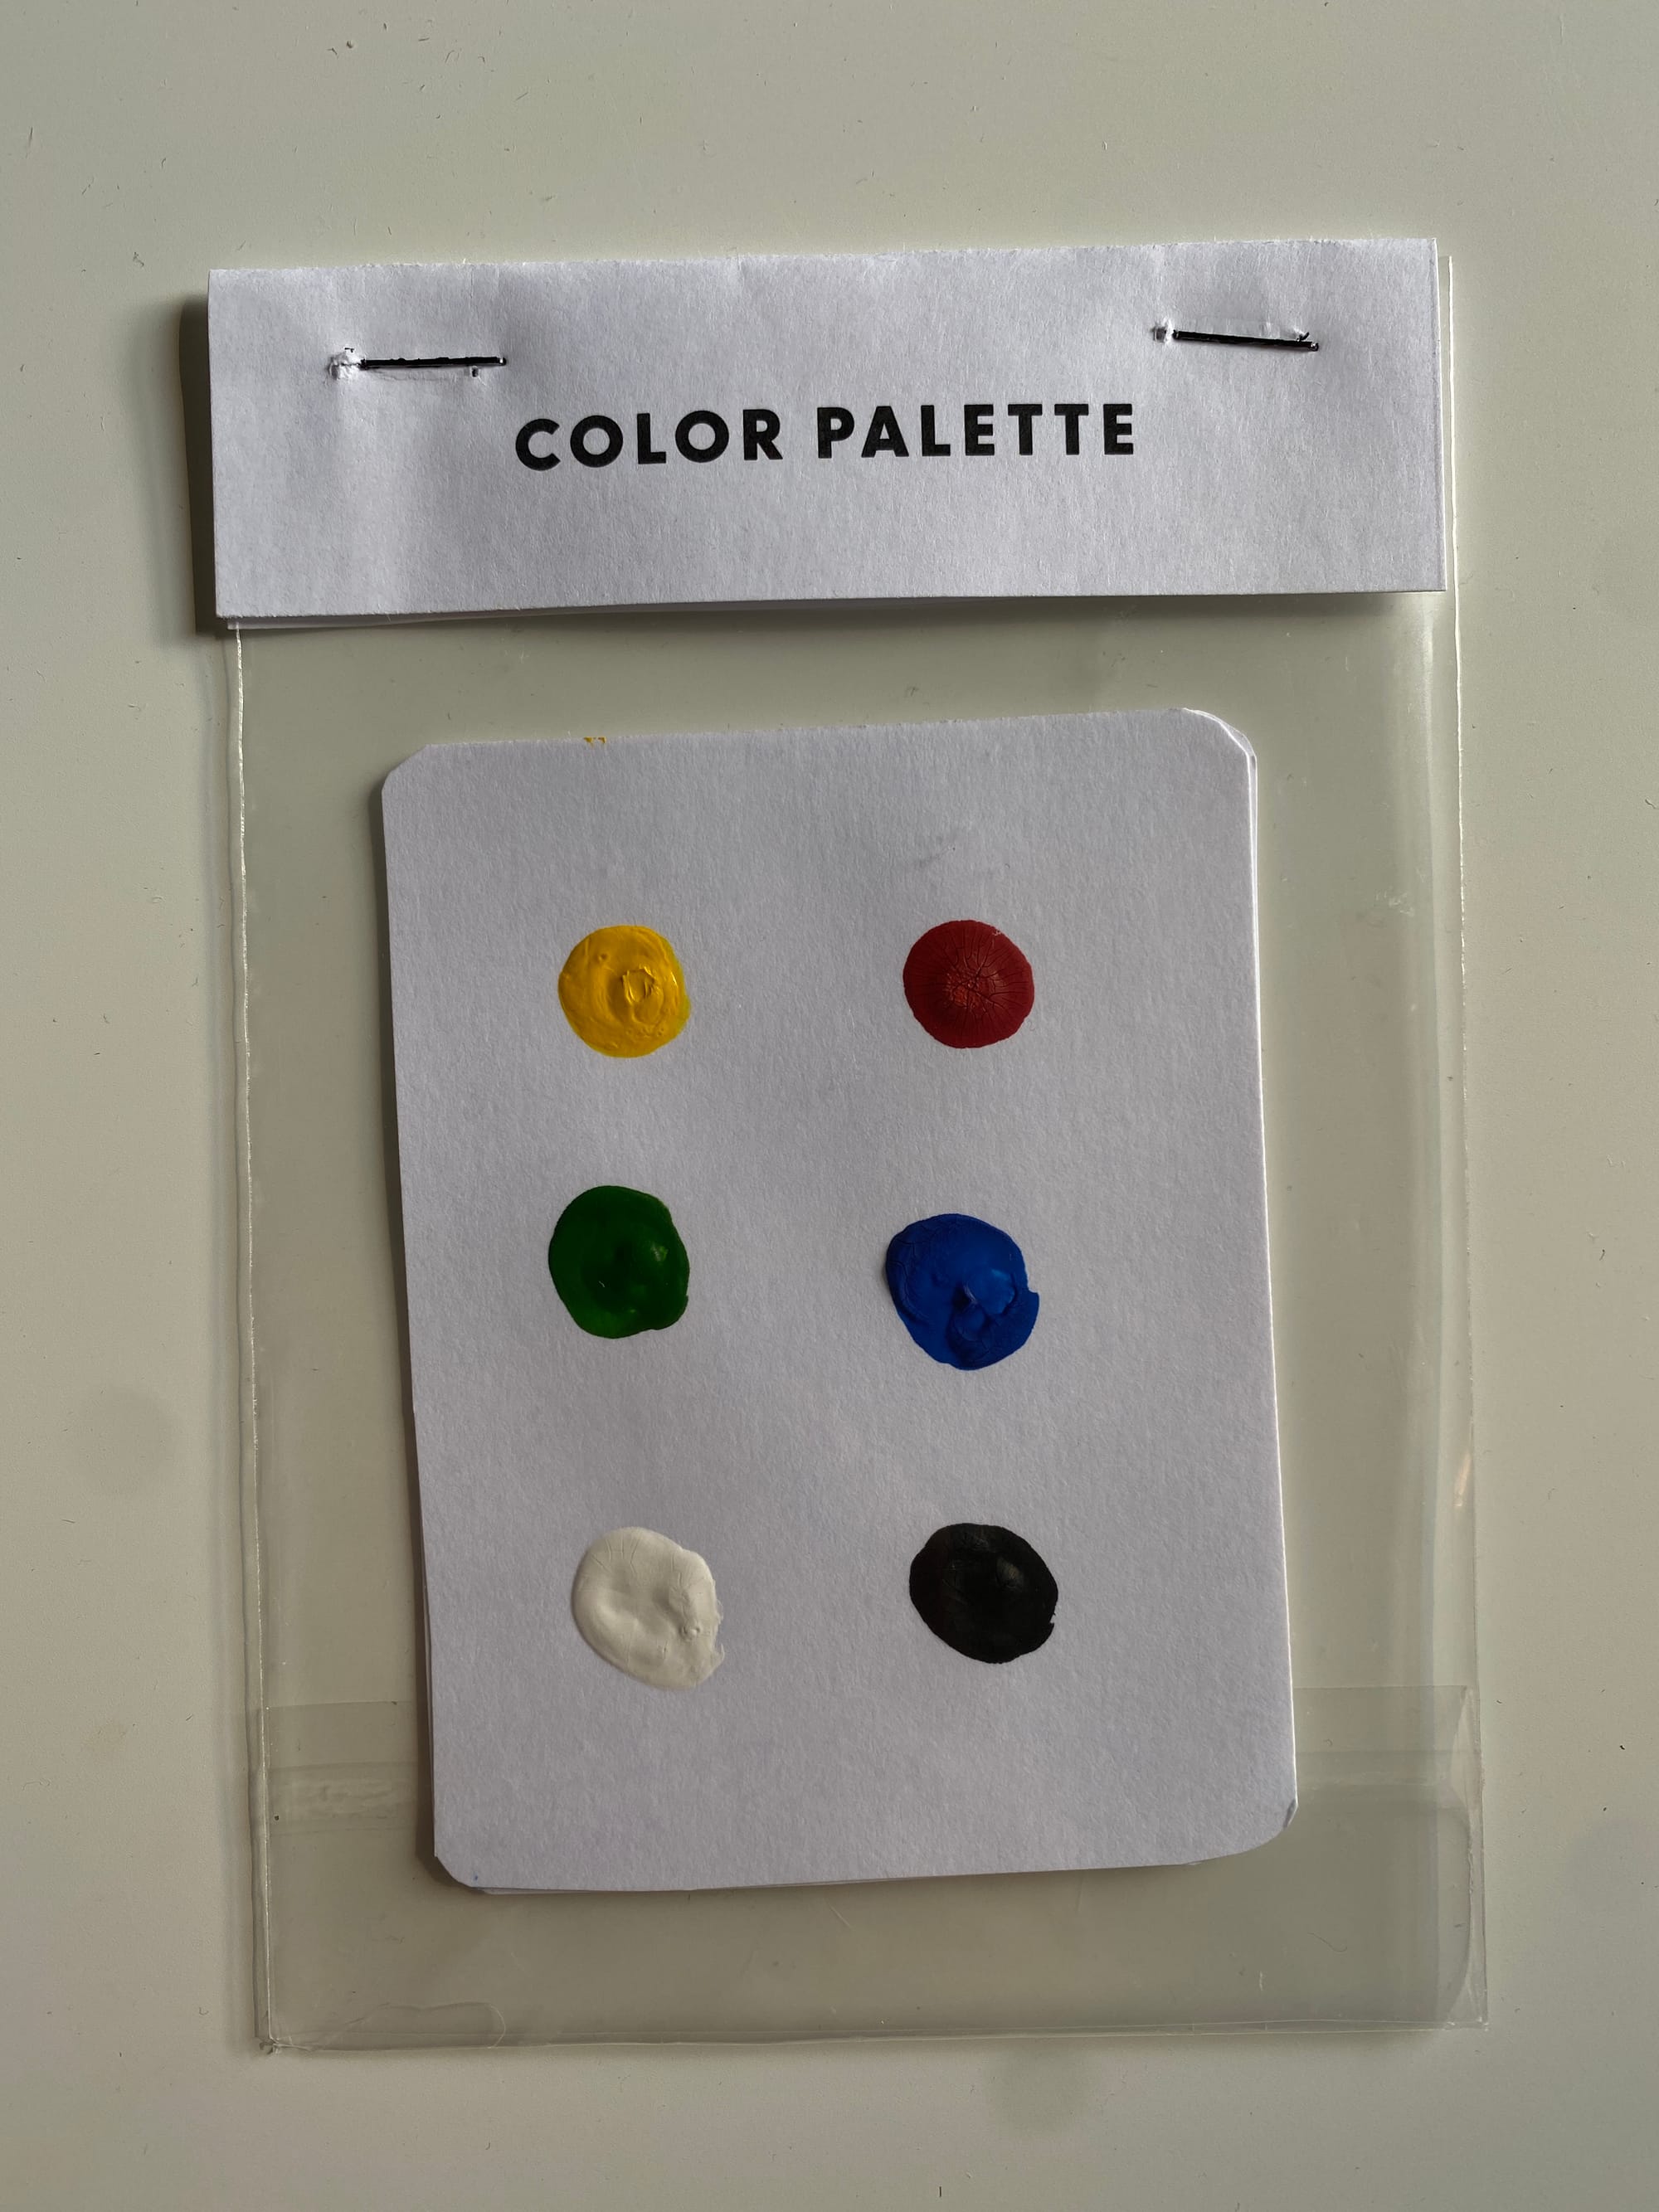
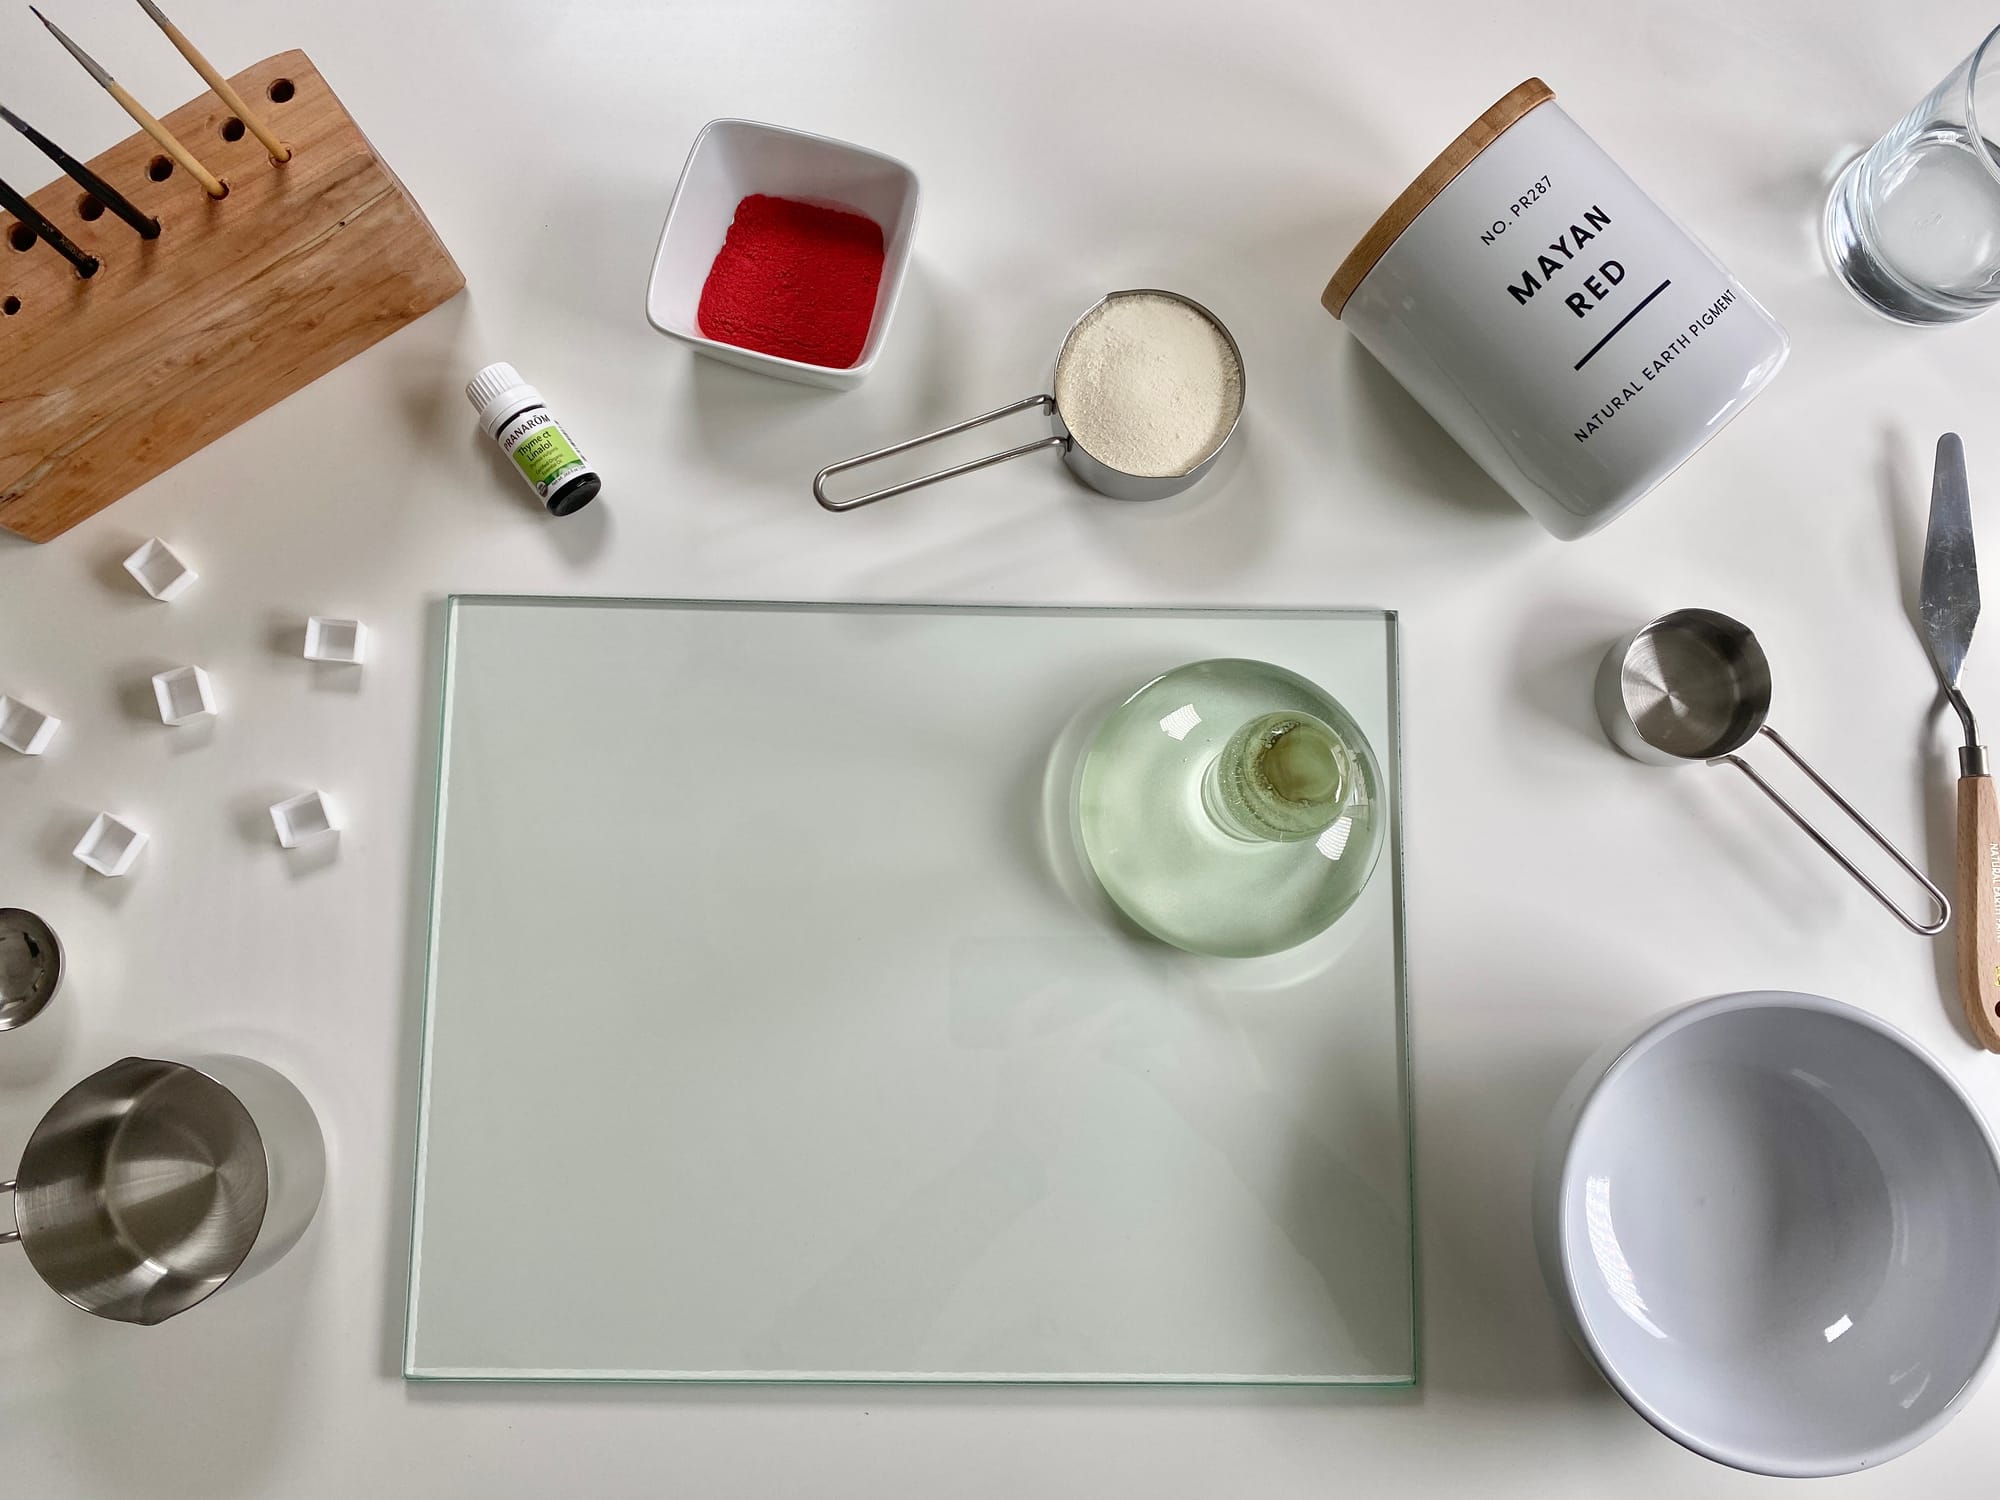
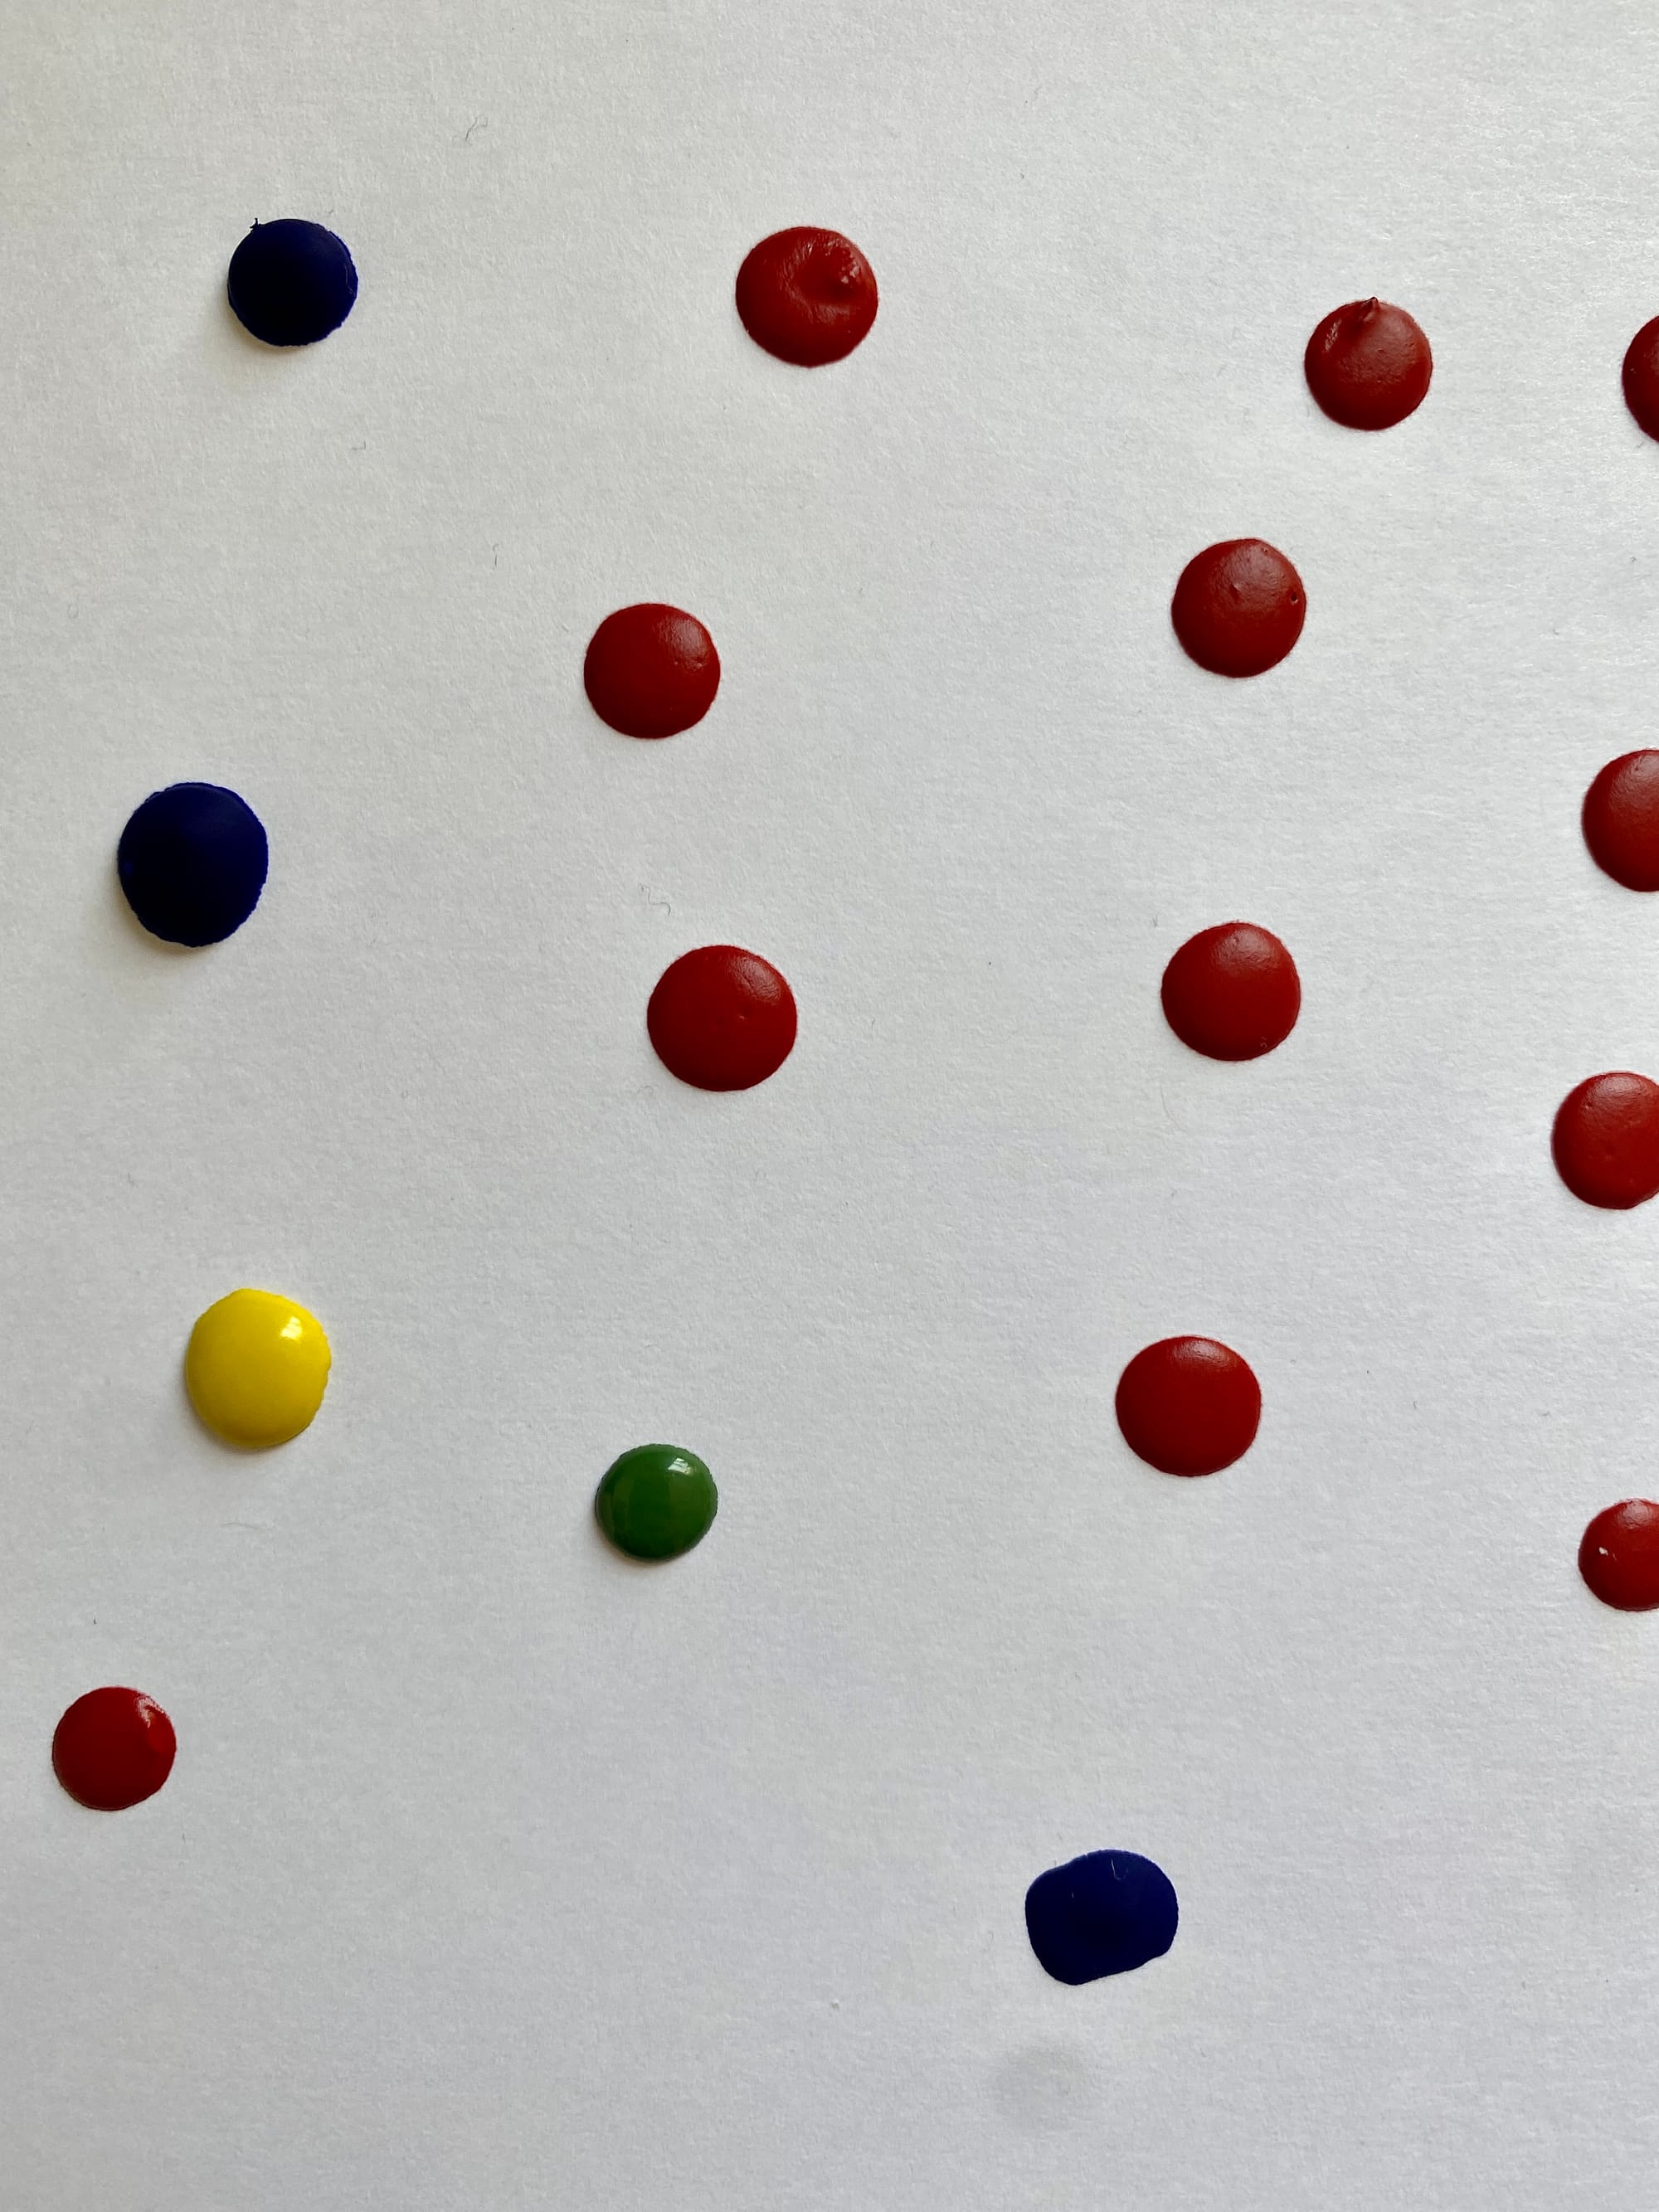
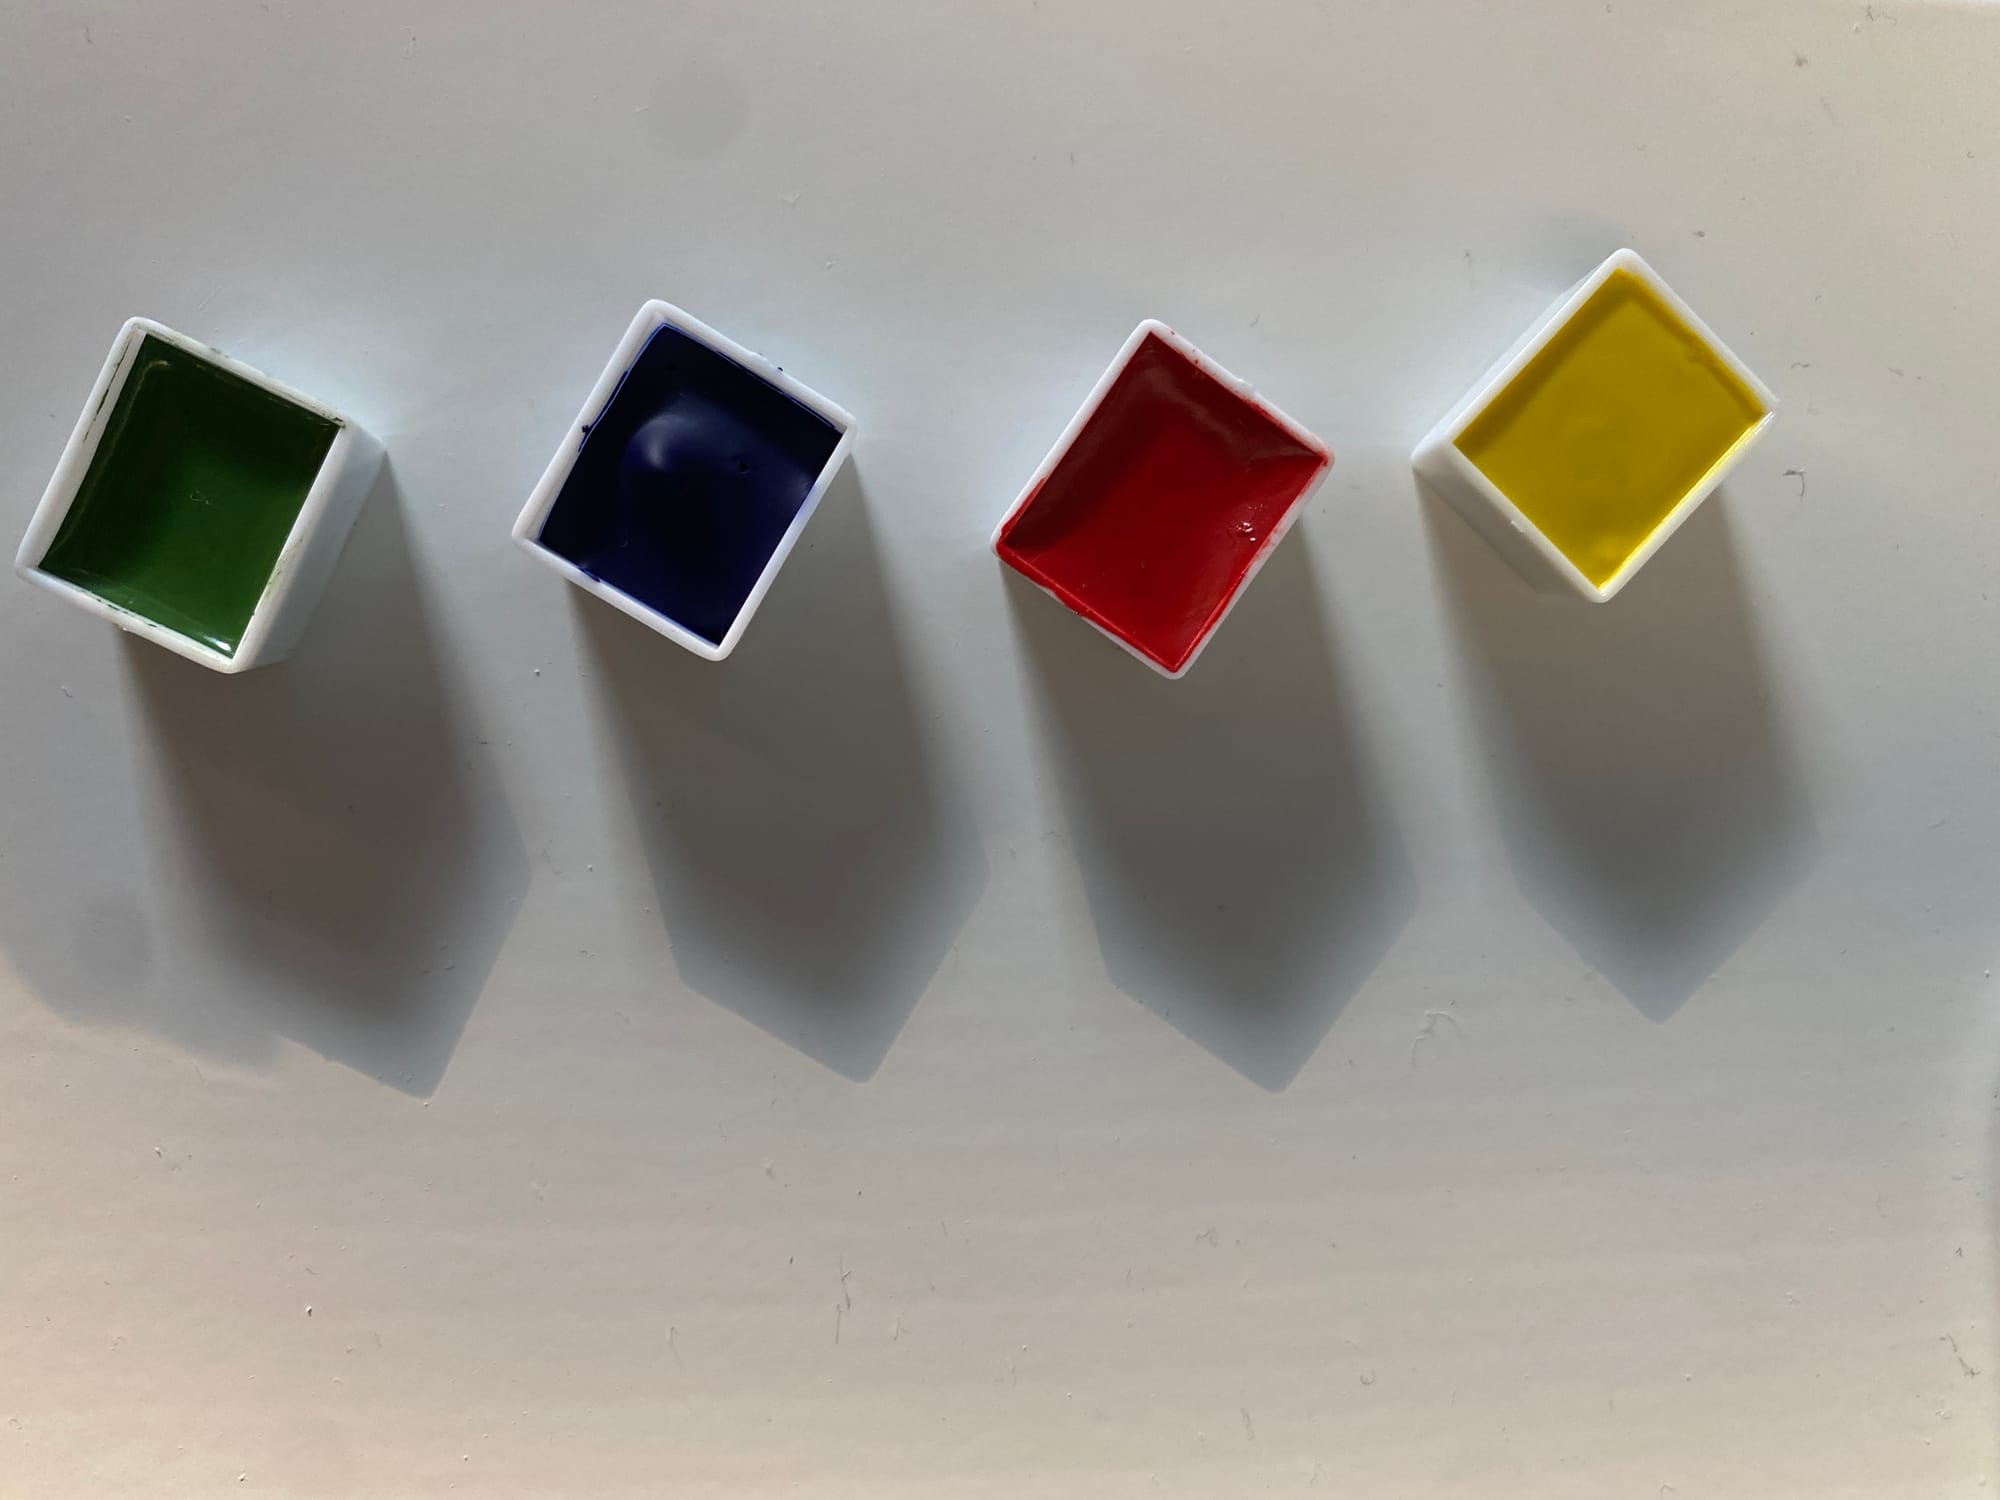
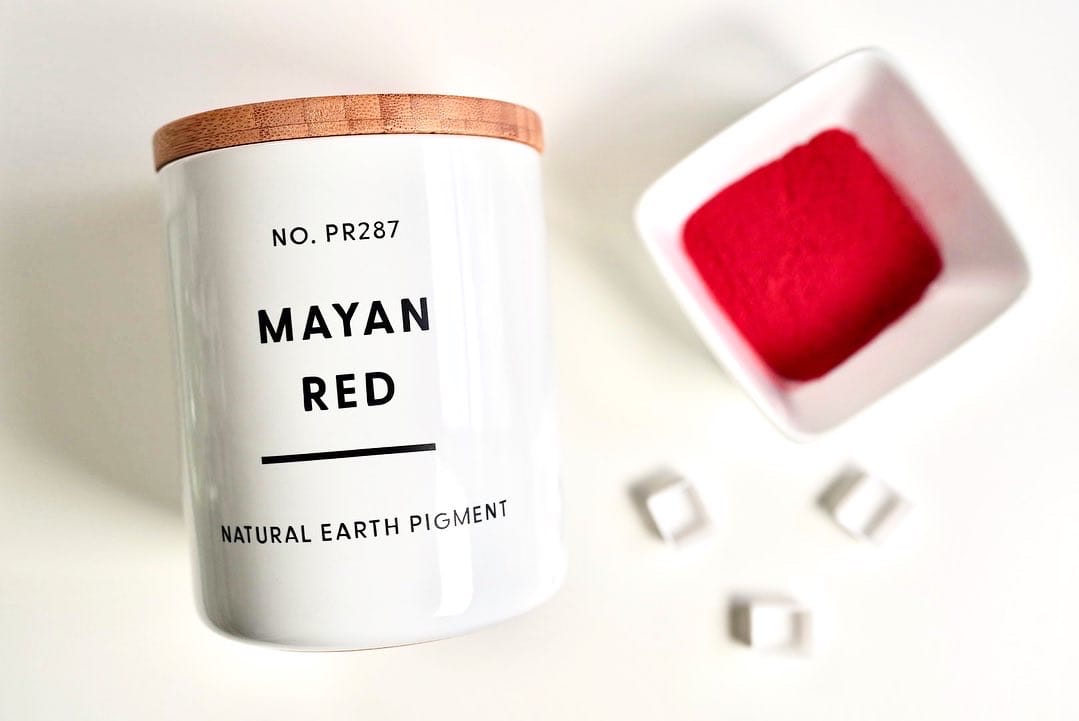
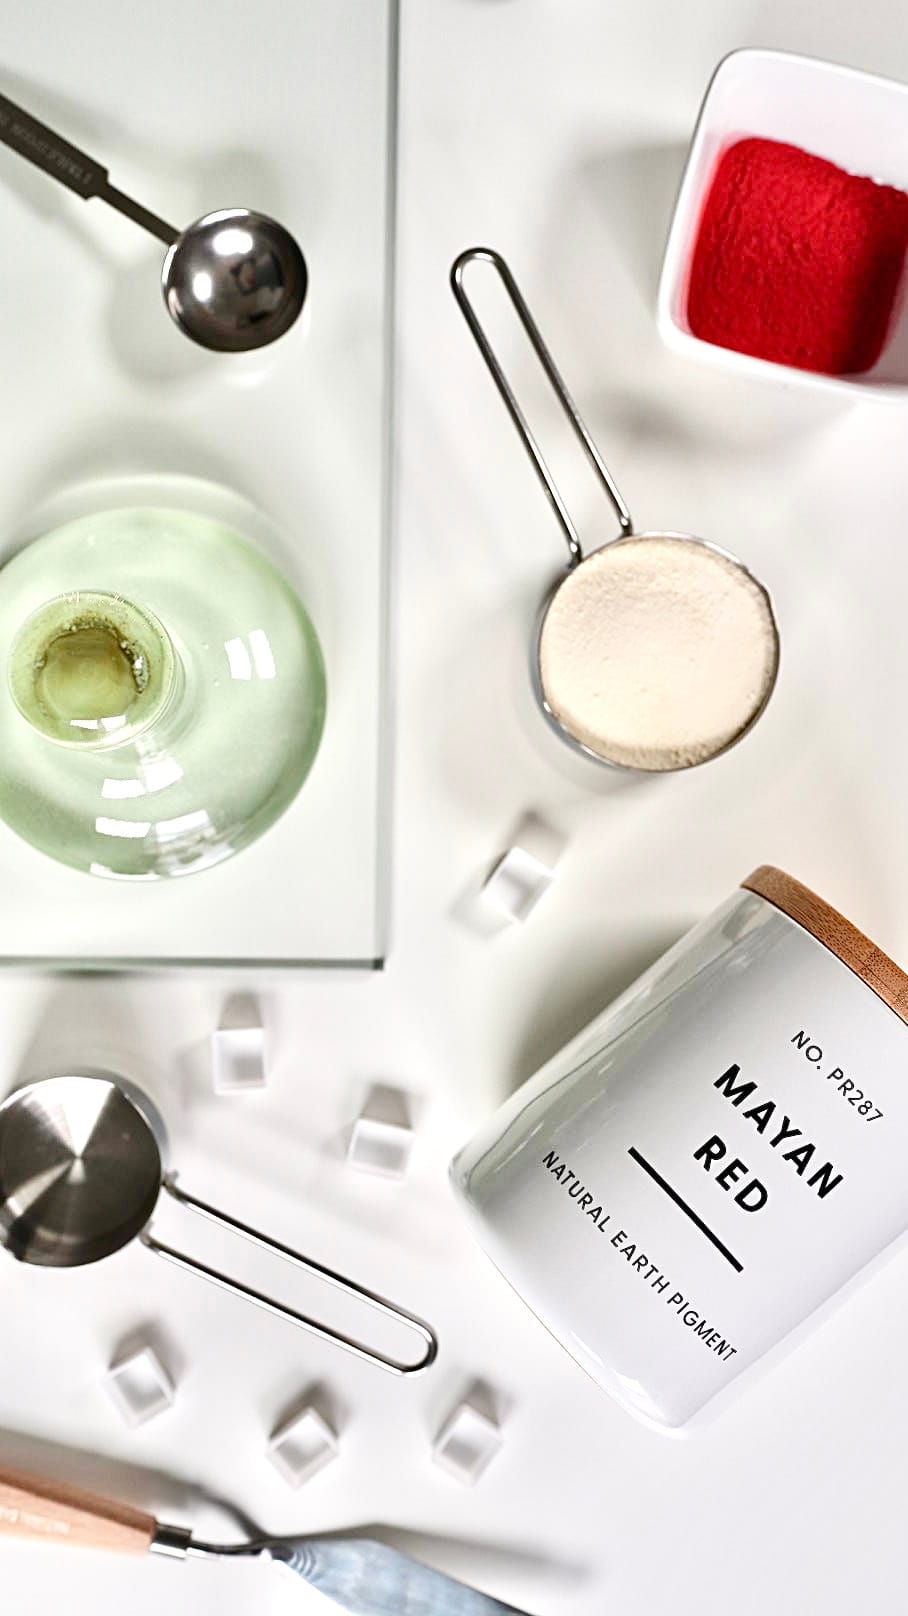
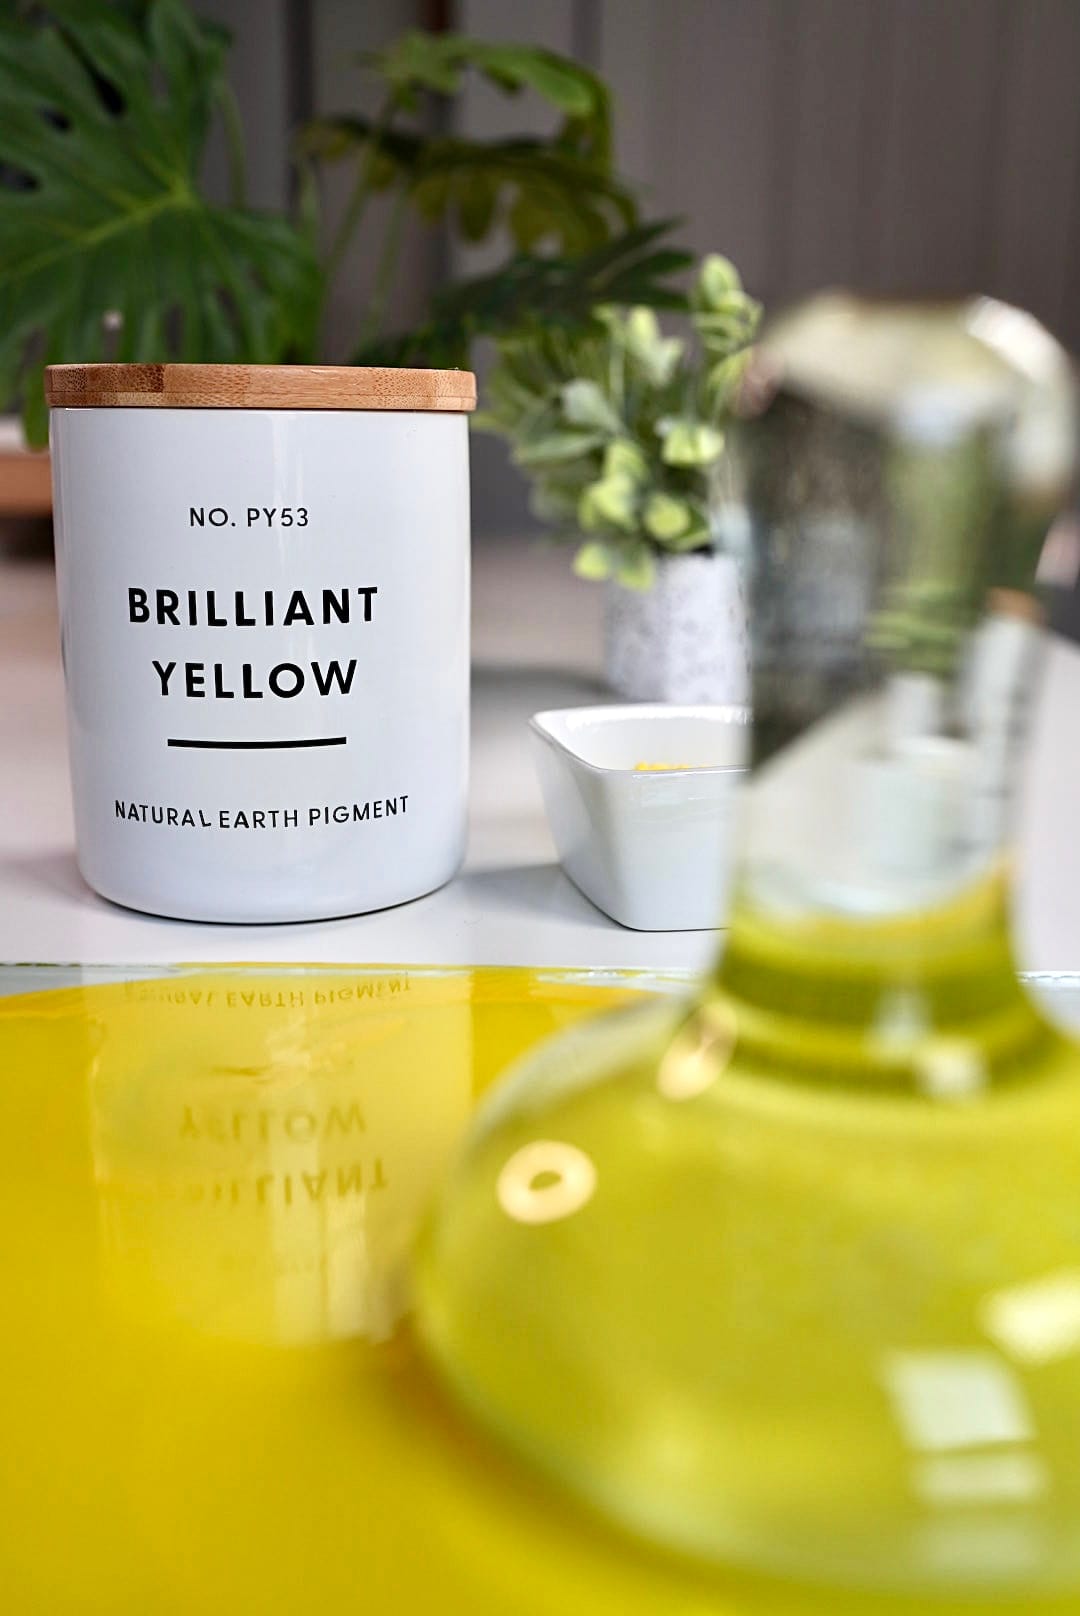
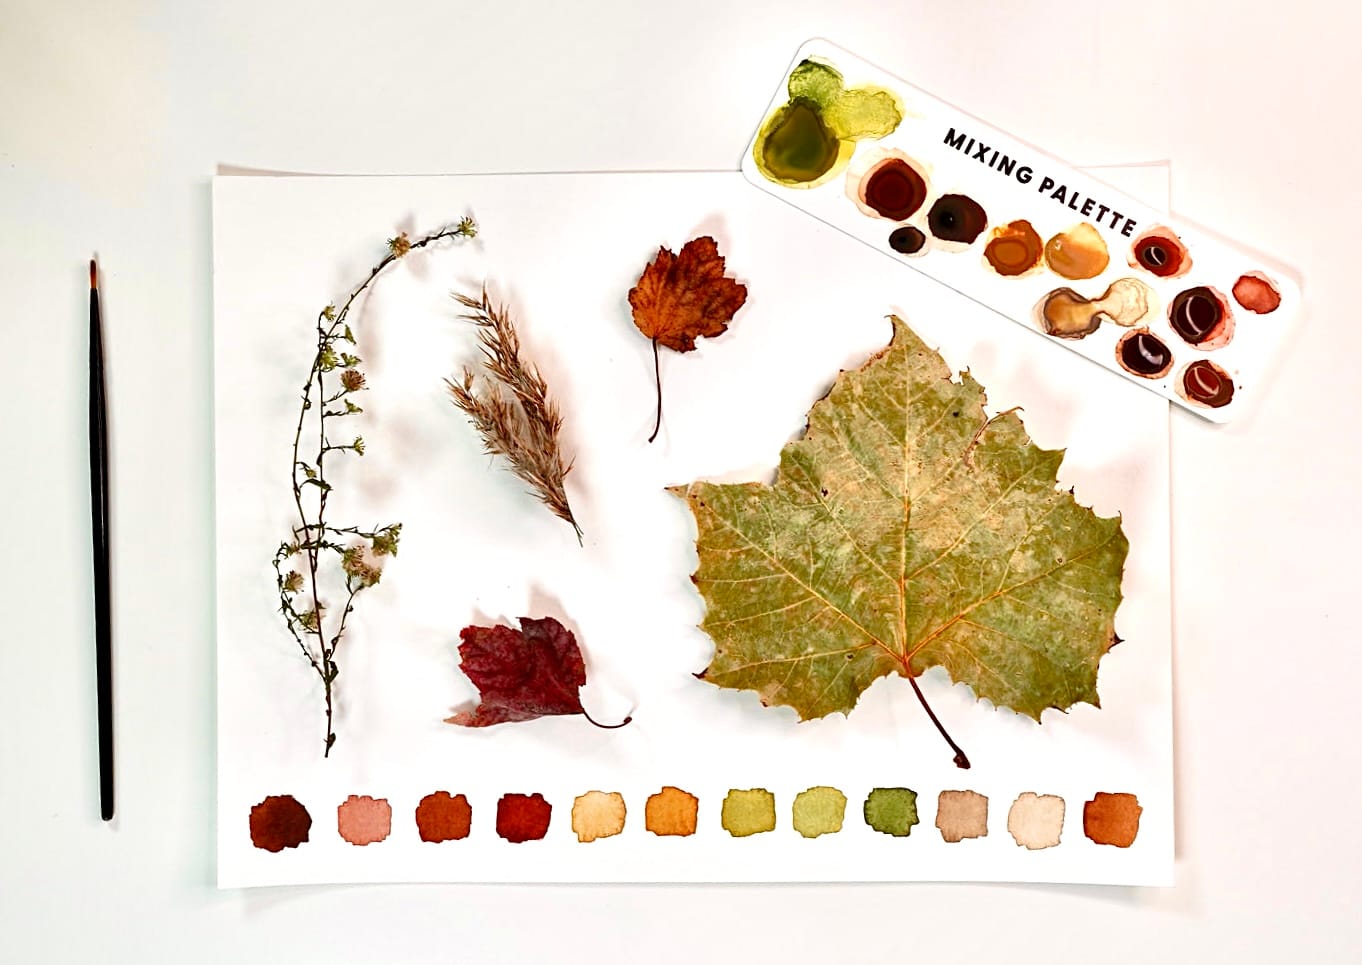
My new paint supplies came in and I started to learn how to make my own watercolor paint. I used Natural Earth Paint. This archival quality paint is non-toxic and naturally sourced. Learning how to make your paint was such an eye-opening experience. It's a lot of work when creating bulk amounts of paint but when you're just making a little for your own personal palette it's actually meditative and makes you truly appreciate your medium.
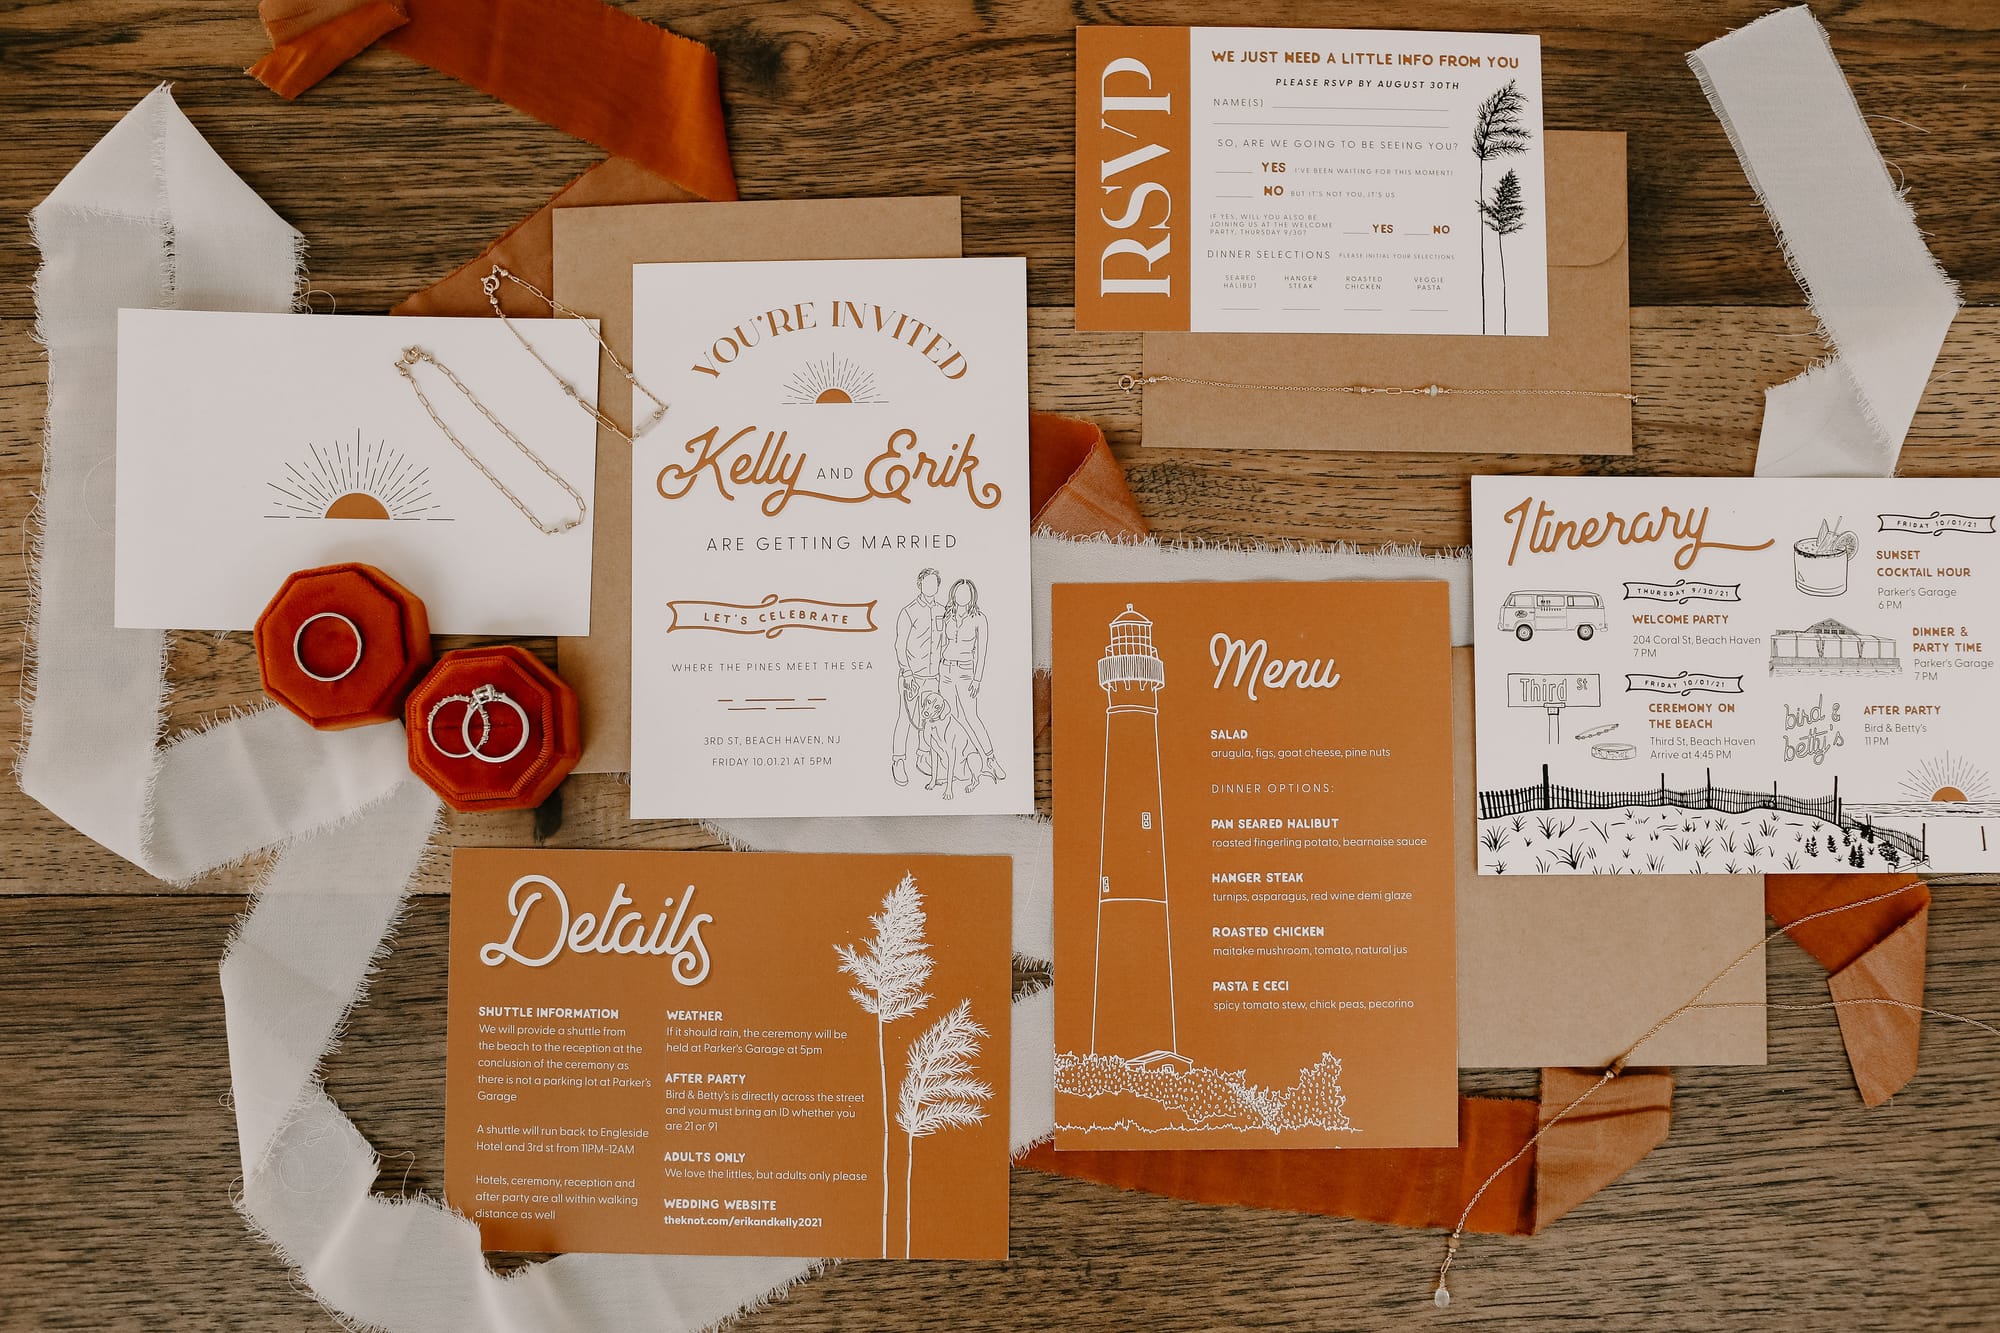
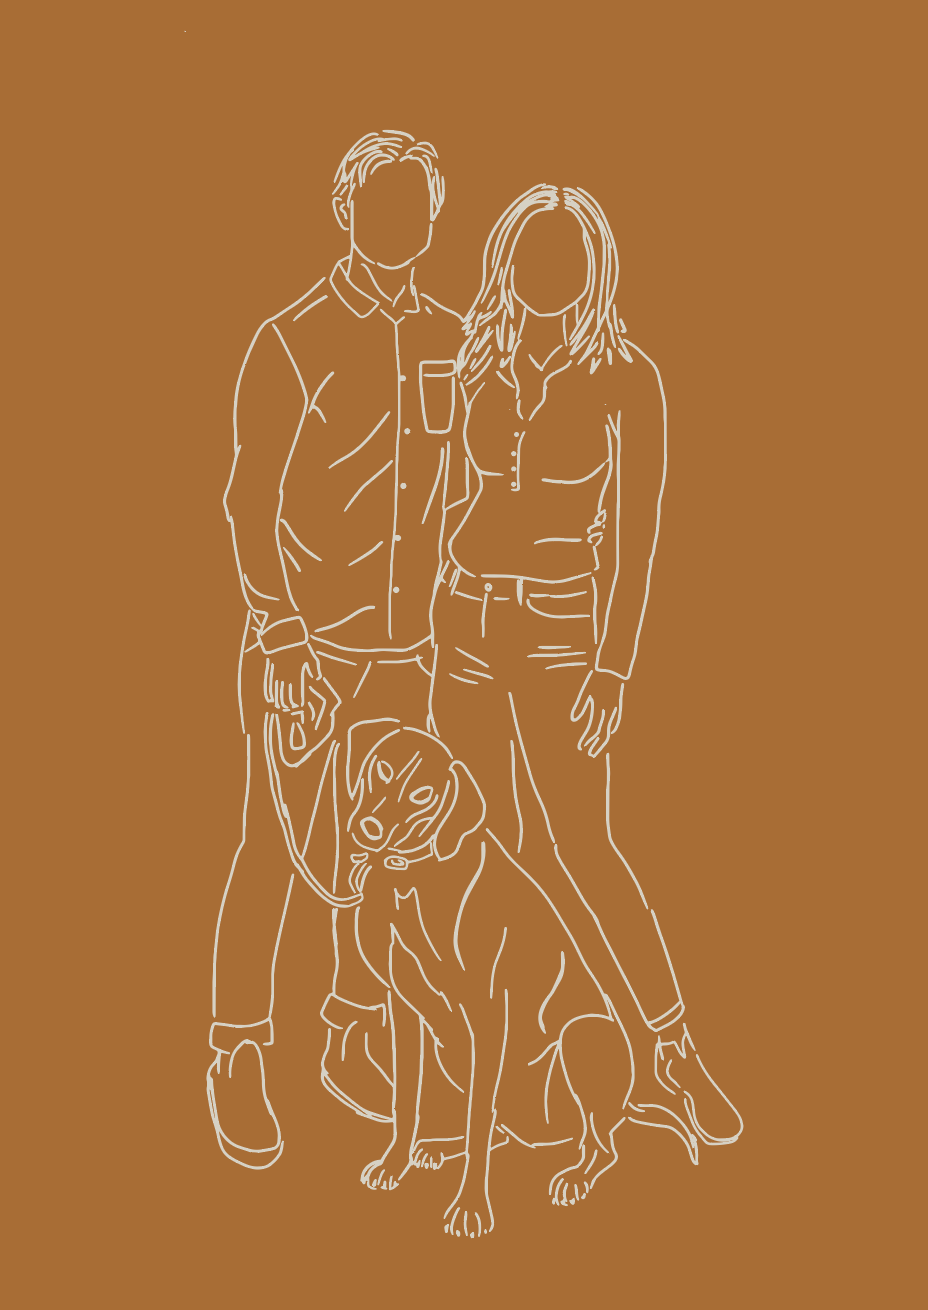
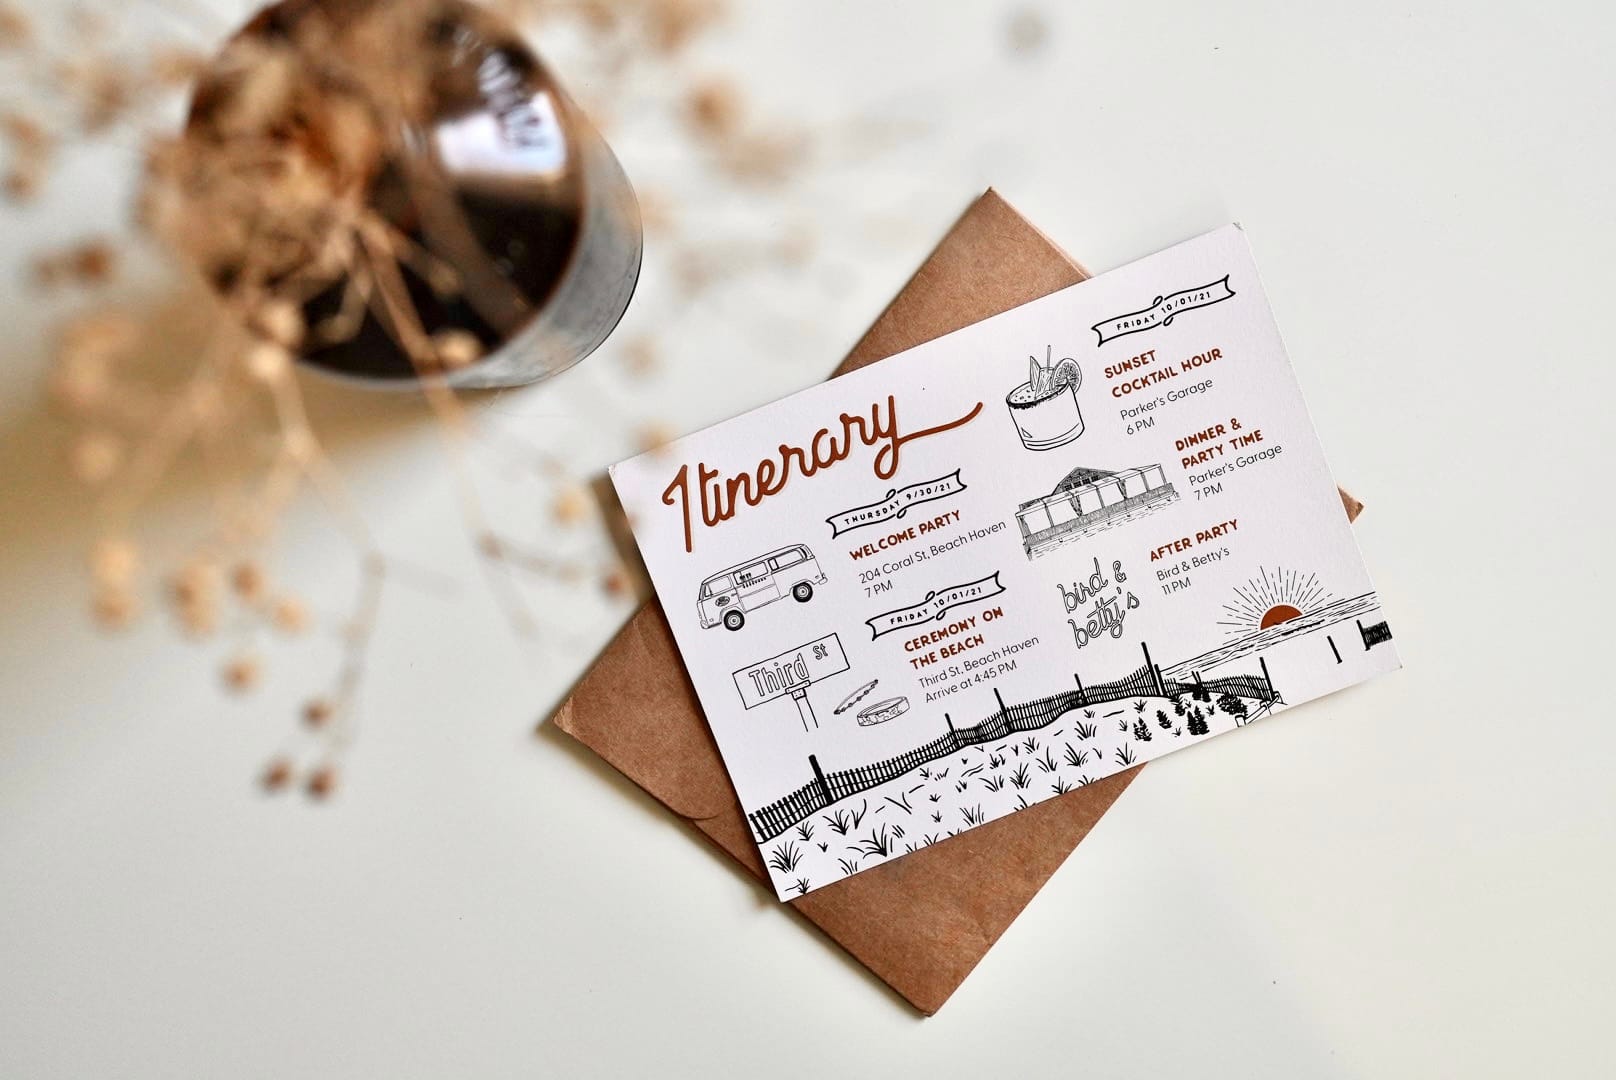
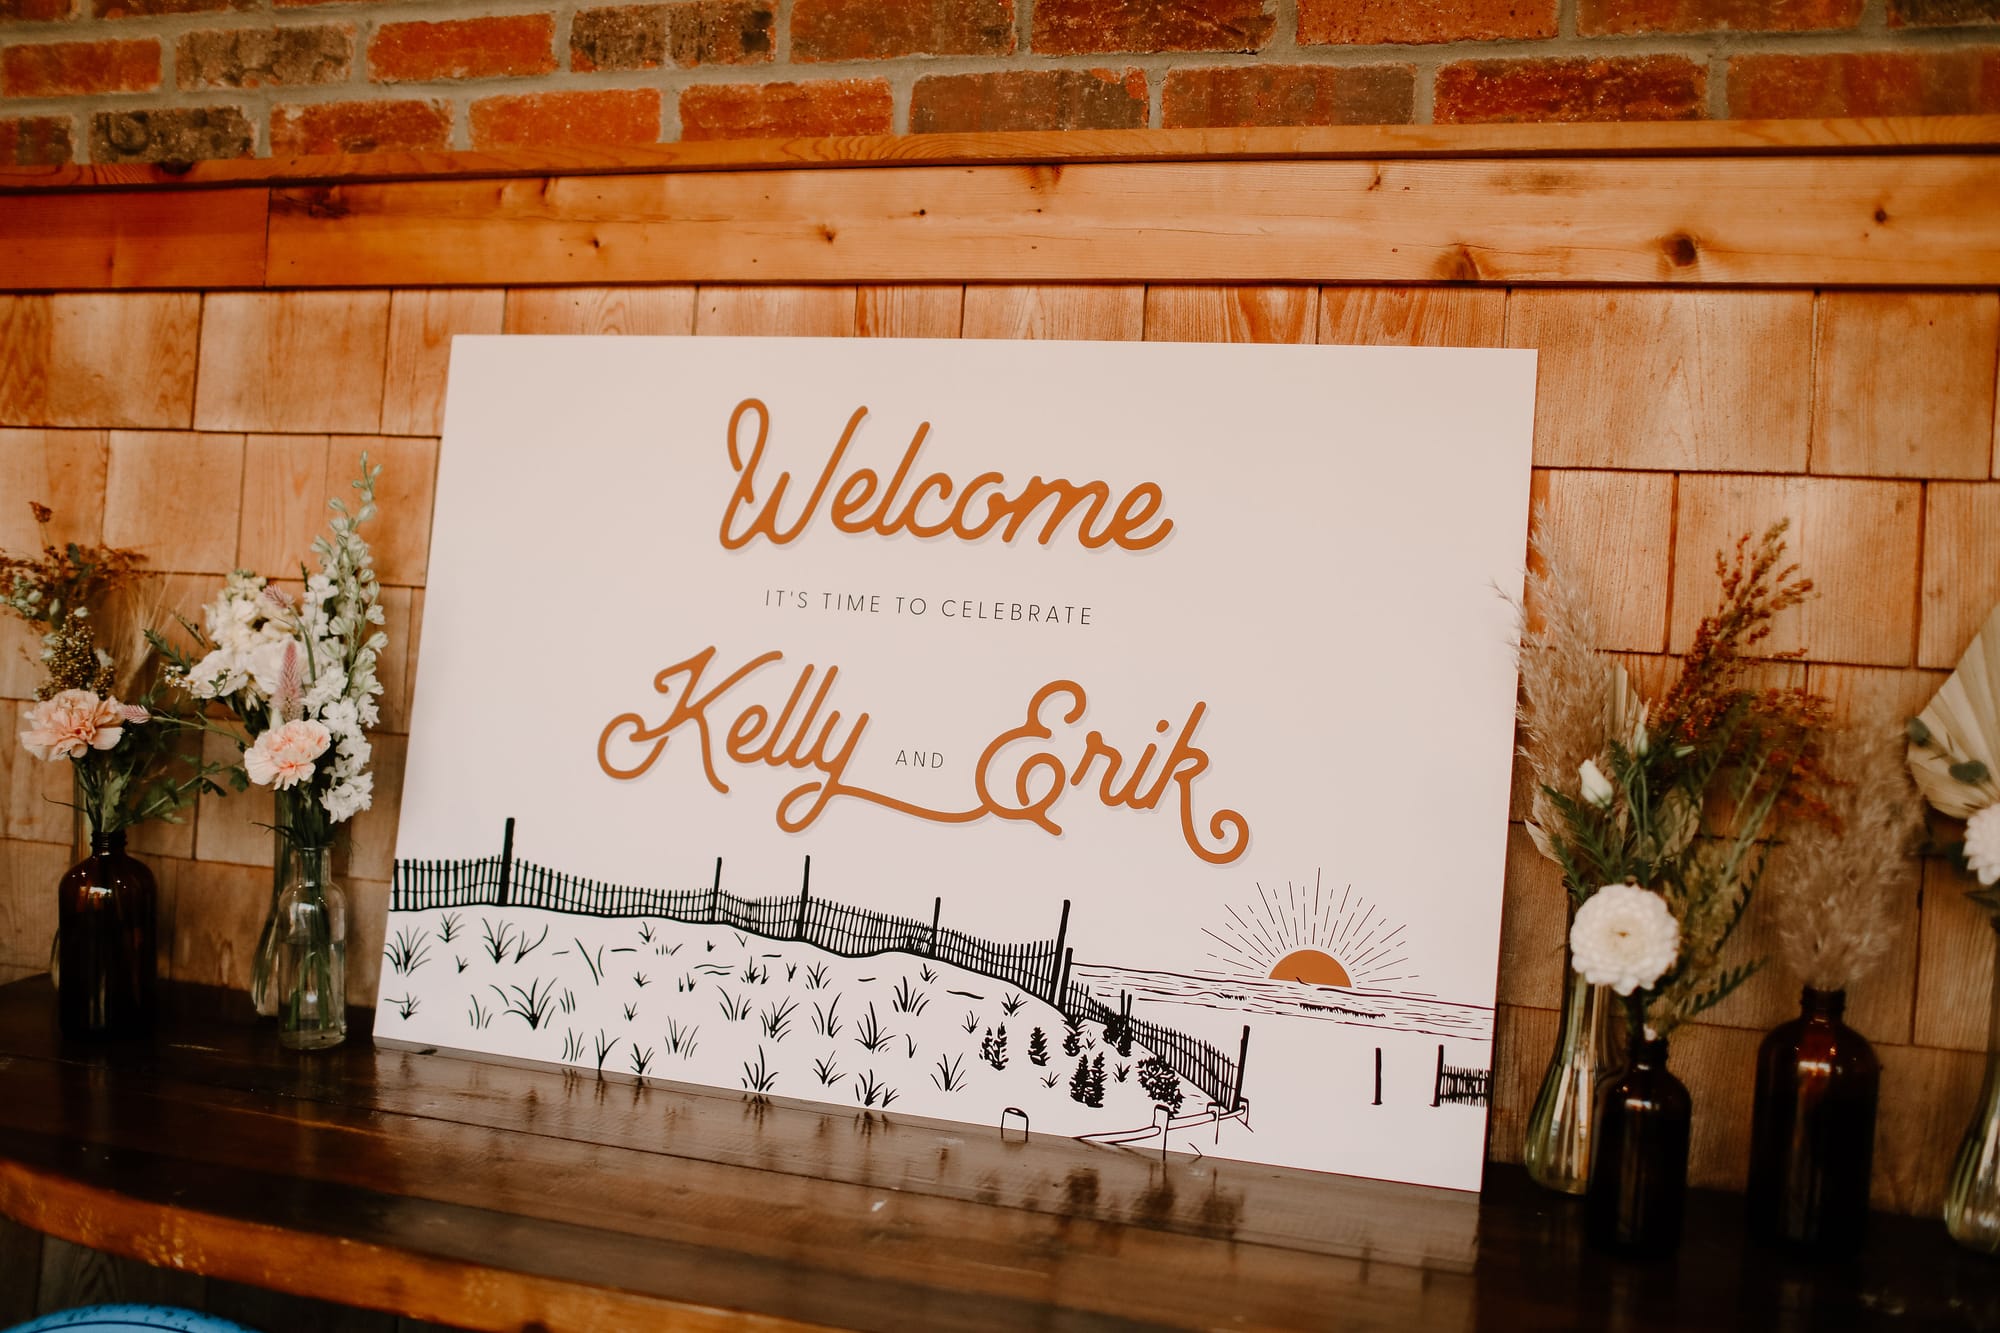
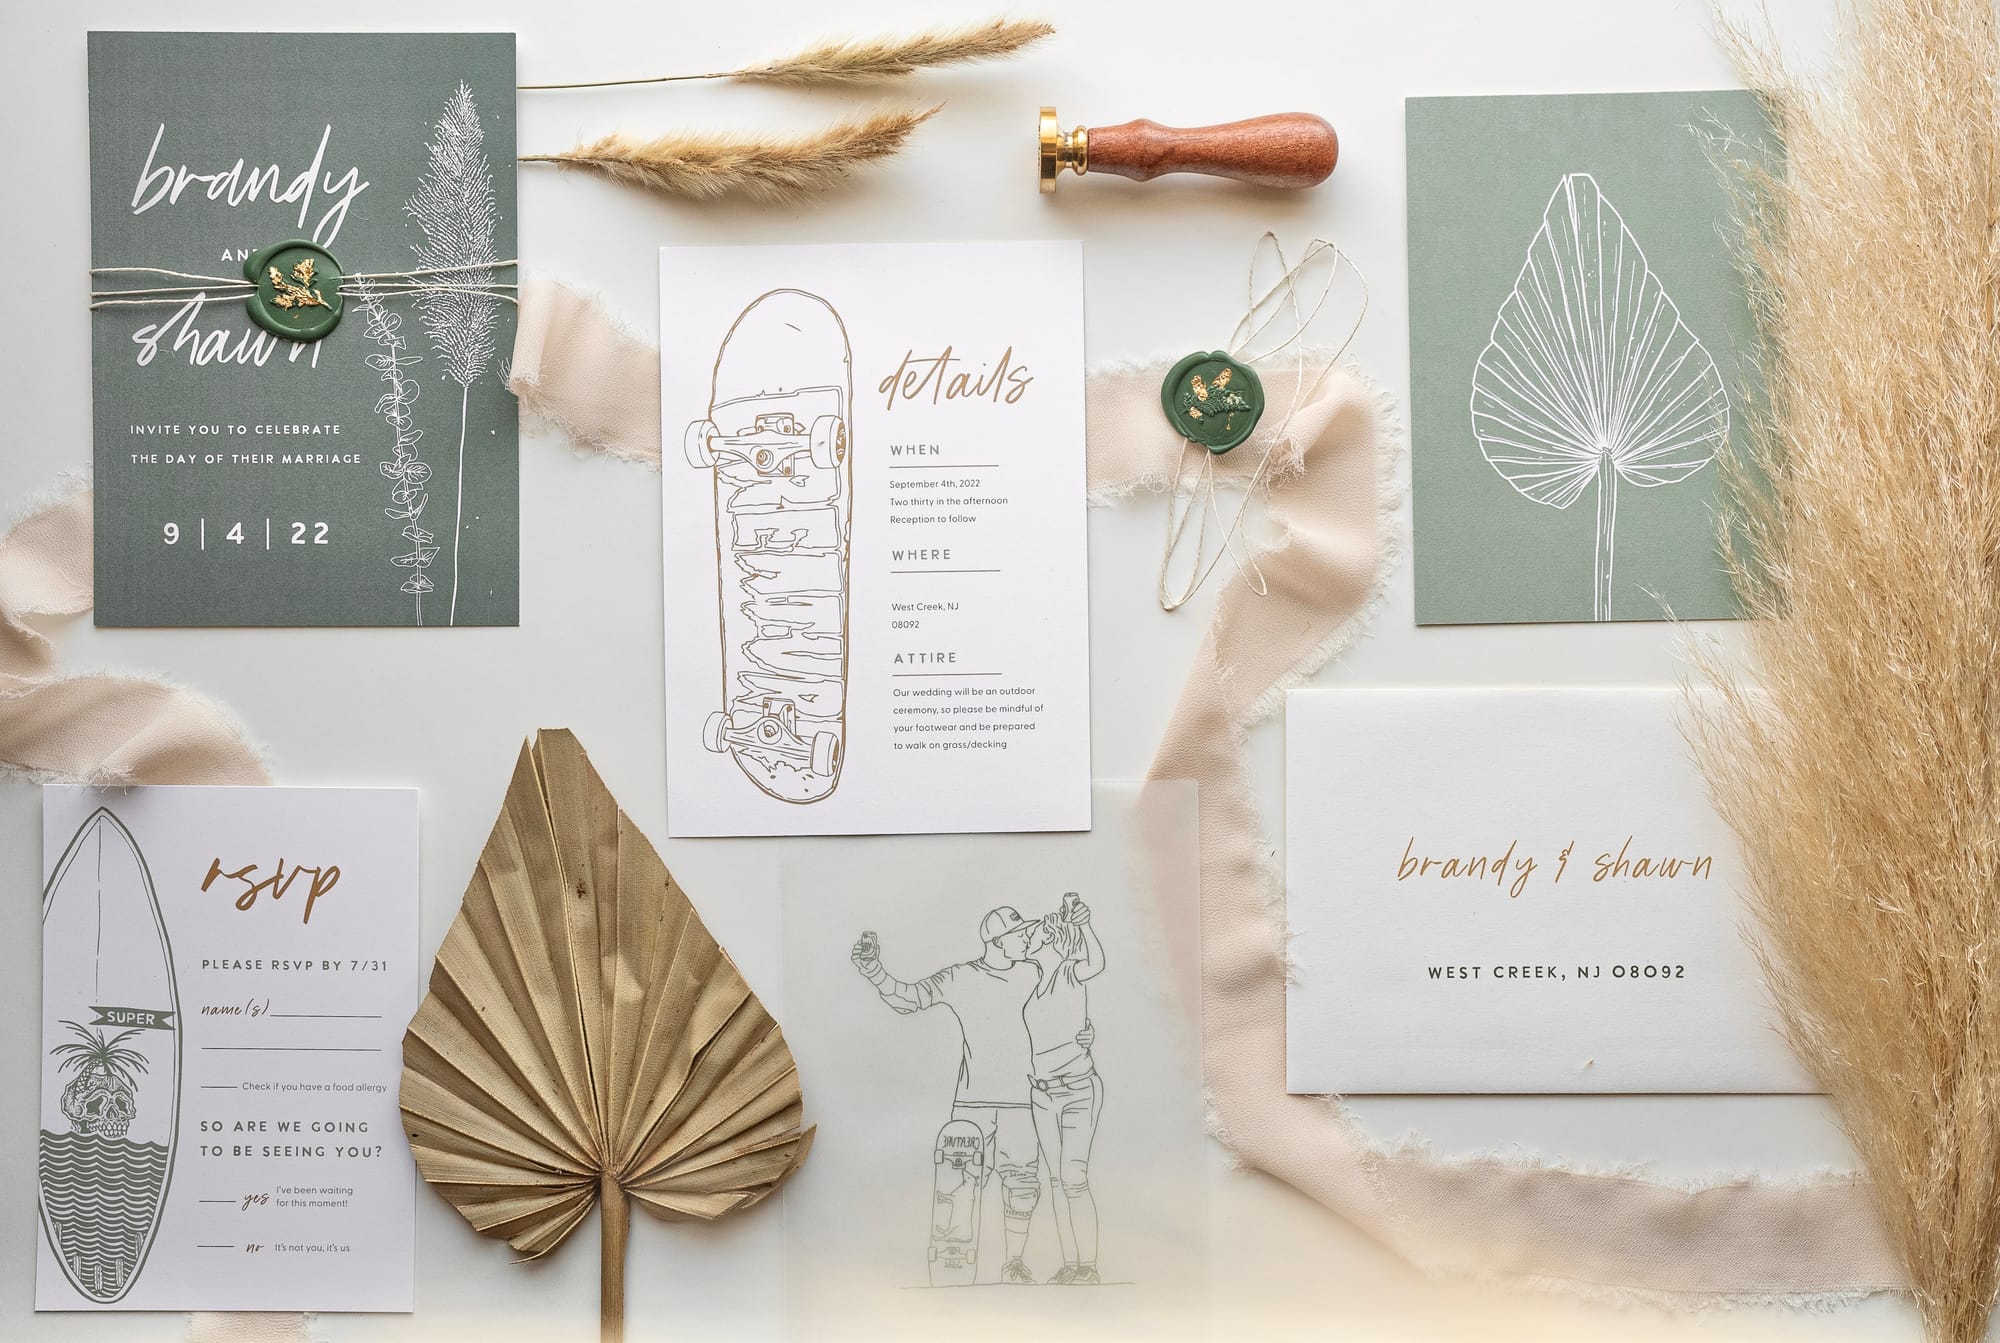
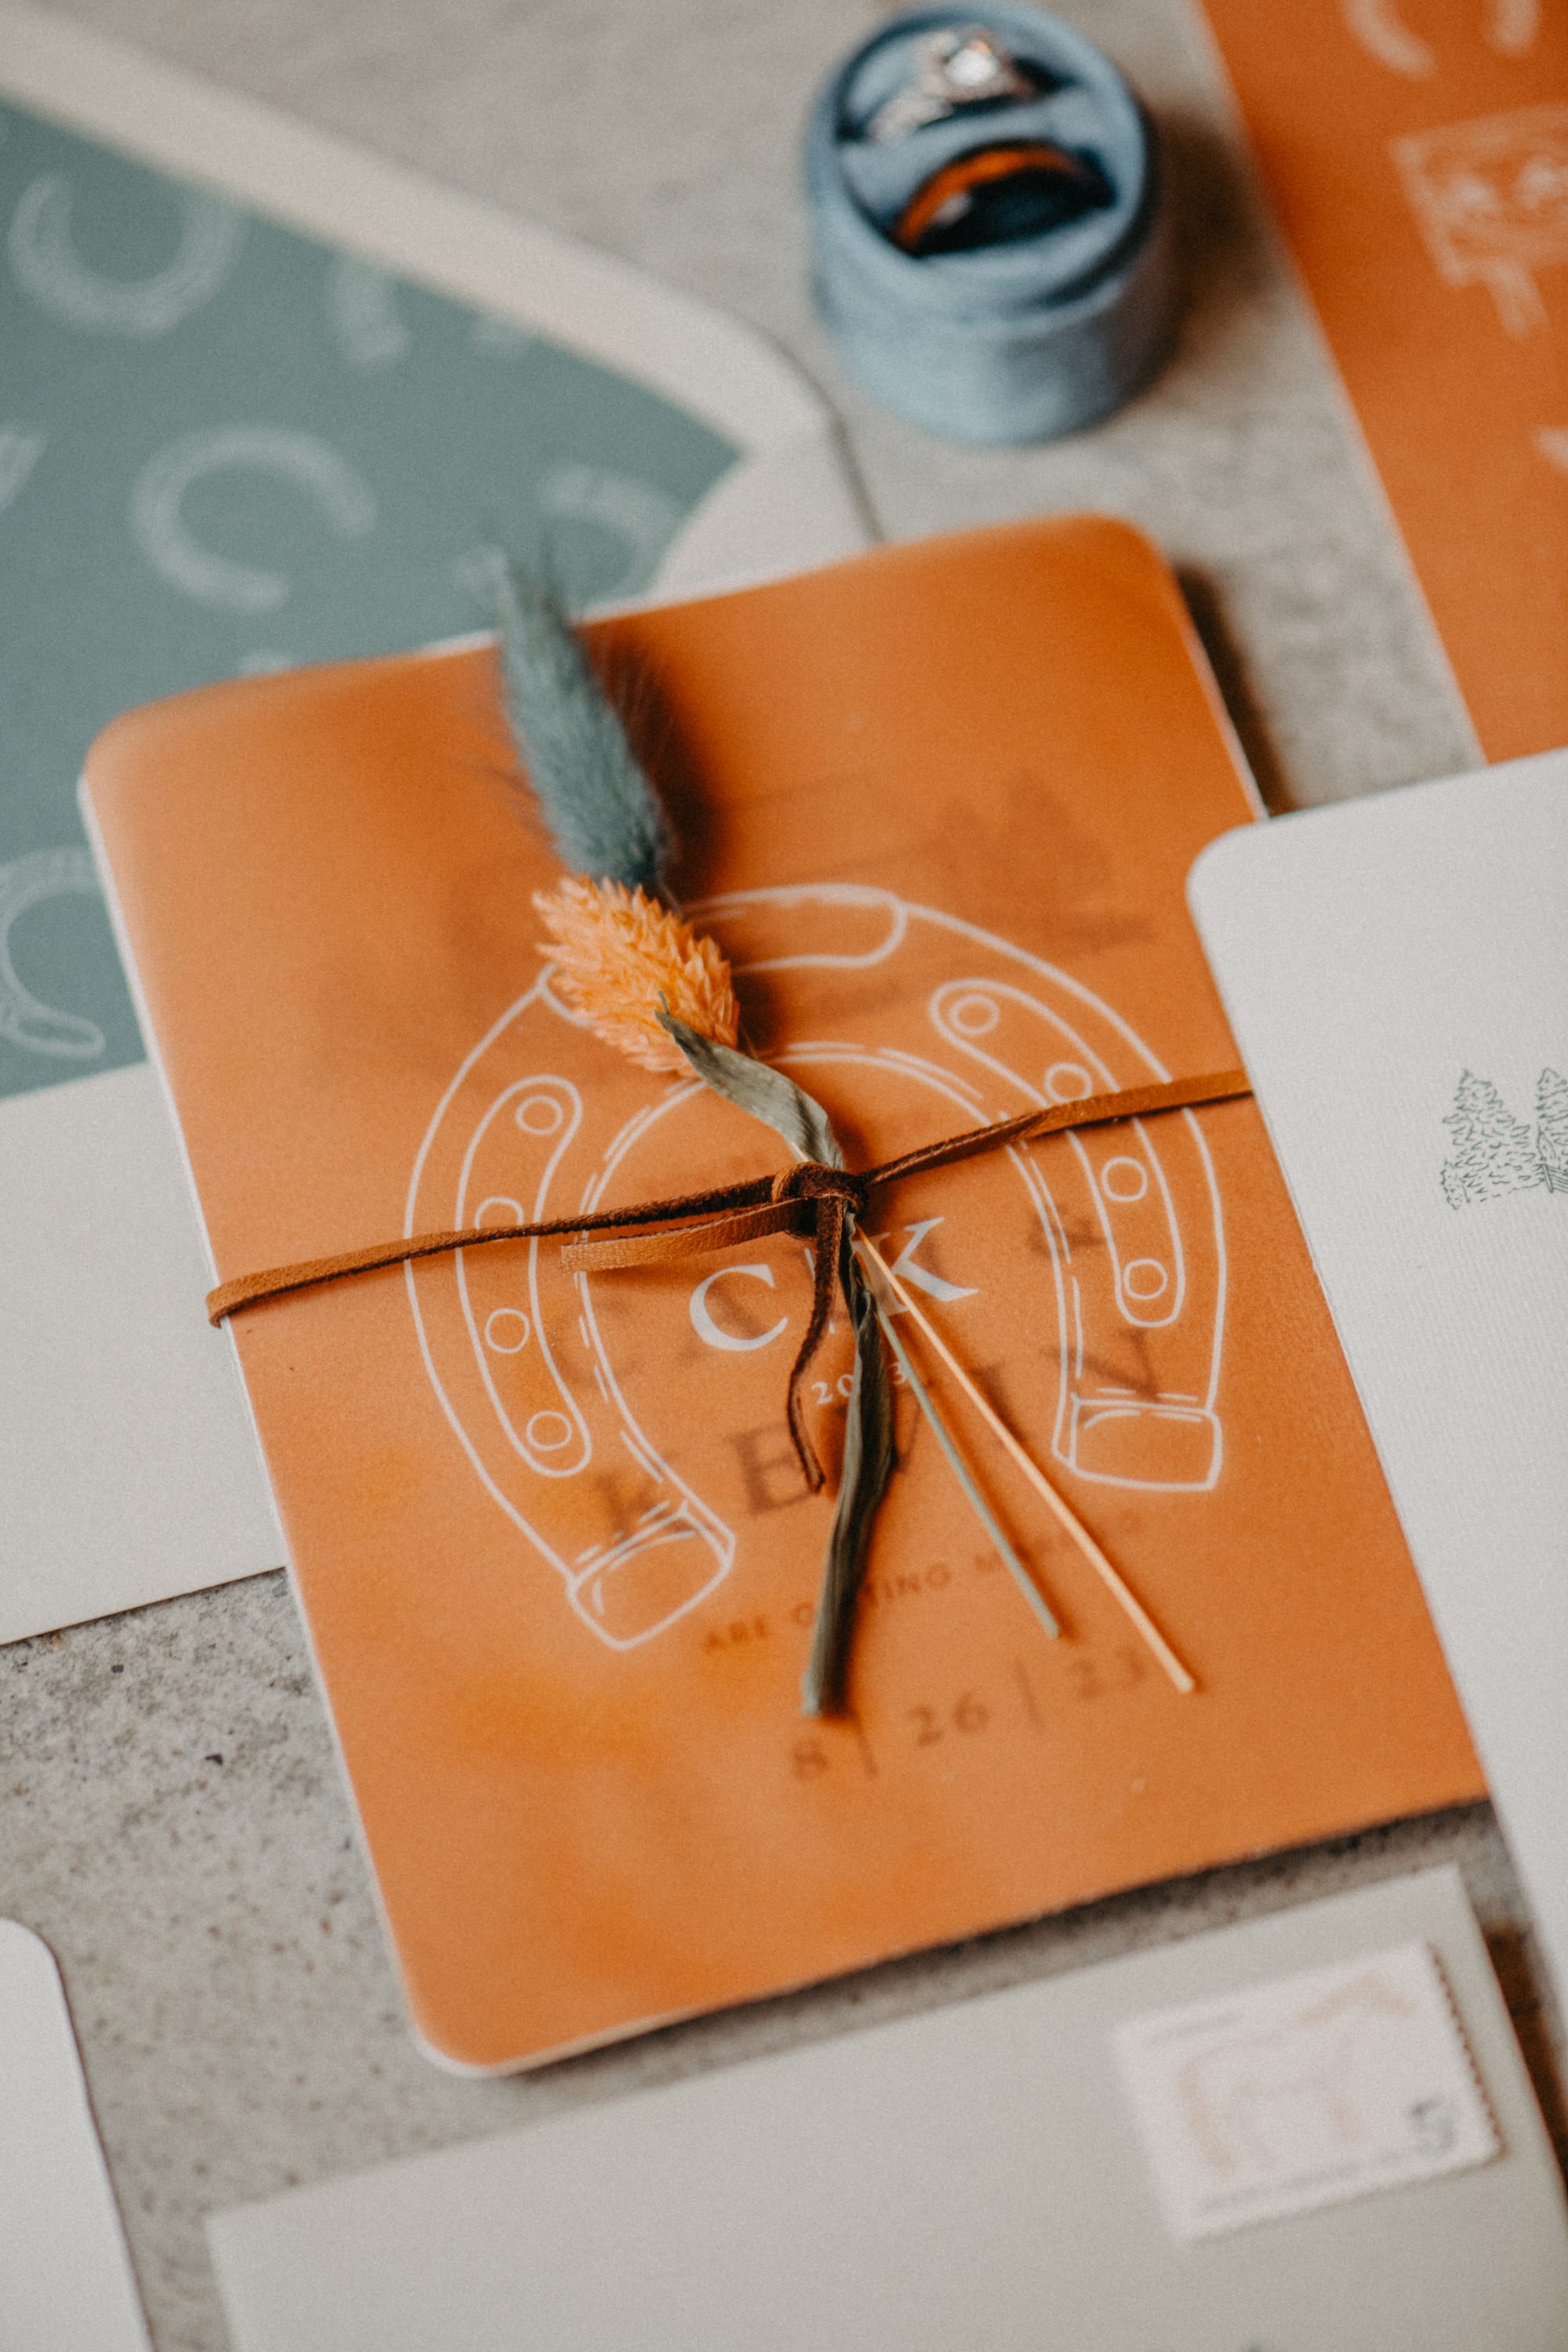
This was also the time when my life long friend had asked me to design her wedding invitations which led to a whole new part of my small business and The Small Town Wedding was born. It was also when I created my very first digital drawings.
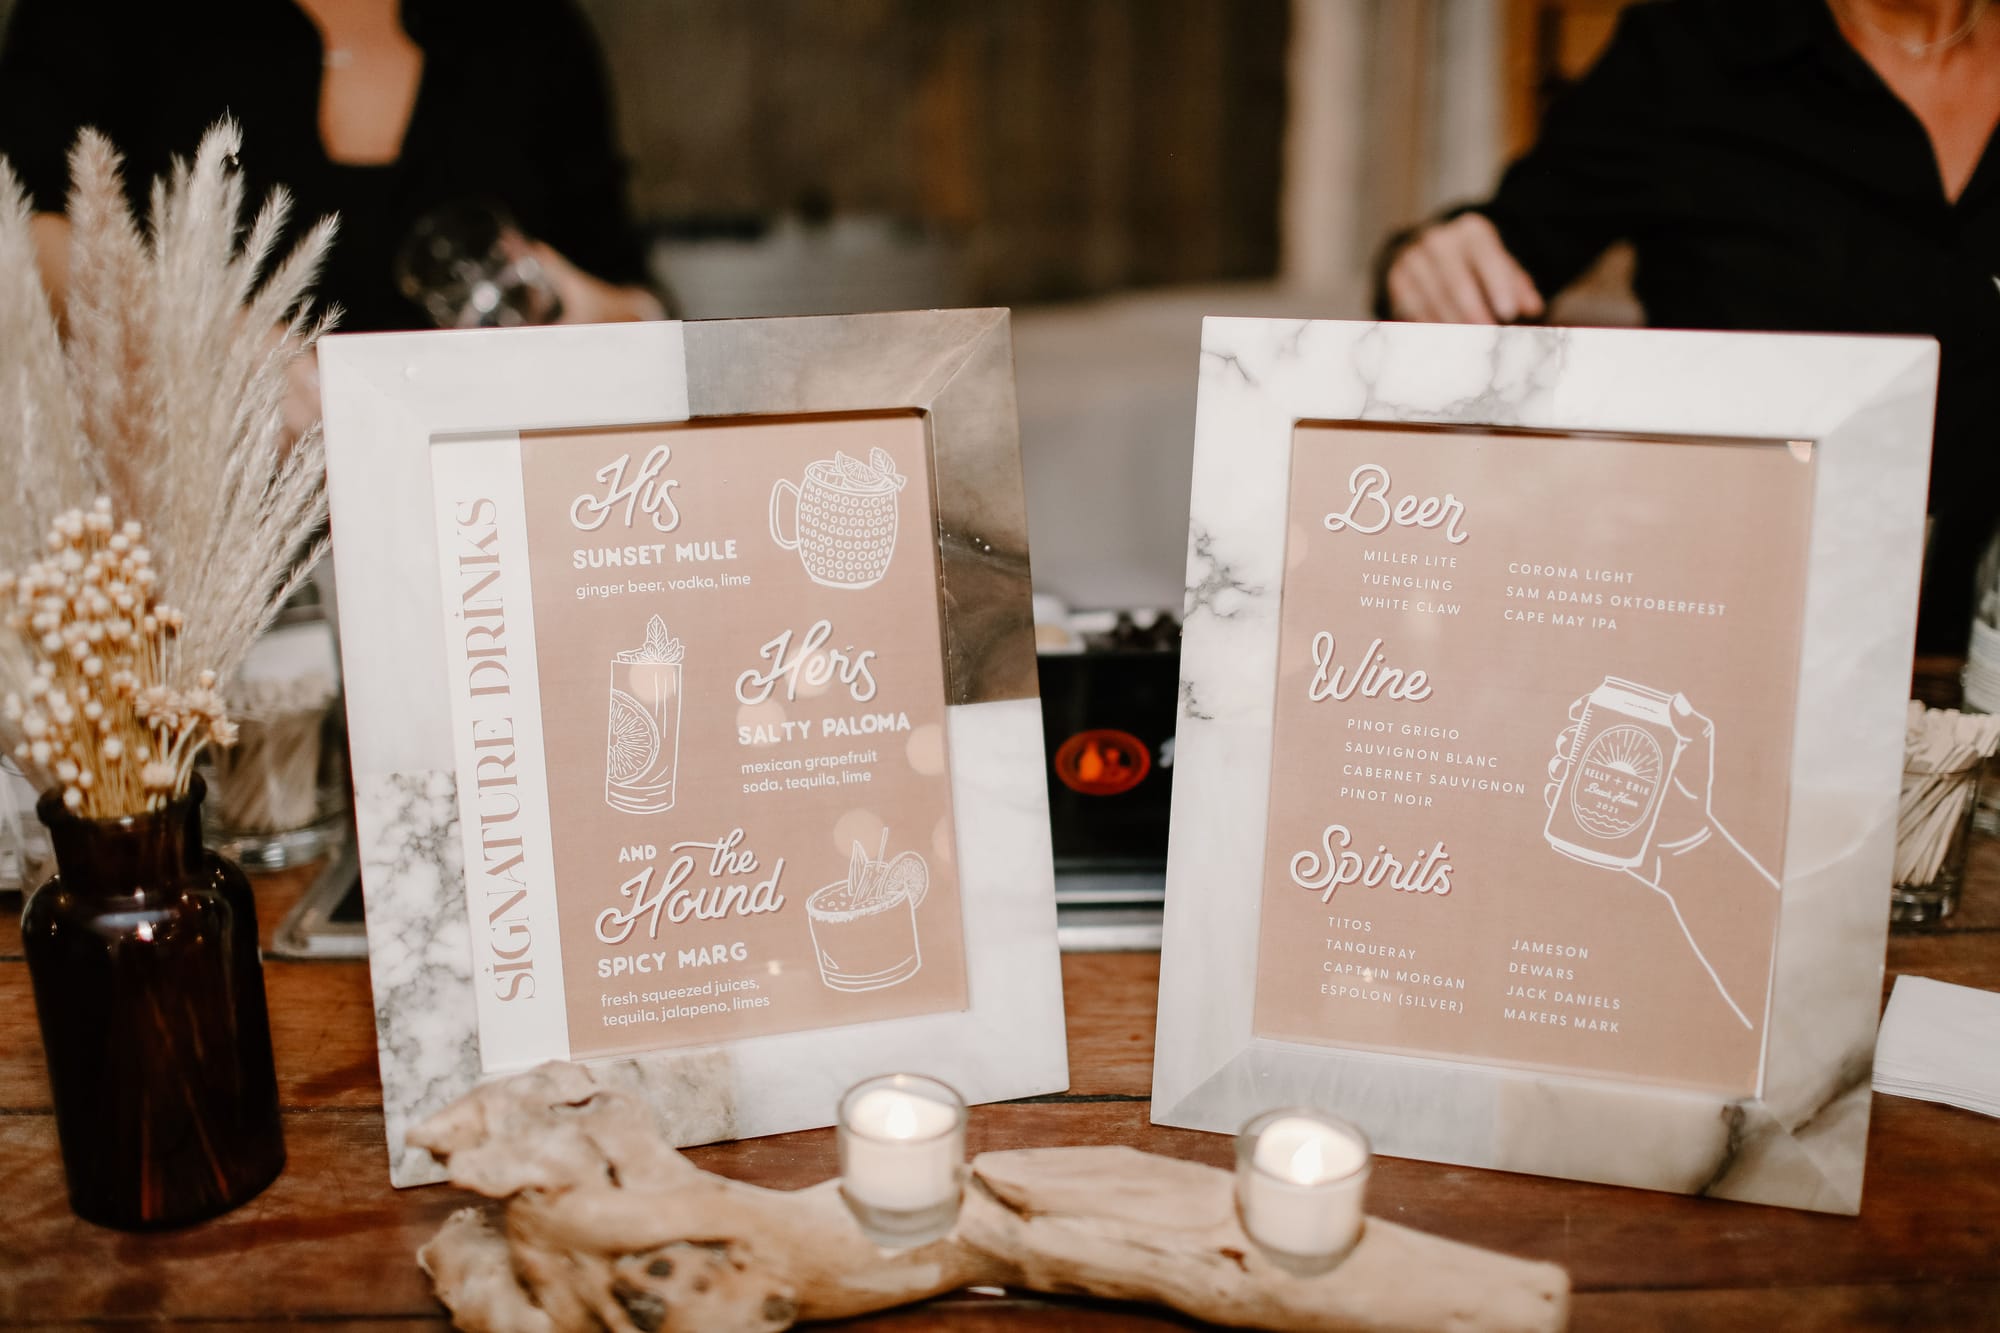
In addition to her invites, I also designed signage. Check out the whole gallery here. She was the reason I now offer wedding invites. At her wedding welcome party, she introduced me as the designer to everyone there. As a very introverted person this made me feel so special and it was her special day. It's such a big part of my business story yet so hard to put into words. The amount of amazing supporters I had in my corner when I was building my business was actually unreal and truly kept me going.
November 2021
Fall was the season when I always felt inspired. I was starting to get more products in and captured photos for social and my website.
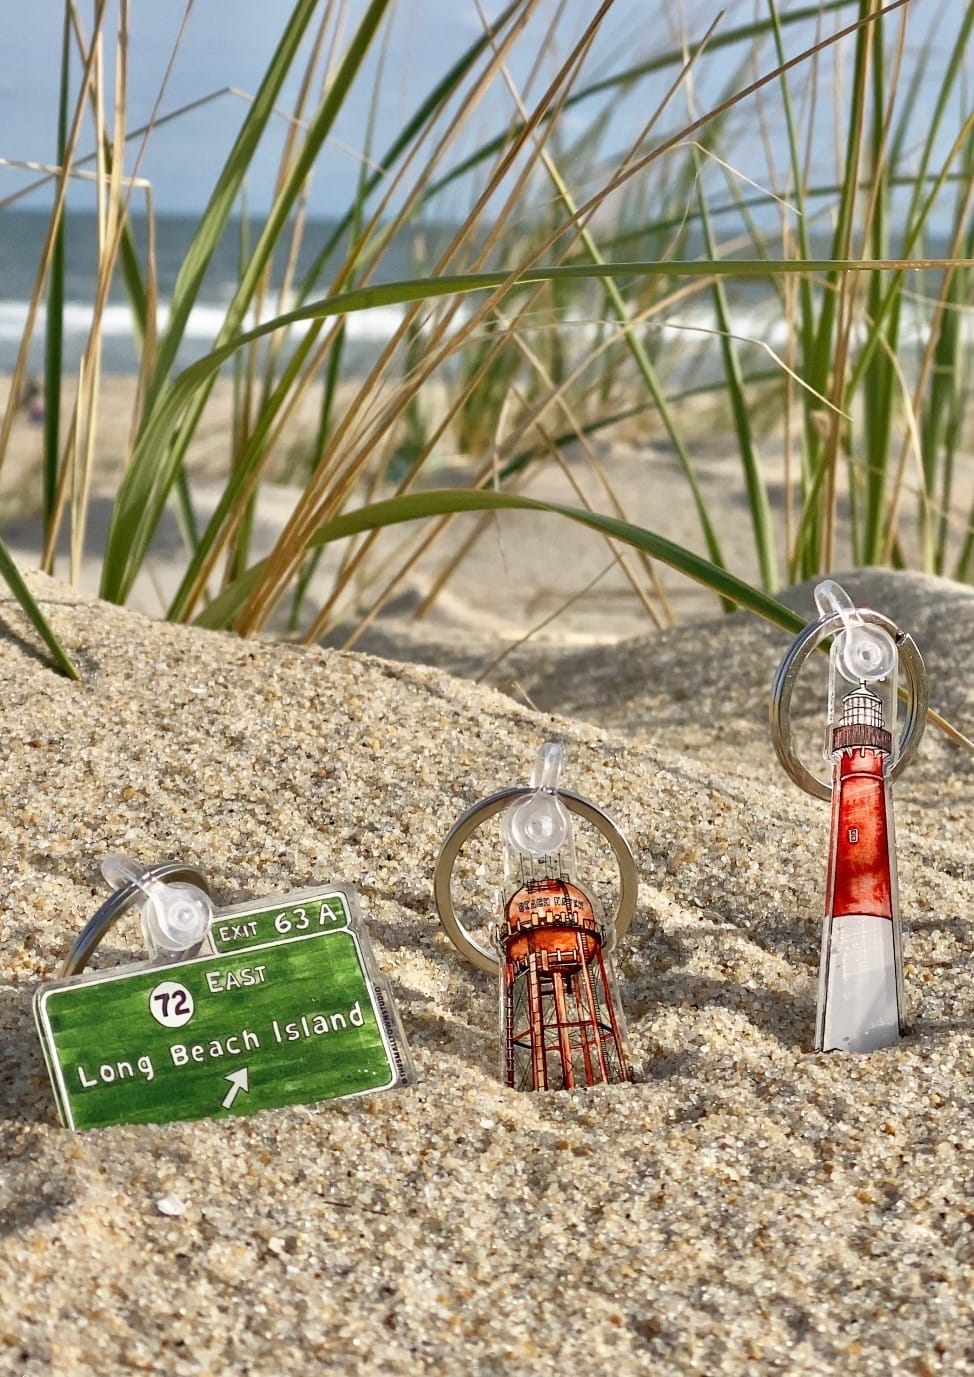
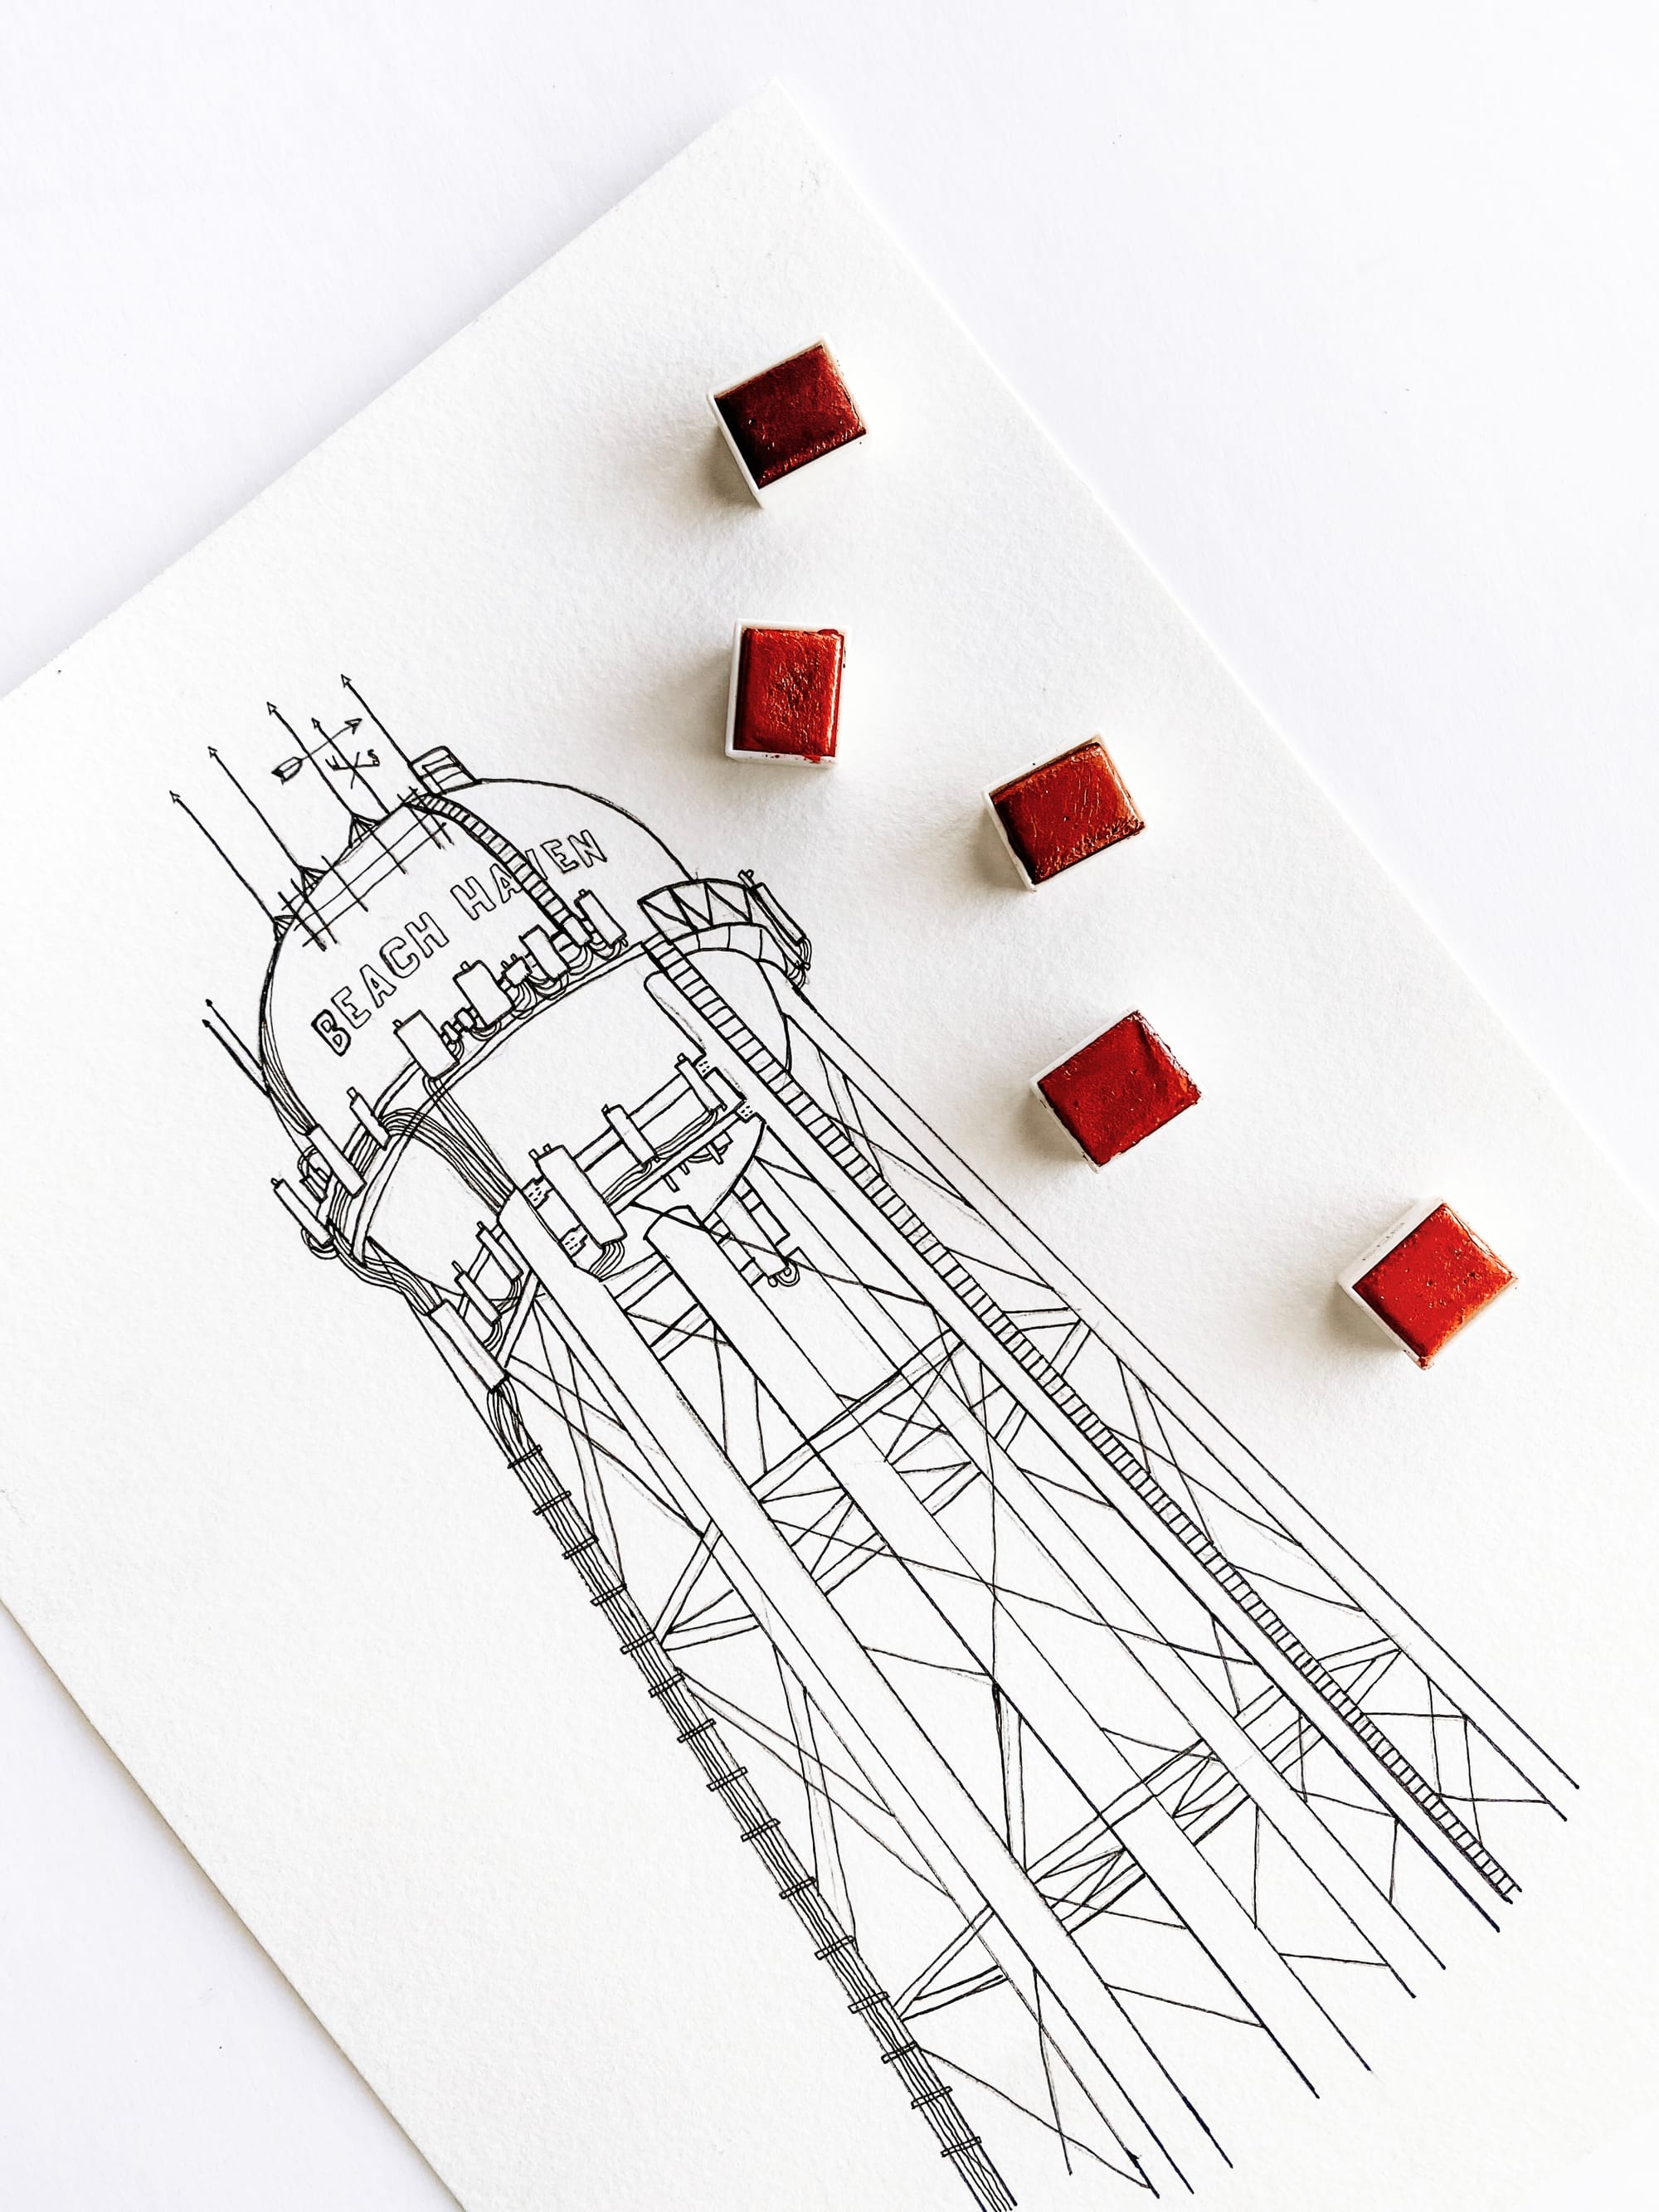
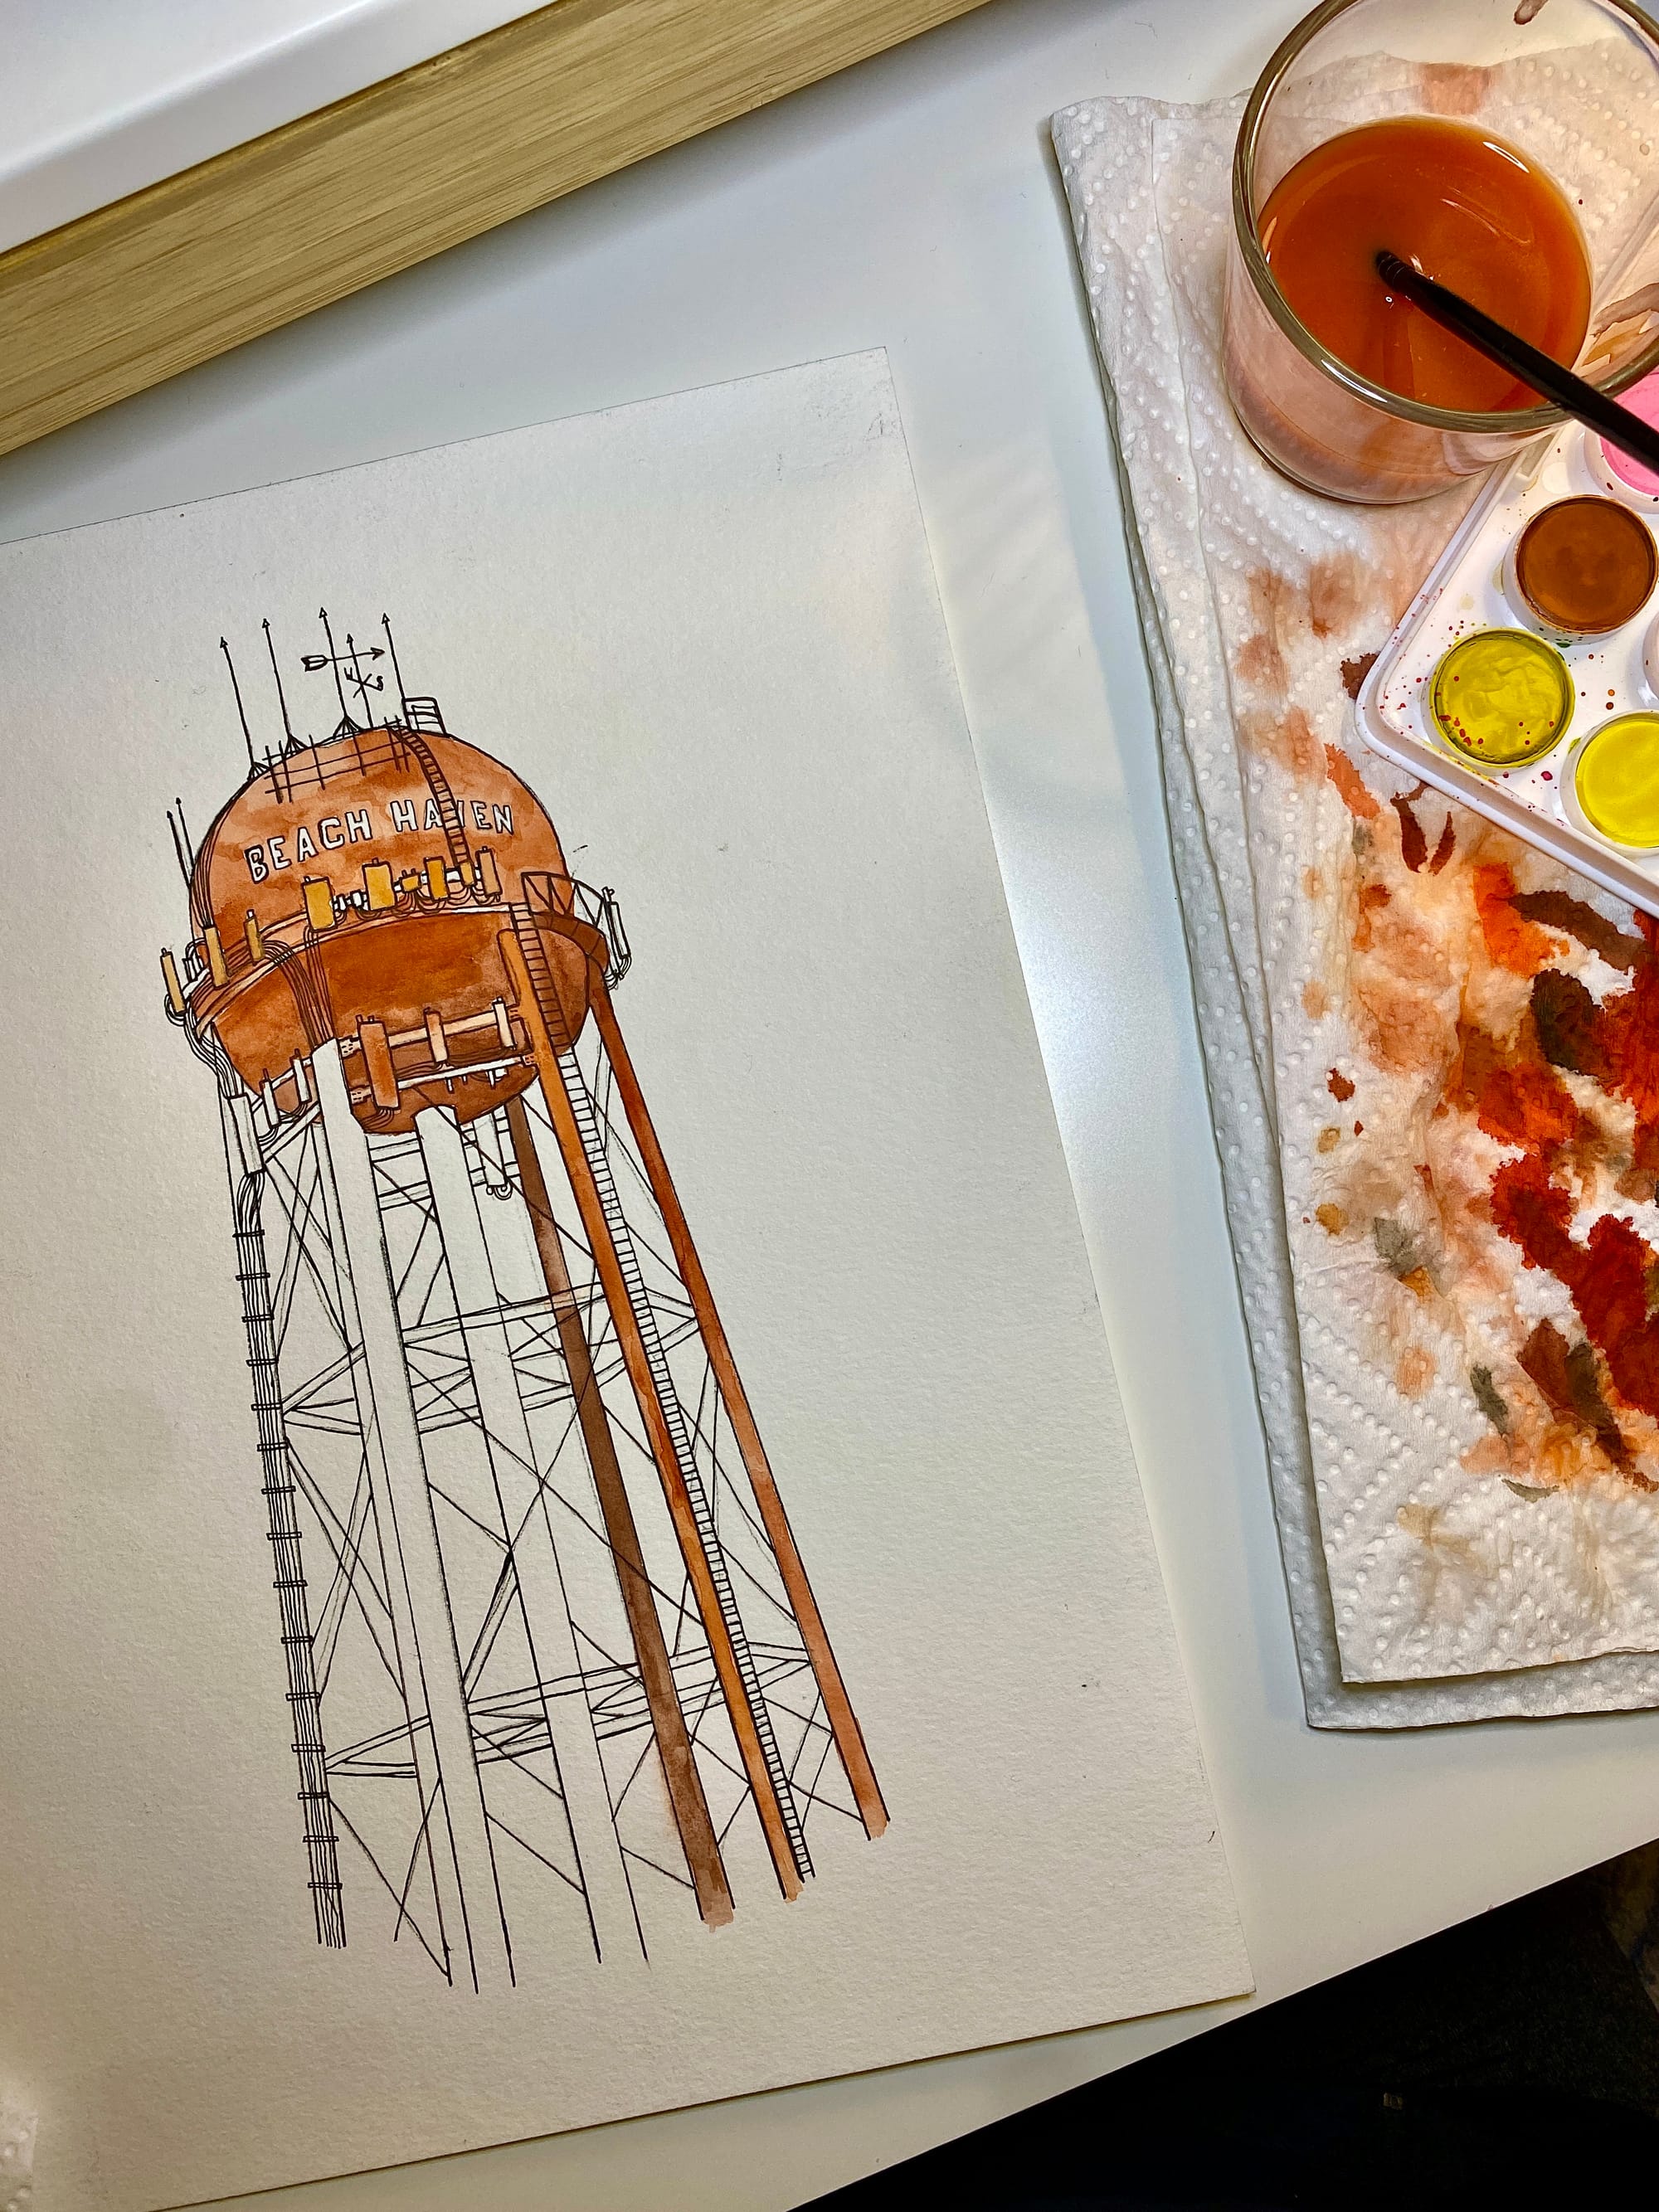
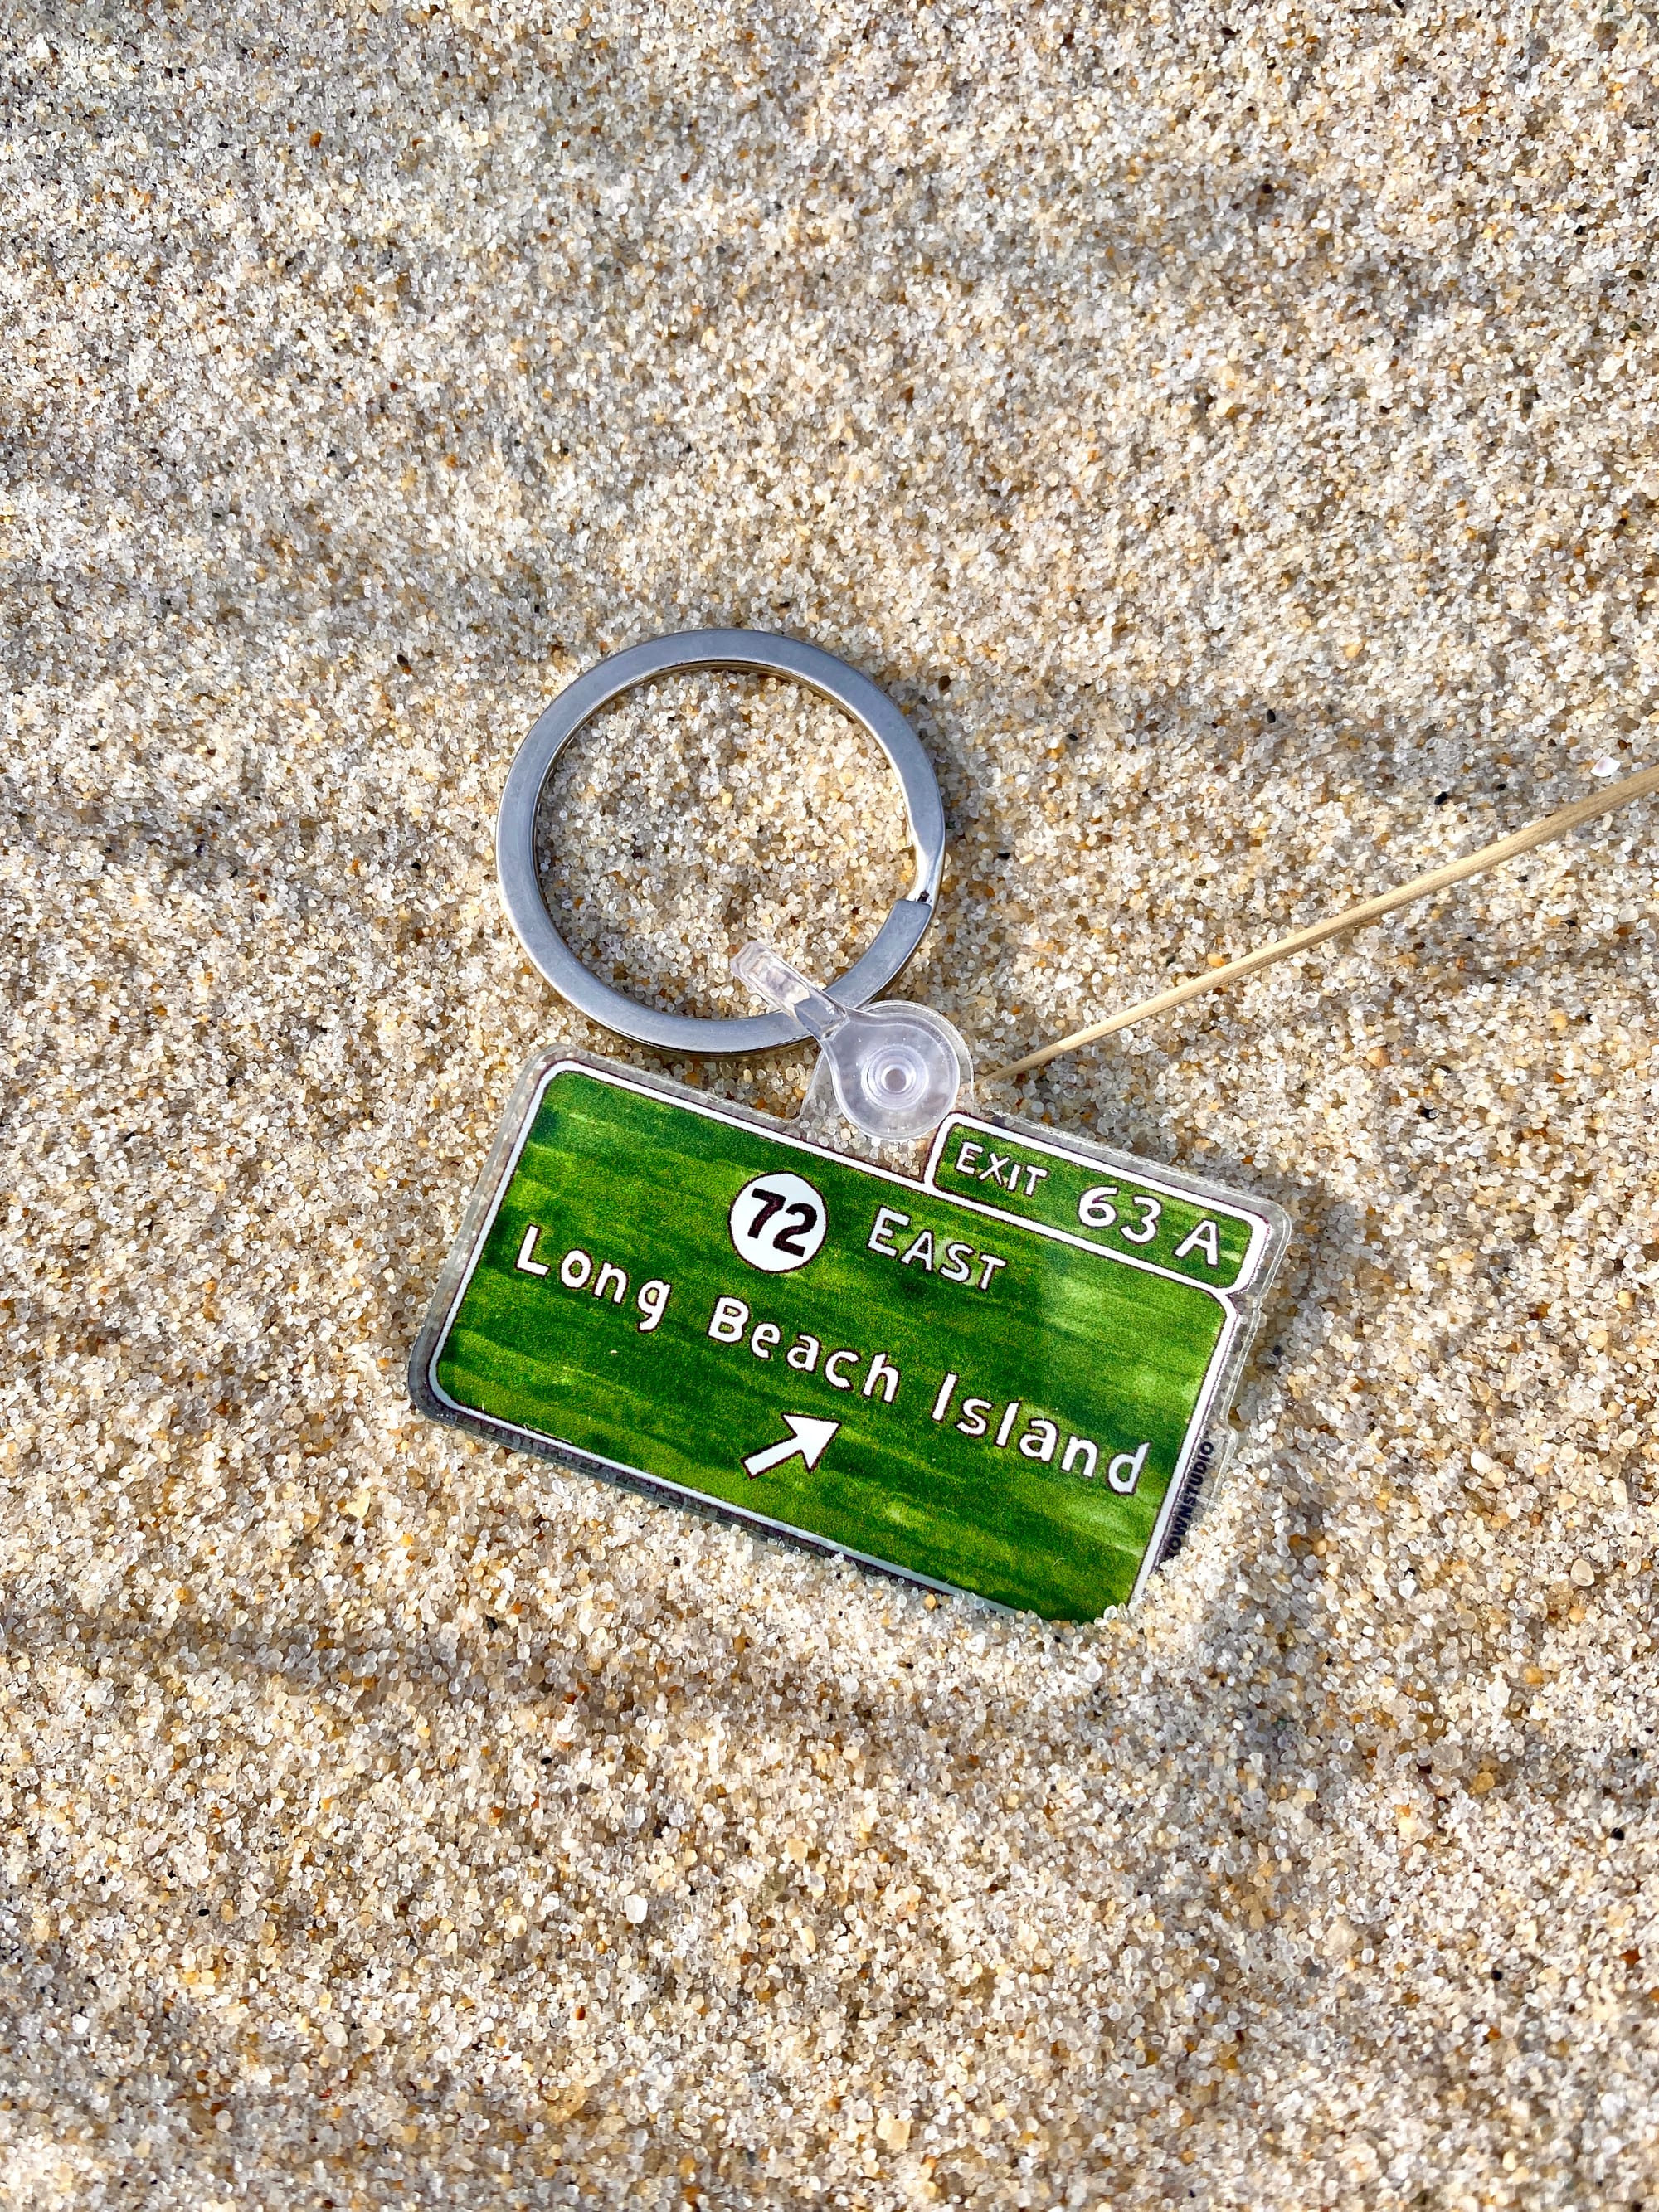
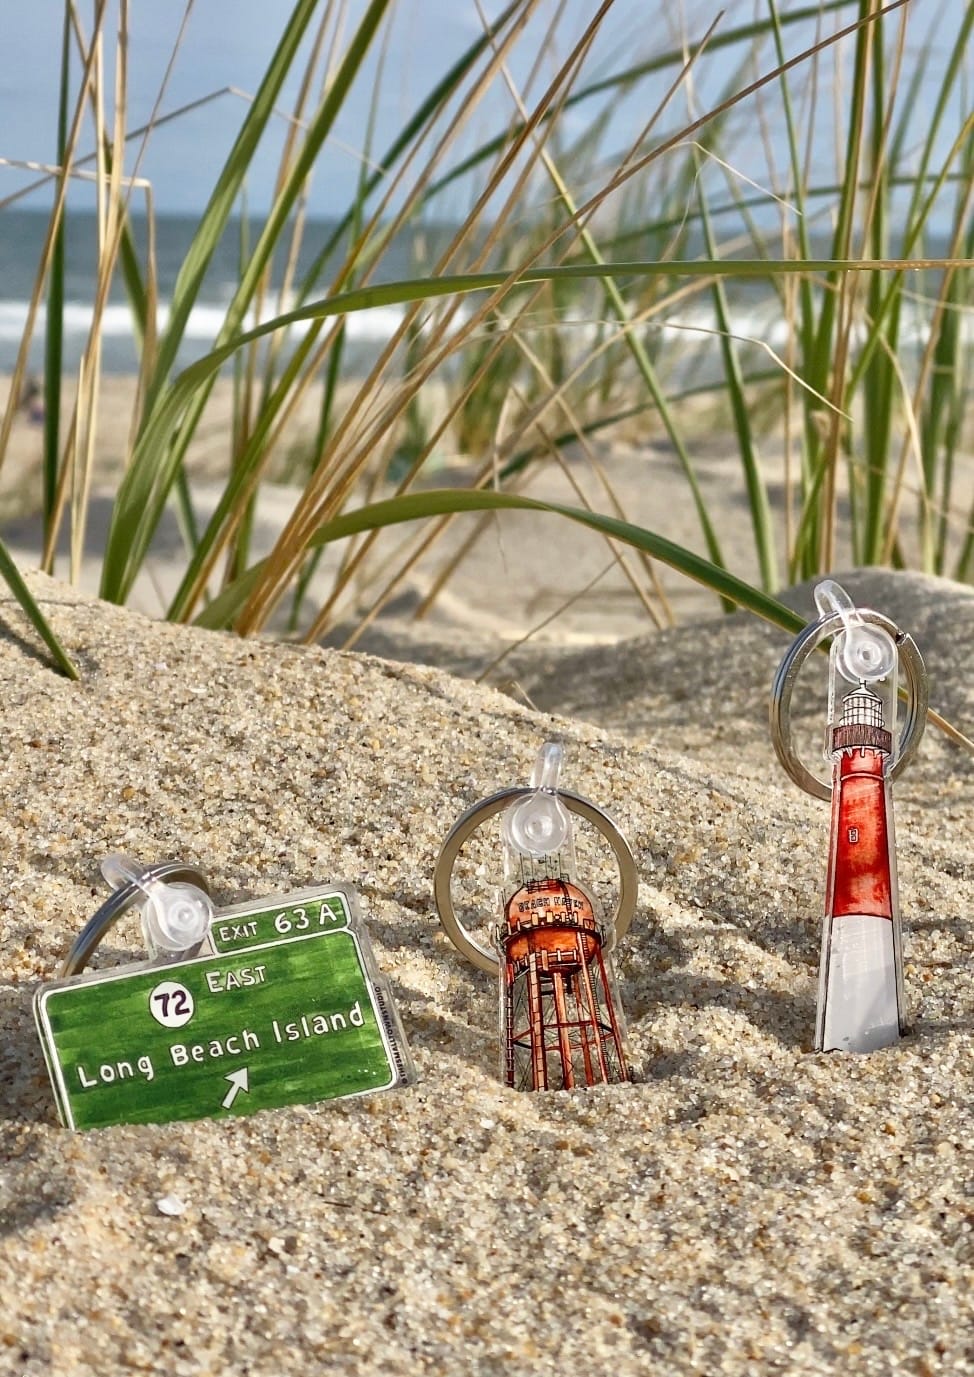
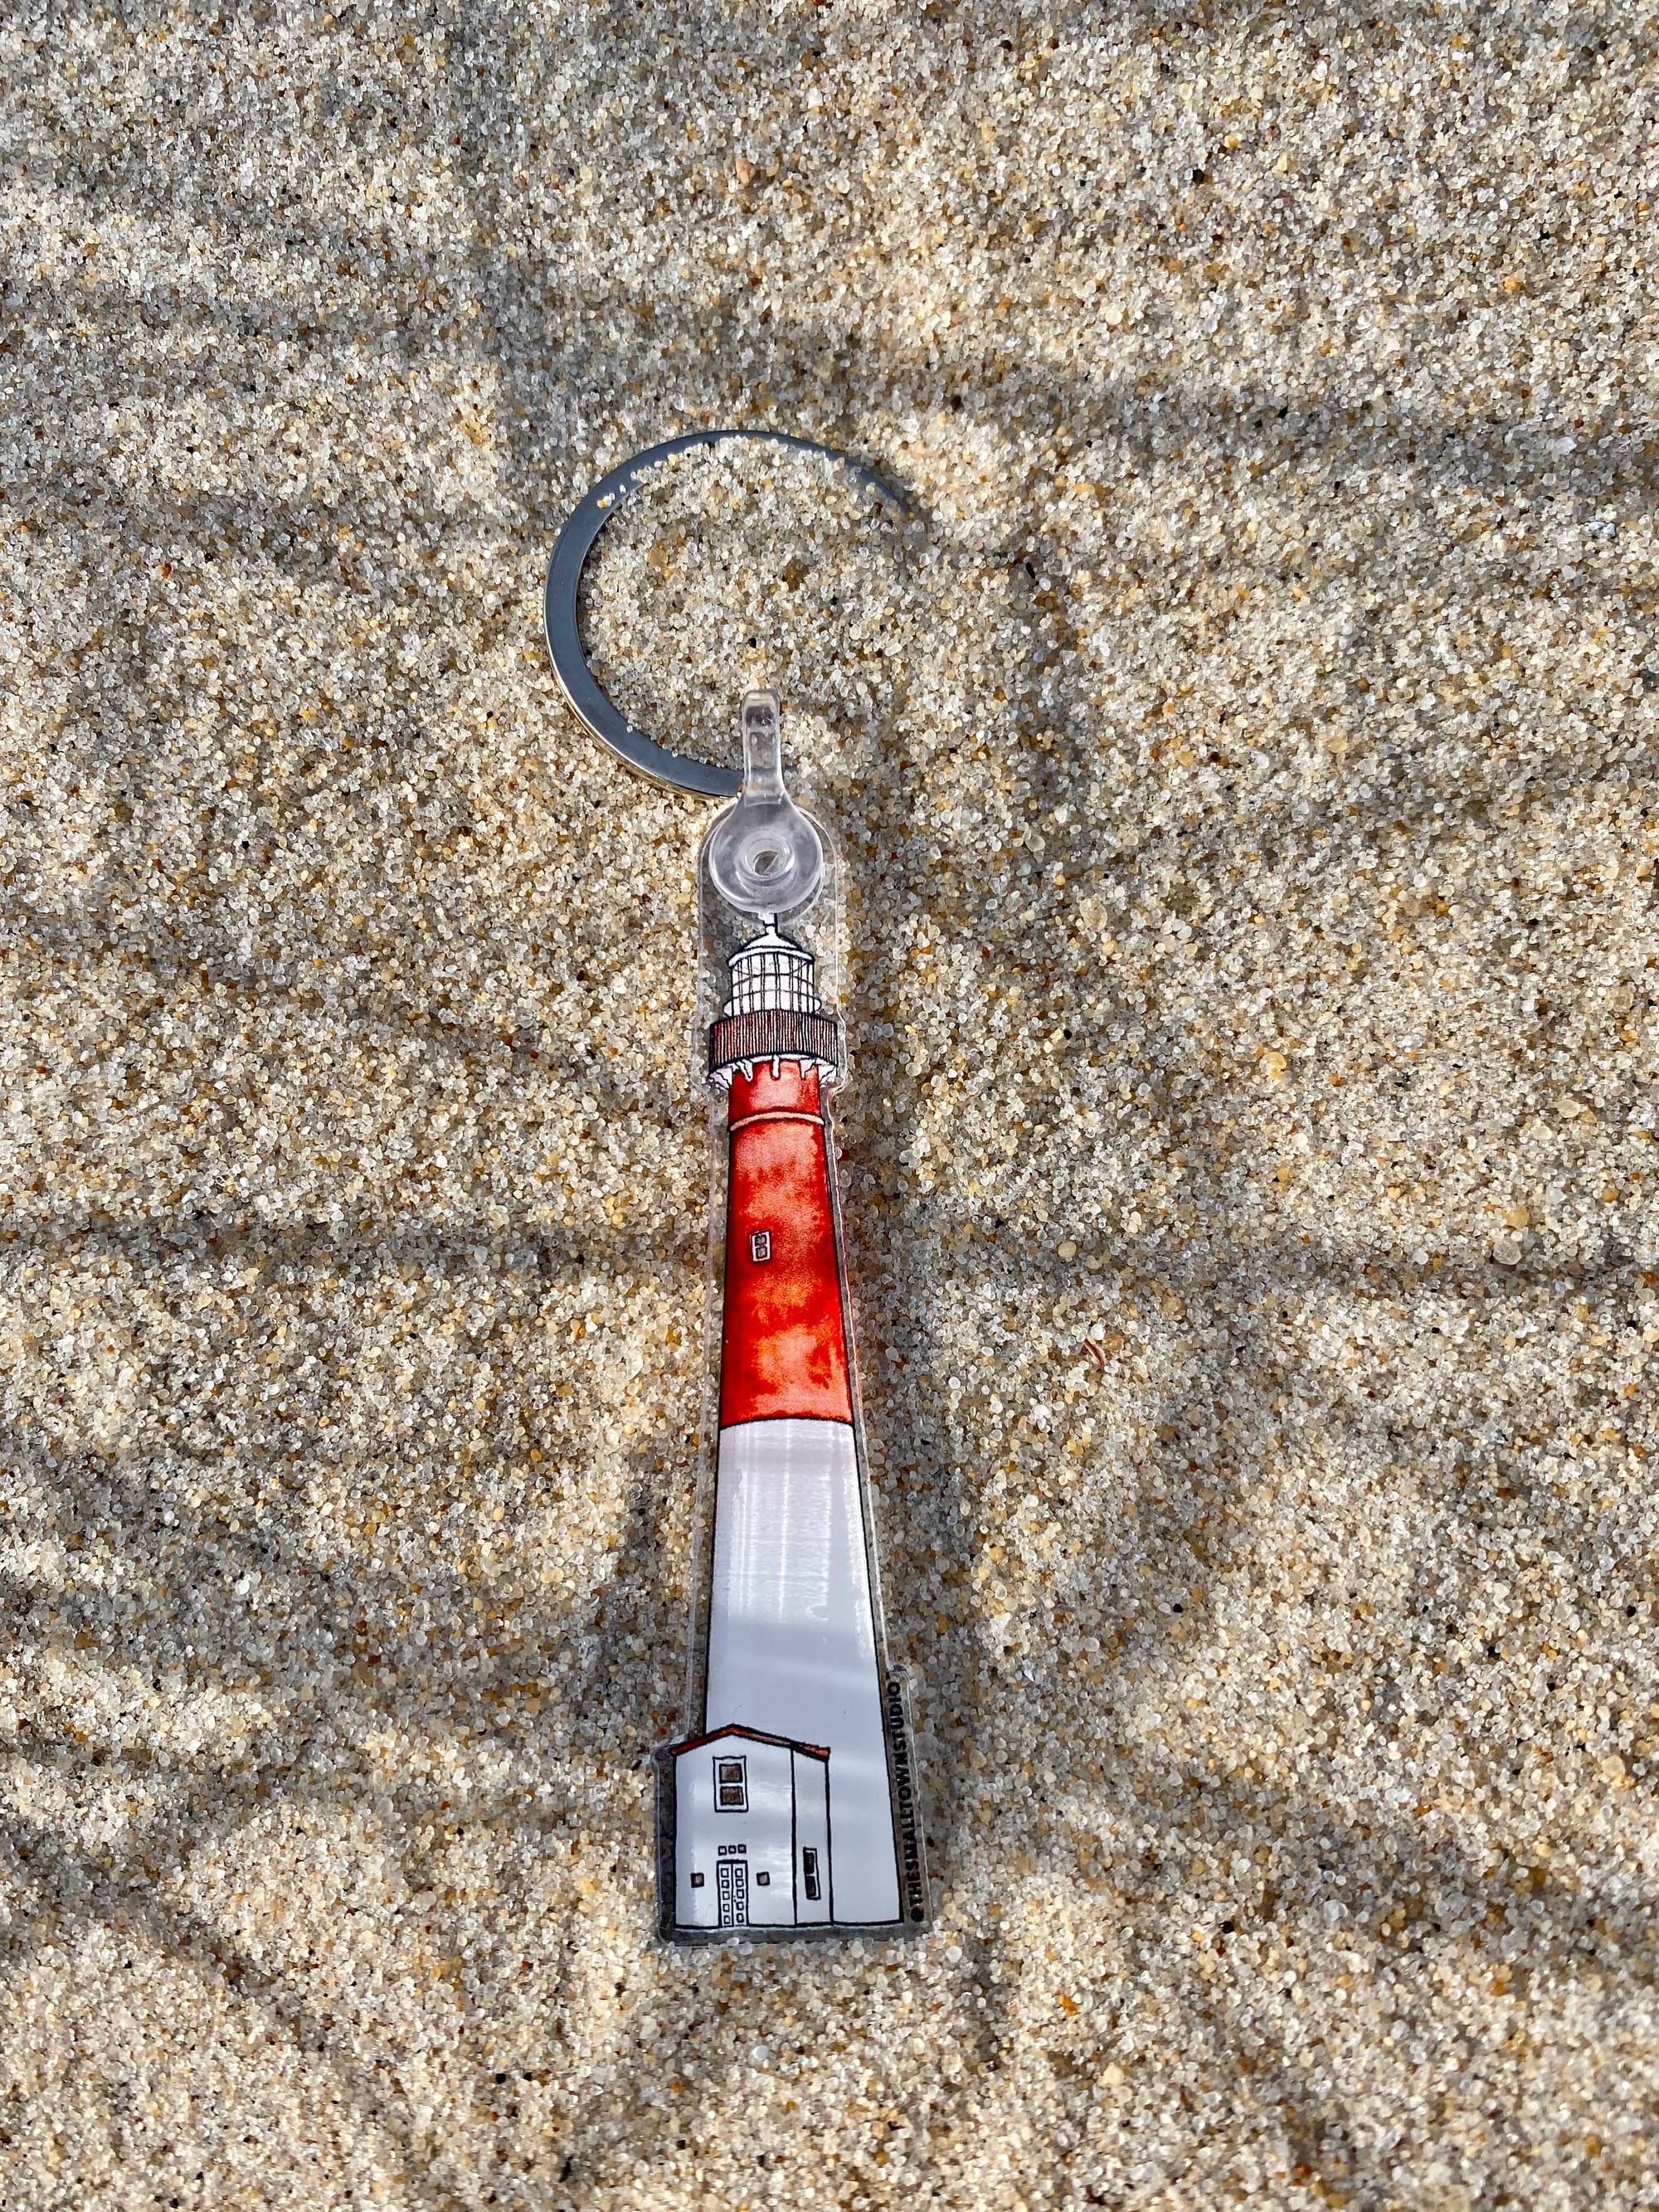
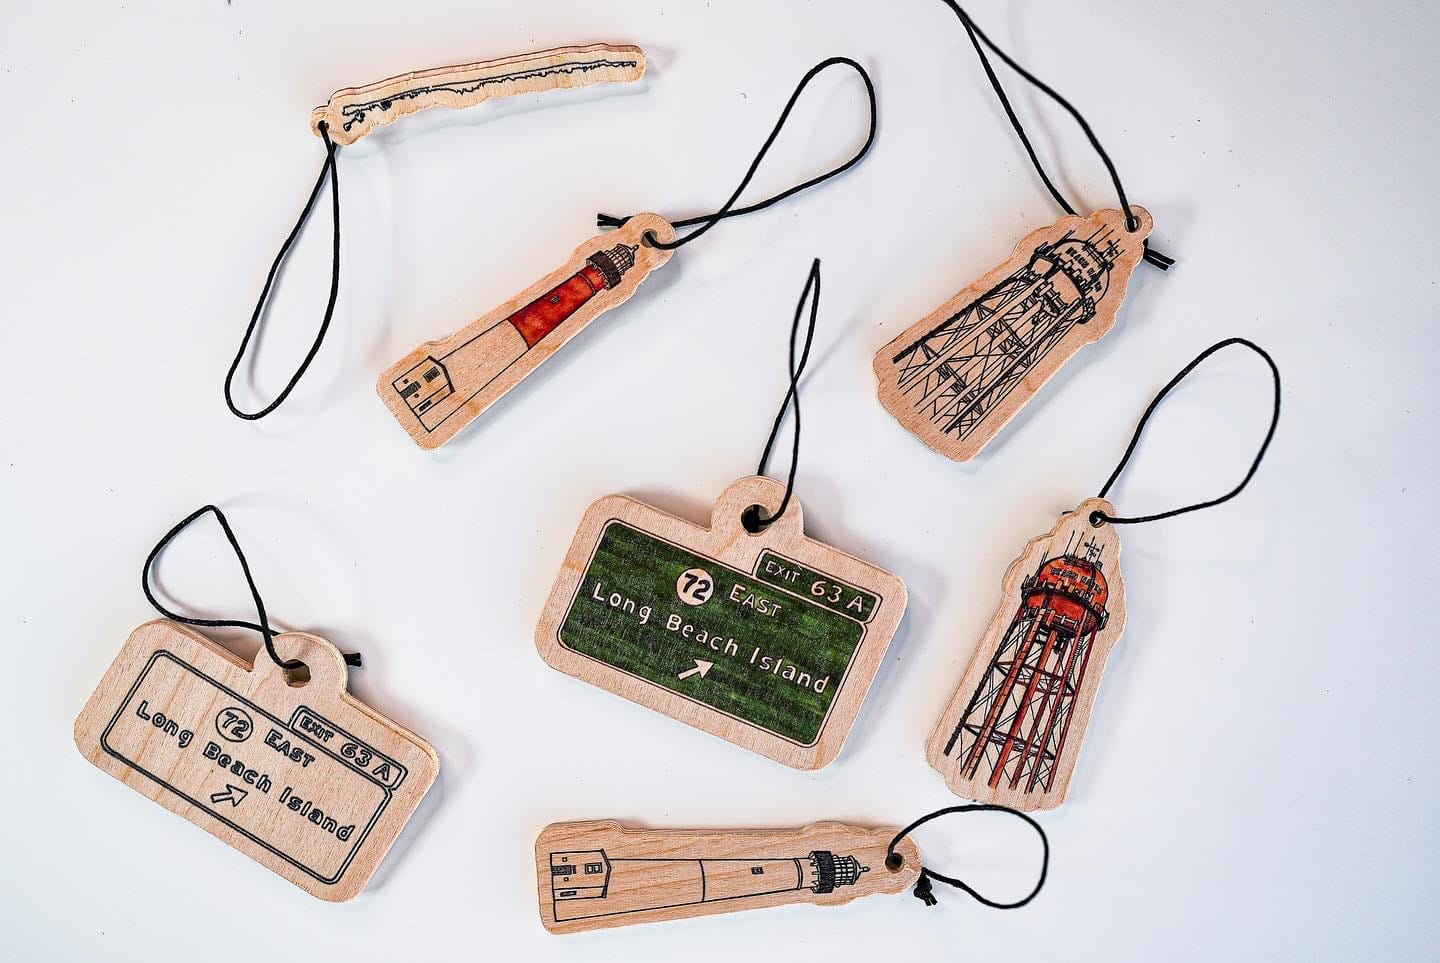
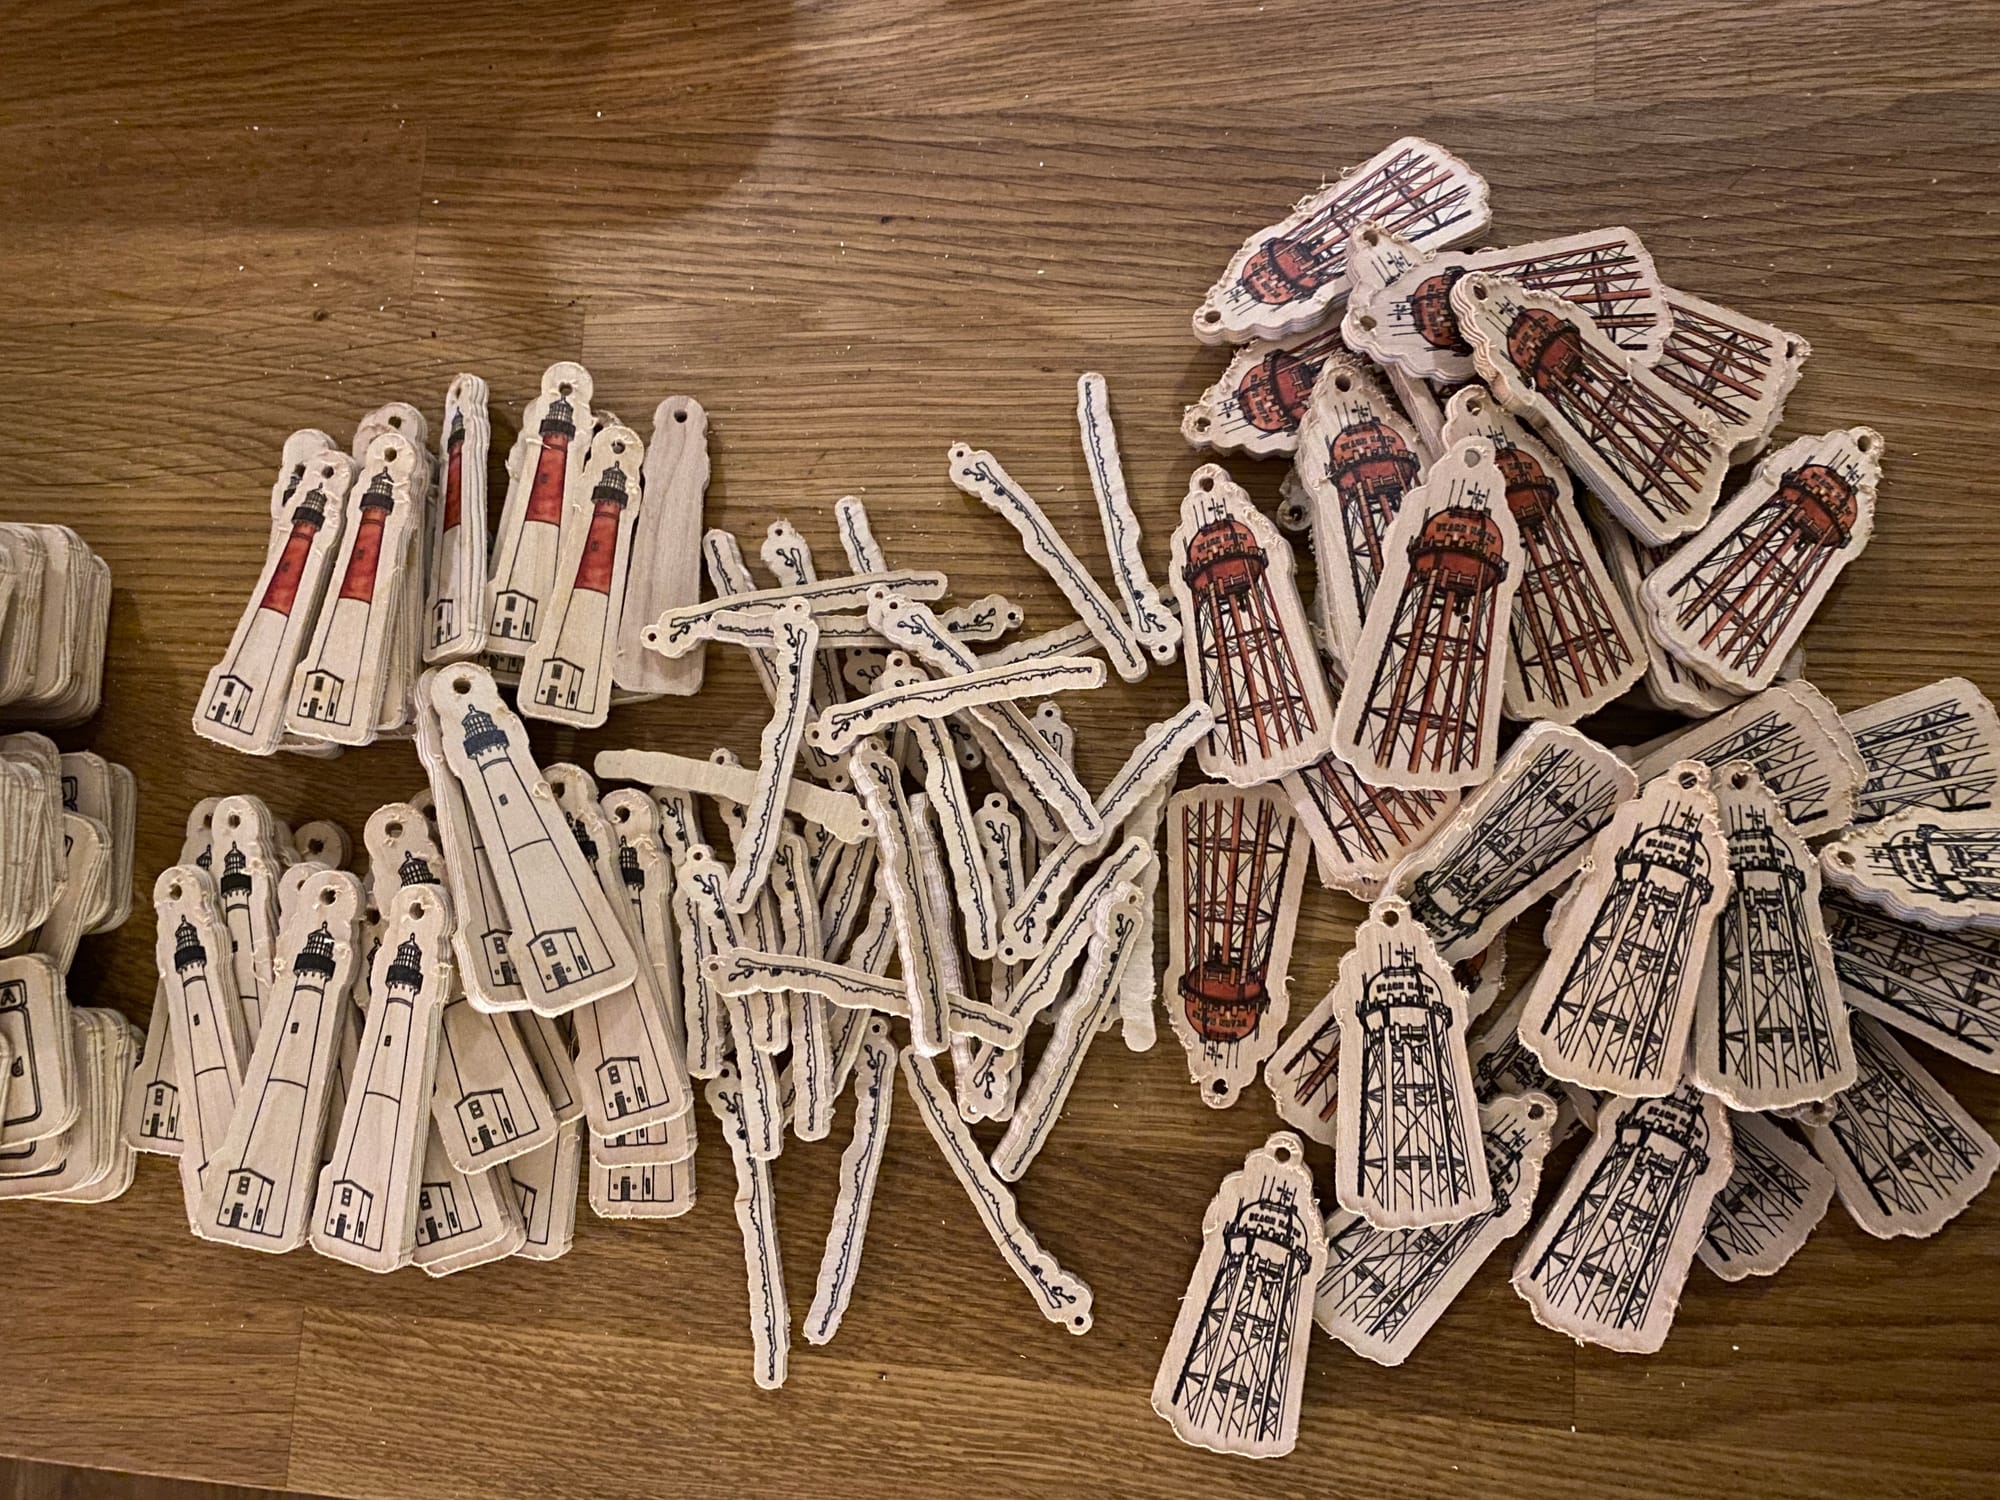
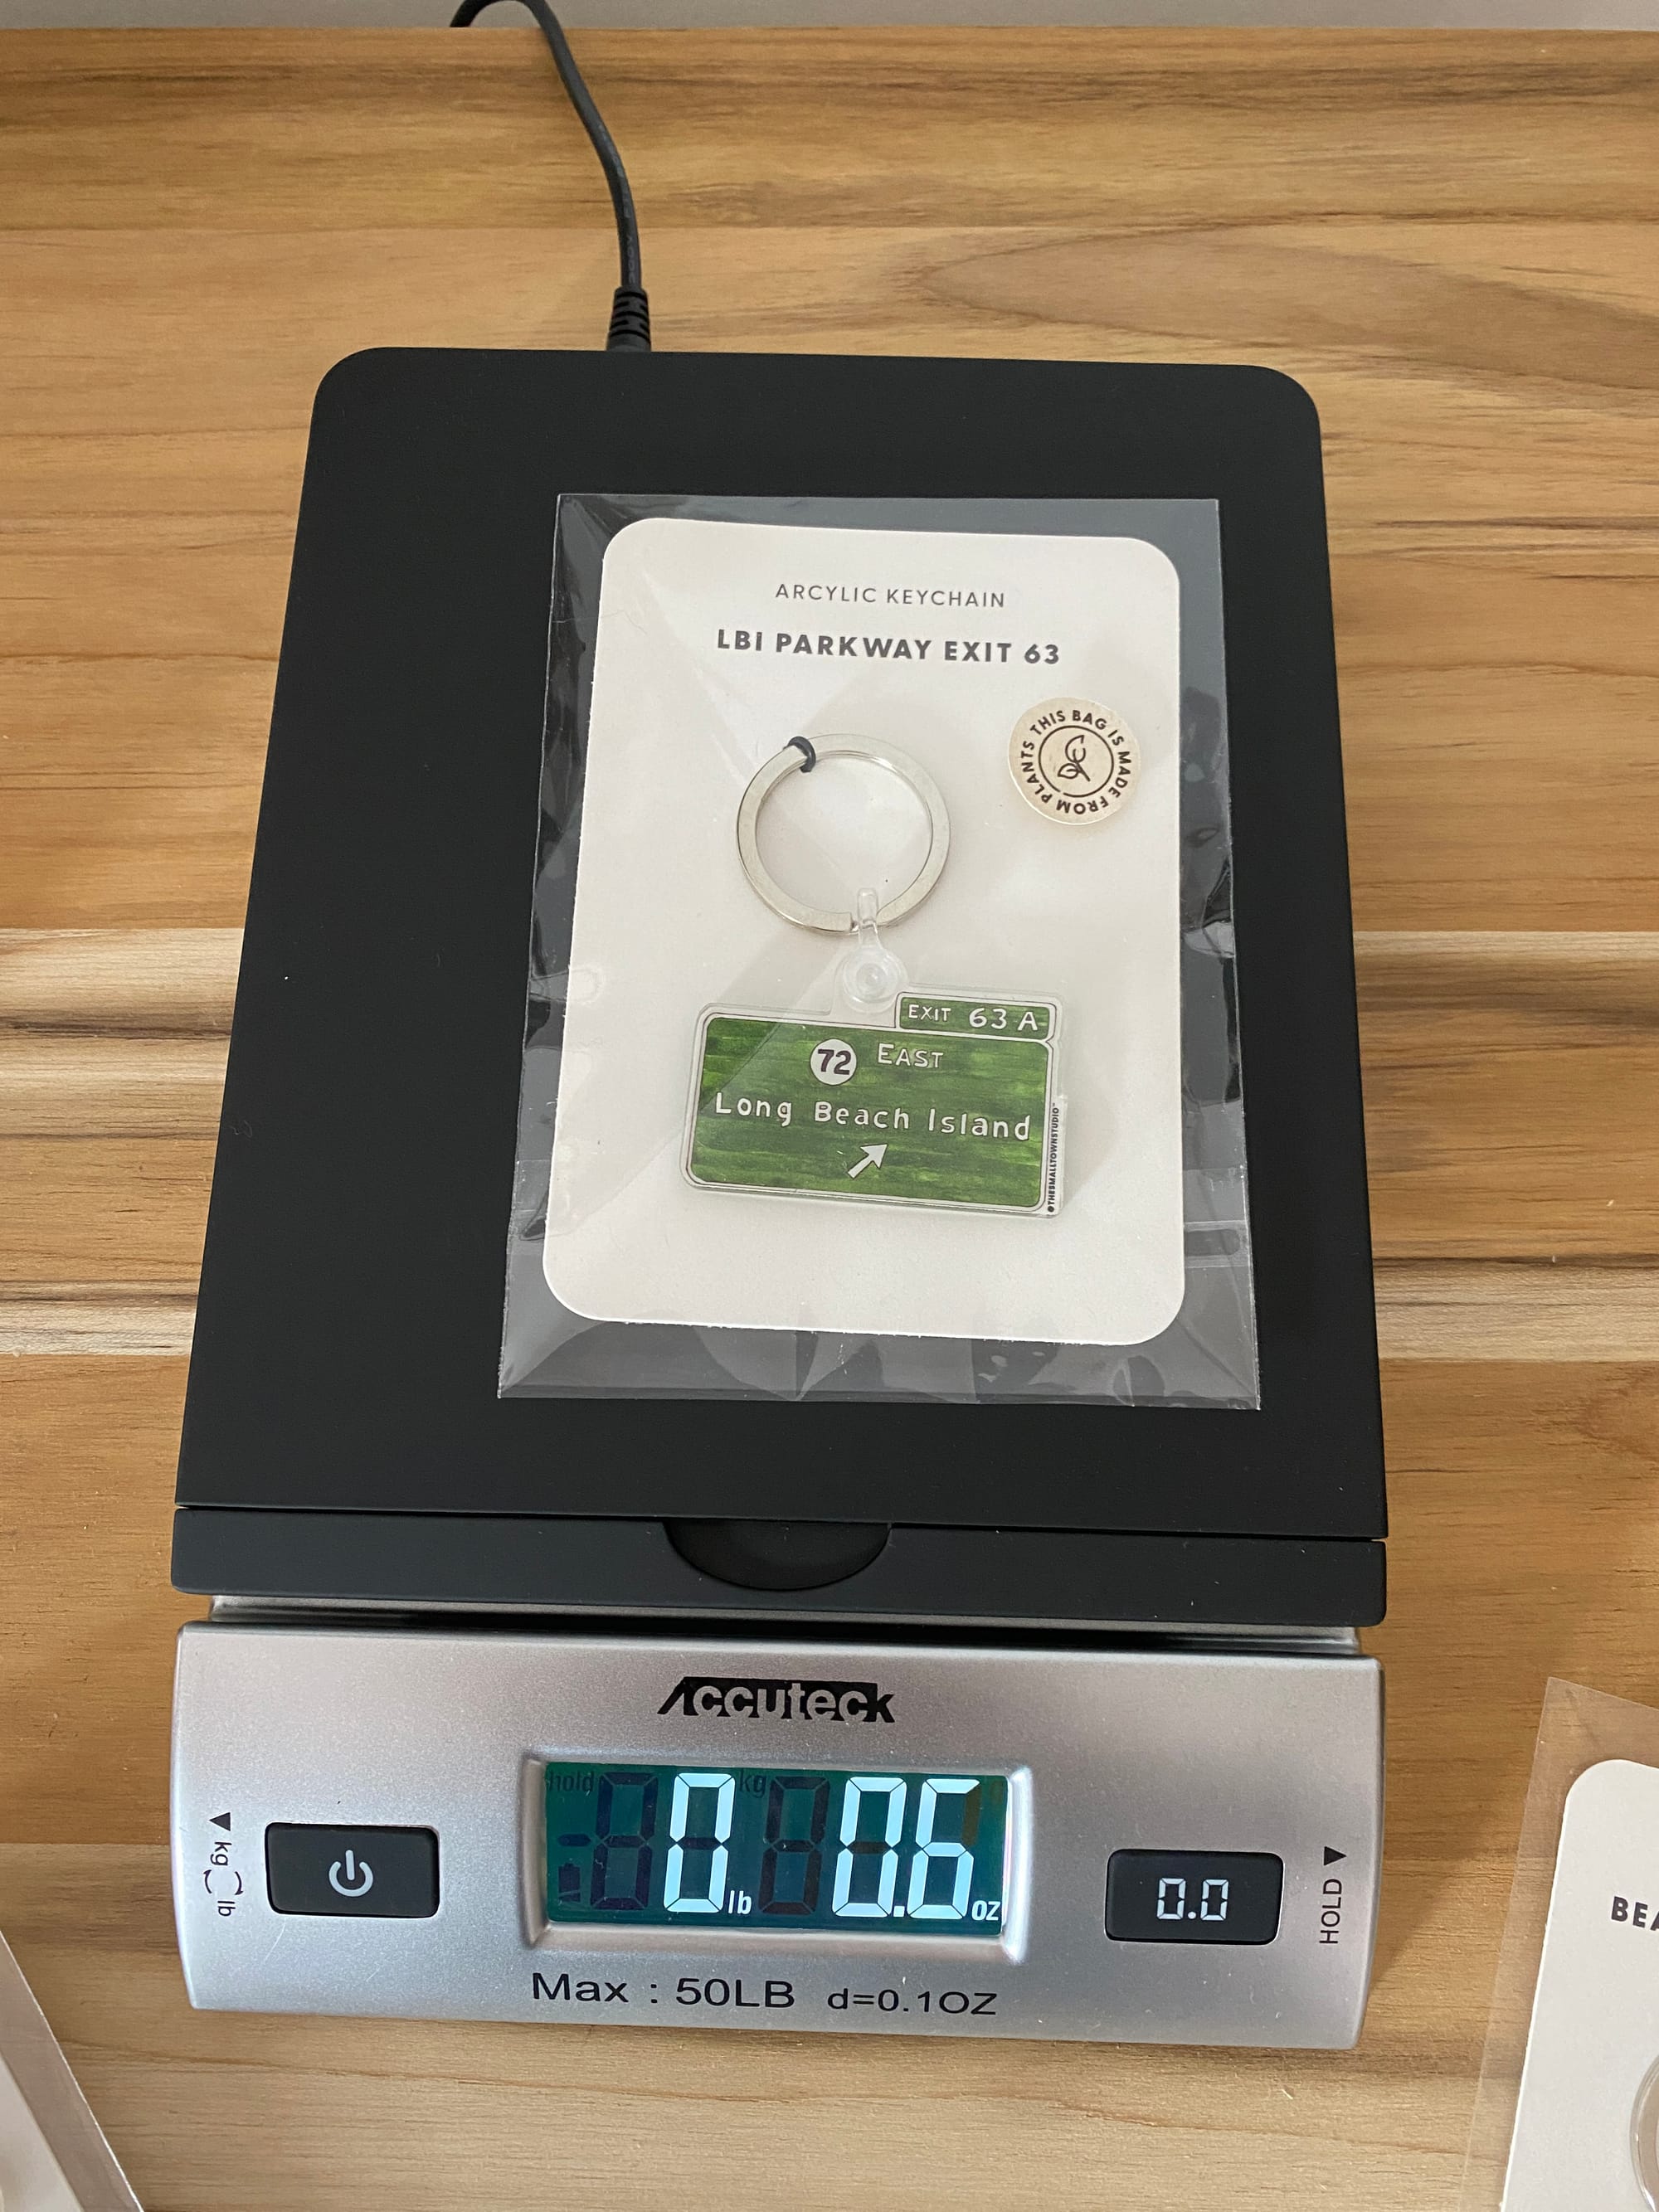
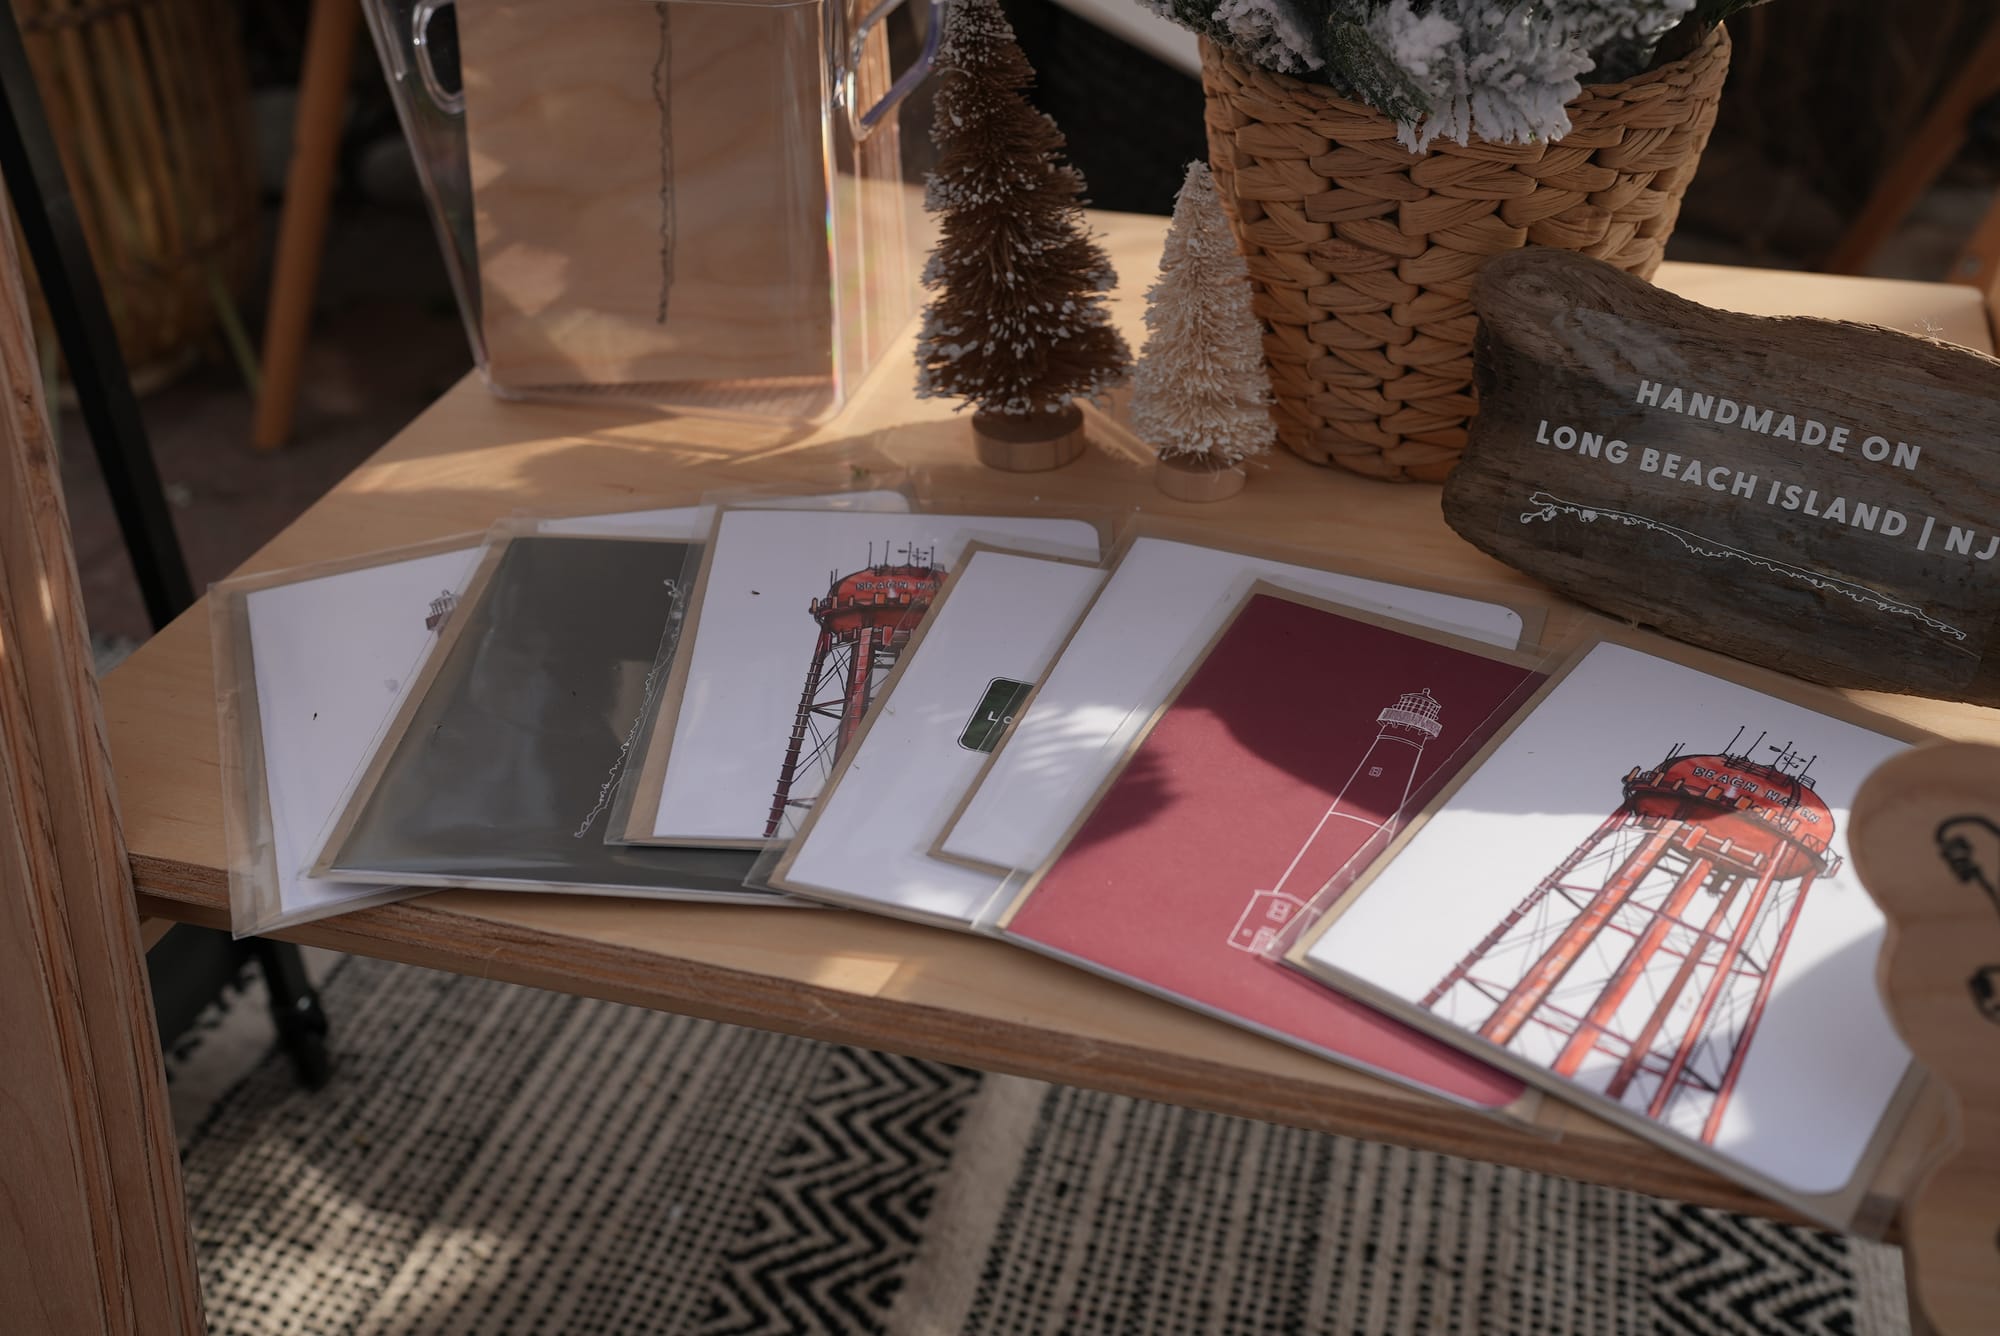
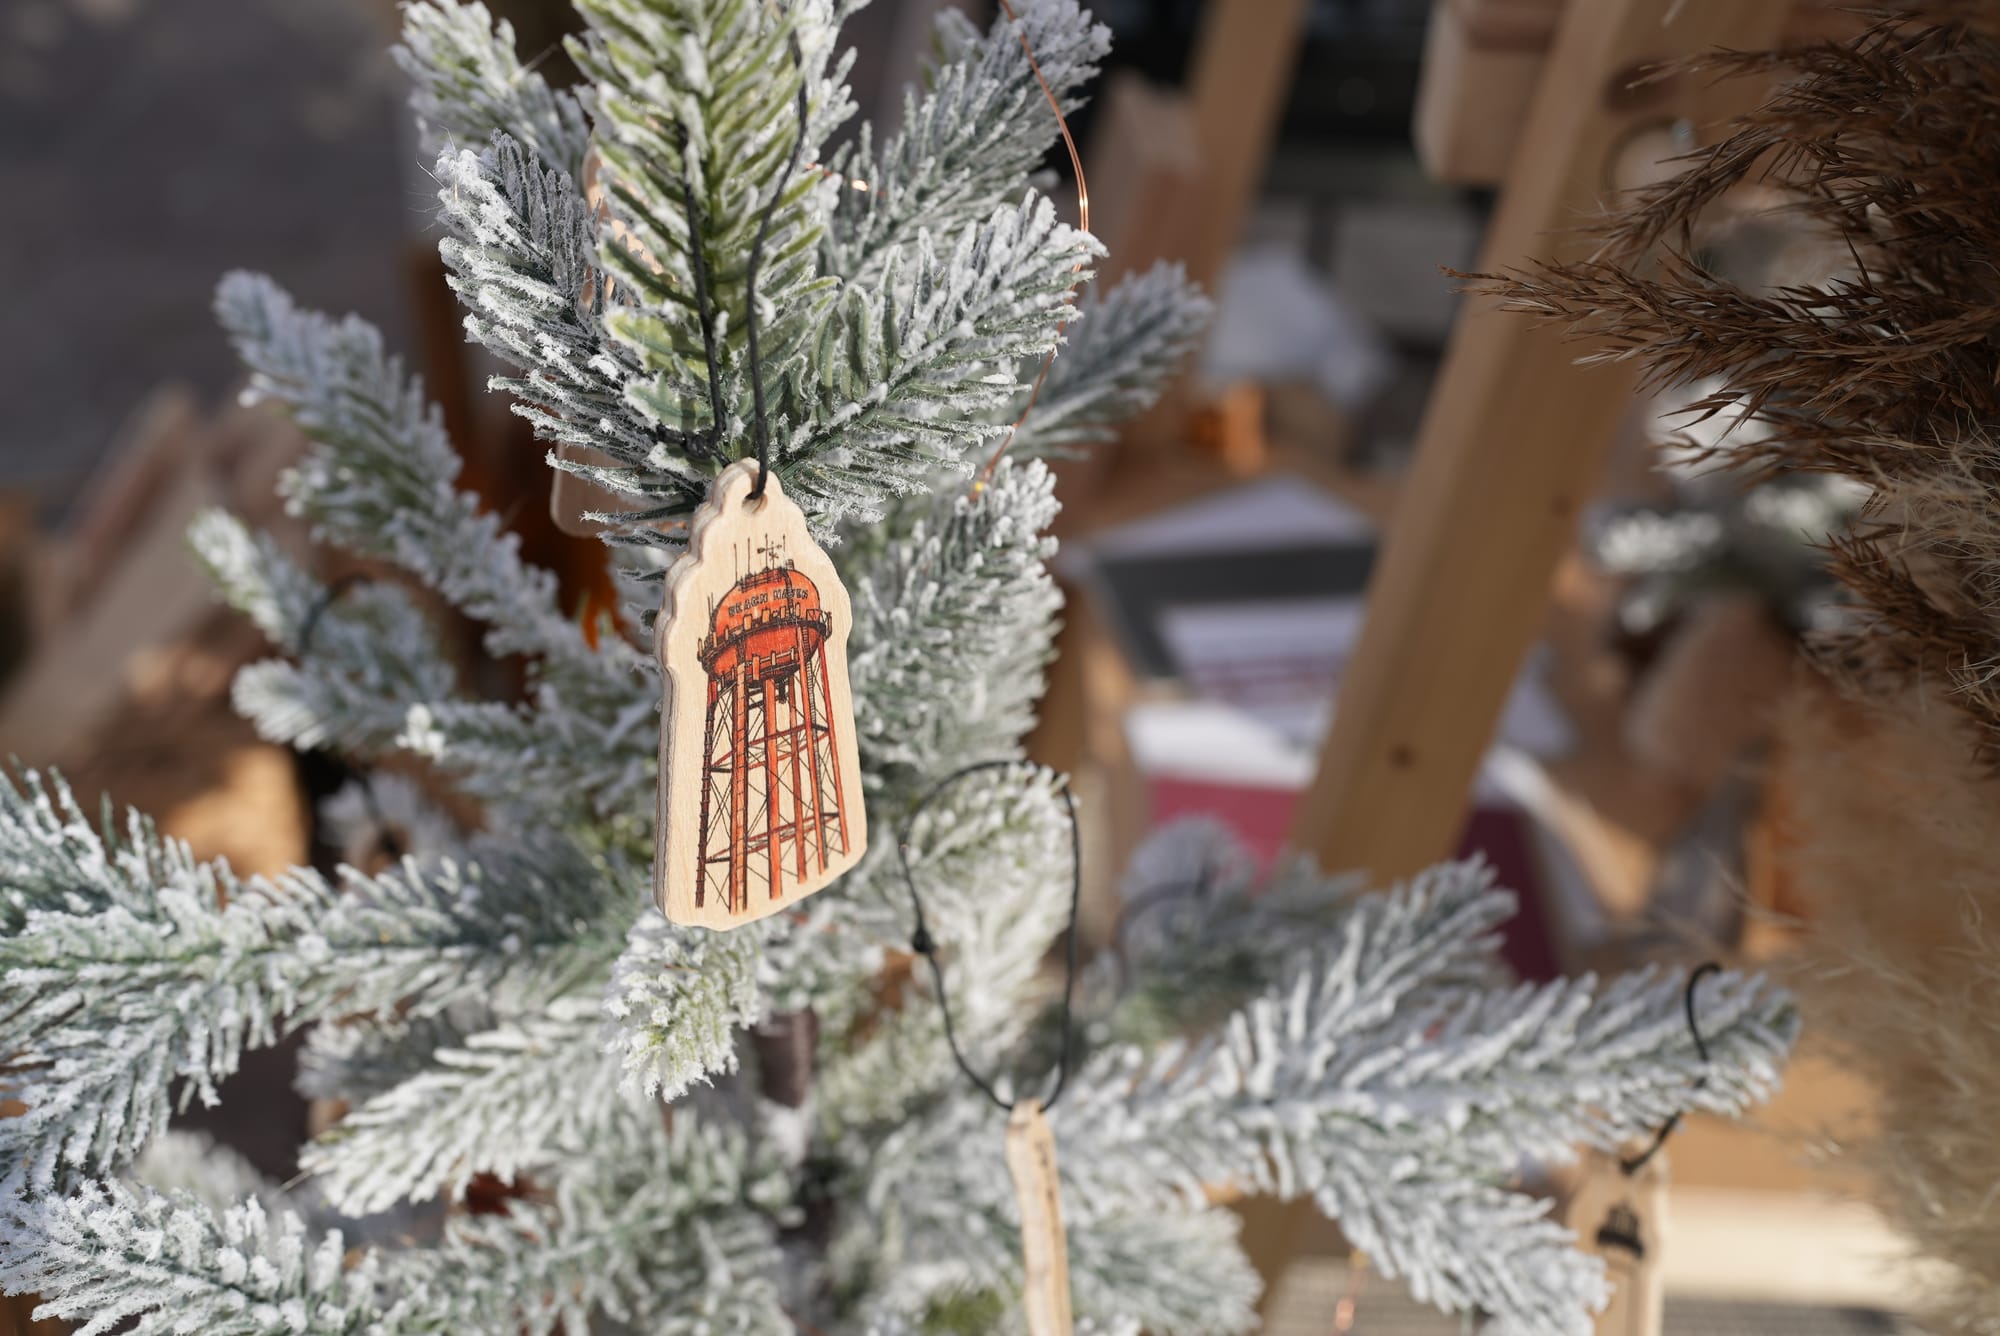
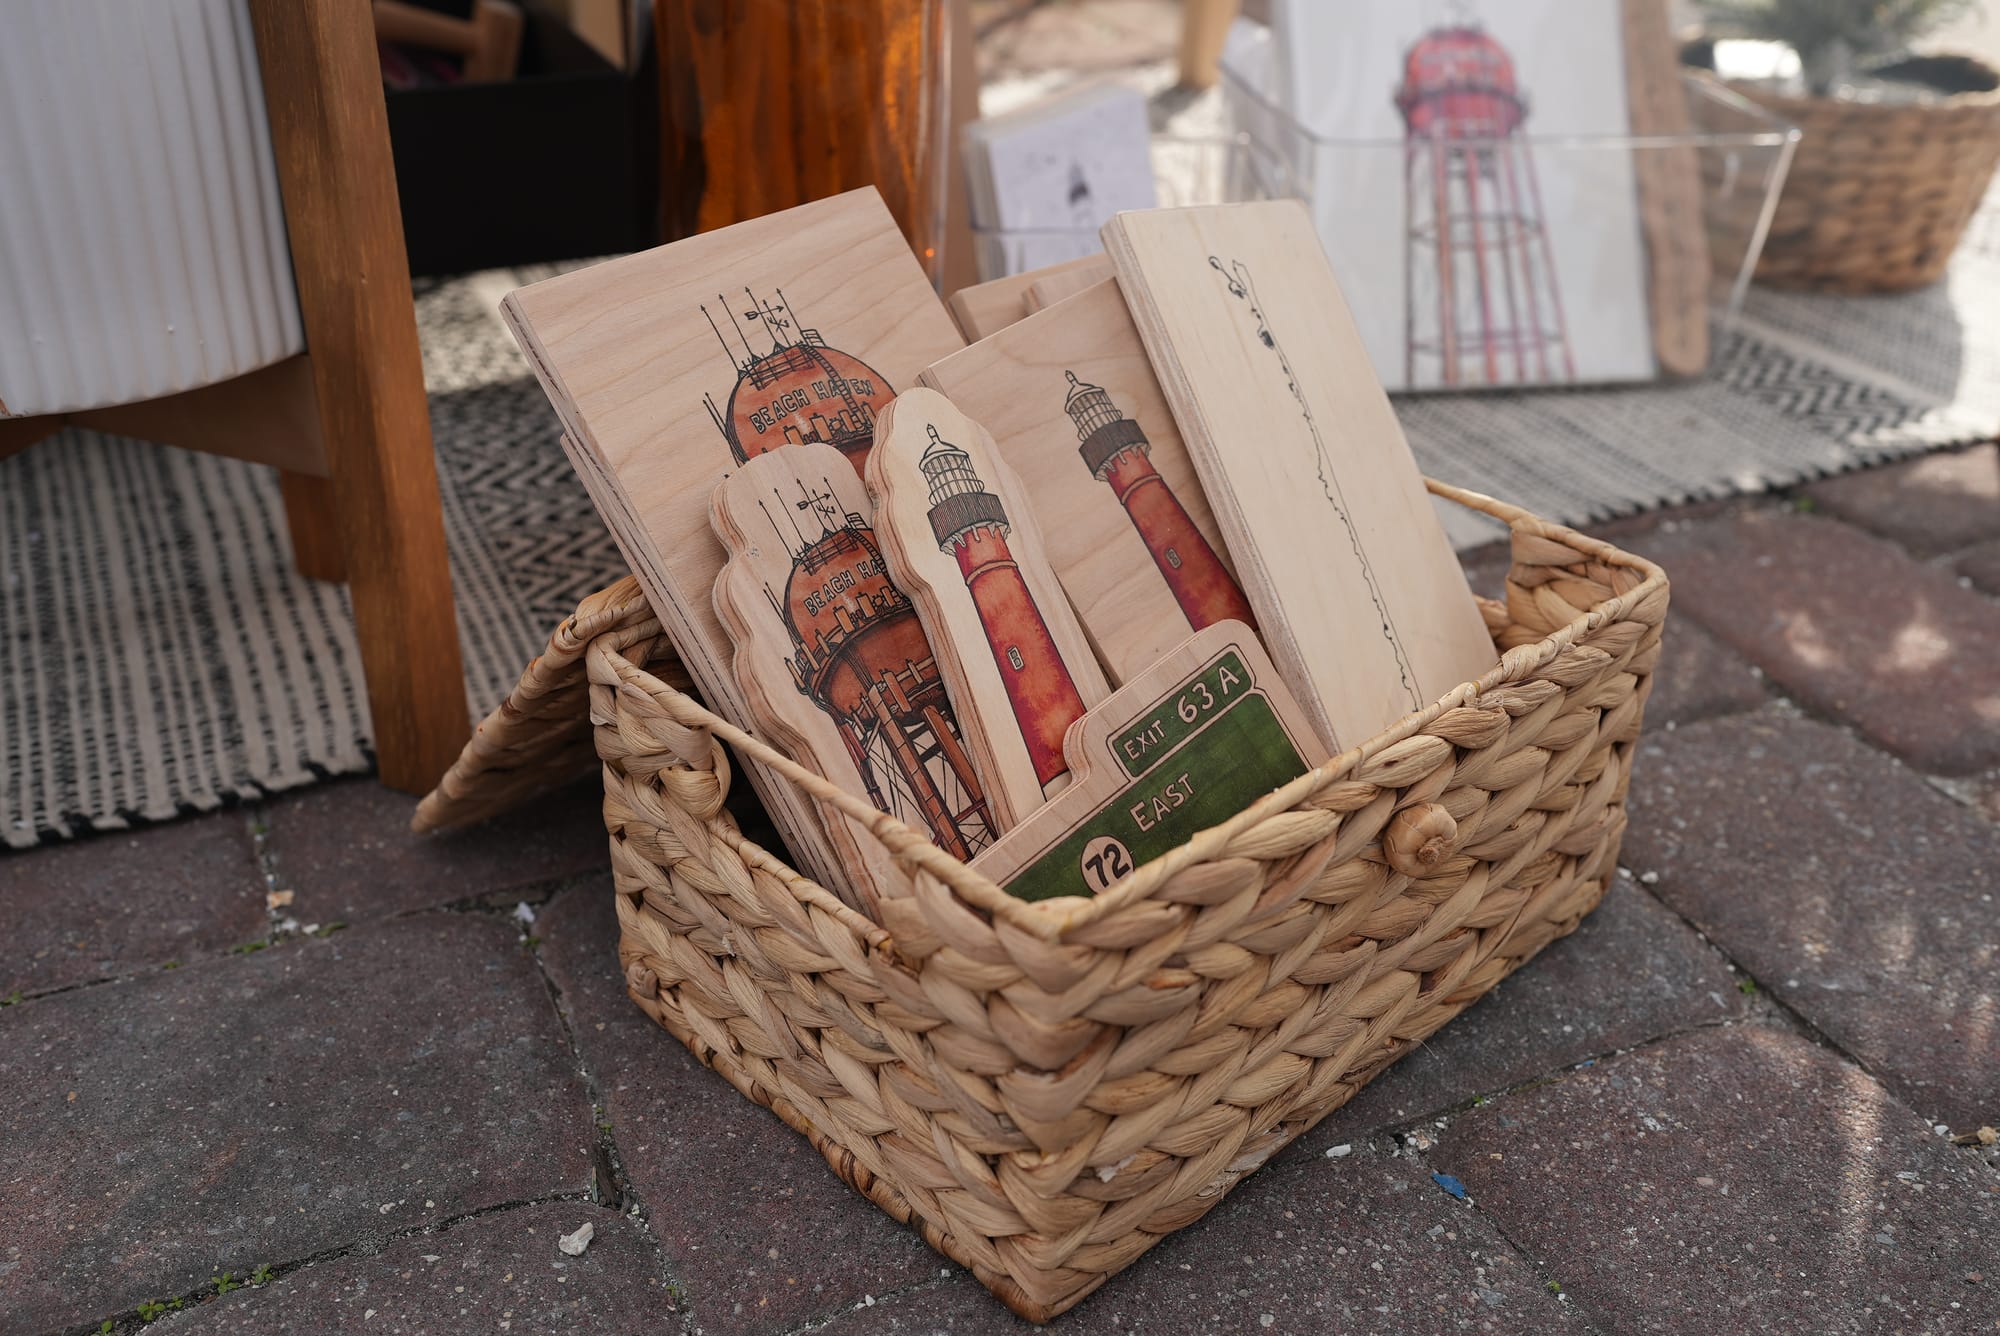
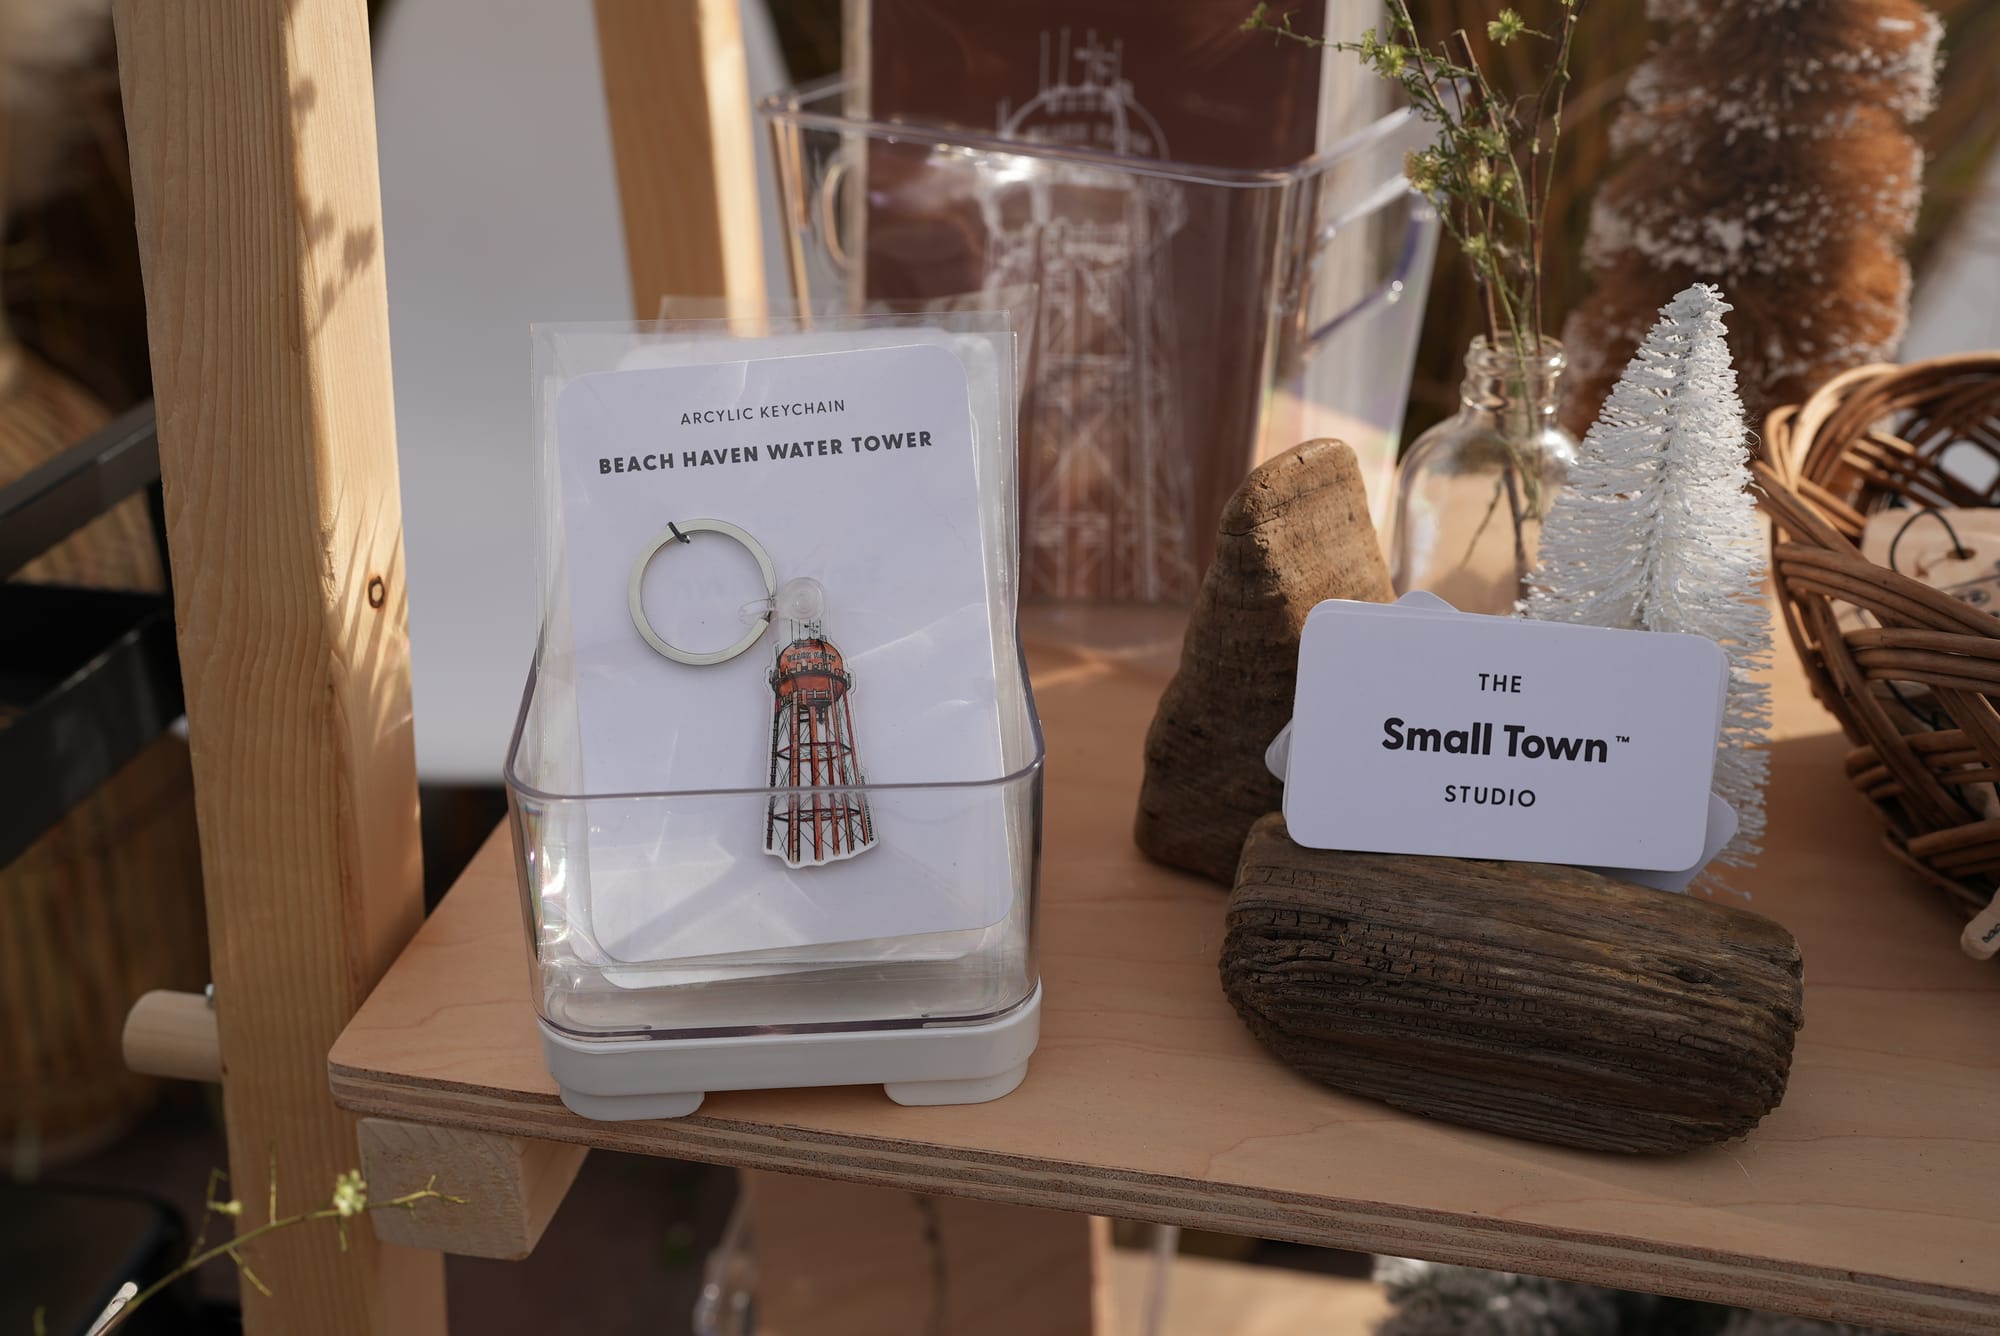
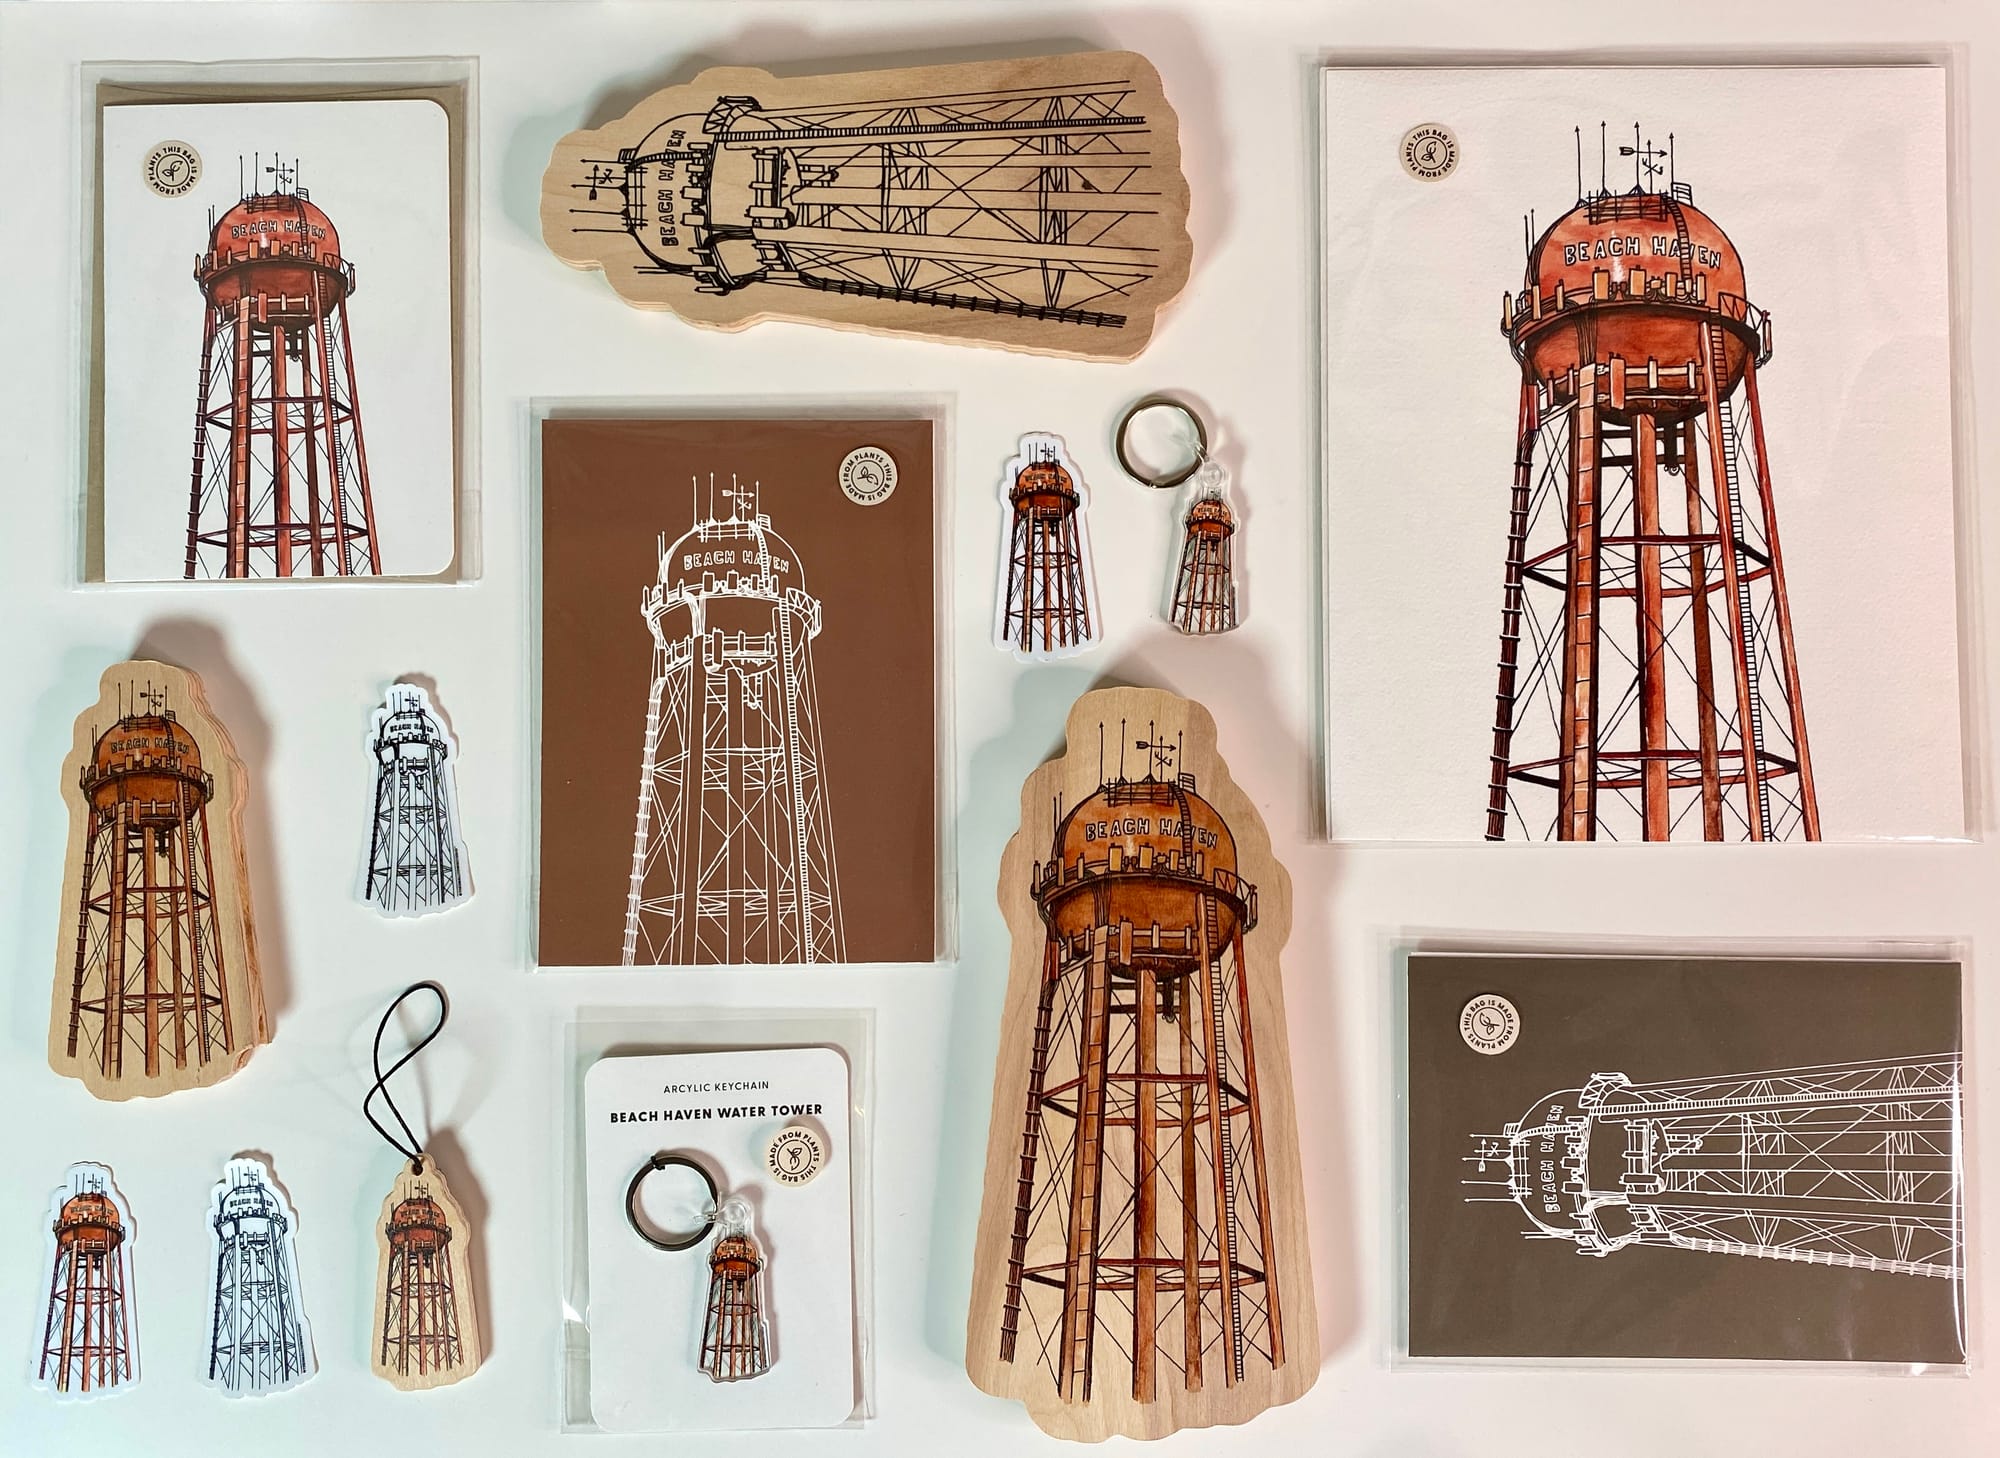
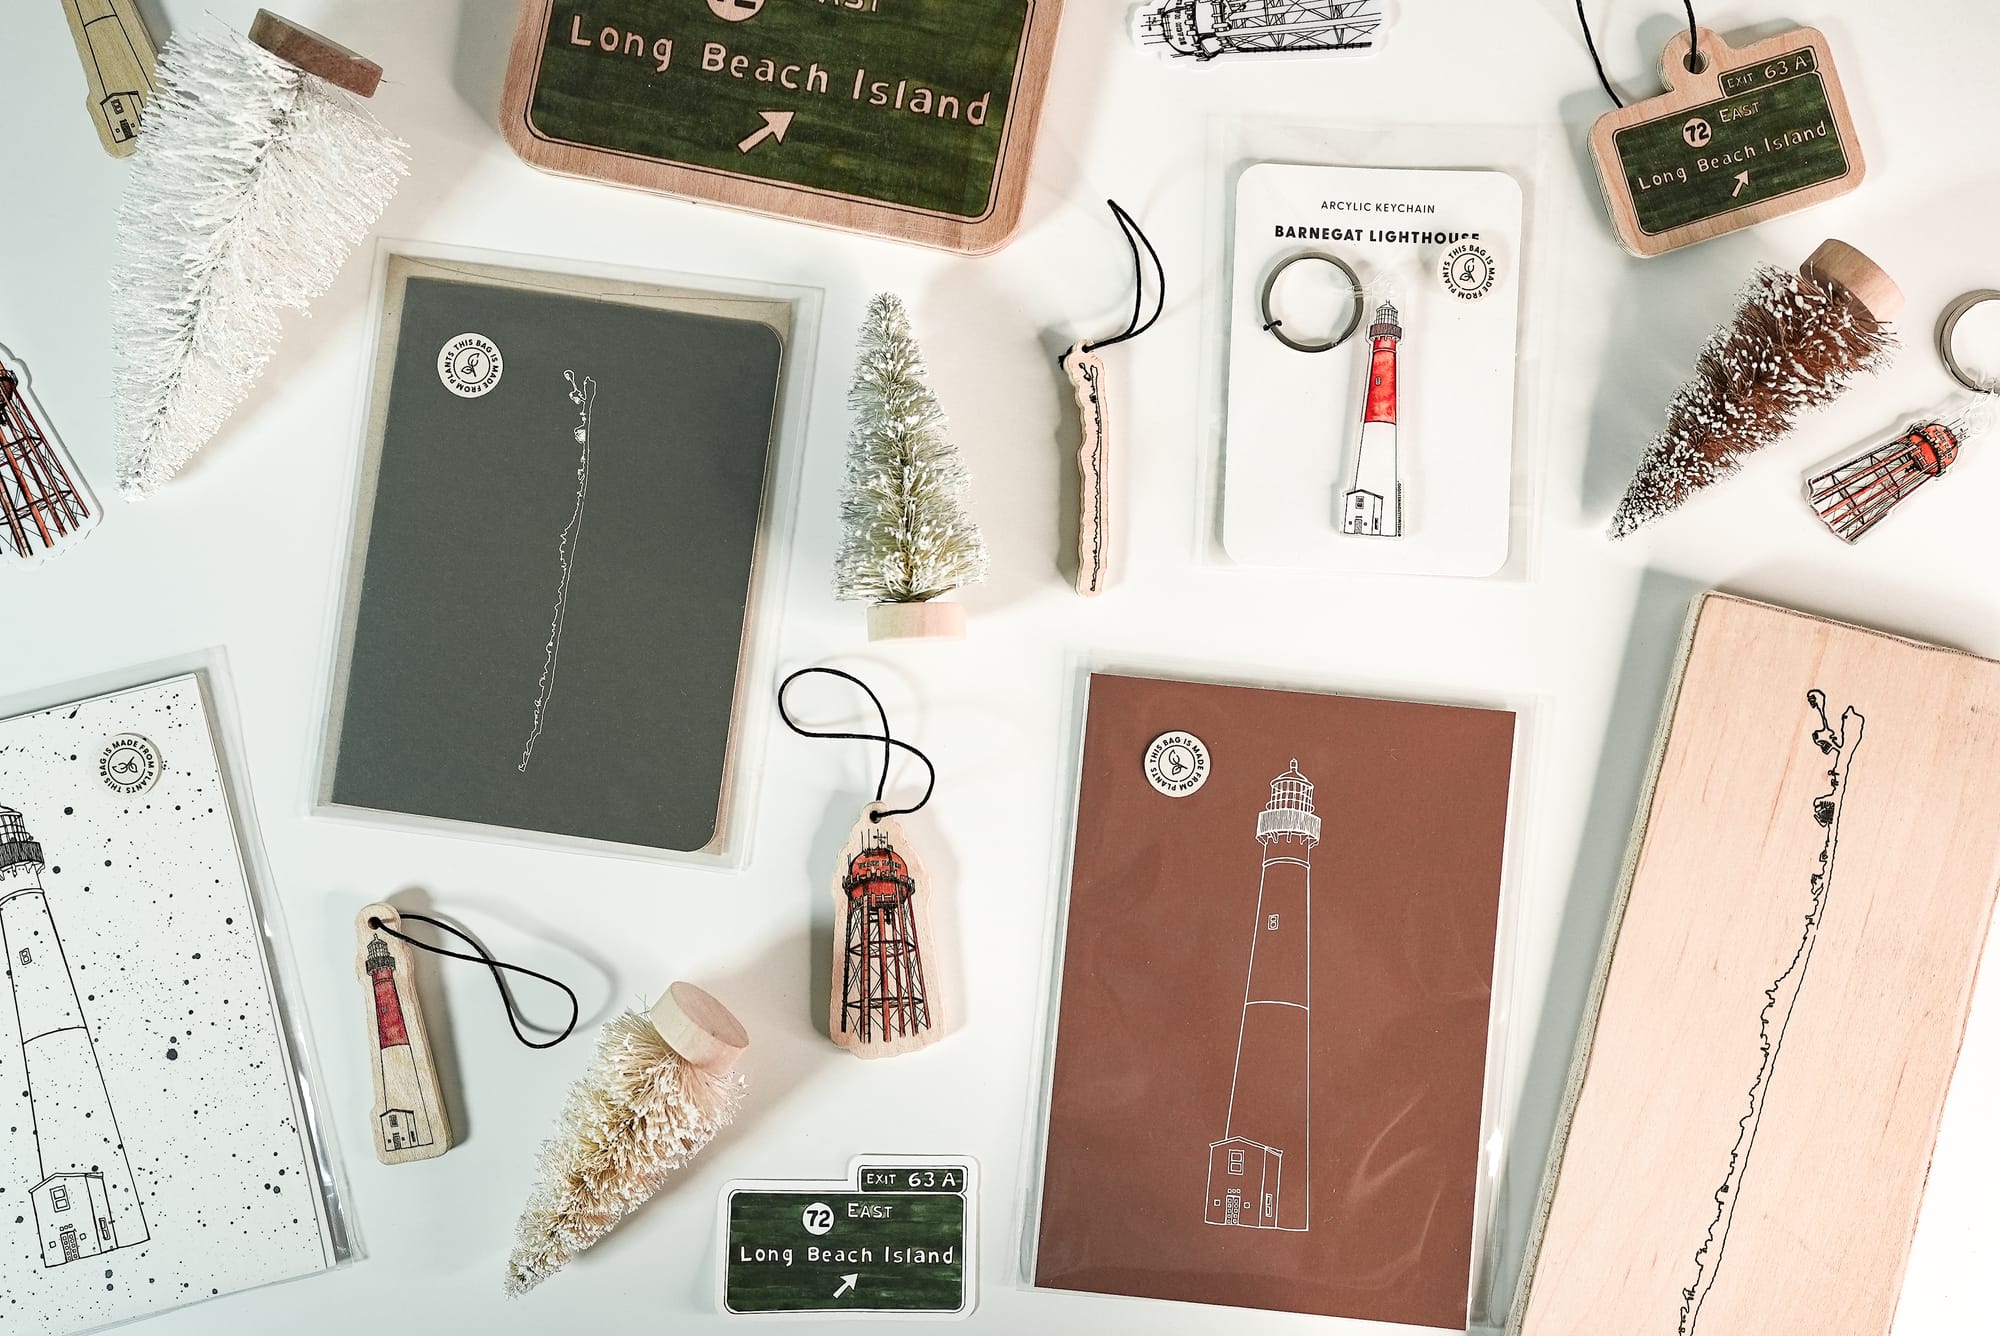
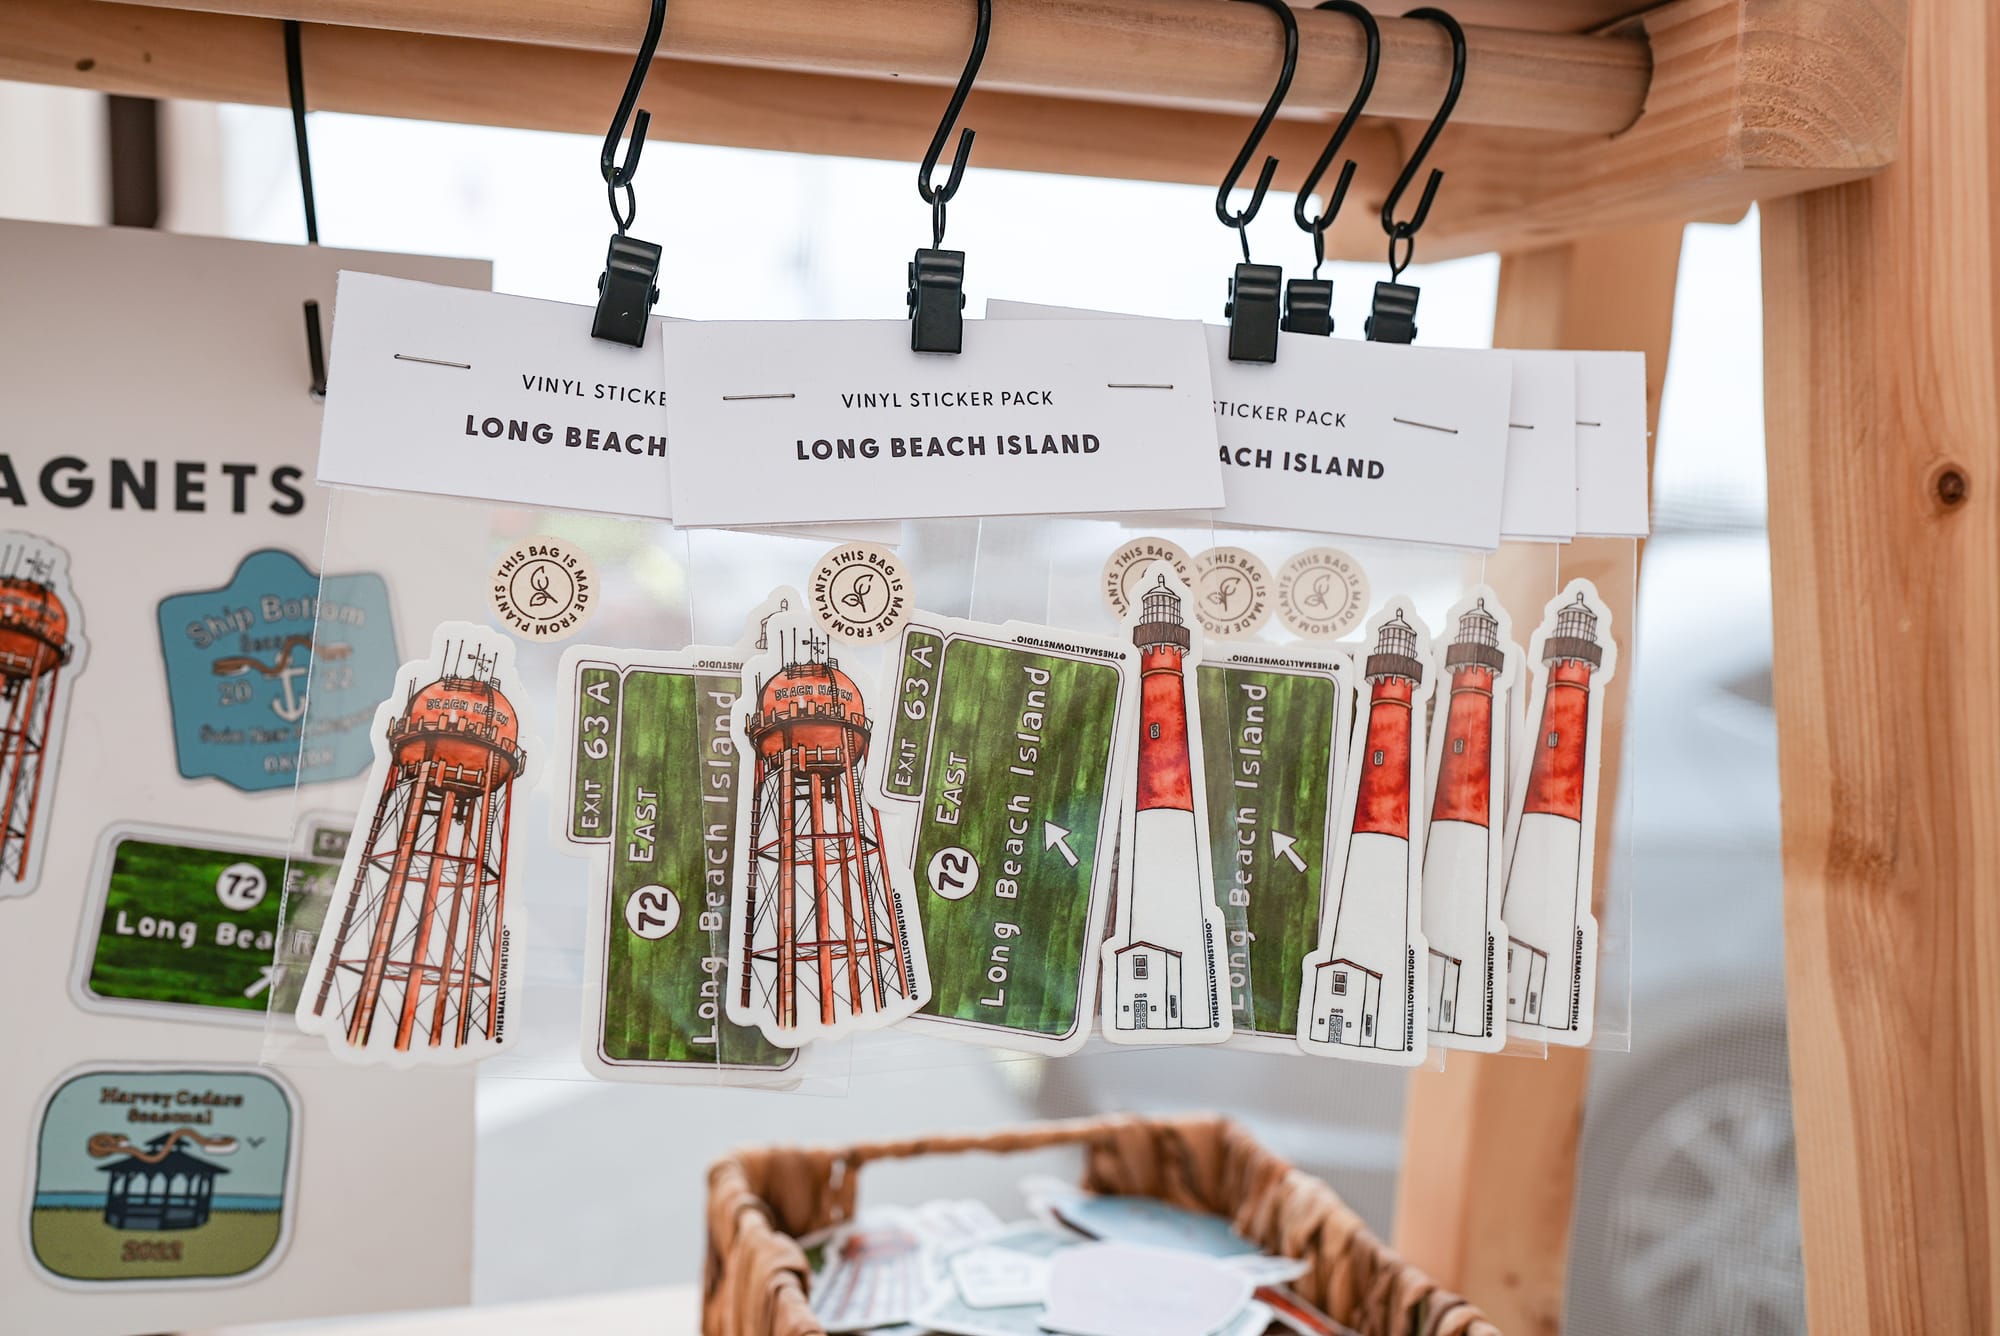
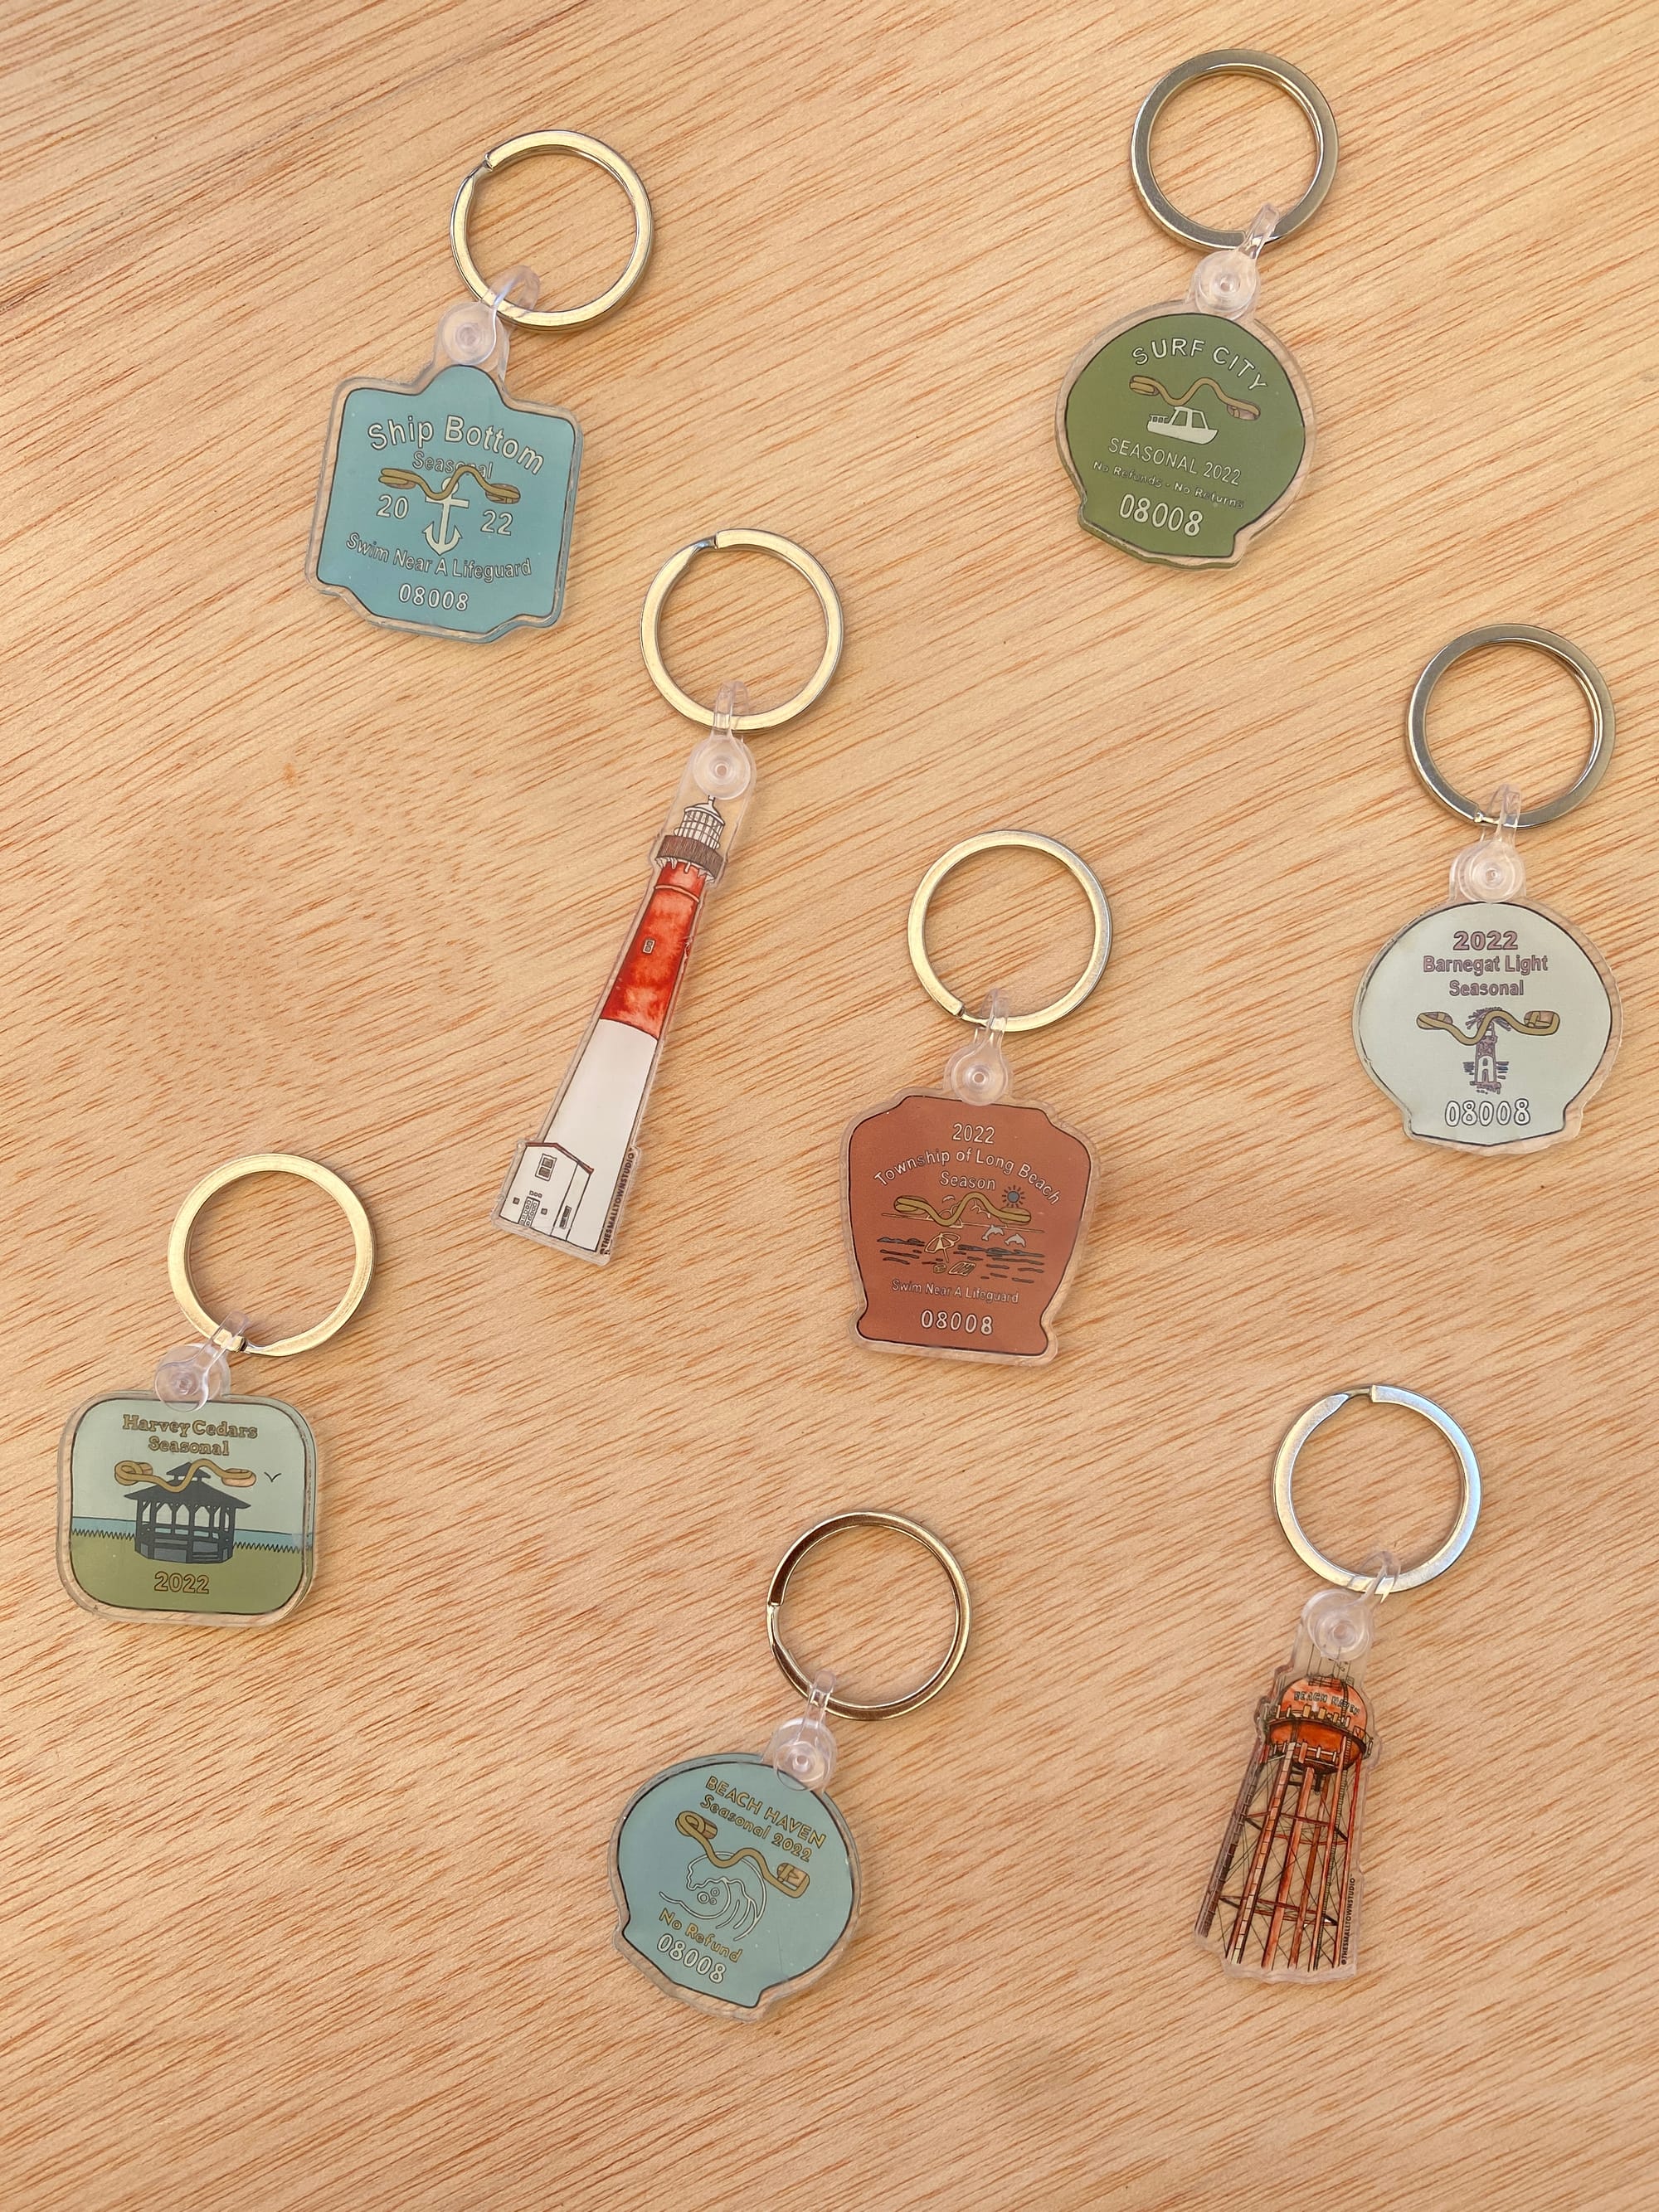
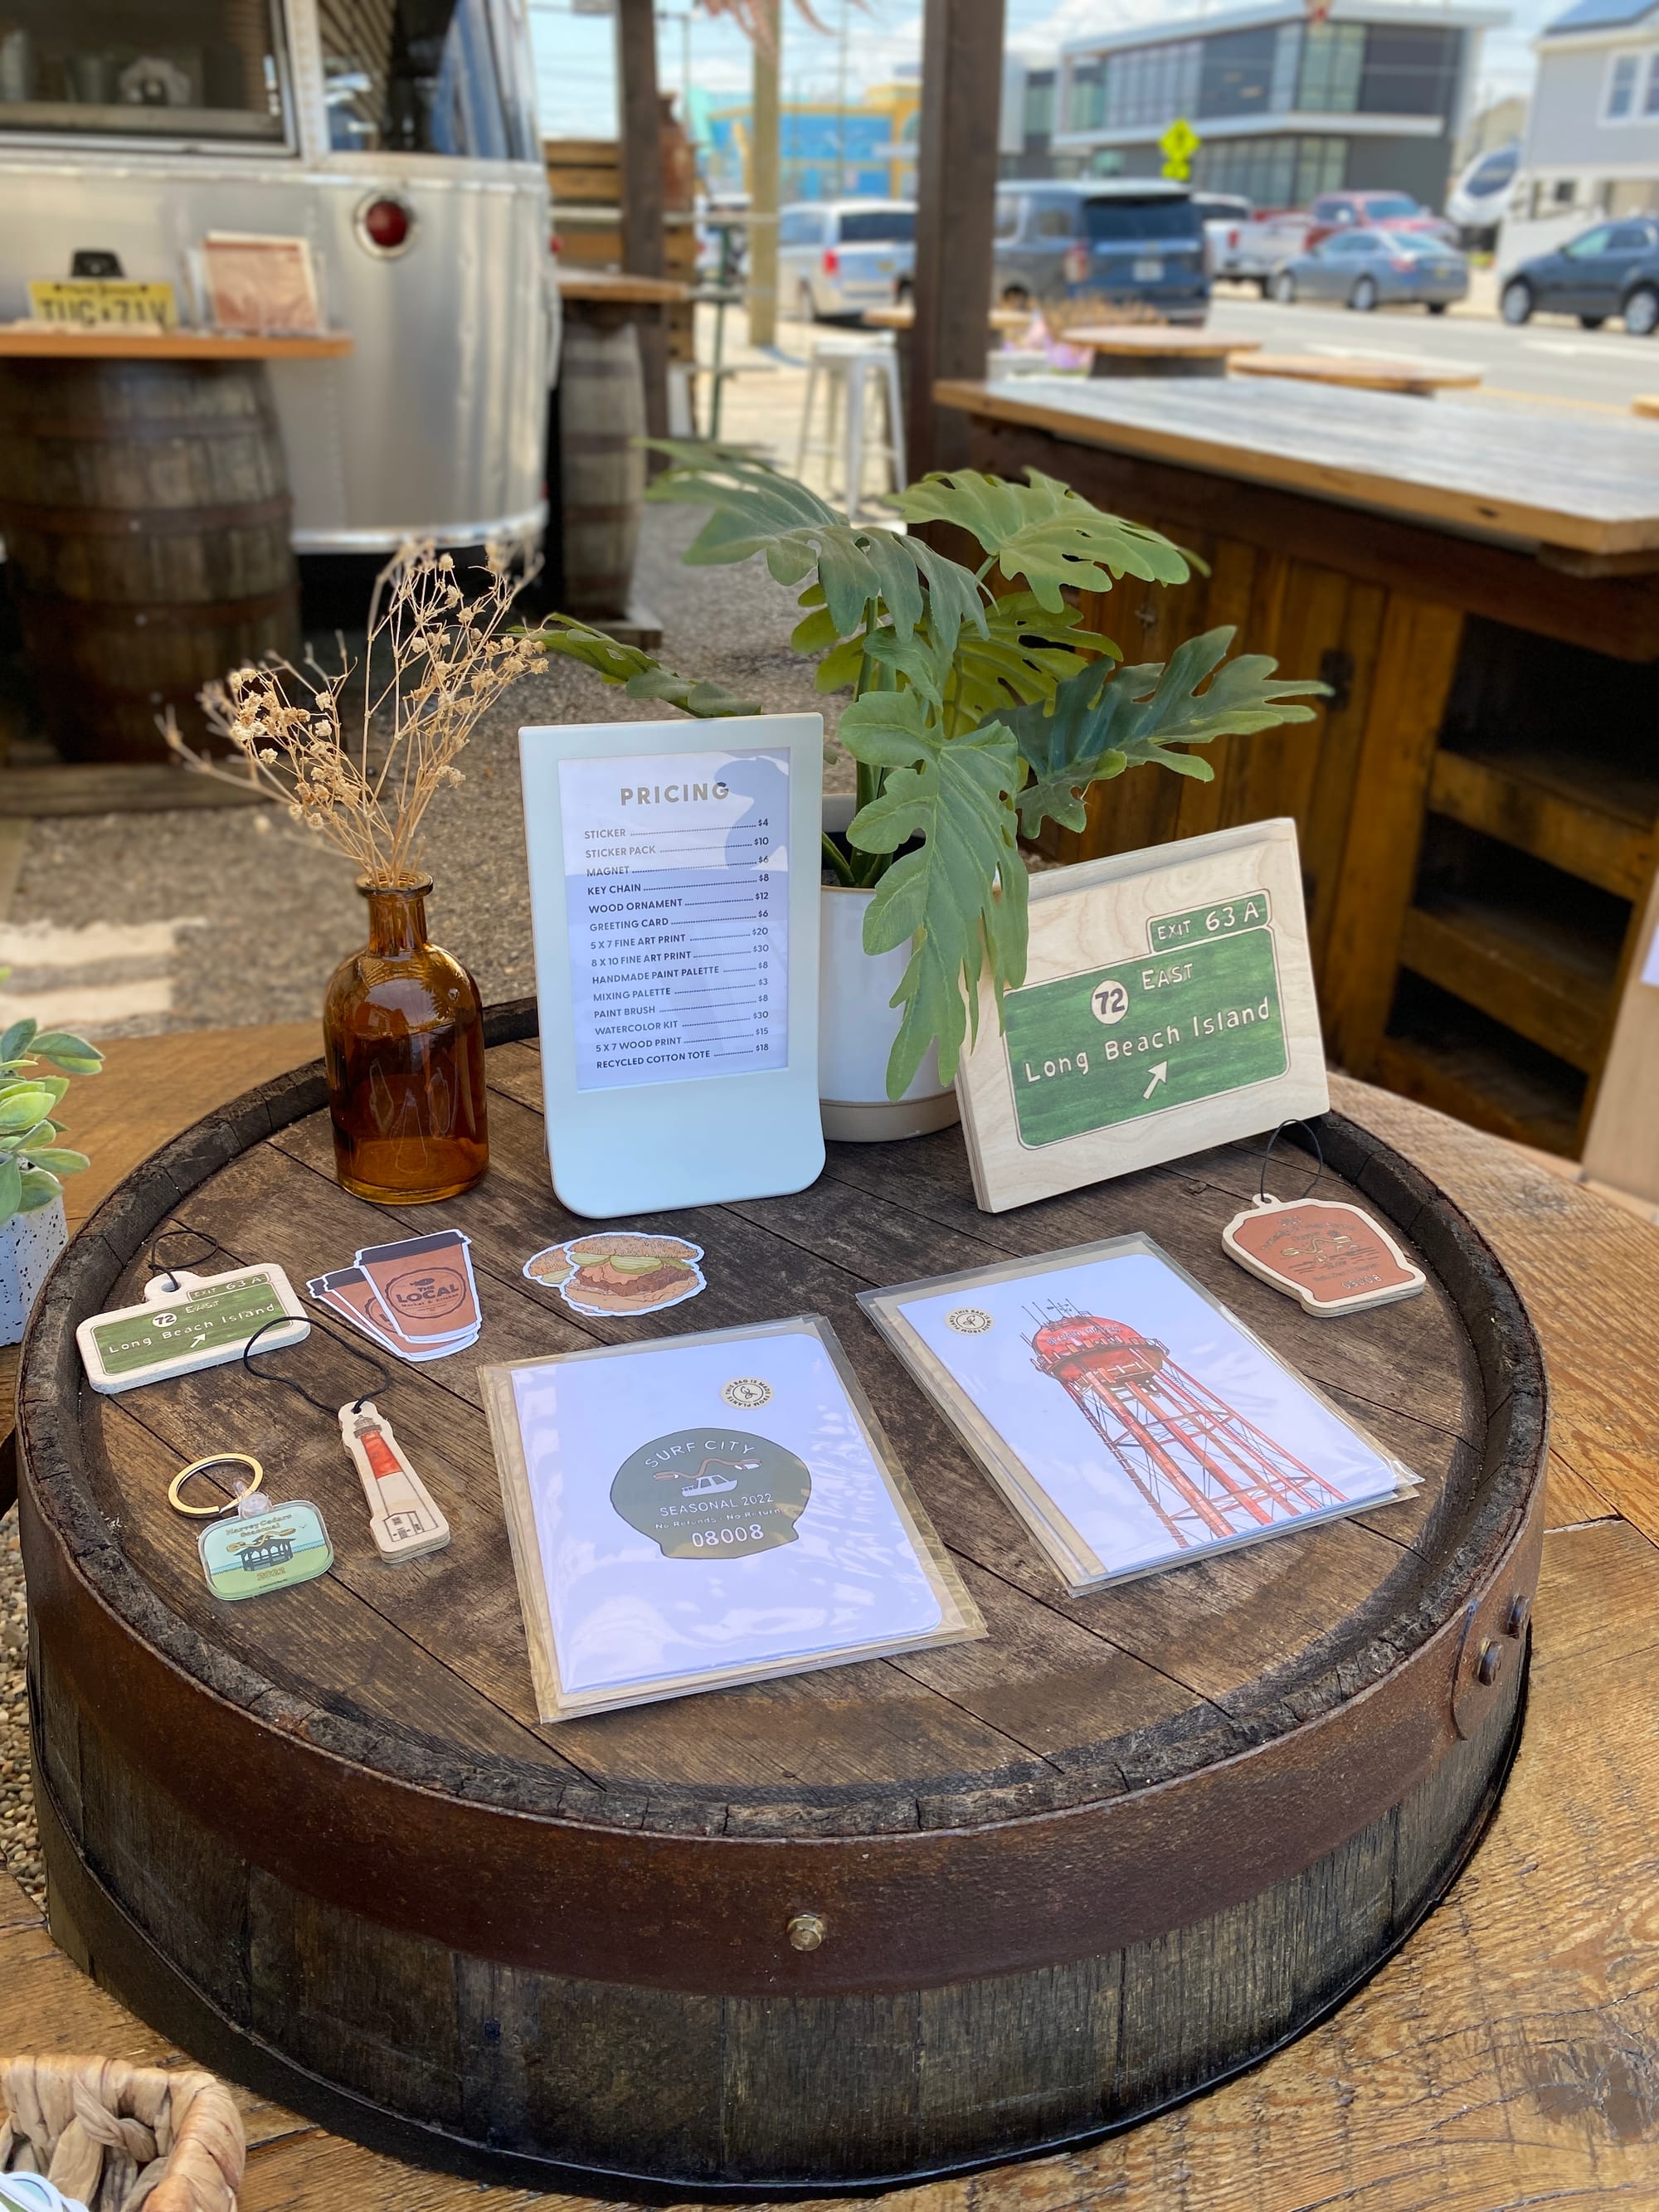
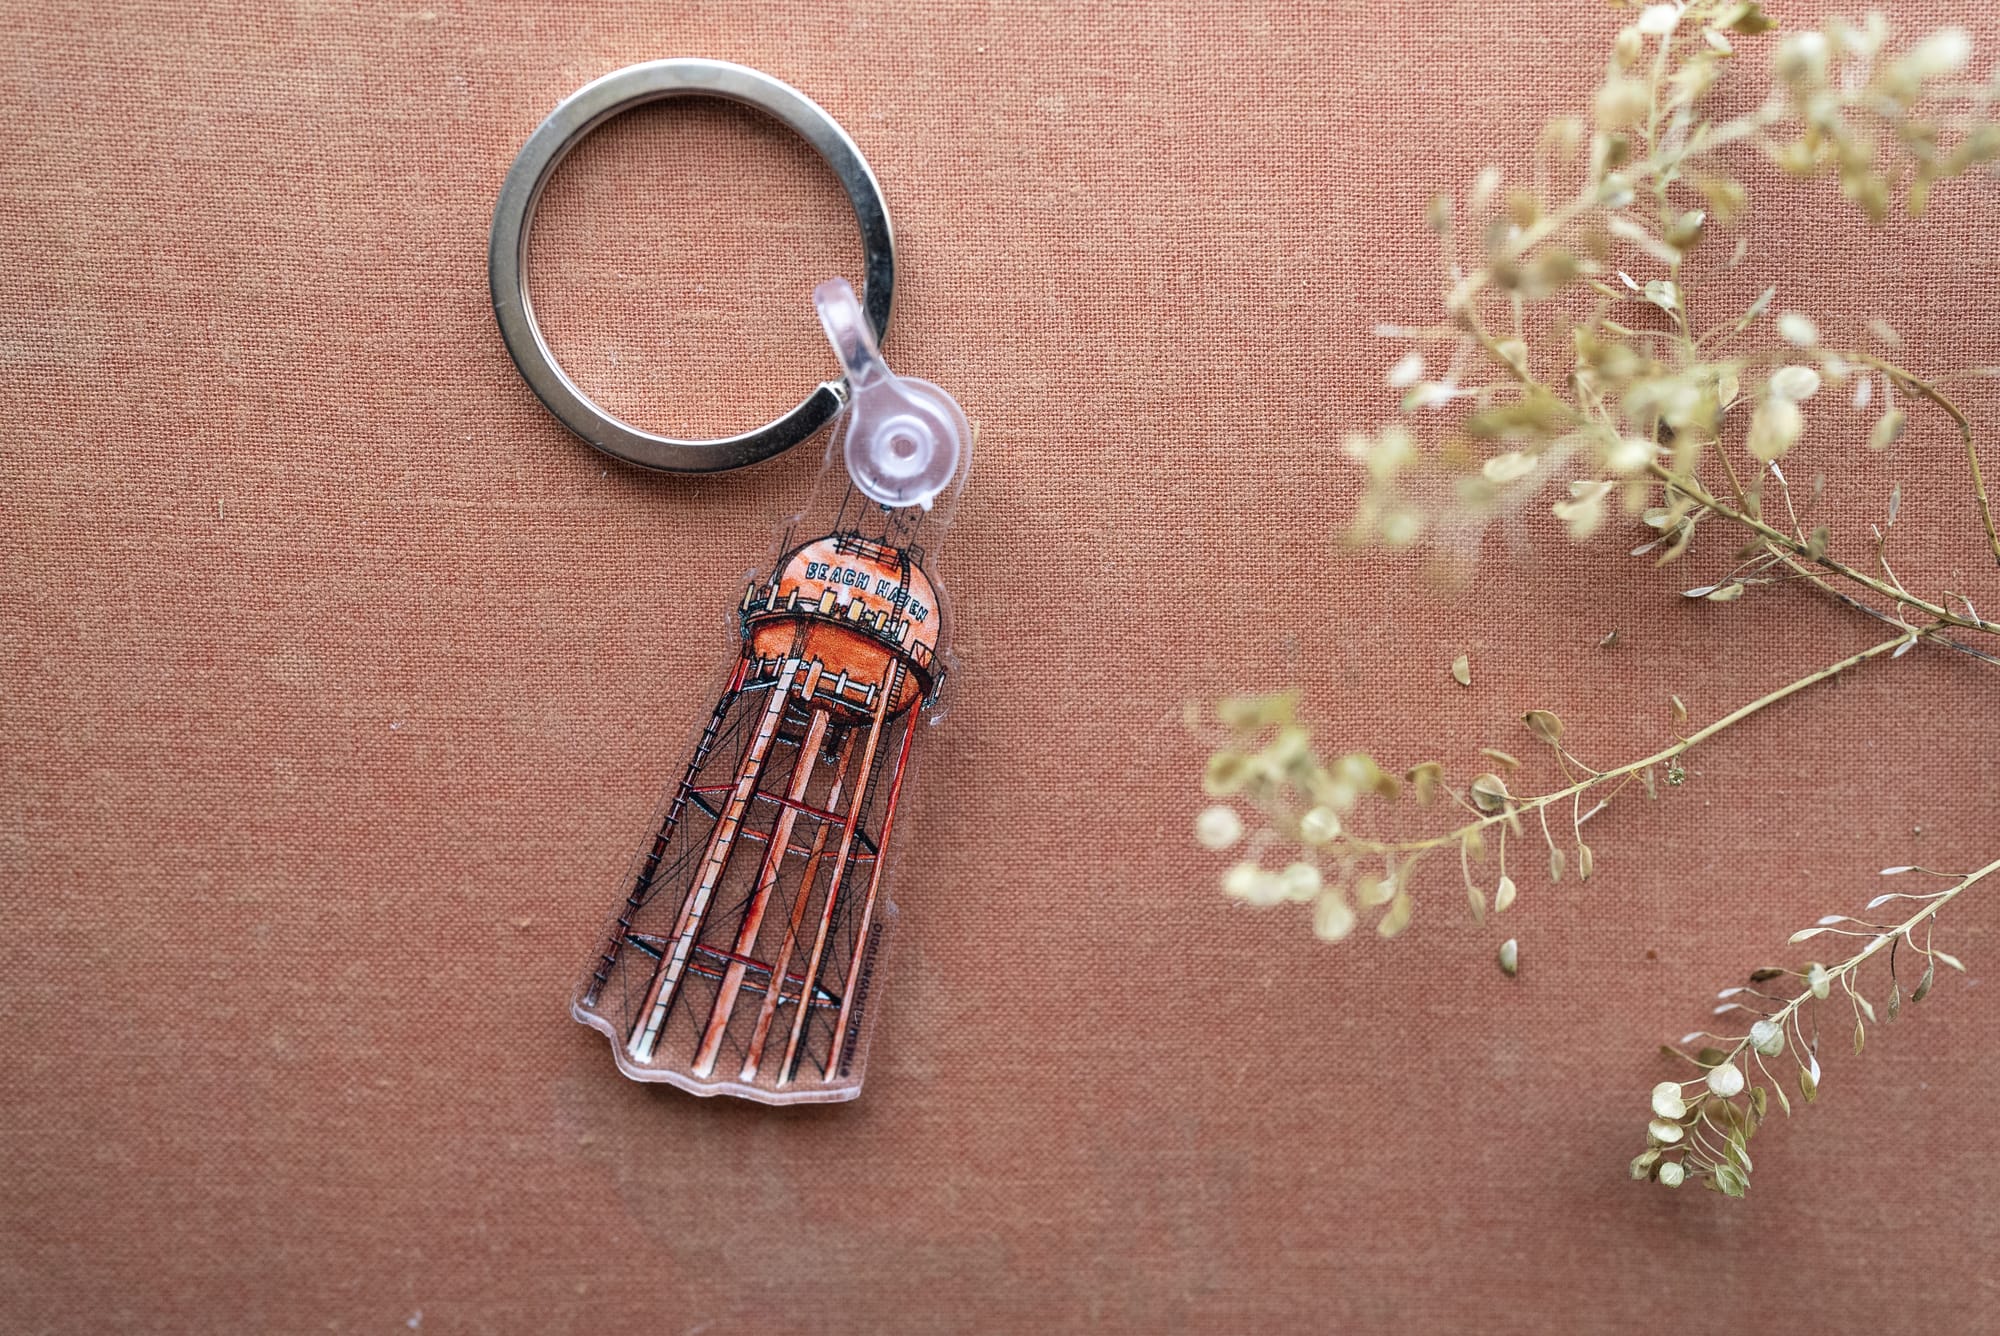
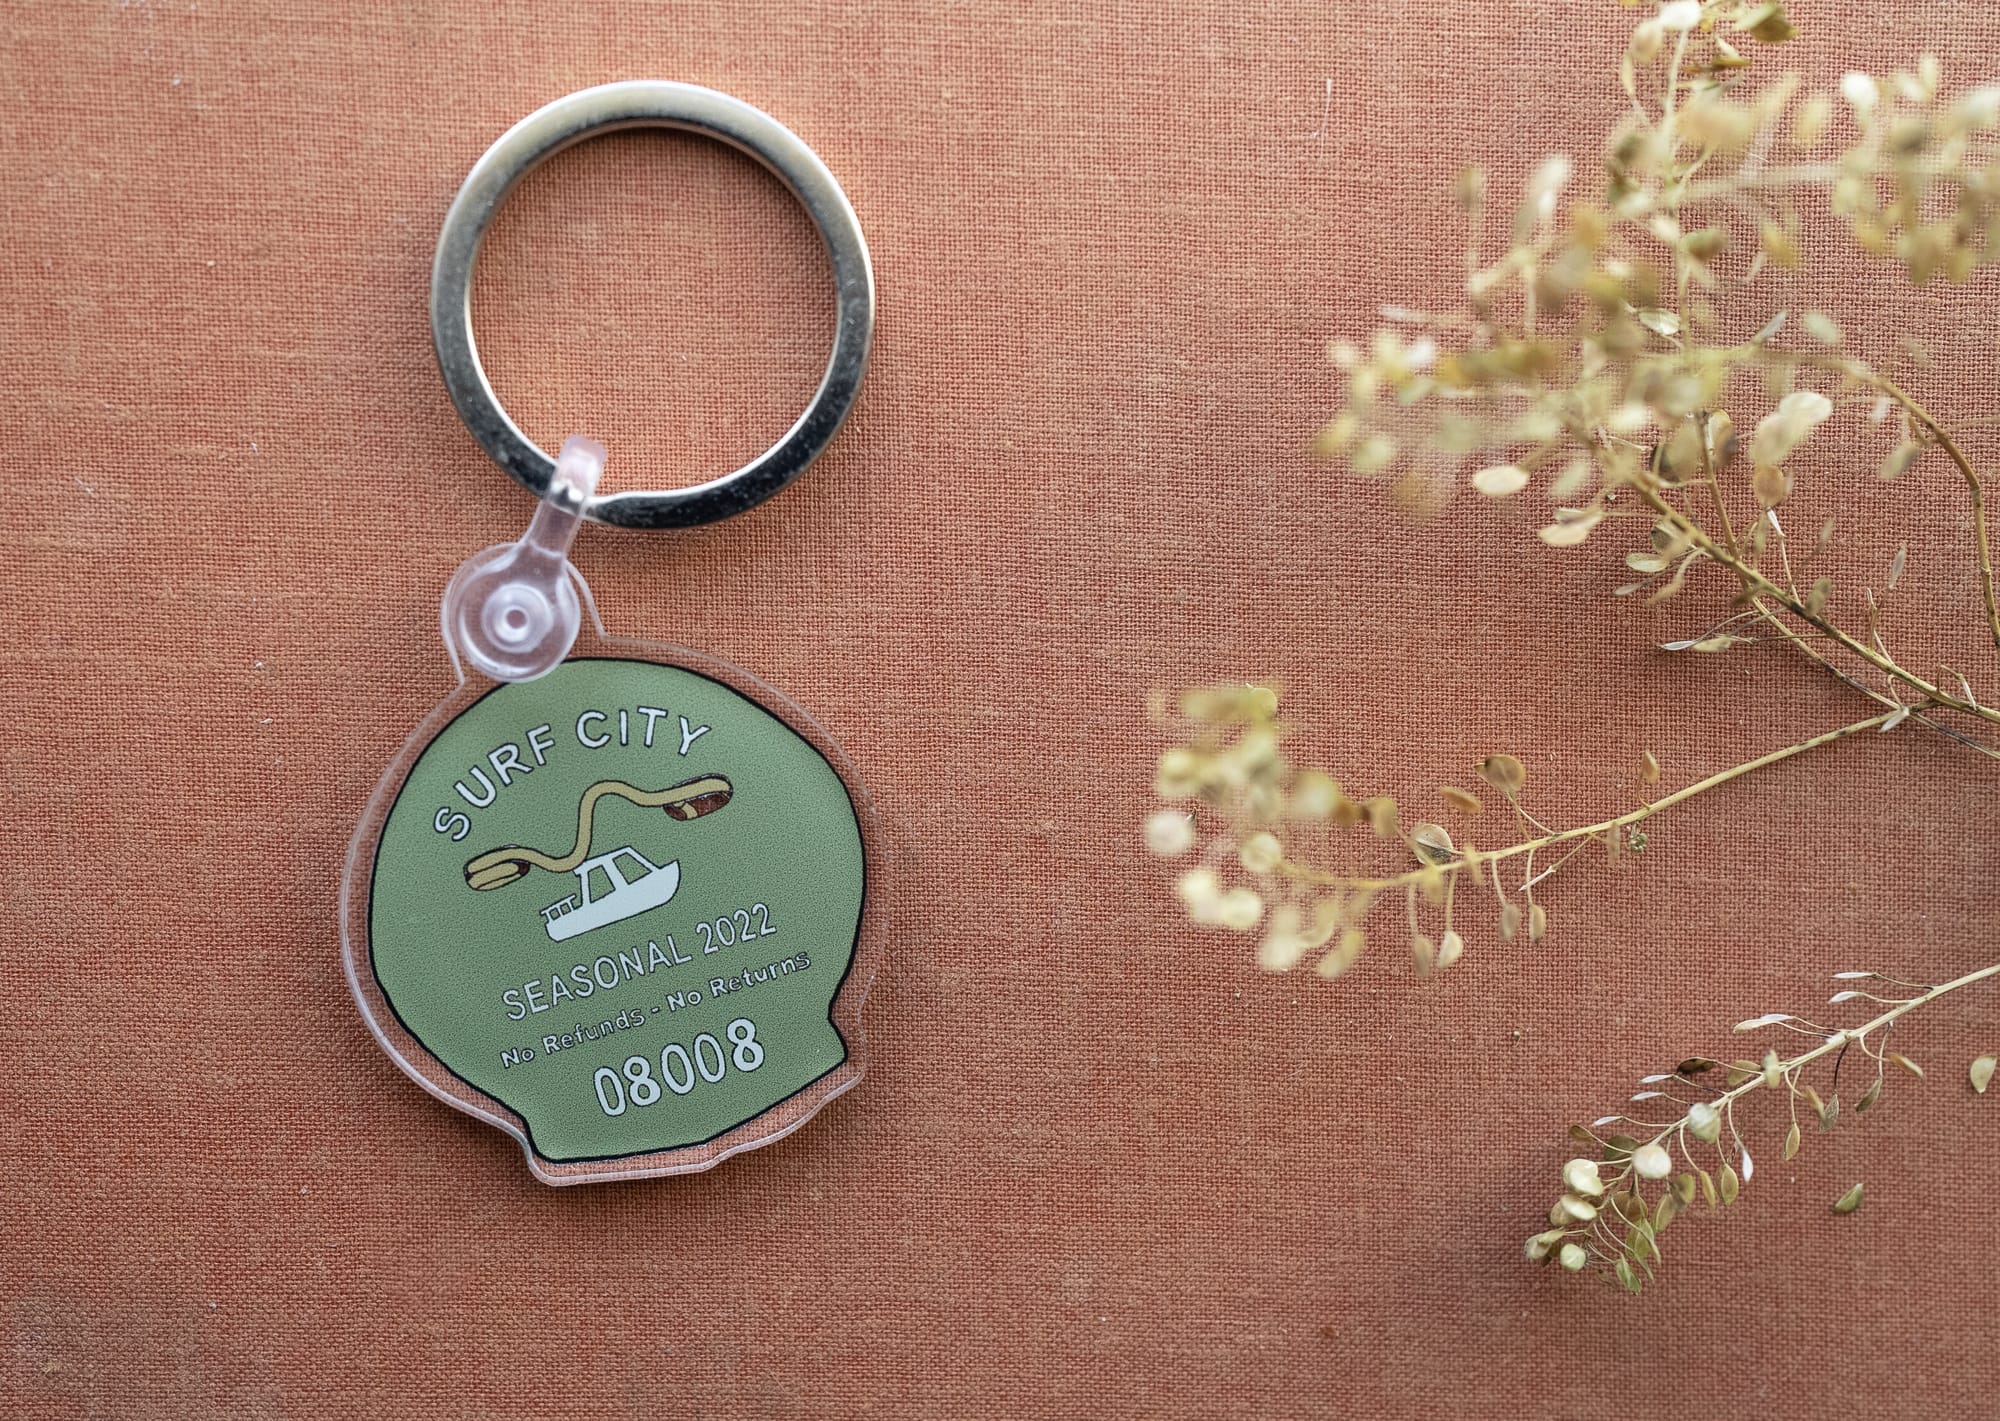
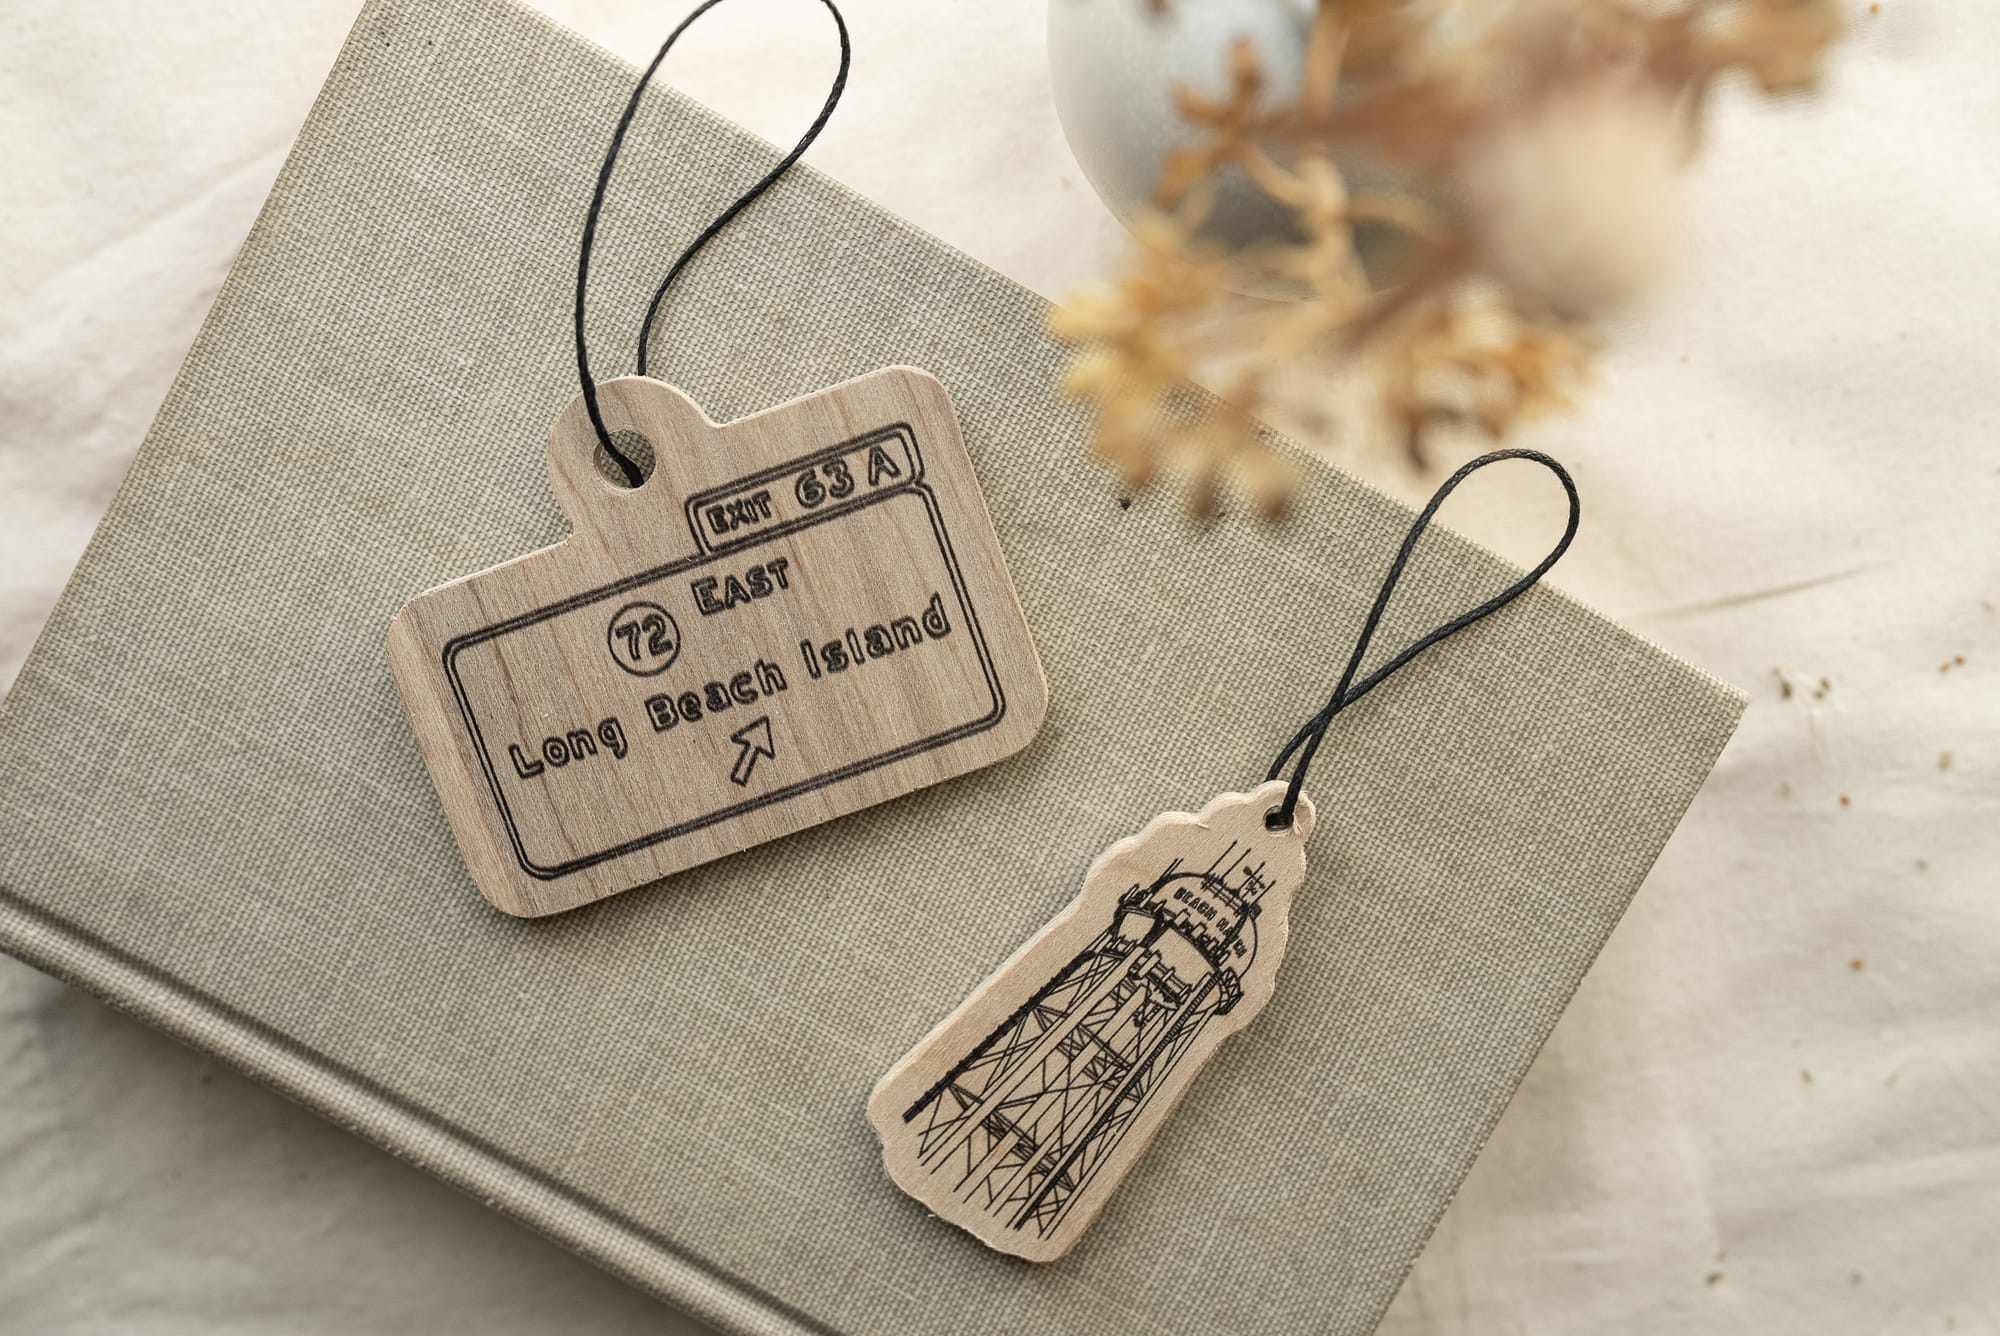
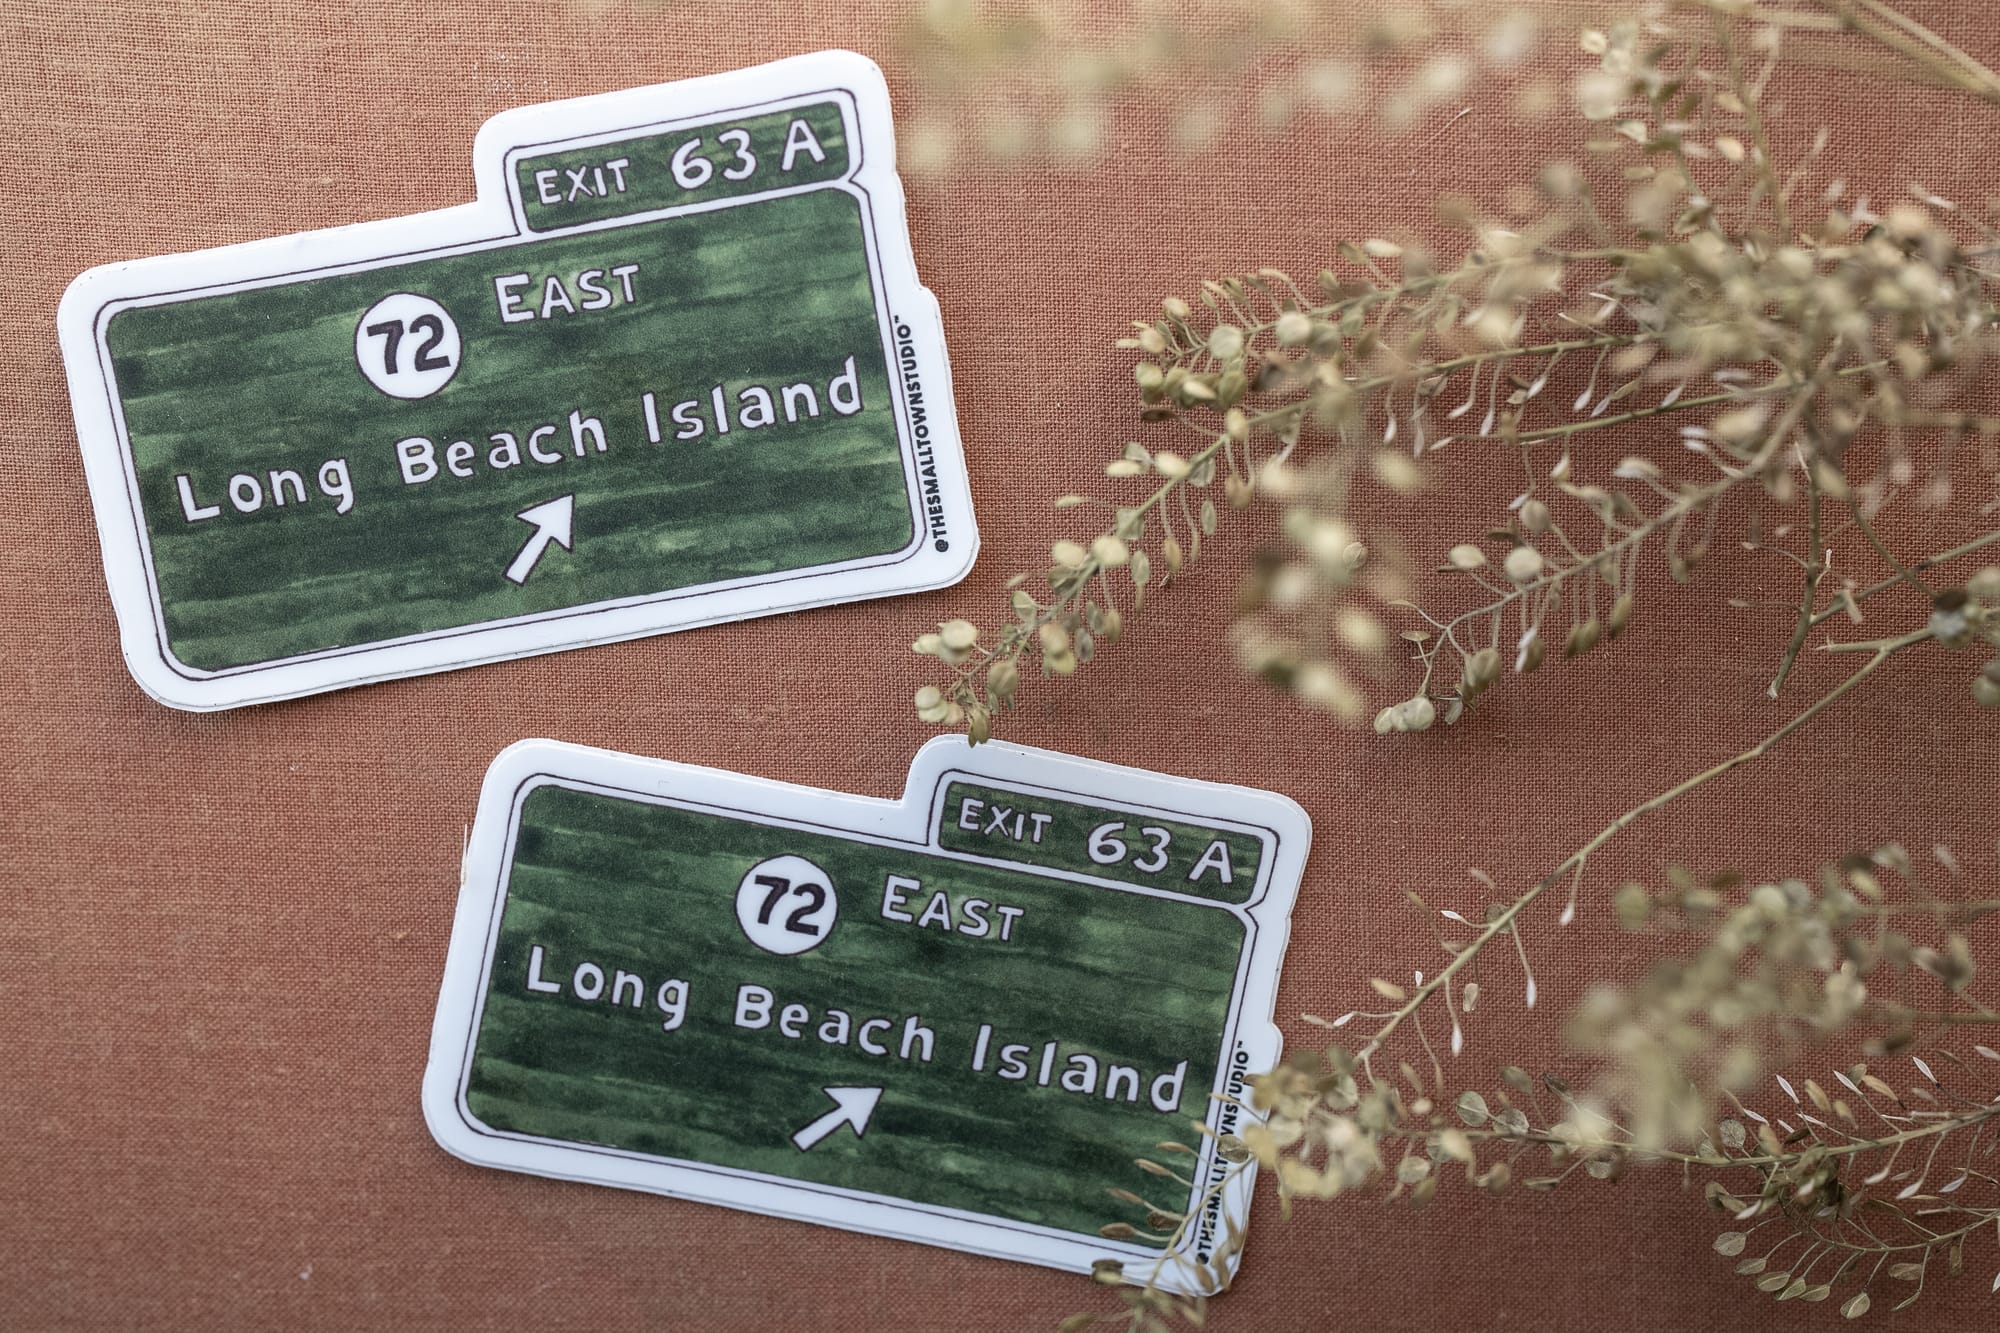
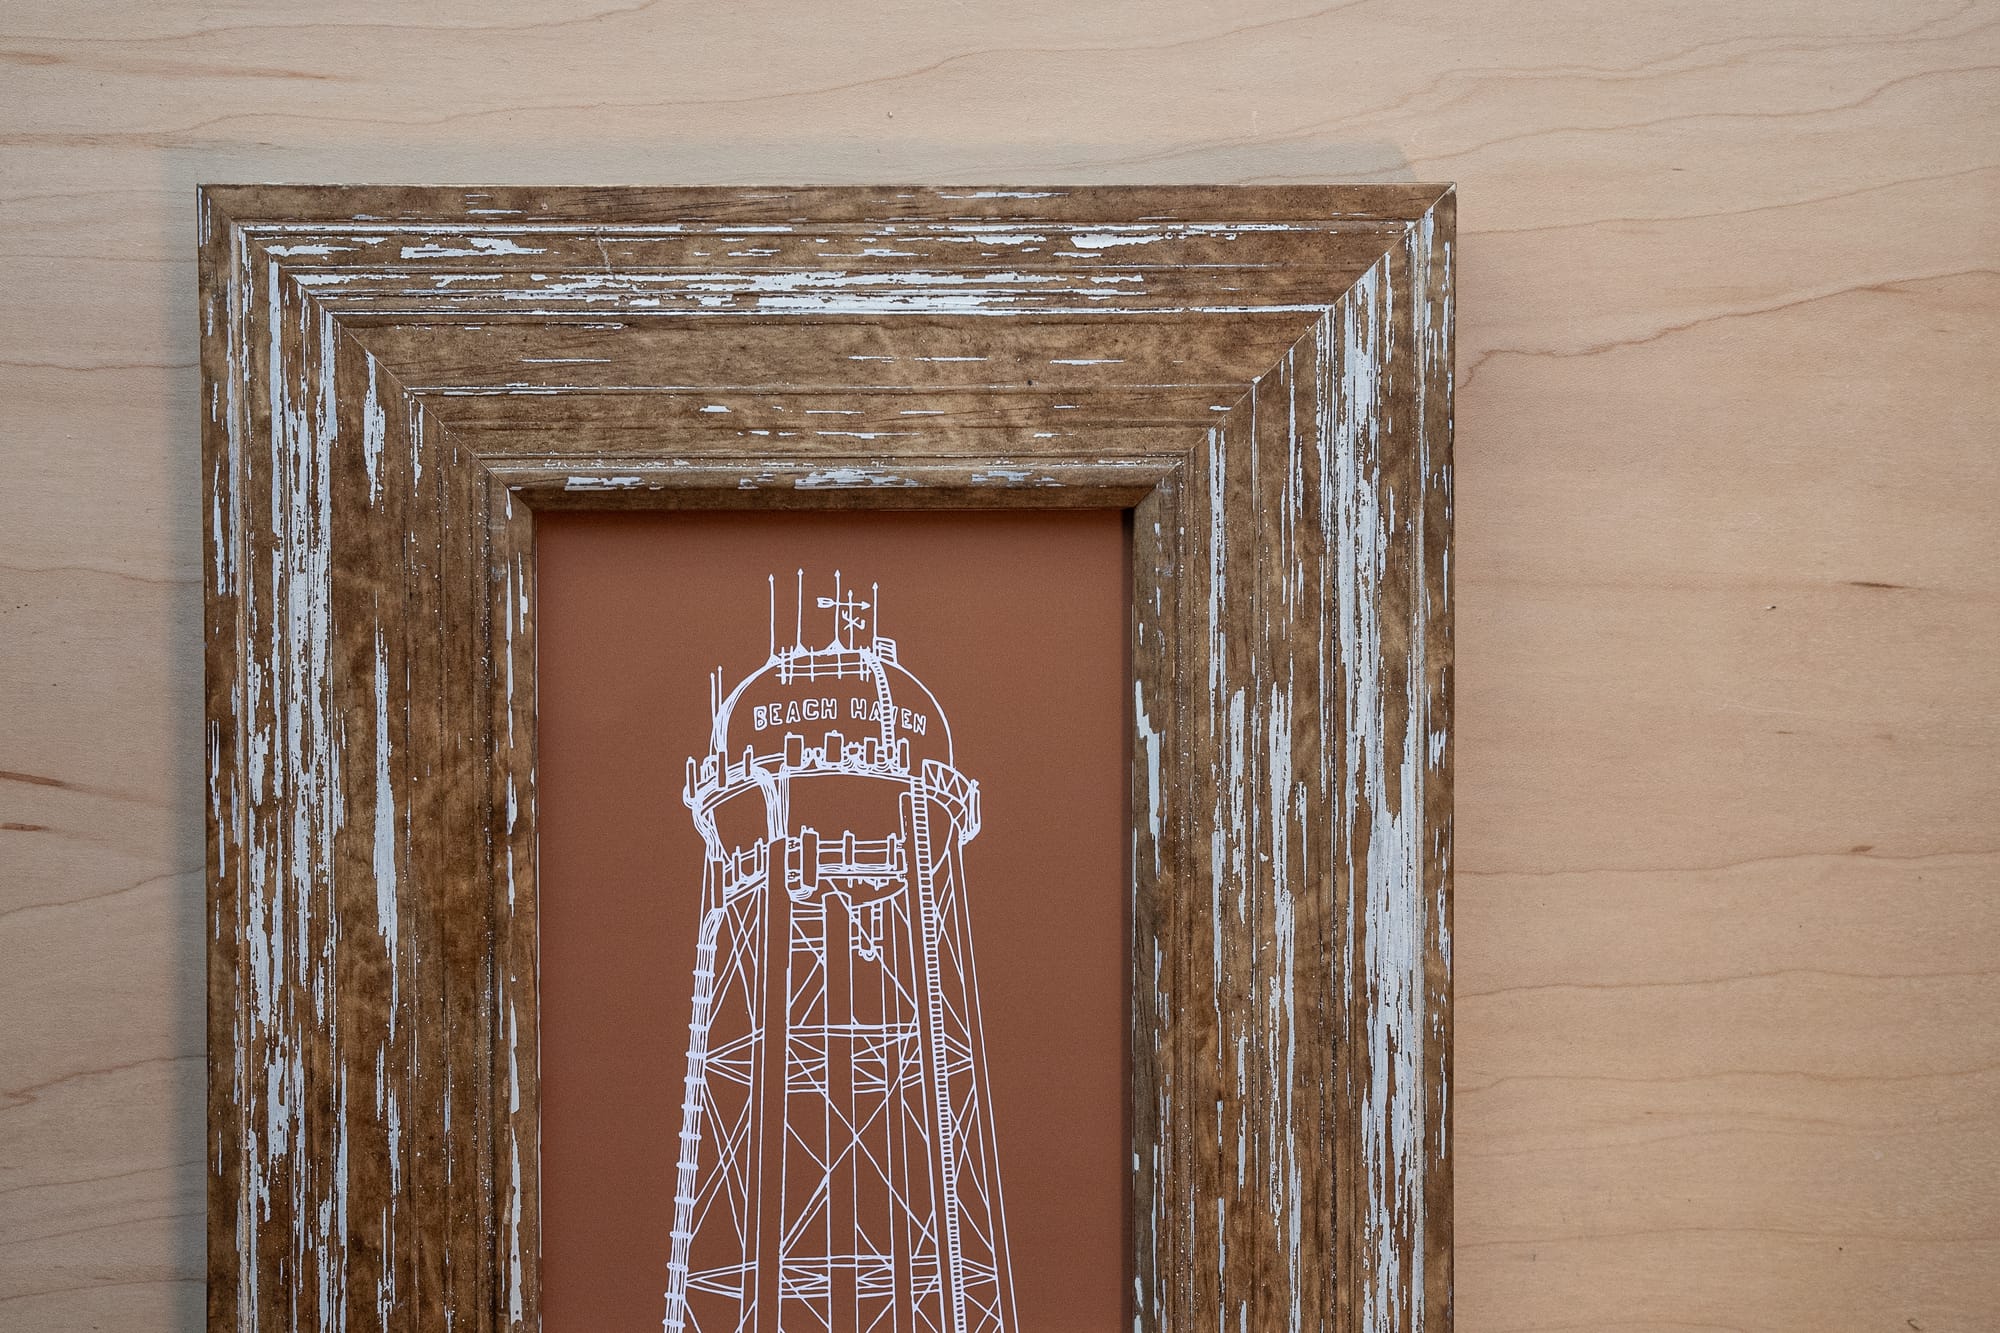
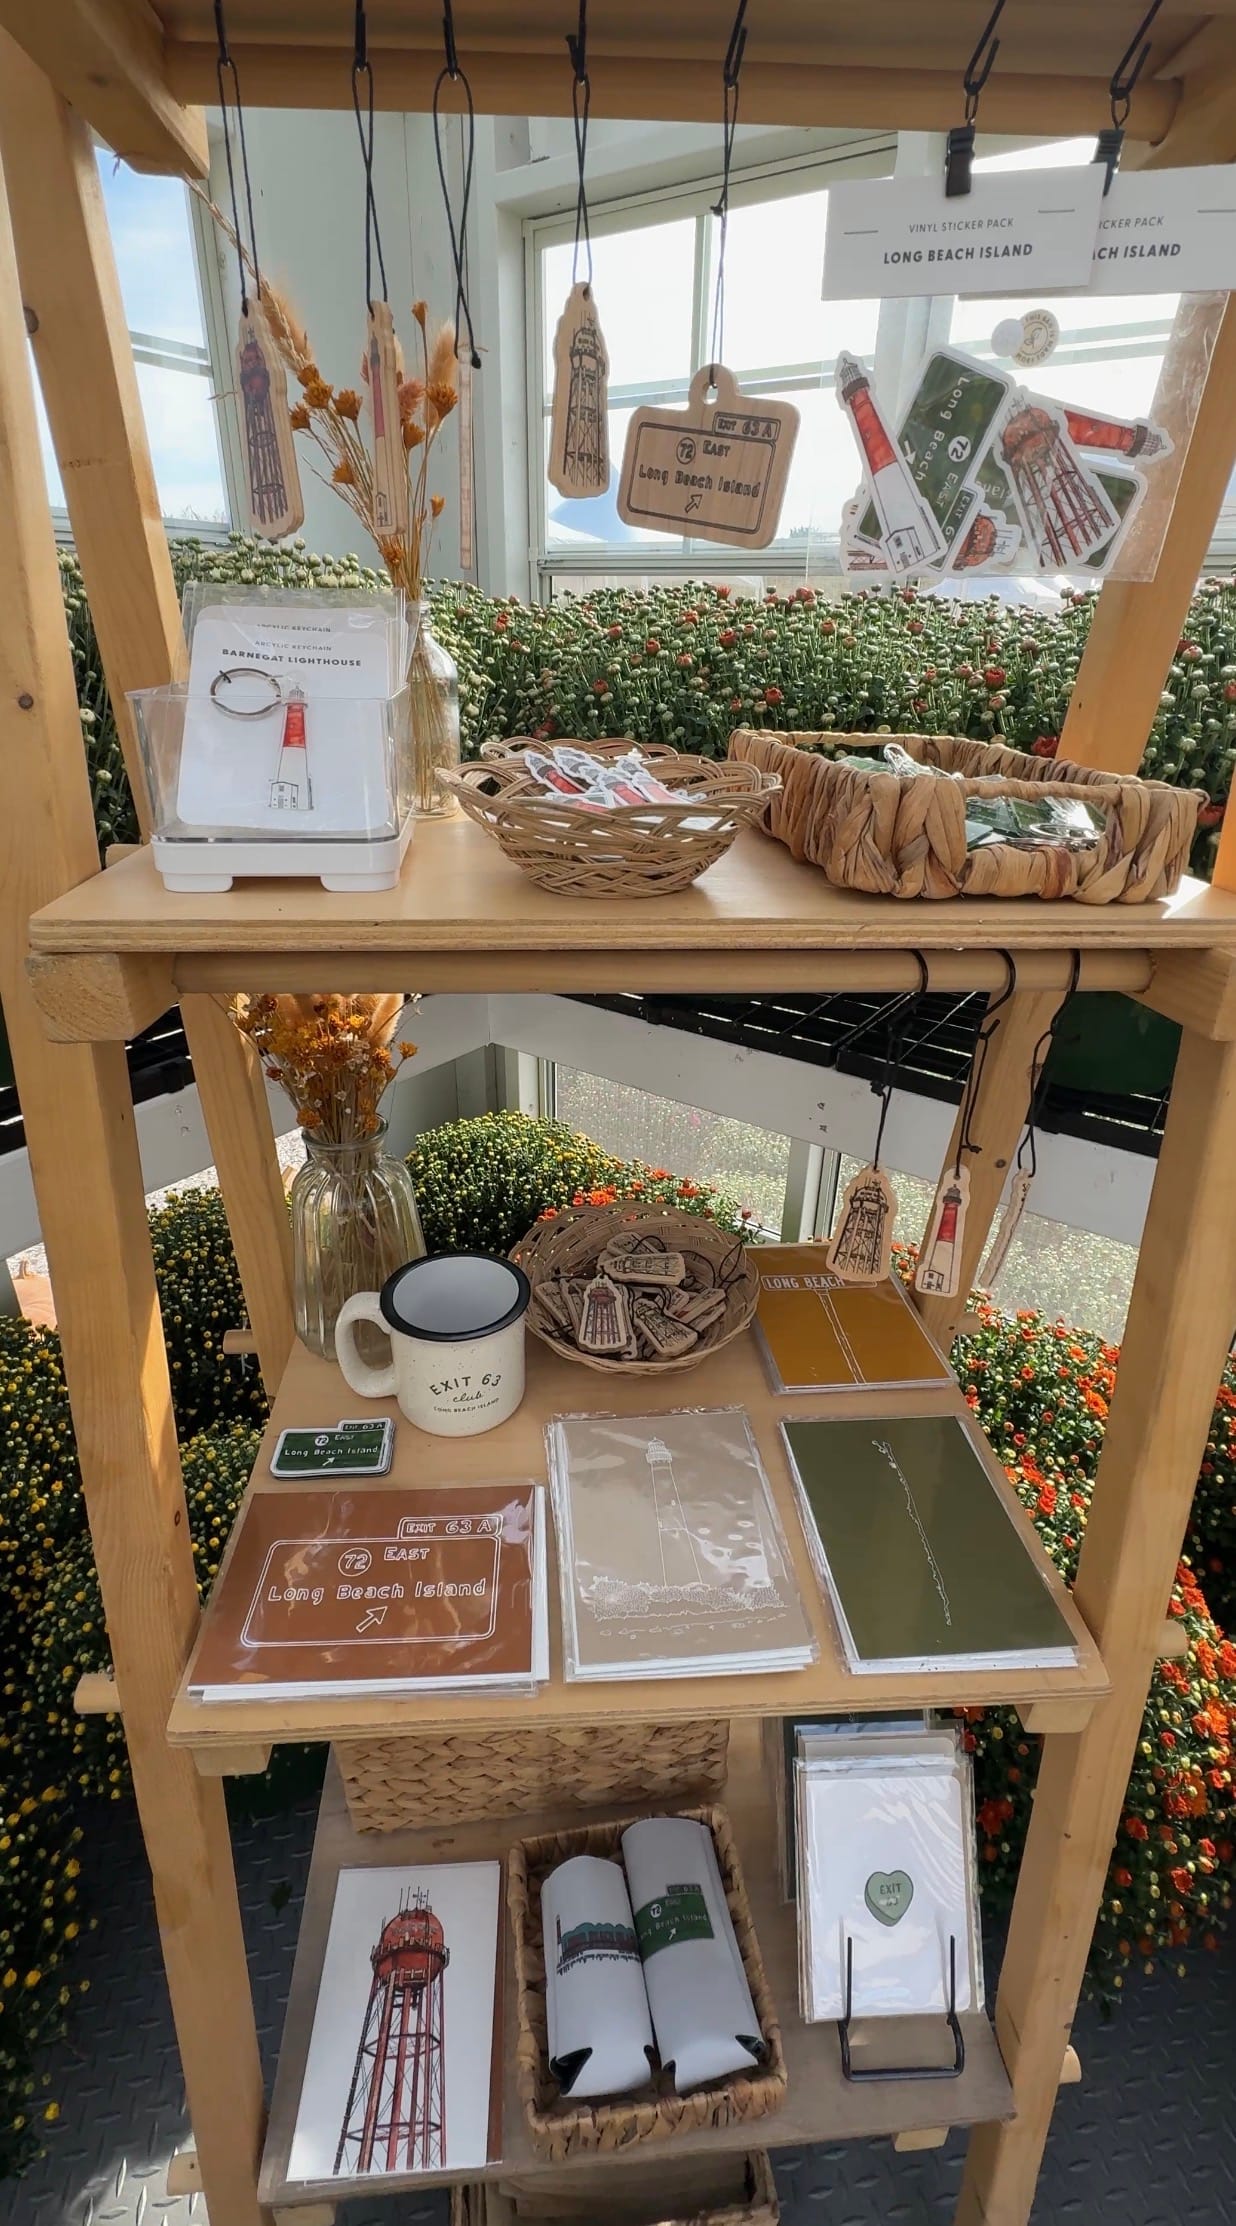
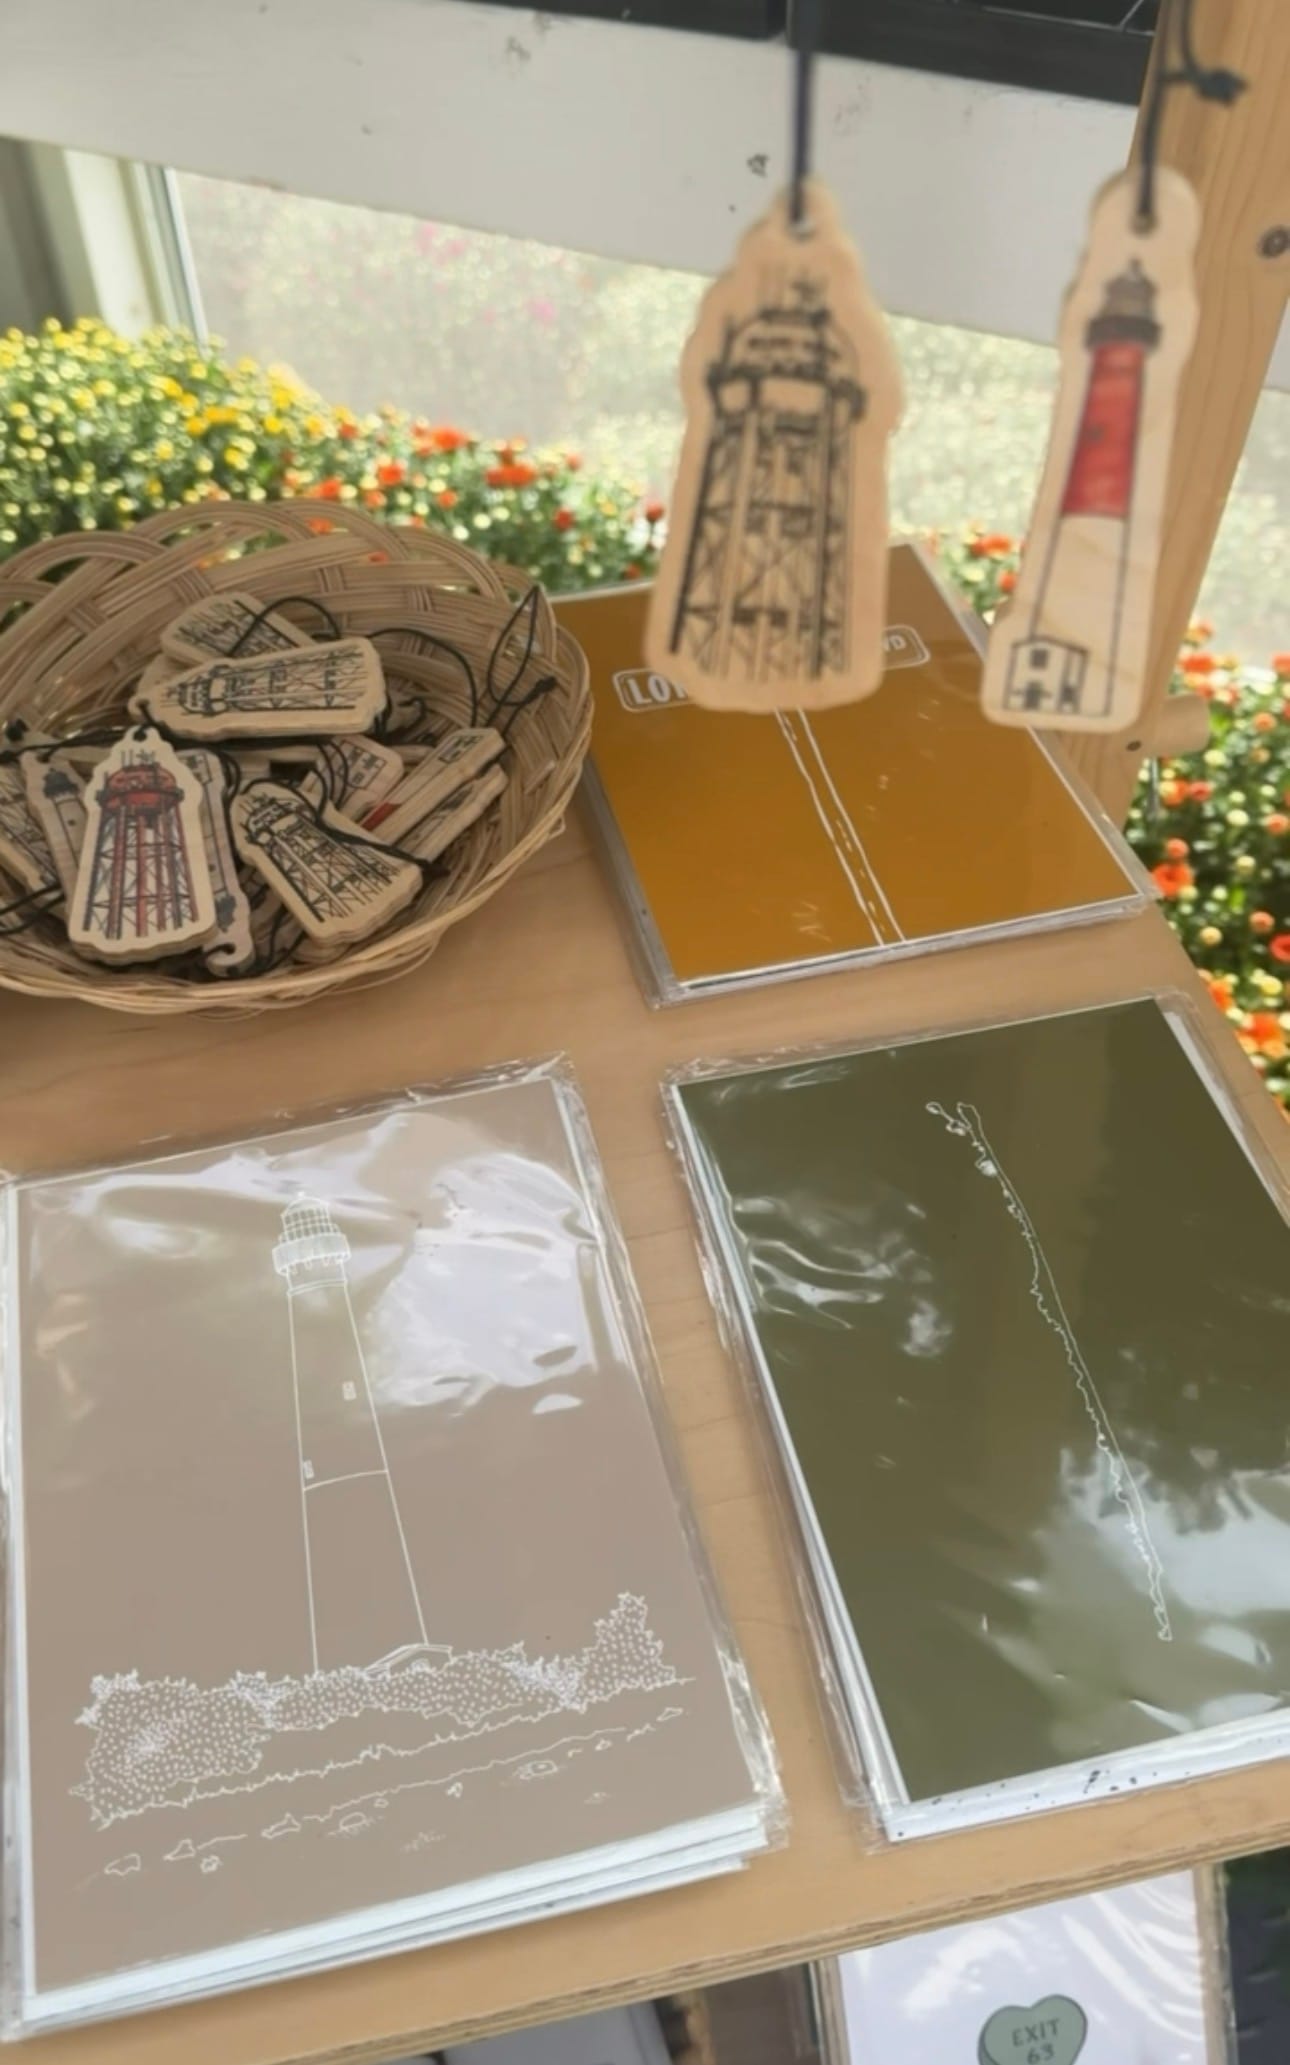
Exit 63 Long Beach Island Garden State Parkway Sign, The Barnegat Lighthouse + The Beach Haven Water Tower key chains!
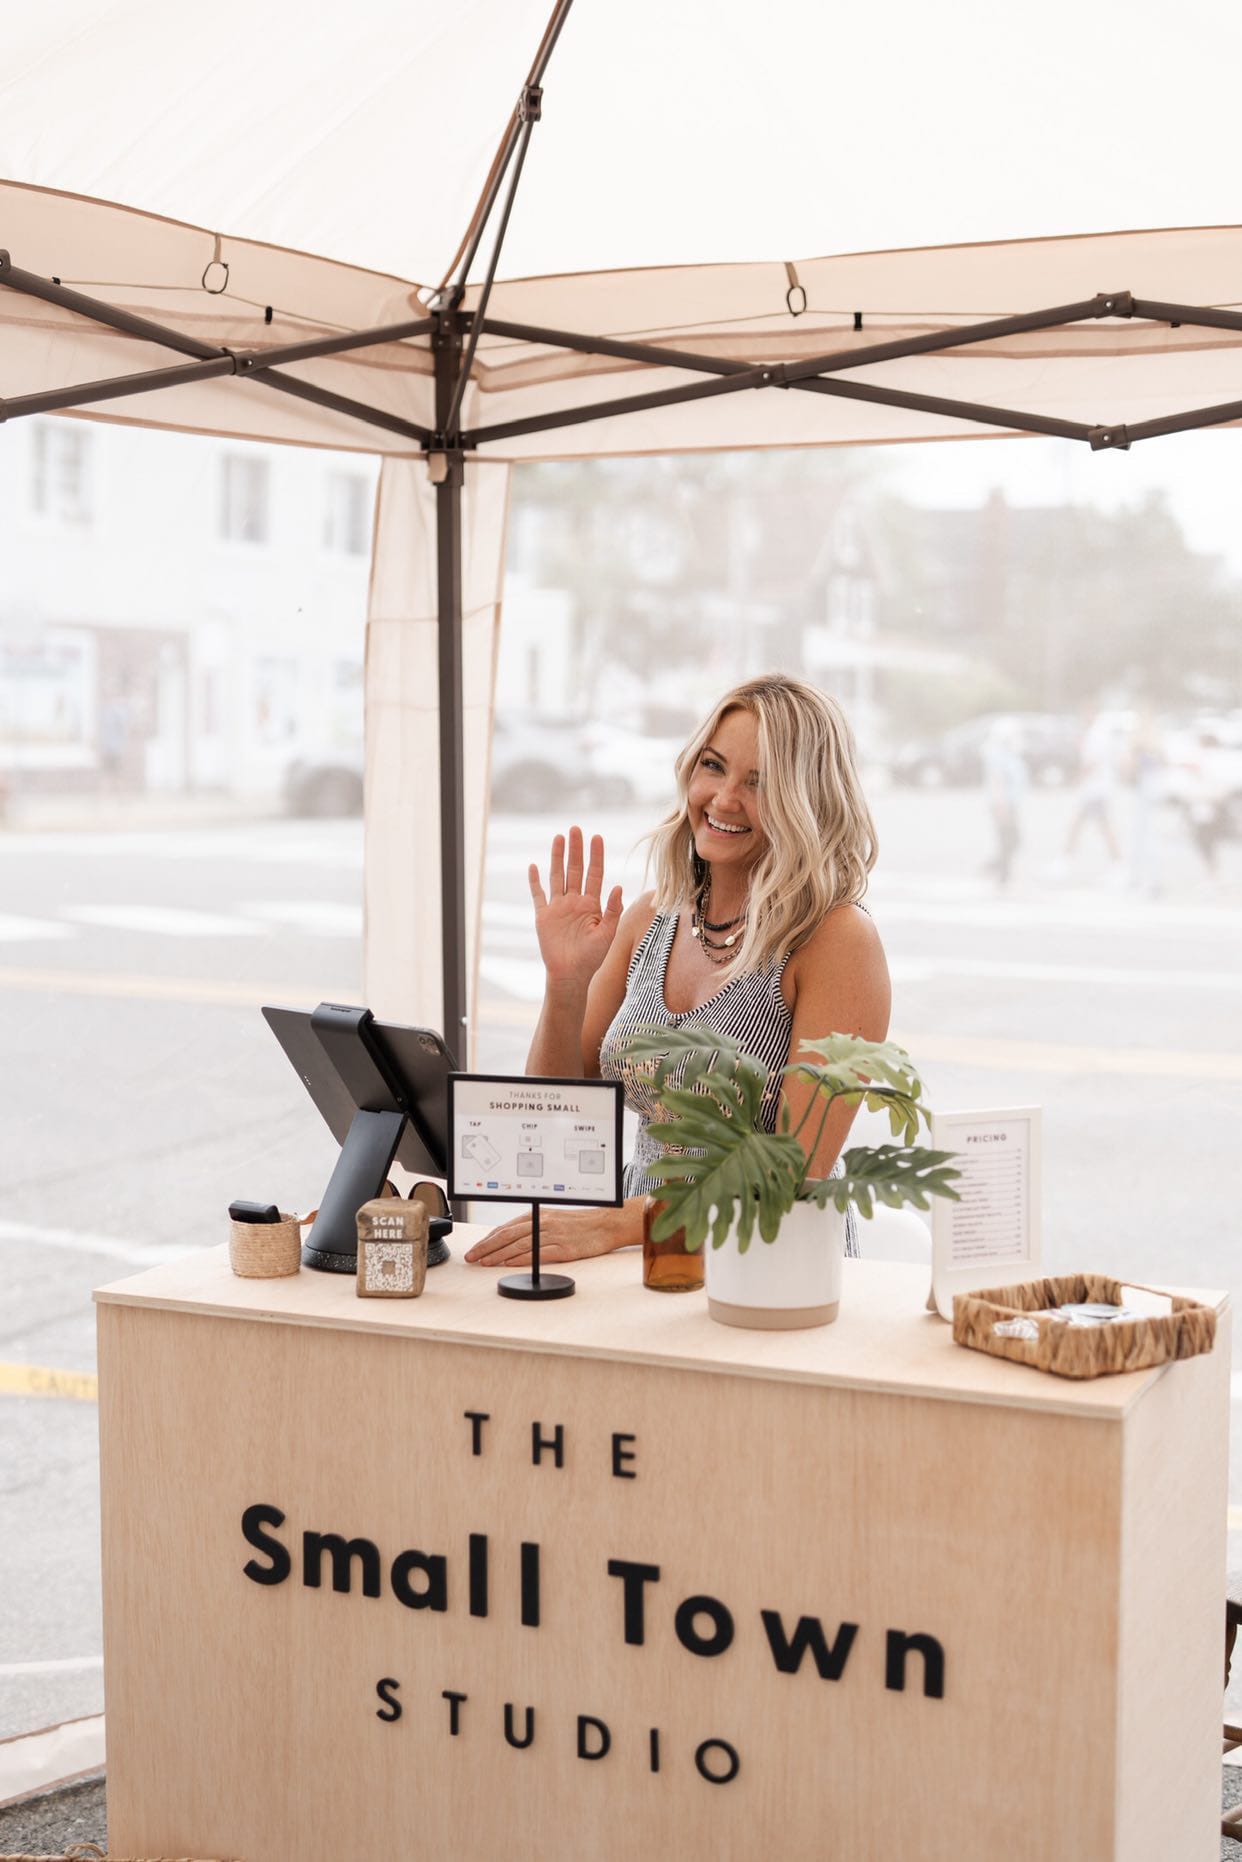
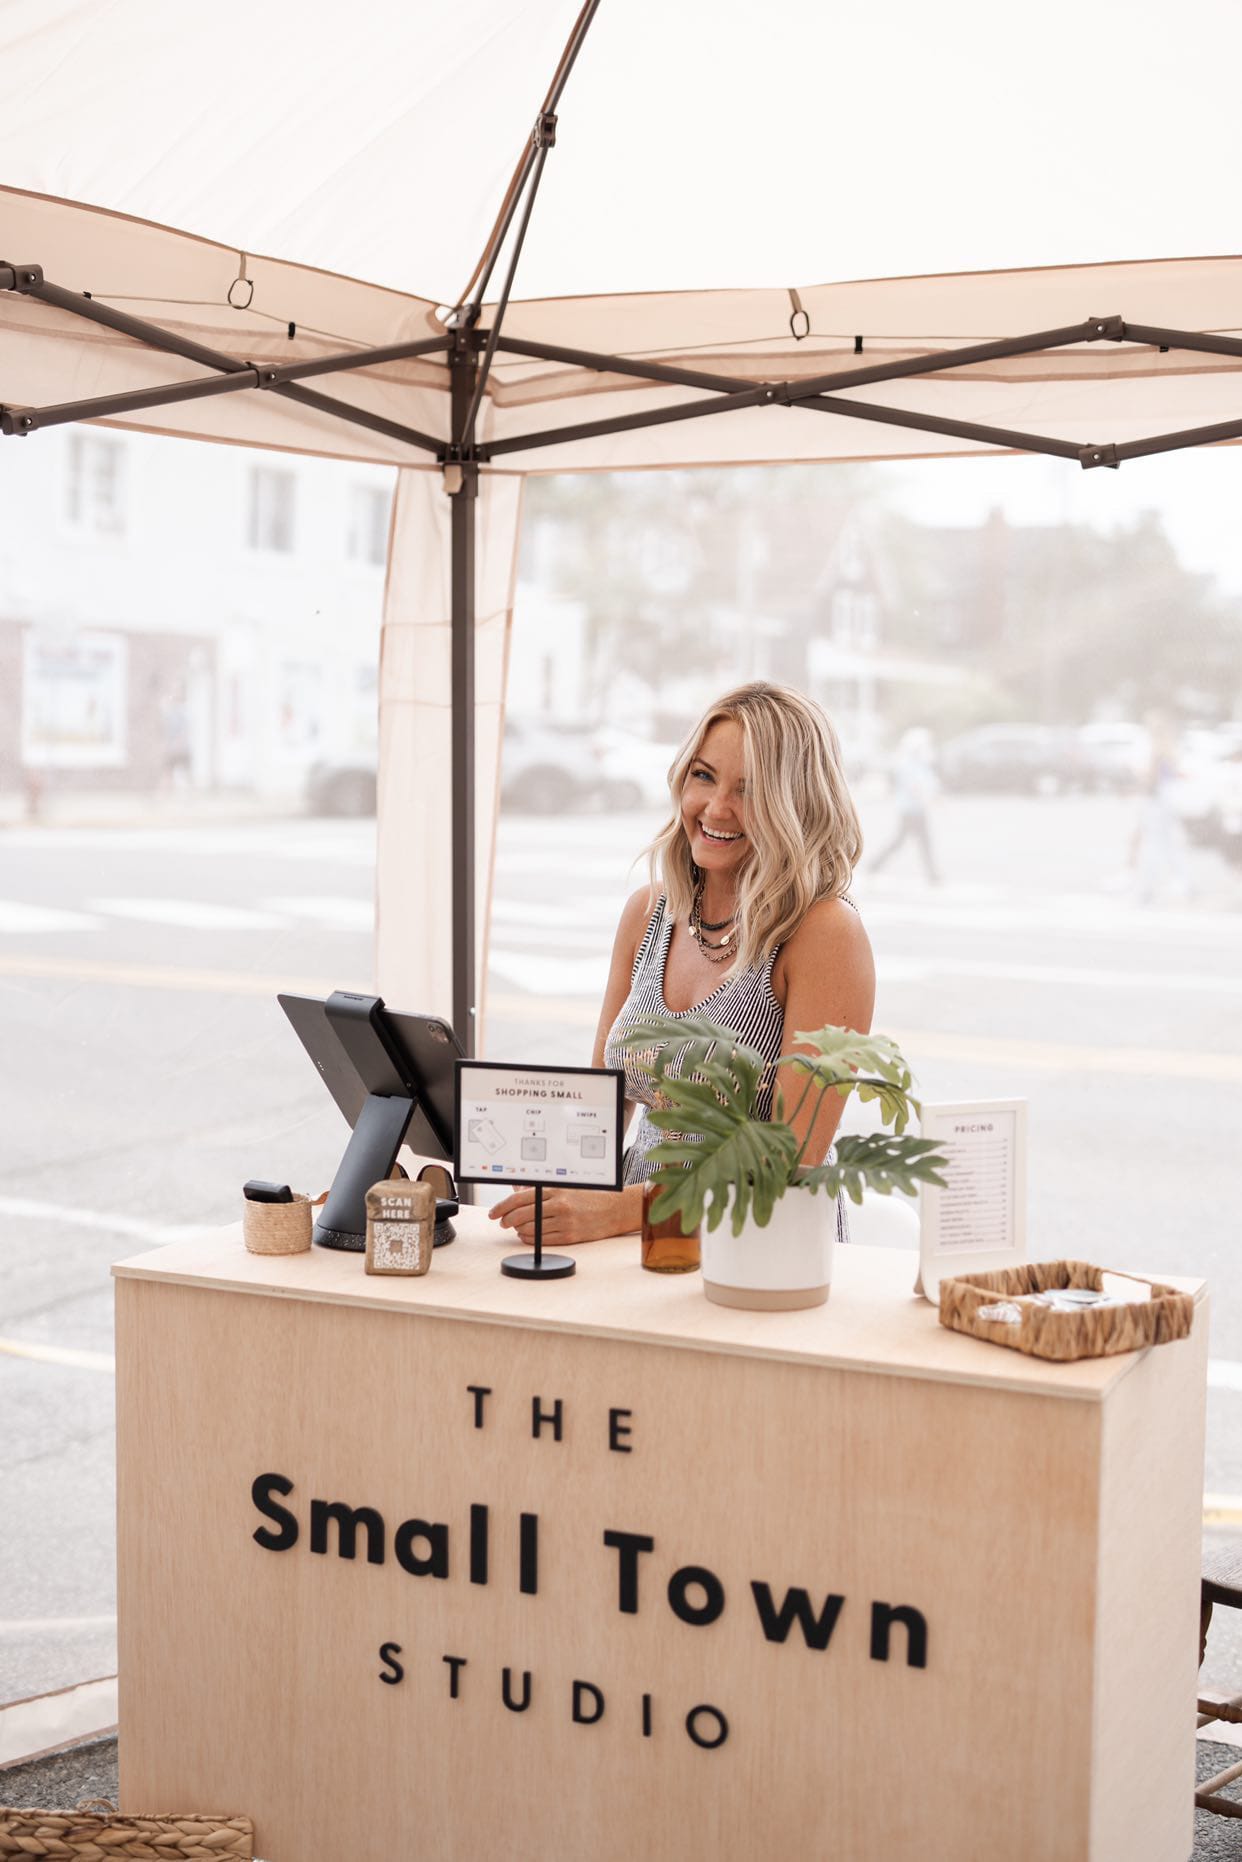
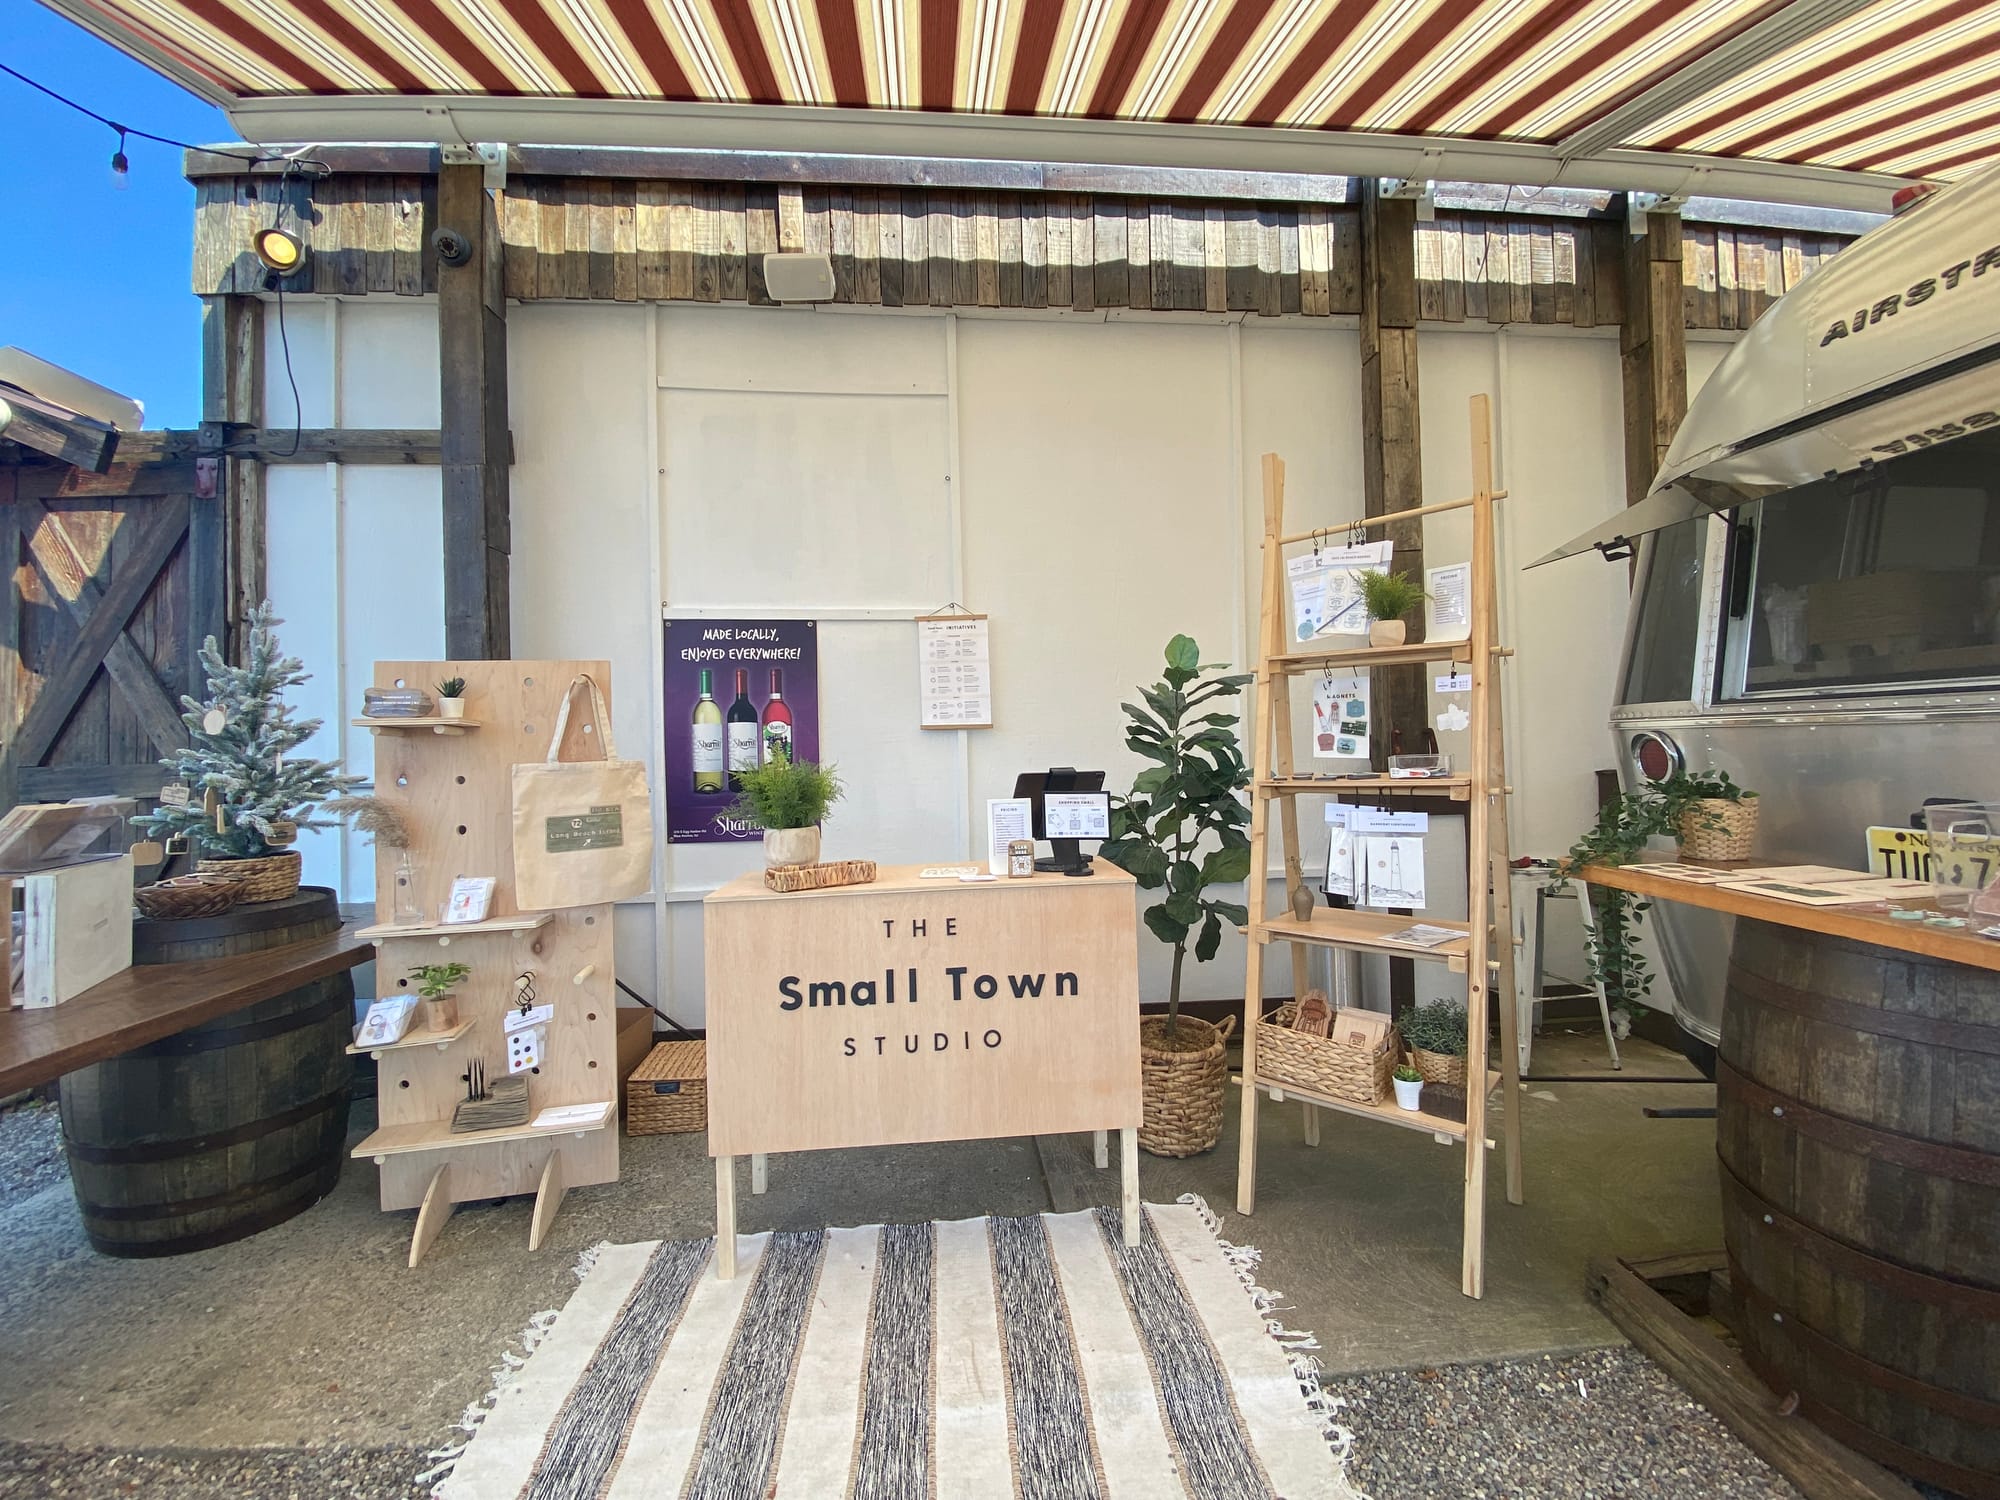
My very first Pop-Up was at the Terrace Tavern on 11/27/21 and I was so nervous.
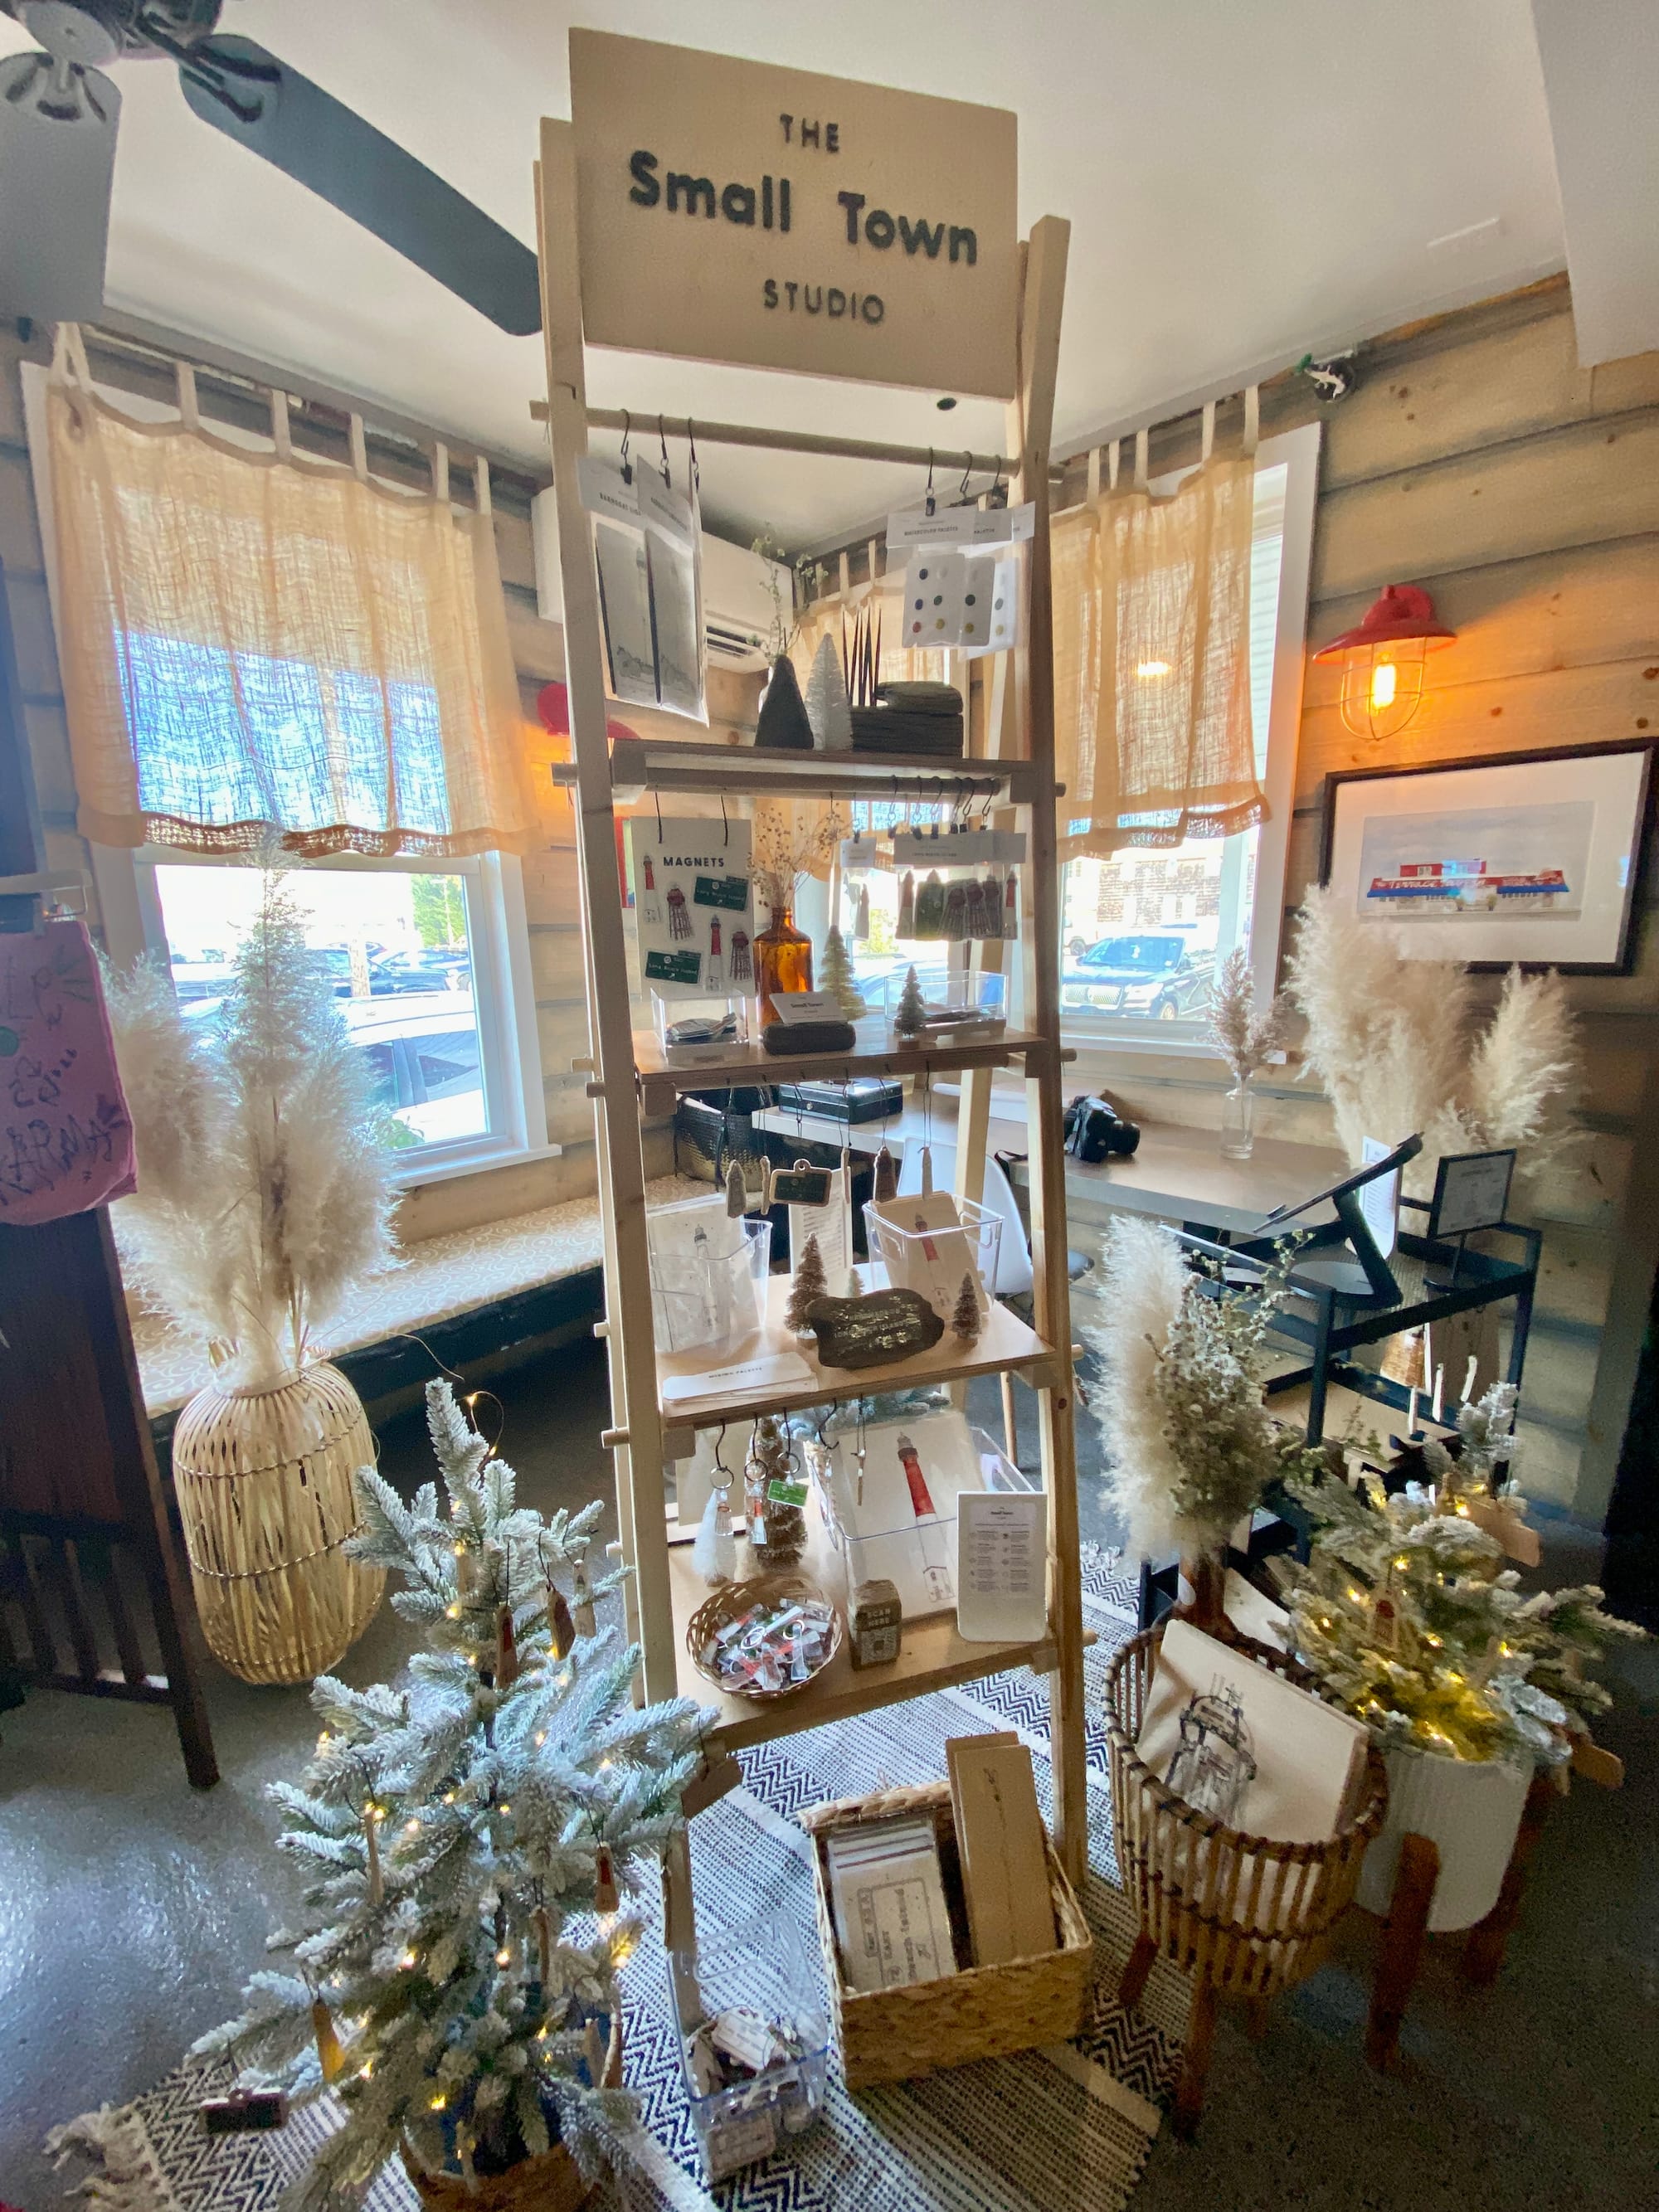
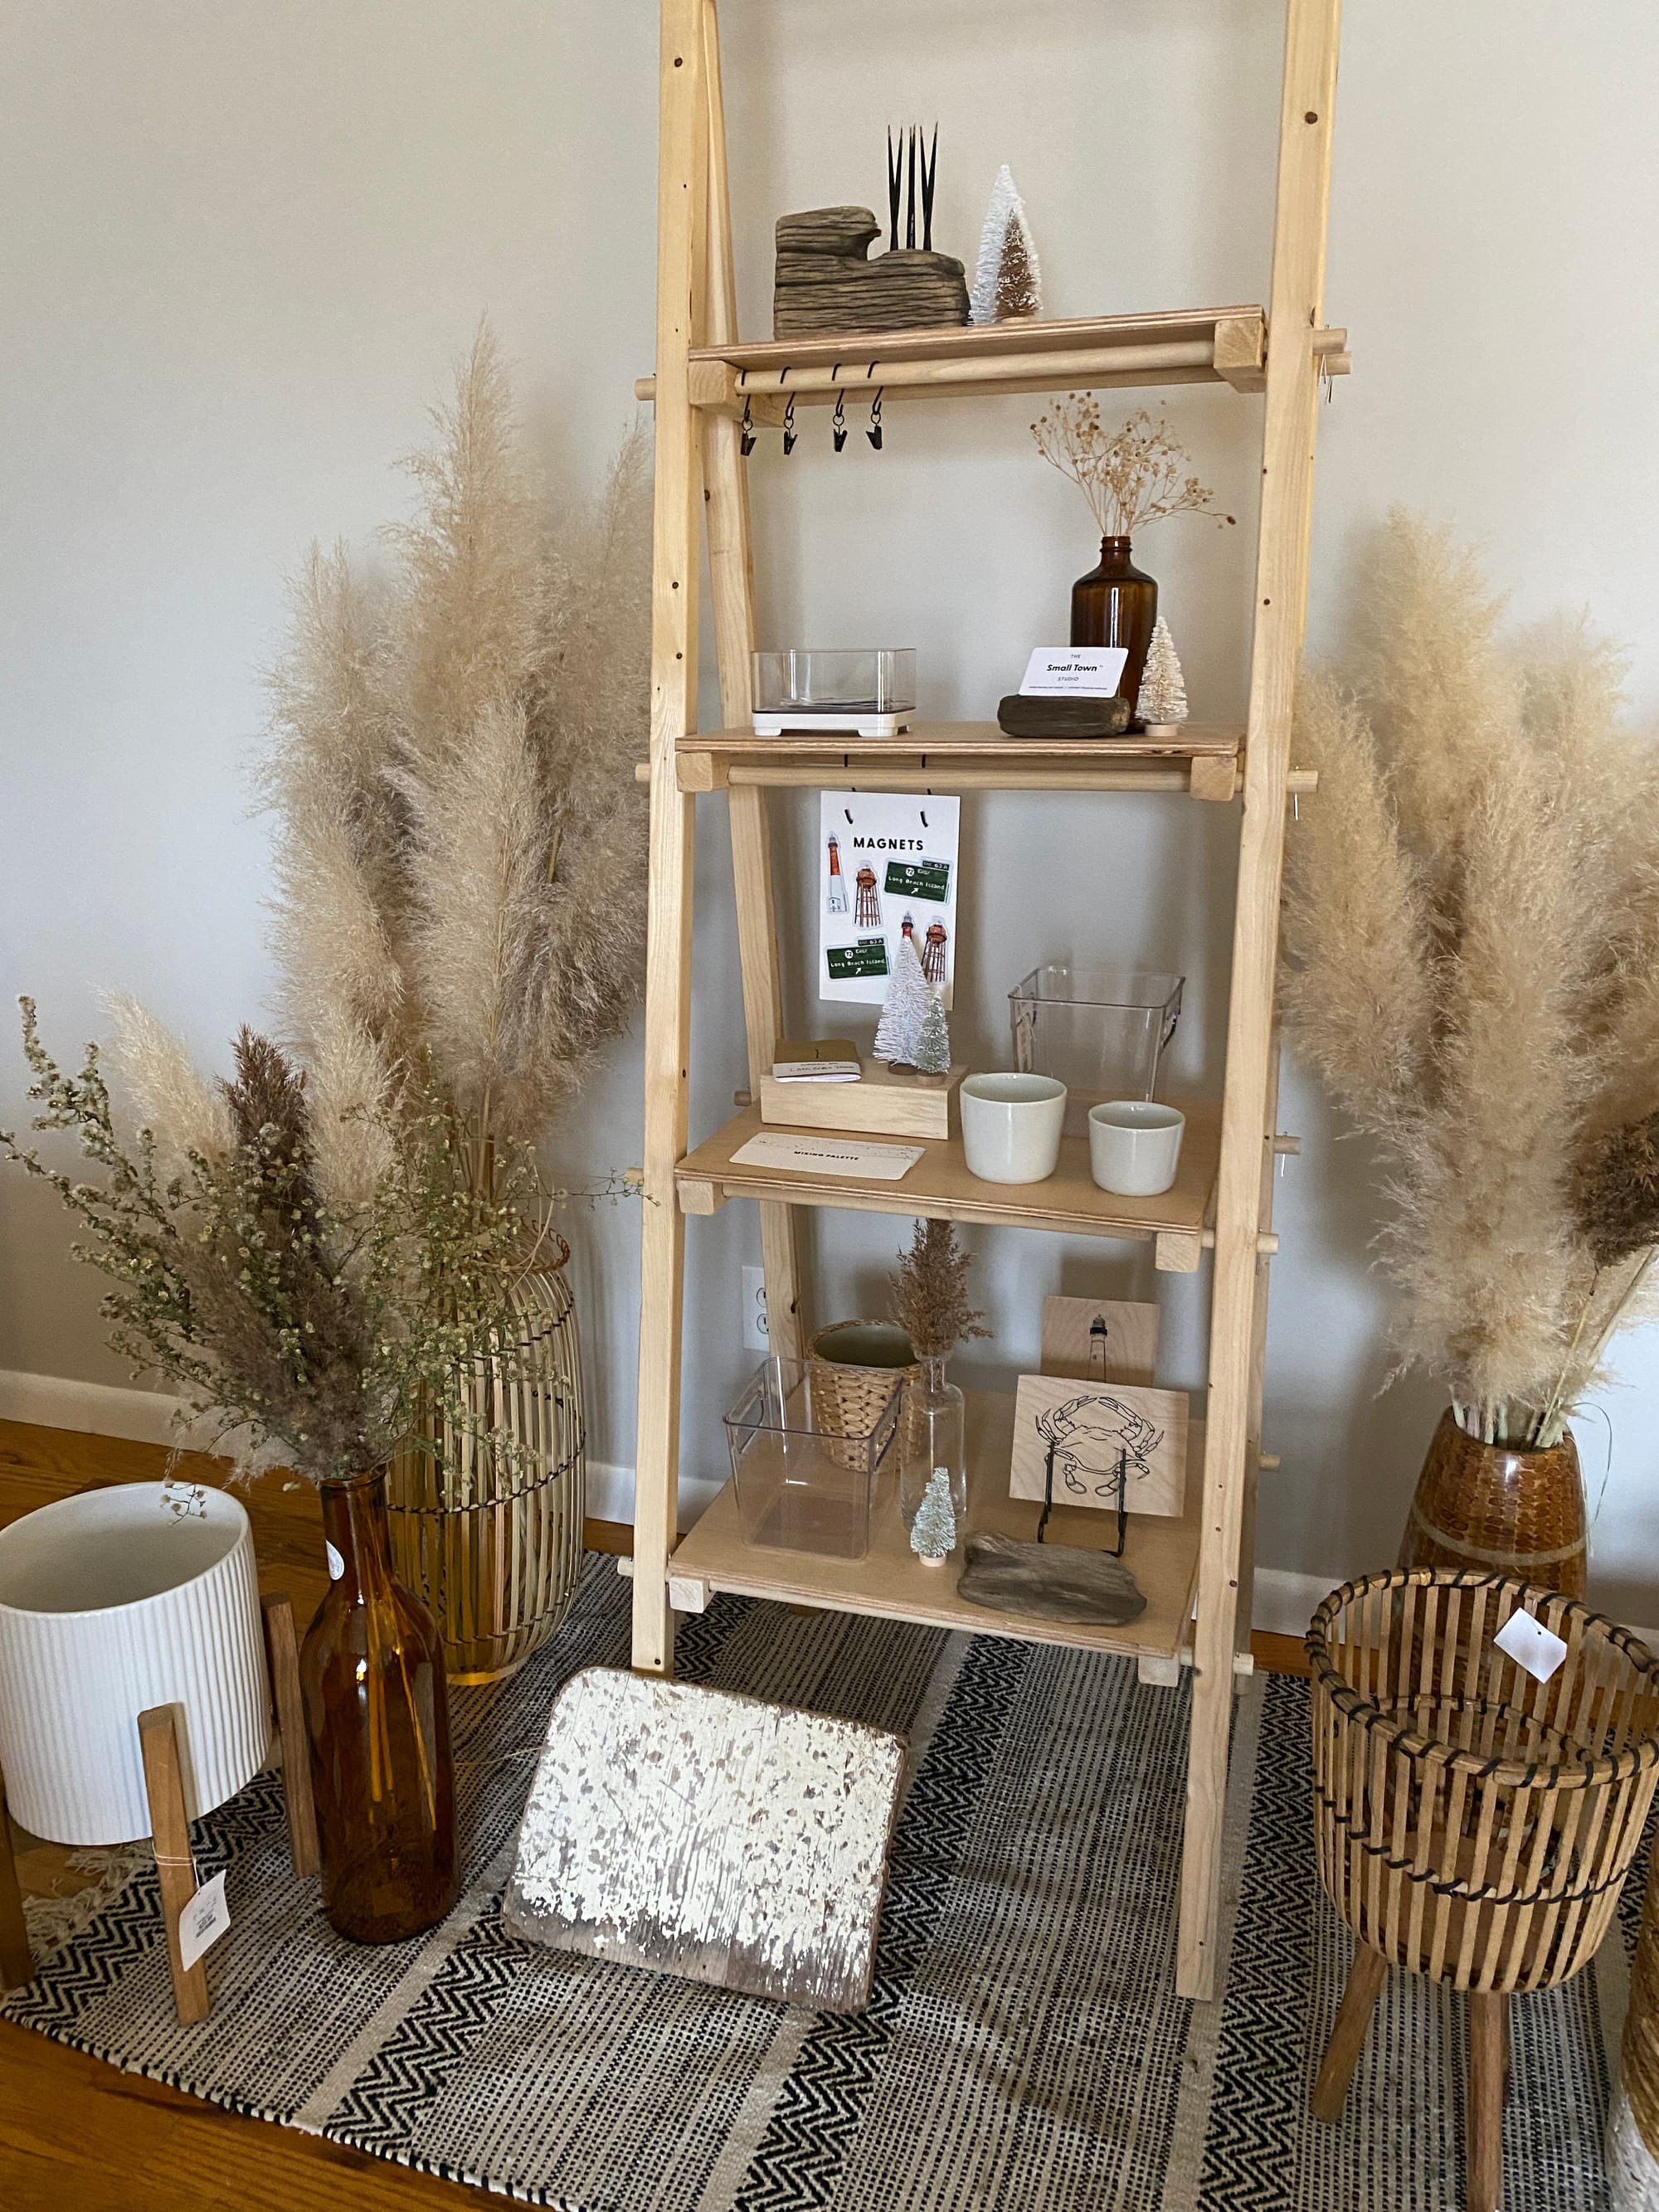
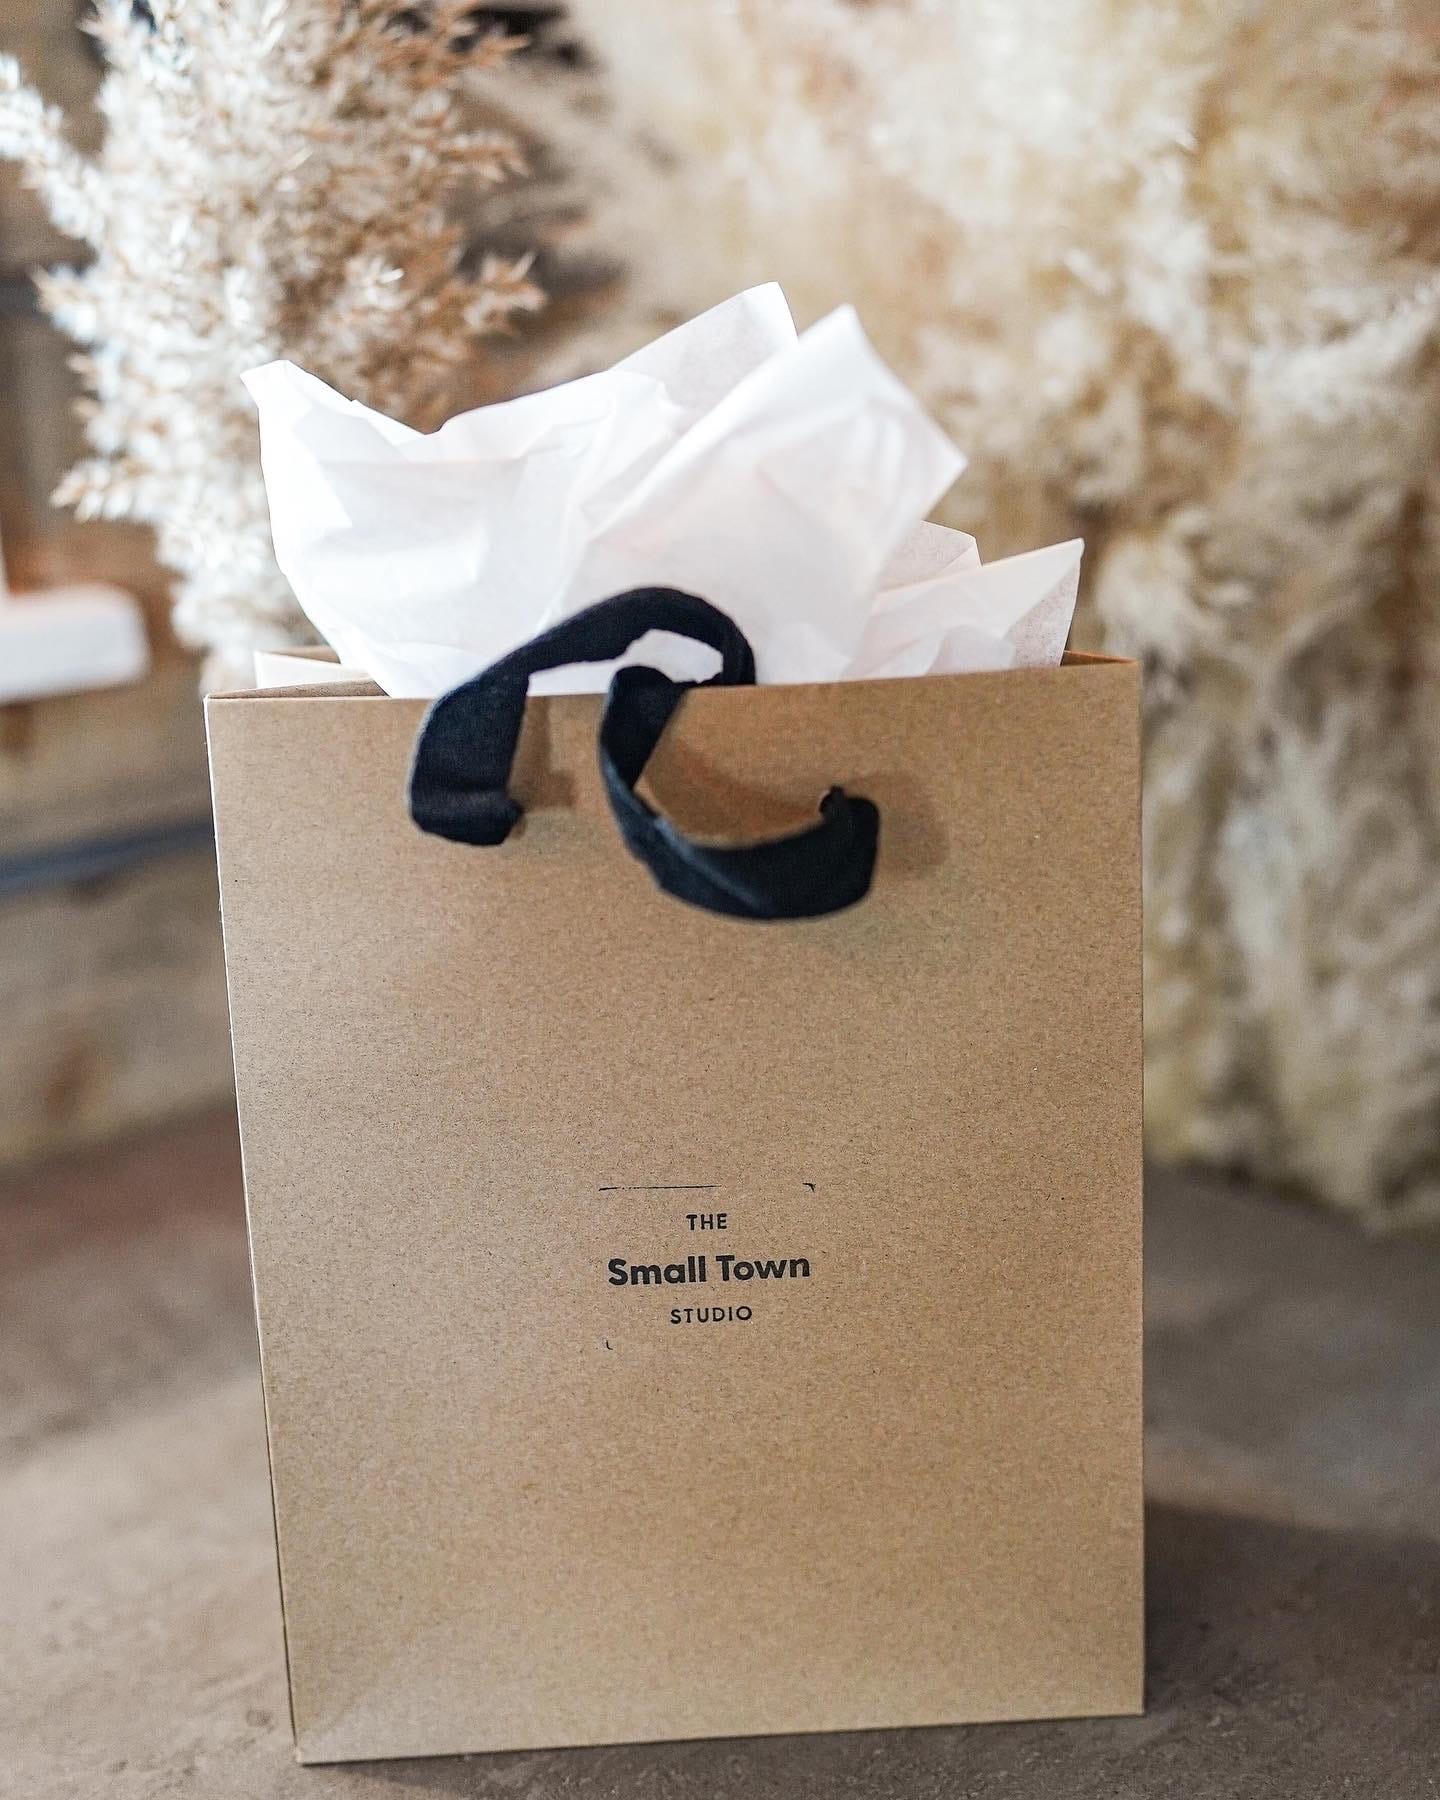
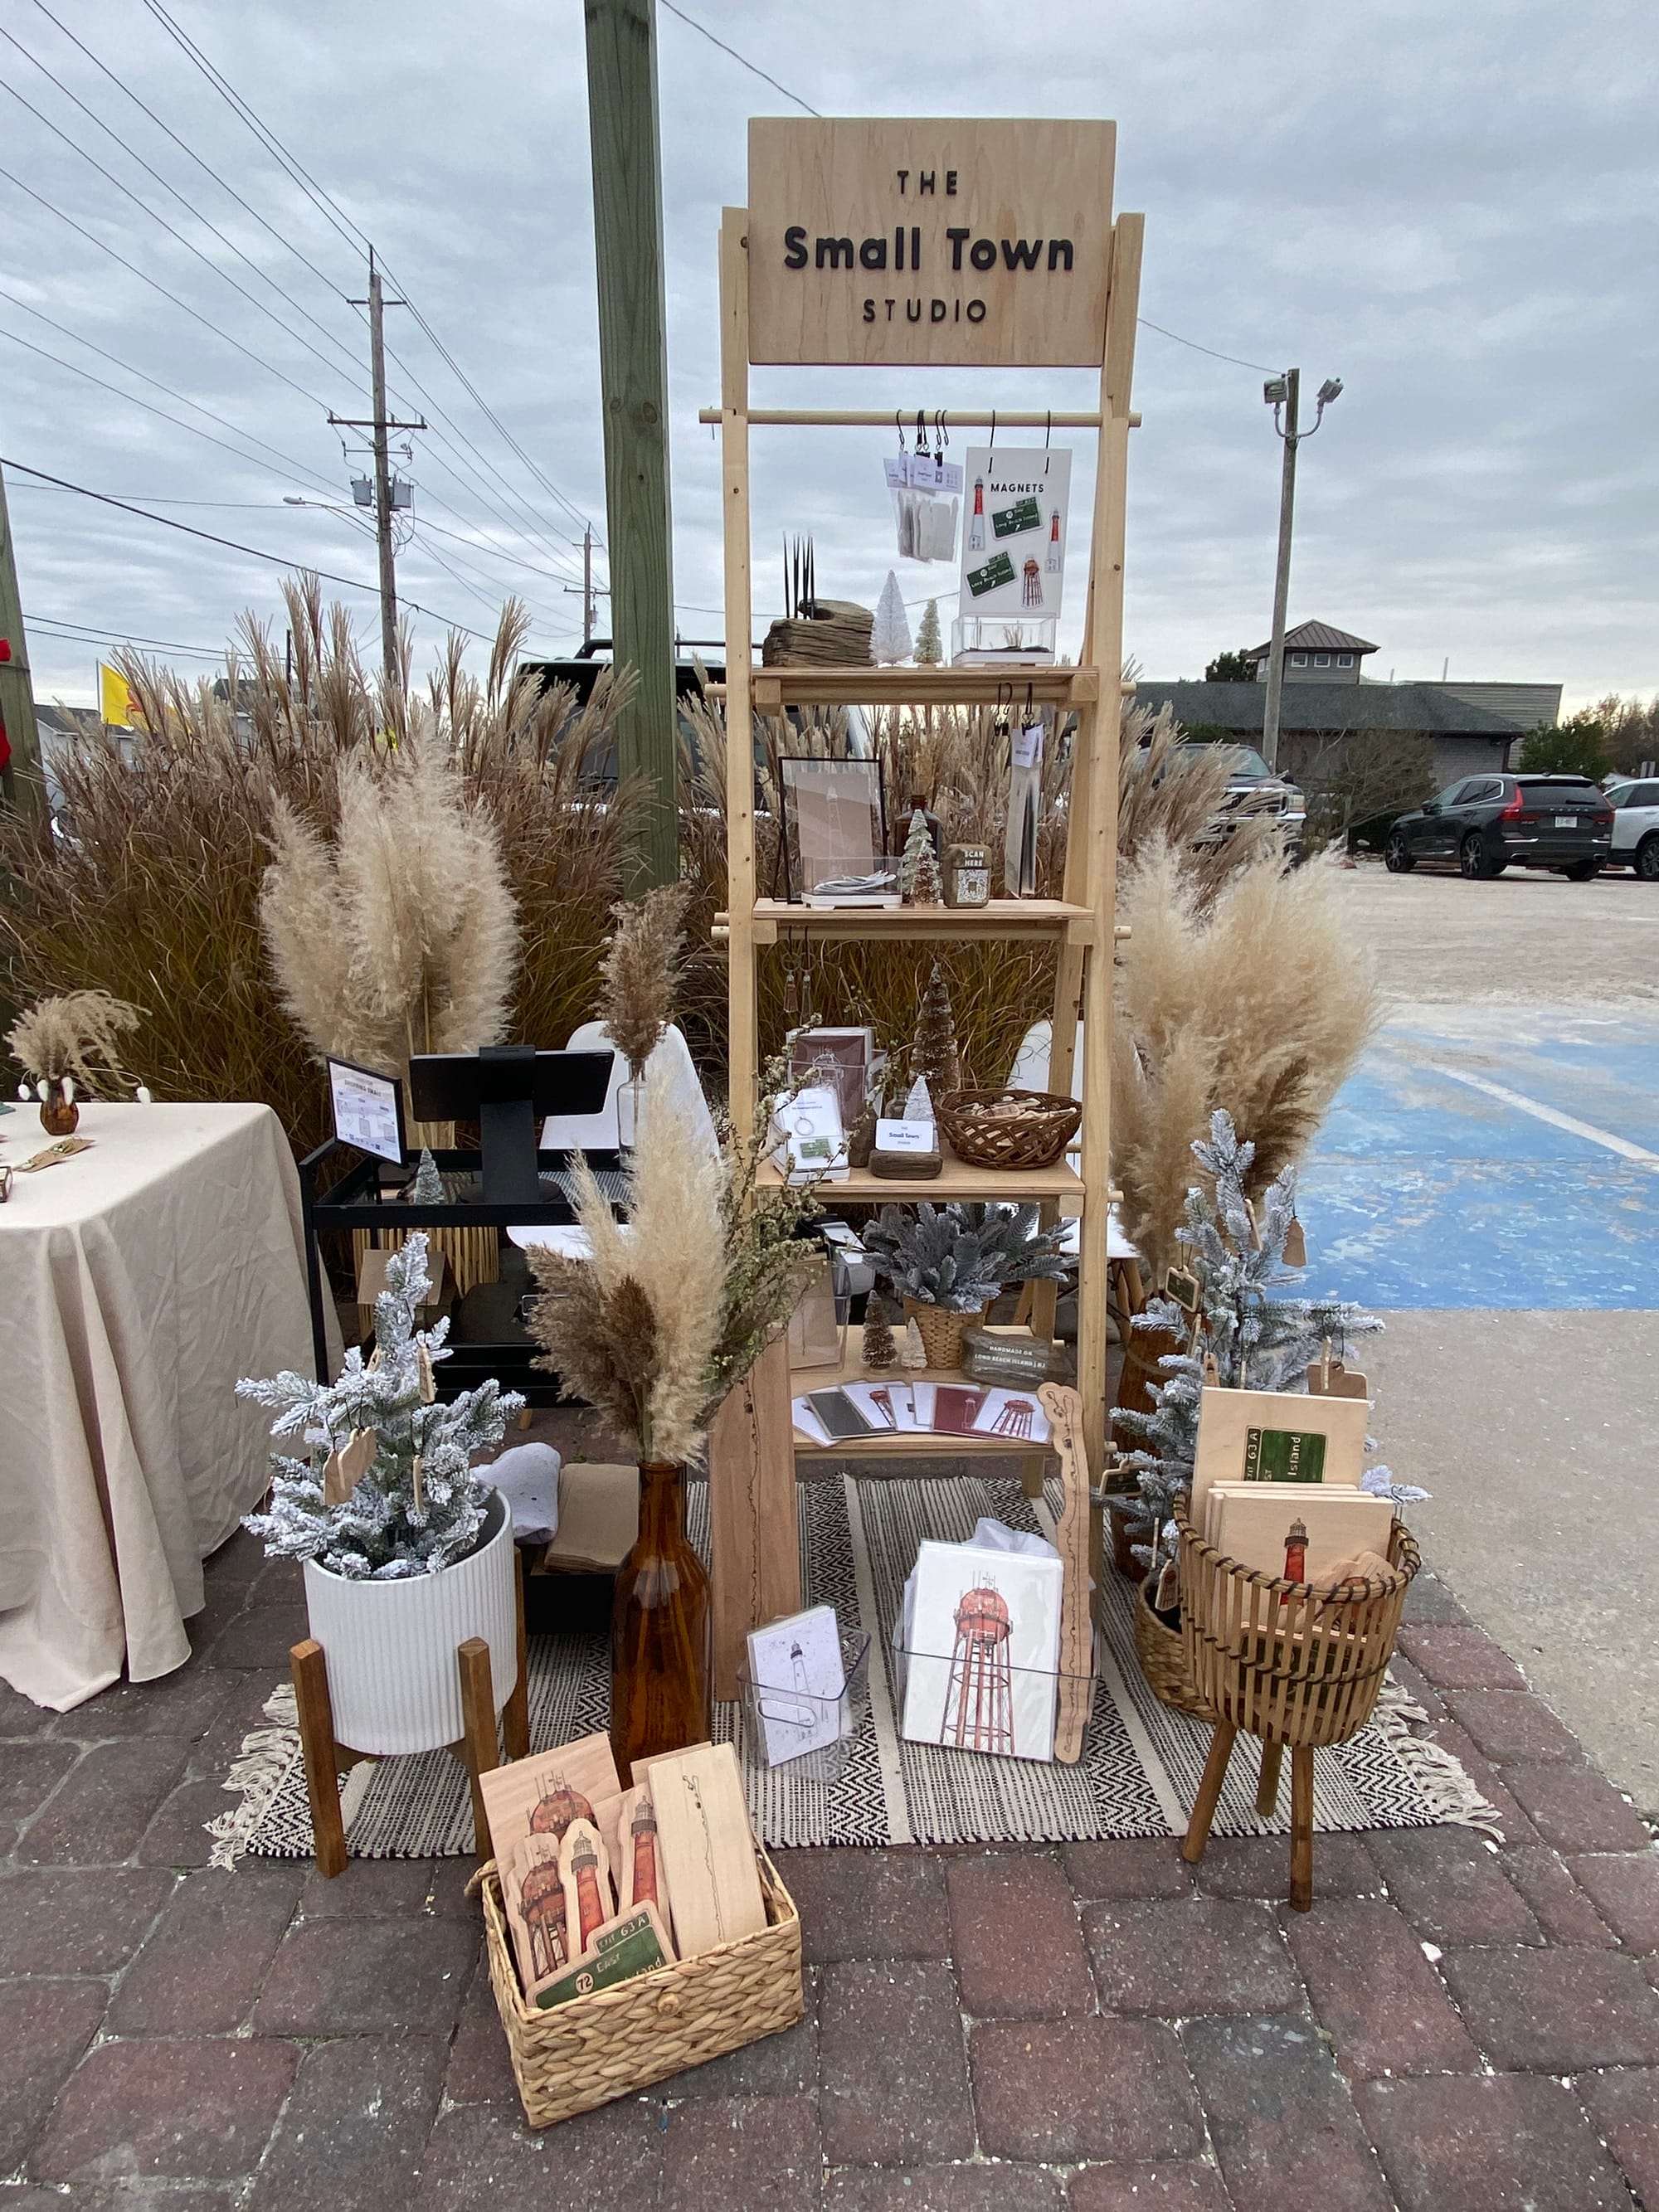
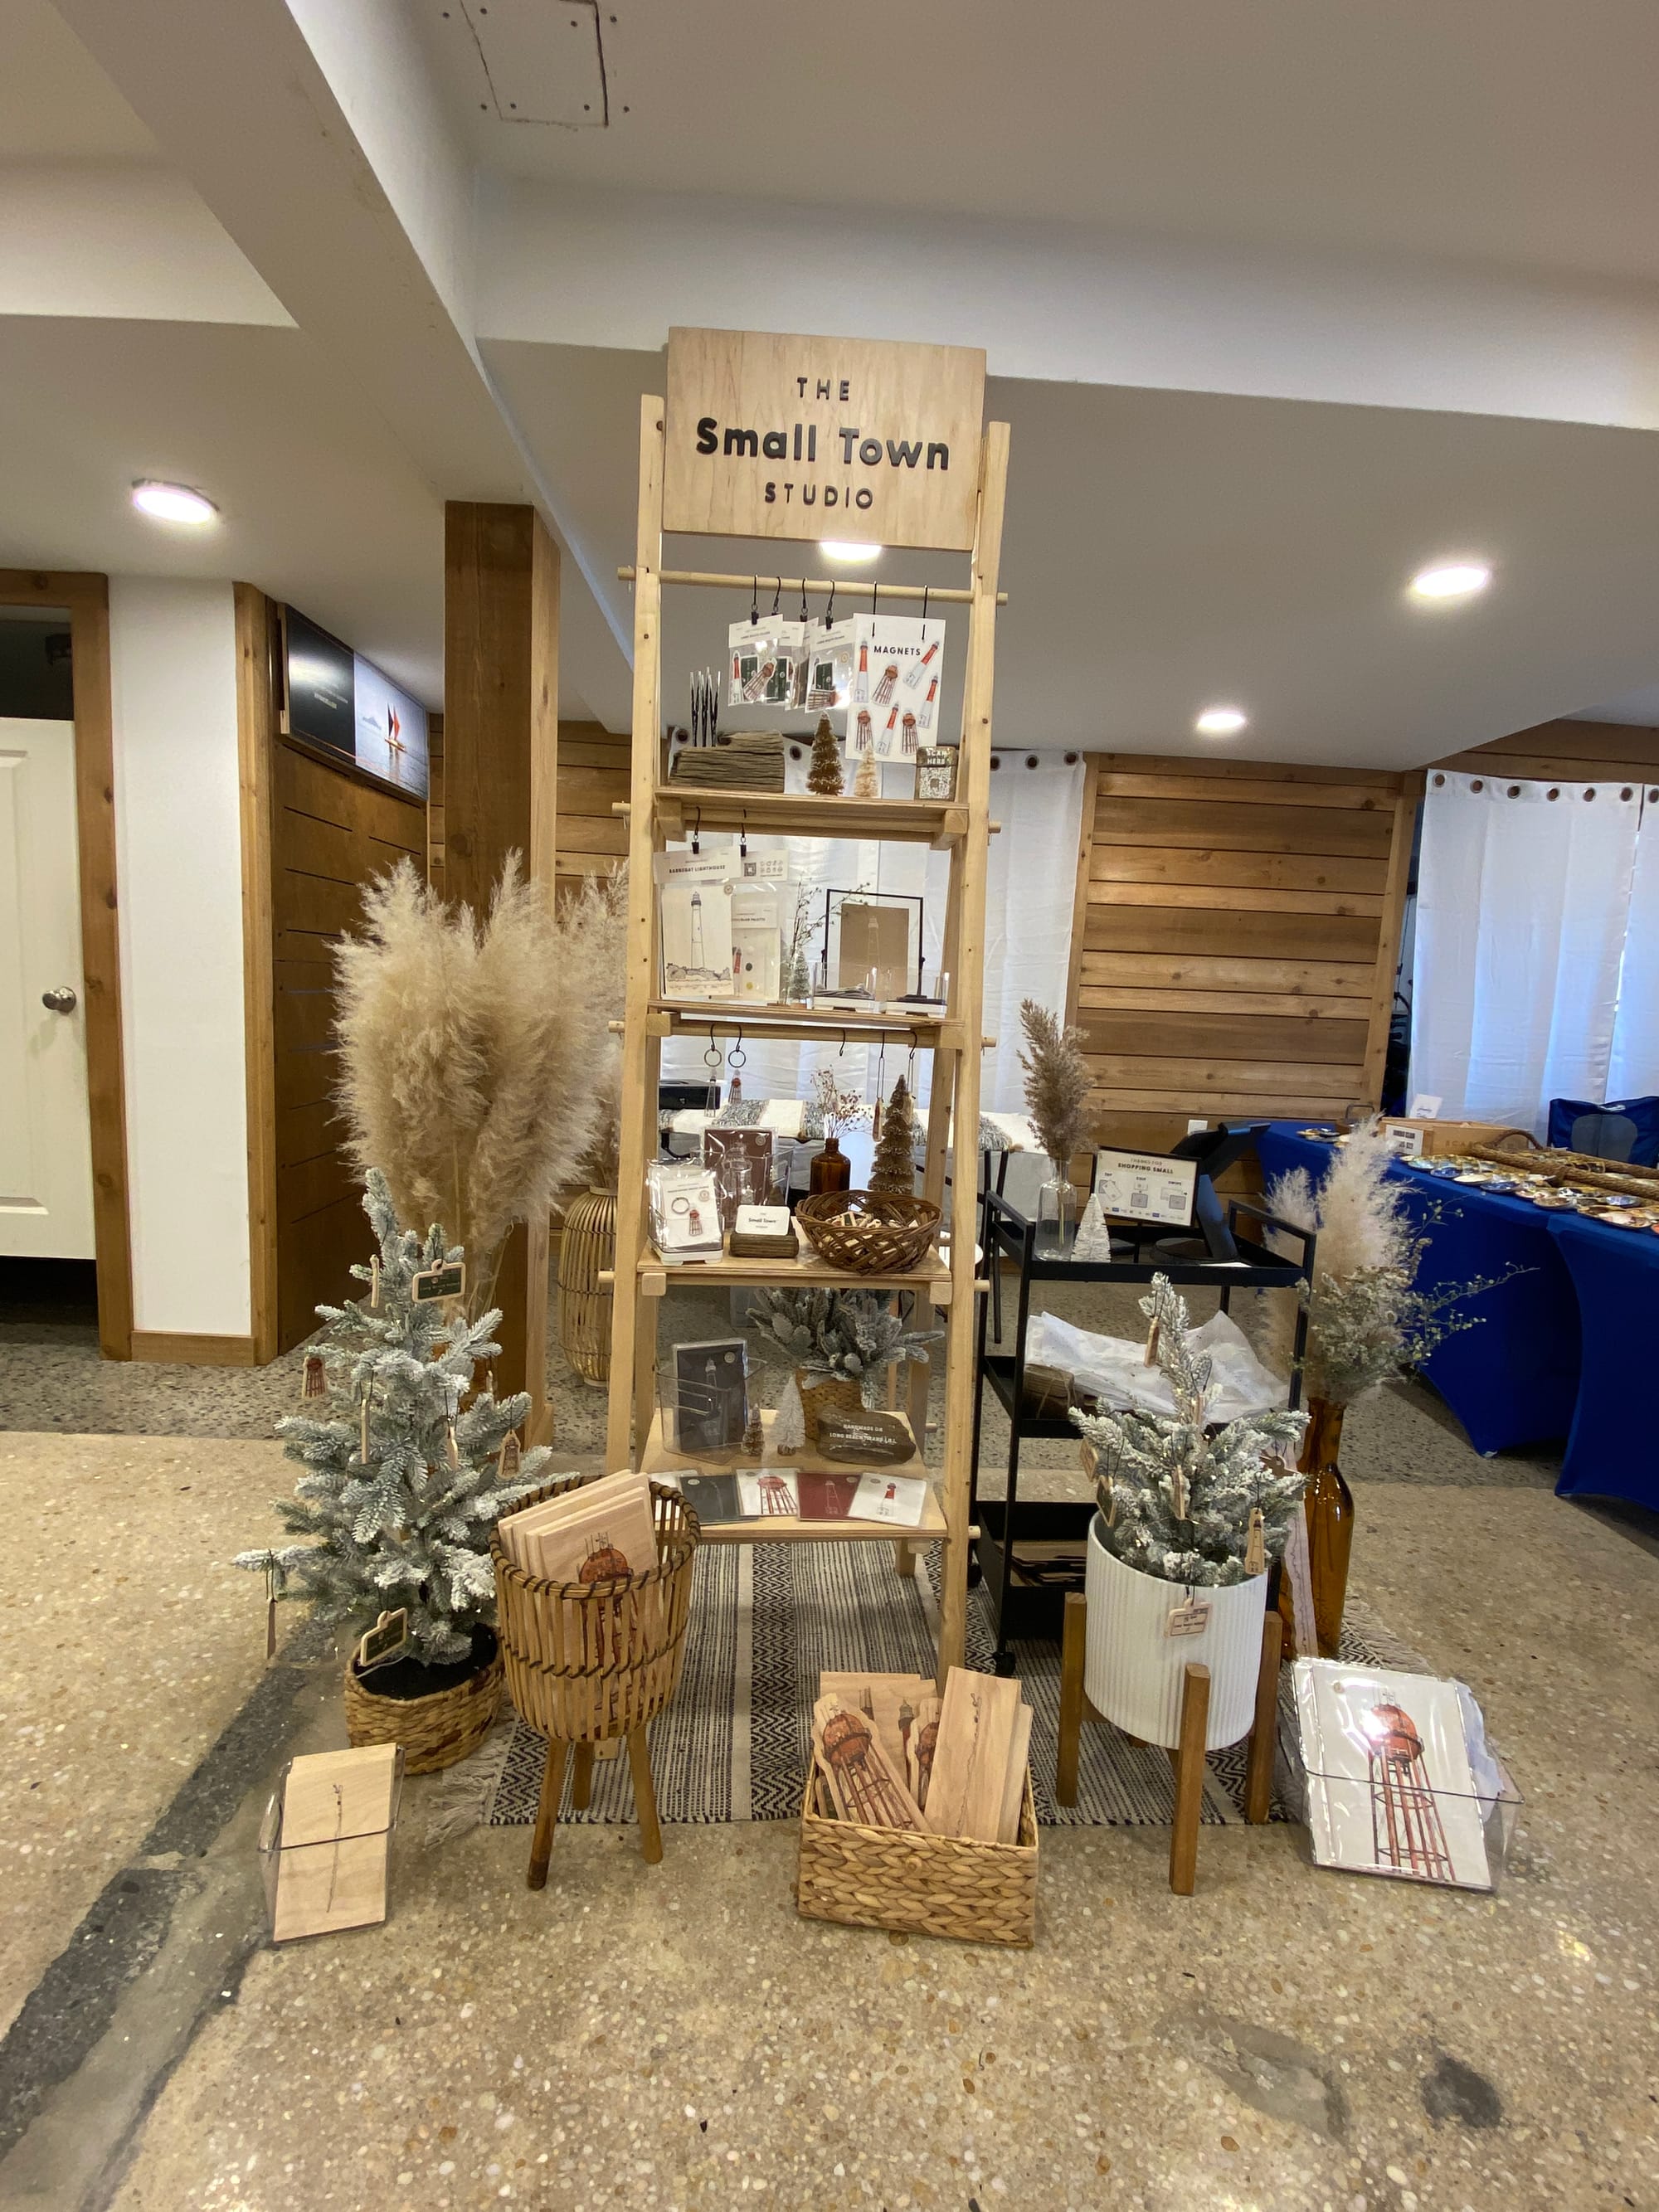
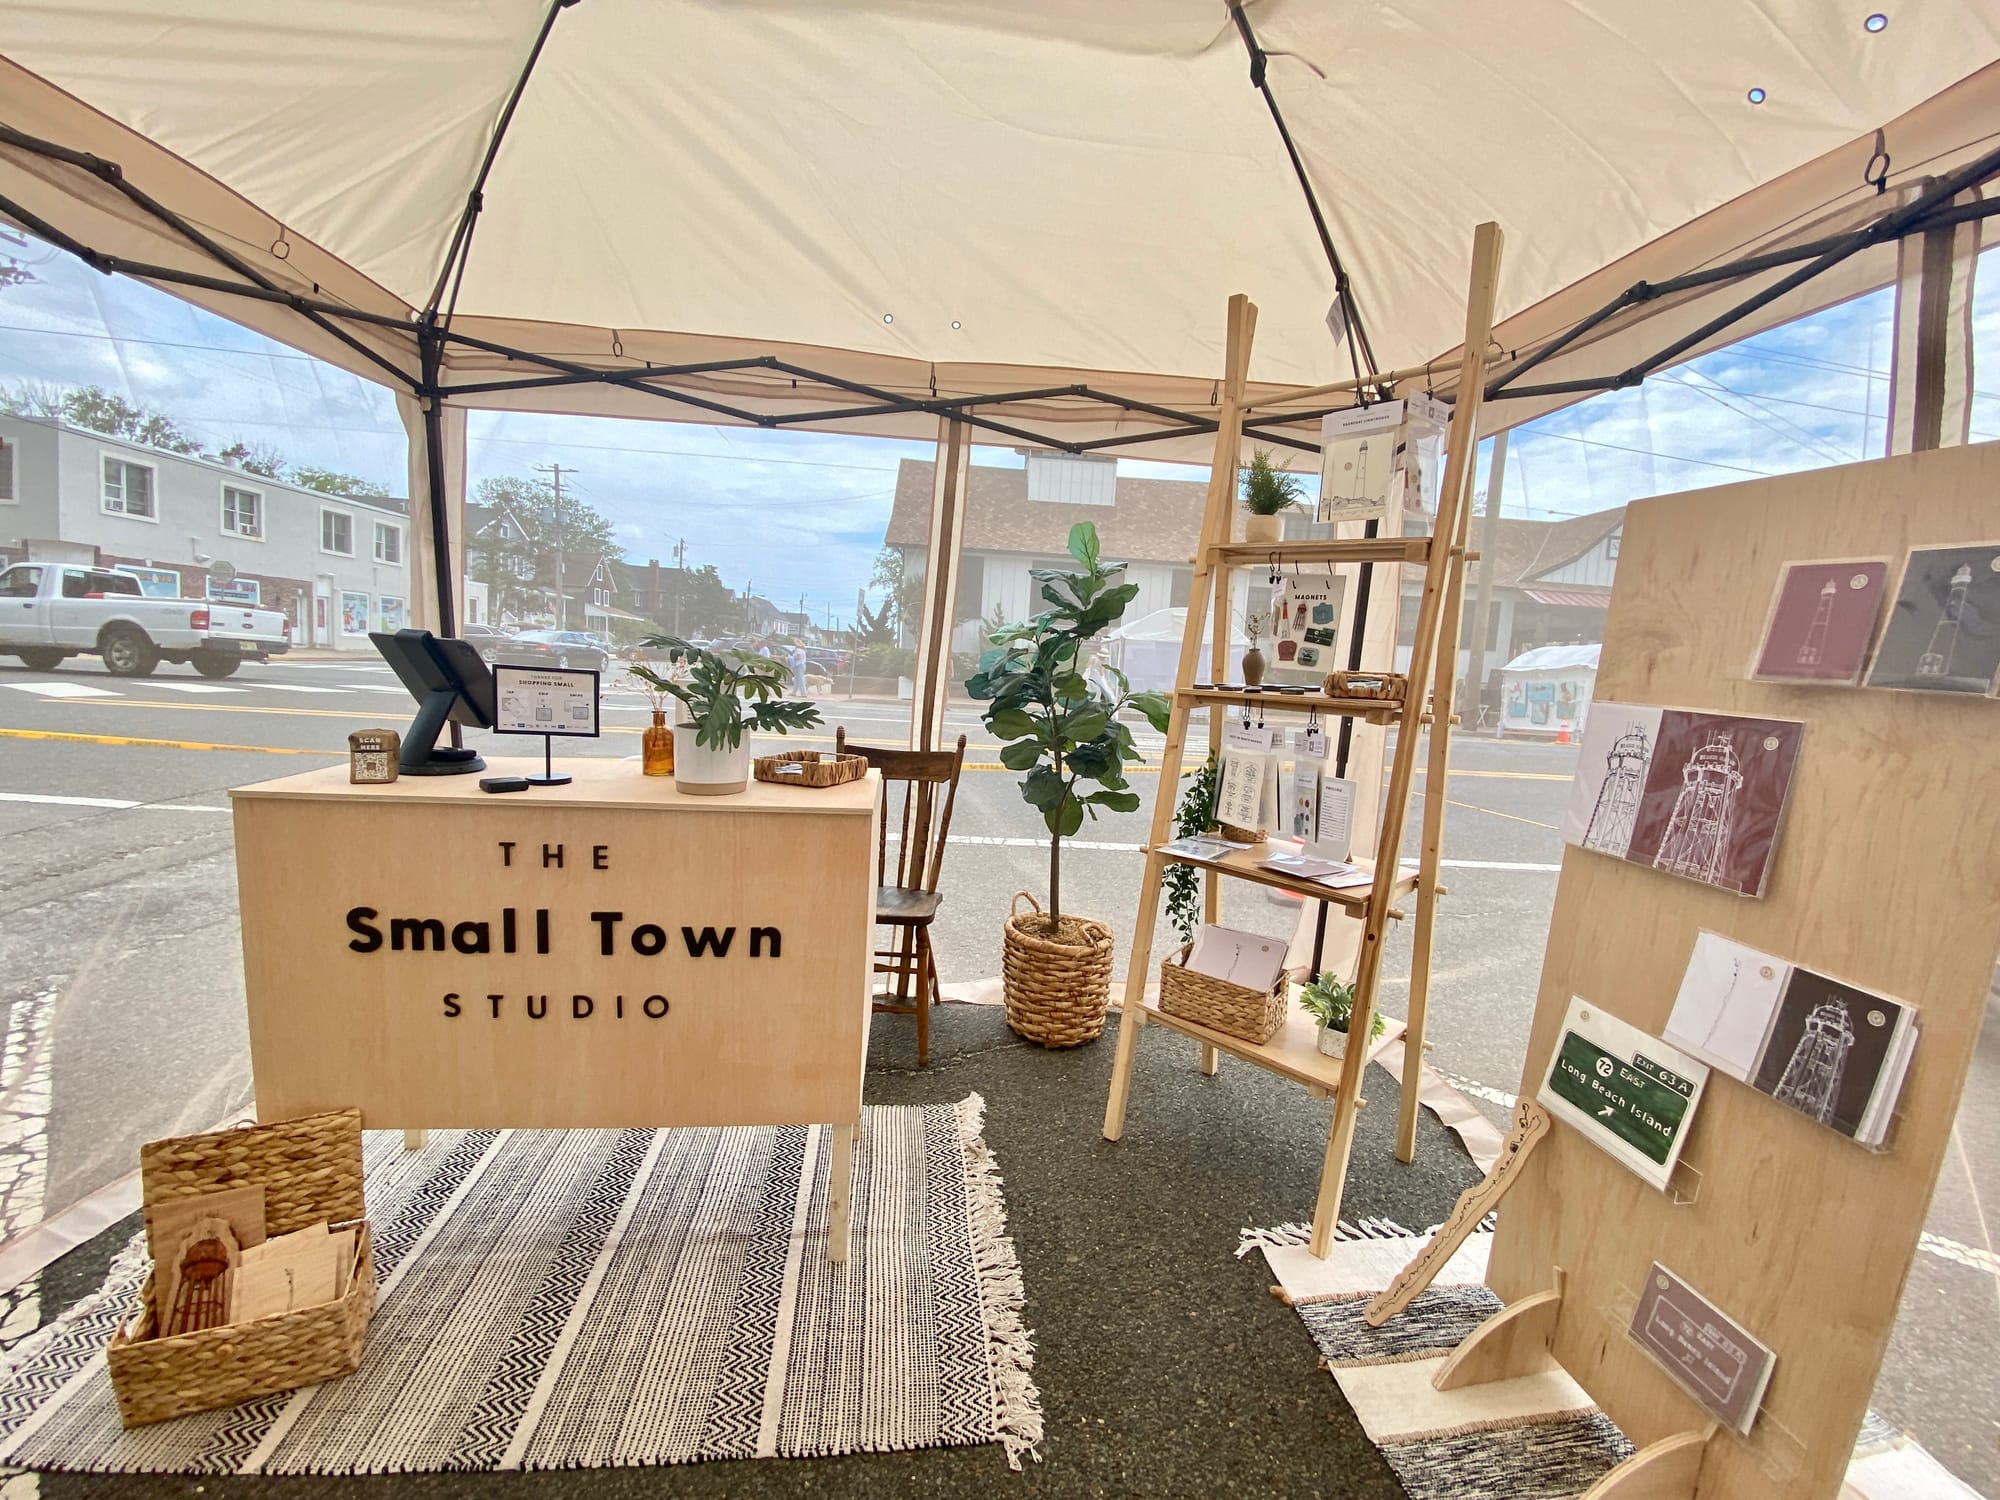
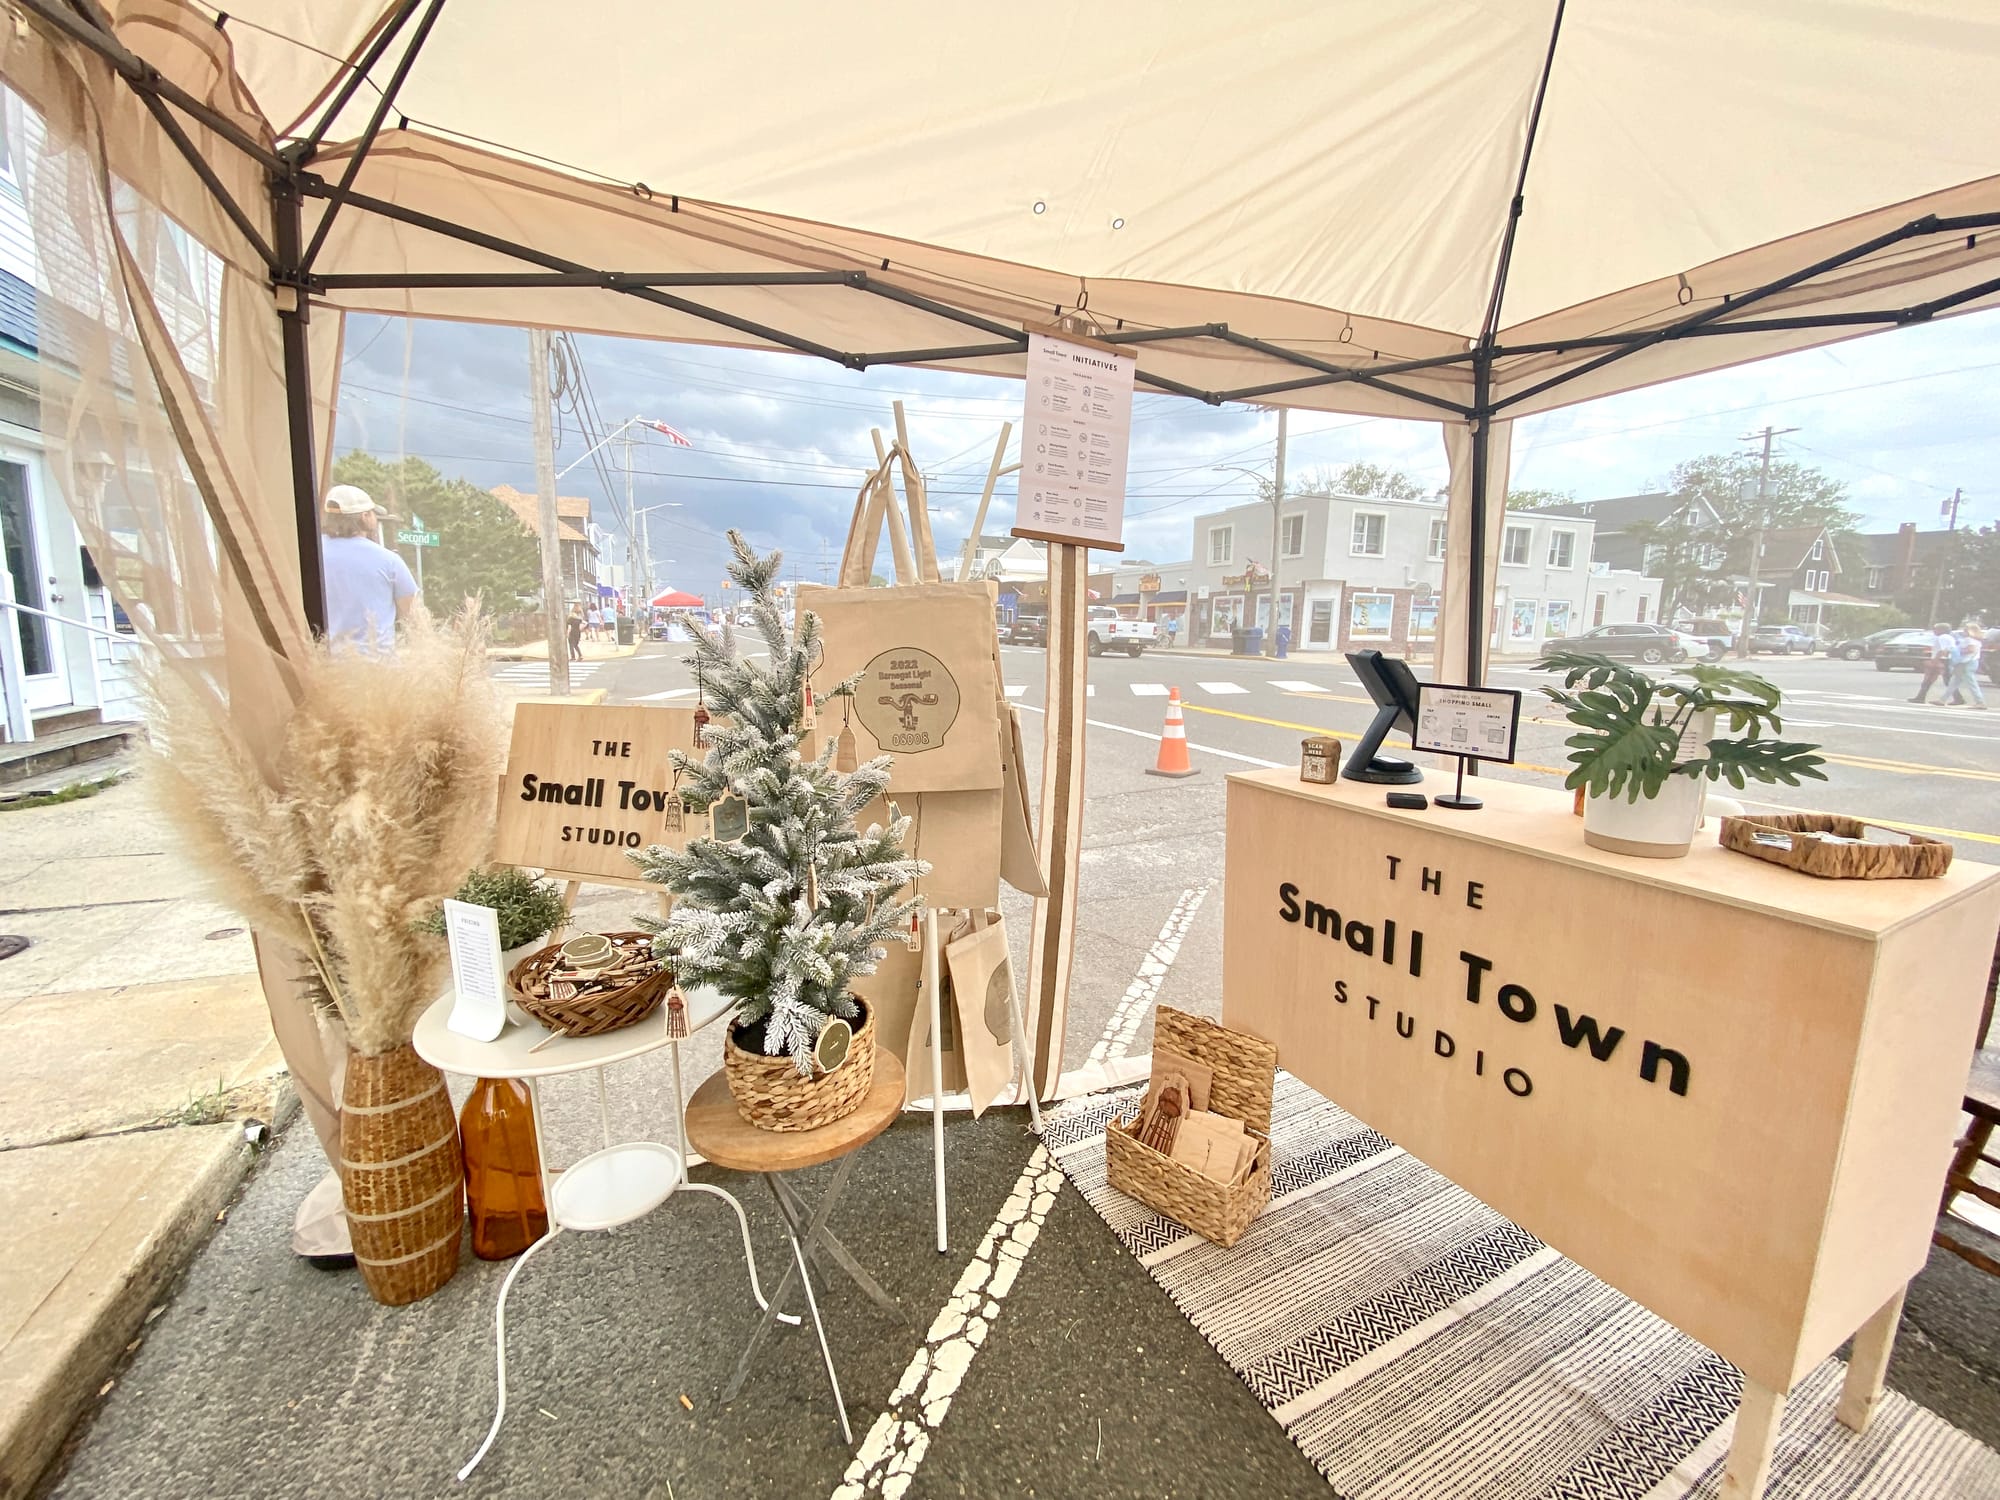
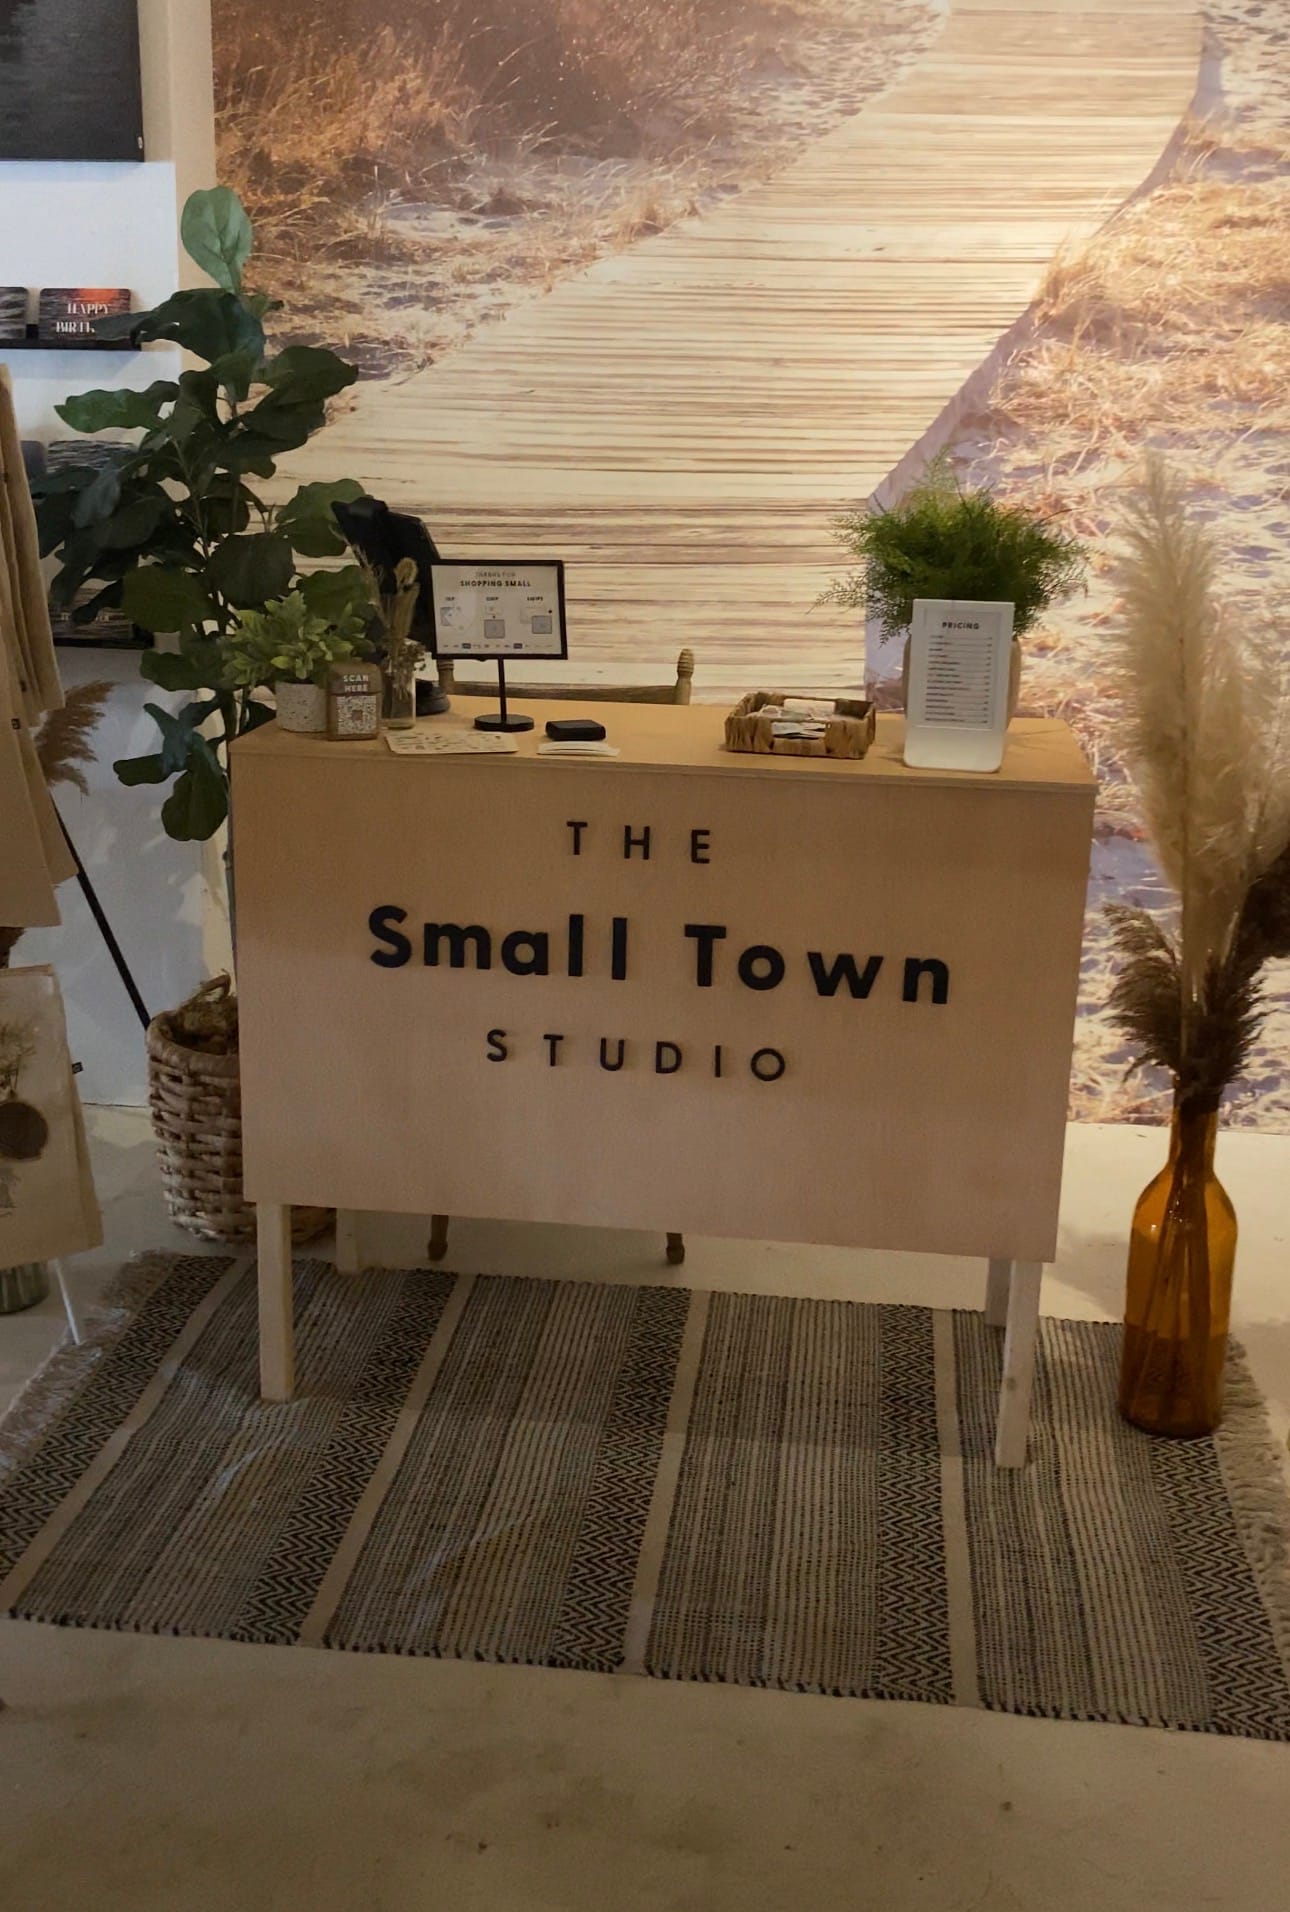
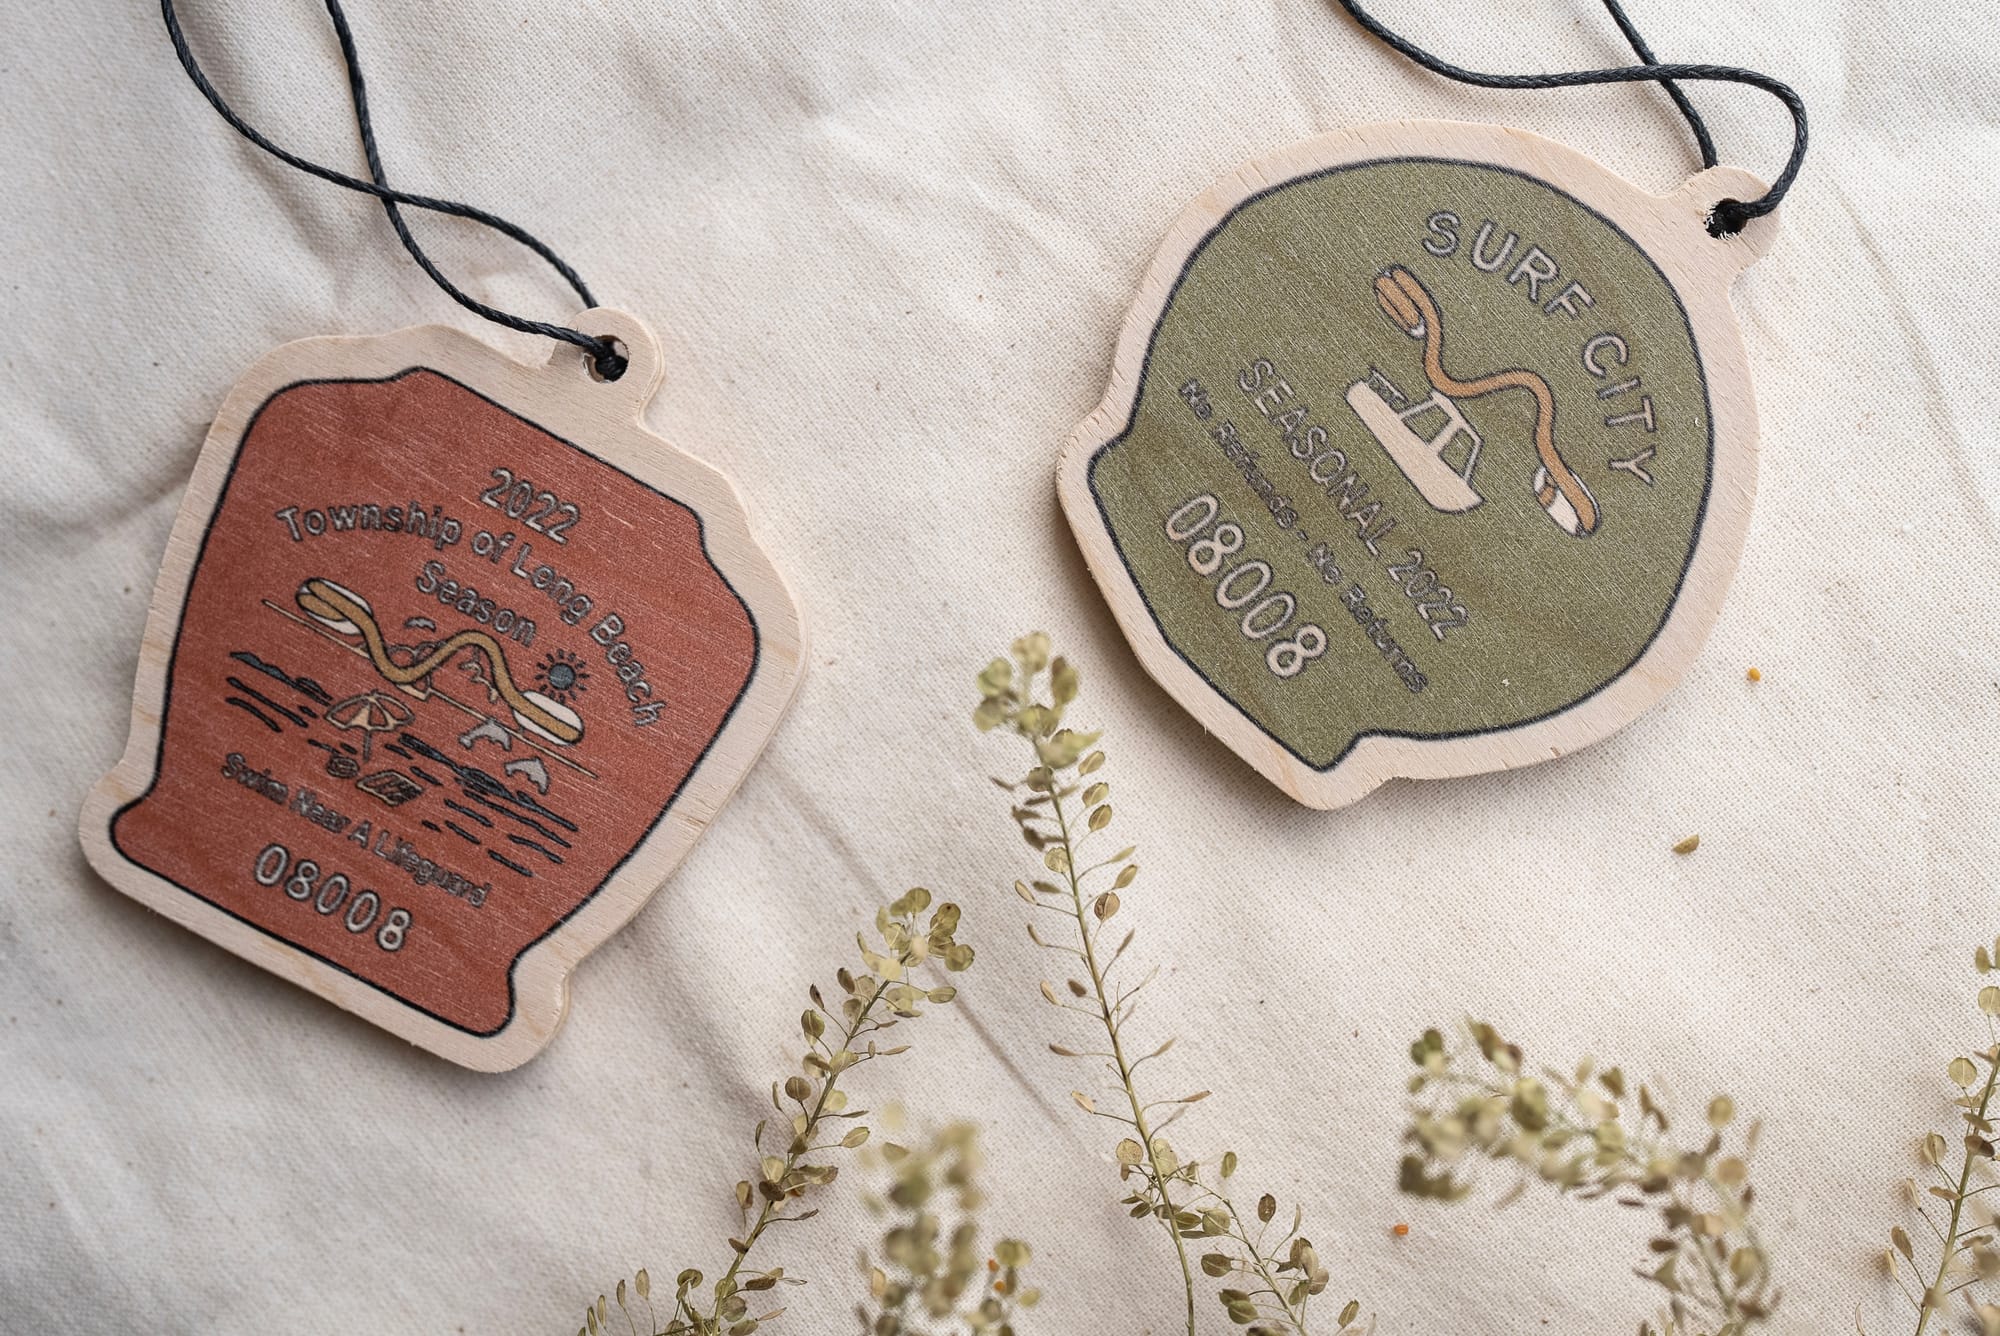
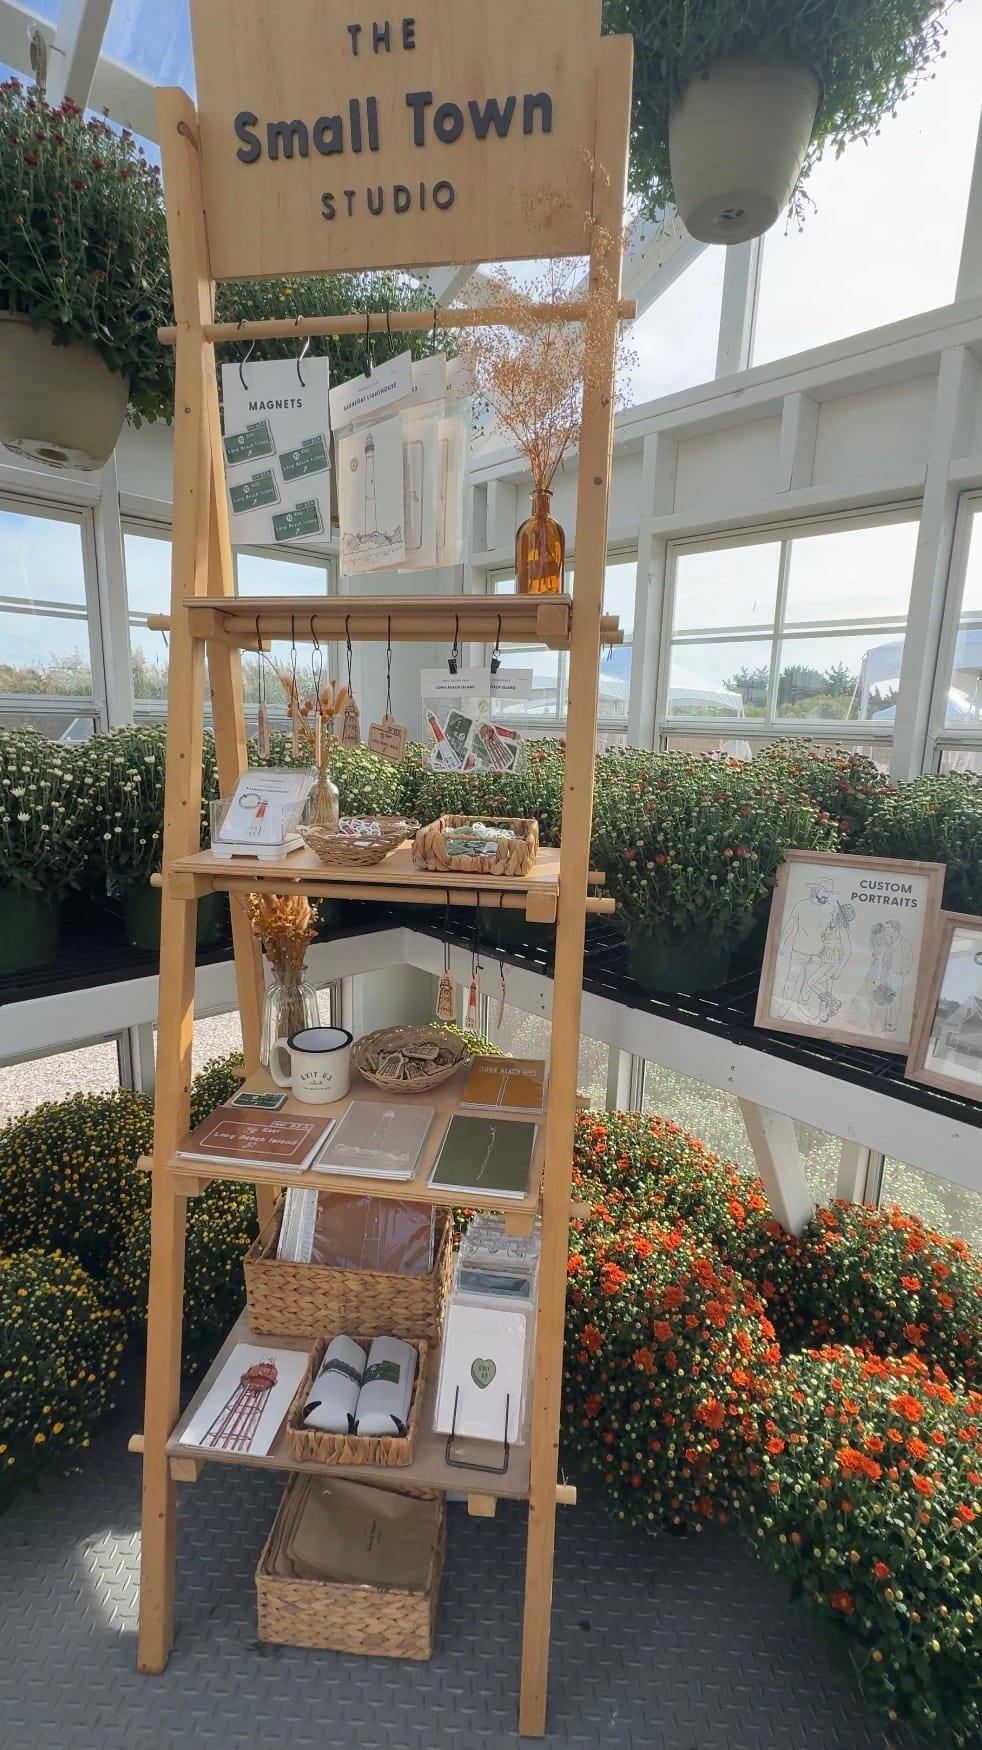
When I was creating the vision for my pop-up display, I wanted something that felt very coastal and natural. I wanted my souvenirs to feel boutique vs strewn out on a folding plastic table. I was so lucky to have so many people help bring this vision to life.
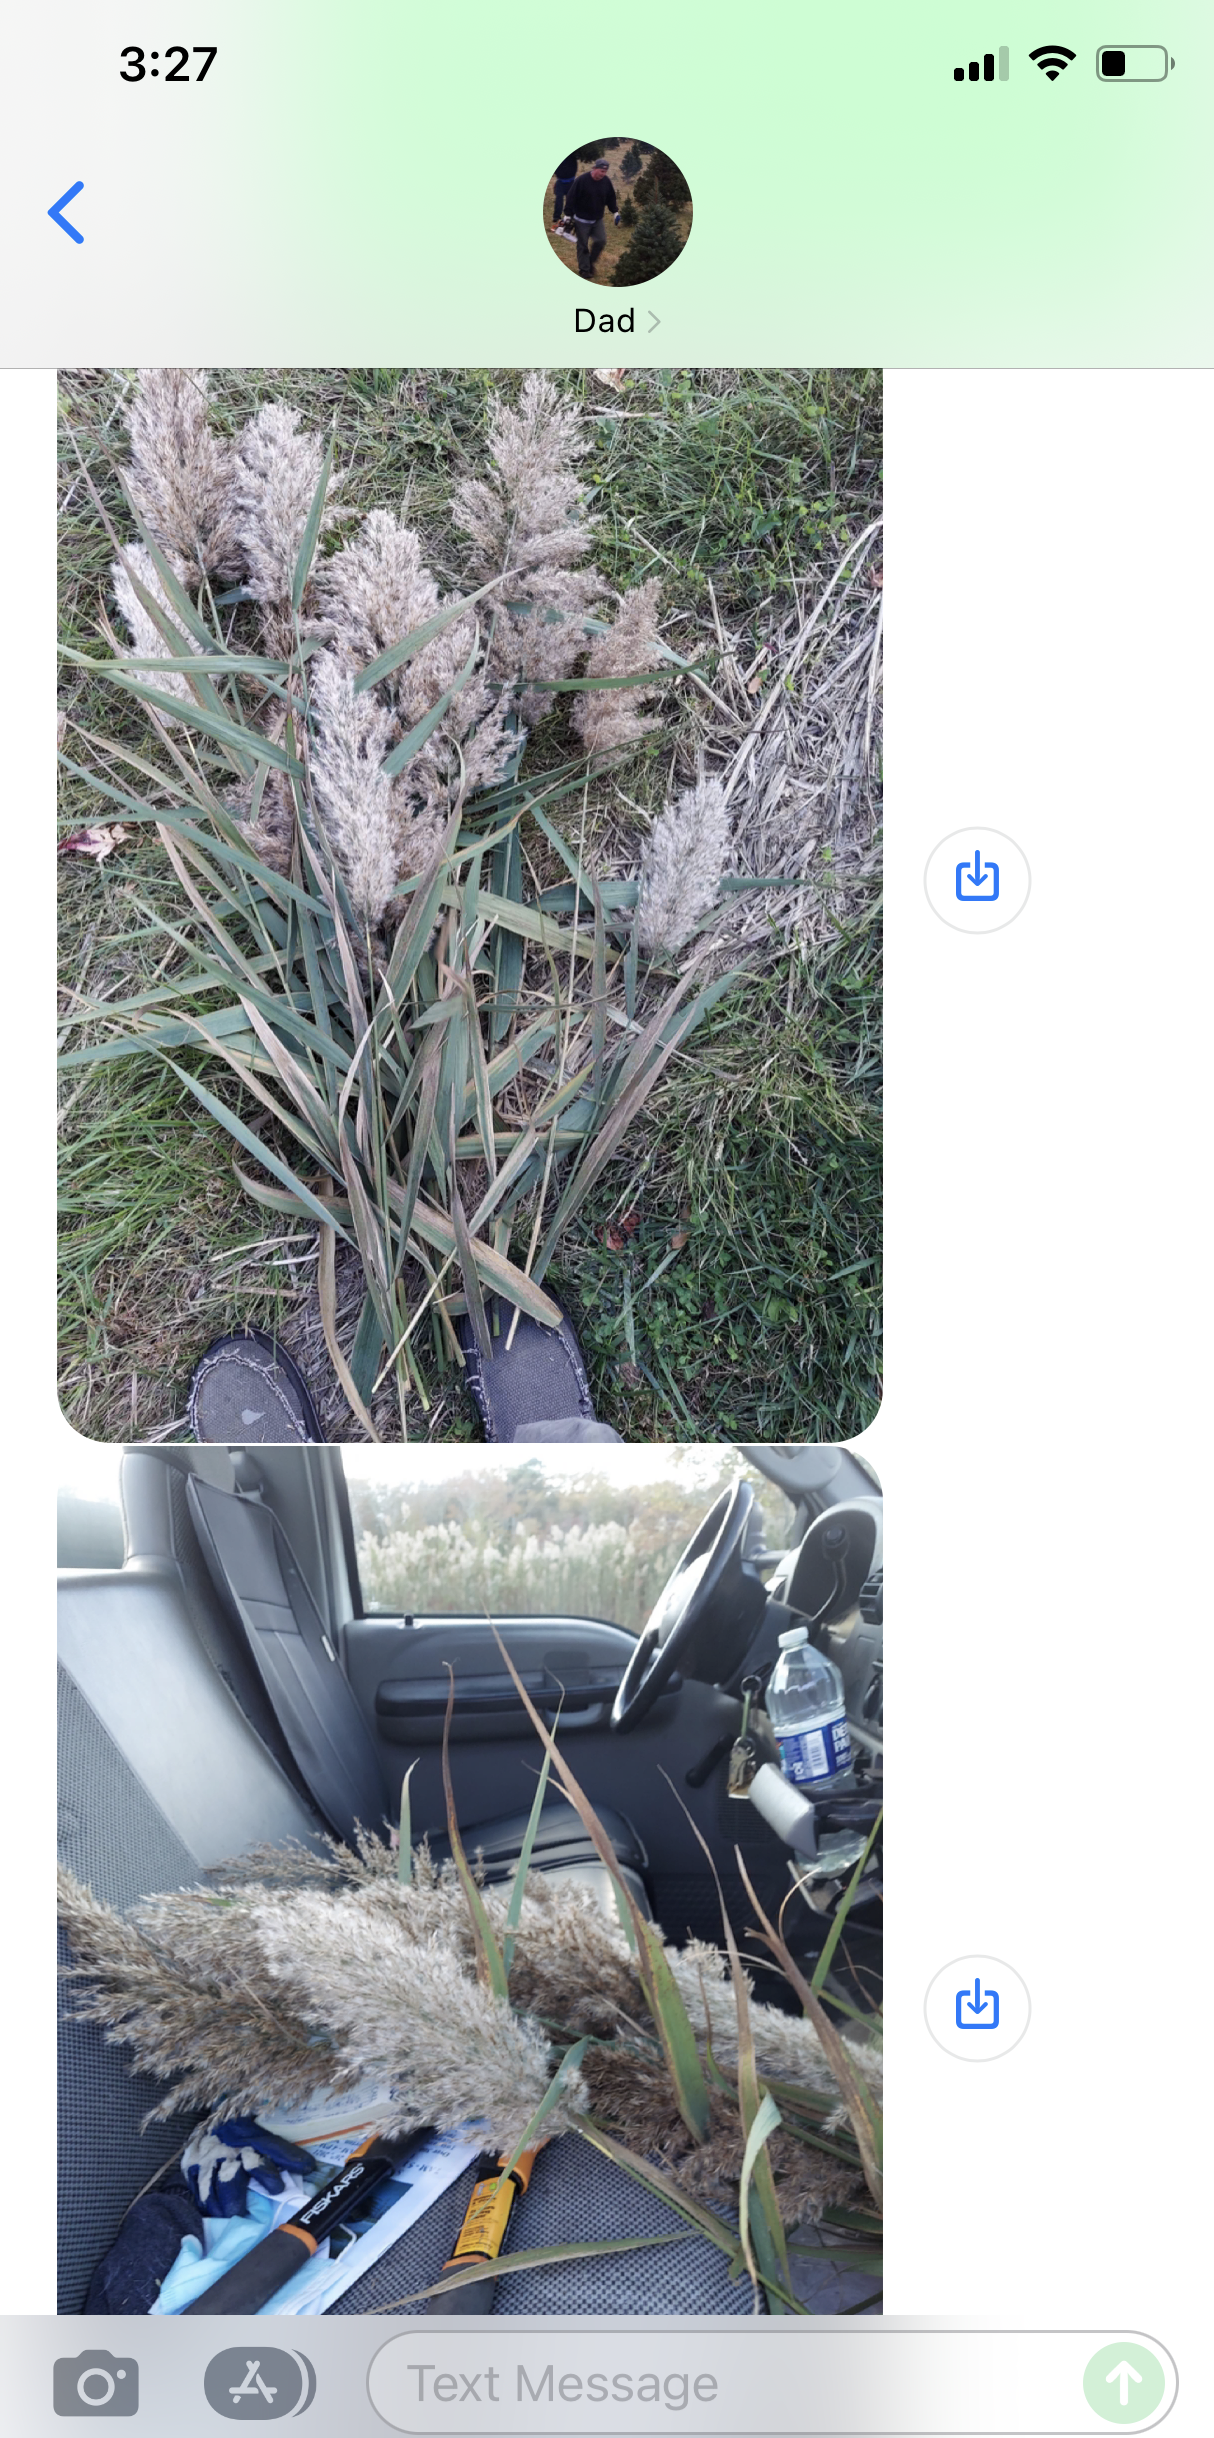
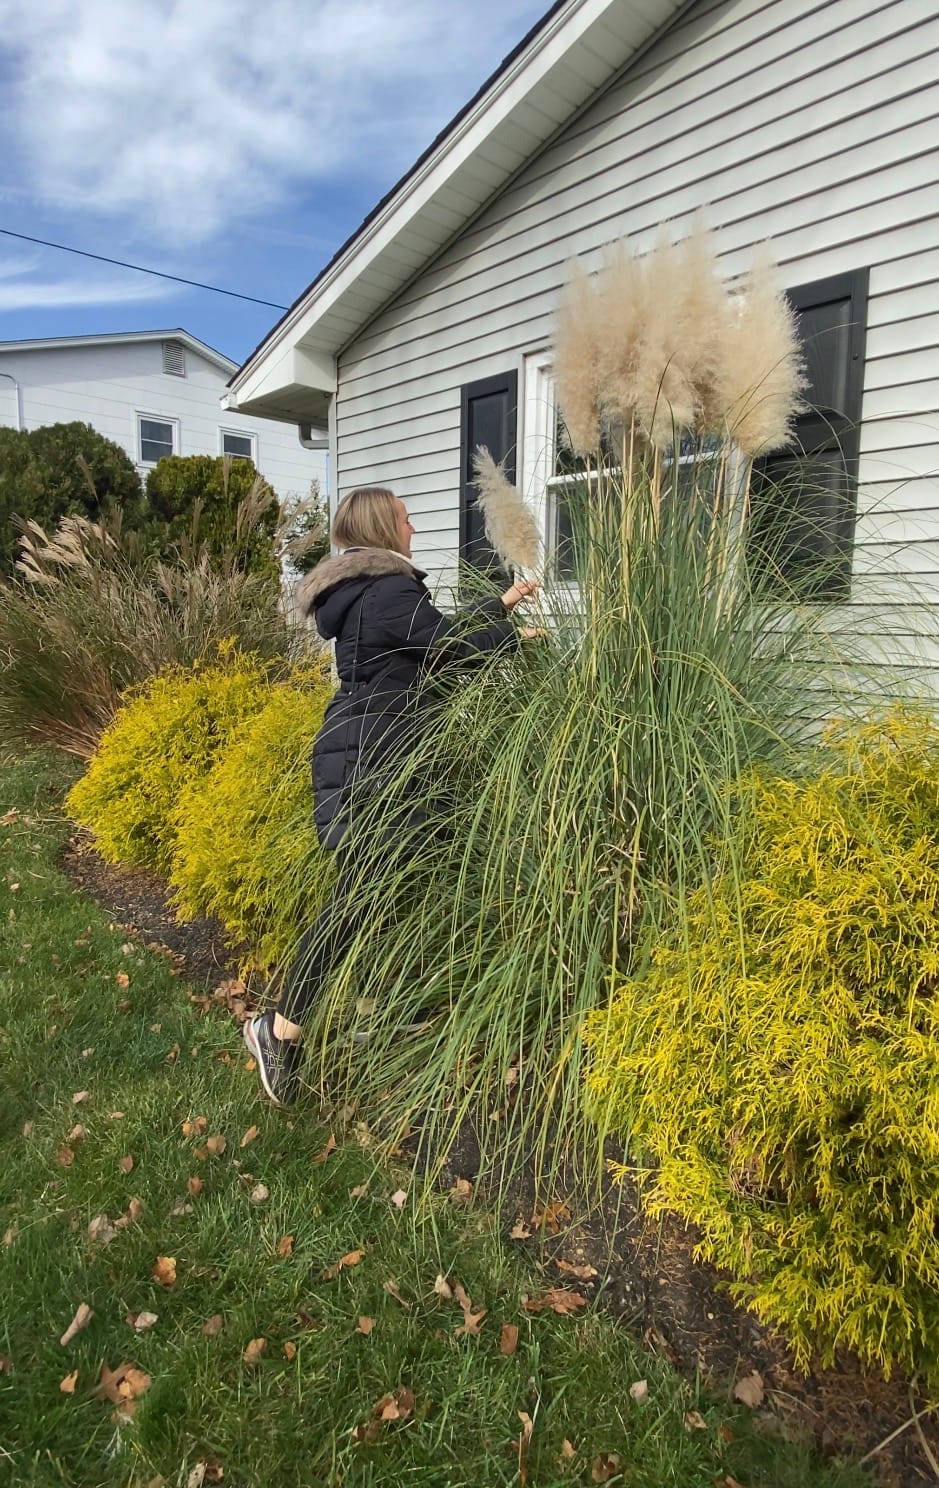
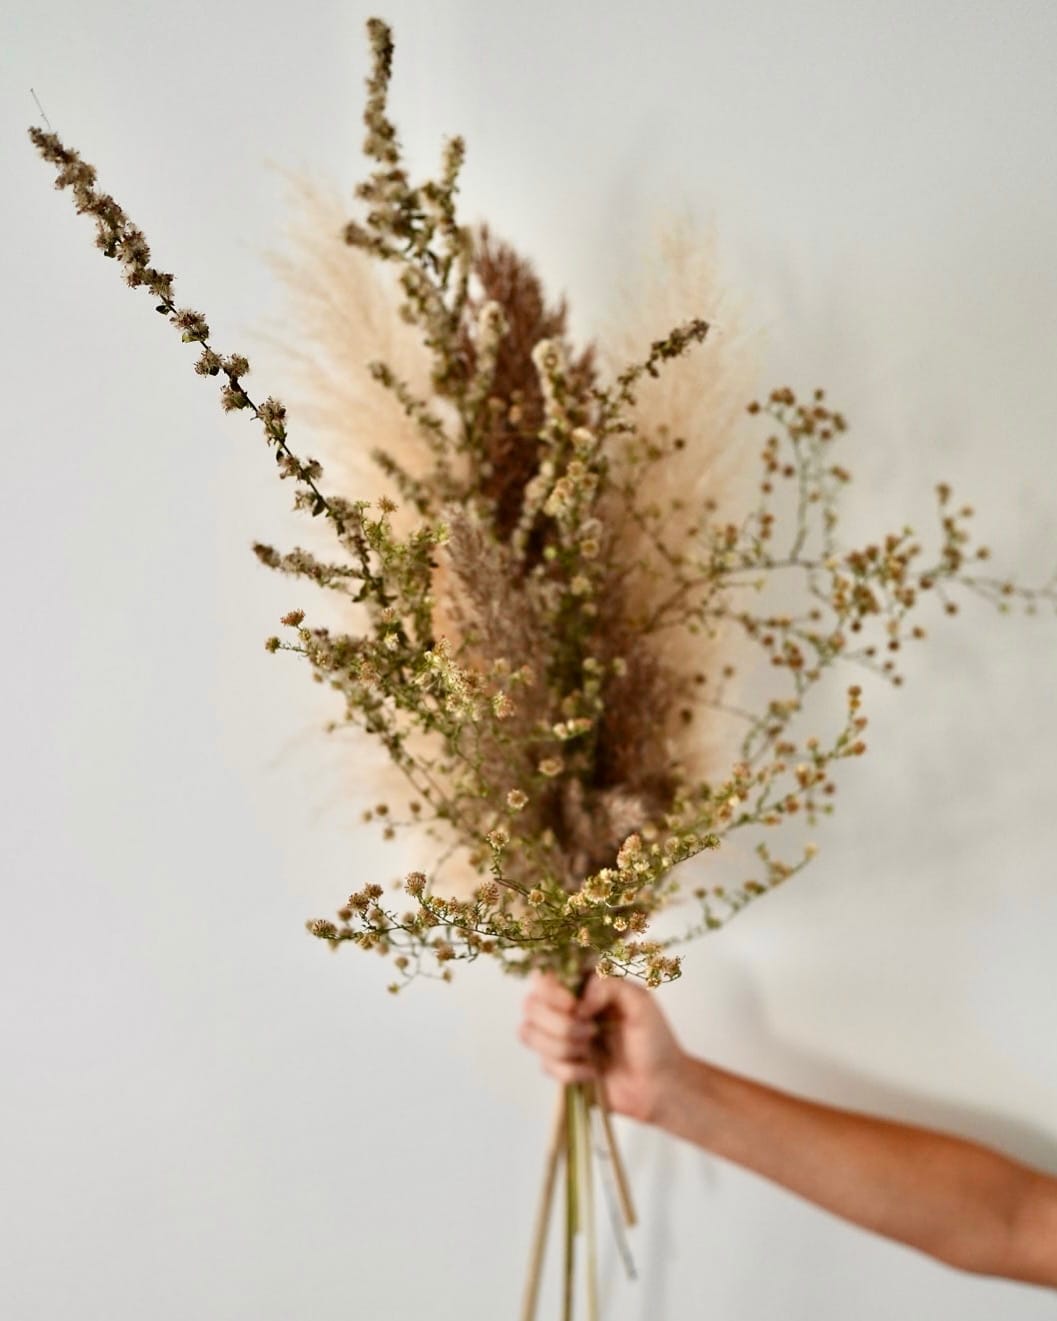
My dad was gathering natural phragmites and one of my best friends was clipping pampas grass from her yard. I loved this so much because during my first pop-up I was extremely nervous and every time I looked at the grasses or my wooden stand I was reminded of everyone who had helped me get to where I am and it was all worth it.
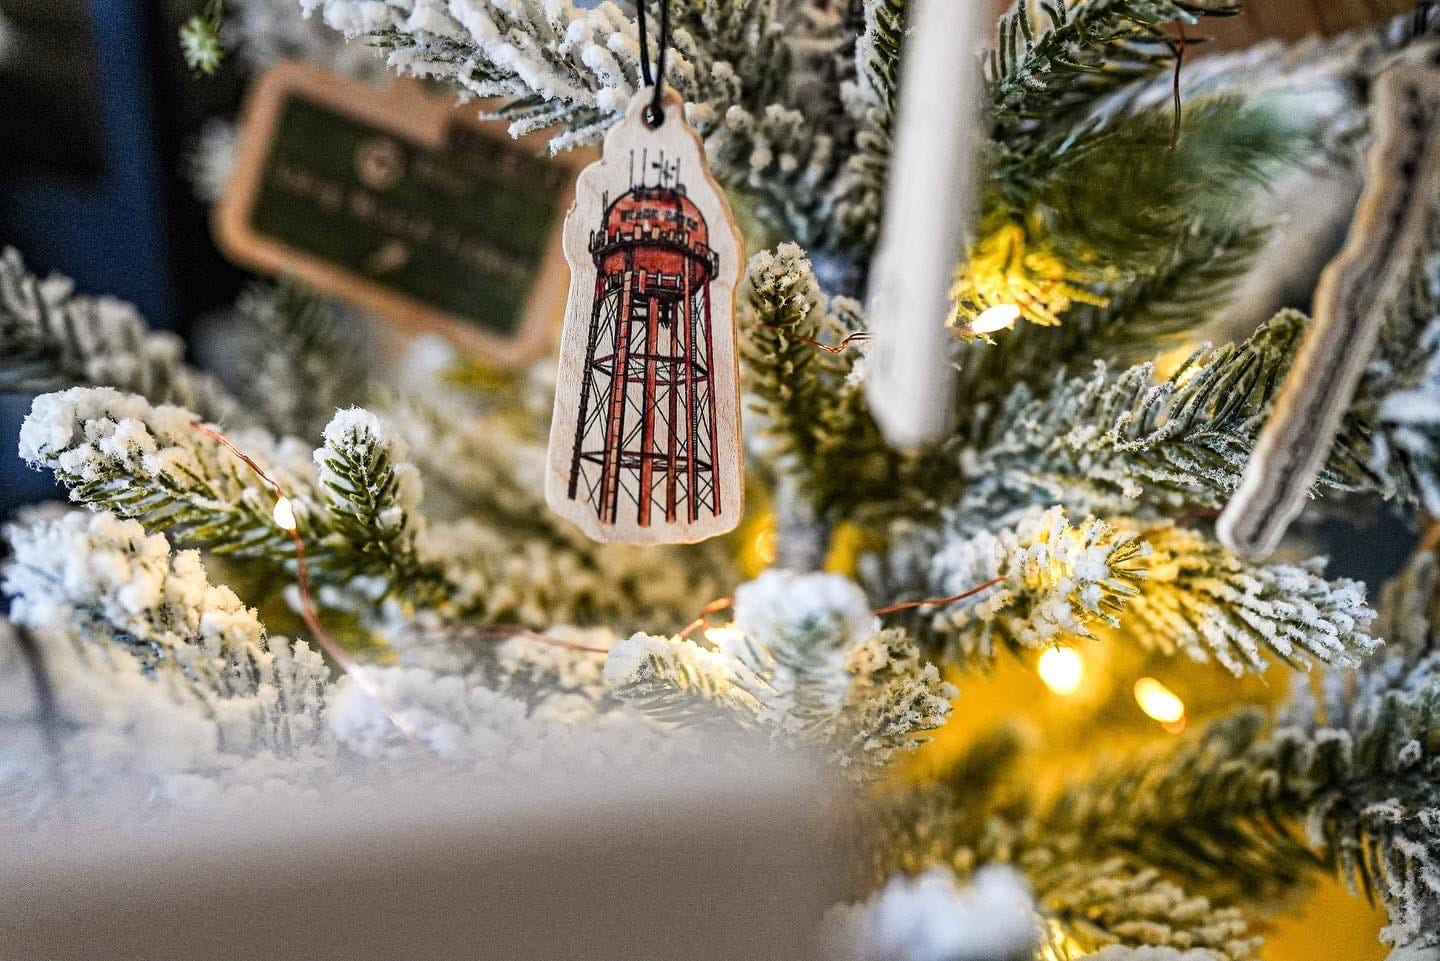
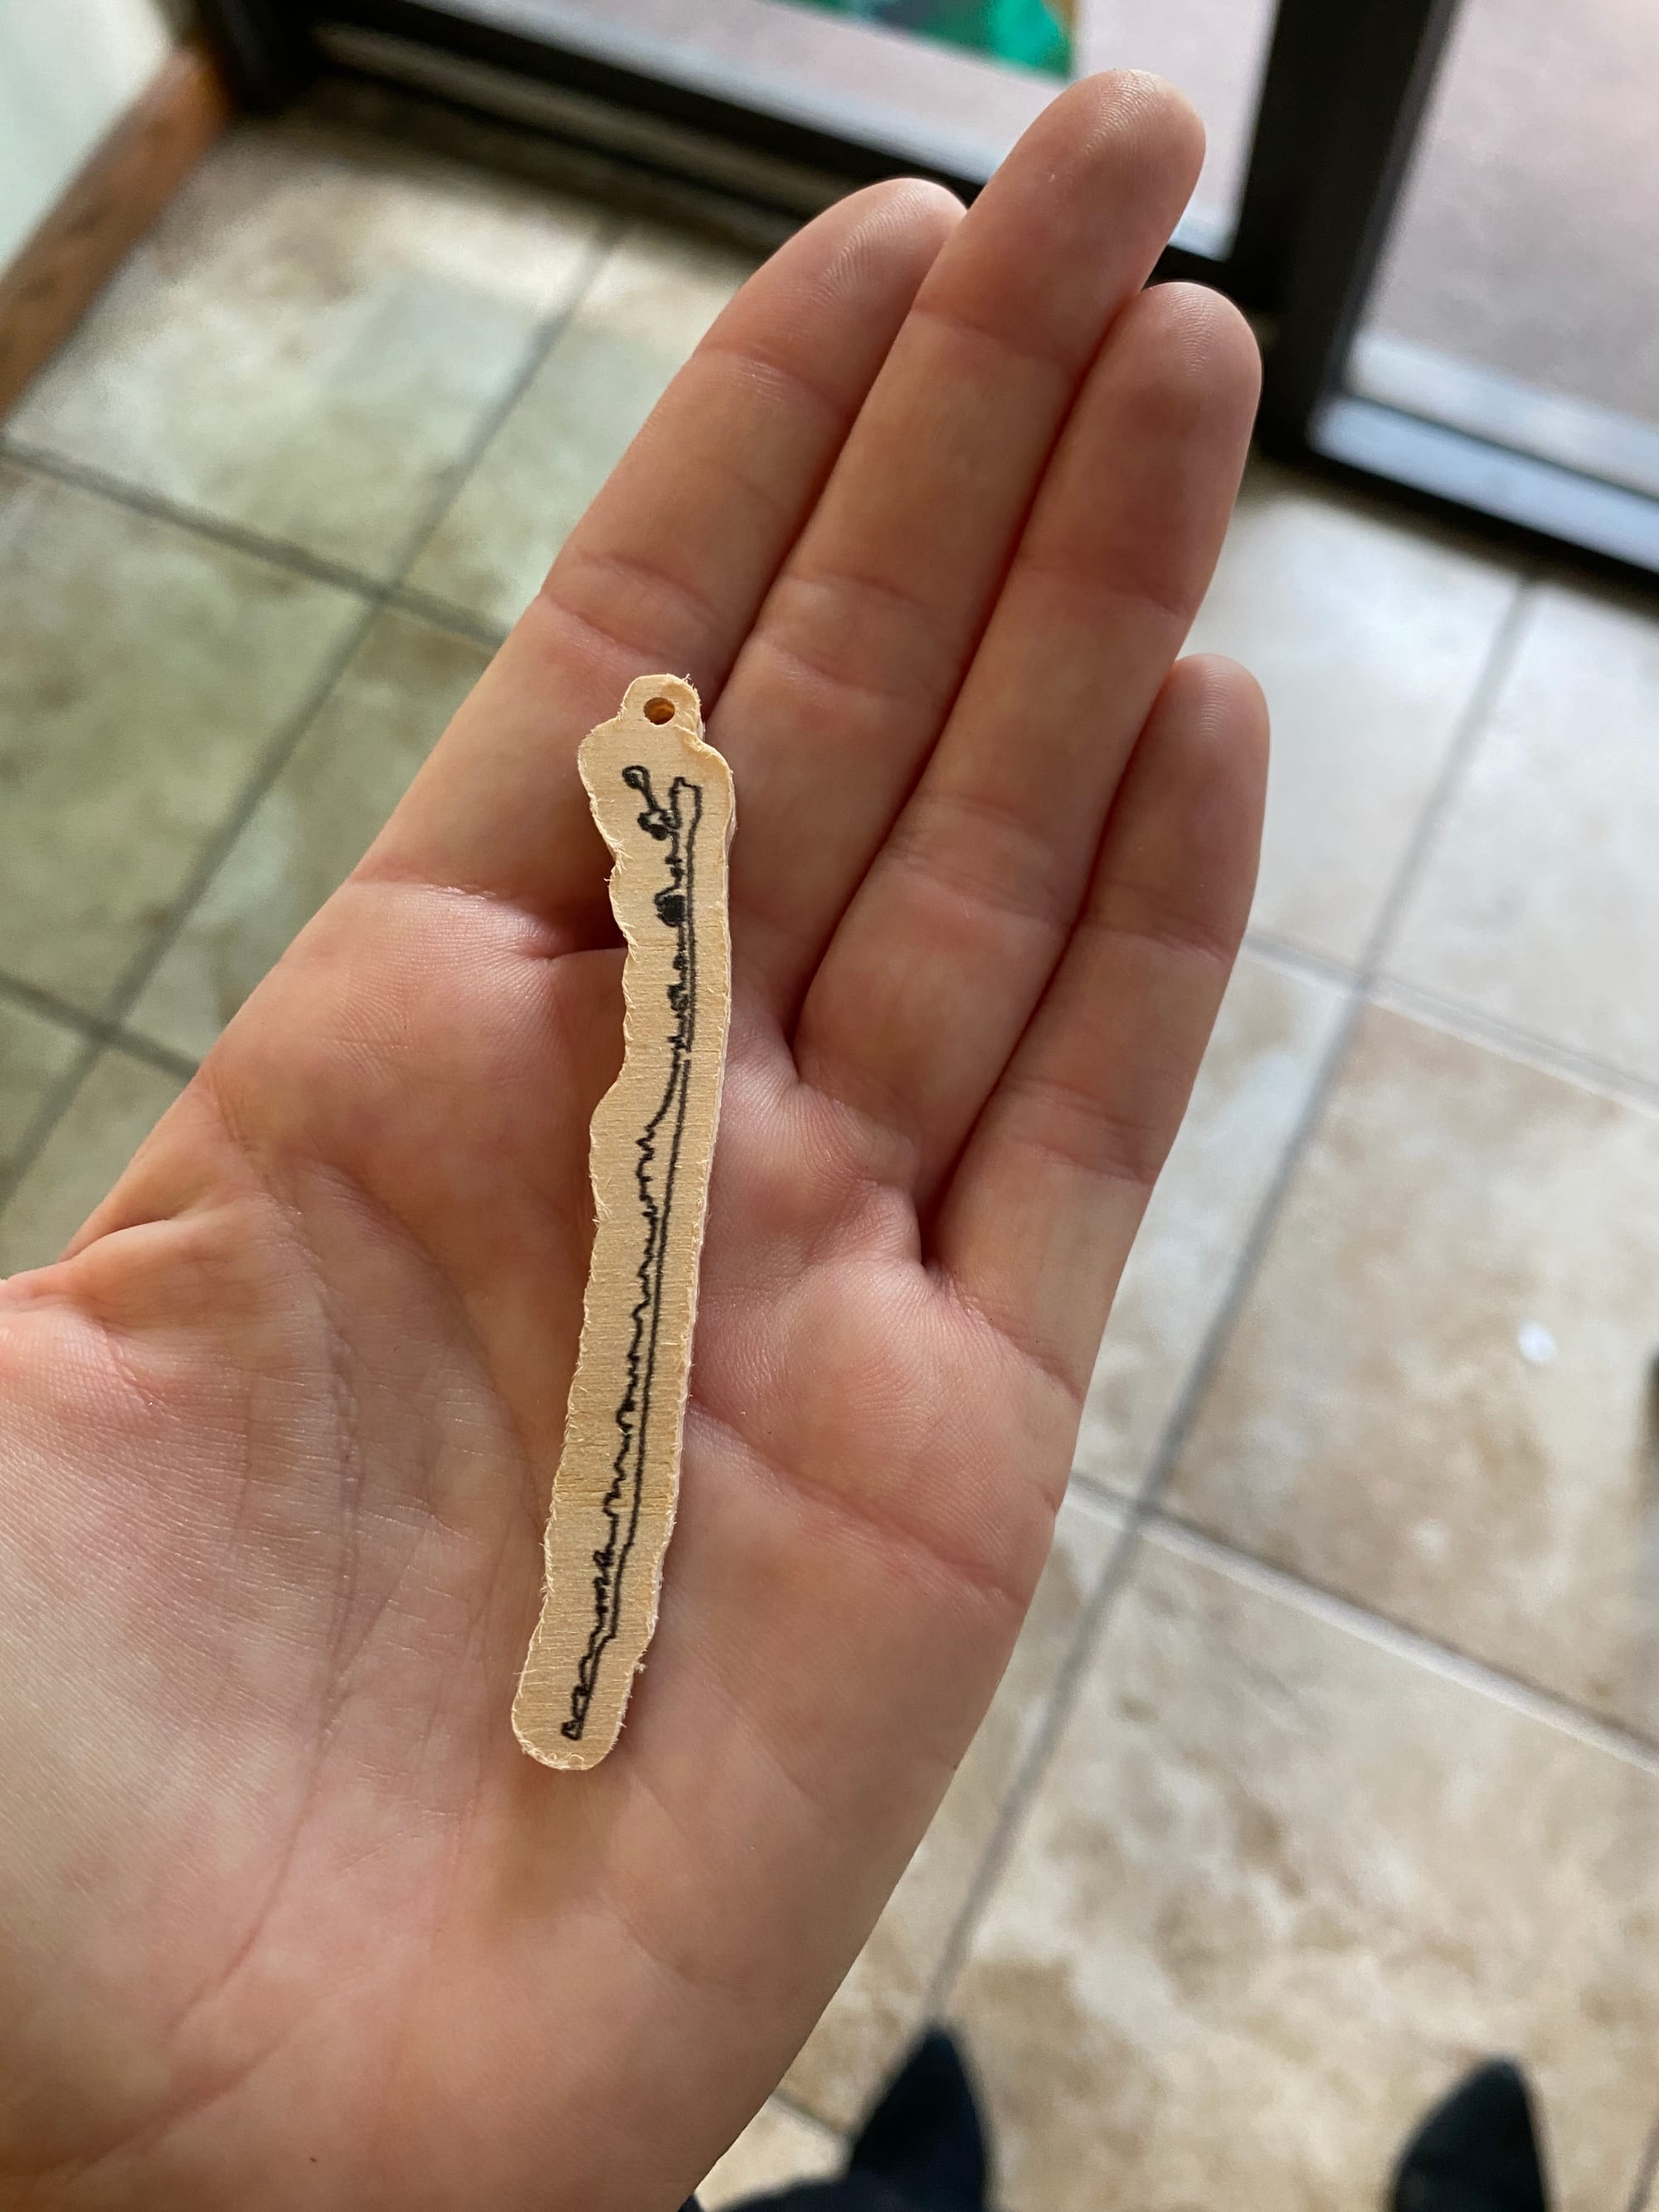
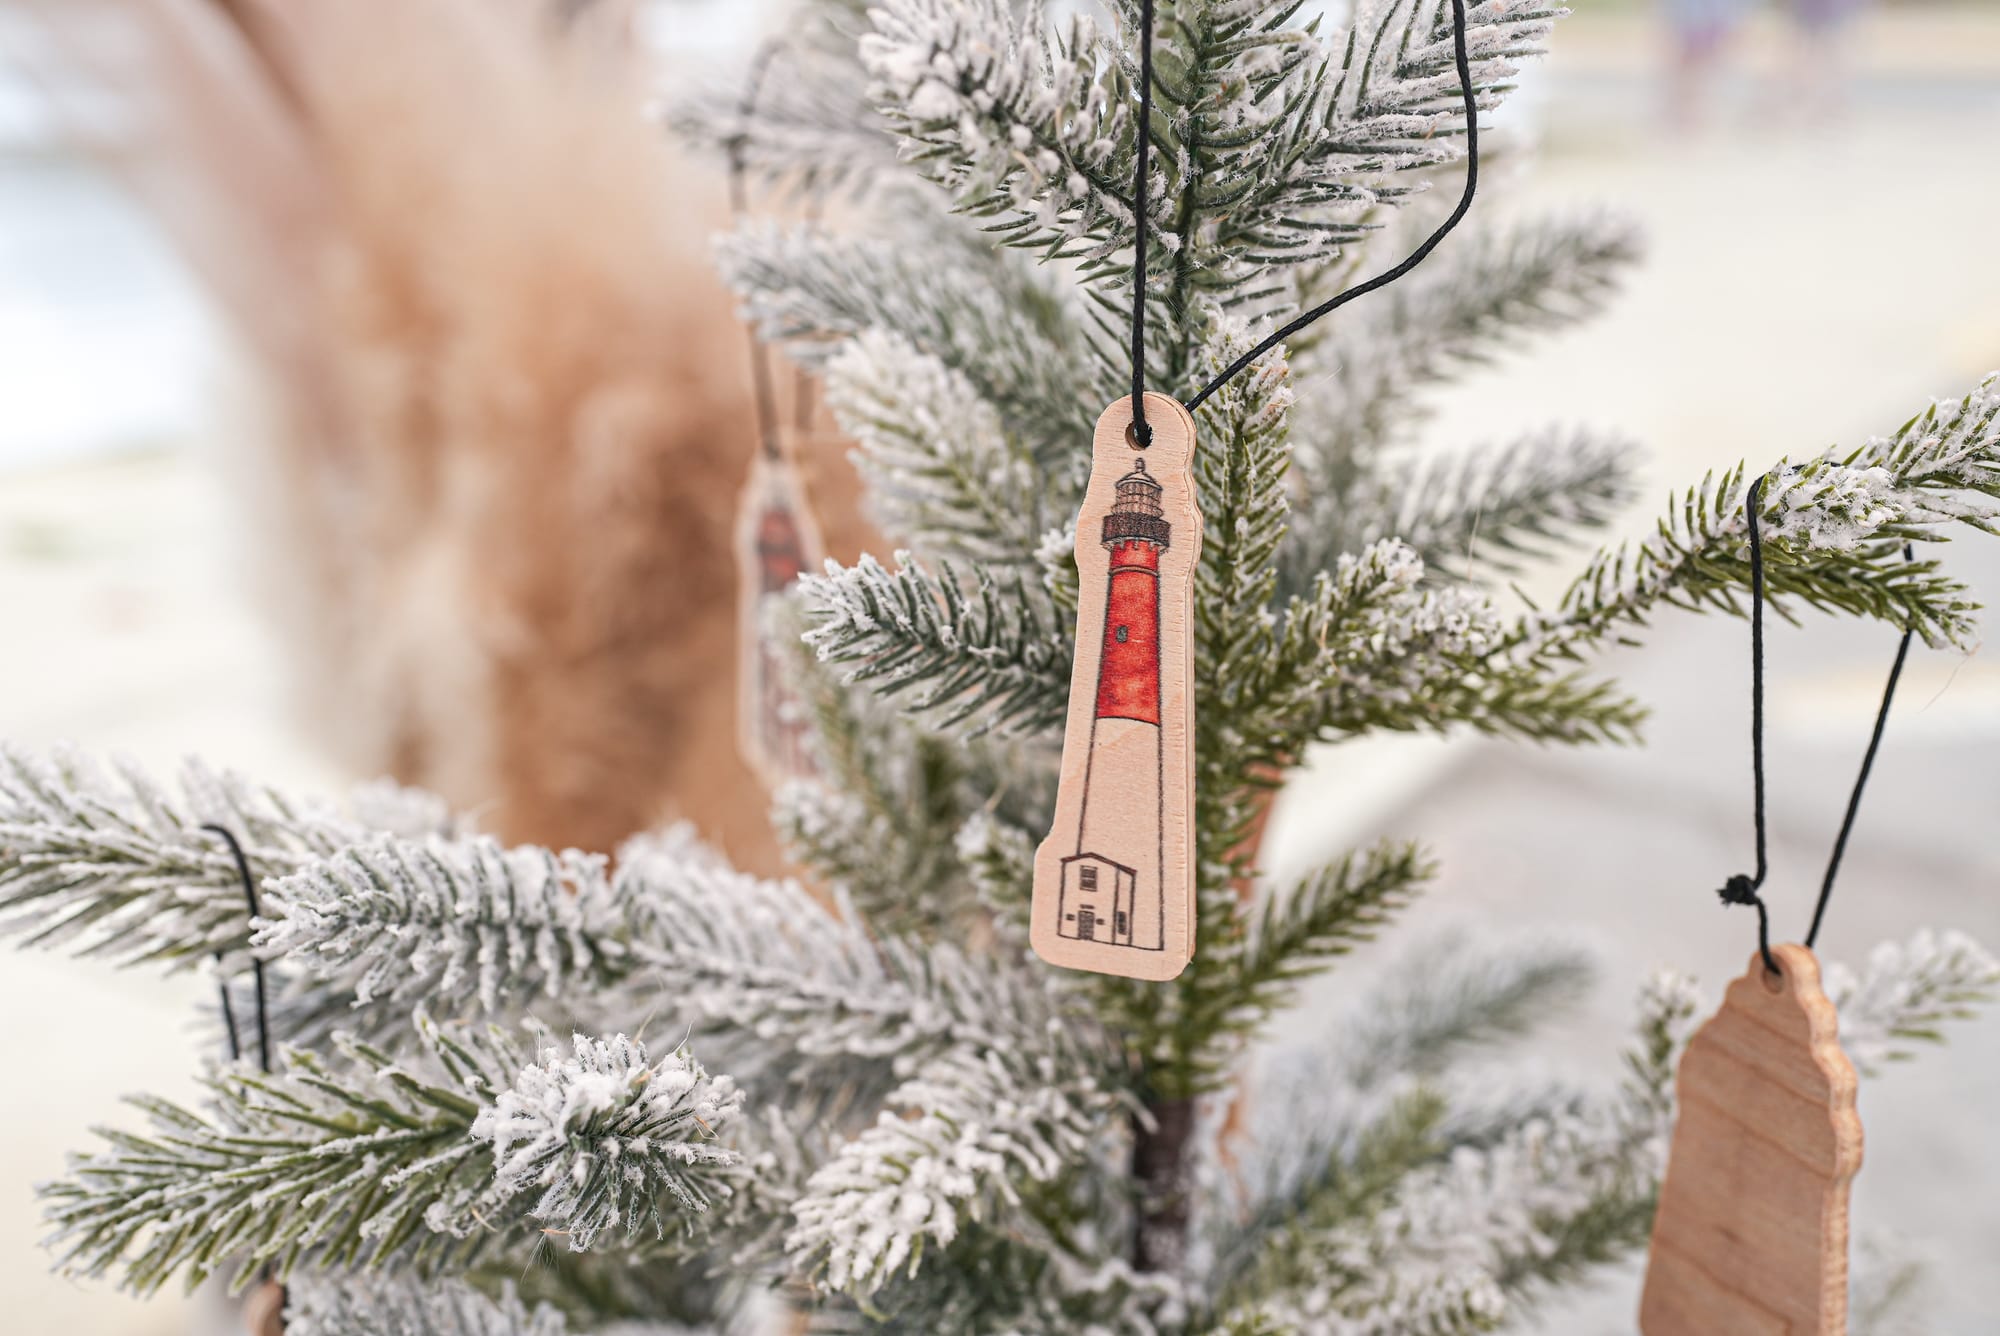
Before the pop-up I had a ton of prep work and really had no idea what this would turn into. I was hand making watercolor paint, working with a local printer for my wooden ornaments, printing my prints and labels in my studio, packaging all the products, ordering stickers and magnets, figuring out my website and adding everything to my new POS. Needles to say, it sure was a lot of work. Not to mention my boyfriend was sanding ornaments, tying strings, helping me in every way possible.
December 2021
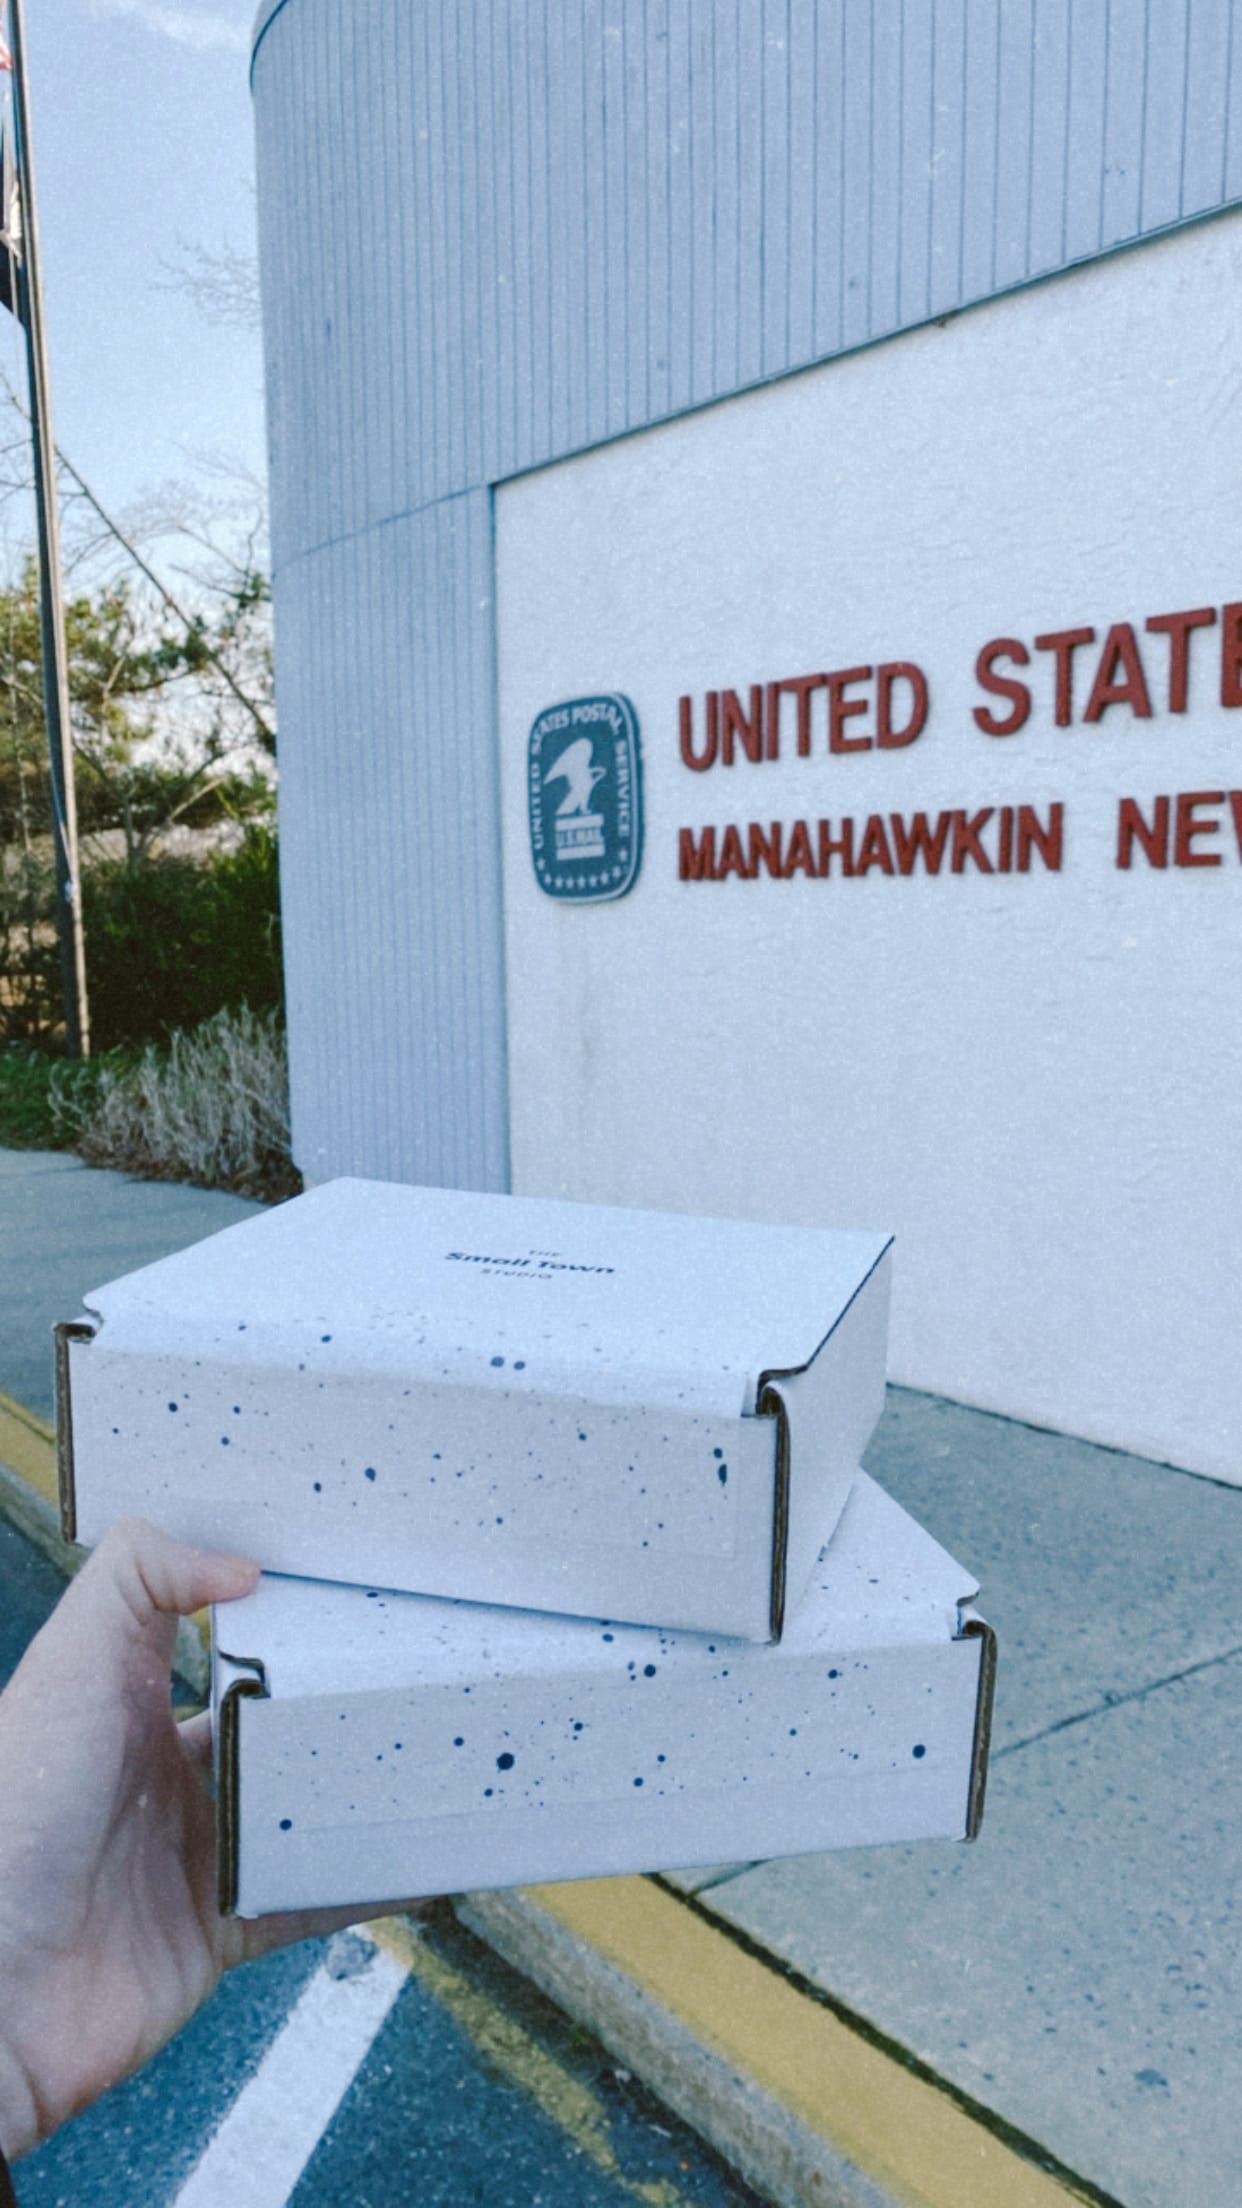
Products were officially being ordered online and I was shipping for the holiday season.
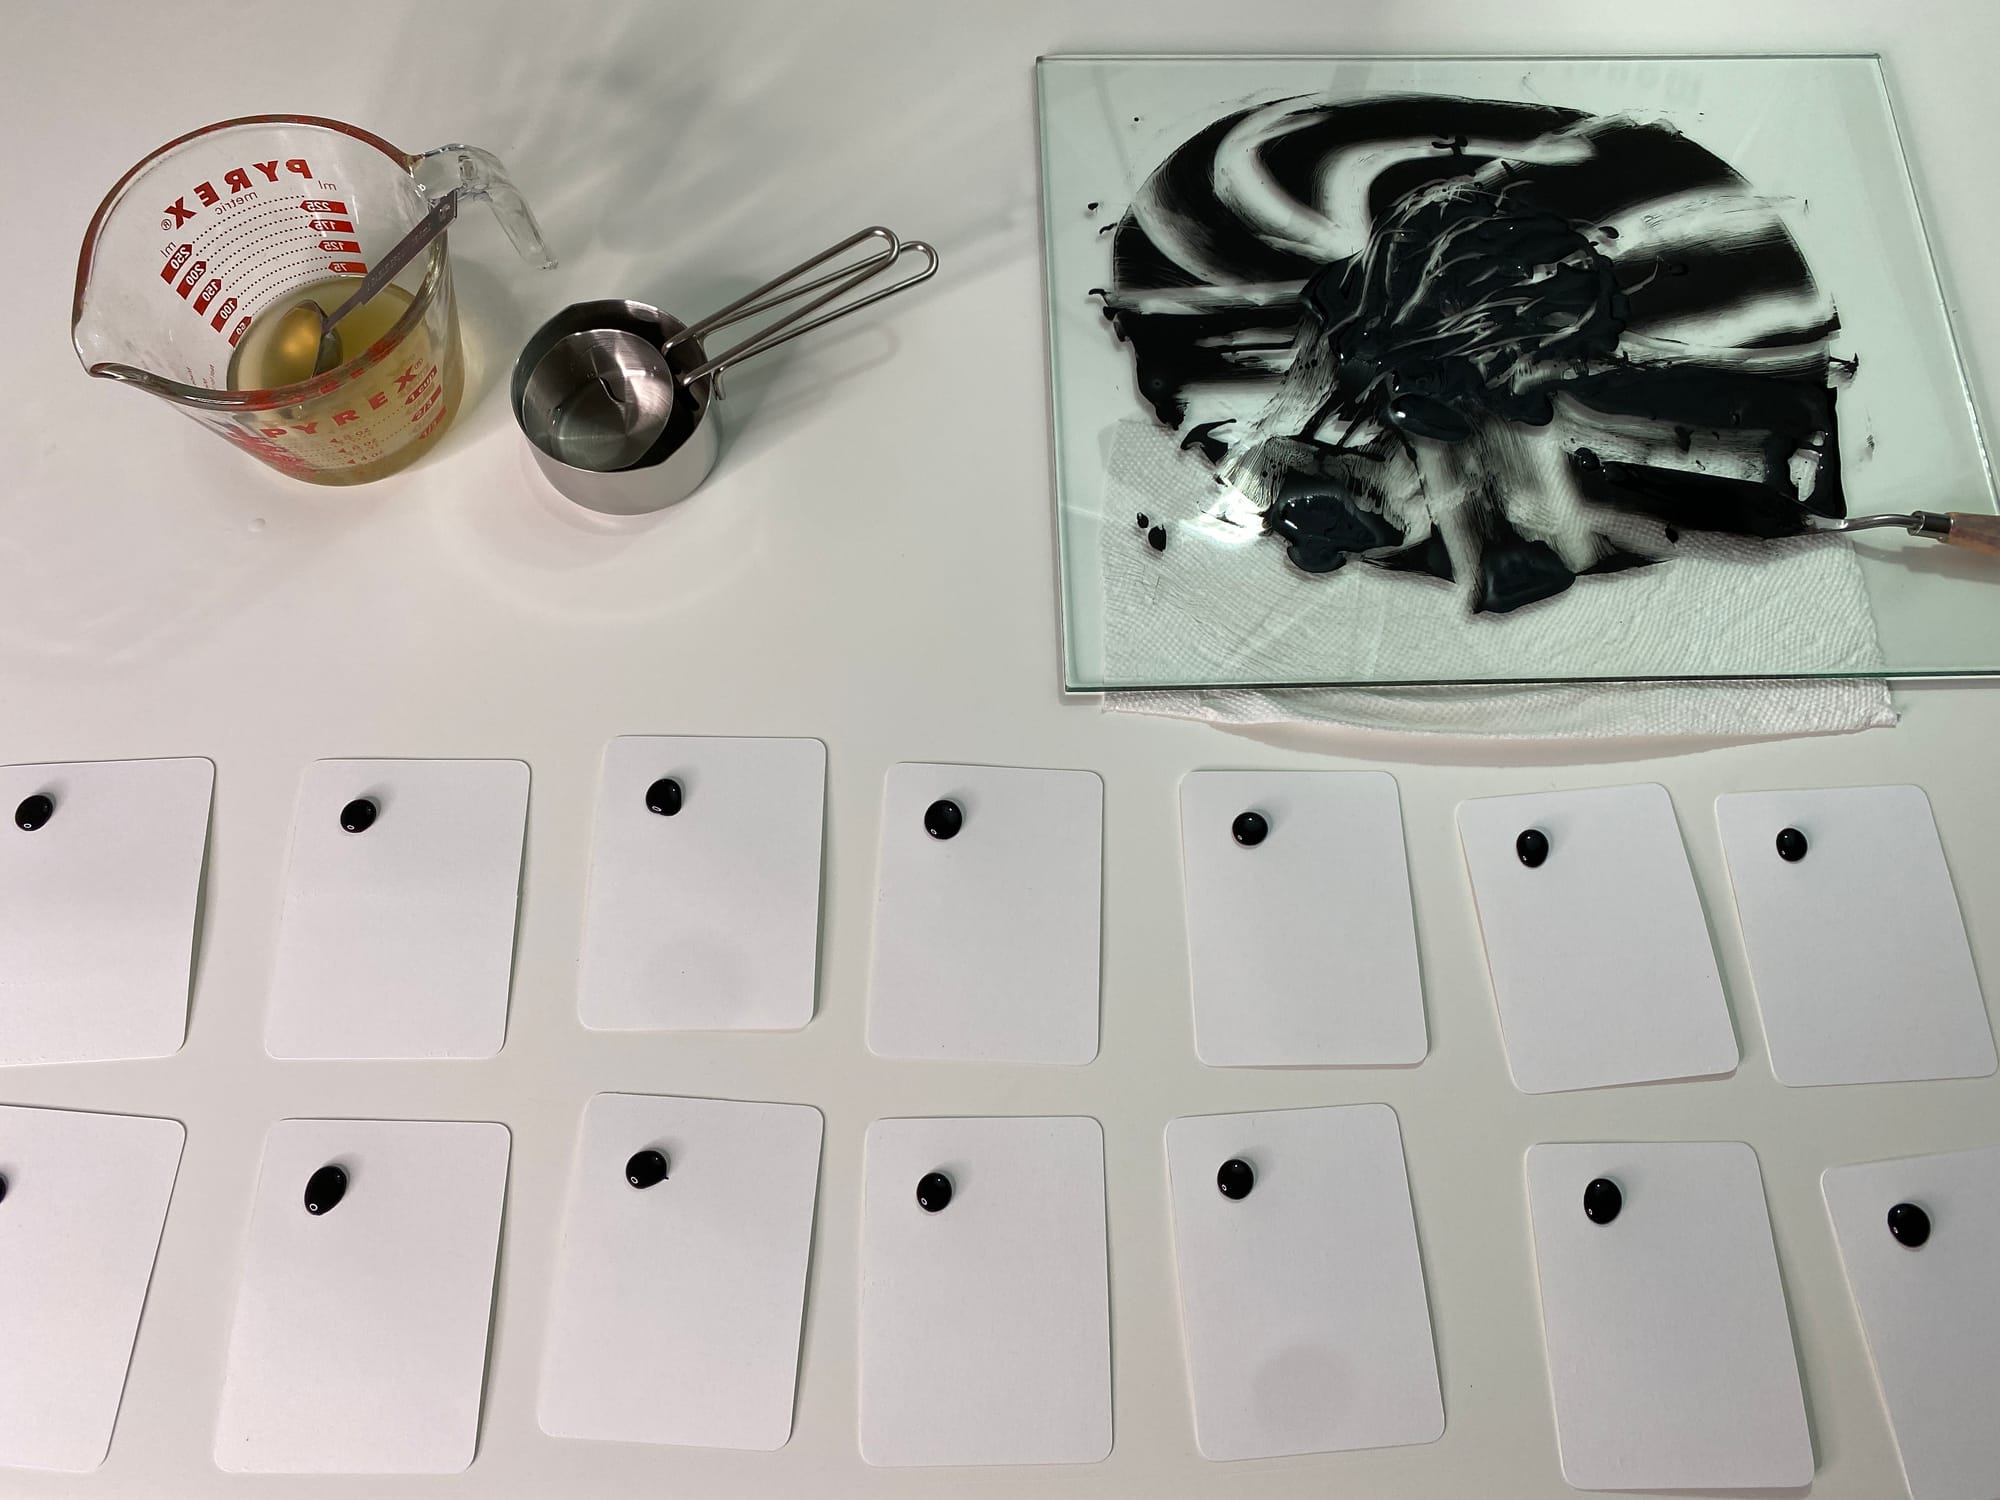
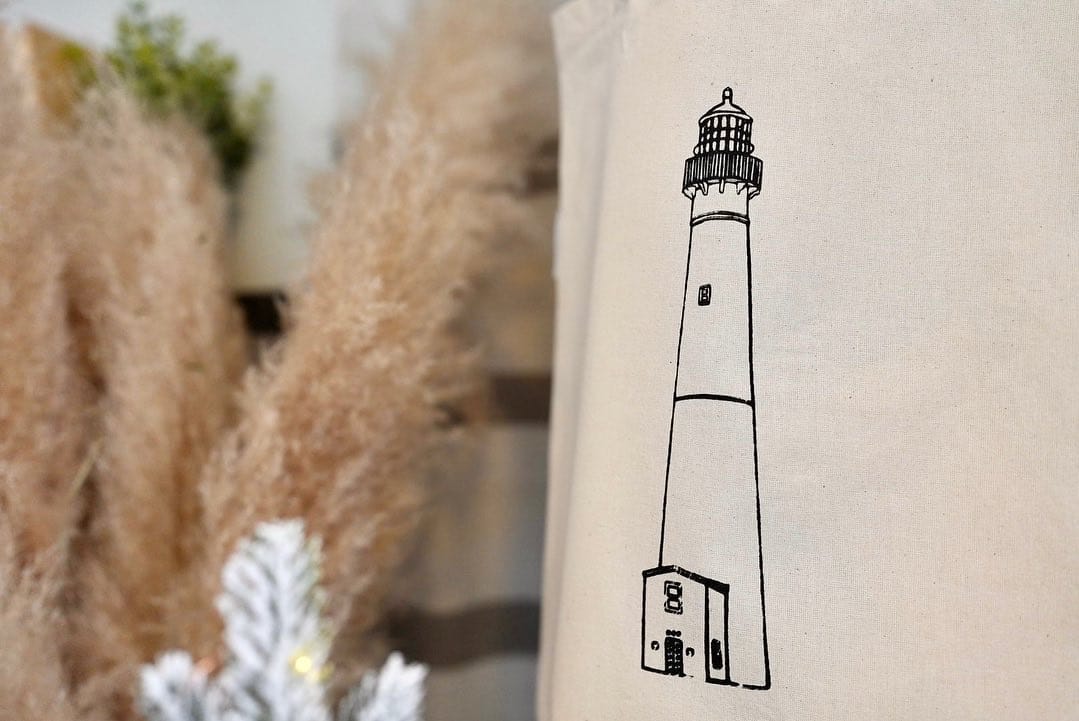
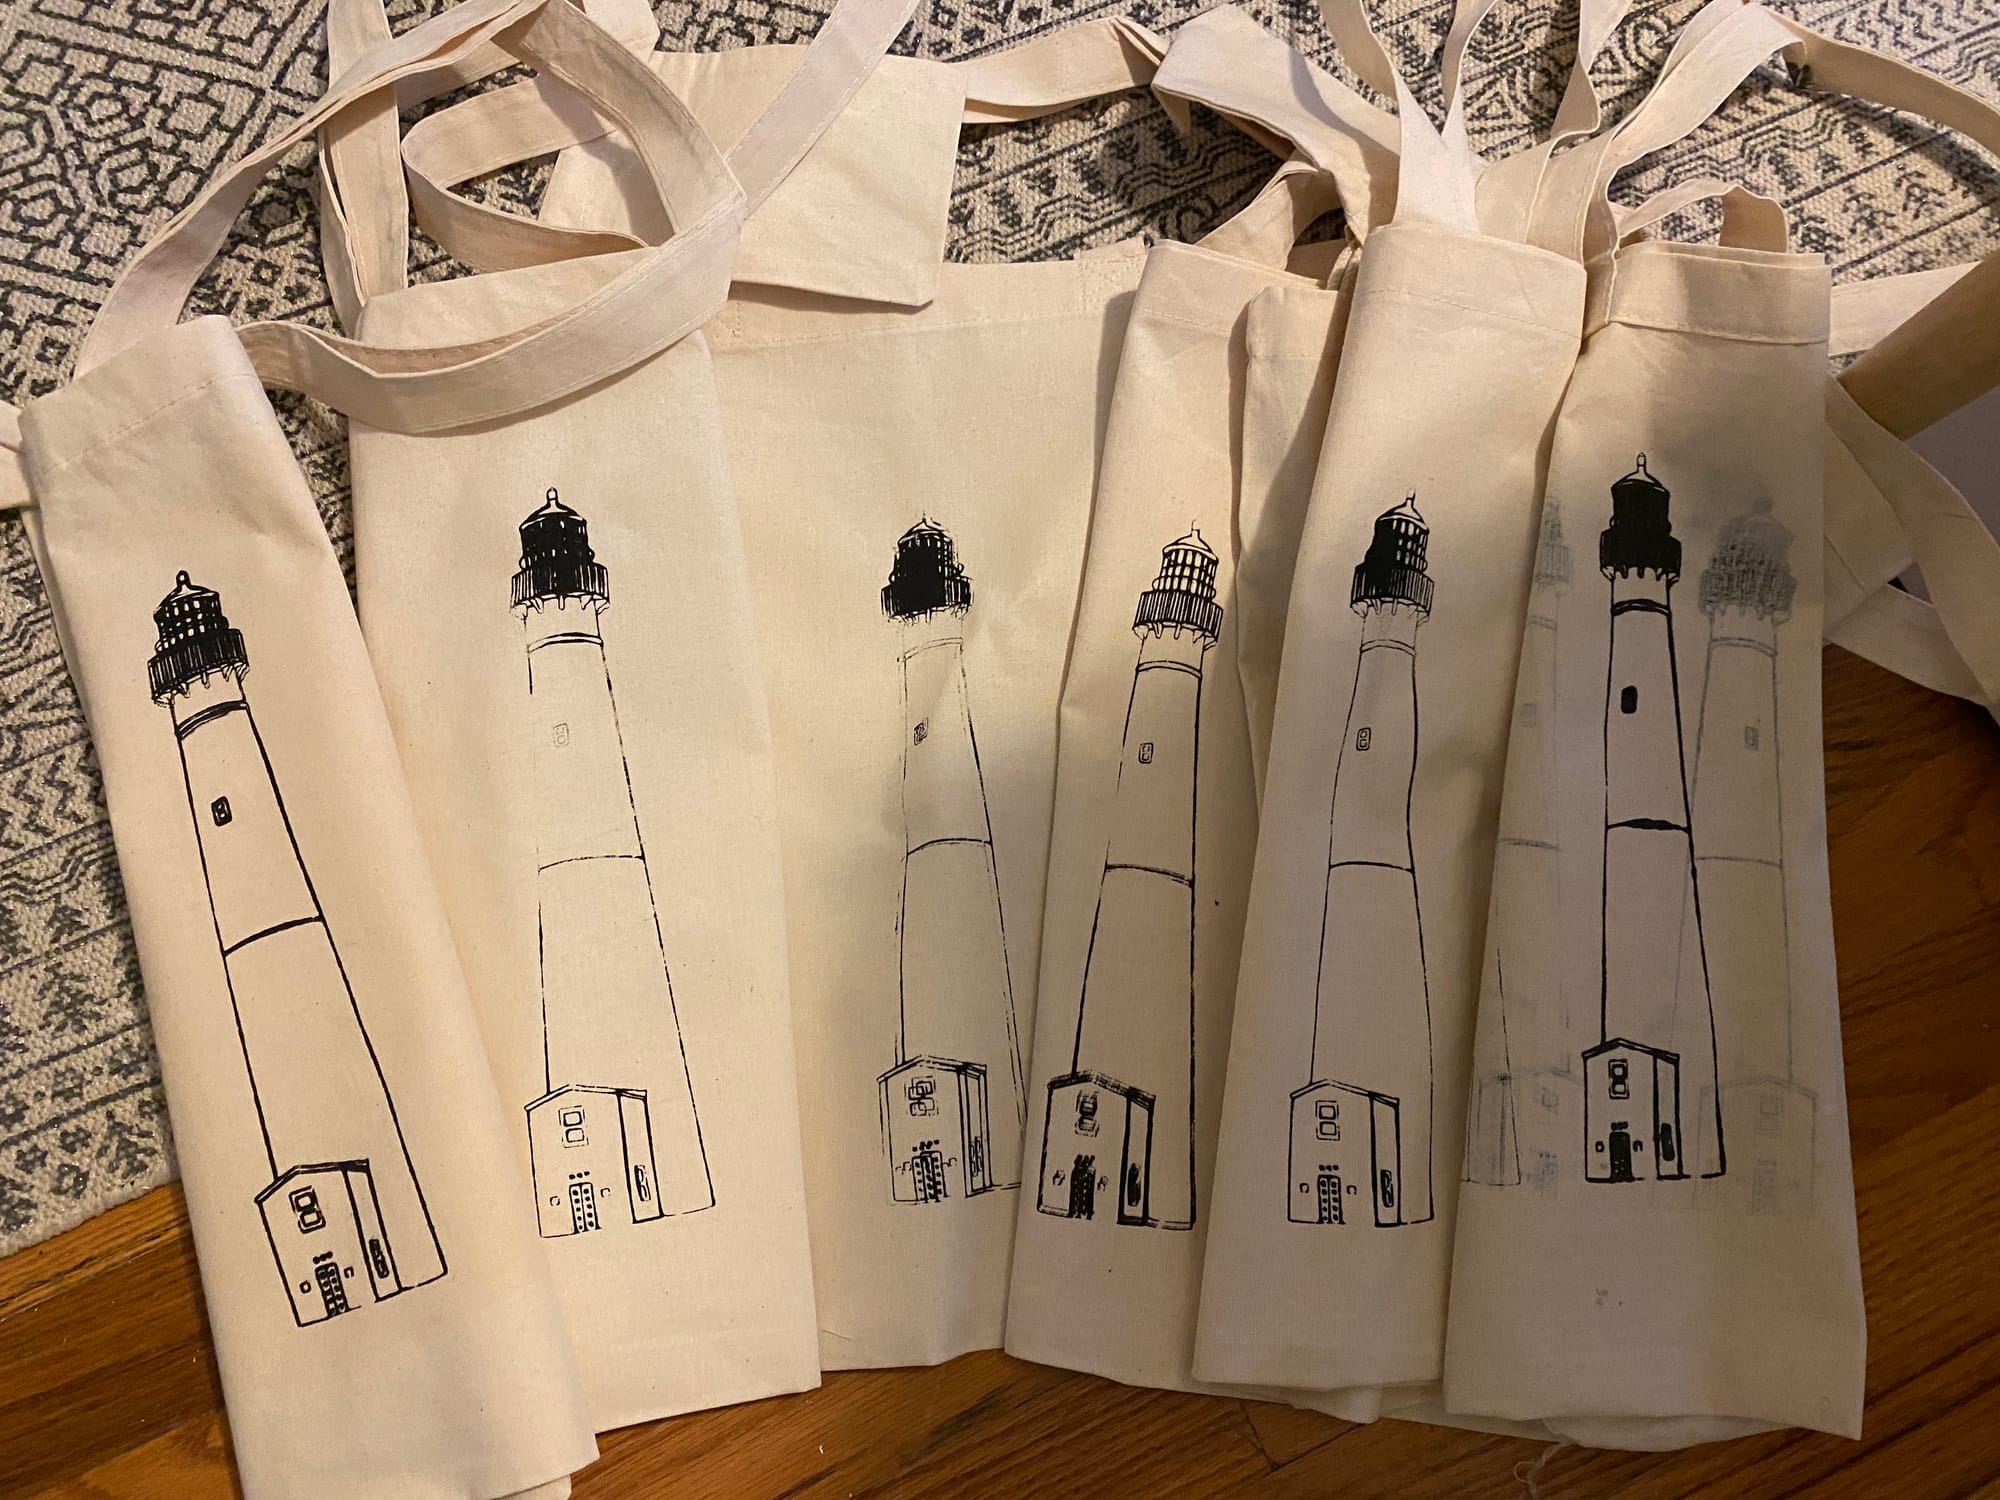
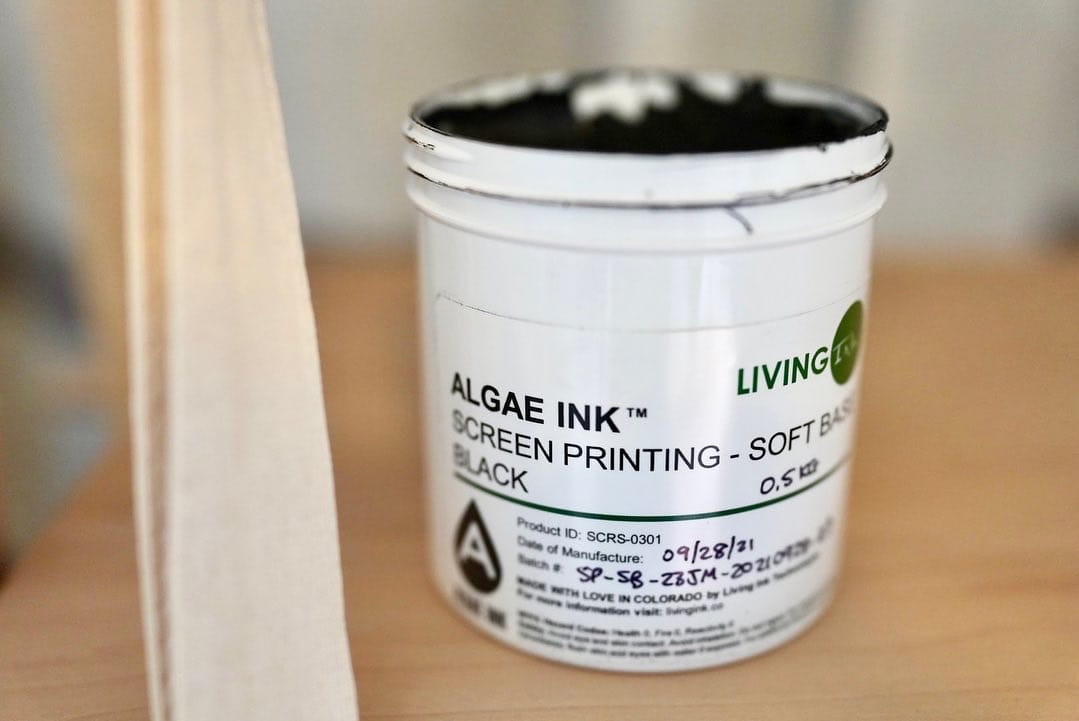
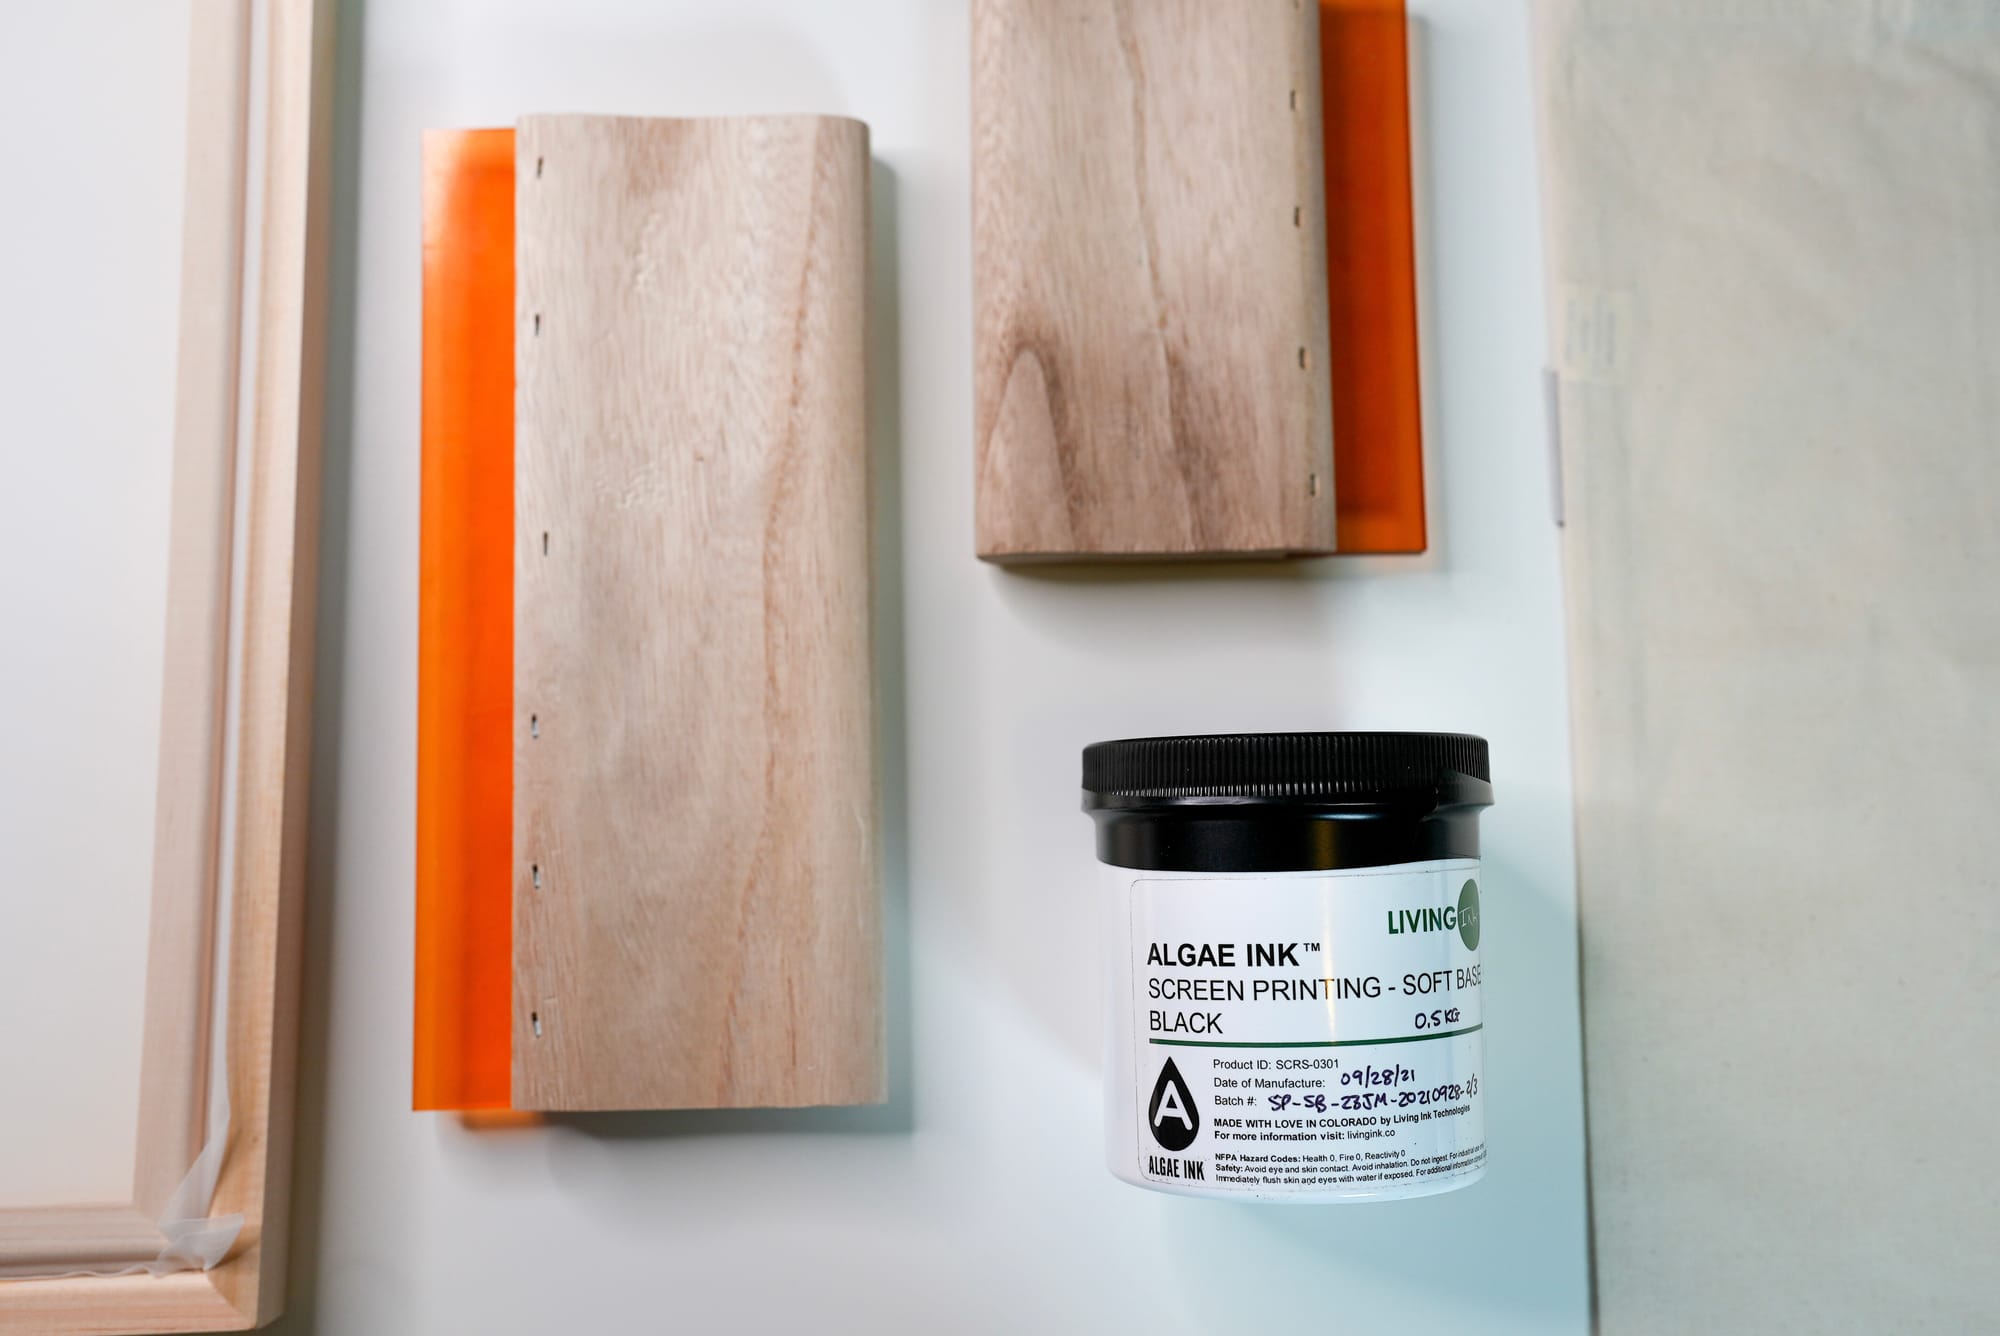
I started experimenting with screen printing. It was not good. I really wanted it to work because I found this really awesome environmentally-friendly ink made from algae by Living Ink but it was a challenge I just wasn't ready for. I love trying new things but some things just don't work out and that's okay. Maybe one day I will try this again.
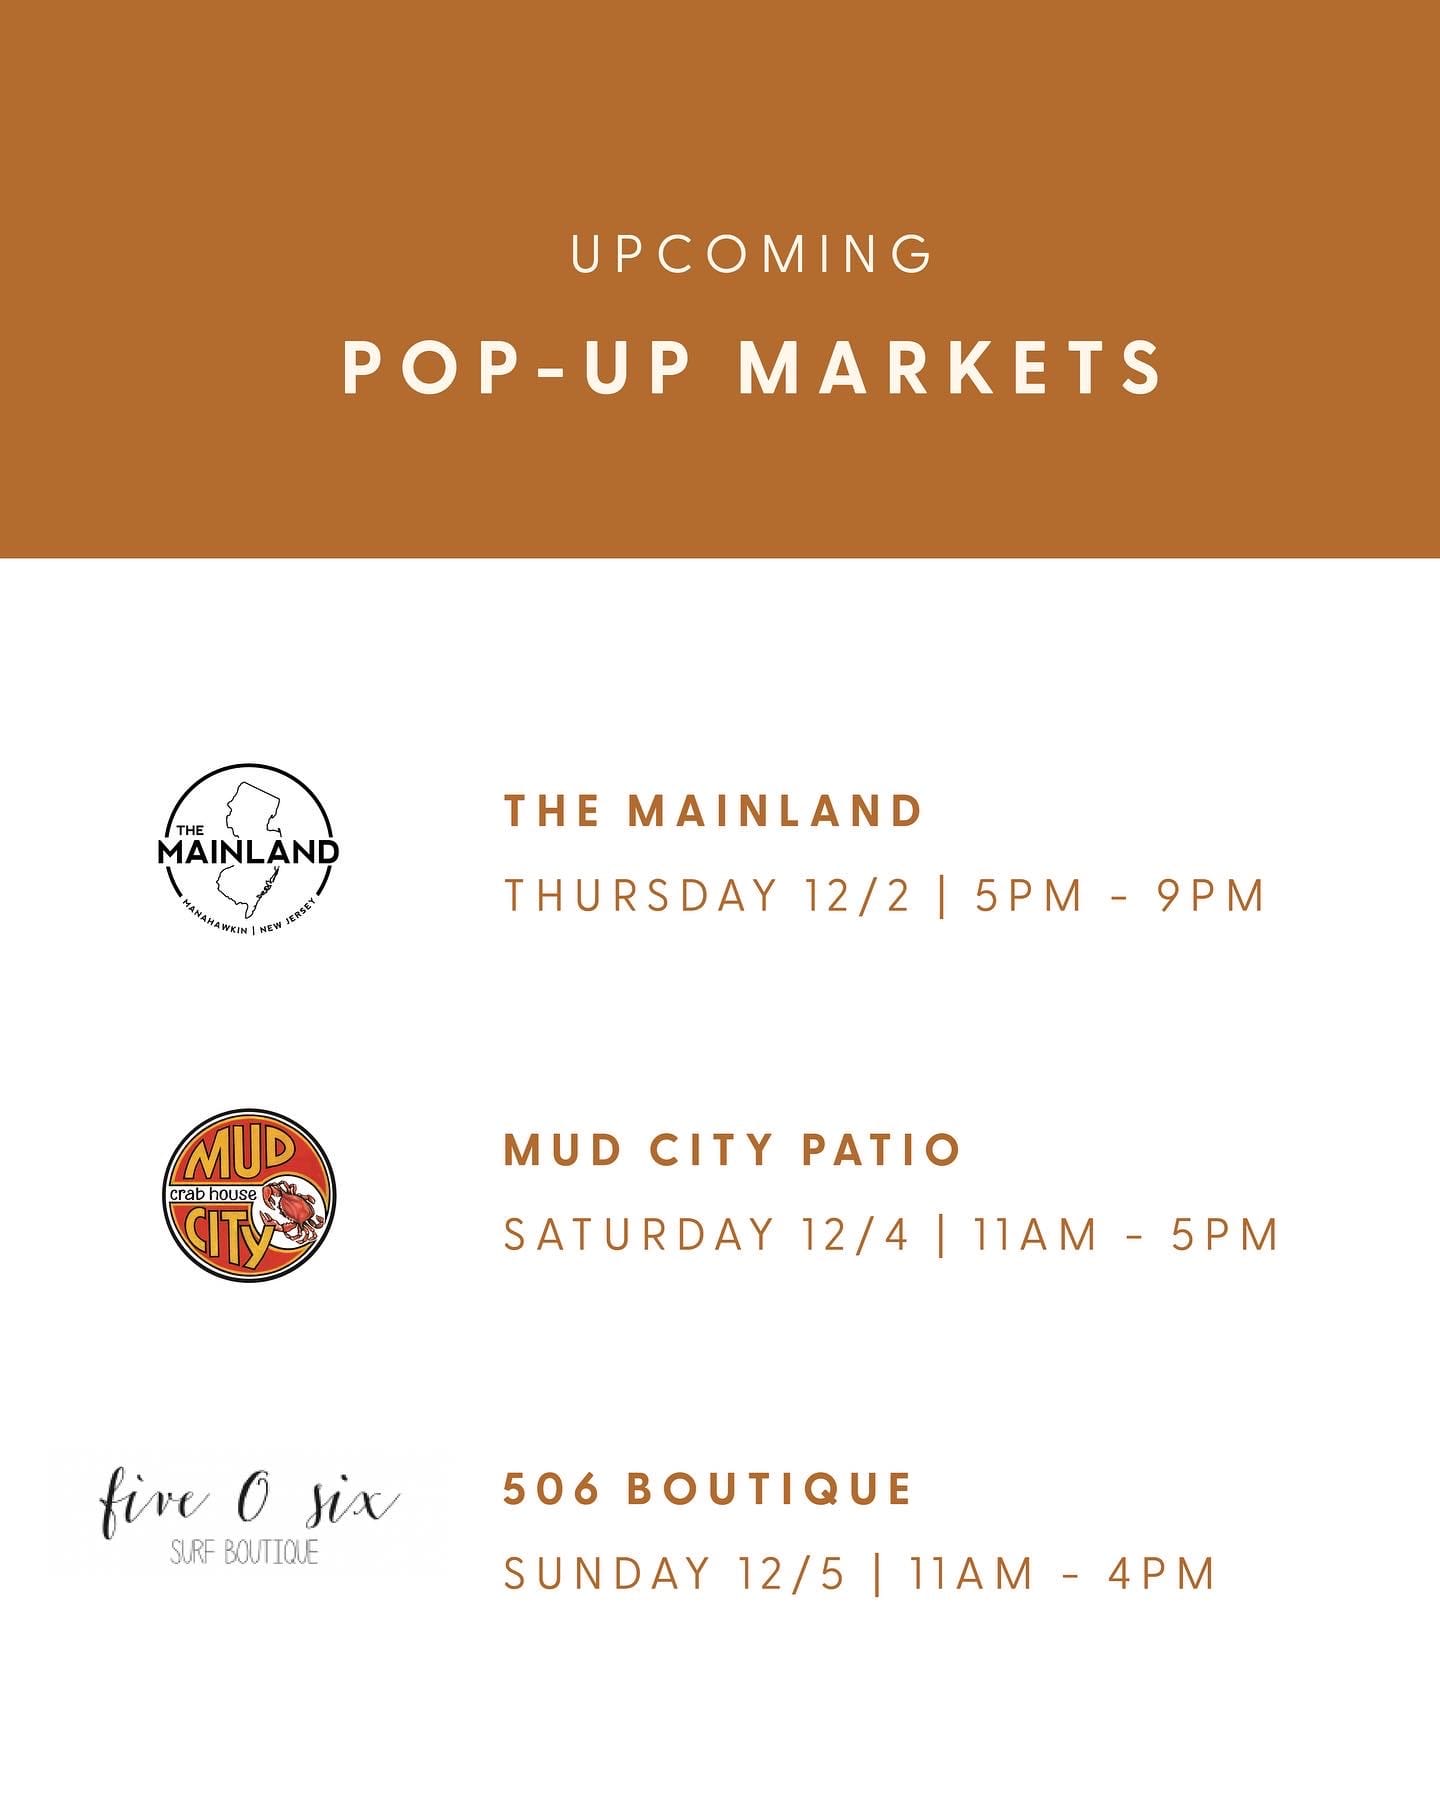
December was the month of shopping small and holiday markets.
Popping-up at small businesses felt natural to my brand. There were so many small businesses in town that really supported each other, especially around the holidays.
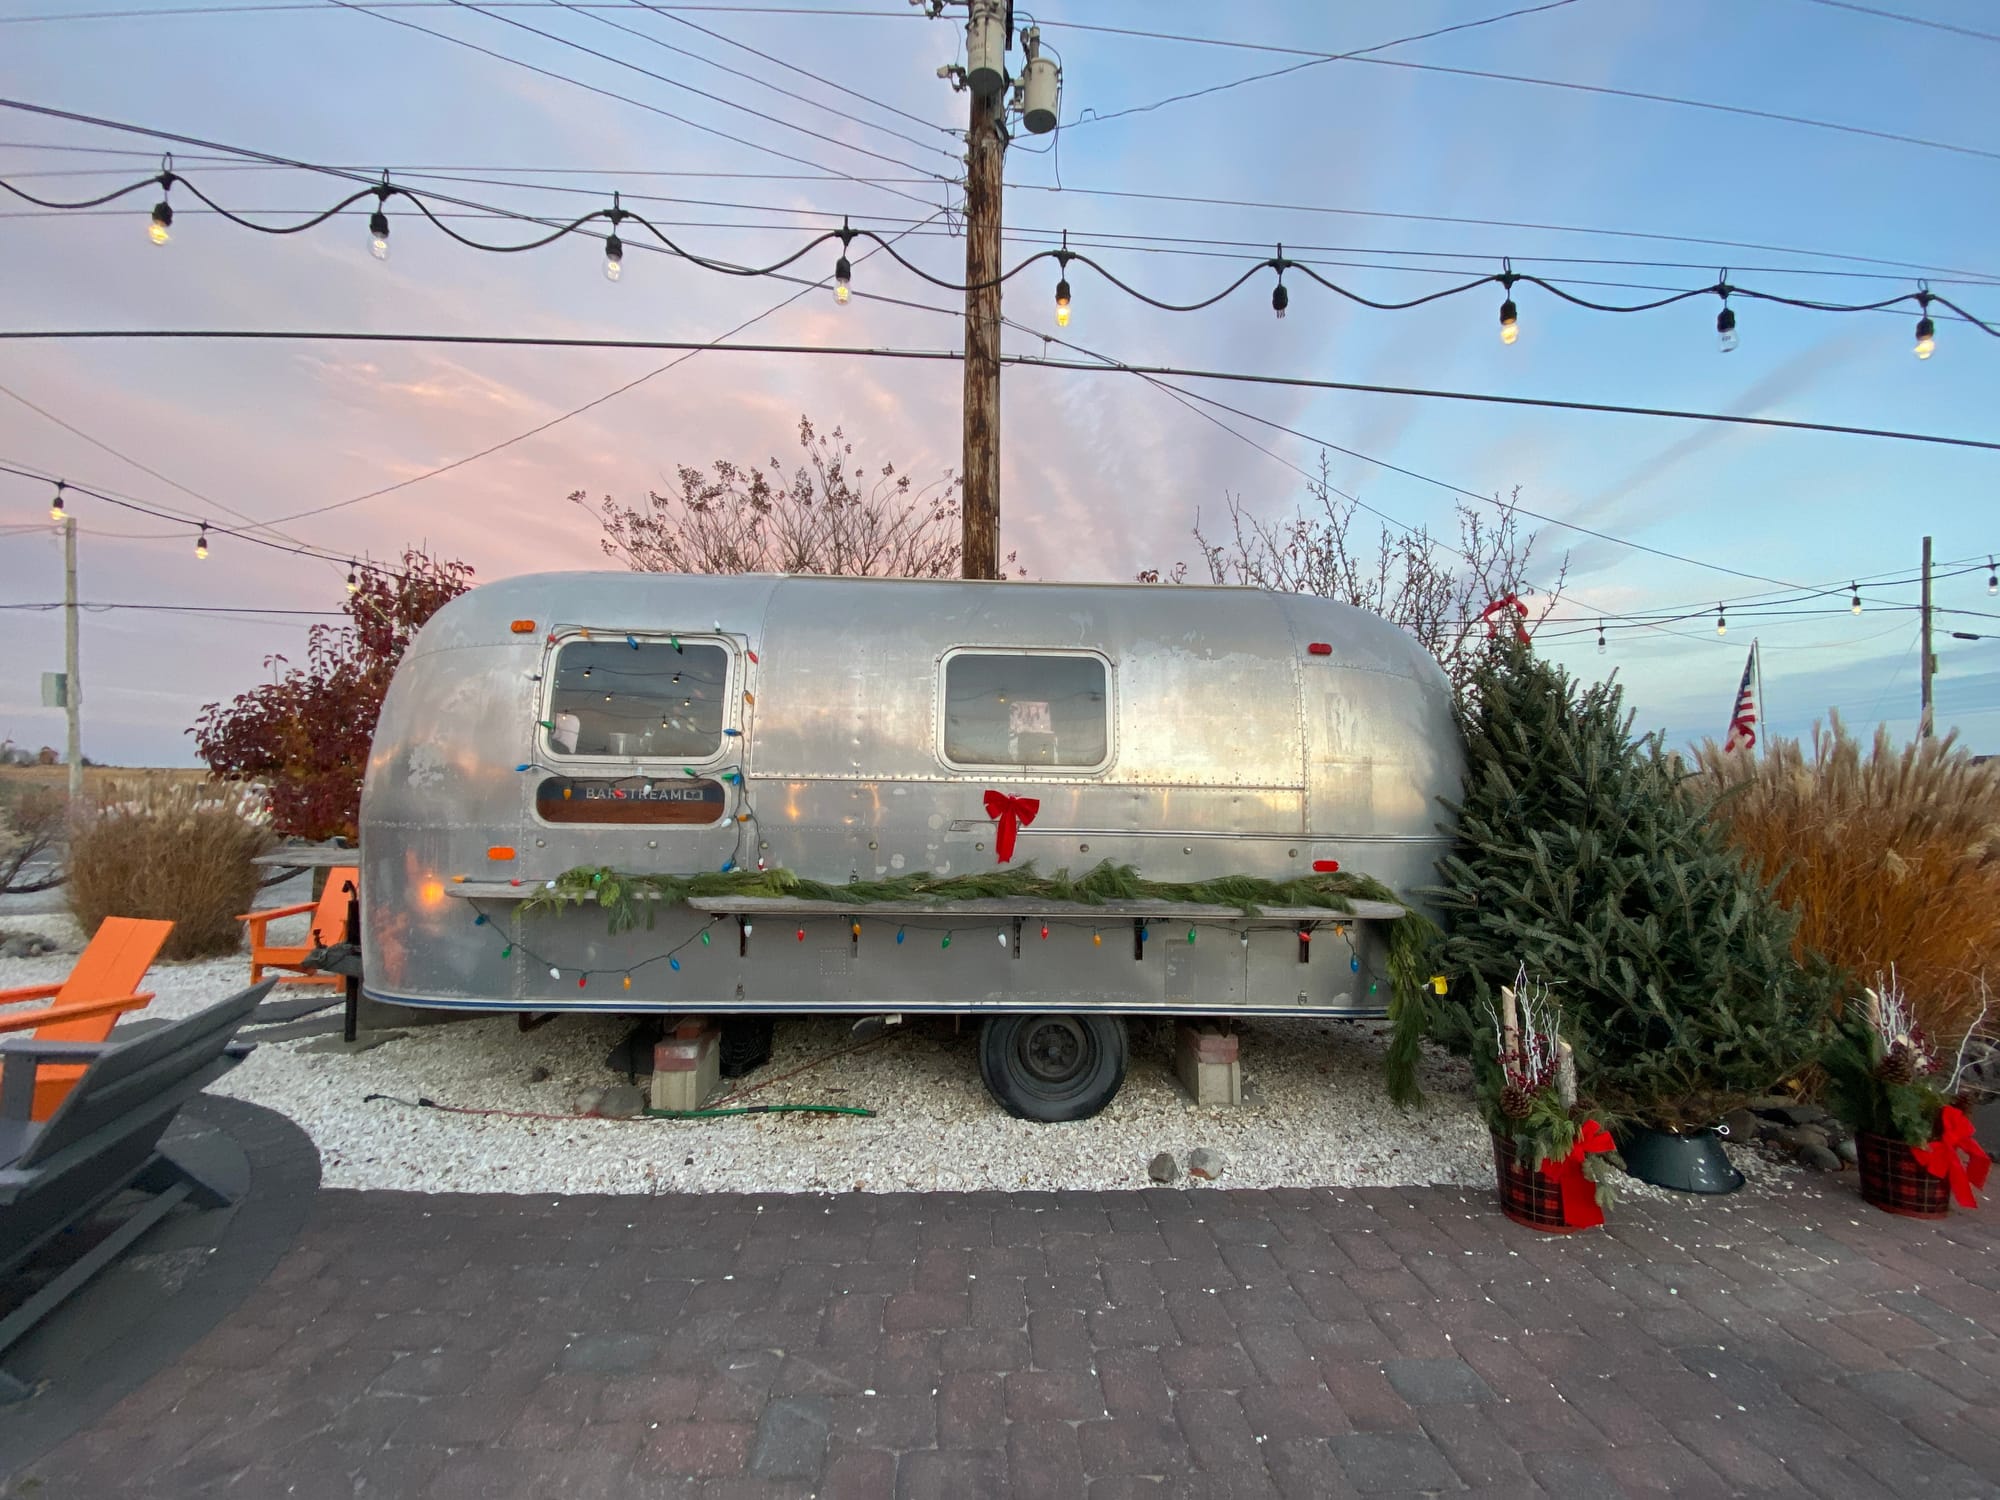
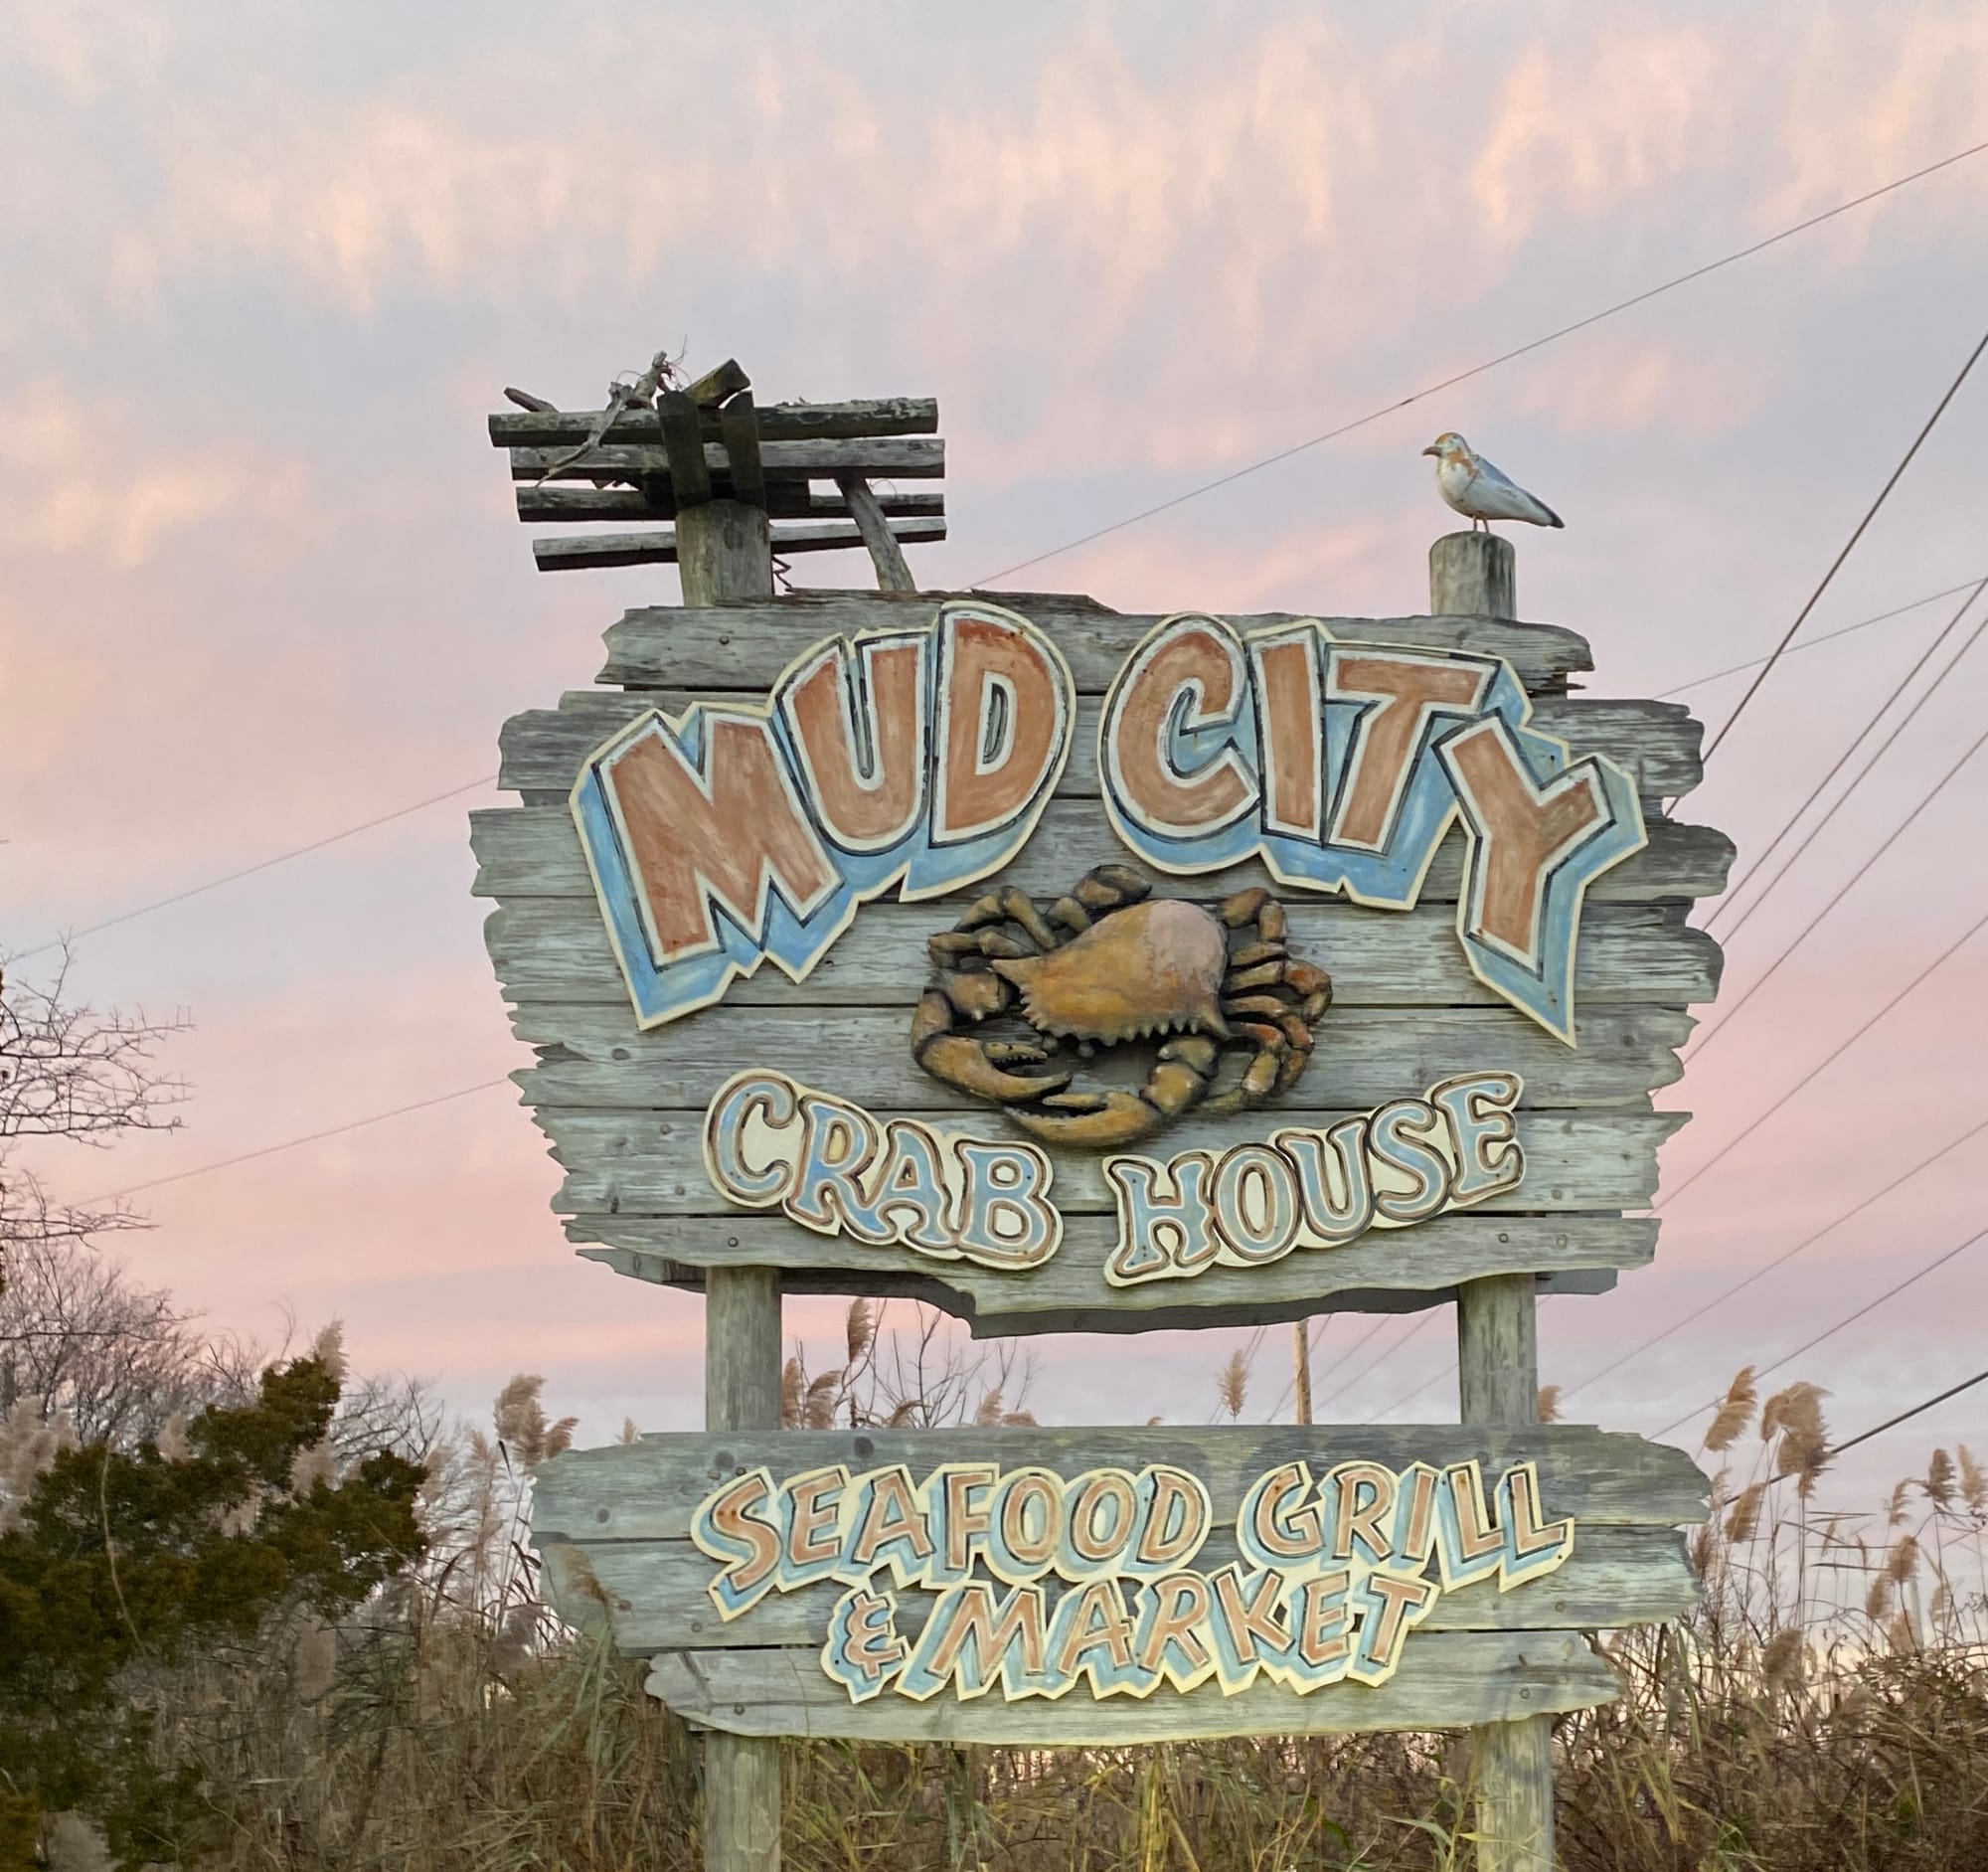
Mud City Crab House Makers Market
506 Boutique Holiday Market in Surf City
After the holiday markets, I started focusing on my website and the collections I was creating and adding new products.
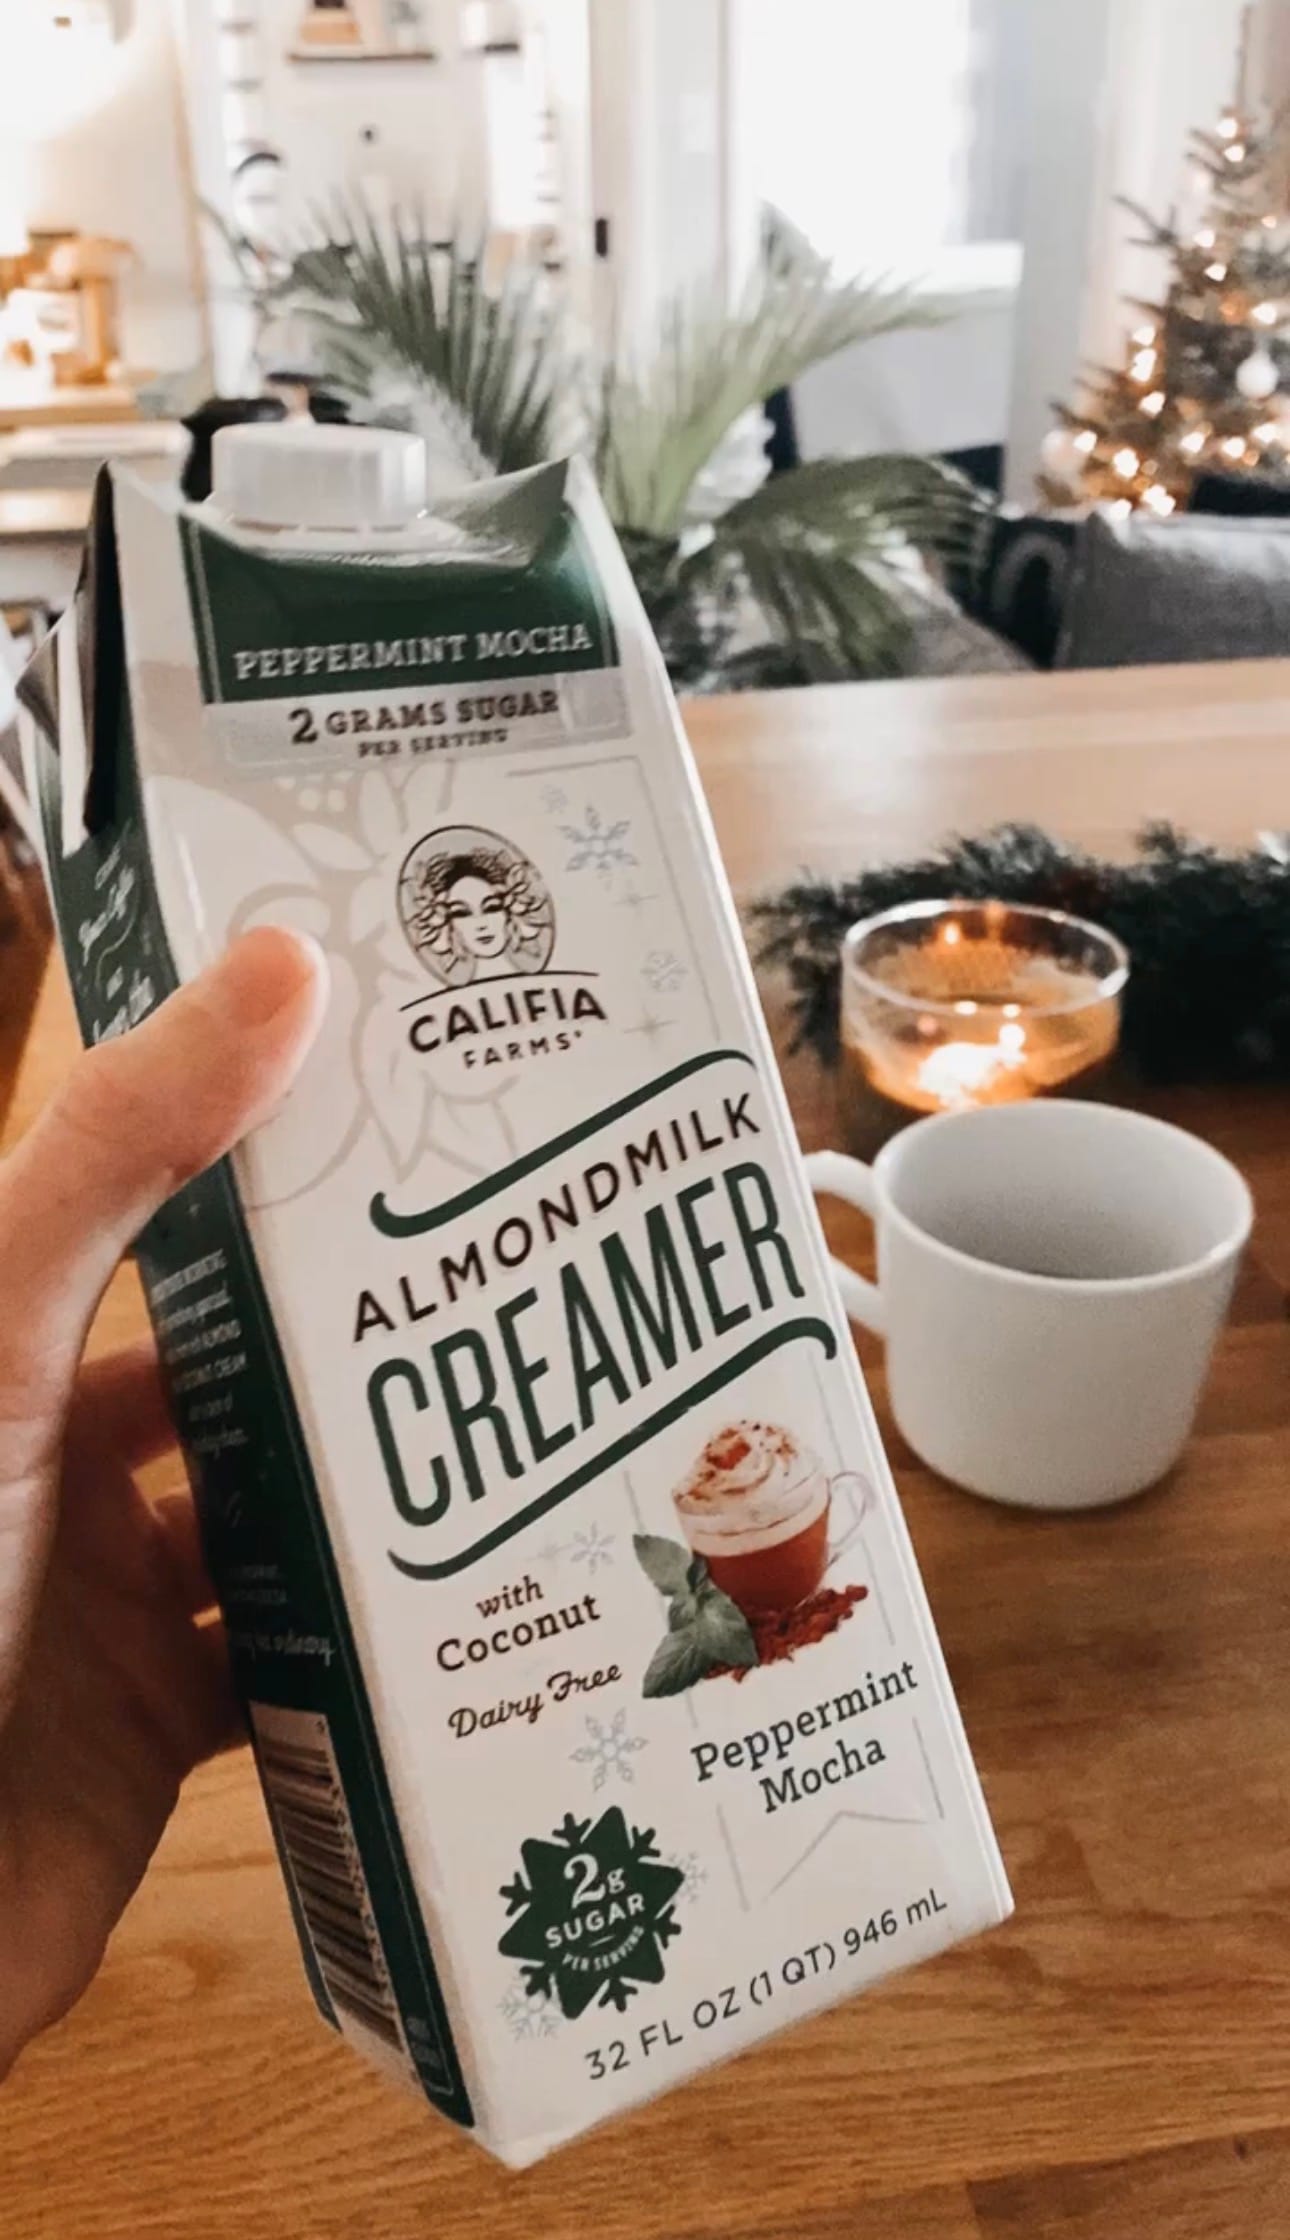
I loved getting cozy in the studio with a peppermint mocha latte and working away.
January 2022
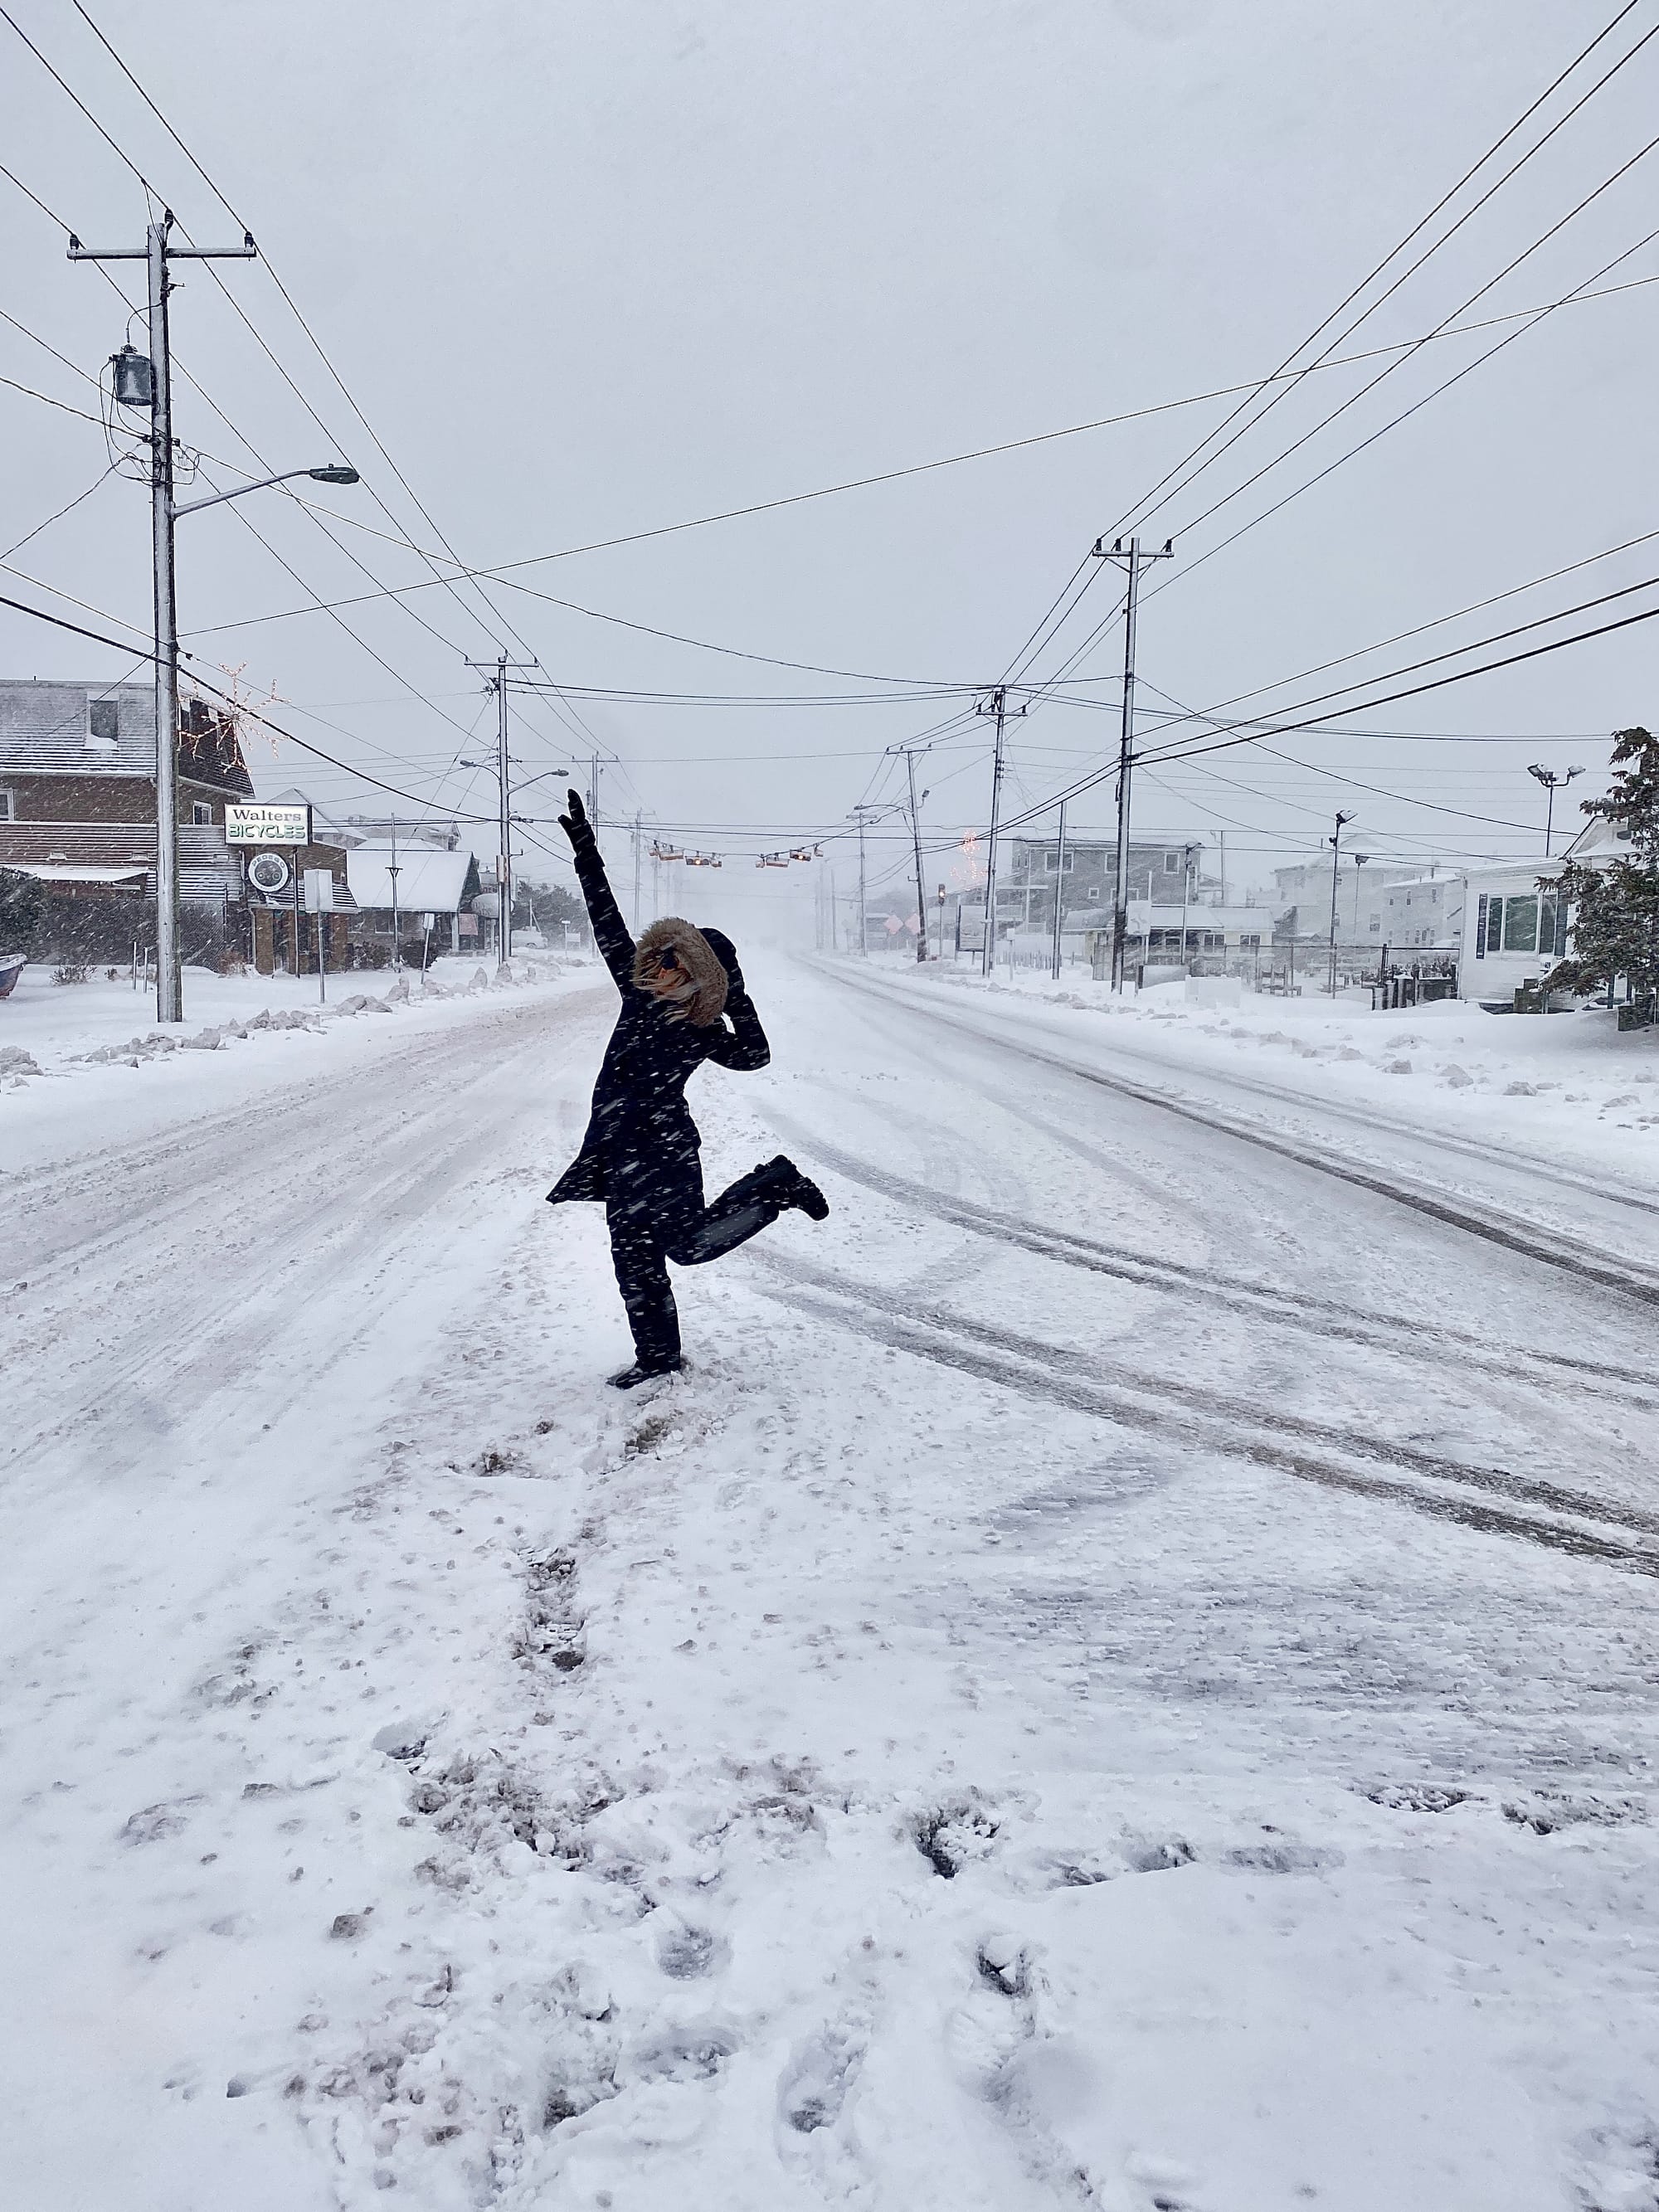
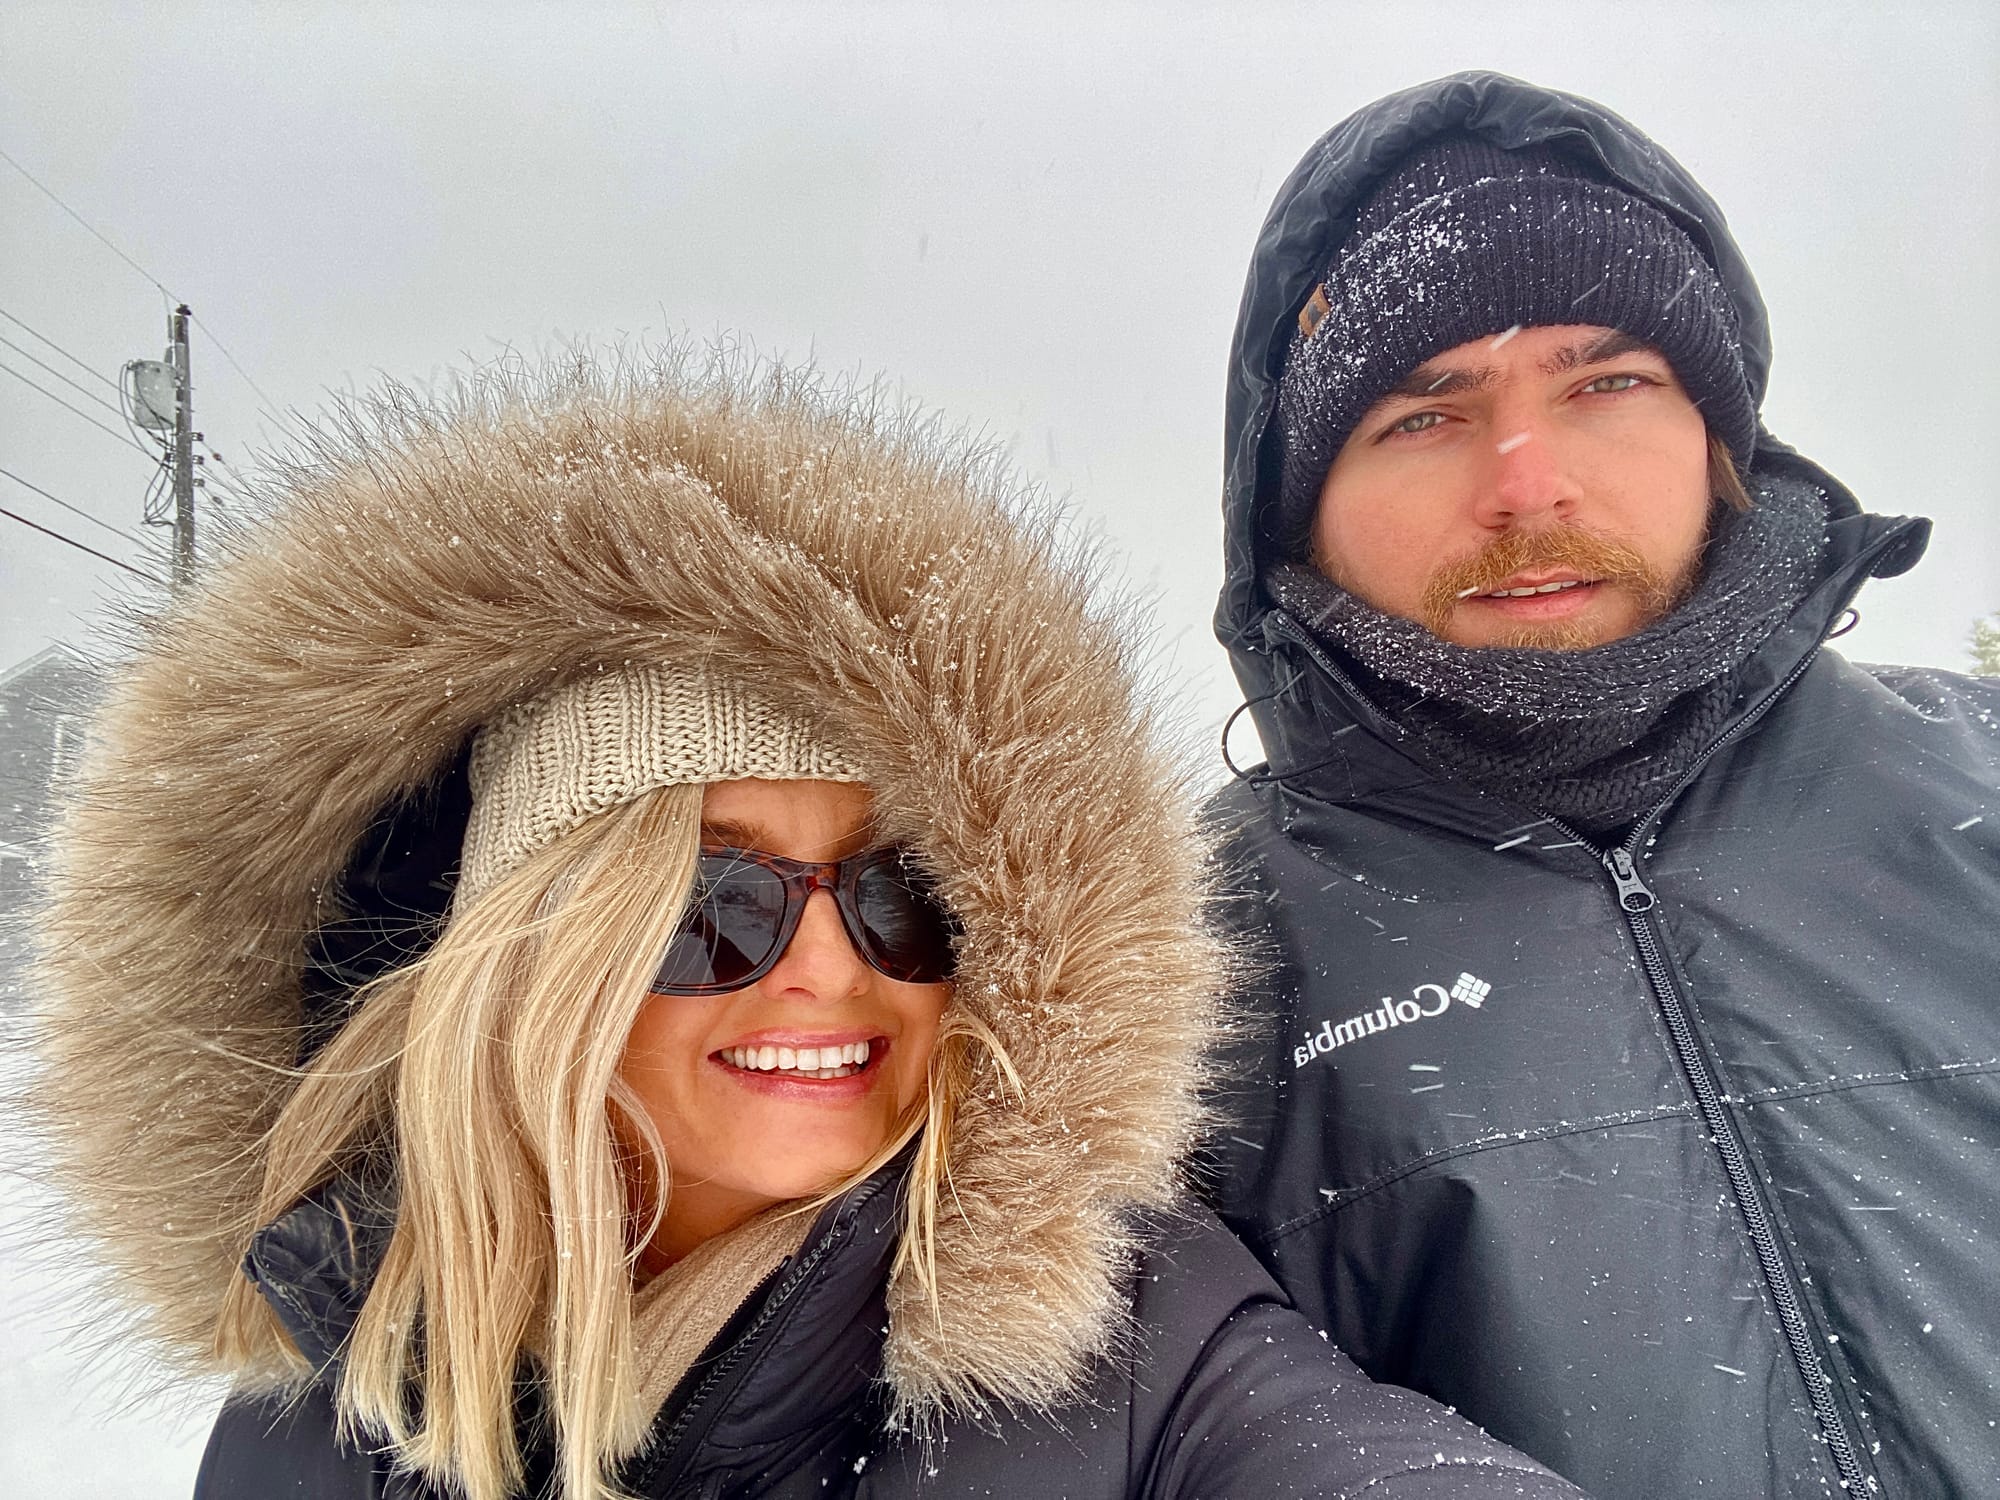
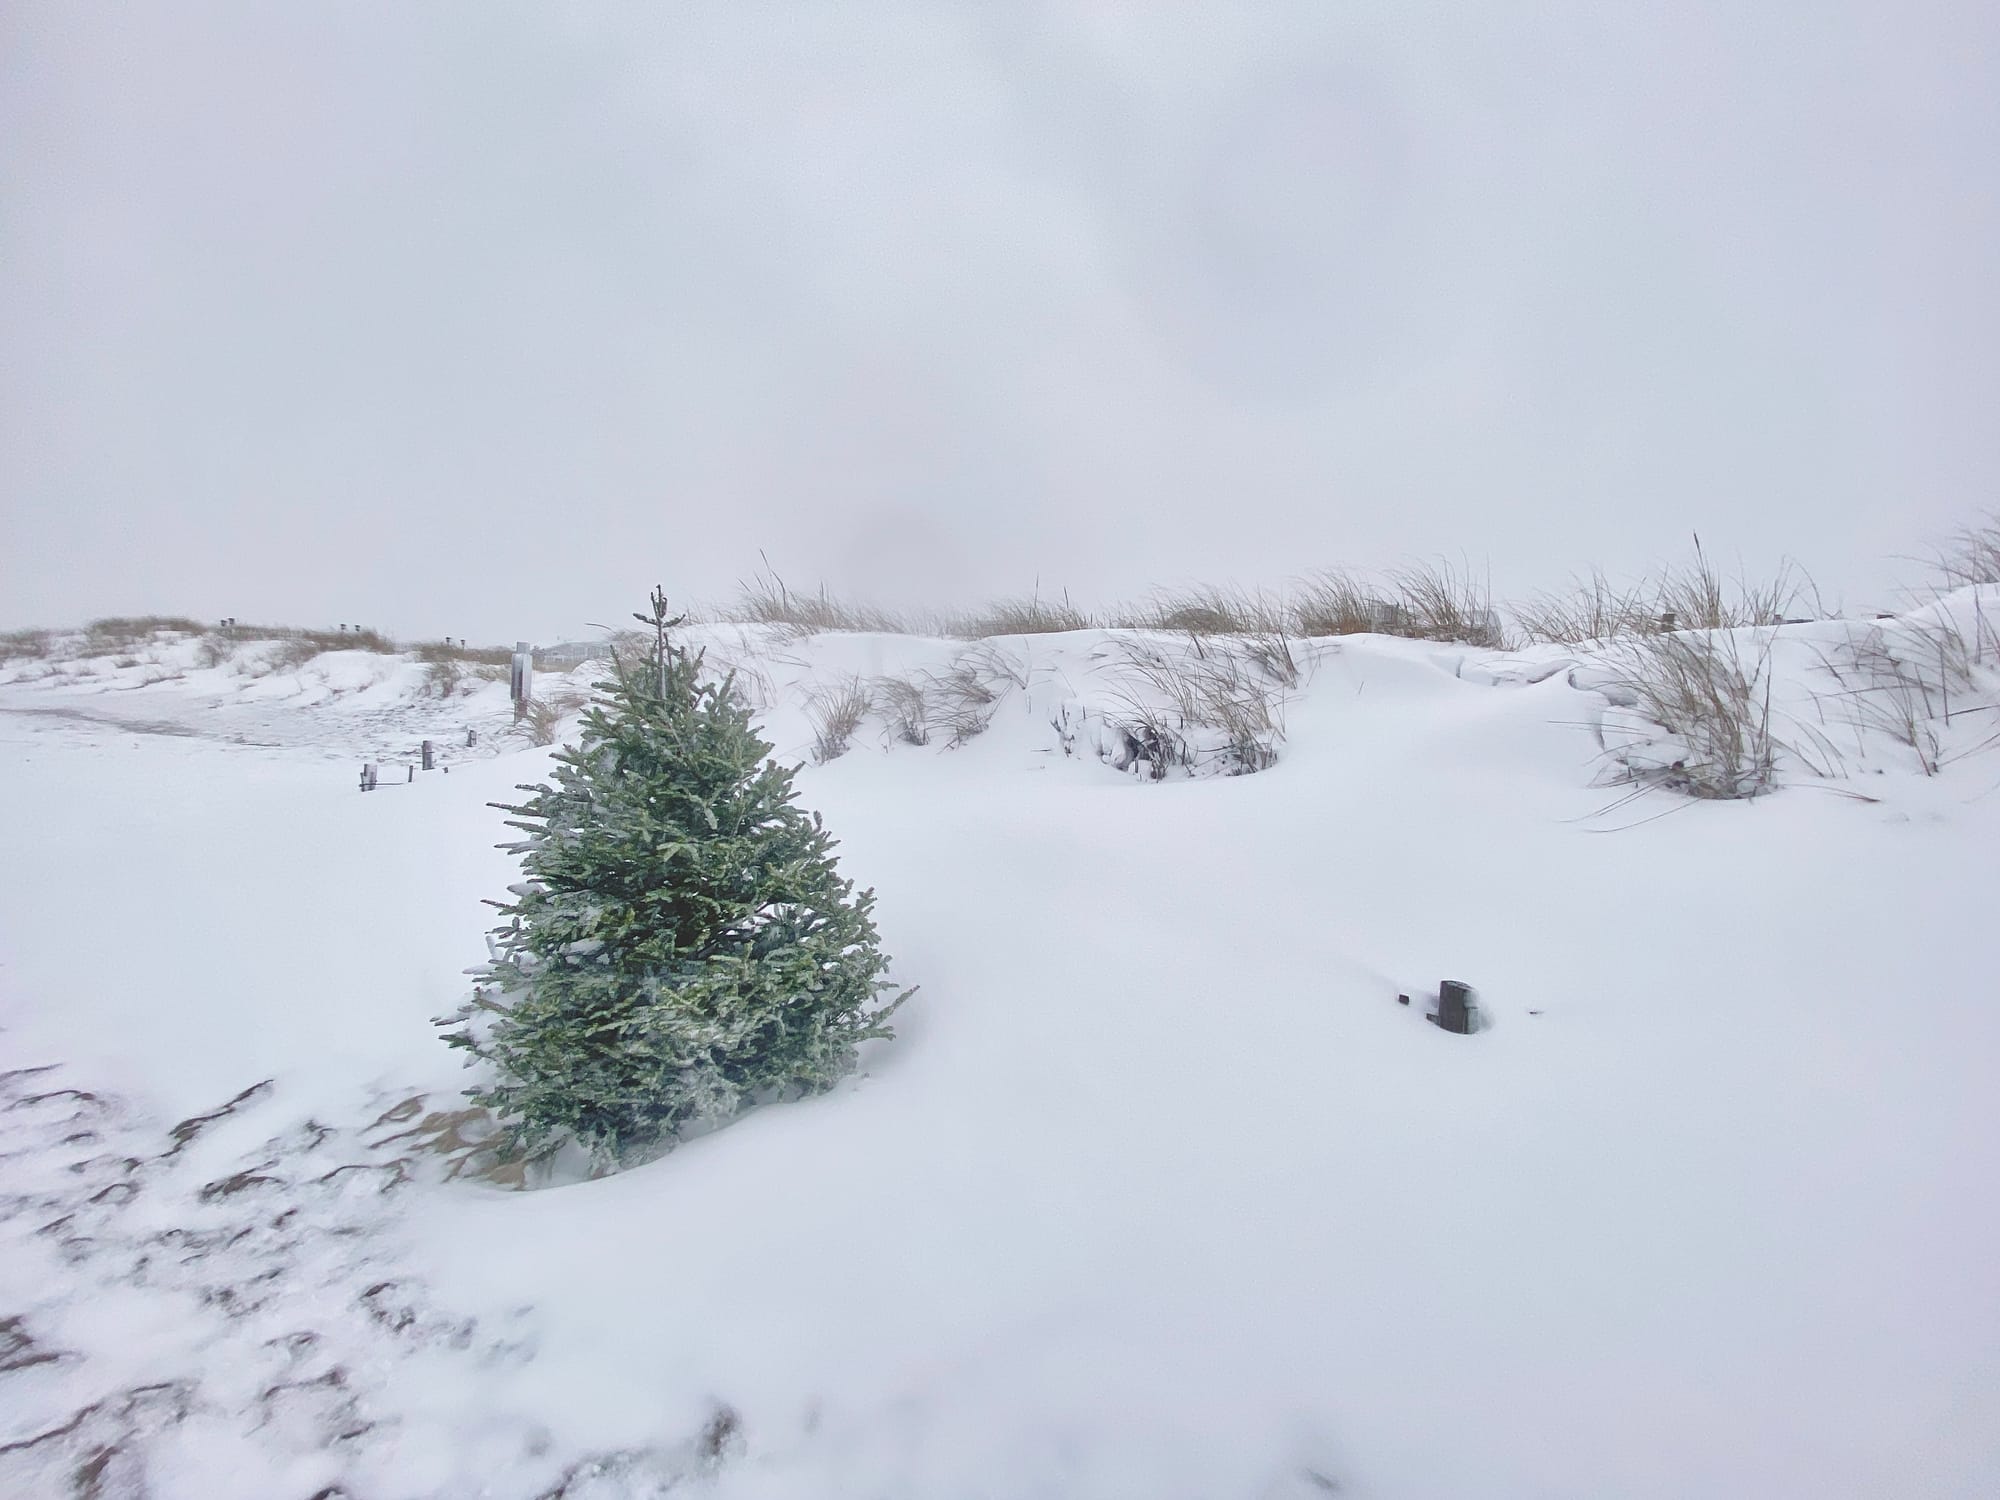
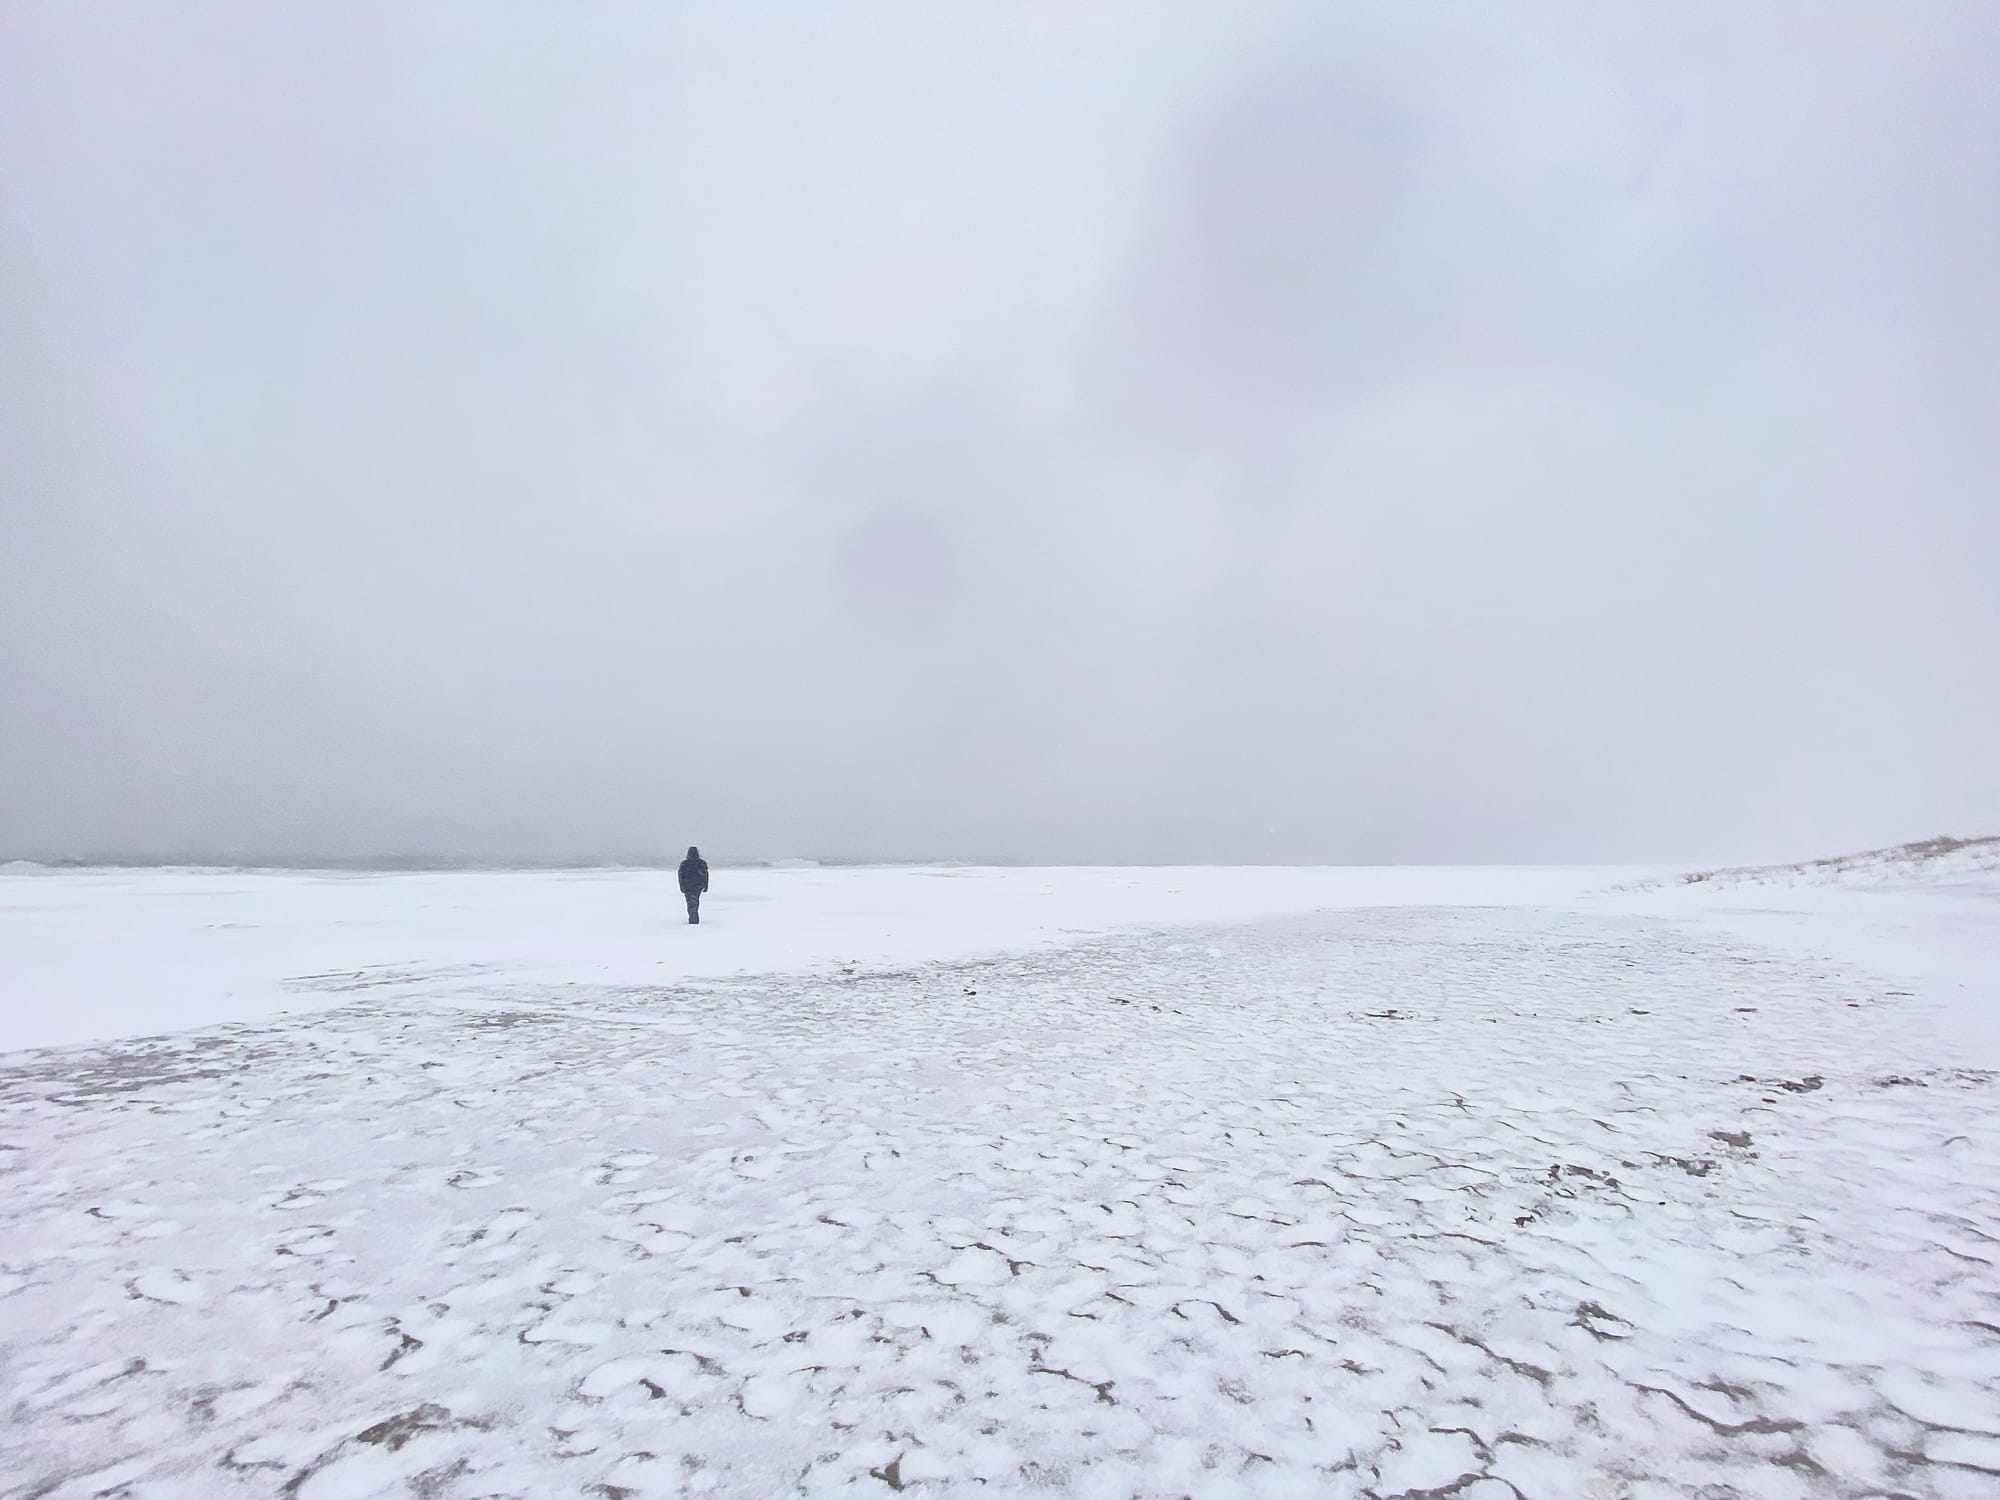
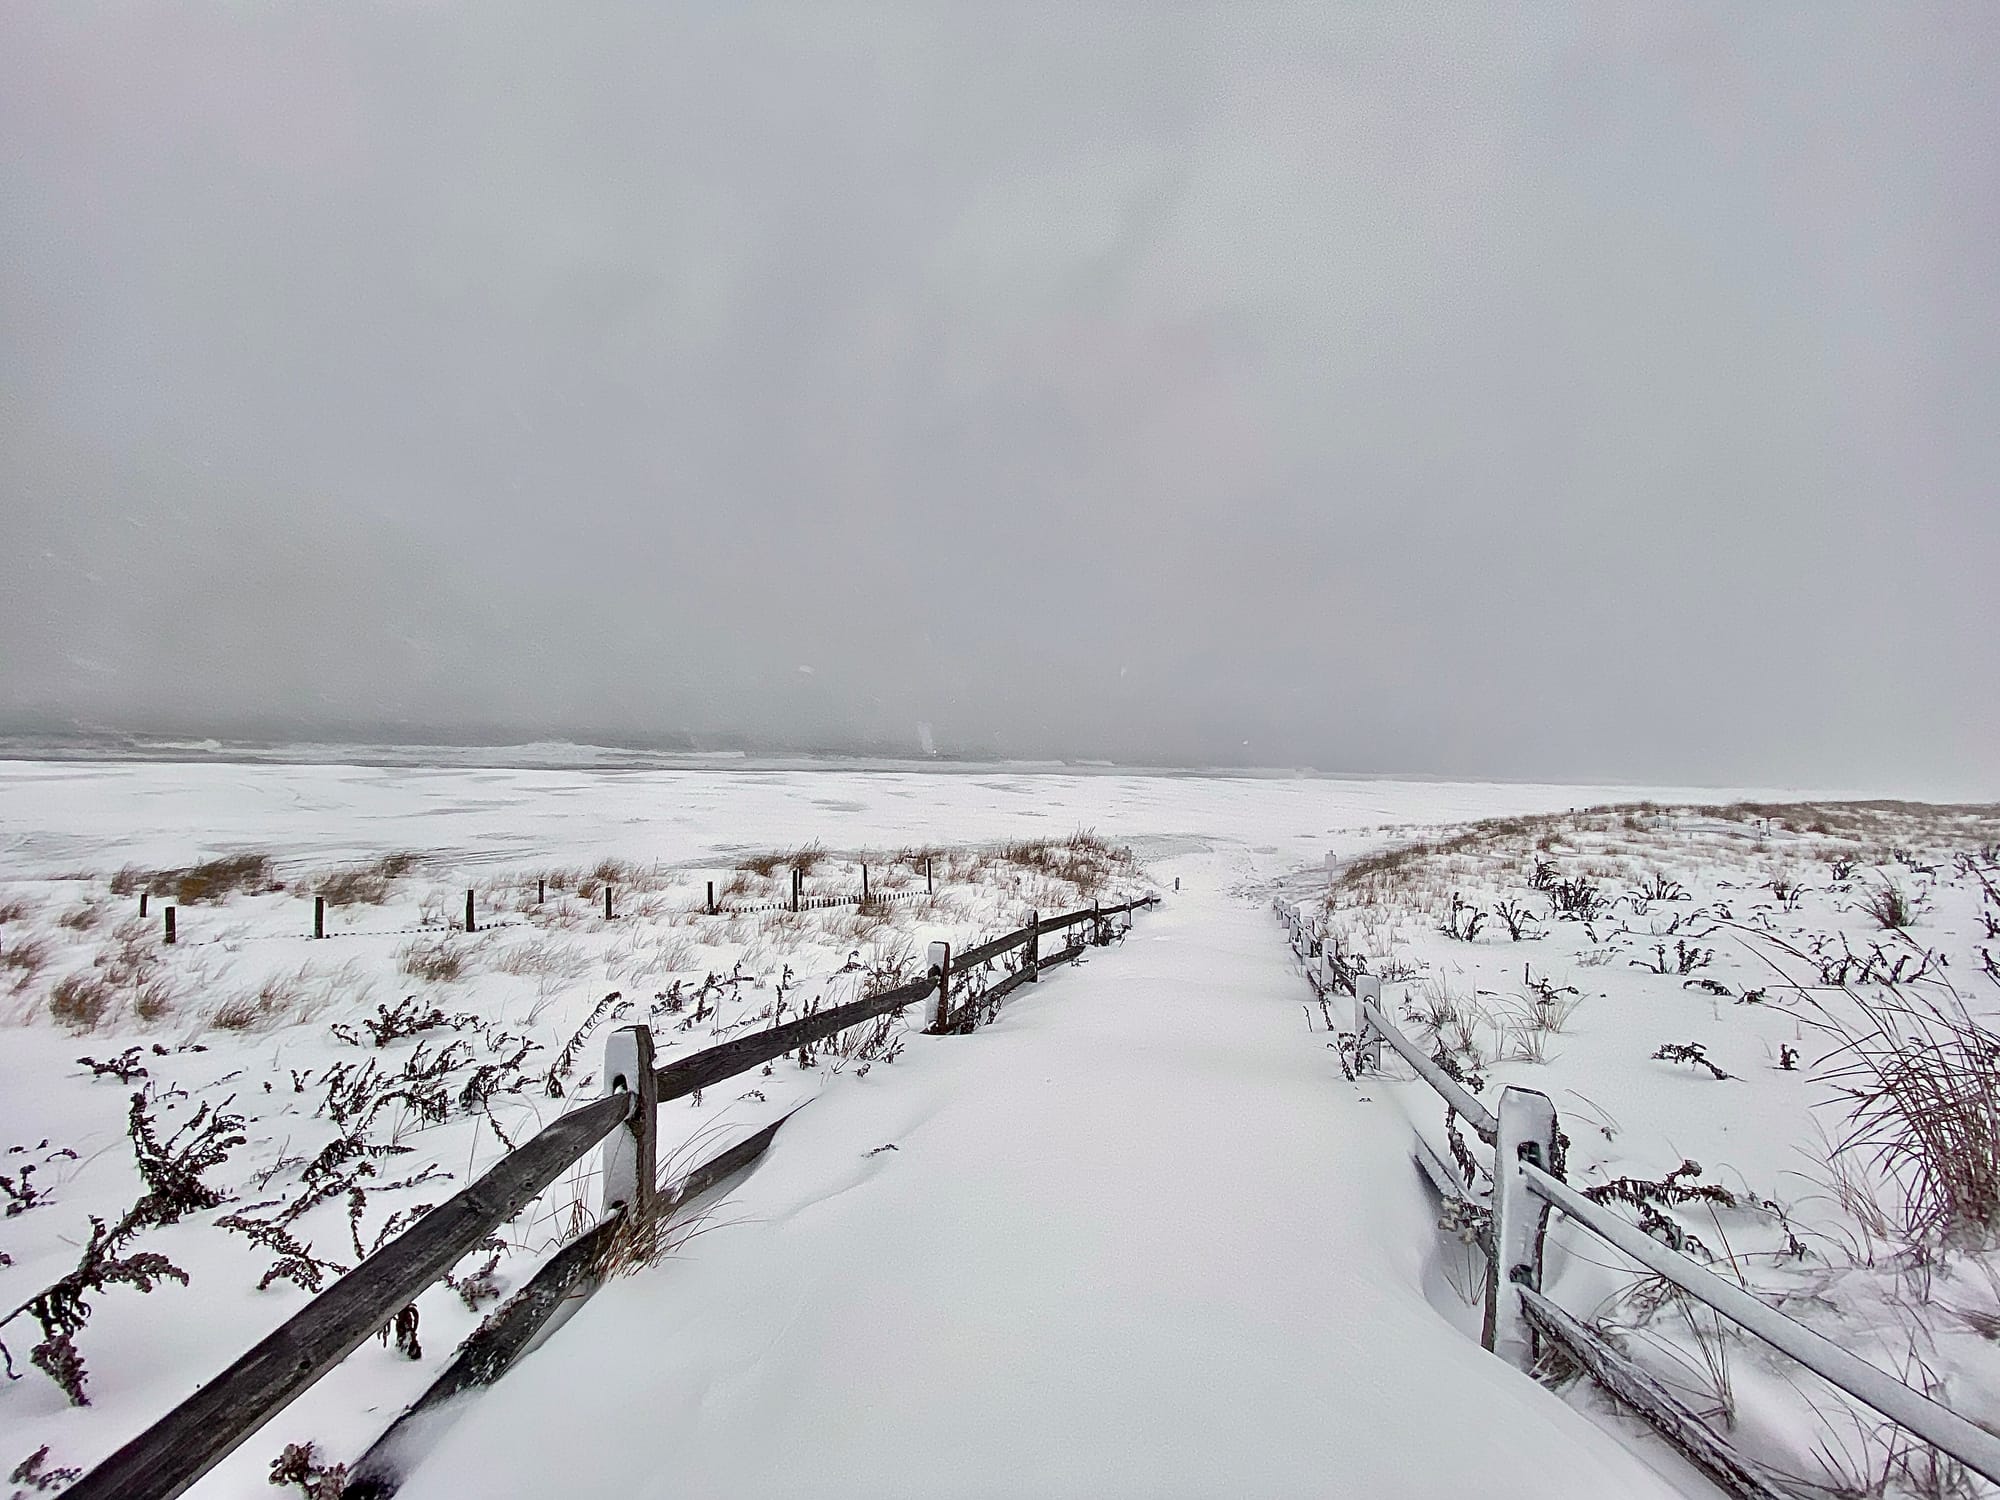
The New Year brought a blizzard to our small town.
we always walk to the beach in a blizzard, it's so cool to see it snow over the ocean
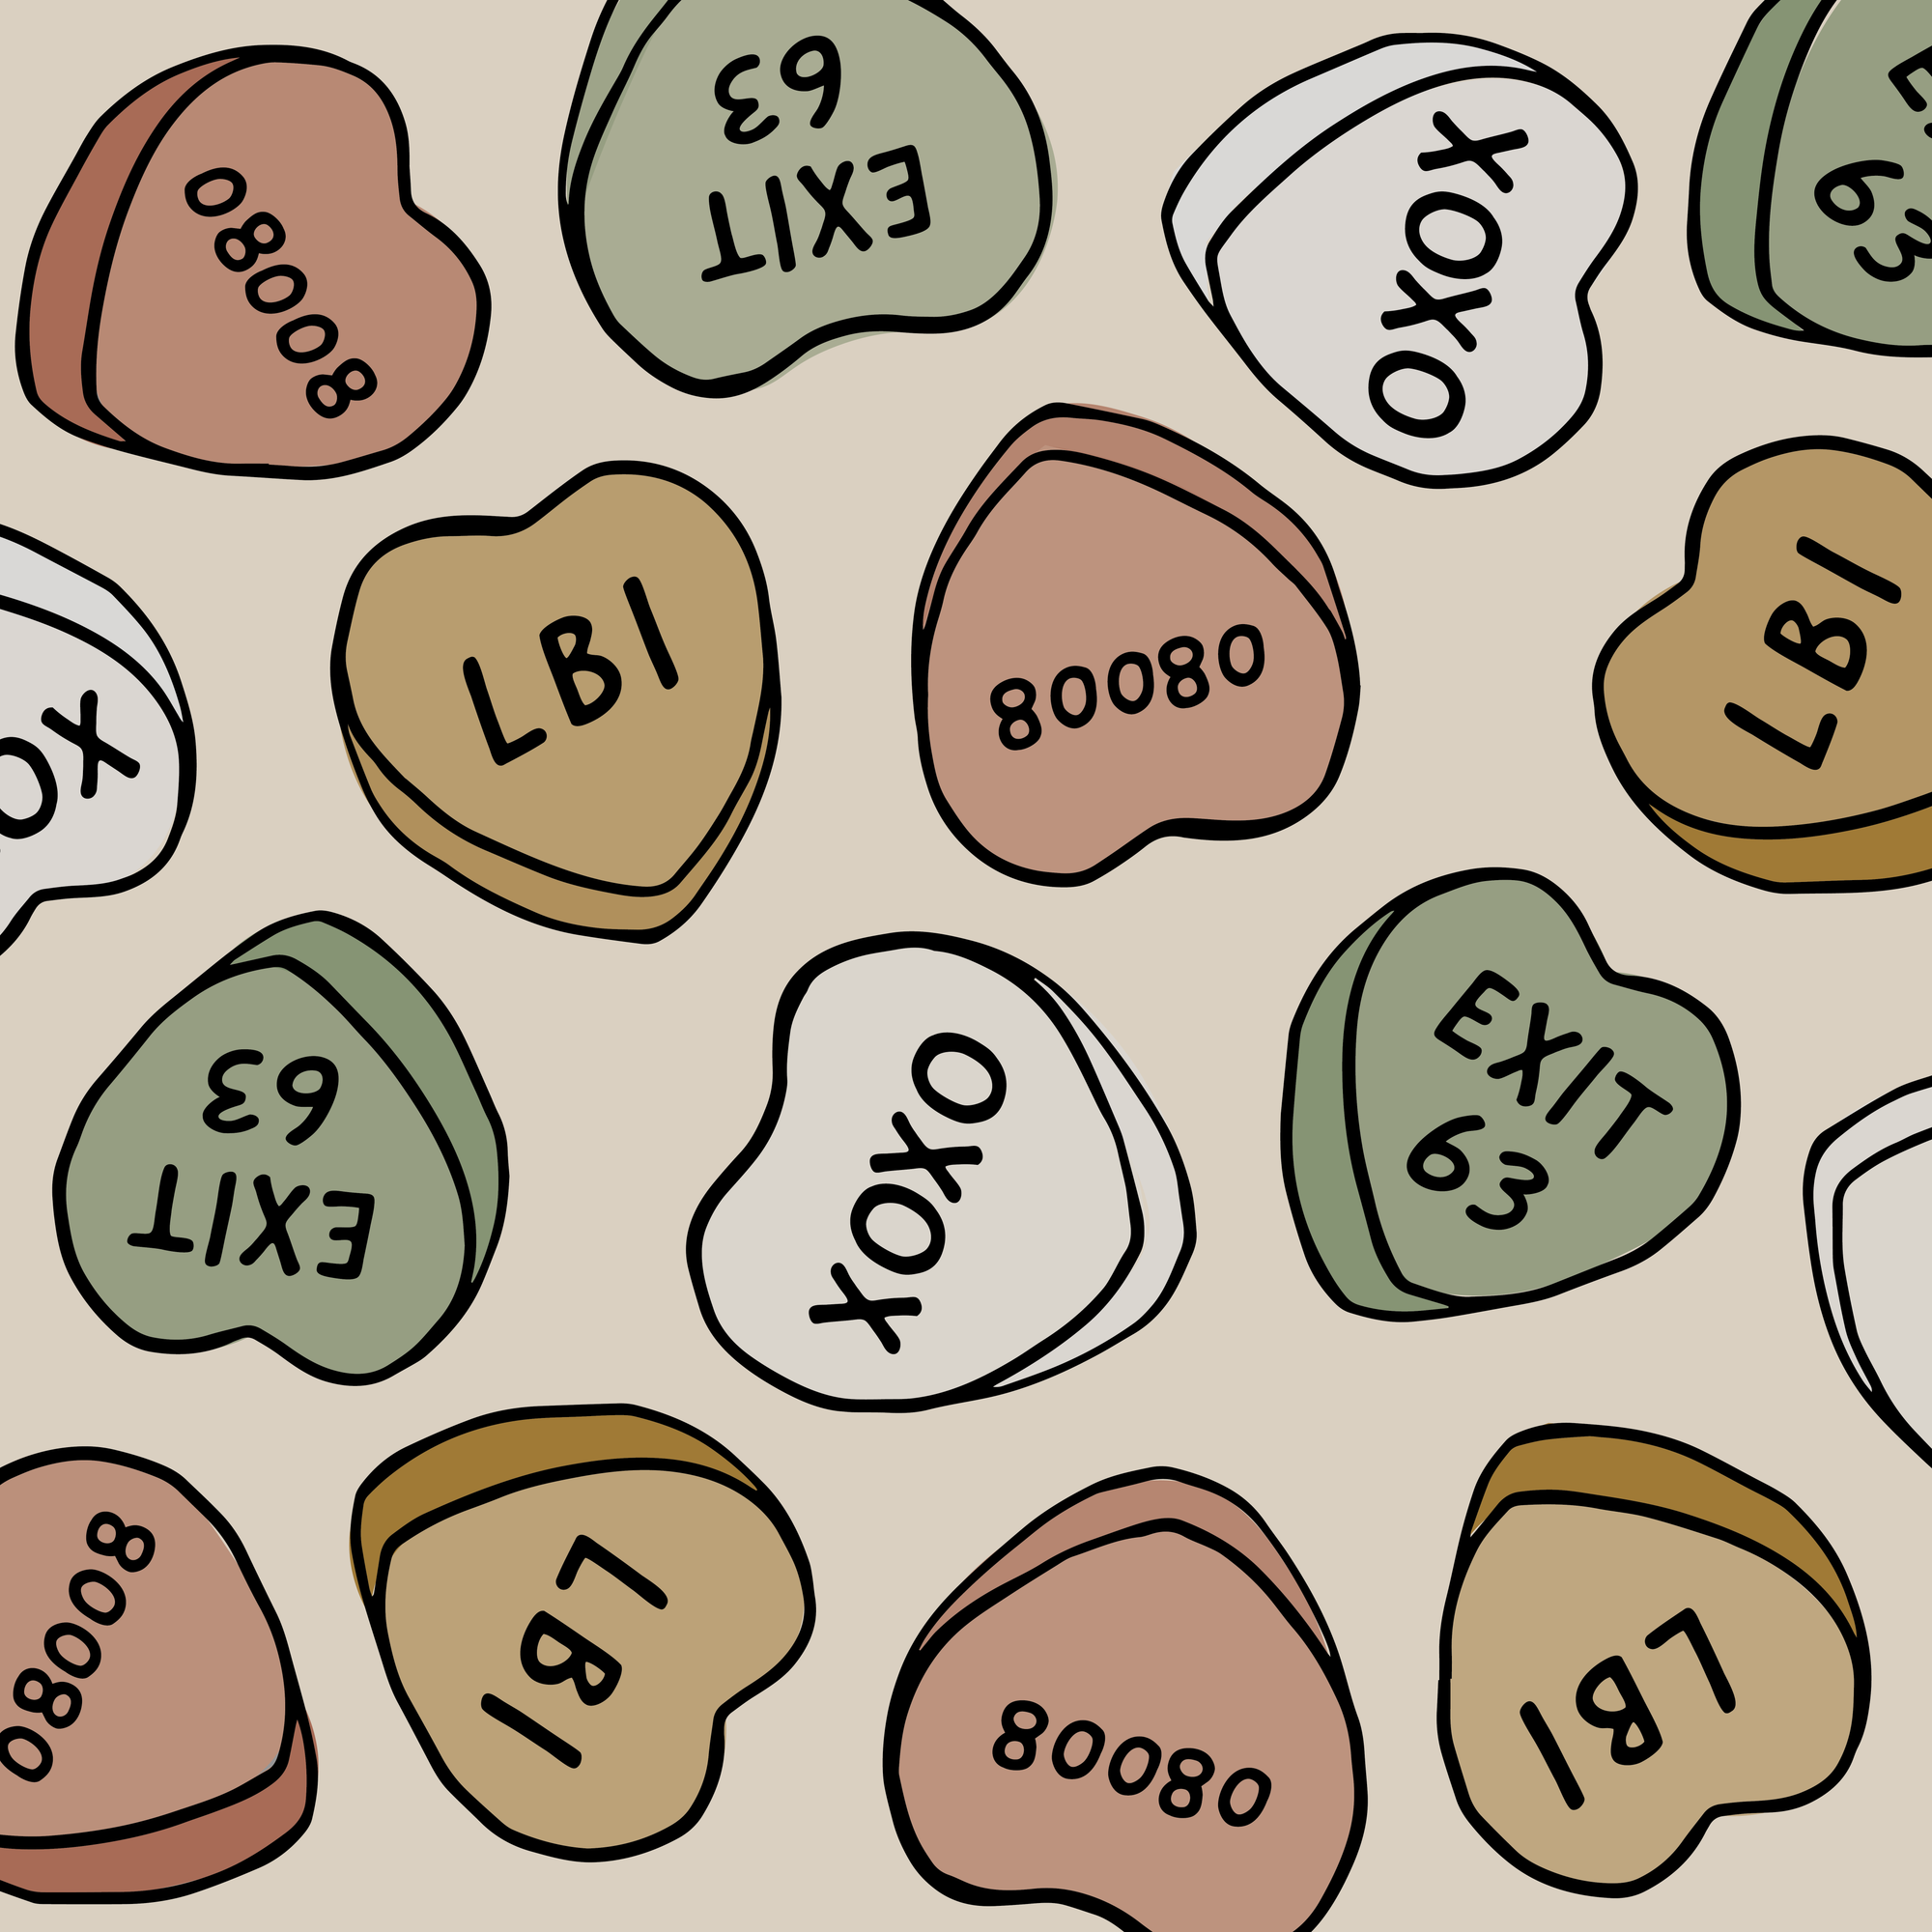
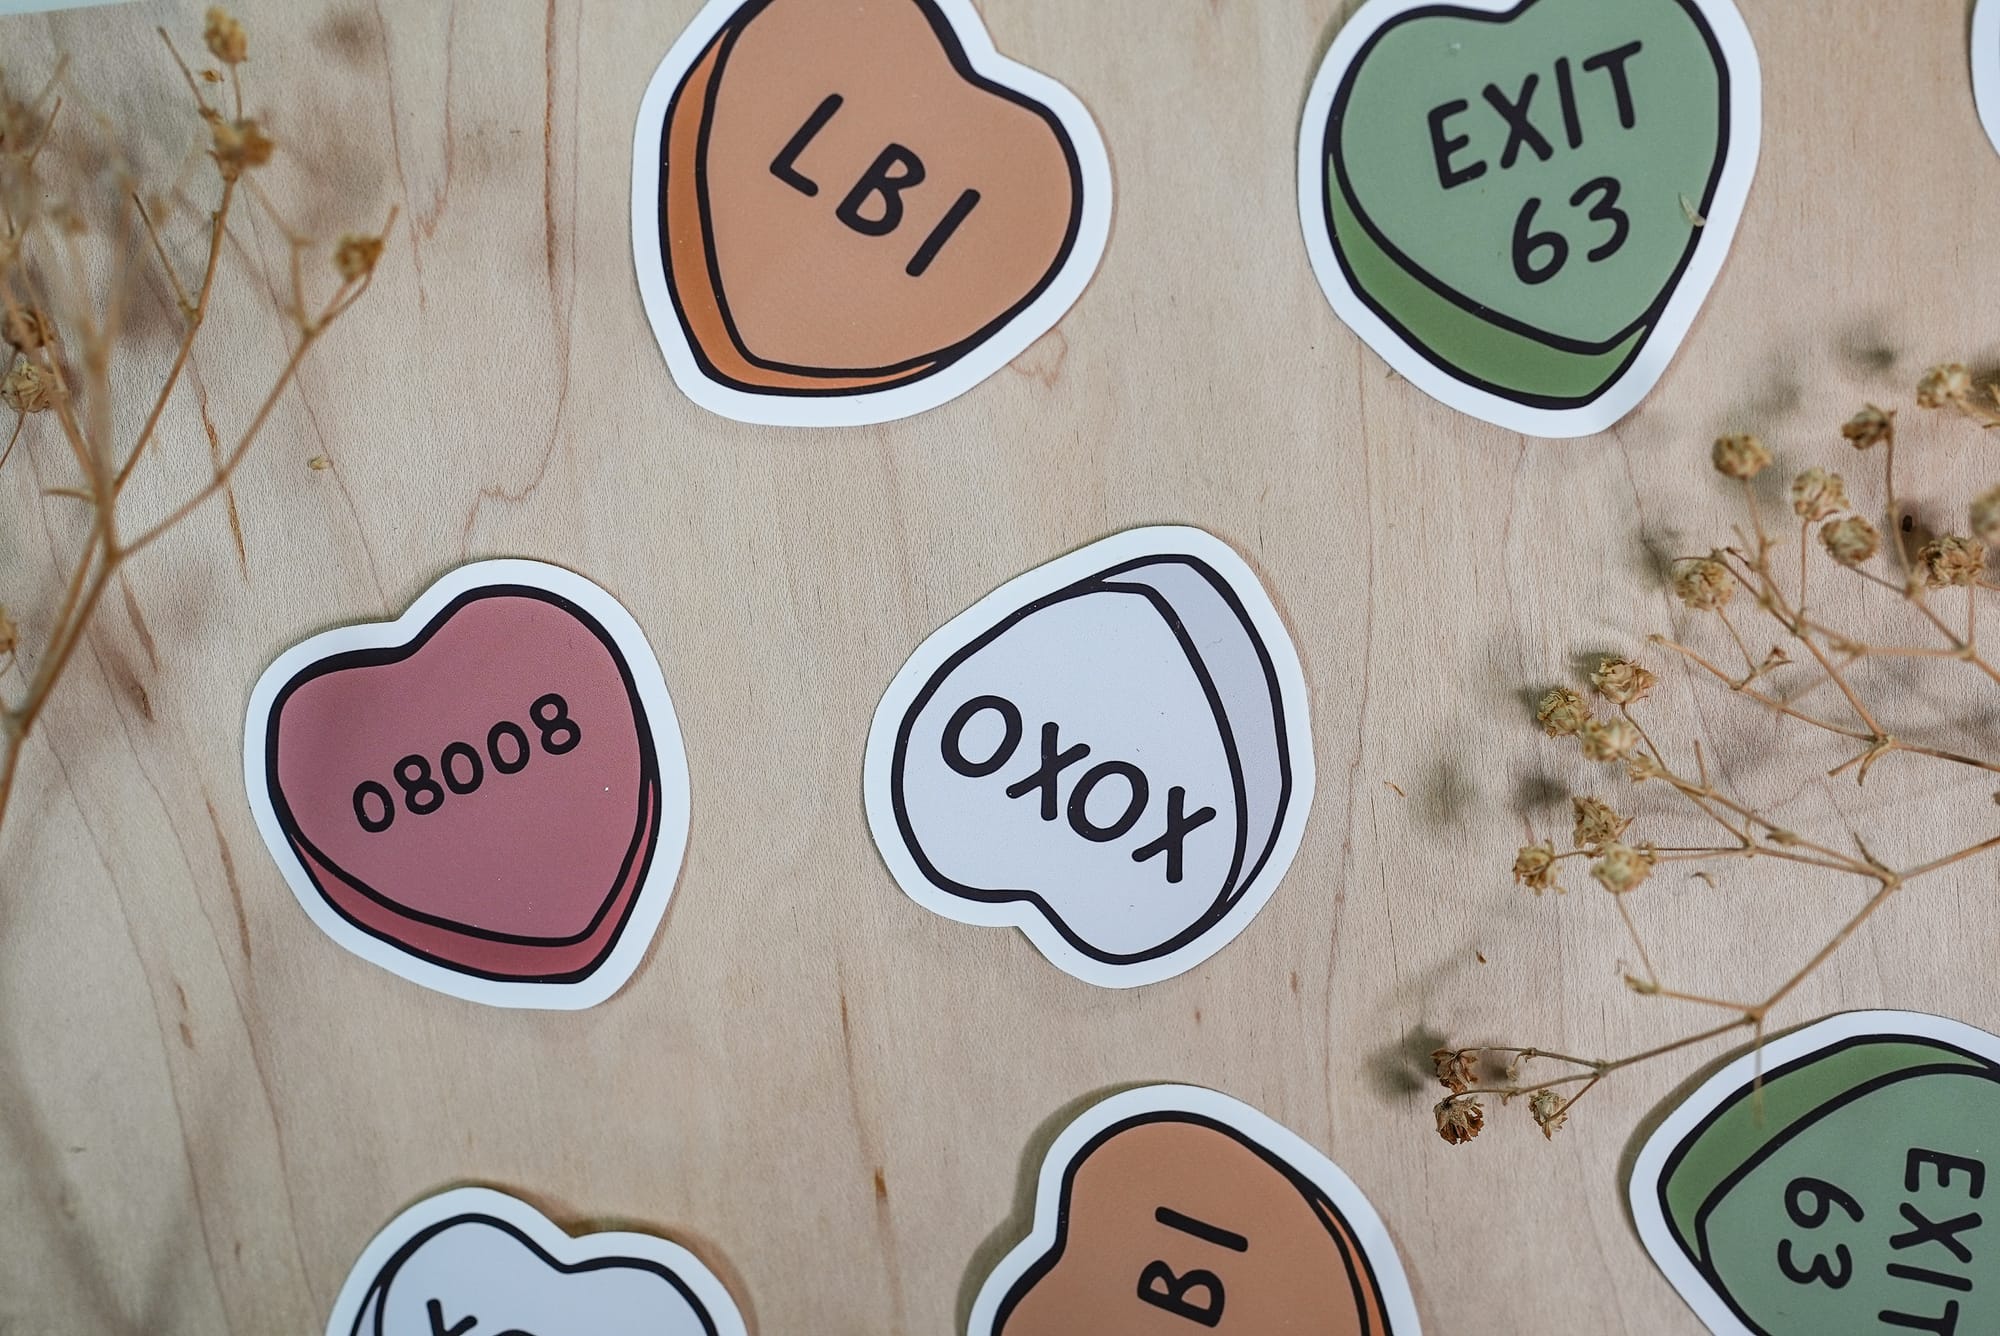
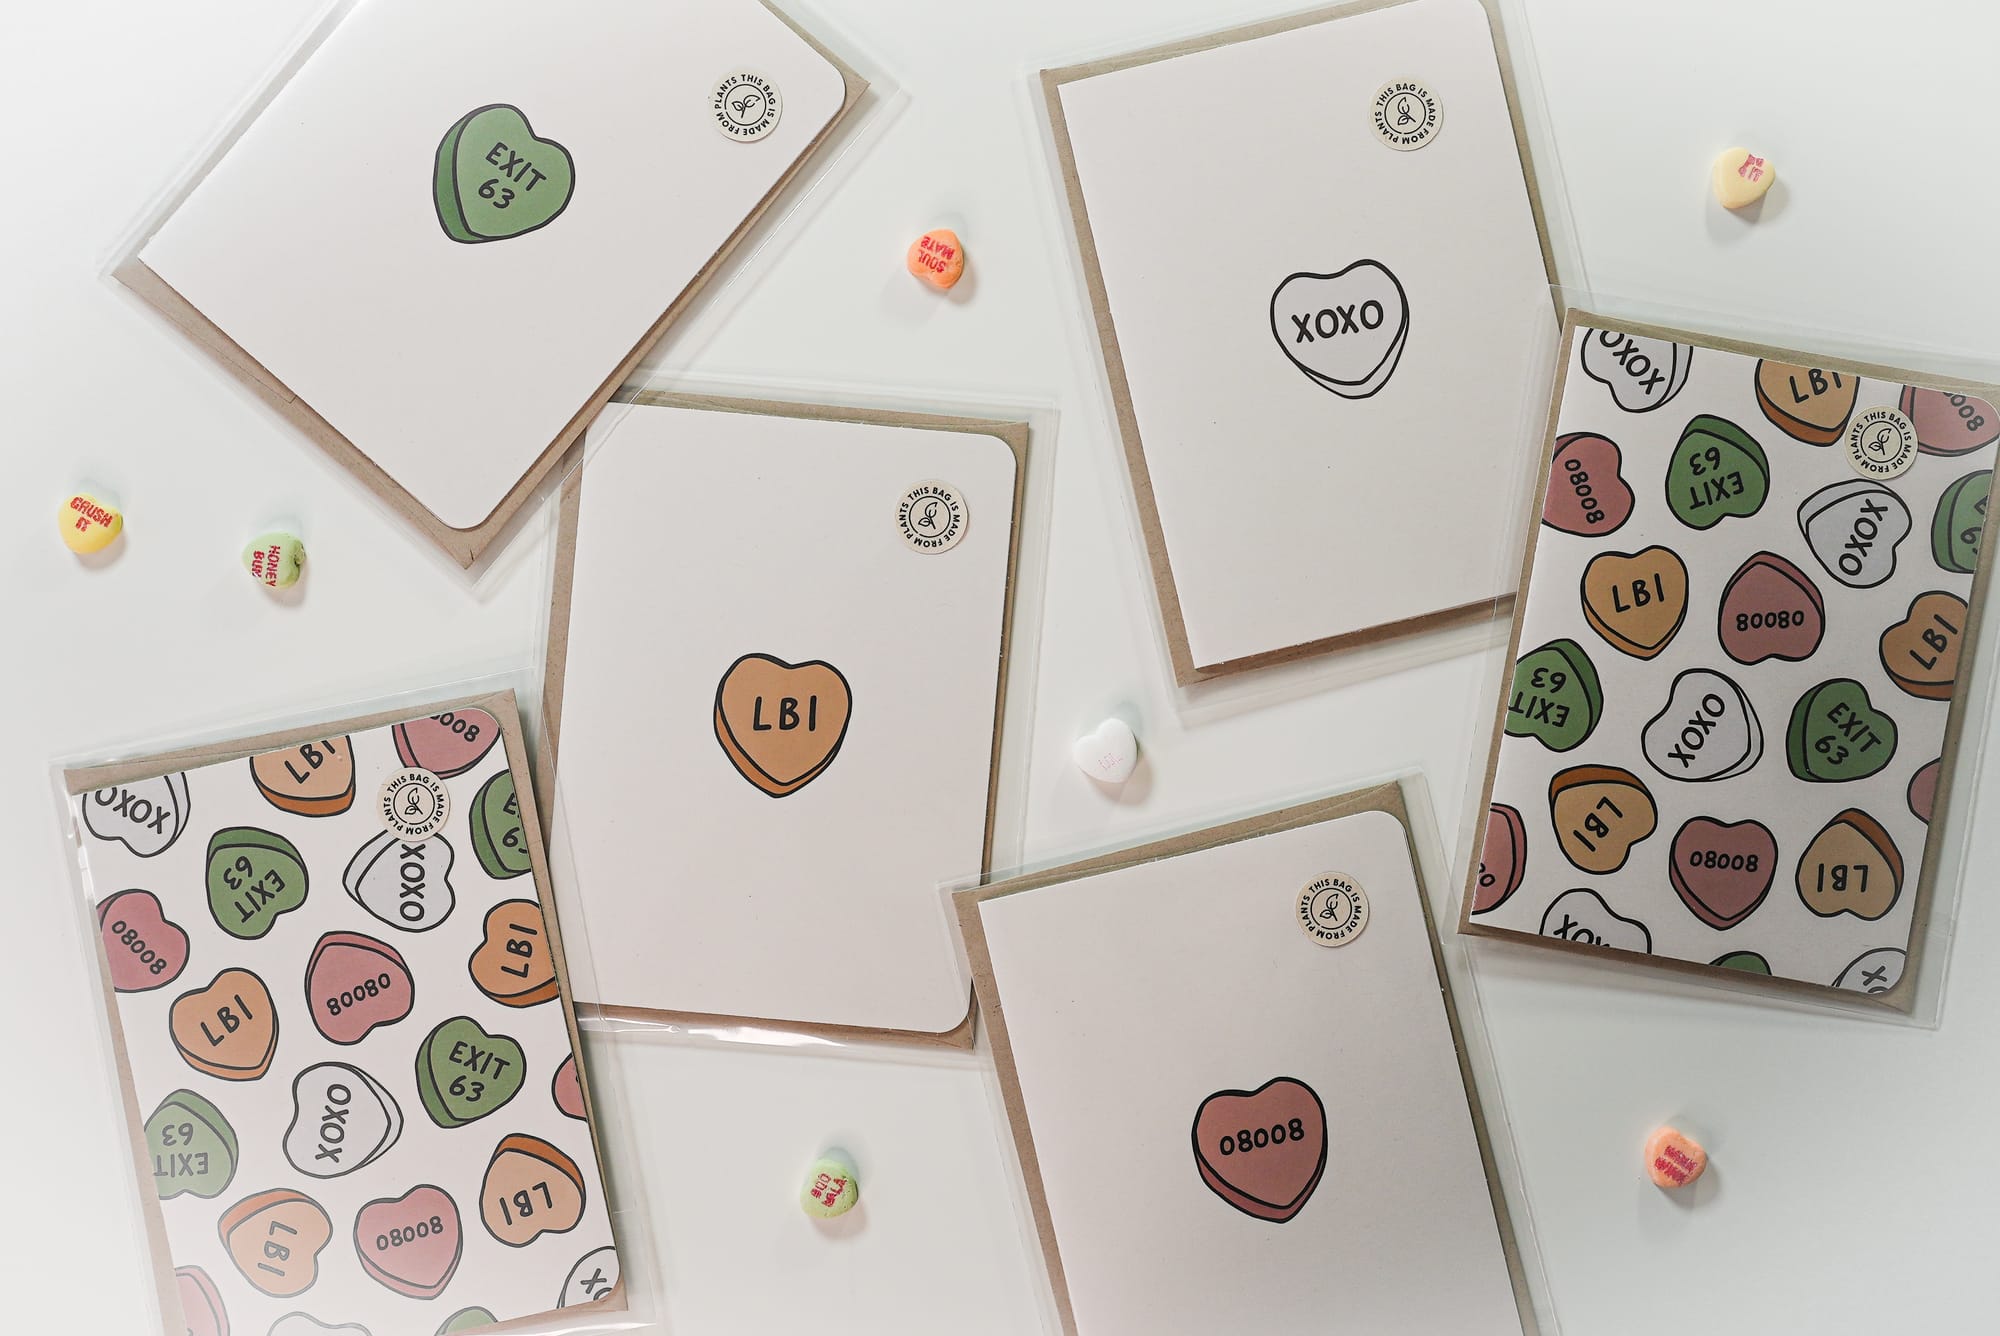
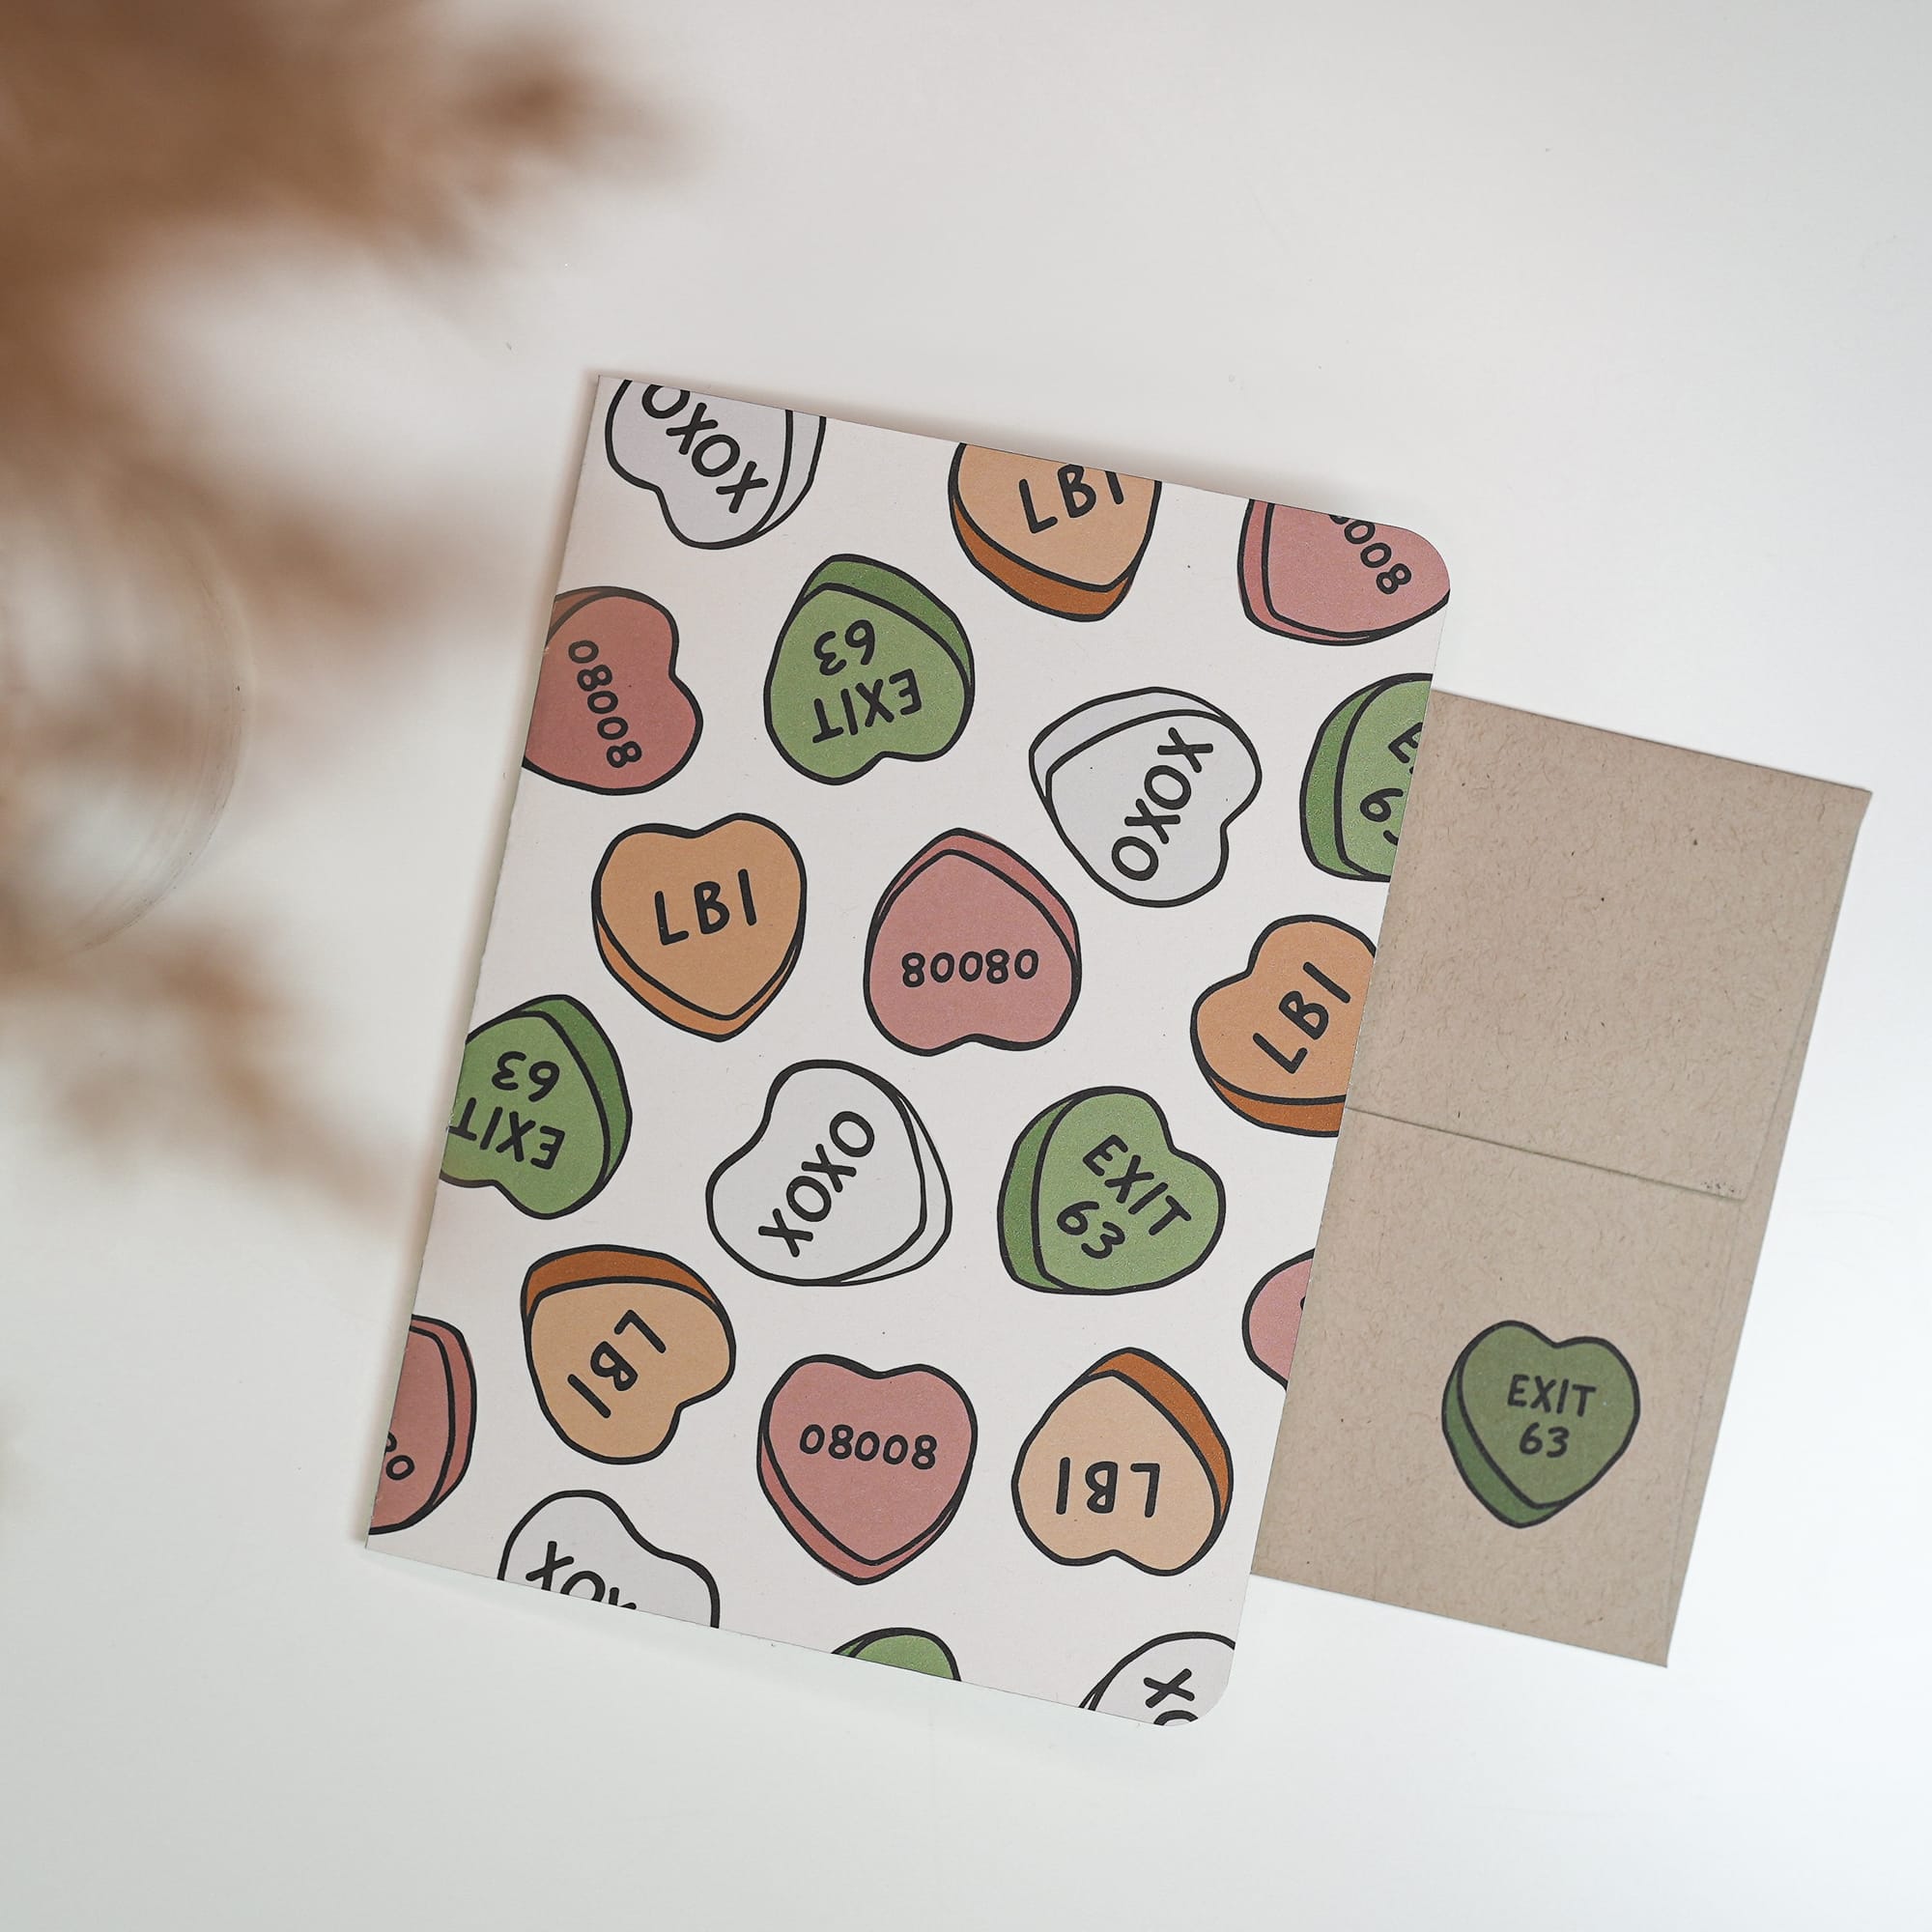
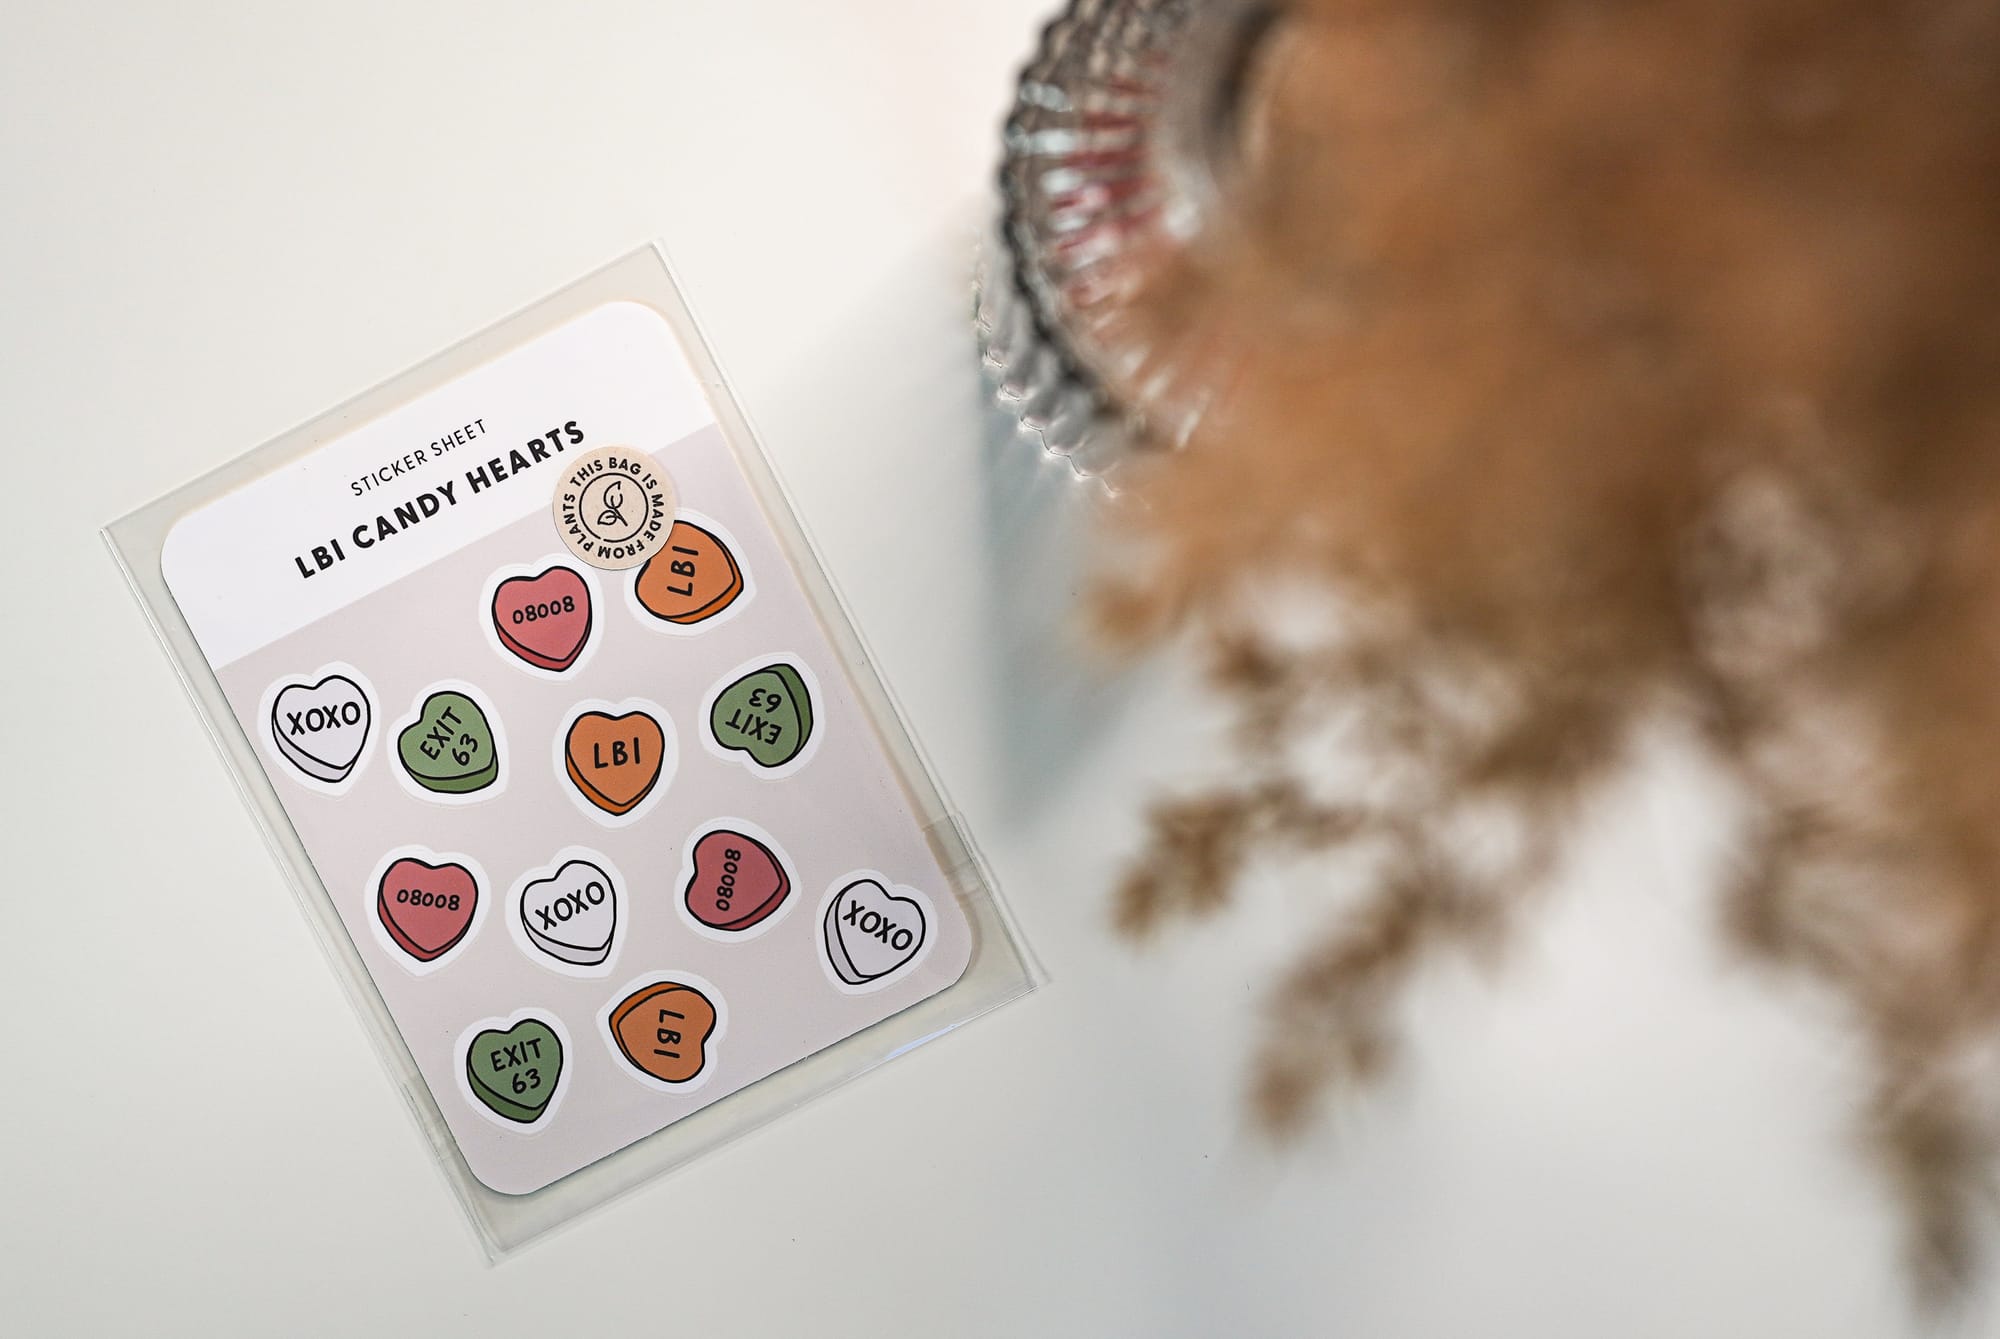
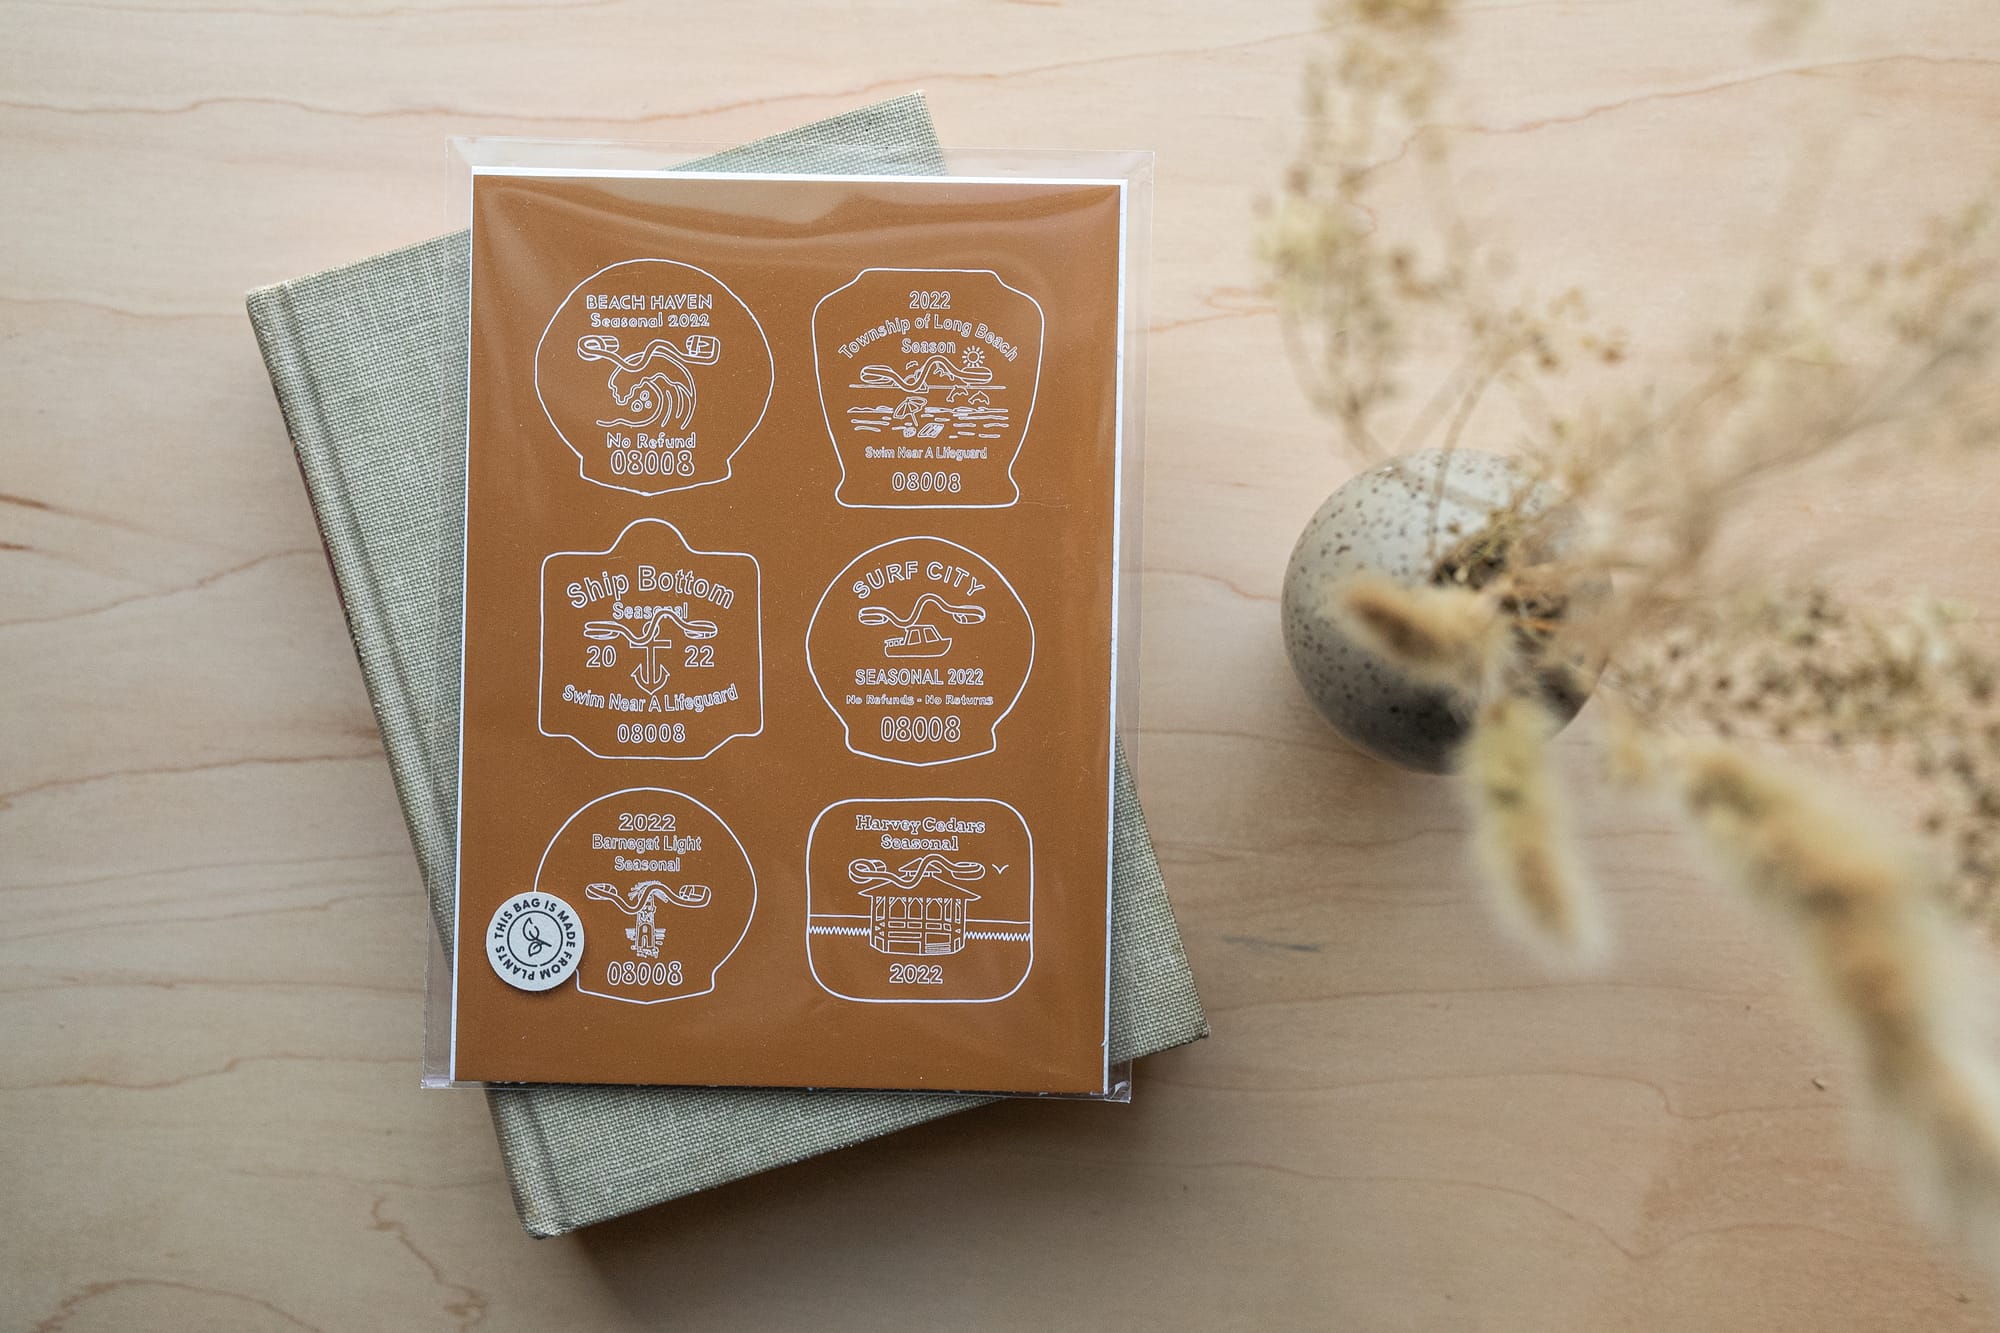
The V-Day Collection was launched. LBI as candy hearts. My first ever sticker sheet was created.
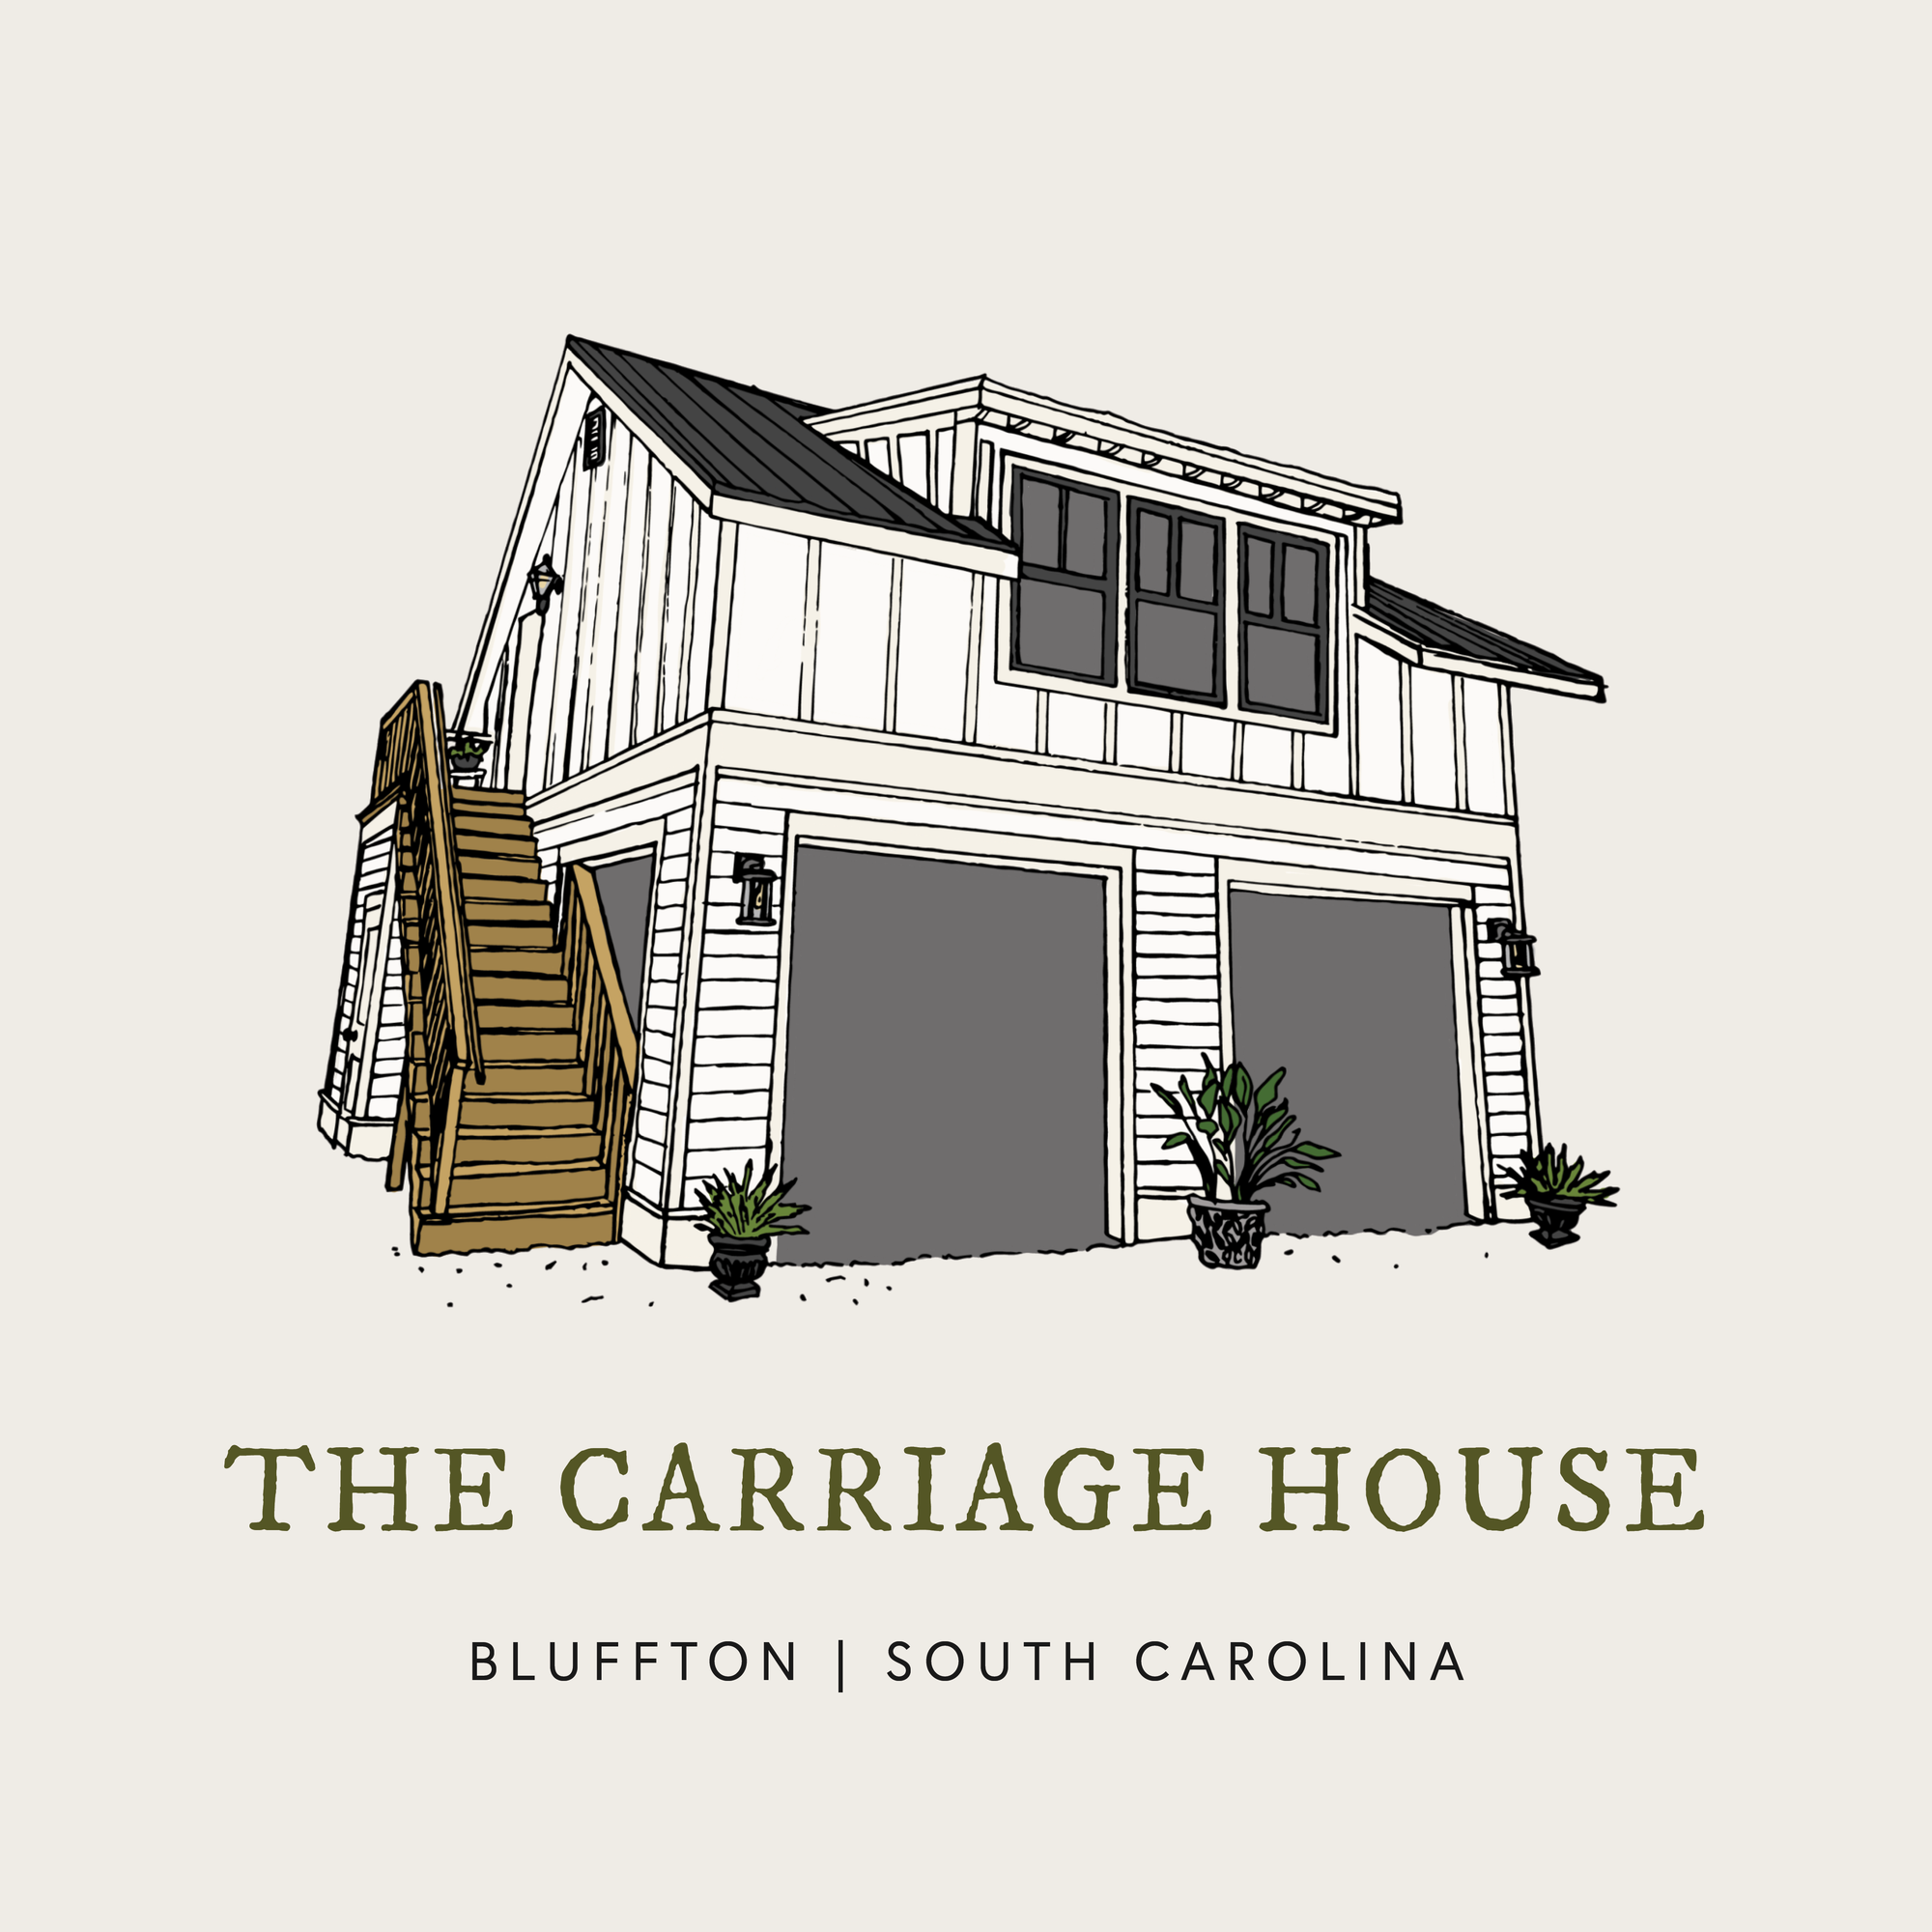
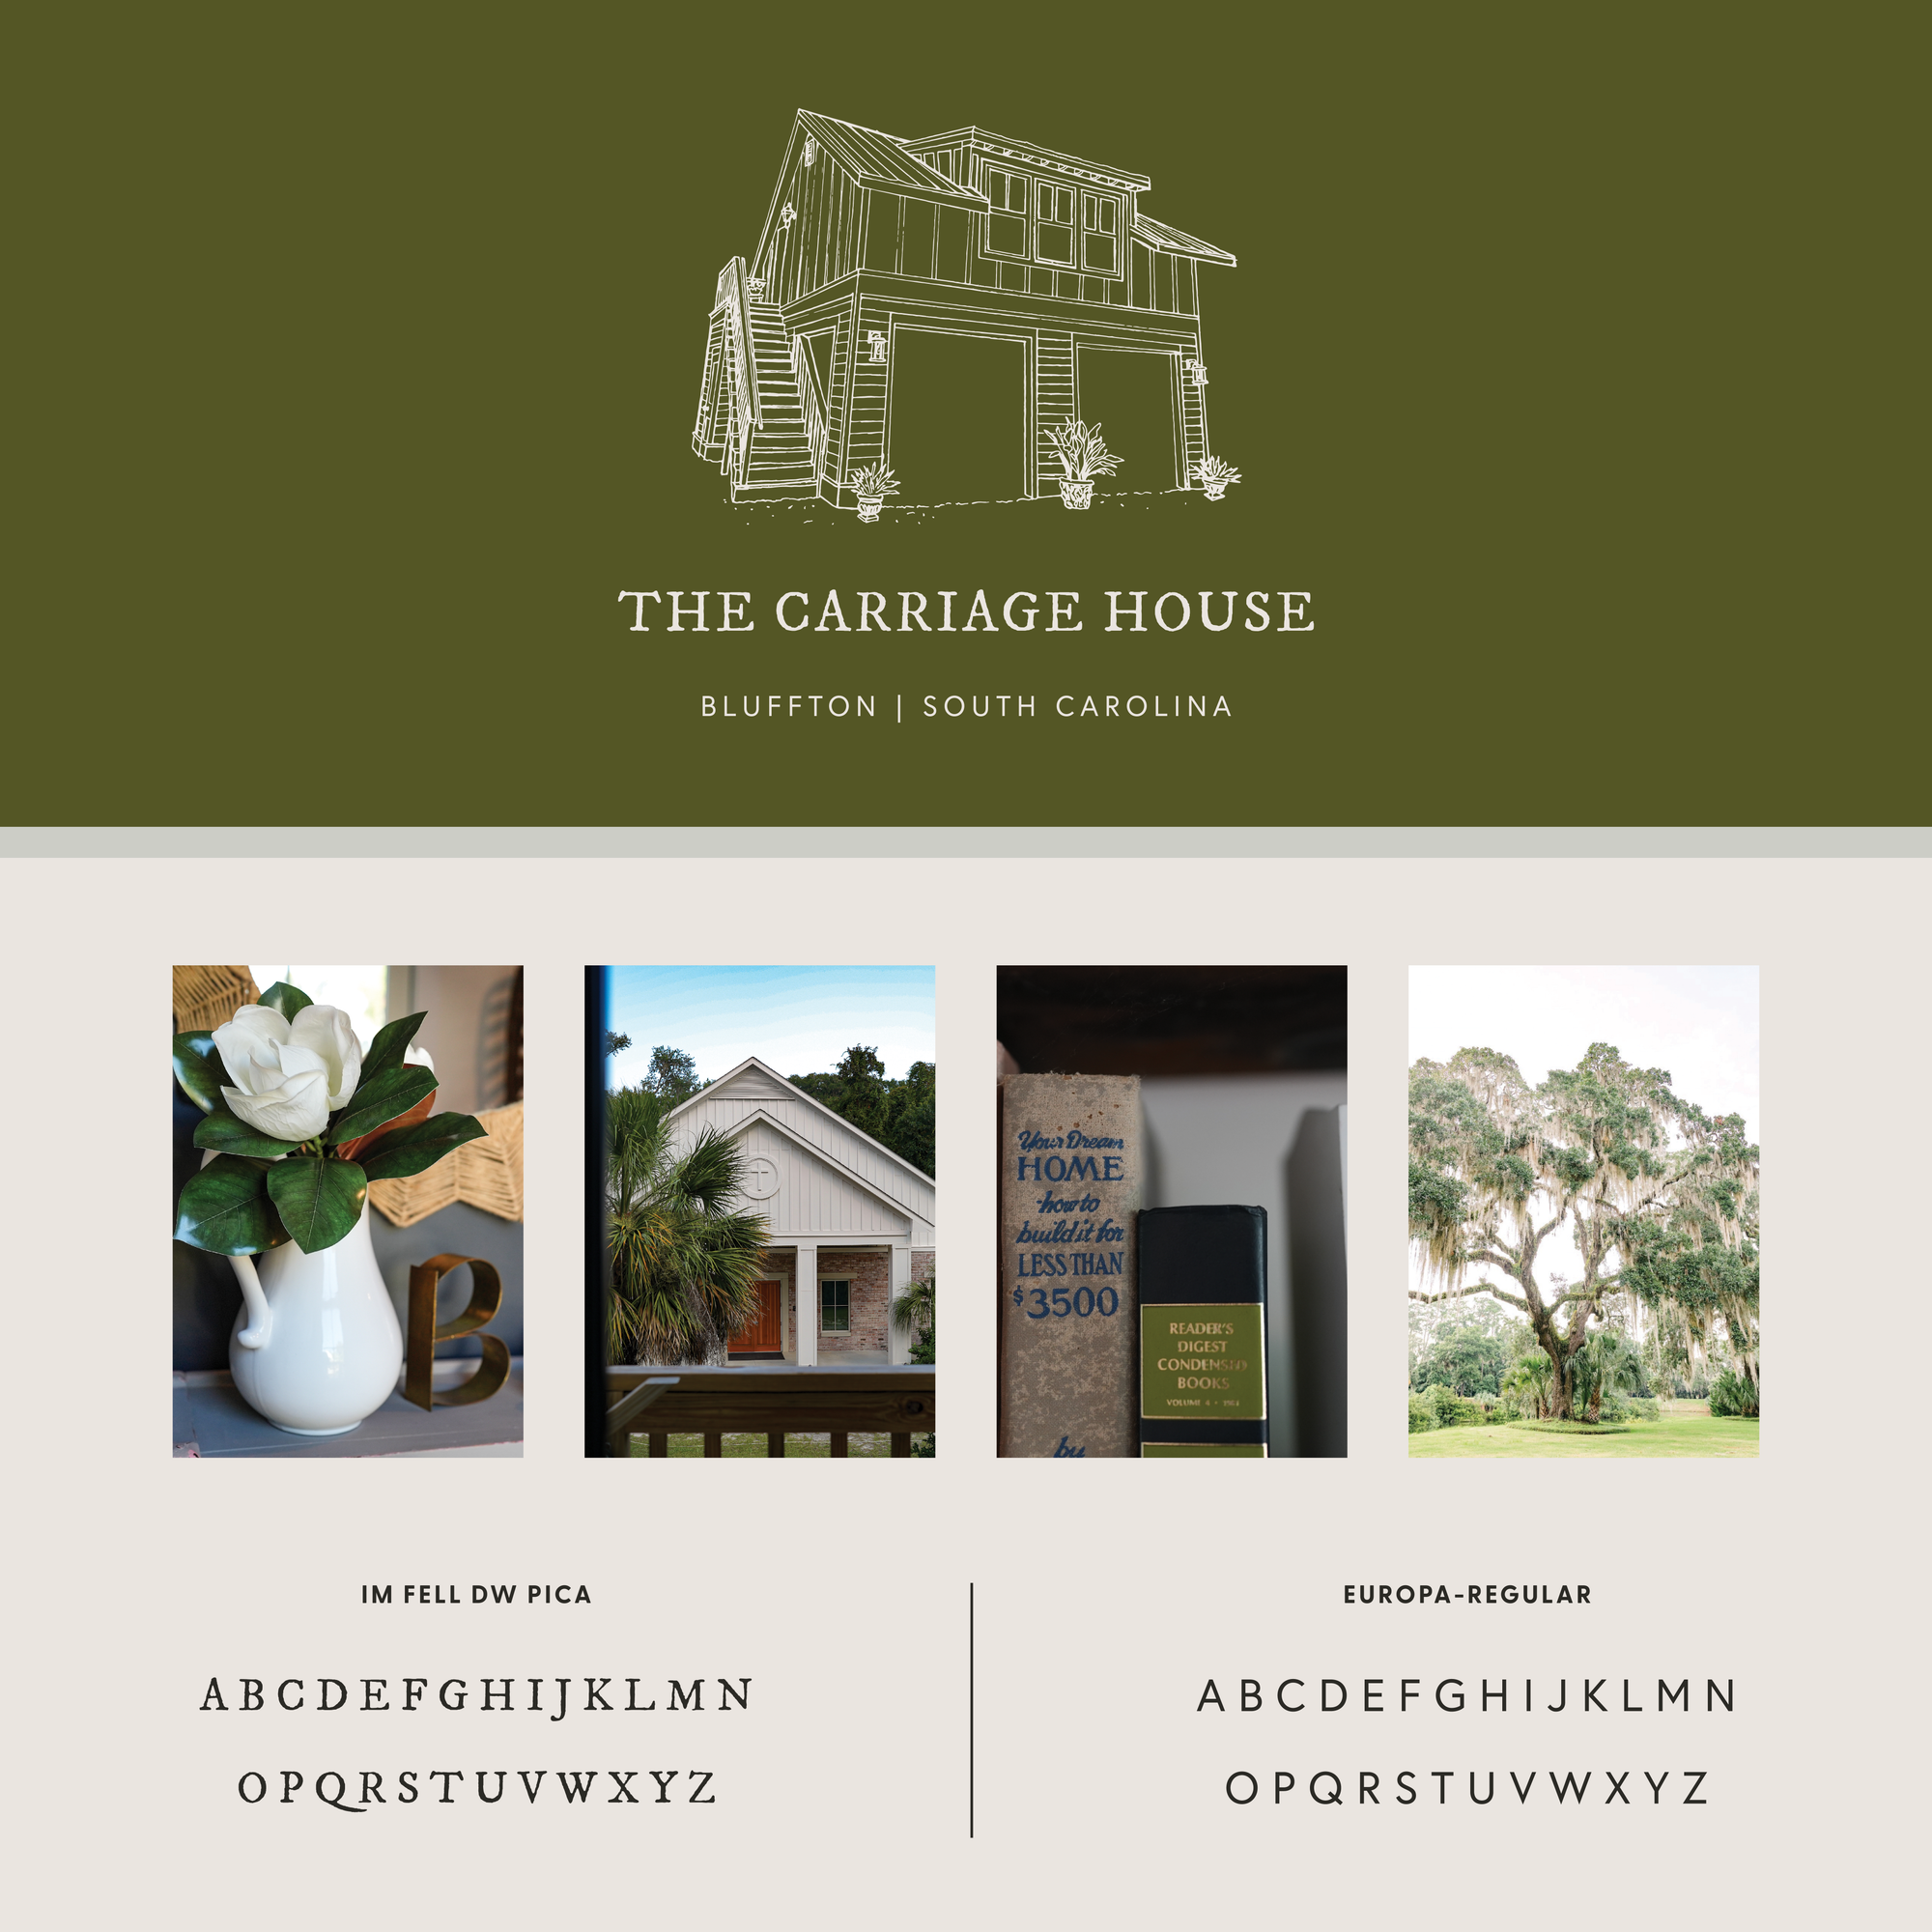
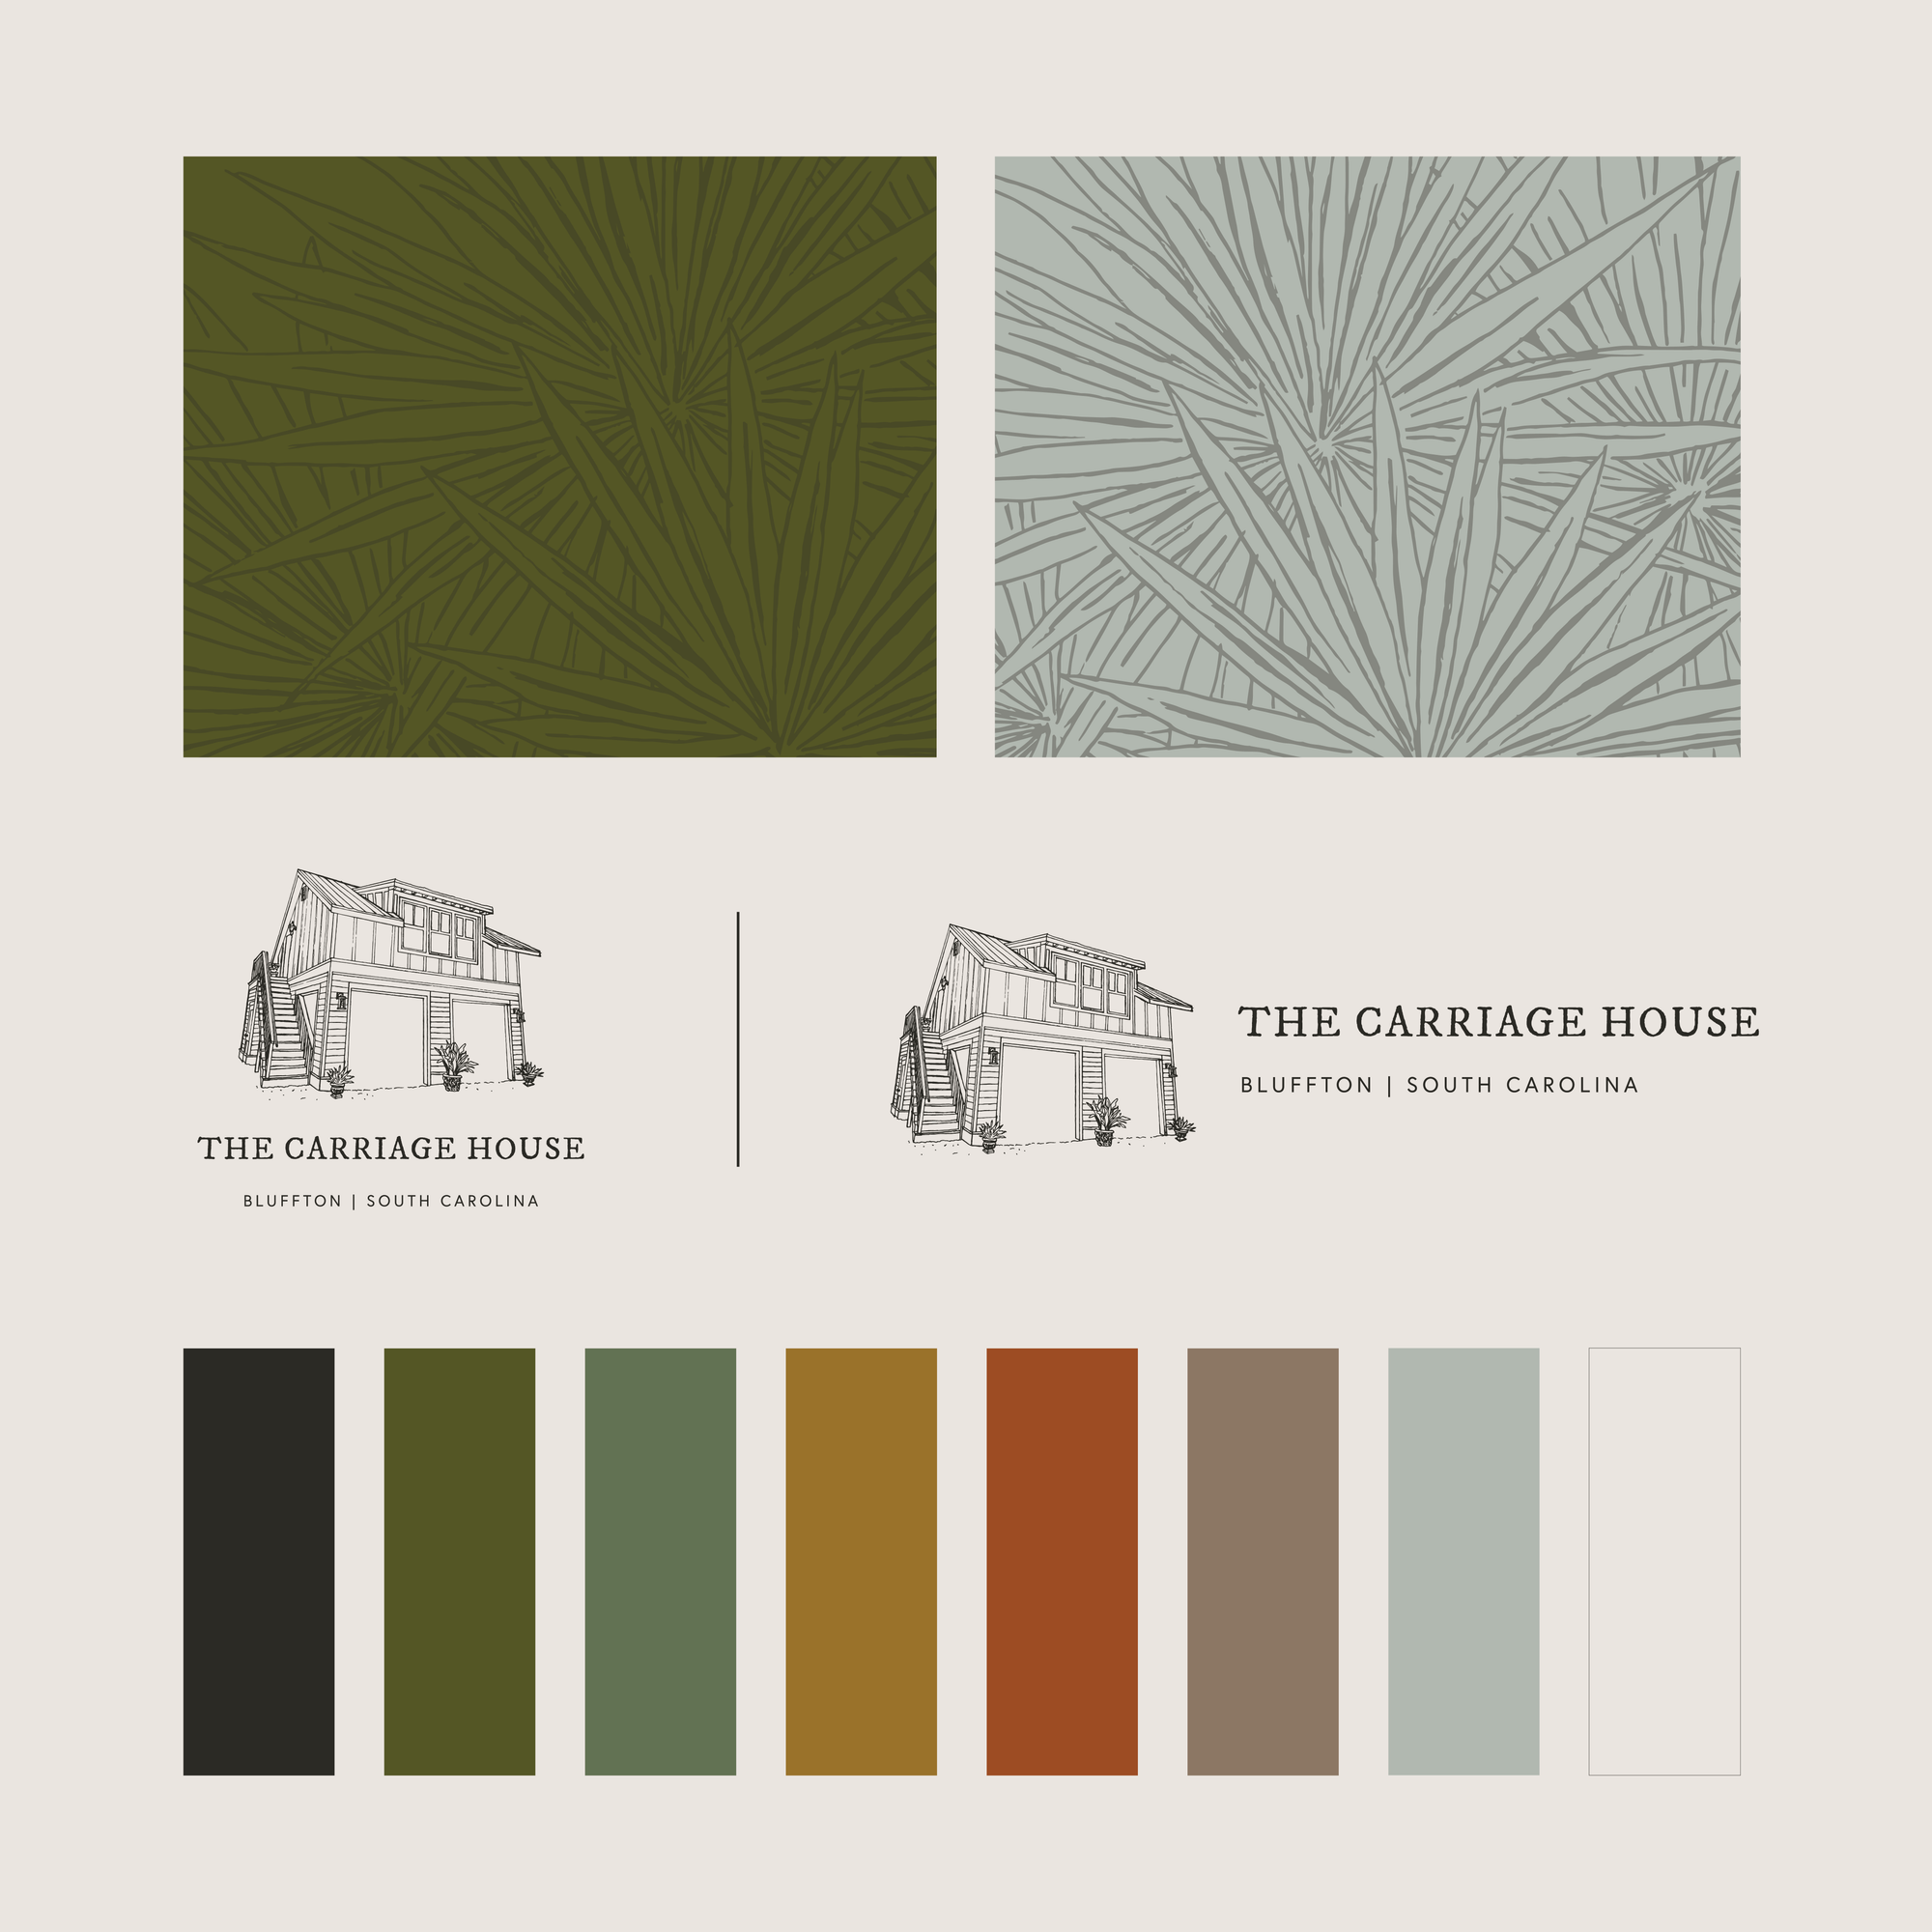
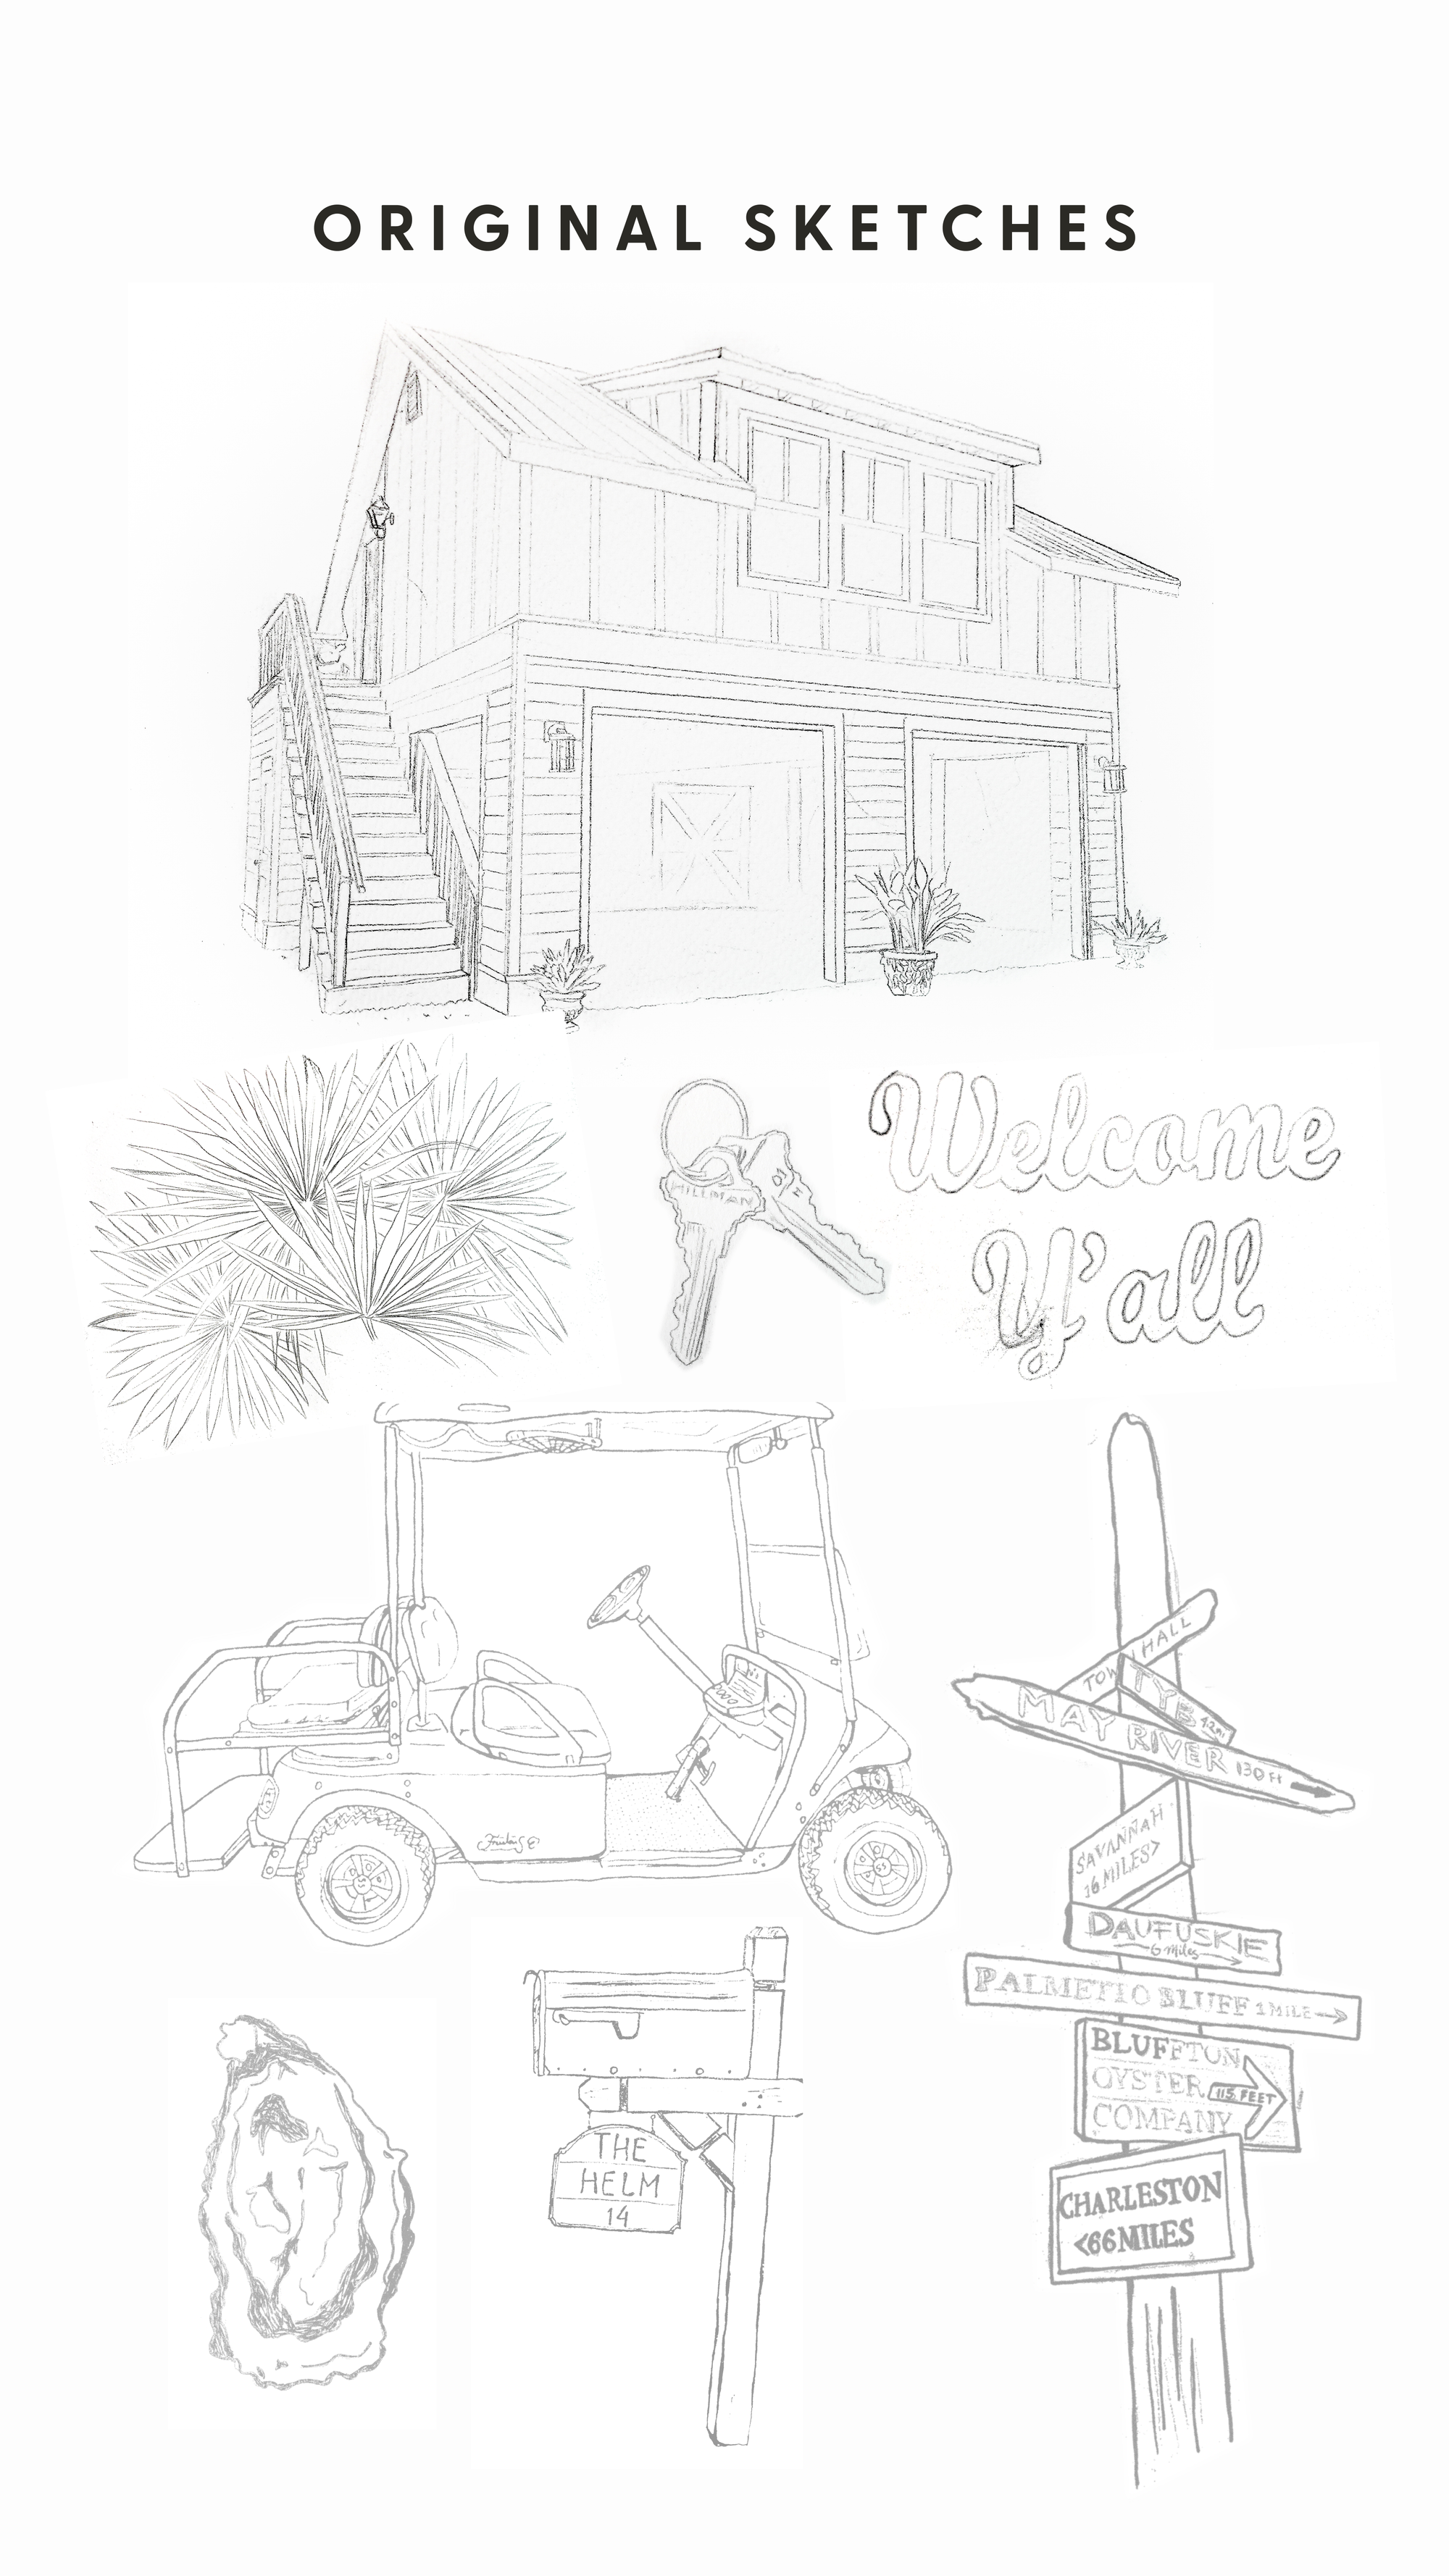
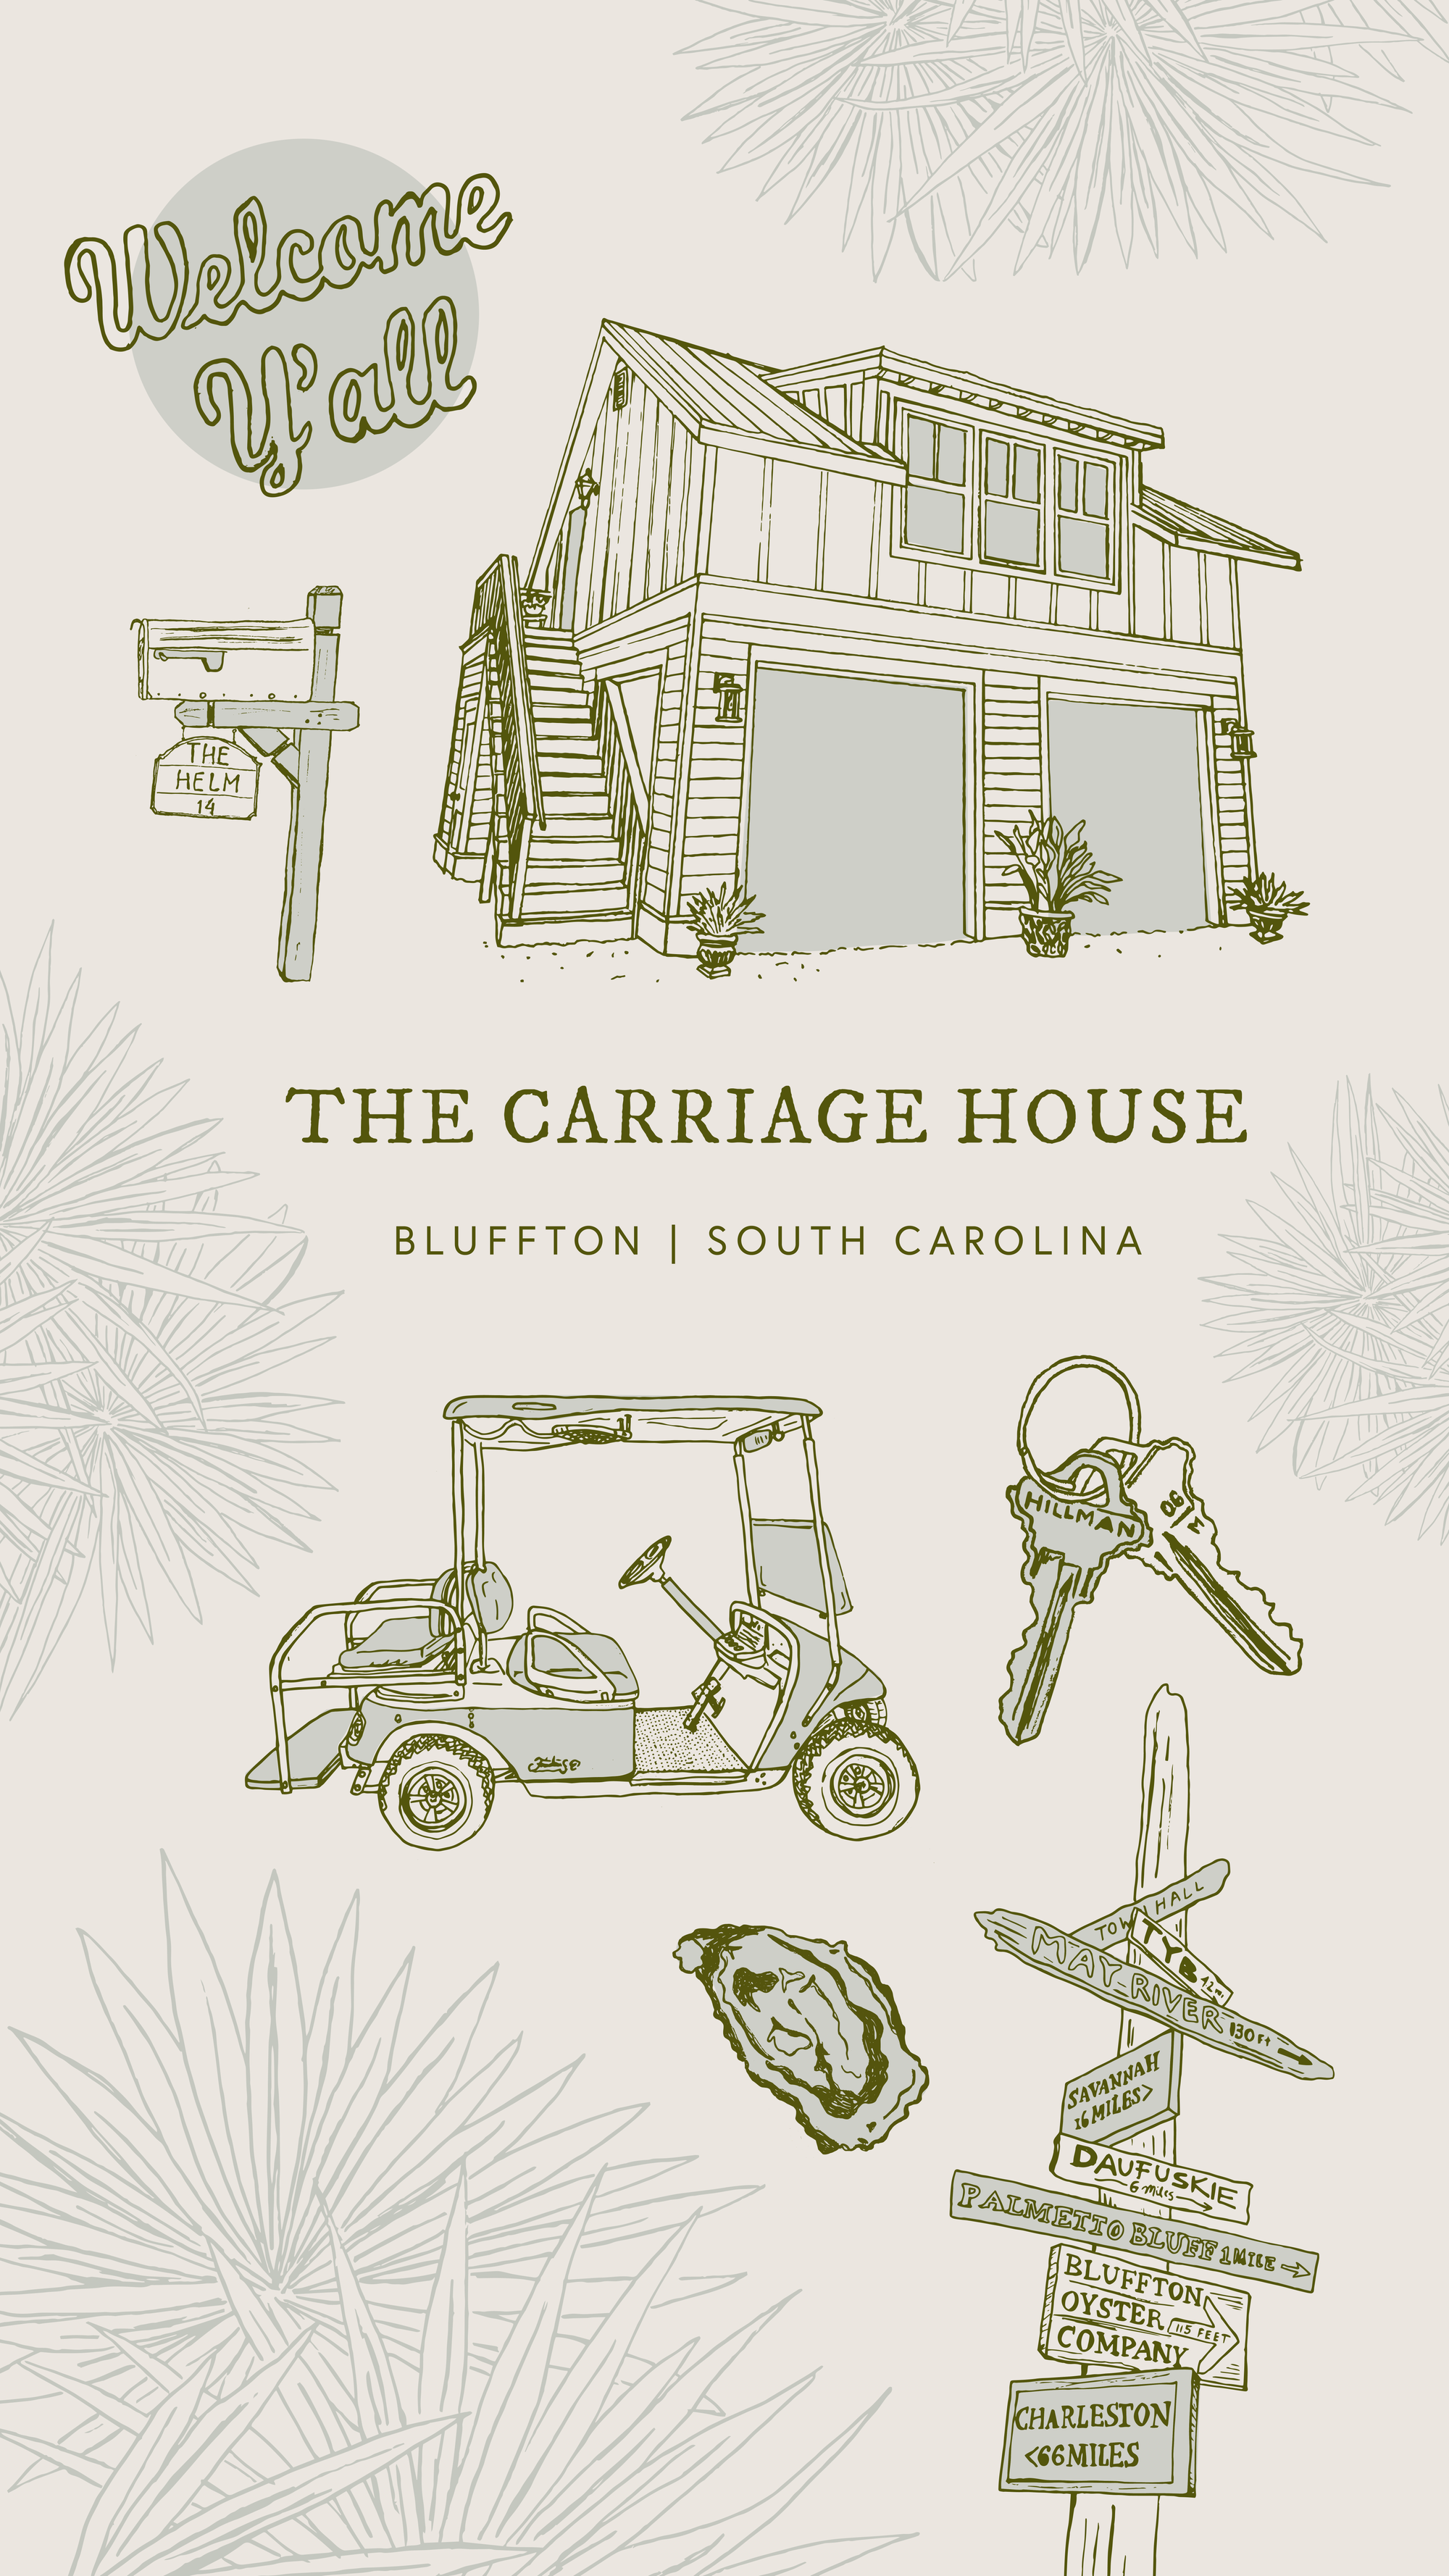
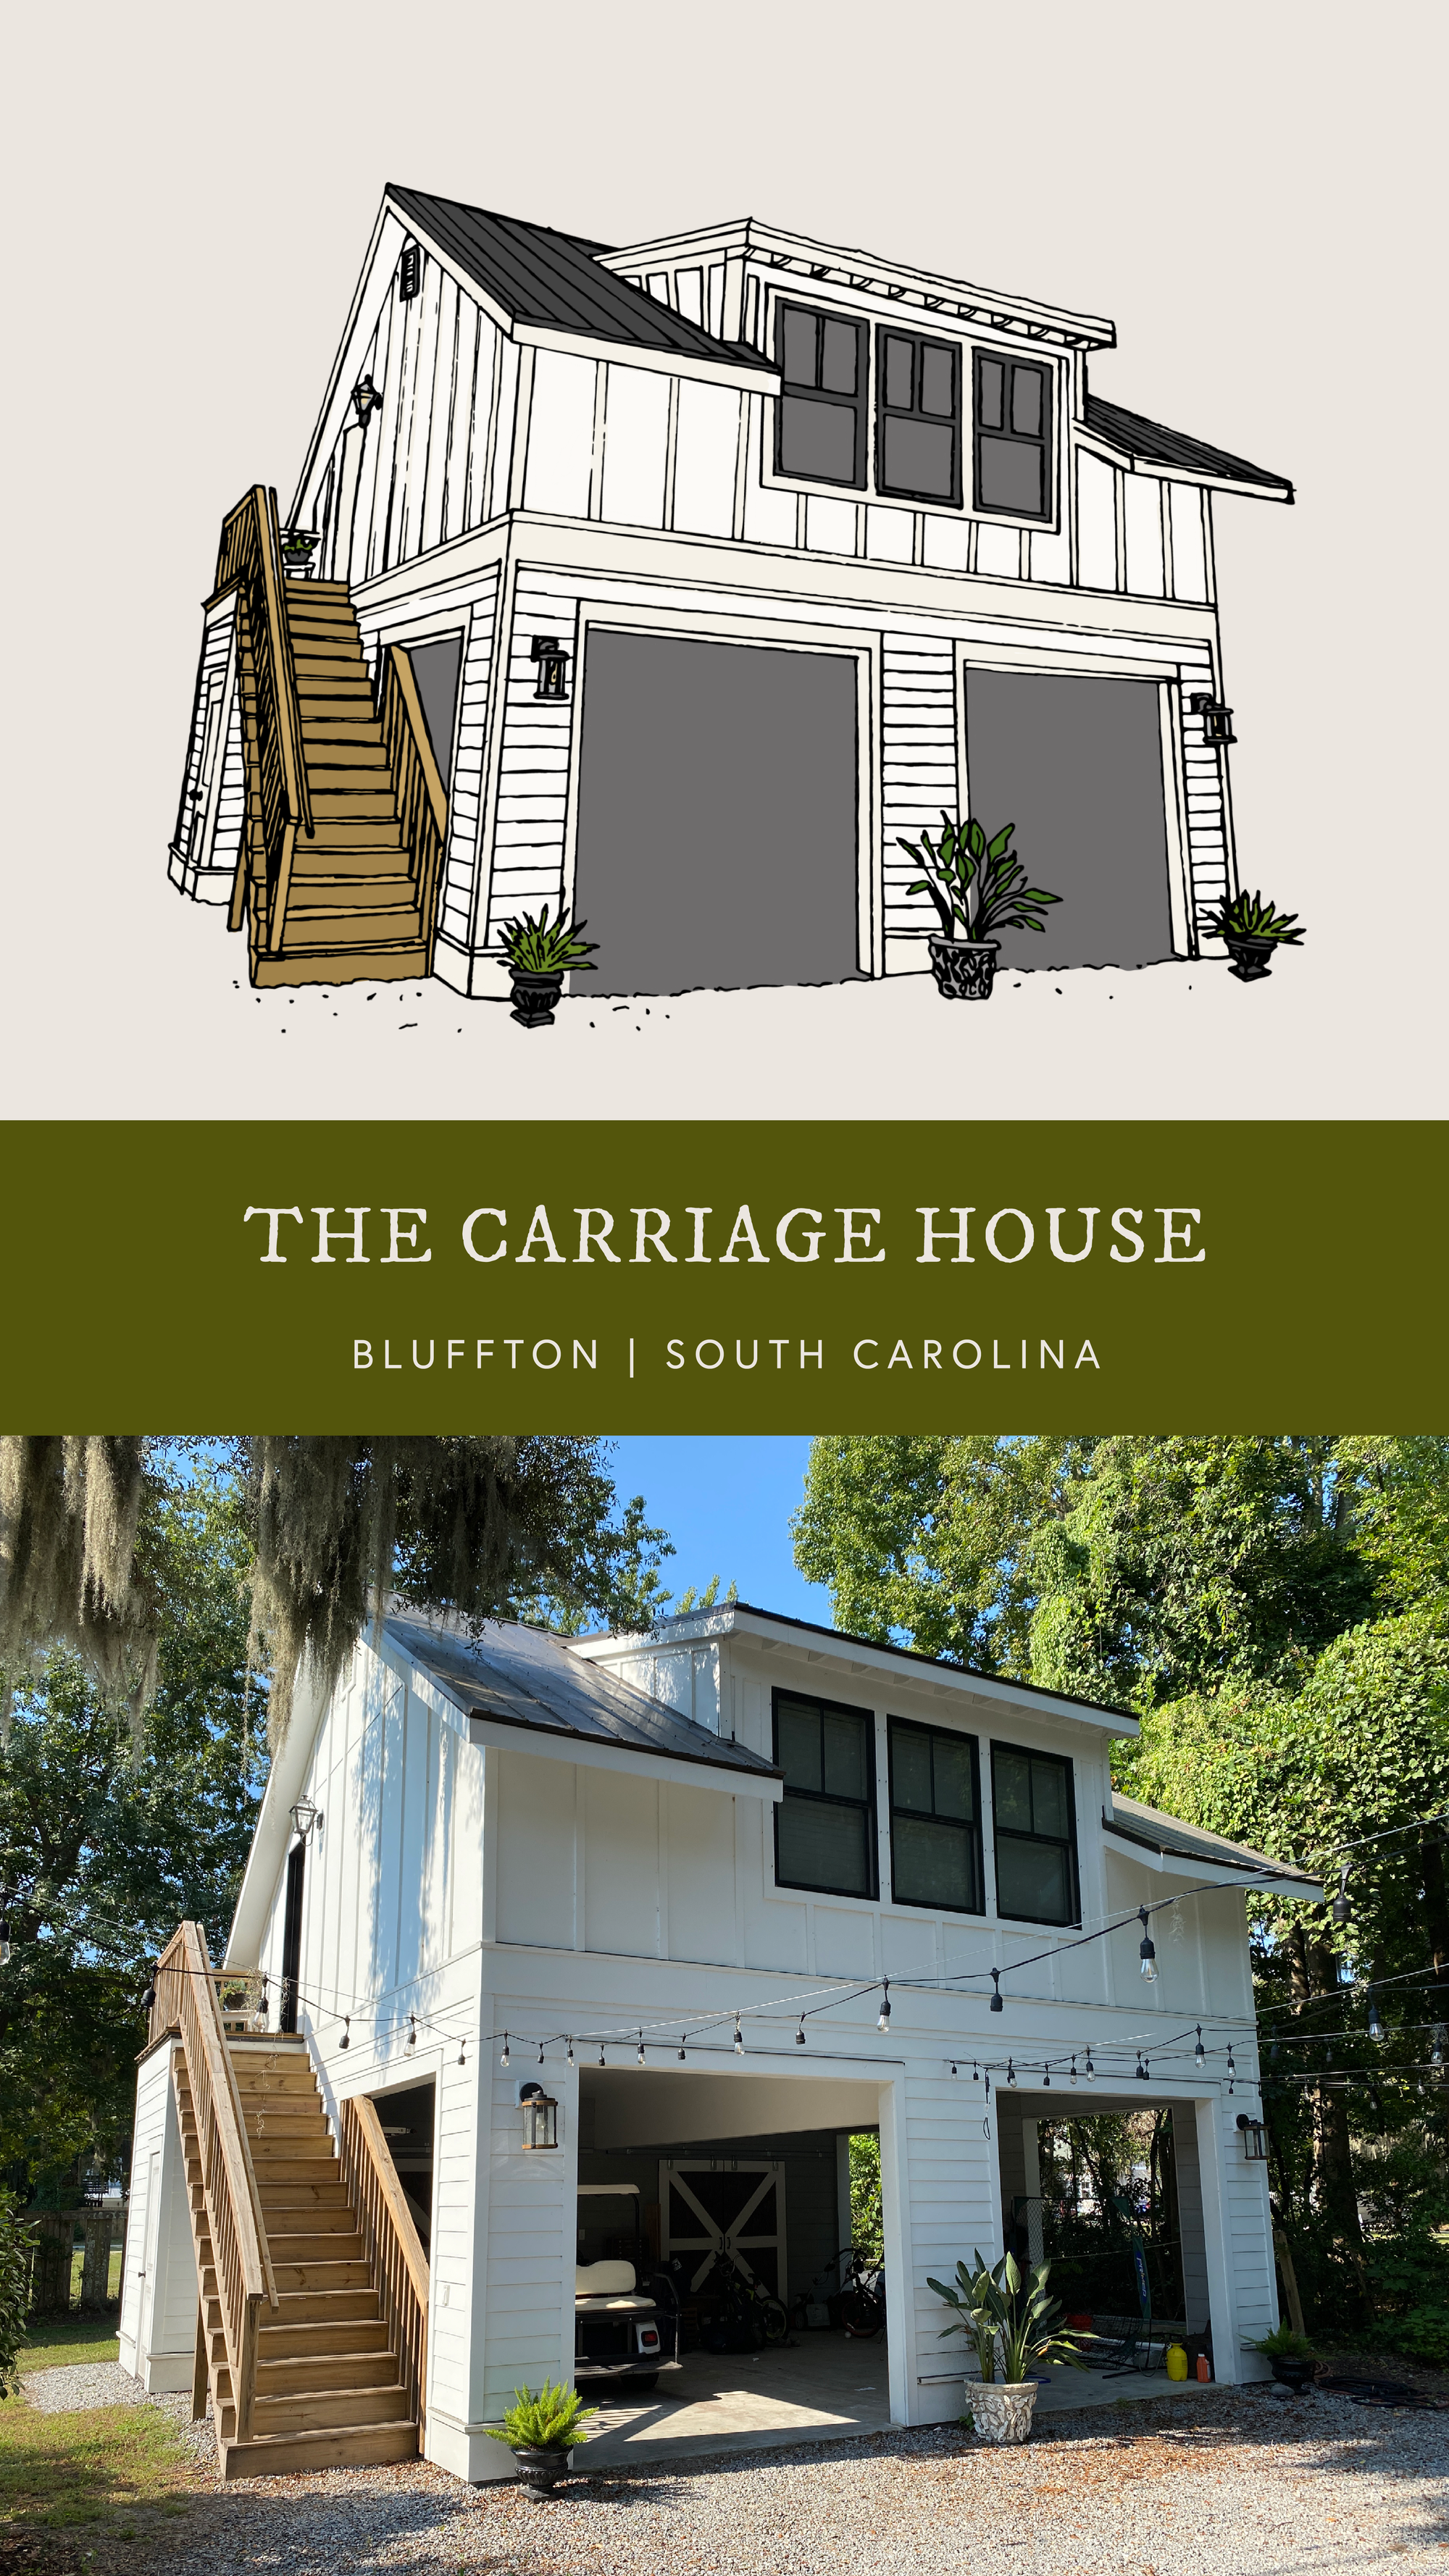
And a new service was introduced, rental property branding. I branded this adorable rental in Bluffton, South Carolina.
March 2022
The island starts to slowly defrost in the Spring.
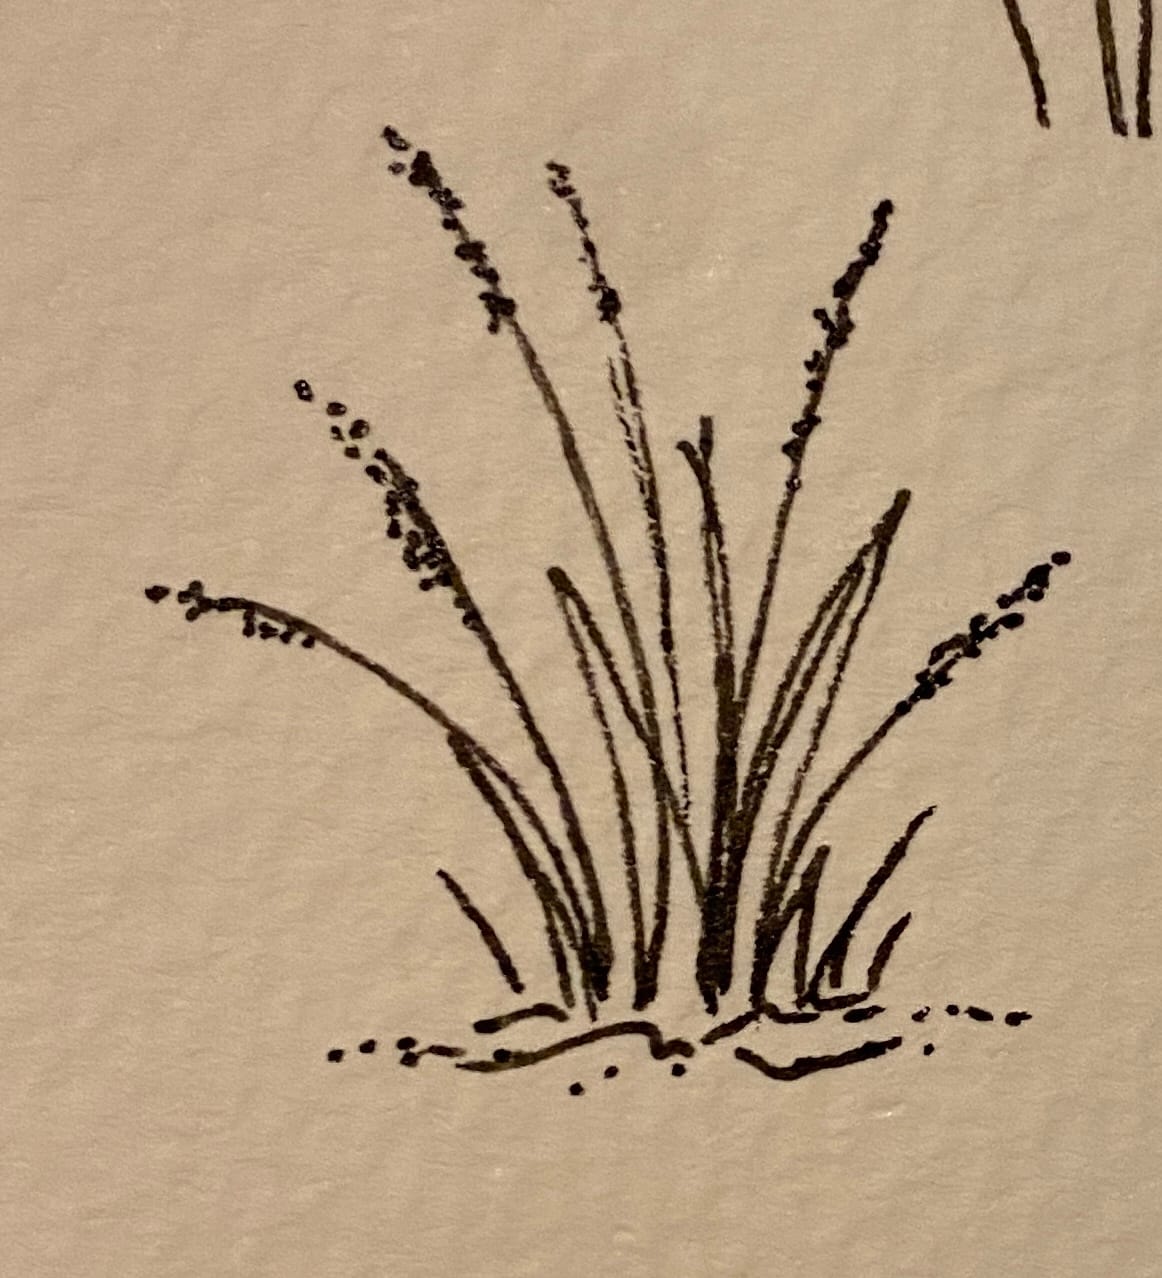
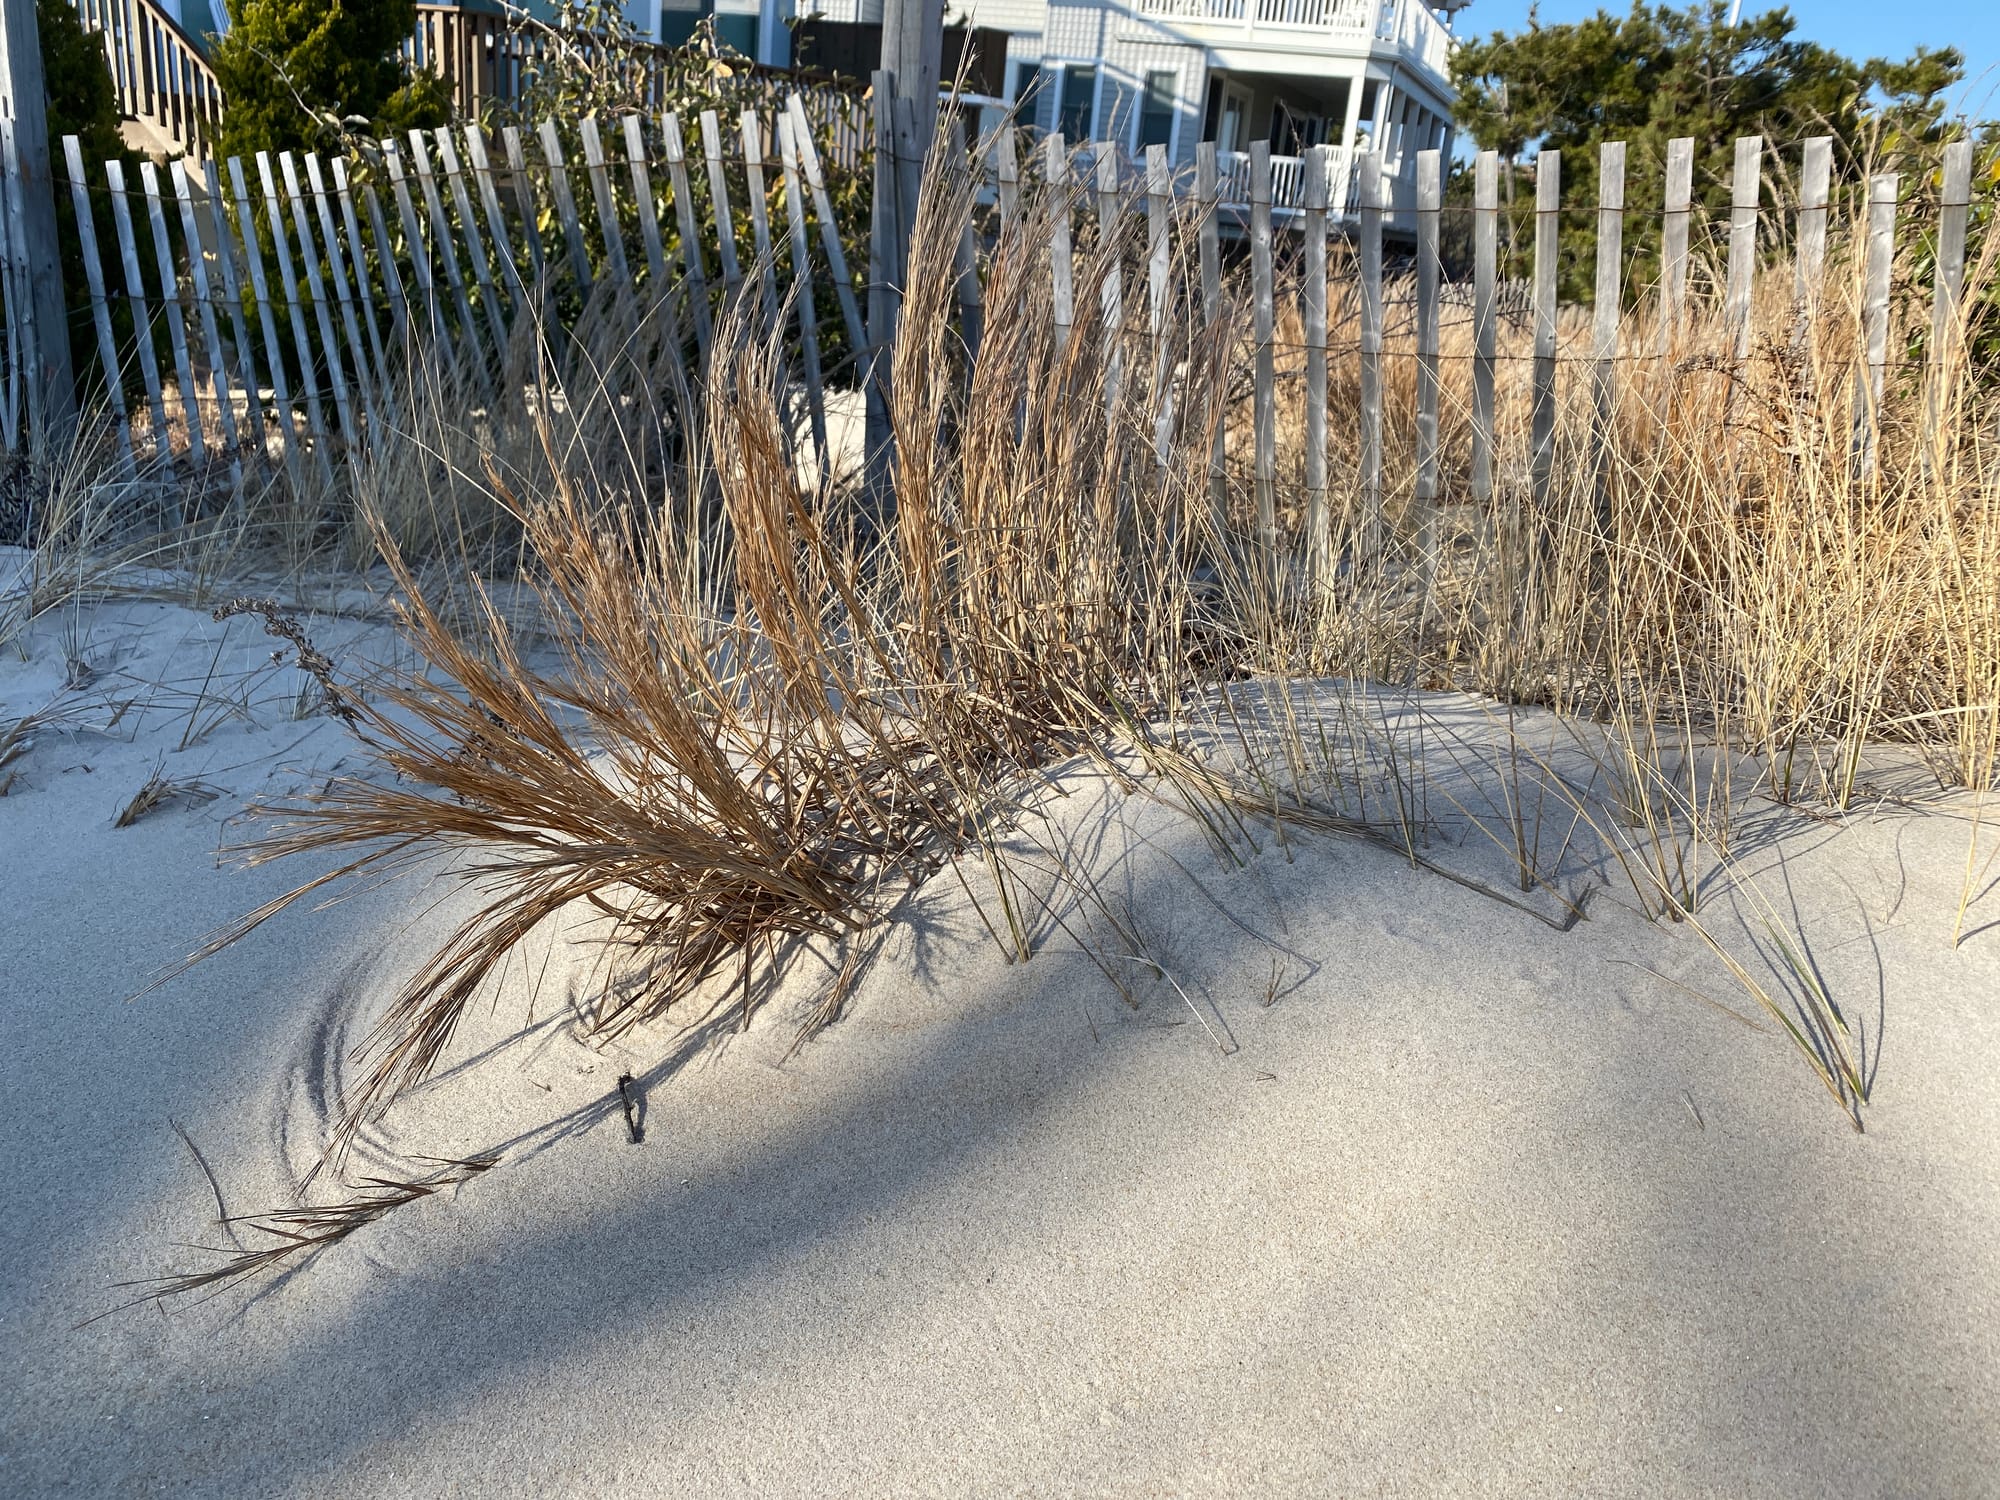
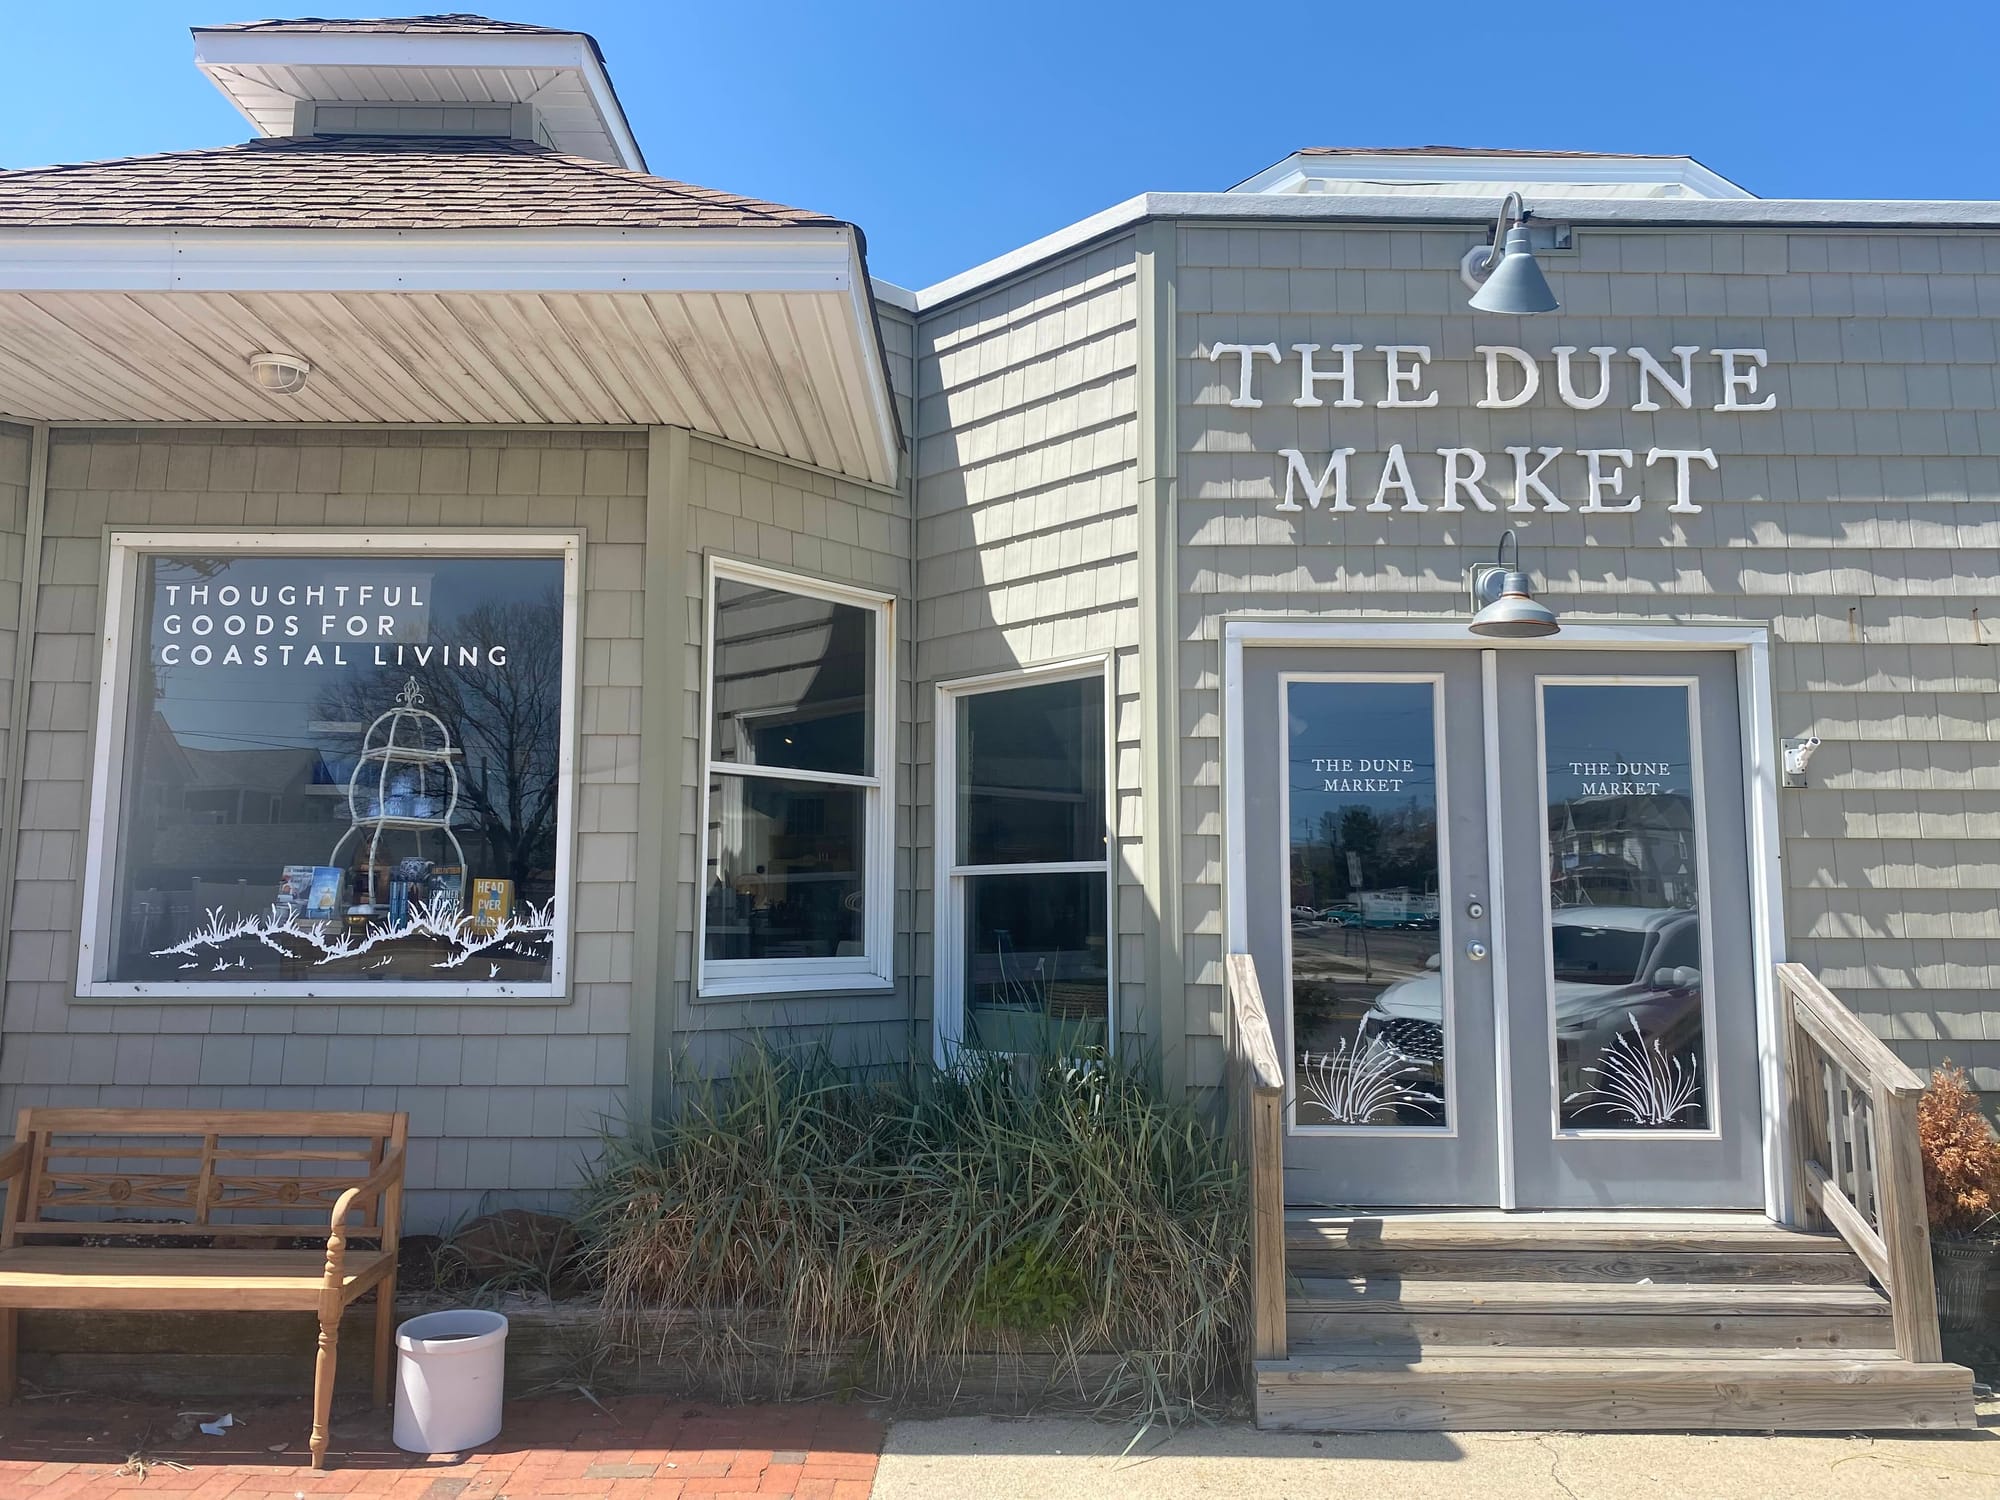
I created branding for The Dune Market in Beach Haven, NJ
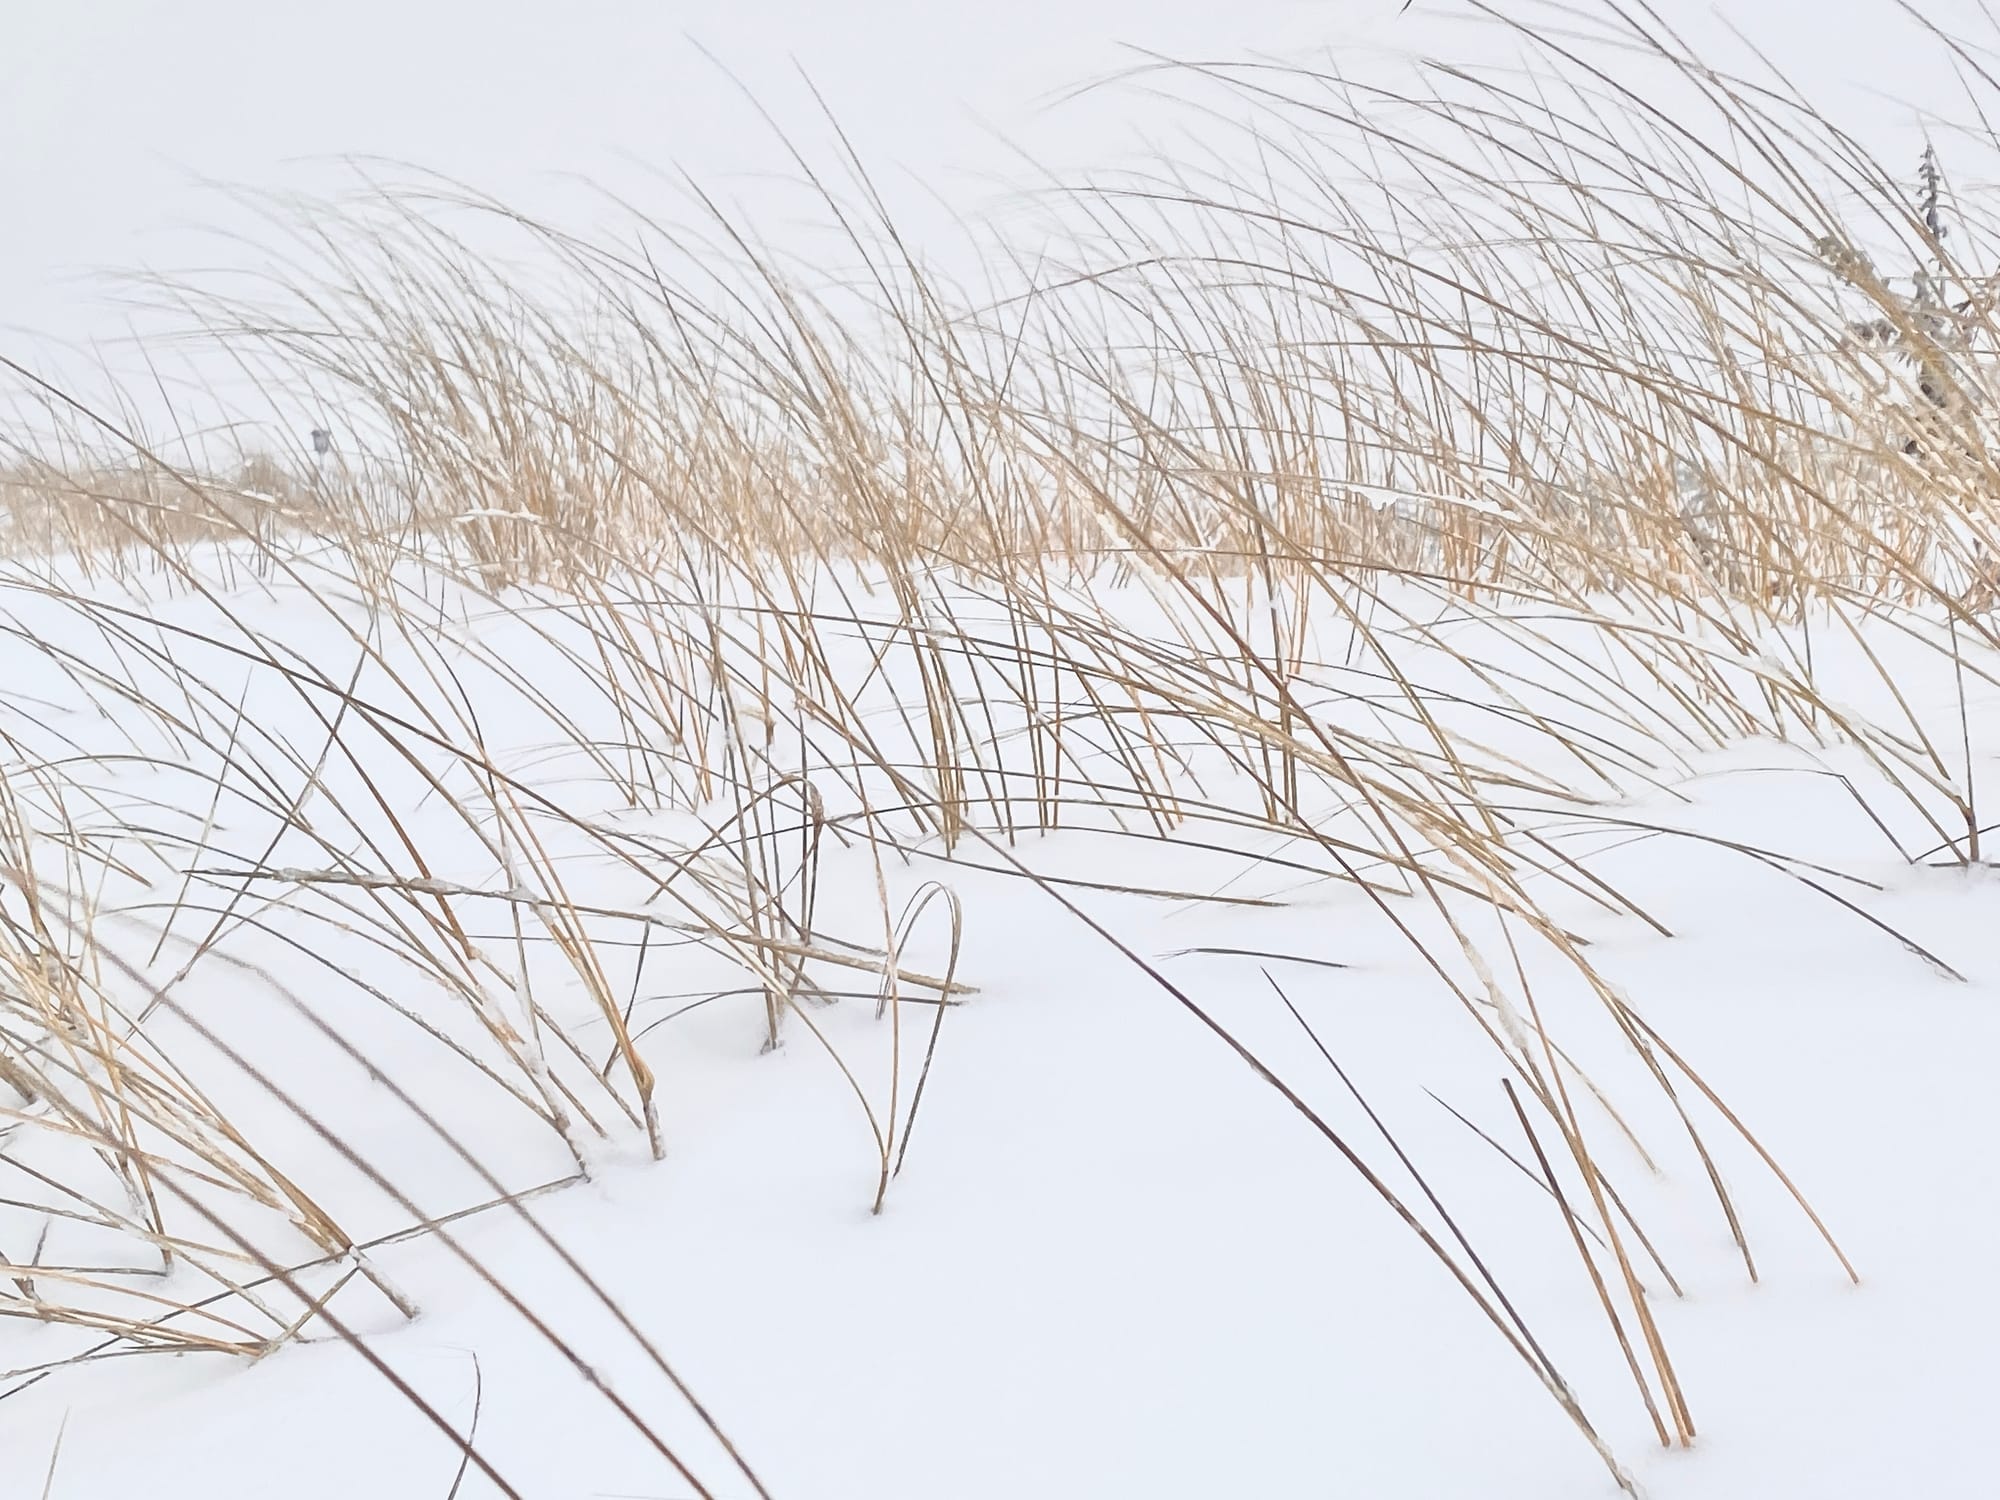
I went out and took some photos of dune grass for inspiration for the drawing
My first time to Manasota Key was in March 2022. I was hooked. I definitely envisioned The Small Town Studio venturing to this new little town.
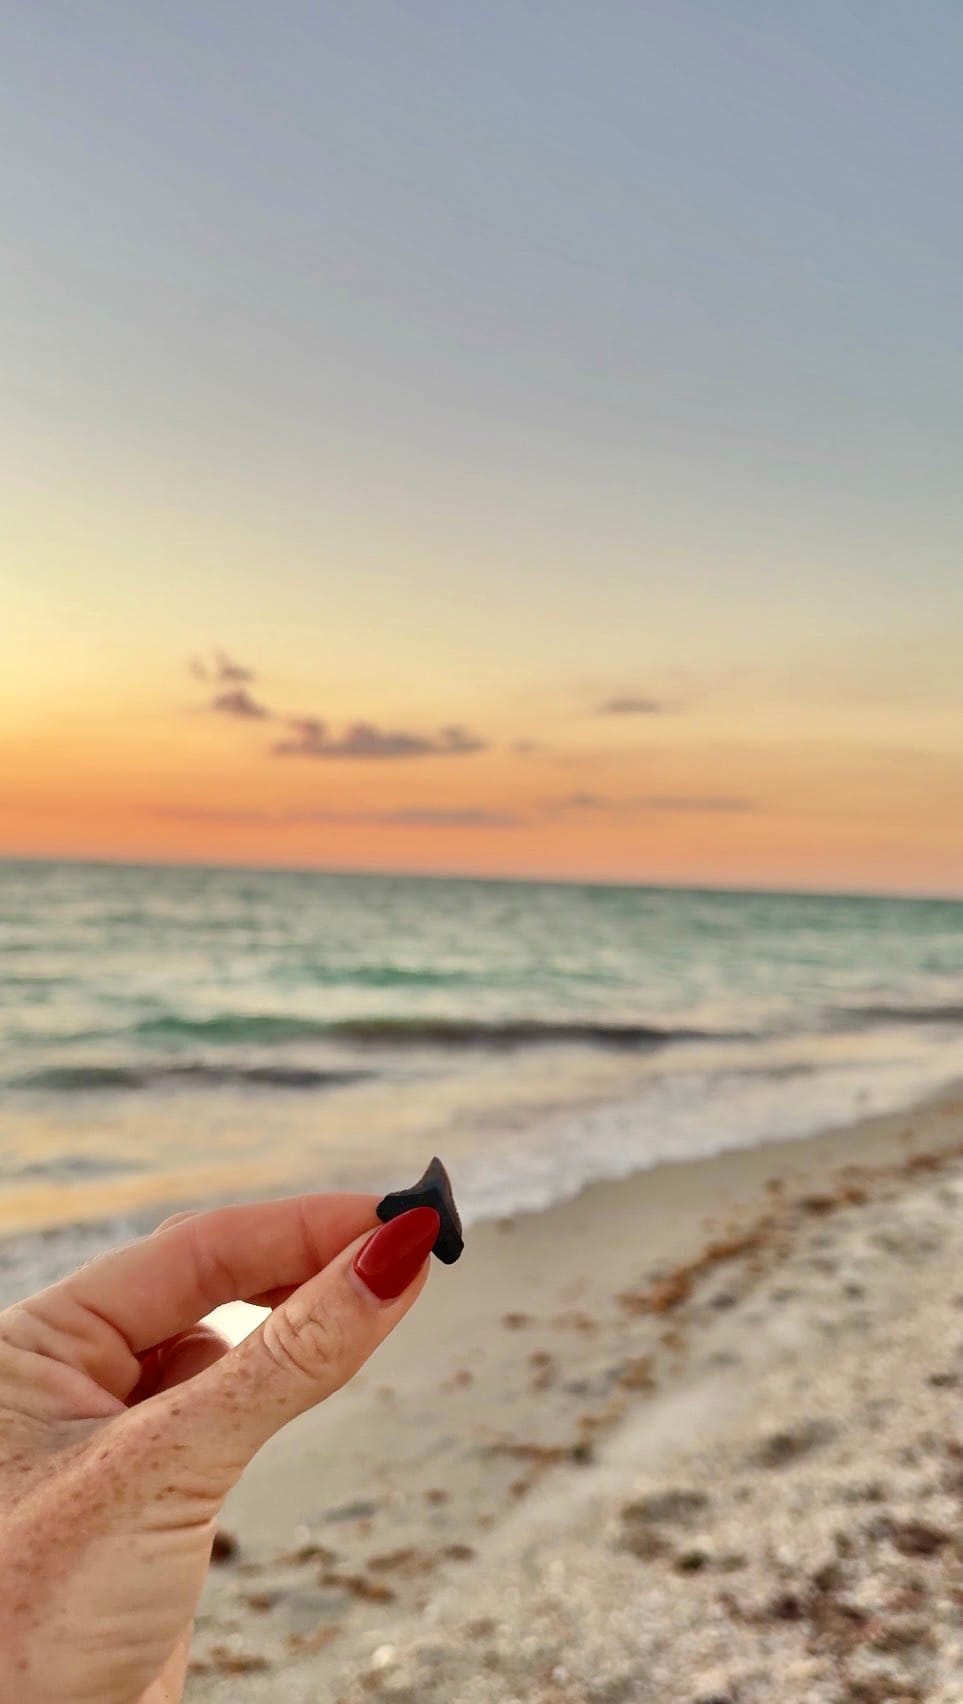
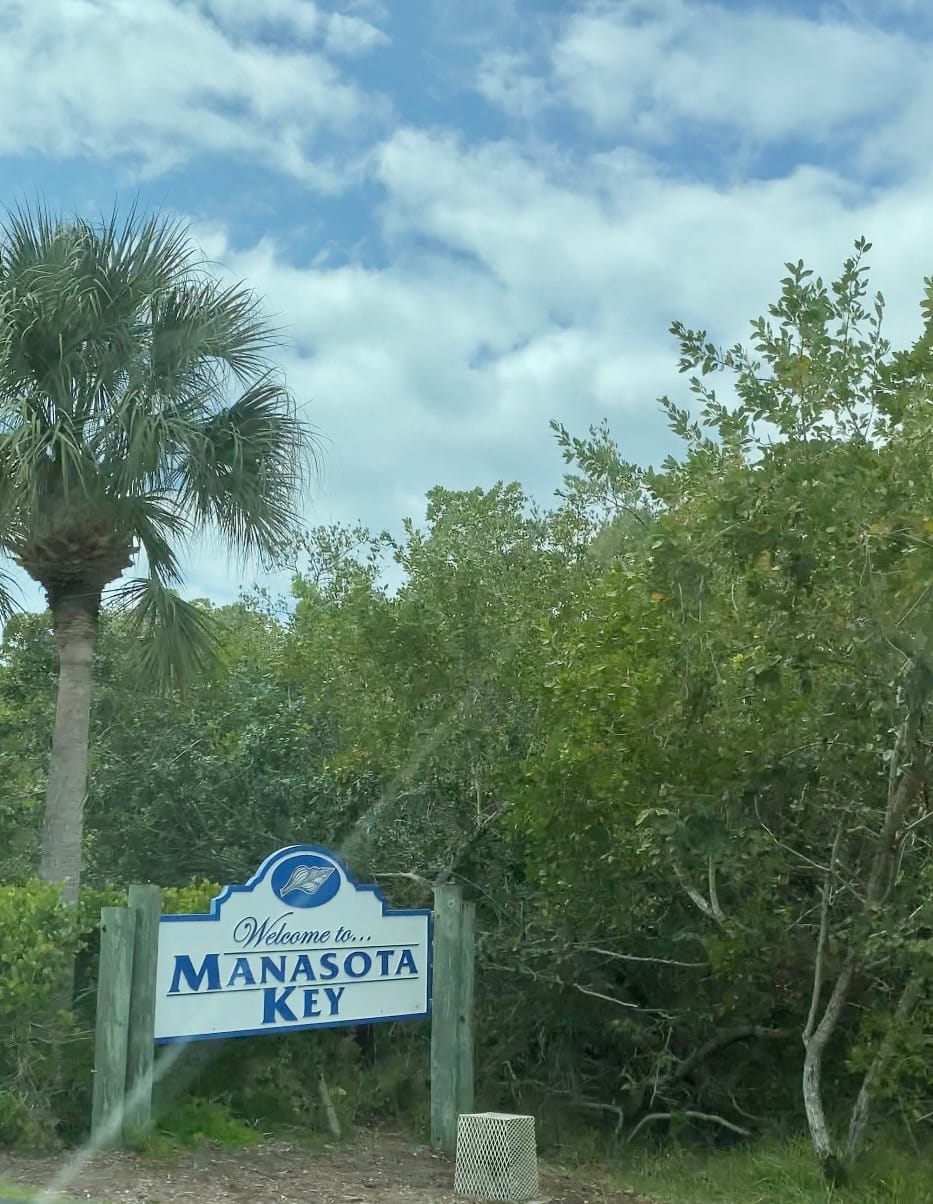
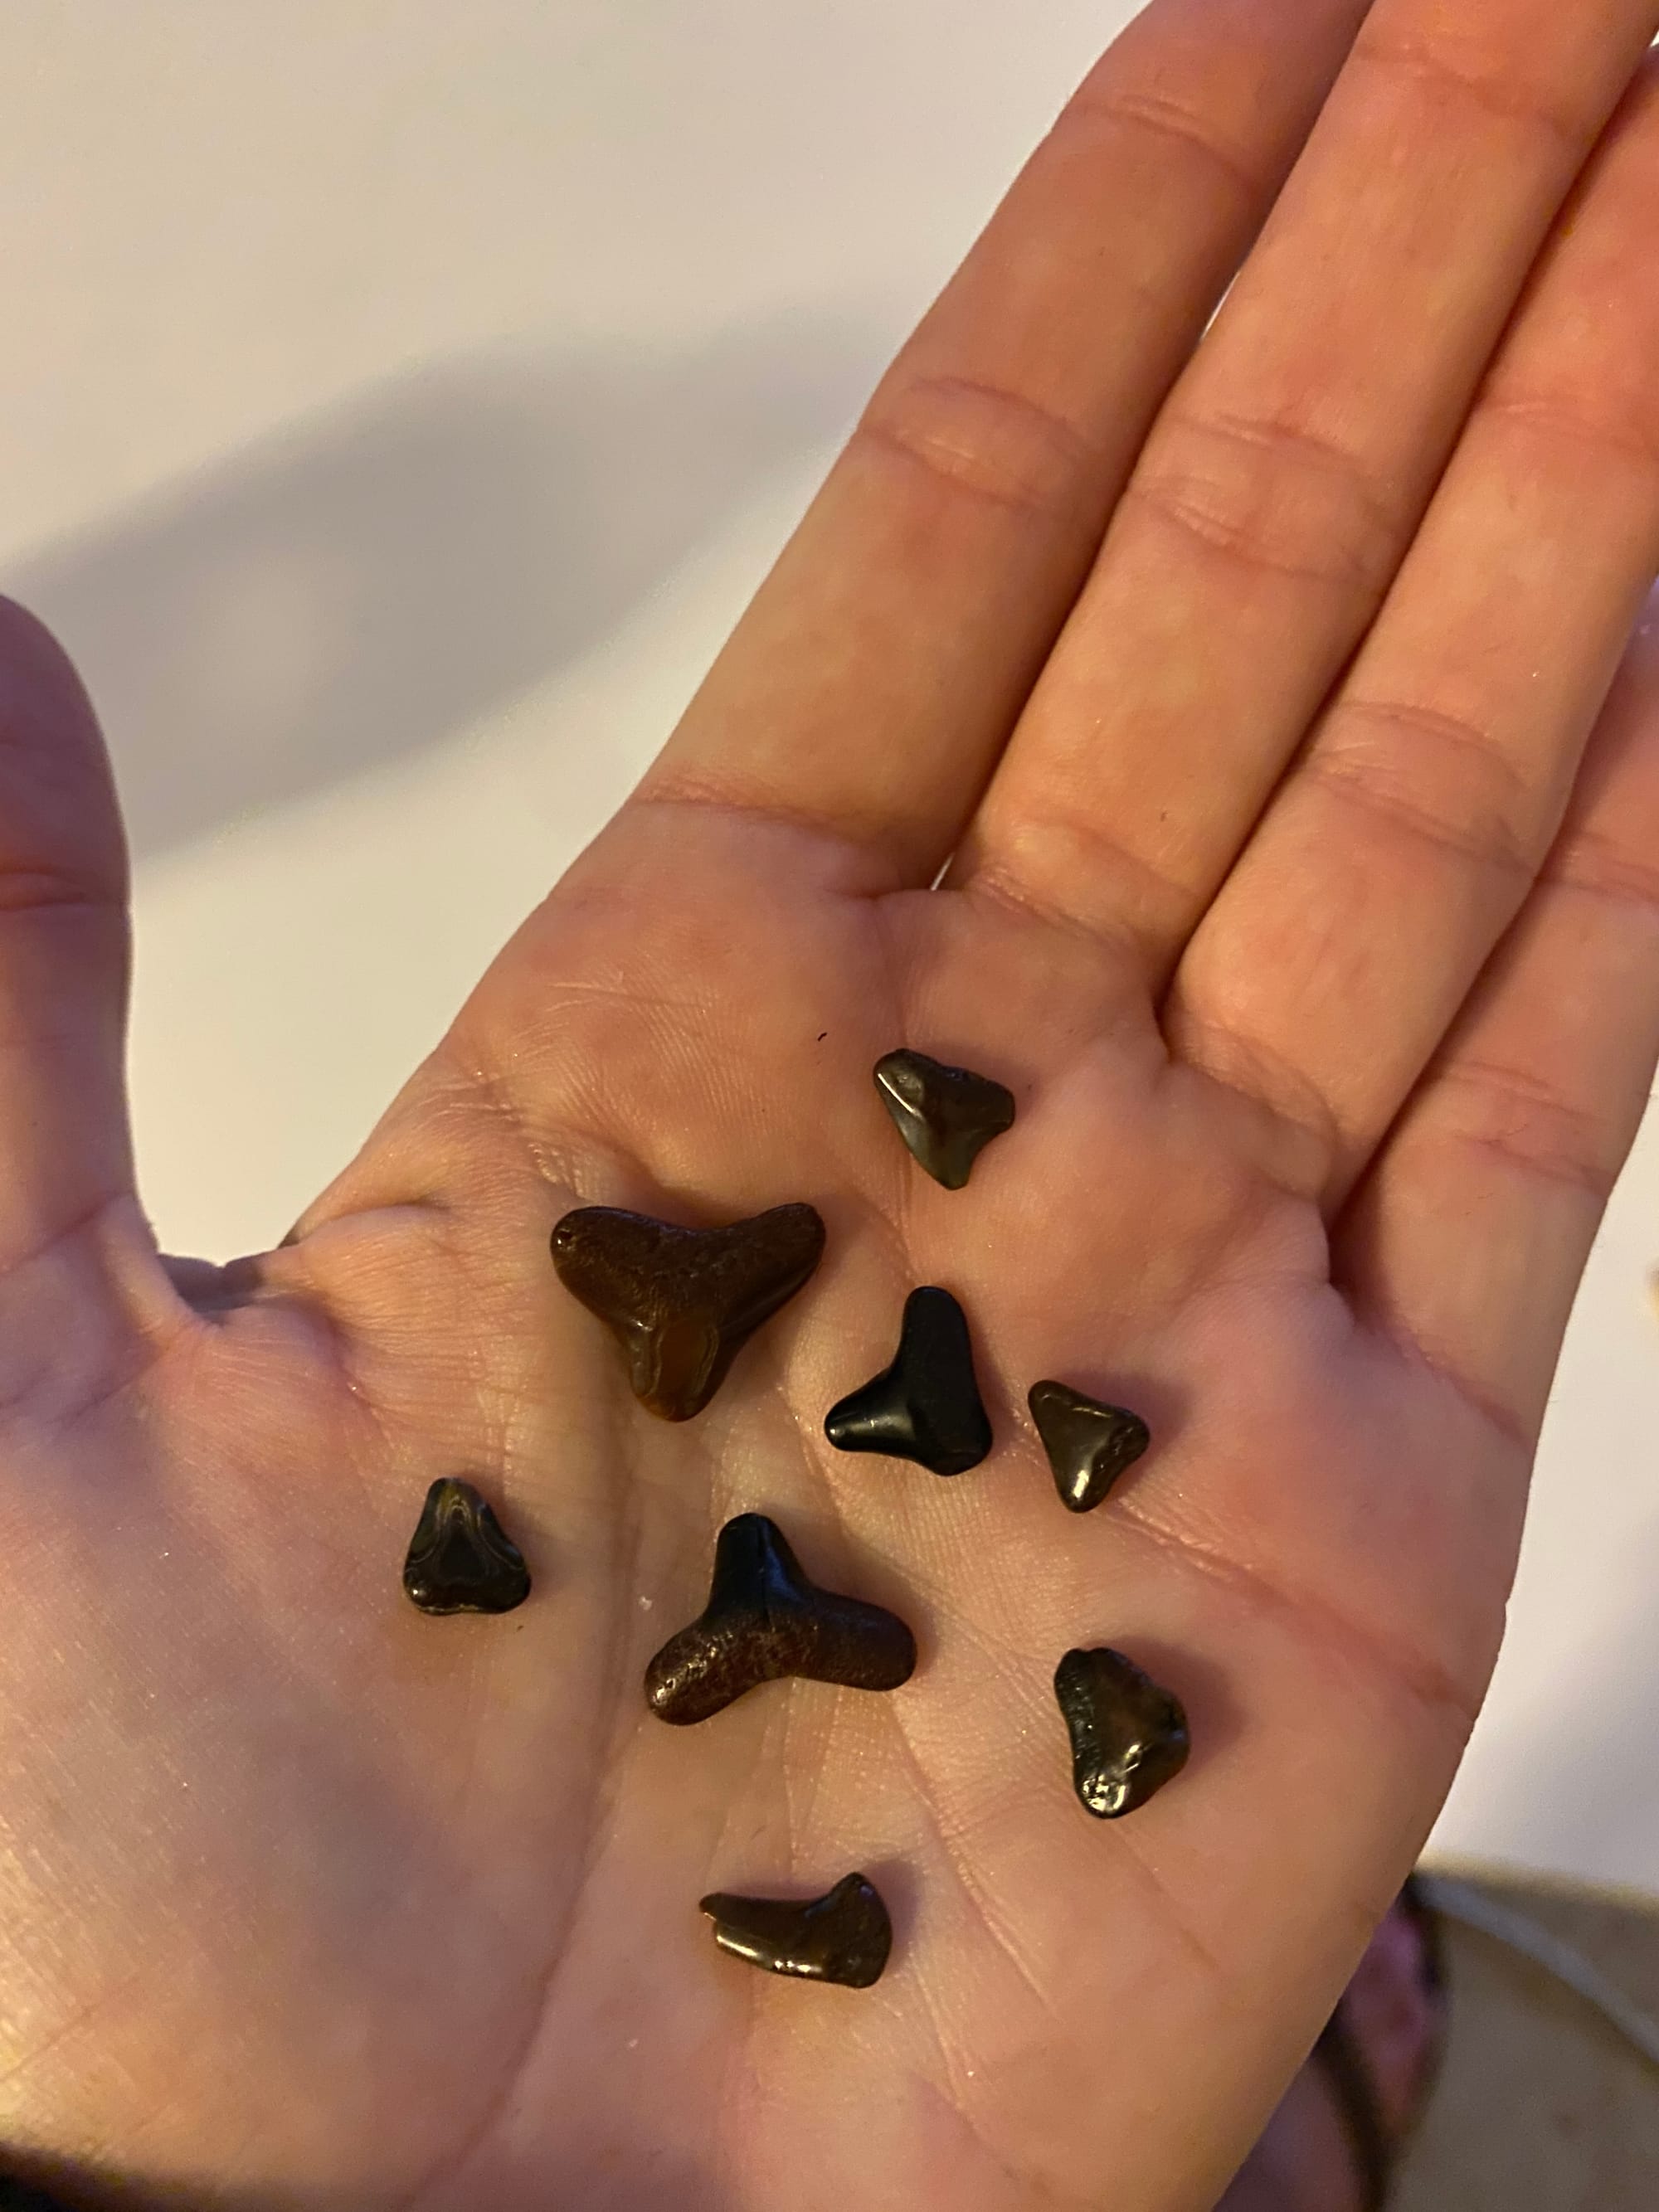
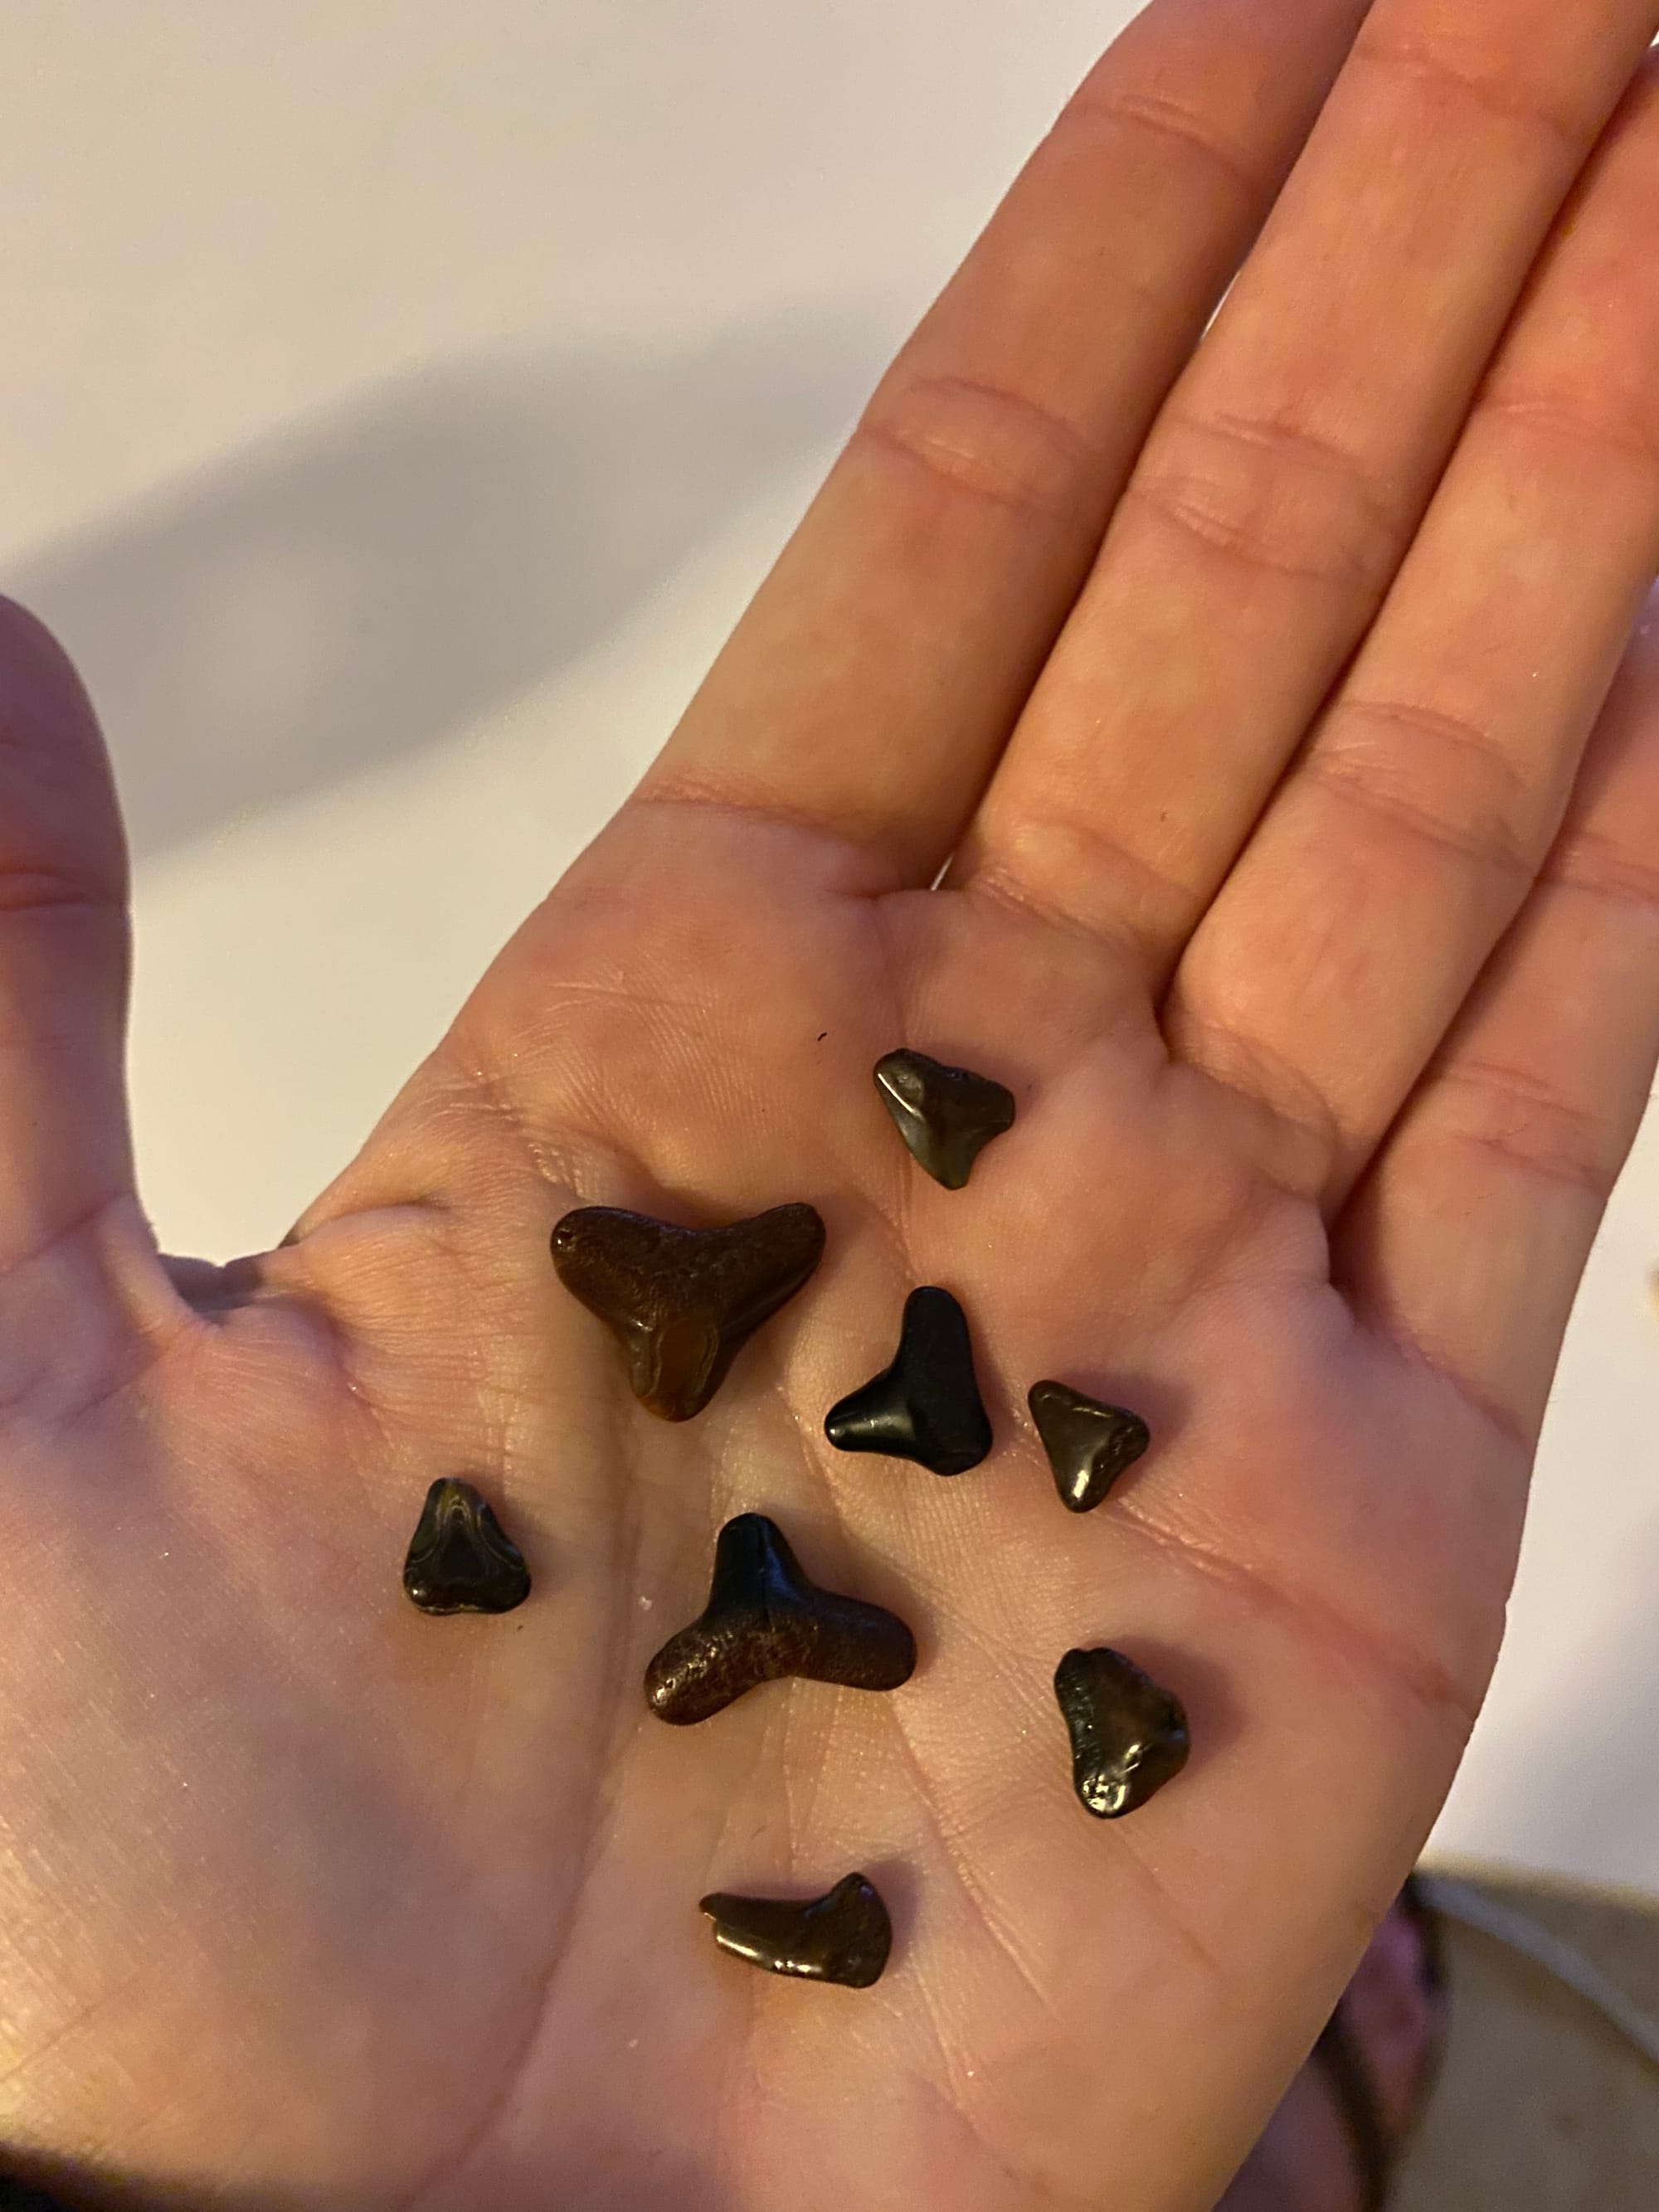
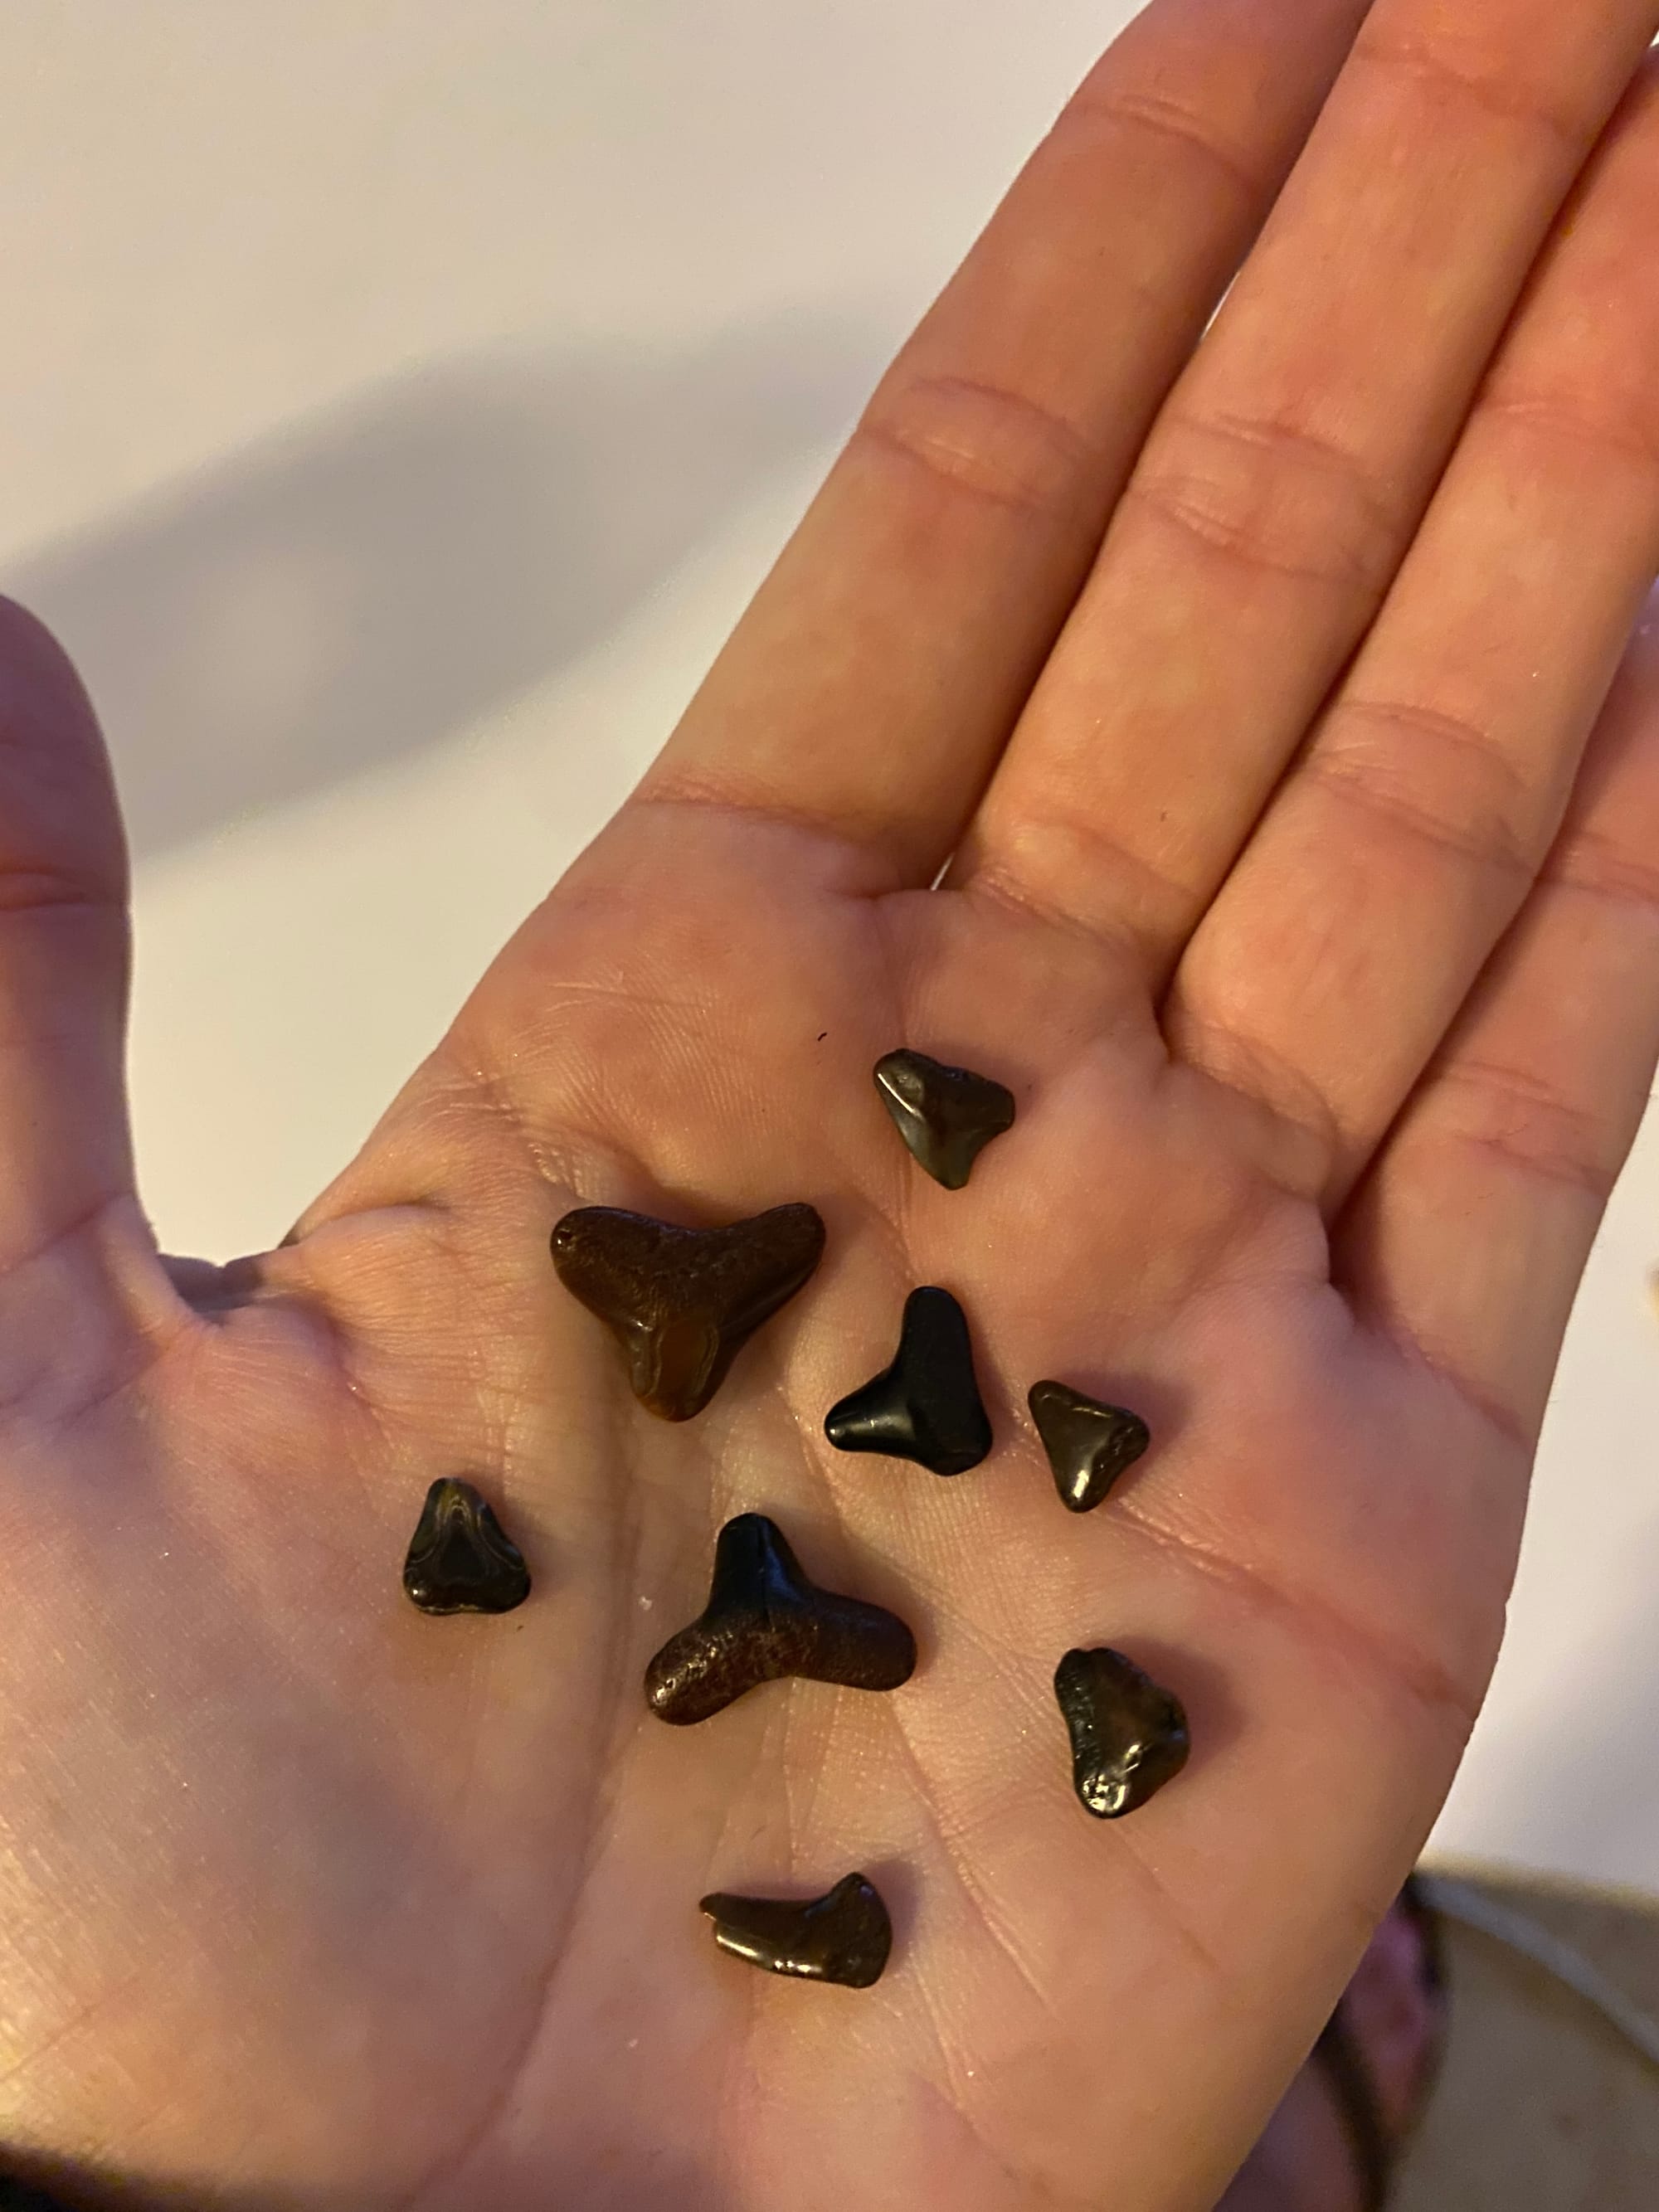
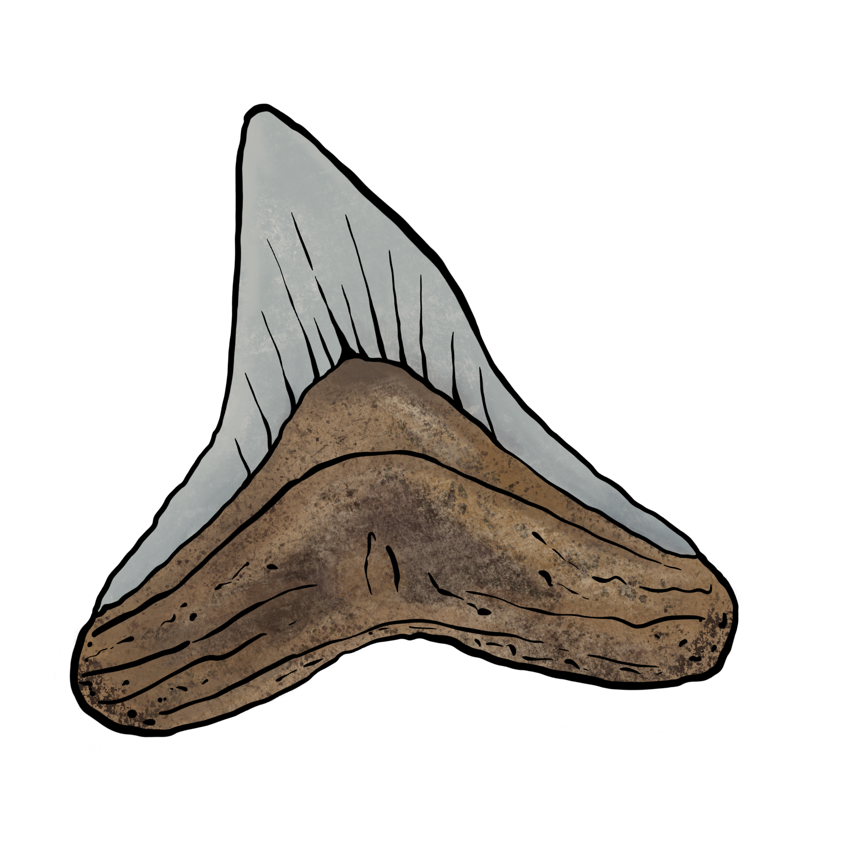
I totally imagined the welcome sign and these shark teeth as a cute small town studio illustrations
May 2022
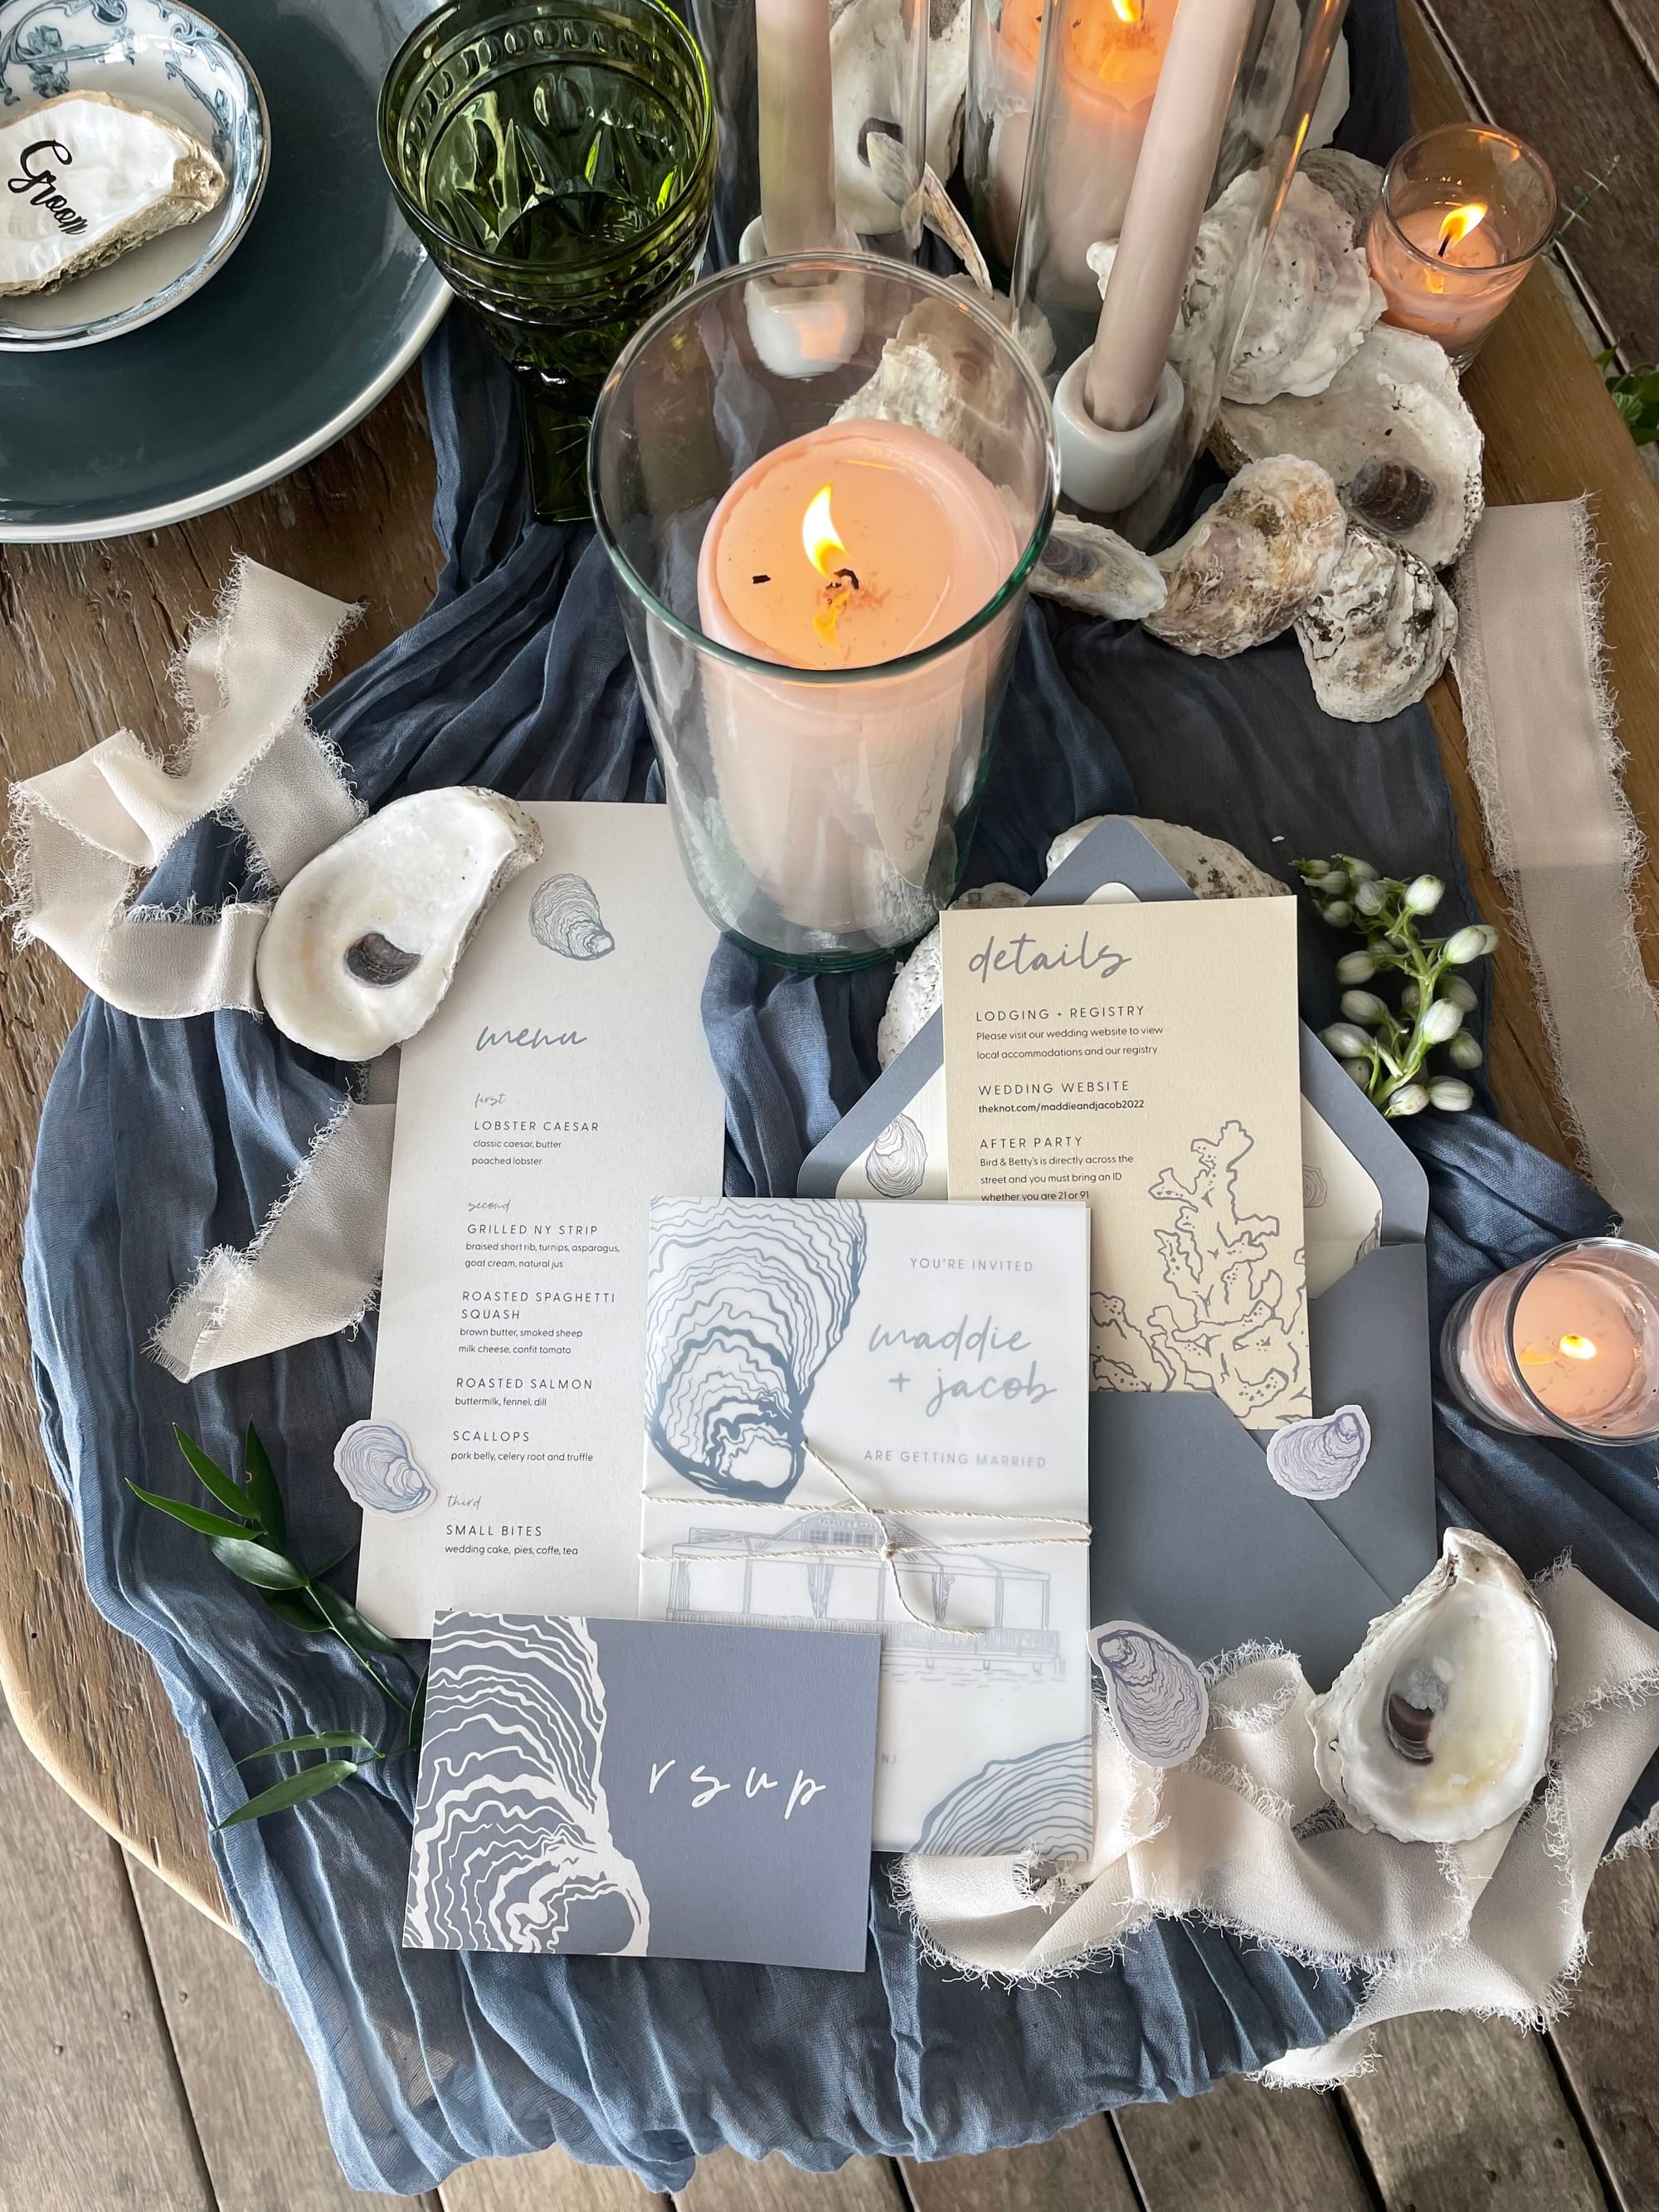
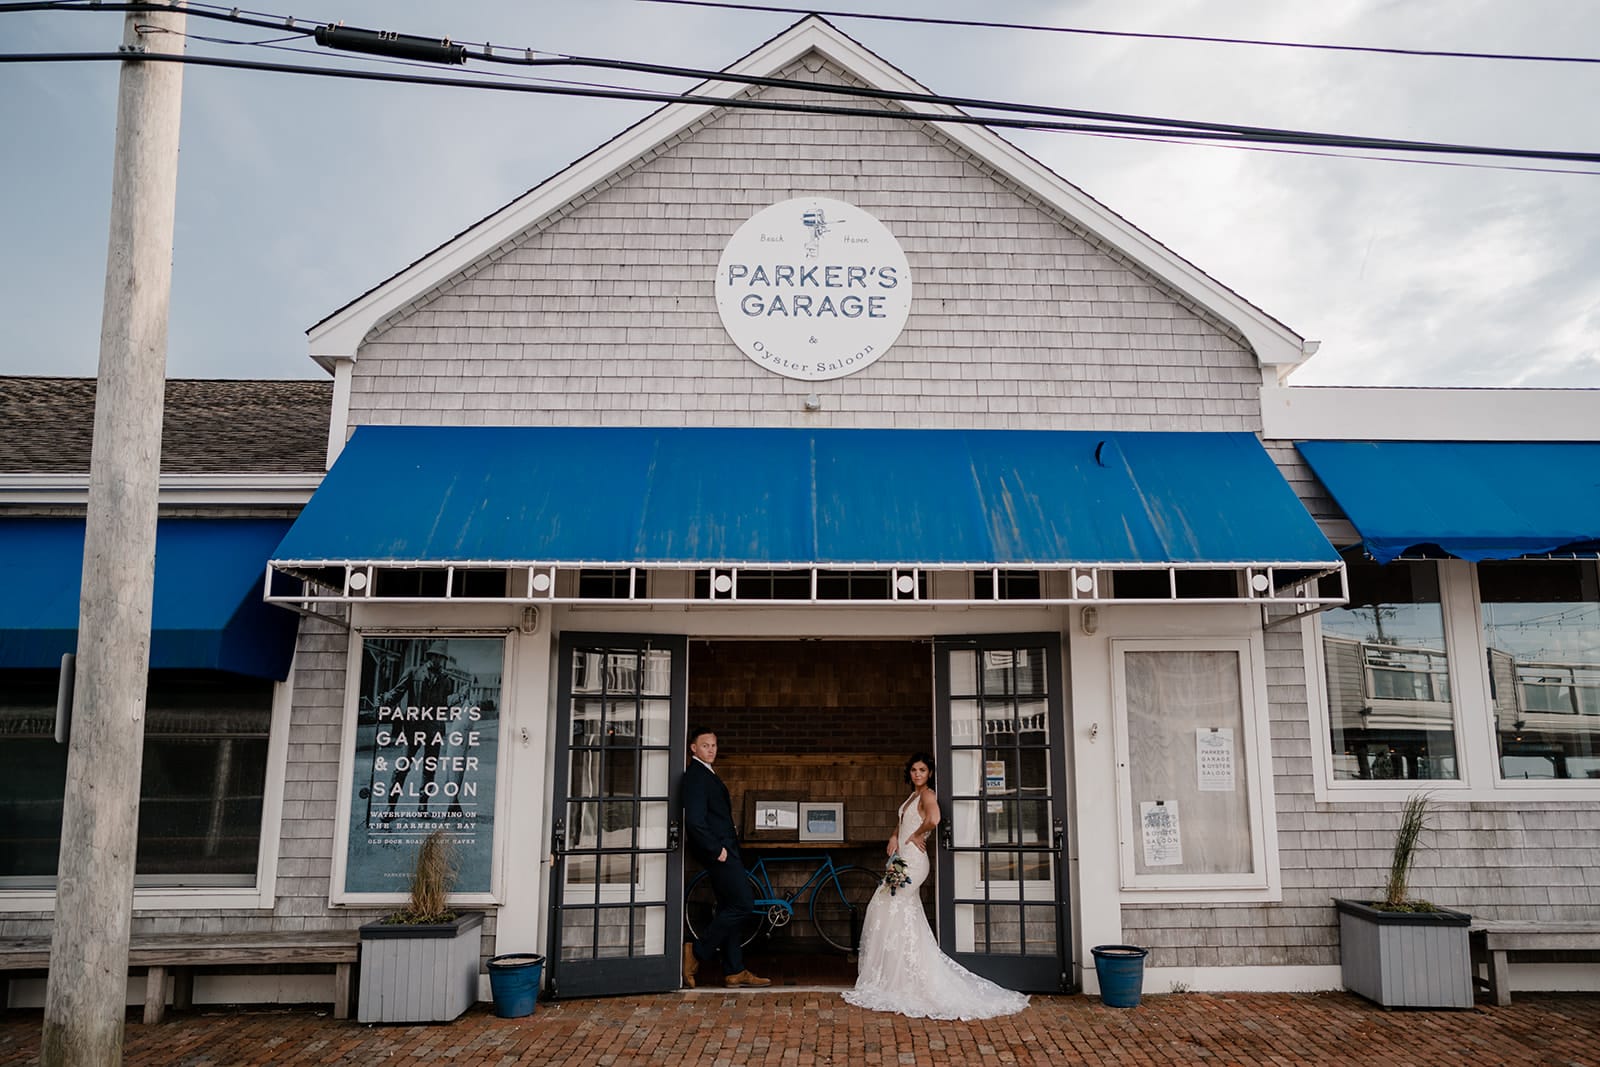
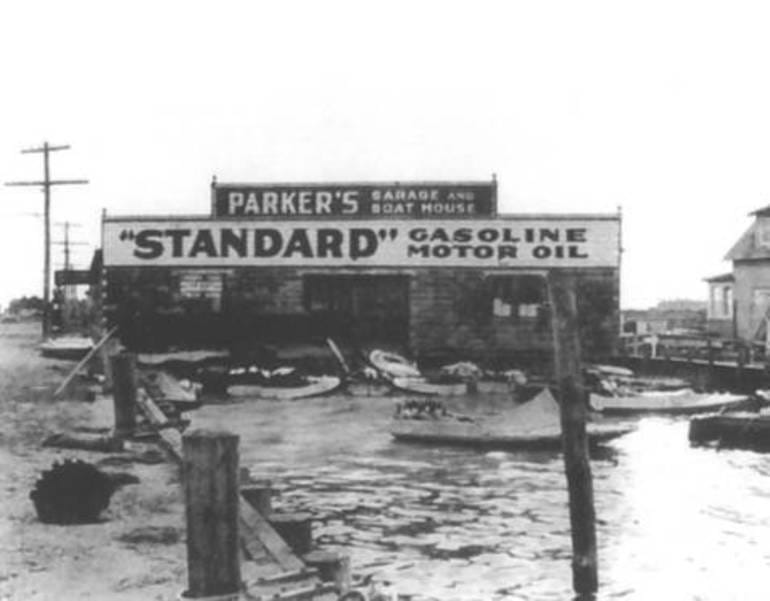
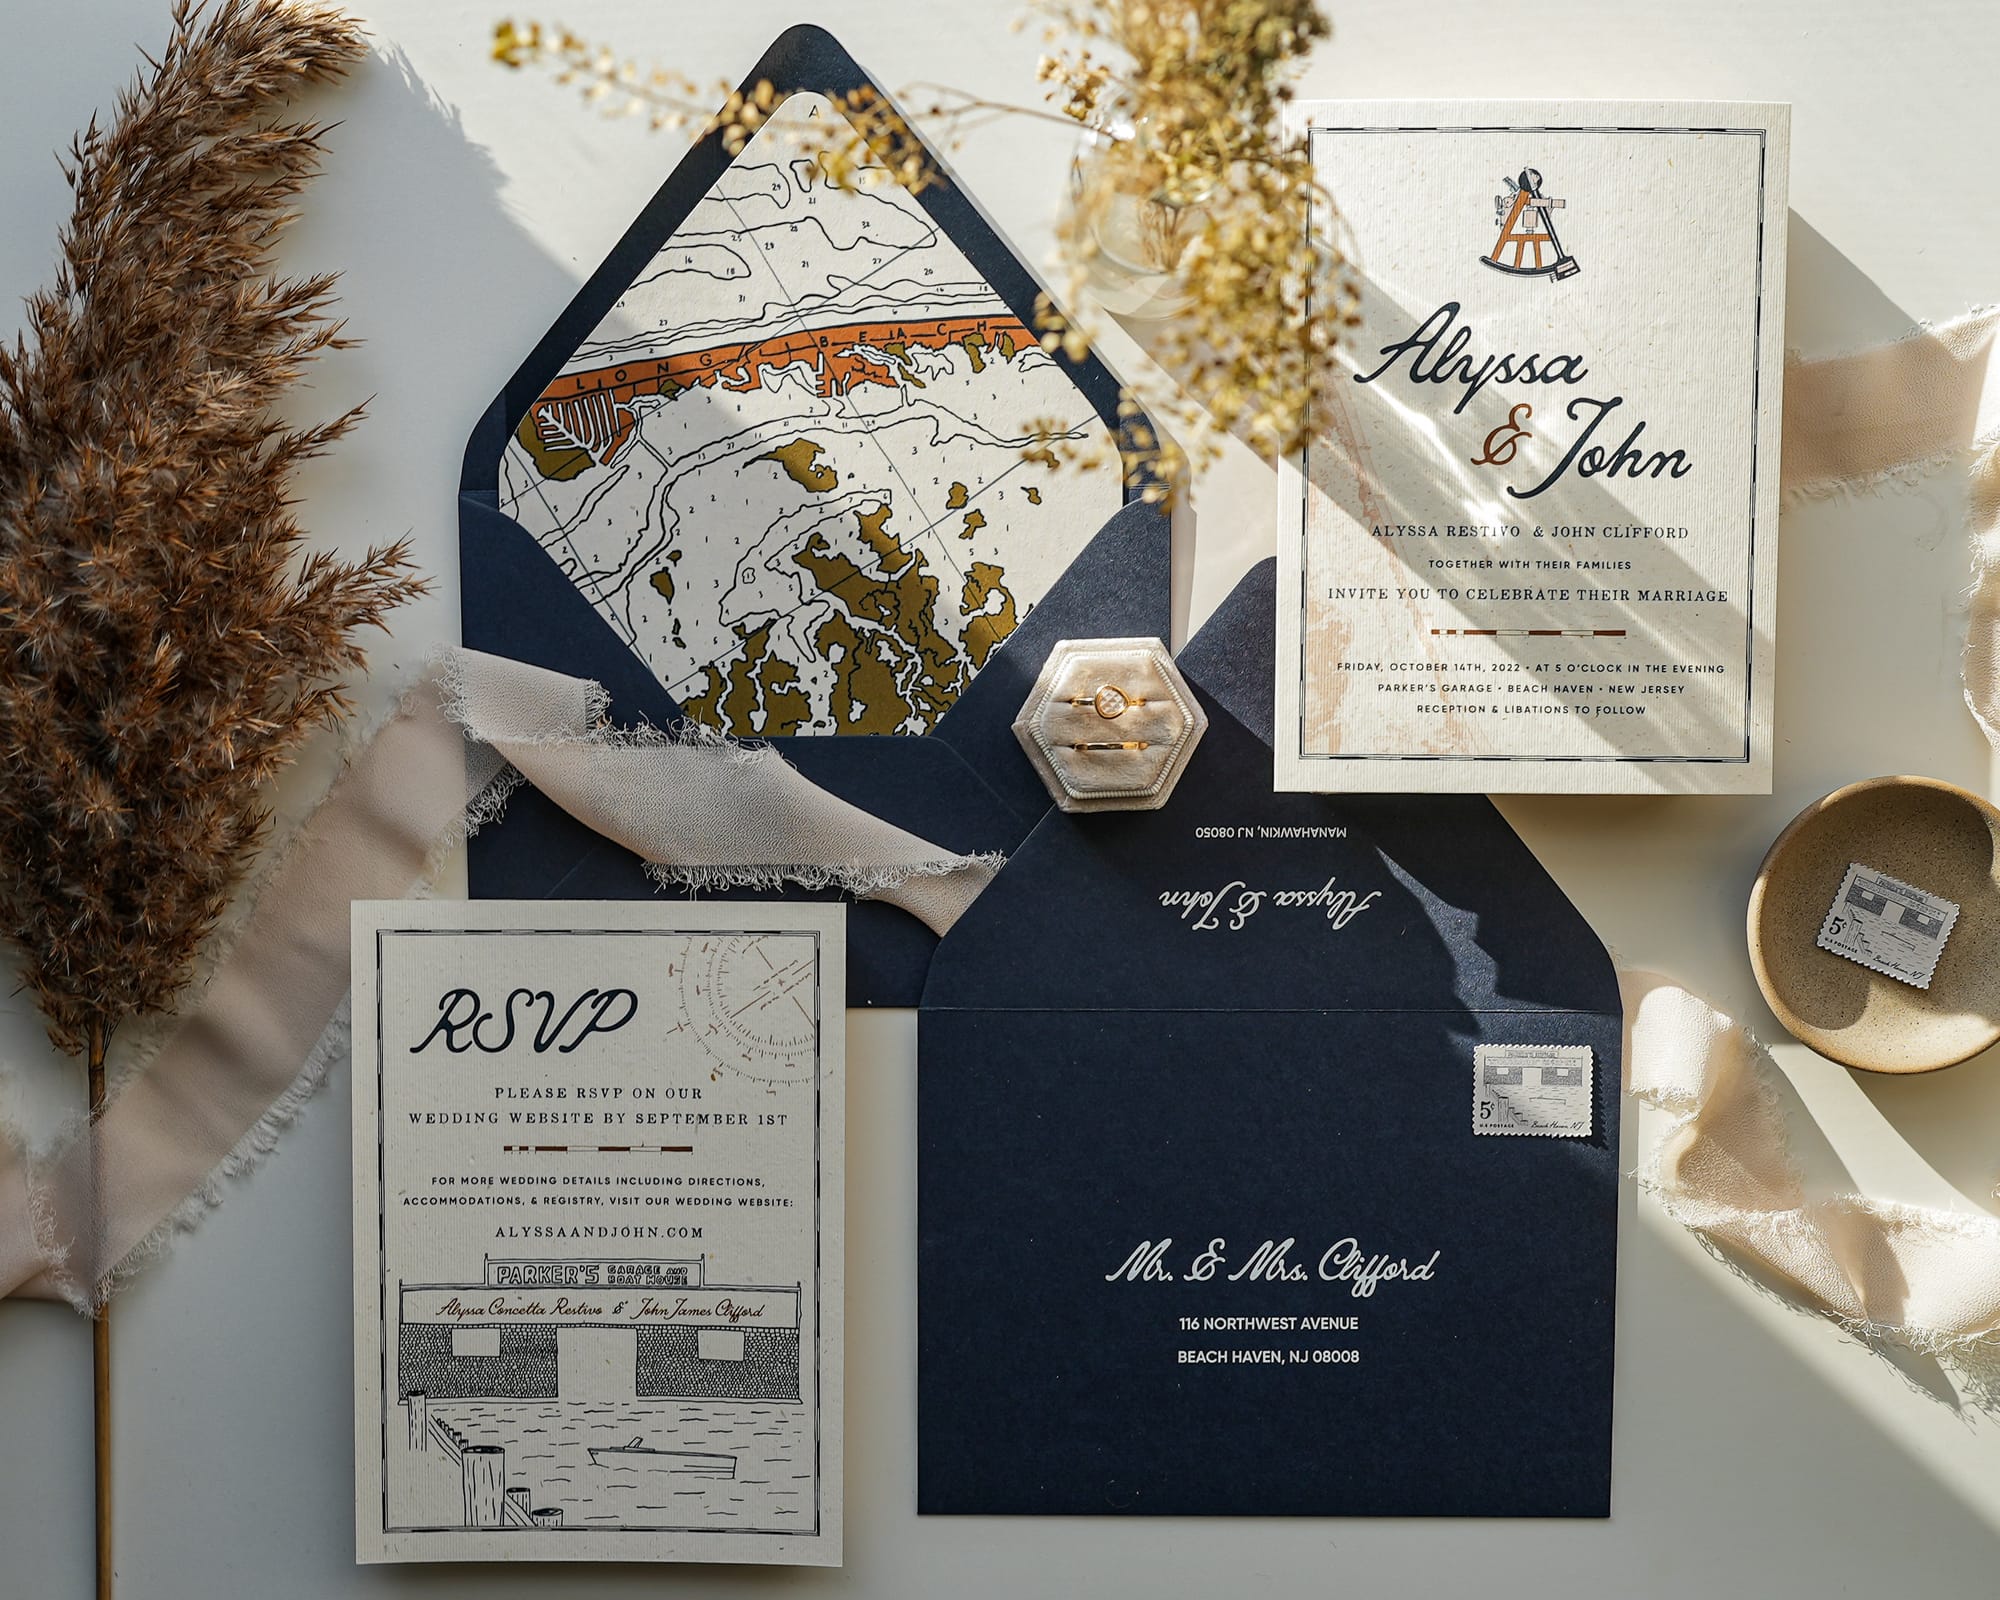
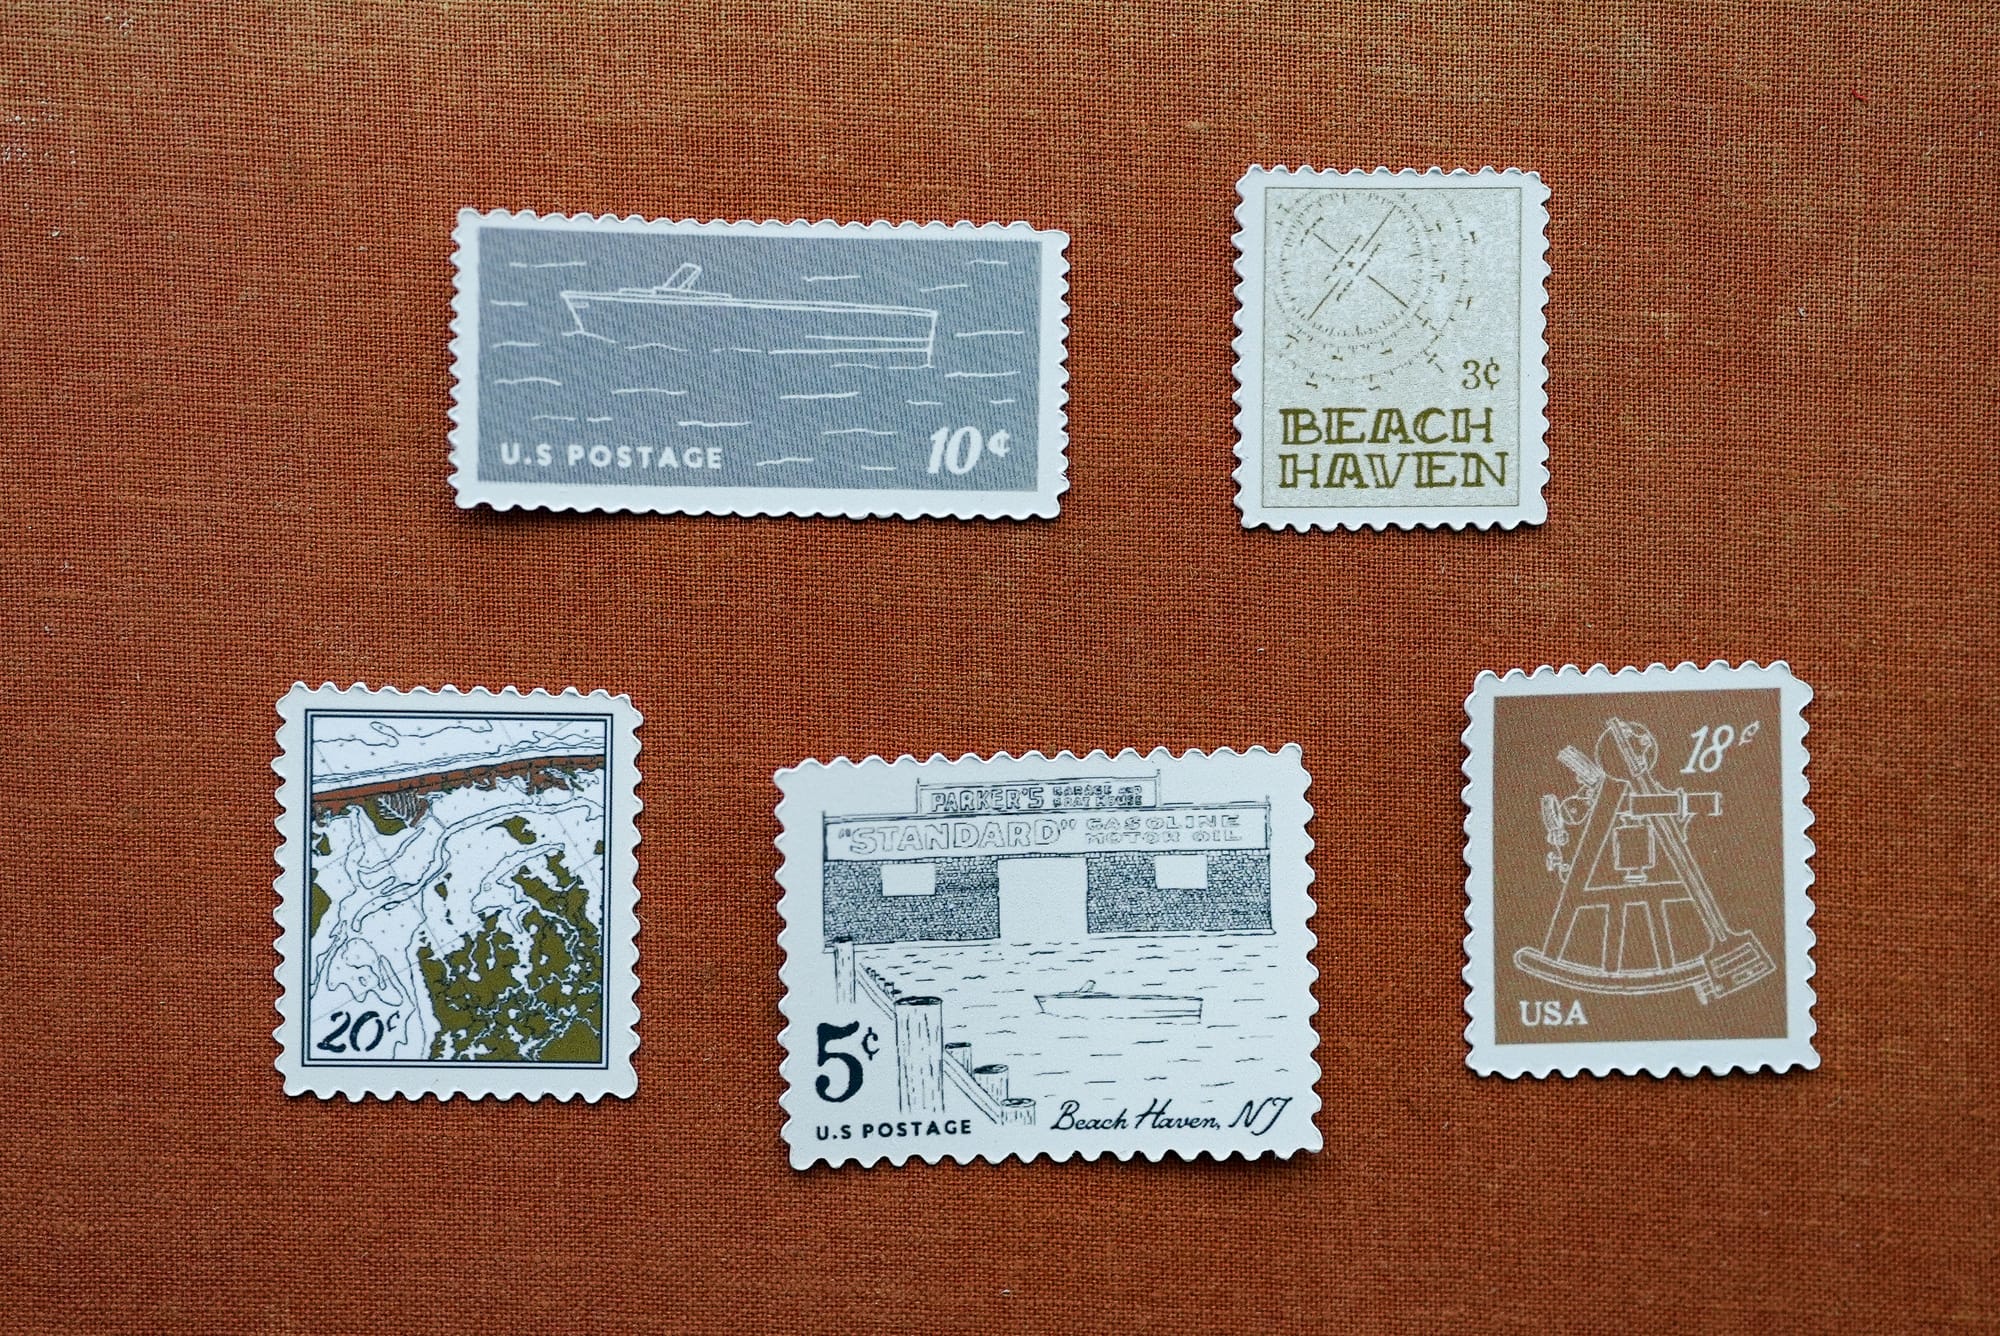
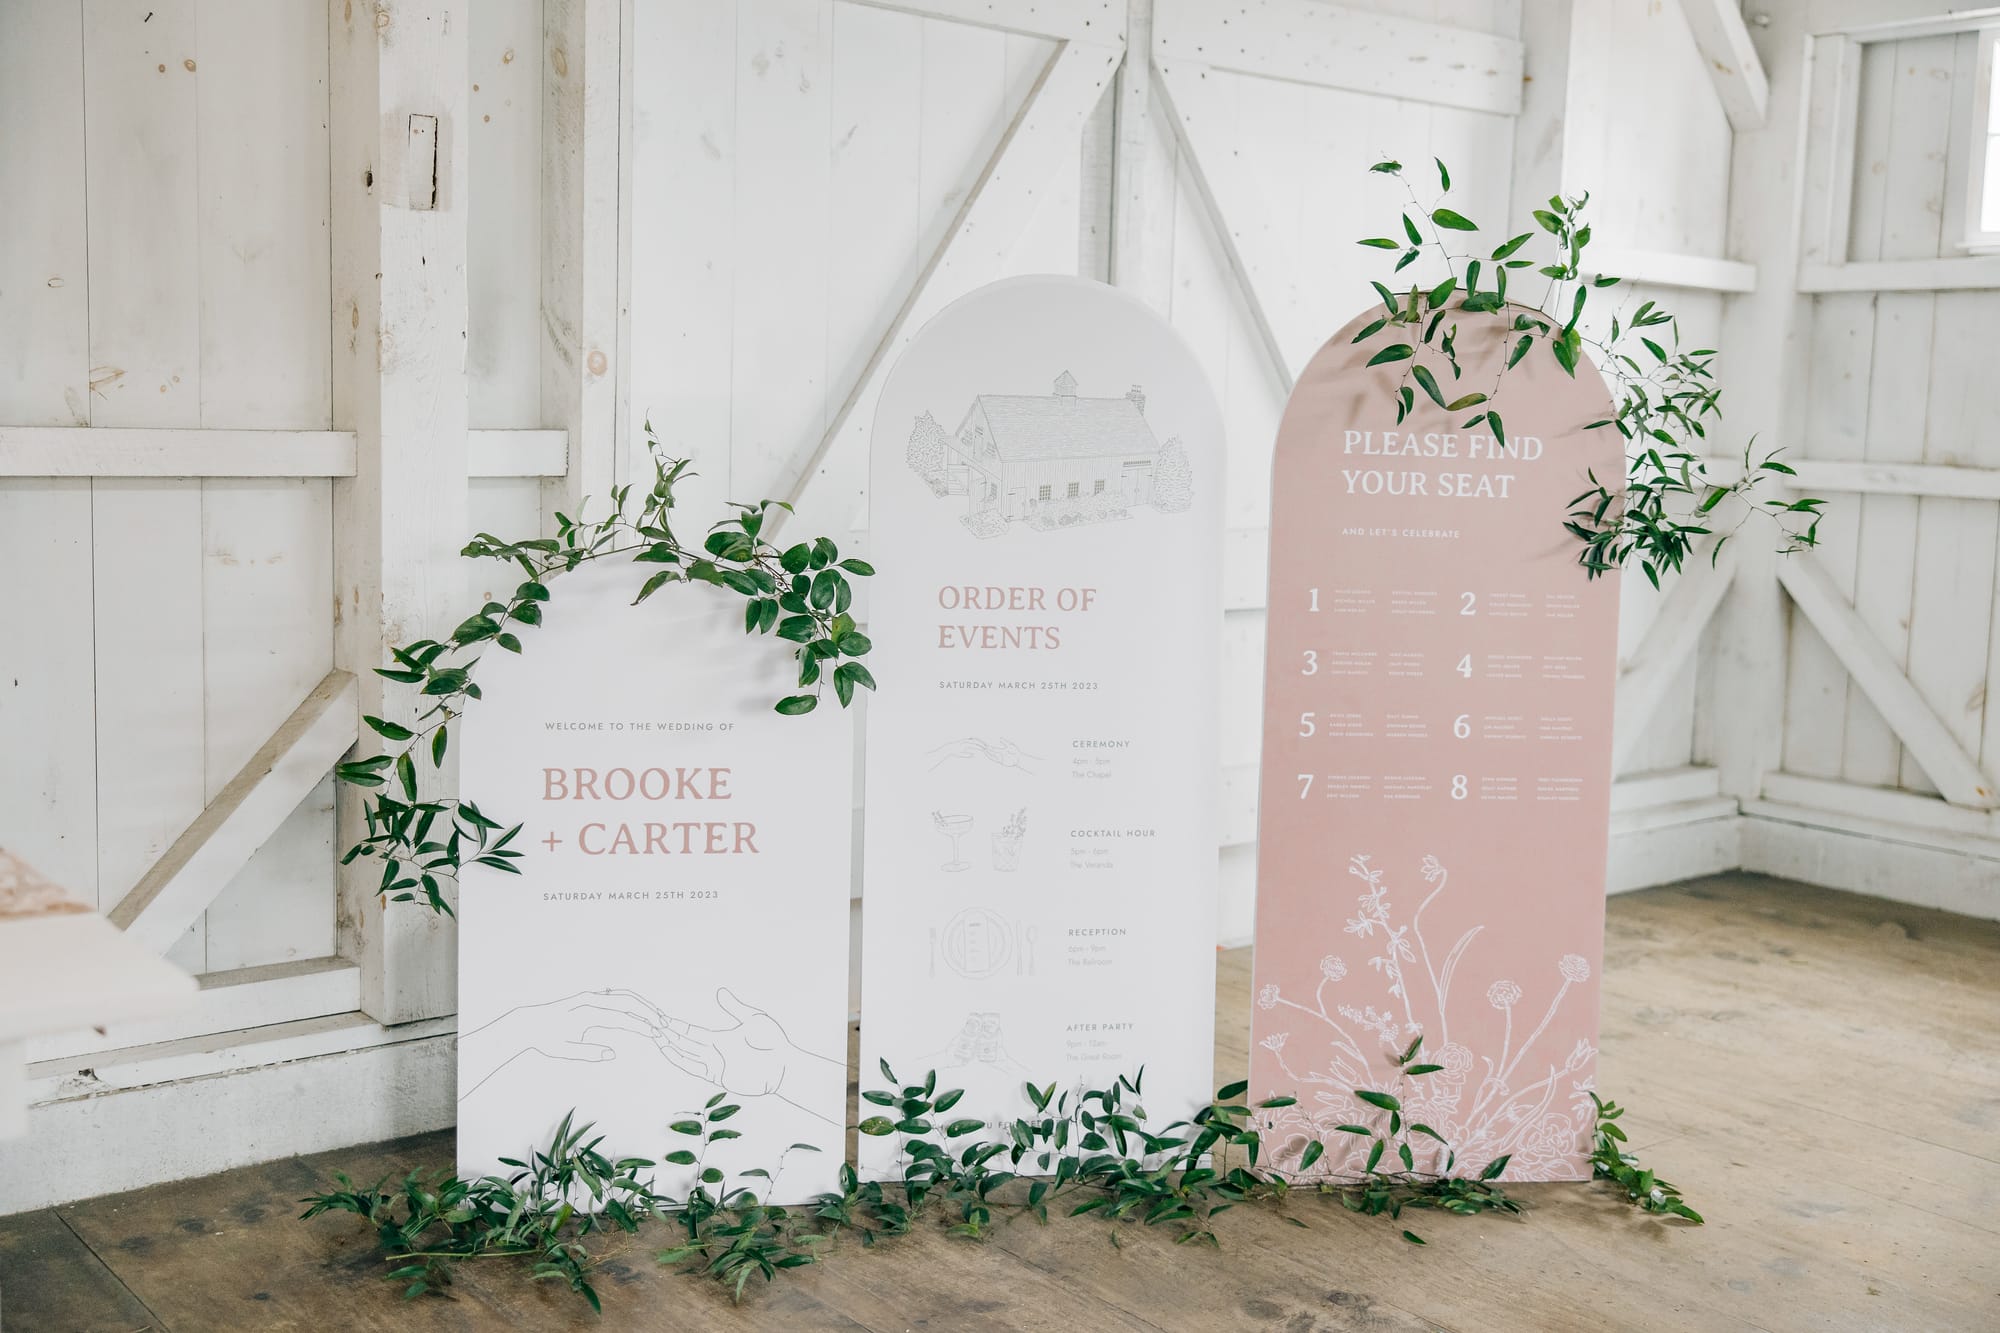
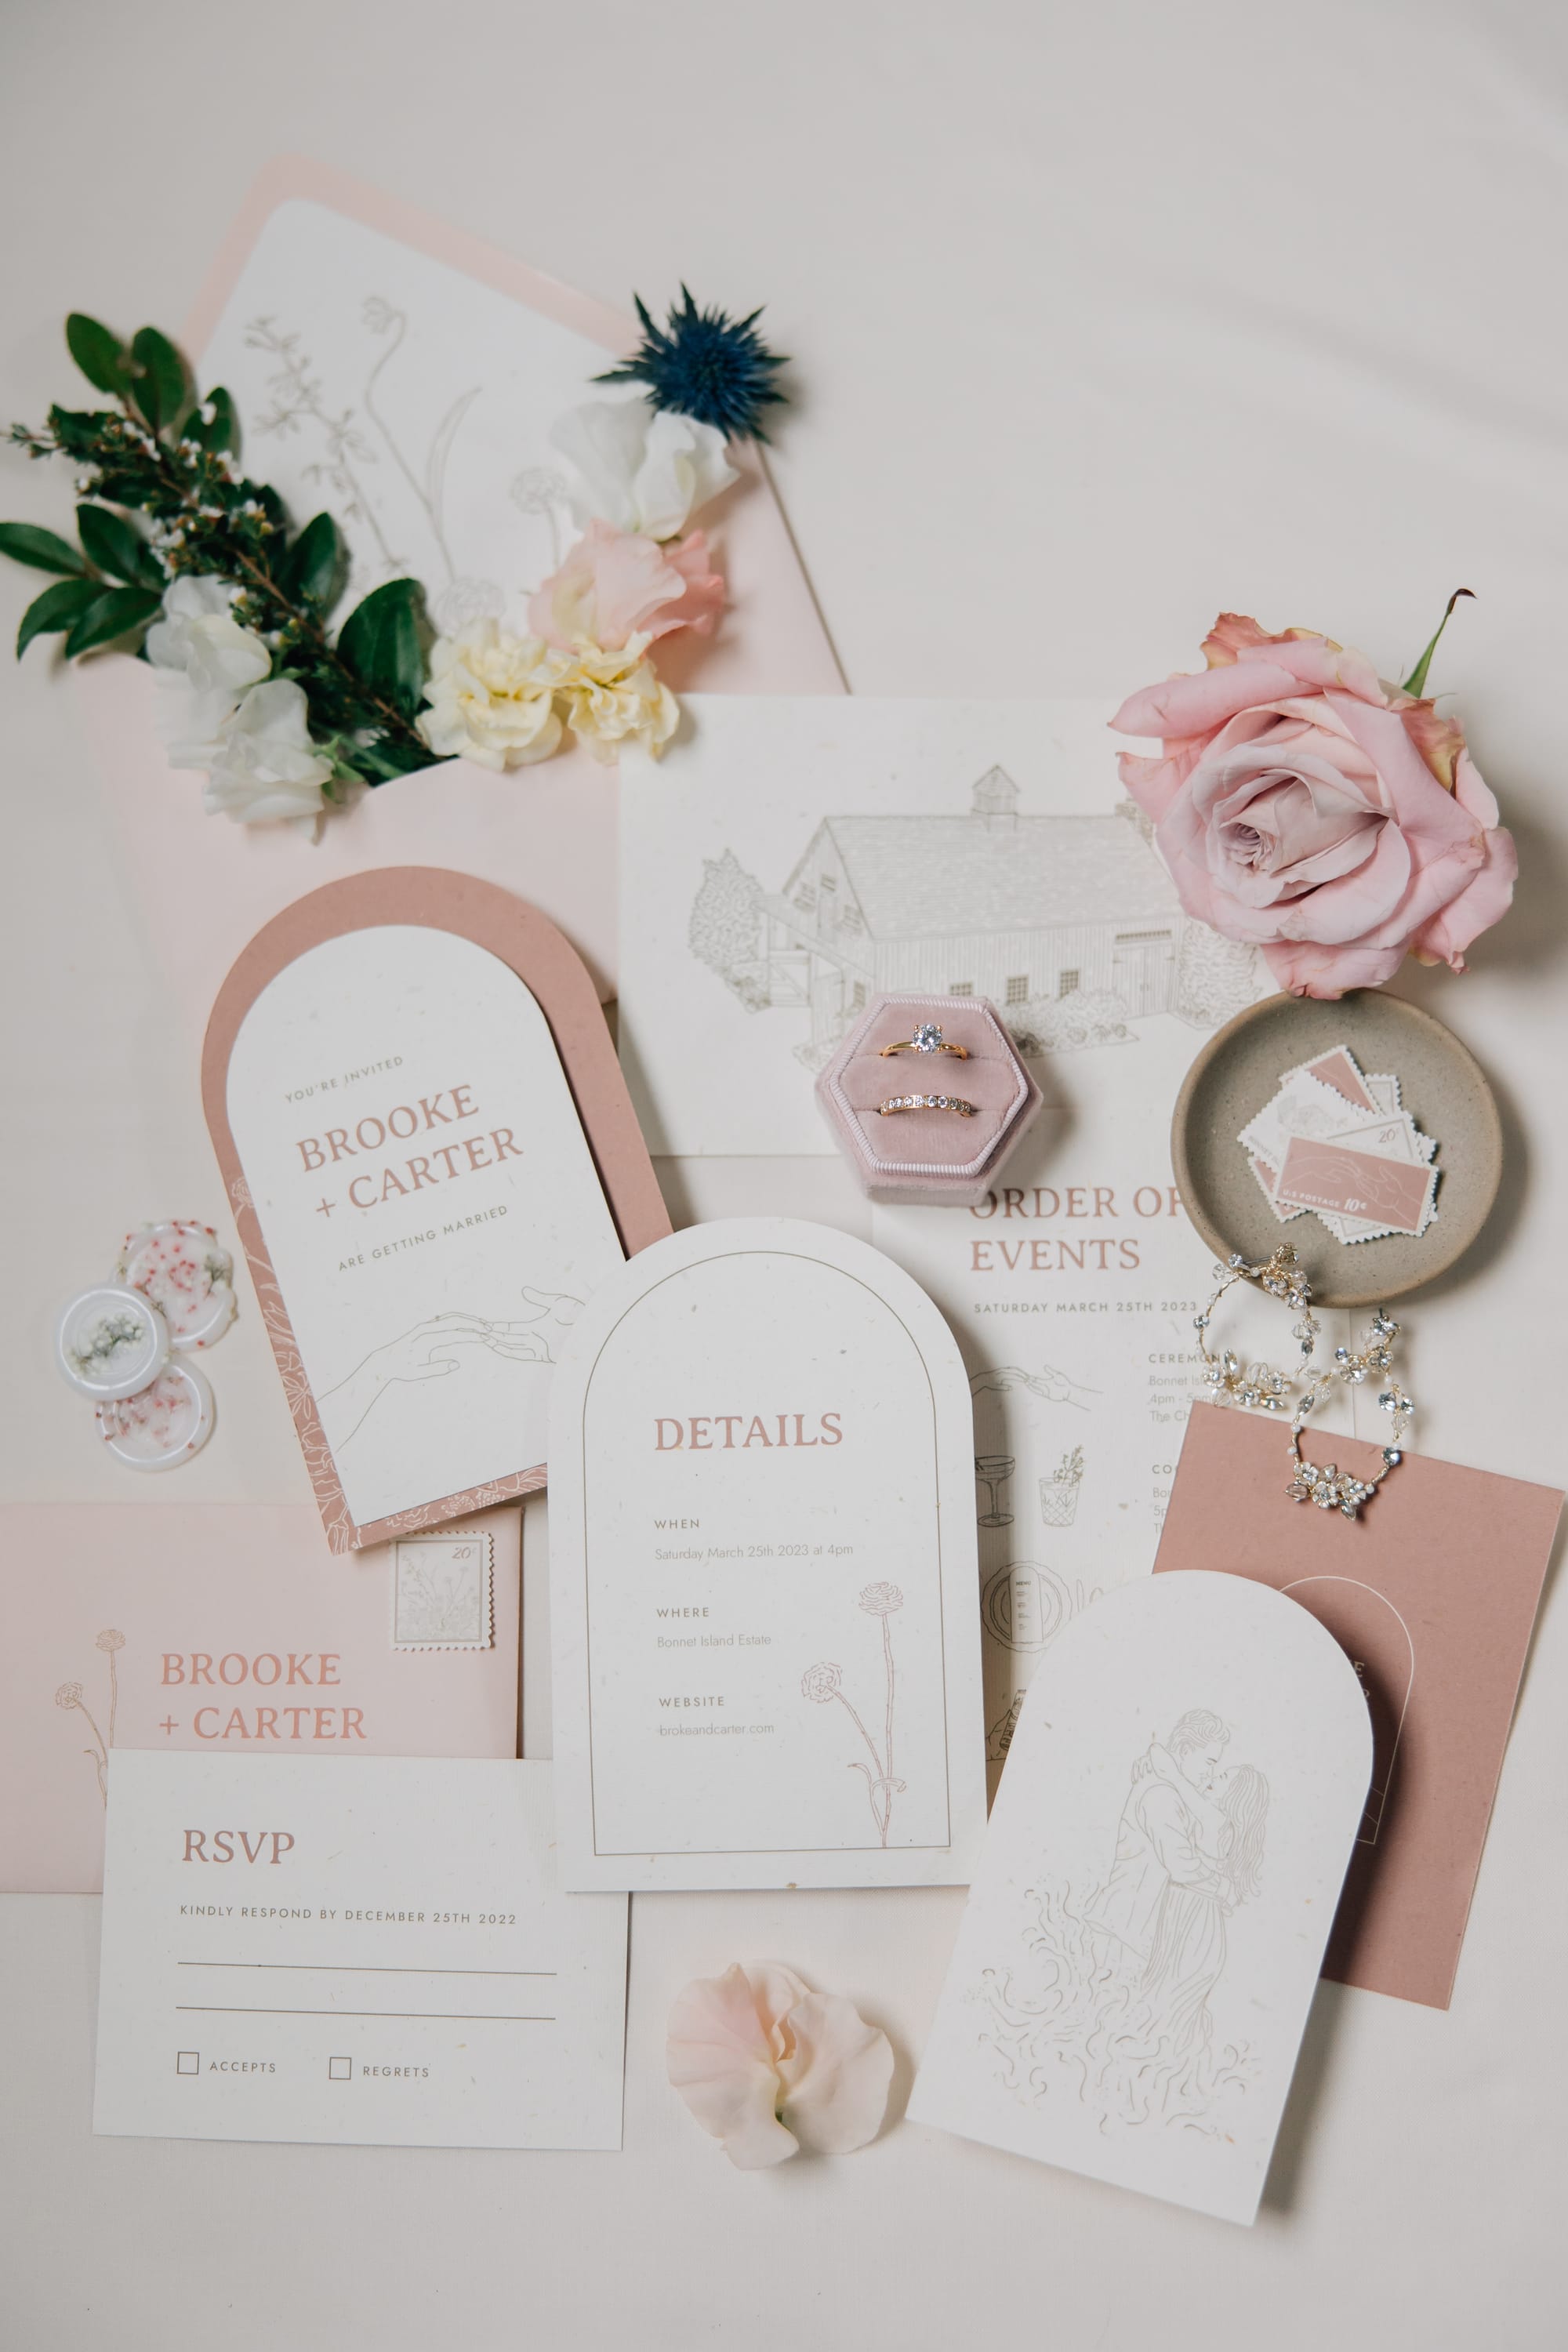
I was invited to be a vendor for my first ever photoshoot for a styled wedding. I designed an oyster shell wedding suite and signage for Parker's Garage in Beach Haven. Check out the Oyster Suite here.
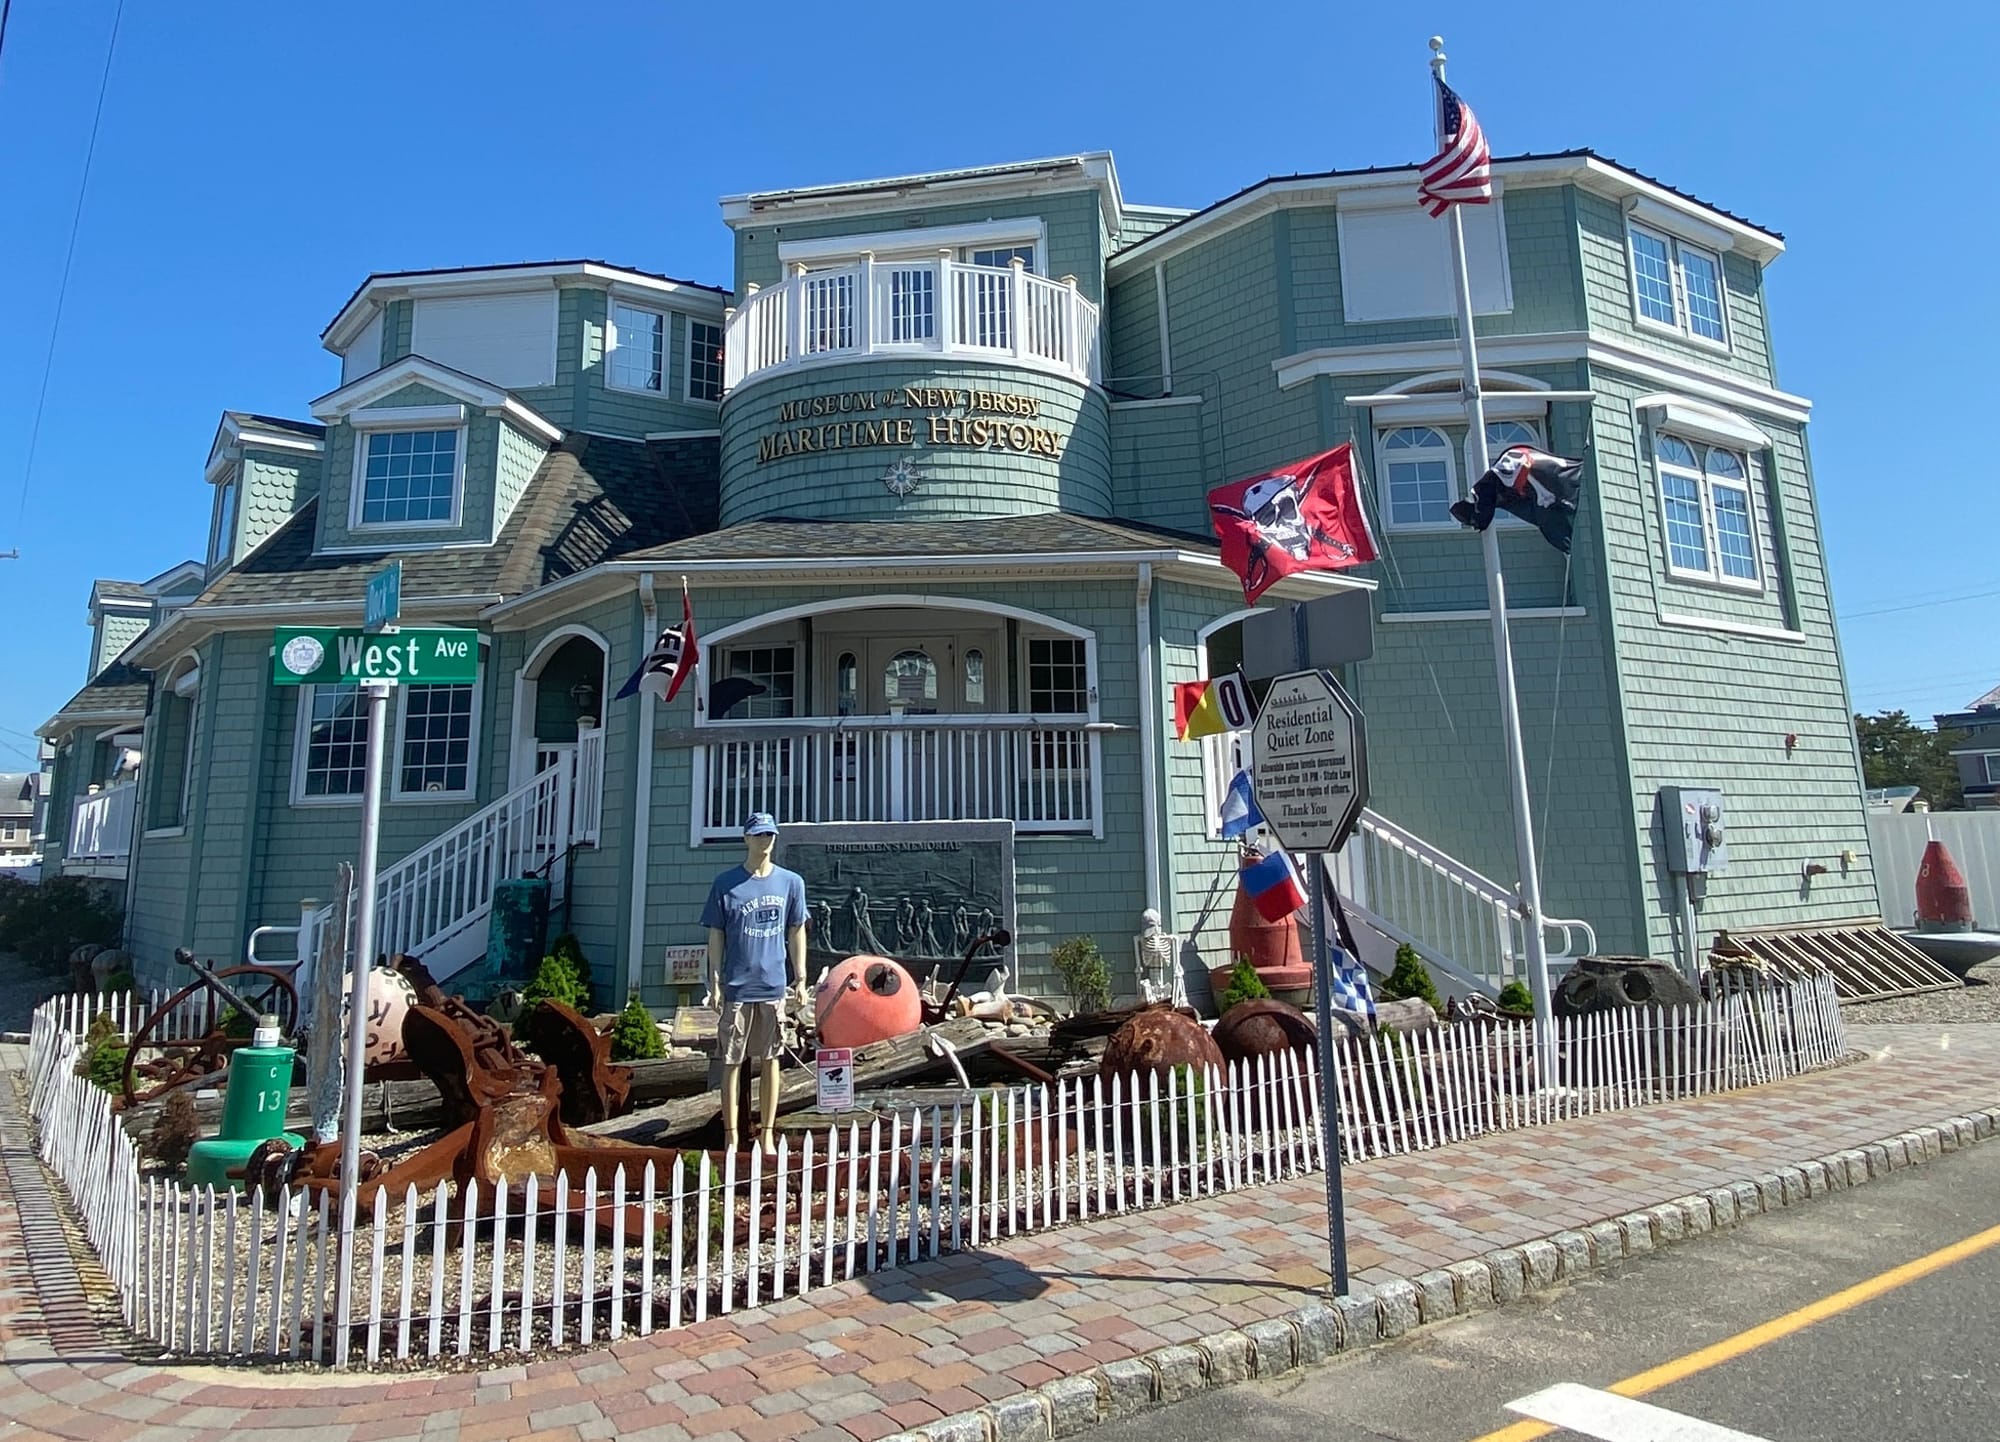
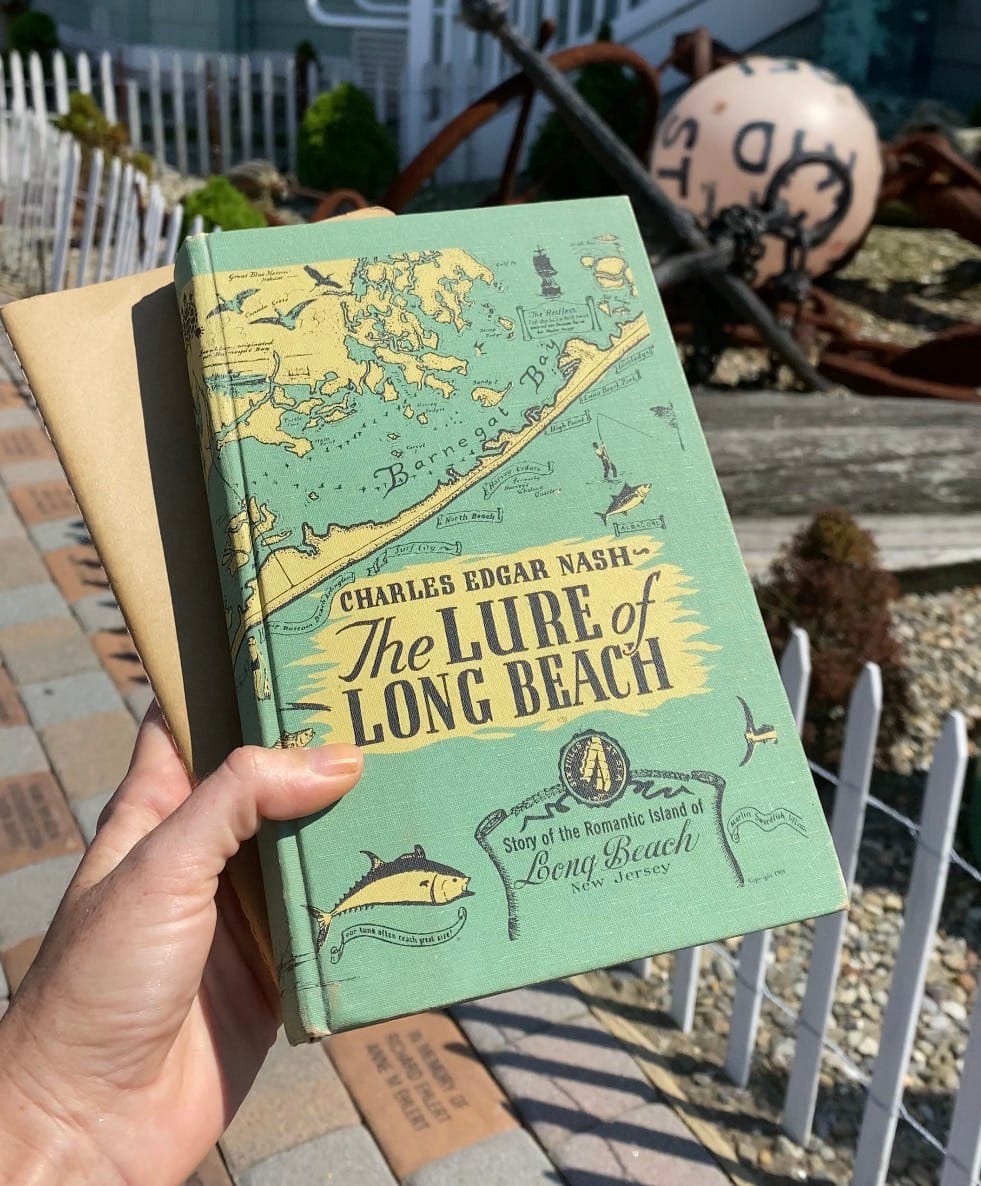
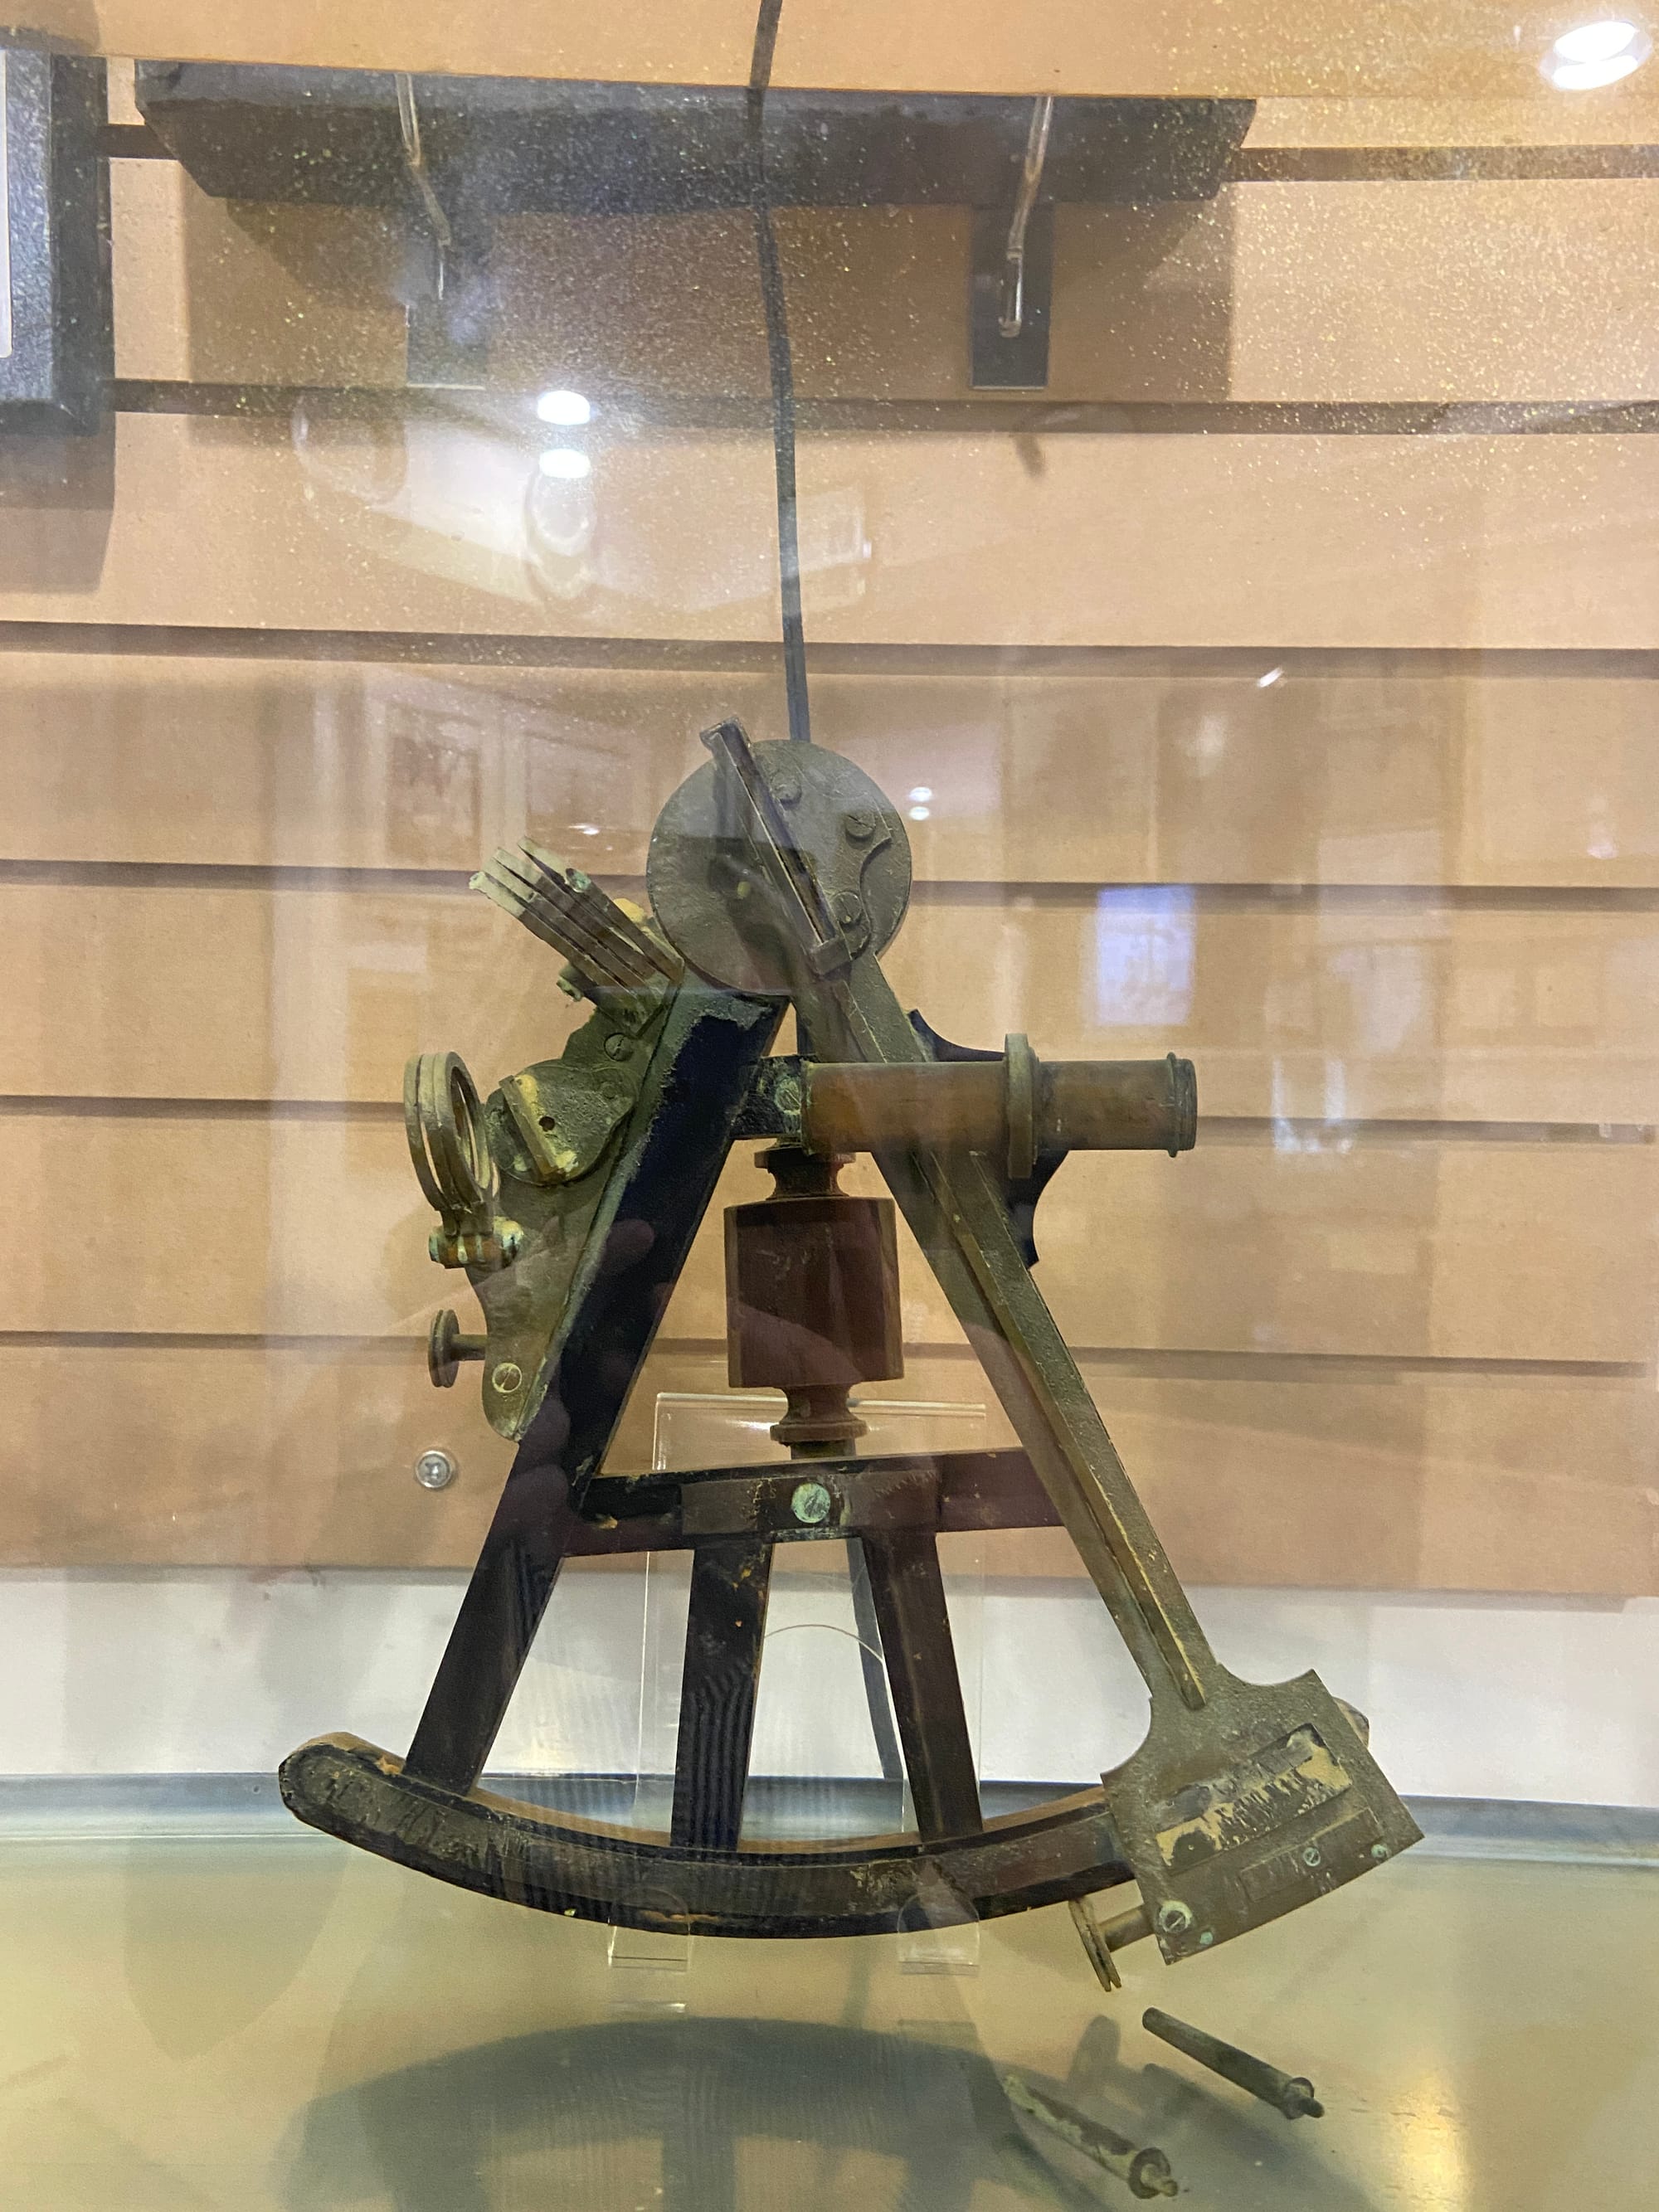
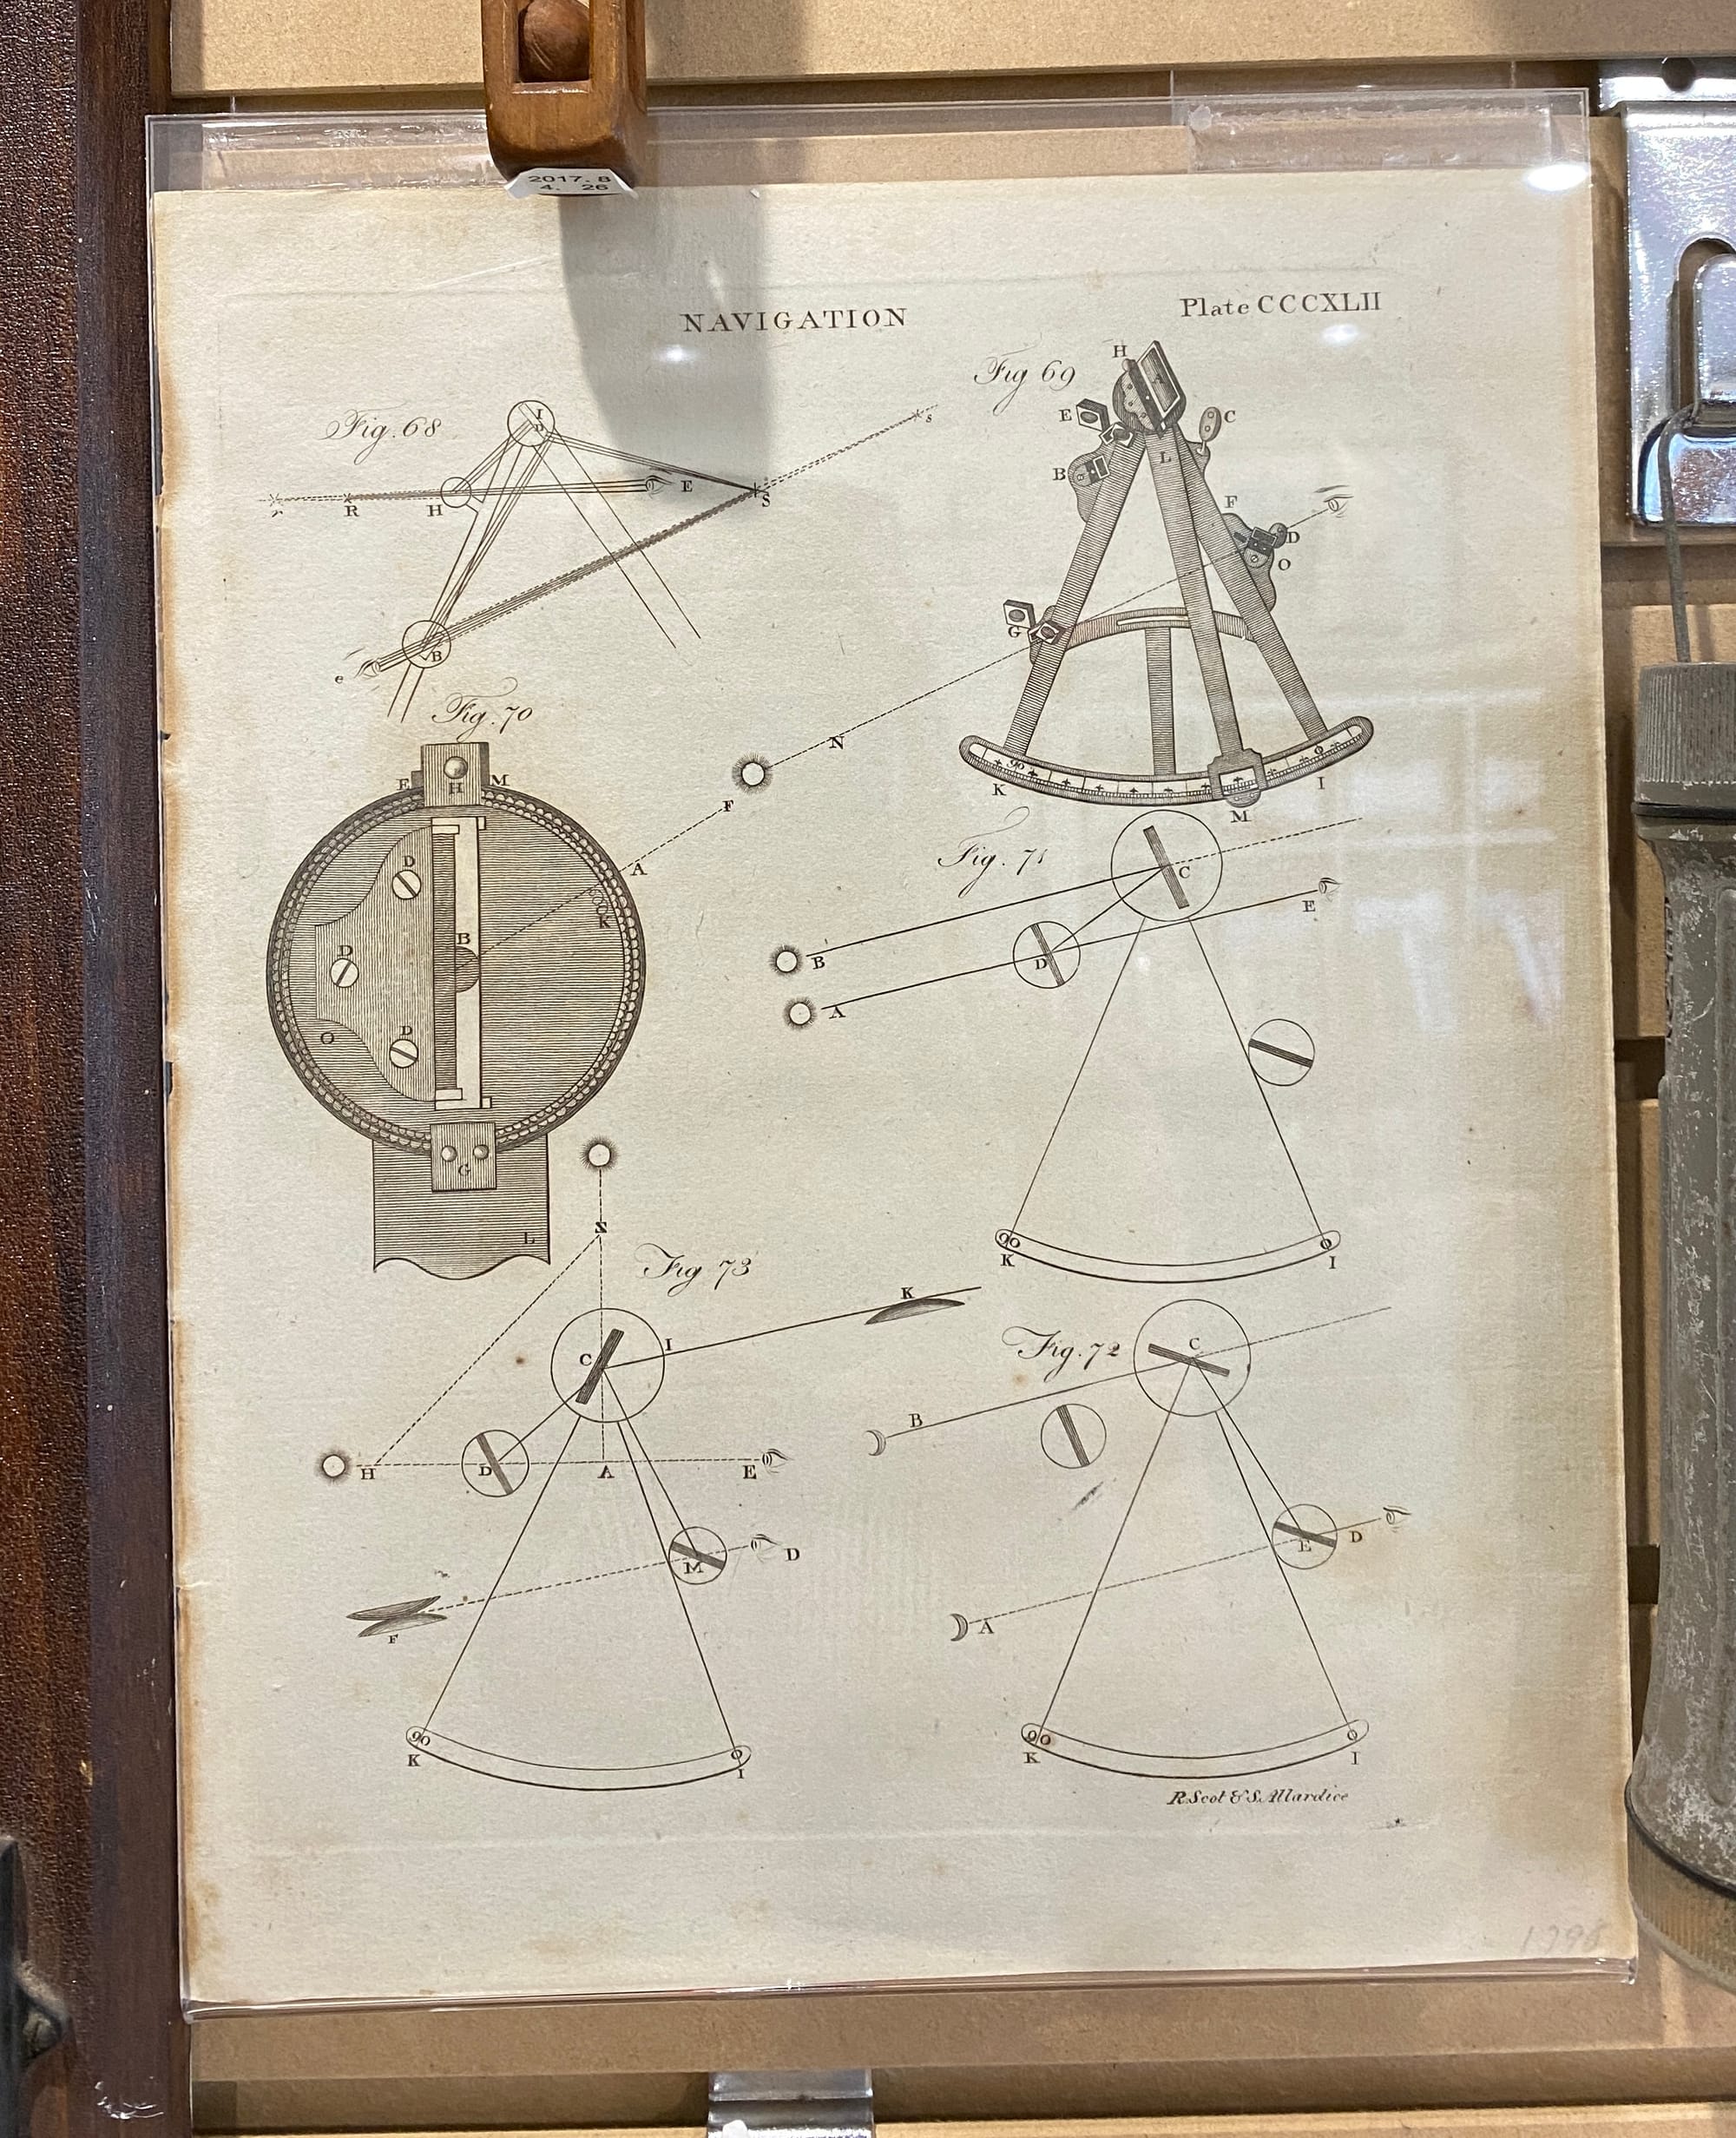
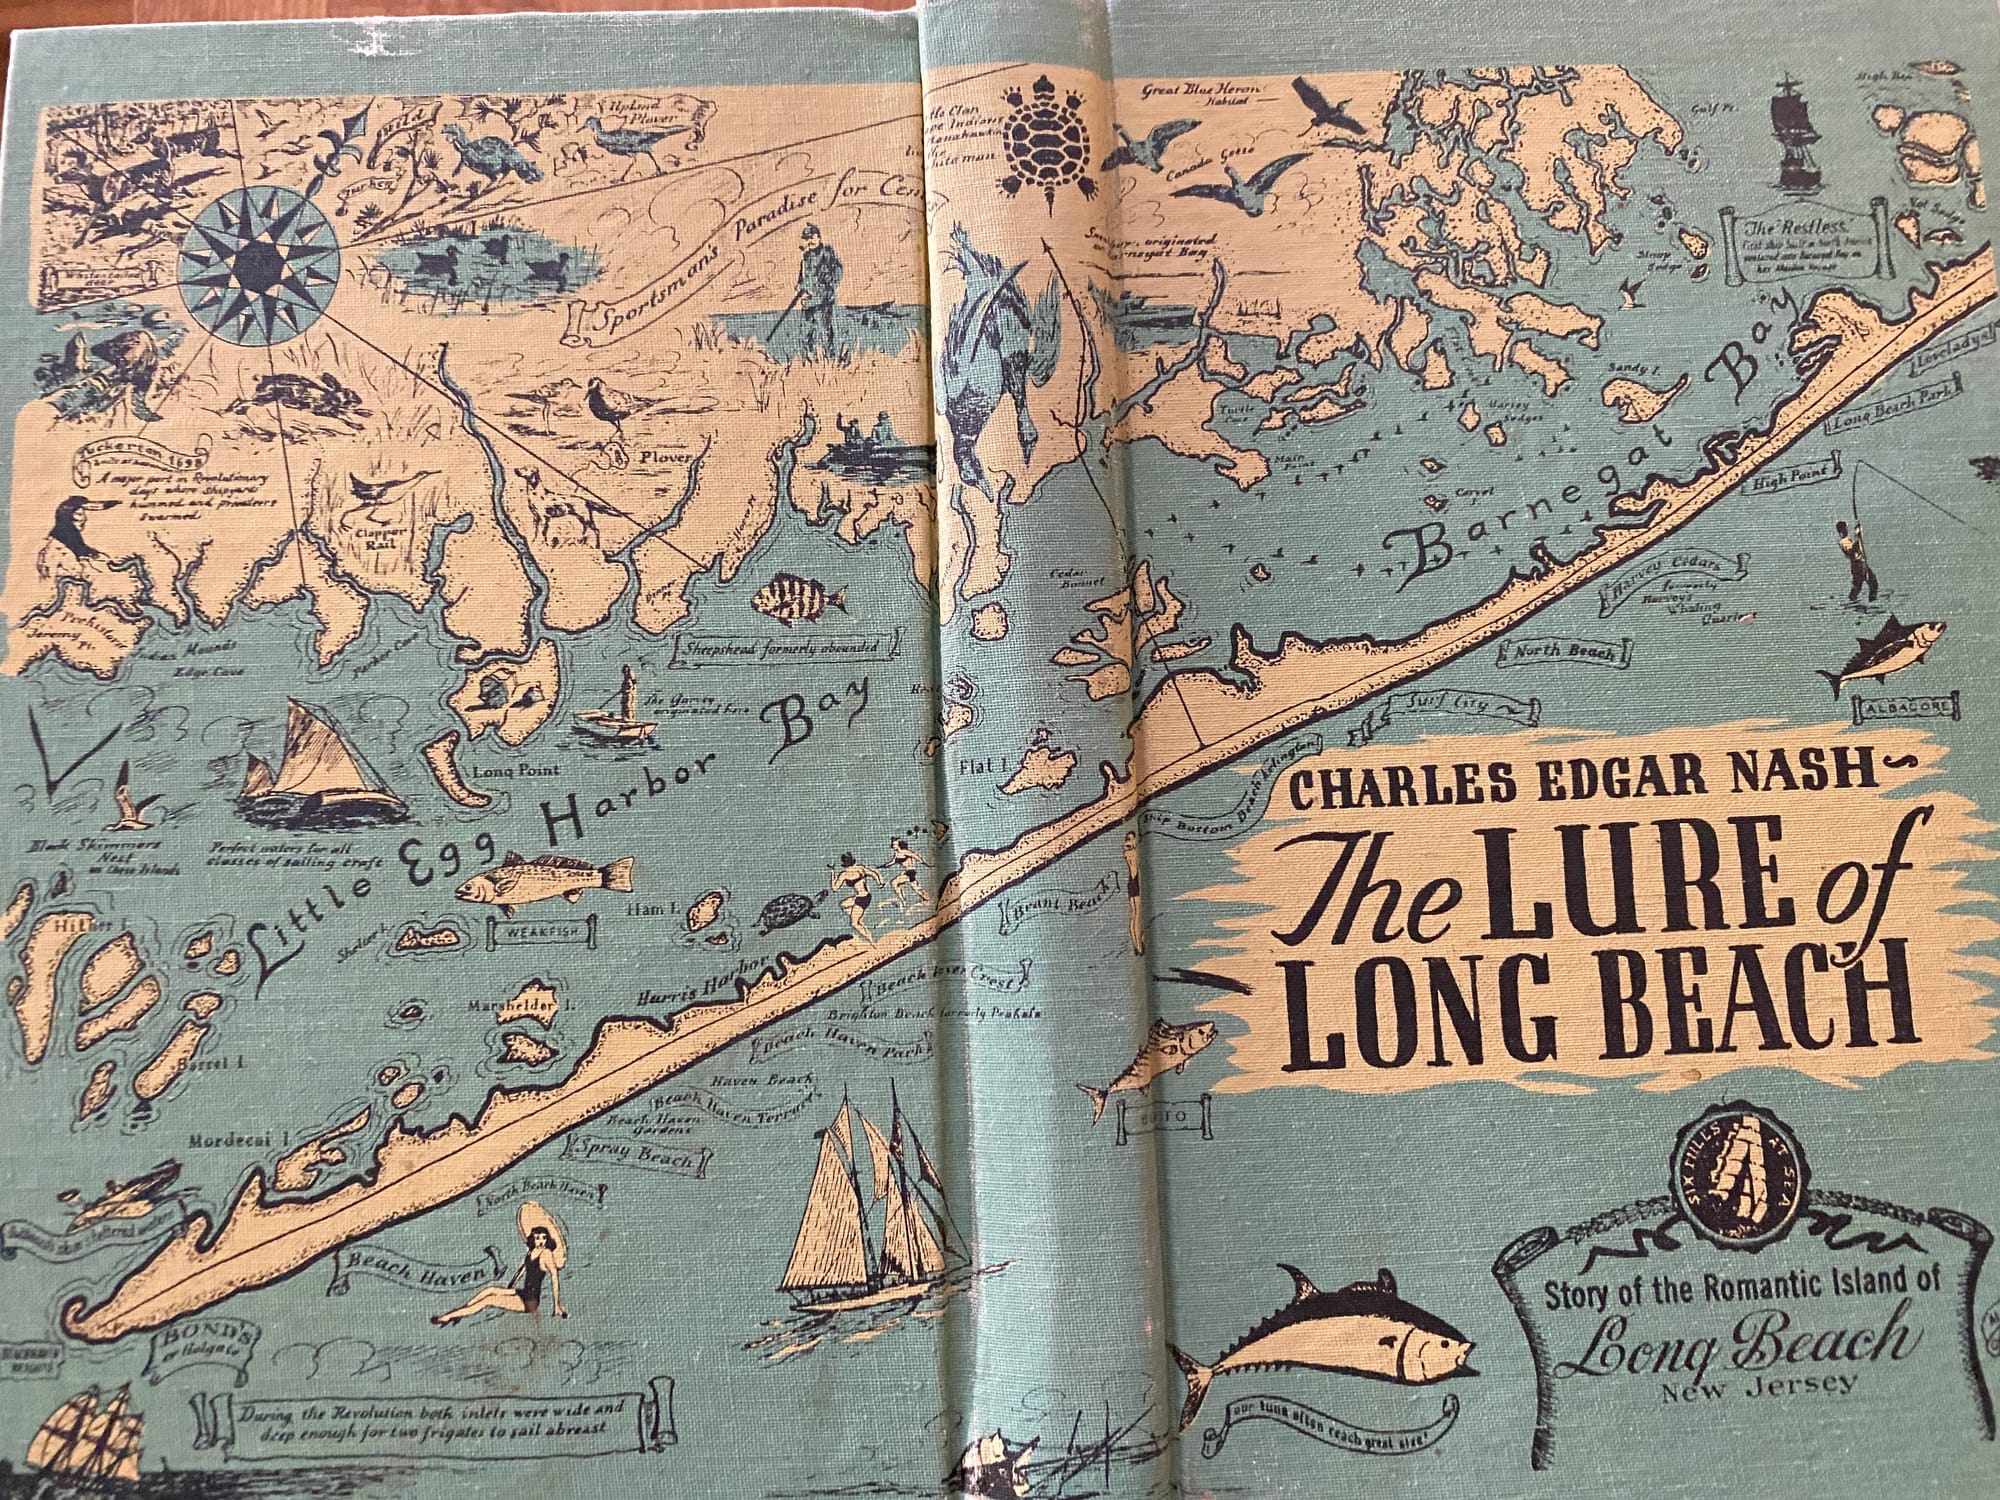
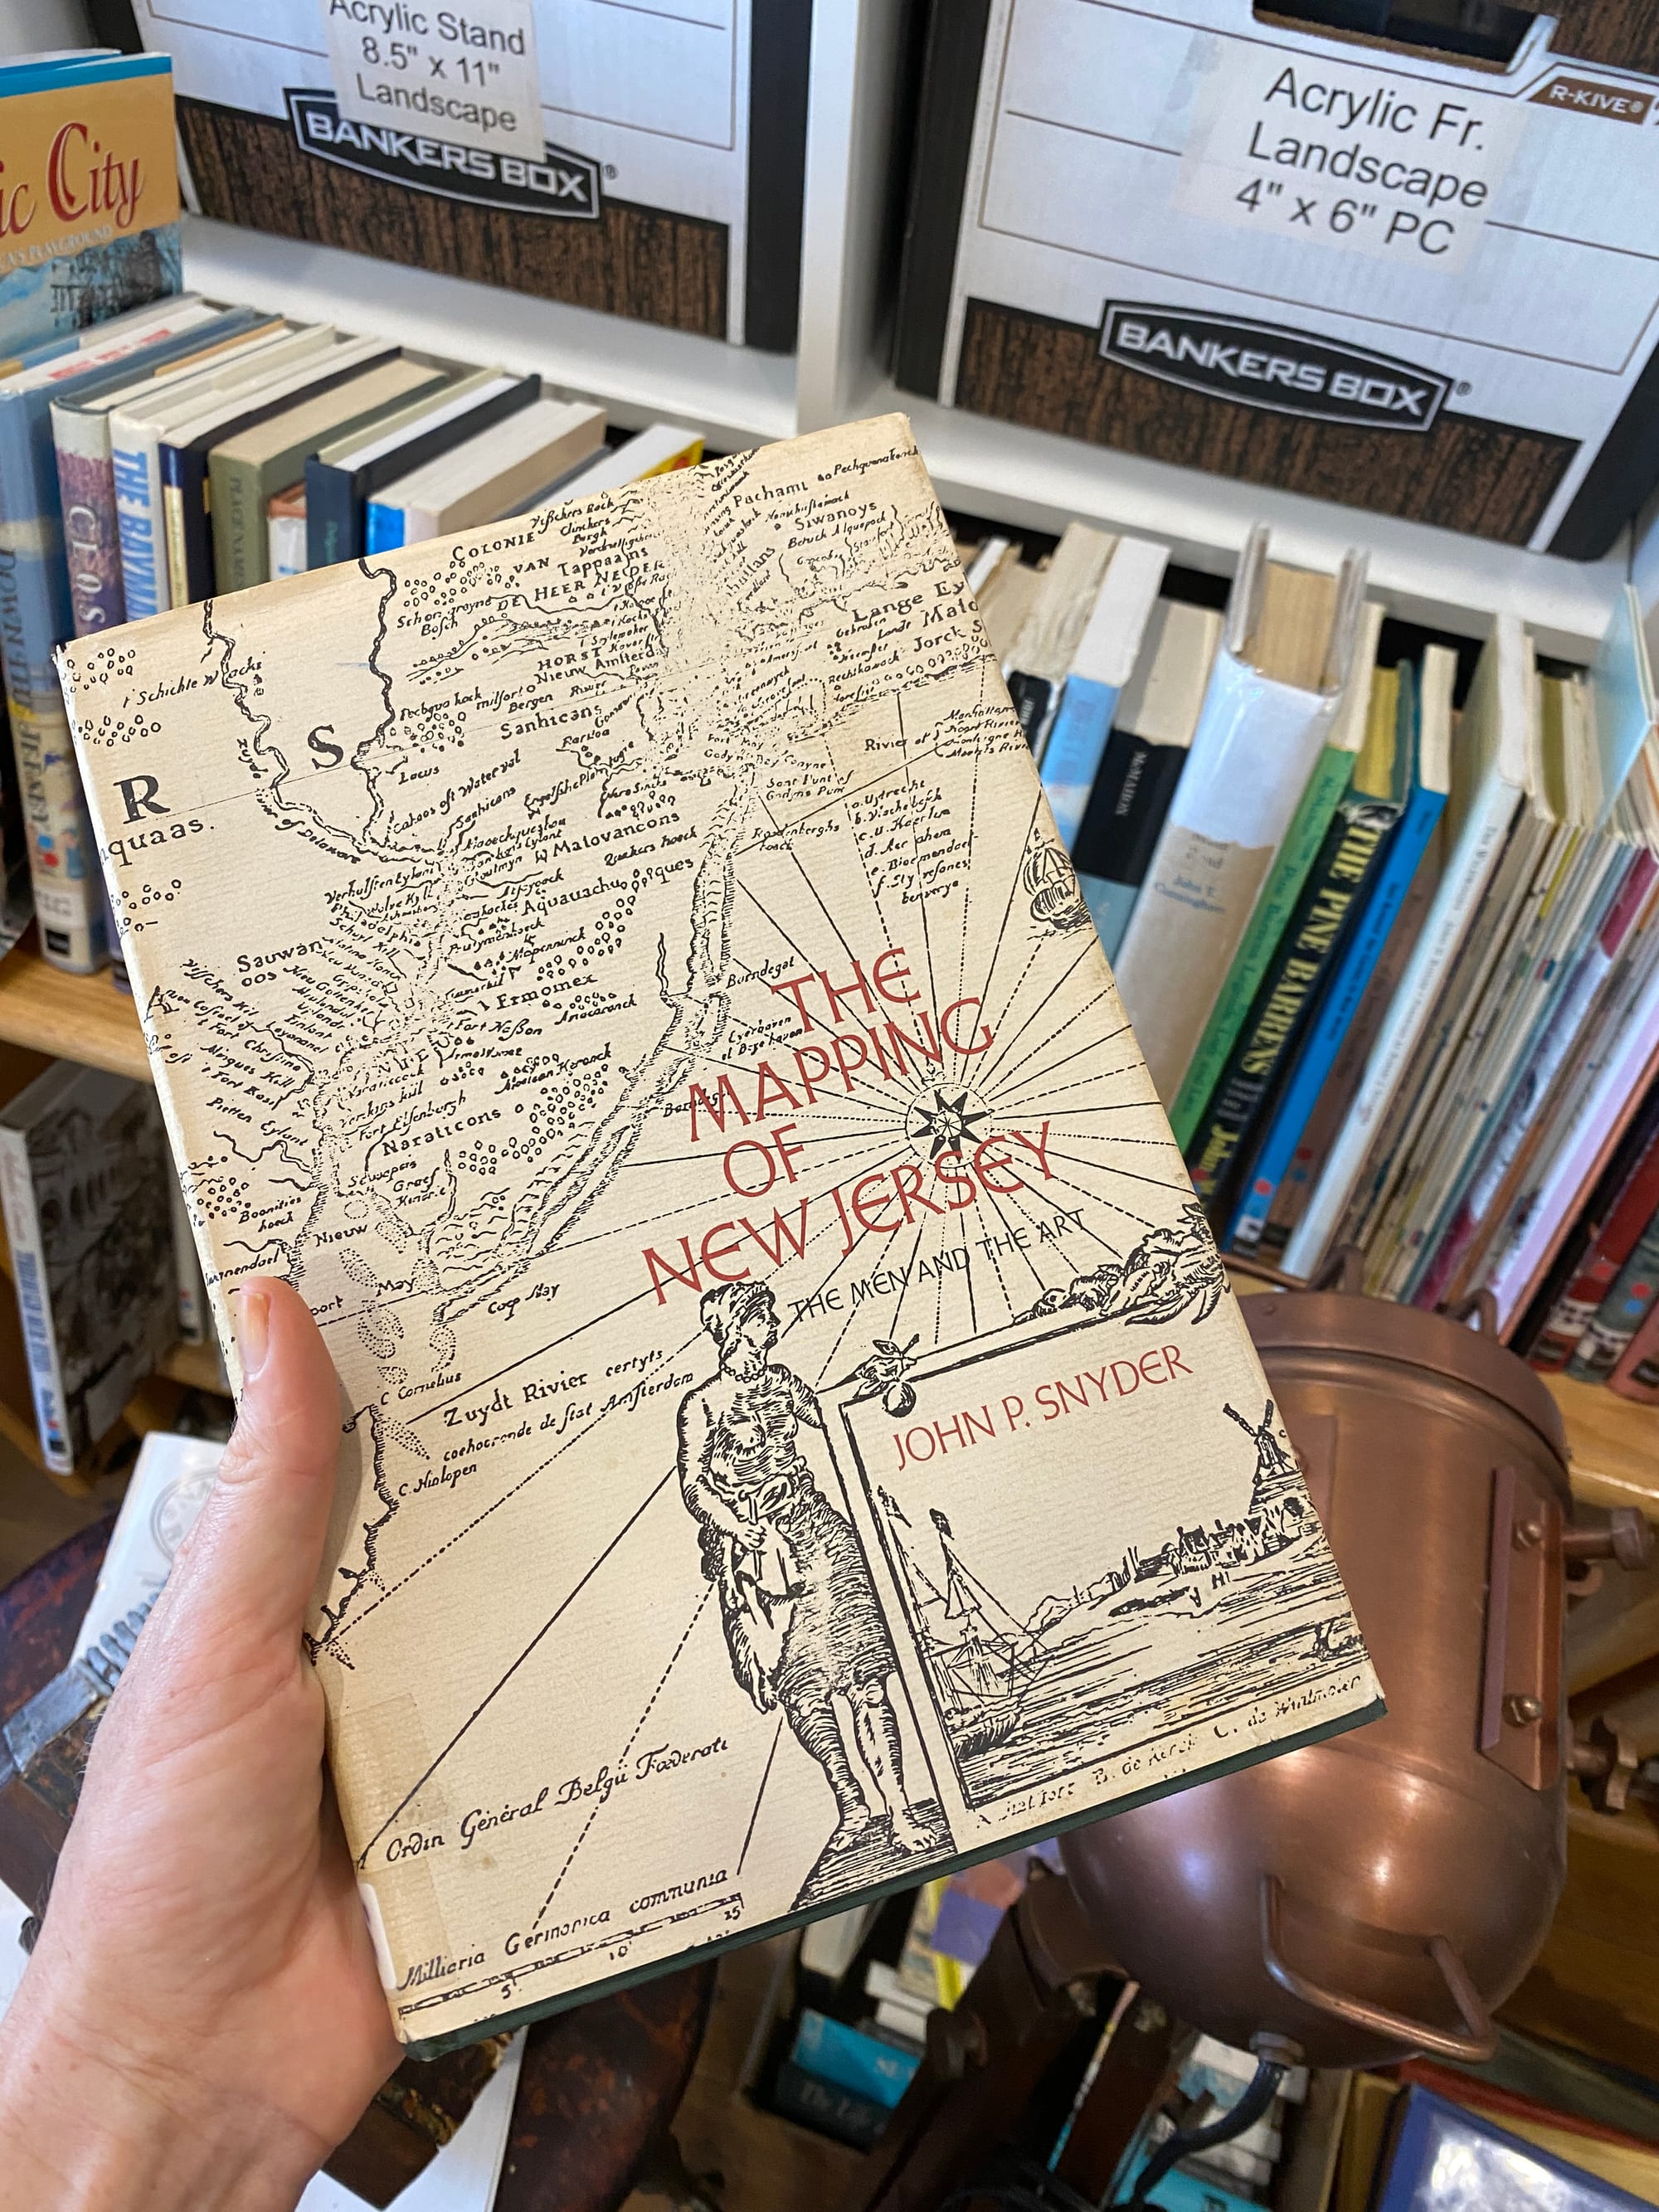
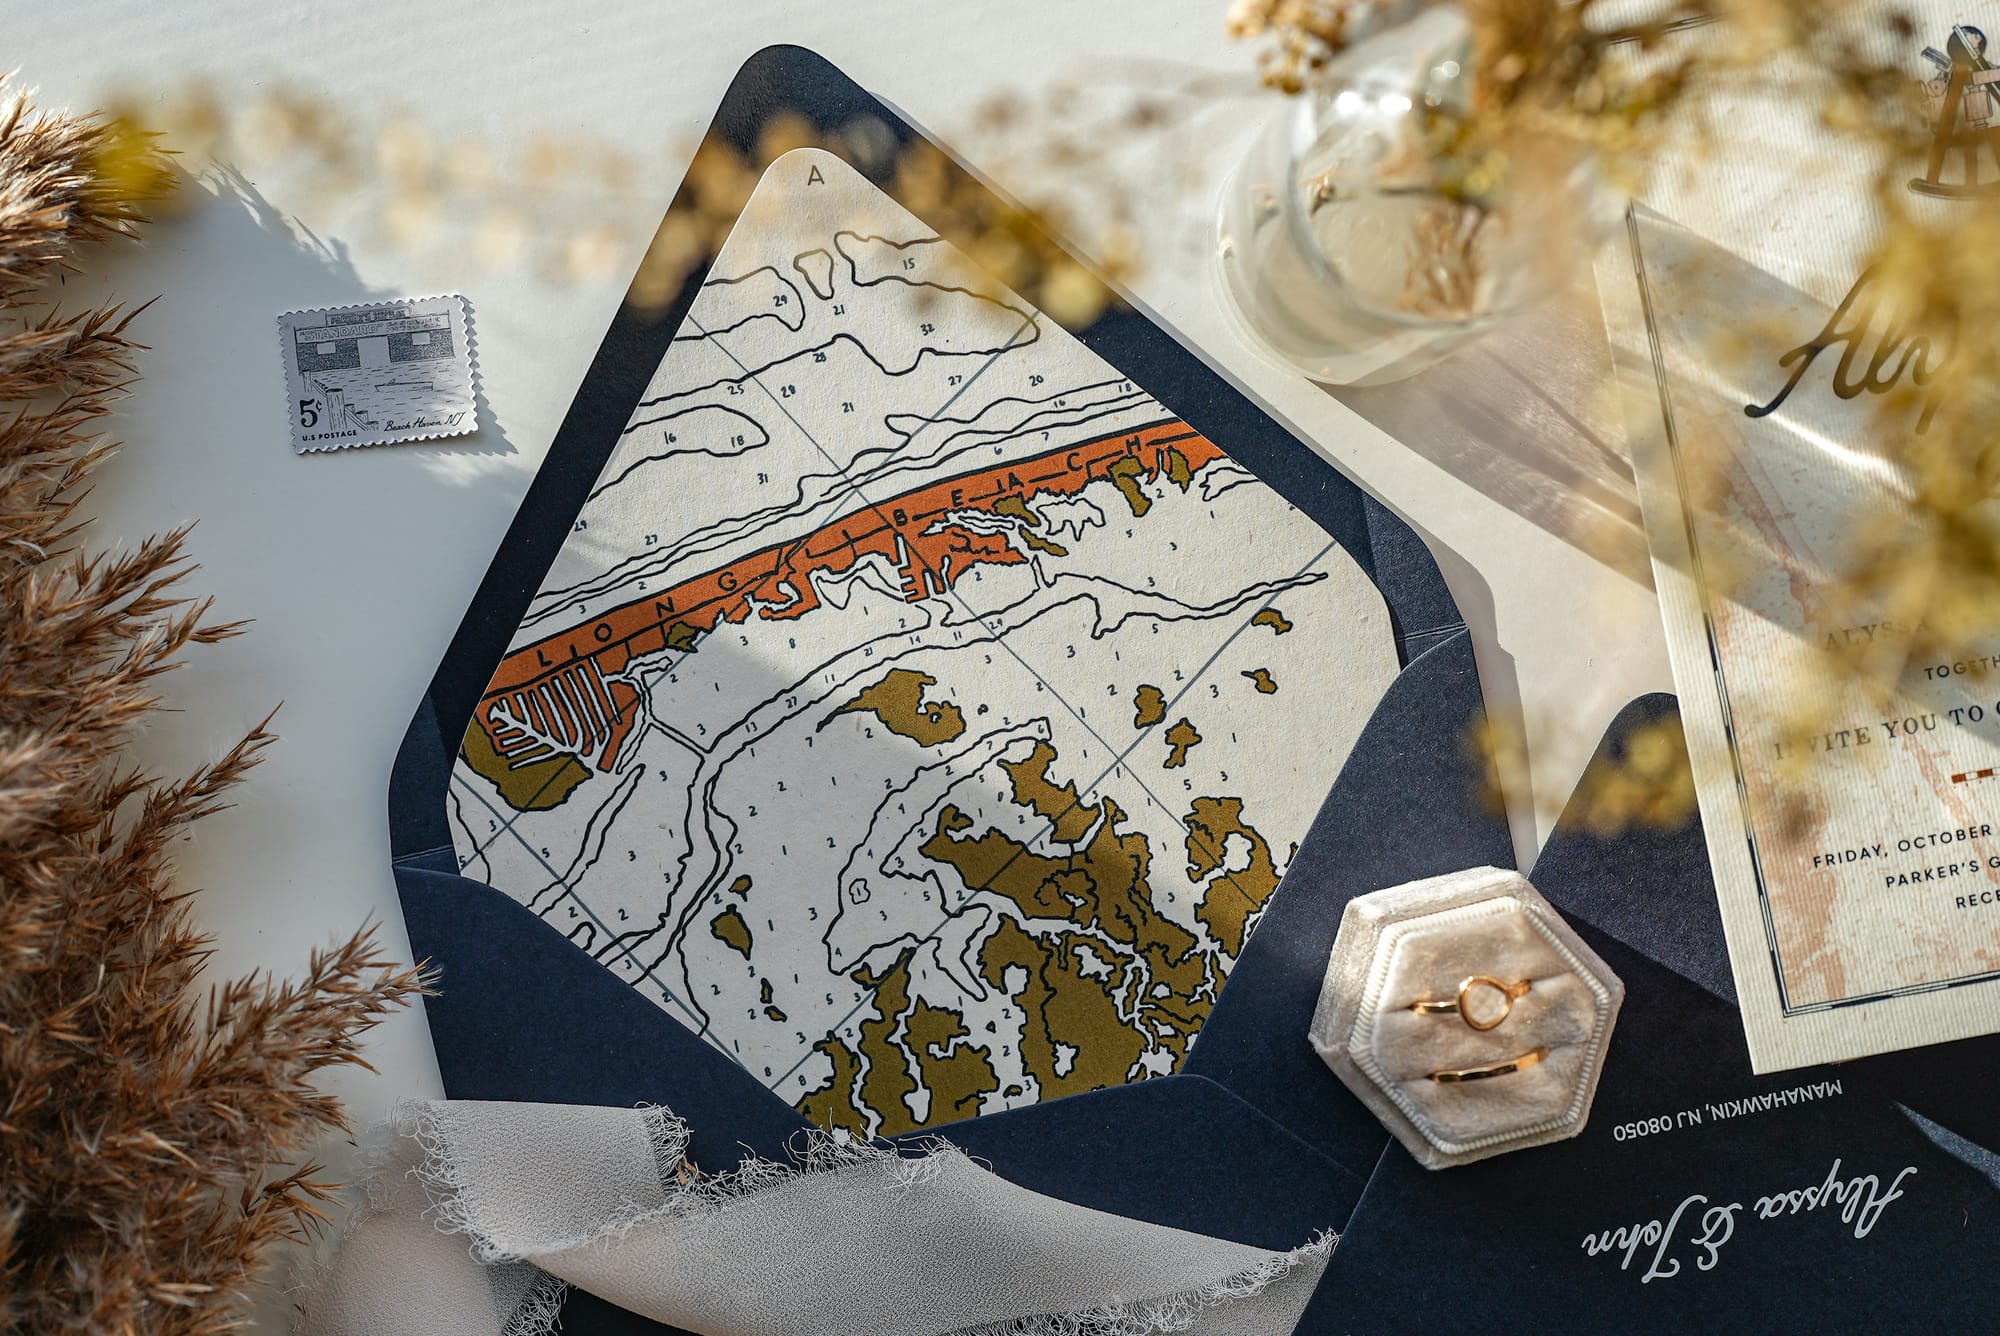
I also booked my first real wedding client. For inspiration, I visited the New Jersey Maritime Museum in Beach Haven to get ideas for their wedding branding.
I love using history to find inspo
This suite turned out really interesting and unique. I used elements from the museum and history from our very own town. They were both very creative and help with the direction of the final creative look. Check out the full gallery here.
June 2022
I was invited to the Beach Haven Art Walk
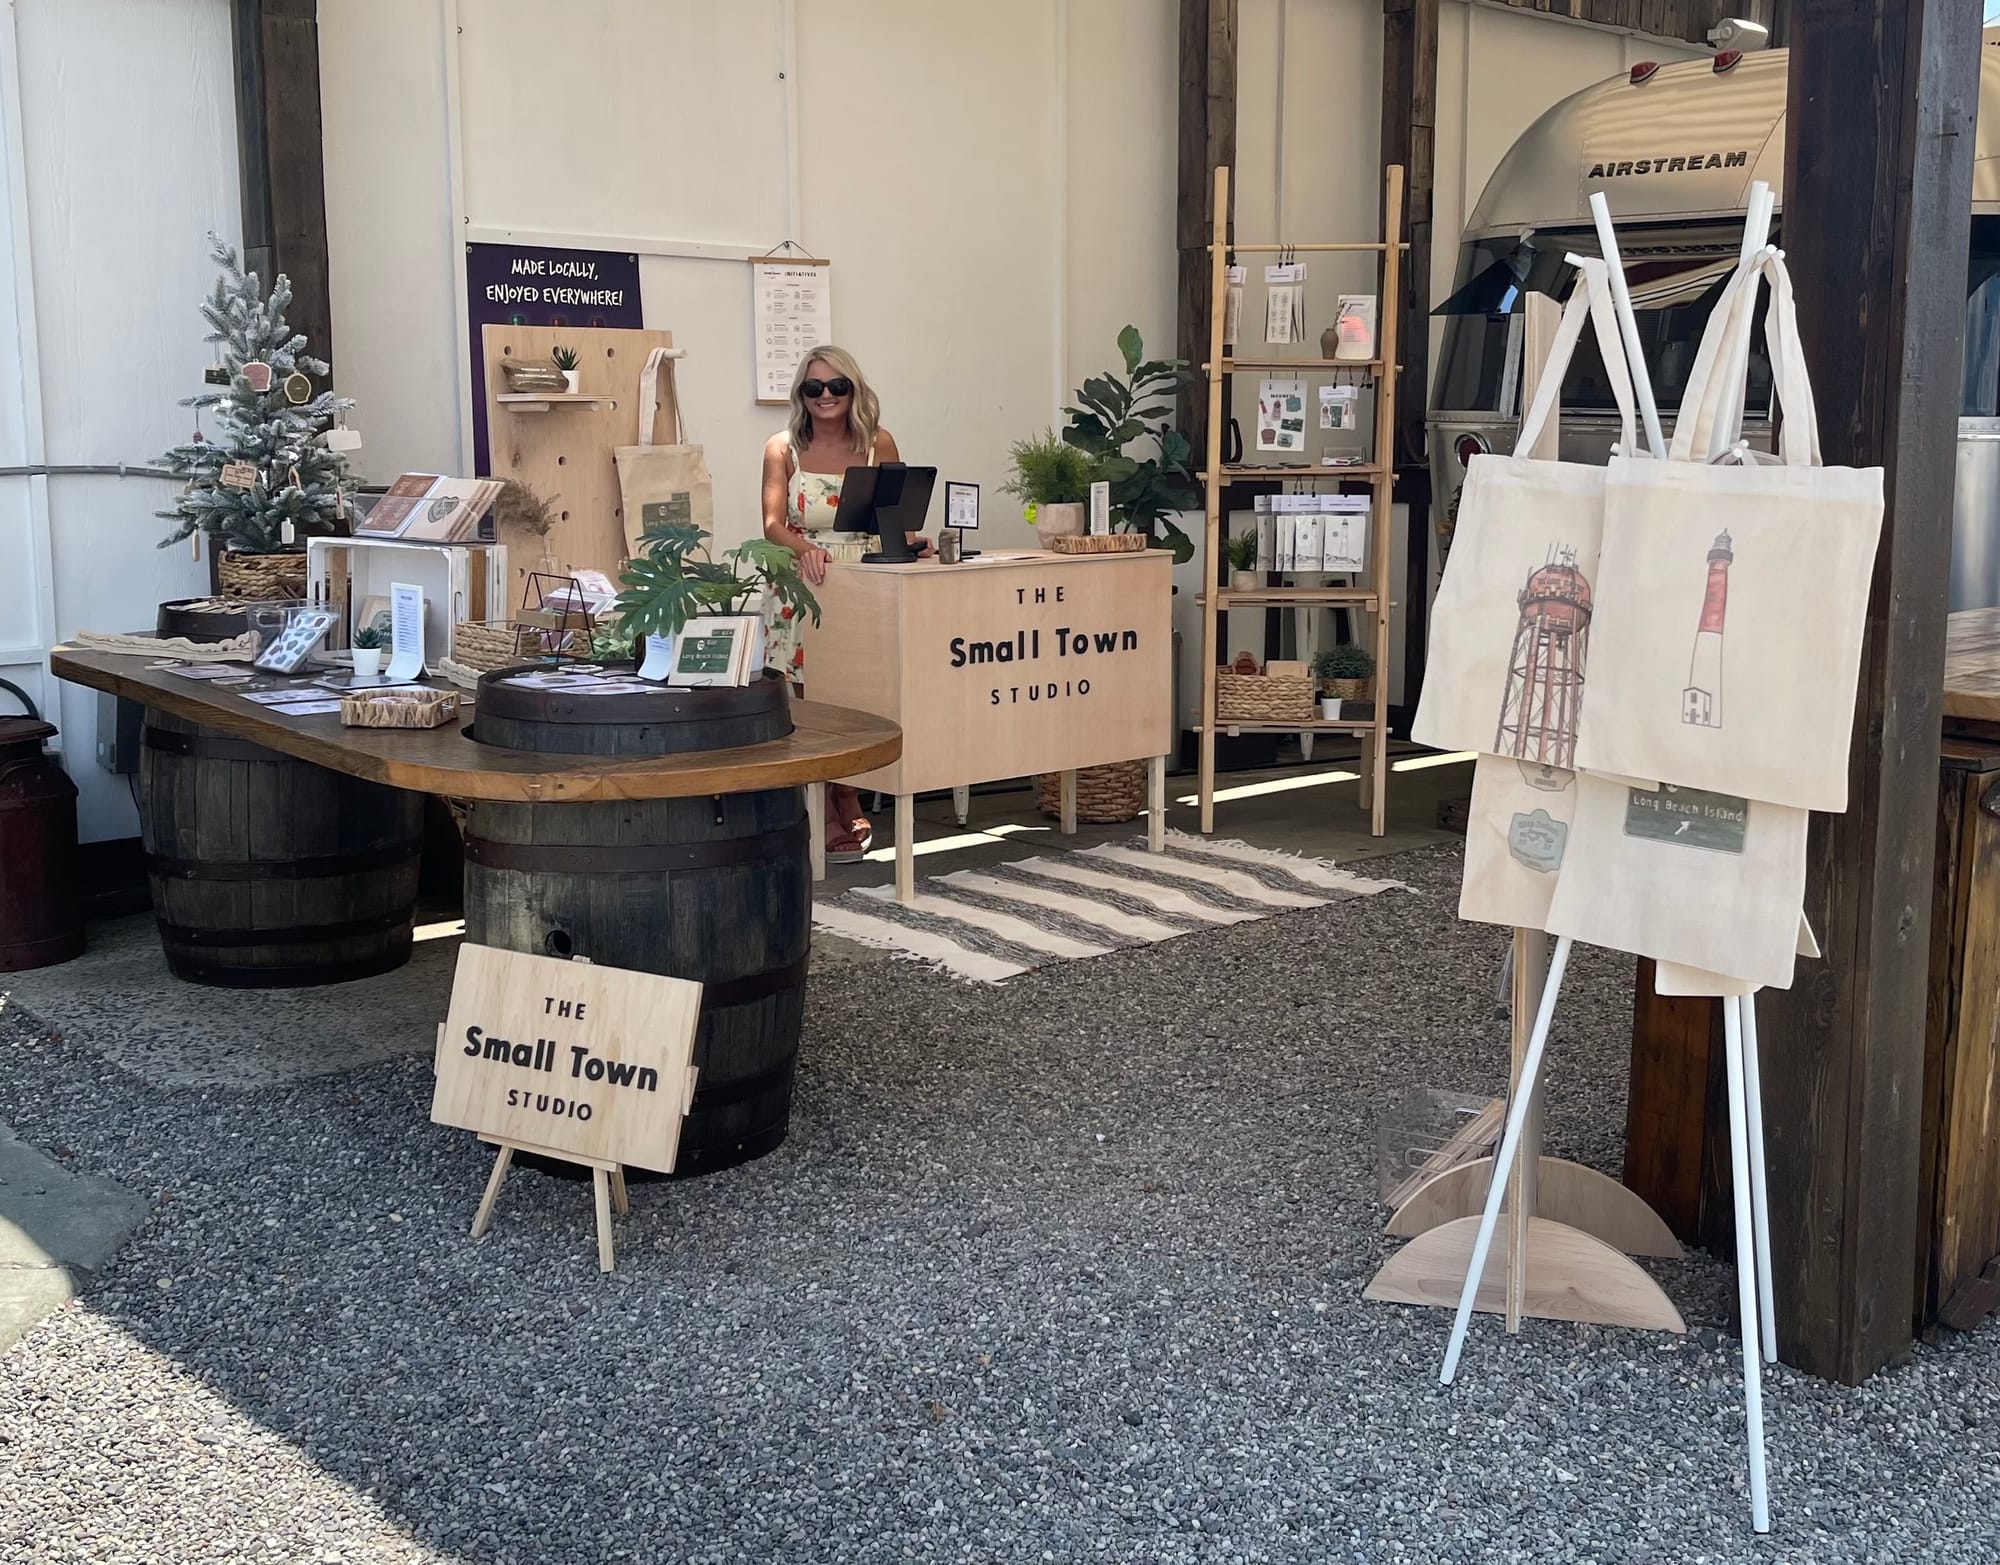
Then popped-up at Local Kitchen + Market in Ship Bottom
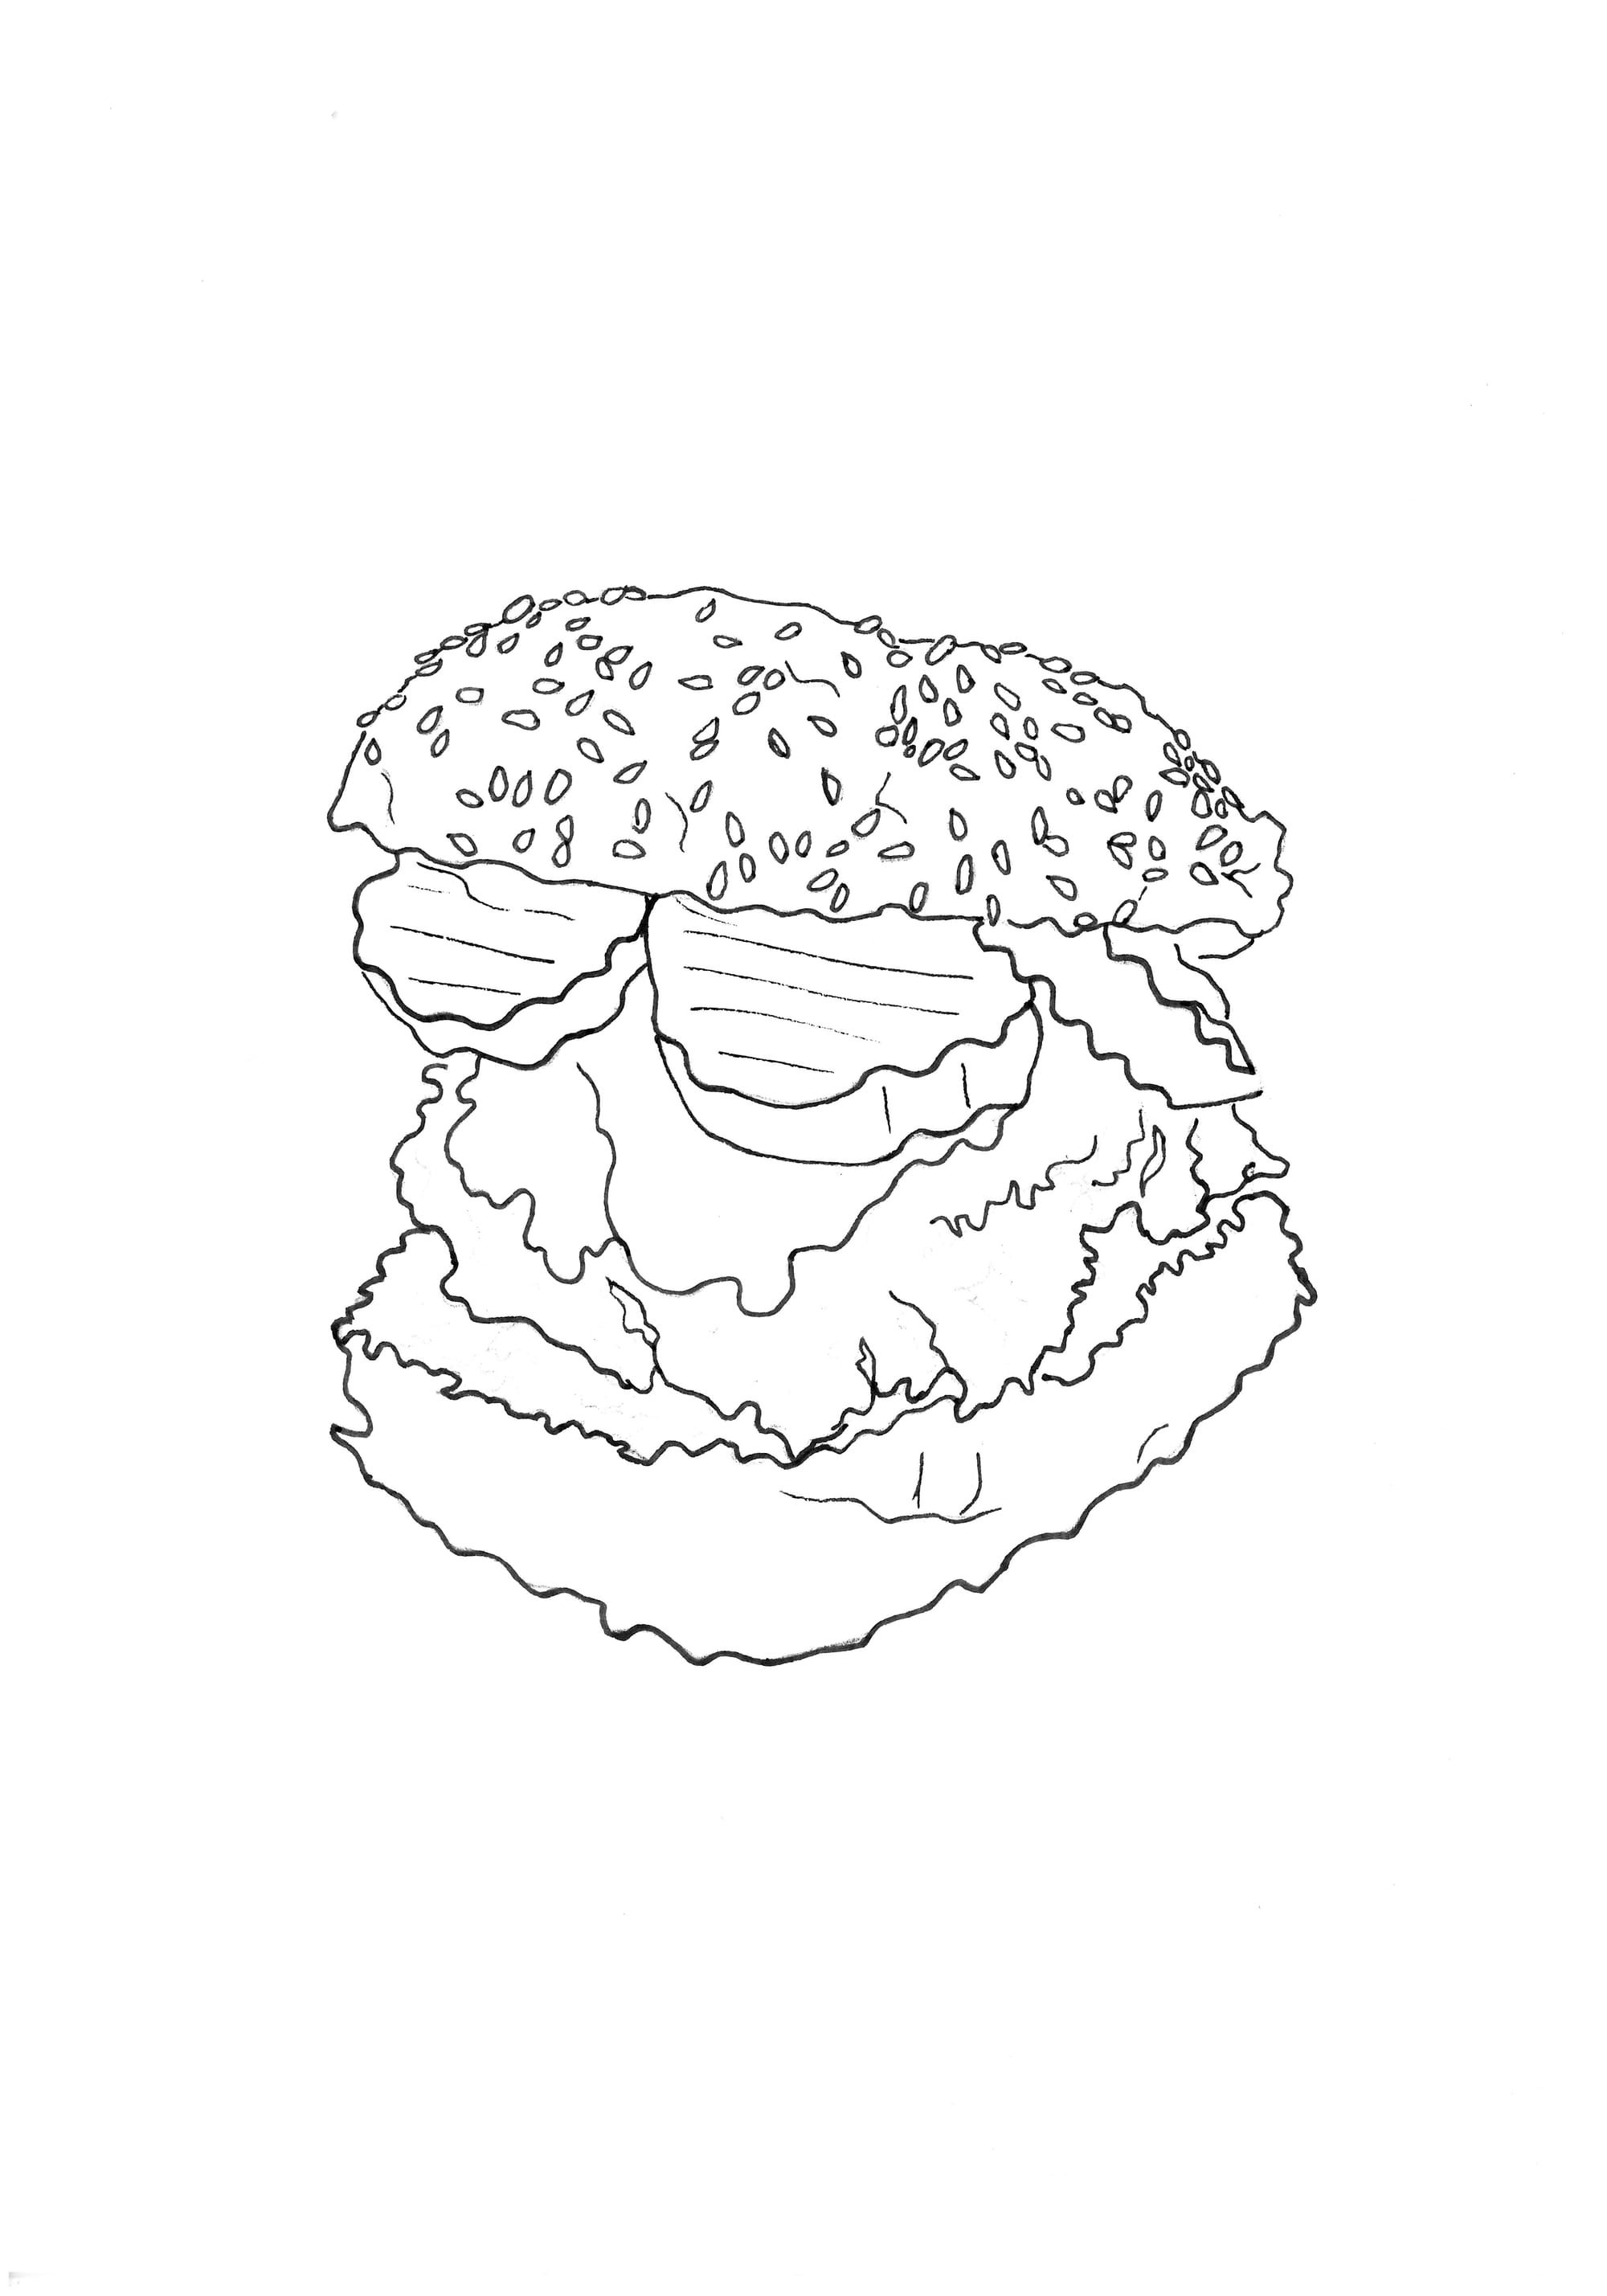
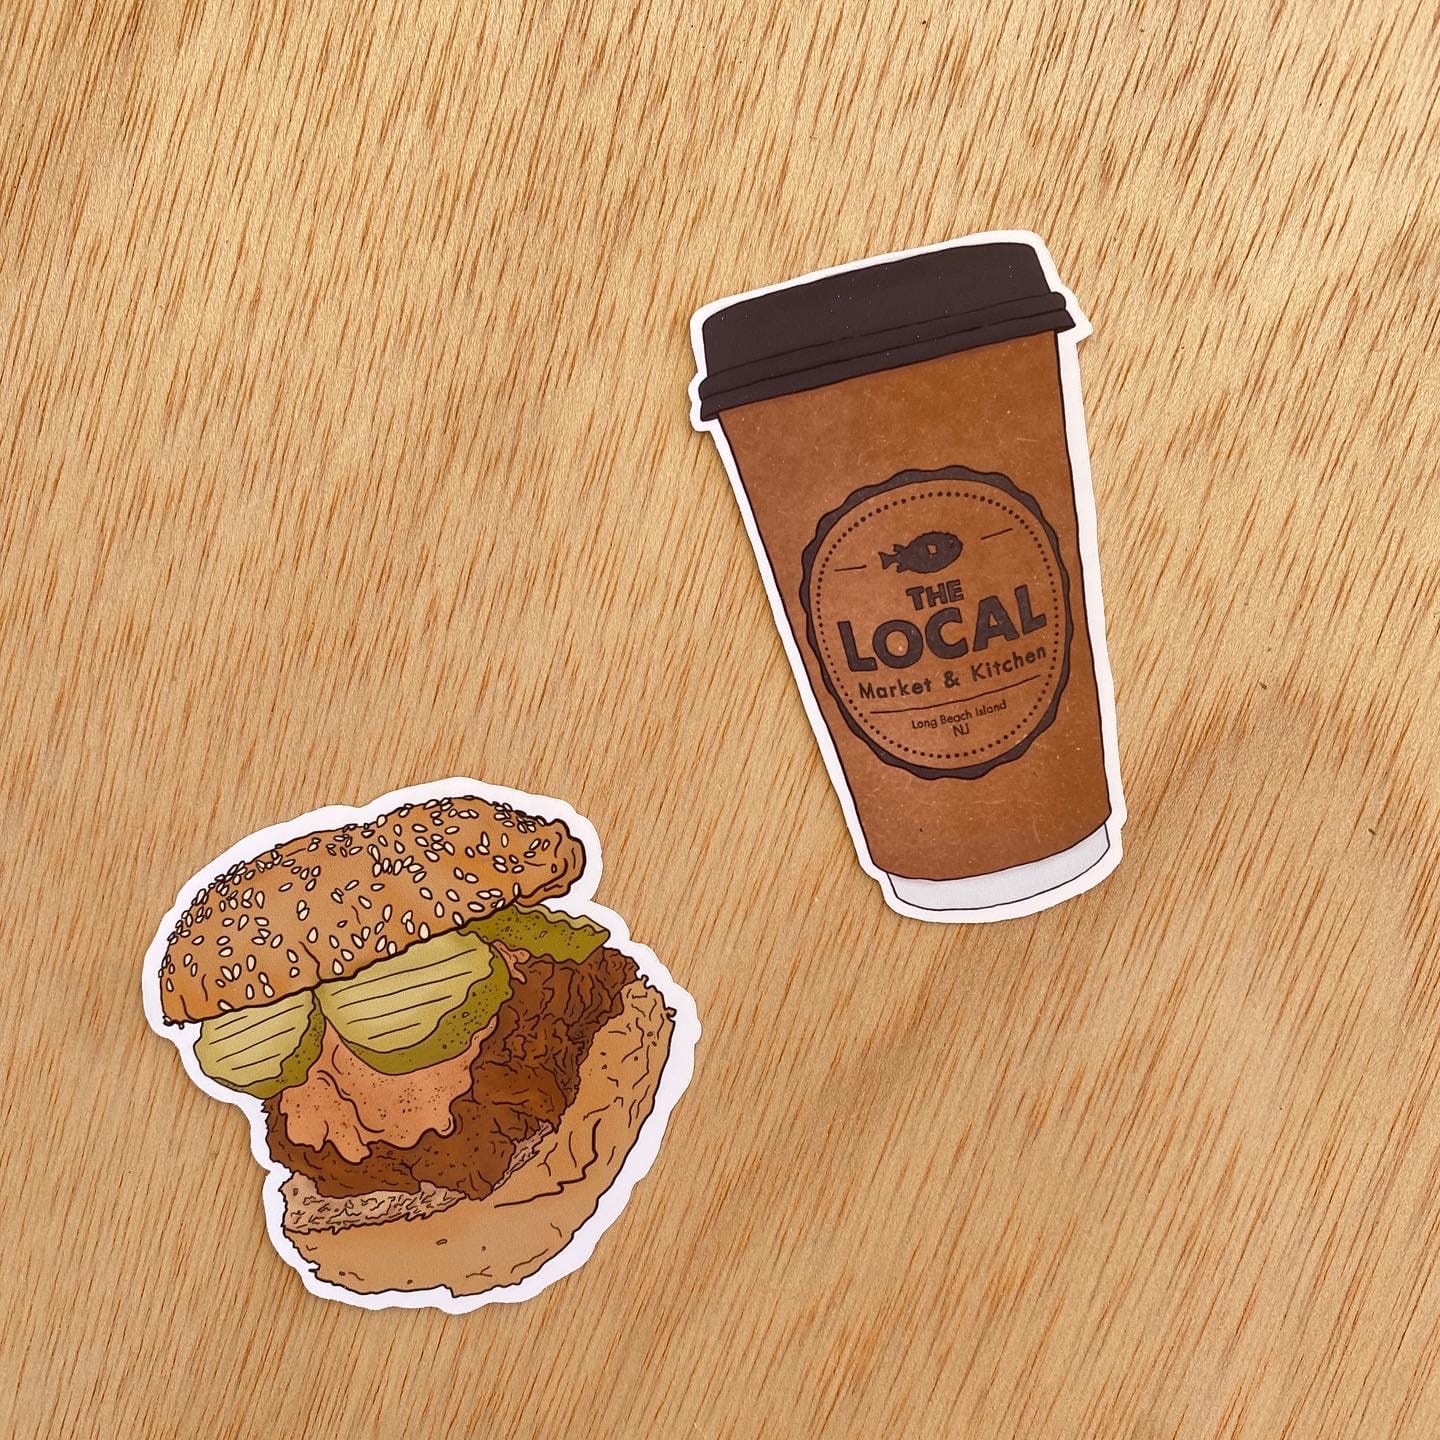
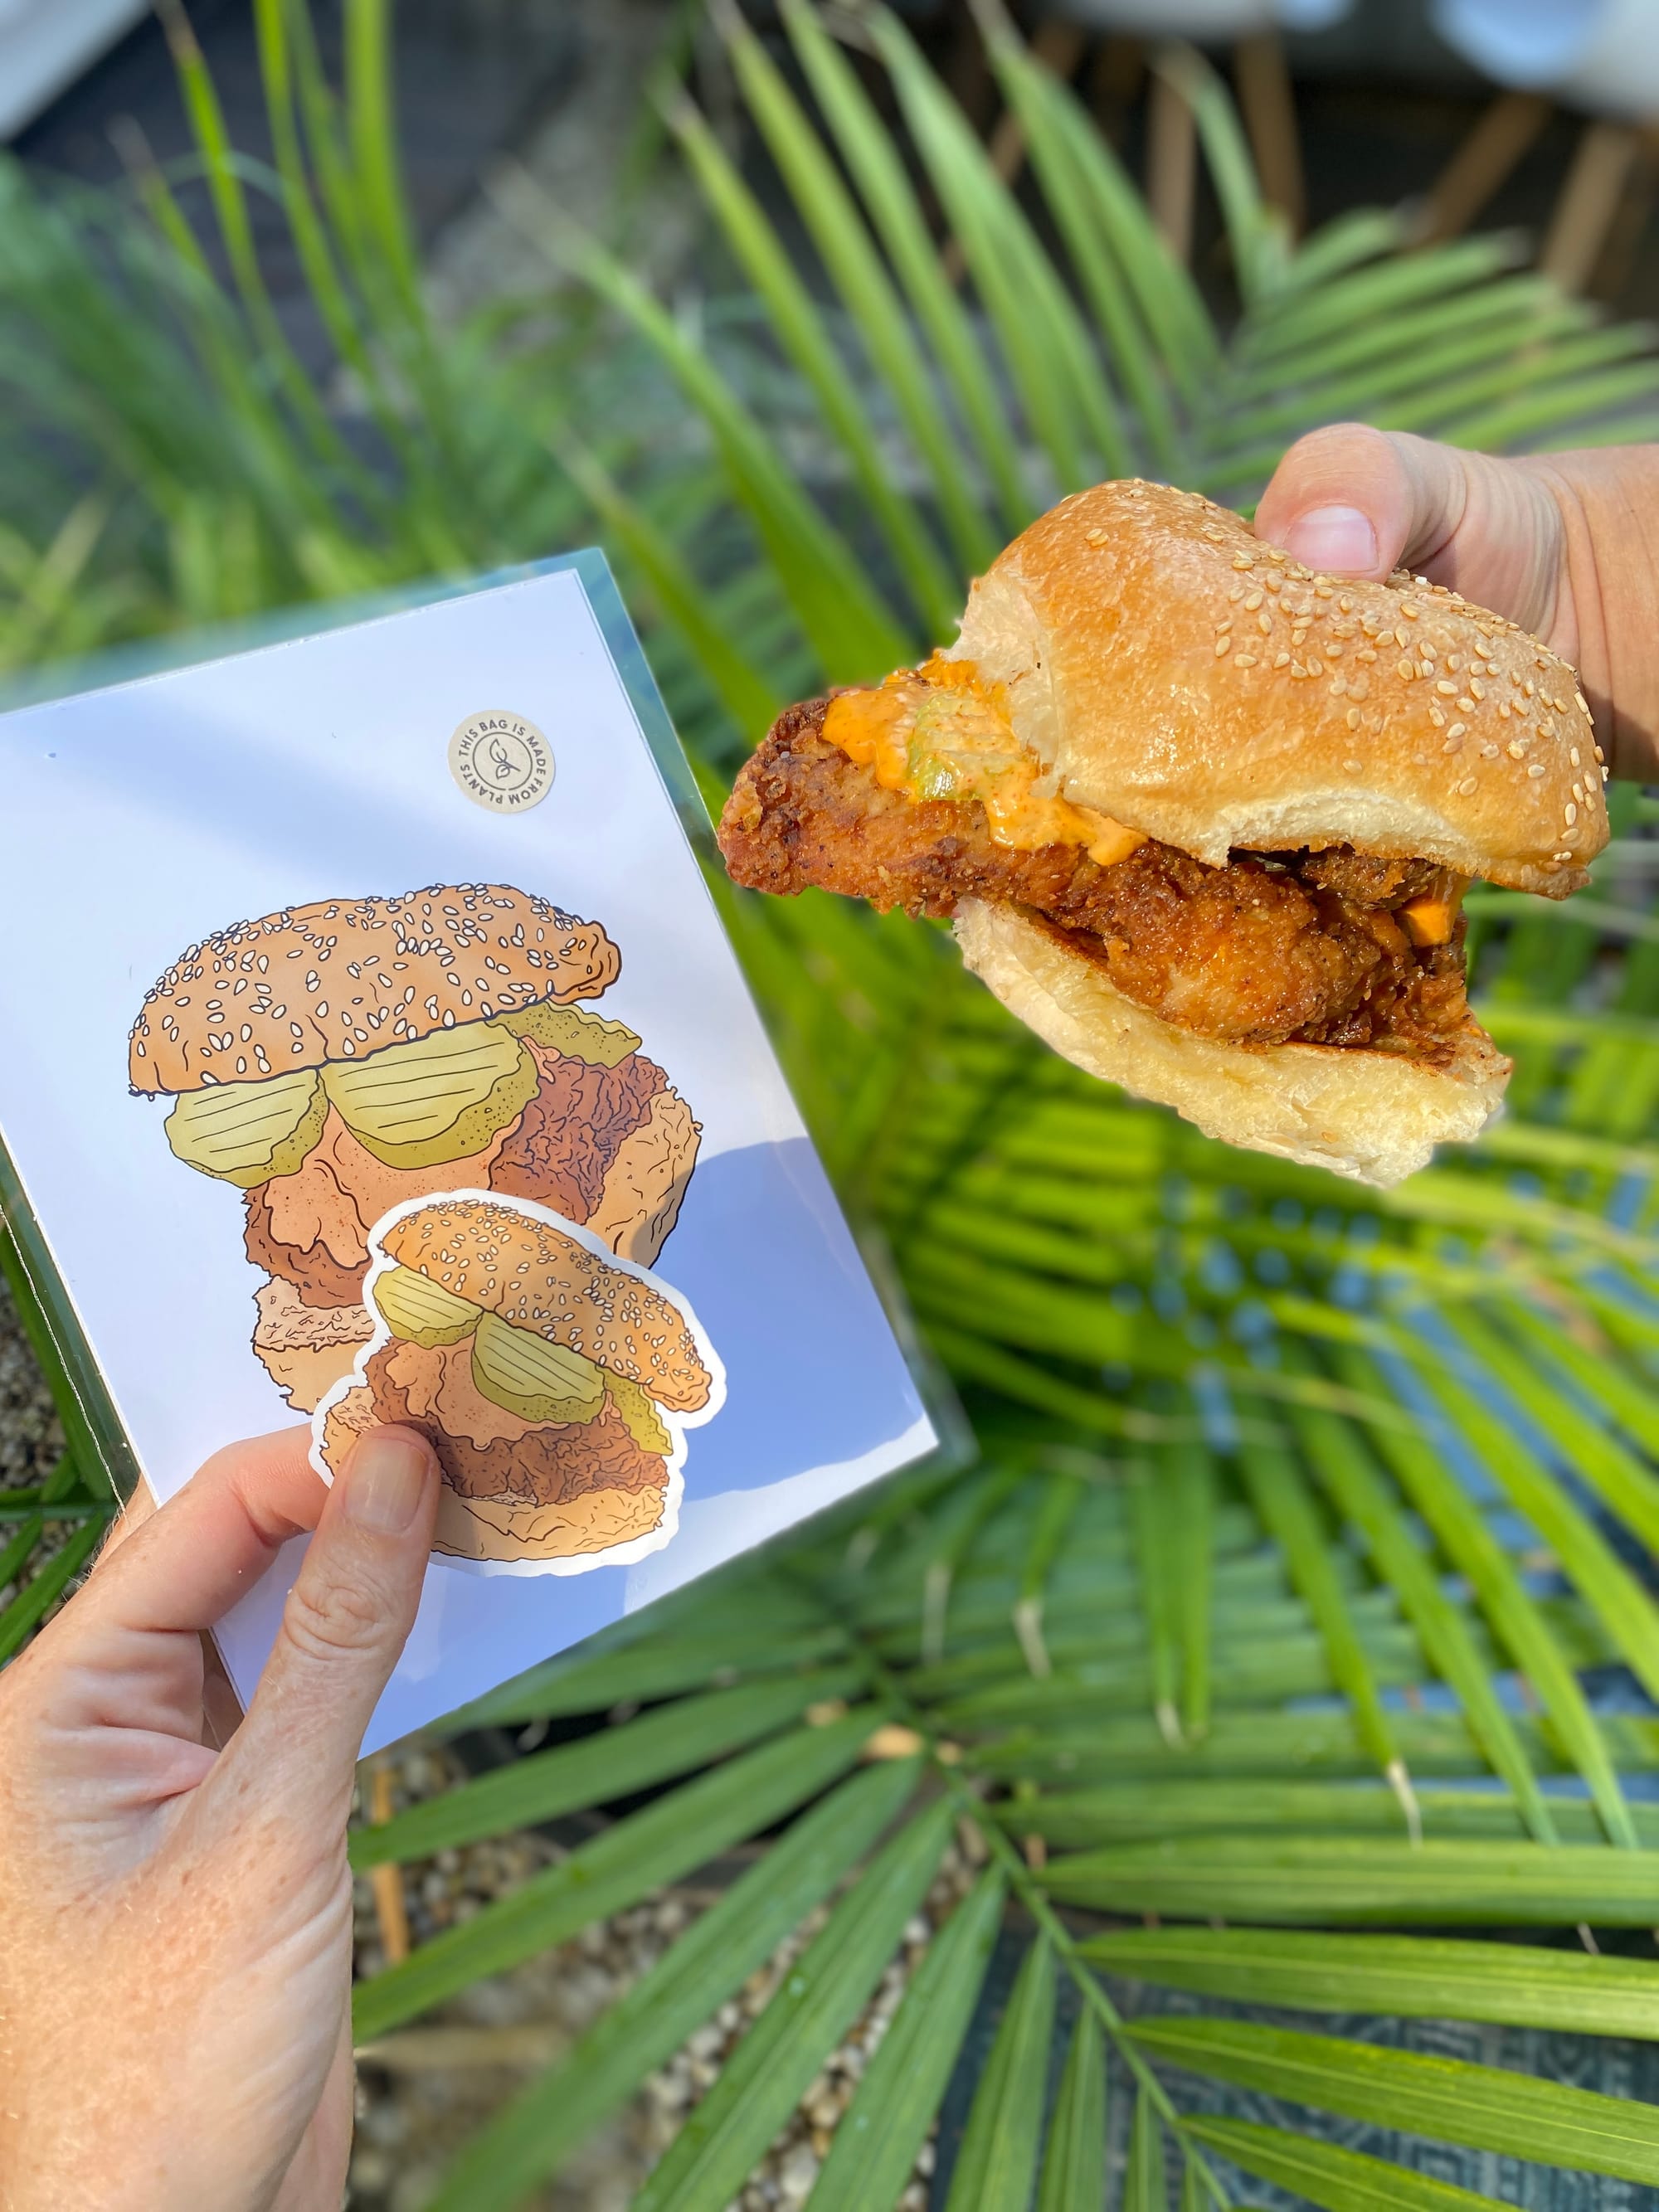
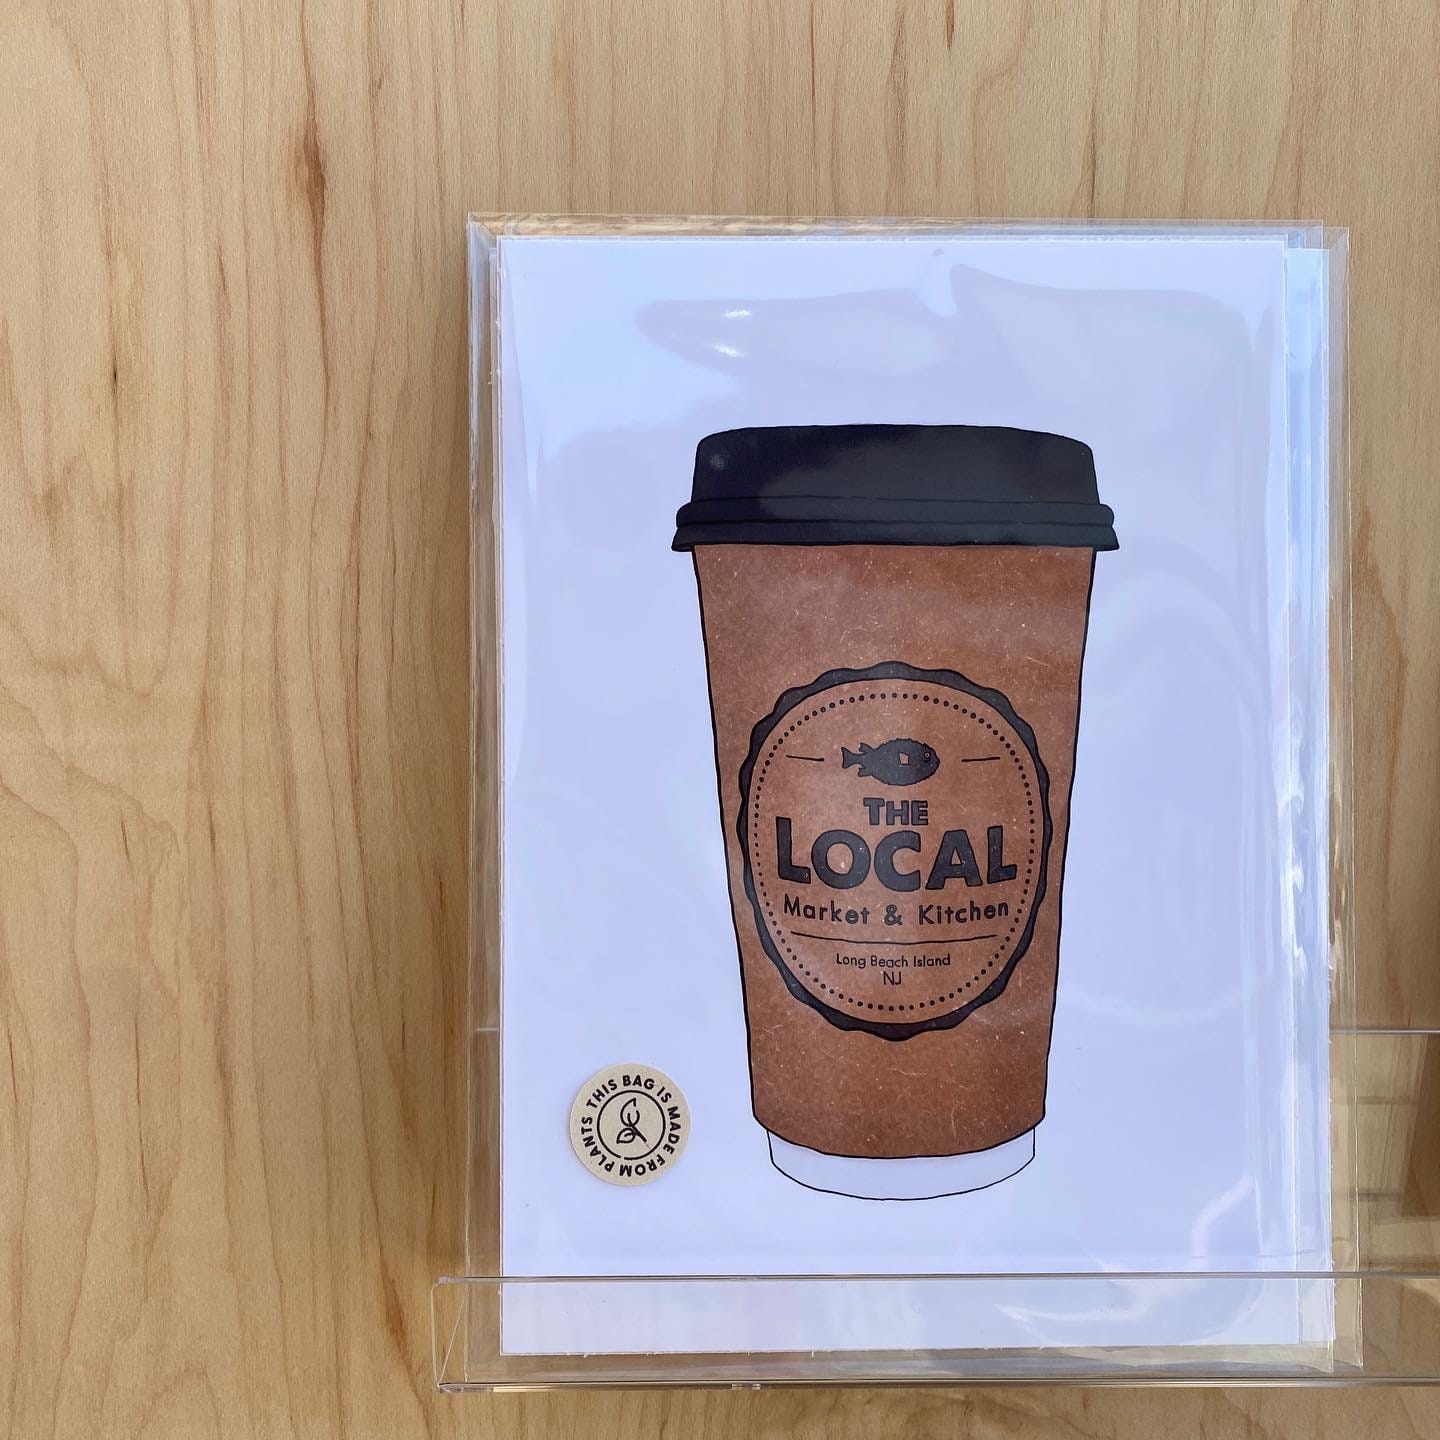
I drew the famous Local Market Chicken Sammy and a Local Latte. I even had little buddy visit, my nephew 🤍
July 2022
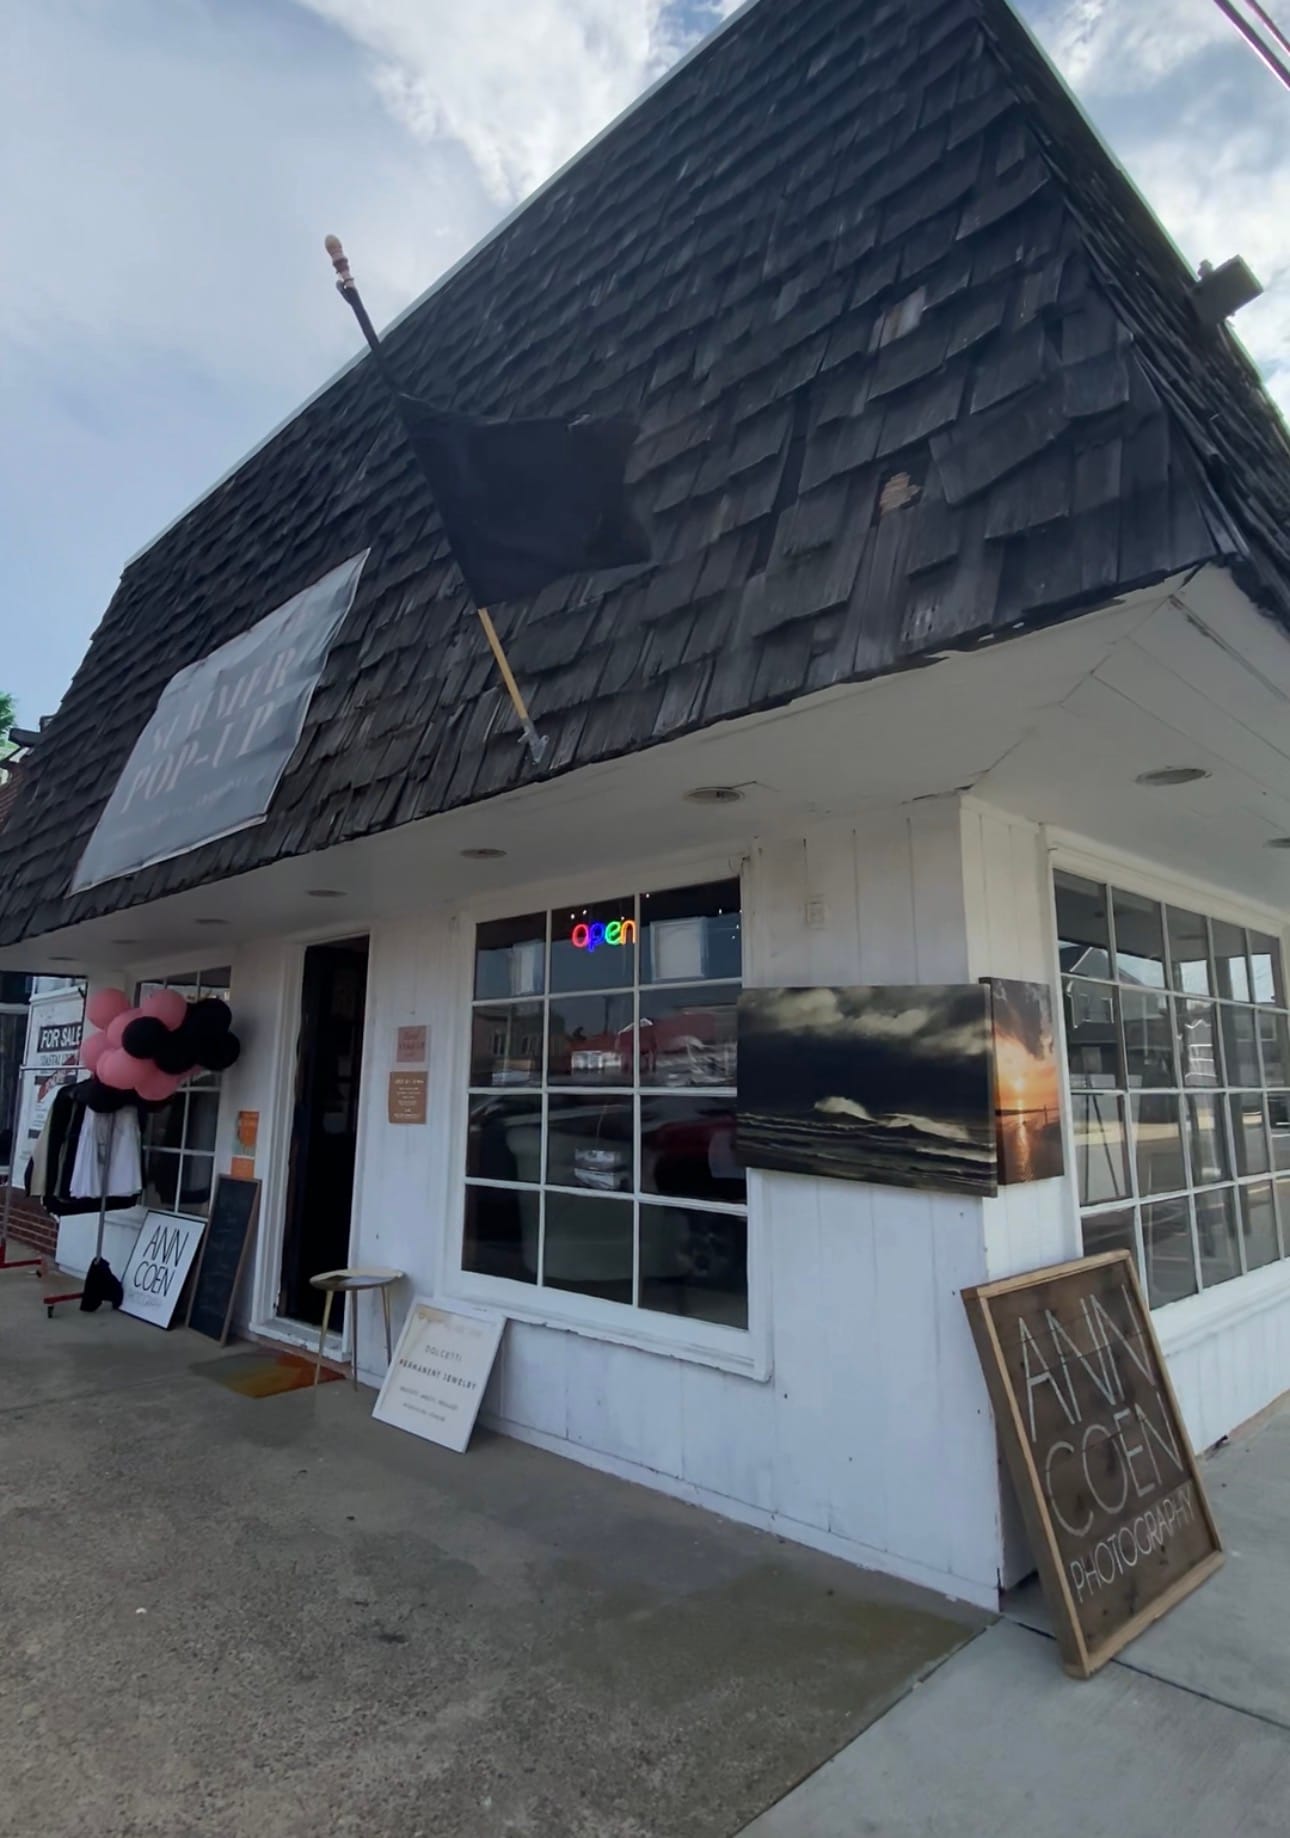
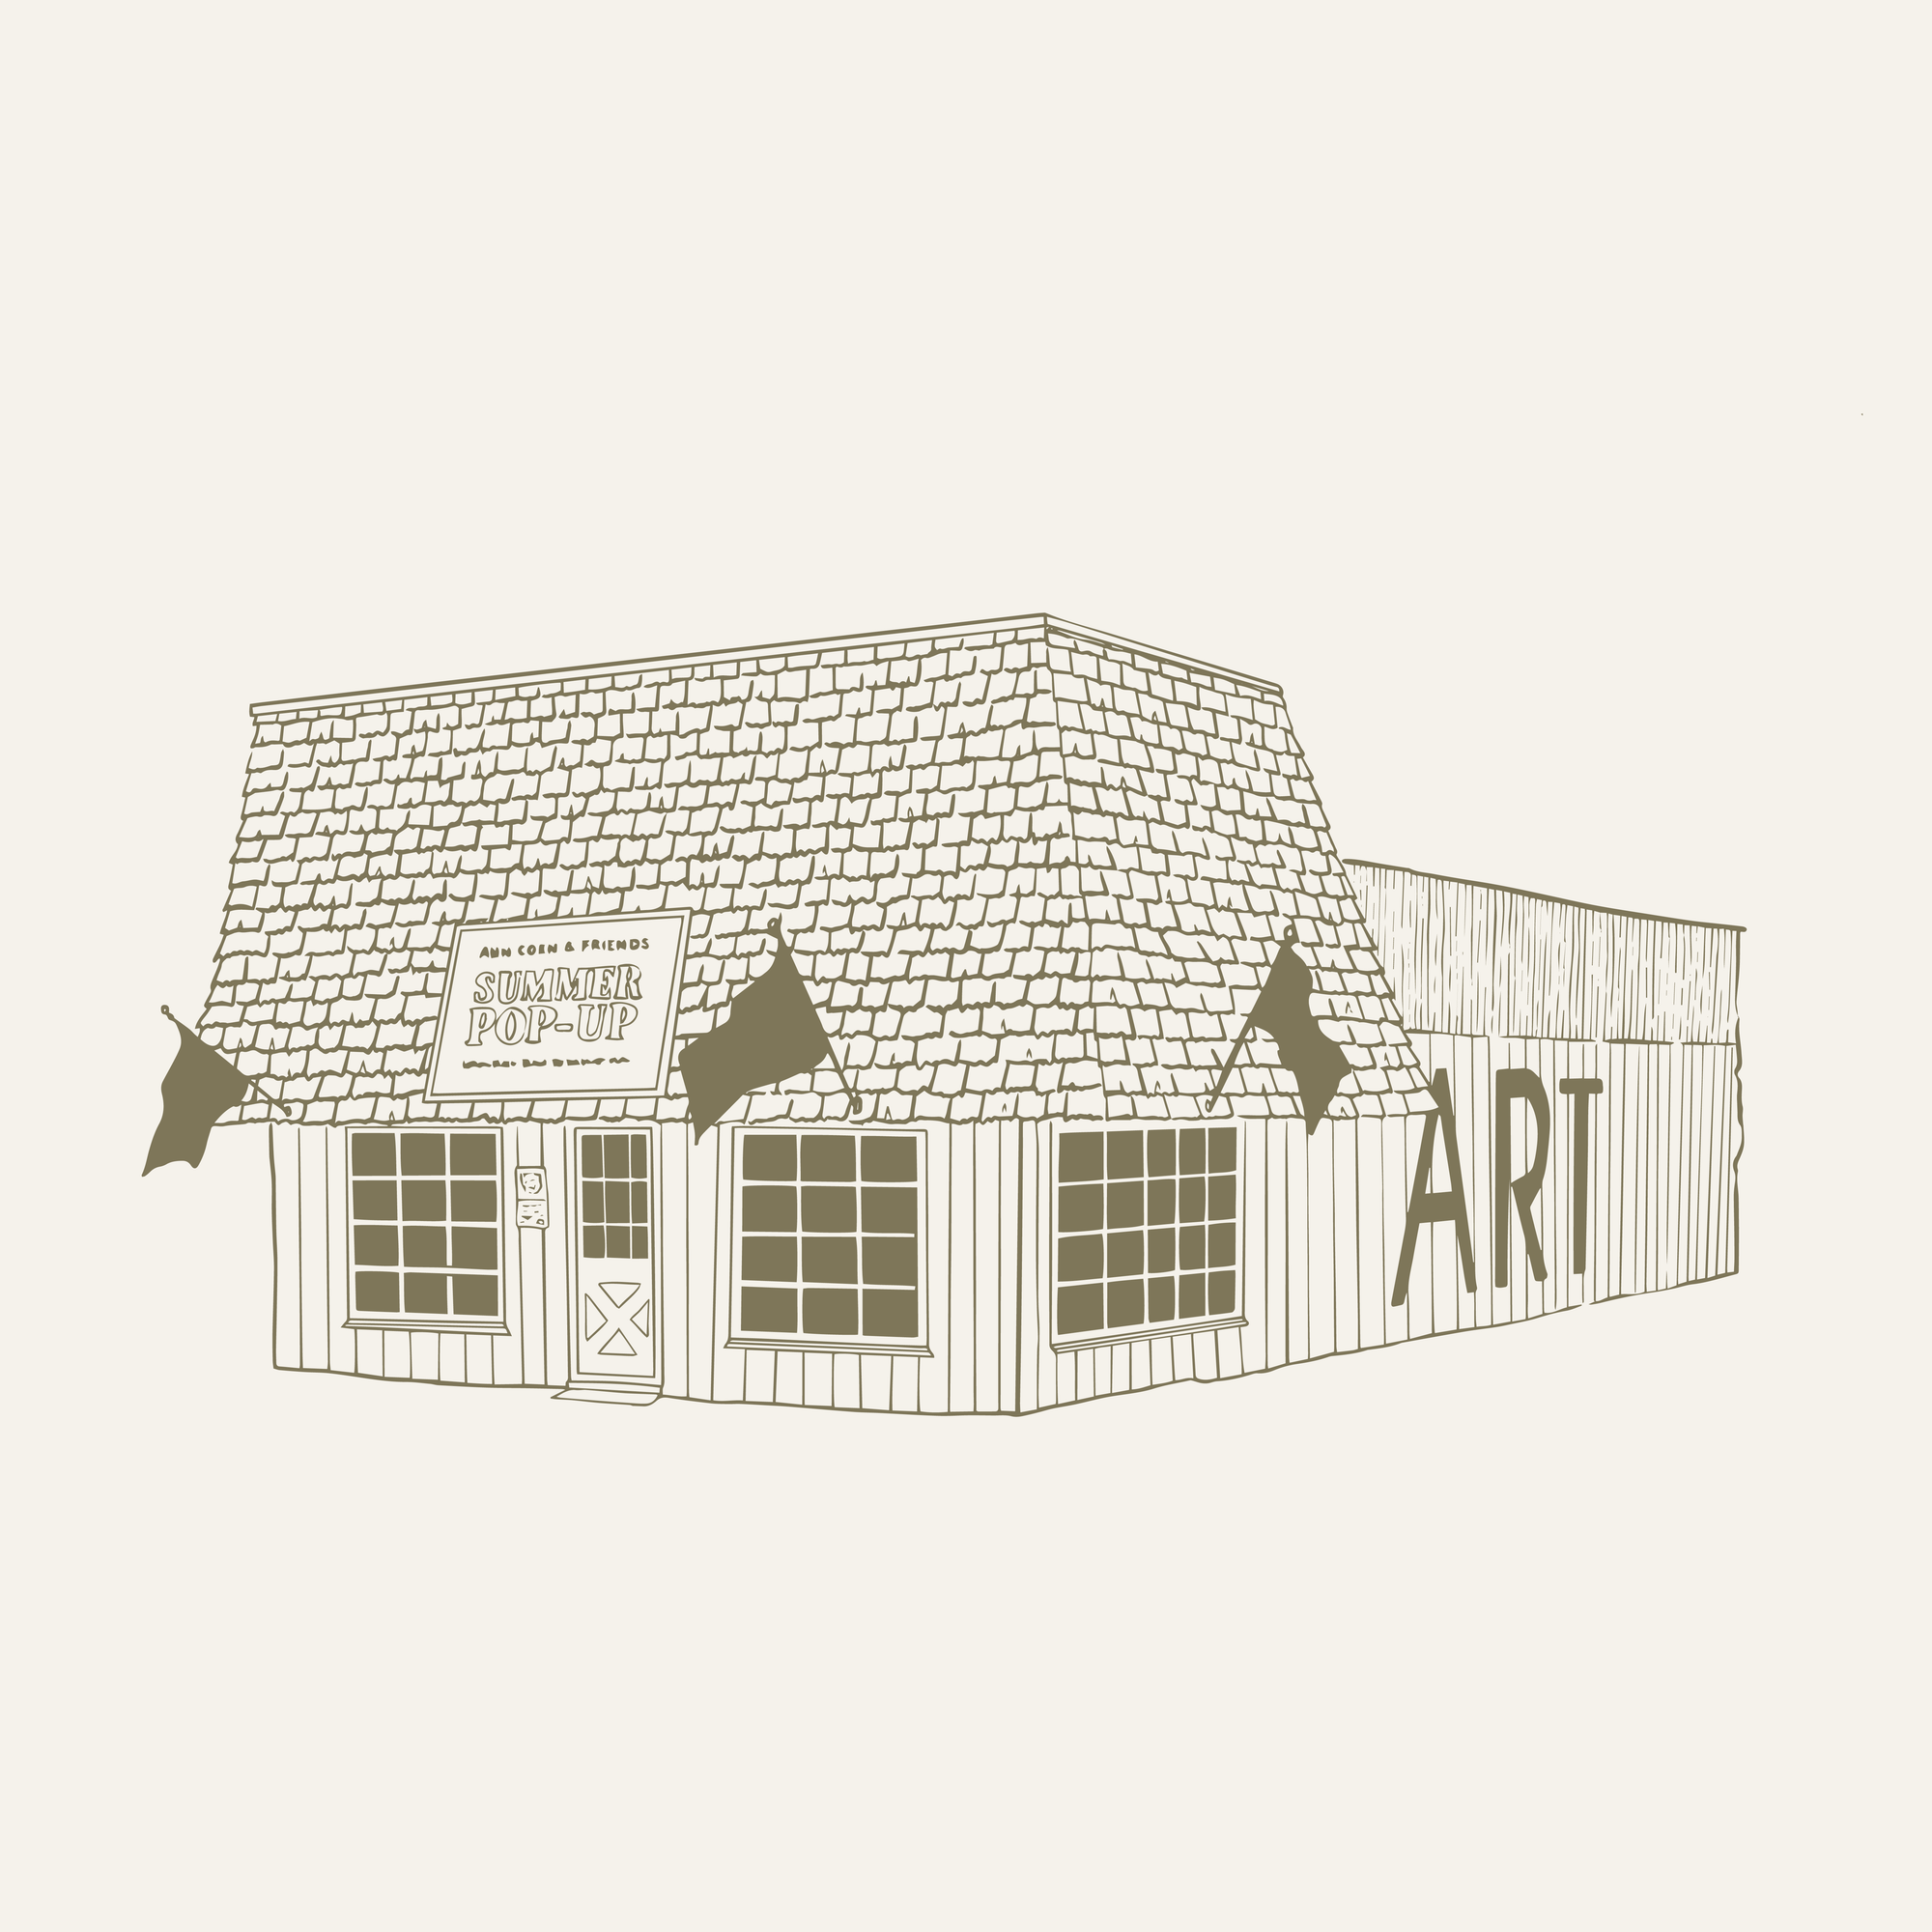
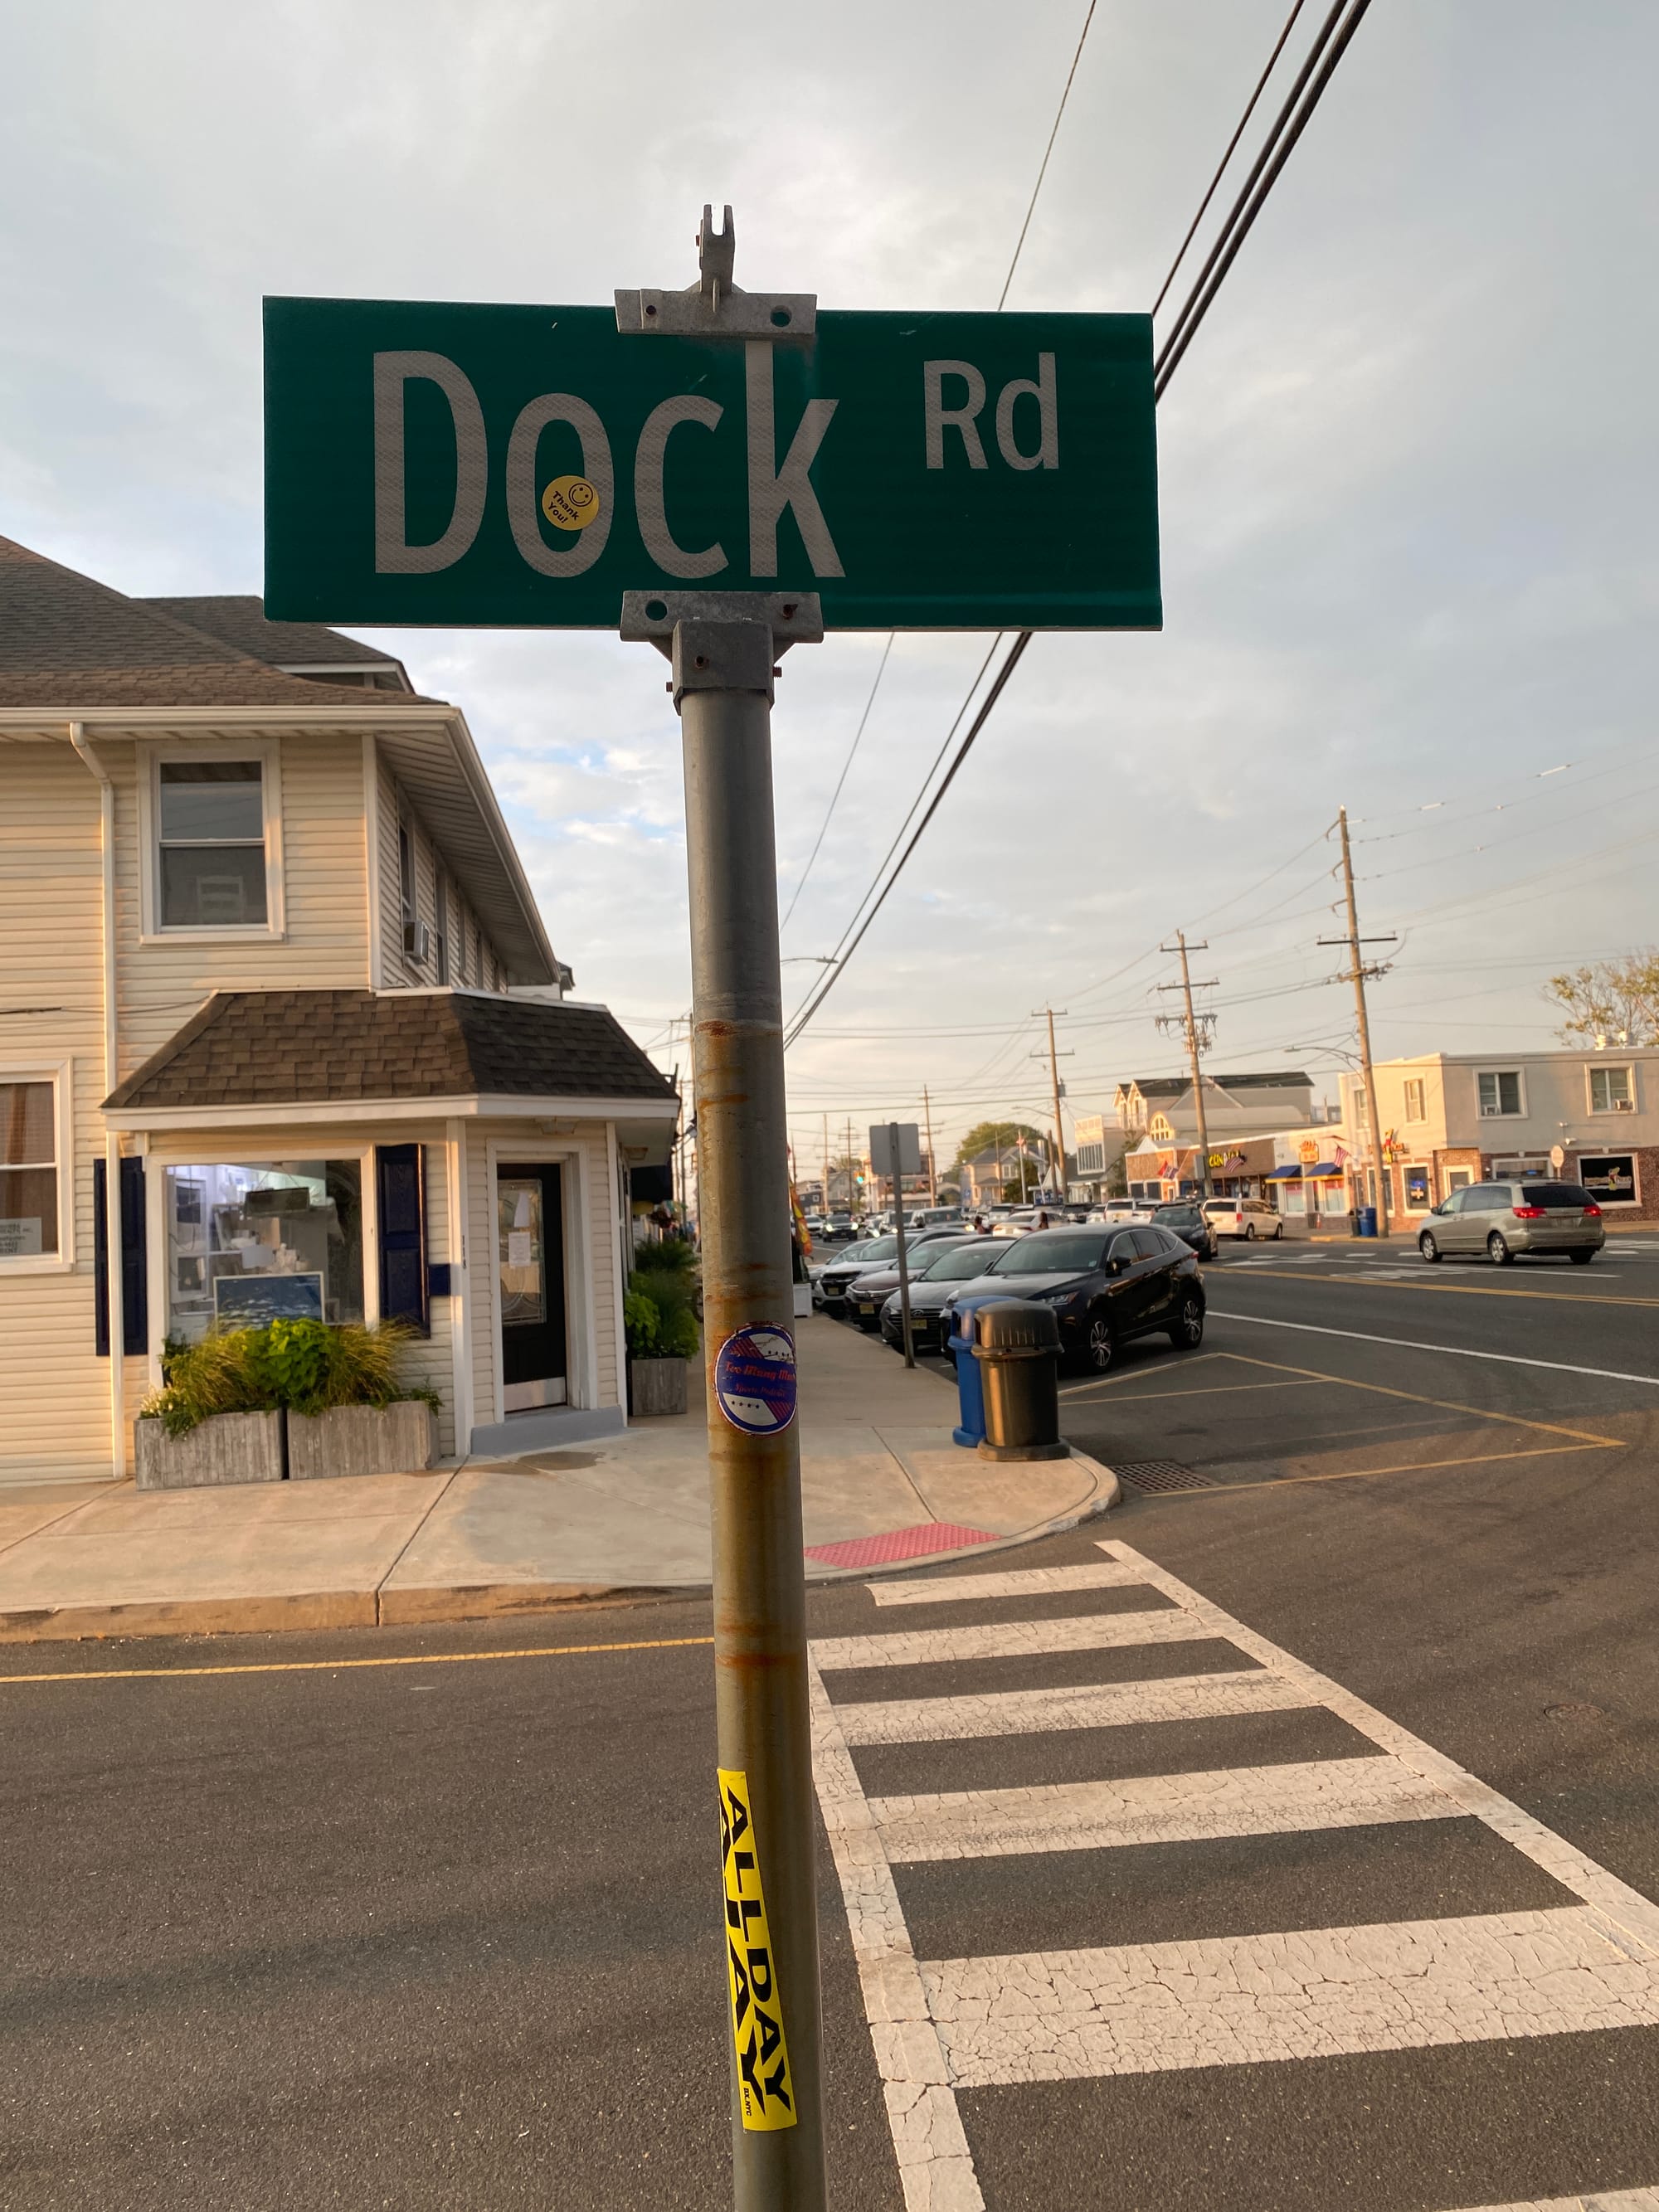
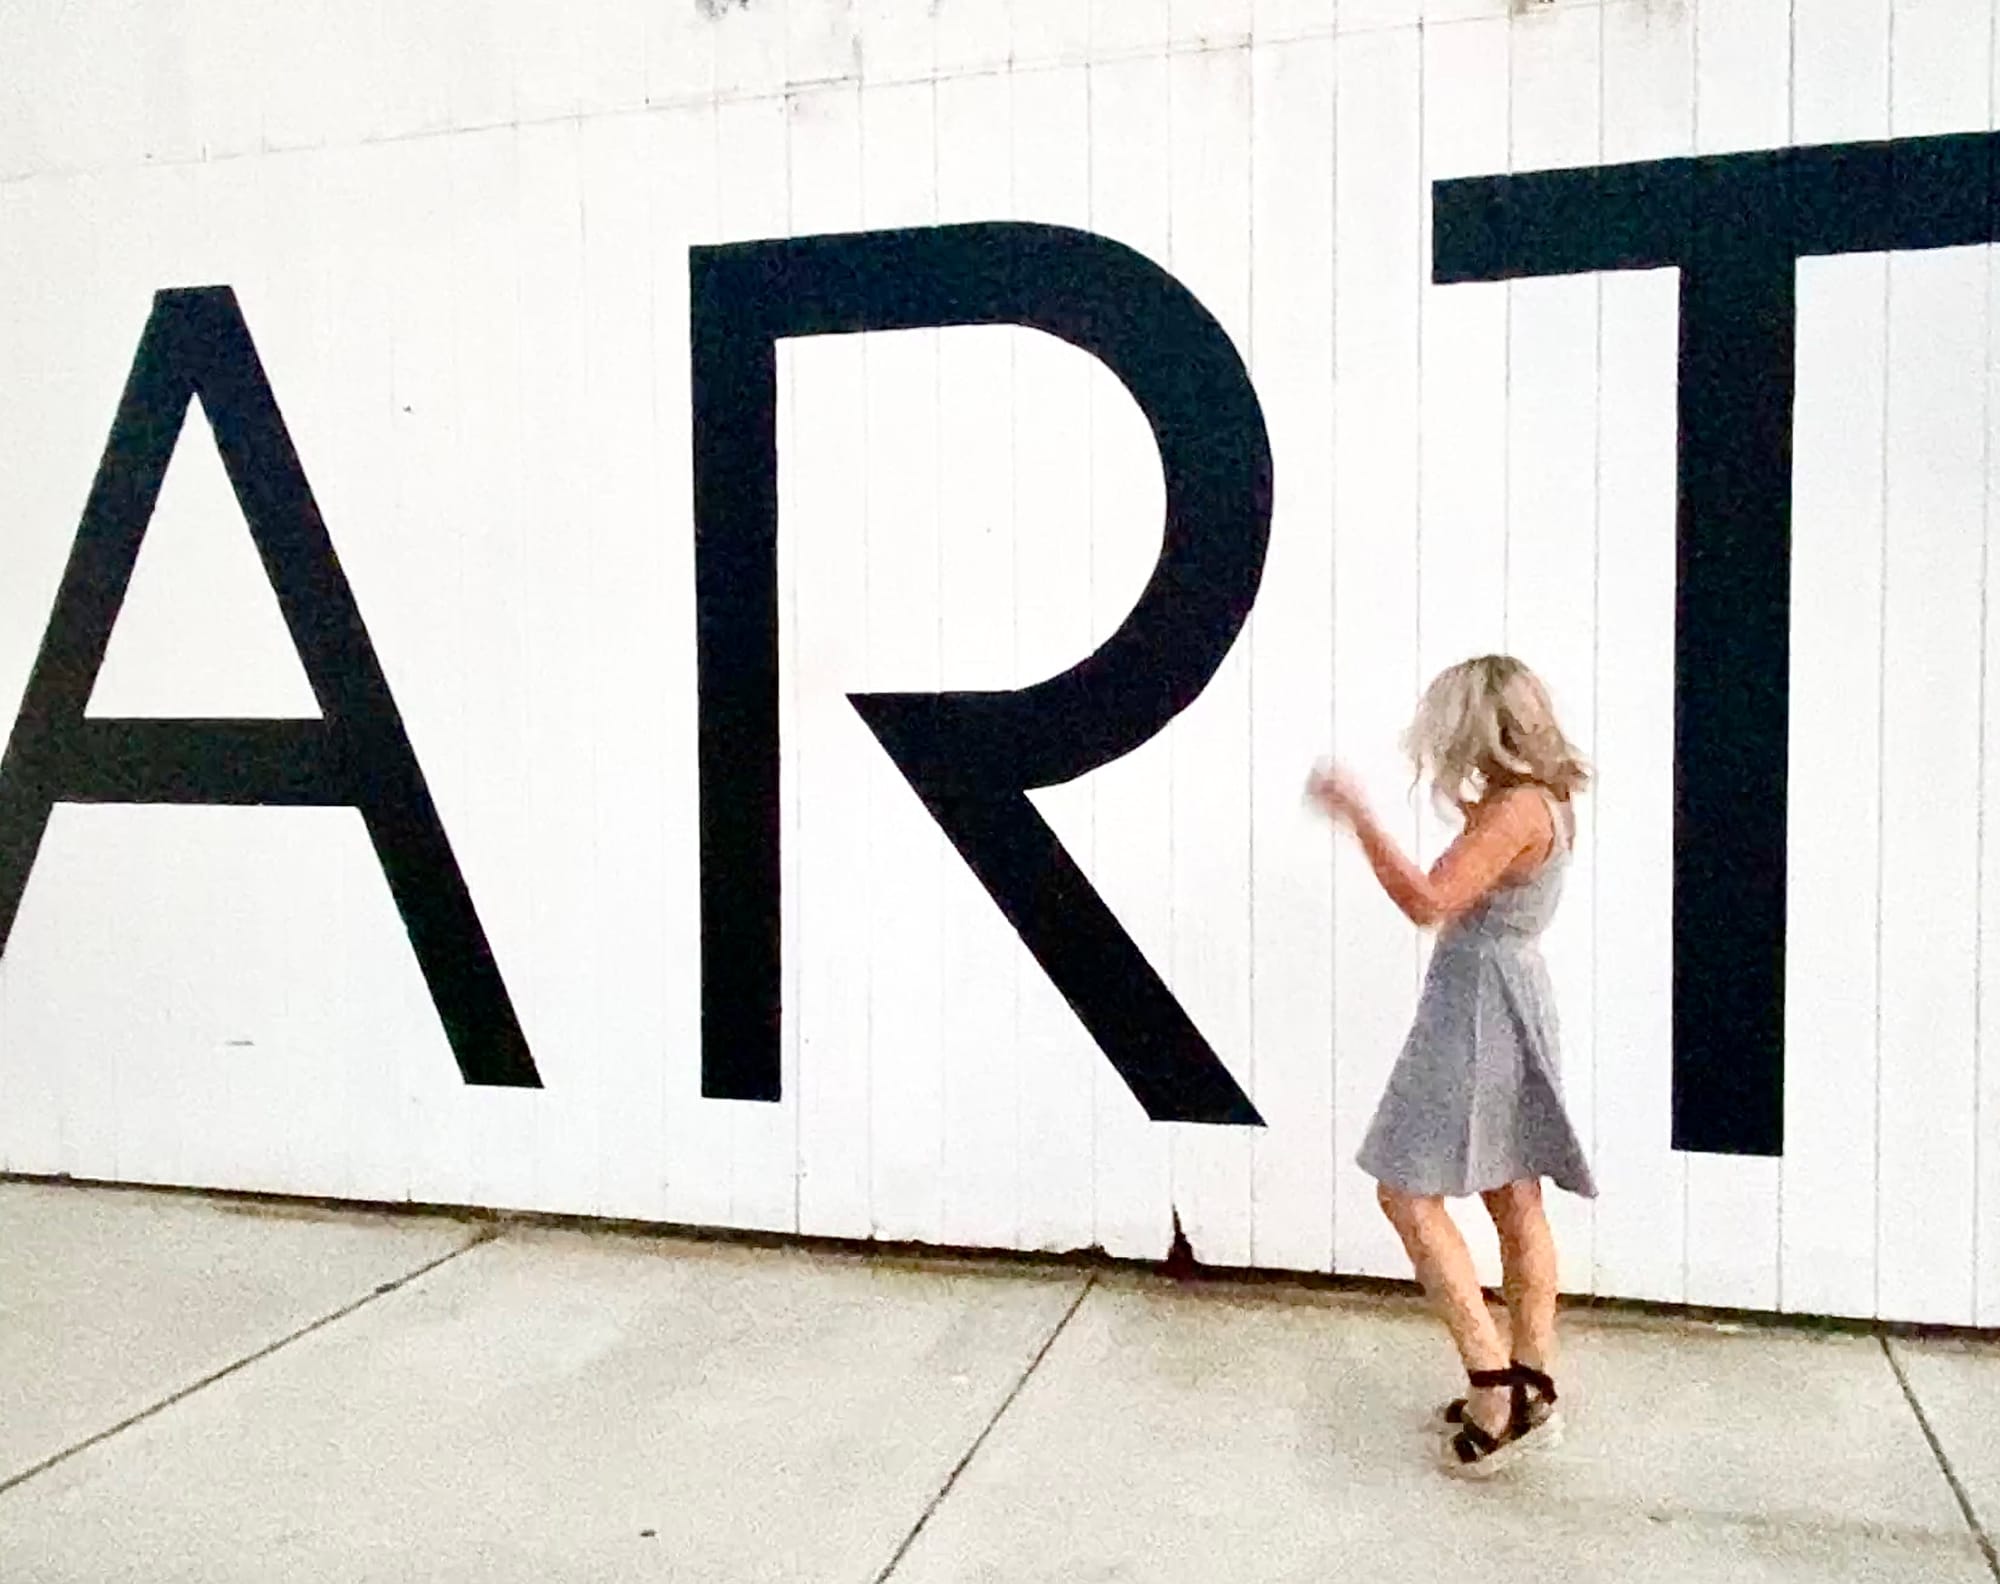
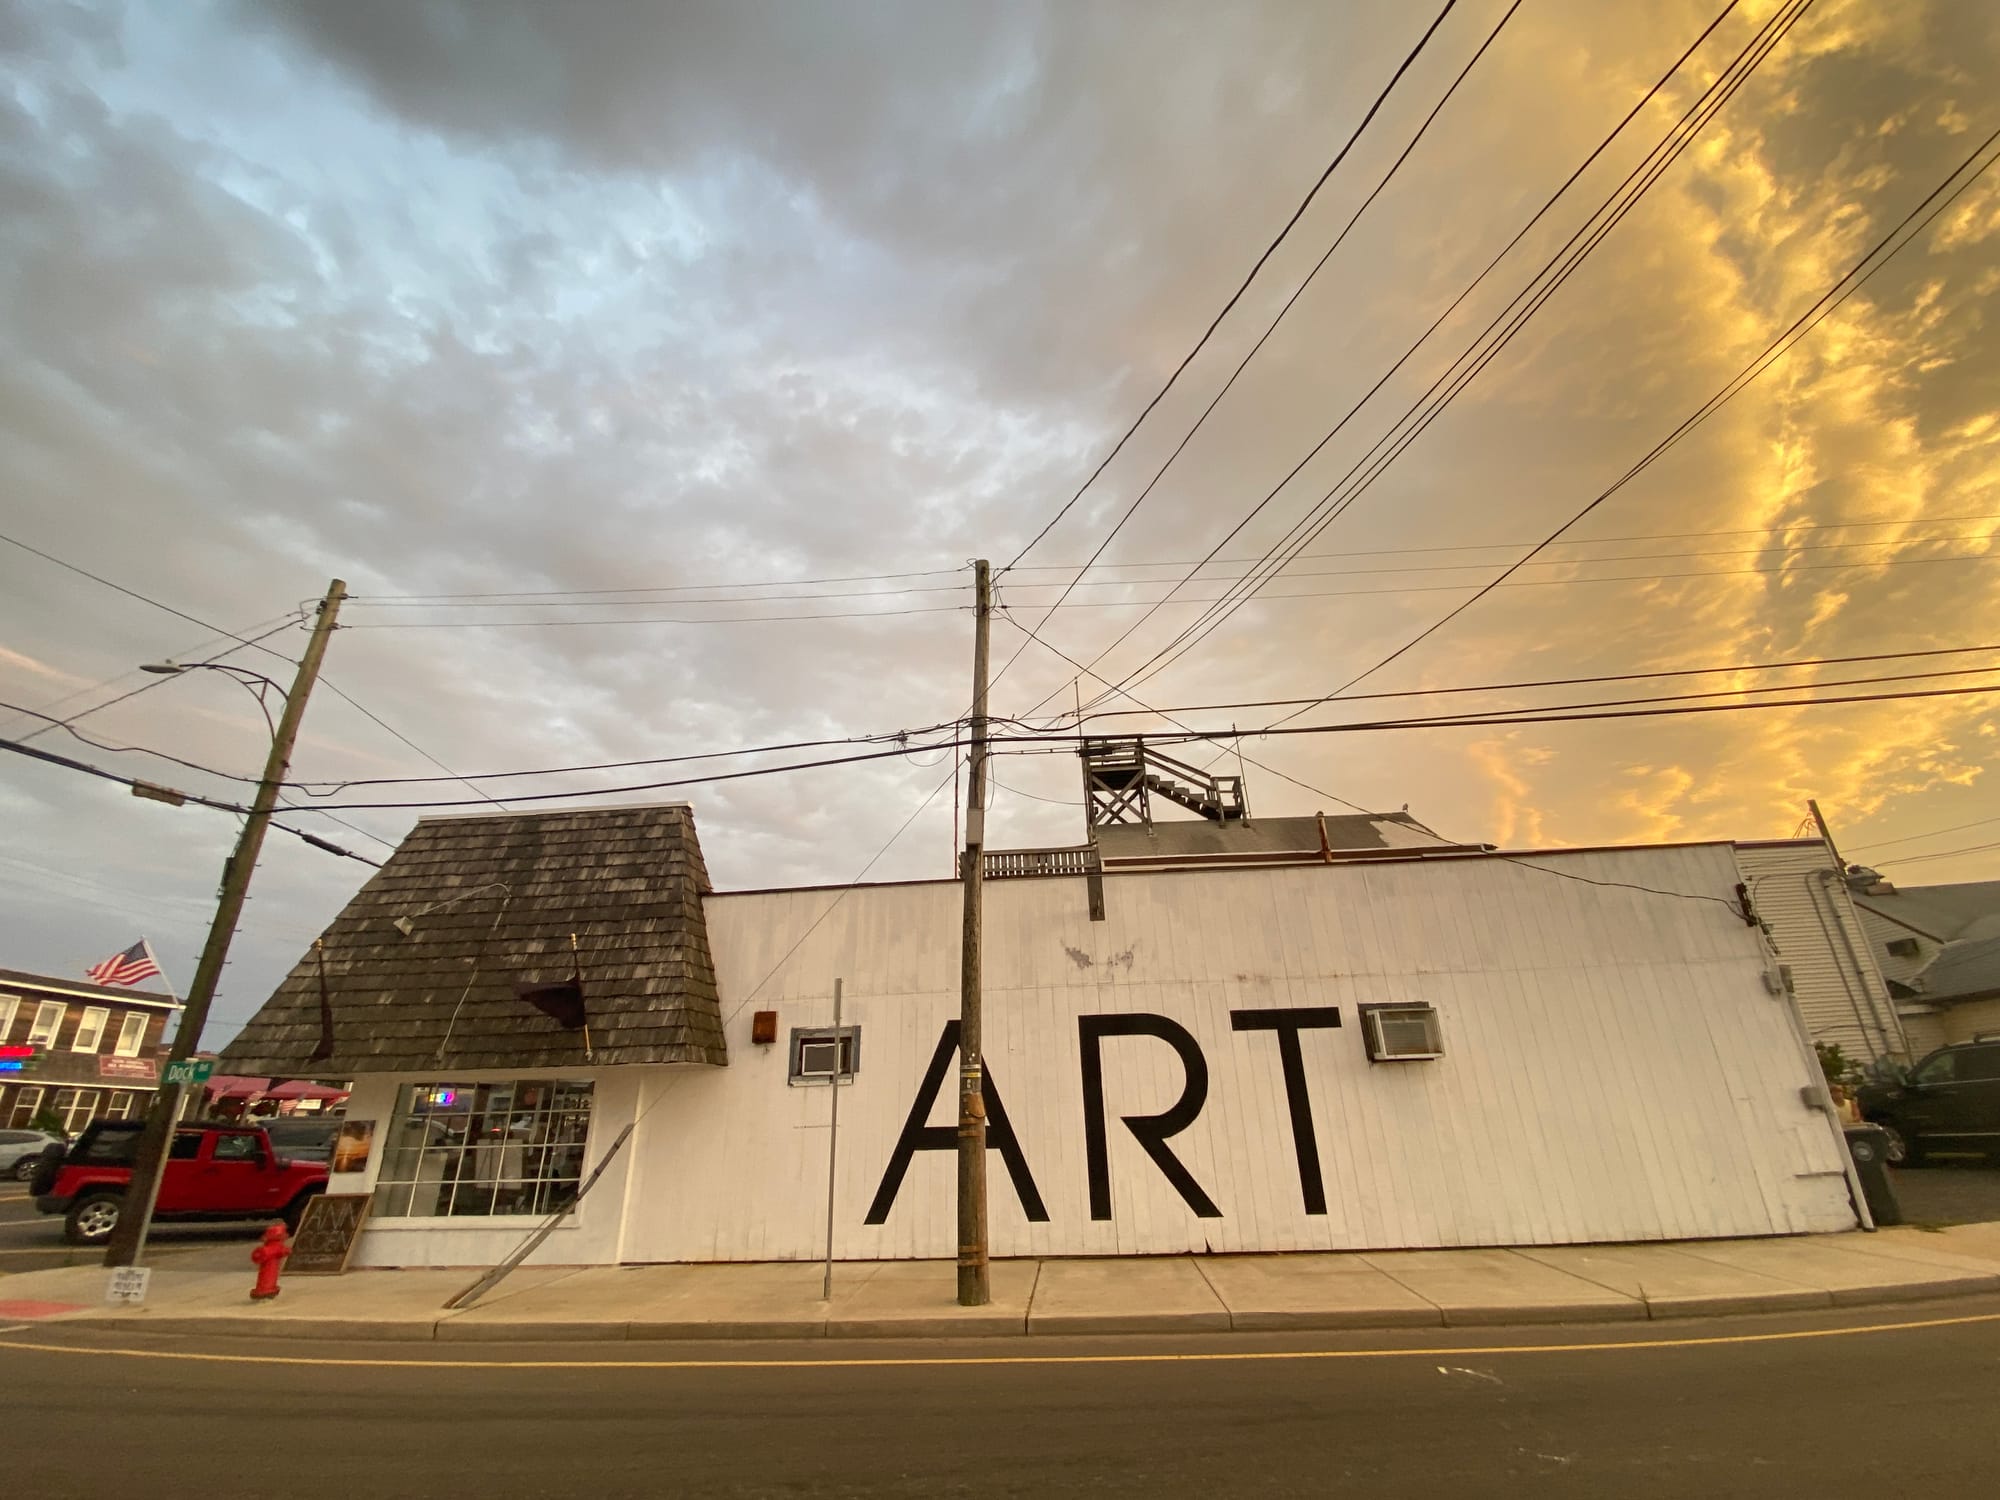
I popped up at the Ann Coen + Friends Gallery and drew here little building.
Fall + Winter 2022
I worked on some product photography and started shifting to digital drawings.
long beach island souvenirs
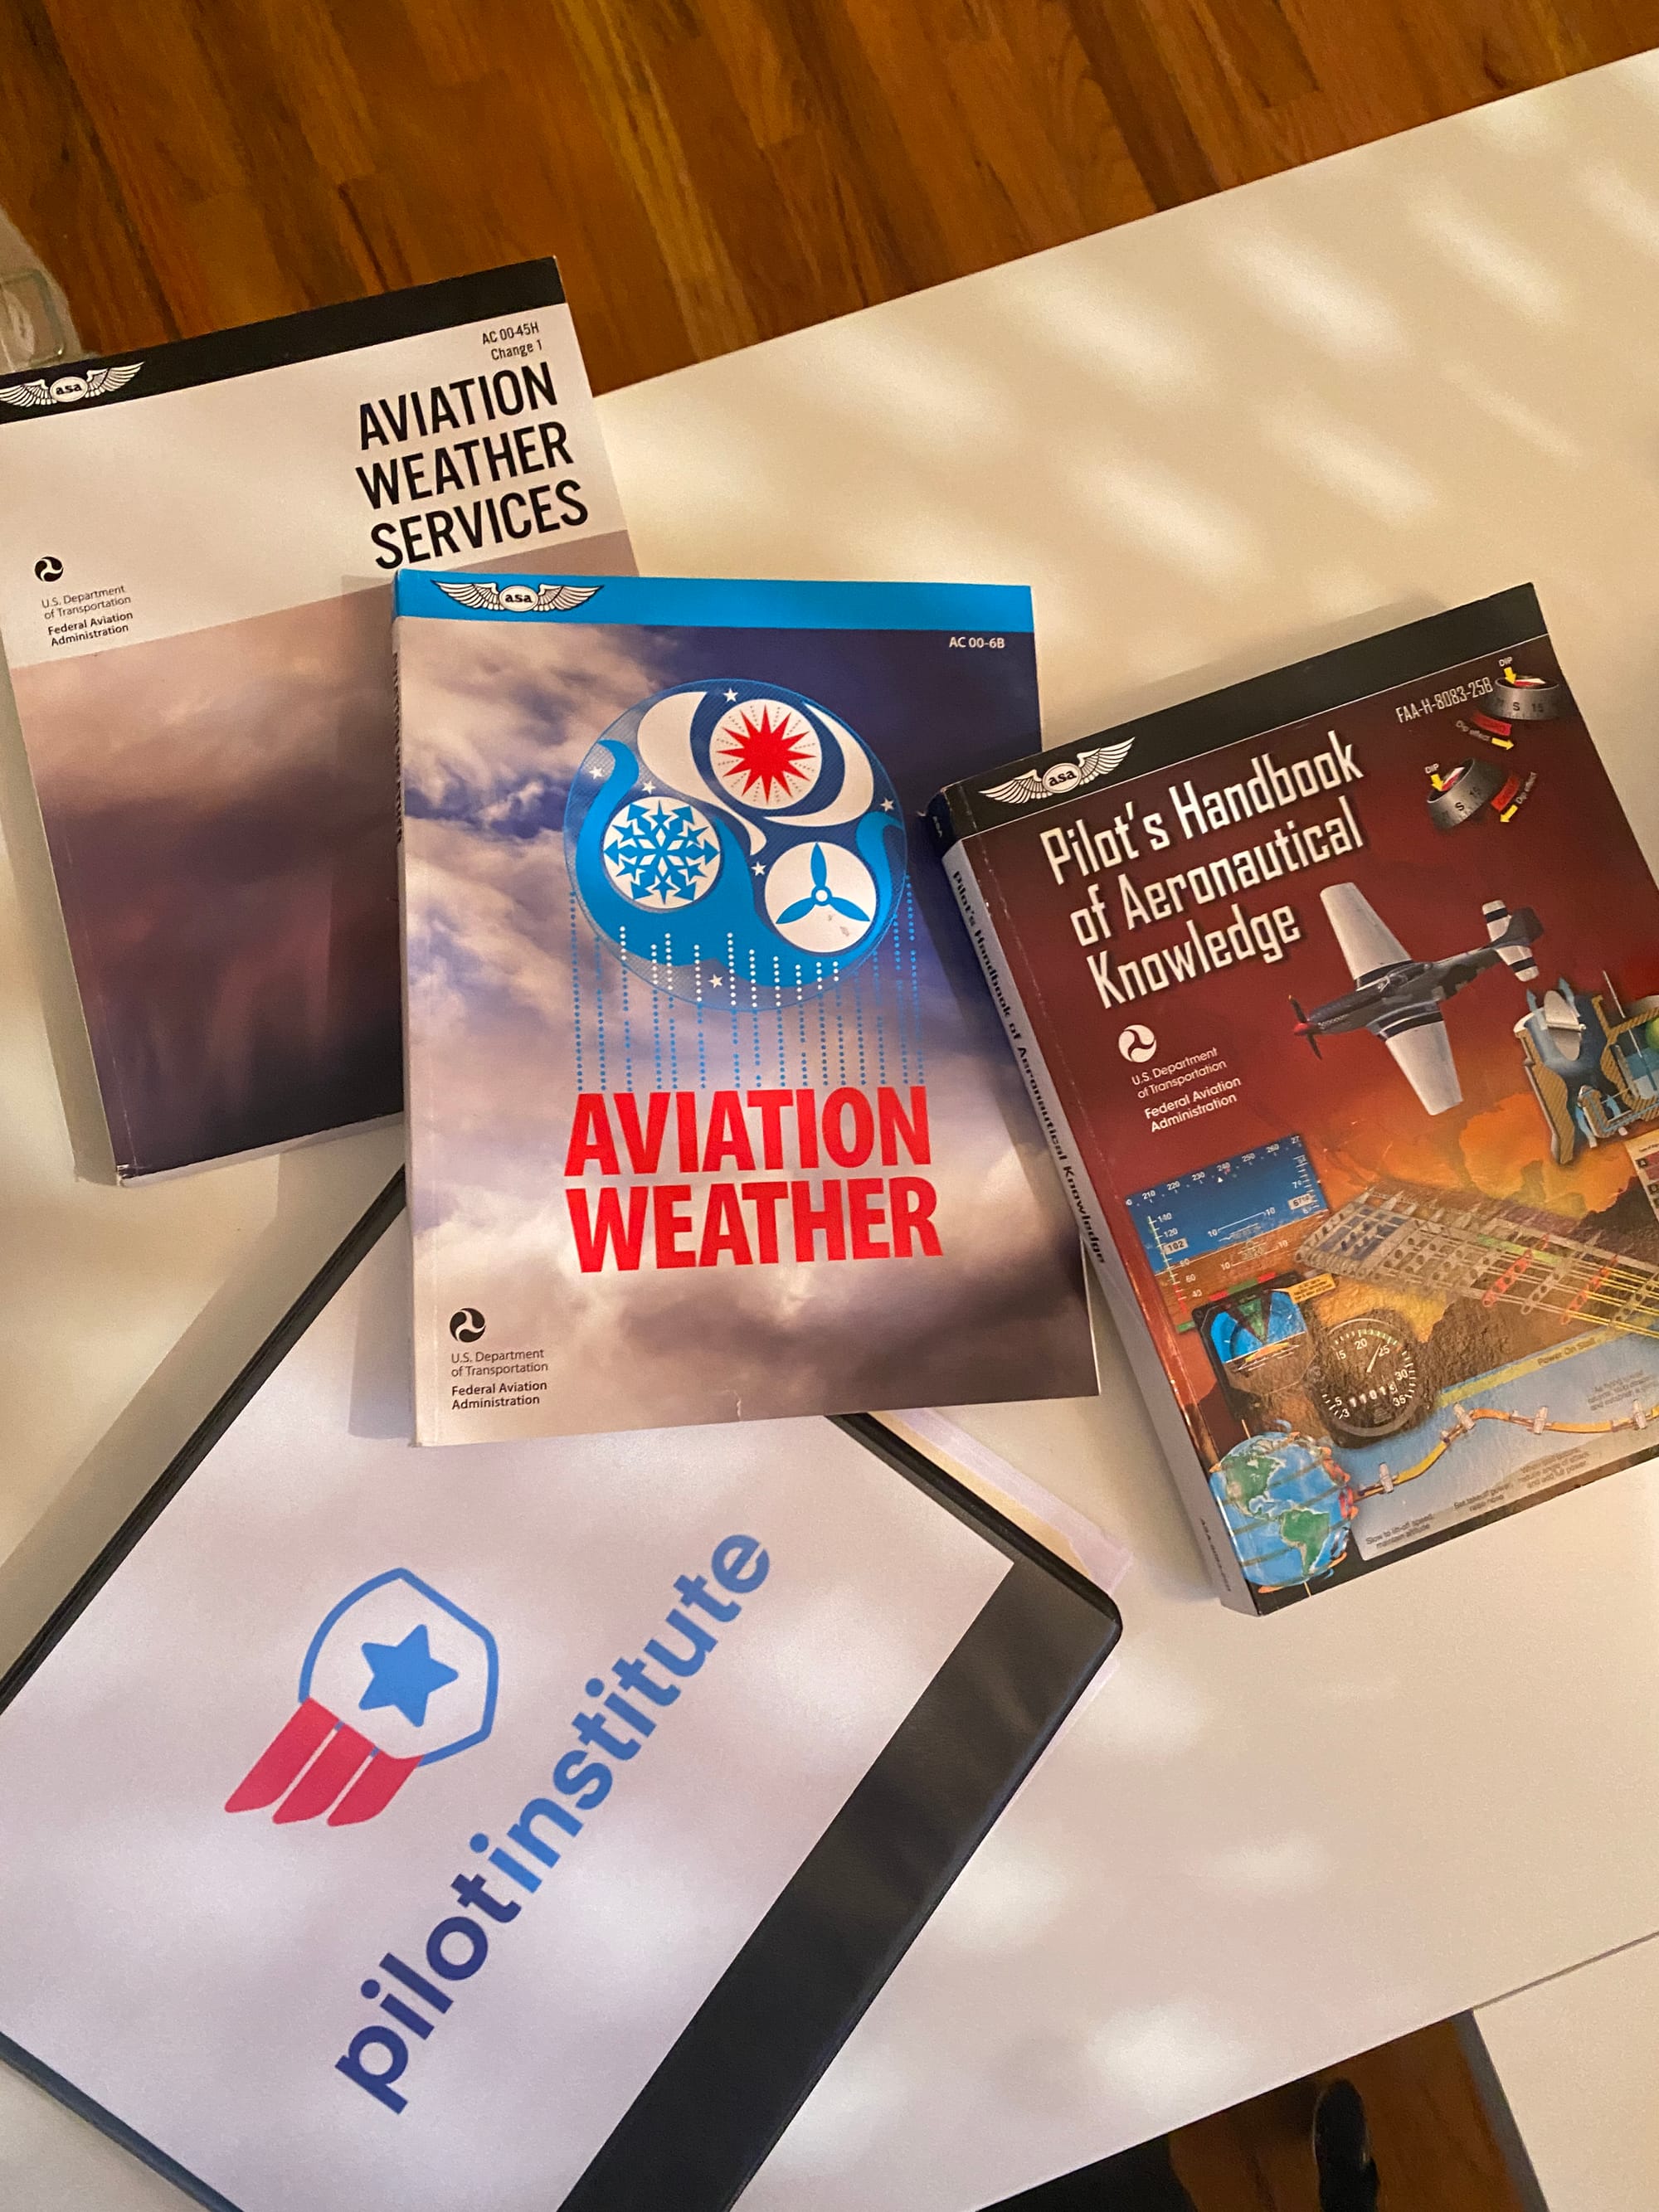
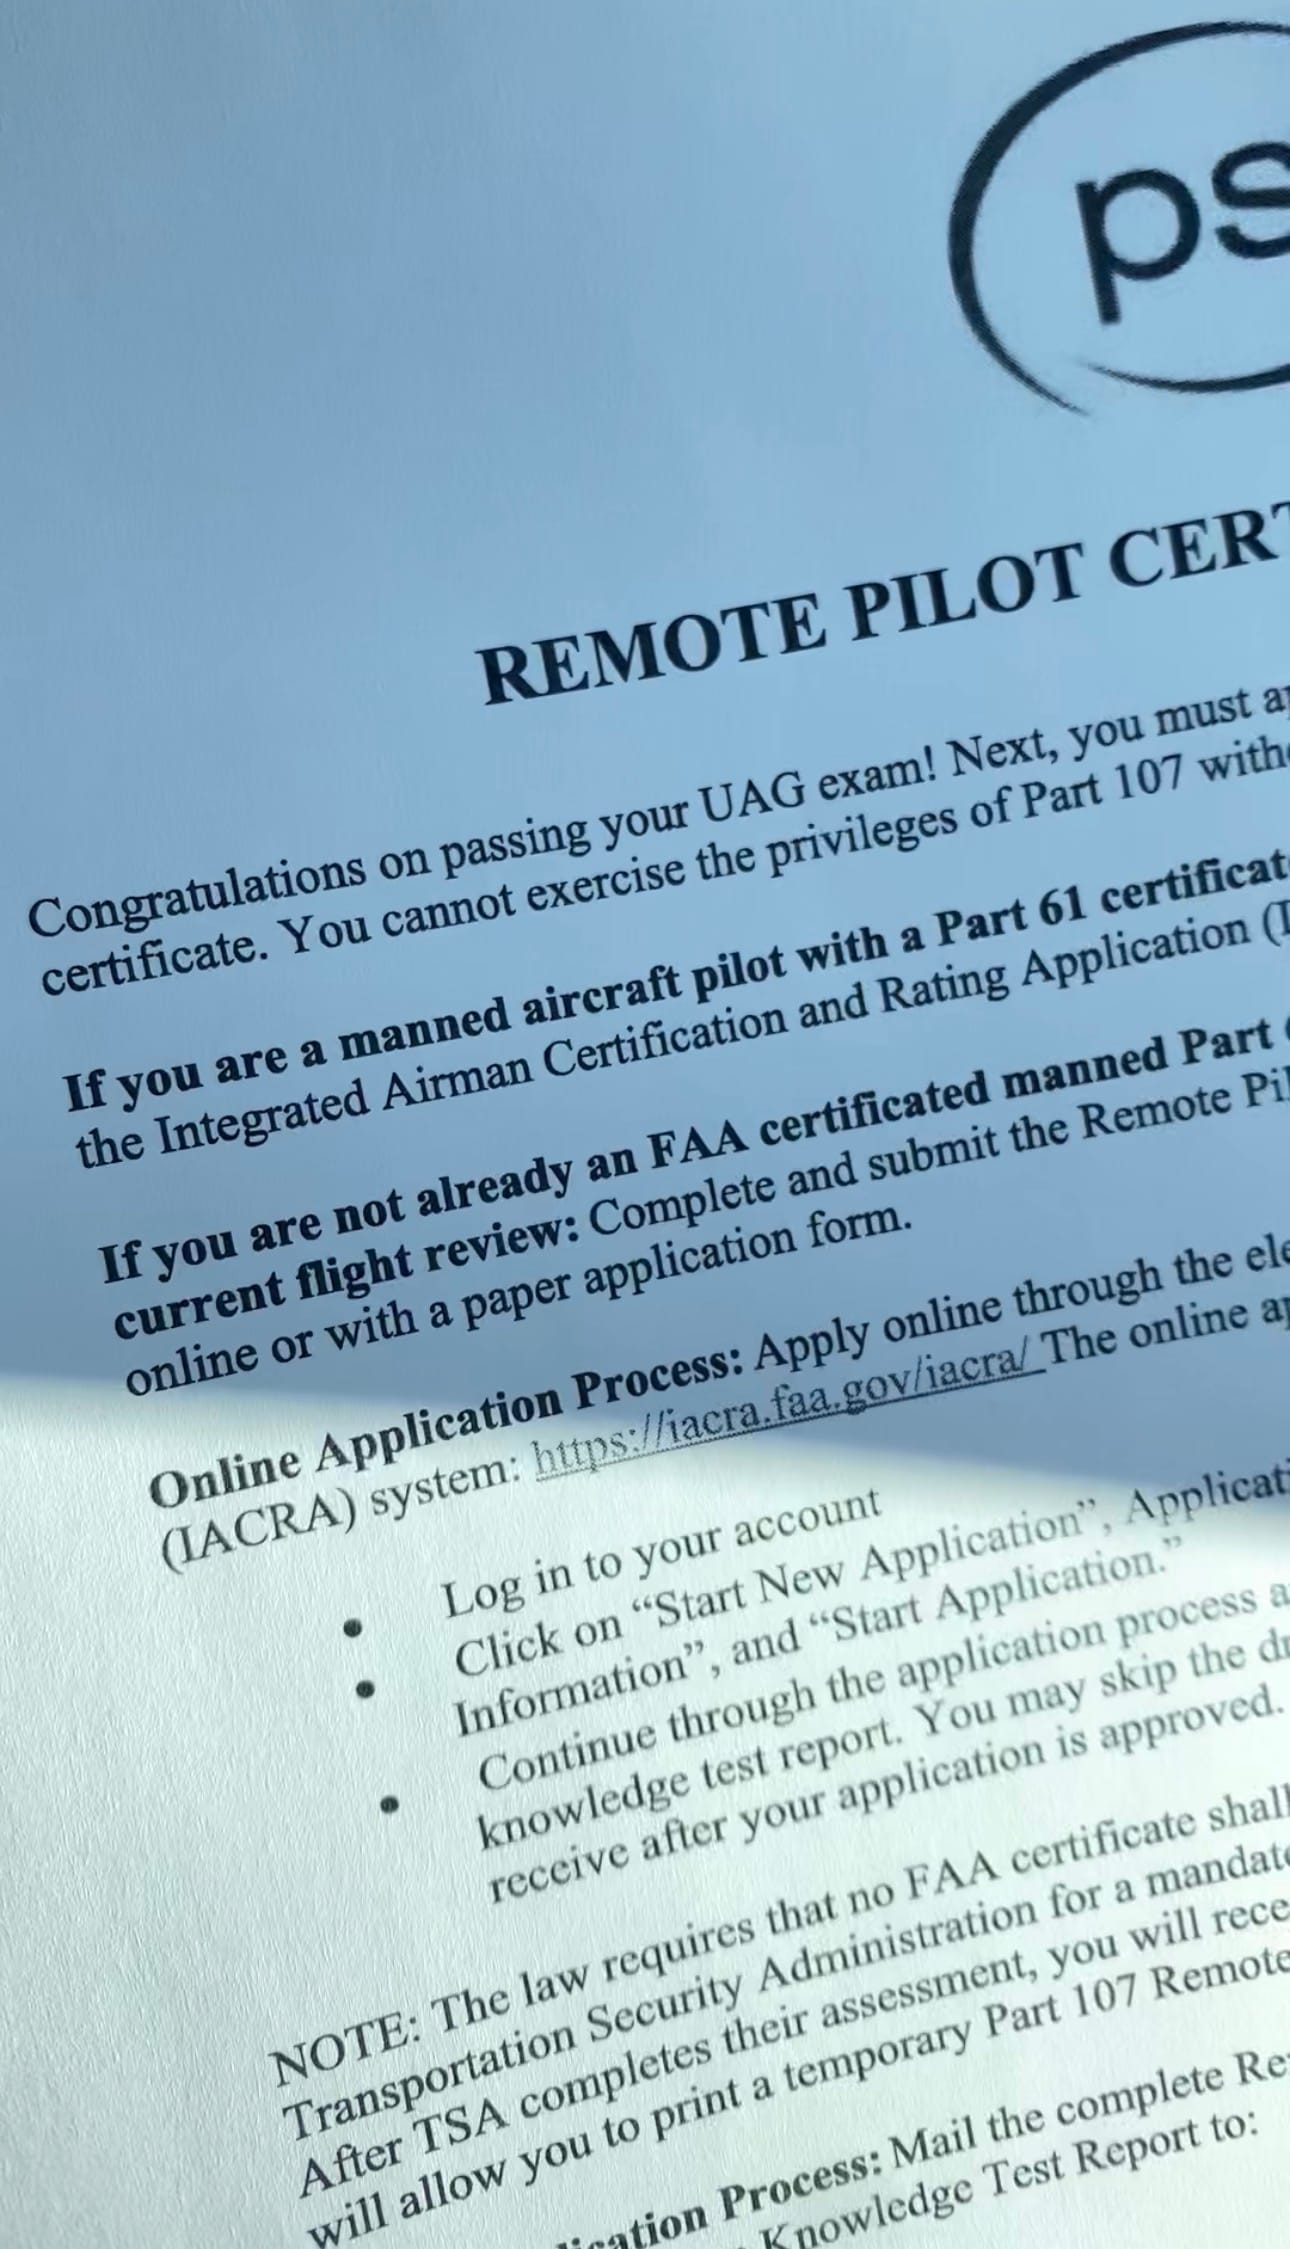
I signed up for the Pilot Institute Part 107 course to get my commercial drone license.
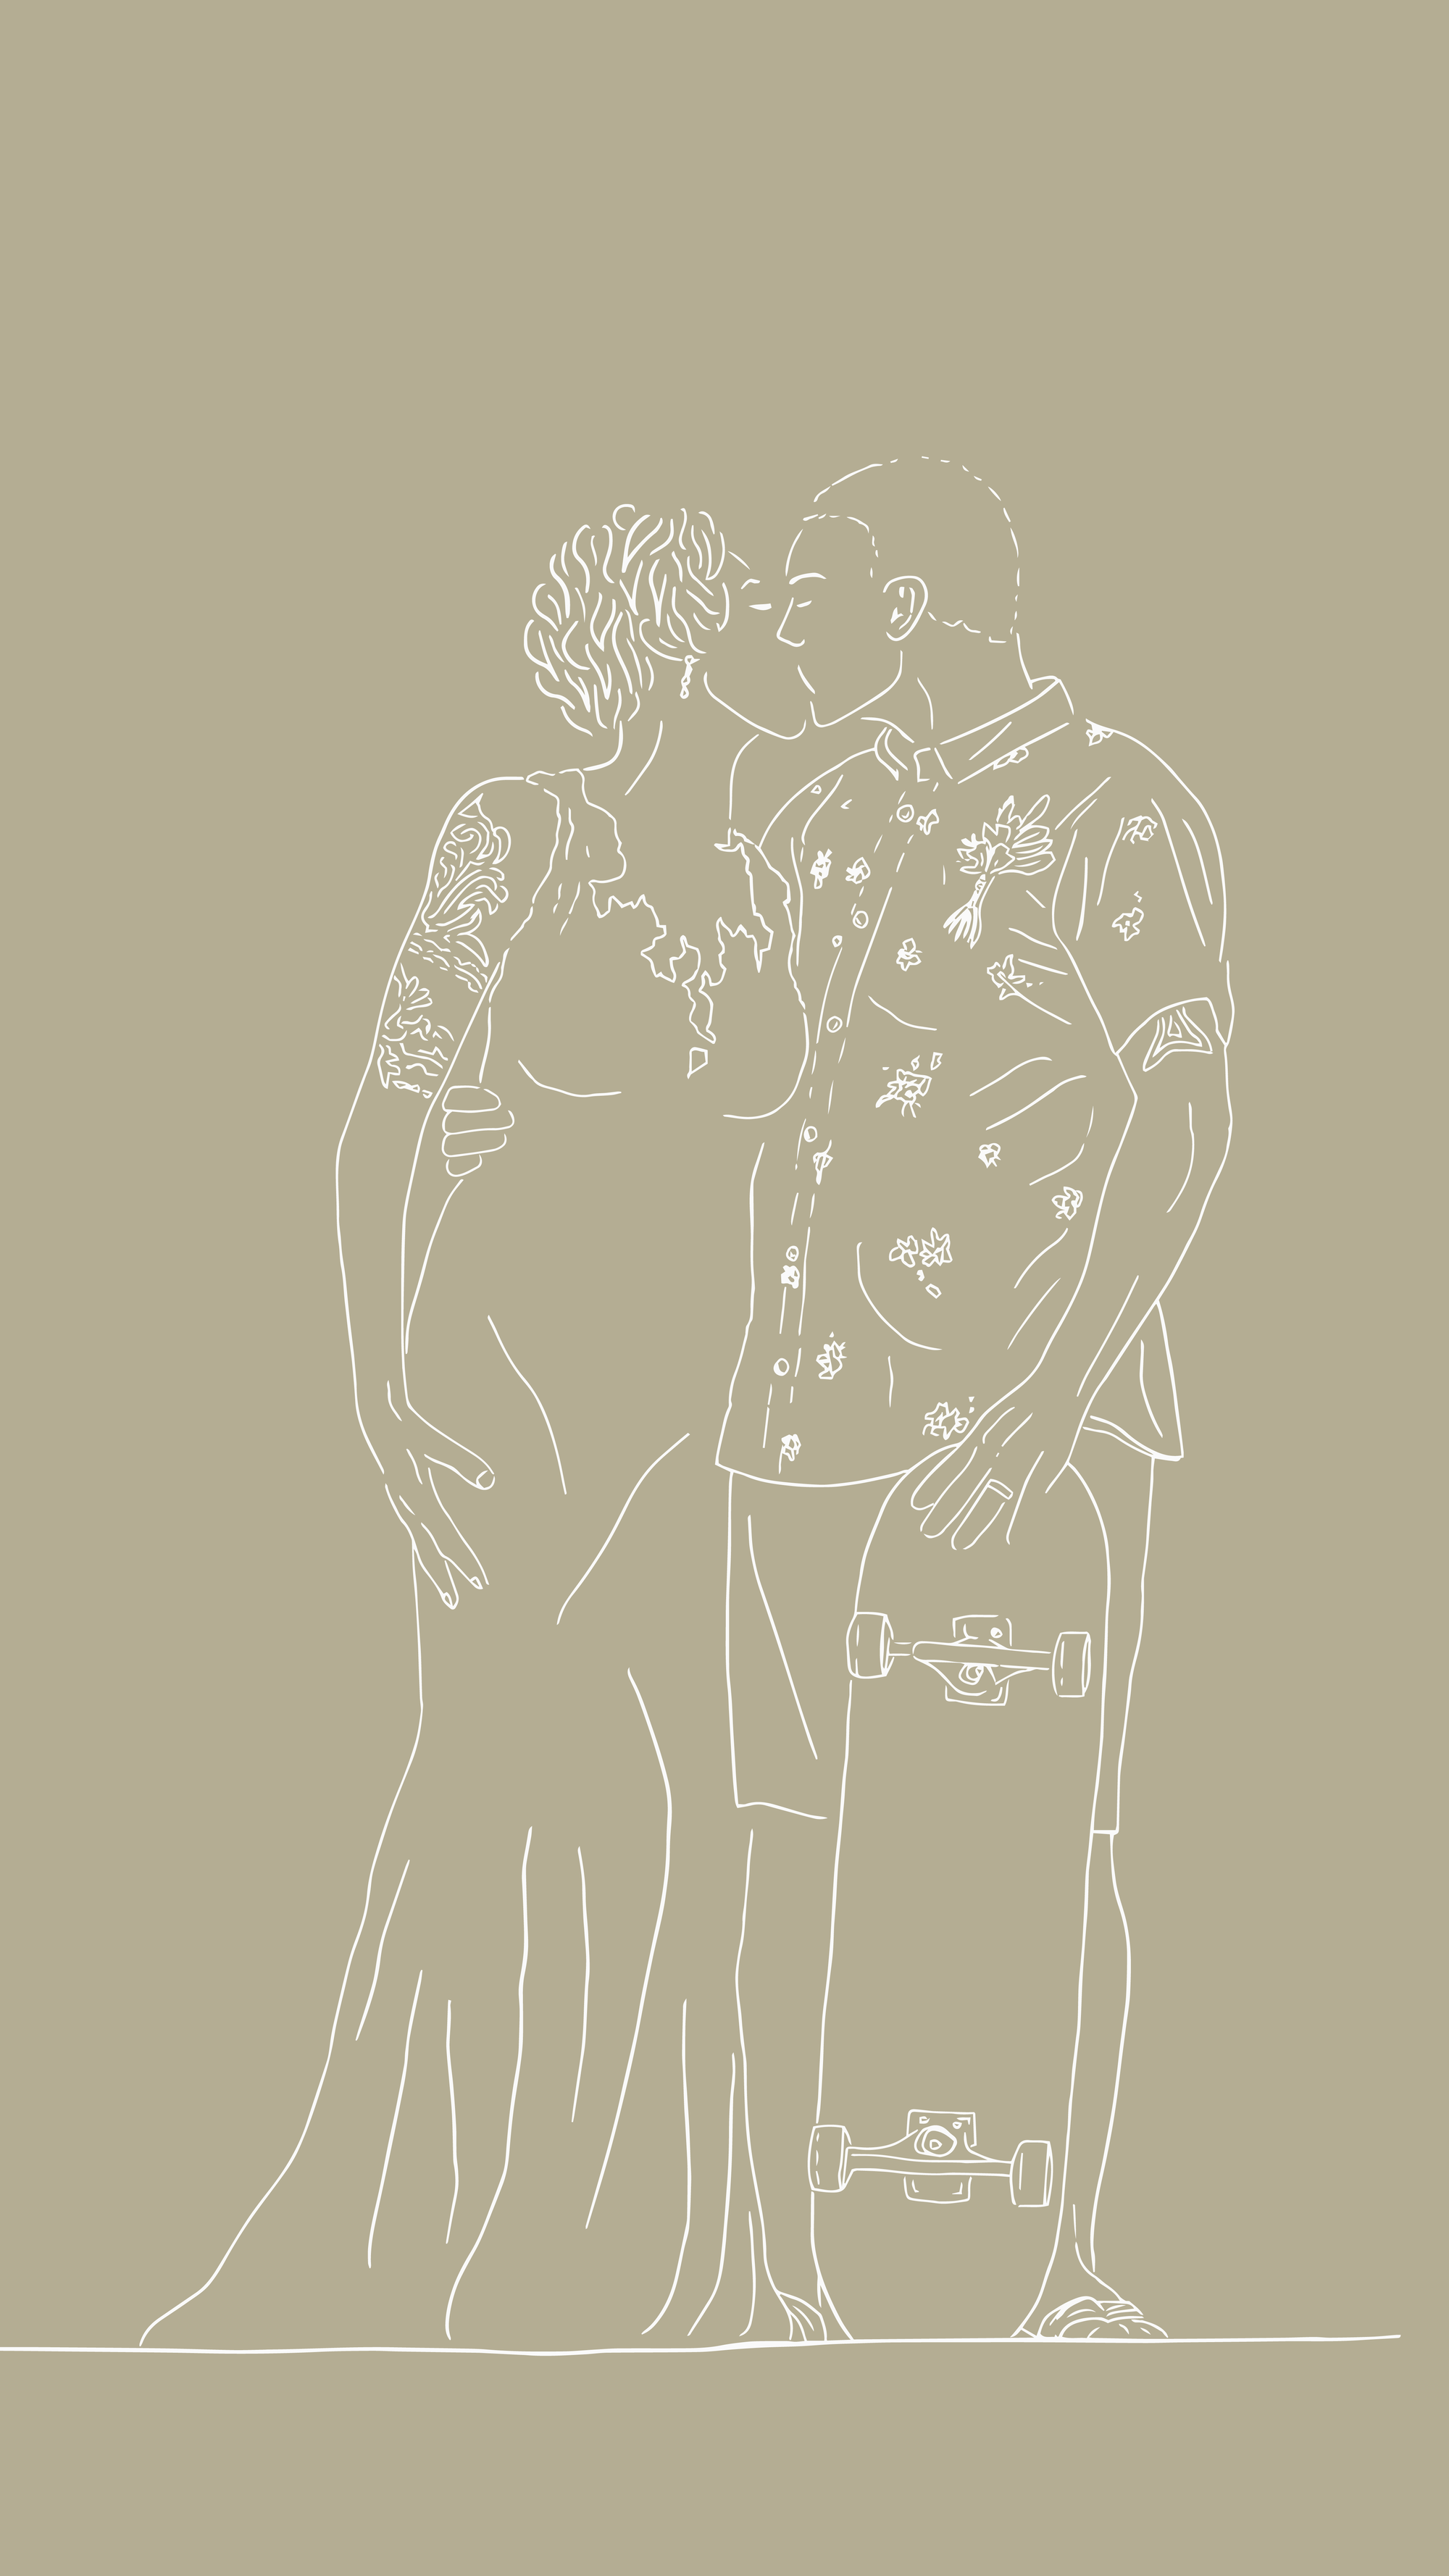
Designed a surf + skate wedding suite for a friend.
The New Year of 2023
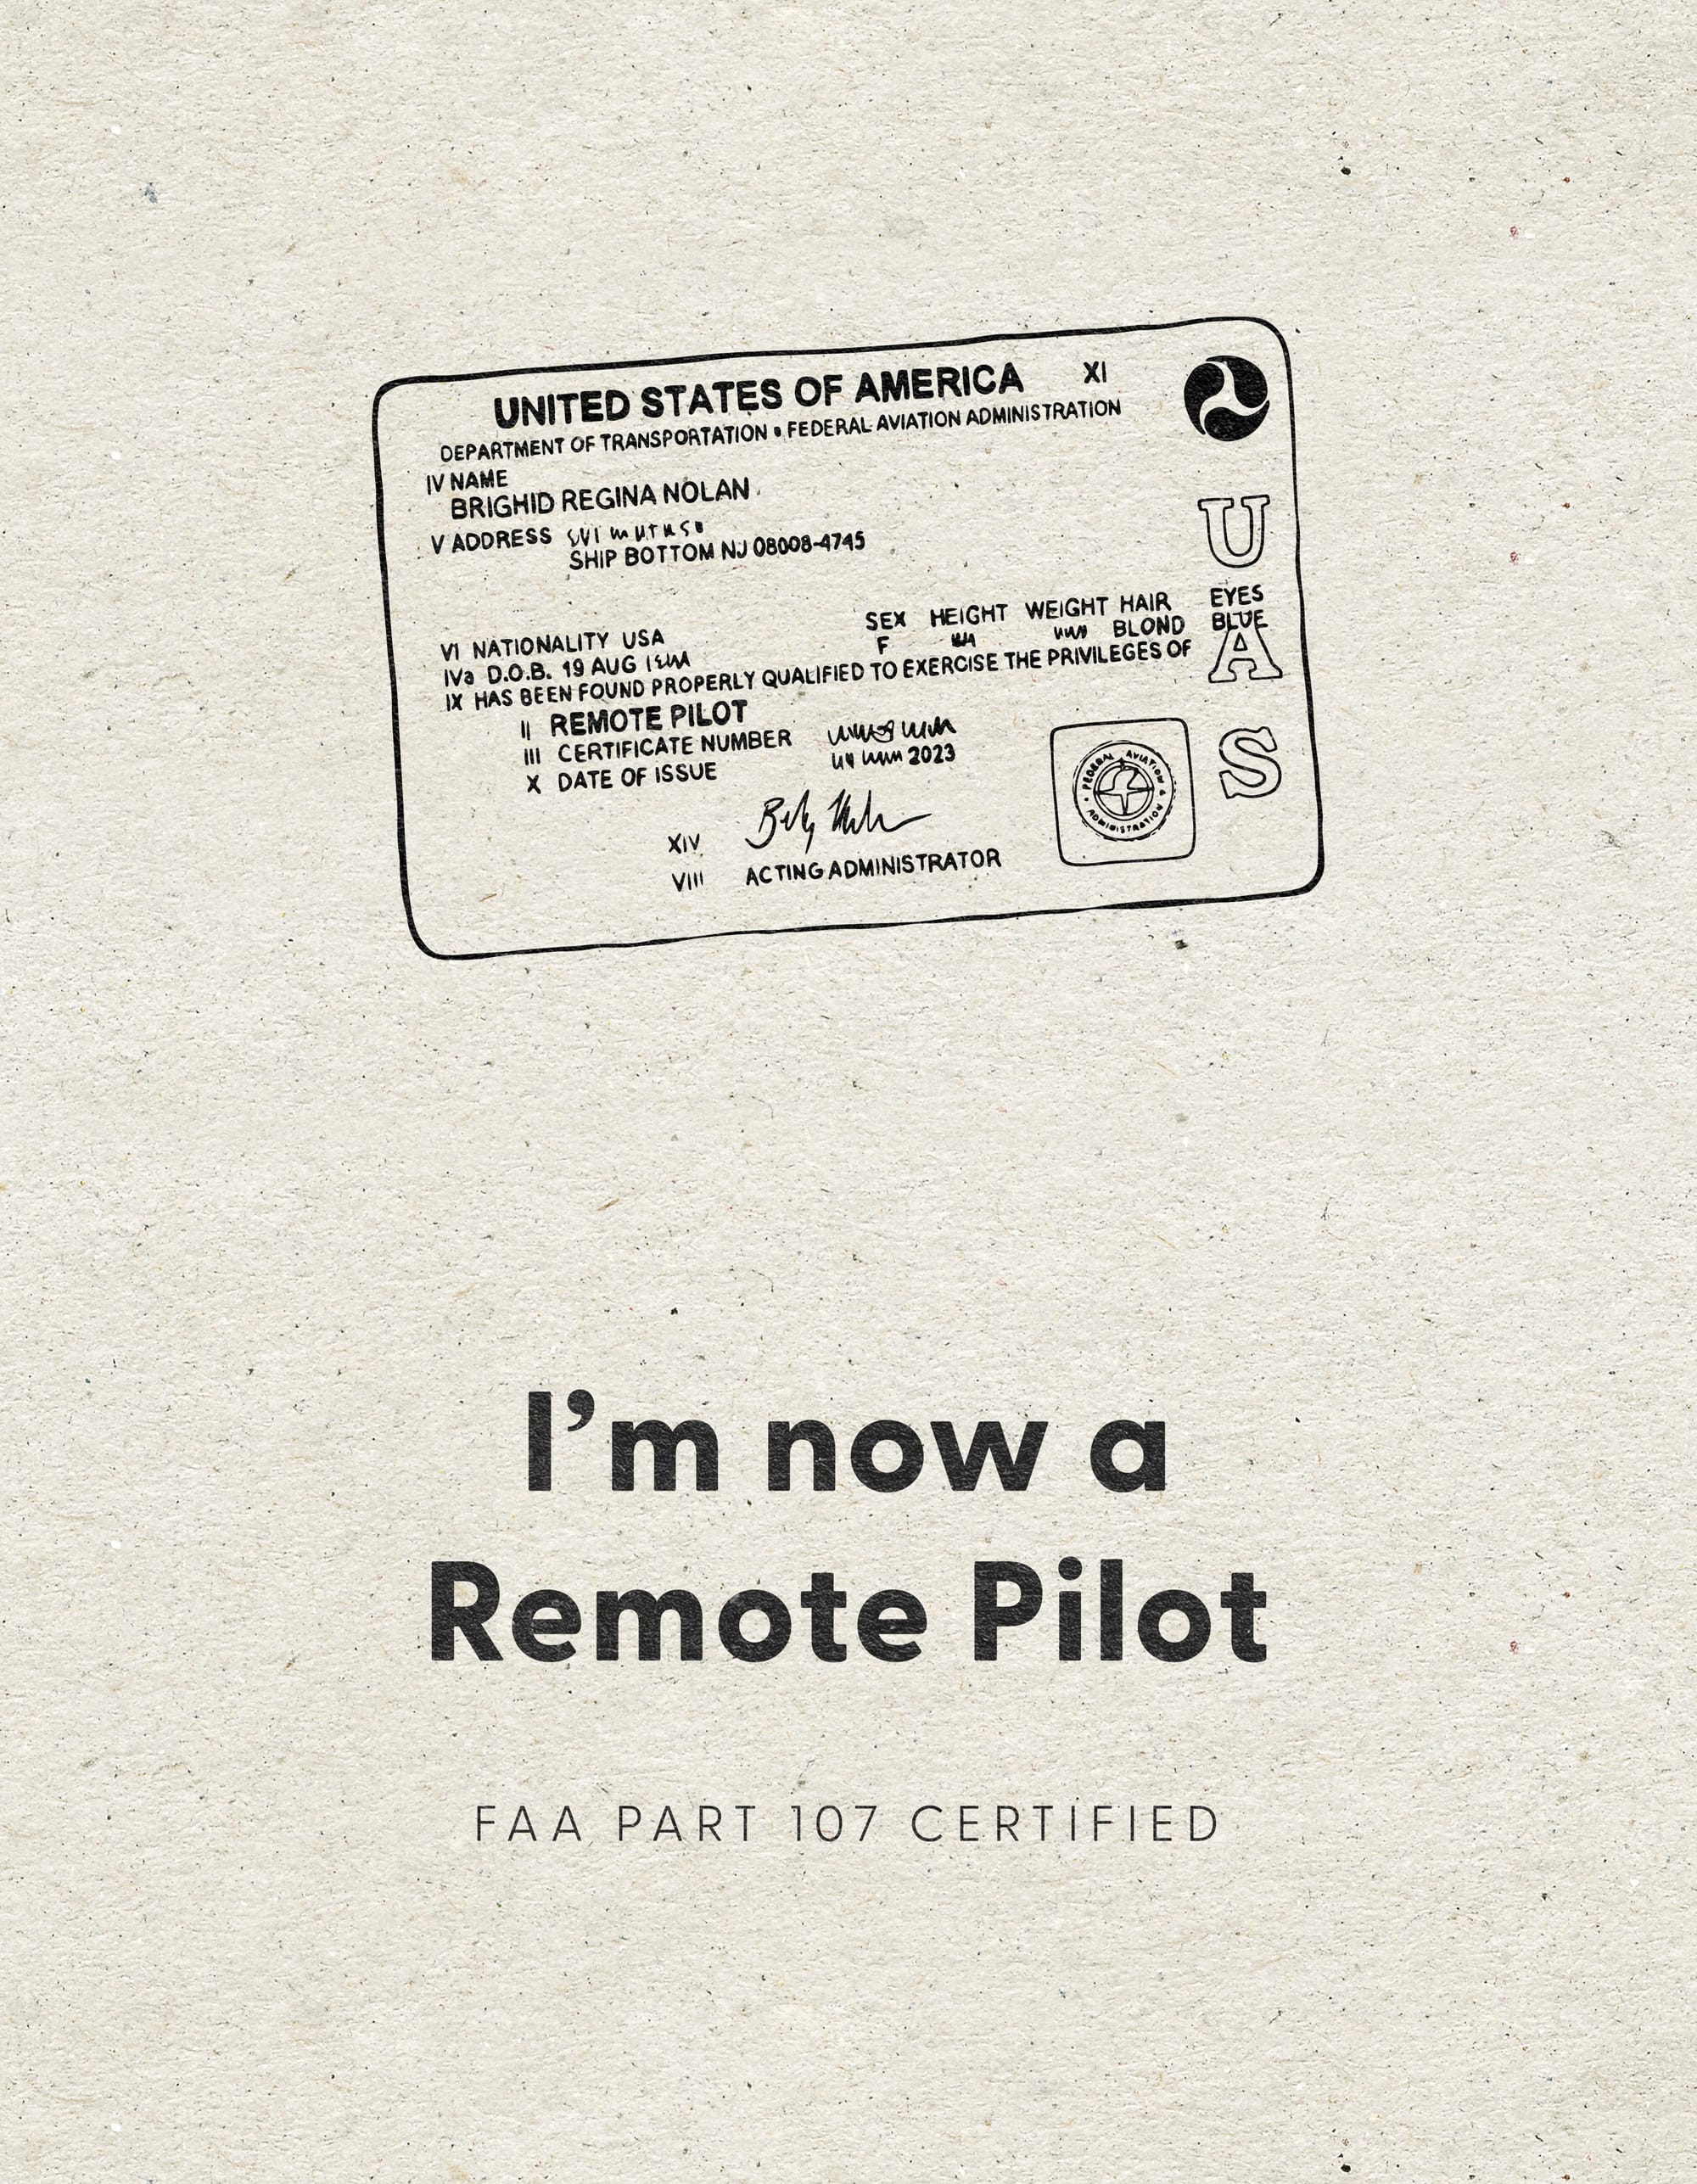
In February I passed my drone test and became a certified remote pilot.
Fall + Winter 2023
We had decided to make the move Florida. I had one last pop-up and packed up my studio.
Spring 2023
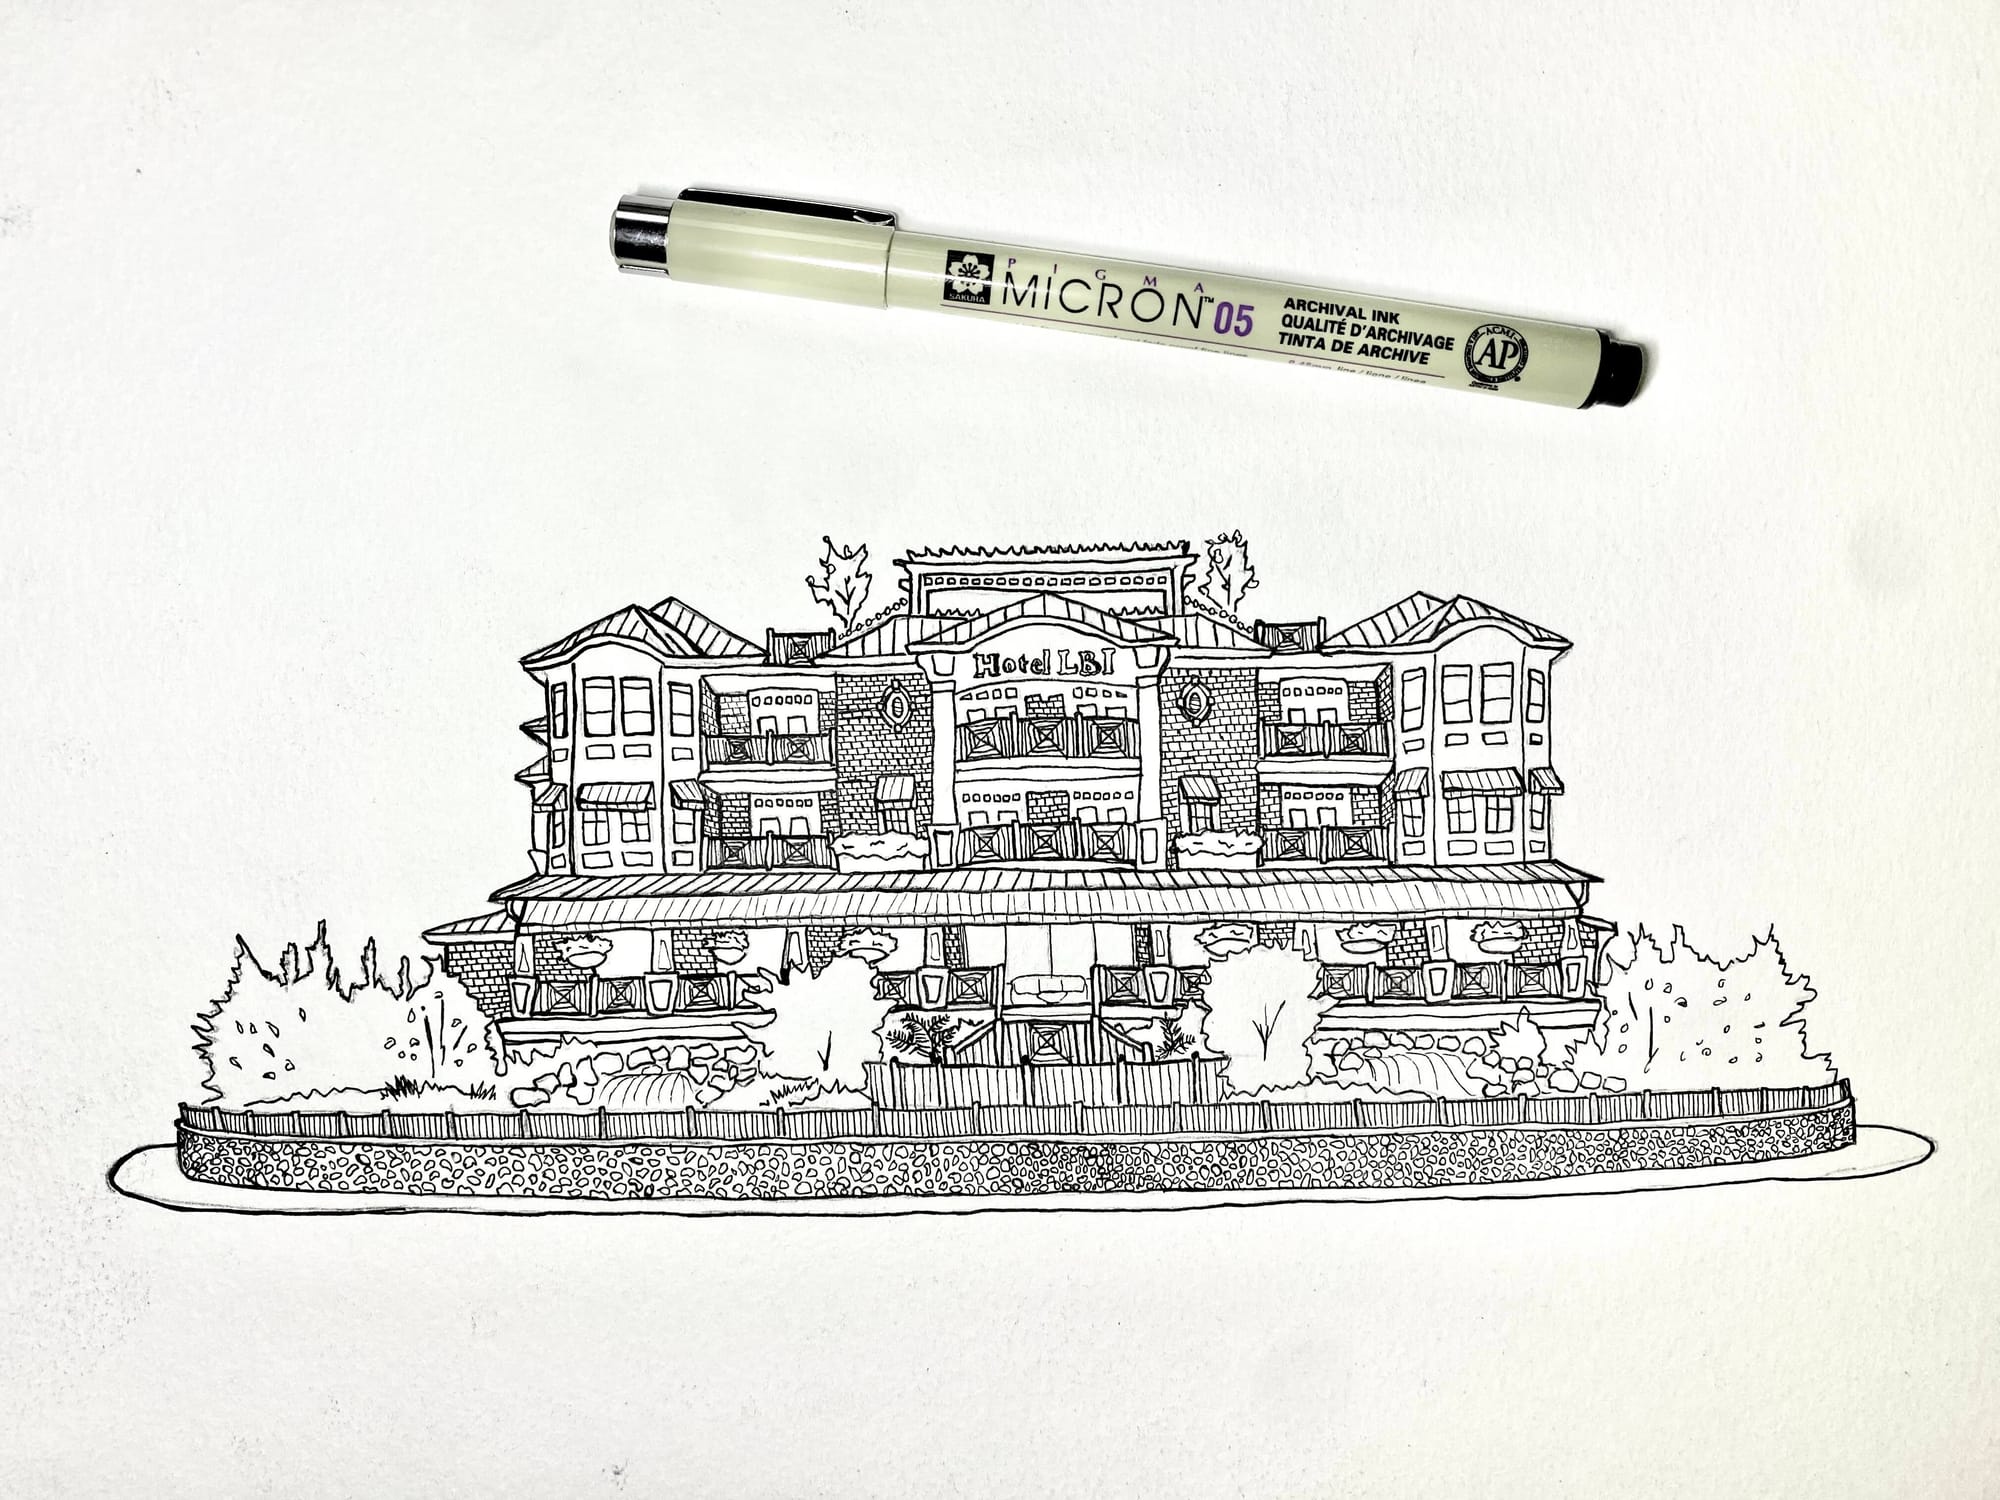
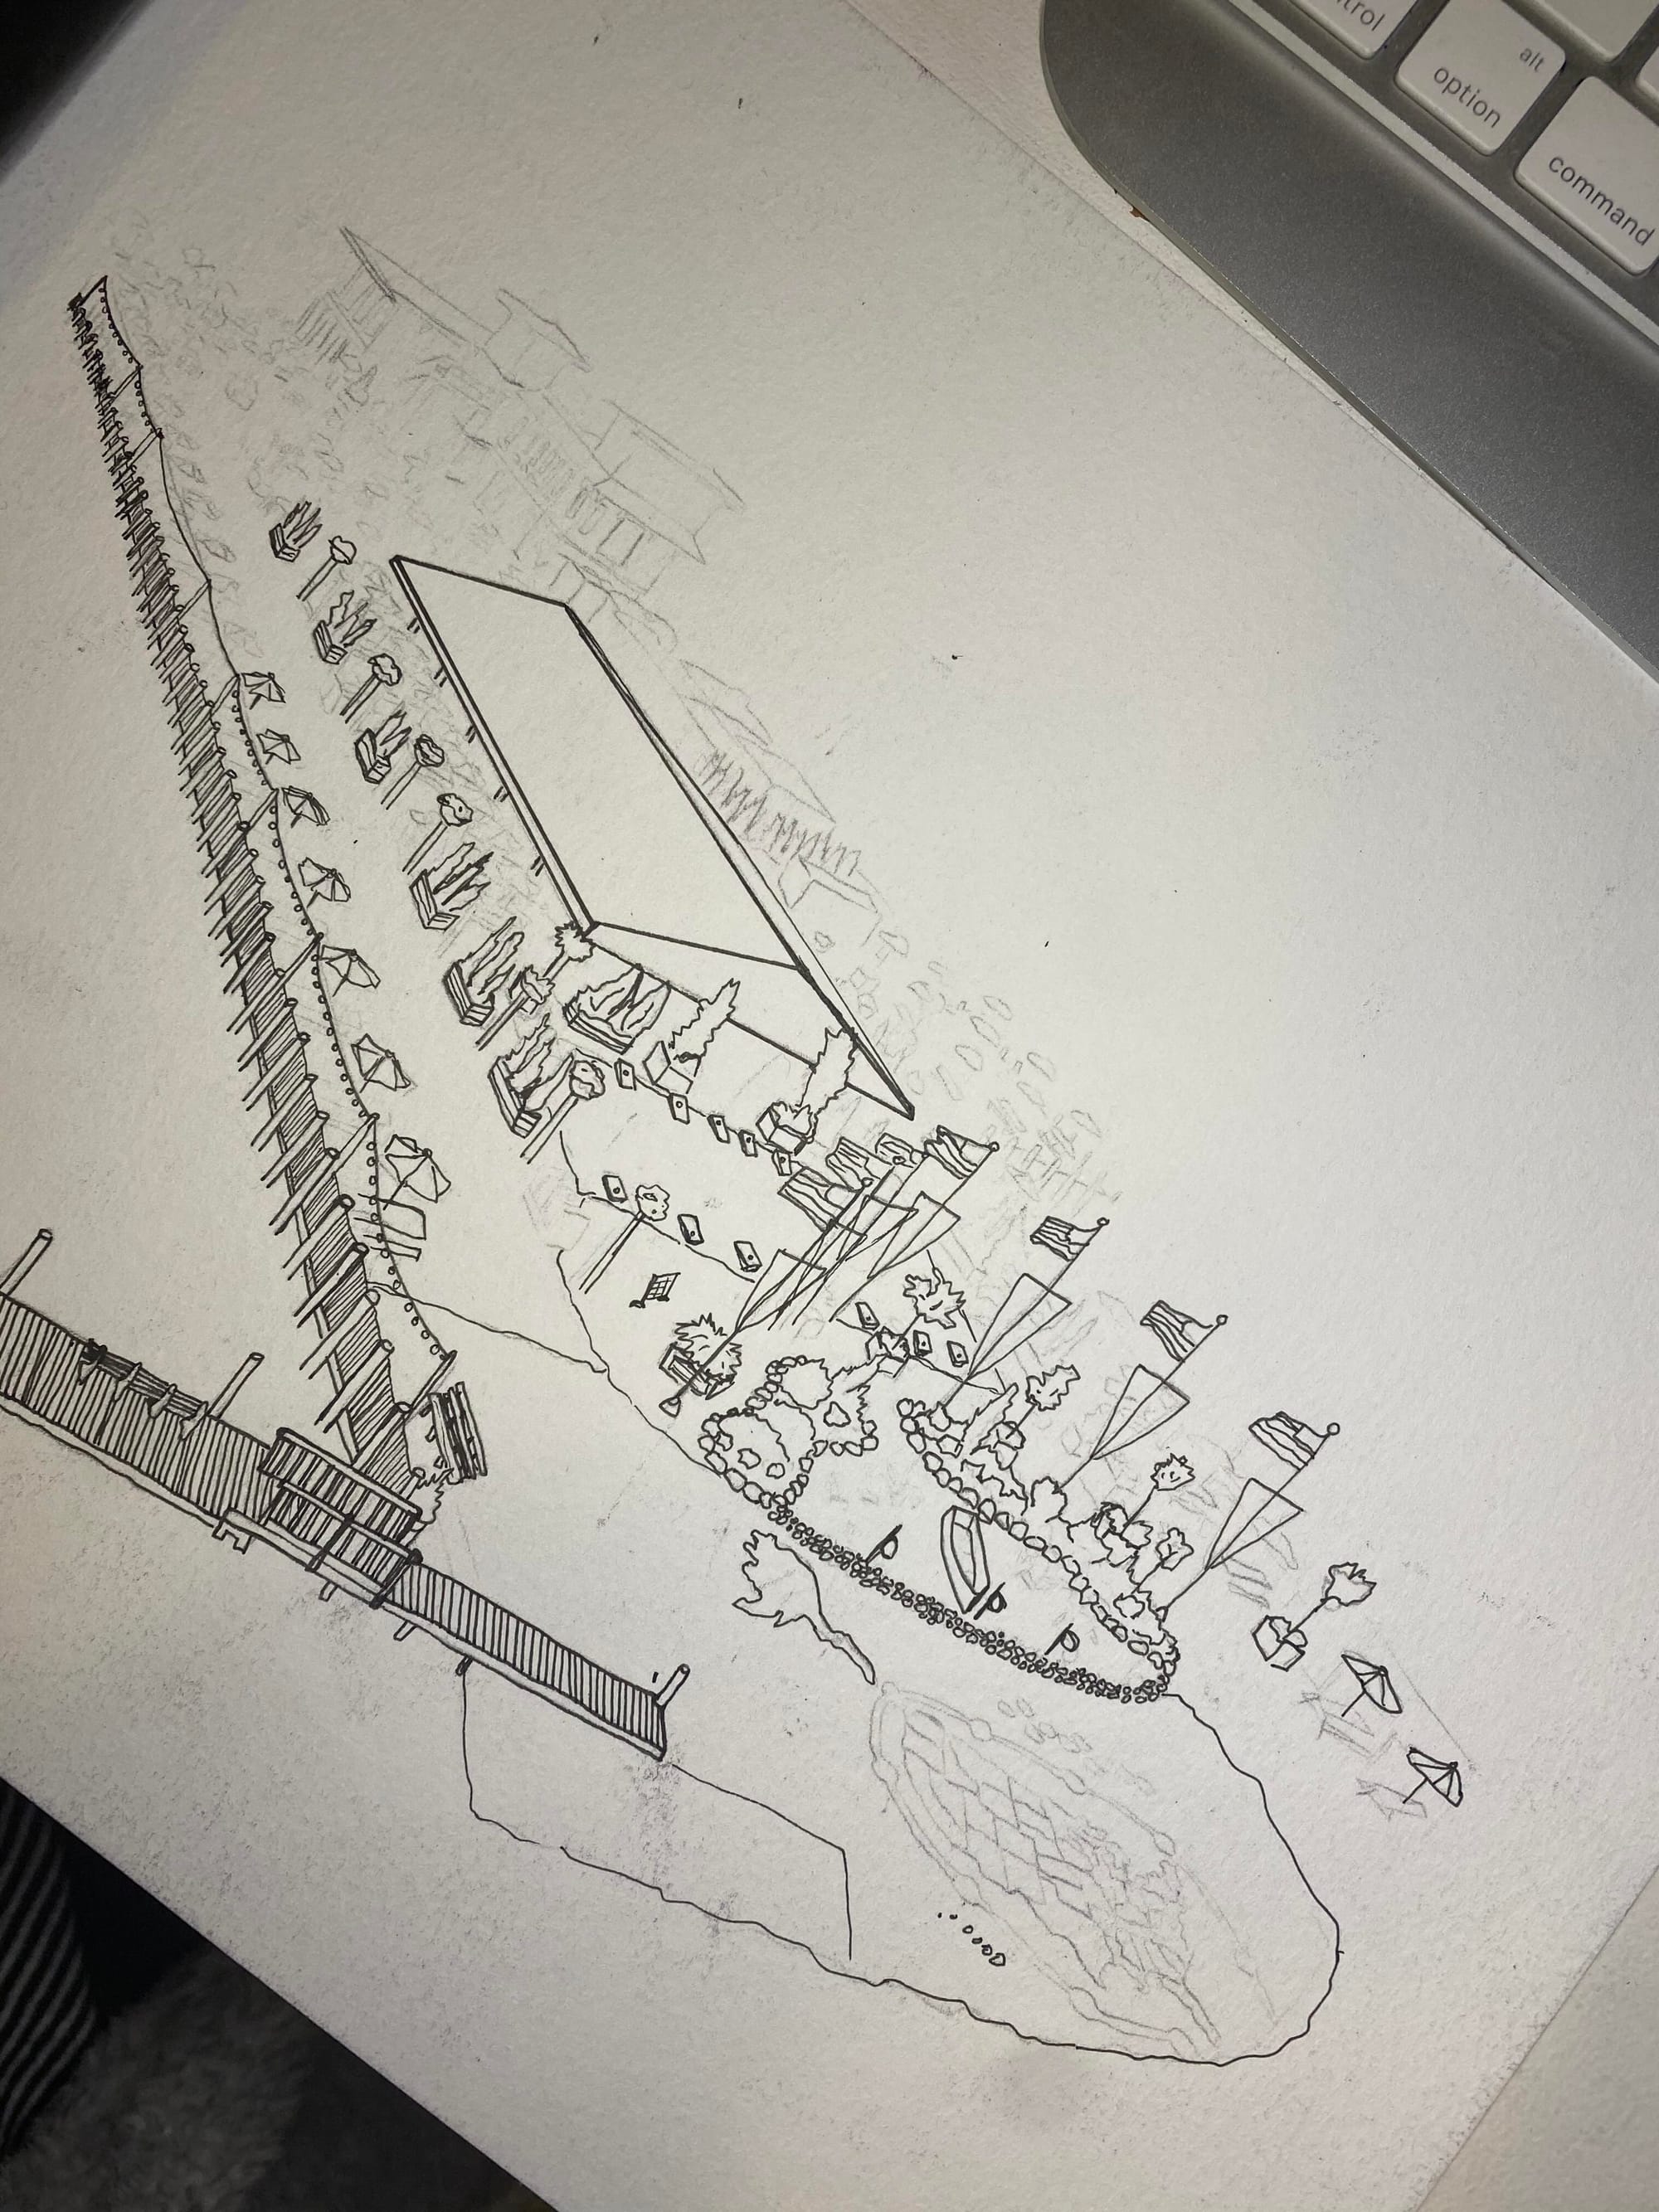
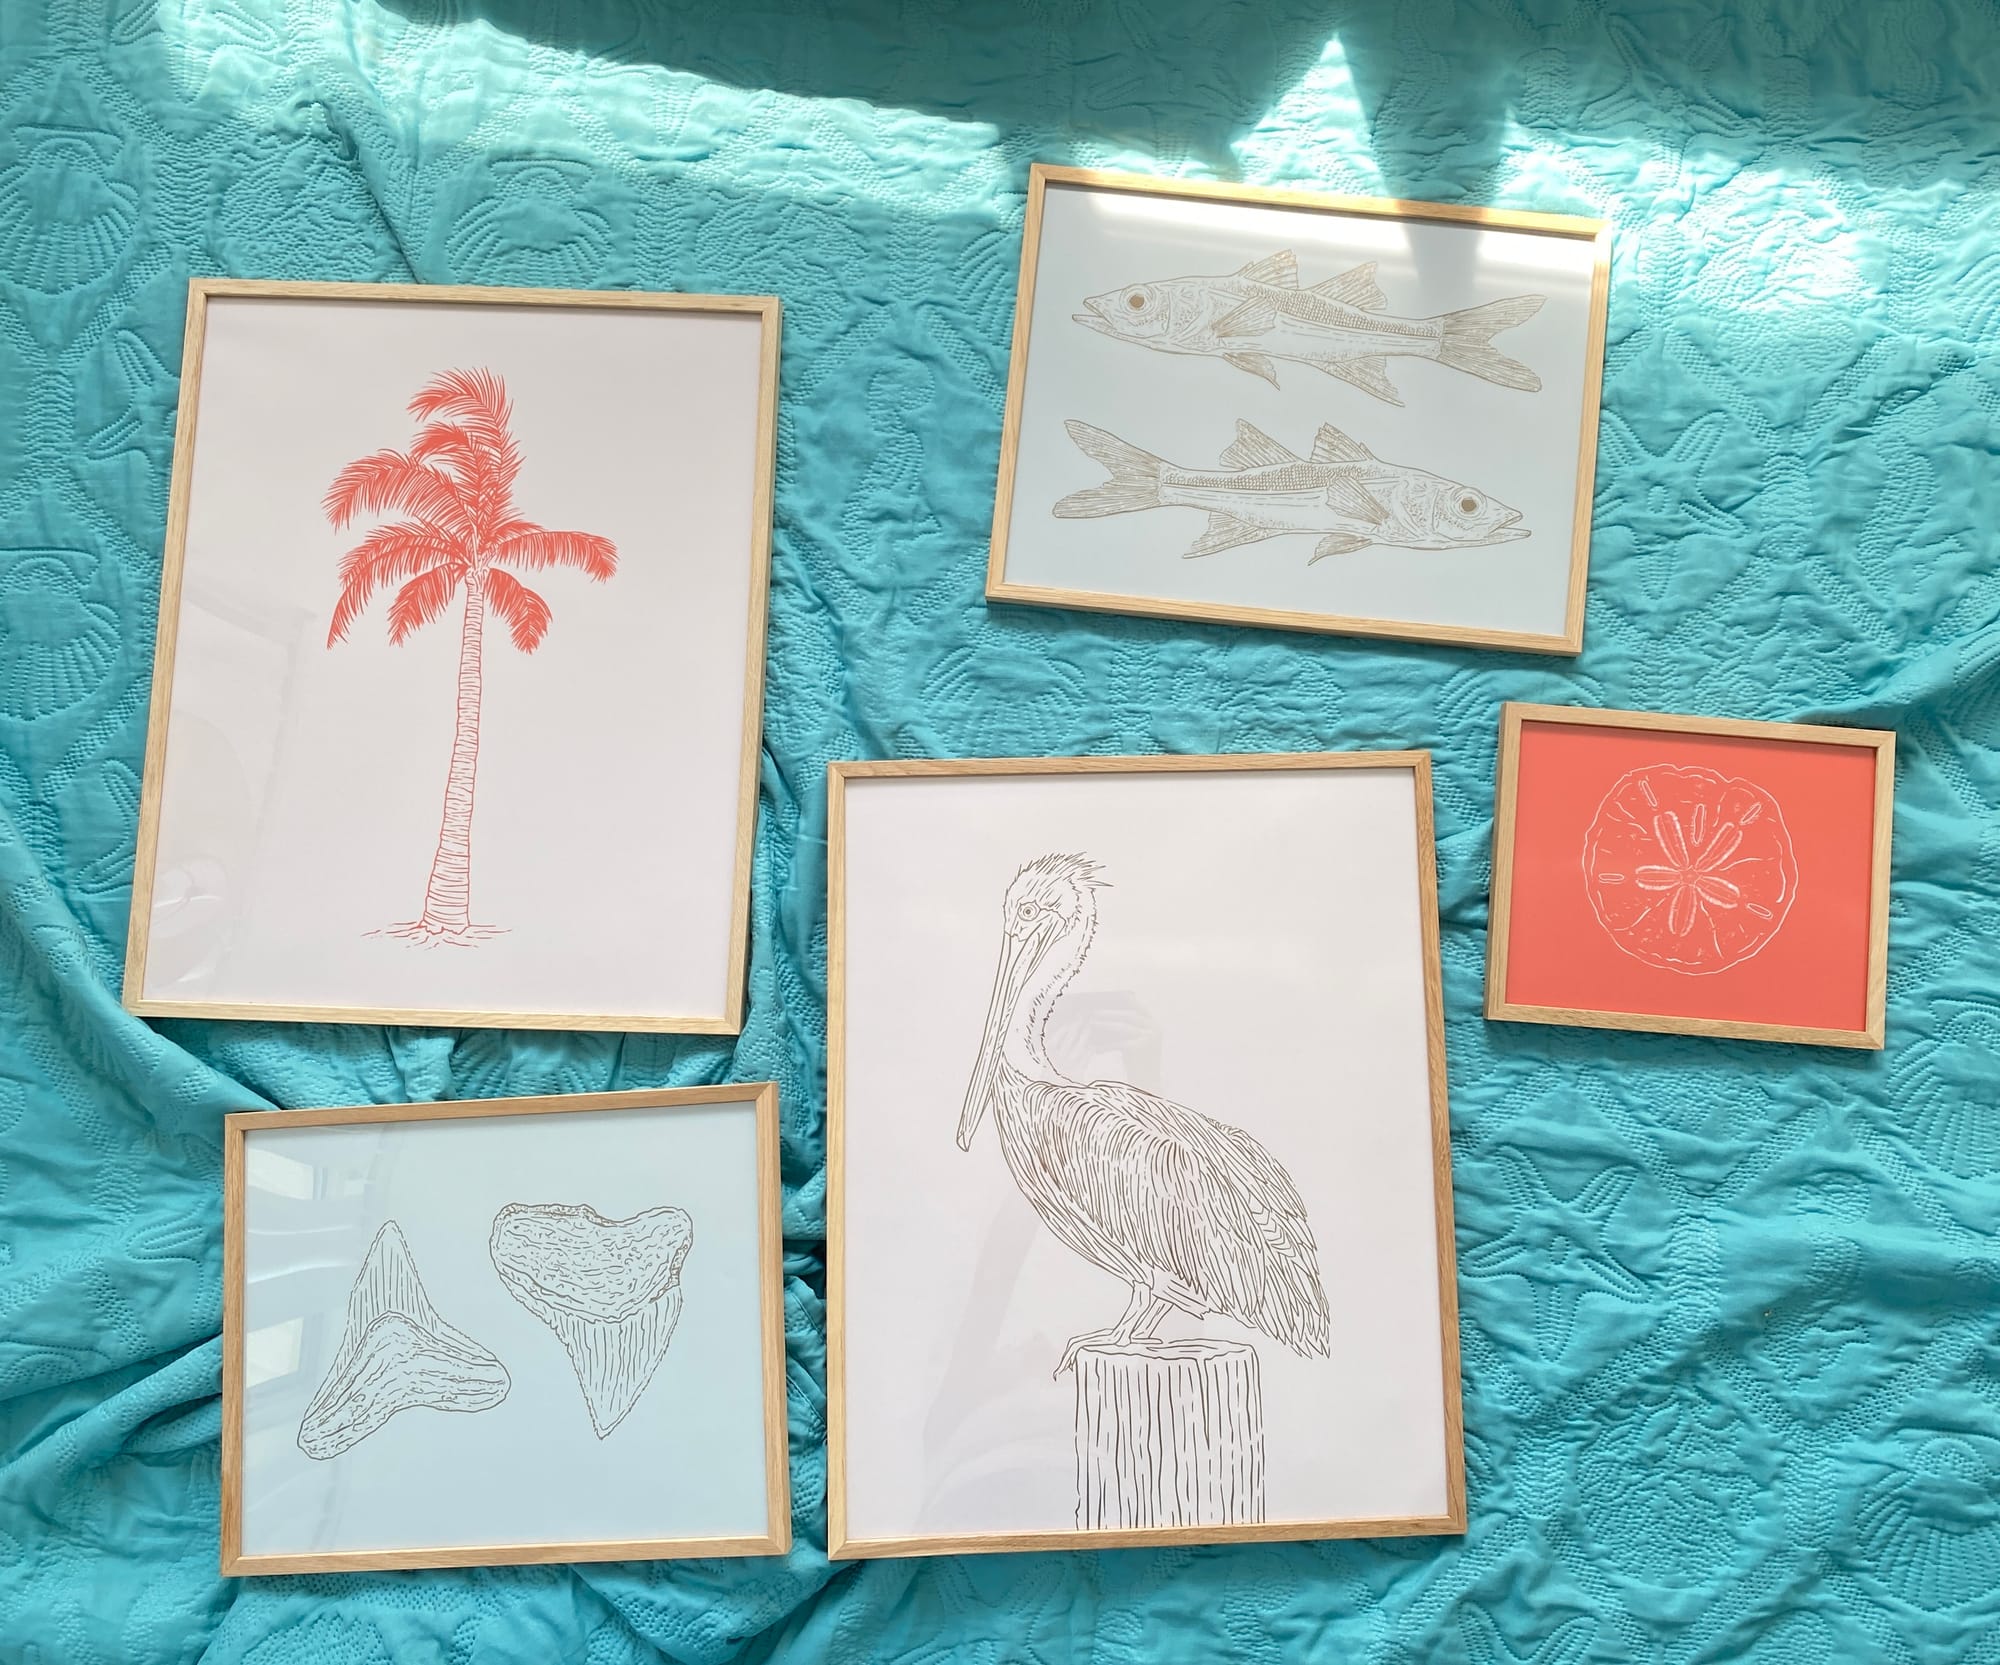
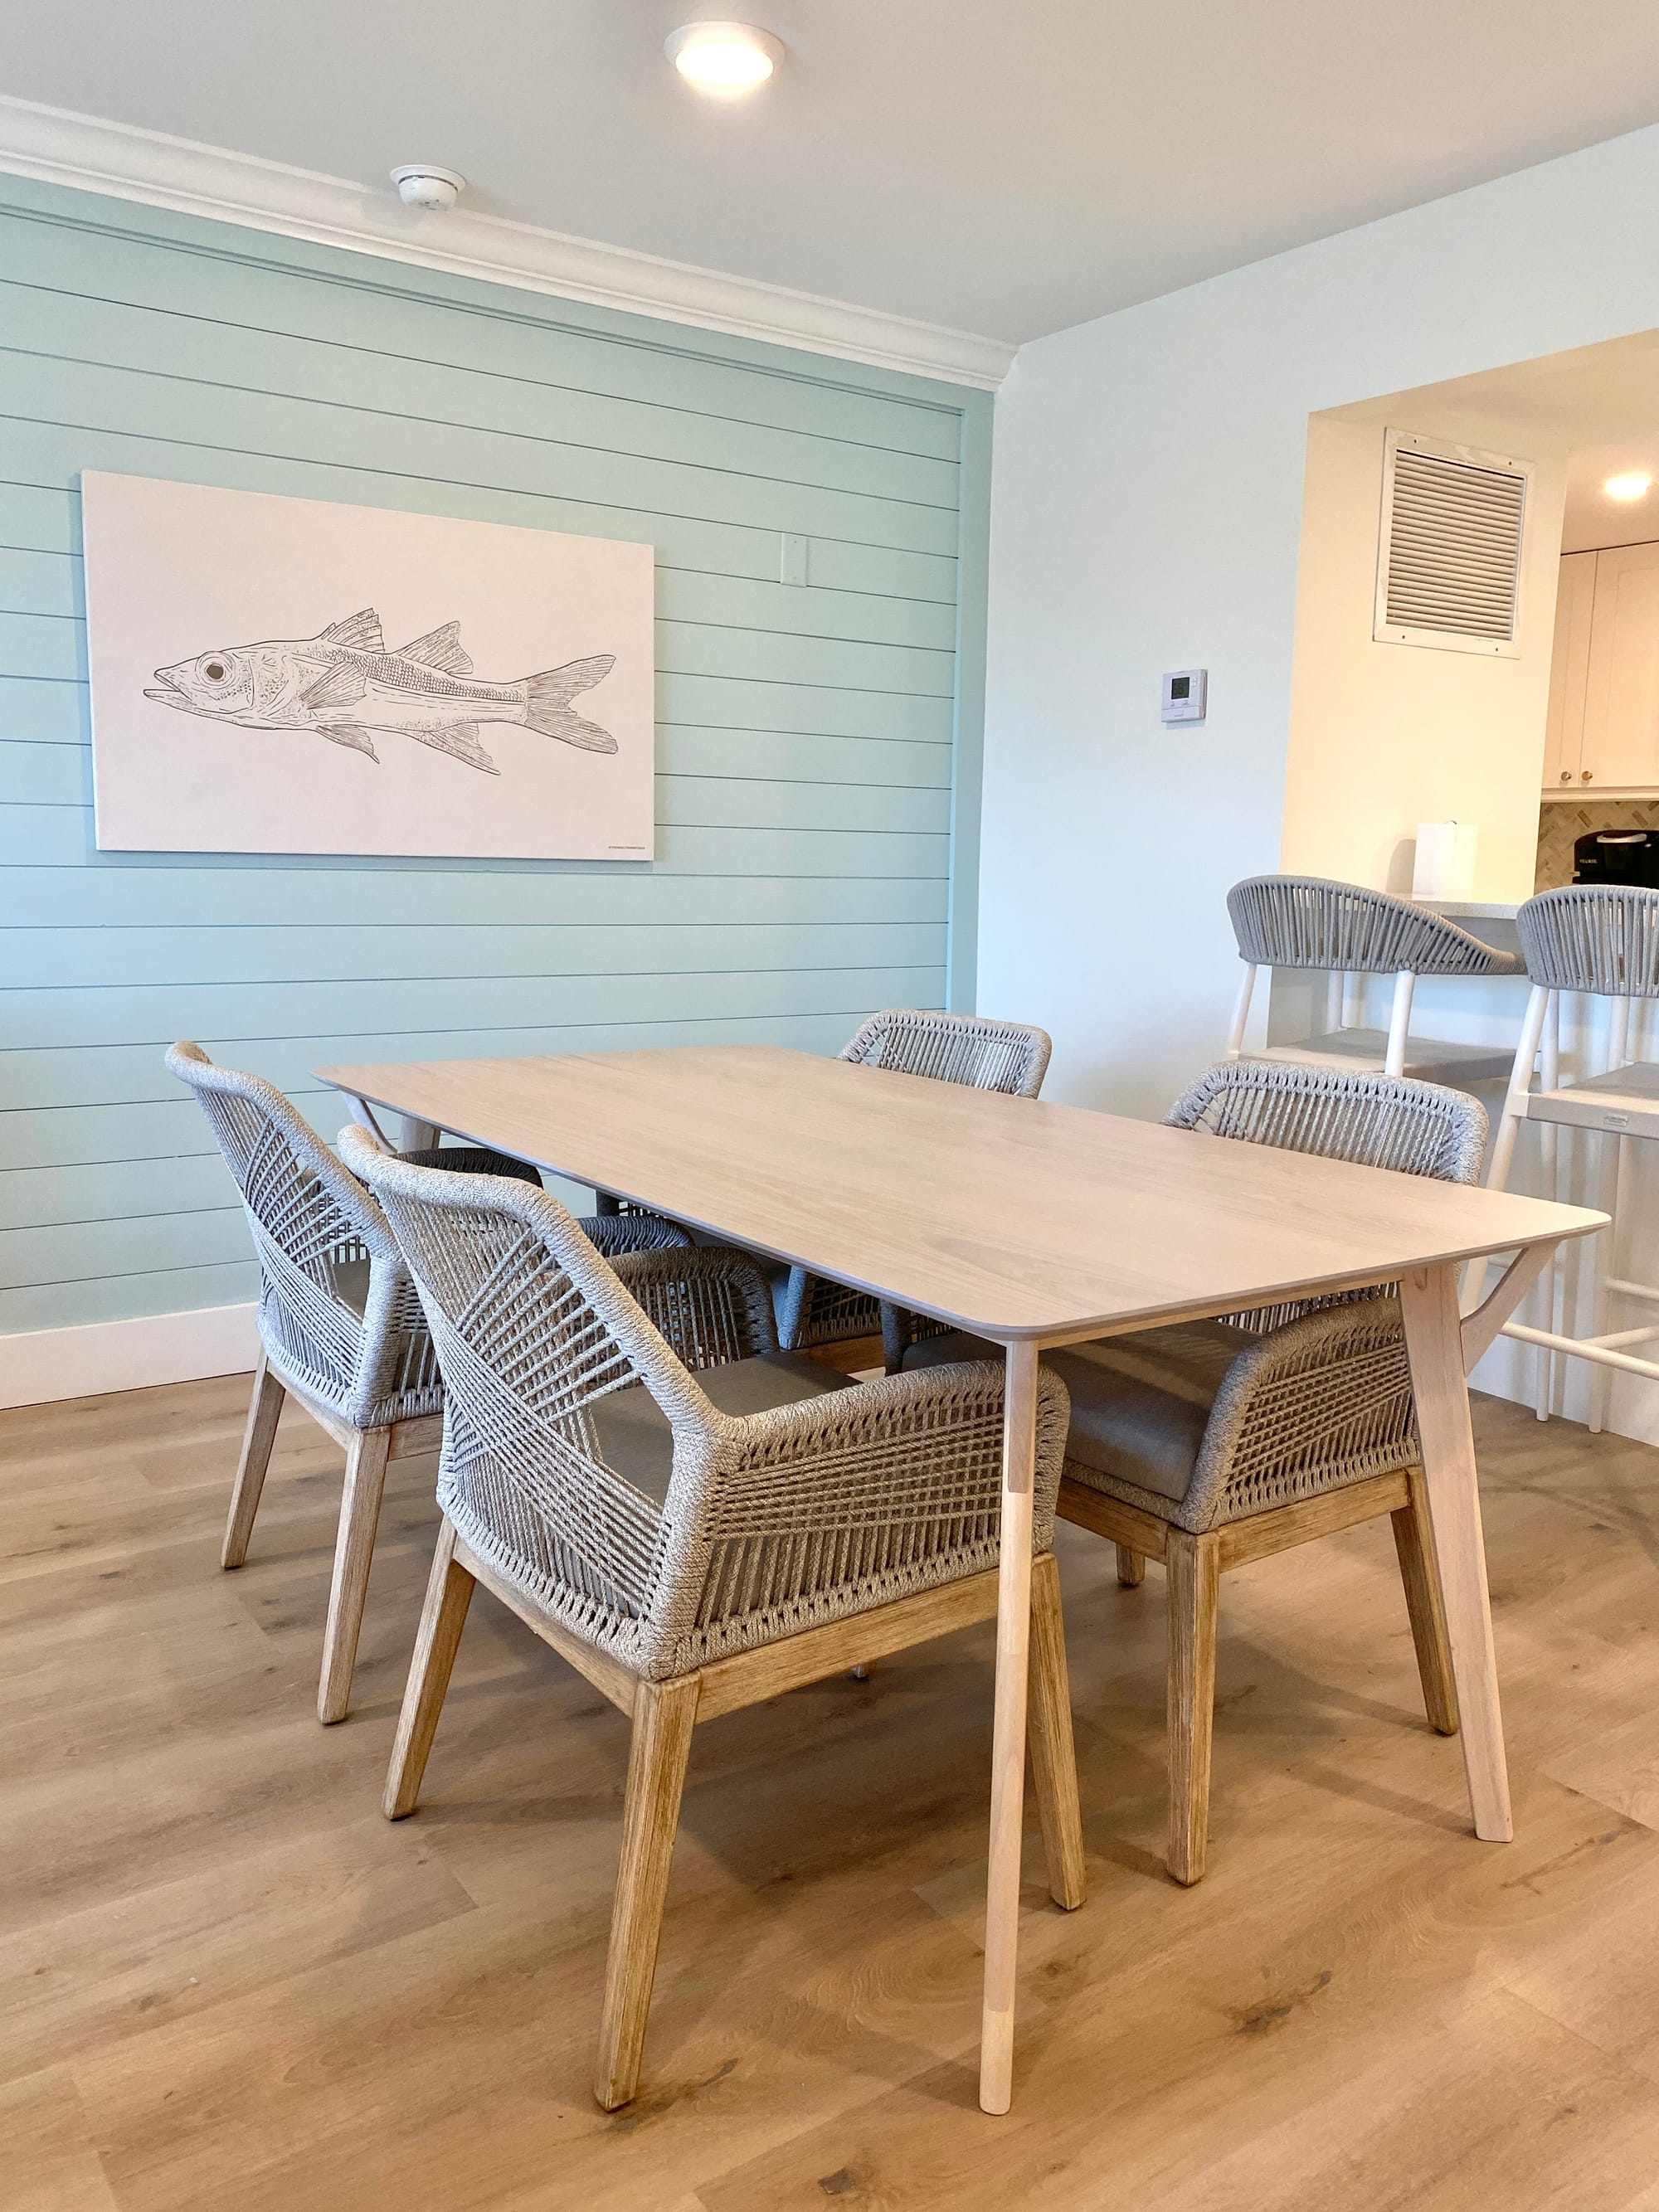
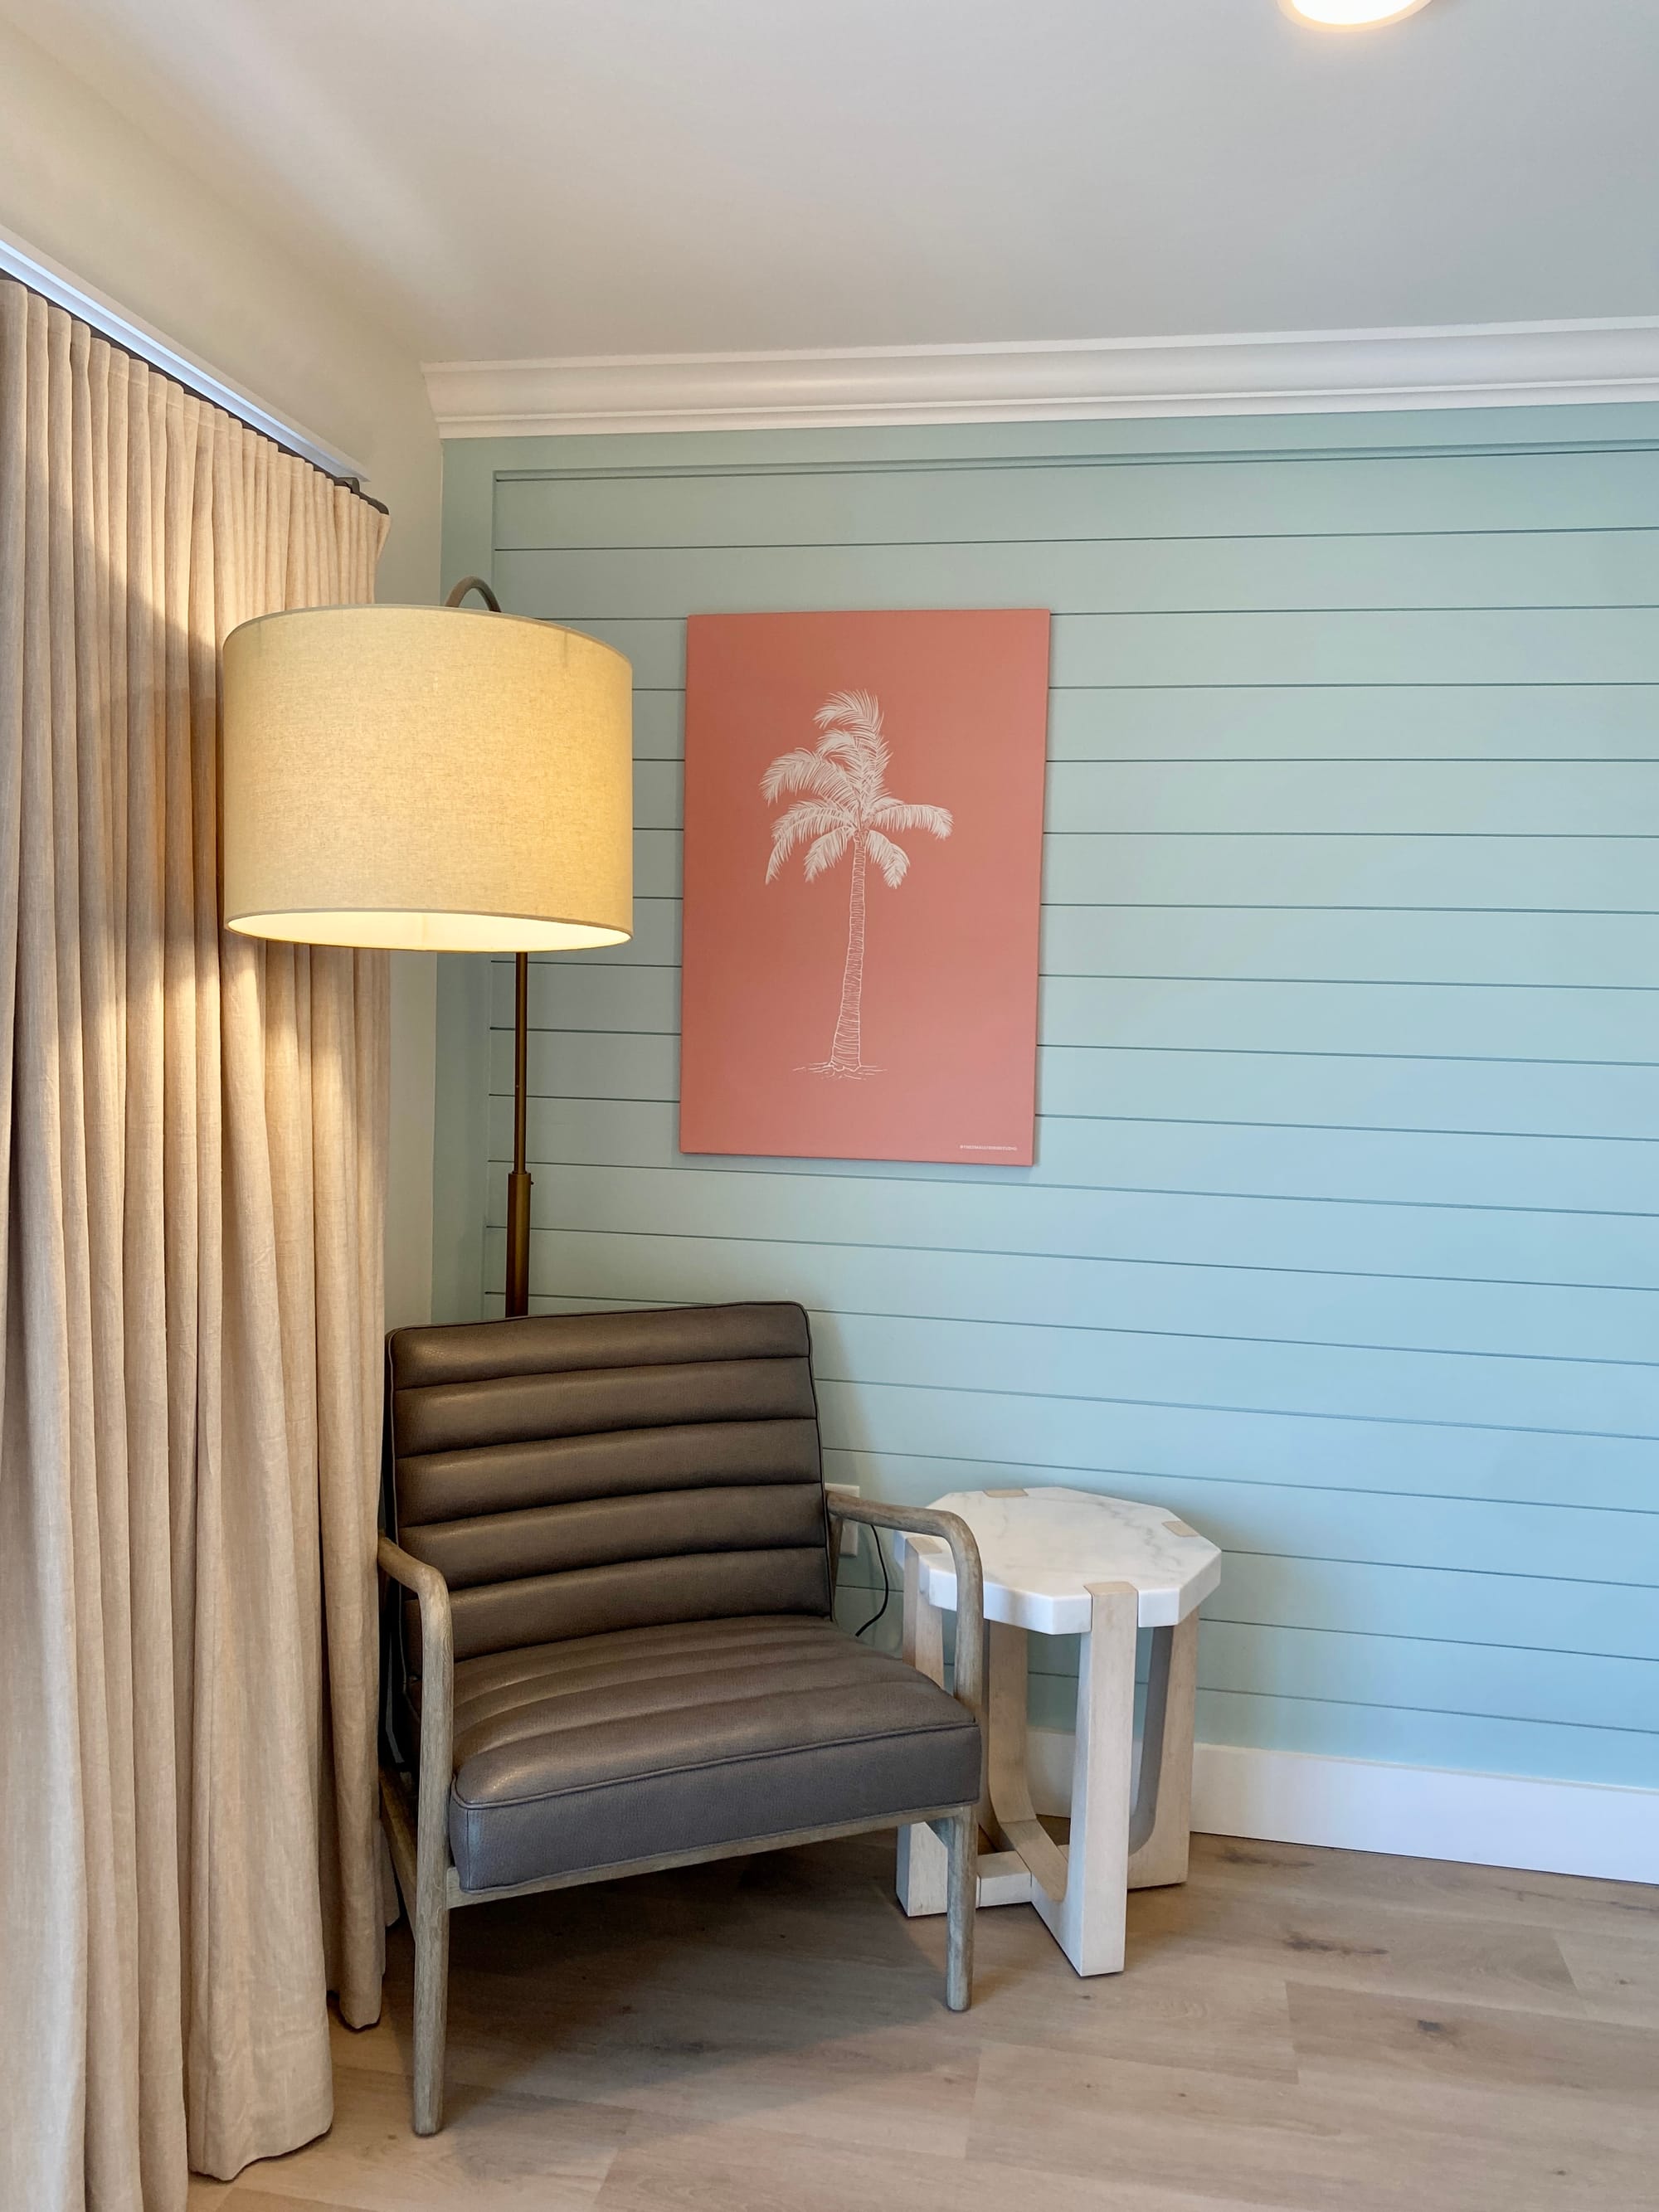
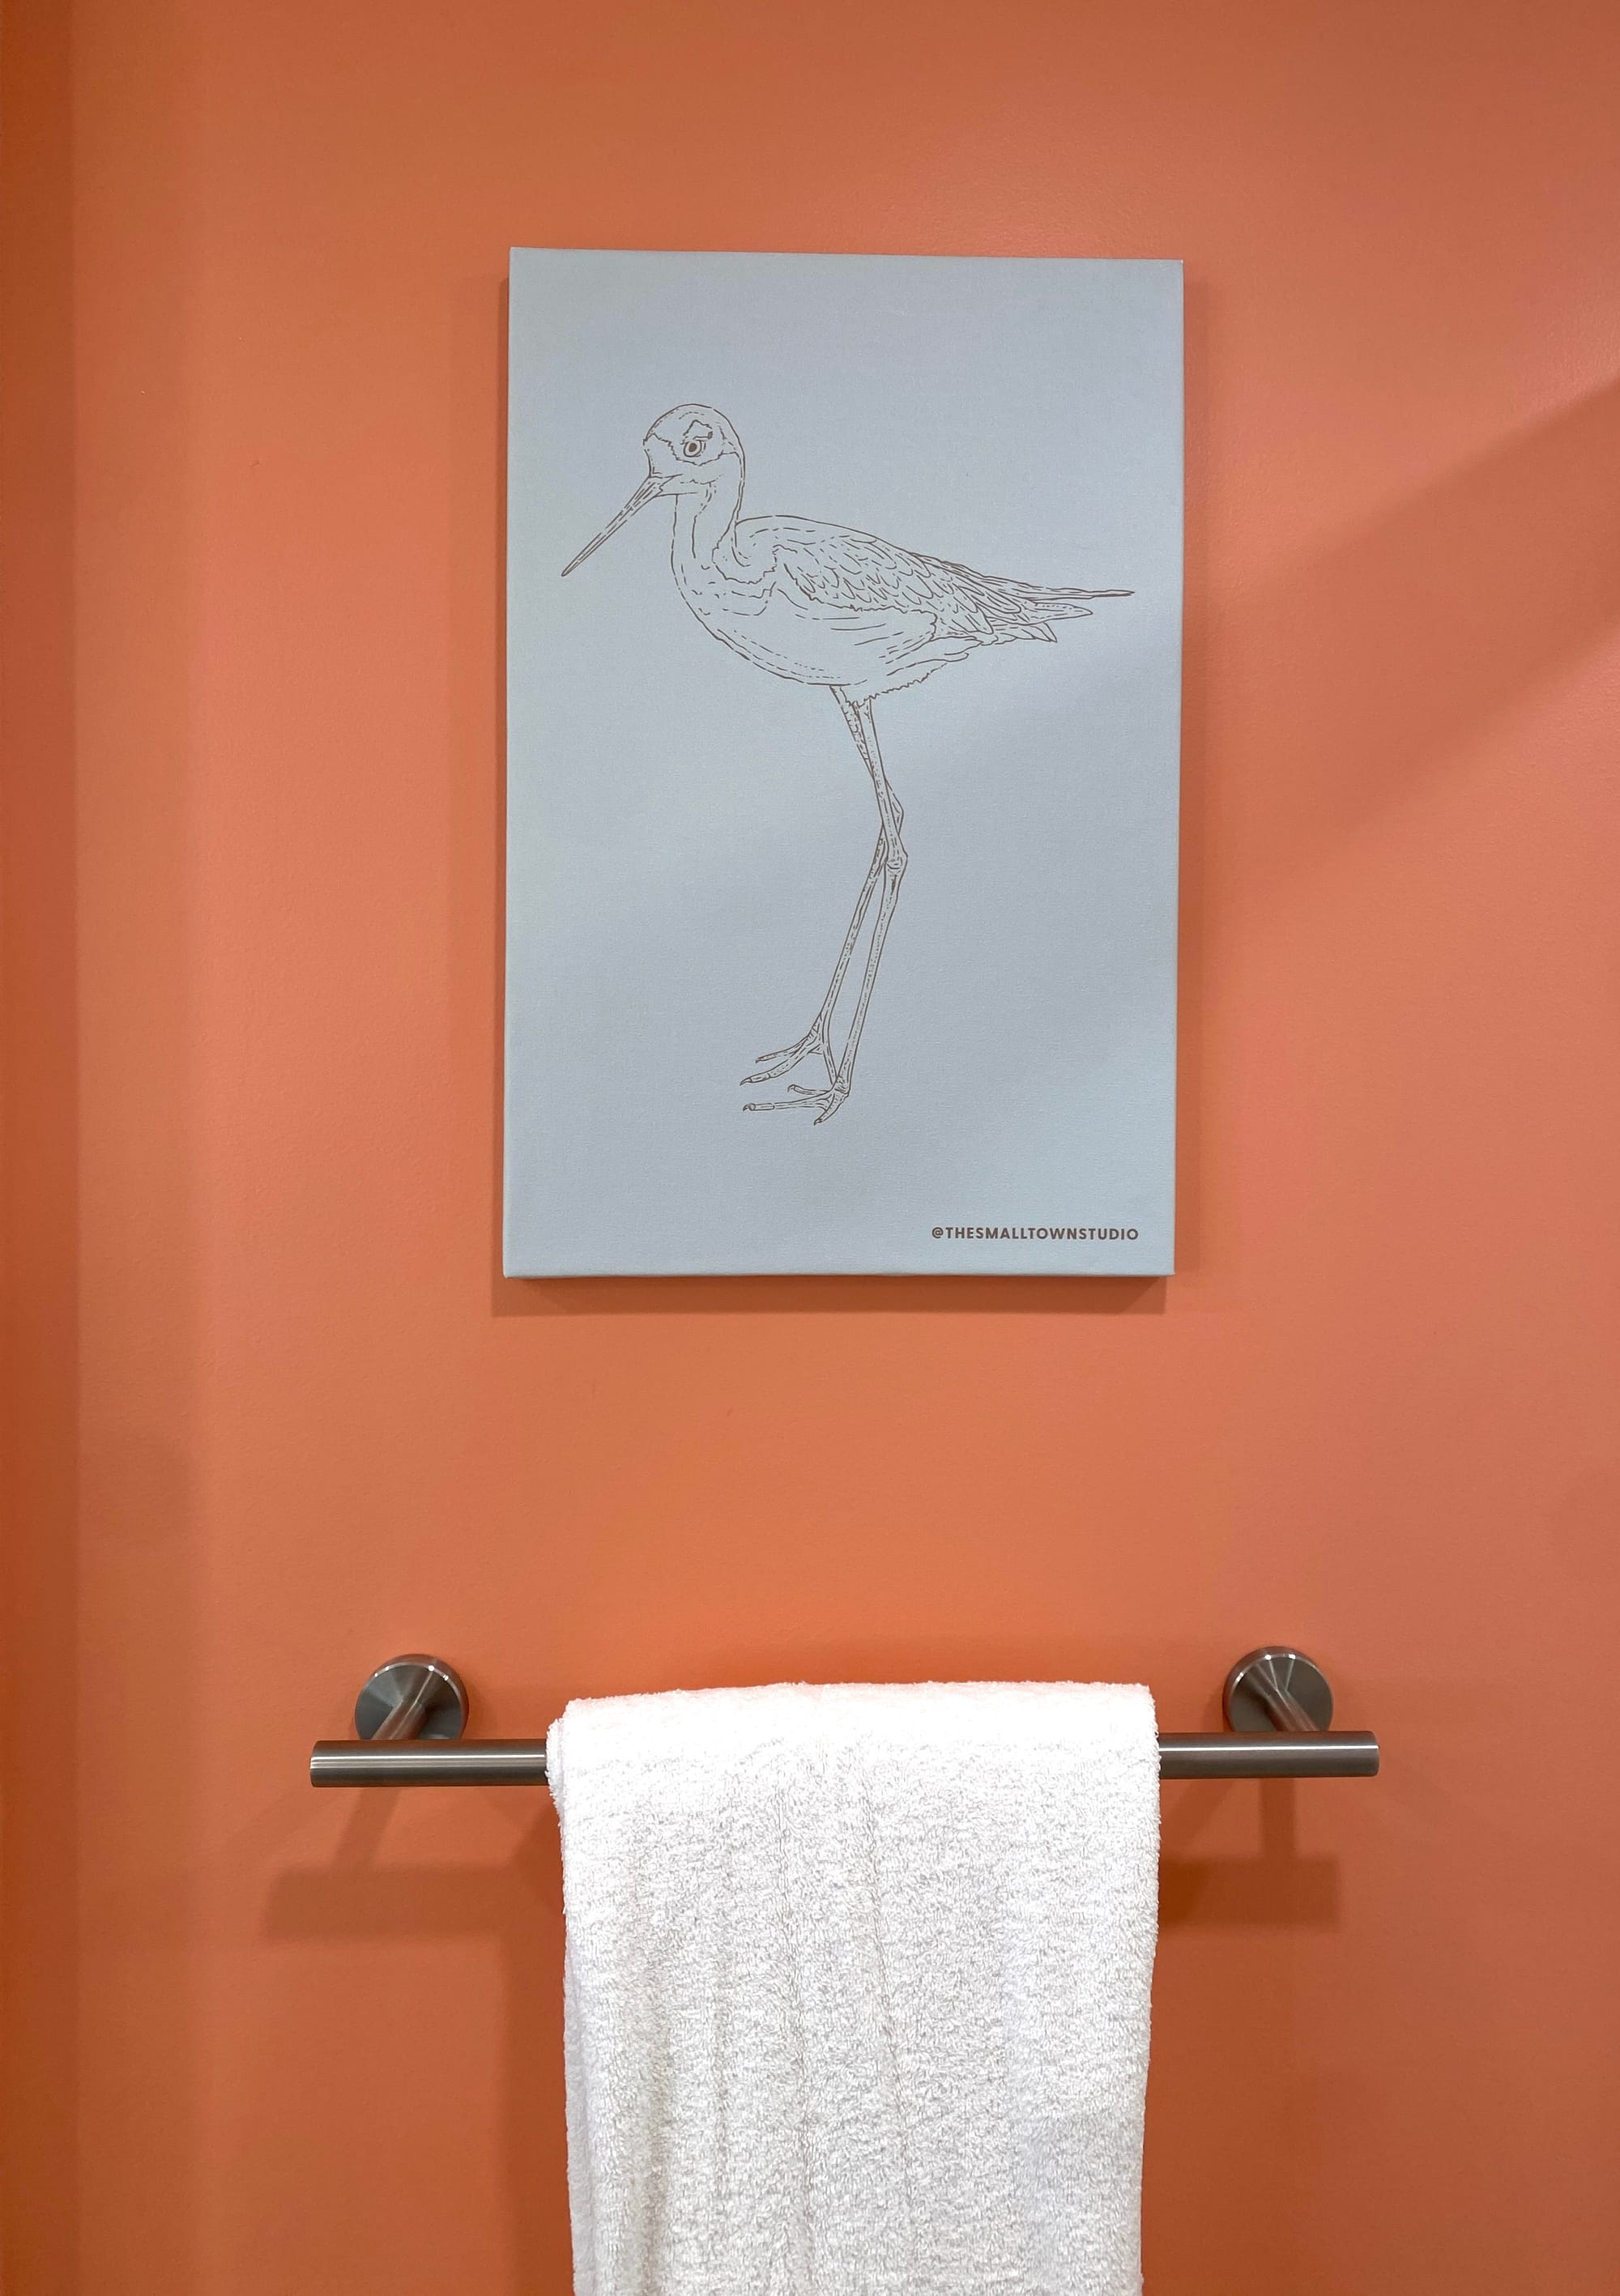
We moved to Florida and started looking for houses. I drew artwork for Manasota Key Resort guest rooms.
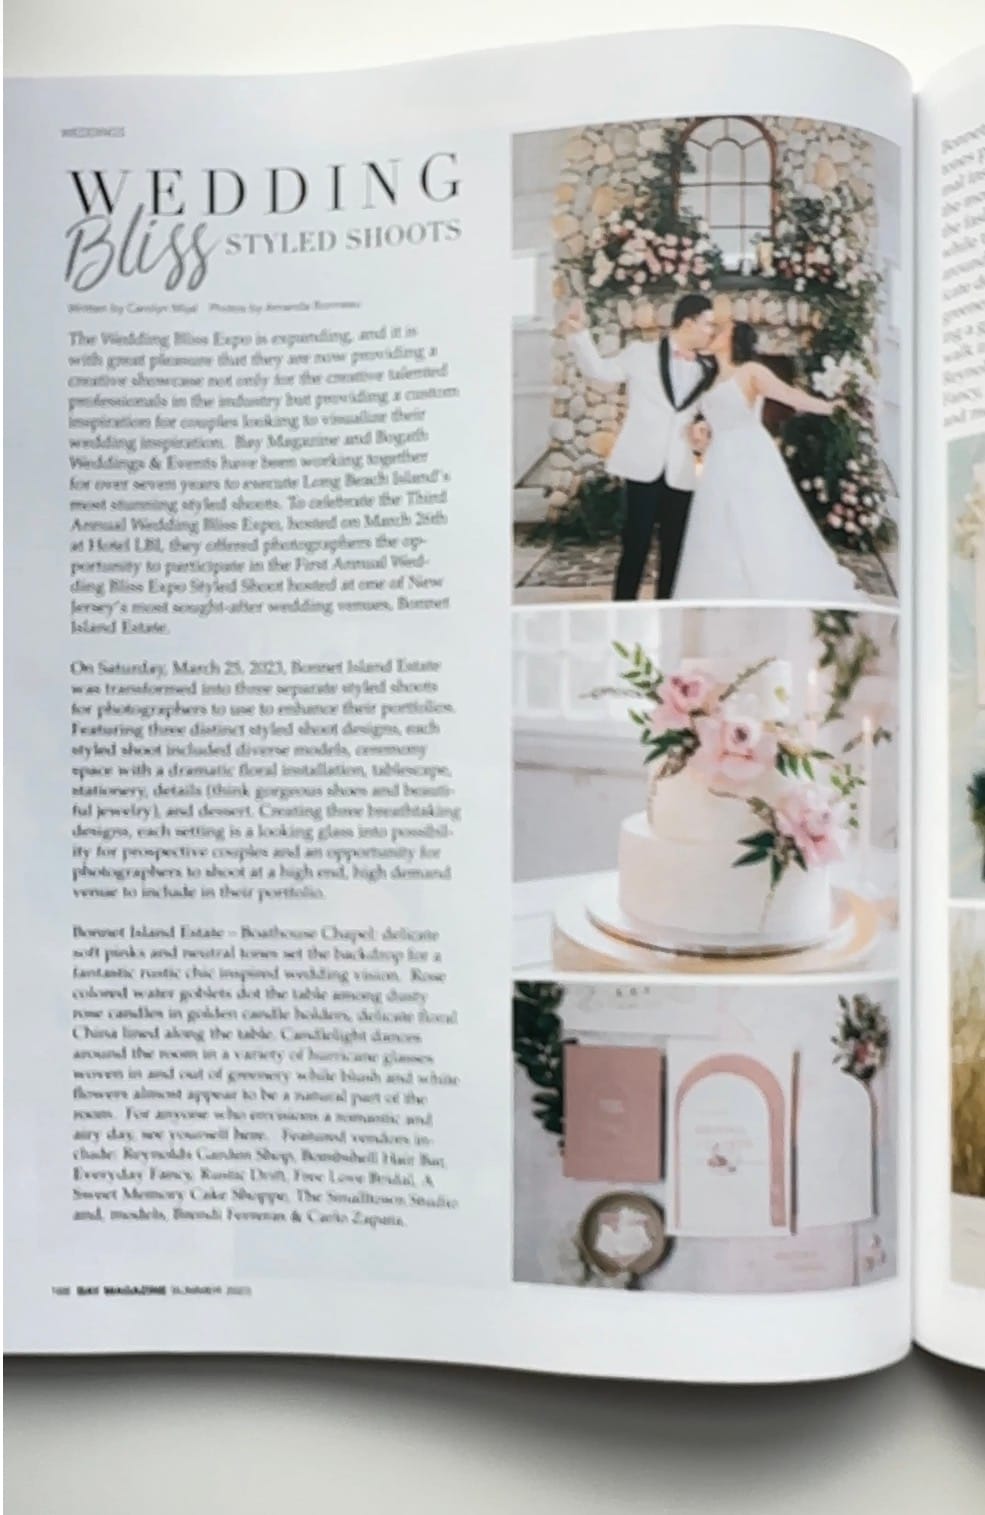
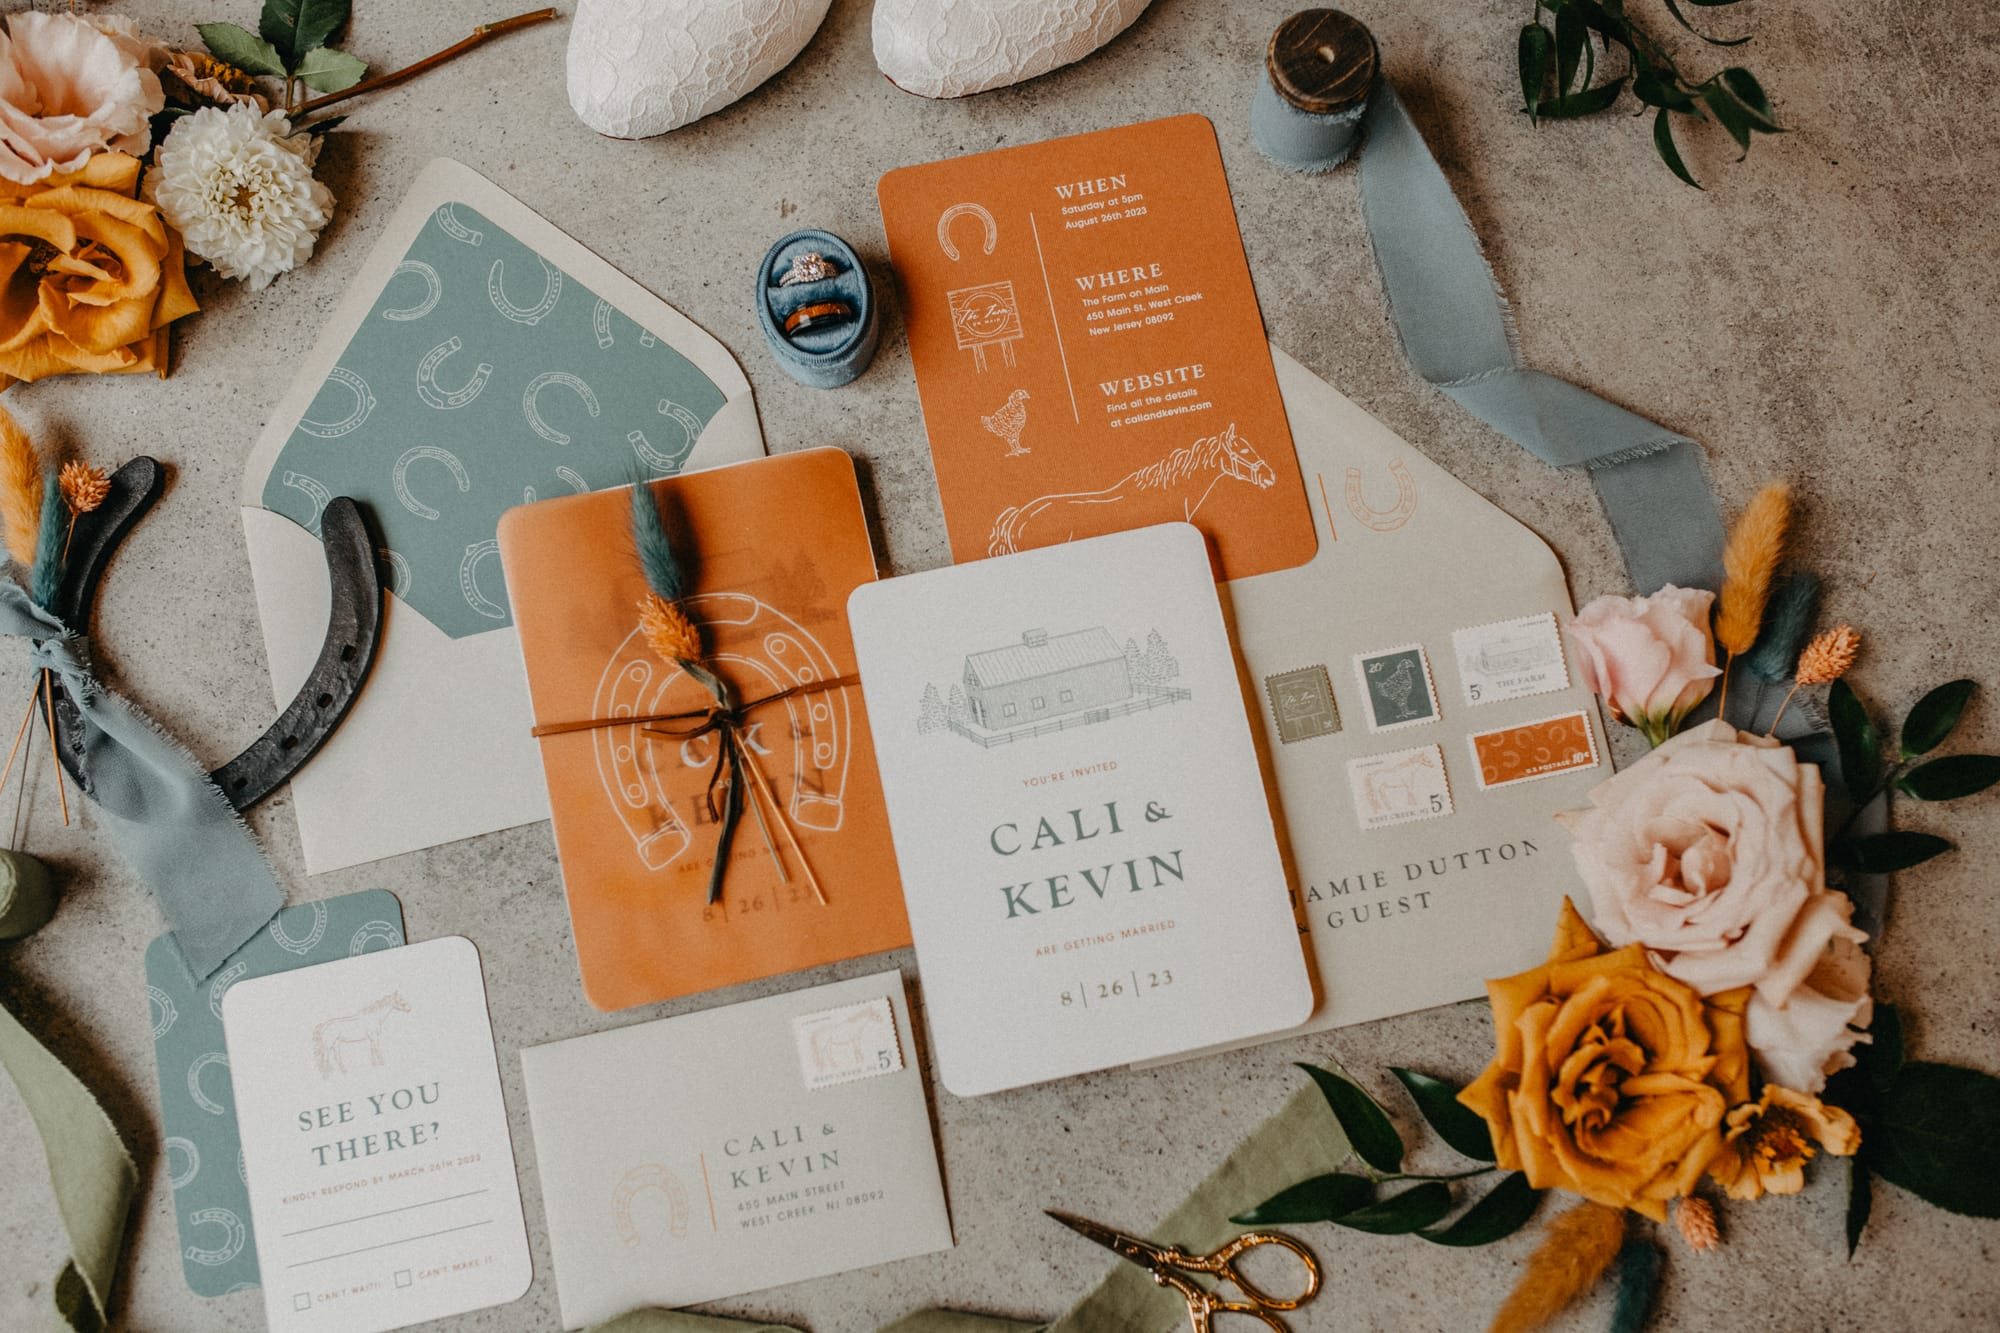
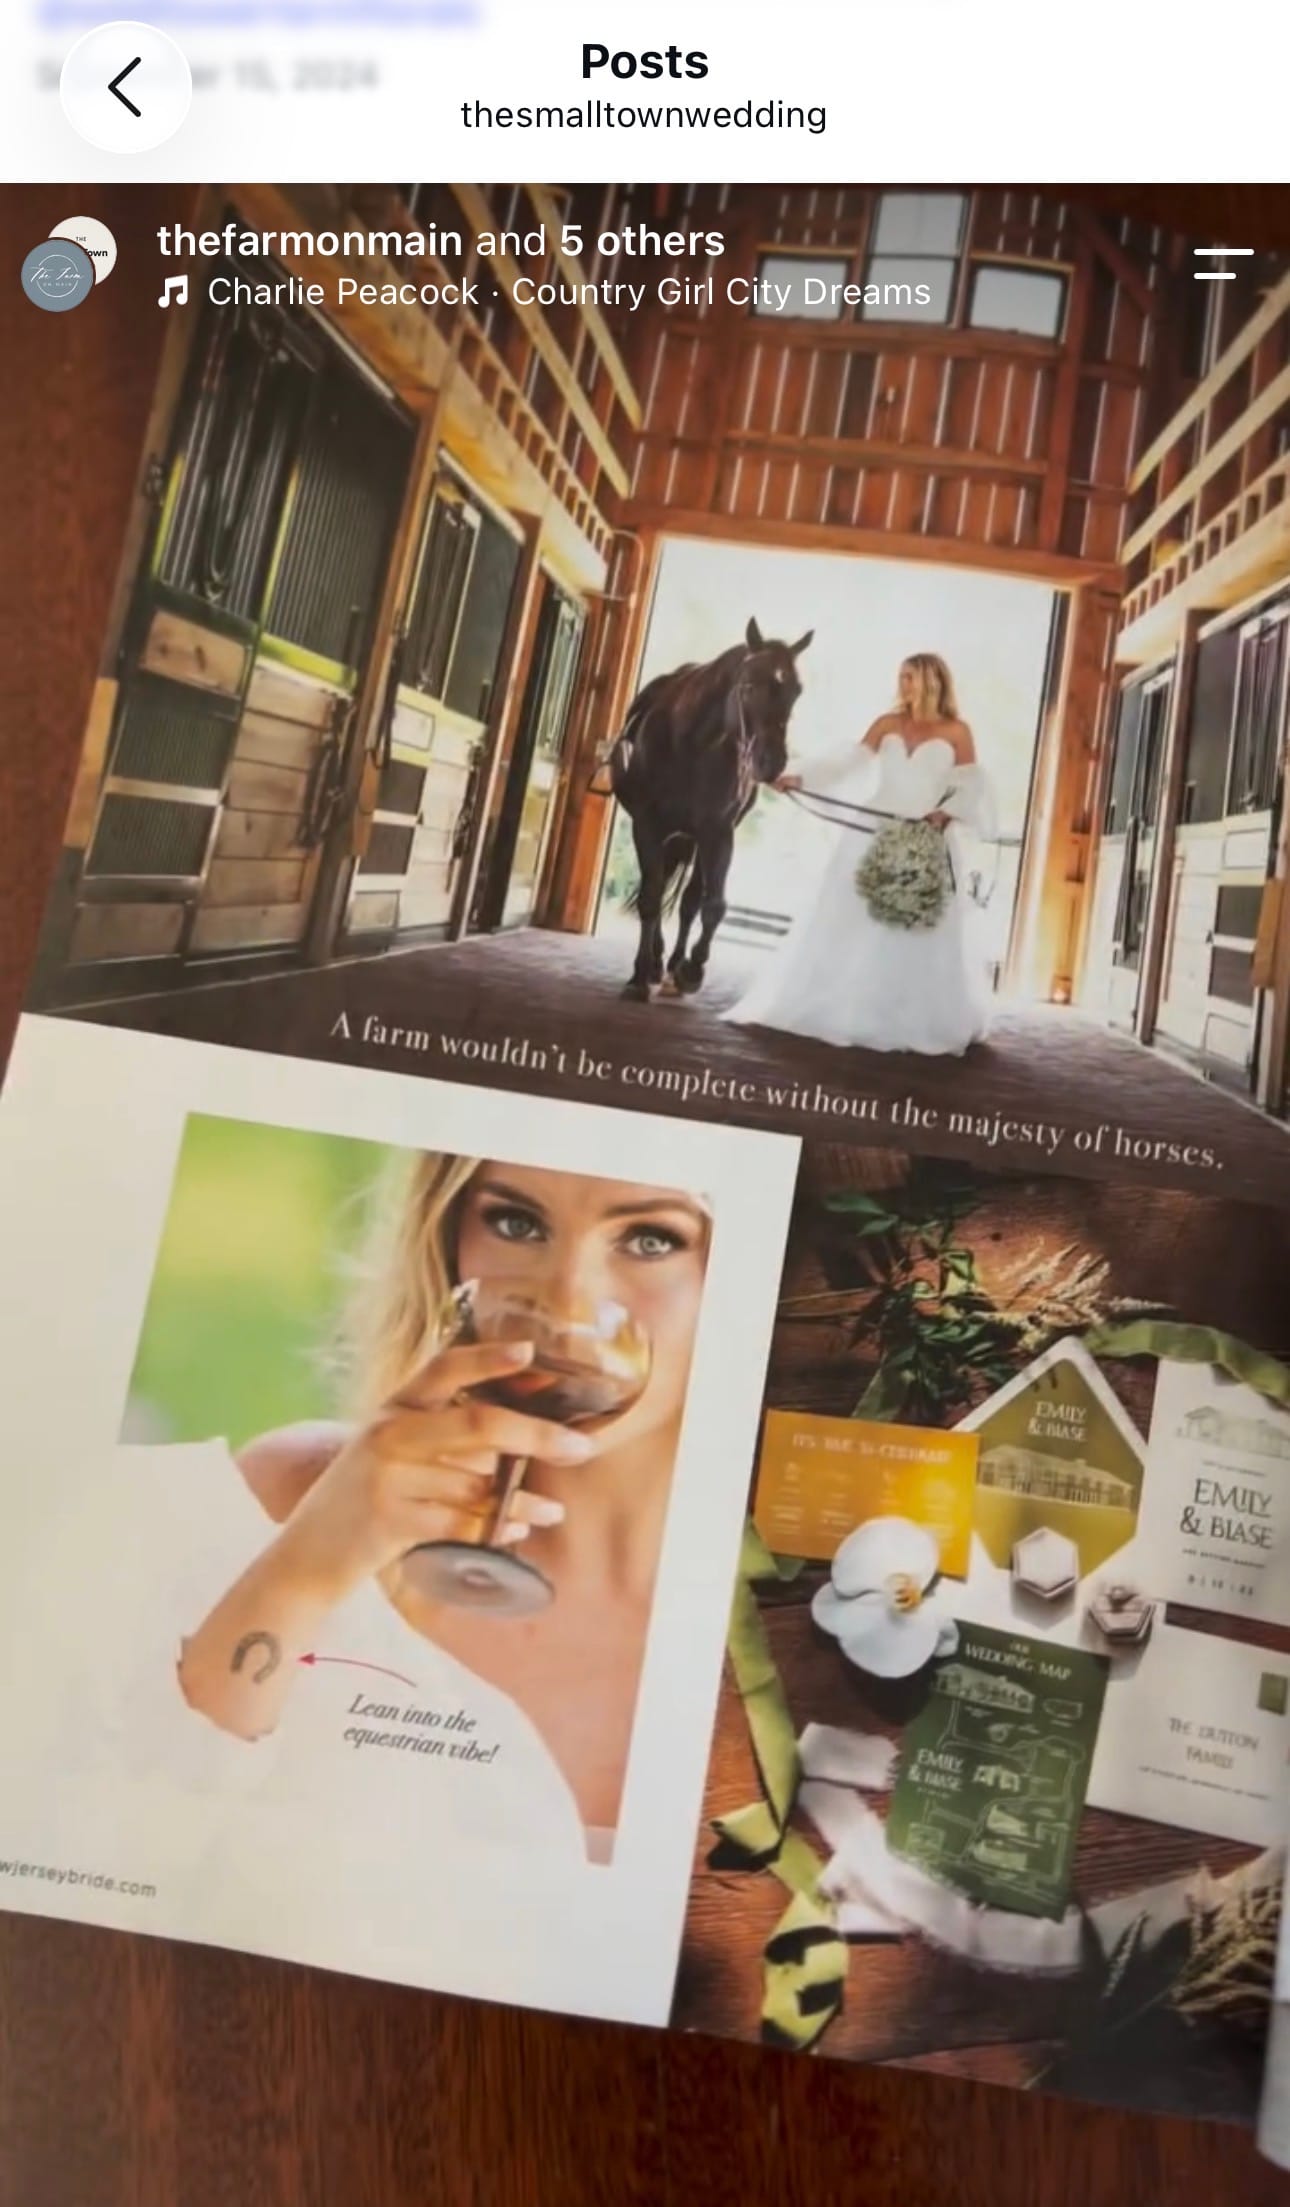
I also continued to design wedding goods and was featured in magazines, like Bay Magazine and NJ Bride.
A photoshoot for Bay Magazine at Bonnet Island Estate
A photoshoot for NJ Bride at The Farm on Main
2024
Sadly, this was actually a pretty tough year. We had packed up and moved to Florida but were hit by Hurricane Helene and Milton and temporarily moved back to New Jersey. Sadly The Small Town Studio was on a serious hiatus until we could figure out what our next move was.
2025
We finally found a house. The Small Town Studio officially moved to Florida.
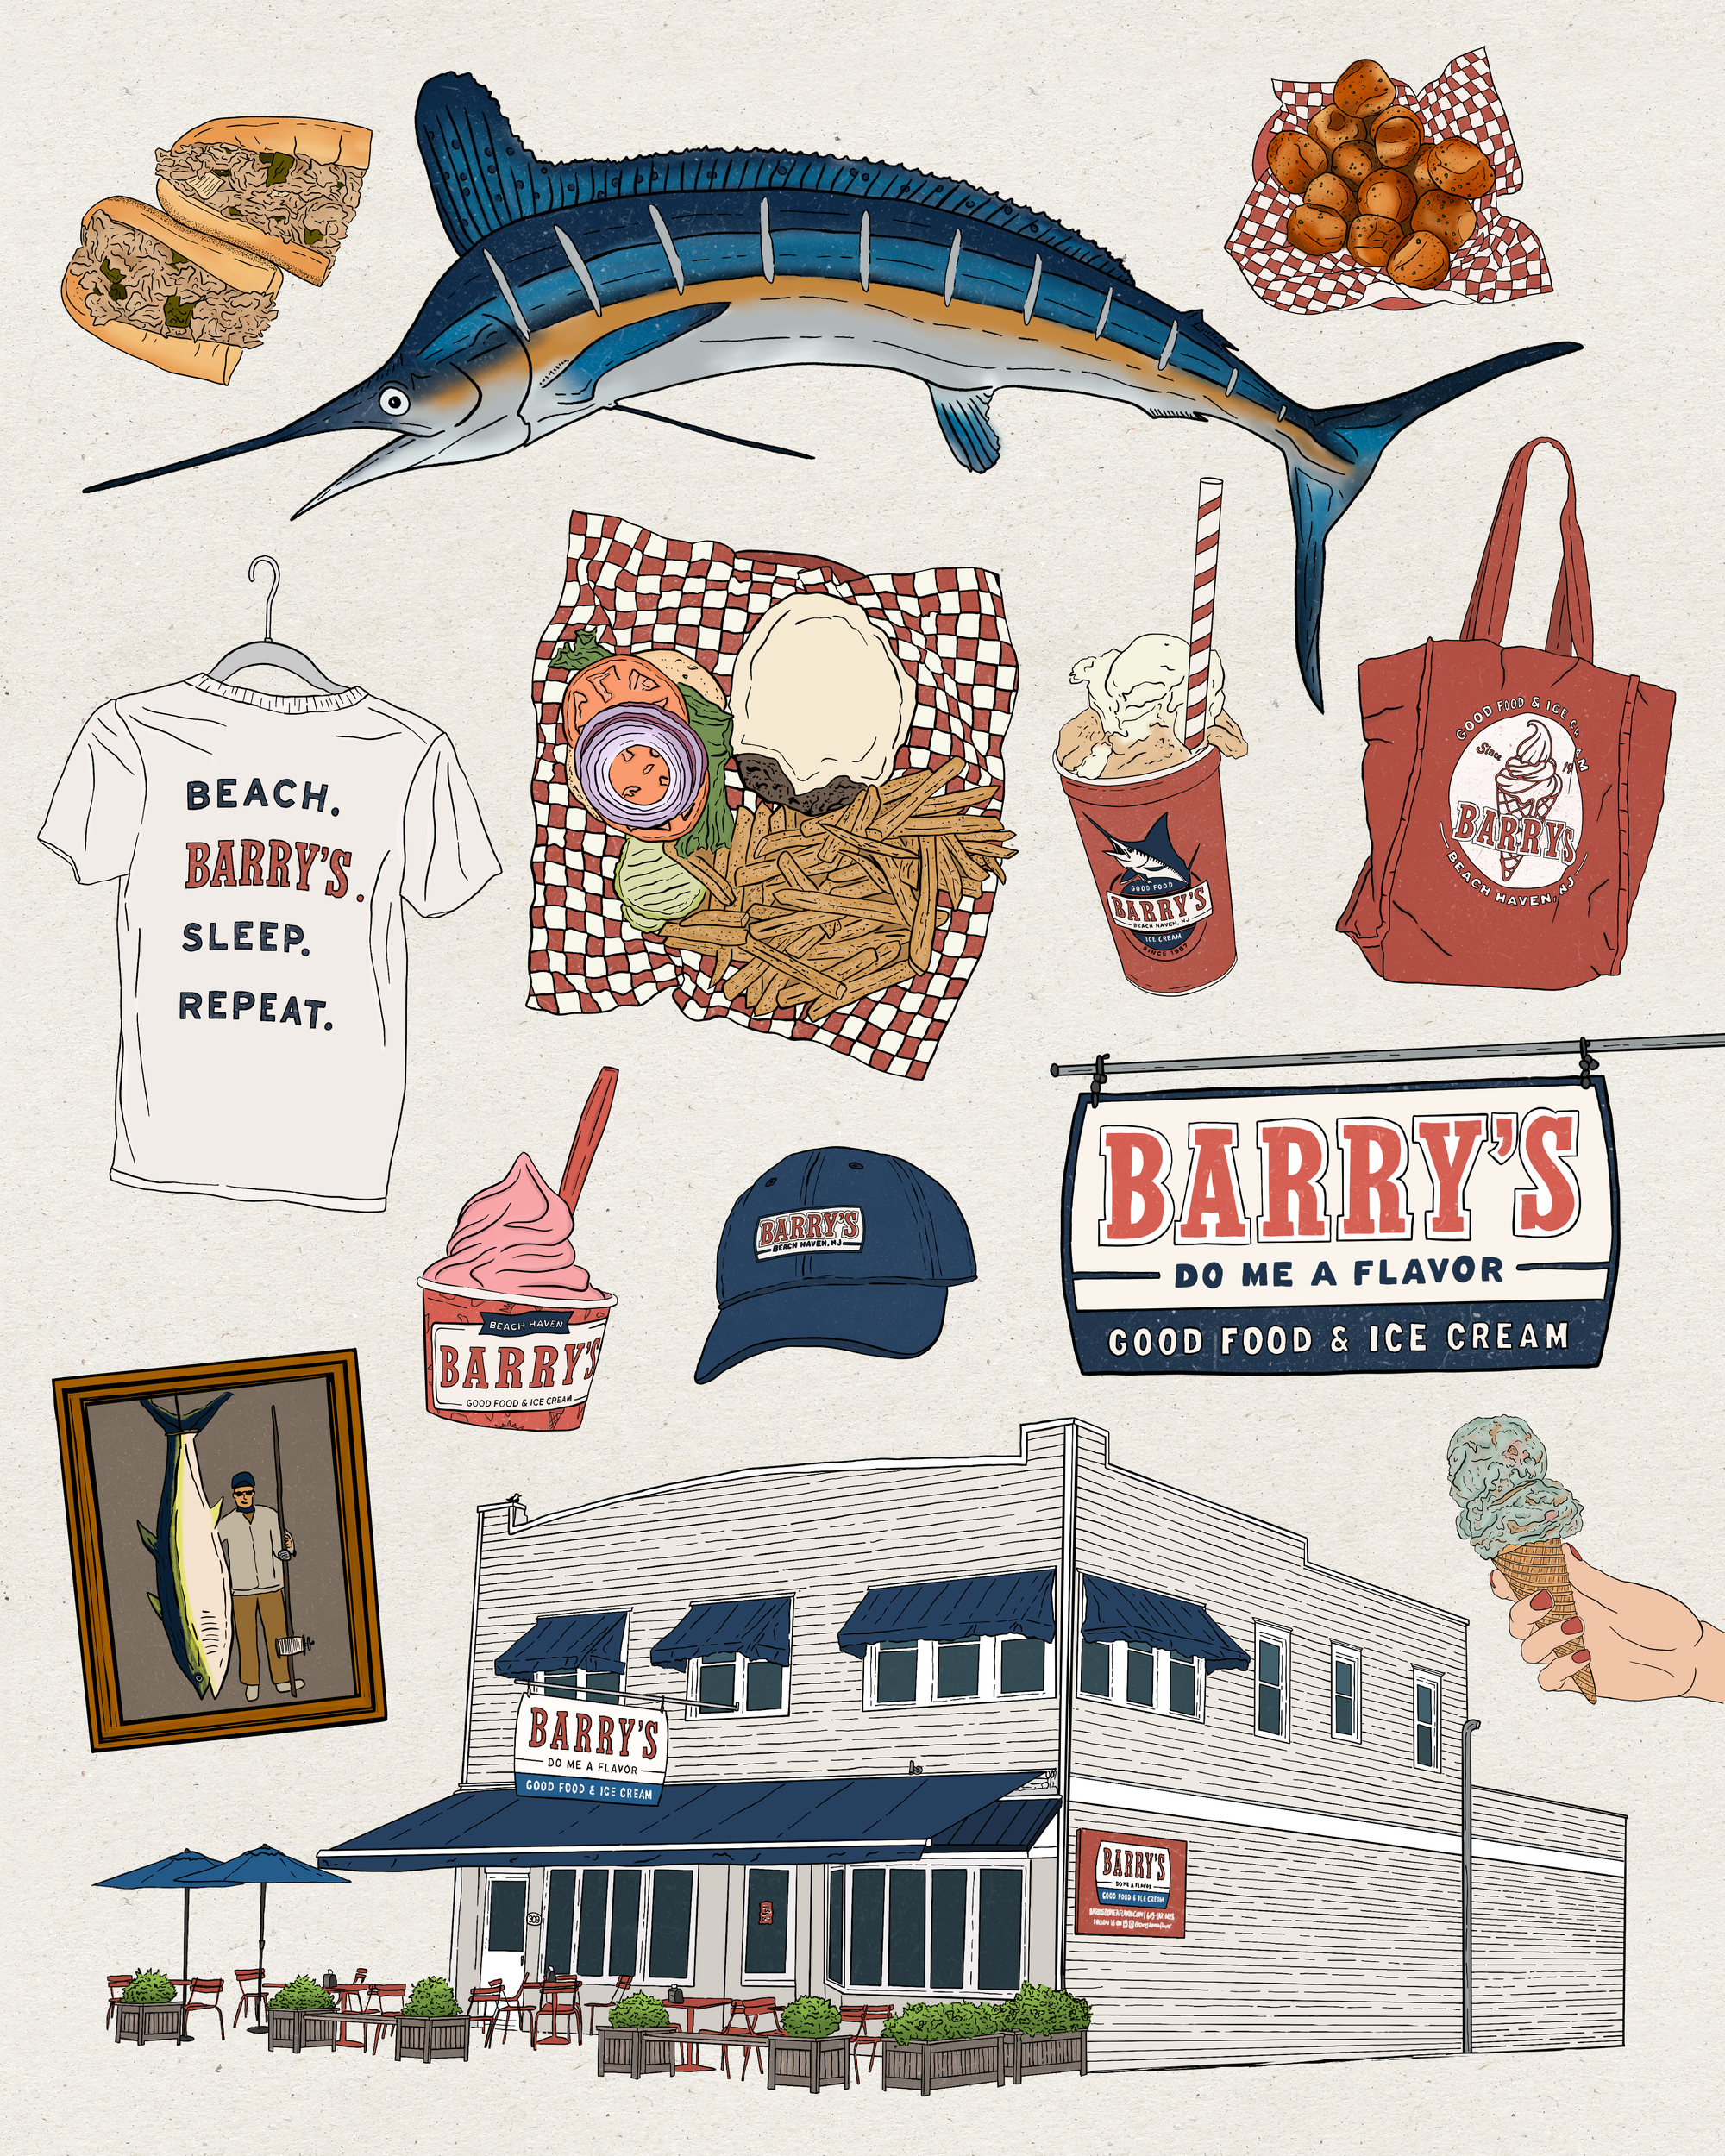
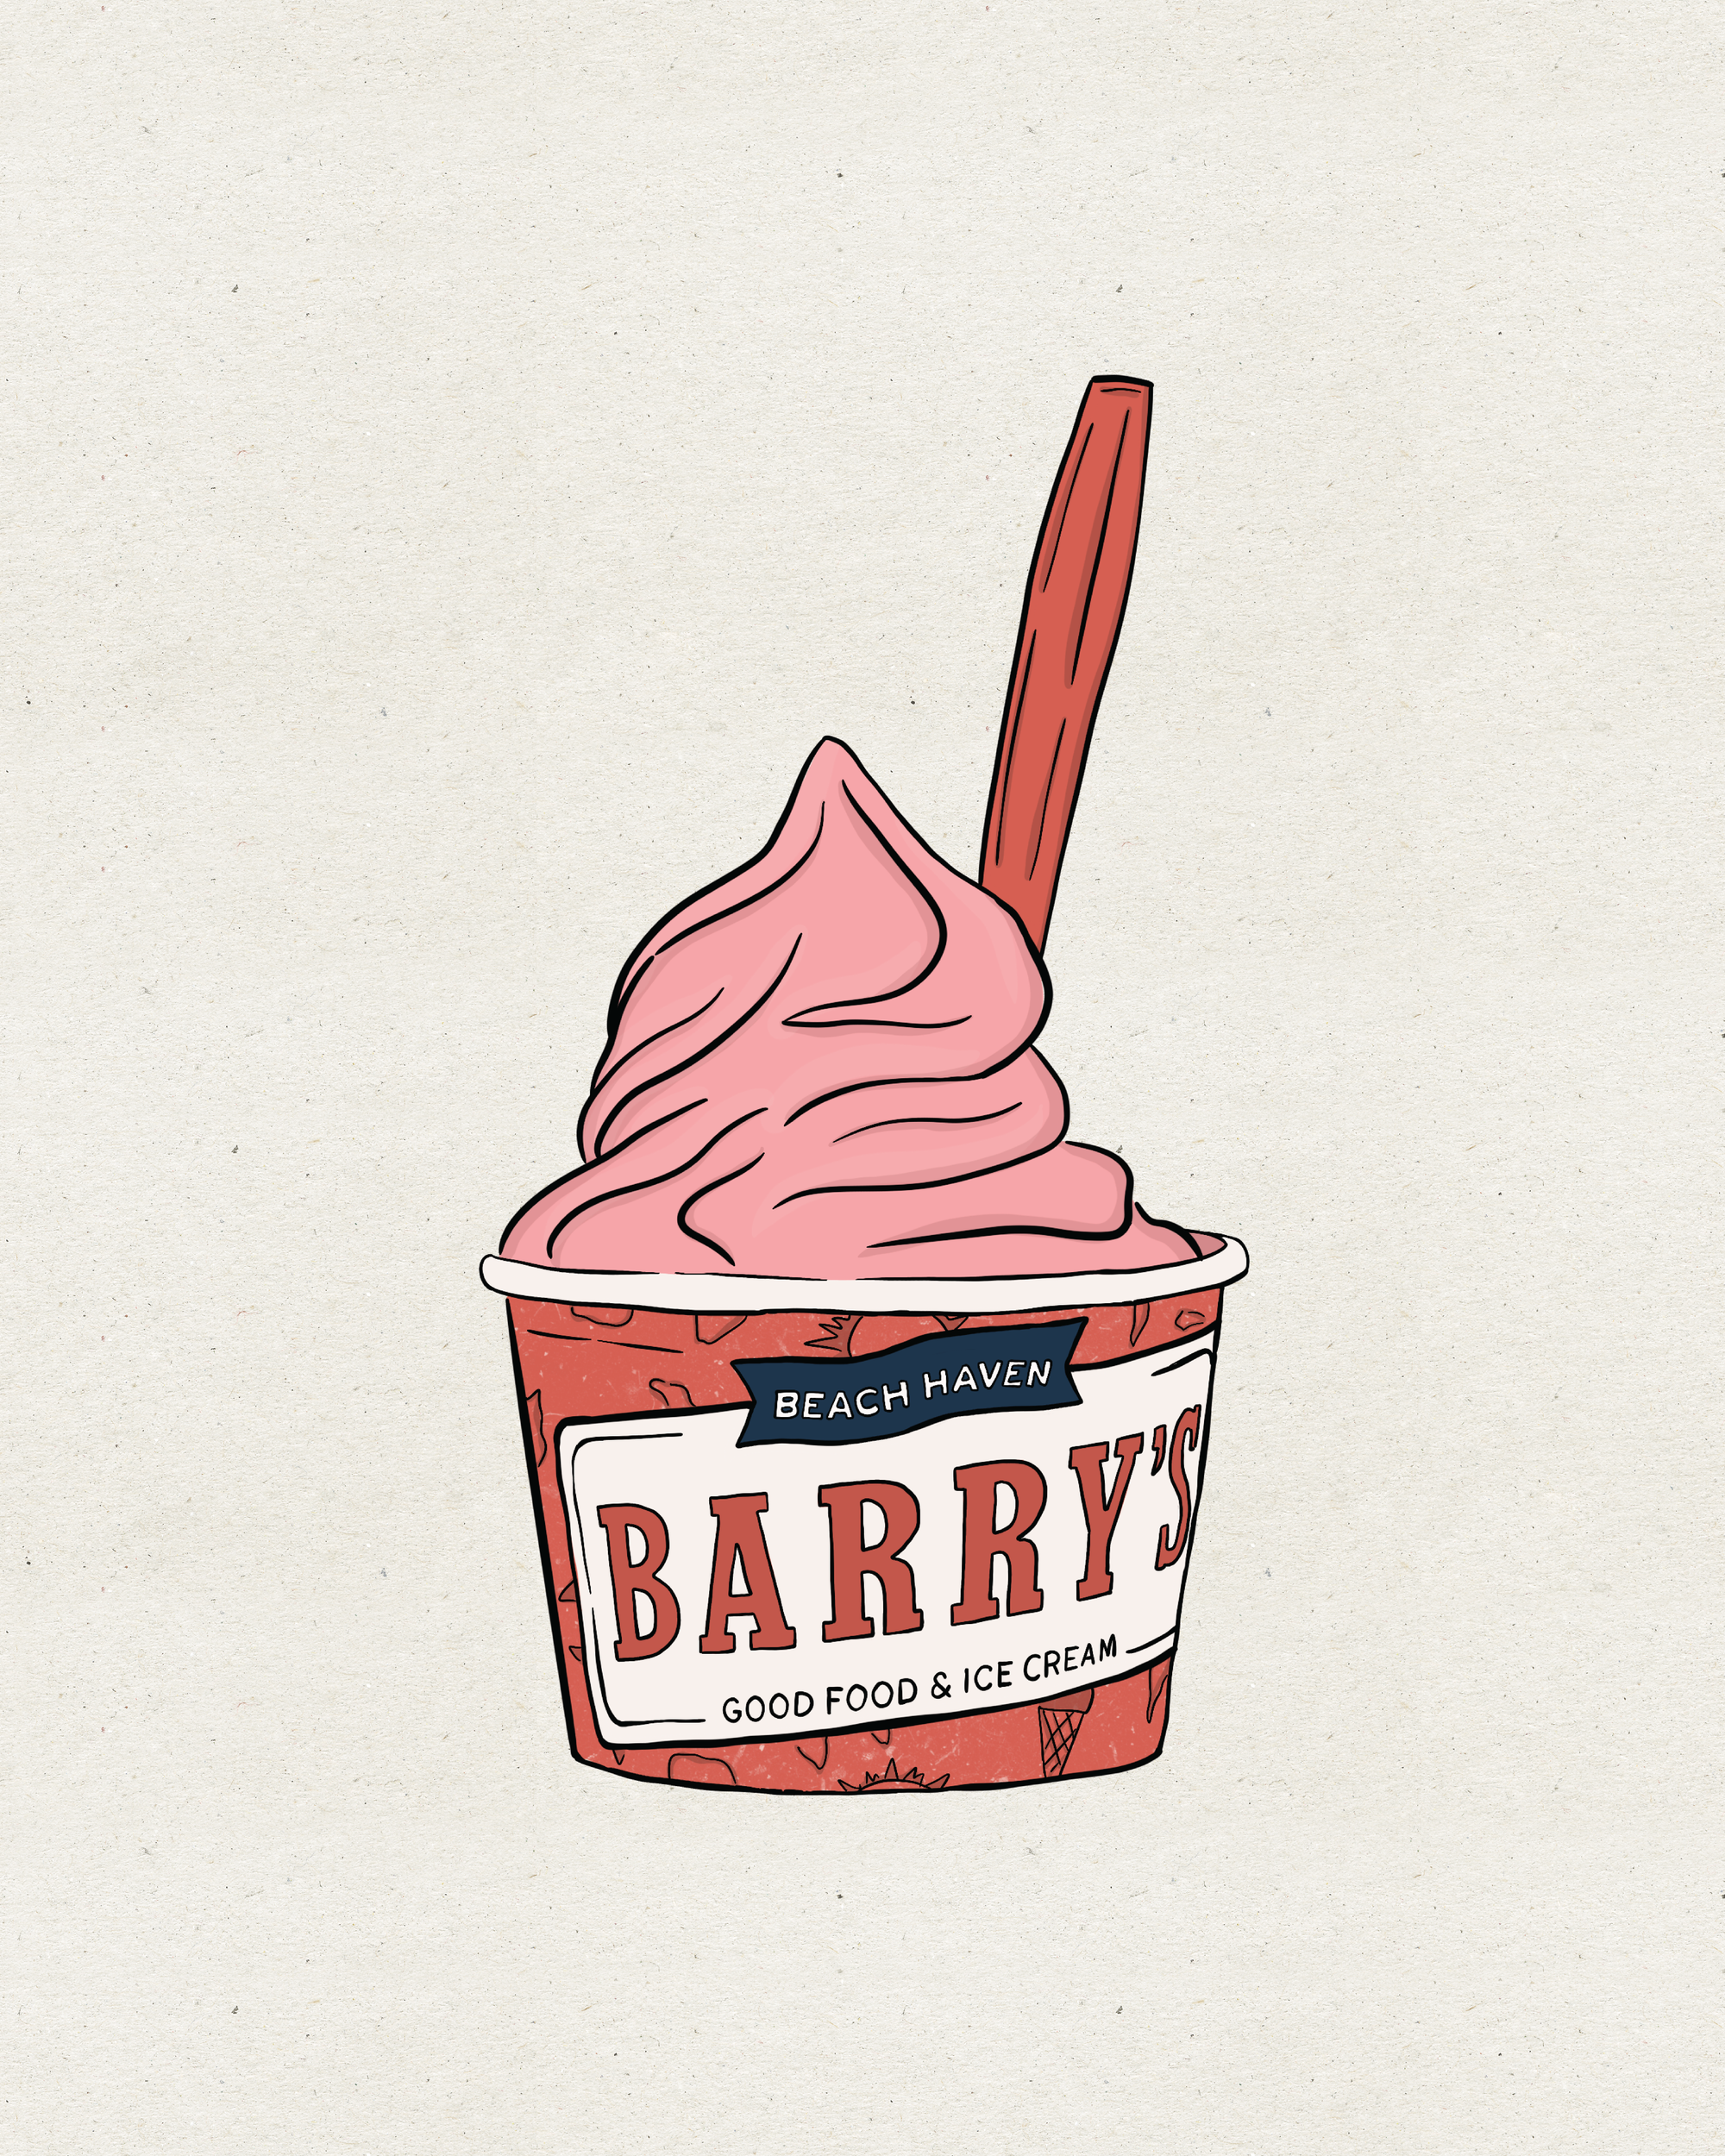
In the summer I started getting back to business. I started a new collection called The Small Town Series. My first feature was Barry's Do Me a Flavor.
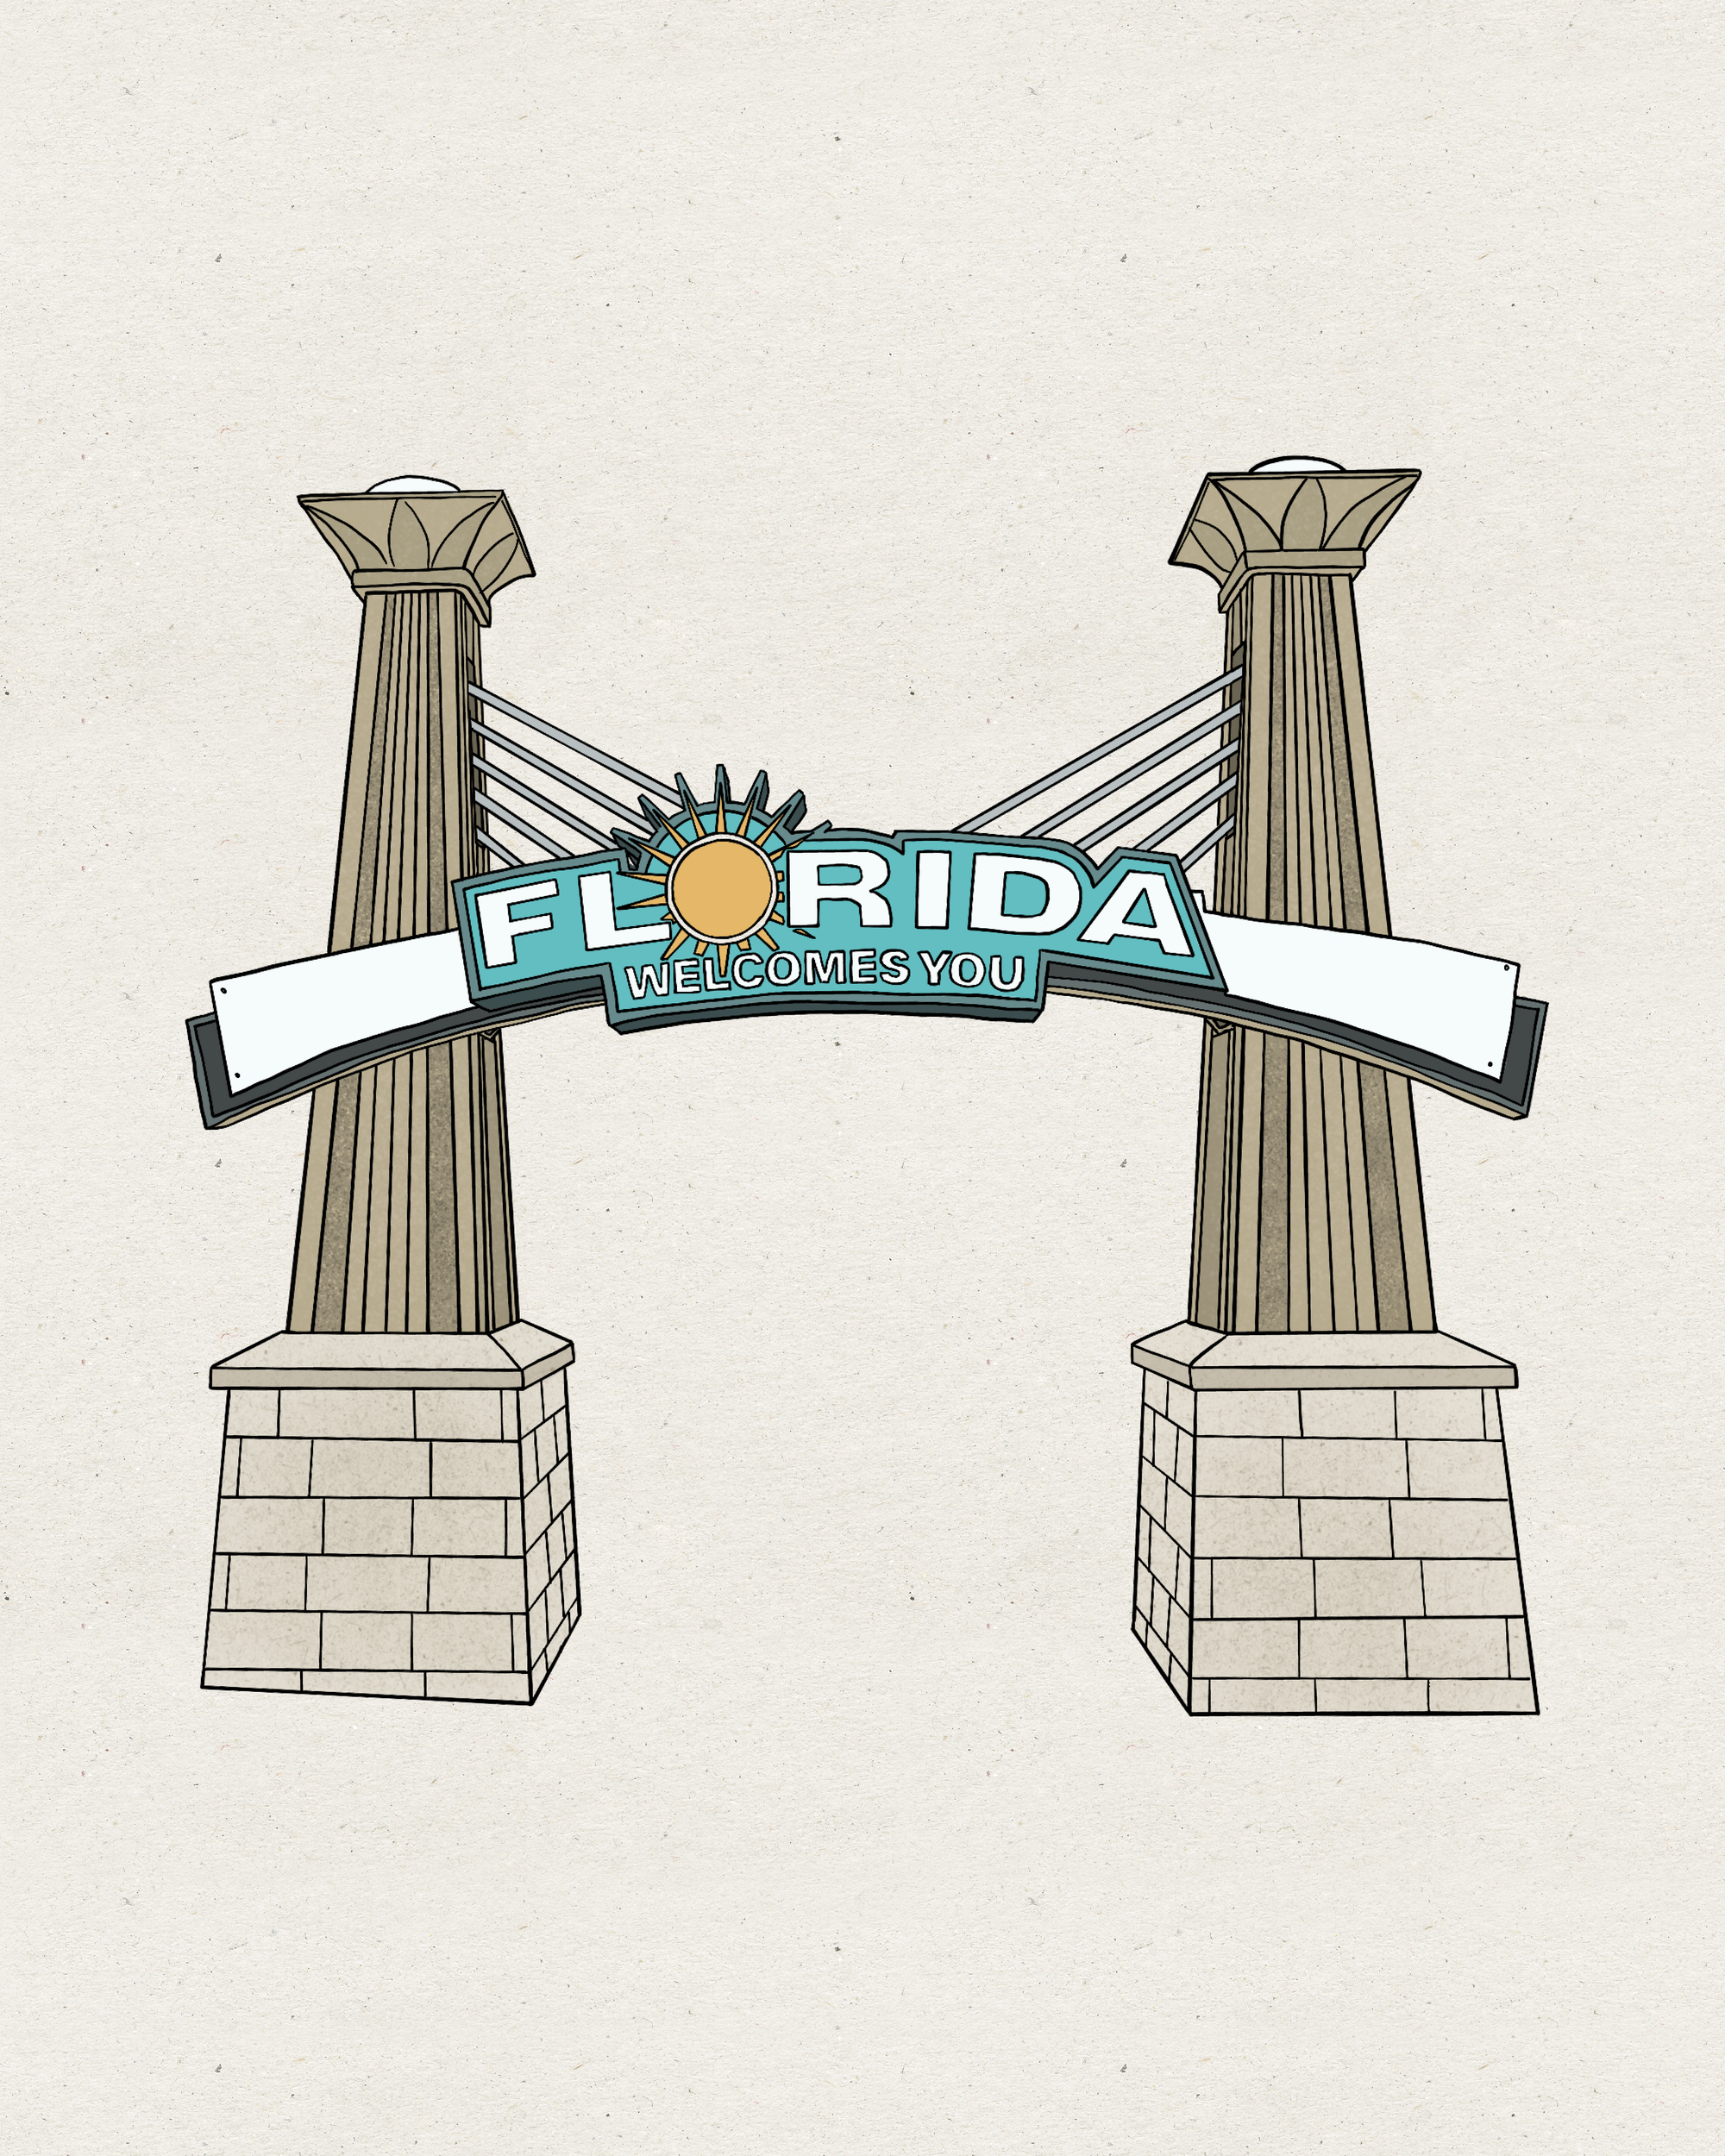
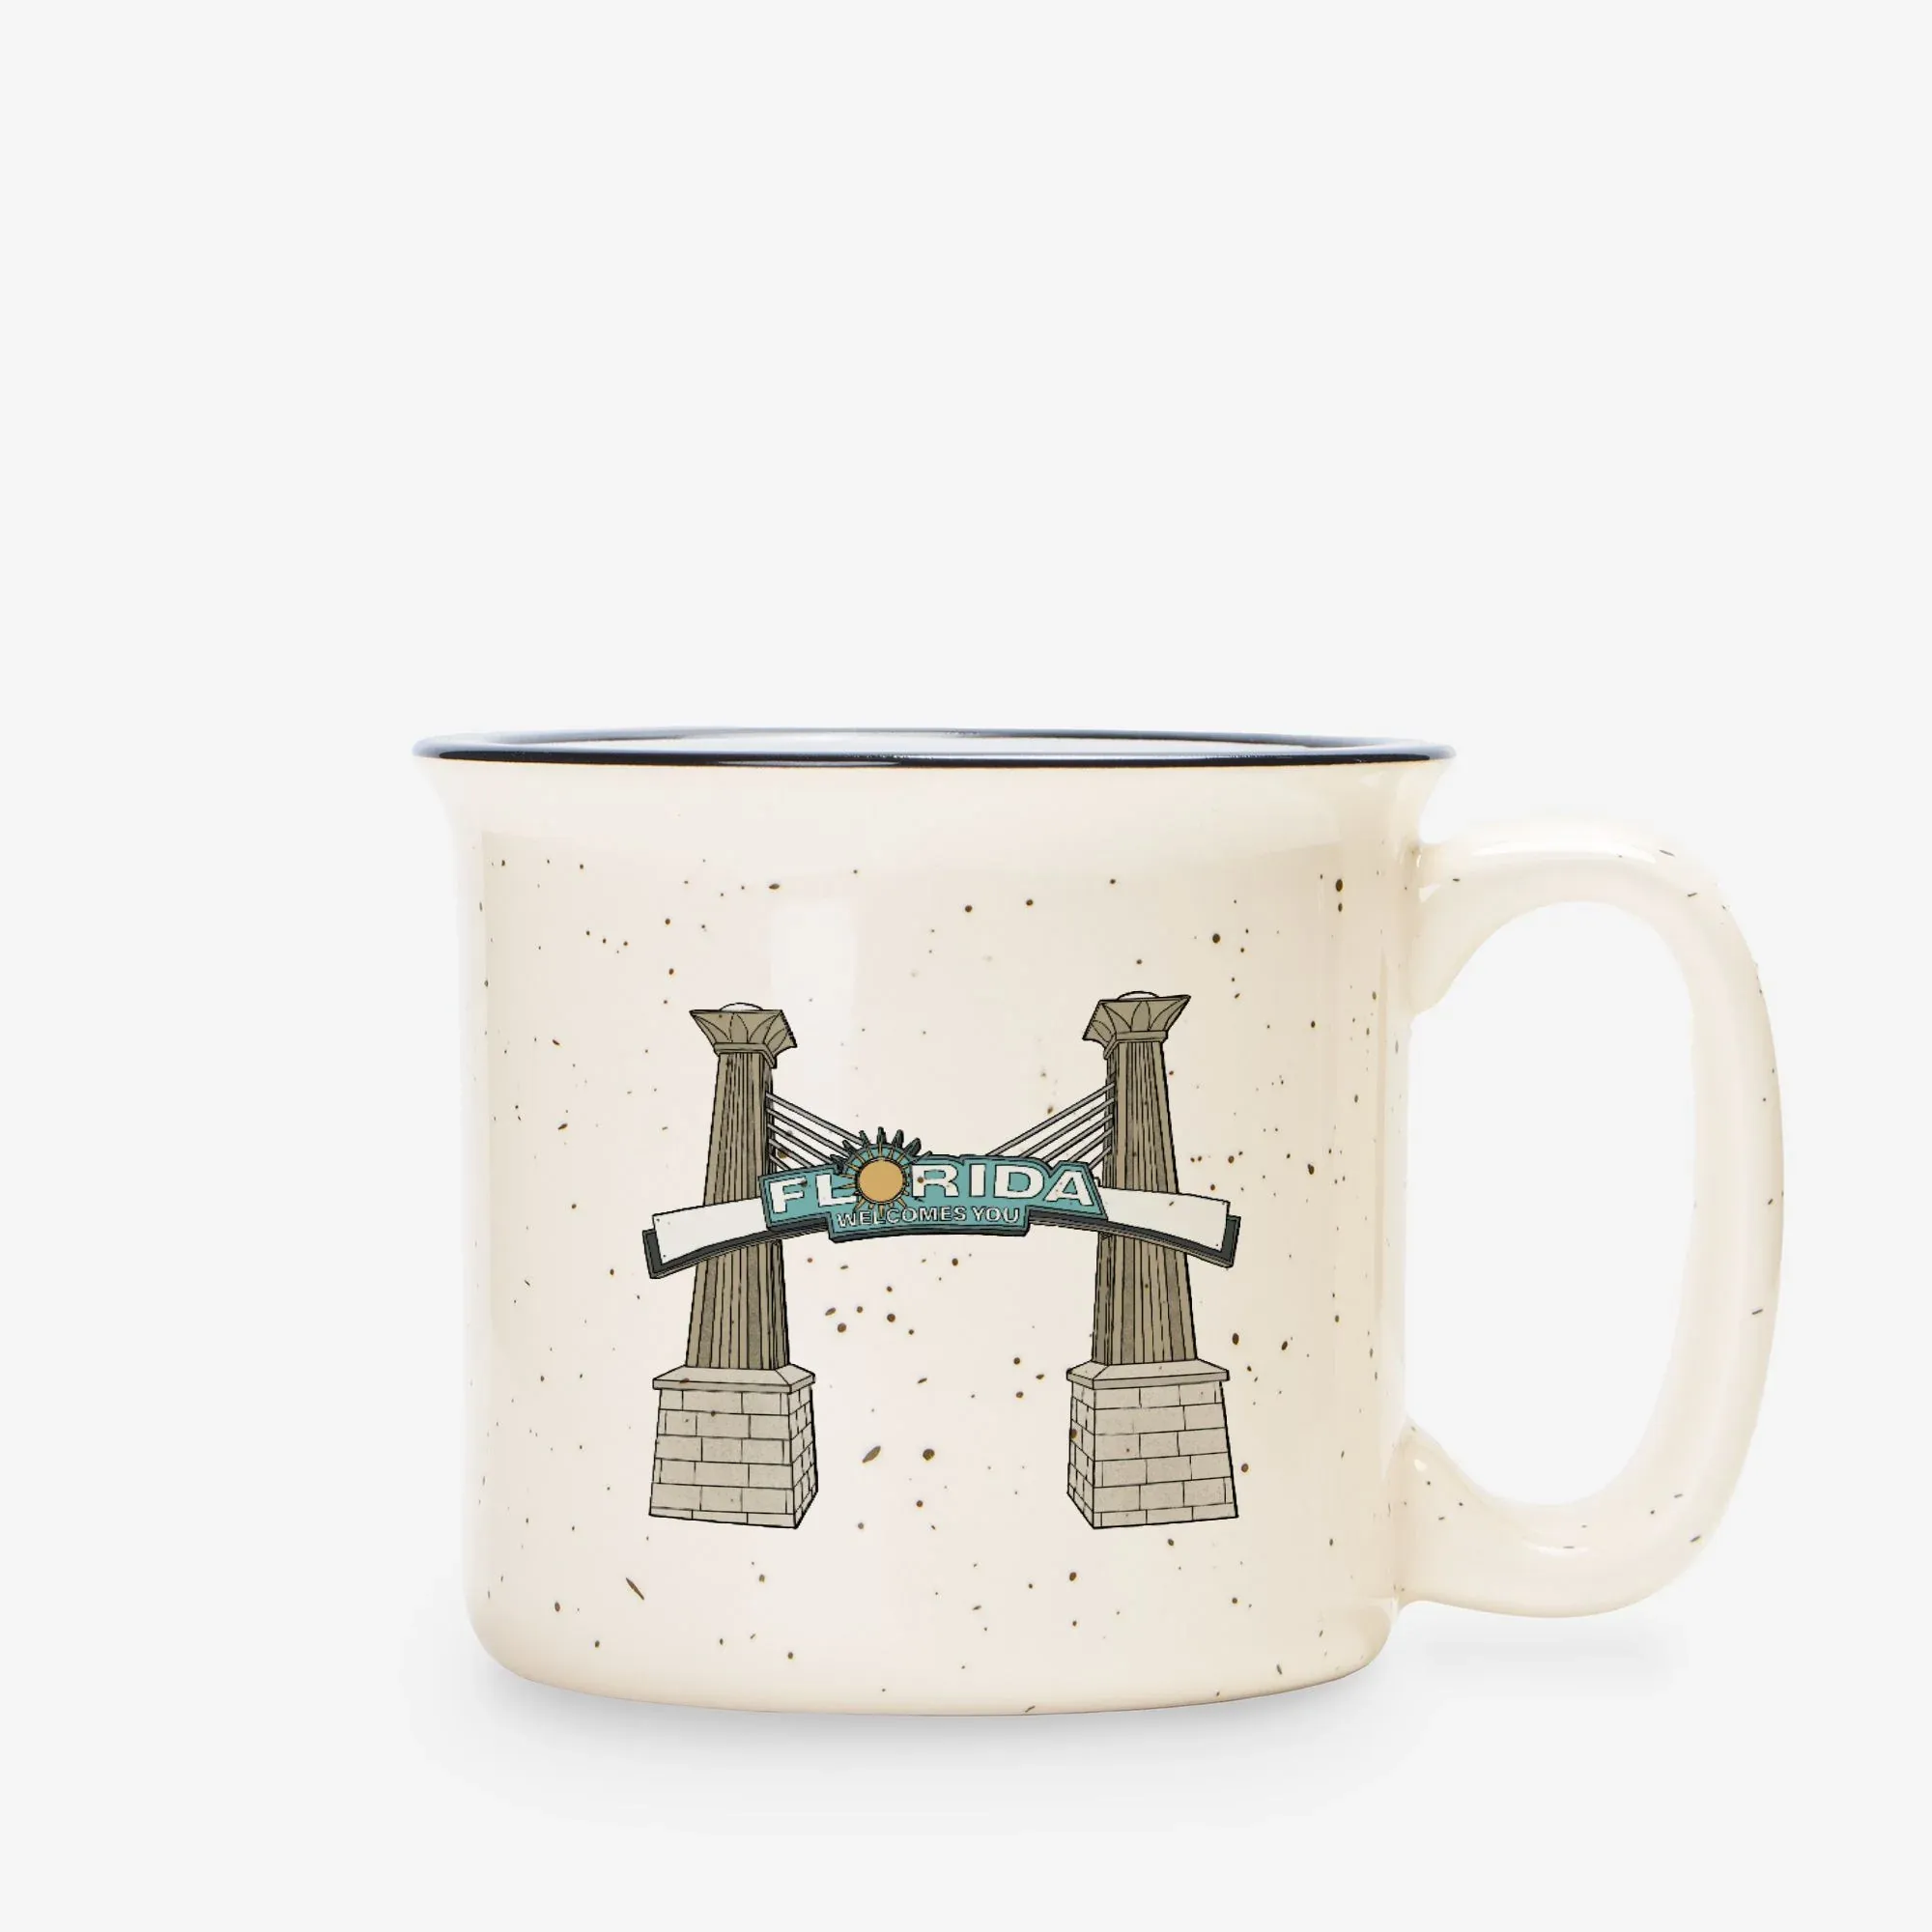
A new collection! Florida.
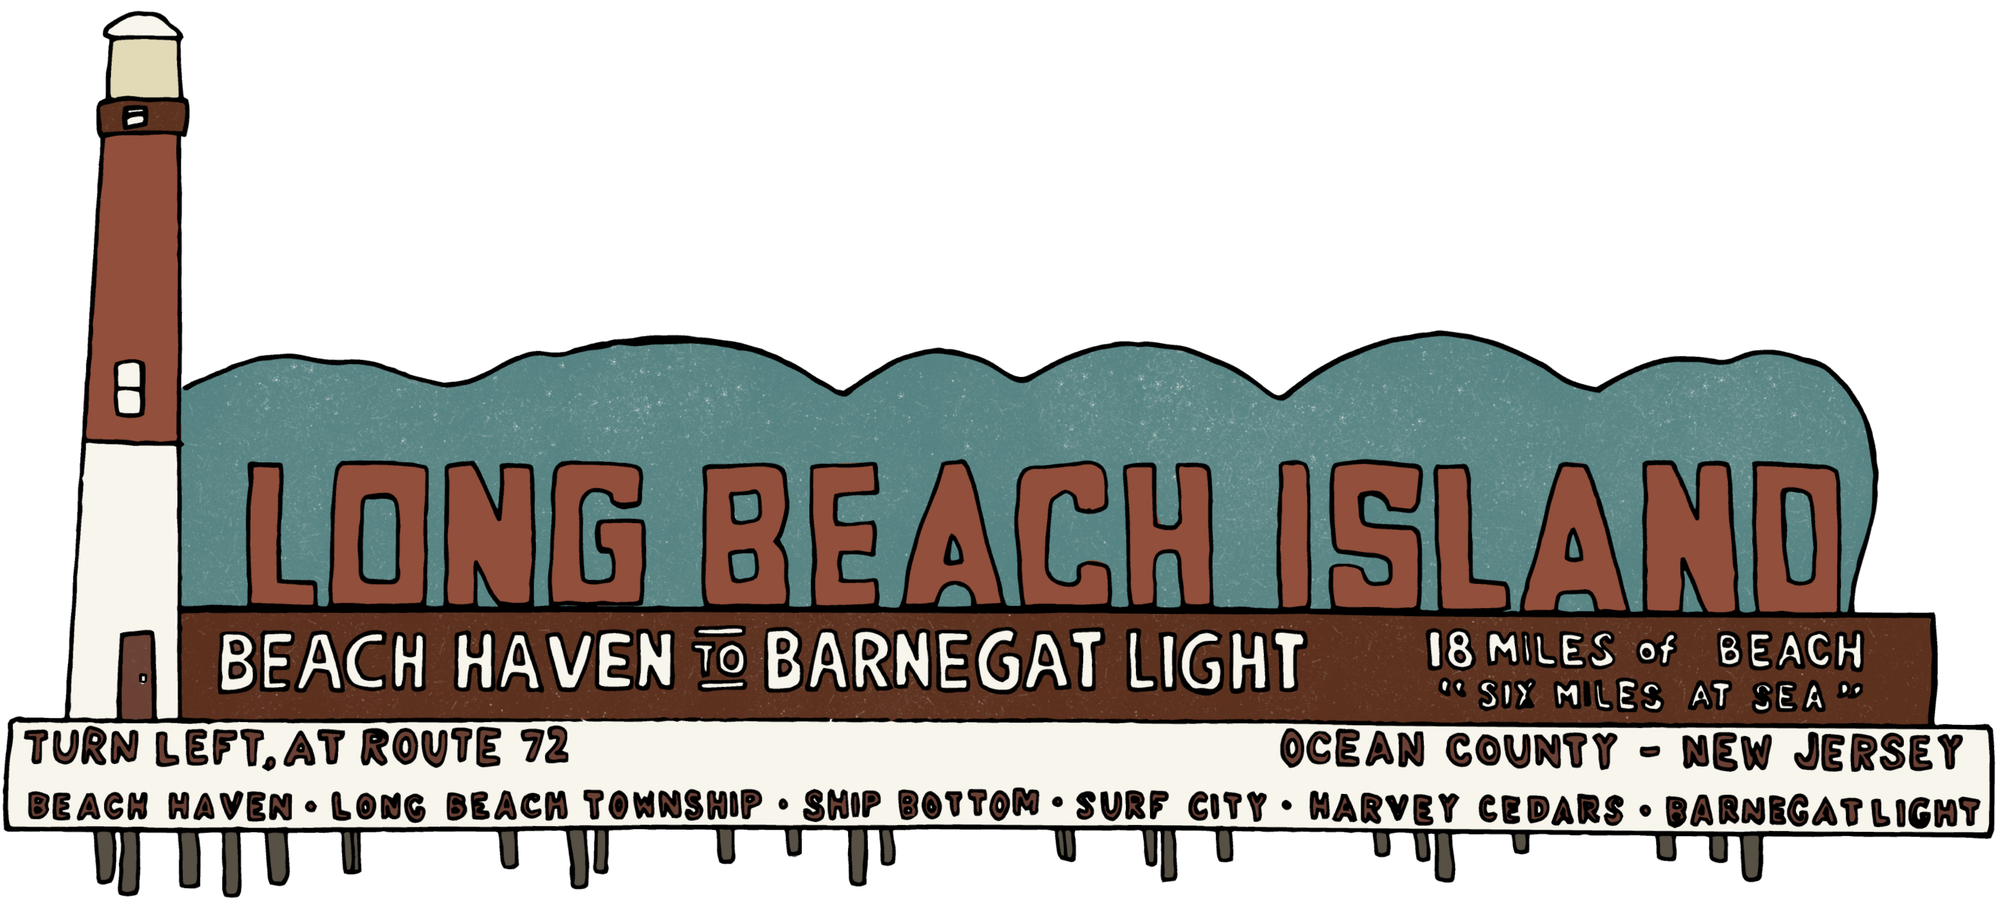
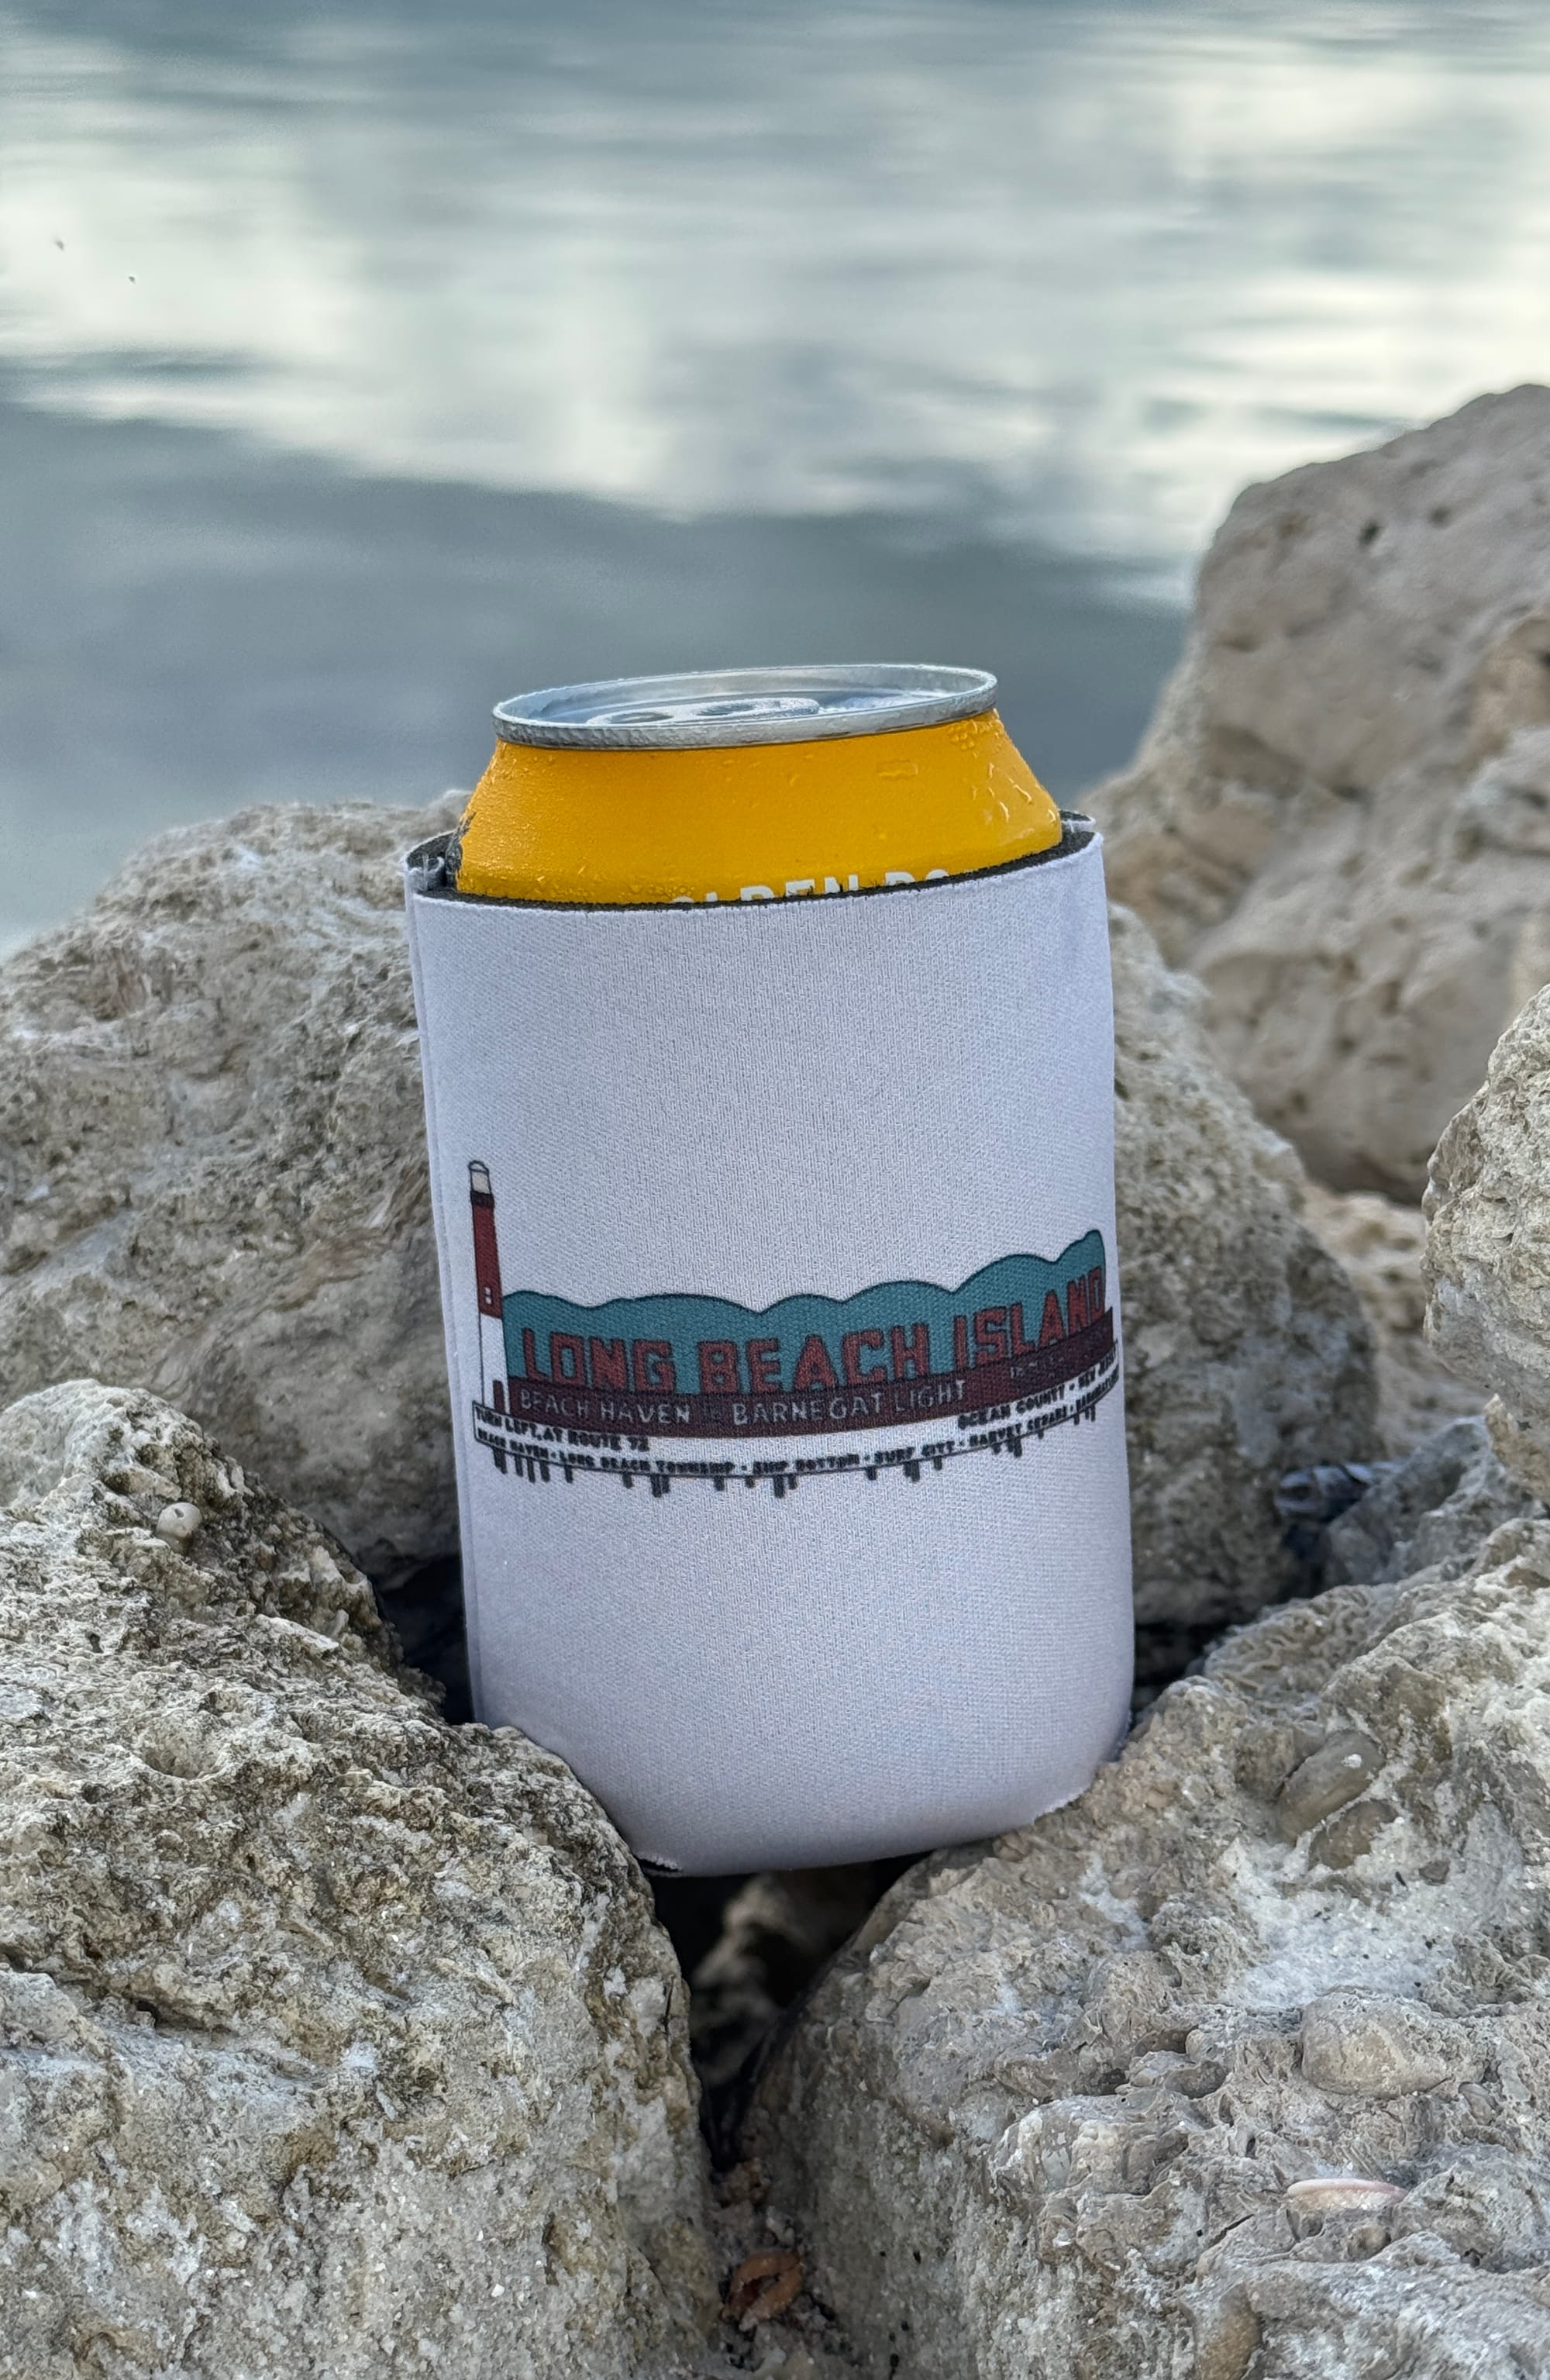
I added some new products to the shop like can coolers with original LBI designs.
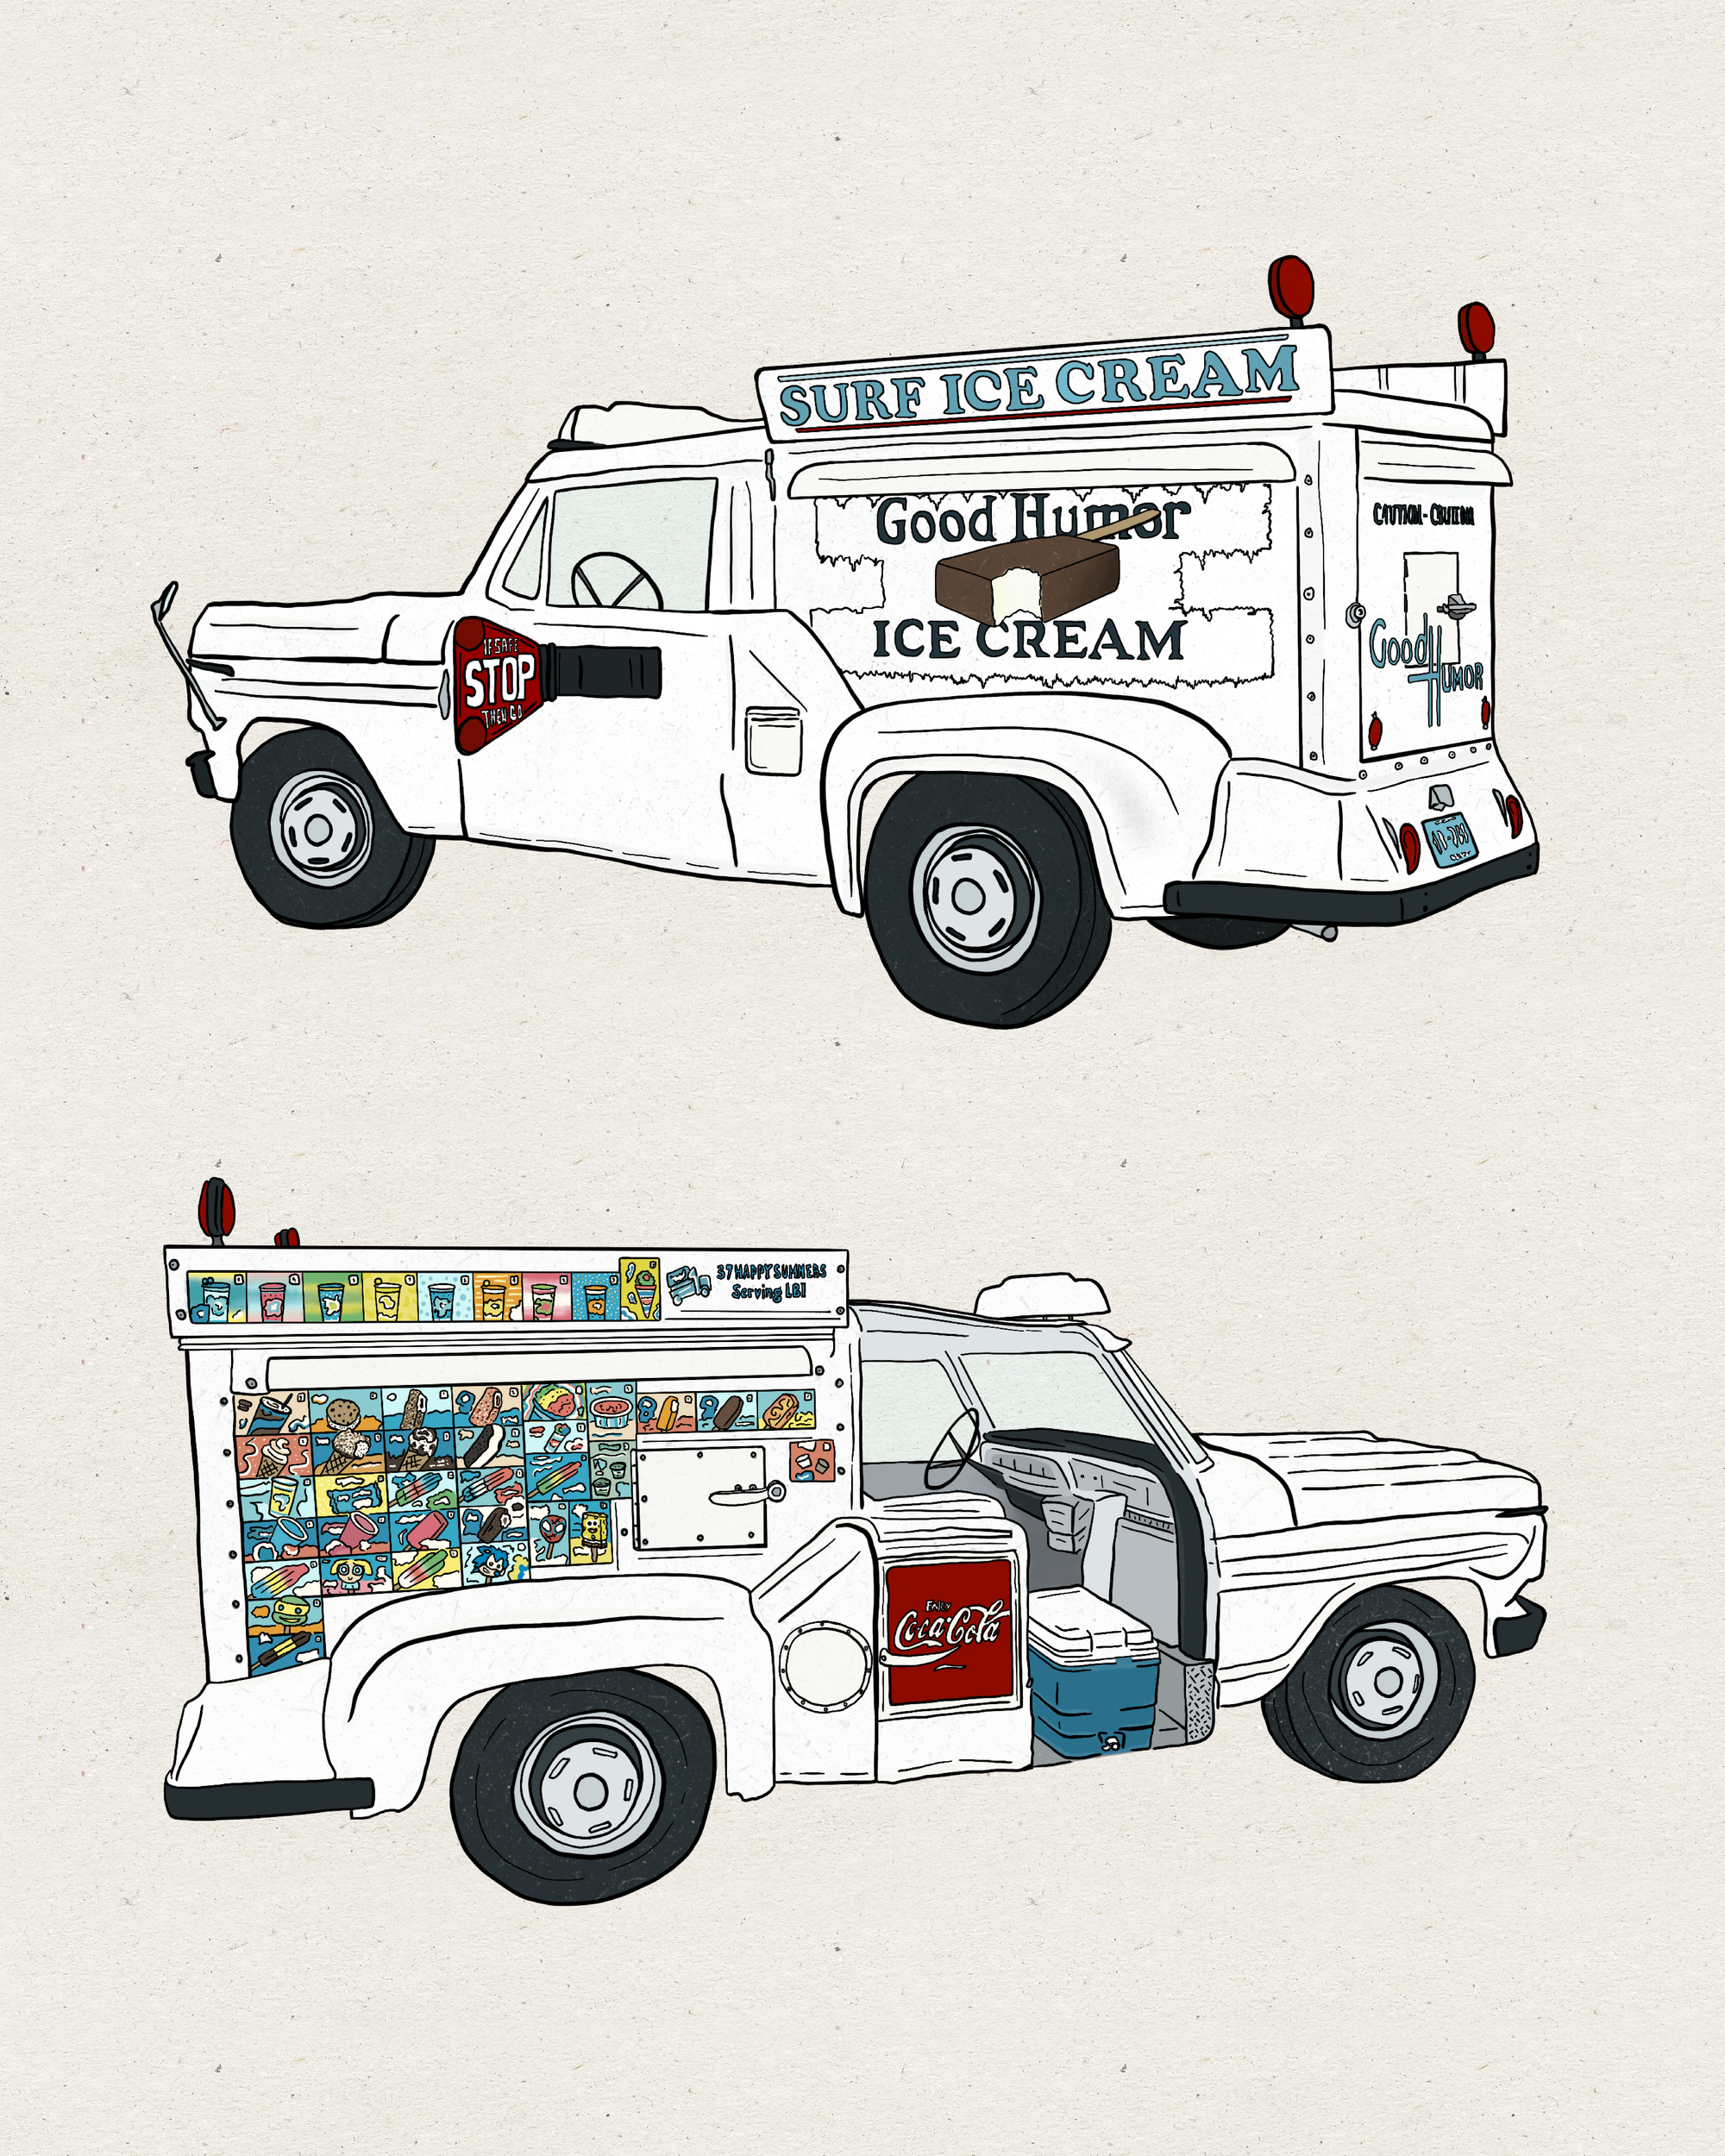
I drew a classic LBI ice cream truck.
my favorite is a classic cherry 2 ball screwball
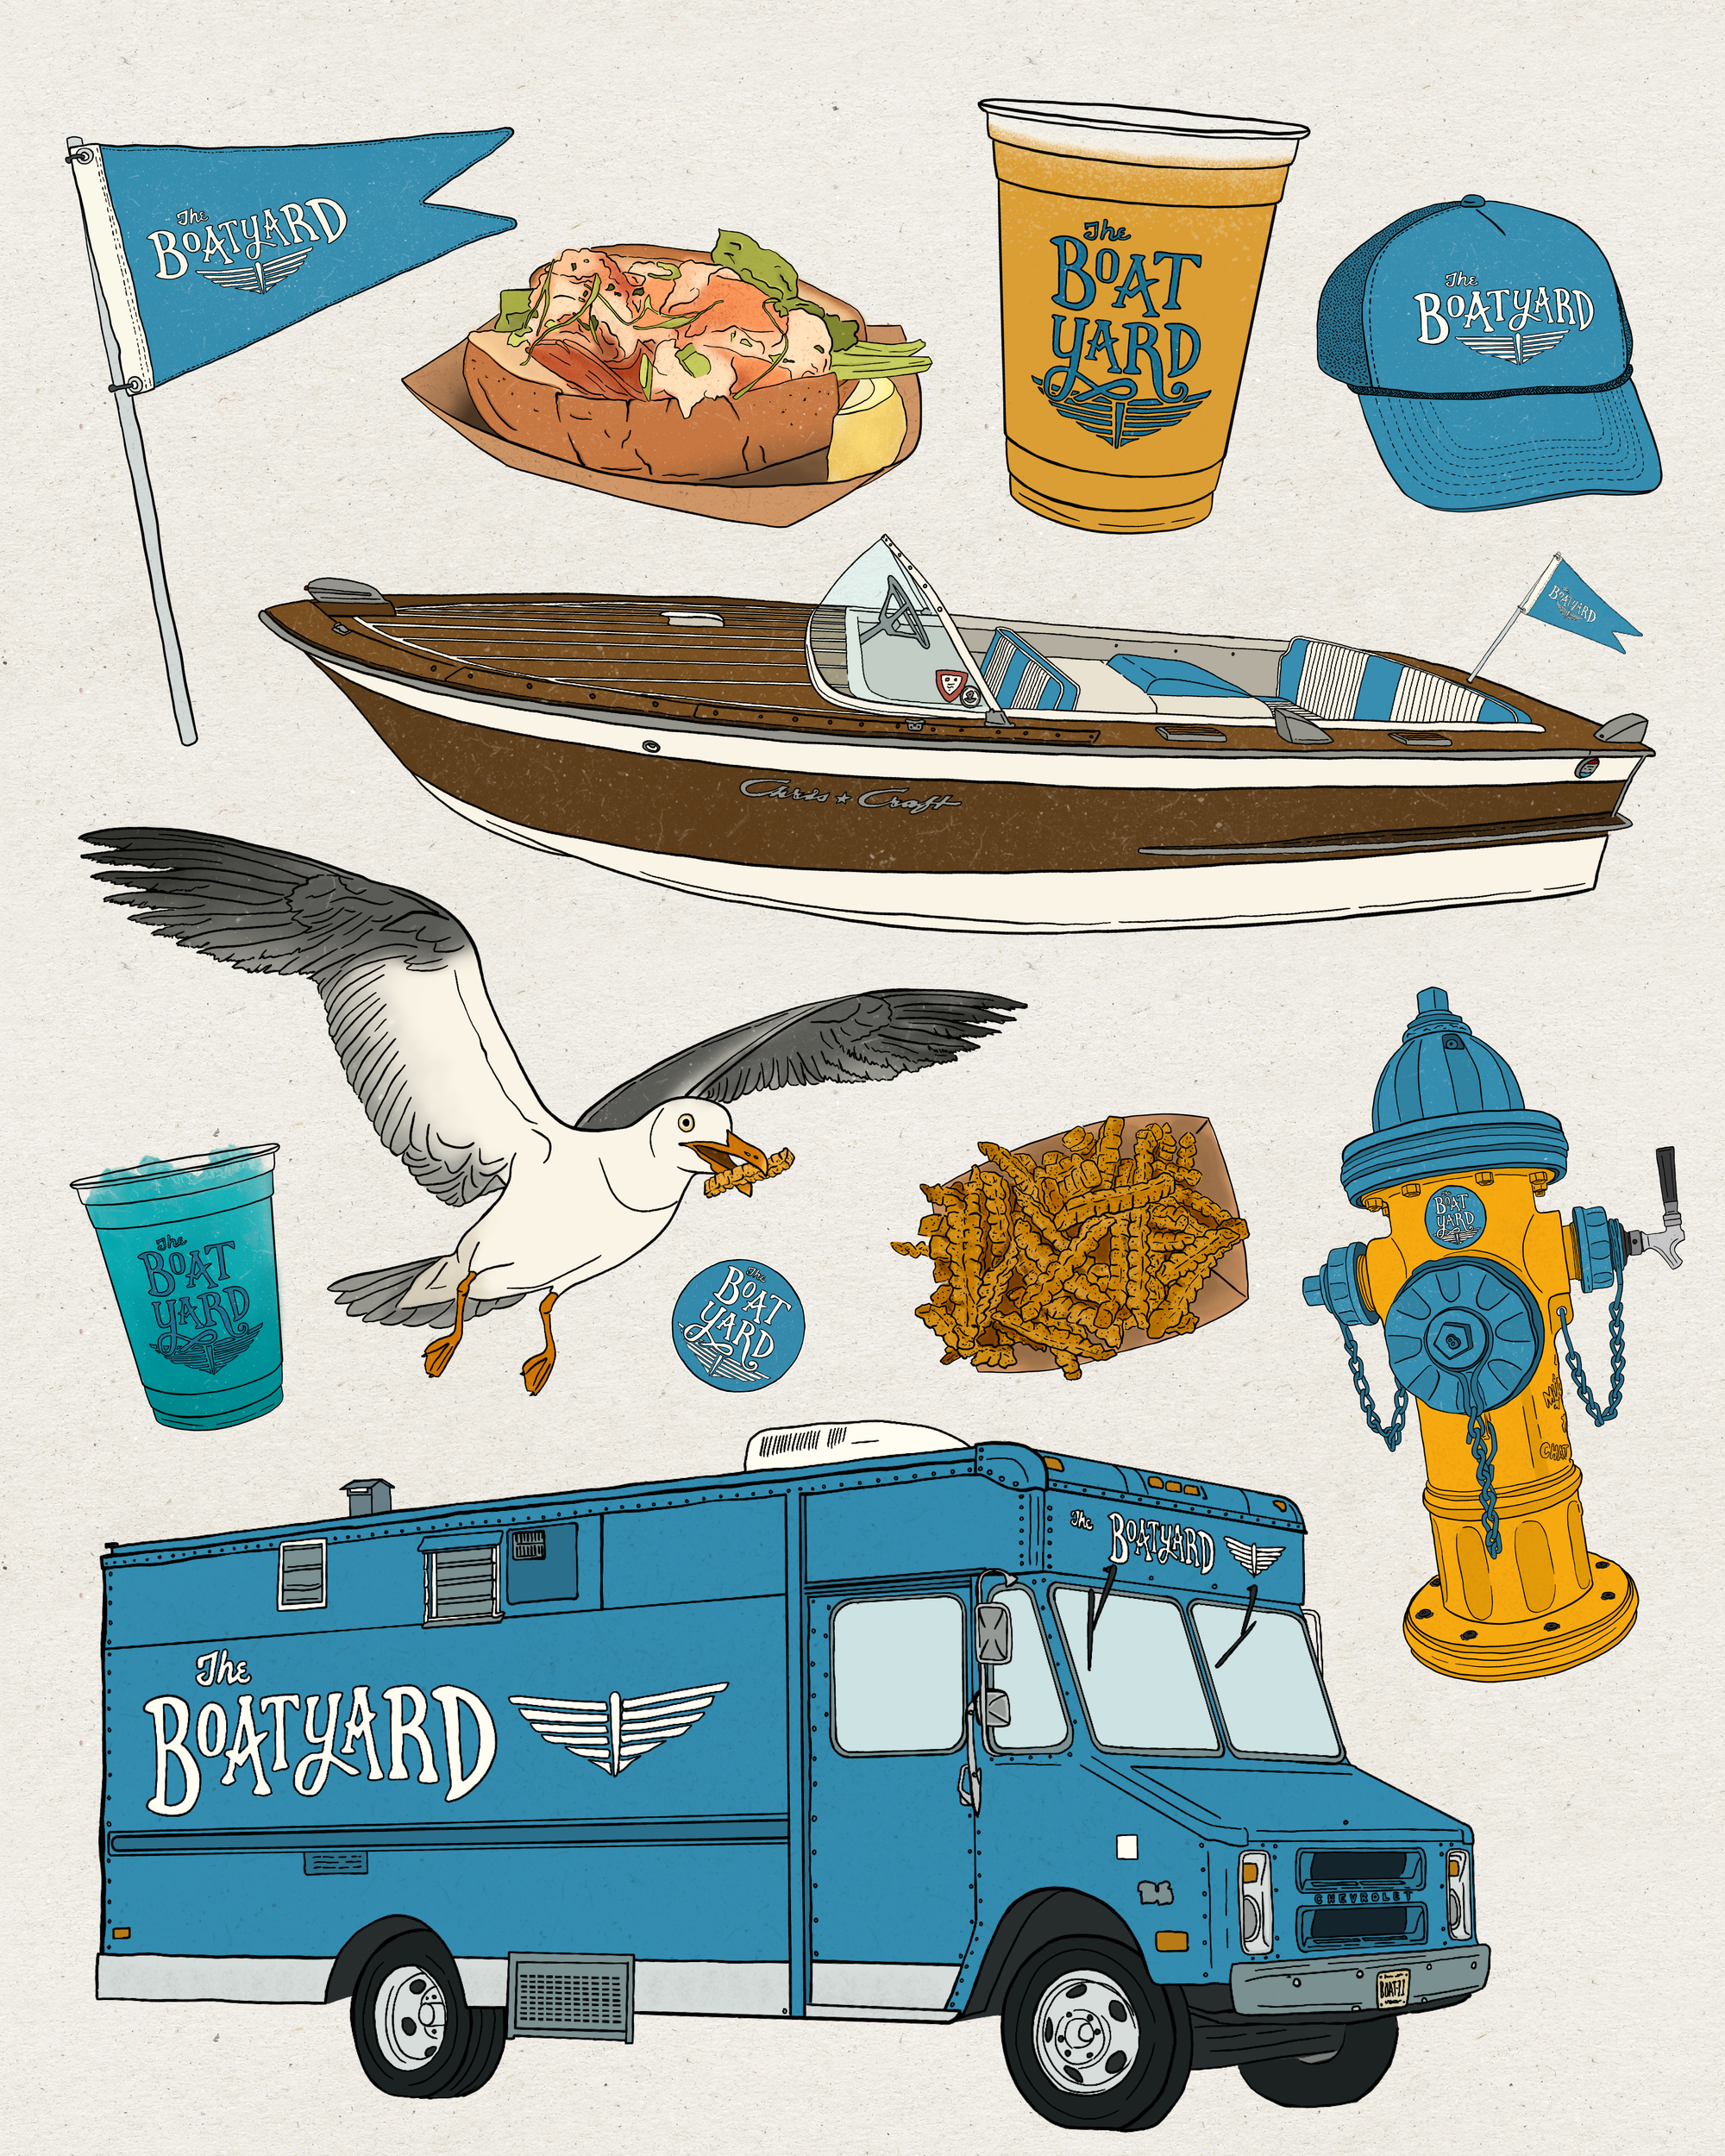
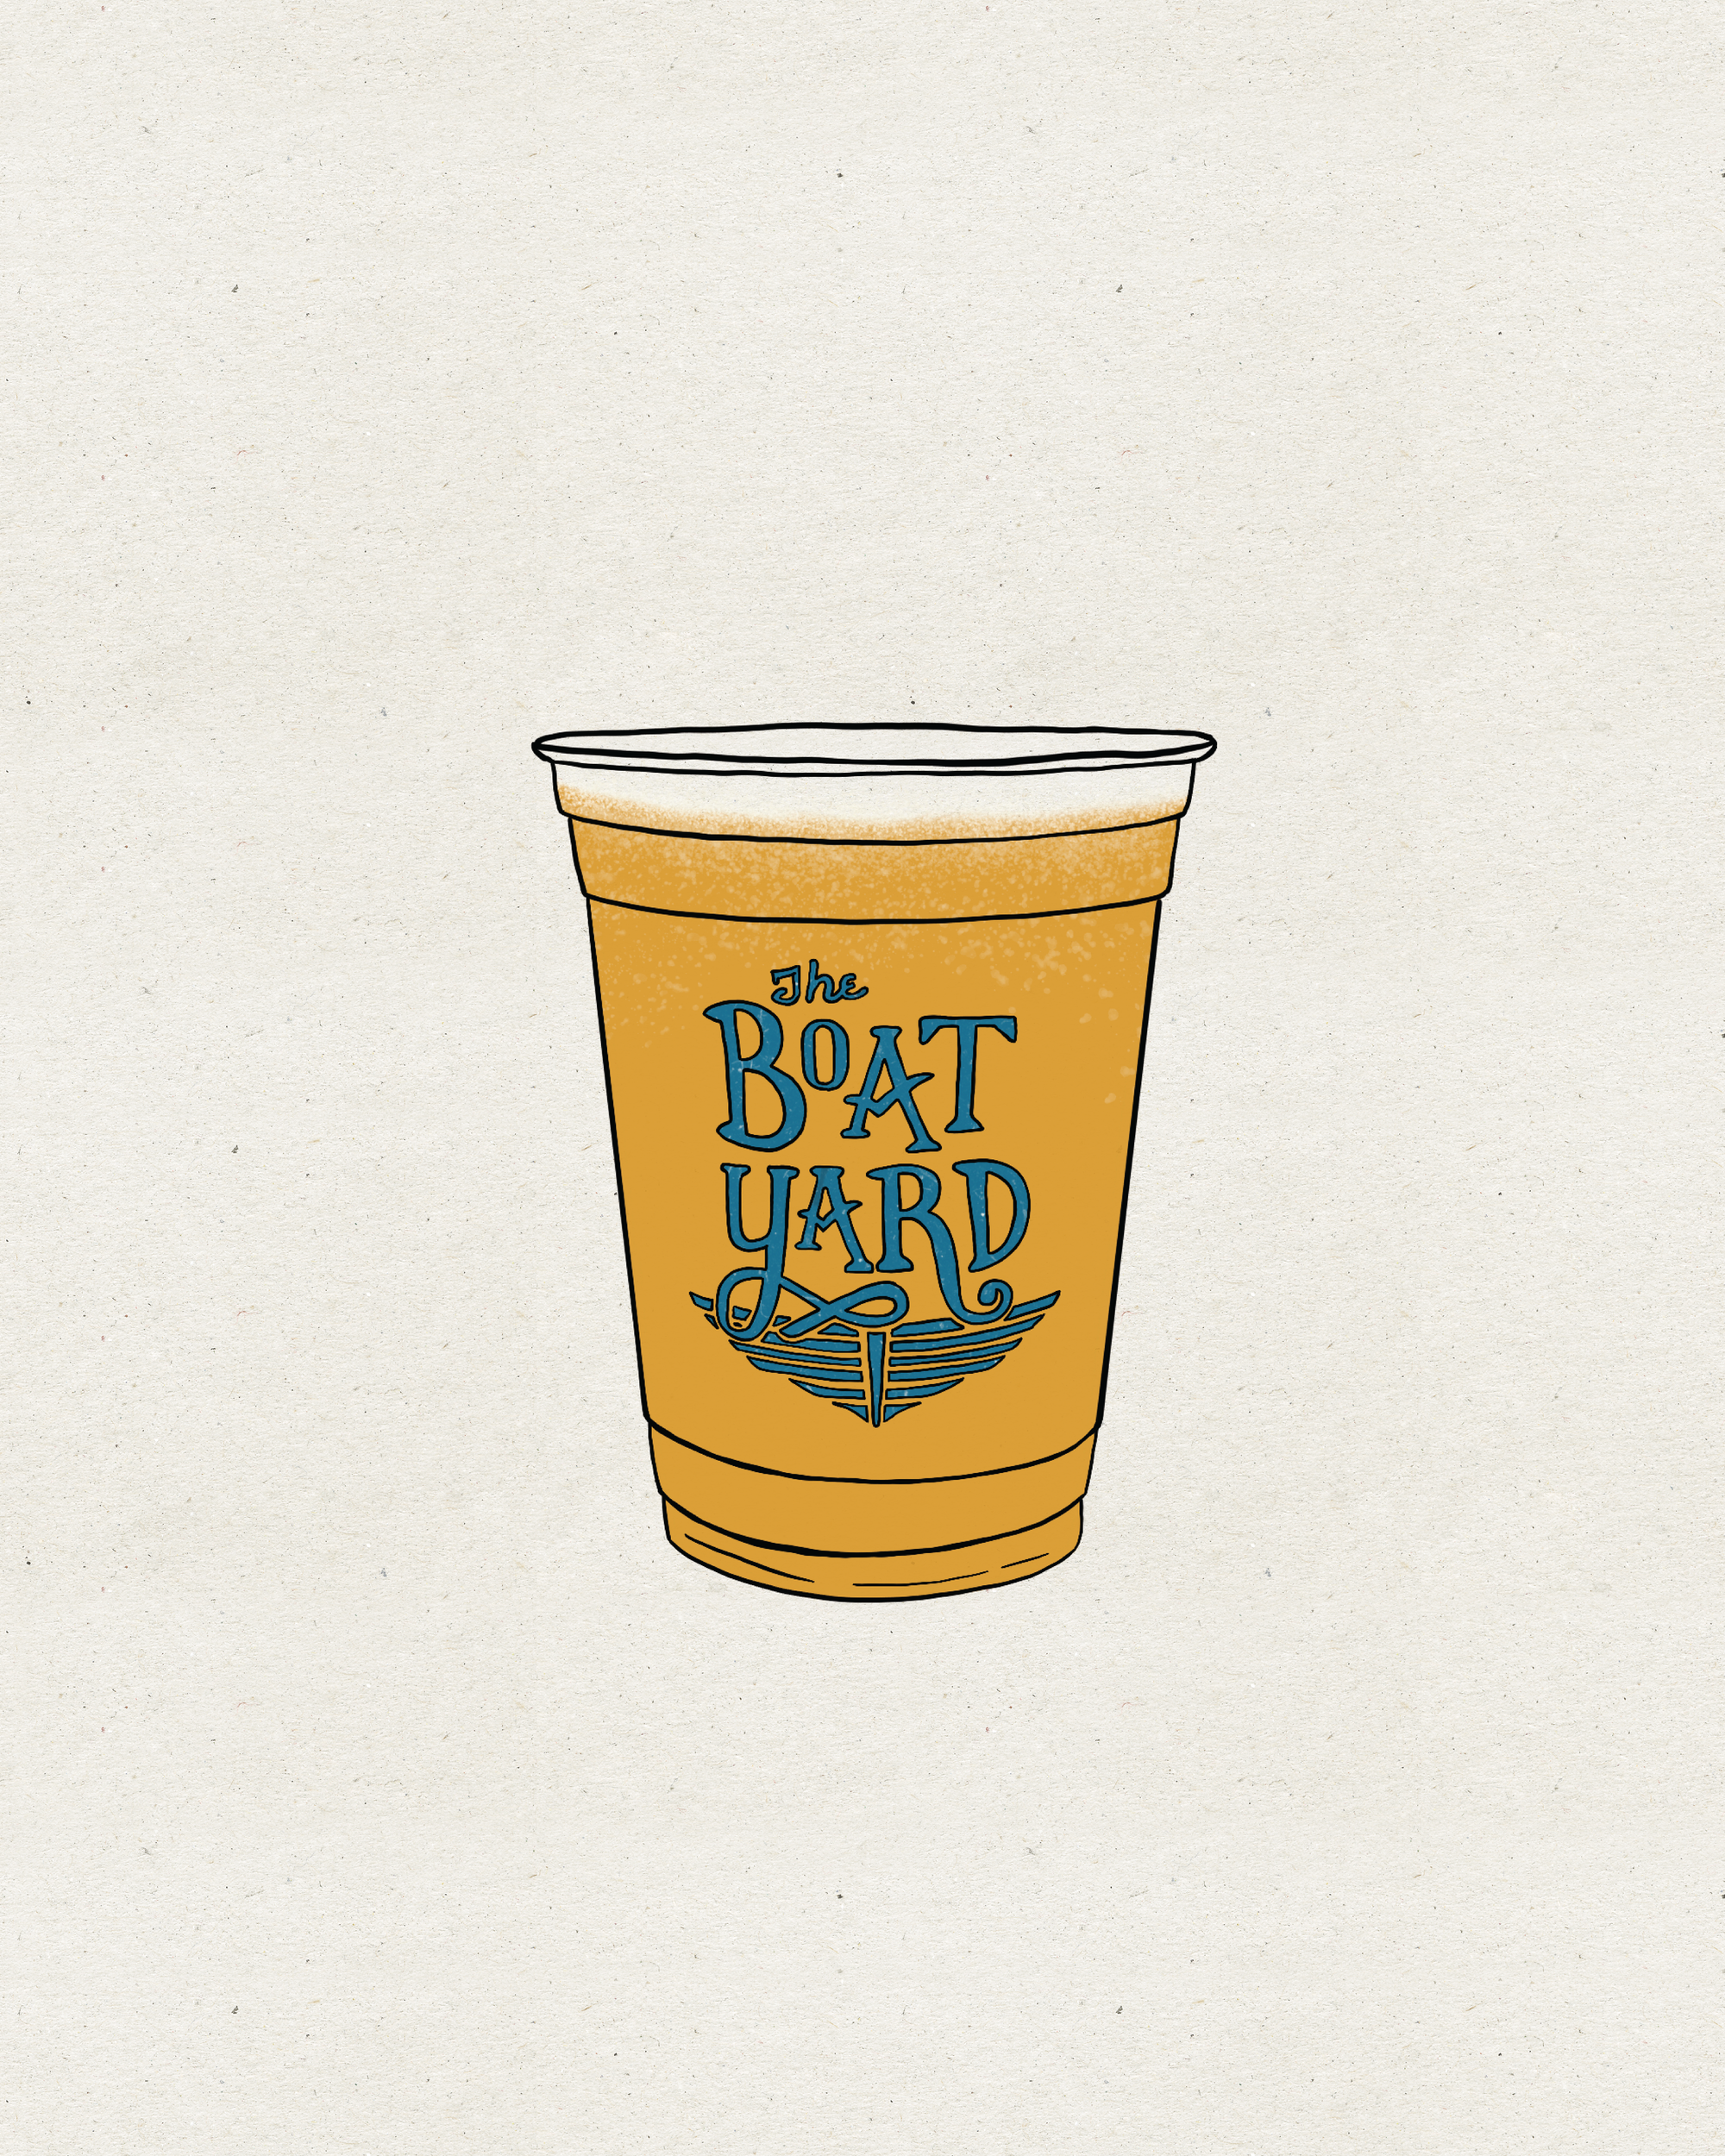
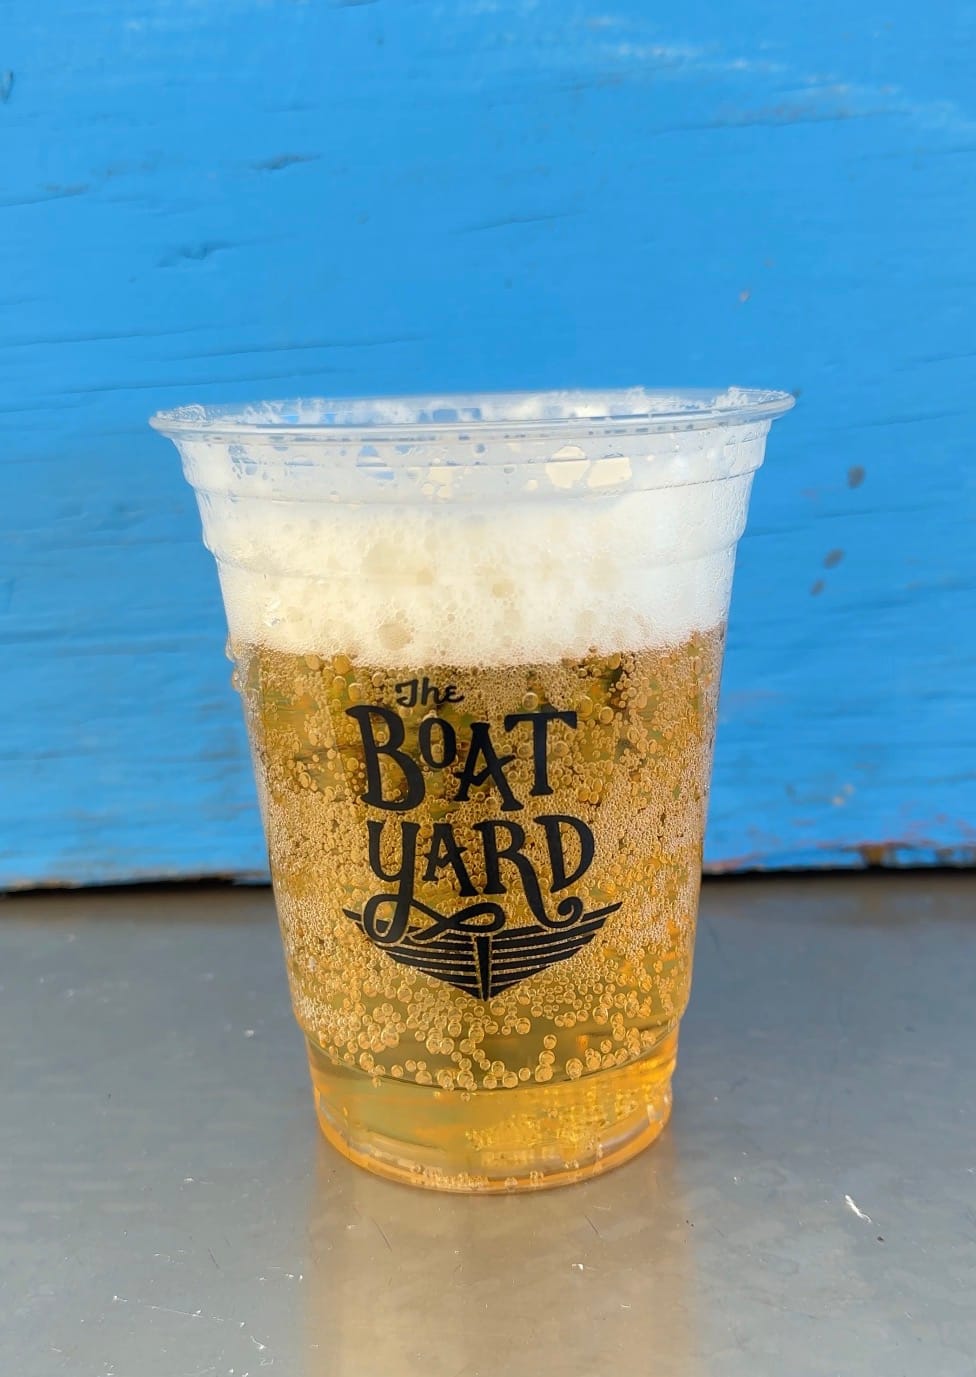
Another Small Town Series featuring The Boatyard.
I came home for a weekend in the fall and actually made a surprise pop-up at The Yard Market.
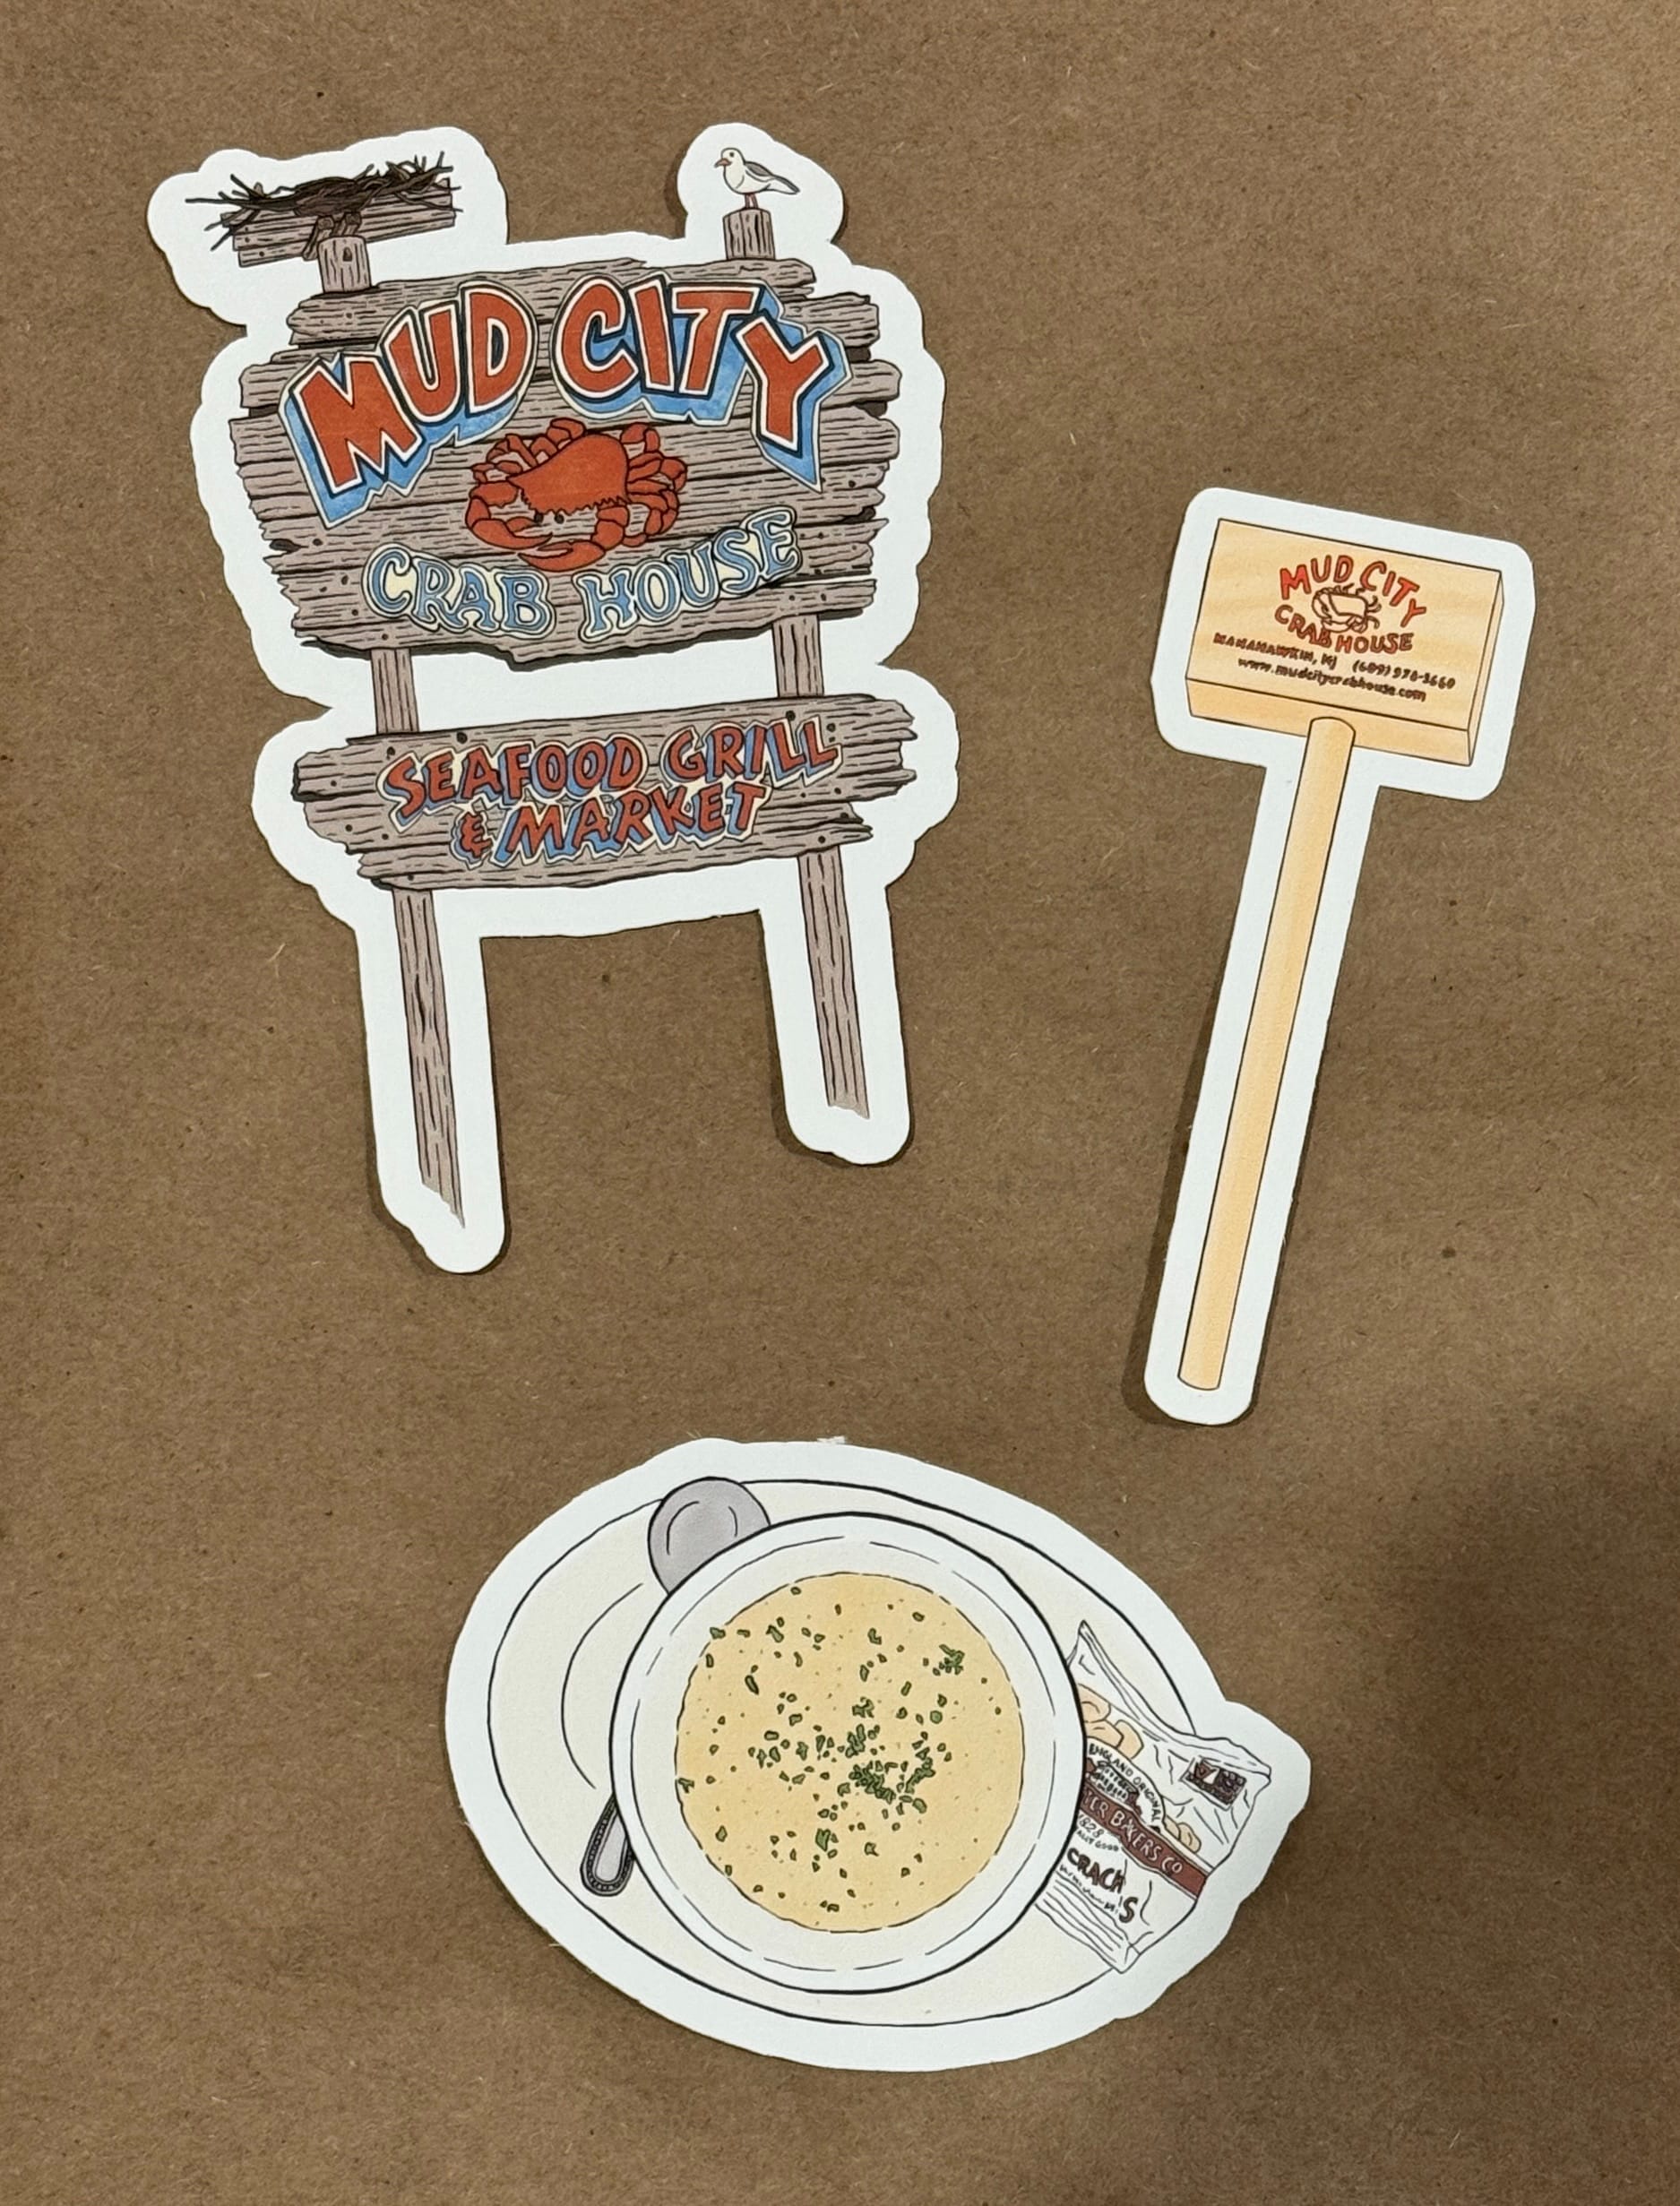
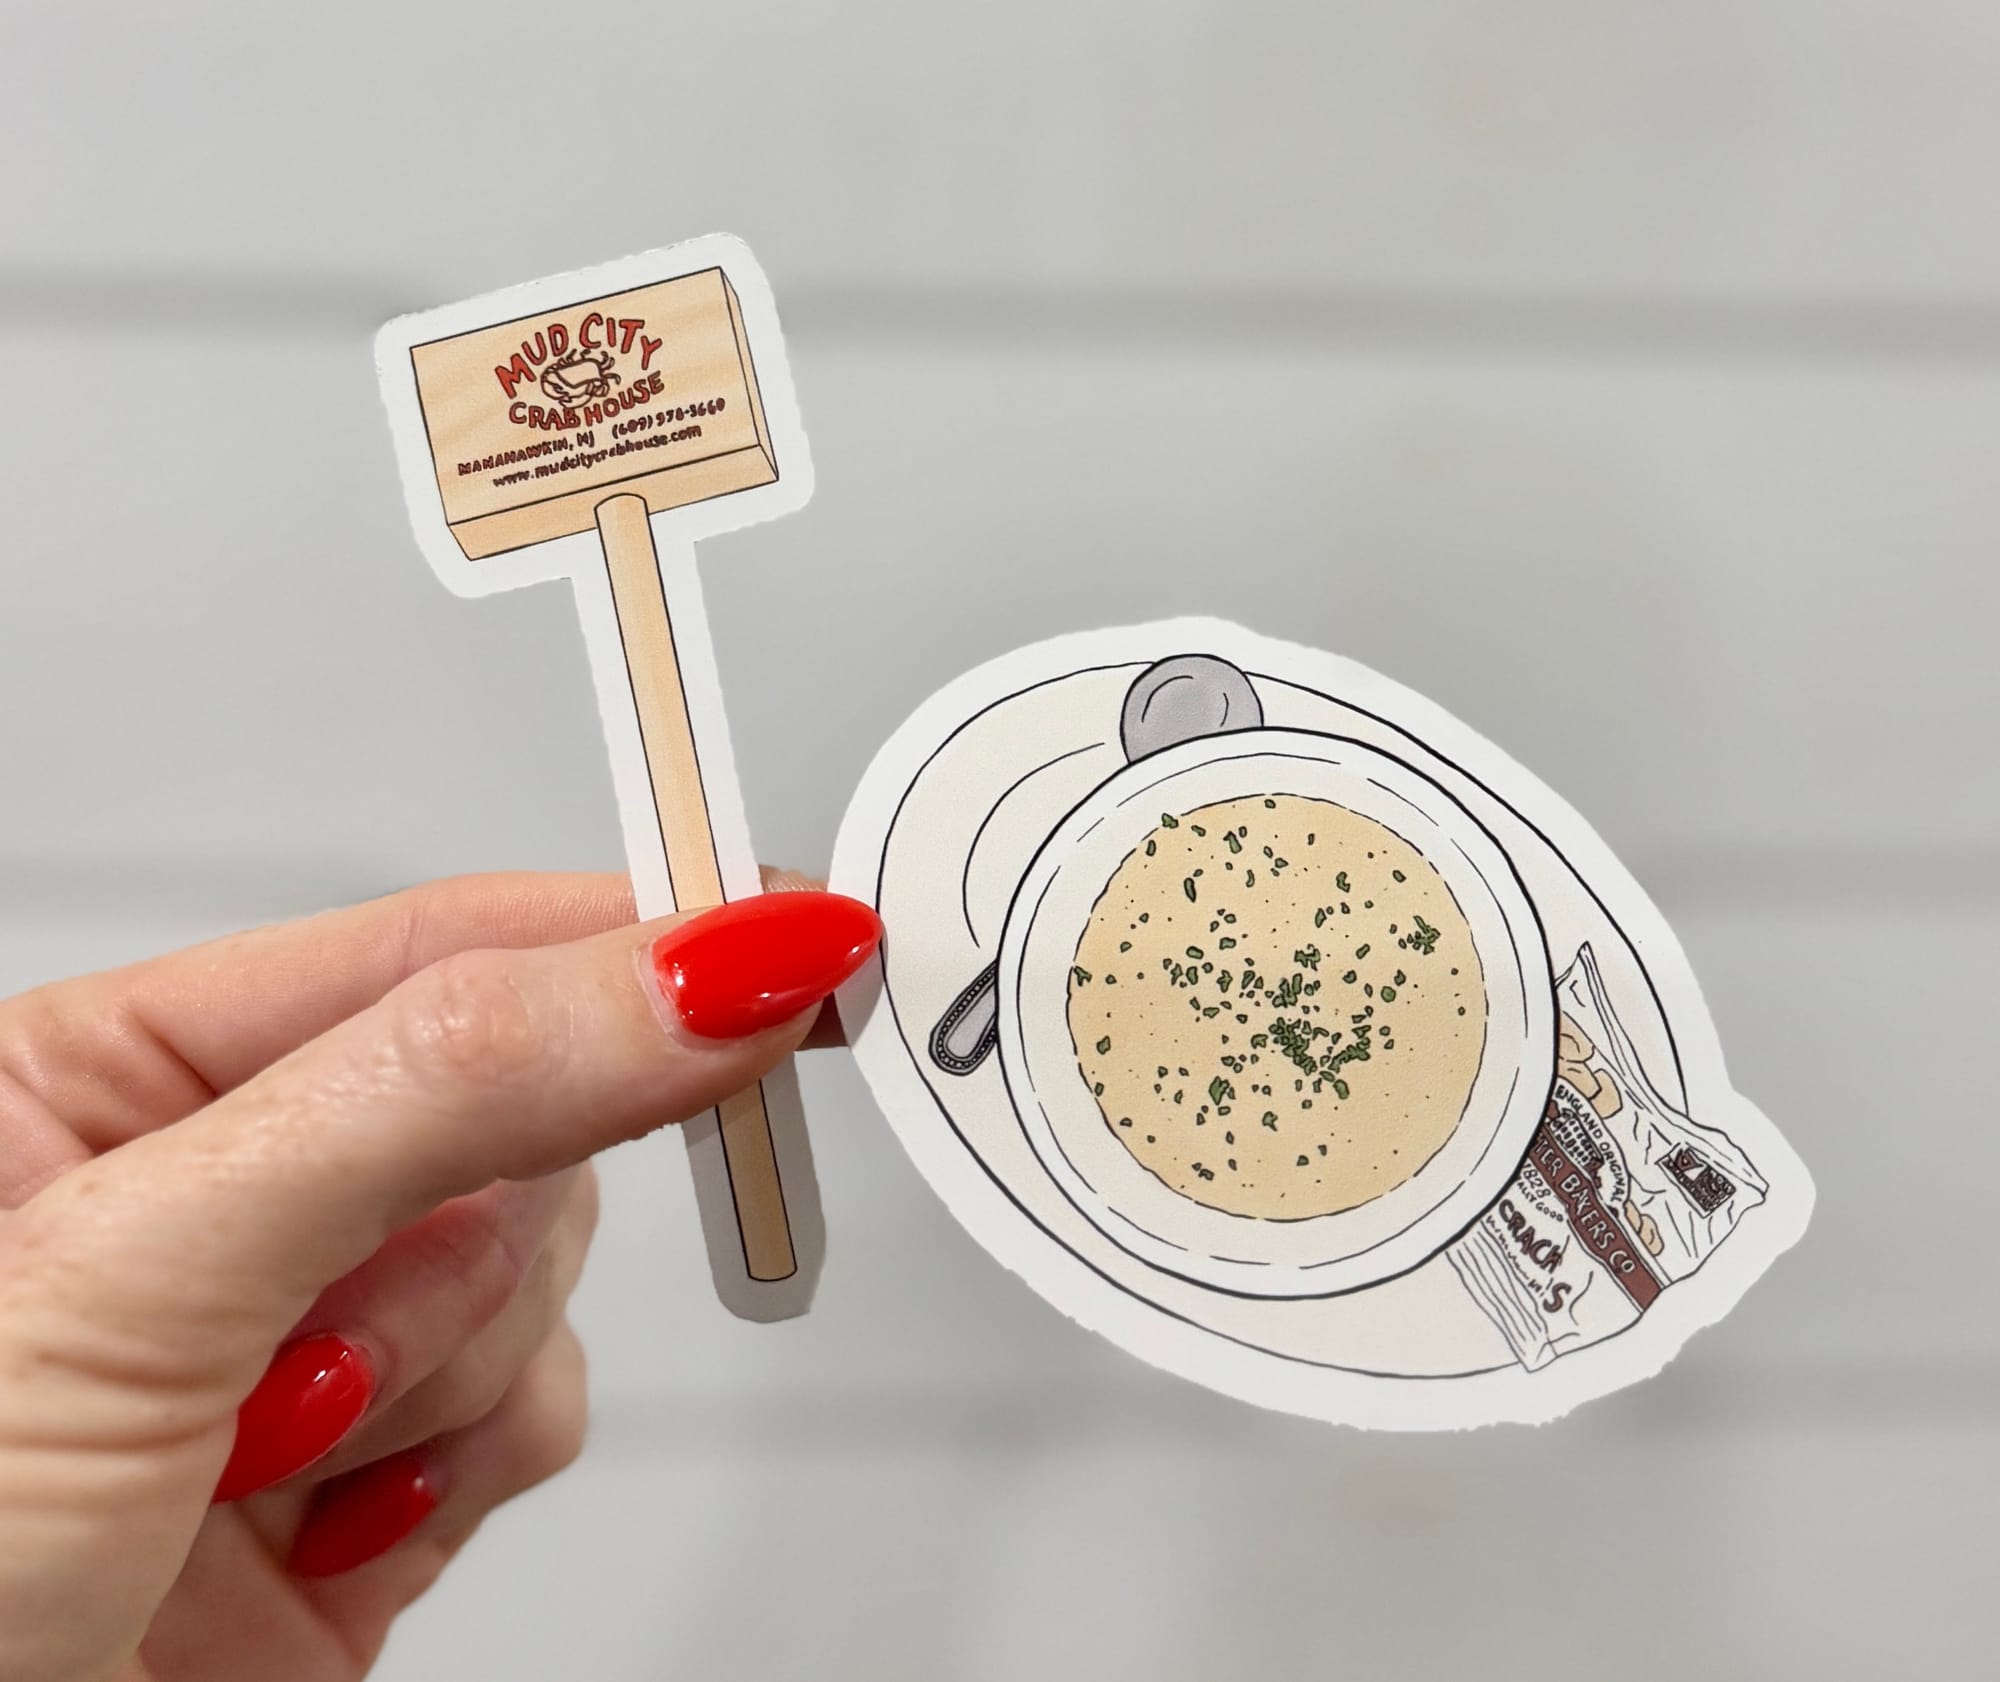
Now I have a new Small Town Series that's still in the works, Mud City Crab House.
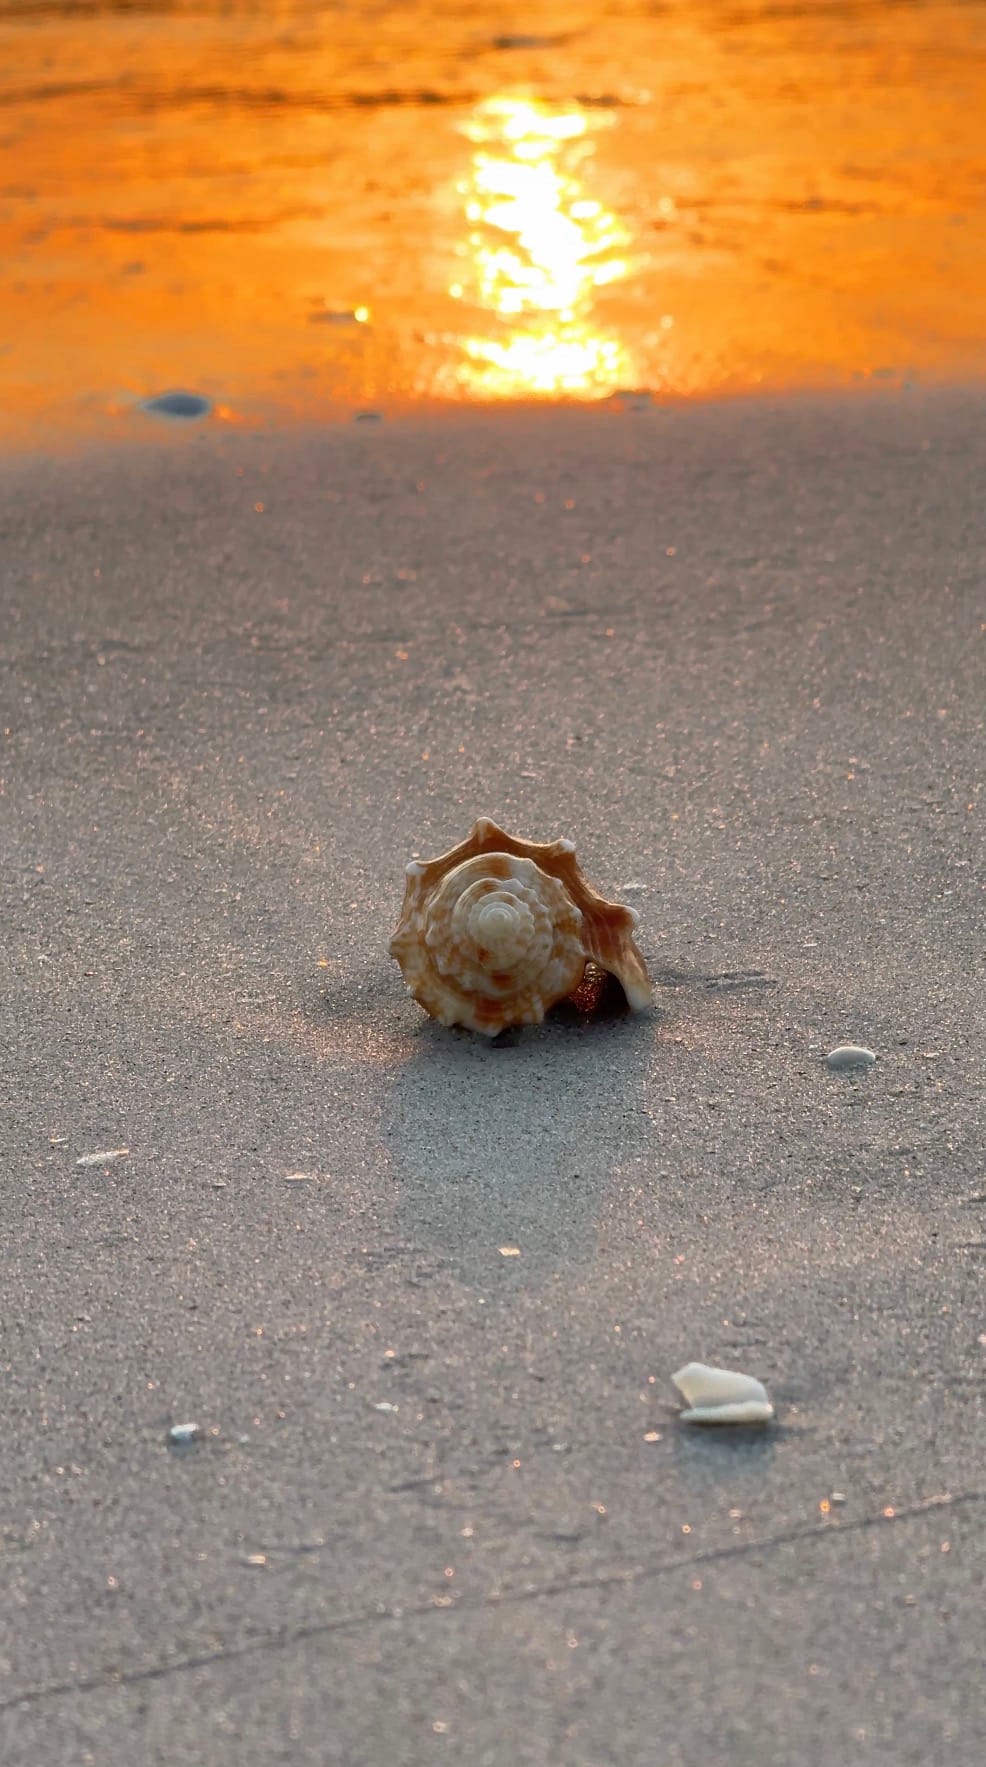
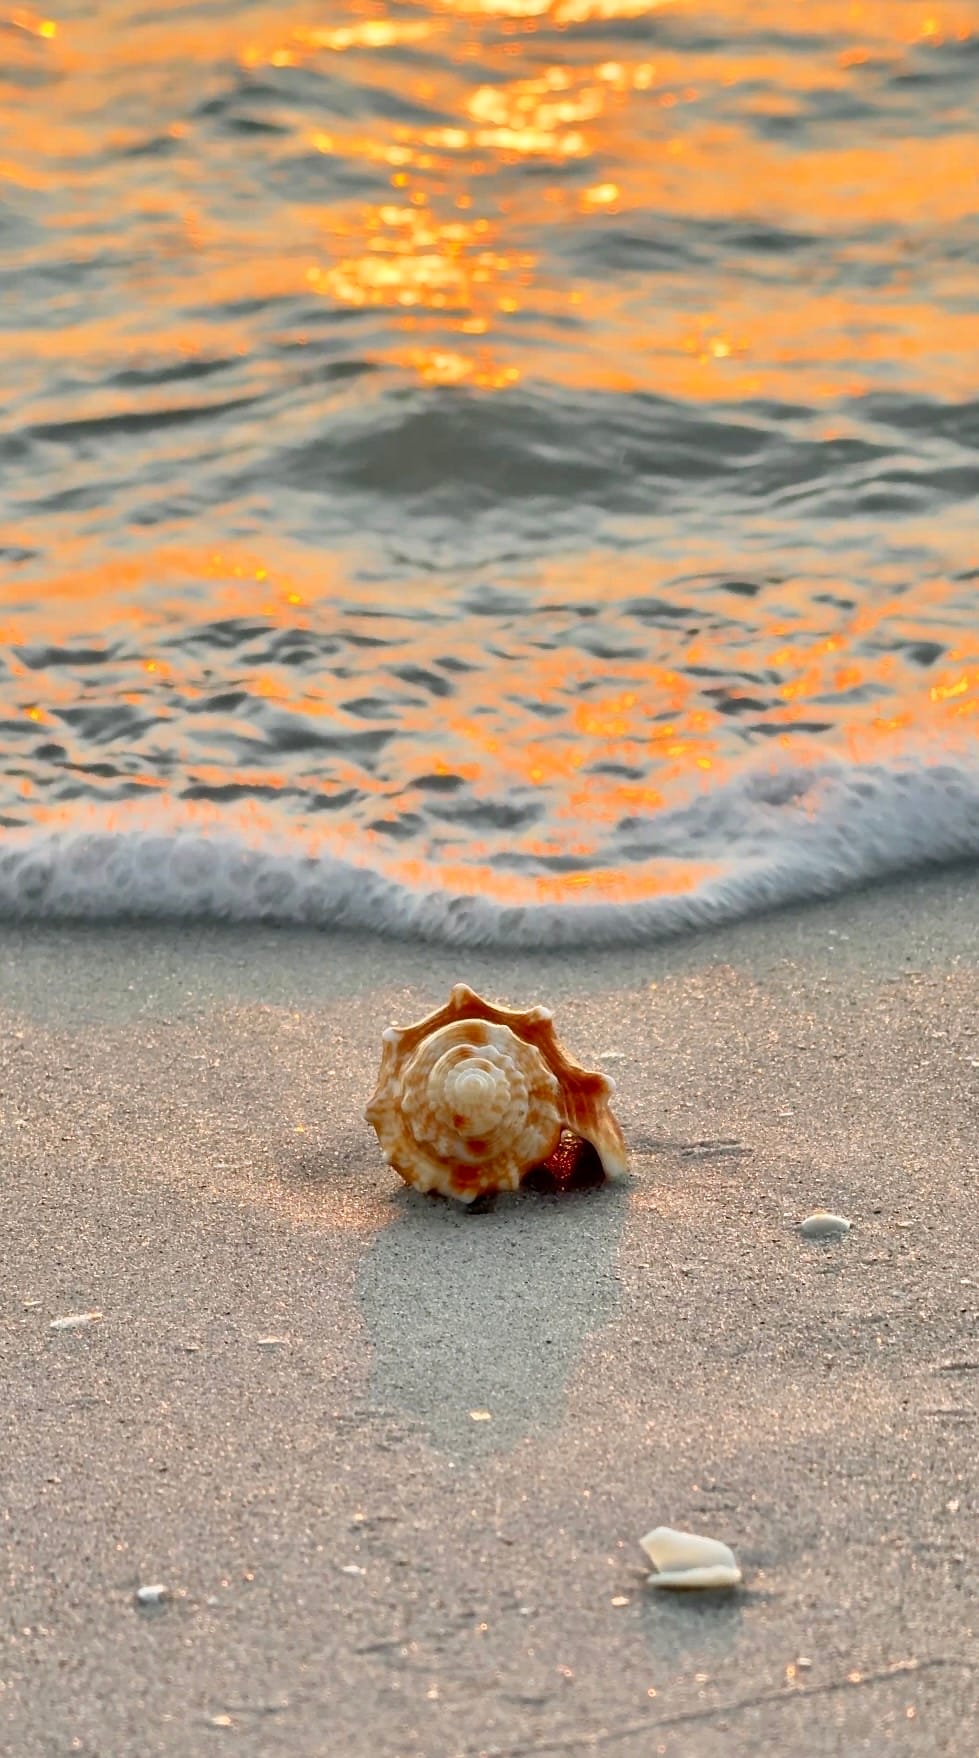
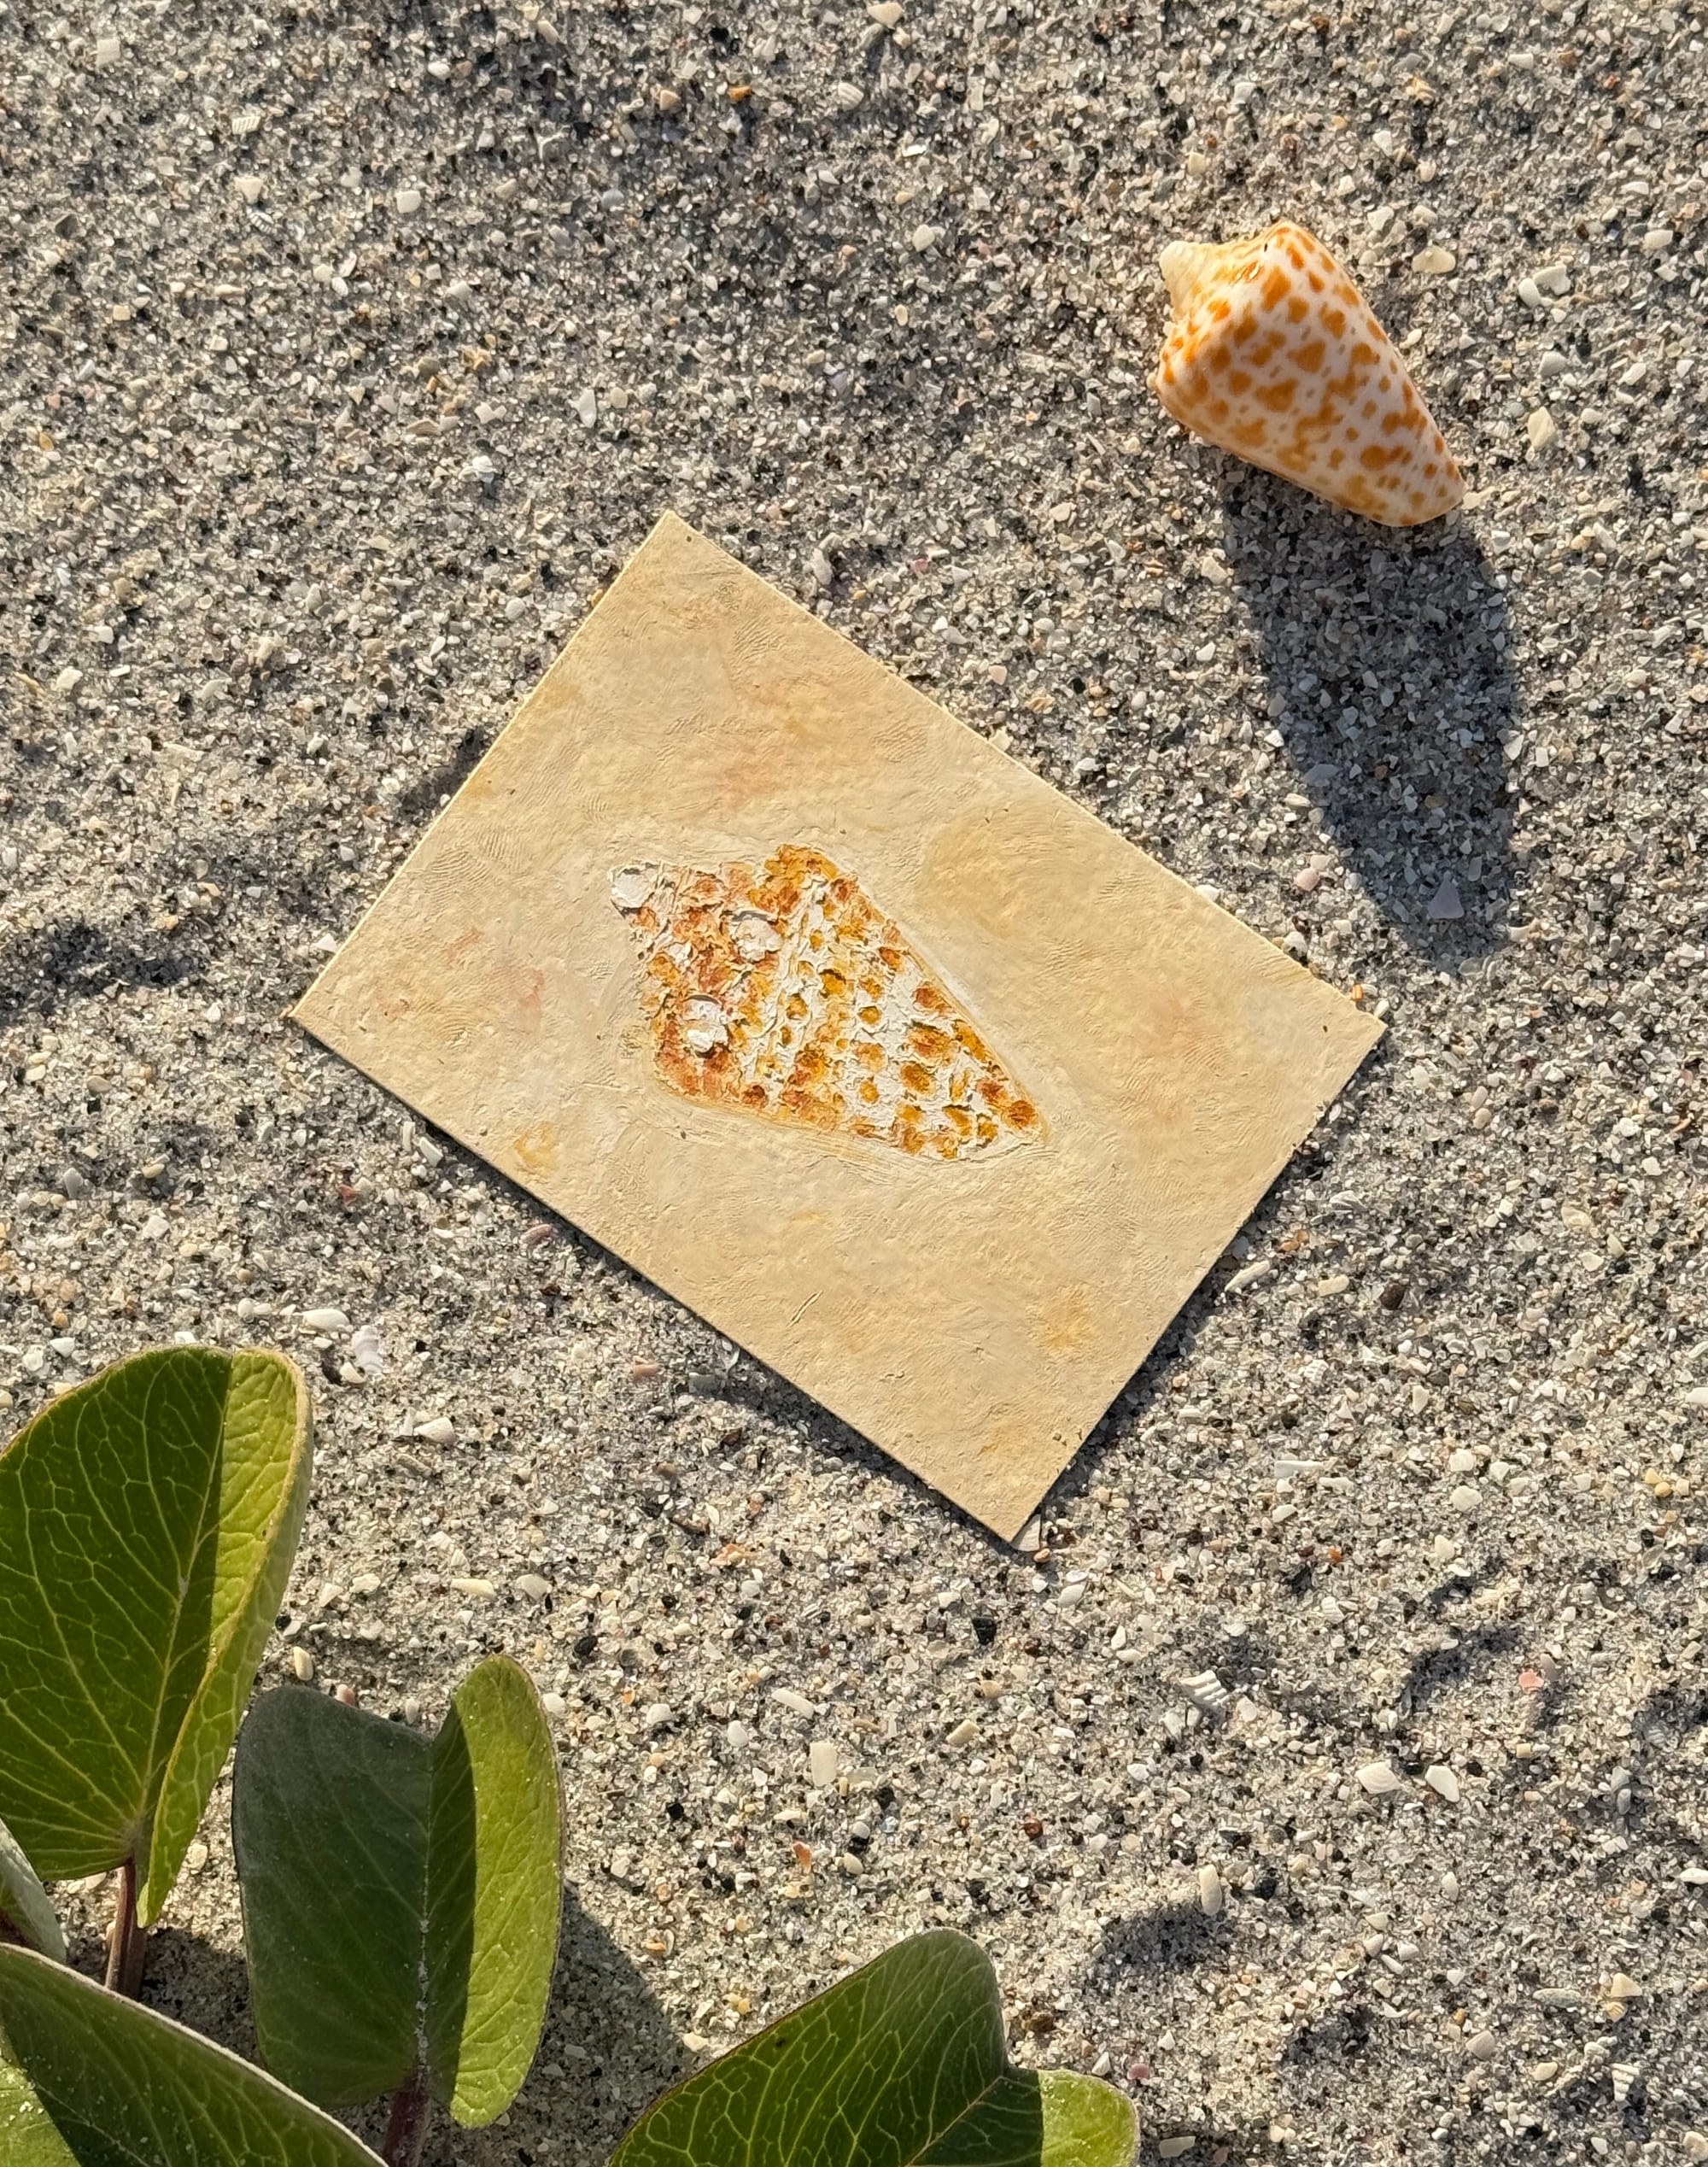
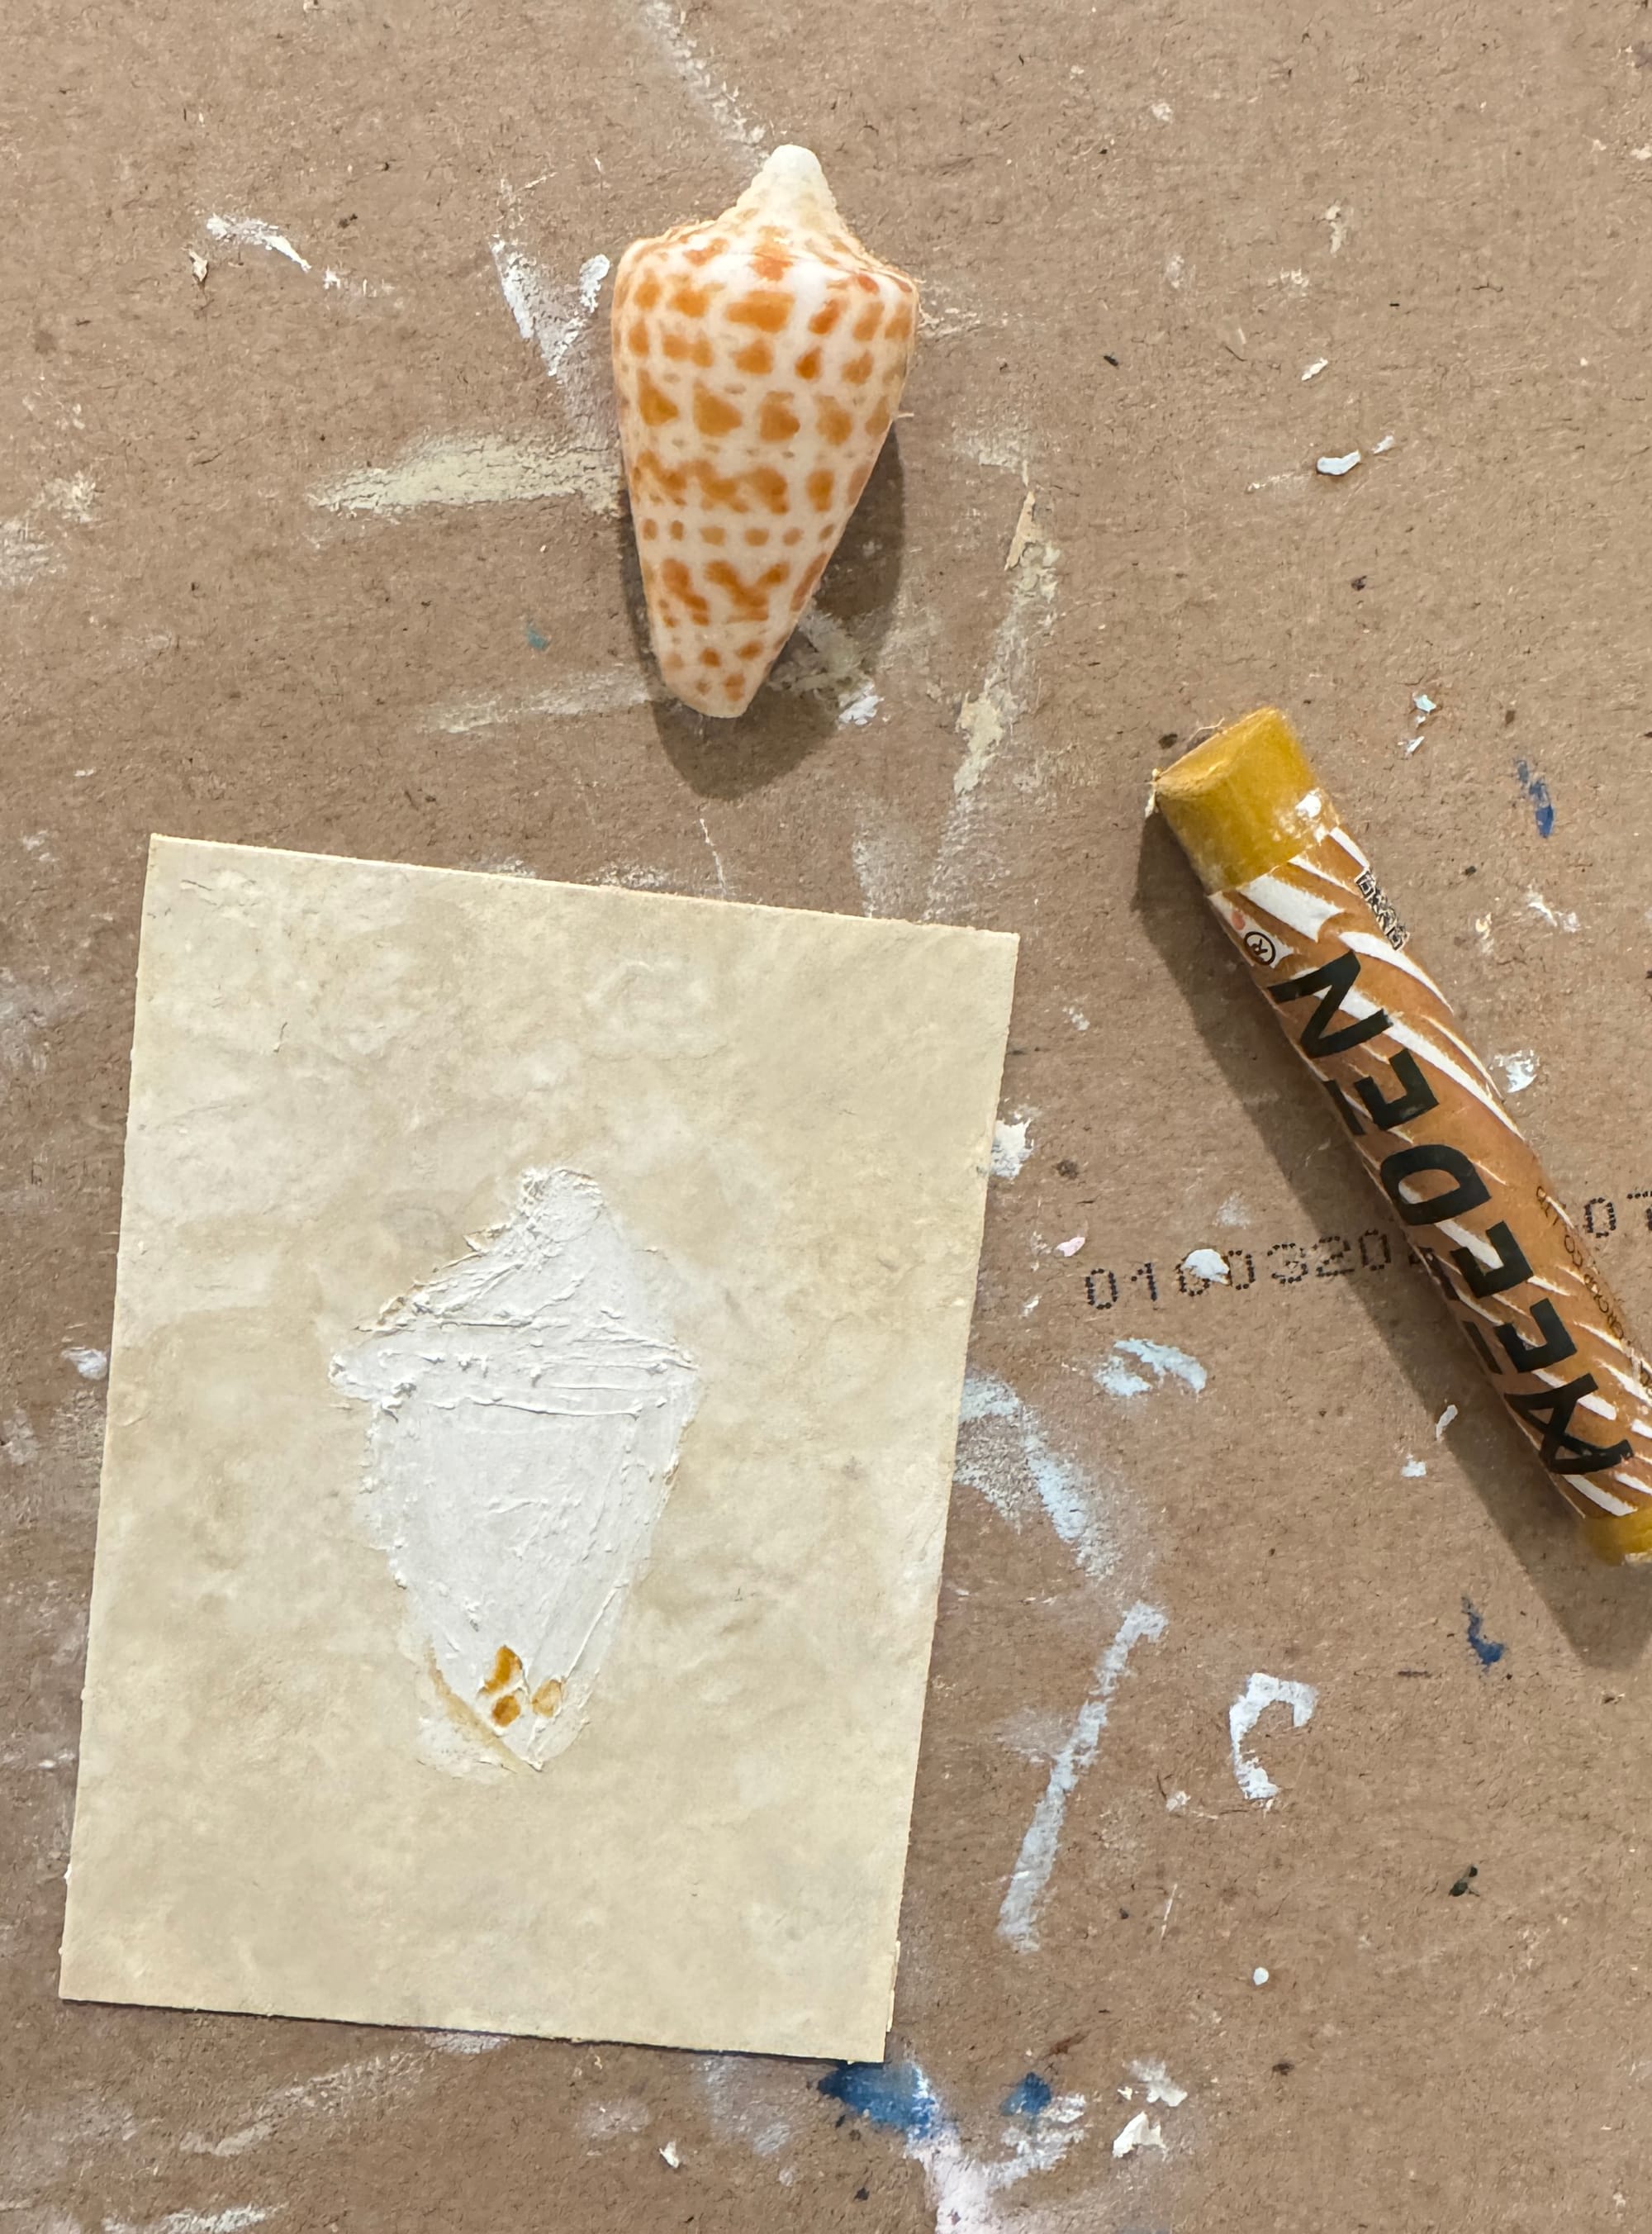
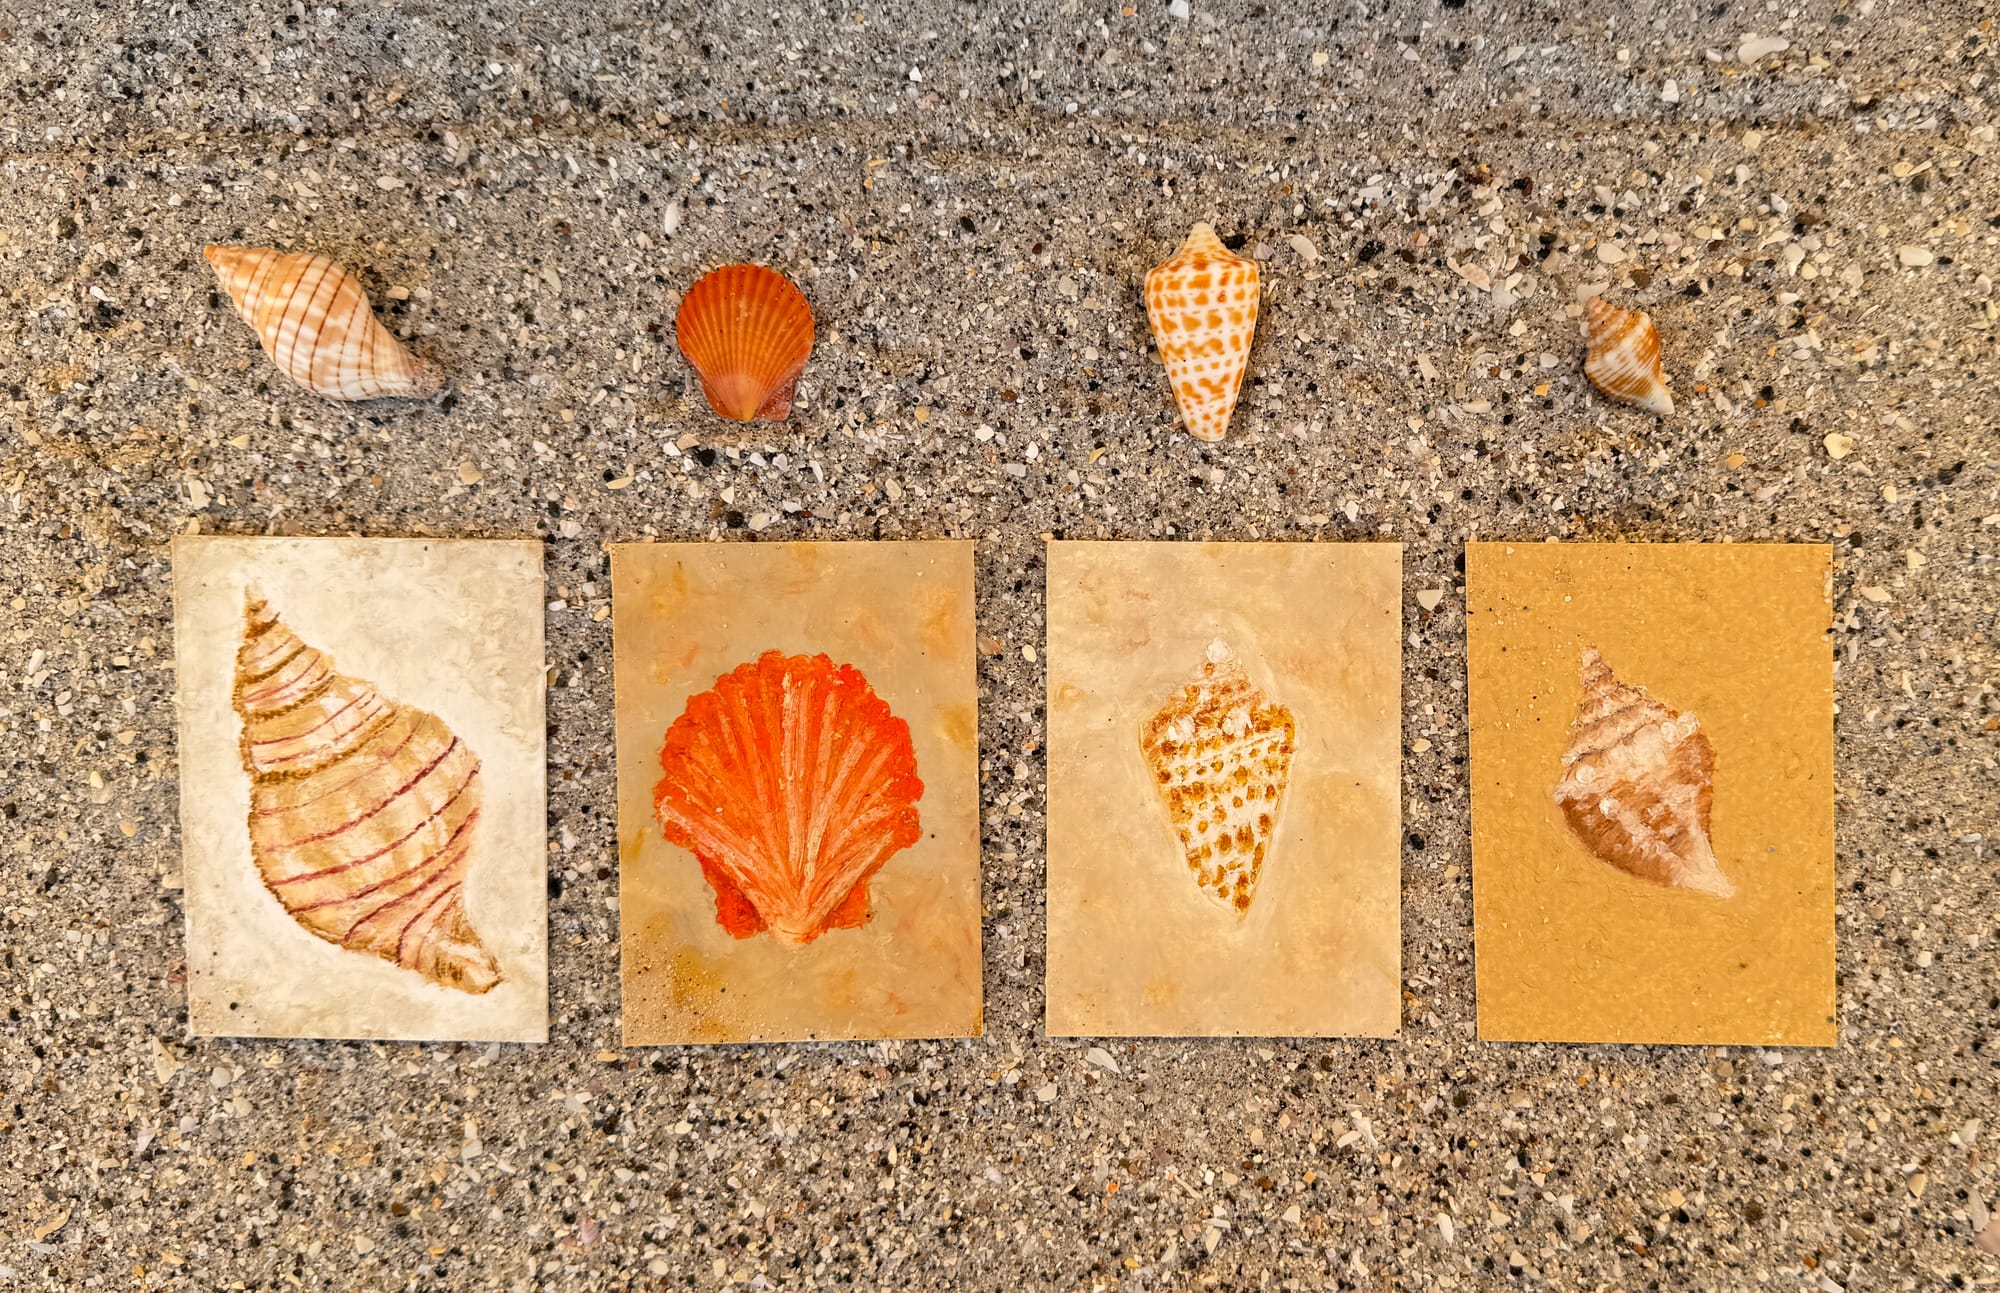
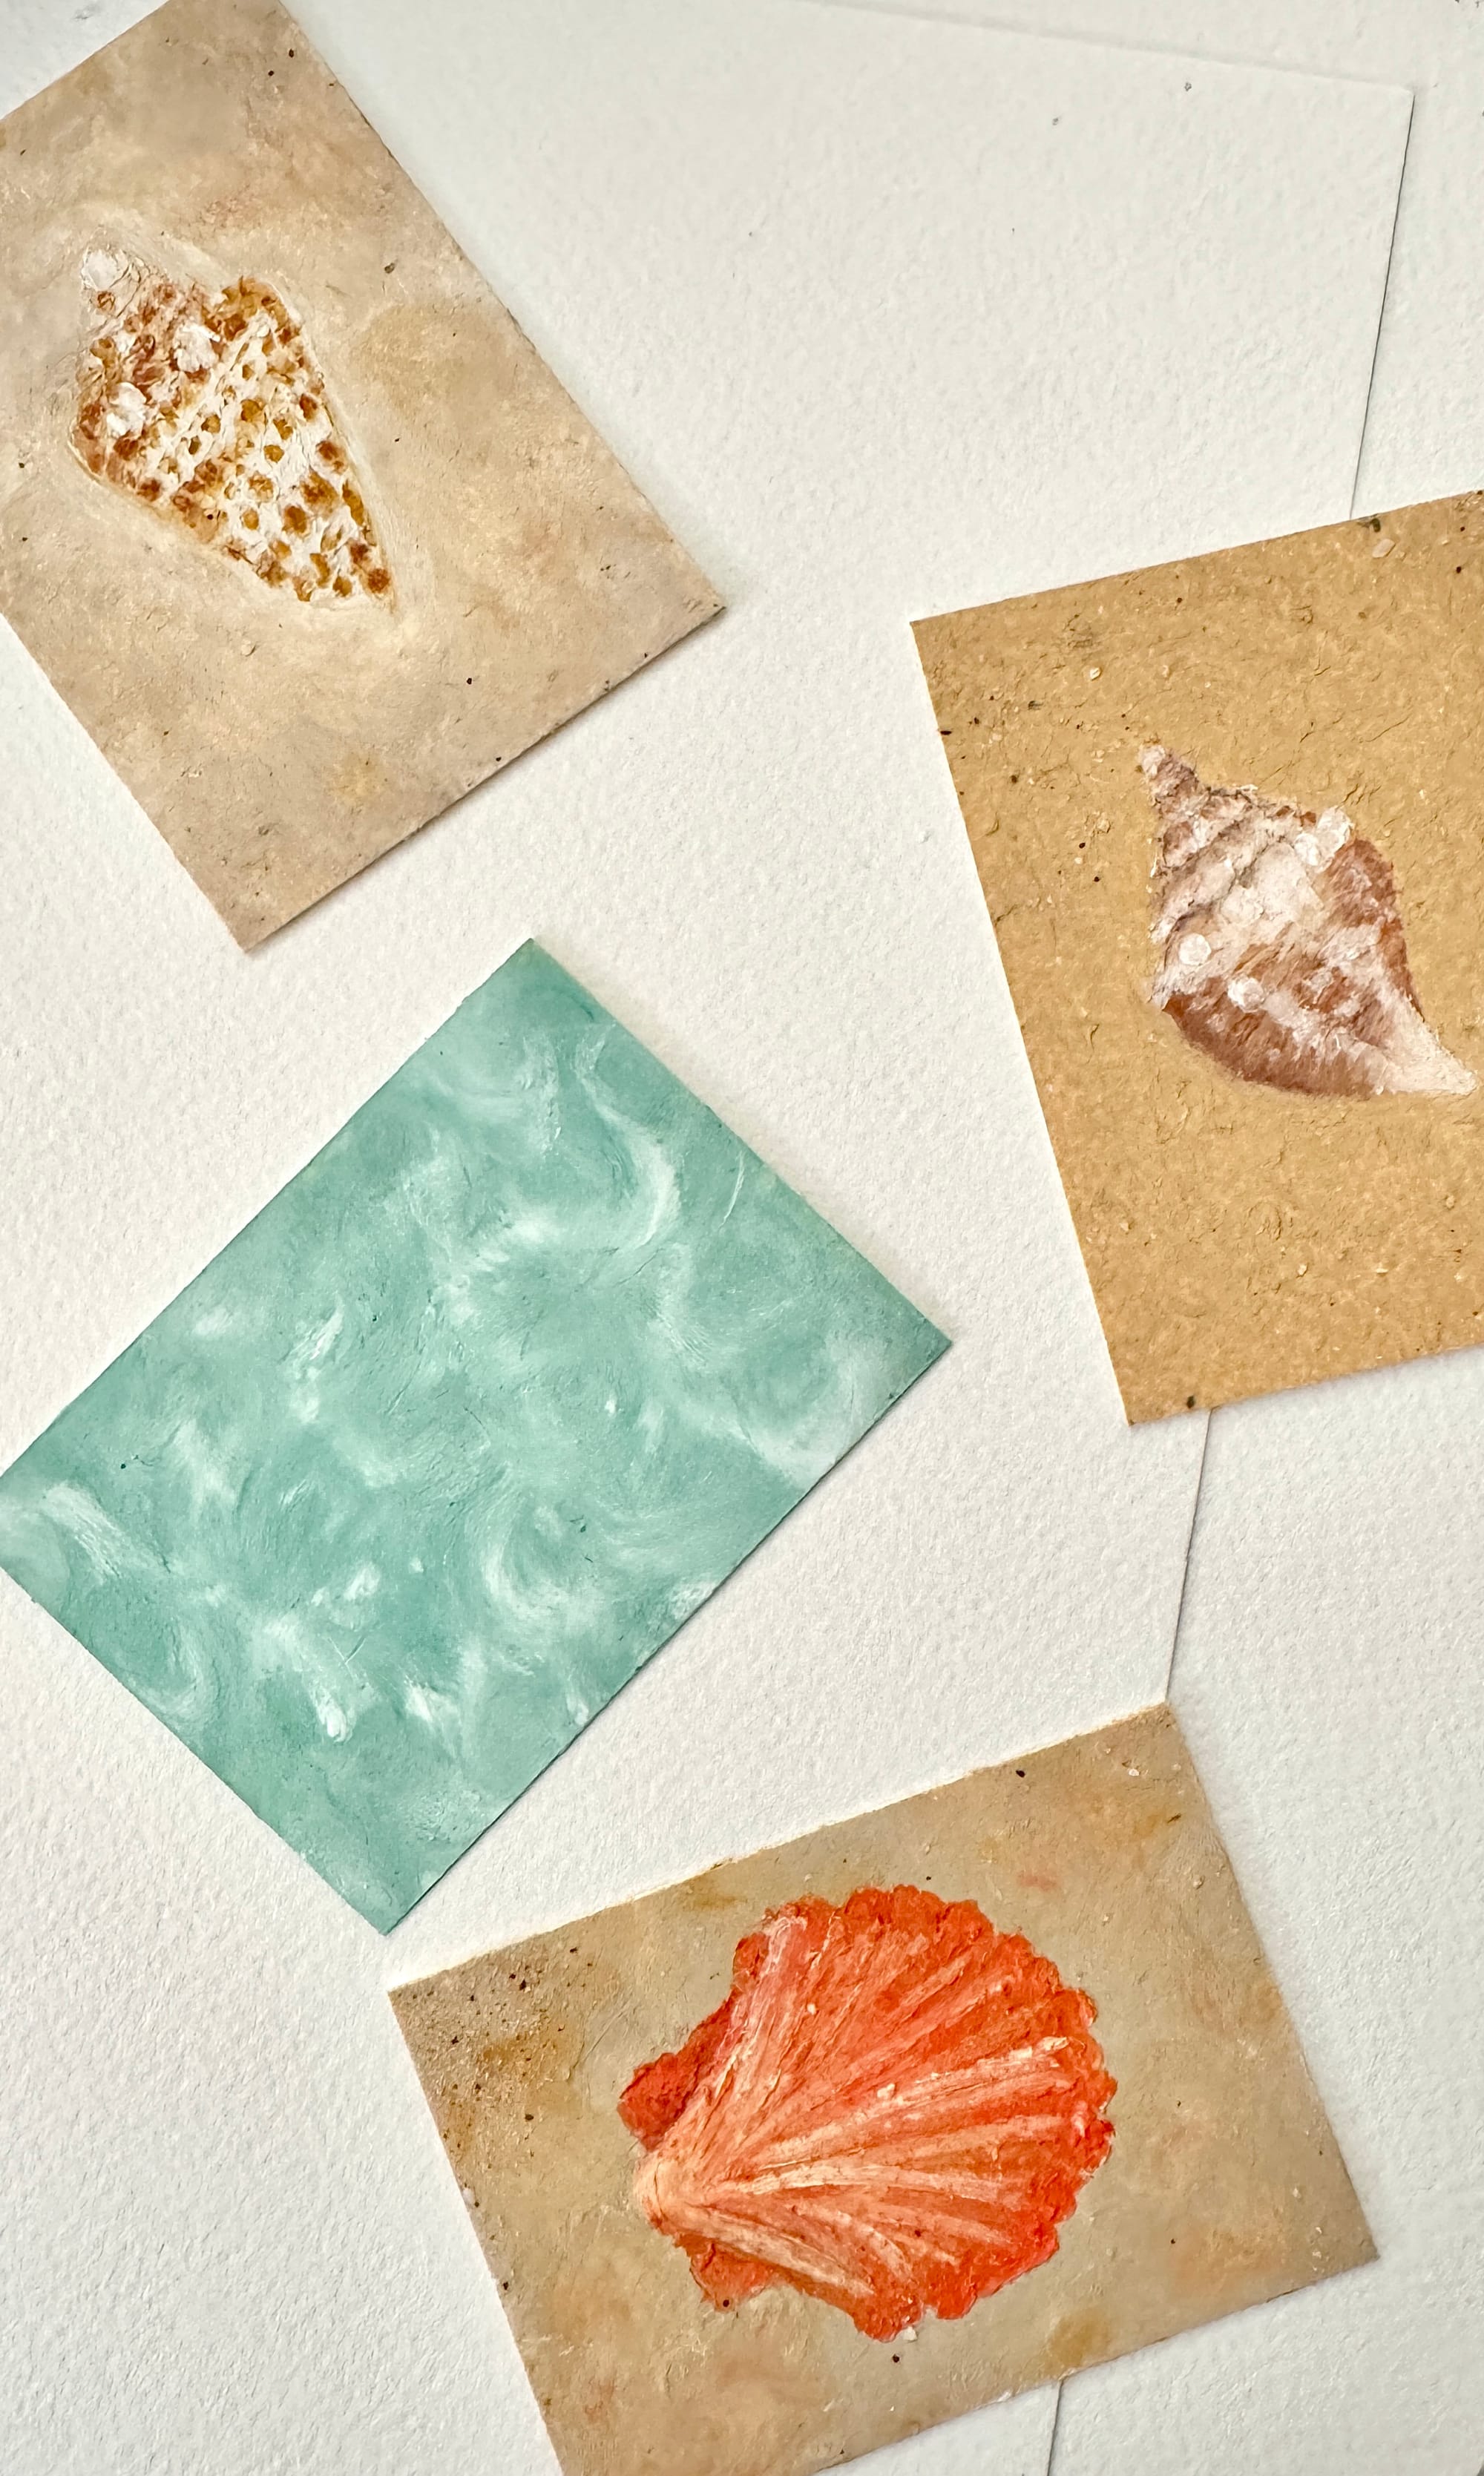
I also started a new shell collection using oil pastels. My goal is to get back to handmade art to take a break from the screens. I still love all of my digital art.
A New Chapter
It actually feels unbelievable that I started The Small Town Studio almost 6 years ago. But boy do I have big plans for my little business and can not wait to share the new progress along the way. Stay tuned for beachy Florida collections coming very soon. I will be documenting the journey here and sending postcards whenever I can.
A special thanks to everyone who has helped me along the way, you know who you are 🤍
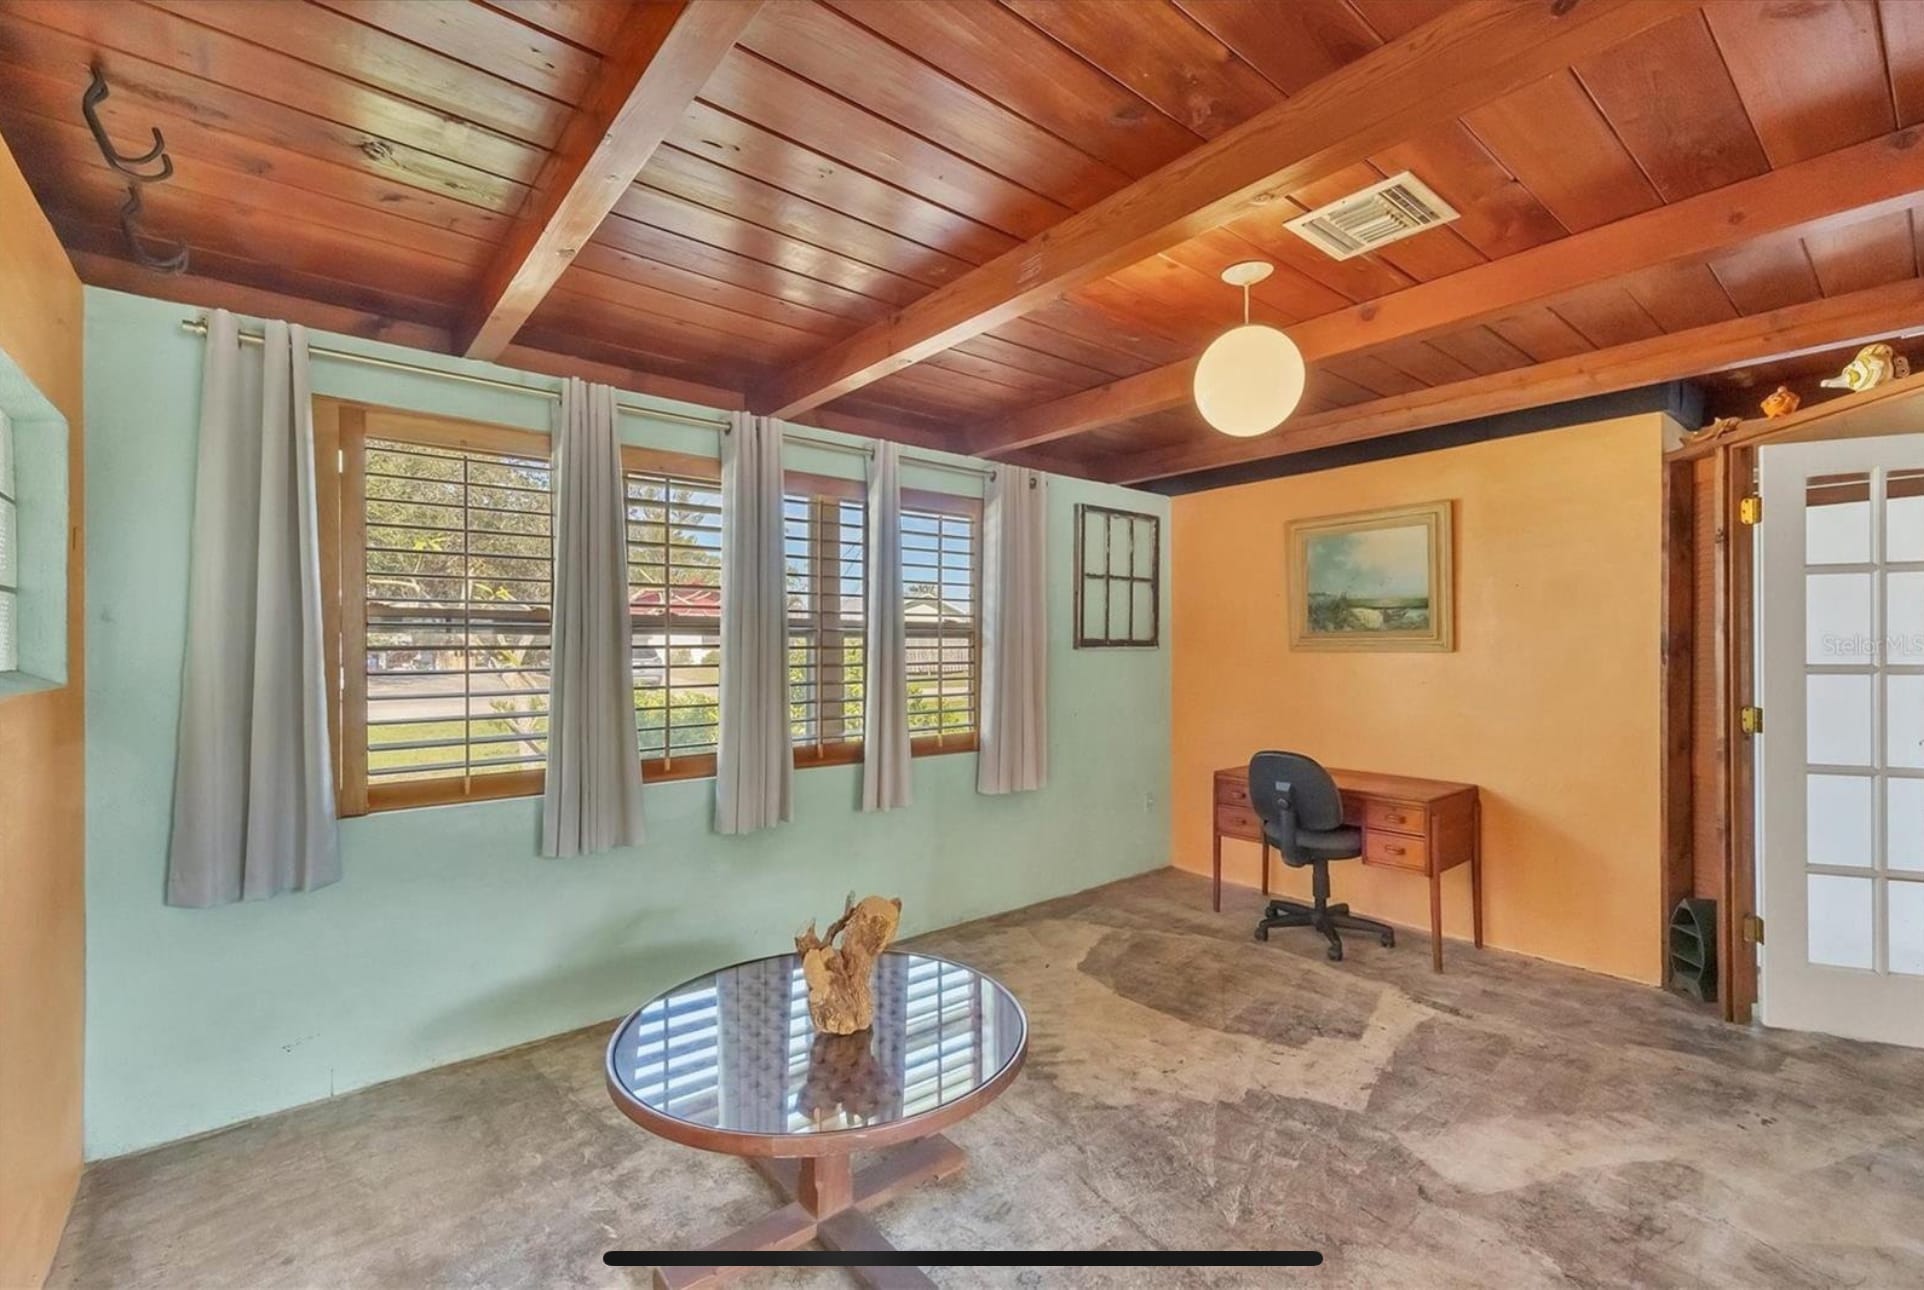
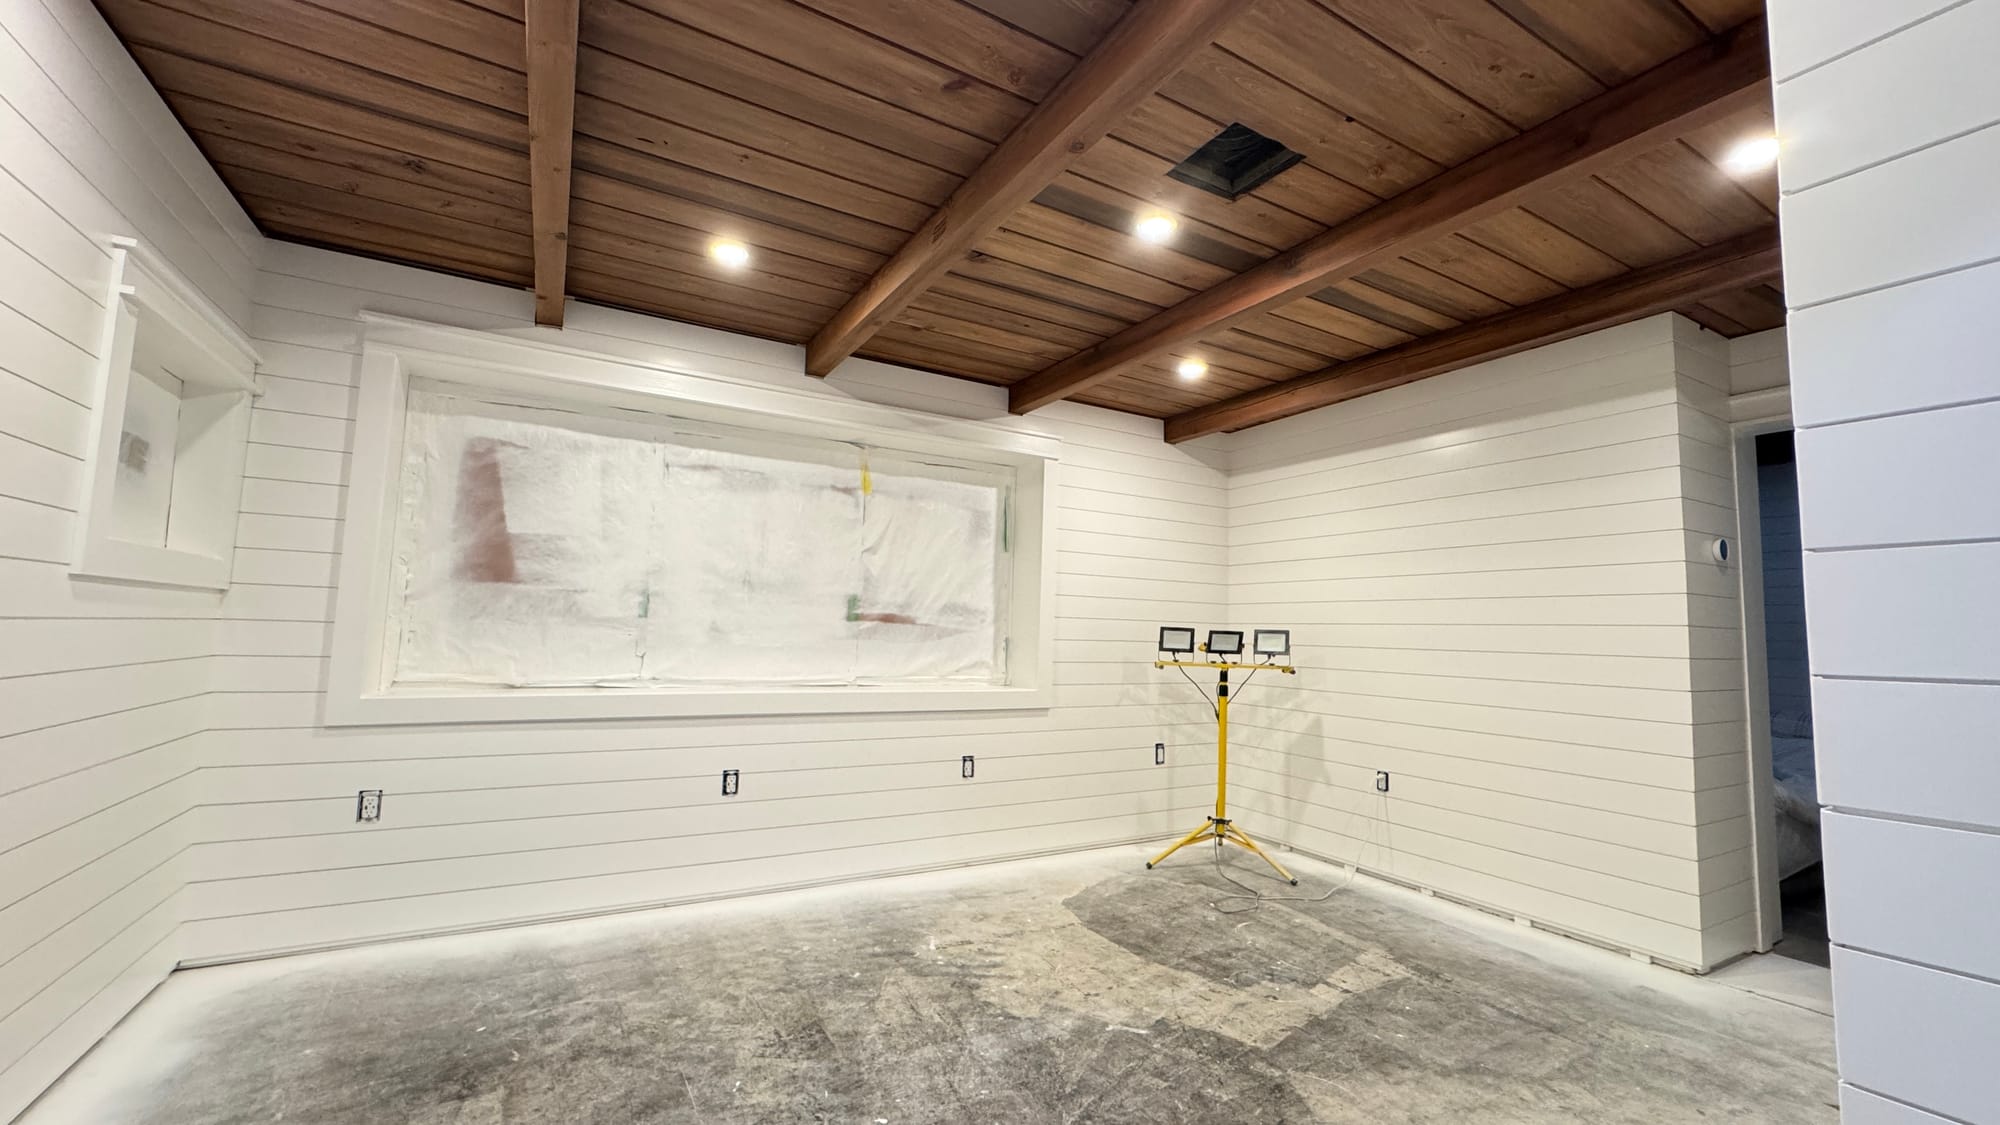
The very first time I saw the listing for our house, I was instantly hooked by the wood ceilings. Original wooden planks and beams, over 70 years old. The house was built in 1956 in downtown Englewood, minutes from Manasota Key. Just a quick trip over the old drawbridge and you’re at The Gulf. We can walk to the farmer’s market every Thursday on Dearborn Street.
beforeafter
Our house layout is actually famous in town. It’s called a Kluge. Built by Merton Kluge, a contractor who lived and worked in Englewood for 35 years. His homes were famous for their simplicity. I love the idea that he was a “careful, no waste builder” Here is a great article about Kluges. It genuinely makes me happy to restore and bring something like this back to life. I find it so rewarding to keep history alive even in a small town, like ours.
an original Kluge | photo from yoursun.com
One of my favorite parts about our house is our doorbell. It’s an actual mechanical twist doorbell where you turn this key-like knob on the outside and it rings a physical bell on the inside. It’s really cool.
Our house came with a couple quirky things, like our mailbox with eyeballs ..
I wonder what the mailman thought
When we began renovating, my boyfriend started framing out each room.
framing out each room!the original ceiling vs the sanded ceiling
We decided to shiplap to brighten the entire cottage and give it a more coastal feel. We brought the walls all the way to the ceiling which added a little extra height and insulated the house more efficiently. We had a crew come in to help shiplap the walls and we filled all the nail holes and boy, were there a ton of holes.
Then we started to work on our favorite part, the wood ceilings. The original wood was beautiful but the satin and sheen were not quite to our taste. It was this rich cherry with the glossiest finish, I really loathed the color. It made the house so dark and unnatural. I think a lot of people moving to a coastal beach town would have just painted the ceilings white and called it a day. But we chose to keep them as original as possible. My boyfriend re-sanded, and re-stained every inch of the ceilings. The work that went into these ceilings was kind of insane but we tend to take the more challenging route, it’s always the most rewarding.
Sometimes when I wake up, I lay in bed and just stare at the ceilings and admire all of the hard work that he put into each board, knot and beam. Each board is layered with an antique oak, a wash of graystone and bits of the natural grain popping out creating this organic looking driftwood color. He carefully hand stained every knot in a medium brown dye to create additional dimension.
Before the finished look, we went through and tried so many color options. It became exhausting and we were starting to hit a wall. After endless research, trial and error he finally formulated the perfect equation of stain.
He sprayed the final look with this beautiful translucent matte finish that doesn't take away from the natural grain yet still creates a protective coat.
After the ceiling we moved back to the shiplap. He sprayed each room in Sherwin Williams Cheviot. It took us a while to figure out what to do with the trim. We wanted something coastal and simple but still somewhat elevated.
Currently, we are working on laying the remaining tile floors. We just have the living room and the guest bedroom left and then we are officially finished with tile, thank goodness. Laying tile is not for the weak. We have a complete new respect for all tile layers.
I can’t wait to get started on the decor. We’ve been completely focused on the basics for now. We are going for a cozy coastal grandfather cottage with old Florida vibes. Hopefully by the next postcard, it will be time for decorating.
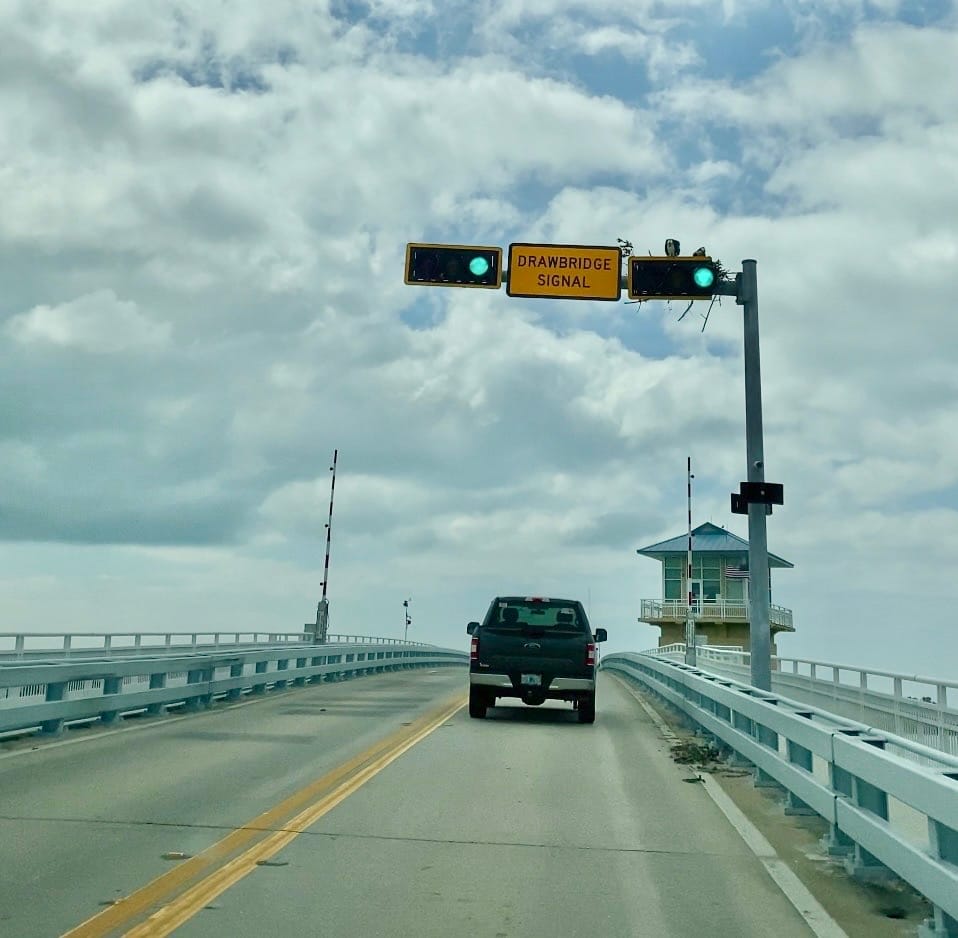
I remember the first time driving over the drawbridge with my sister and feeling excited, it was the first thing I got a video of. There was an osprey that had a nest on the drawbridge traffic light and appeared to greet each car going over the bridge. The only other drawbridge town I’ve been to was Sunset Beach, North Carolina, where I met my boyfriend and that felt like a sign.
the drawbridge over lemon bay
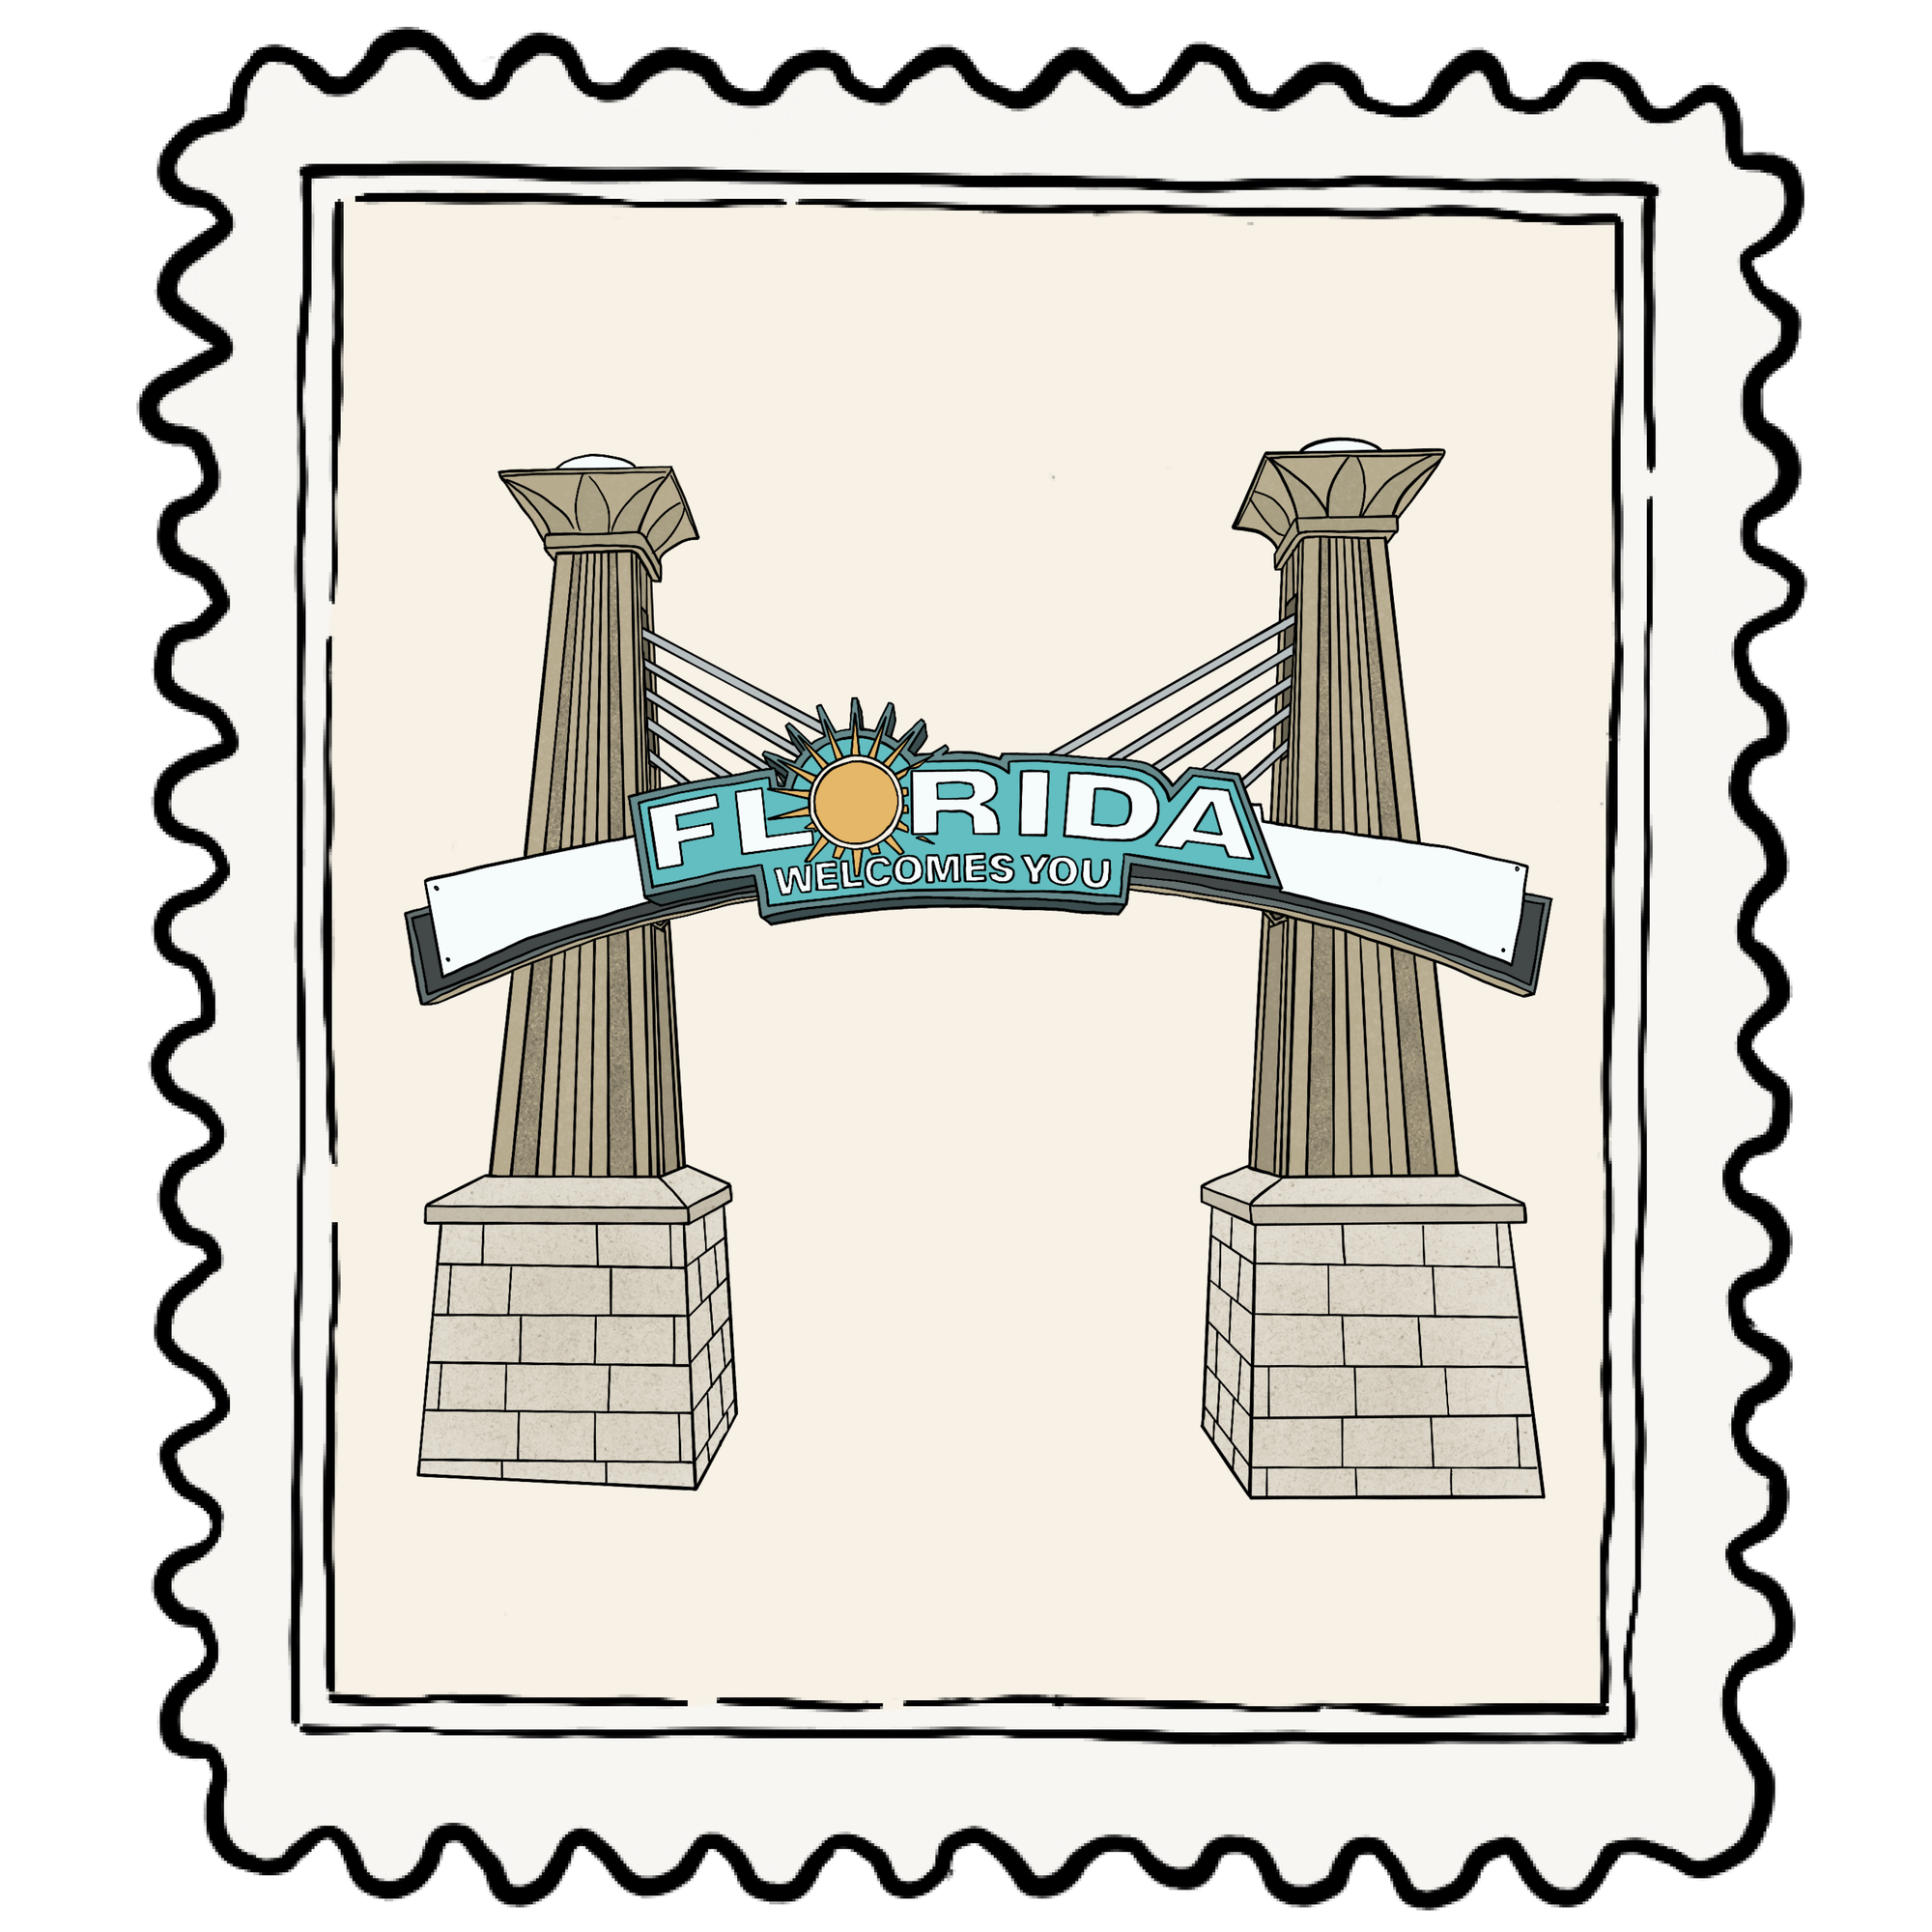
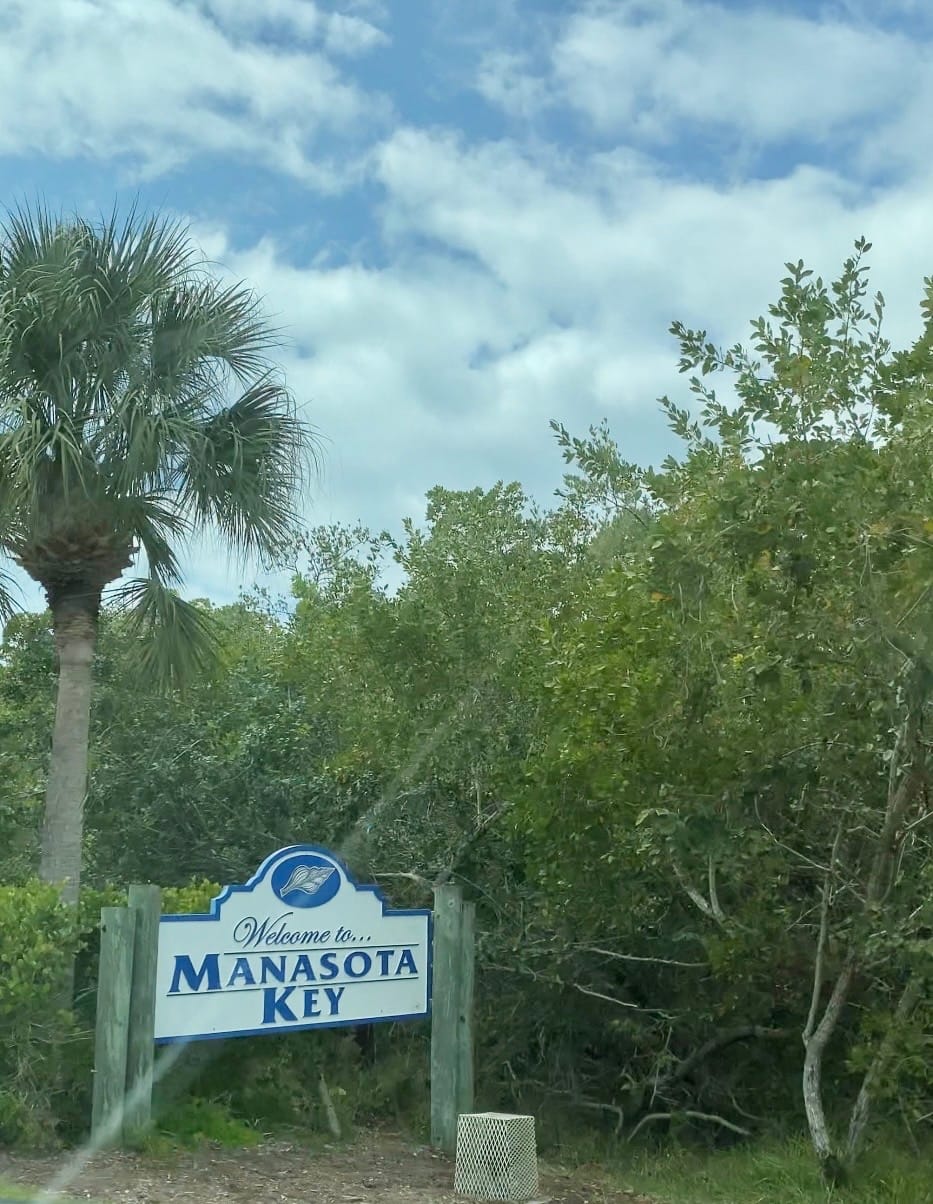
The next thing I captured was the “Welcome to Manasota Key” sign that was tucked way into the thick Florida foliage, if you blinked, you’d miss it. I remember thinking even then, what a small almost hidden sign for a vacation beach town. Now, after spending years here, the sign feels fitting. A low key hidden gem that stays tucked into mangroves and sea grapes.
manasota key welcome sign
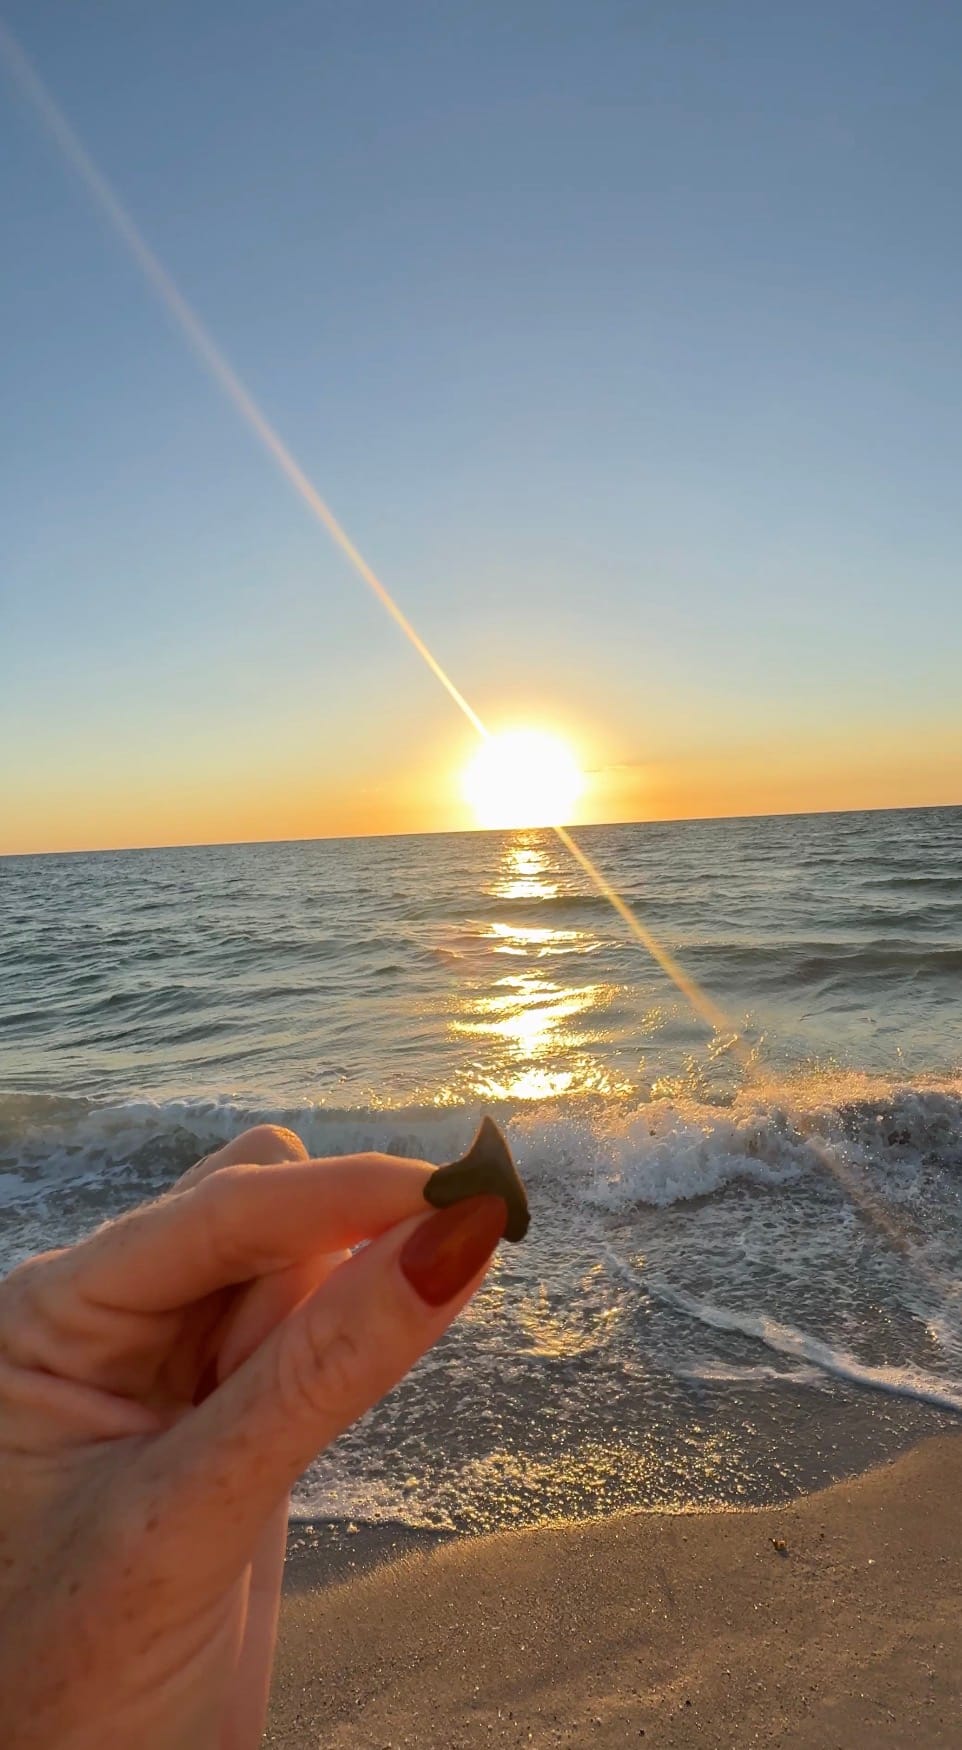
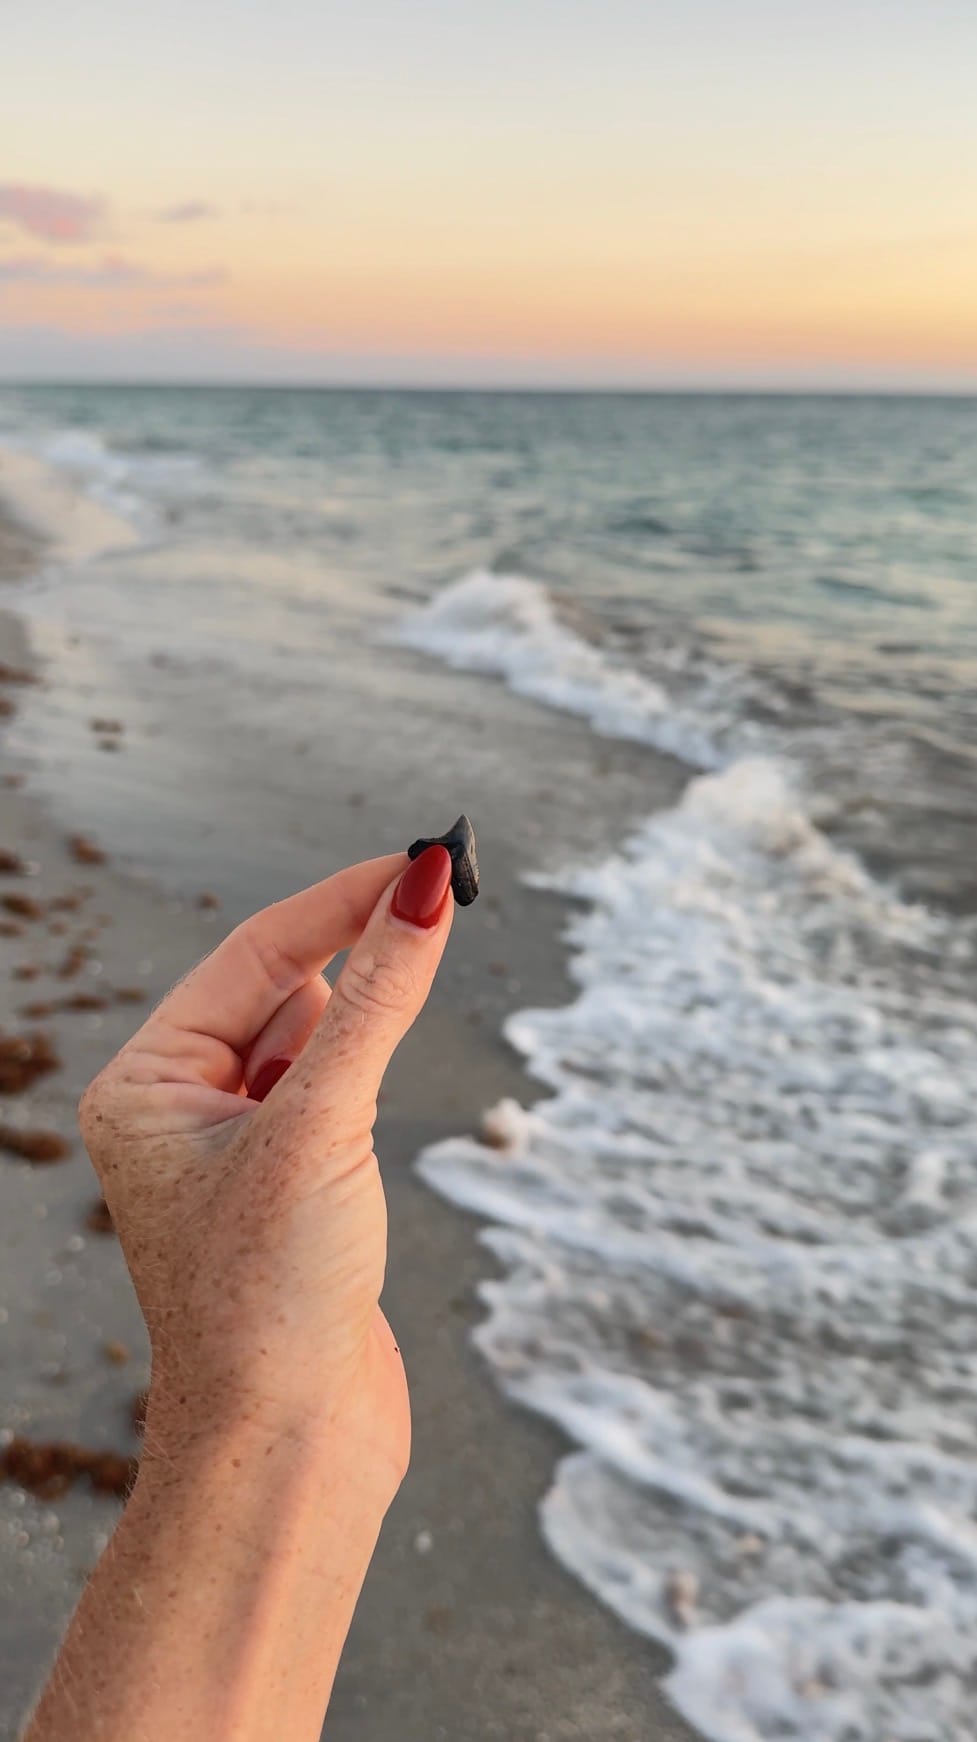
During my first trip to this area I found fossilized shark teeth, saw bay water actually glow for the first time and watched the sun set over The Gulf. I was hooked.
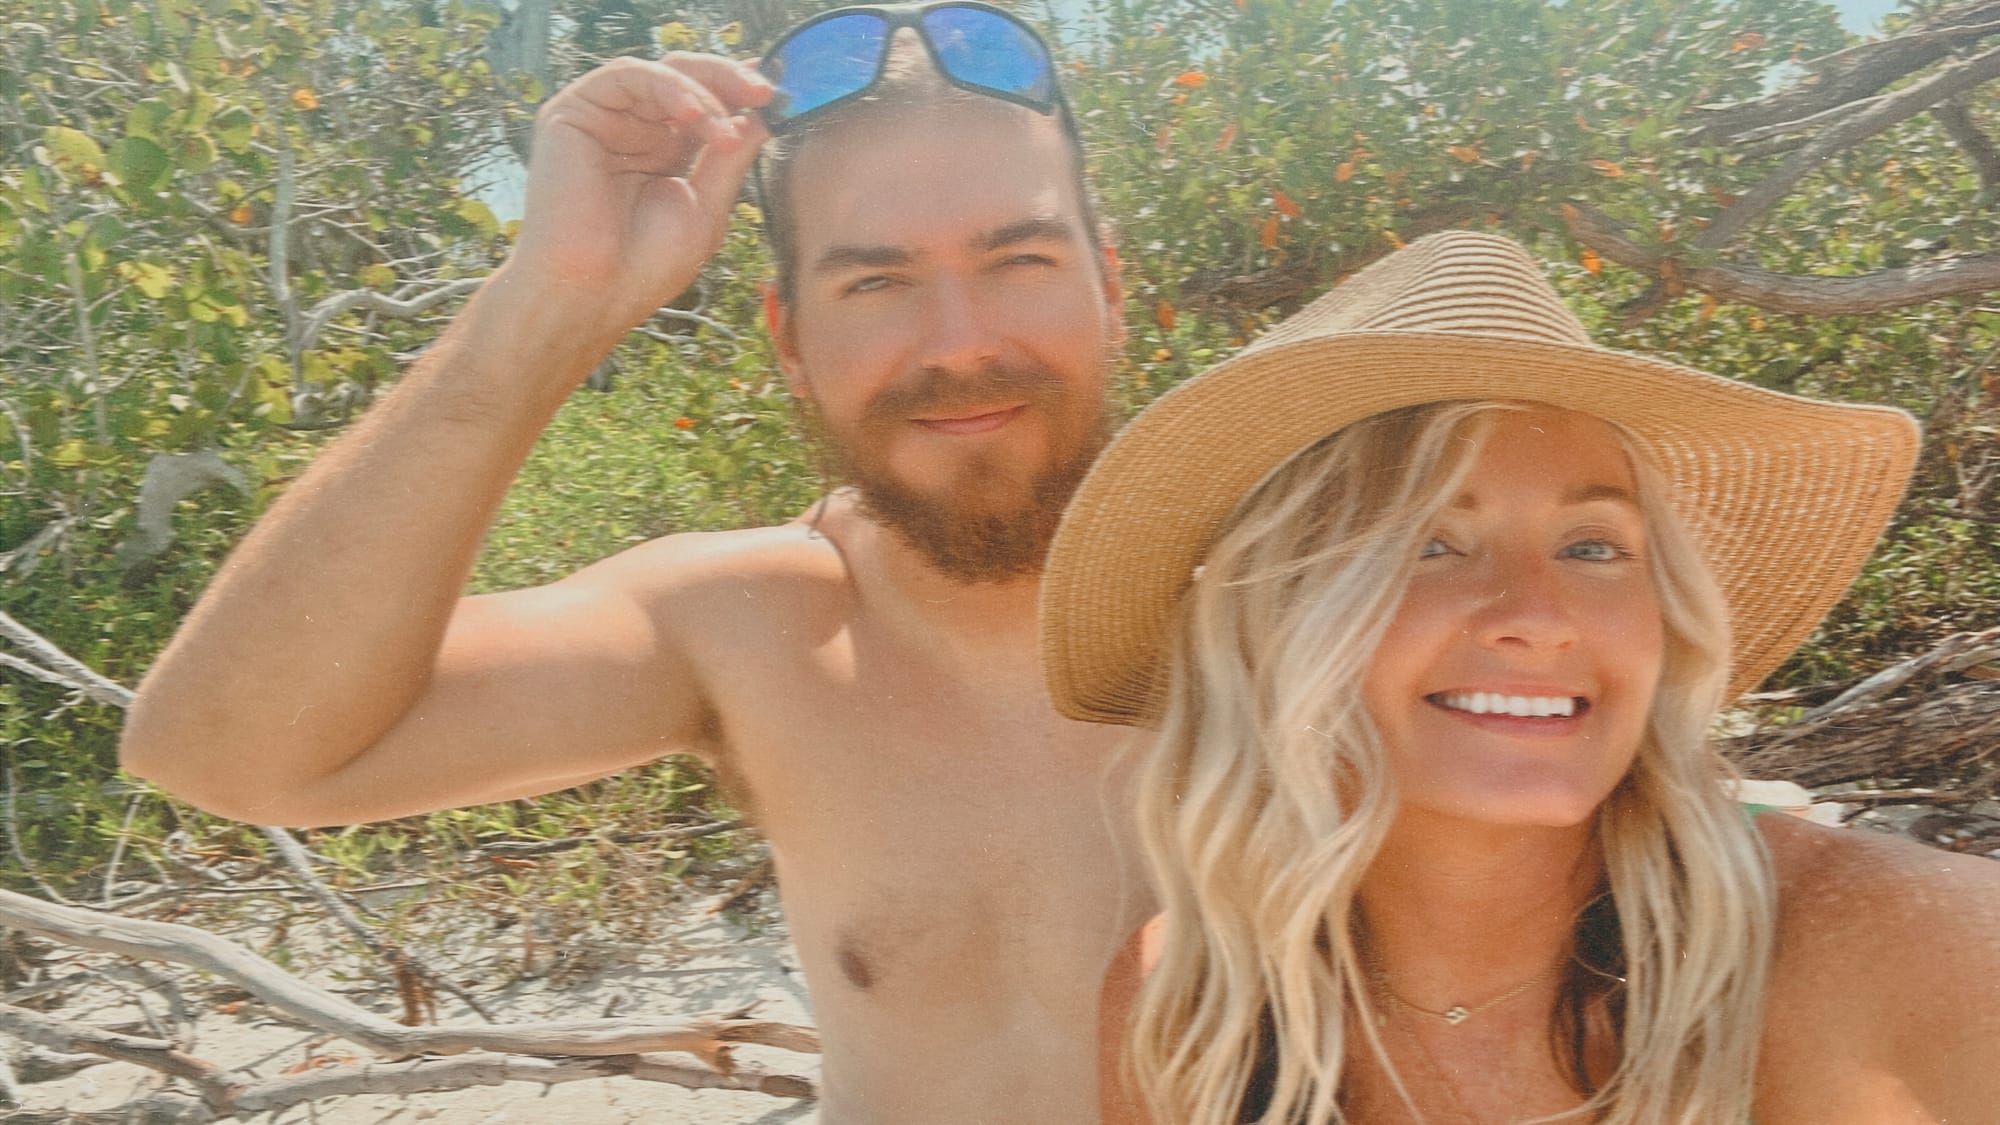
My boyfriend and I actually came here through work.
beach bums
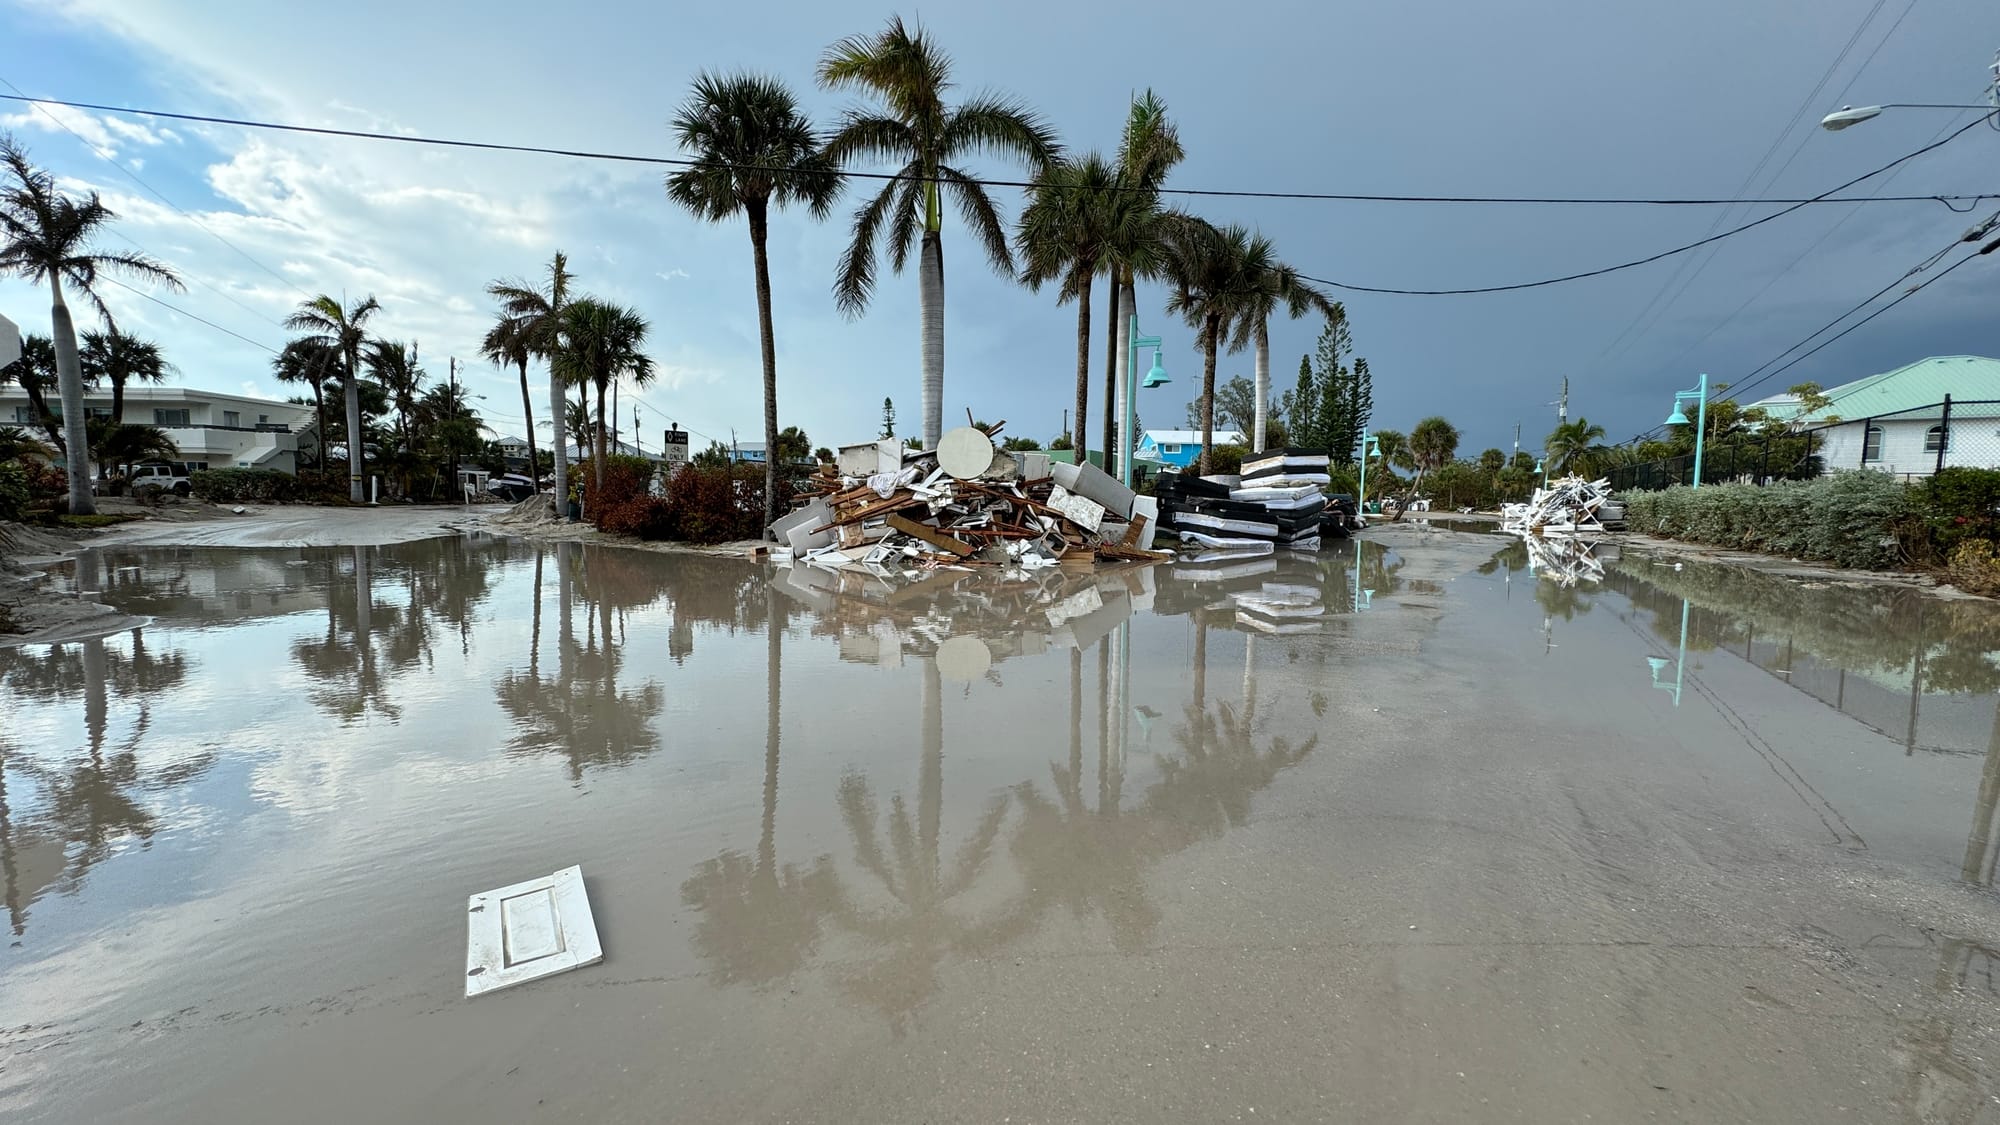
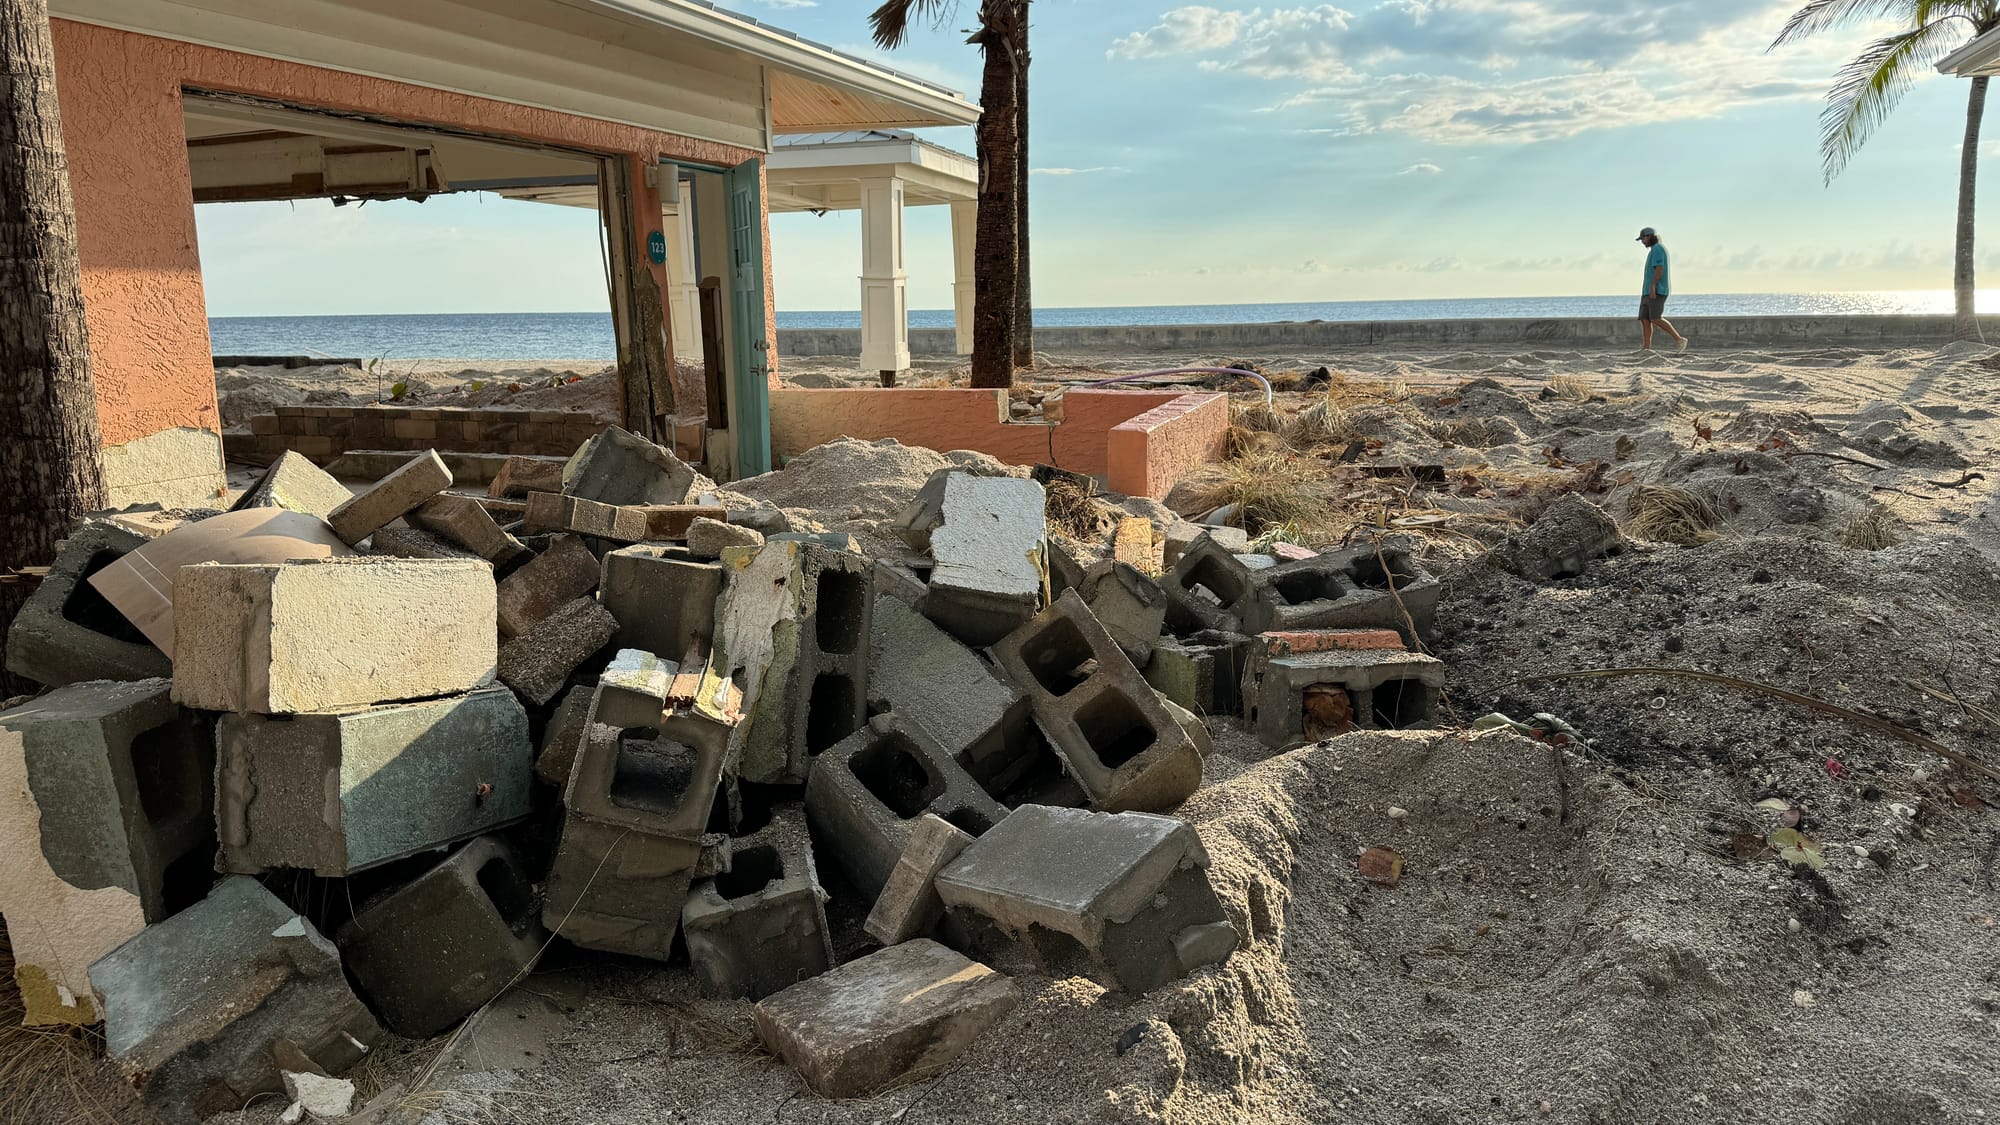
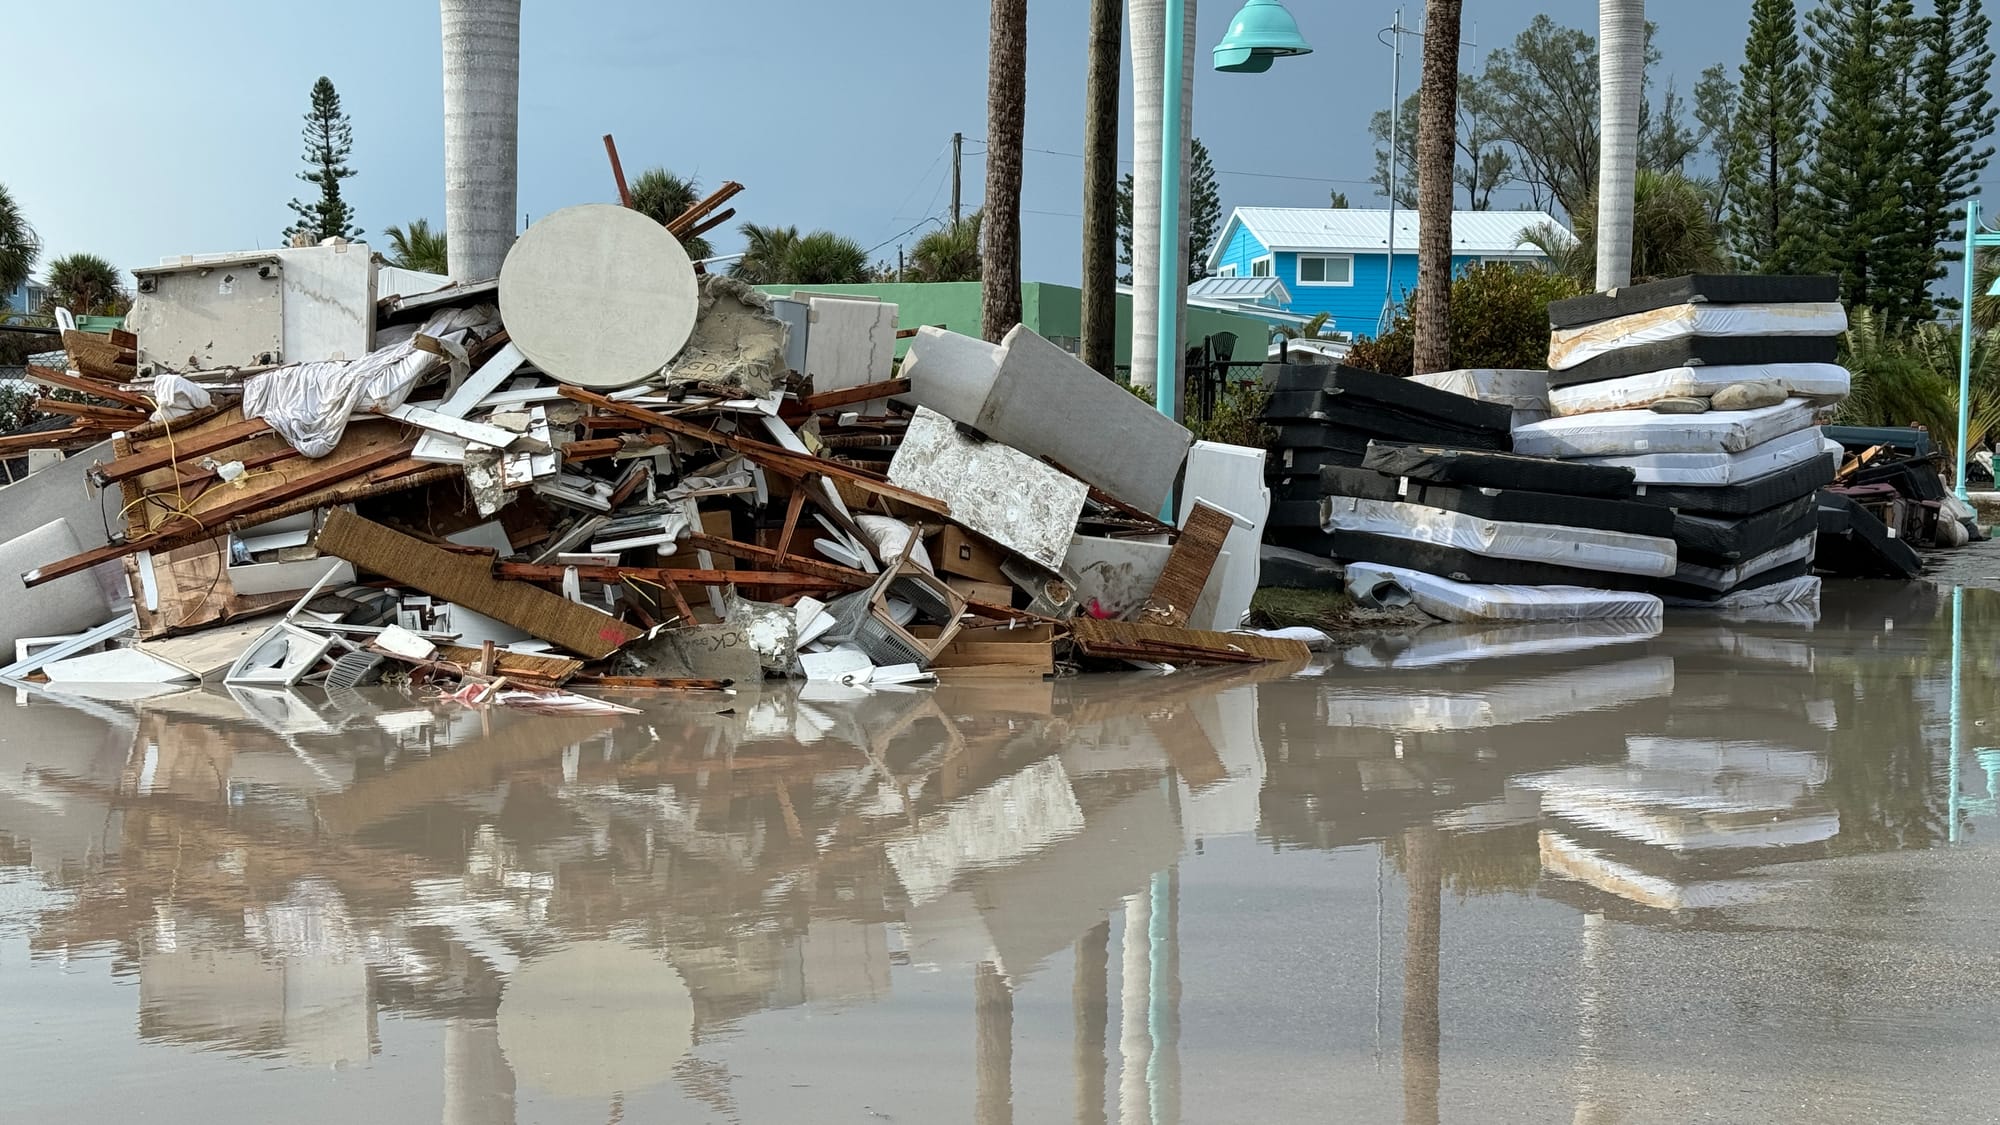
We lived here for a couple of years but had to move after Helene and Milton devastated the key. We were in this strange limbo. We had officially moved out of New Jersey to Florida and then were uprooted by 2 massive hurricanes. Right before Milton, we packed up our important belongings and evacuated the key.
debris after Helene 10/3/24
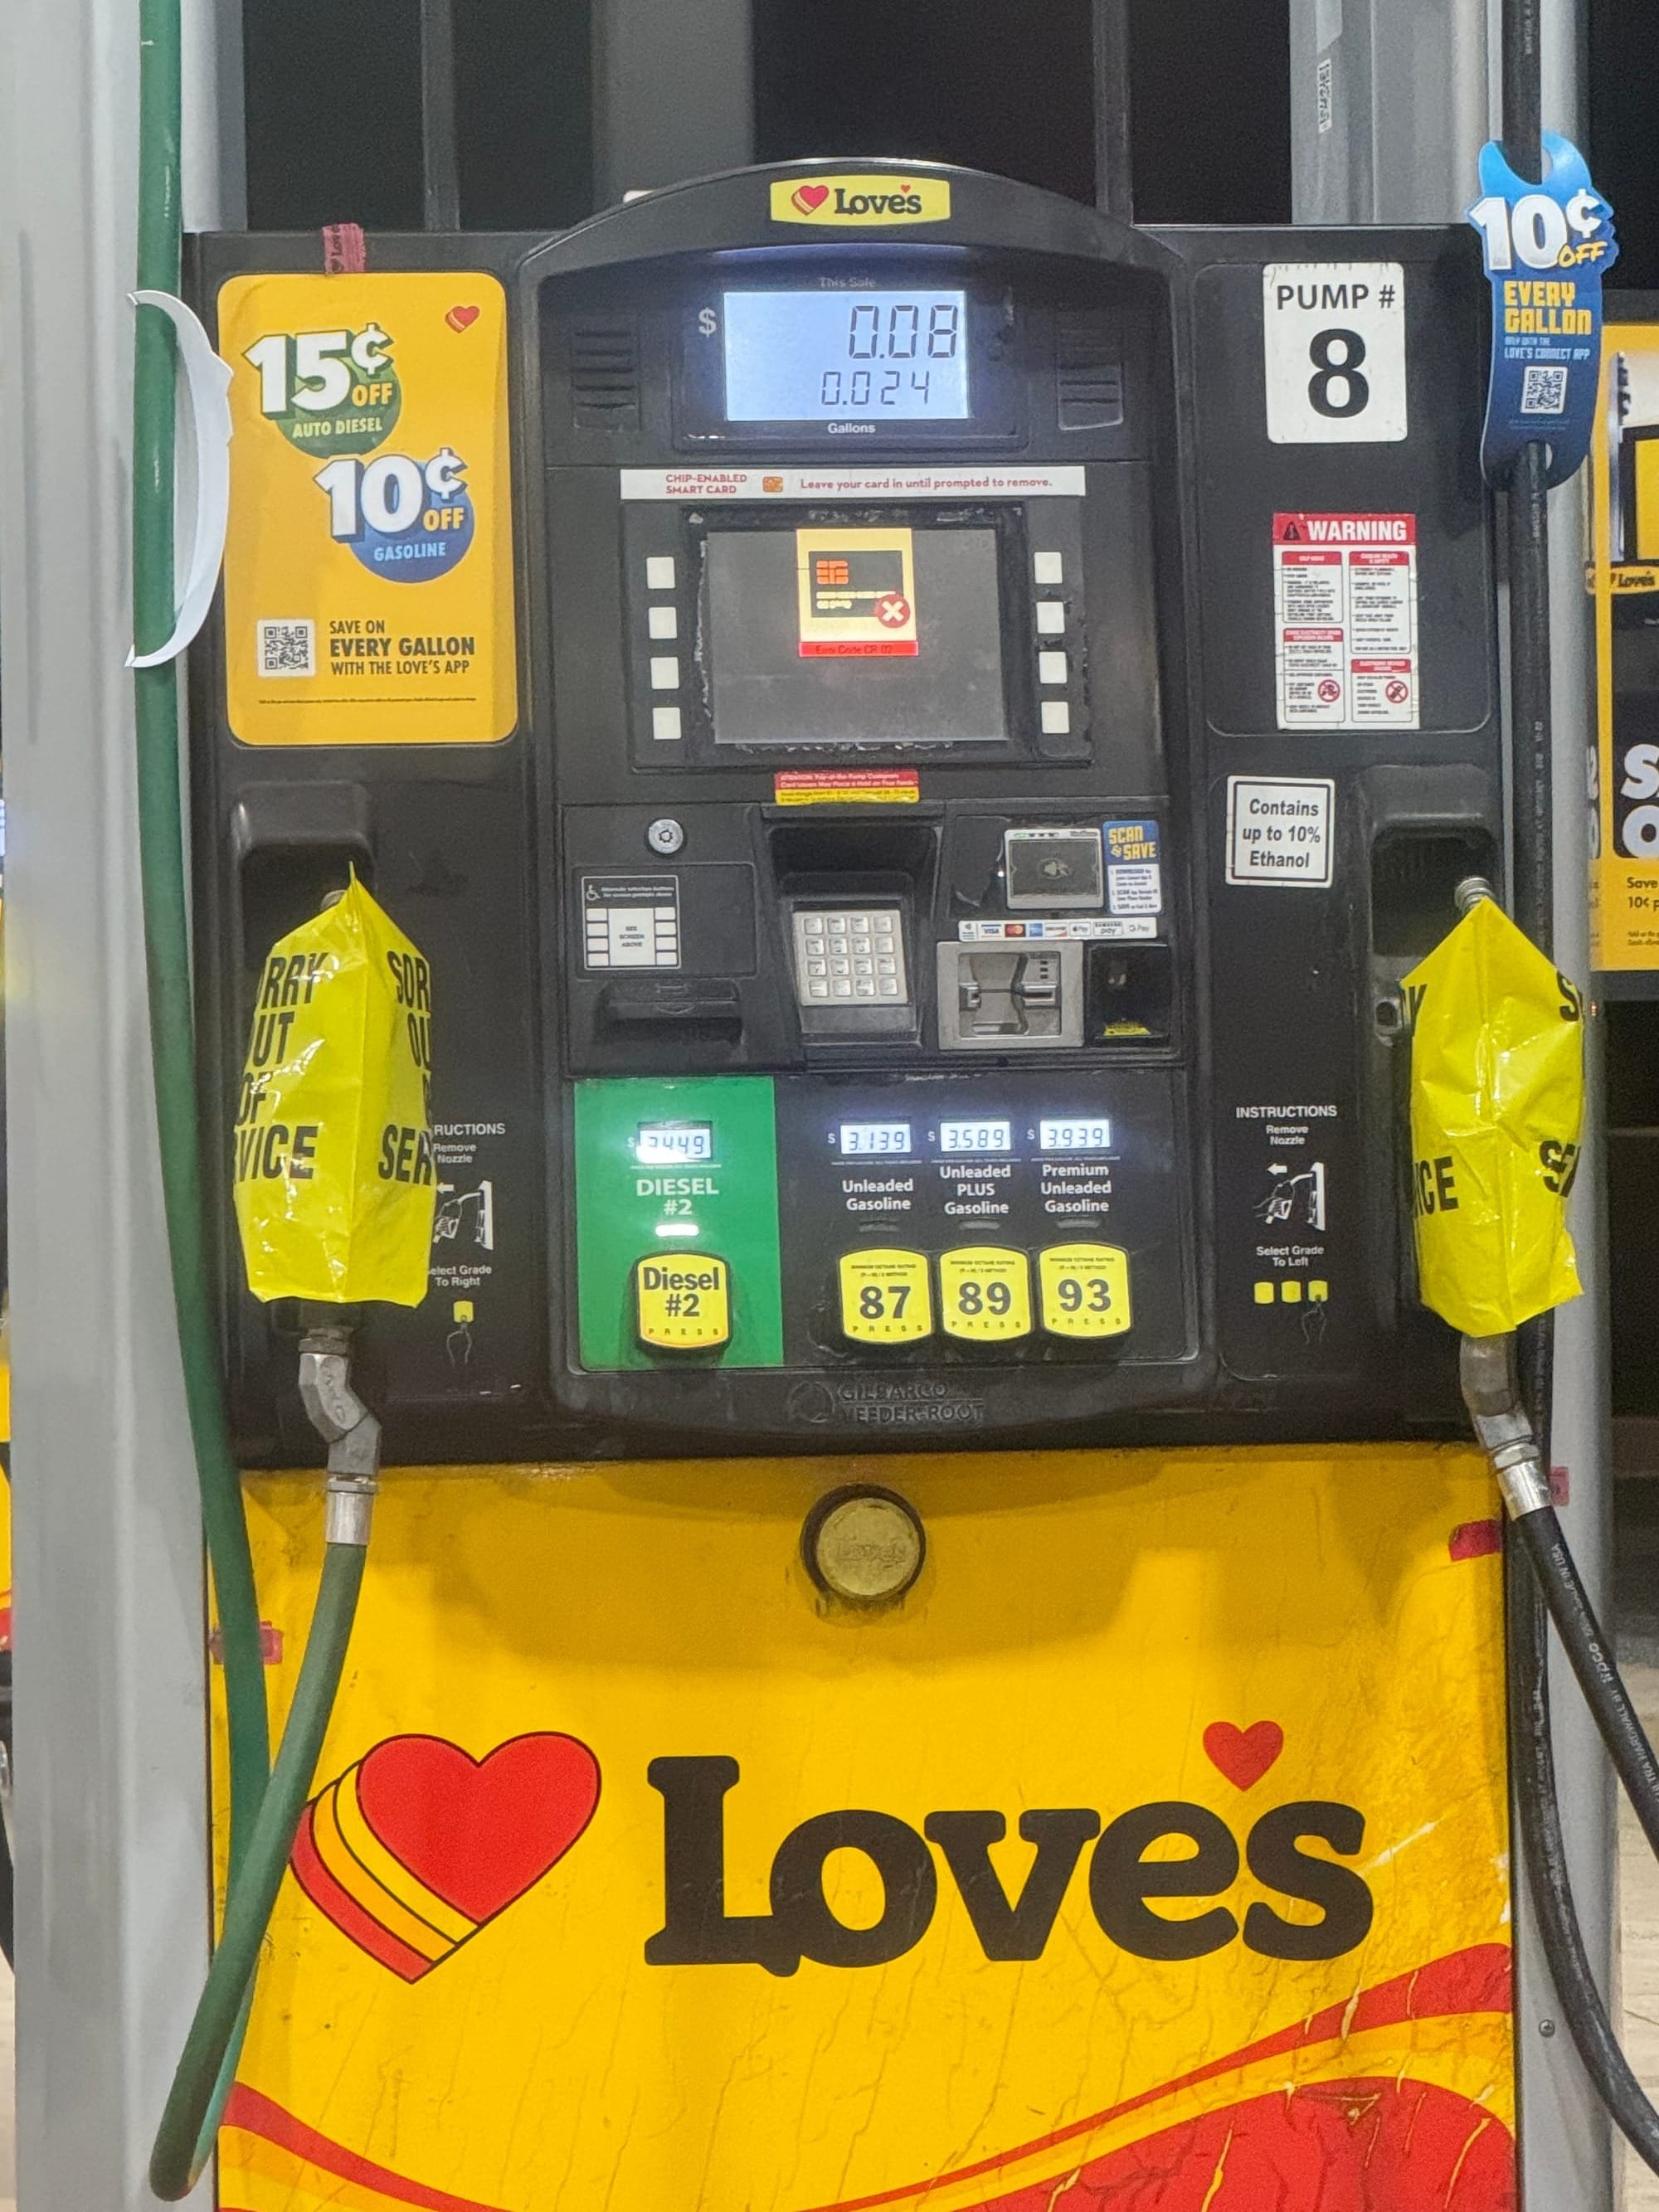
We headed to the north Georgia mountains. The evacuation drive was long. The traffic was unreal. I had never seen gas stations running out of gas along the highway.
gas pumps that ran out of gas
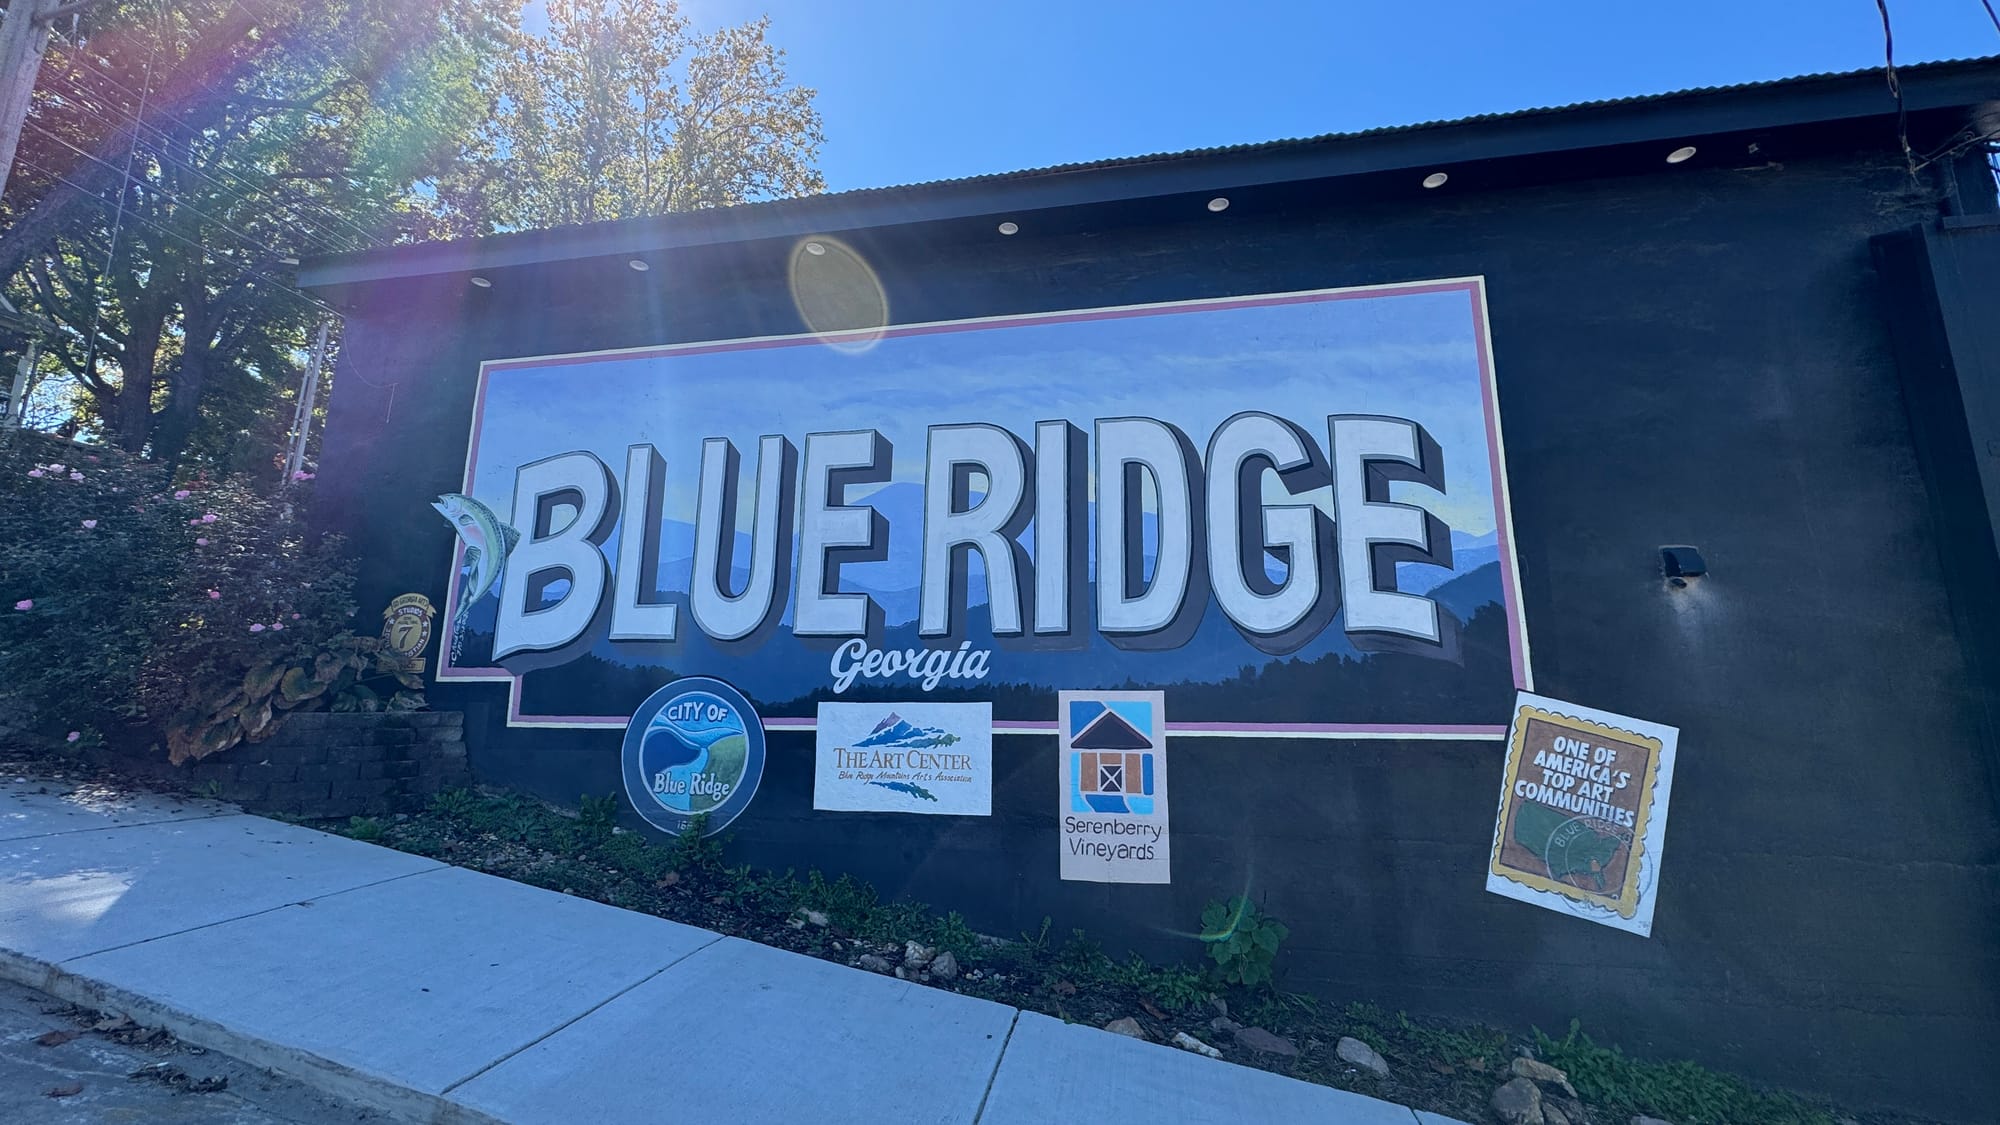
We decided to make light of it and spend a couple days with my boyfriend's family in a cabin to wait out the storm, thinking we'd be going back to the place we made our new home. But after watching the news, from hundreds of miles away, we had a looming feeling we wouldn’t be going back.
a small mountain town, our sanctuary from the hurricane
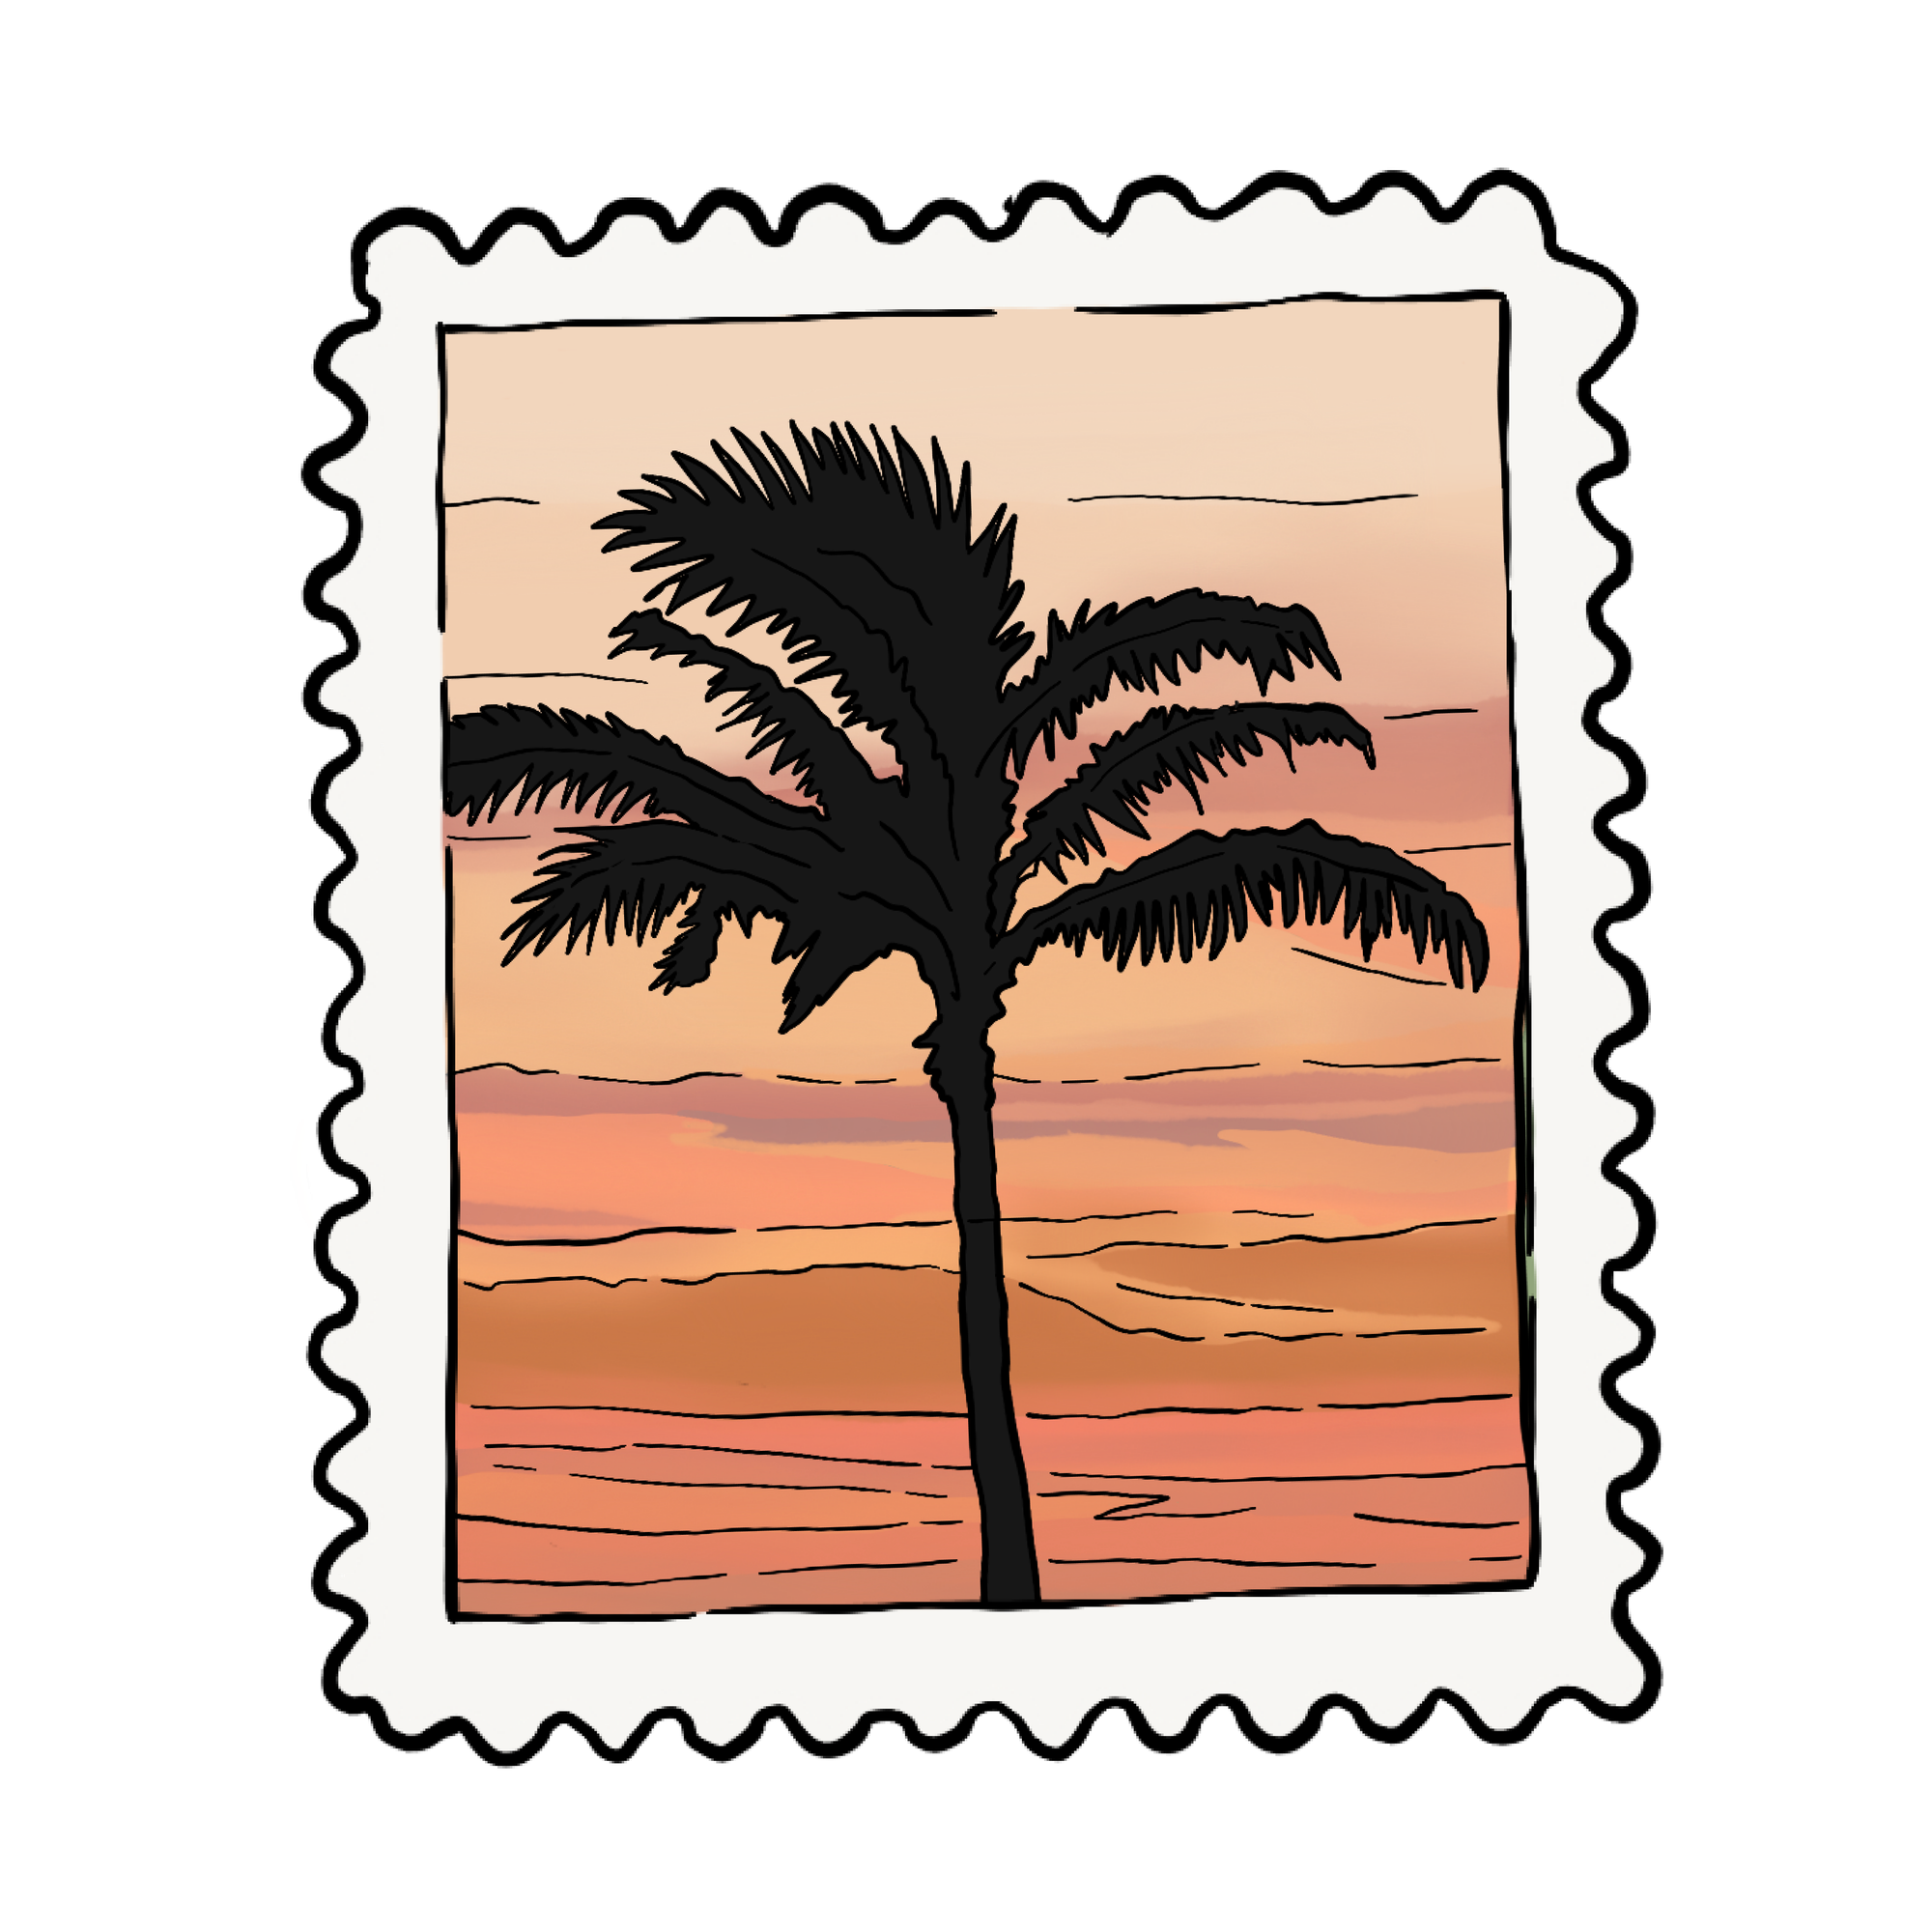
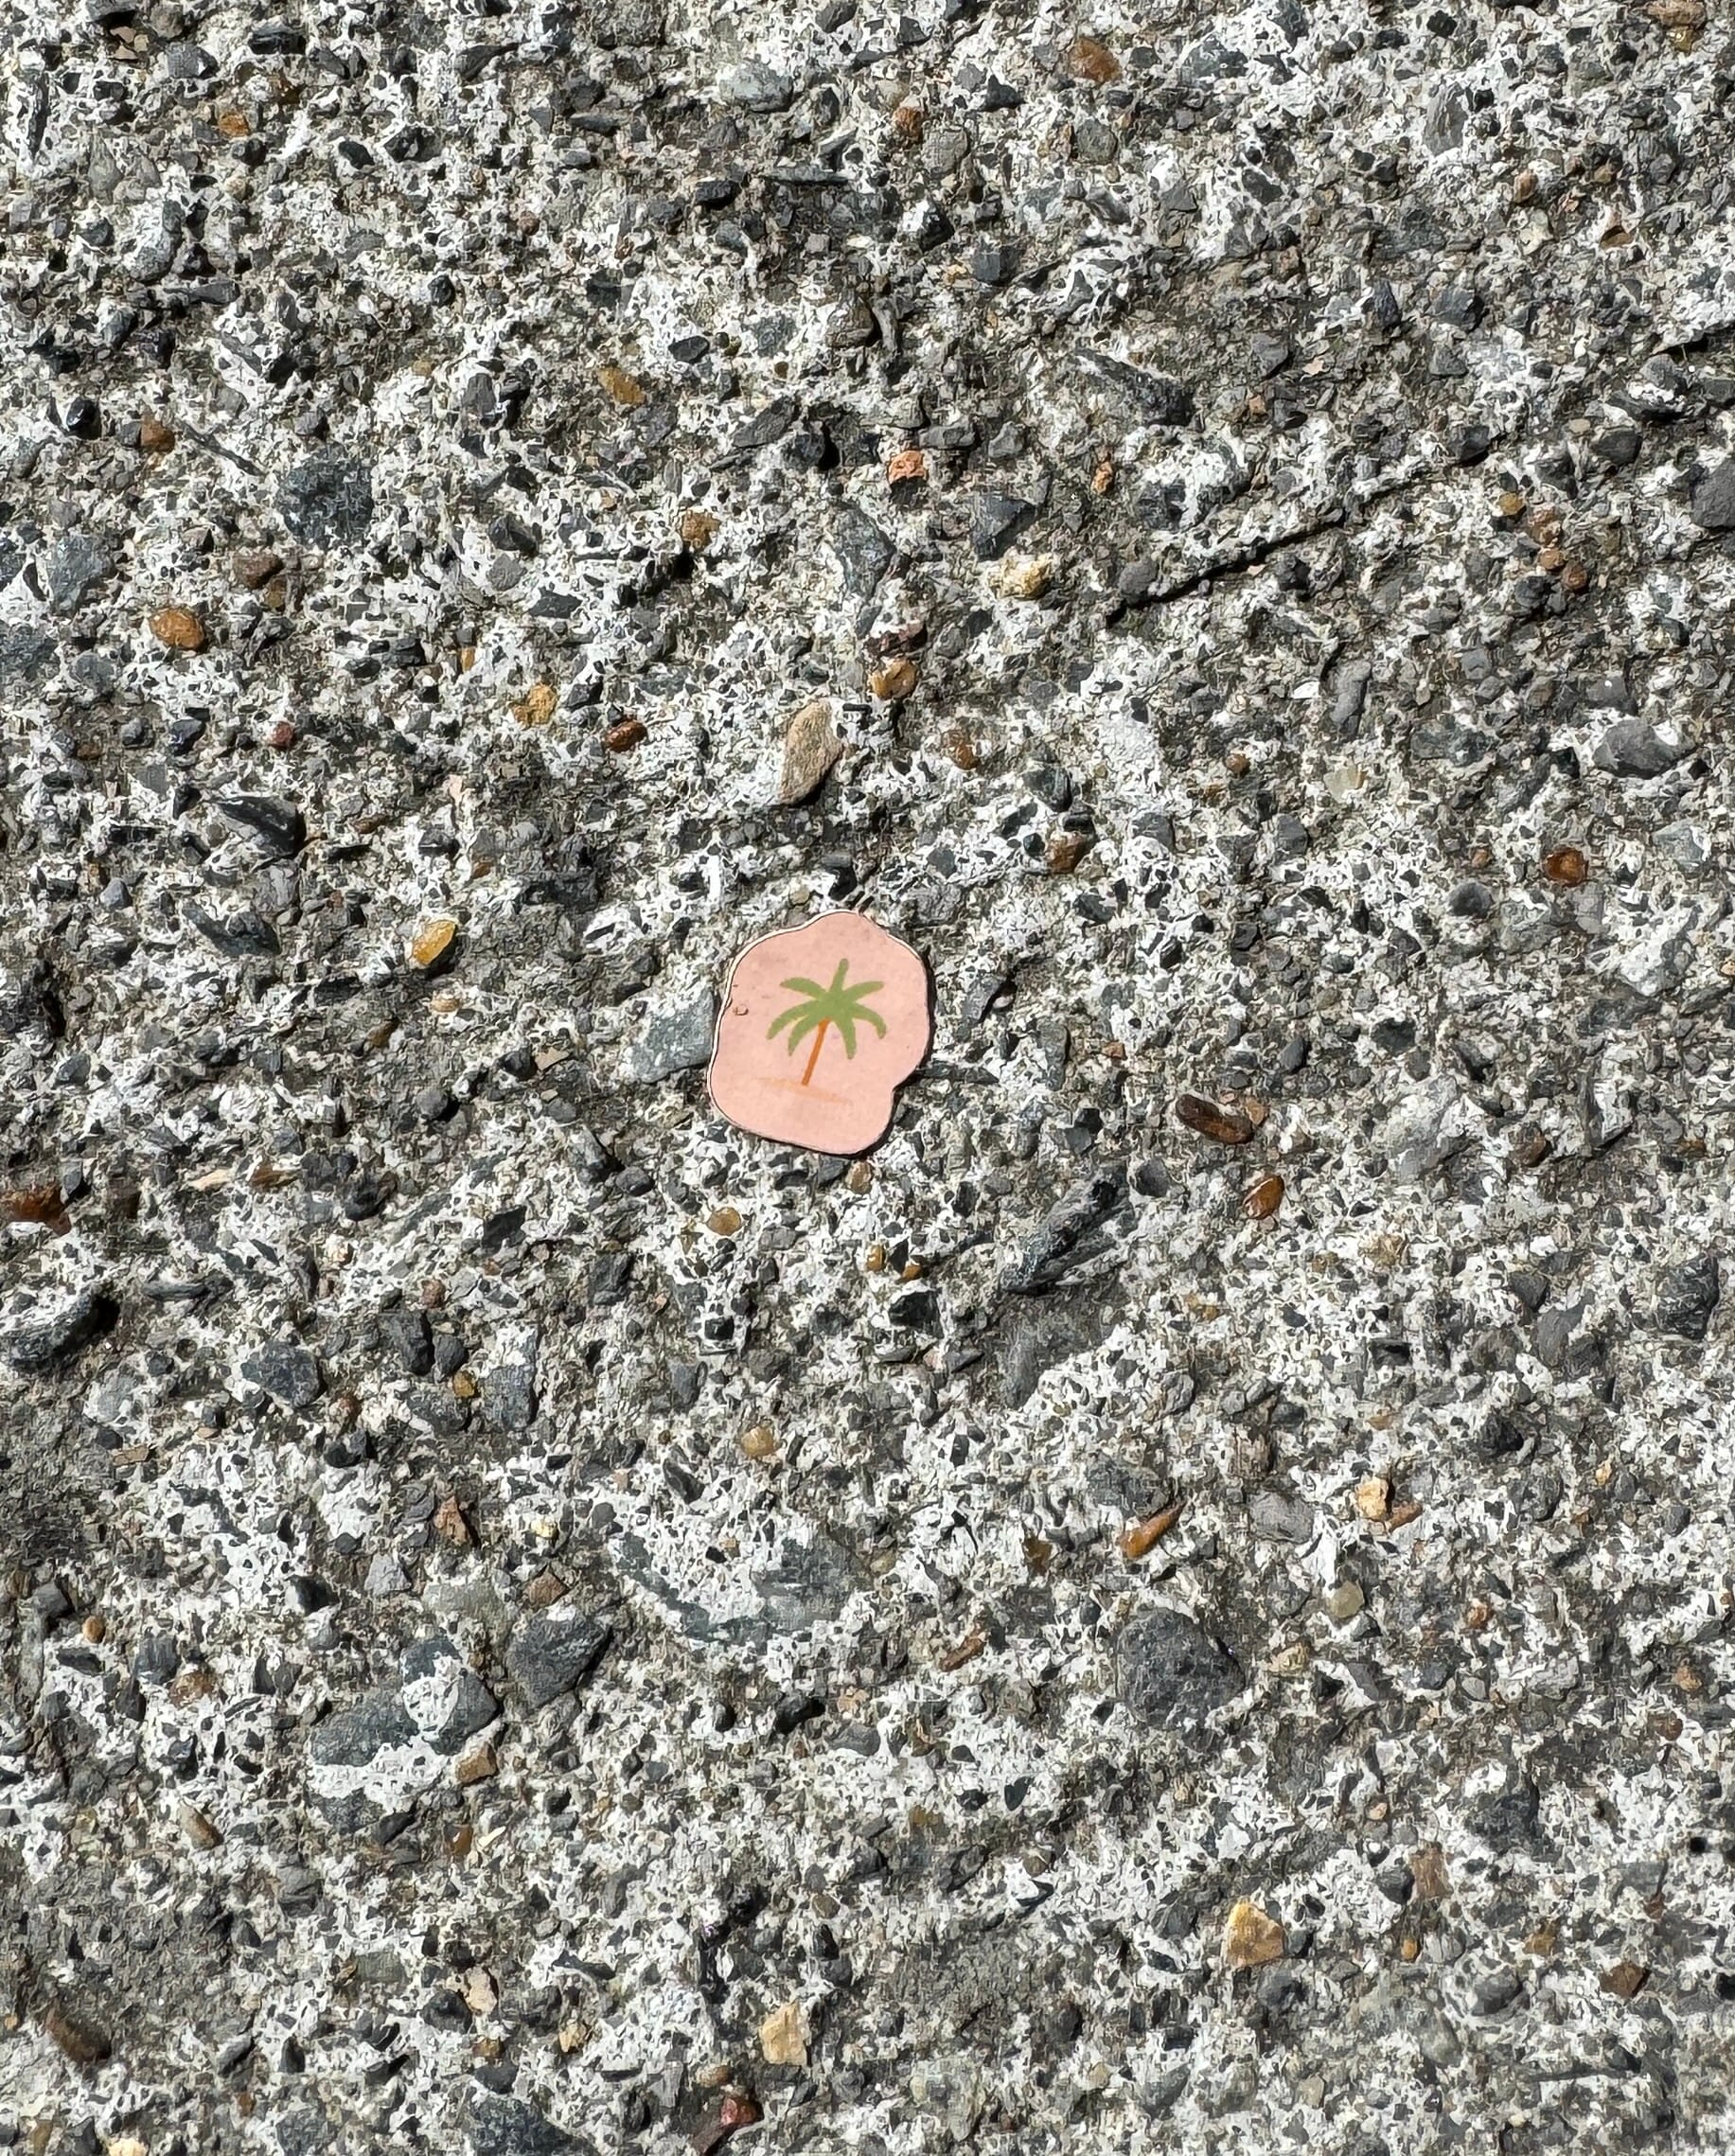
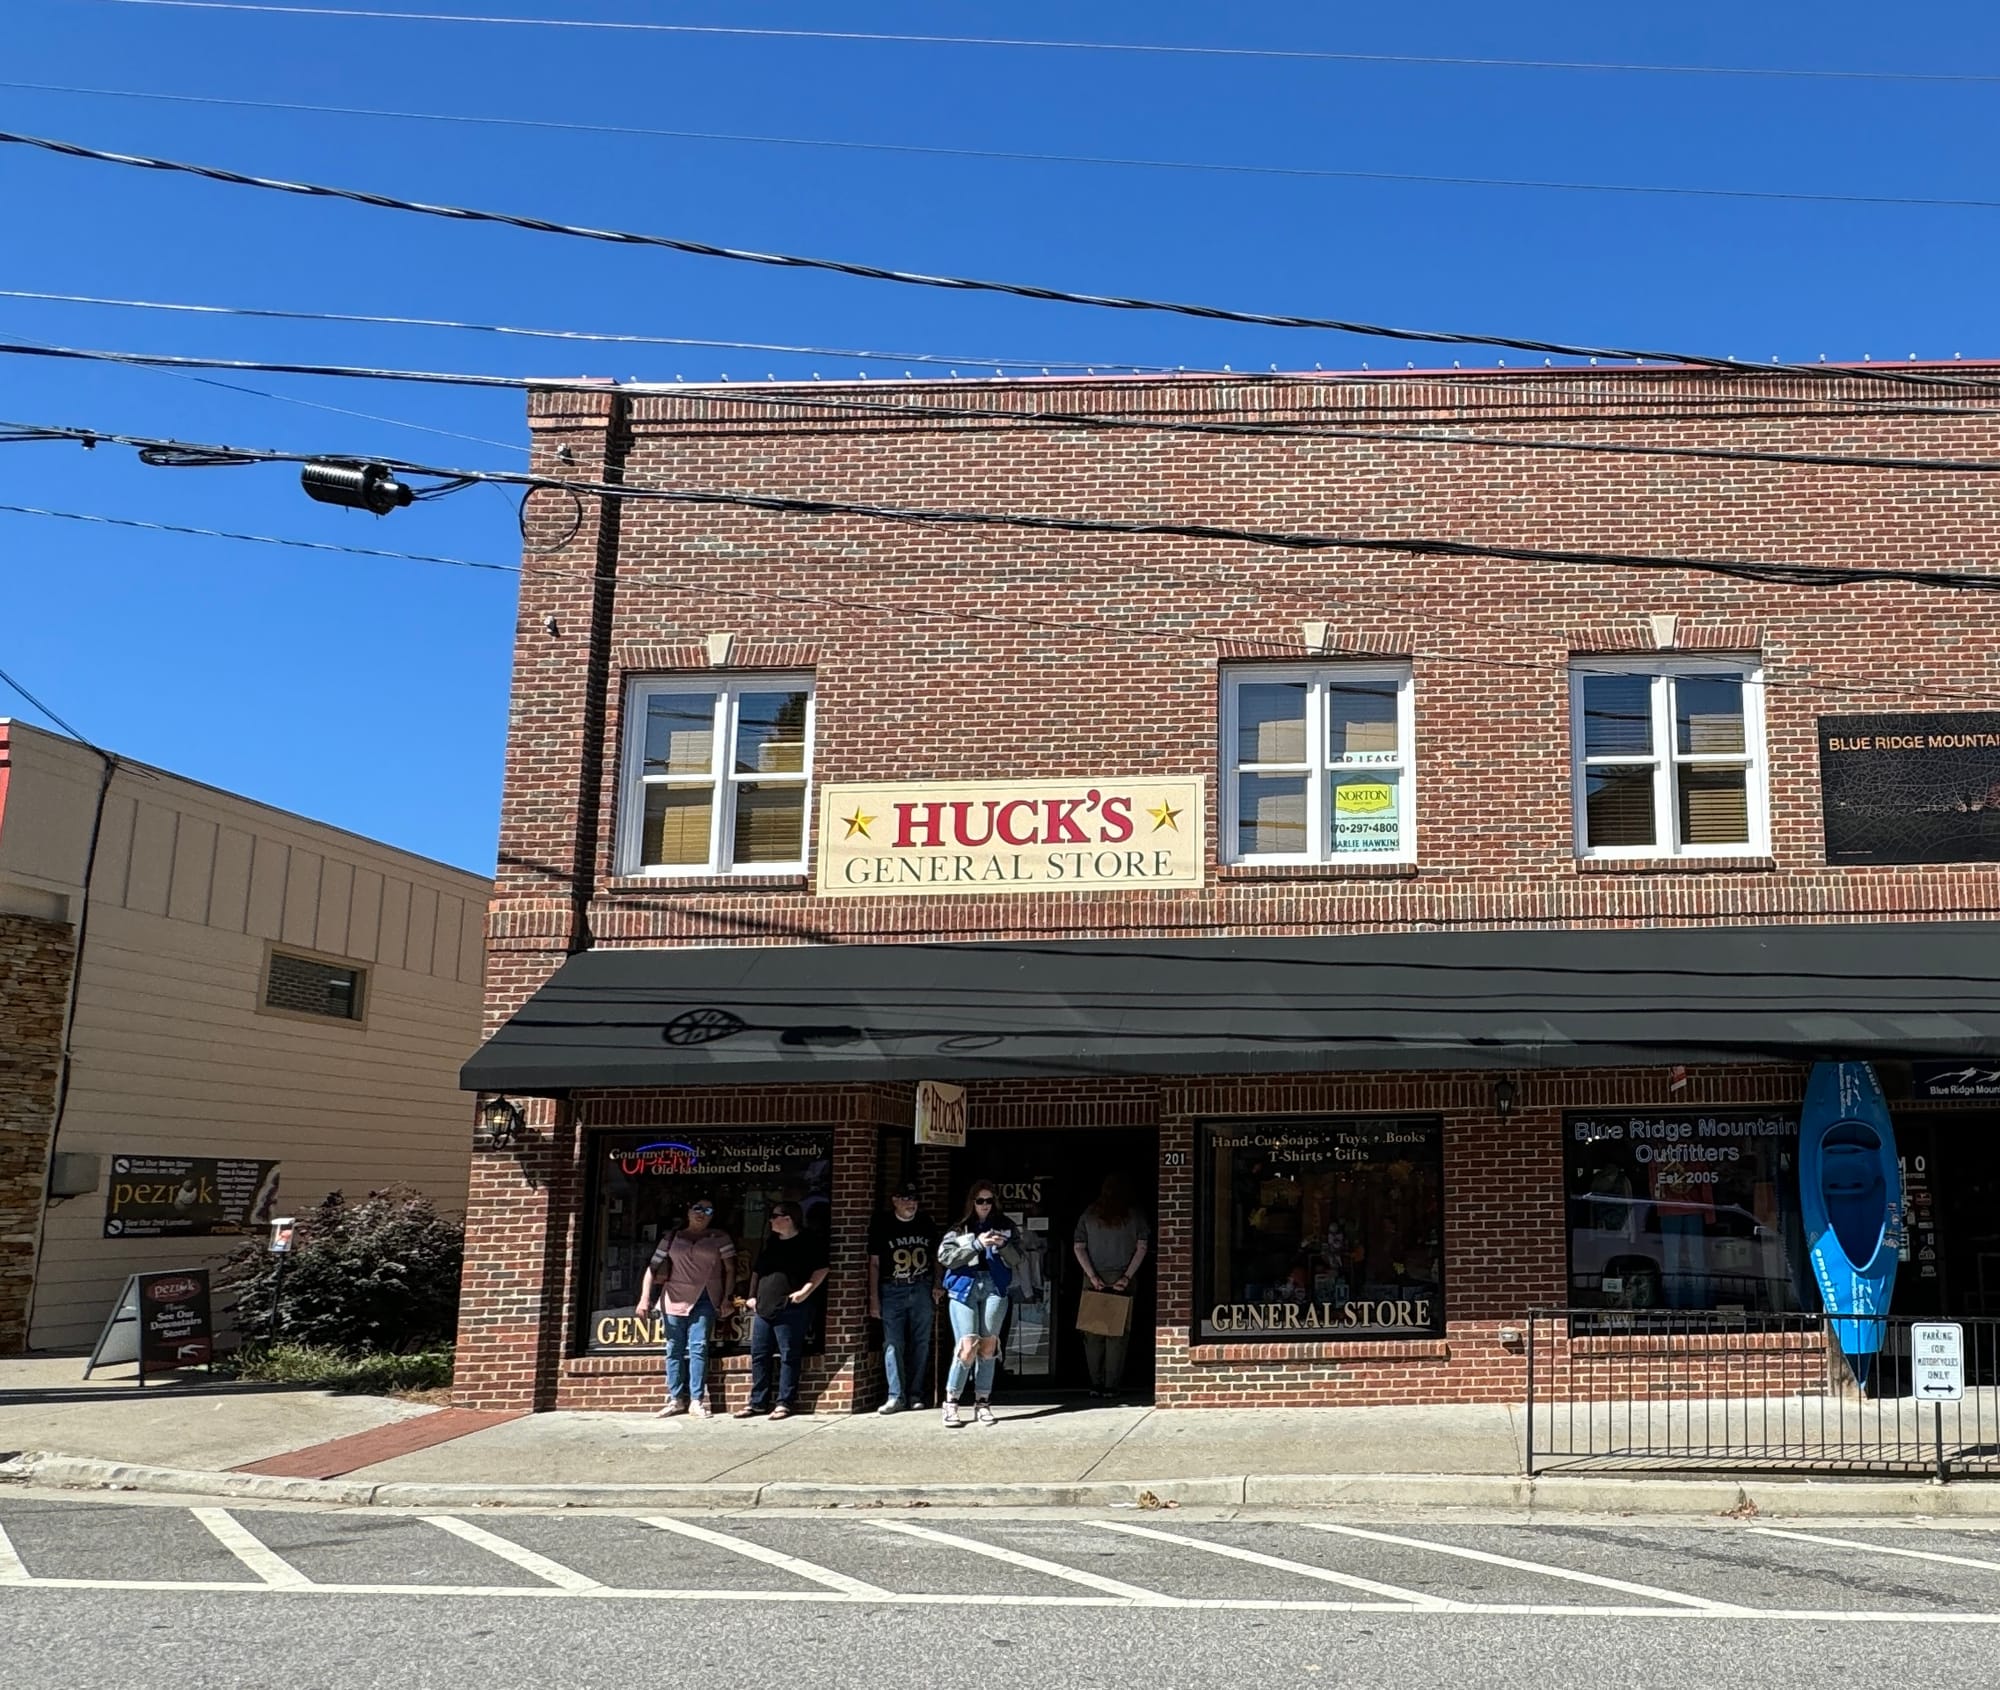
On our last day in Blue Ridge, we stopped in town at Huck's General Store. As we were walking the streets, I looked down and saw this little palm tree. It’s funny how little things turn into signs when you need them the most.
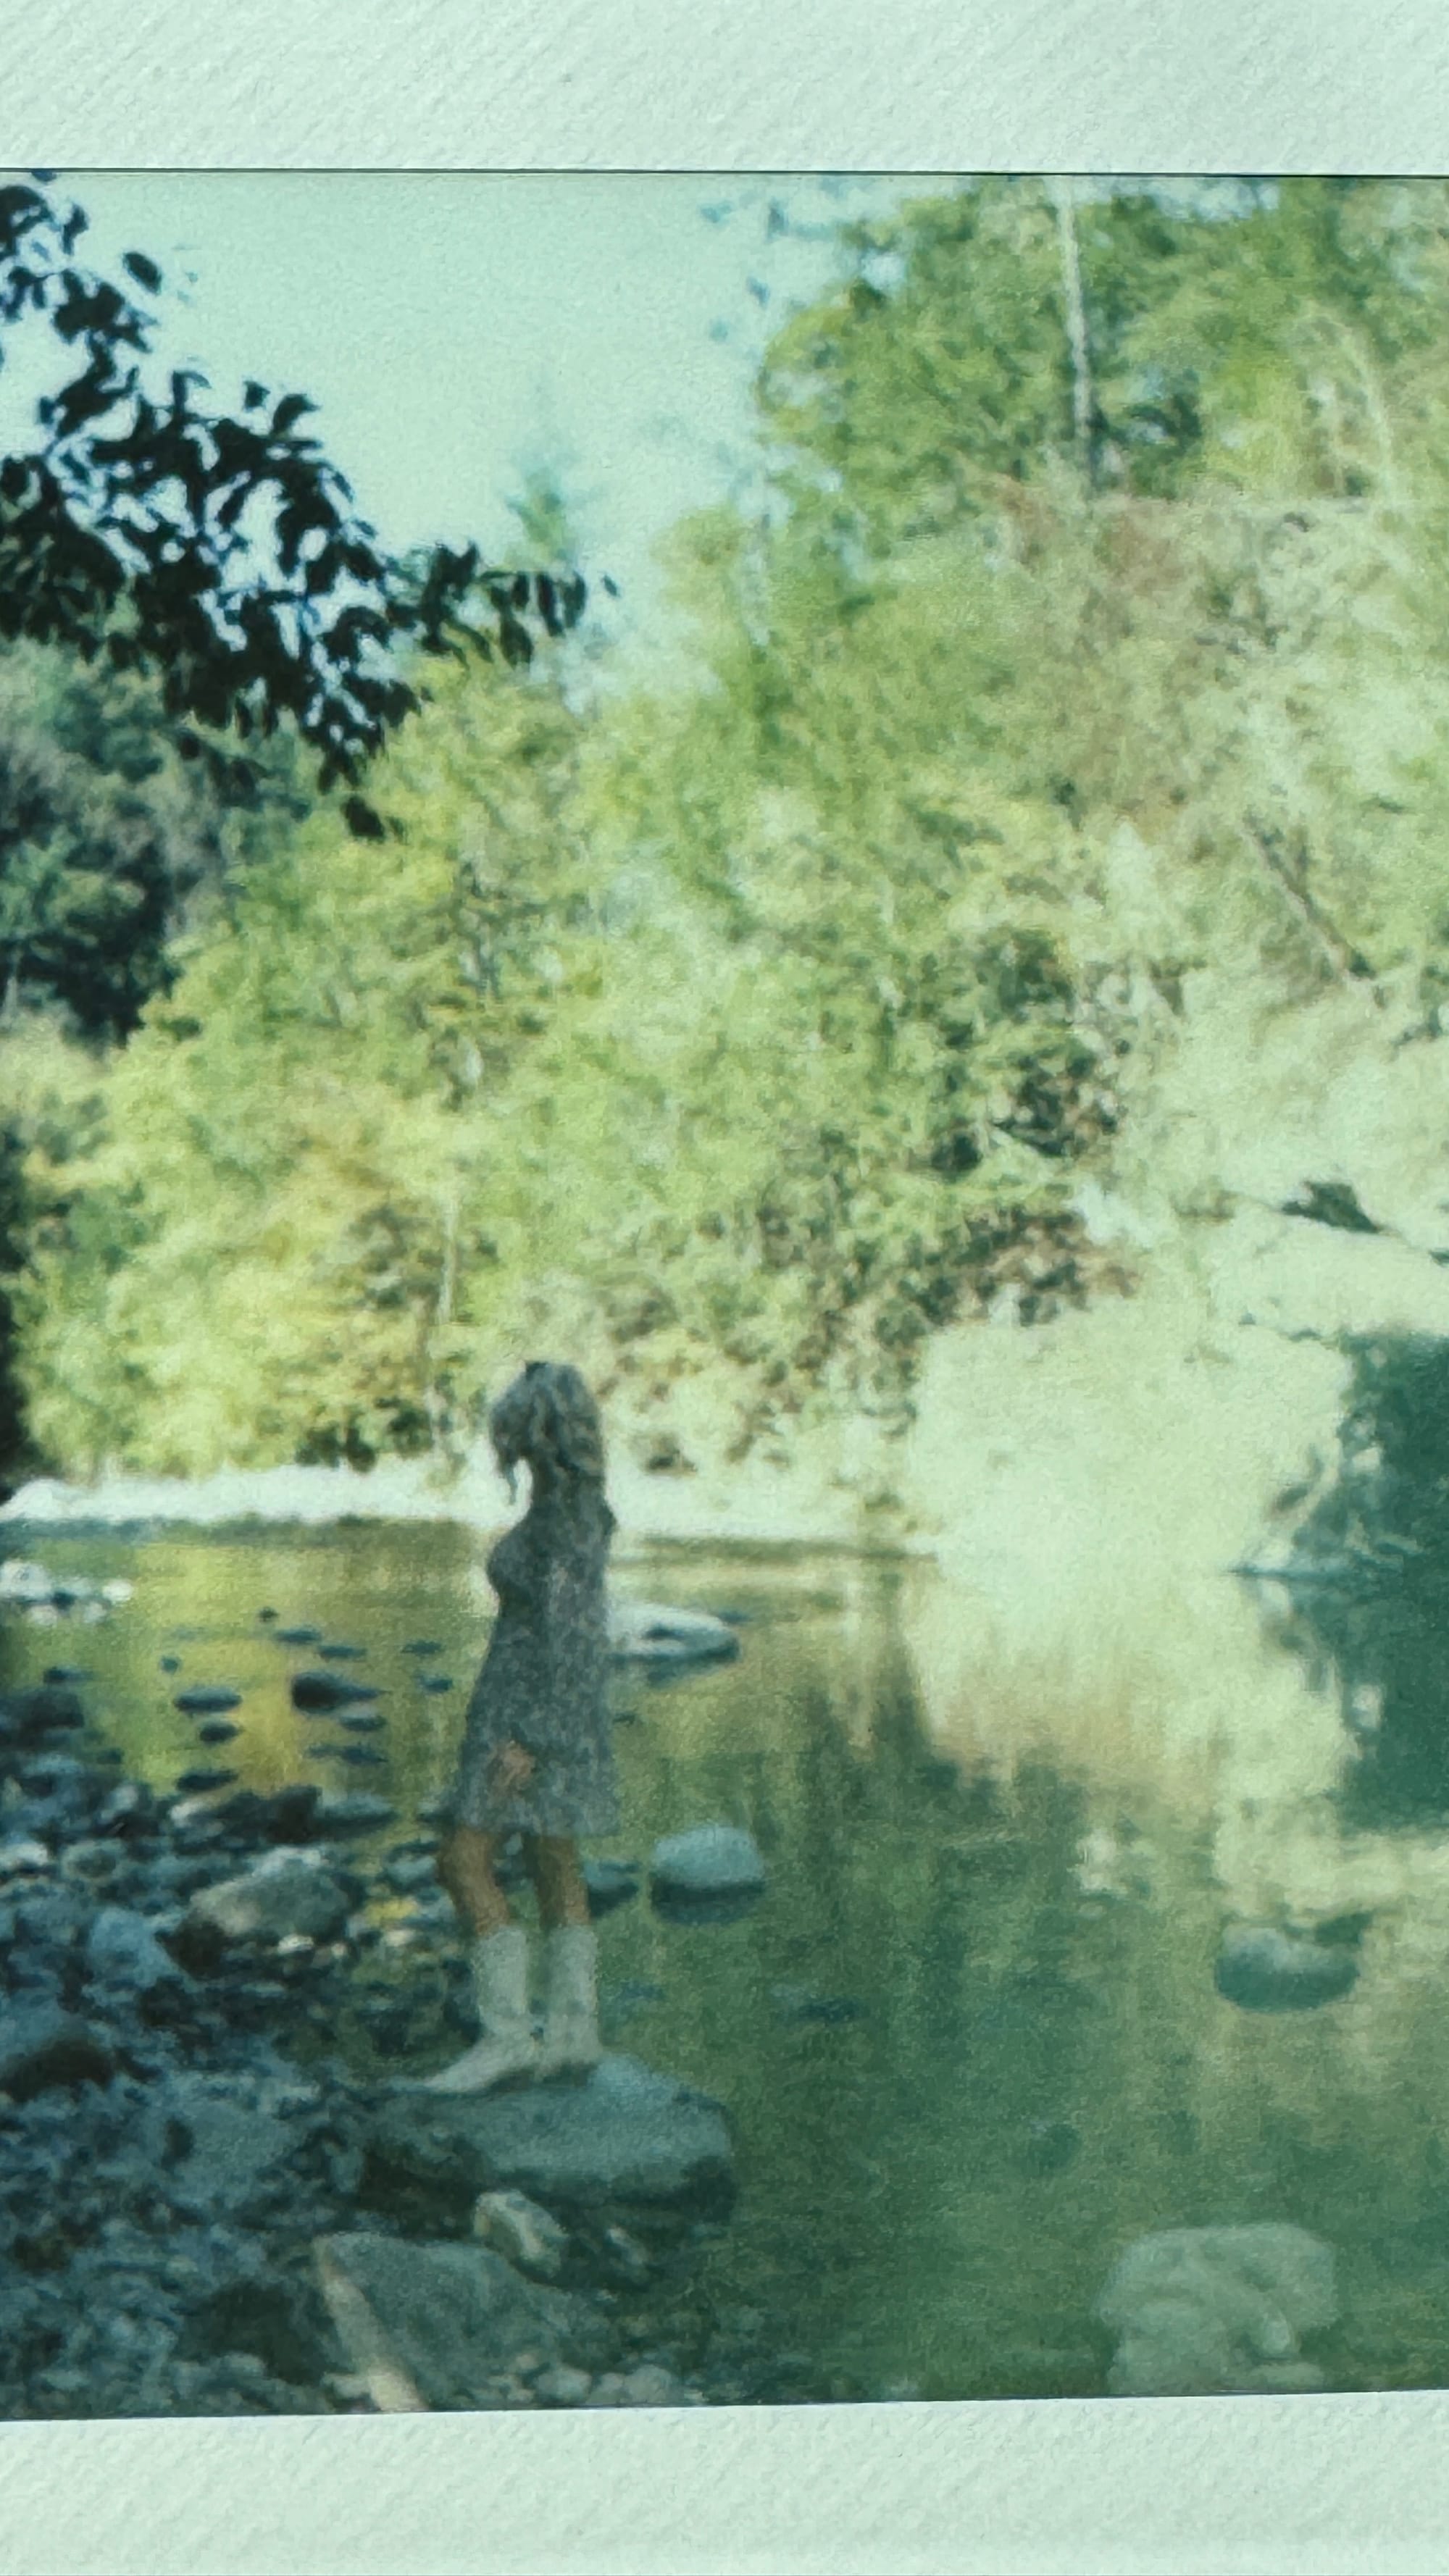
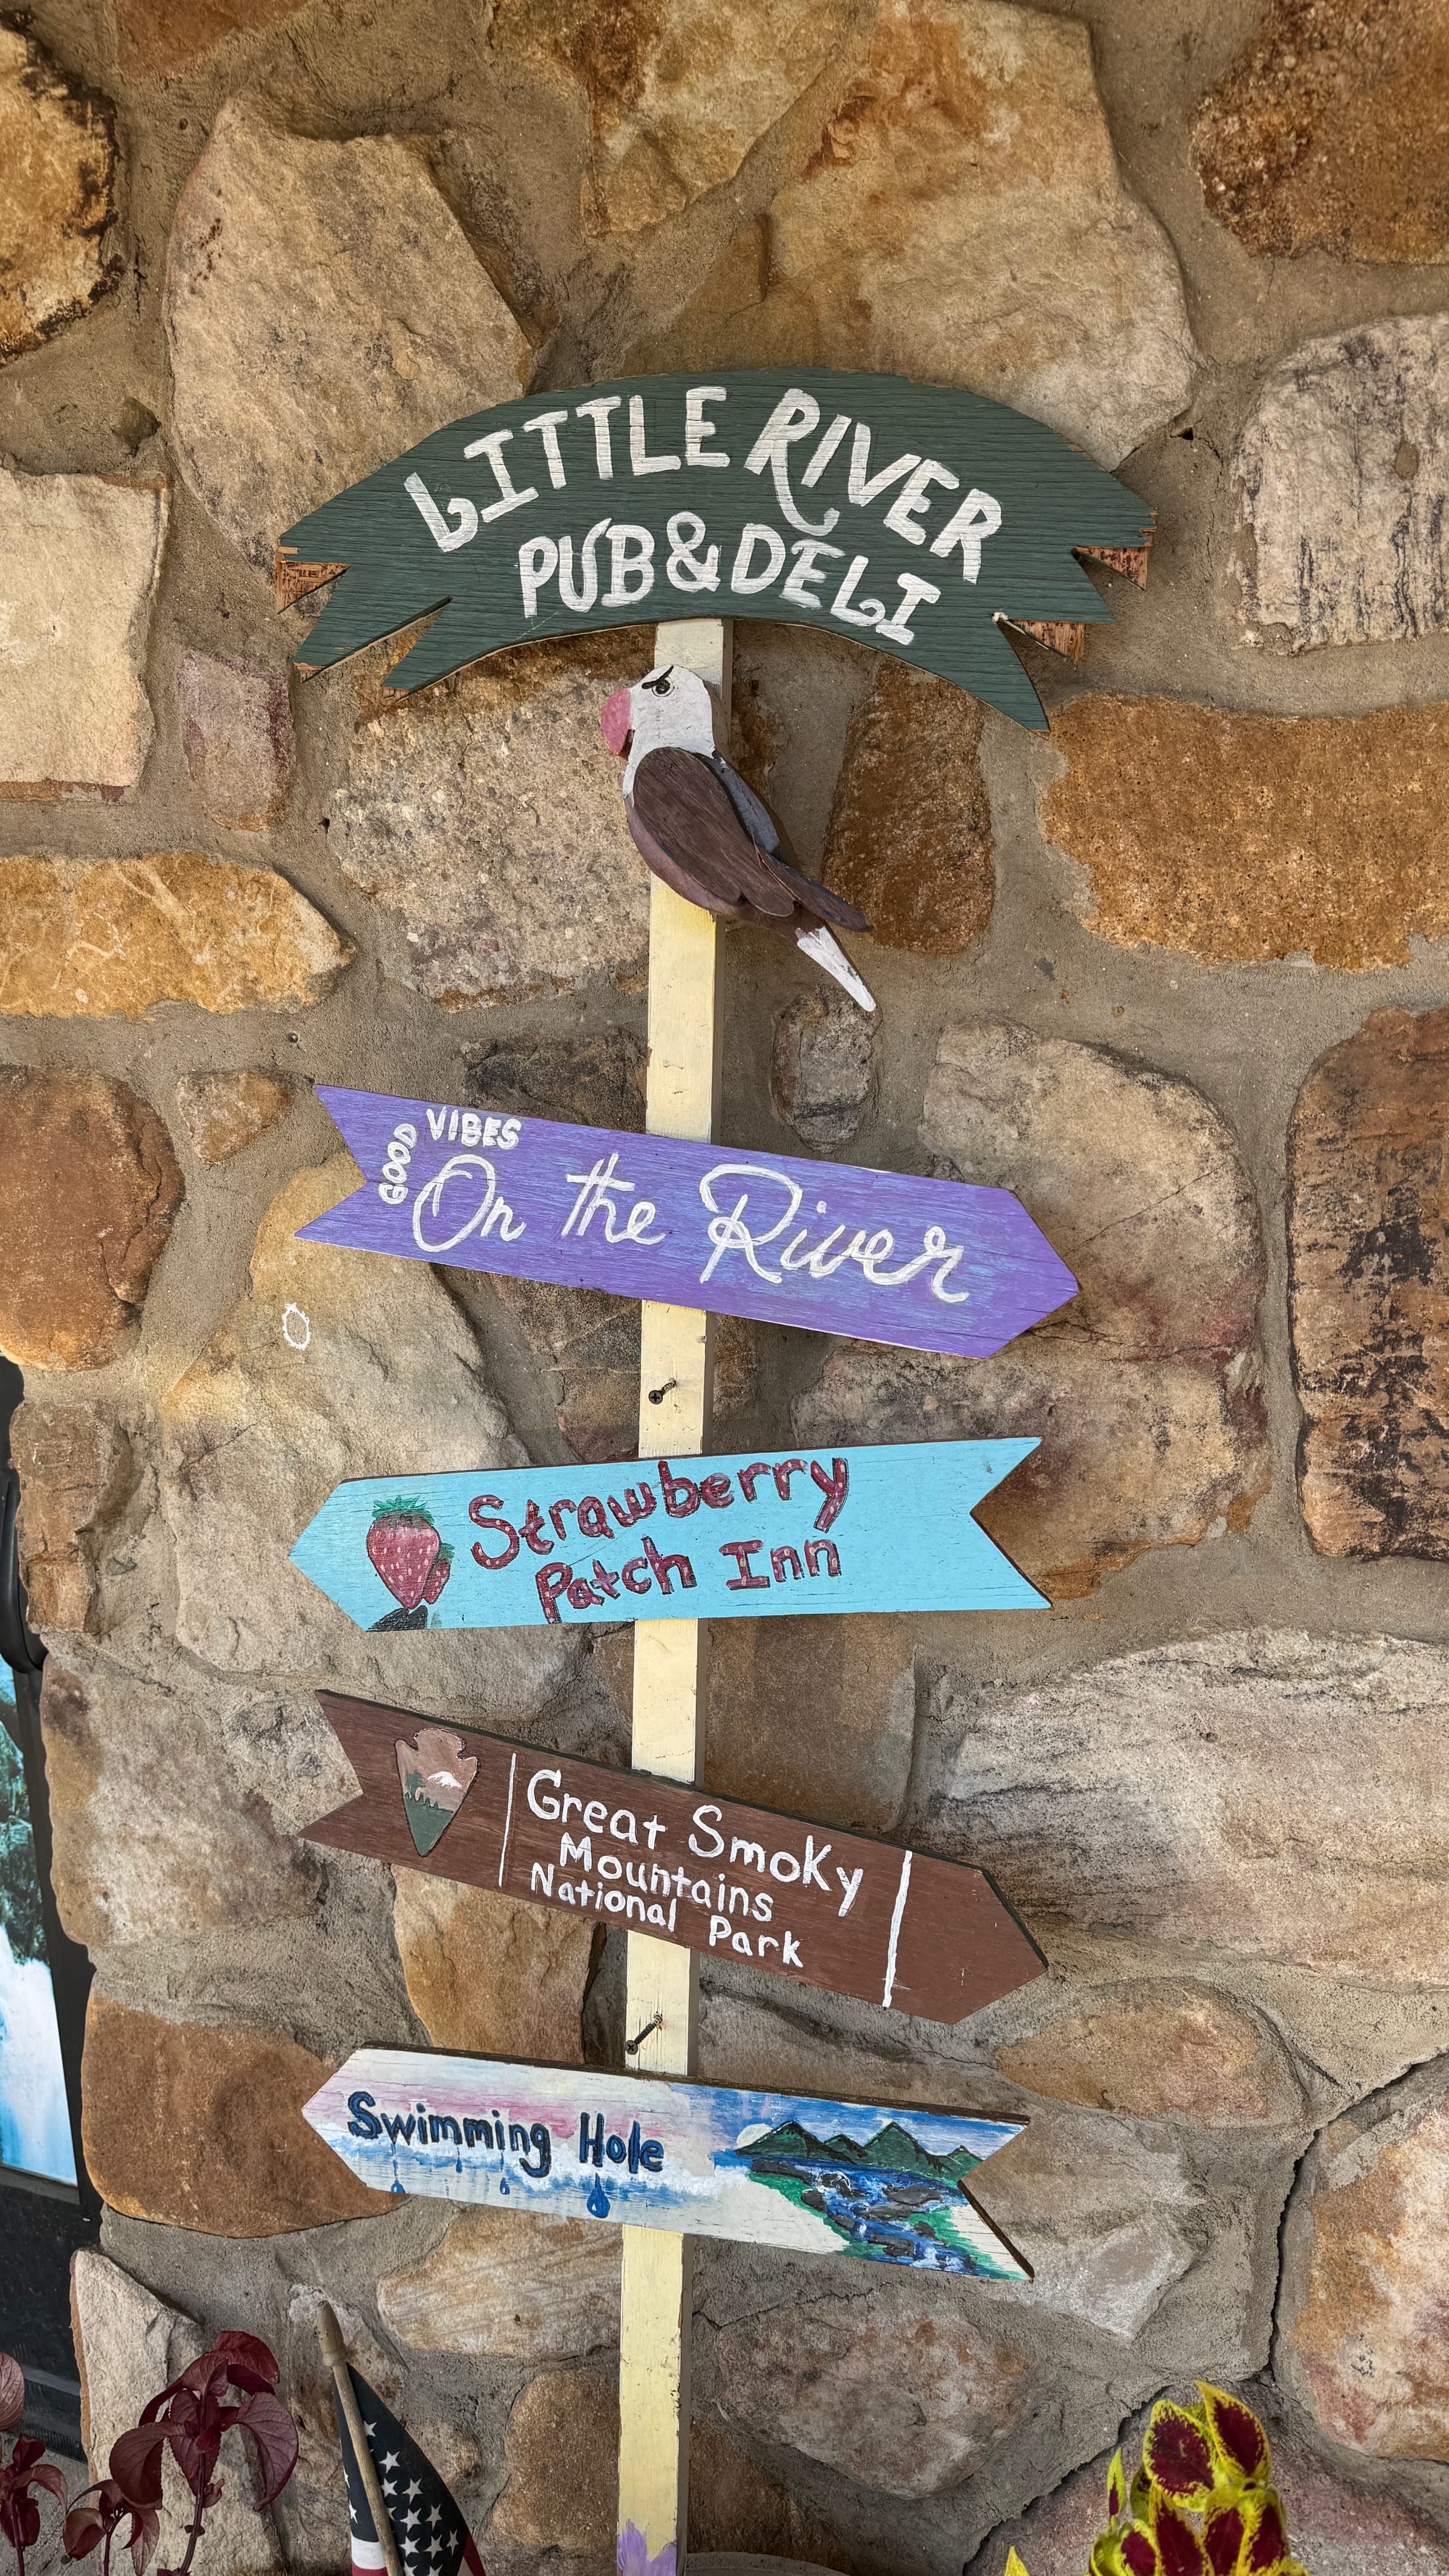
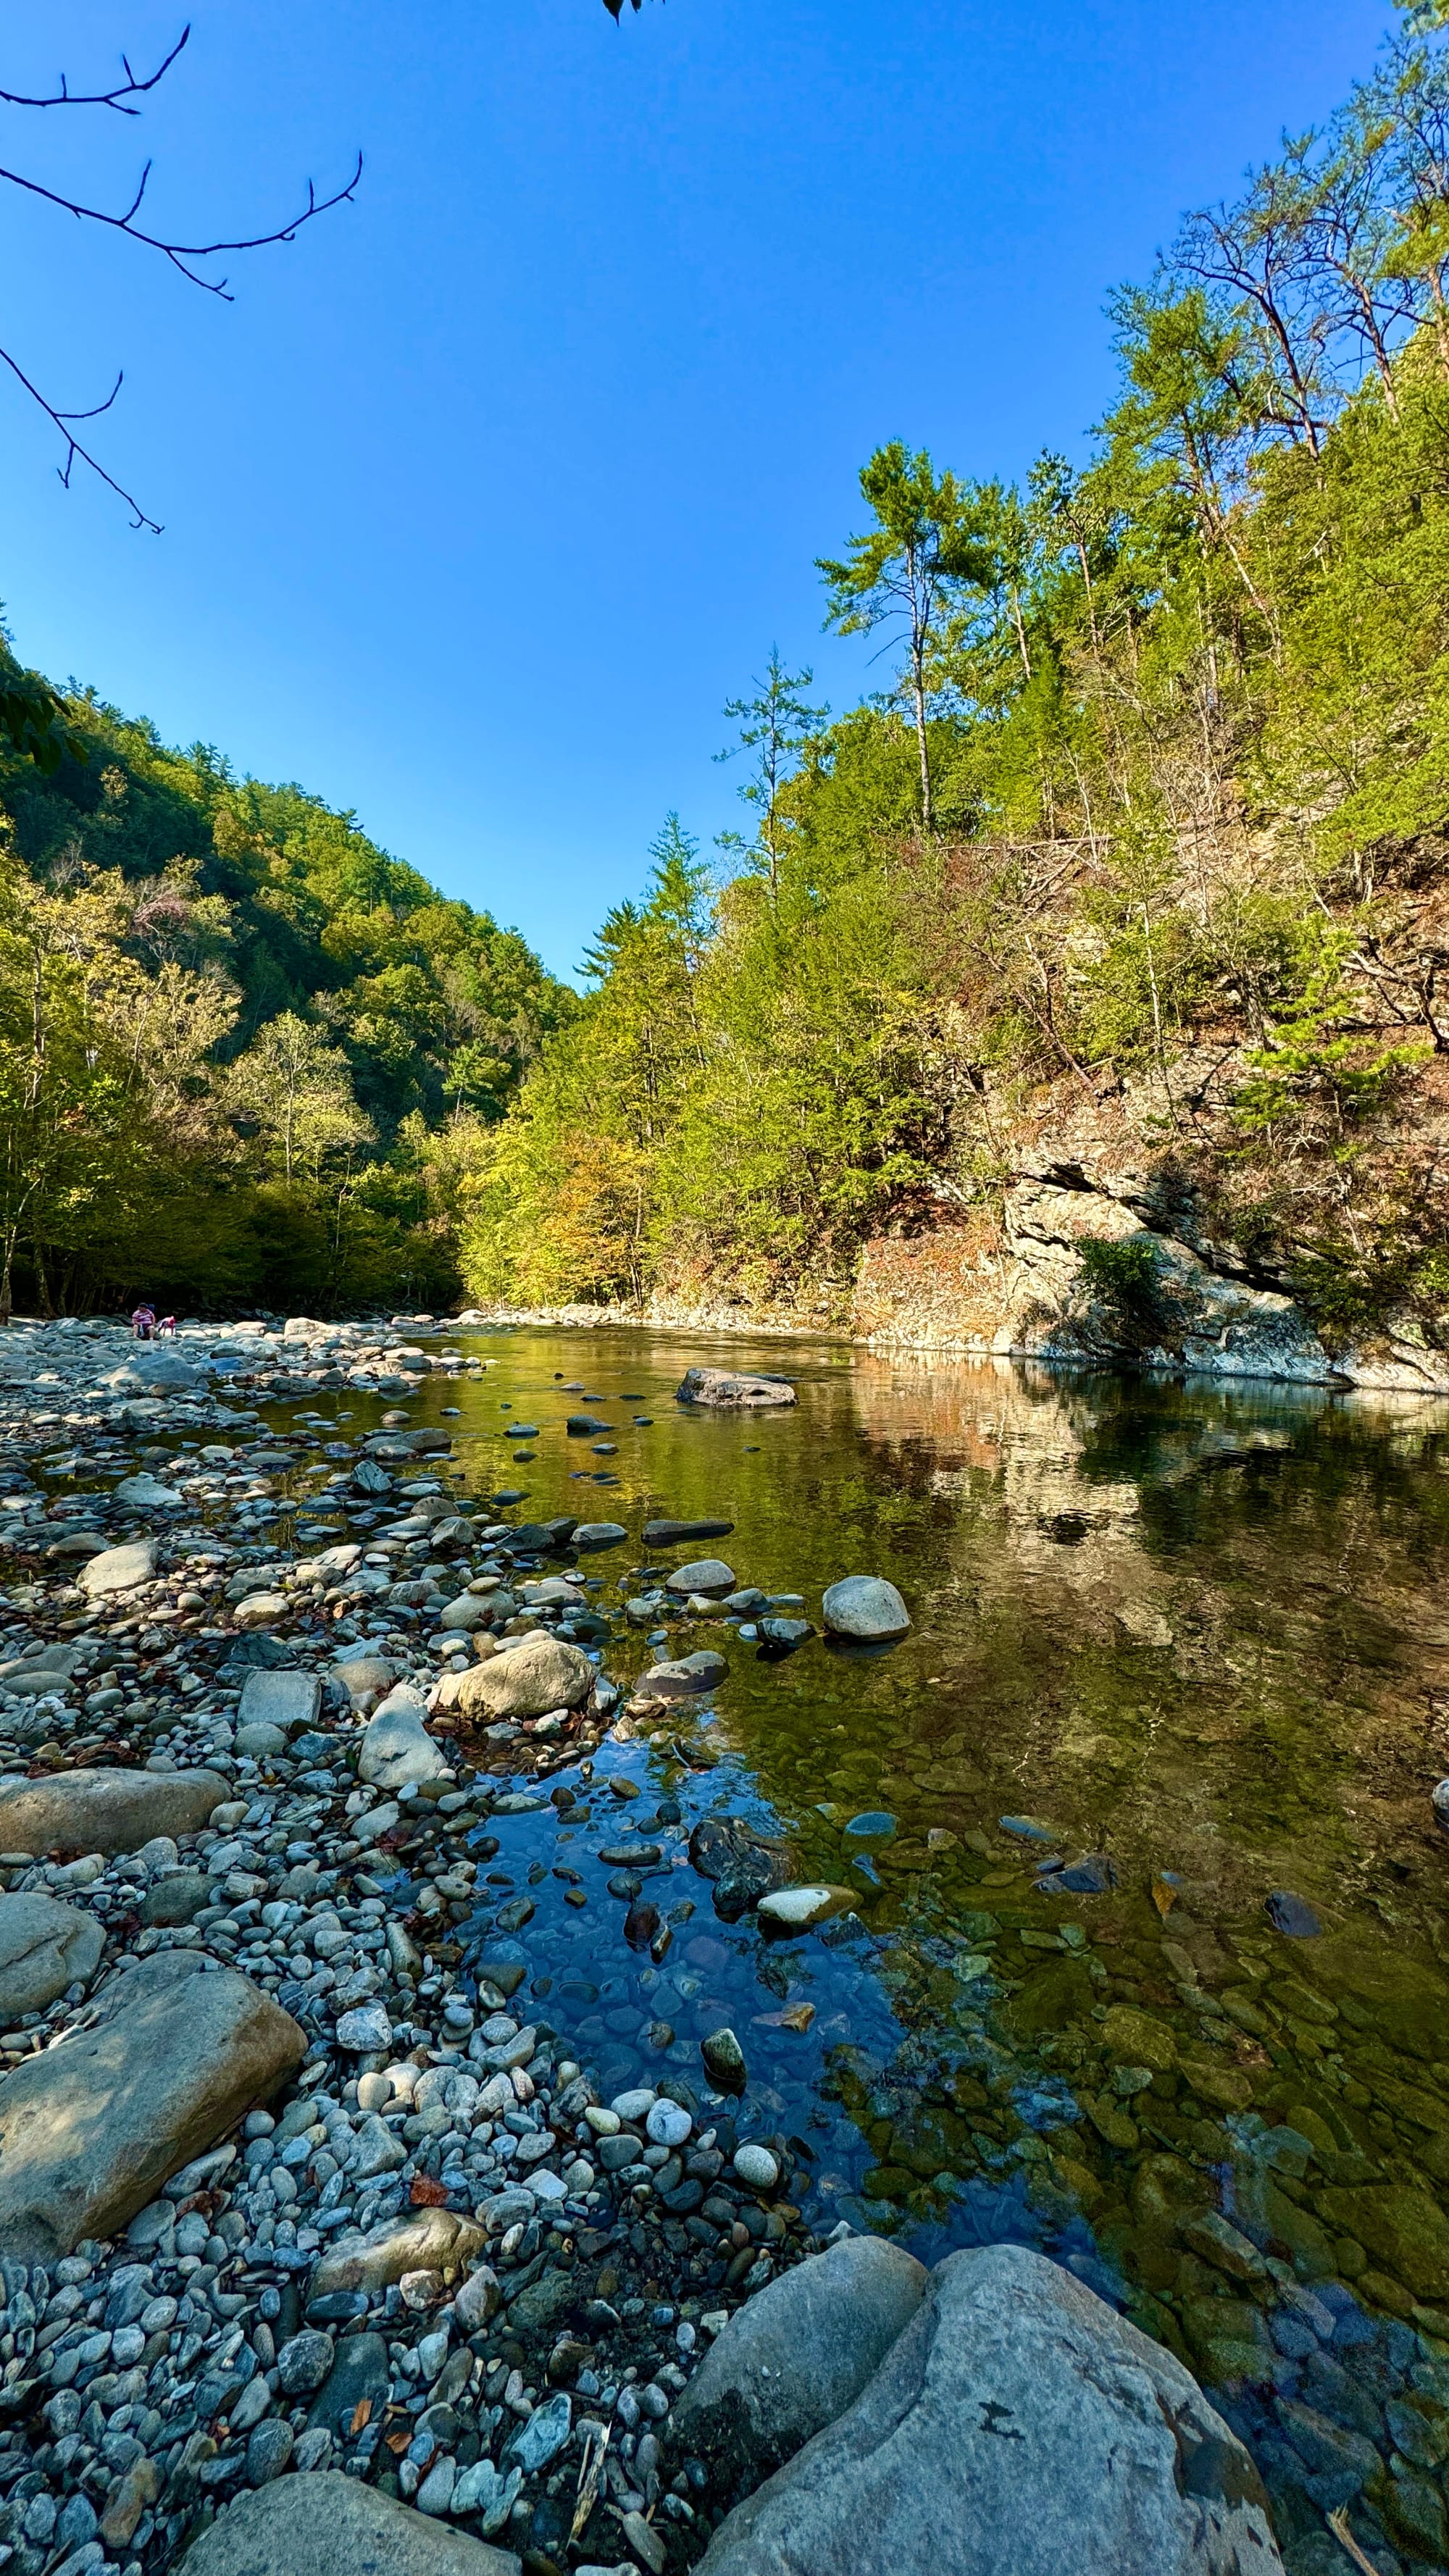
Once Milton made landfall we were heart broken, there was no going back. We were kind of floating as we tried to figure out what to do next. After Blue Ridge, we drove to Tennessee and stayed with family and then spent a day in Townsend on the River.
We eventually drove back to New Jersey after days of uncertainty. We felt out of whack for months. But luckily I have an amazing family who helped us in every way possible. Each day I dreamed of going back. We started looking for houses and finally found an old Florida cottage that stood out.
The move back was even more exciting than the first move. We had a house. Something to look forward to, something to fix up and make our own. It finally felt like a future.
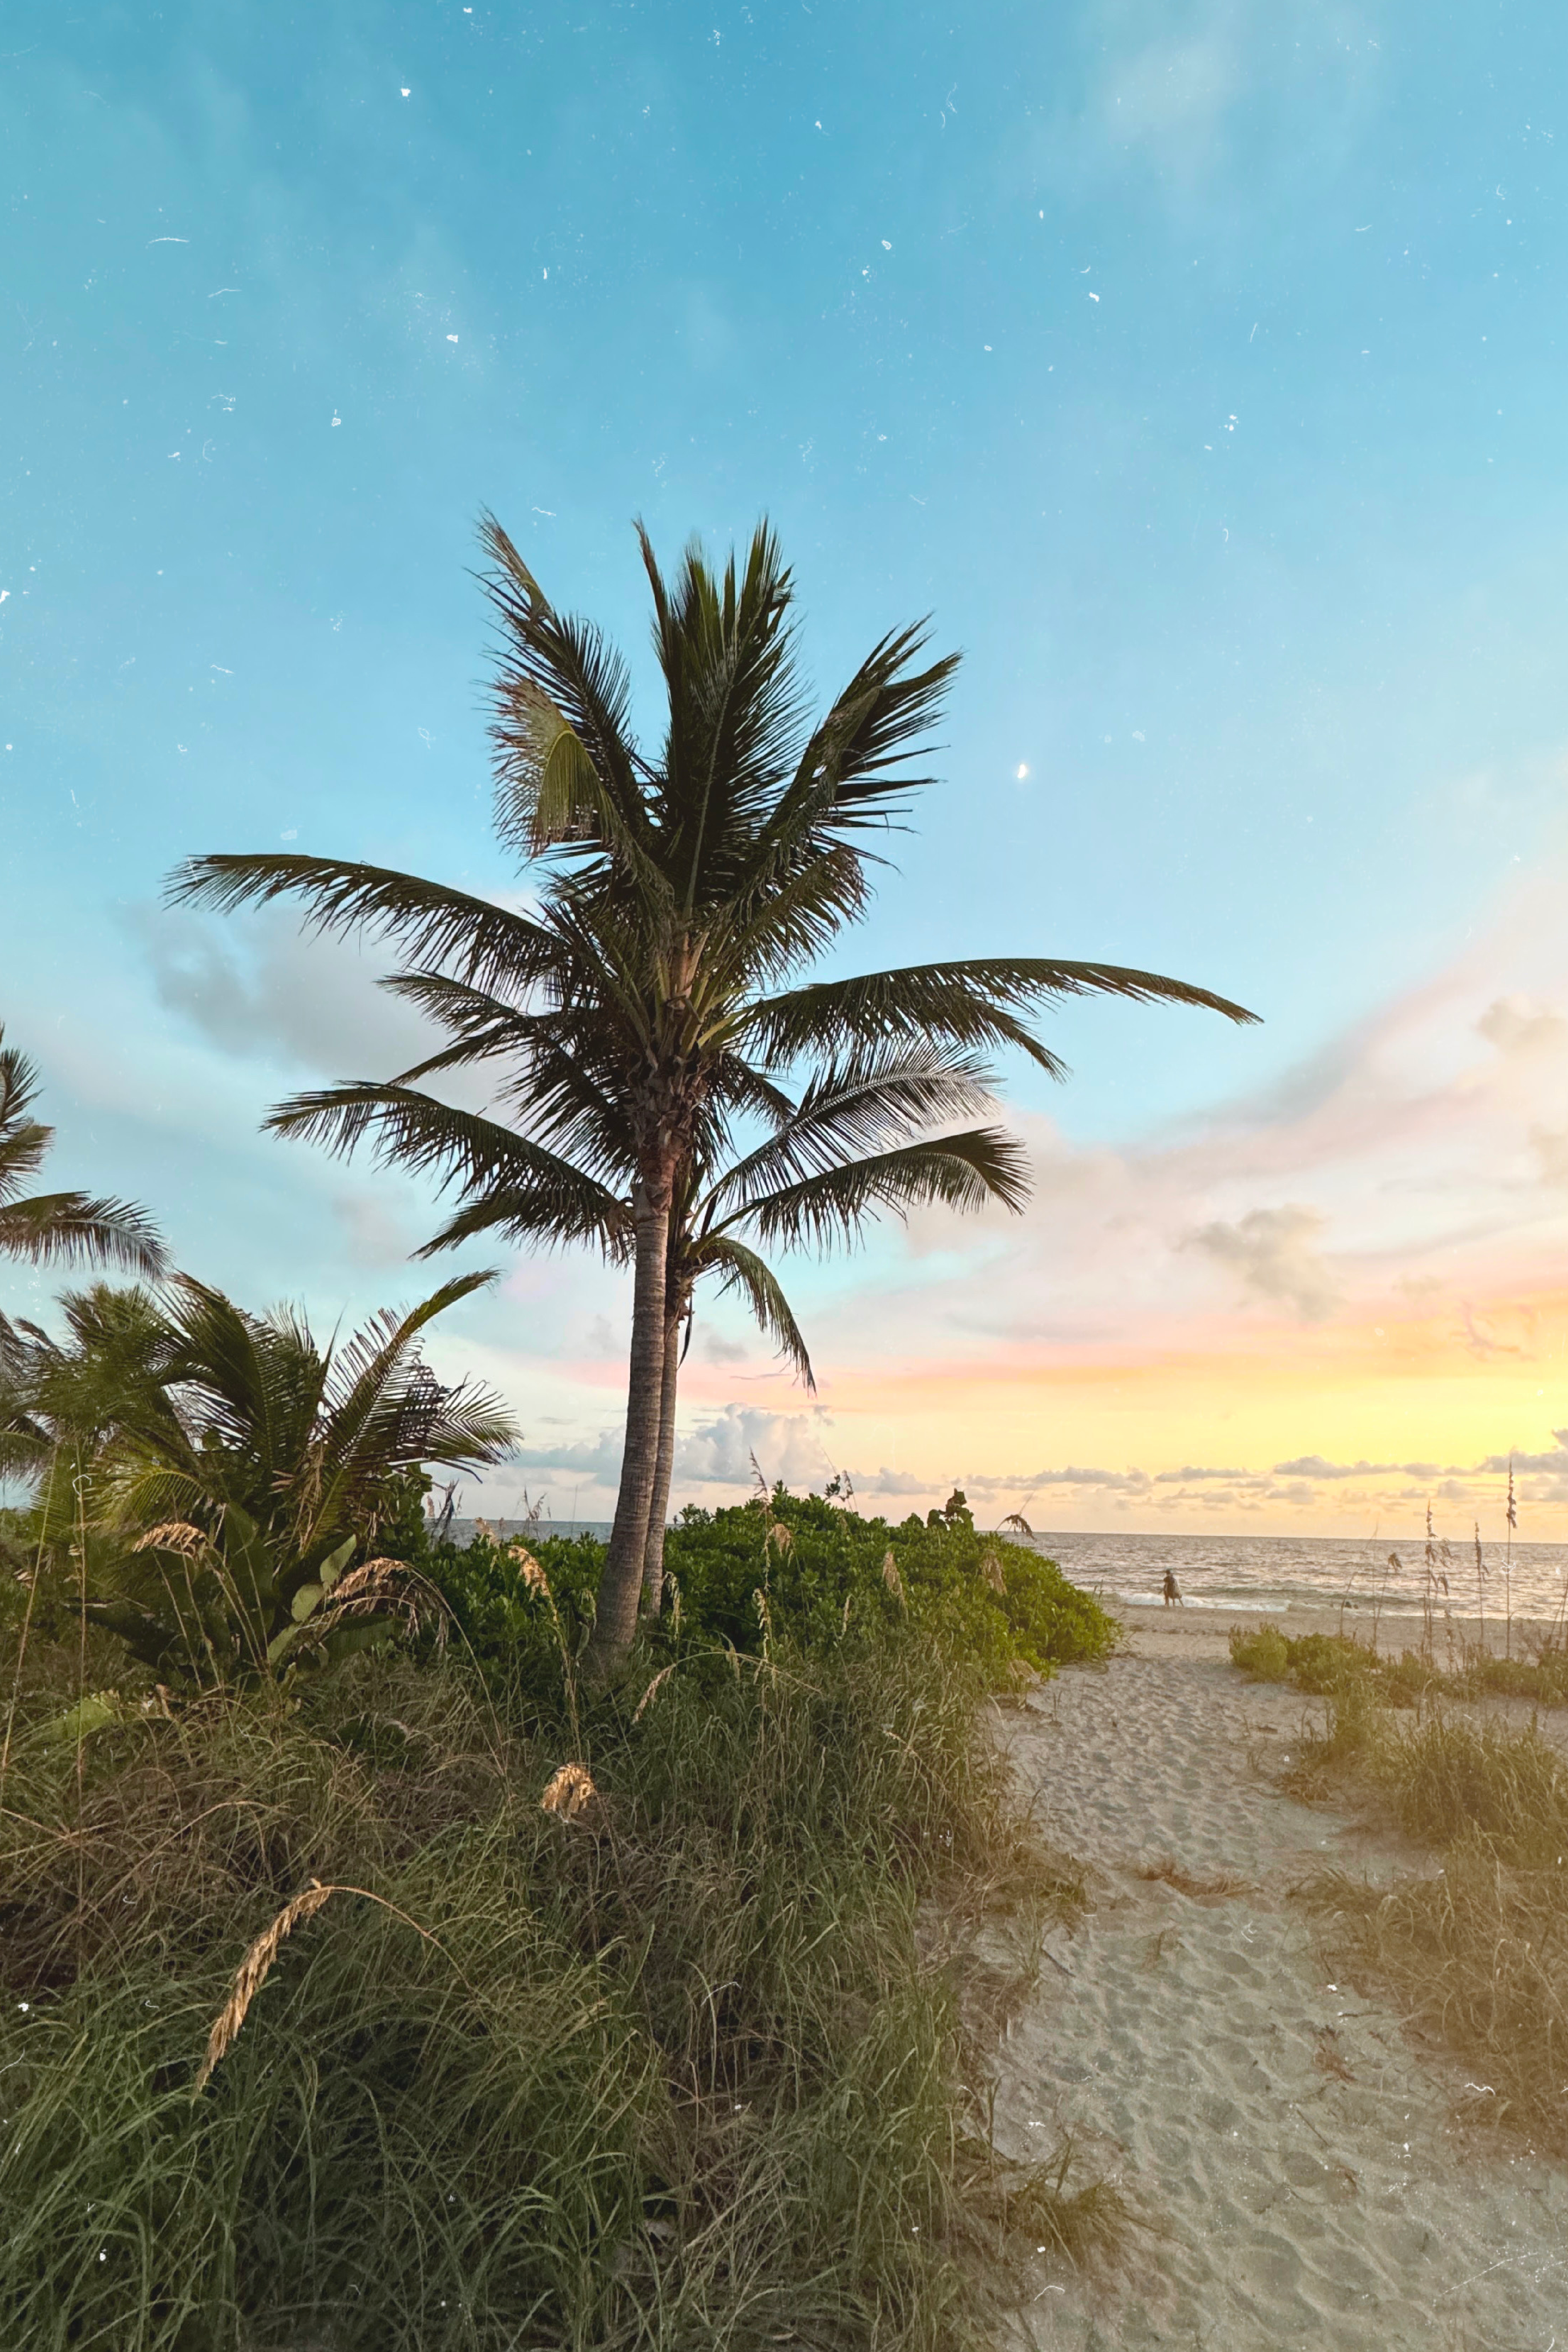
I love my new small town and I can’t wait to share all my favorite parts of it and our little life in paradise.
Hi, I’m Bee. The creator behind Beech Bum Blvd.
I love writing. My mind is loud and filled with nonstop questions, ideas, daydreams, to-do lists, memories and endless thoughts. Writing helps me quiet the chaos. In a world of spellcheck and evolving AI, I love that writing forces me to spell and form actual human sentences. It humbles me, more than I’d like to admit these days.
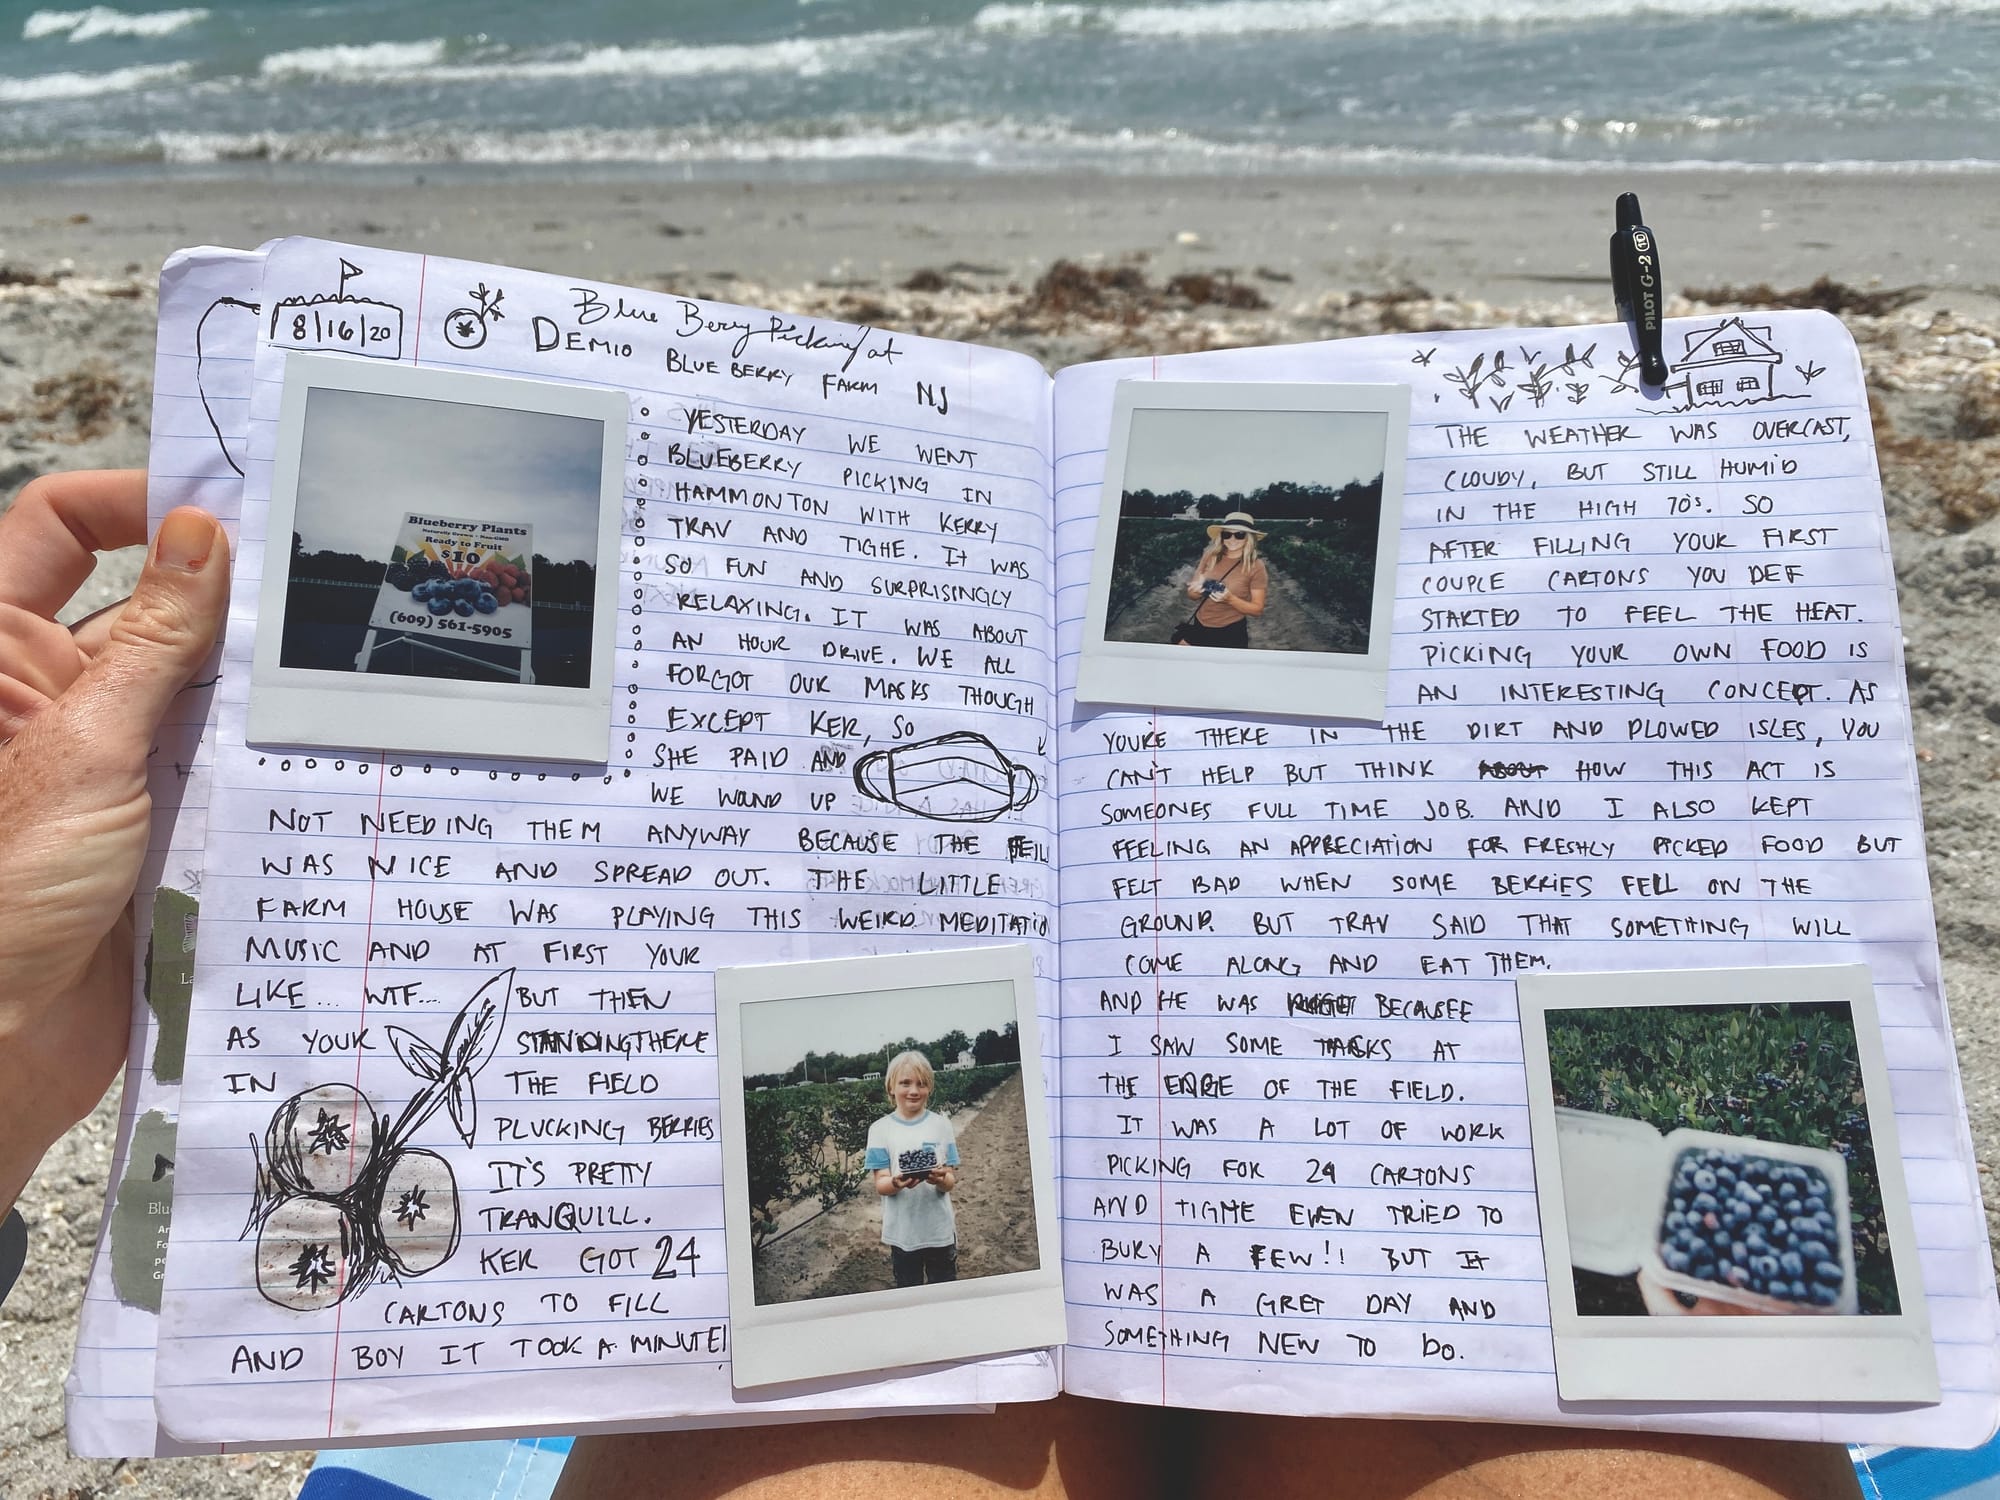
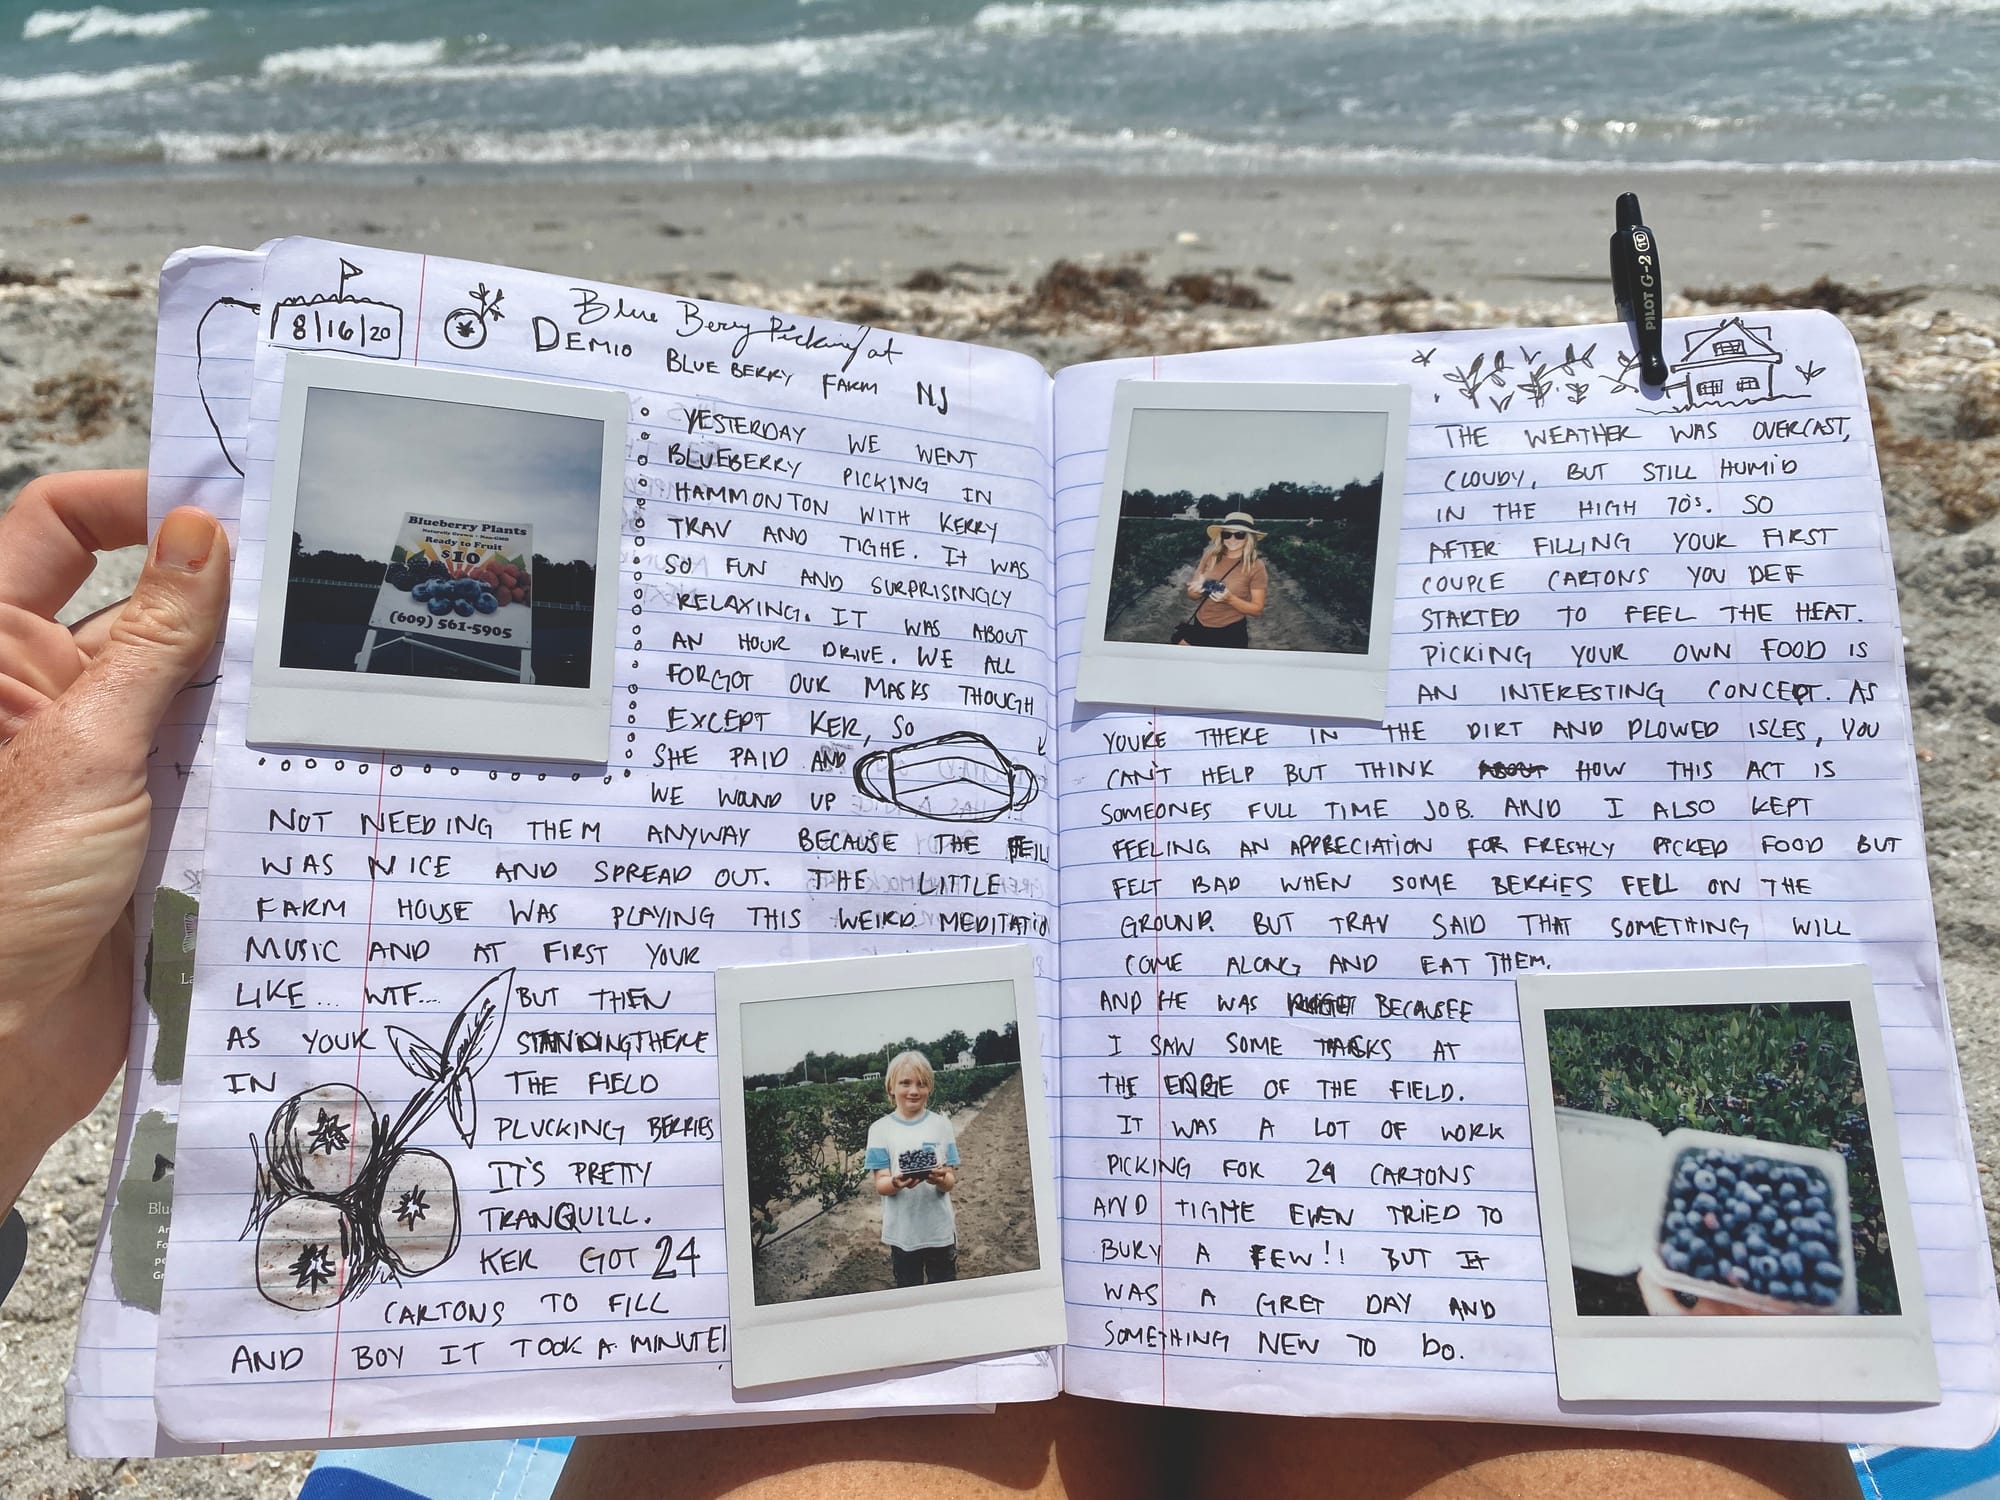
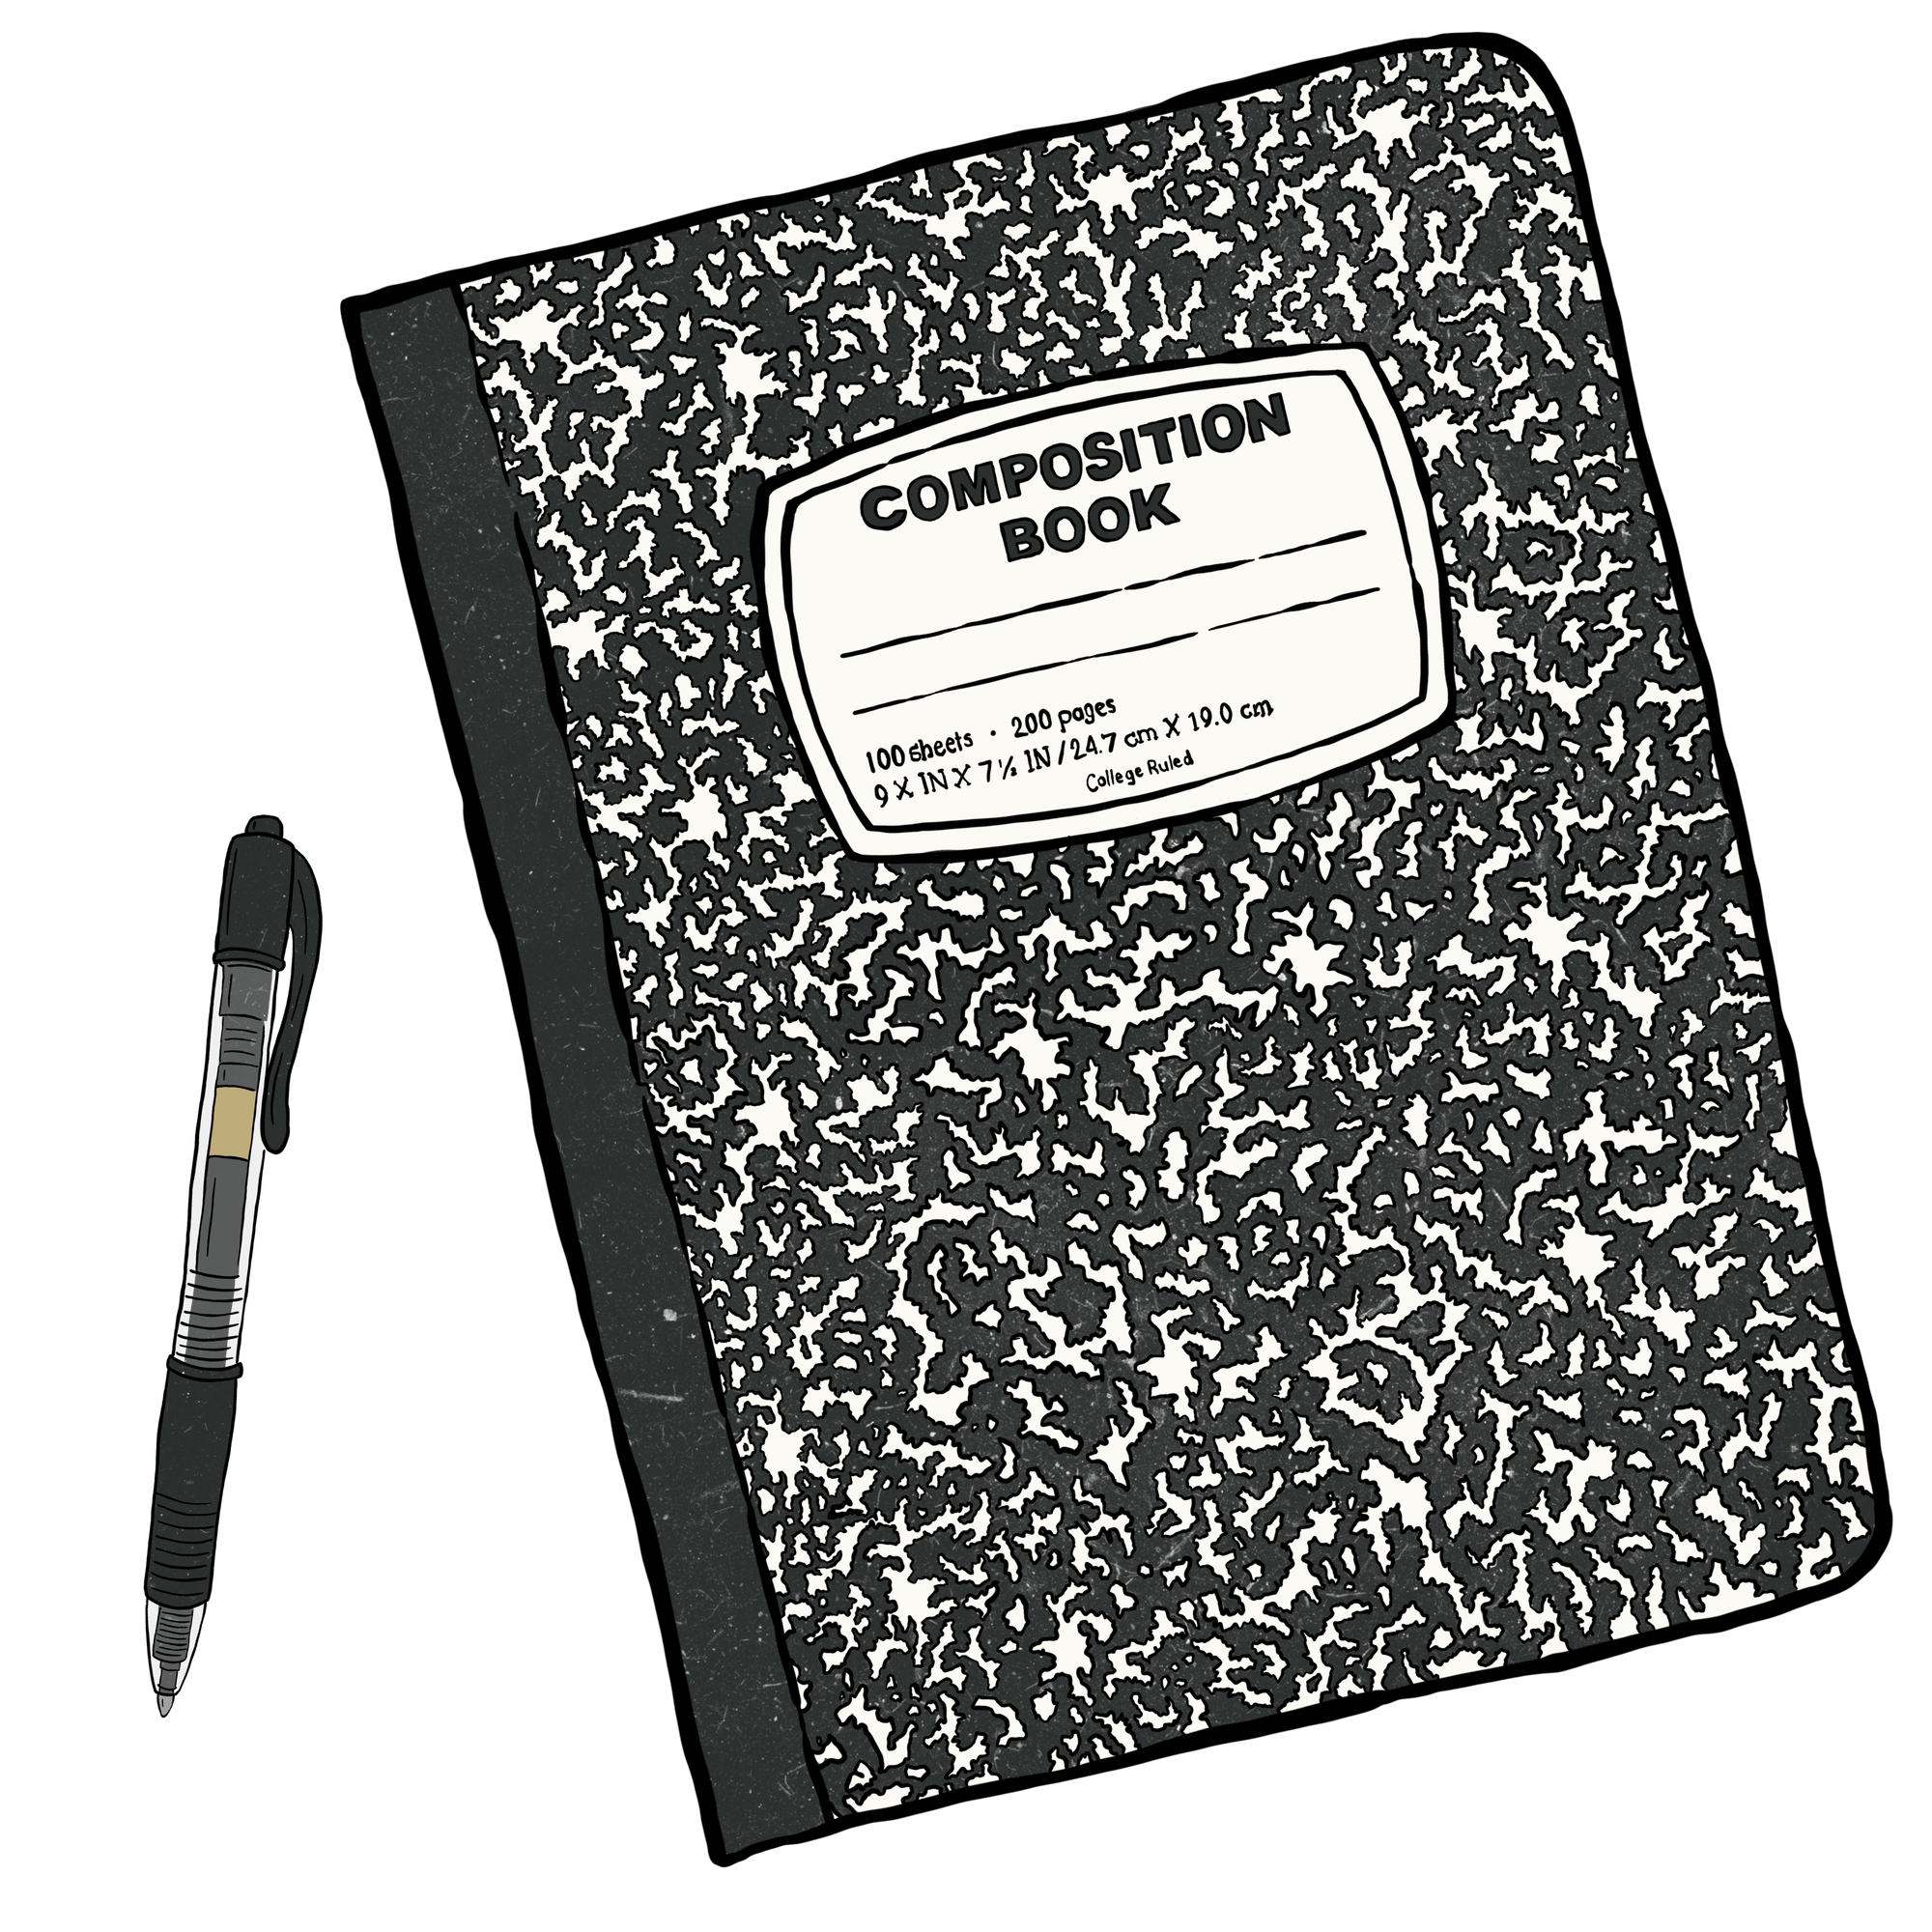
Pages from my notebook
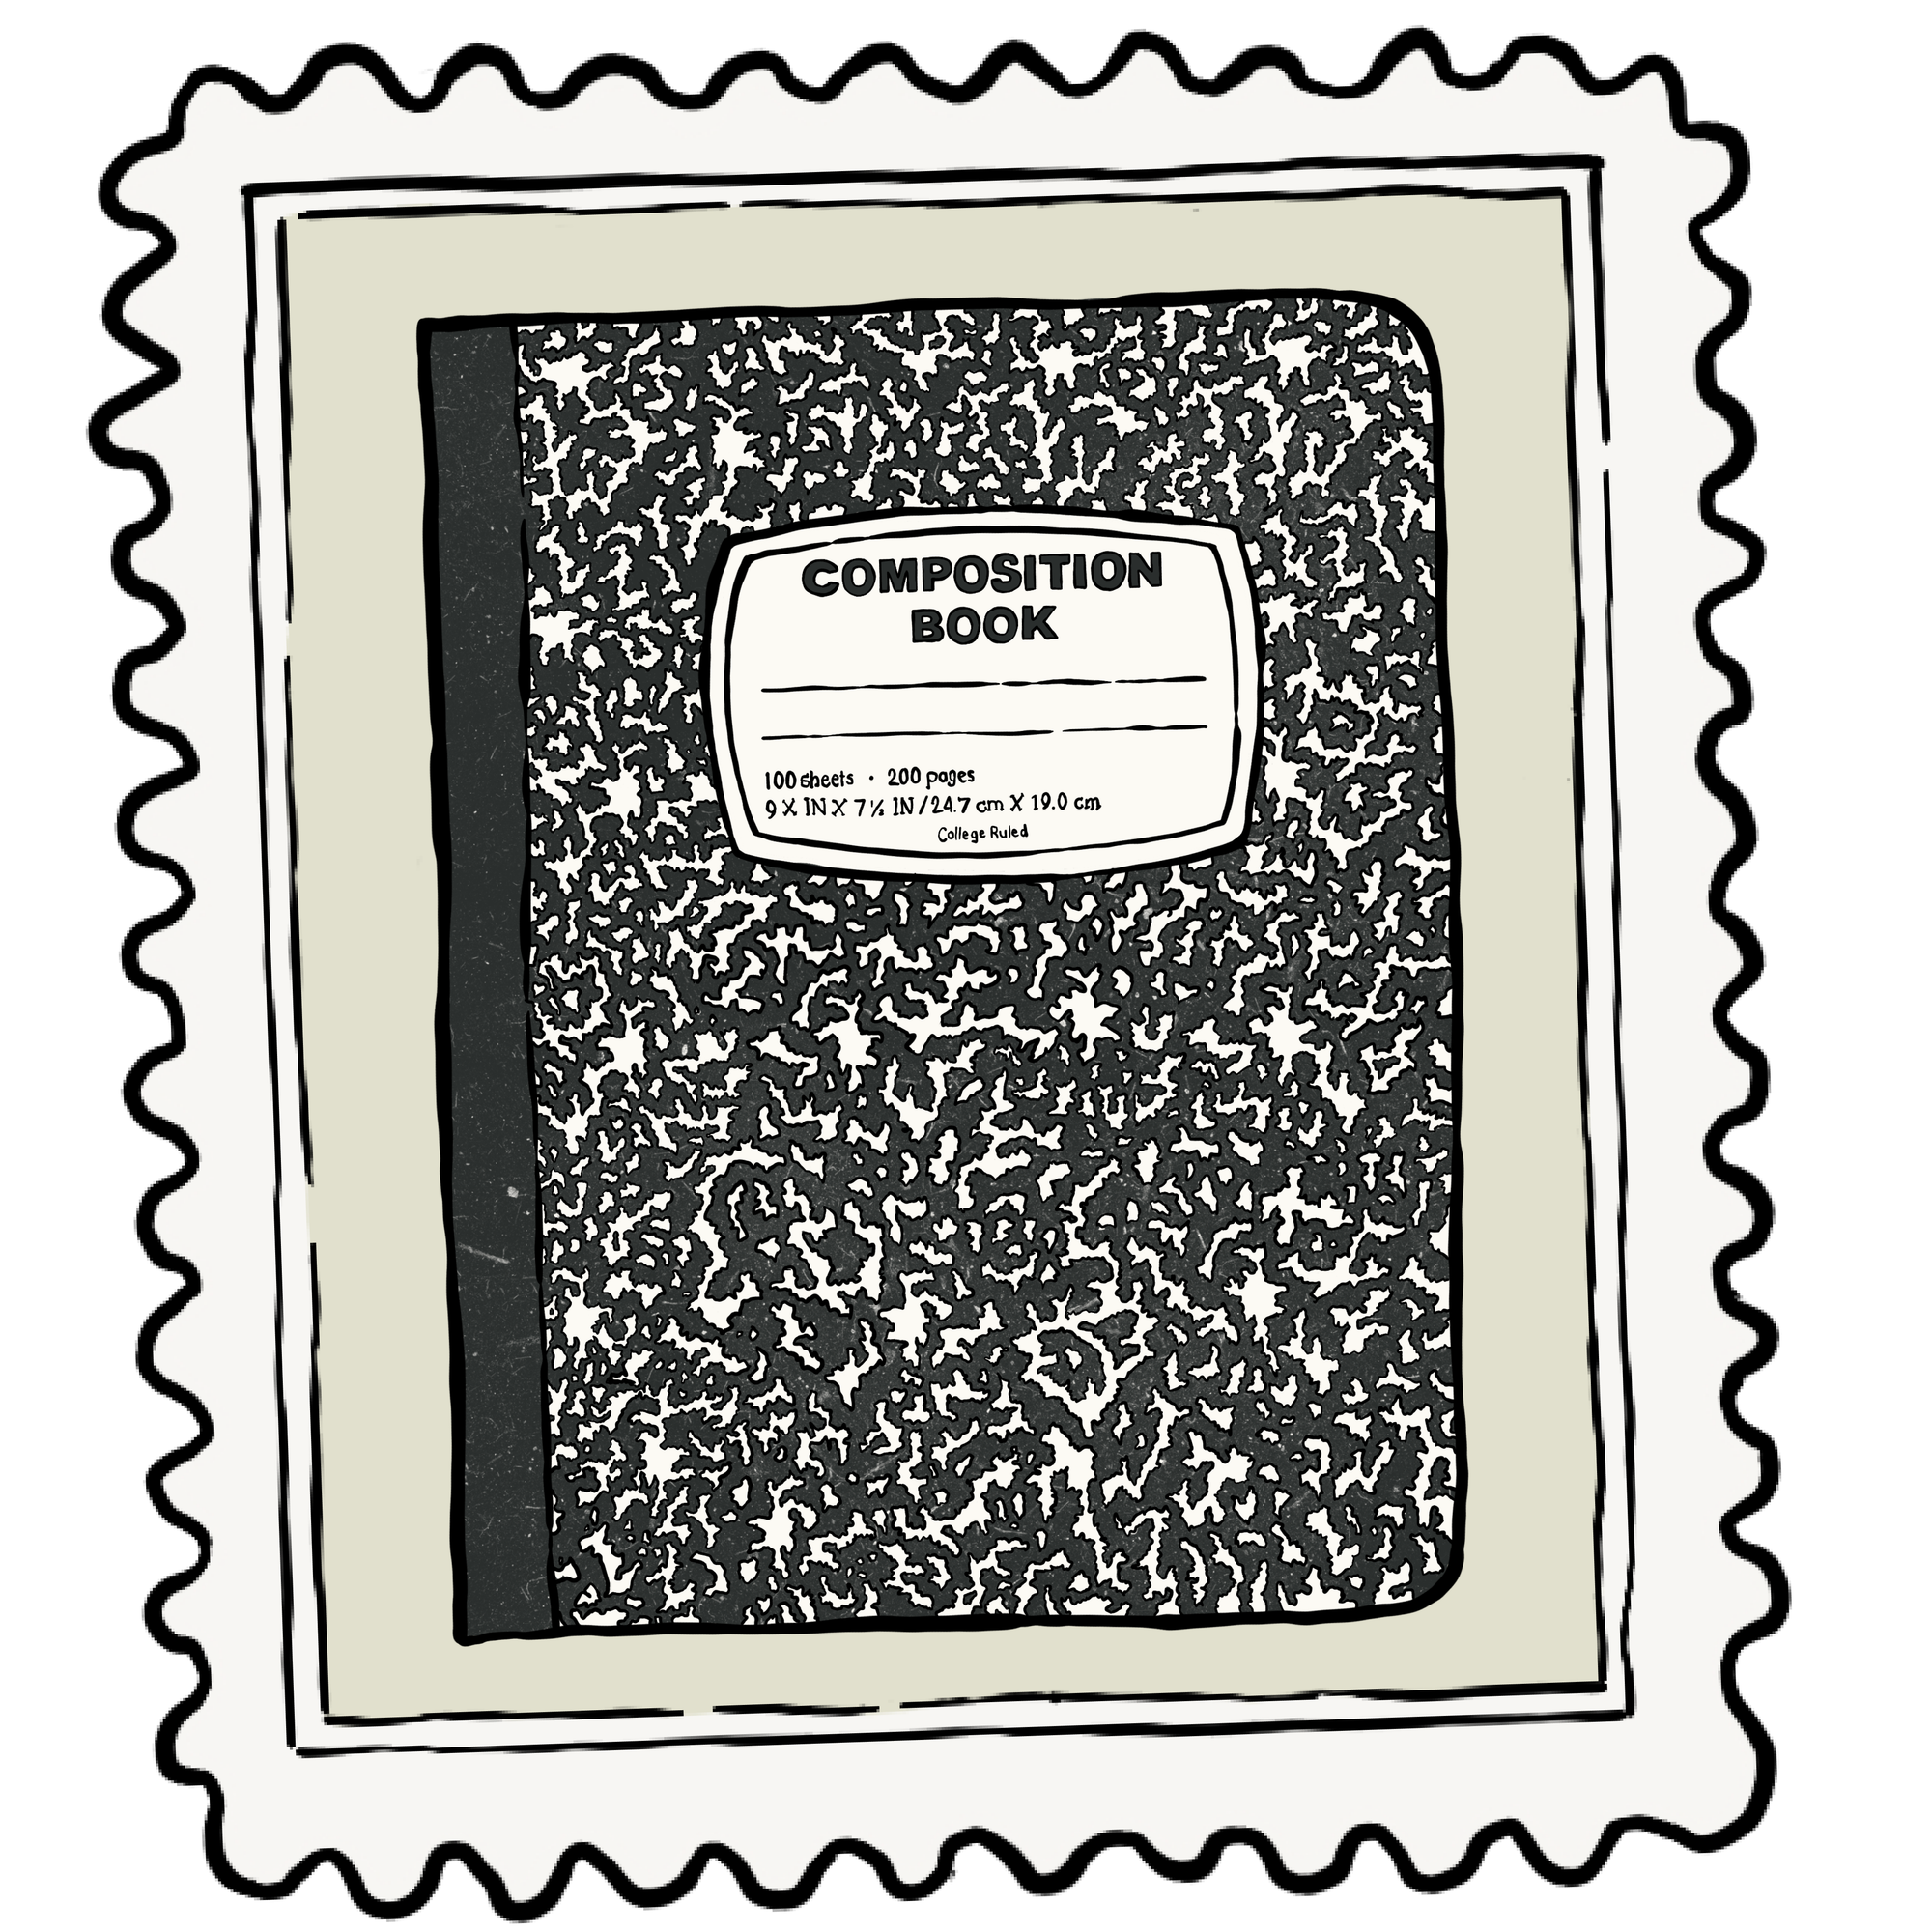
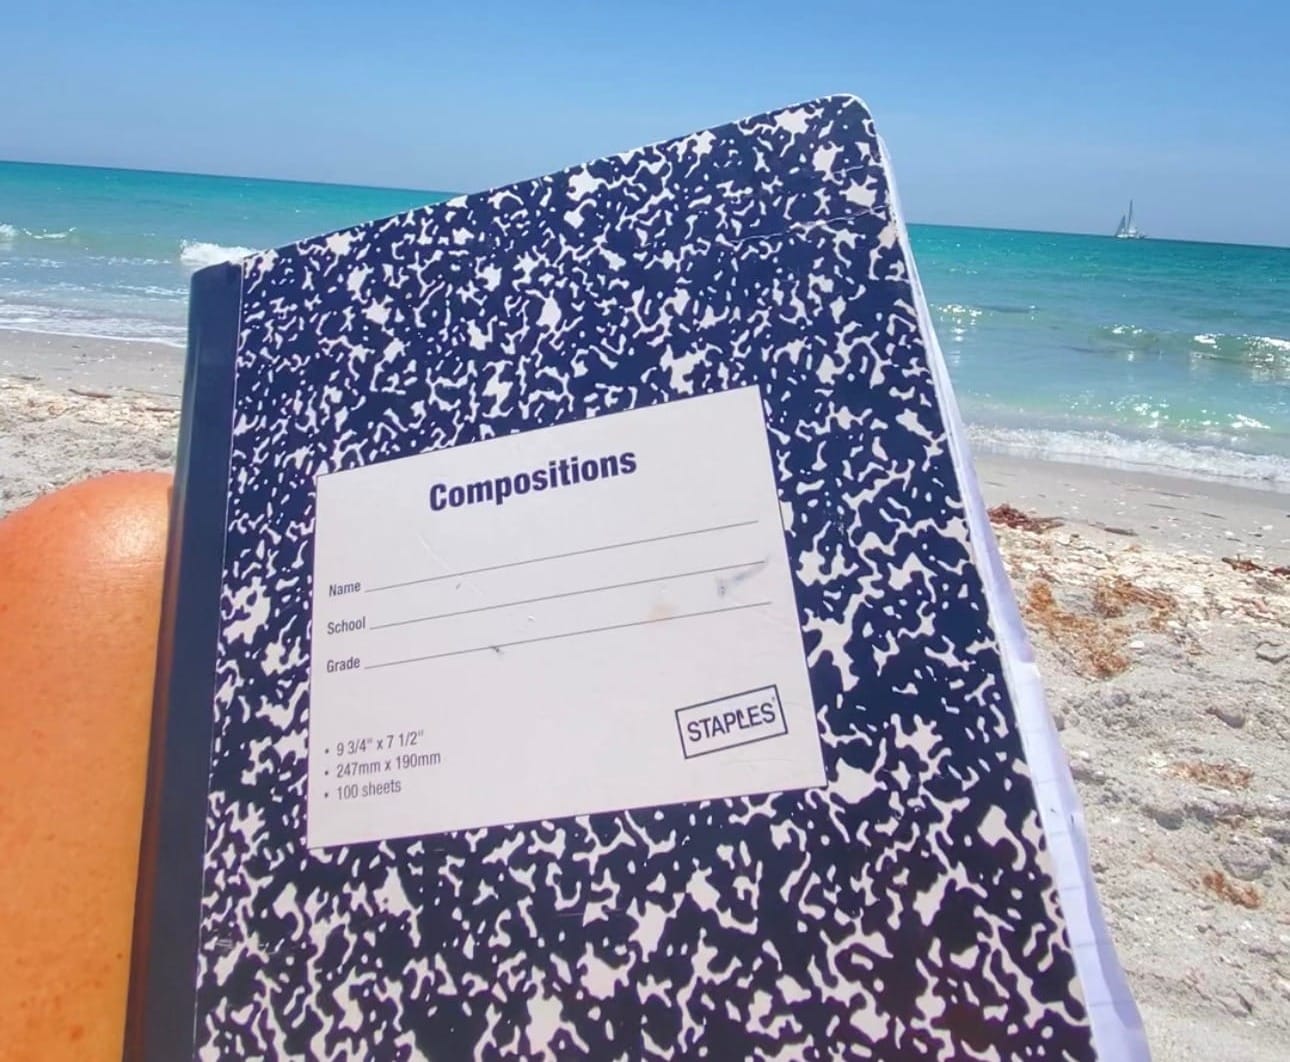
My medium is a generic composition notebook that costs less than a dollar and a Pilot G-2 pen in Bold 10. I love the way this pen rolls onto the wide-lined pages. It feels organic yet controlled at the same time. It lets my thoughts flow out of my brain and into the world without constraining them like each thought is attached to the one before it. Writing in an 85-cent composition notebook is exciting. It removes all the pressure to write your best and lets you simply write free. I love bringing my book to the beach and not worrying if it gets a little salty or sandy.
When I catch a glimpse of the marbled pattern, my heart skips a beat. I know the contents contain documentation of the little things in my life that felt important enough to jot down so I’ll never forget.
Physically writing in a book feels like a photo album of my thoughts. A tangible vessel I get to flip through and revisit a memory or see where I was at a point in time in my life.
I decided to create a digital version of parts of my book because I wanted to share my little paradise in a medium that feels more natural to me. I started to share on social media and capture moments but as an introvert, I struggle with the concept. I love taking photos and videos and sharing them but I find it more difficult to share a more detailed version of myself. So I thought writing these postcards might help me come out of my shell a little.
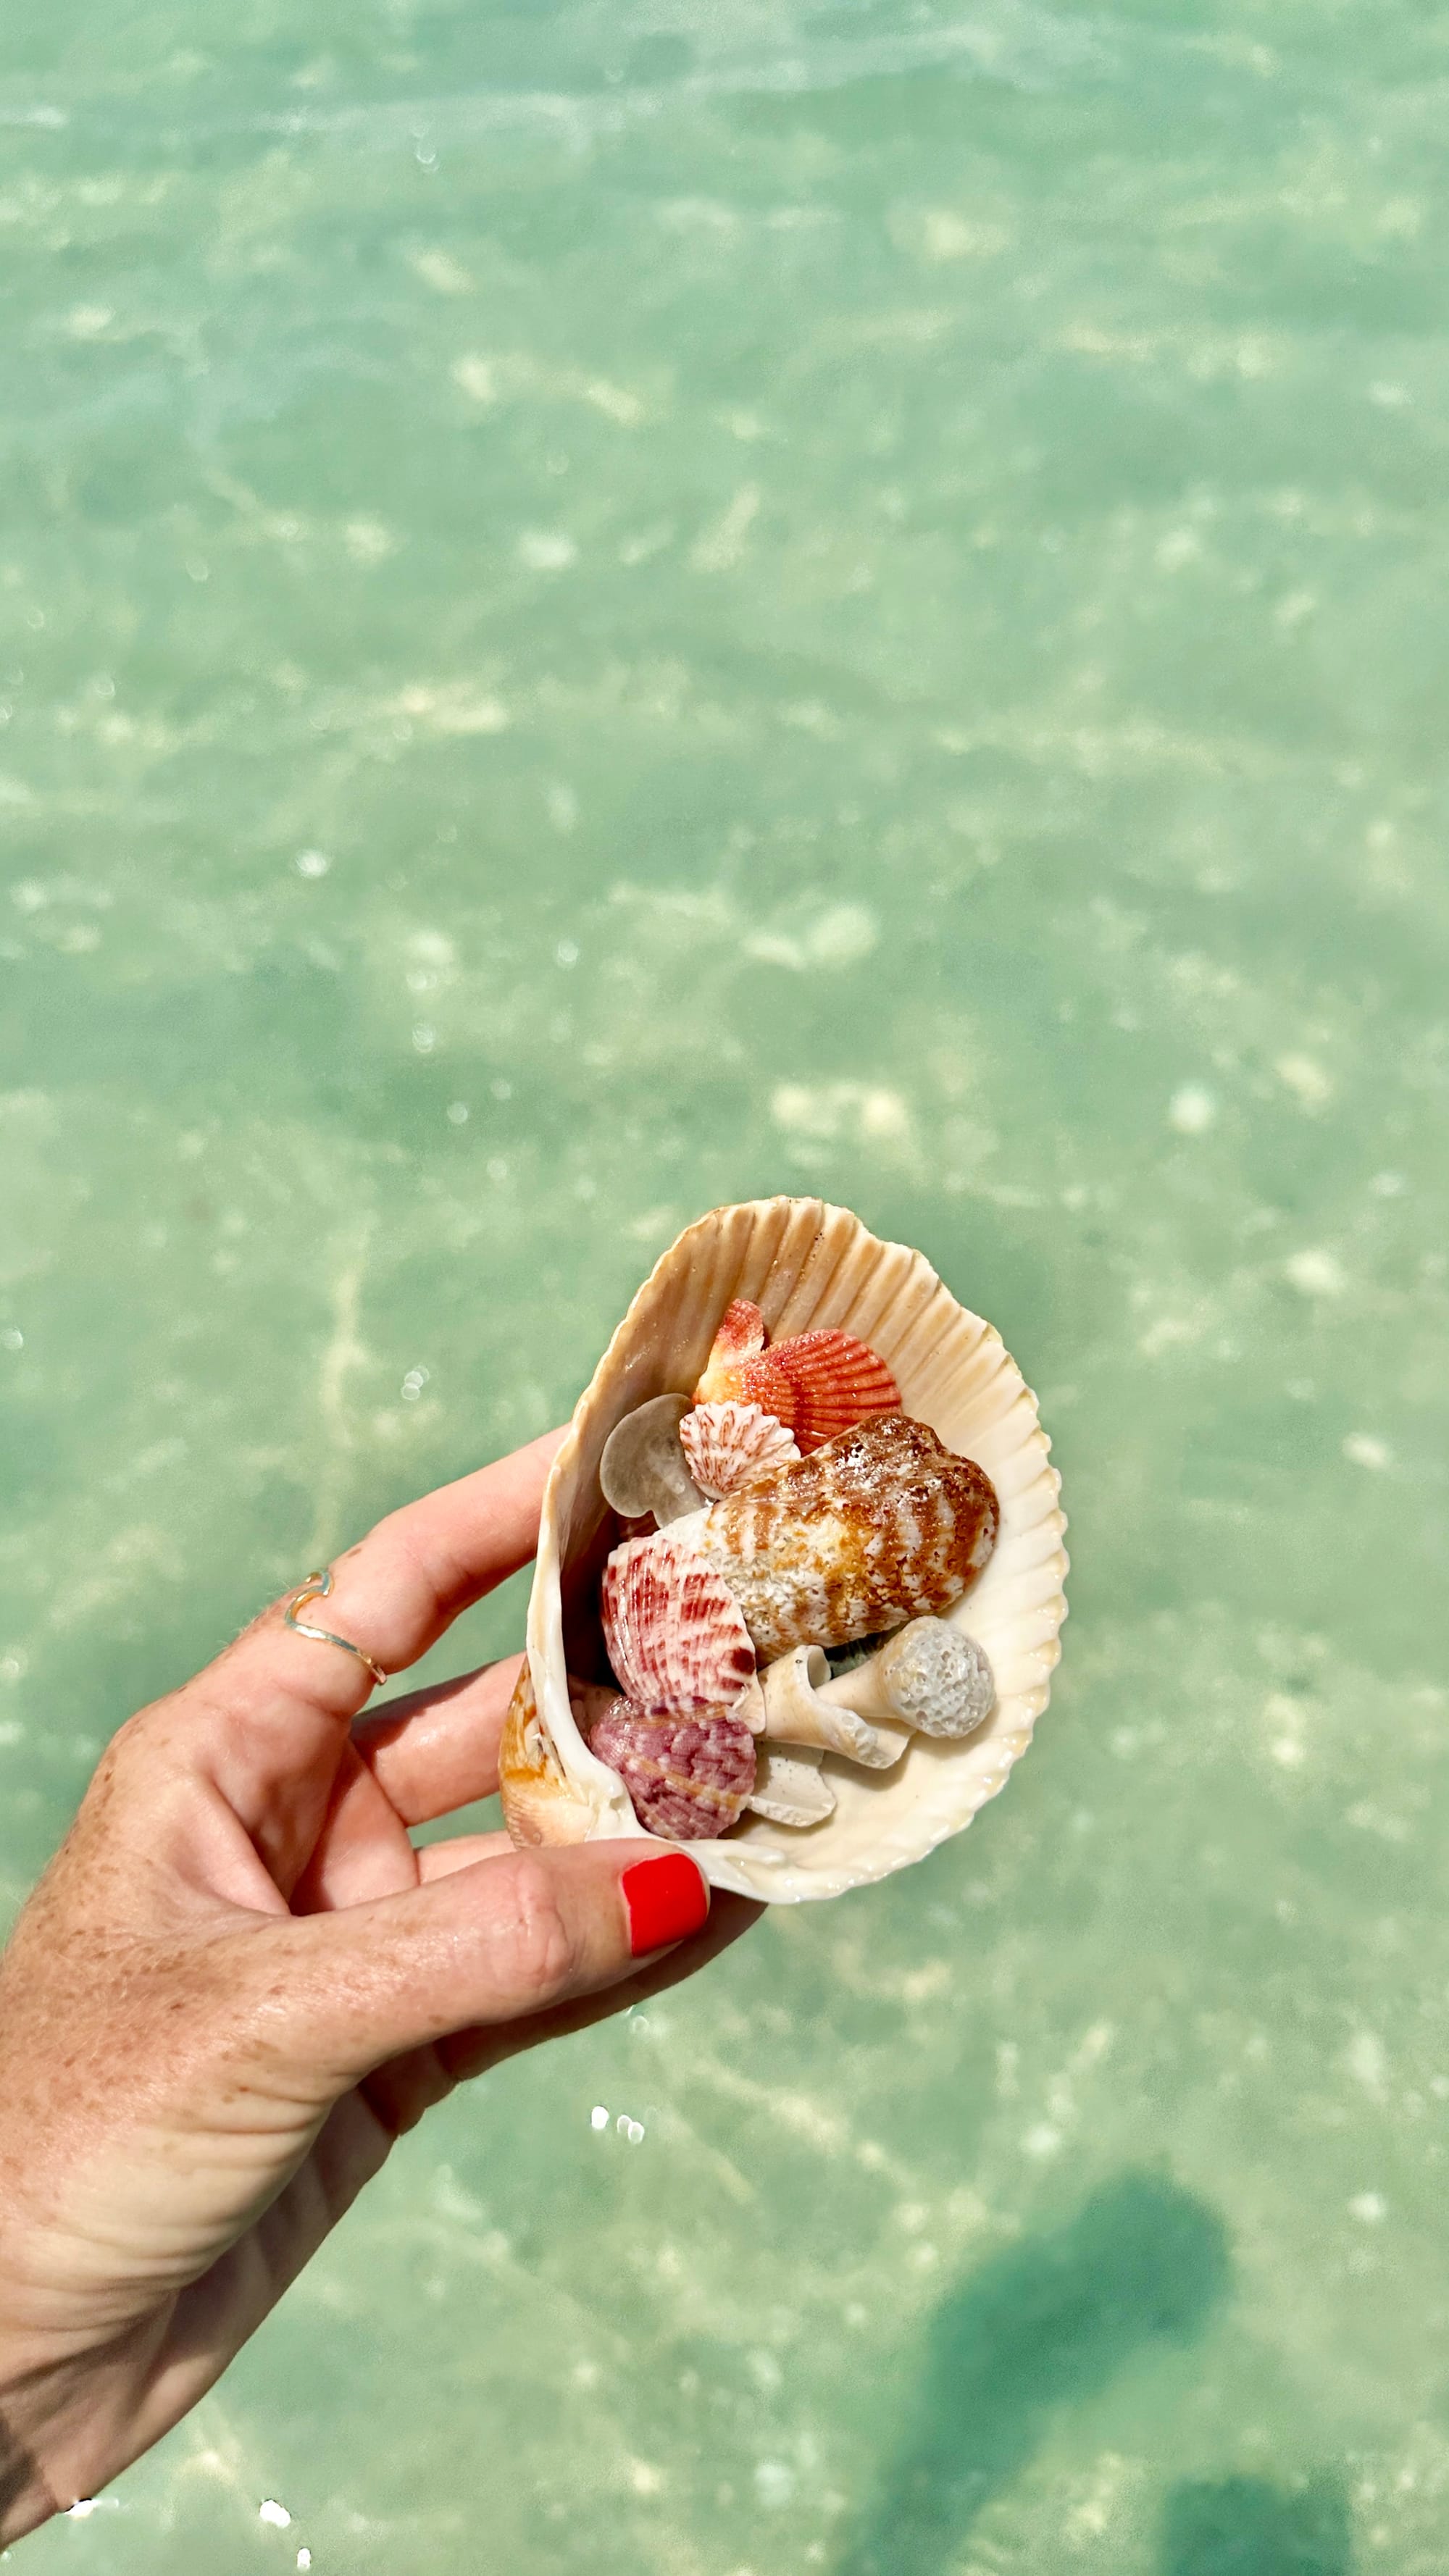
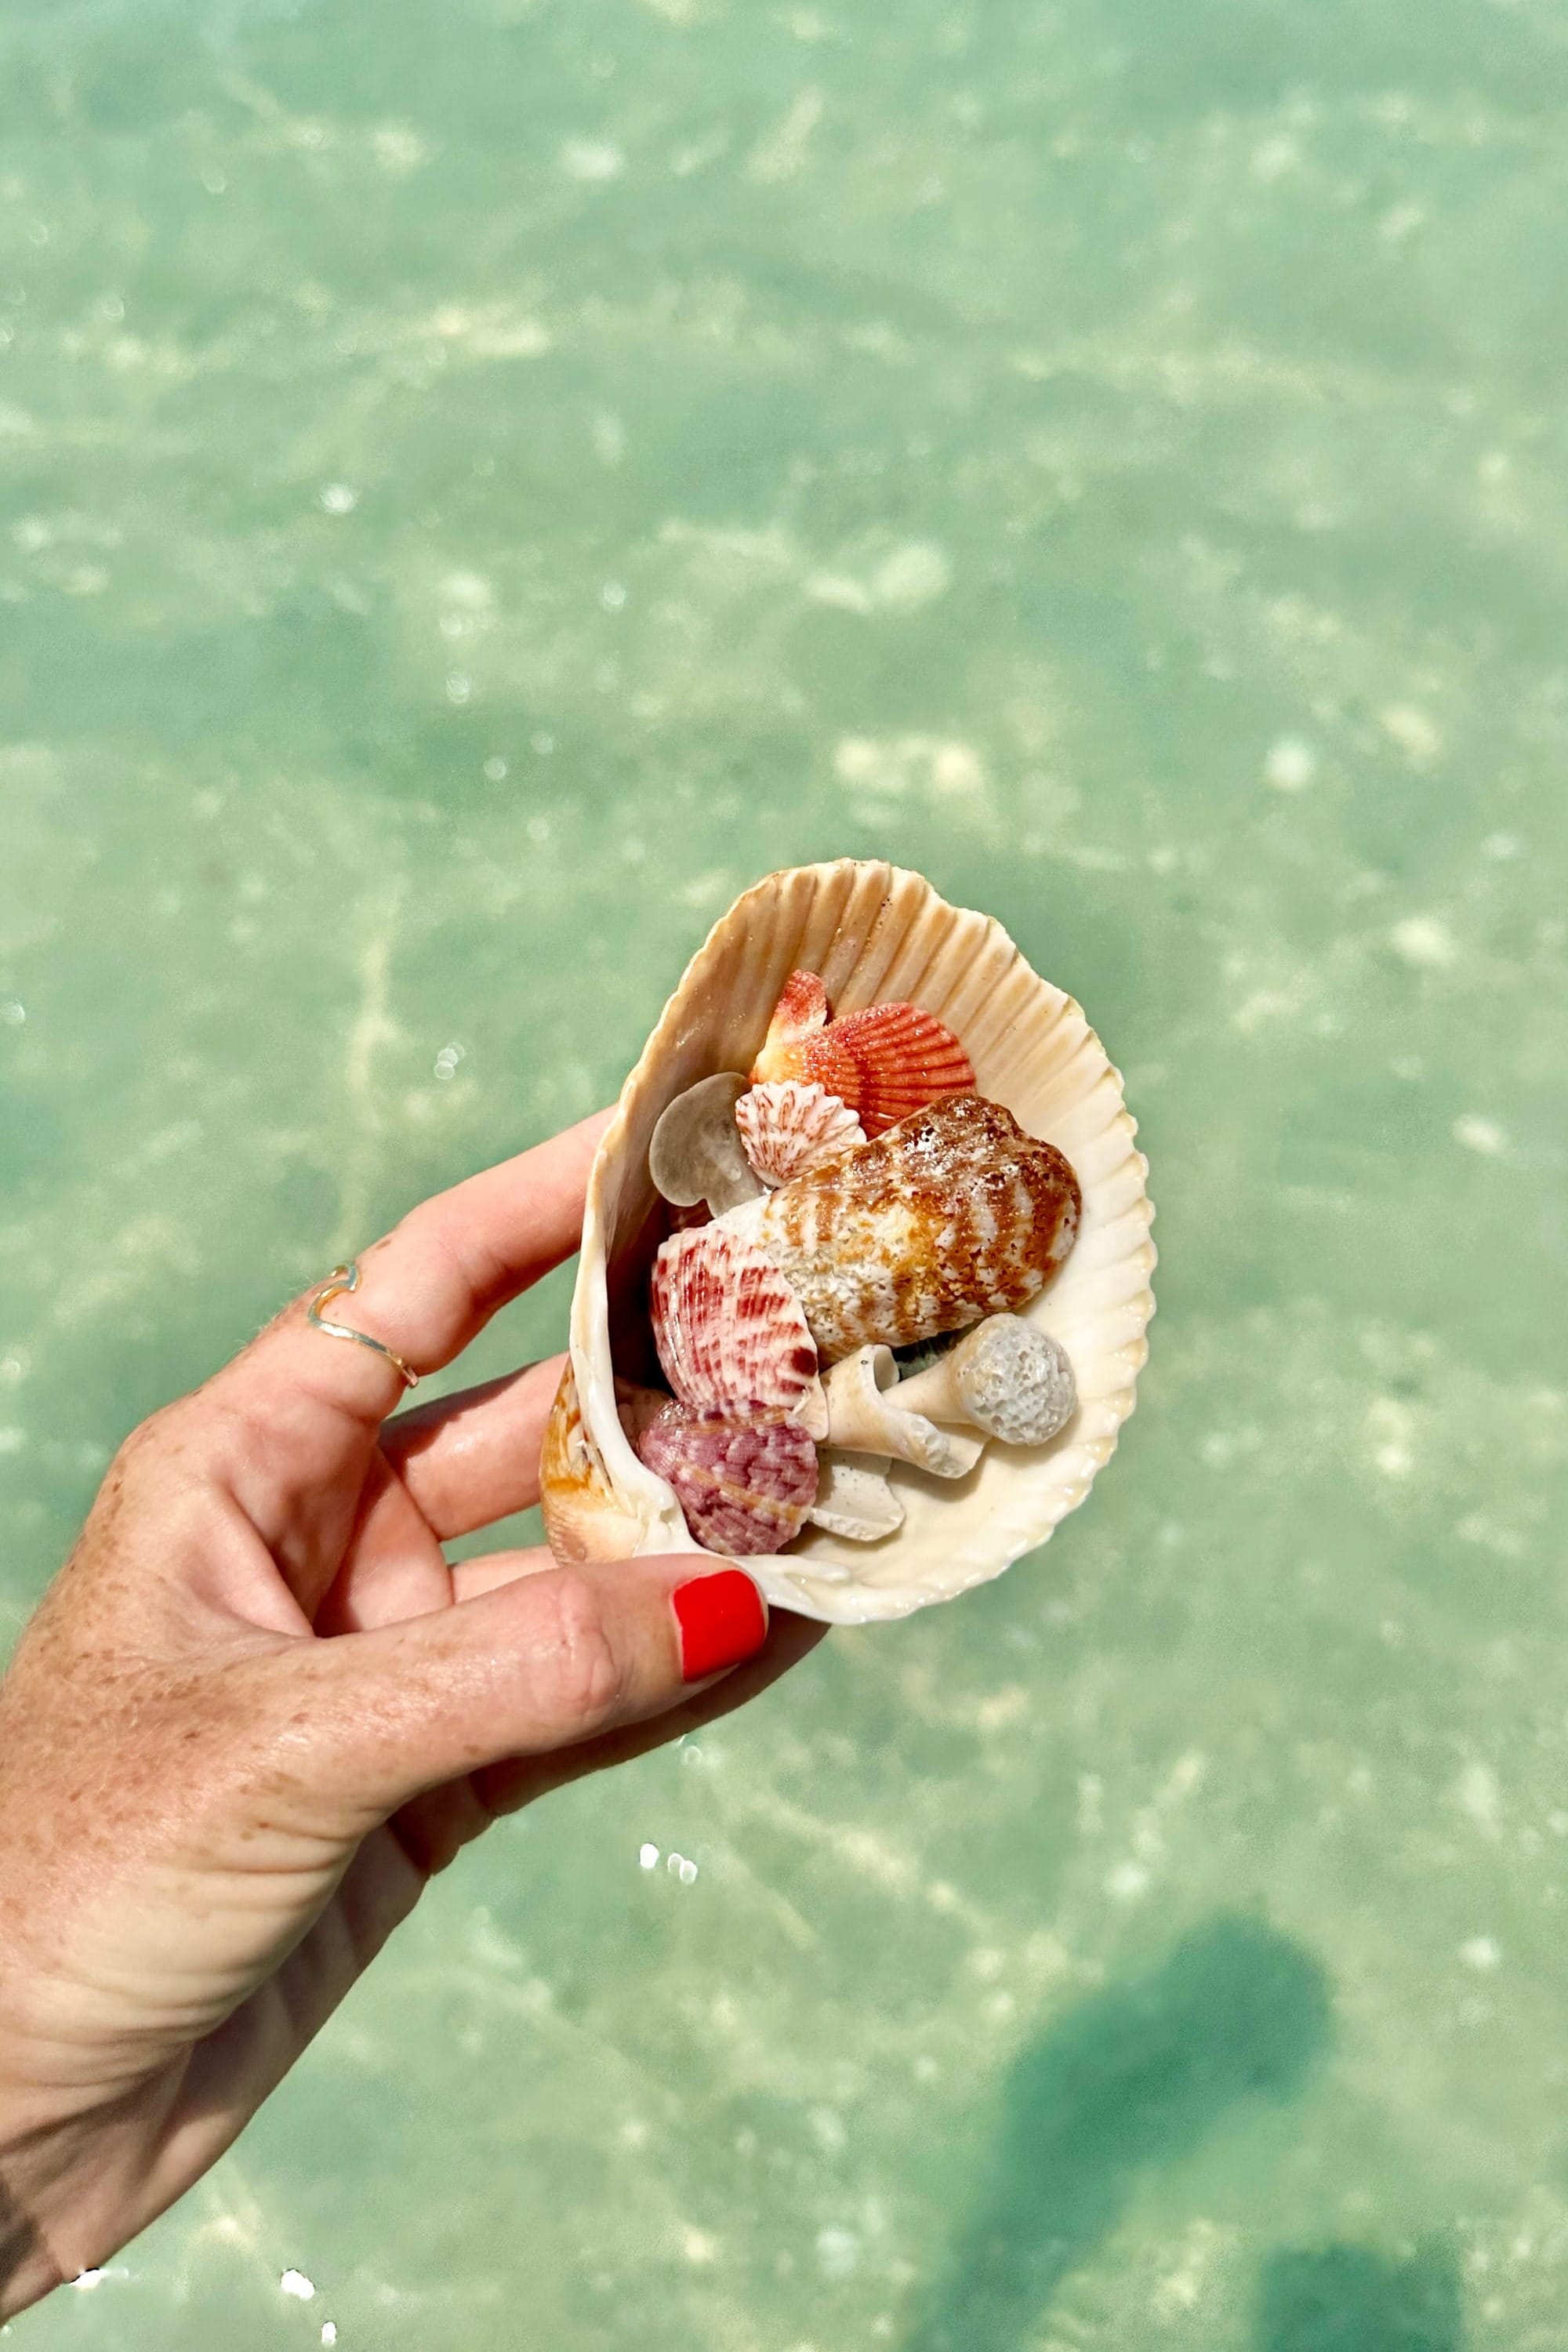
I love using a big shell when I forget my shell bag
Every time my boyfriend and I go on a trip, I always get a postcard, but I never mail it. And after moving to Florida, I felt inspired and had the urge to write it all down. From shark tooth hunting to renovations on our Old Florida Cottage, I want to document it all.
Paradise on Manasota Key, FL
Even if no one reads these words, it’s exciting to get it all down.
Hope you enjoy these postcards and they bring a little sunshine wherever you are.
You've got mail
Join the Beech Bum Club!
A little piece of paradise, straight to your inbox.